Week 1 is all about setting up your website, getting used to git and setting up everything for 17 weeks of documentation
What is Git? ALALALLALALA🧠💾
Git is a version control system that helps developers track changes in their code.
It allows you to save different versions of your project as you work on it.
Think of Git like a smart history tracker for your project (⌐■_■).
Every time you make a change, Git can record it so you can go back if something breaks.
Git is very useful when working on projects because it helps you:
Track changes in files 📝
Go back to older versions of your project ⏪
Work safely without losing code 🛟
Collaborate with other developers 👩💻👨💻
Developers often use platforms like GitHub to store their Git projects online
and share them with others.
In simple terms:
Git = A time machine for your code ⏳🚀
. First steps first .
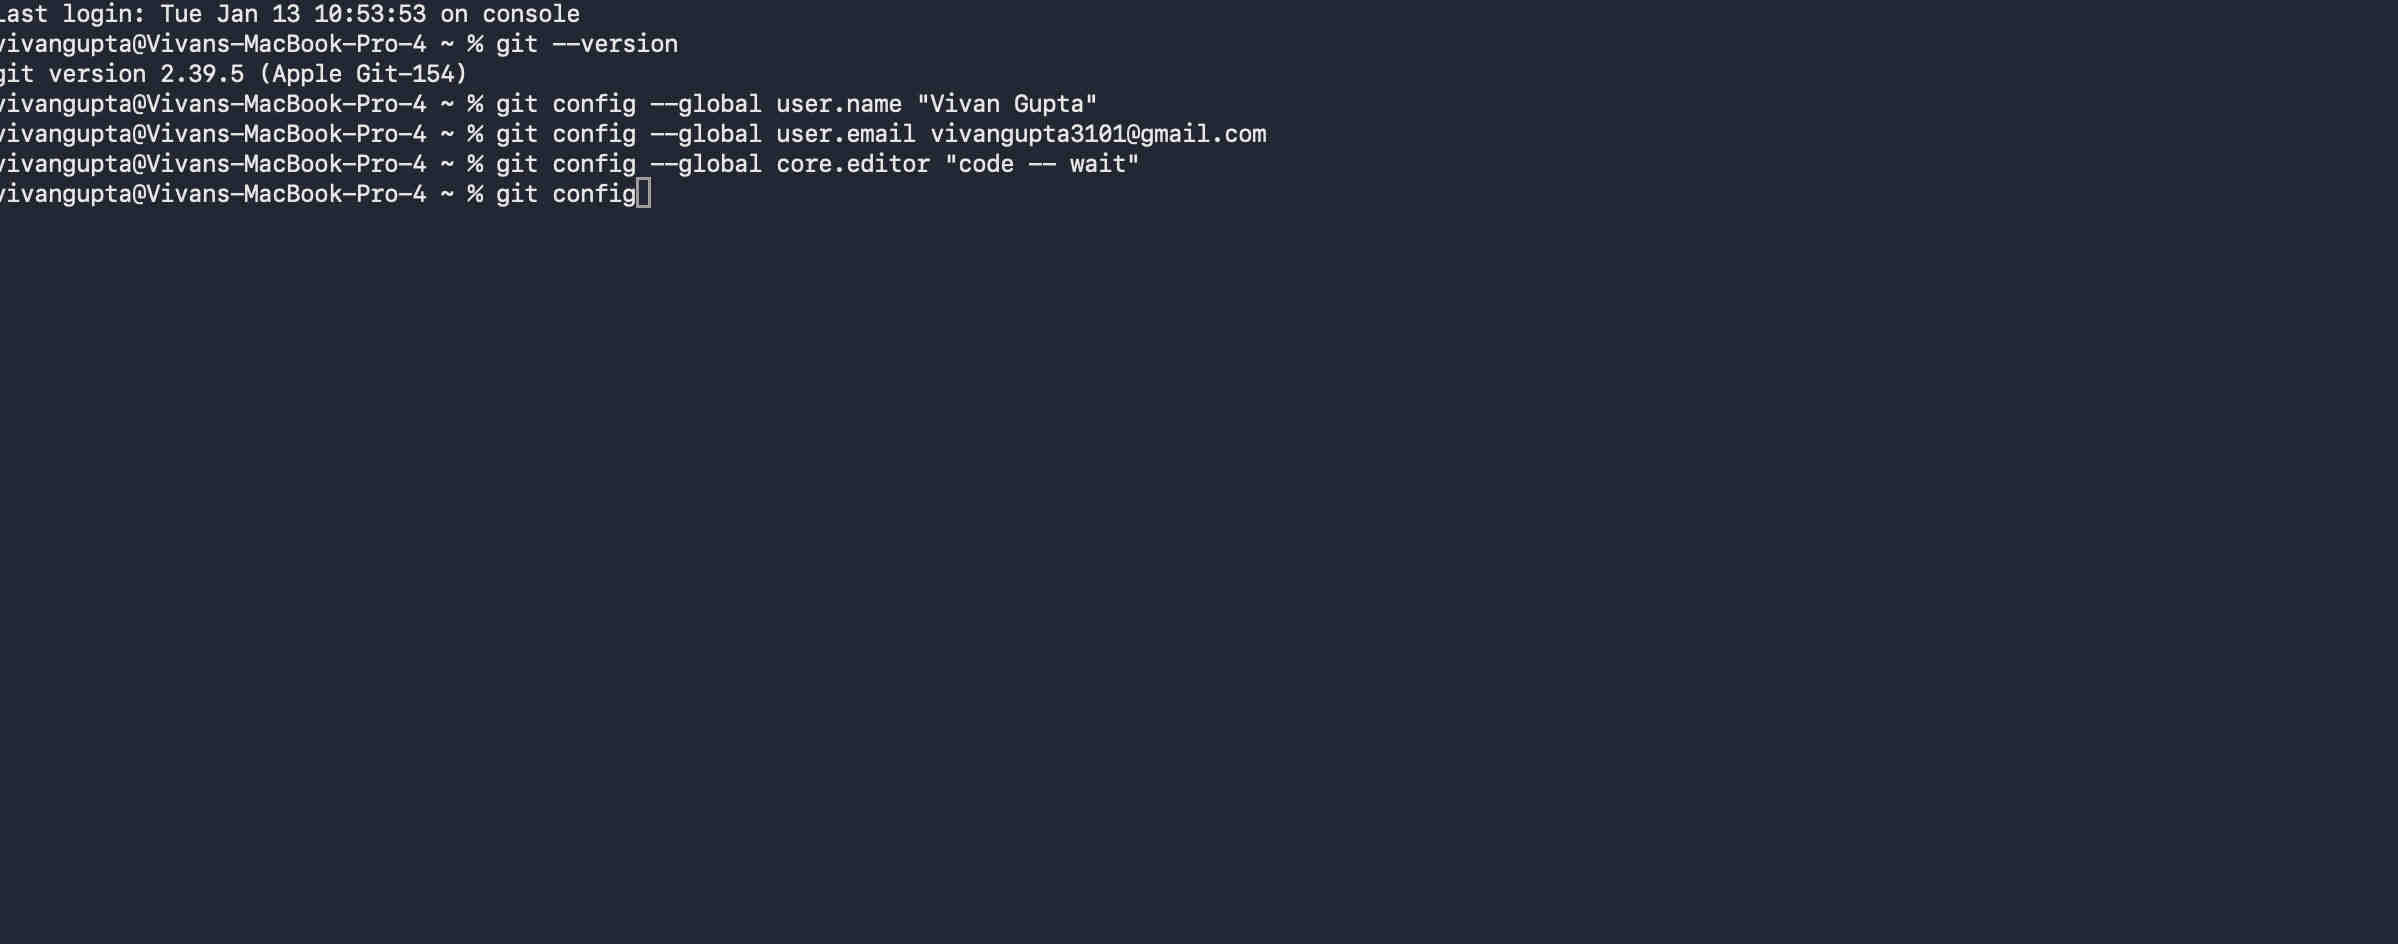
First step was checking git version on my mac OS. You can do the same by pasting this code on your terminal↴
git --version
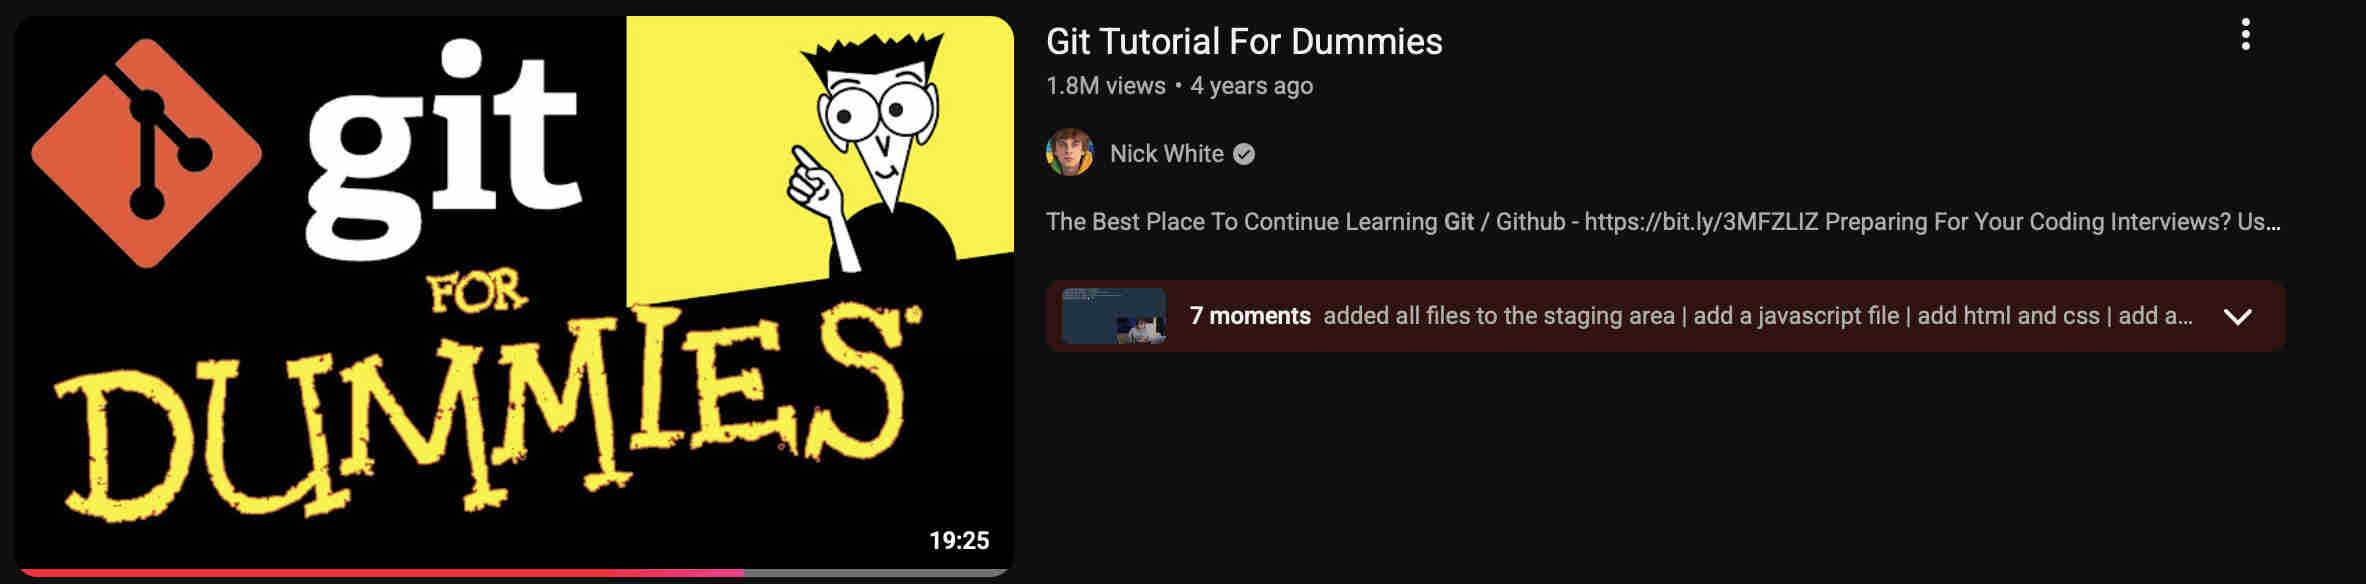
As a complete newbie aka "dummie" this tutorial is one of the best, i highly recommend understanding the basics by watching this video
https://www.youtube.com/watch?v=mJ-qvsxPHpY&pp=ygUPZ2l0IGZvciBkdW1taWVz2AbeBg%3D%3D
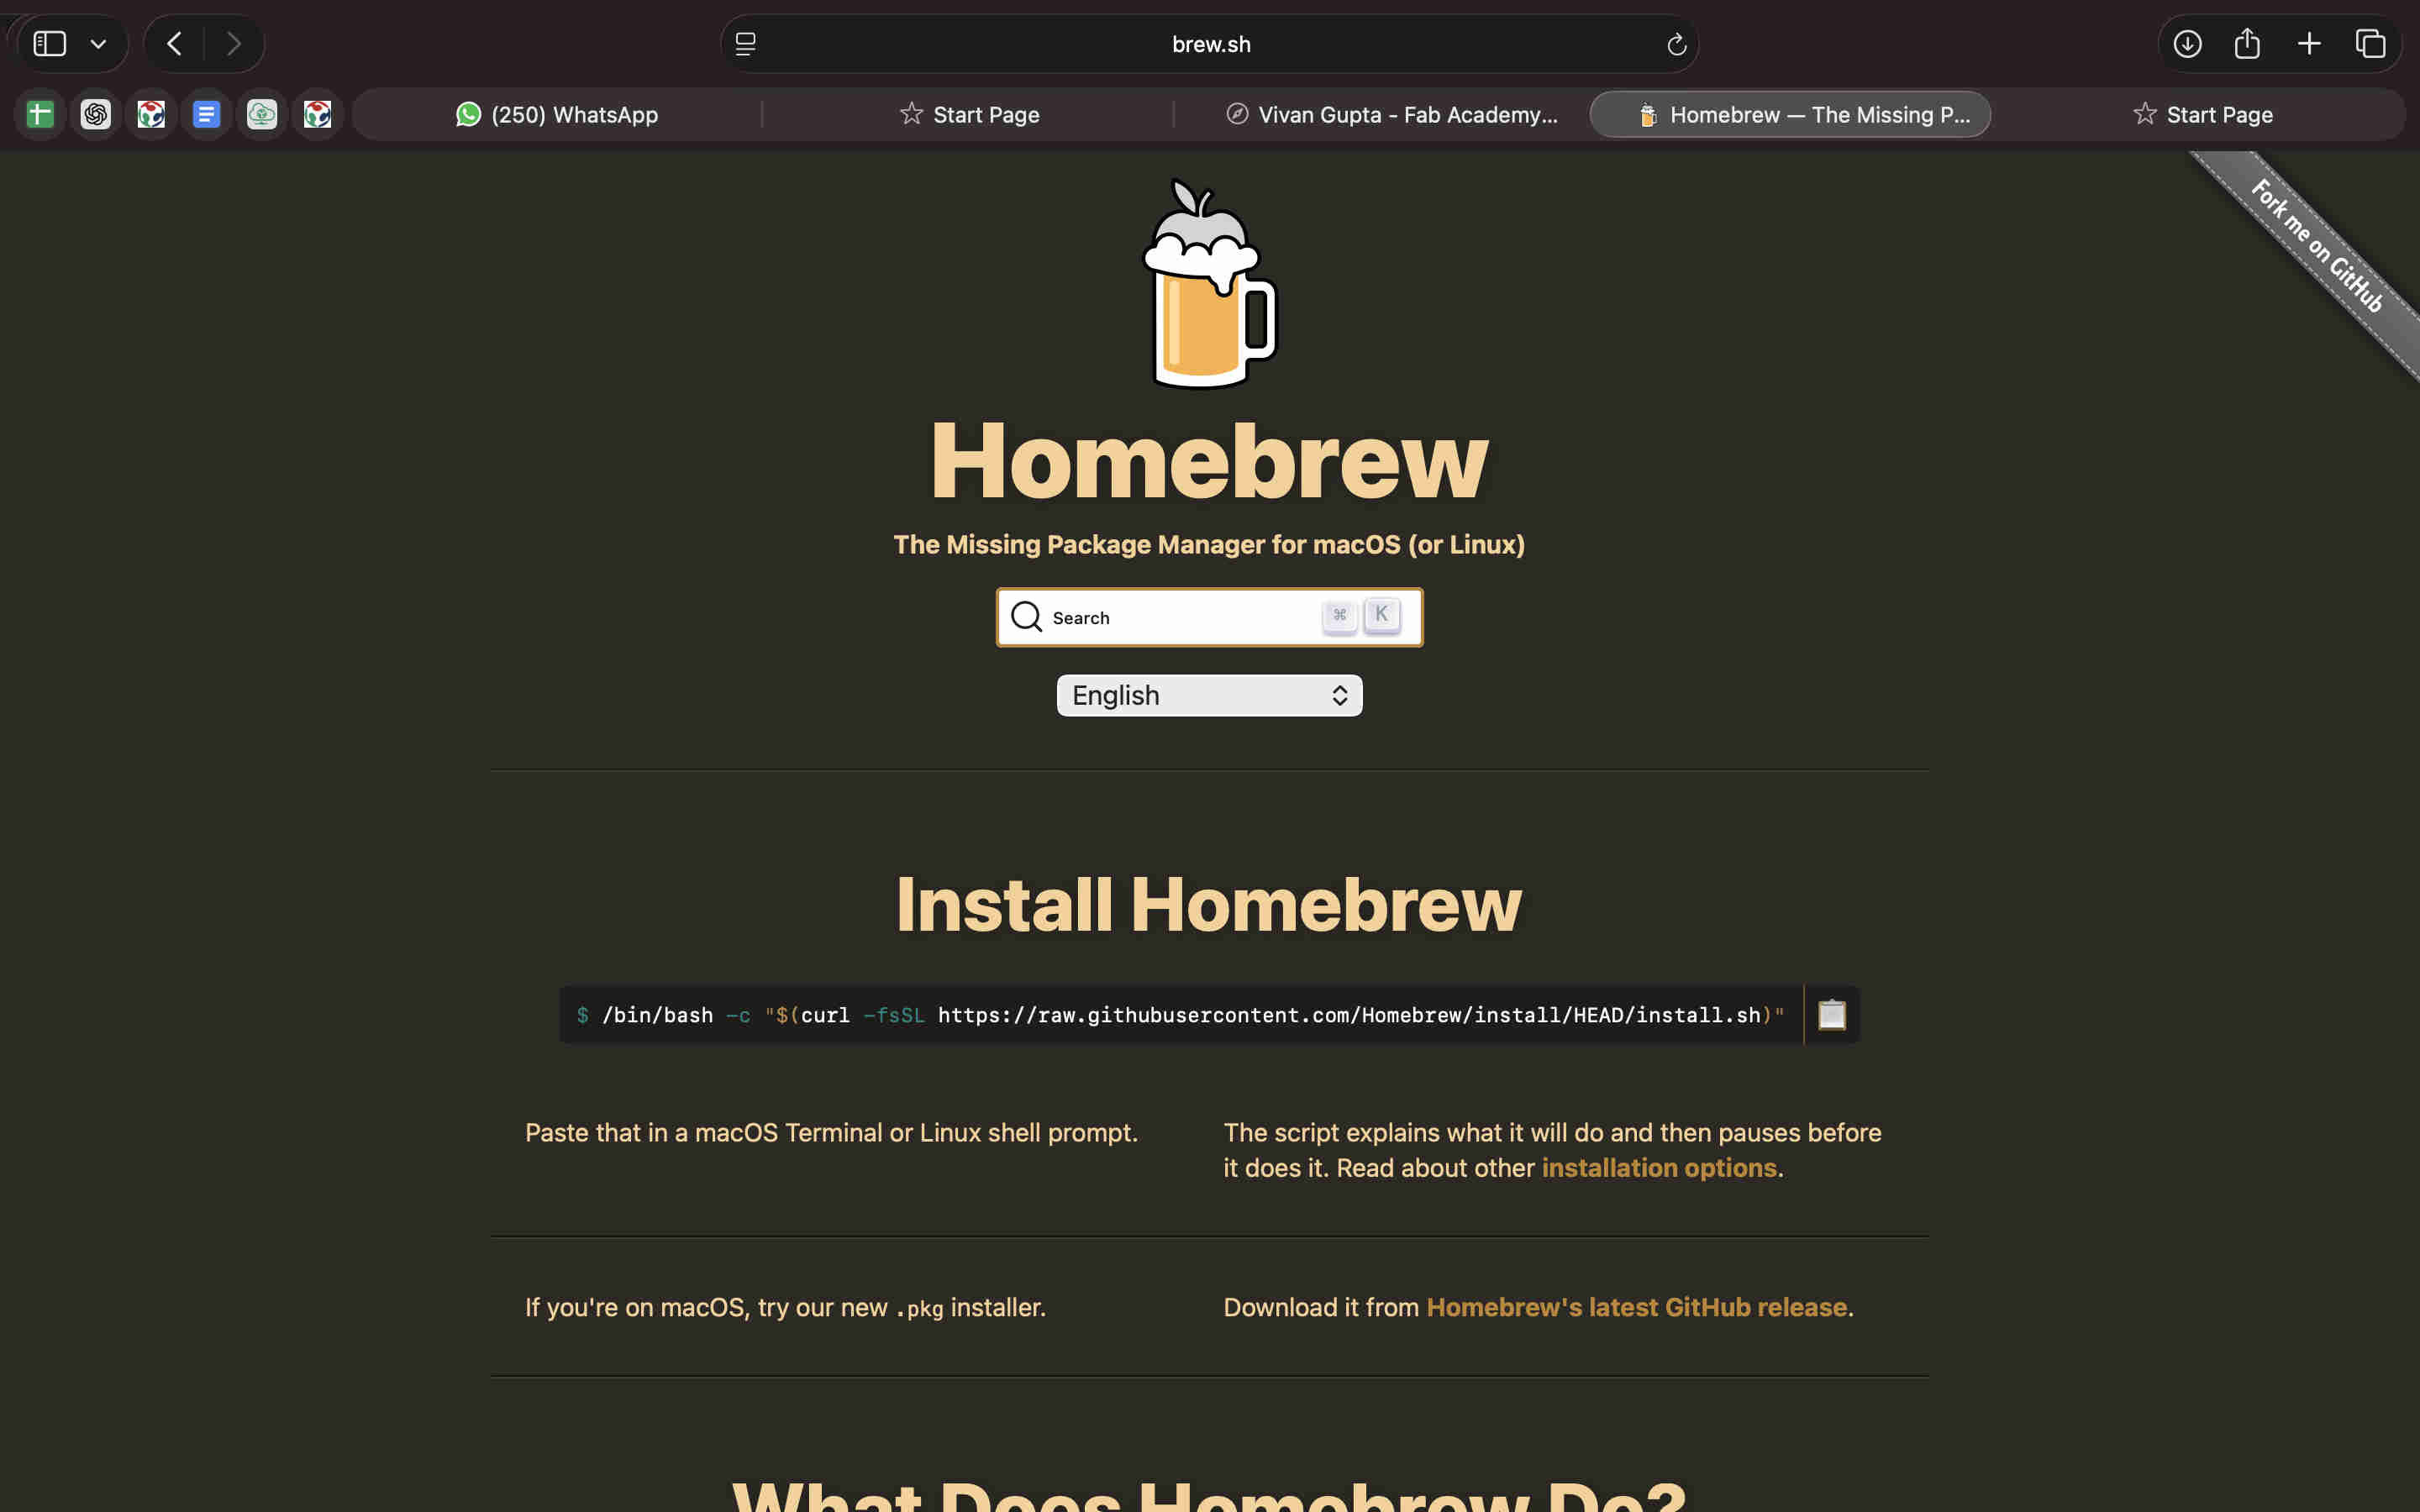
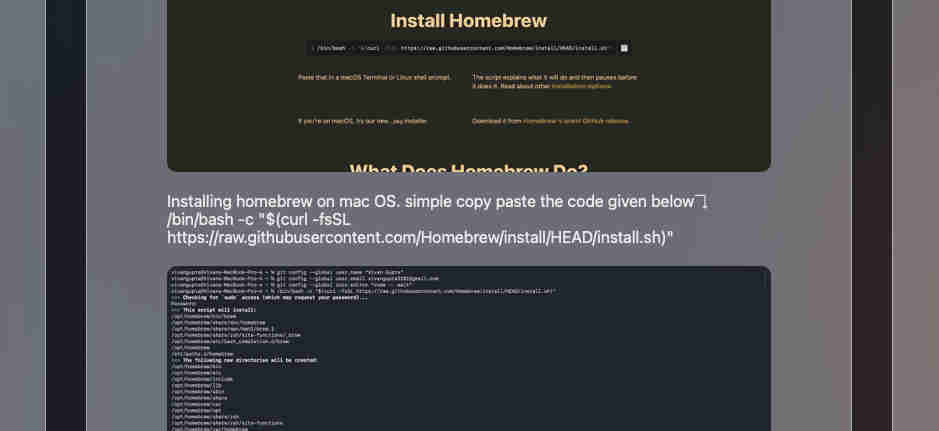
On macOS, many development tools aren’t included by default. Homebrew simplifies installing and managing these tools from the terminal, making it easier to set up and maintain a consistent development environment during Fab Academy.
Installing homebrew on mac OS. simple copy paste the code given below on your terminal↴
/bin/bash -c "$(curl -fsSL https://raw.githubusercontent.com/Homebrew/install/HEAD/install.sh)"
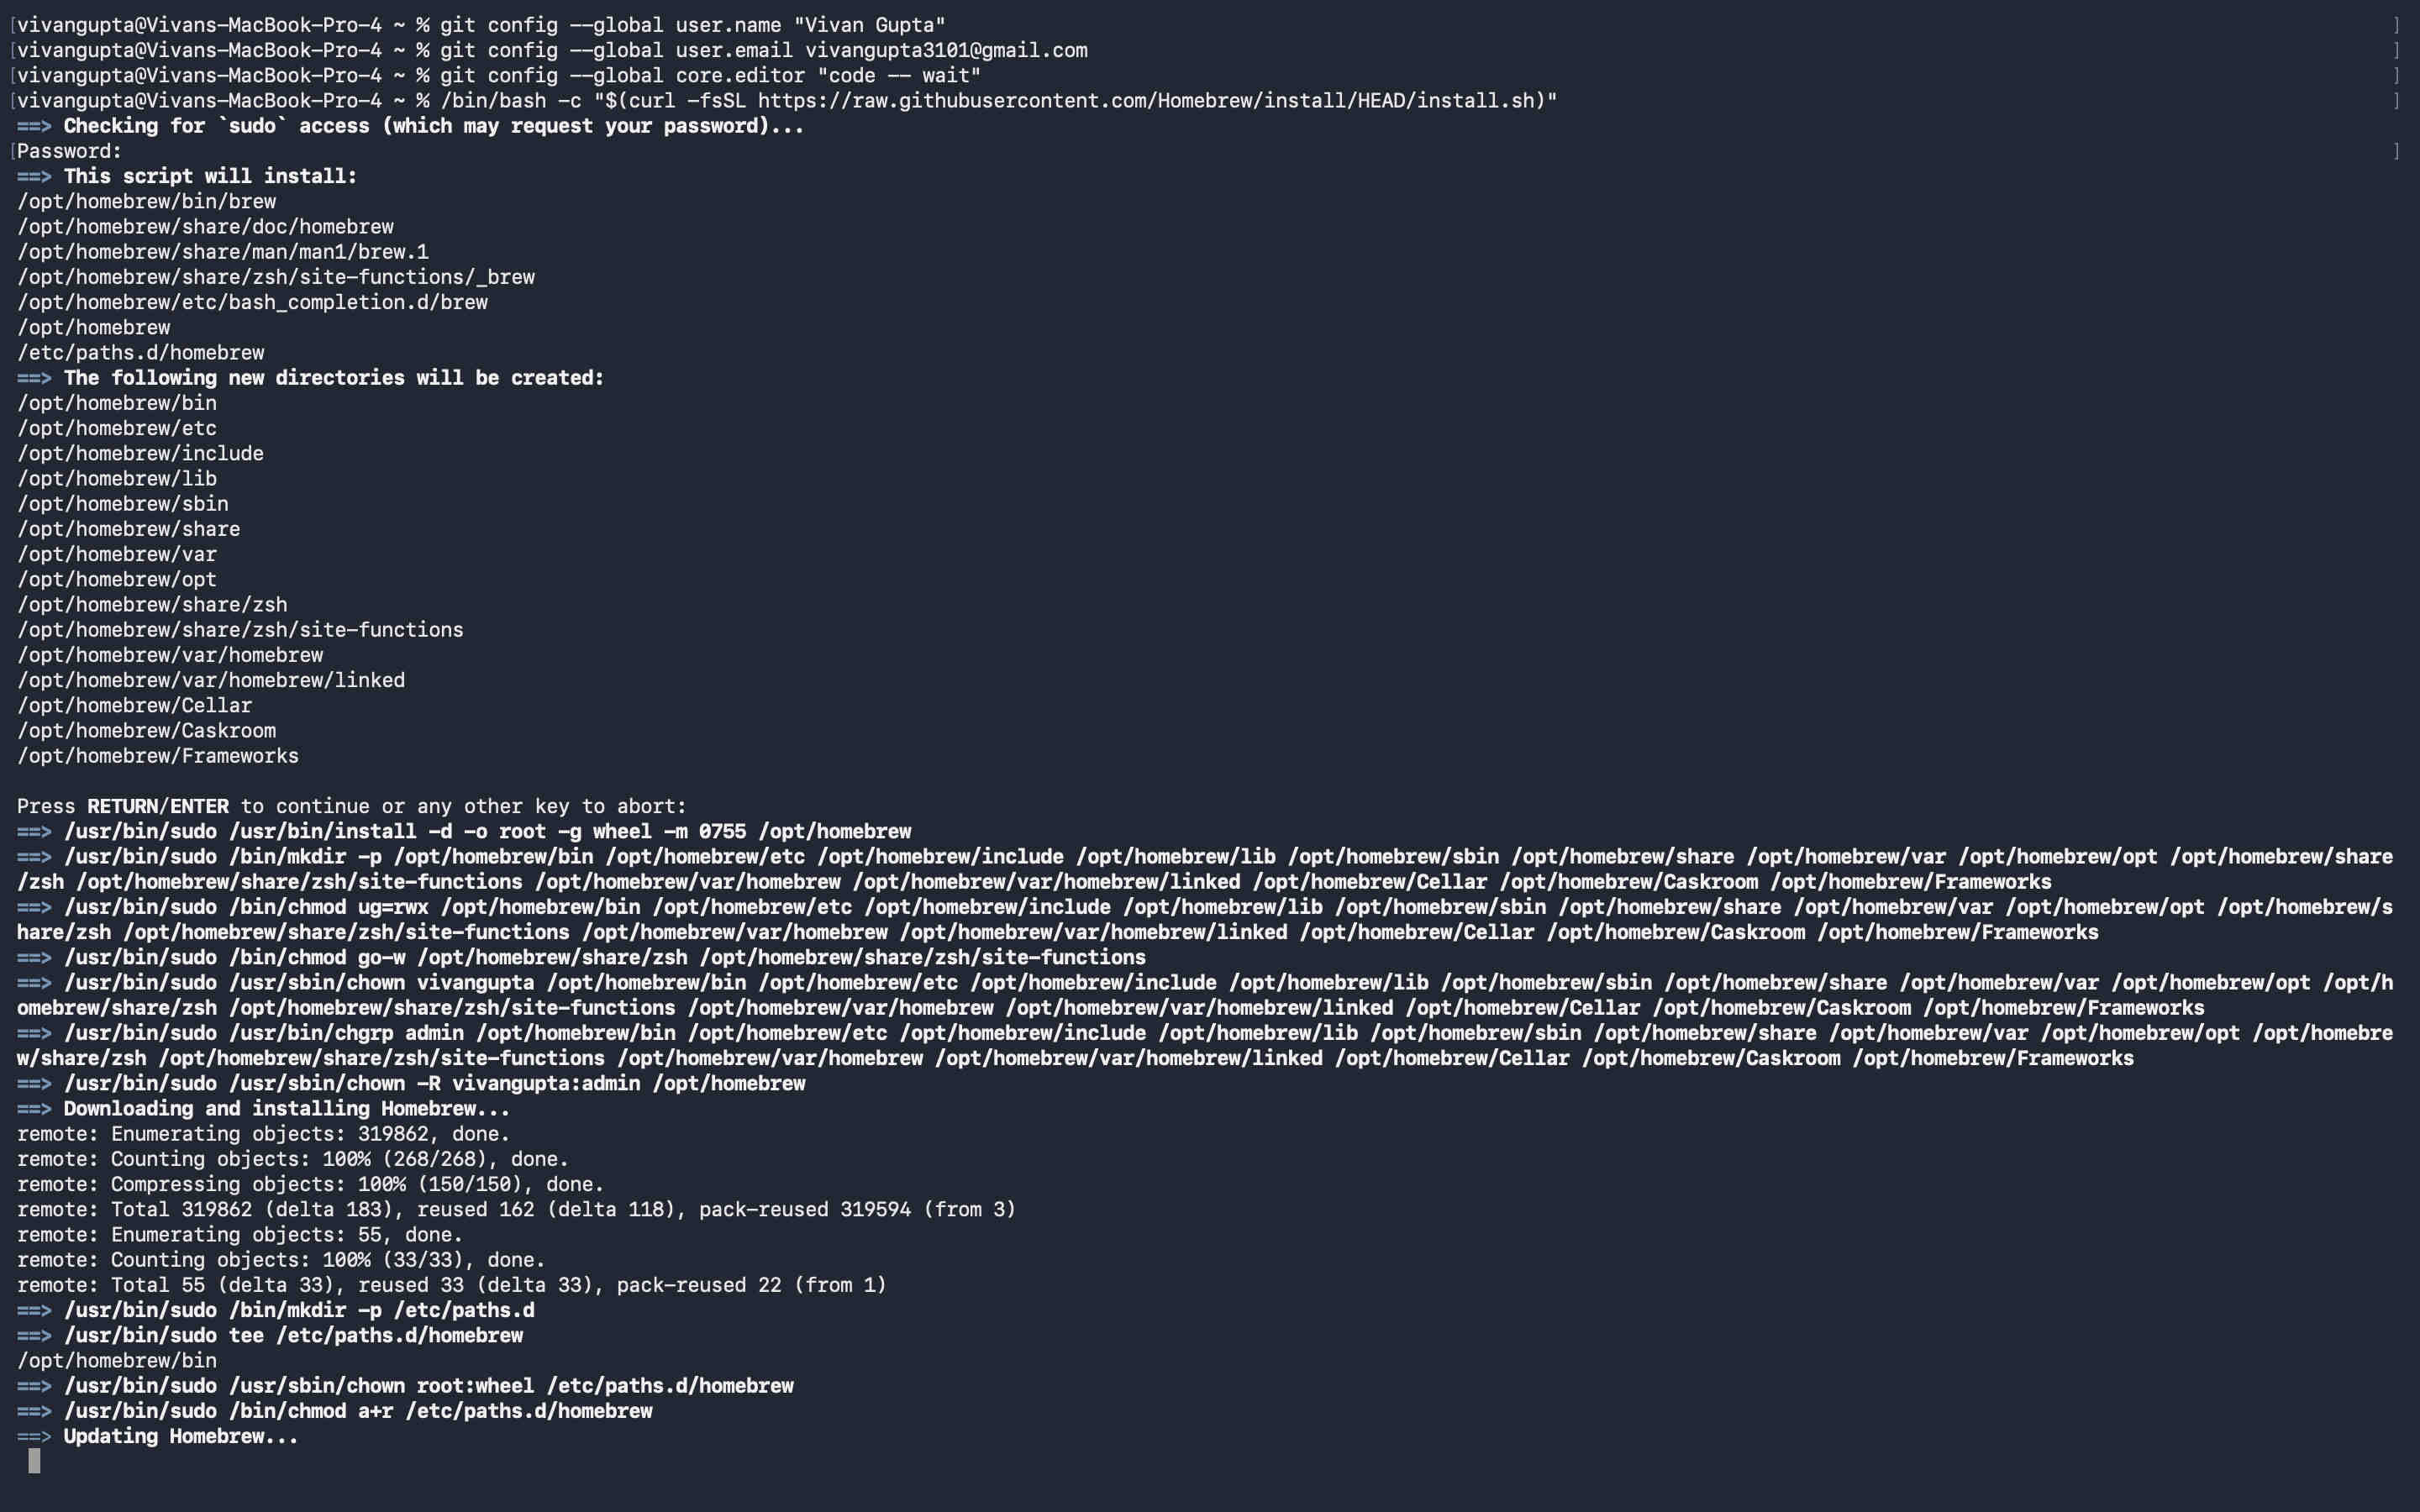
After pasting the code on your terminal it should look something like this.
The terminal will ask for your system passcode to install WHICH wont be visible. make sure you make no typos. (⸝⸝> ᴗ•⸝⸝)
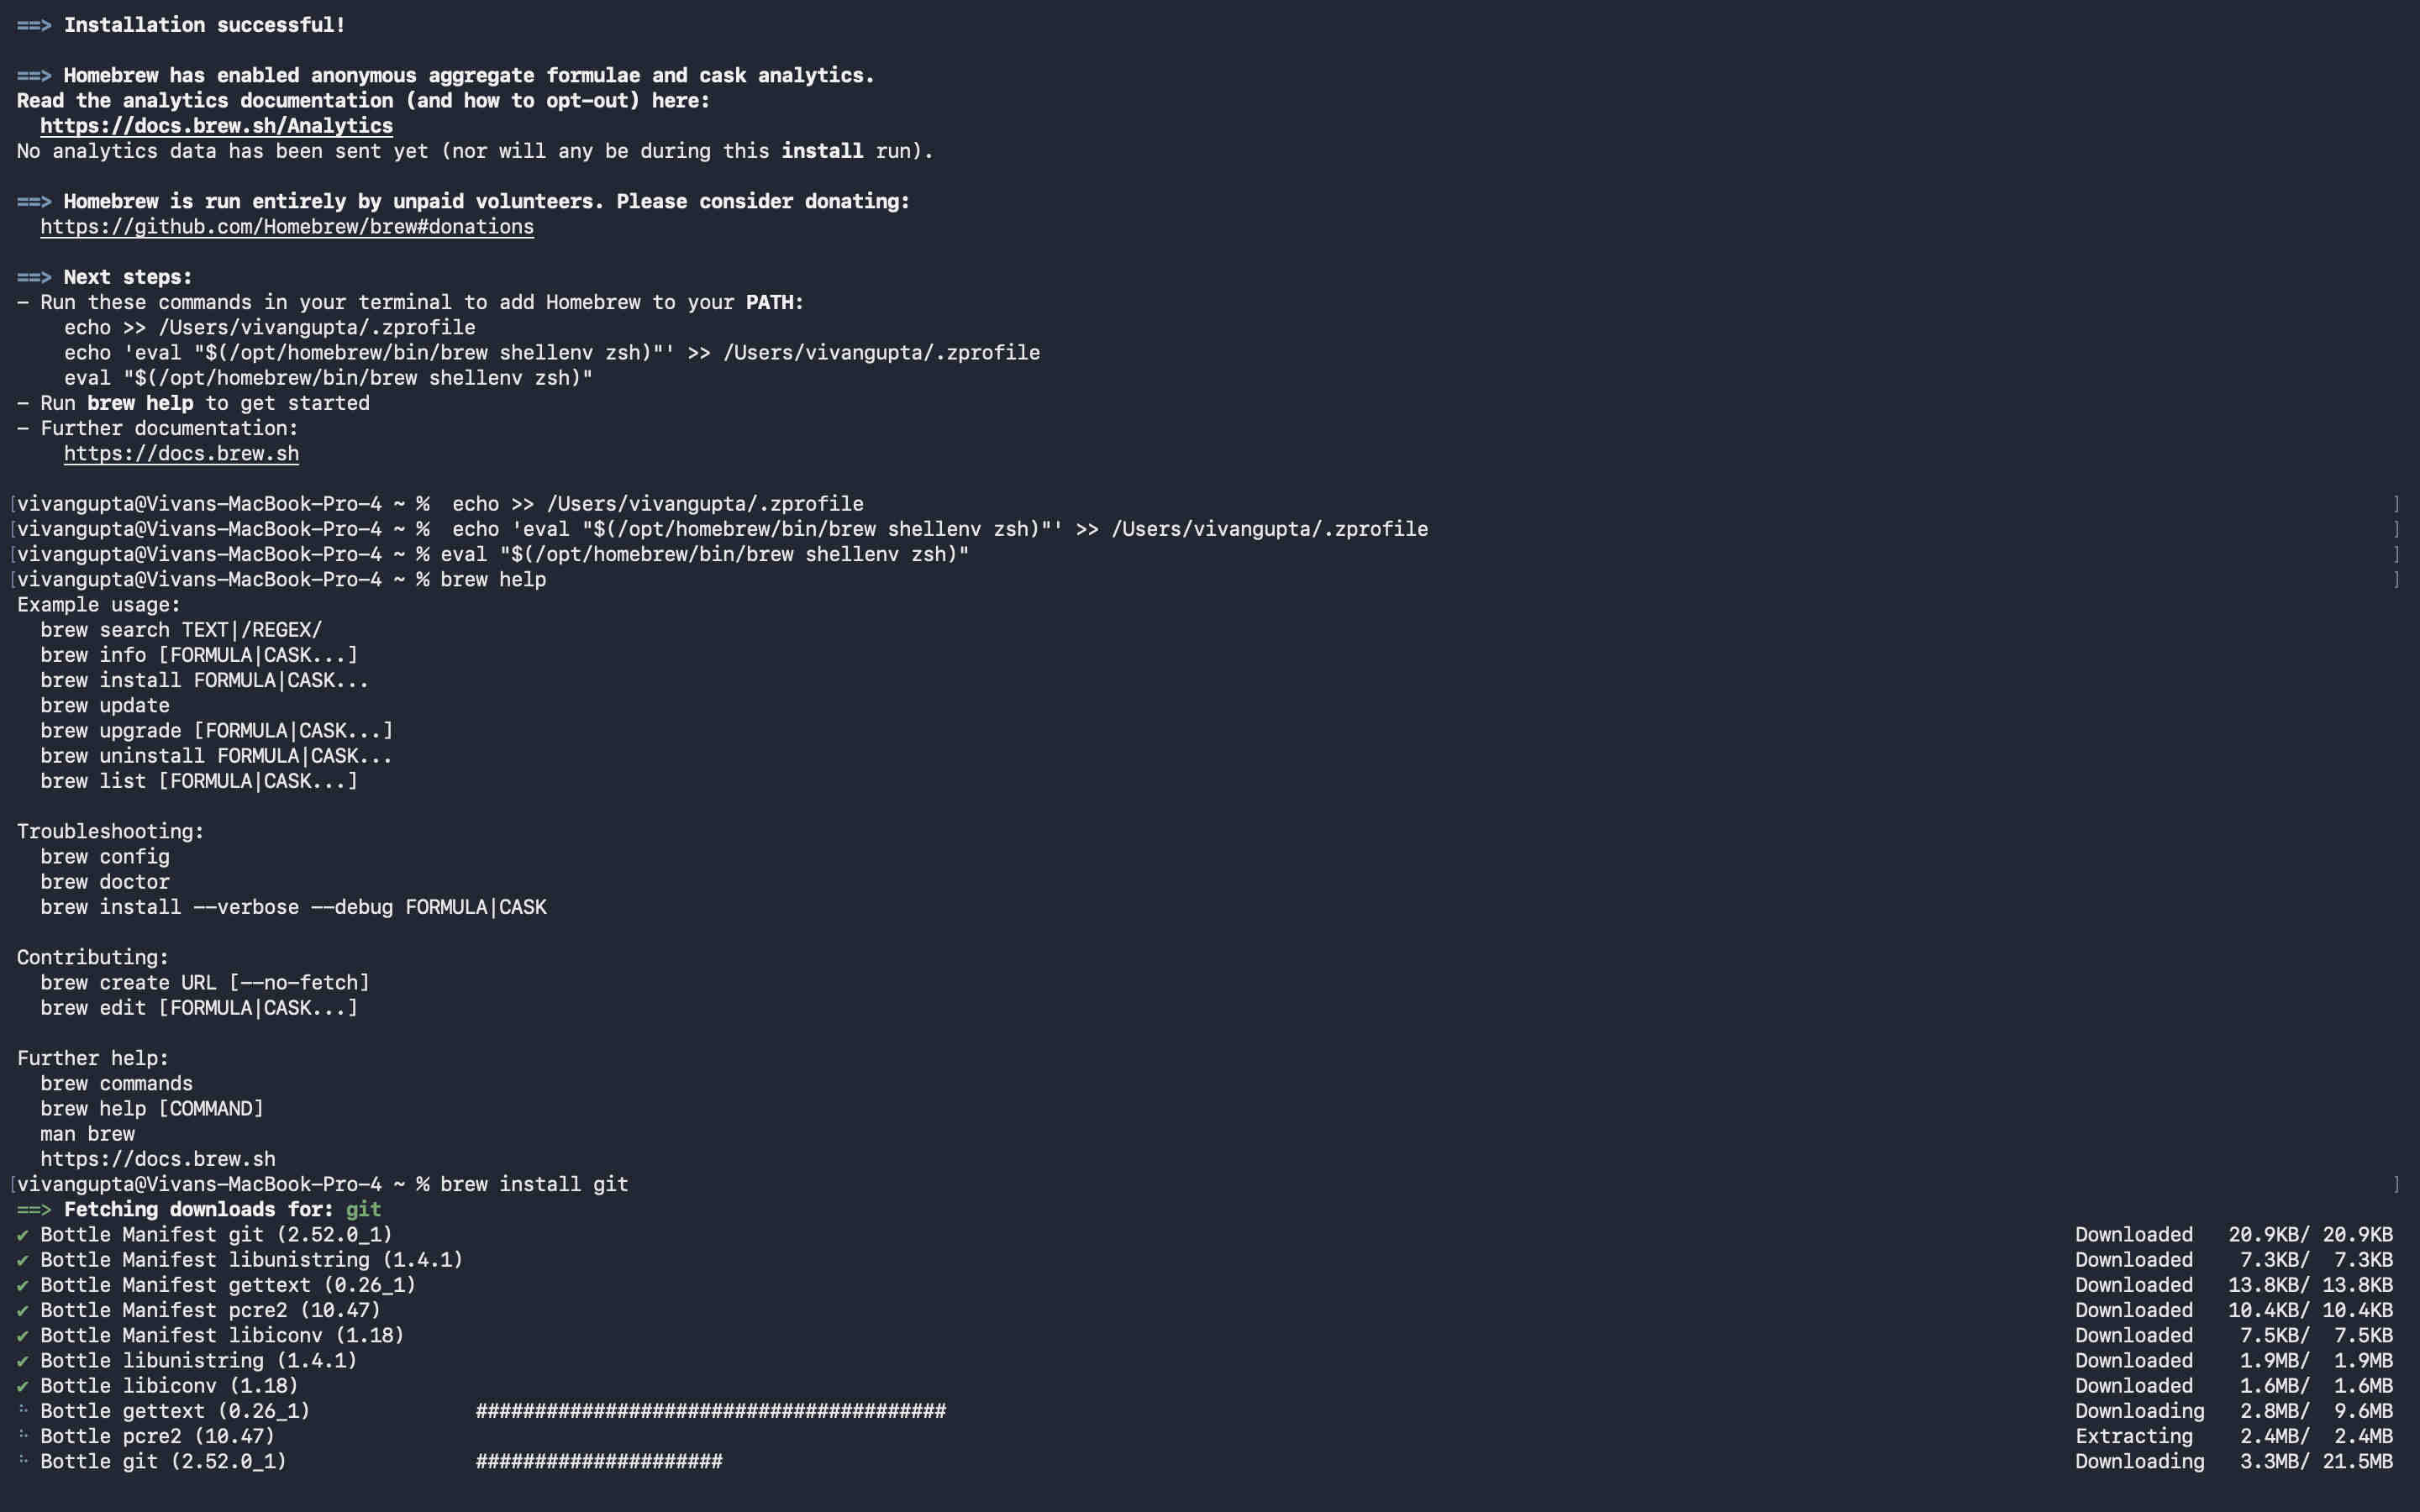
Using brew to install git latest version
brew install git
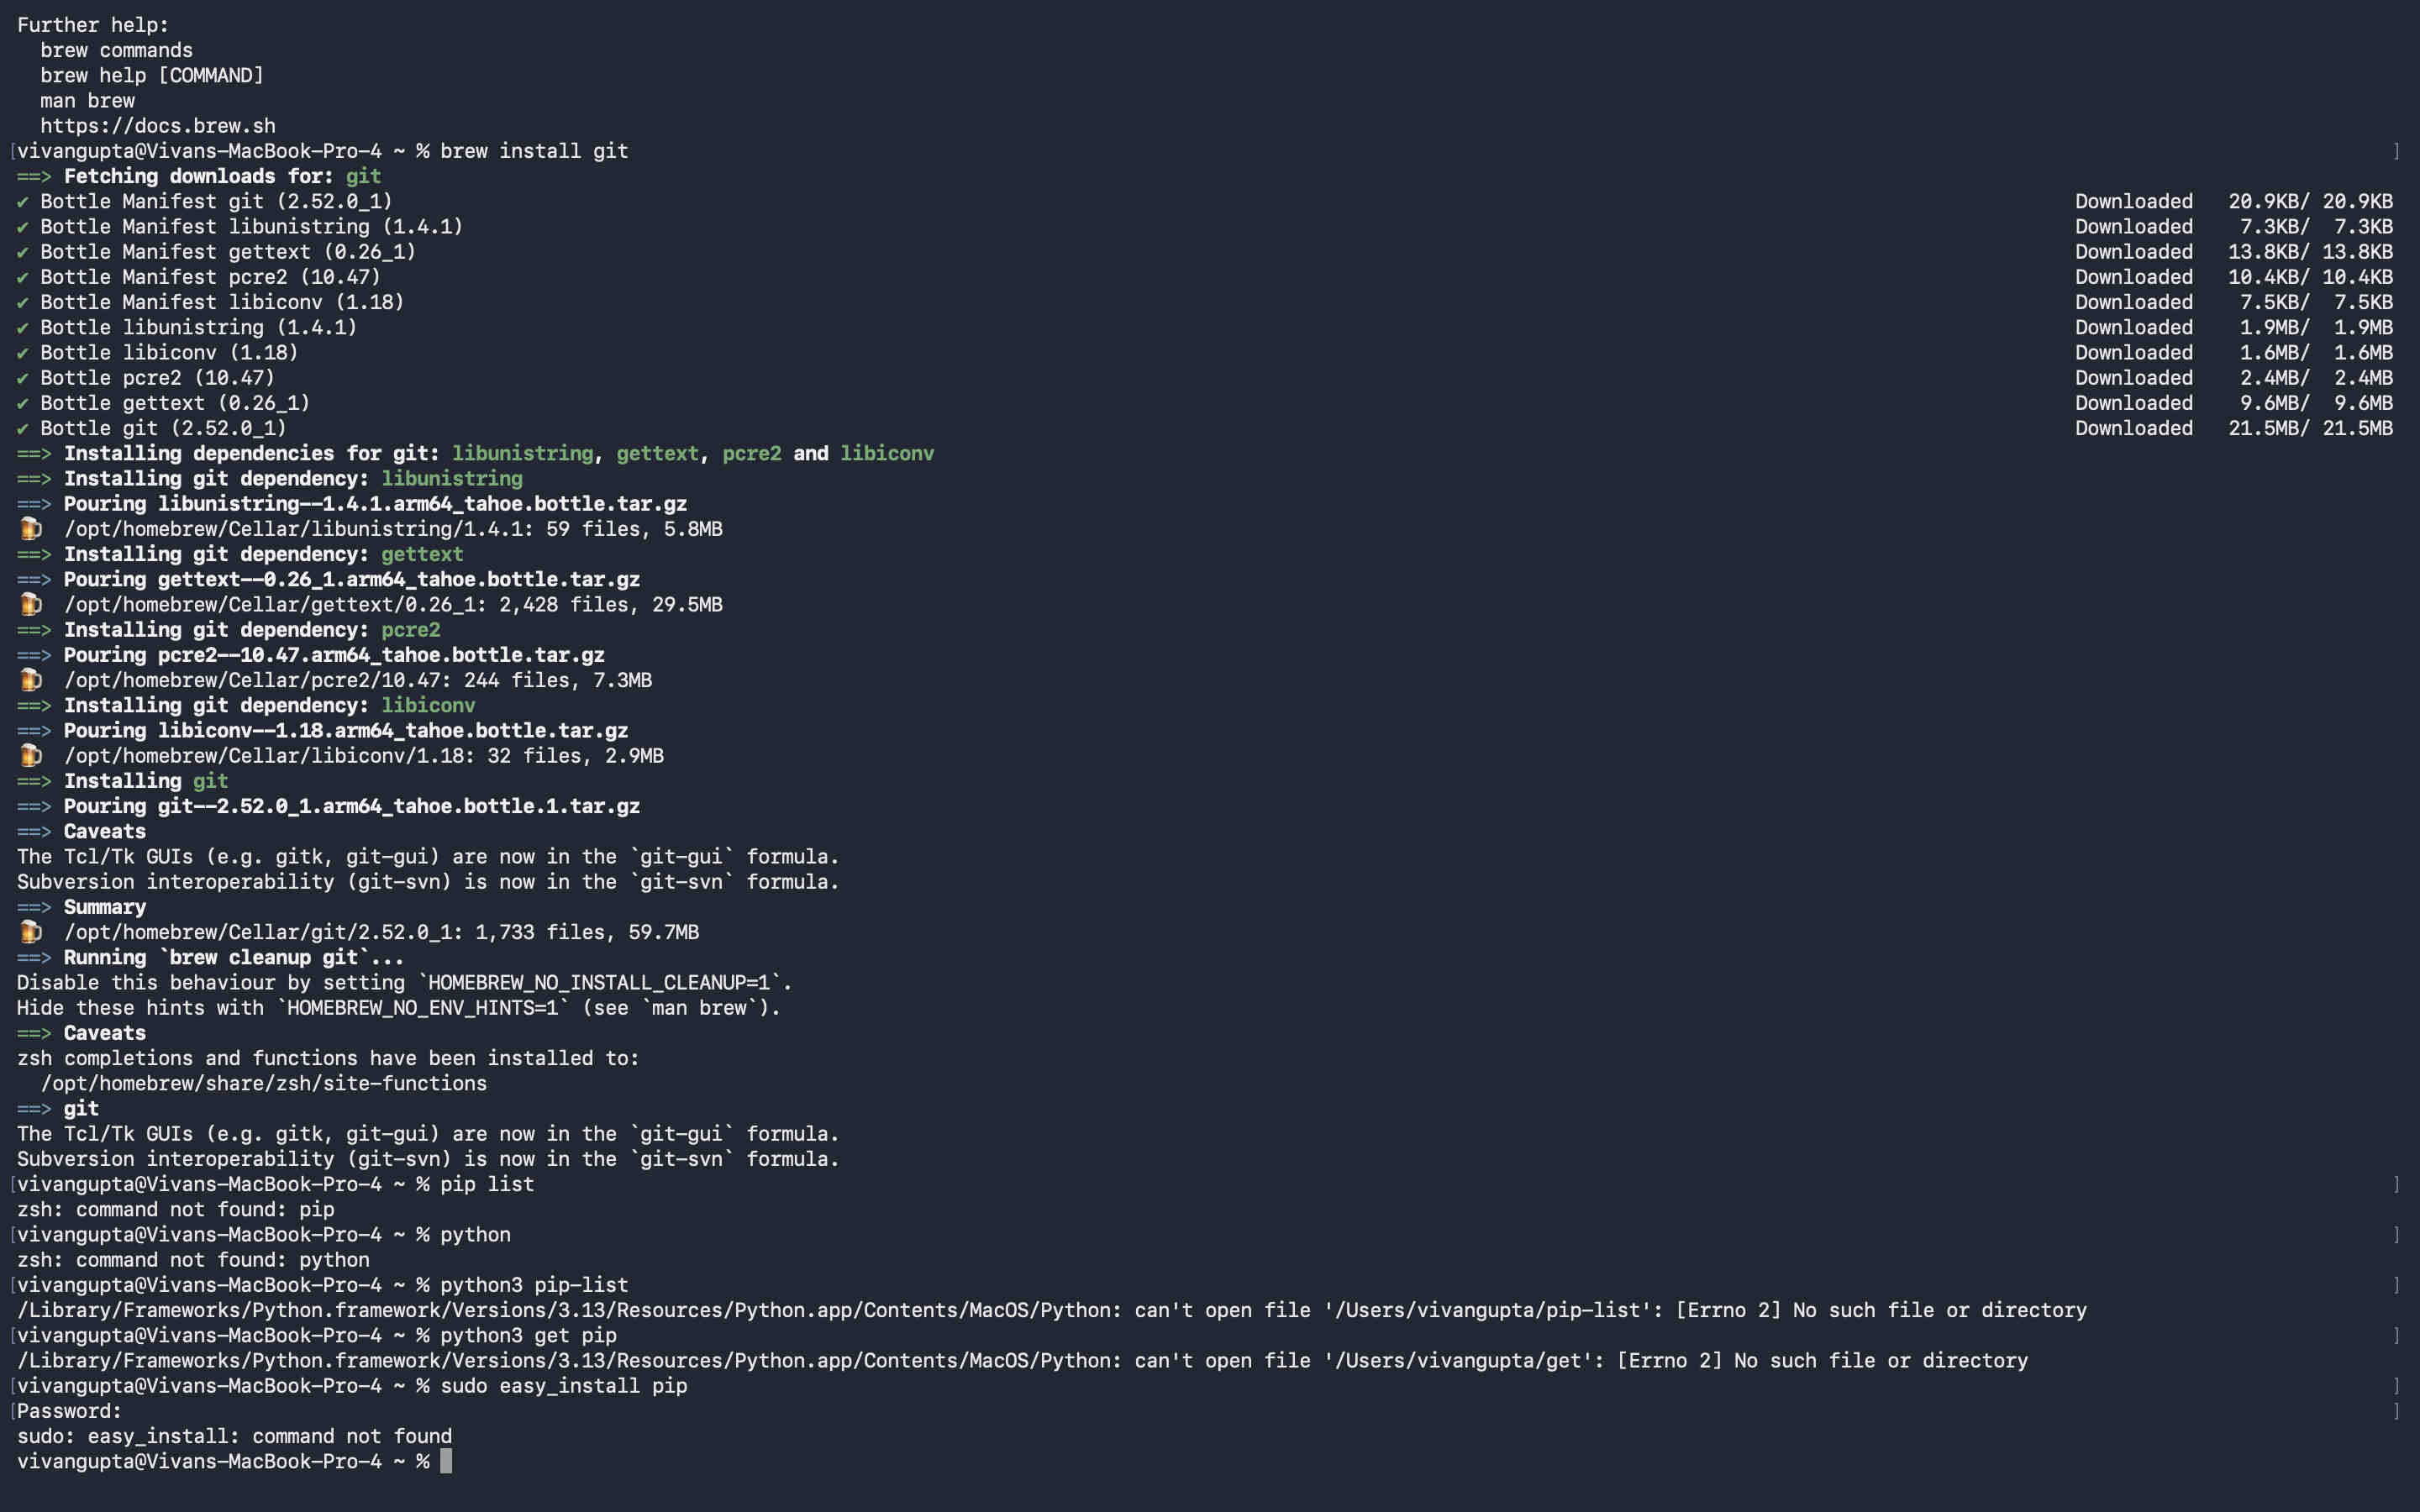
.Next was pyhton installation🐍.
My first trouble was python commands and pip commands not working on my terminal as seen below.
But another command ↴ , Seemed to work,
python3 -m pip list
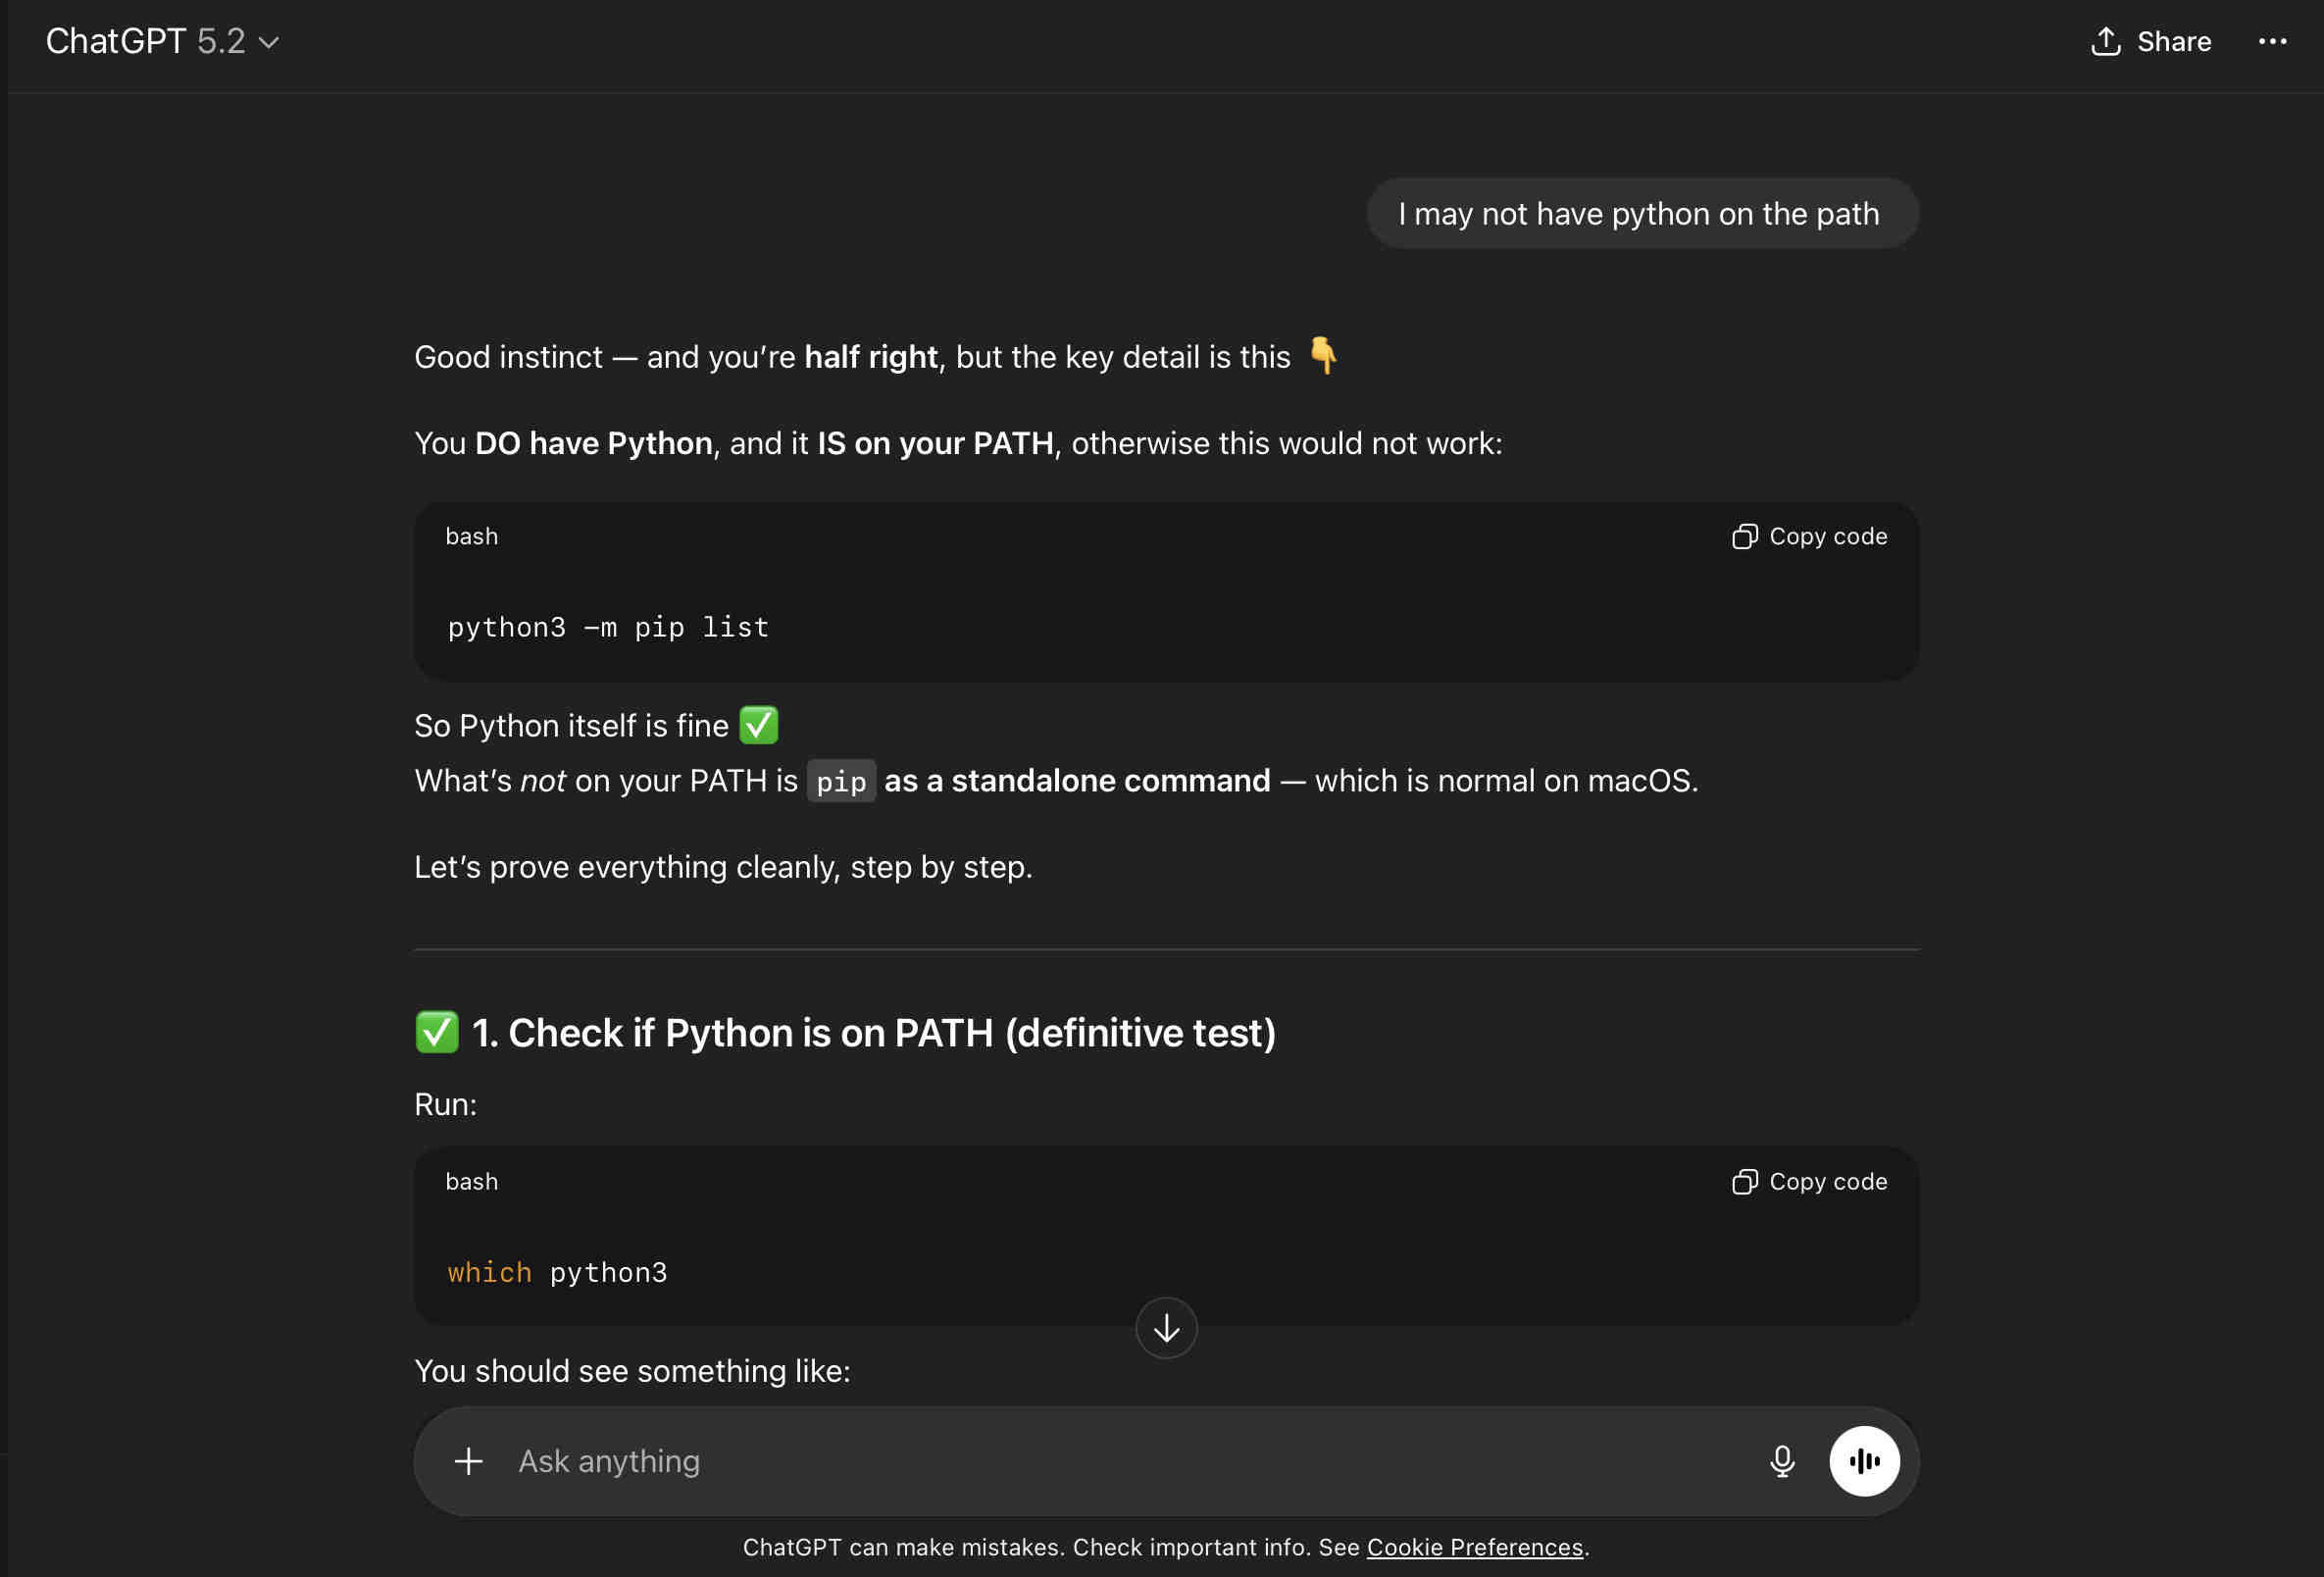
The problem-I Suspected that my python was not on path. meaning commands werent accesible on my terminal. I Proceeded to ask CHAT GPT and followed its response on my terminal
Choosing which file to save.
It asked me to enter a passphrase for this file.(you wont be able to see these numbers as well). i entered a passphrase. but now at every commit & push, vscode asks me for my passphrase. save yourself some hassle just press ENTER.
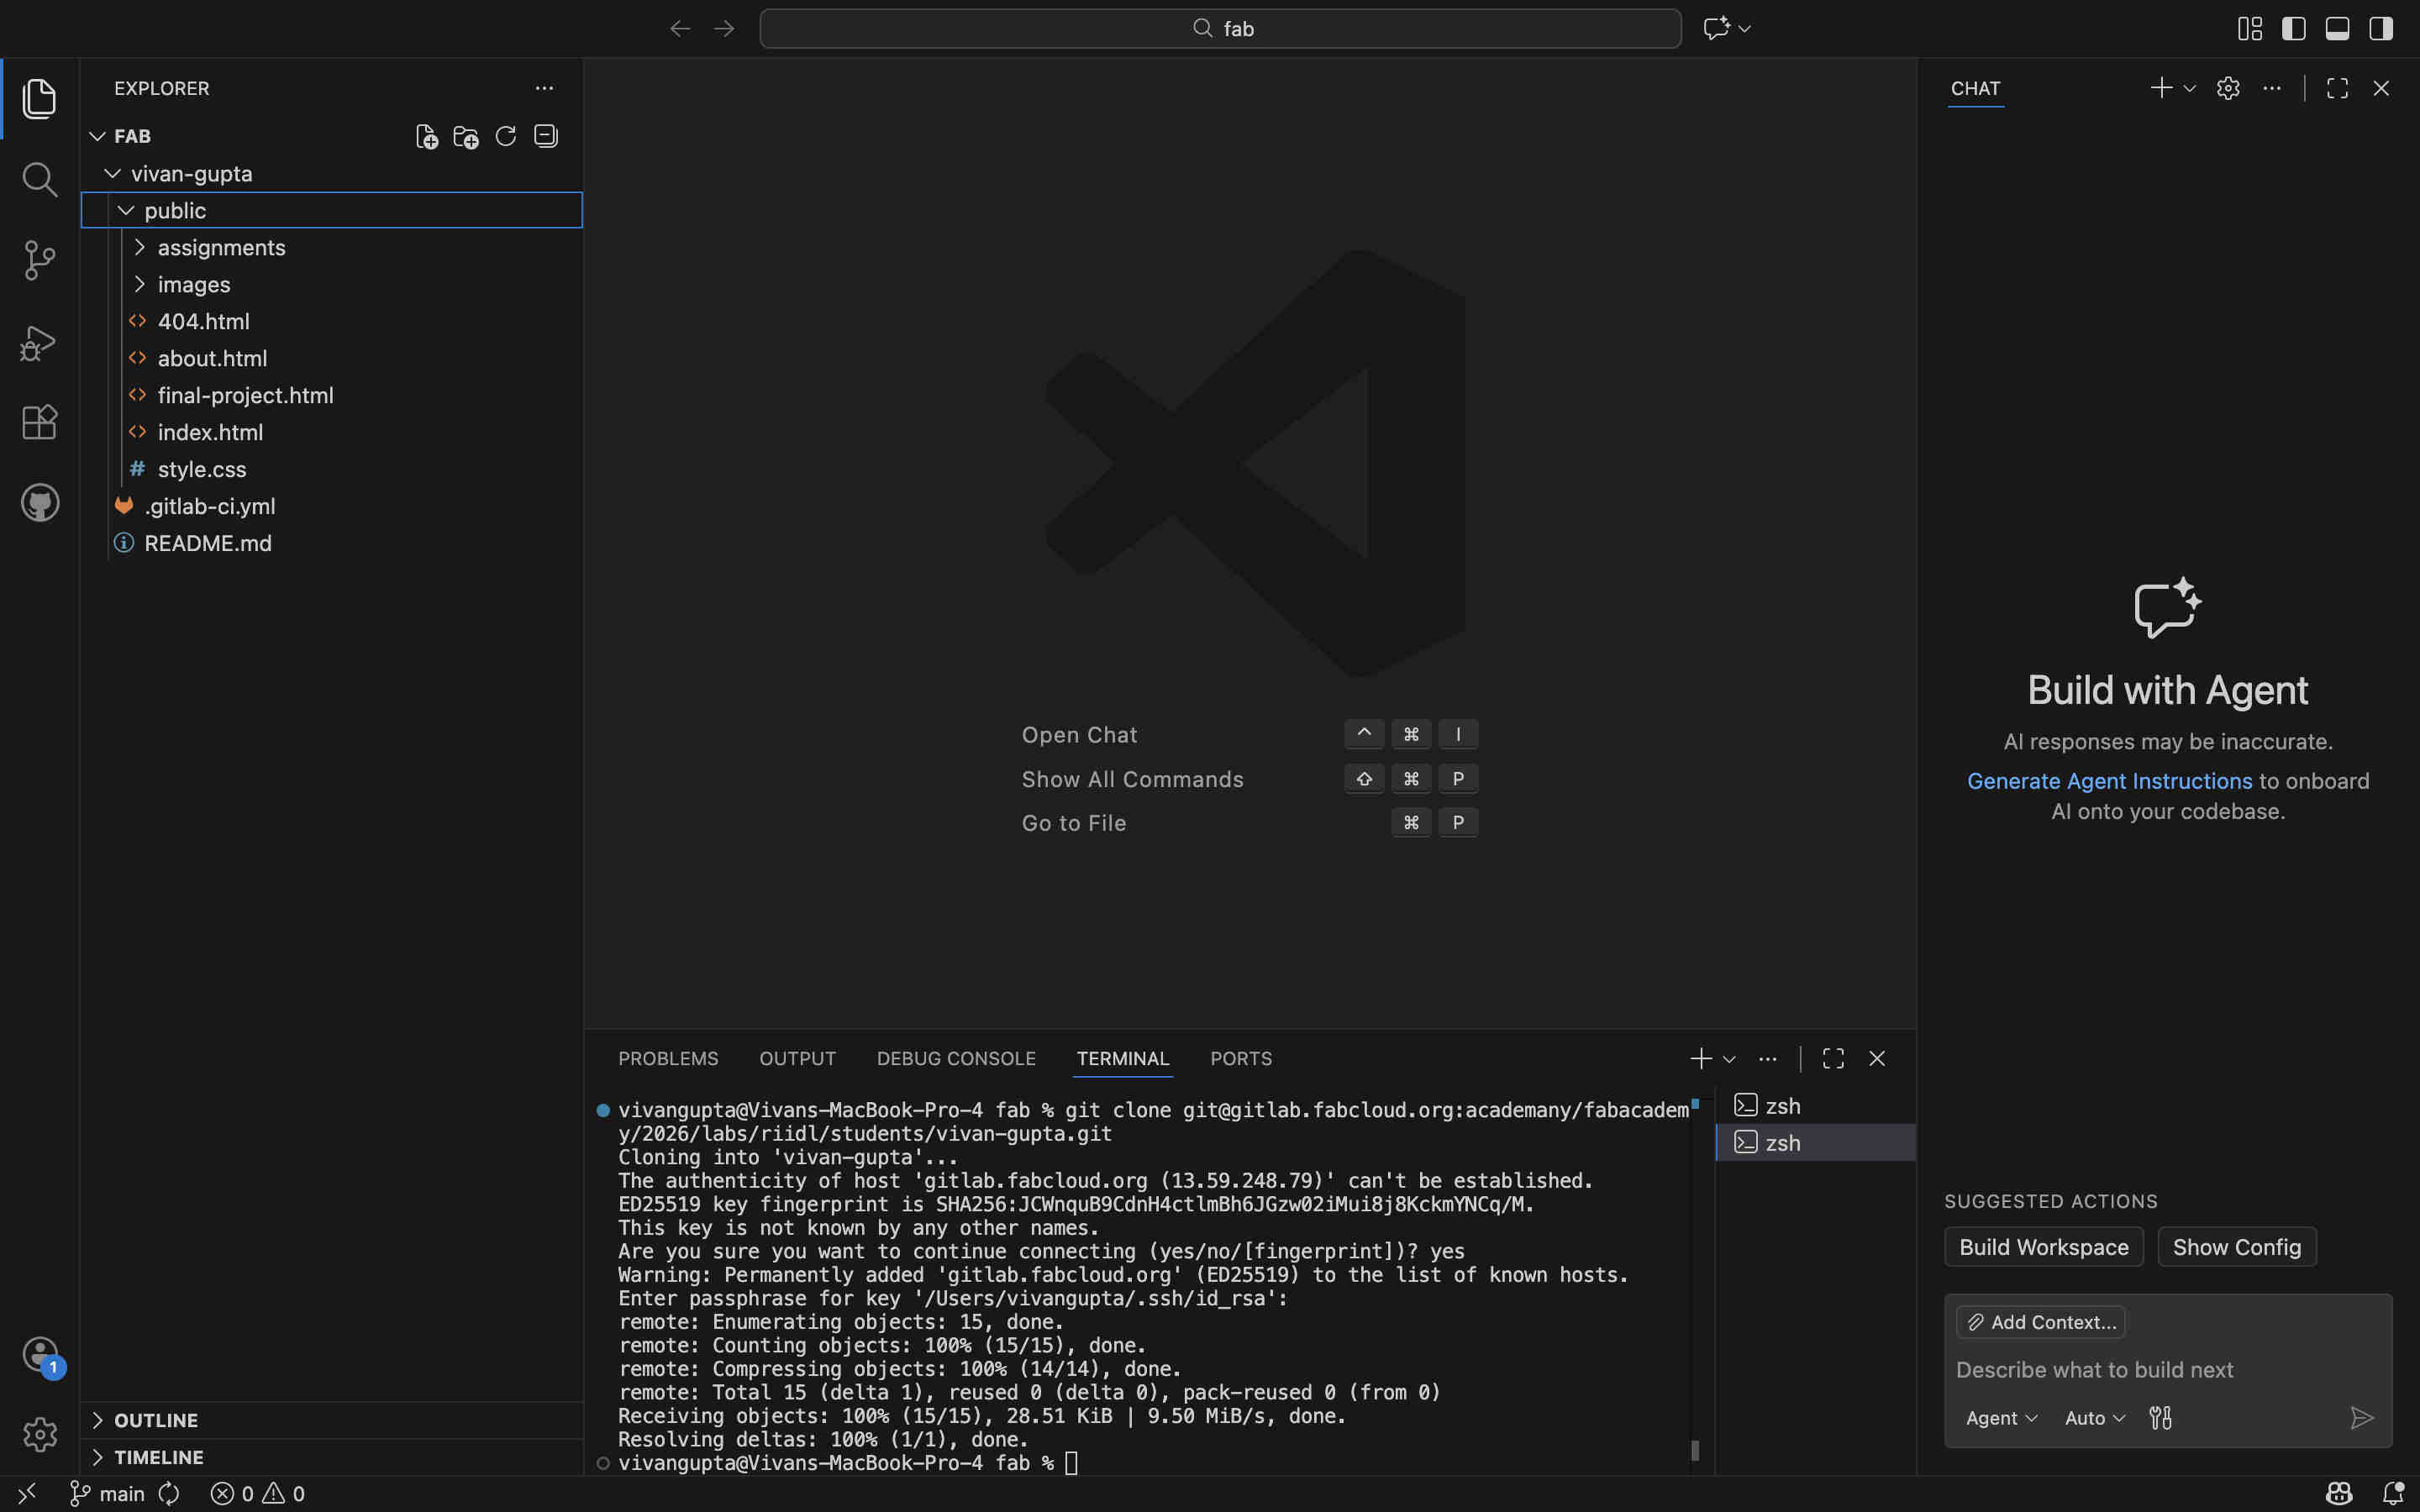
.Connecting git lab to your local editor📝.
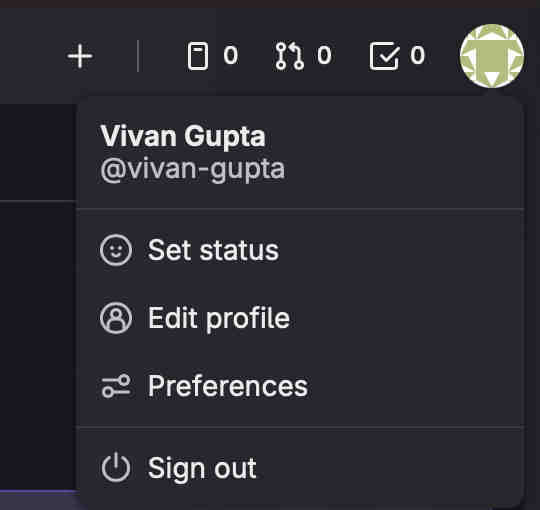
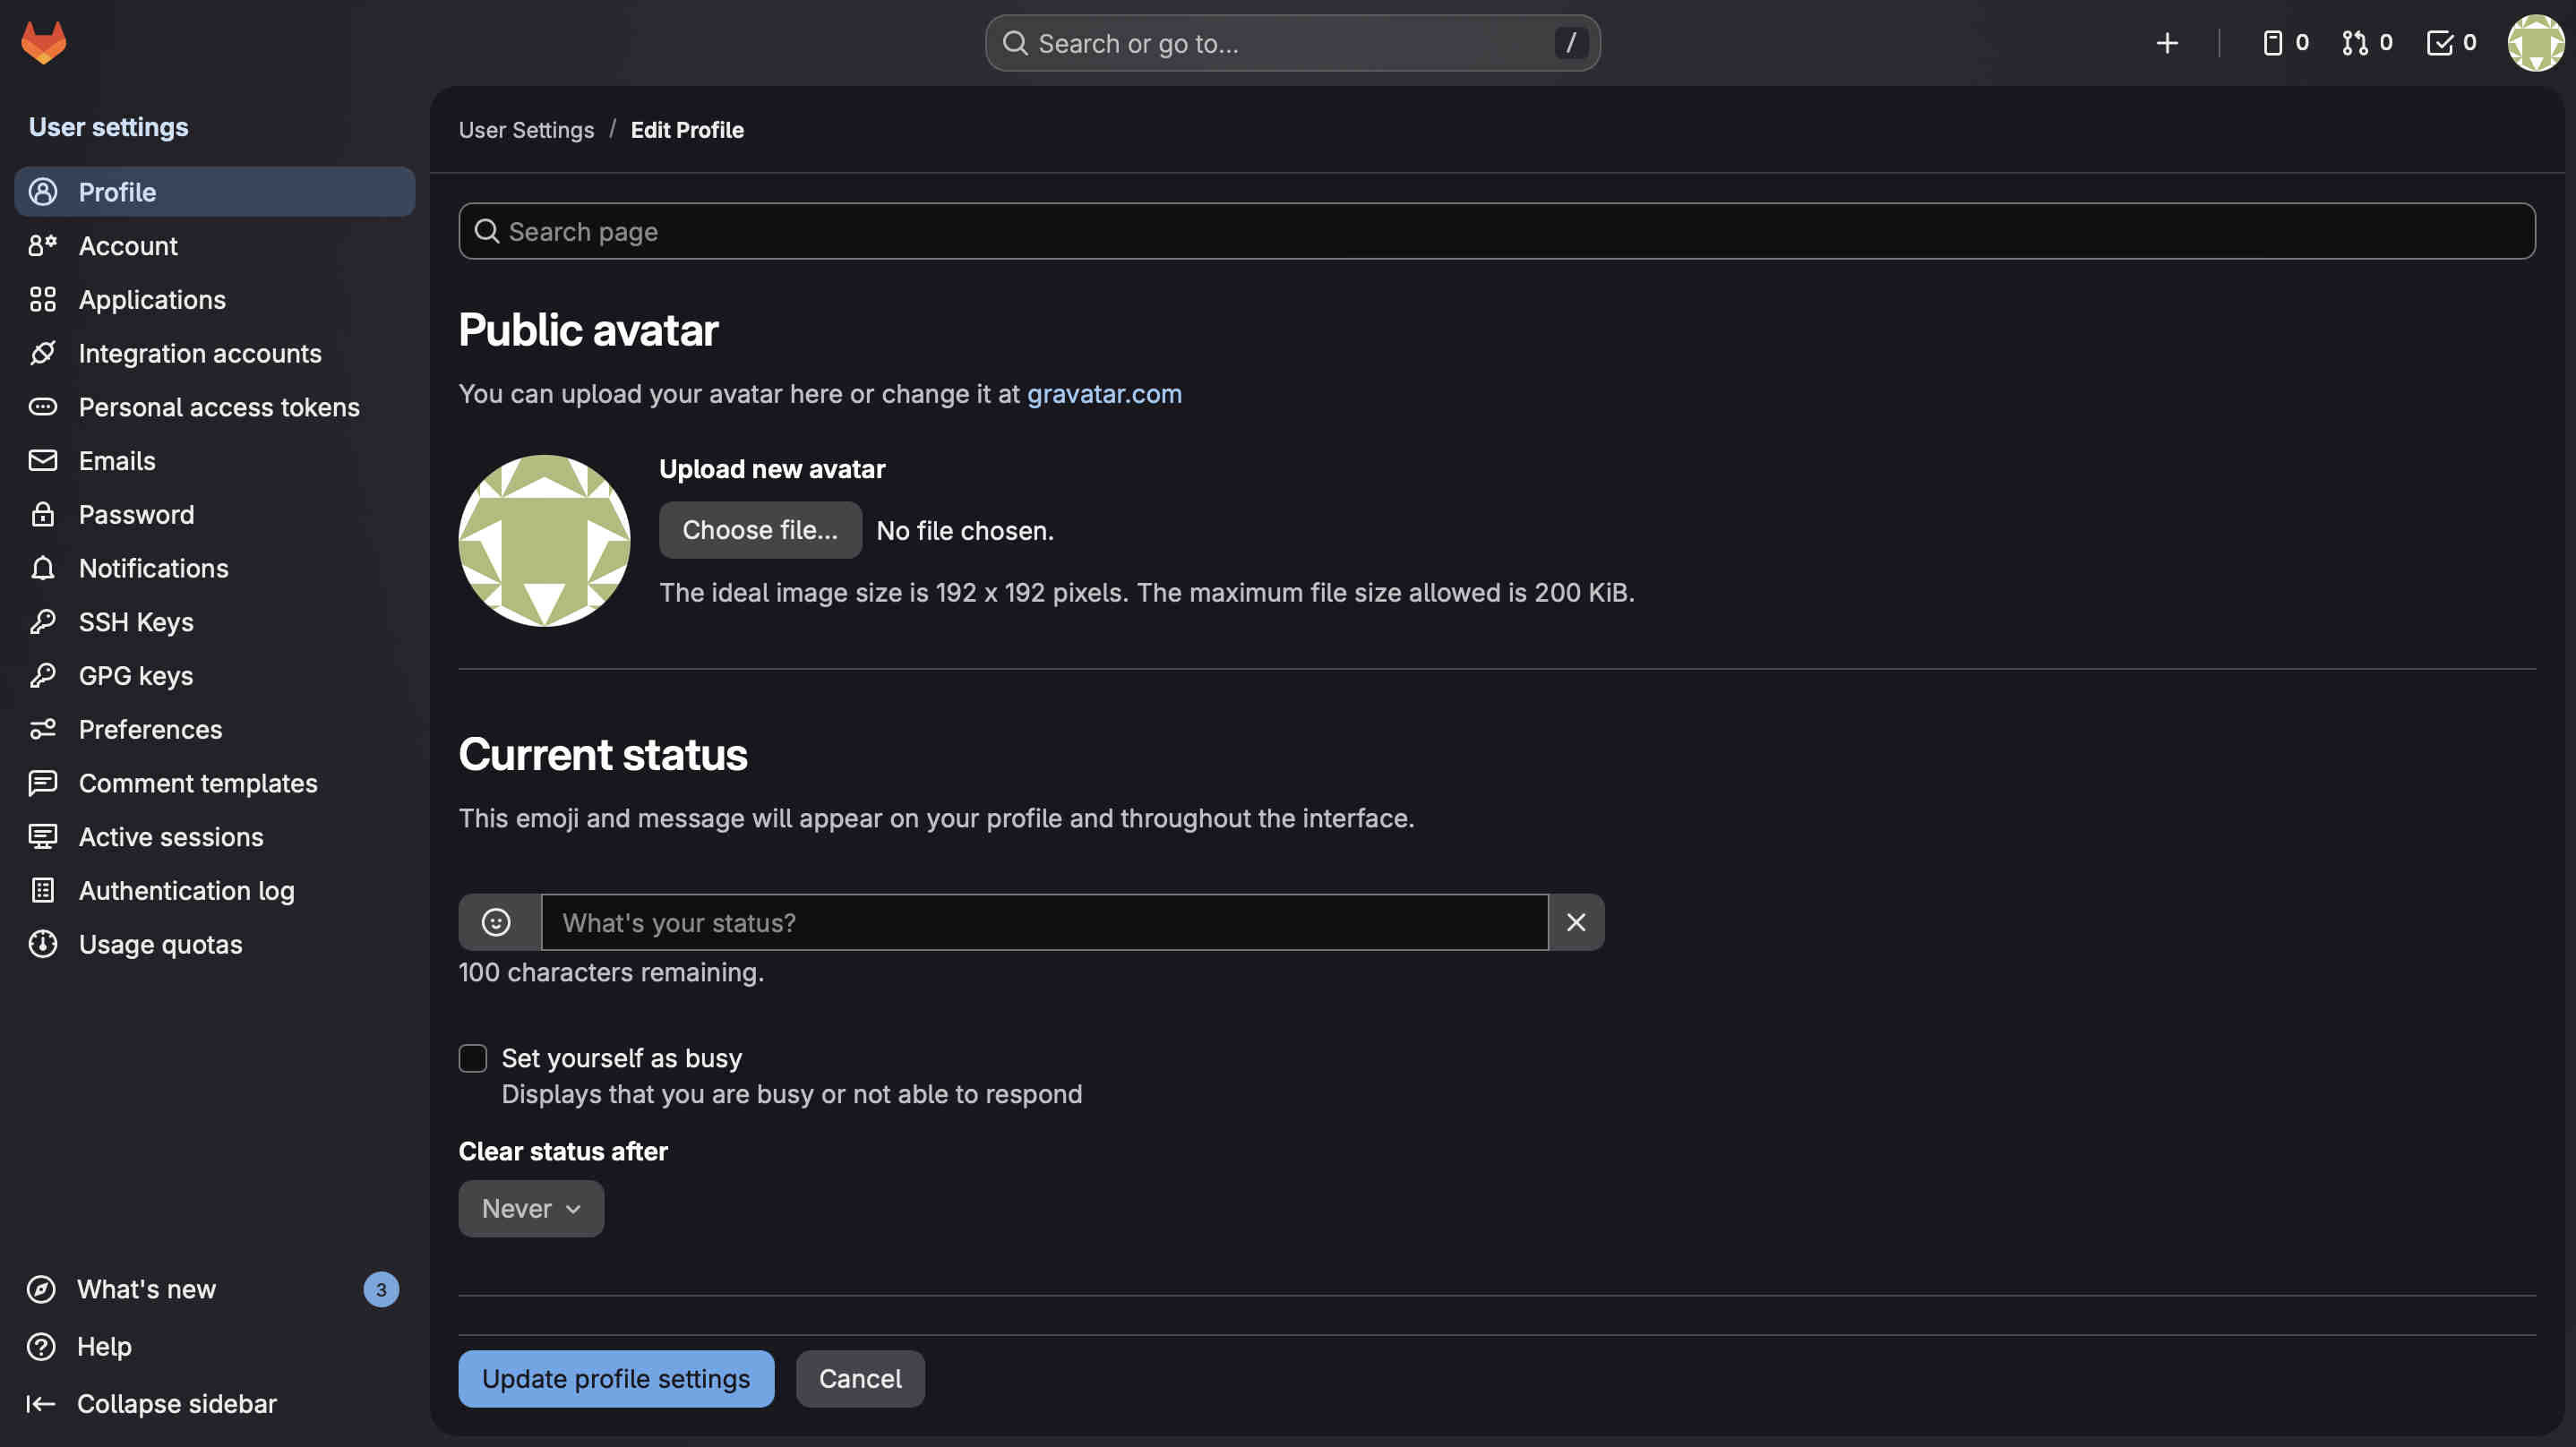
login to git labs using your fablabs id, go to profile.
go to SSH keys, on the left column
Add and generate an ssh key.
Nomenclature is important. skip it and your repent it (×_×)
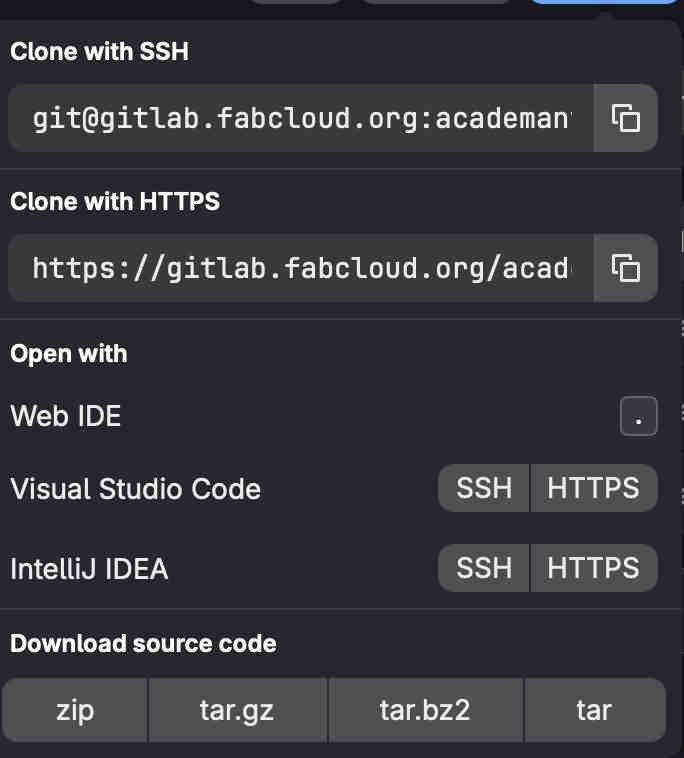
Copy you git clone id.
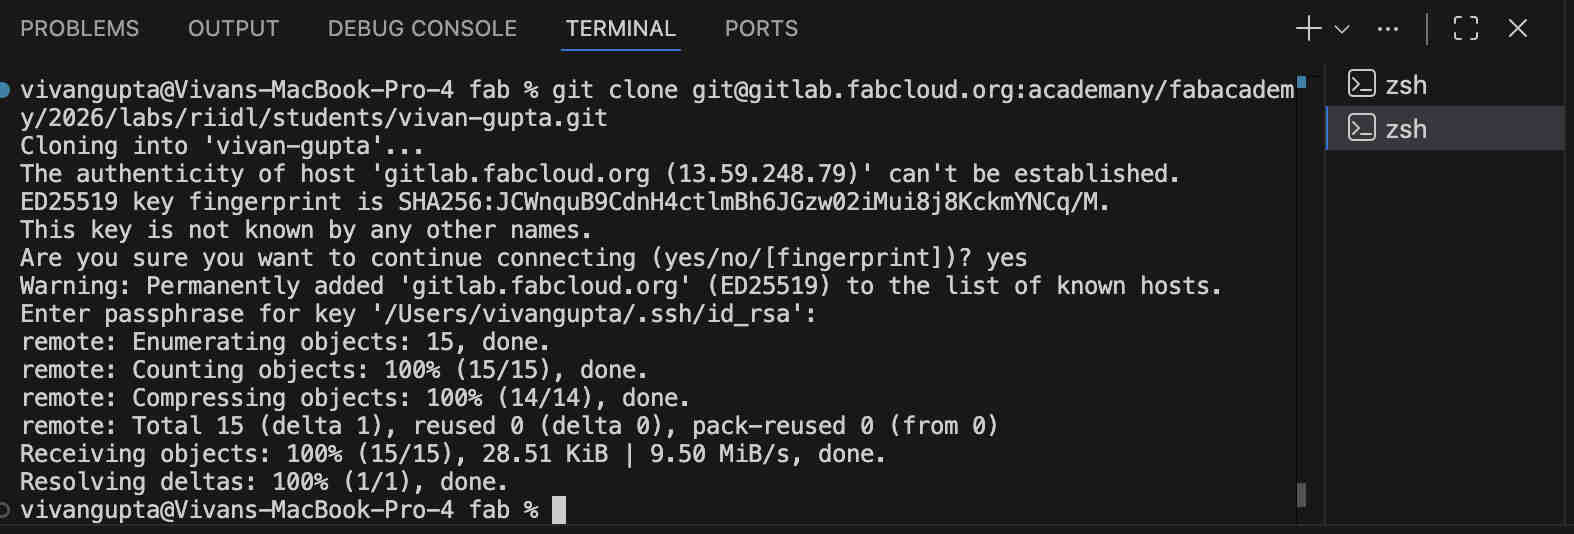
Open integrated terminal on your preffered editor (here- VScode) and use this command followed your clone id.
git clone (paste clone id)
https://code.visualstudio.com/download
Link to download VS code on your system
Your VS code should now look something like this.
HTML and CSS Explanation
What is HTML? 🌐
HTML (HyperText Markup Language) is the language used to build the basic structure of a webpage.
Think of it like the skeleton of a website (╯°□°)╯ — it holds everything together.
HTML tells the browser what things are on the page and how they are organized.
It defines elements such as headings, paragraphs, images, links, and lists.
Some common HTML elements include:
Headings 📰
Paragraphs ✏️
Images 🖼️
Links 🔗
Buttons 🔘
Without HTML, a webpage would basically be empty... just a sad blank screen (ಥ﹏ಥ)
What is CSS? 🎨
CSS (Cascading Style Sheets) is what makes webpages look nice and stylish.
If HTML is the skeleton, CSS is the clothes, haircut, and personality (⌐■_■)
CSS controls how HTML elements appear on the screen. It can change colors, fonts,
spacing, layouts, and even add animations.
Things CSS can control include:
Text colors 🌈
Font styles and sizes 🔤
Spacing and margins 📏
Background colors 🎨
Page layouts 🧩
So in simple terms:
HTML = Structure 🏗️
CSS = Style ✨
Together they make websites that are both organized and beautiful (。•̀ᴗ-)✧
Basic HTML Commands and what they do
HTML uses tags to structure content on a webpage.
Some common HTML elements include headings, paragraphs, images, and links.
Headings 📰
Headings create titles and sections.
HTML provides six levels from <h1> (largest) to <h6> (smallest).
Paragraphs ✏️
Paragraphs are created using the <p> tag and are used for writing blocks of text.
Images 🖼️
Images are added using the <img> tag with a source file.
Example: <img src="image.jpg">
Links 🔗
Links allow navigation to other pages using the <a> tag.
Example: <a href="https://example.com">Visit Site</a>
These simple tags are the building blocks of most webpages (。•̀ᴗ-)✧
Heres what a code block looks like on vs code
.Playing with HTML.
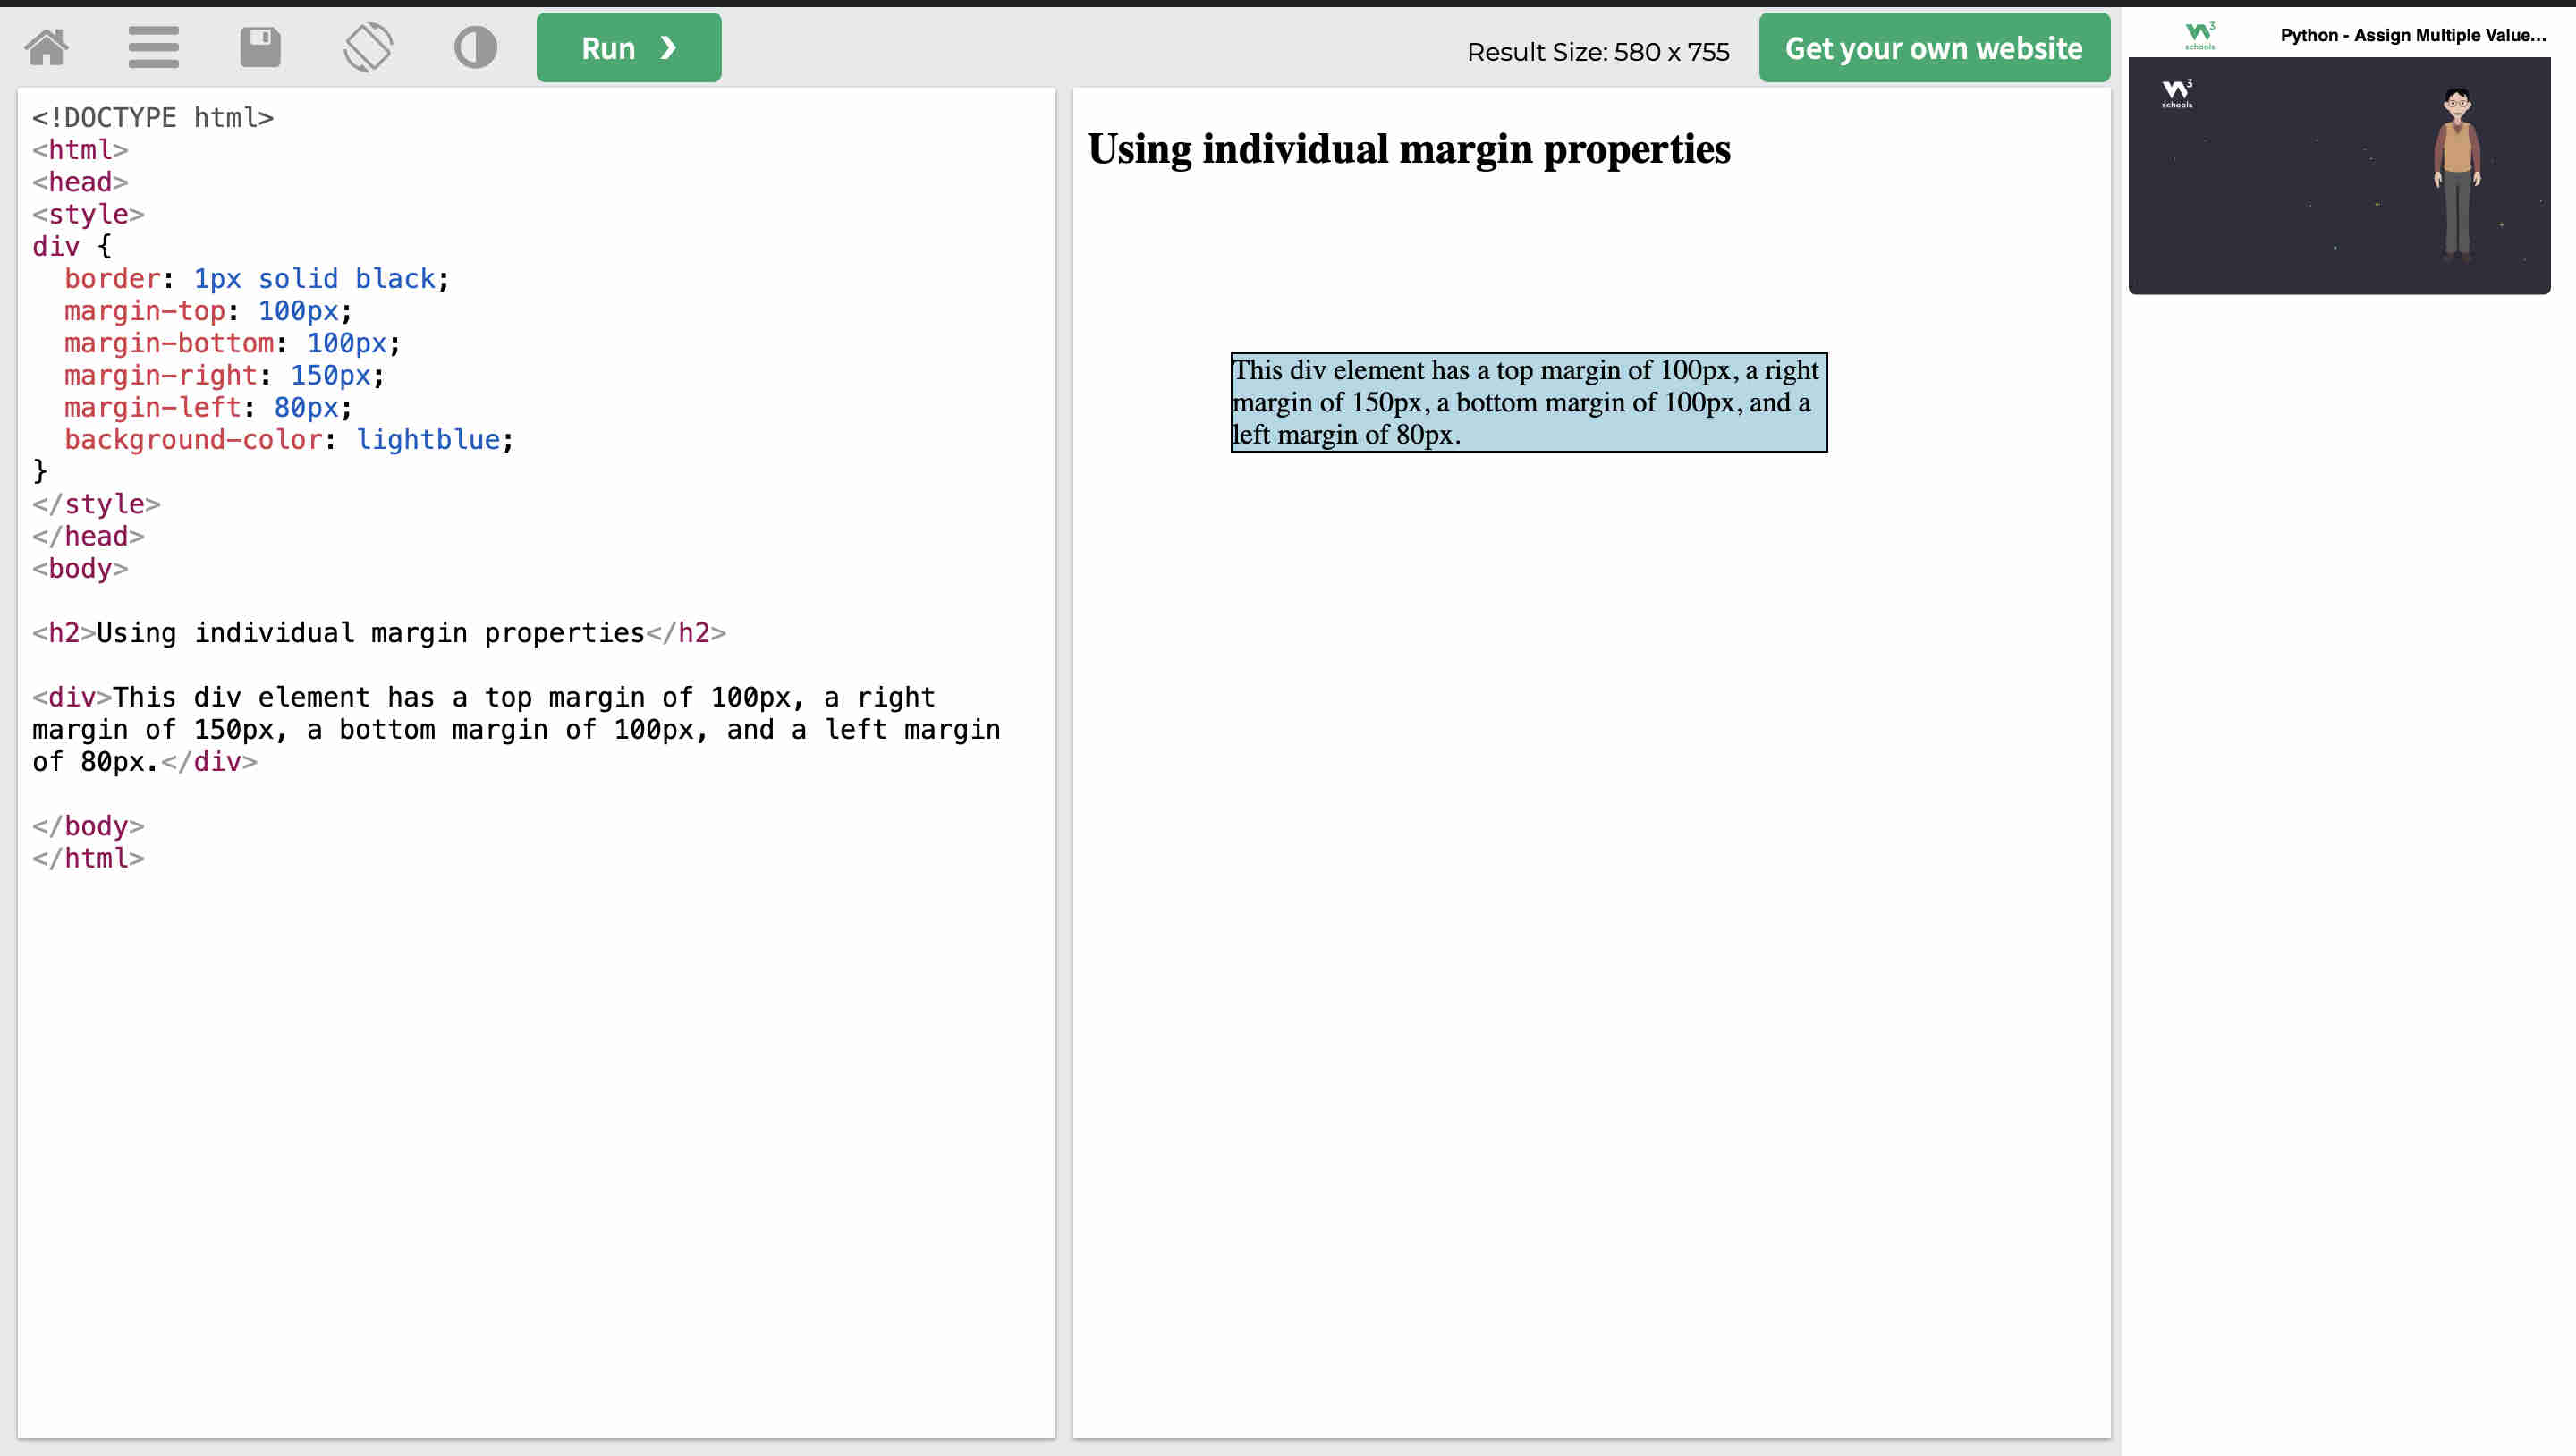
W3 schools is an awesome awesome resource to play aropund with html and css.
In it you have multiple options to choose from, categorized according to function or style you desire.
You can select which one and start editing code and seeing the edited result in your browser itself.
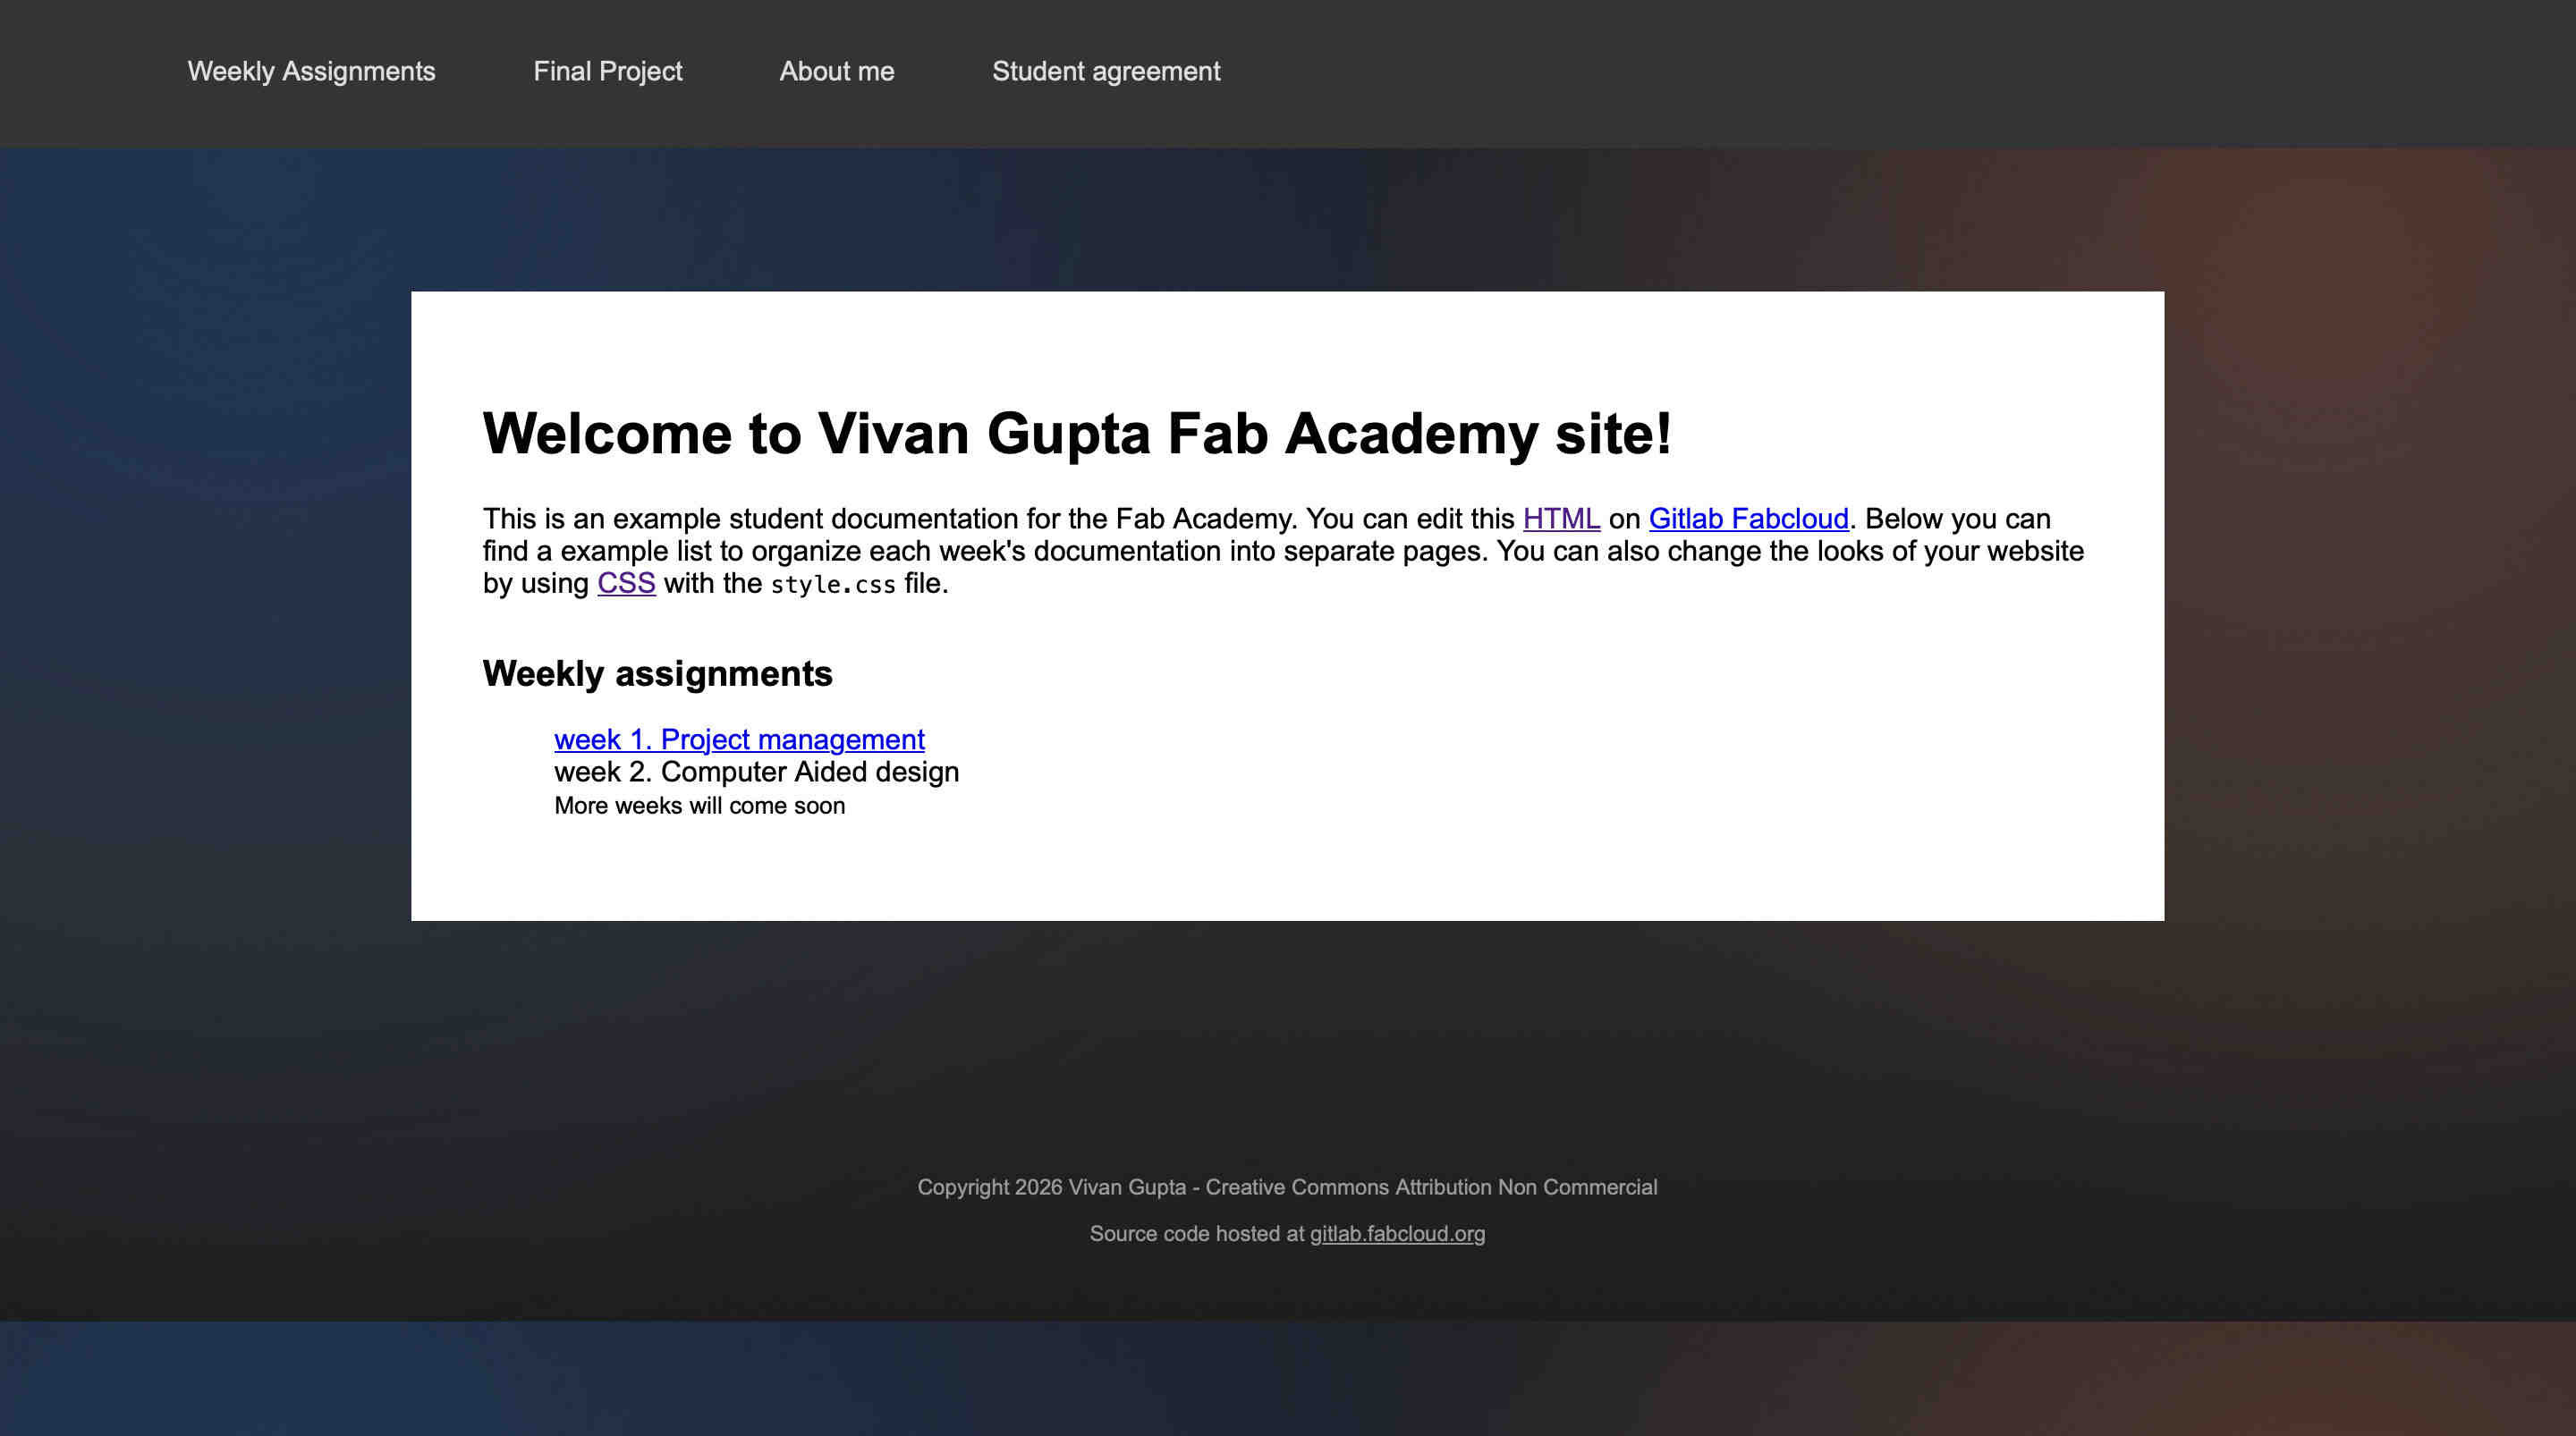
first i changd the existing layout with a background gradient representing DAWN TO DUSK
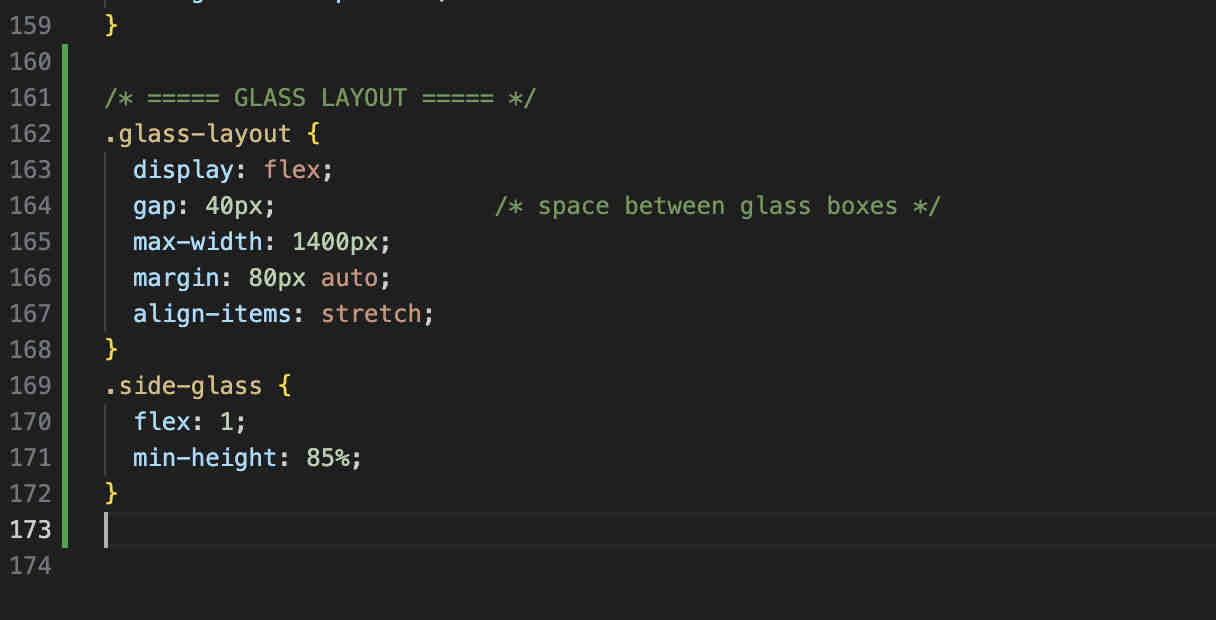
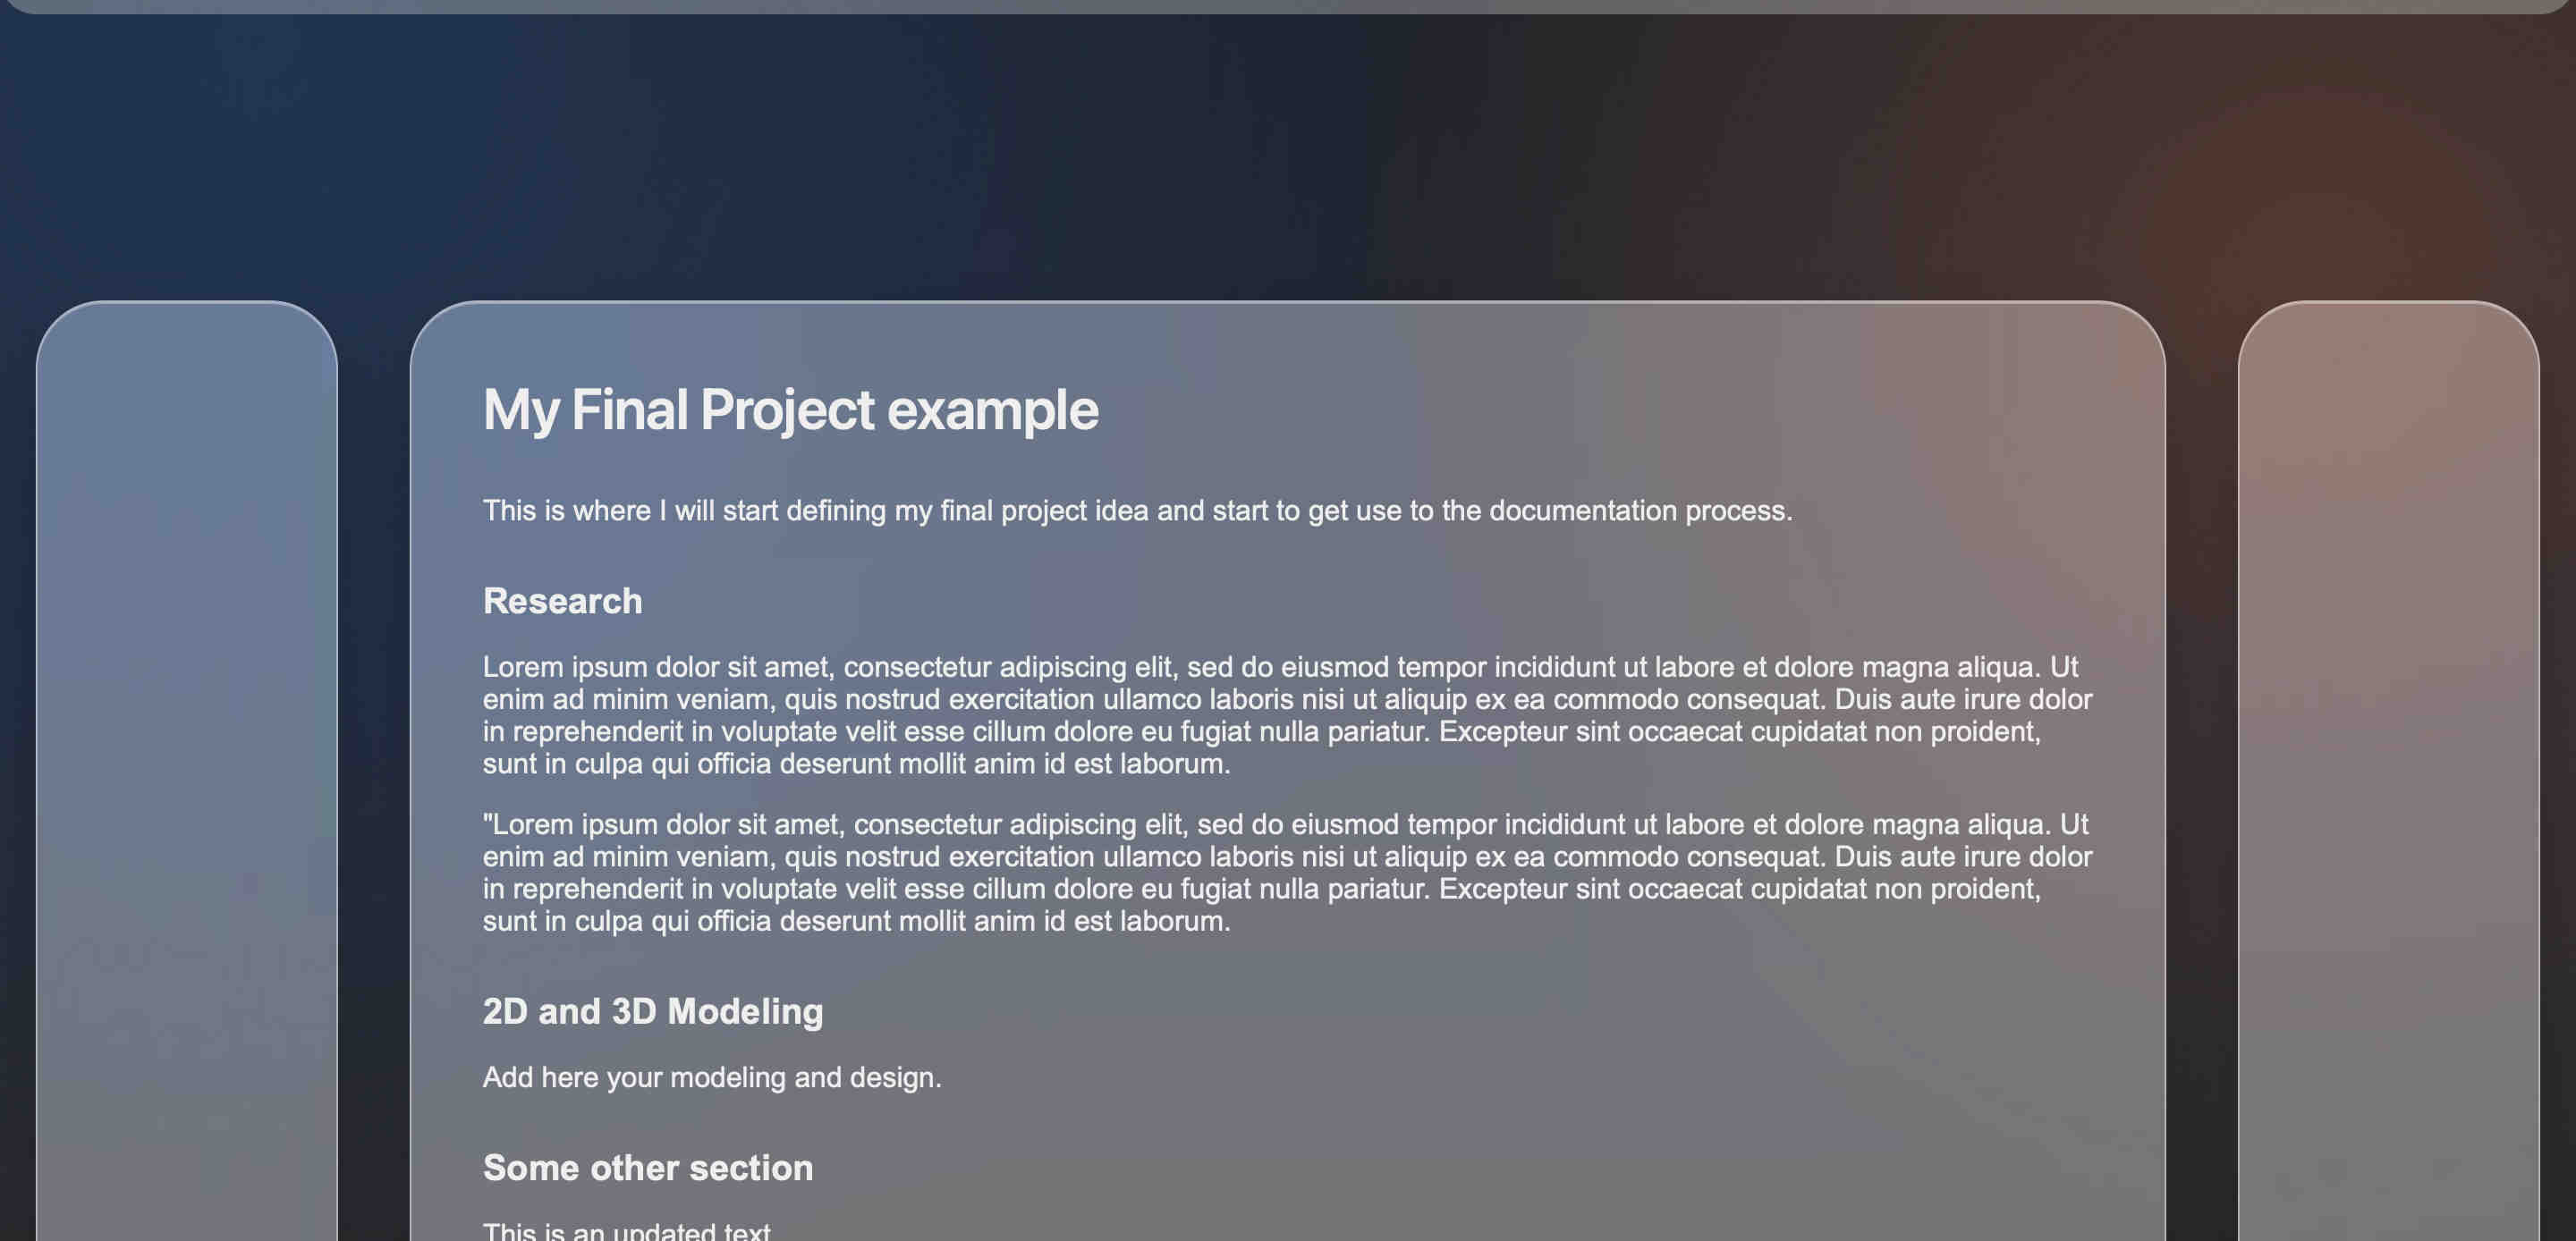
Then i started messing around by adding a glass layout(apple style). to the website.
The result after some tweaking was such.
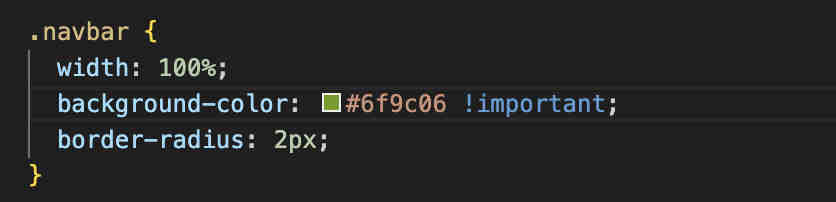
what is "!important"
I relaised that my changes to navbar colour were not reflecting on my page,
Upon some pondering i relised i hade multiple navbar{} commands in my style.css
in code,(html) your last written line is the ONLY VALID line. so if you have overlaping functions, the second funcytion will be given presedence.
!important, can be used to give presedence to that particular line, despite overlap, ALTHOUGH. this isnt proffesional, keep your code neat.
After tidying up the code.
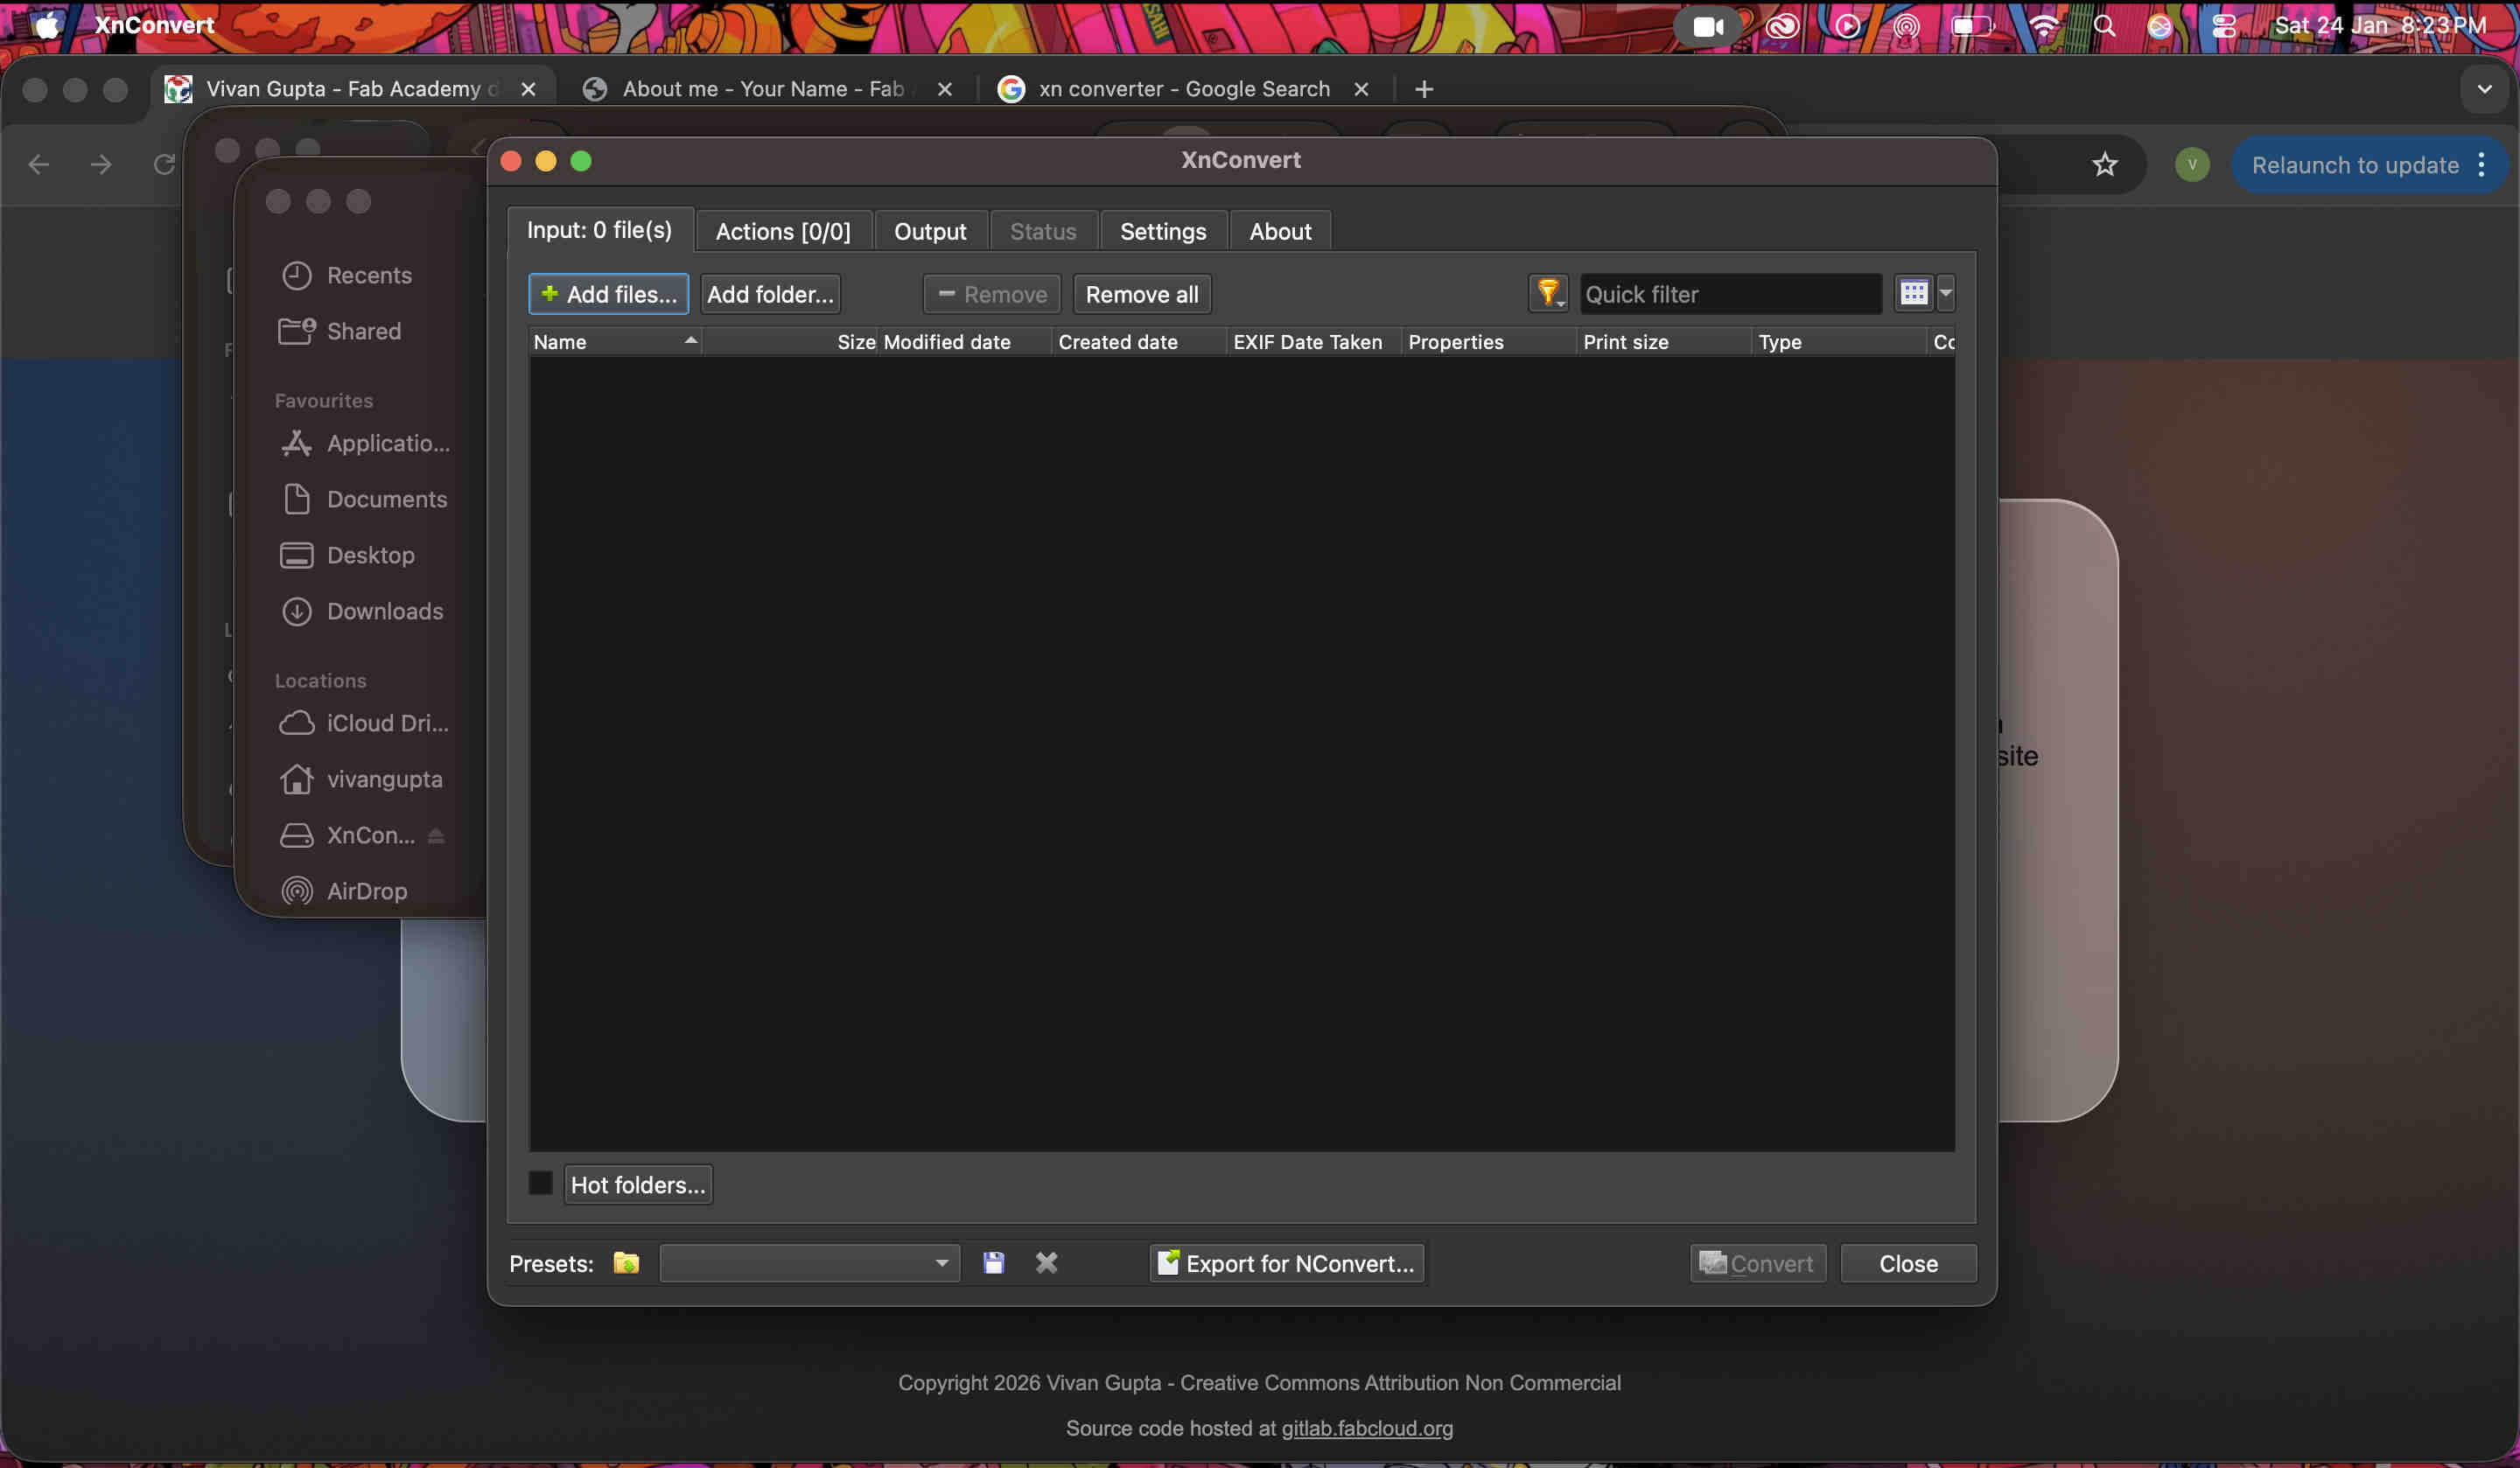
.COMPRESS DEM IMAGES (メ﹏メ).
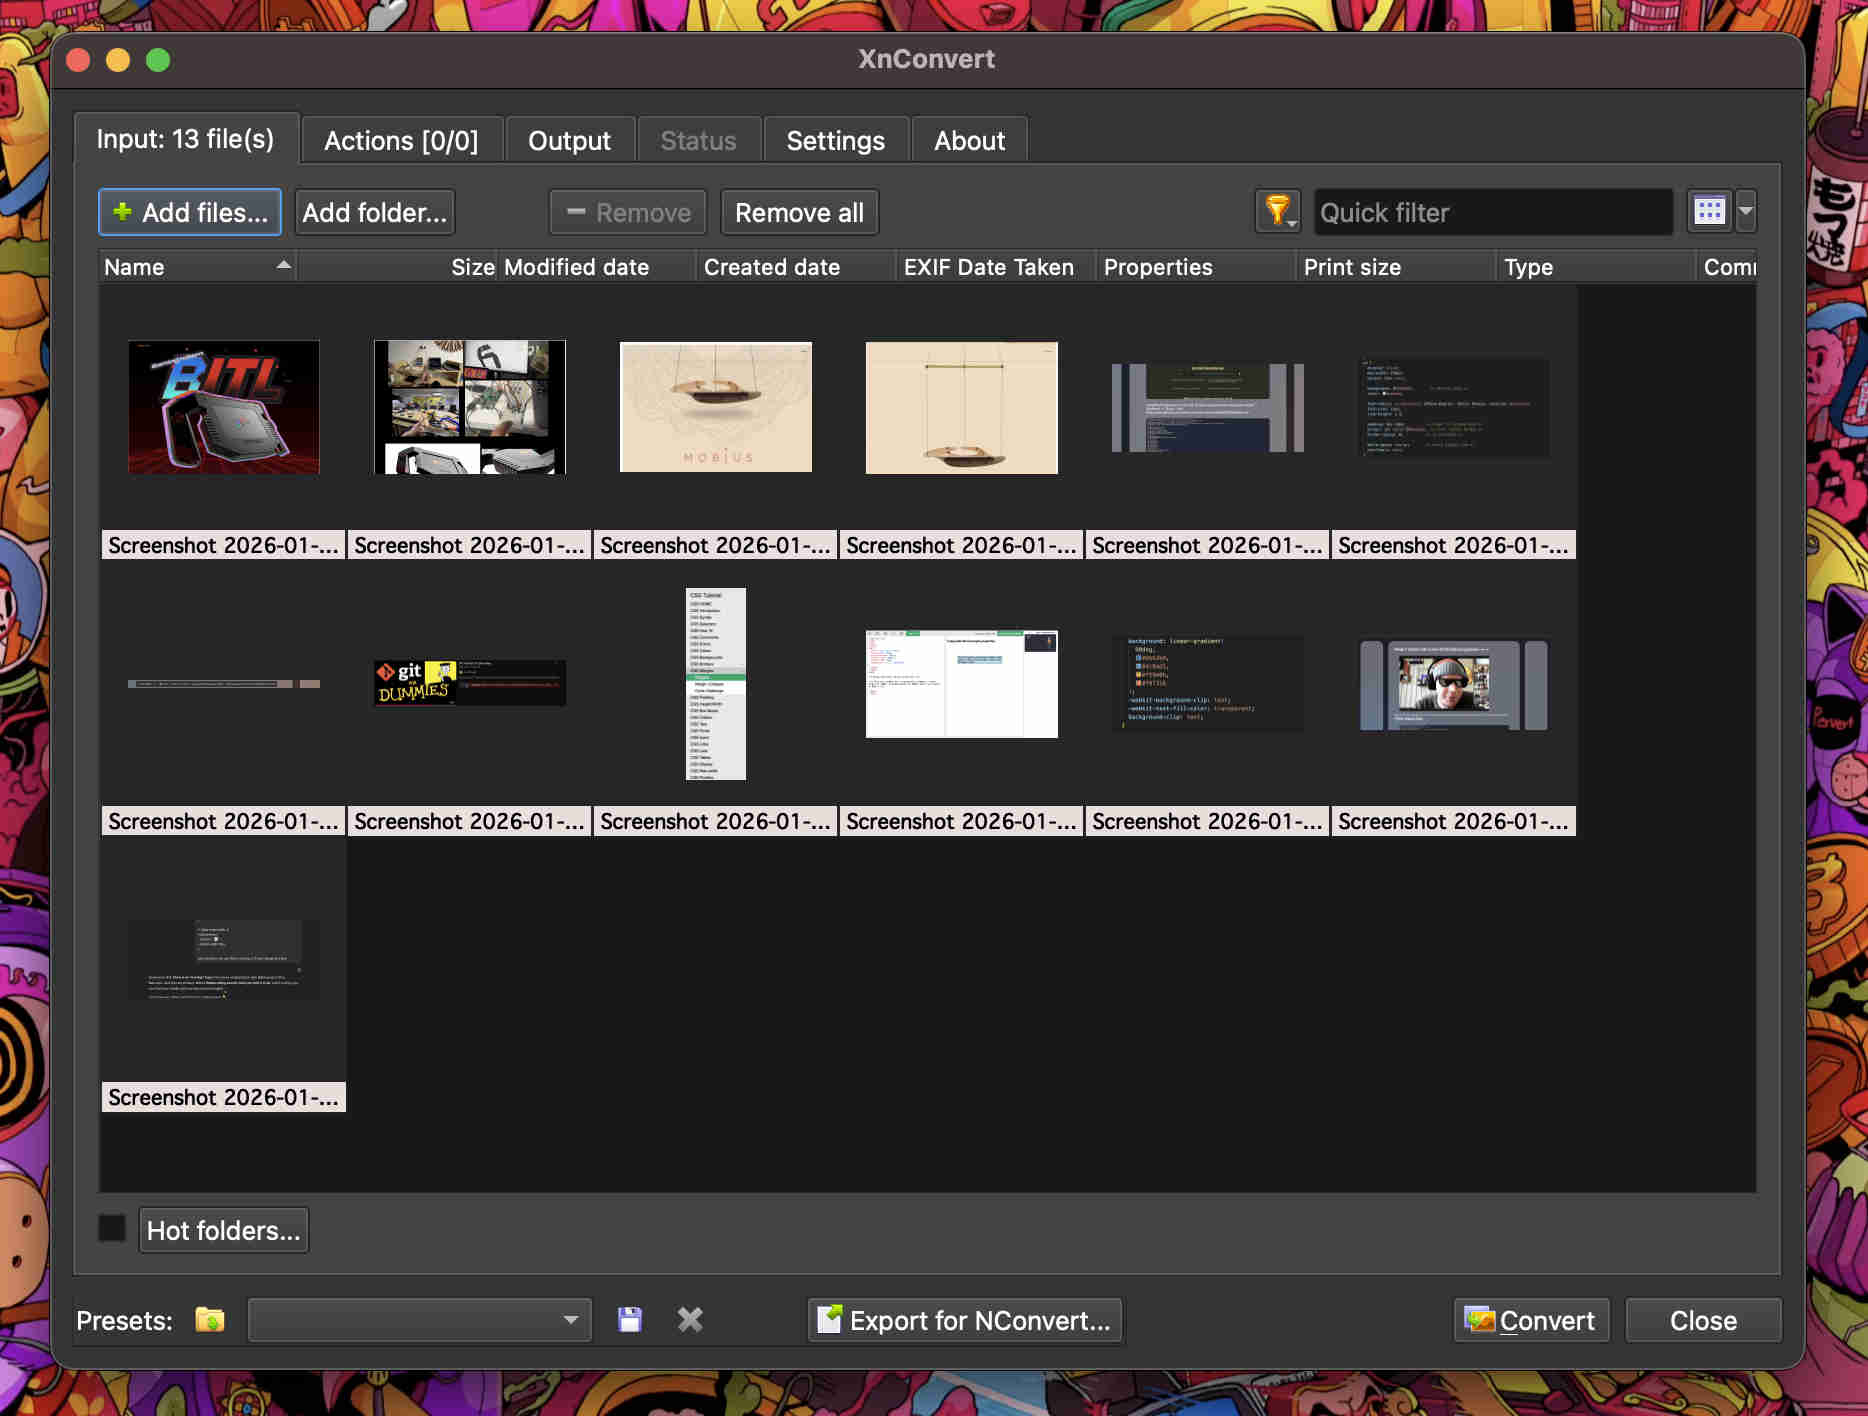
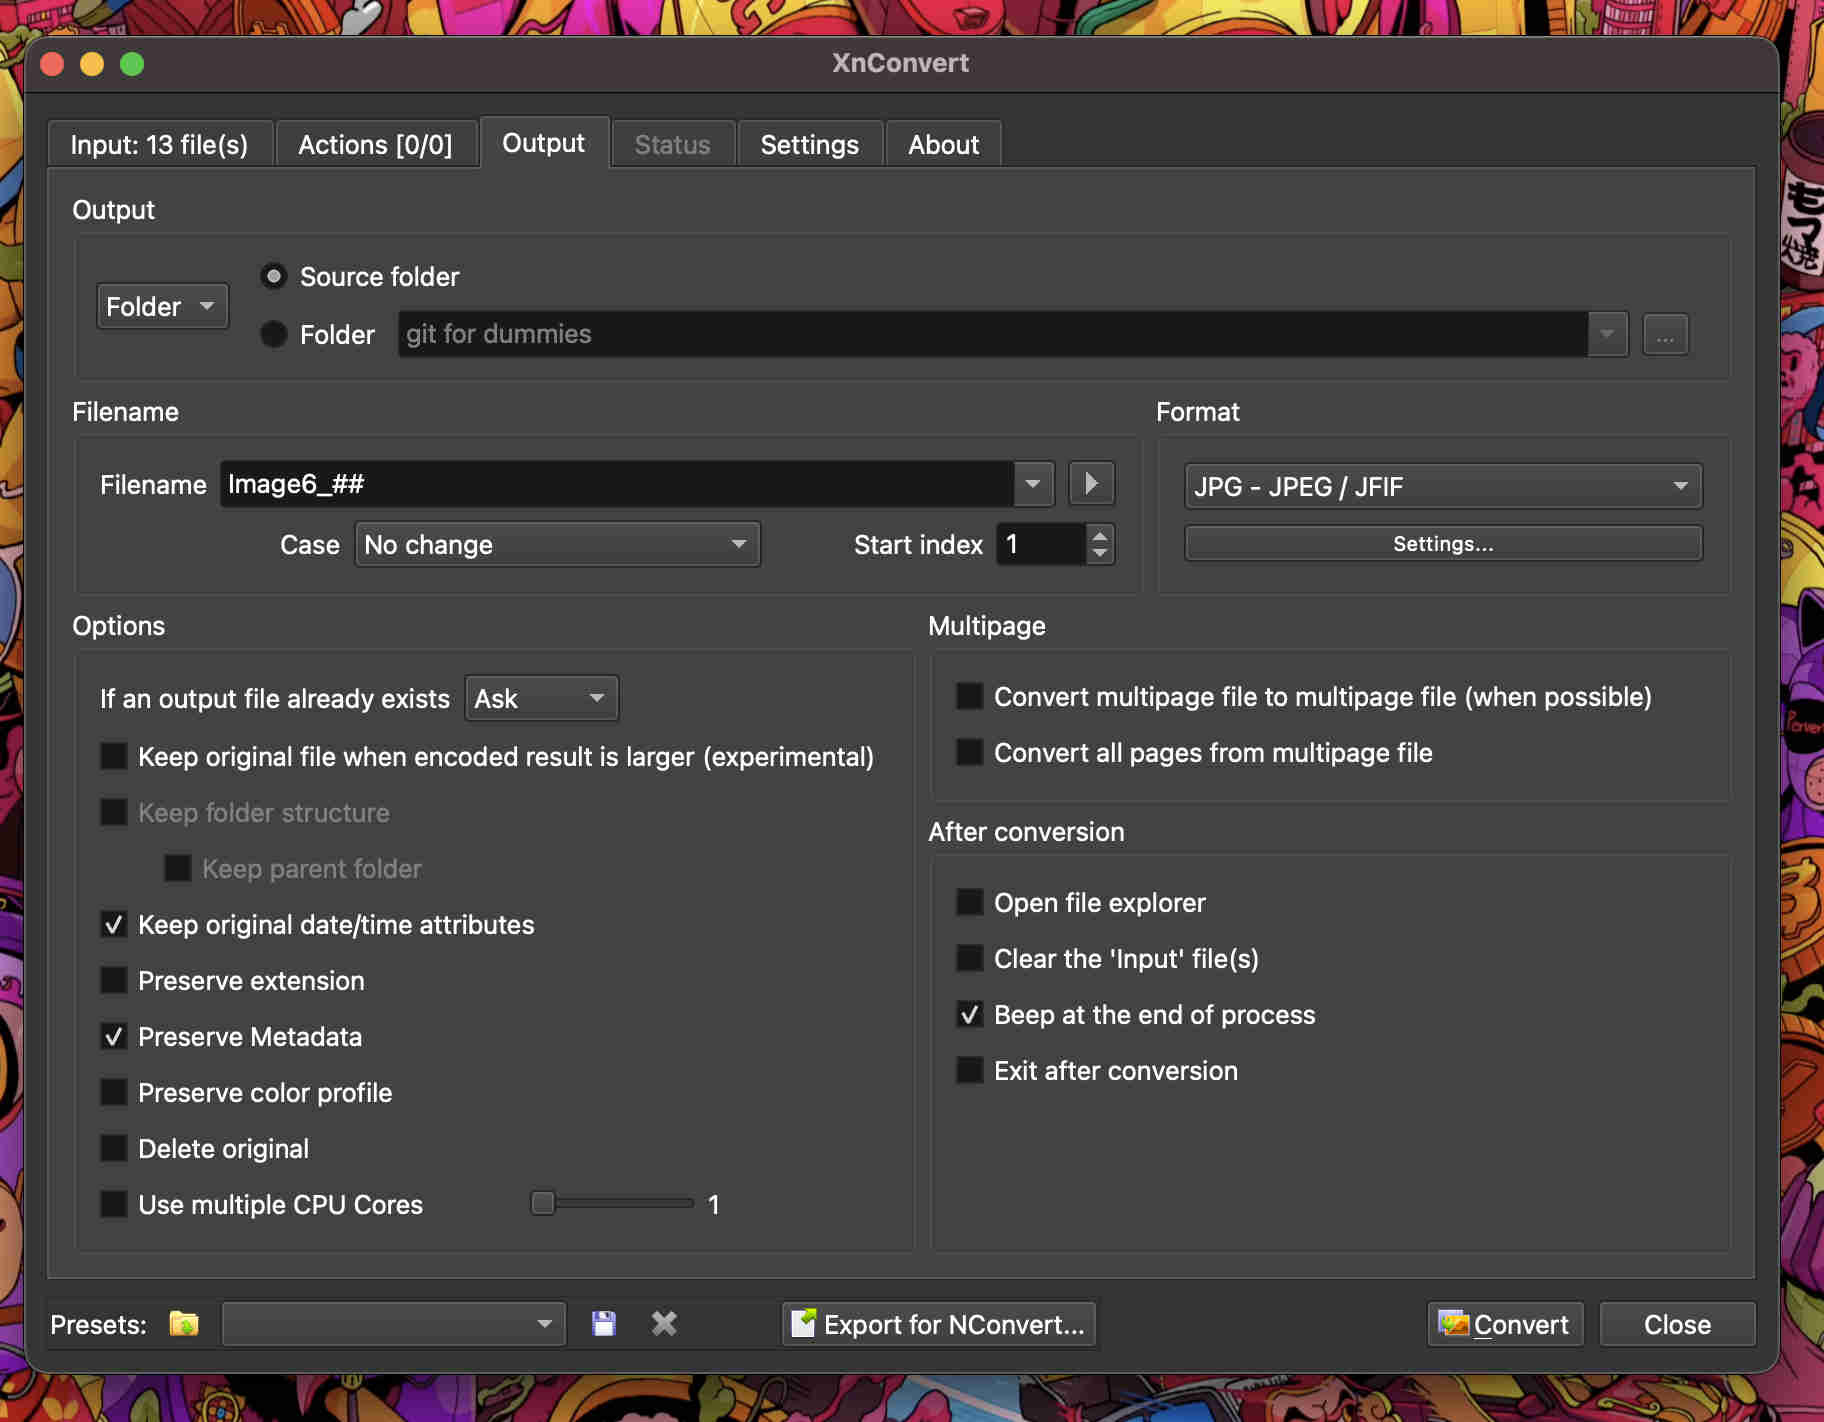
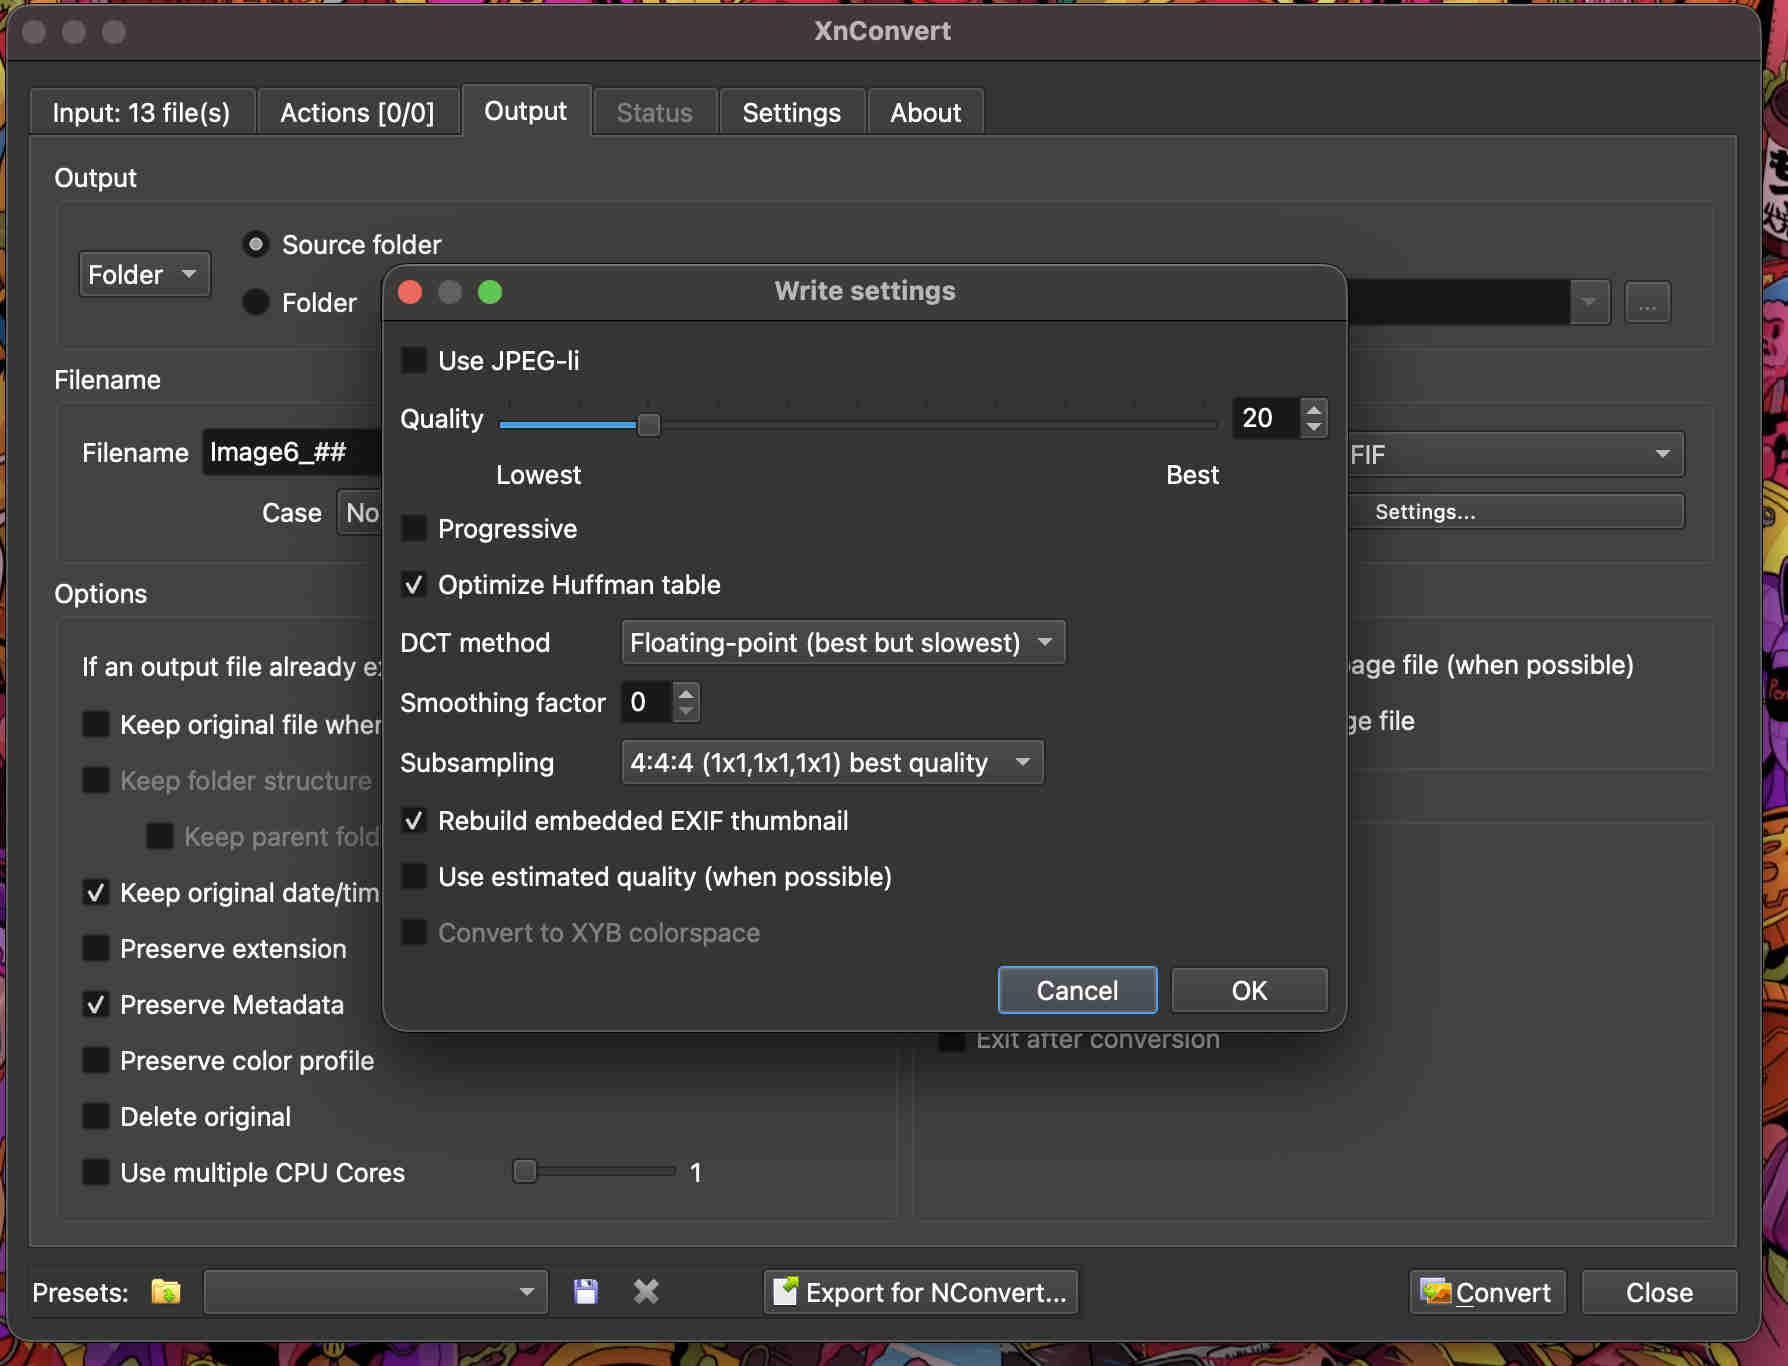
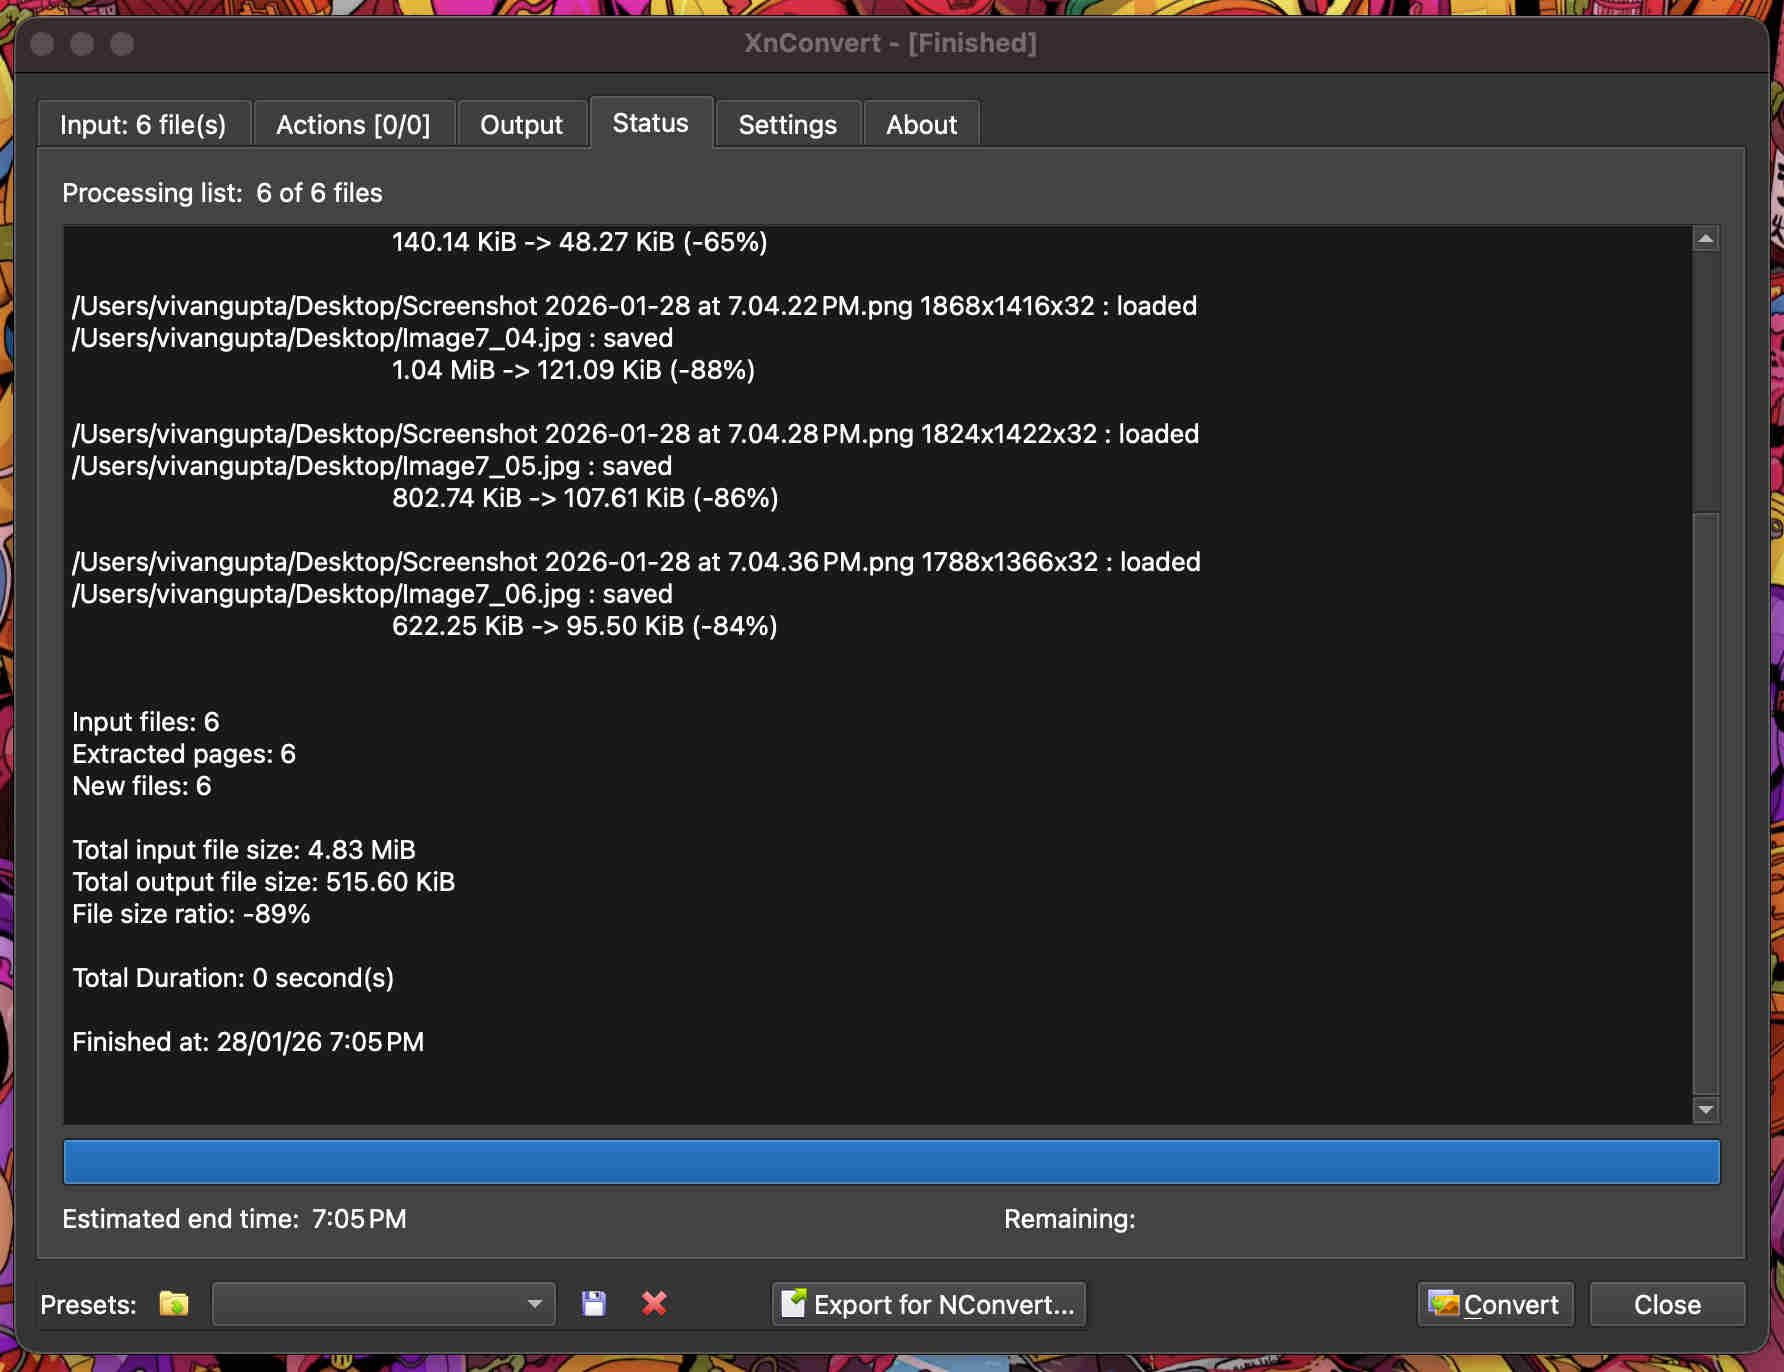
XN convert is a brilliant app to batch convert/compress/name your pics
https://www.xnview.com/en/xnconvert/
Add your filesselect your output location, file type and file nomenclatureGo to settings and tweak quality as per requirement─── ⋆⋅☆⋅⋆ ──VOILA─── ⋆⋅☆⋅⋆ ──
.Finding my own style.
Now all remaining was to find my own rhythmUsing ai i created funcytions to make creative copyable blocks, note blocks and moreBeforeAfter
commit and push changes every now and then, dont let it pile up
you do not need to commit &/or push everytime, you can save and check locally by opening your html file from your finder(if mac) or library(if windows) and then push every now and then.