.Molding and casting.
For this week we compare we explore a new form of prototyping!!
Molding
Molding and casting are complementary manufacturing processes used to create identical objects by filling a hollow cavity (mold) with liquid material that solidifies.
A widely very commonly used molding process that we see all around us is Injection molding
Injection molding

Injection moulding is a high-volume manufacturing process that produces plastic parts by injecting molten material into a metal mold cavity under high pressure.
It is ideal for creating complex, consistent parts, such as bottles, toys, and automotive components.
For this week I decided to explore silicon molds and a 2 part mold
Silicone: The Chill Shape-Shifter
Silicone (not to be confused with silicon, the semiconductor cousin that runs your laptop) is a flexible, rubber-like material made from silicon, oxygen, carbon, and hydrogen.
Think of it as the material equivalent of someone who can fit into any social group effortlessly — it adapts, behaves, and performs without drama.
In simple terms: Silicone is a liquid (or paste) that turns into flexible rubber when cured.
Why Silicone is Great for Molding
- Flexibility: It bends and stretches, so you can remove complex shapes without breaking anything (including your patience).
- Detail Capture: It picks up extremely fine details — textures, engravings, even fingerprints if you're not careful.
- Non-Stick Nature: Most materials don’t bond to silicone, which means easy demolding and fewer regrets.
- Durability: It survives multiple casts without degrading quickly — a reliable workhorse.
- Heat Resistance: It can handle high temperatures, so it works with a wide range of casting materials.
Where It Shines
Silicone molds are used for everything from industrial prototyping to chocolate making.
Whether you're casting resin parts, wax models, or experimental prototypes, silicone plays nice with almost everything.
https://www.galindberg.se/storage/937D3F2A7F56E7A035E5C00D8051BFB1B7E6CA9BBC32907C7A274FE189A17227/dc2dbac1b2b94ef2ba6ba488ad9045e5/pdf/media/a398324366cb4bceafc87d5faafb68bd/Silastic%20MS-1001.pdf
Above is the datasheet for 1:1 silcion mold by silastic
 This is the silcon we bought for our usecase
 first i made a very basic trial file in cad to just try out the the wax block milling operations
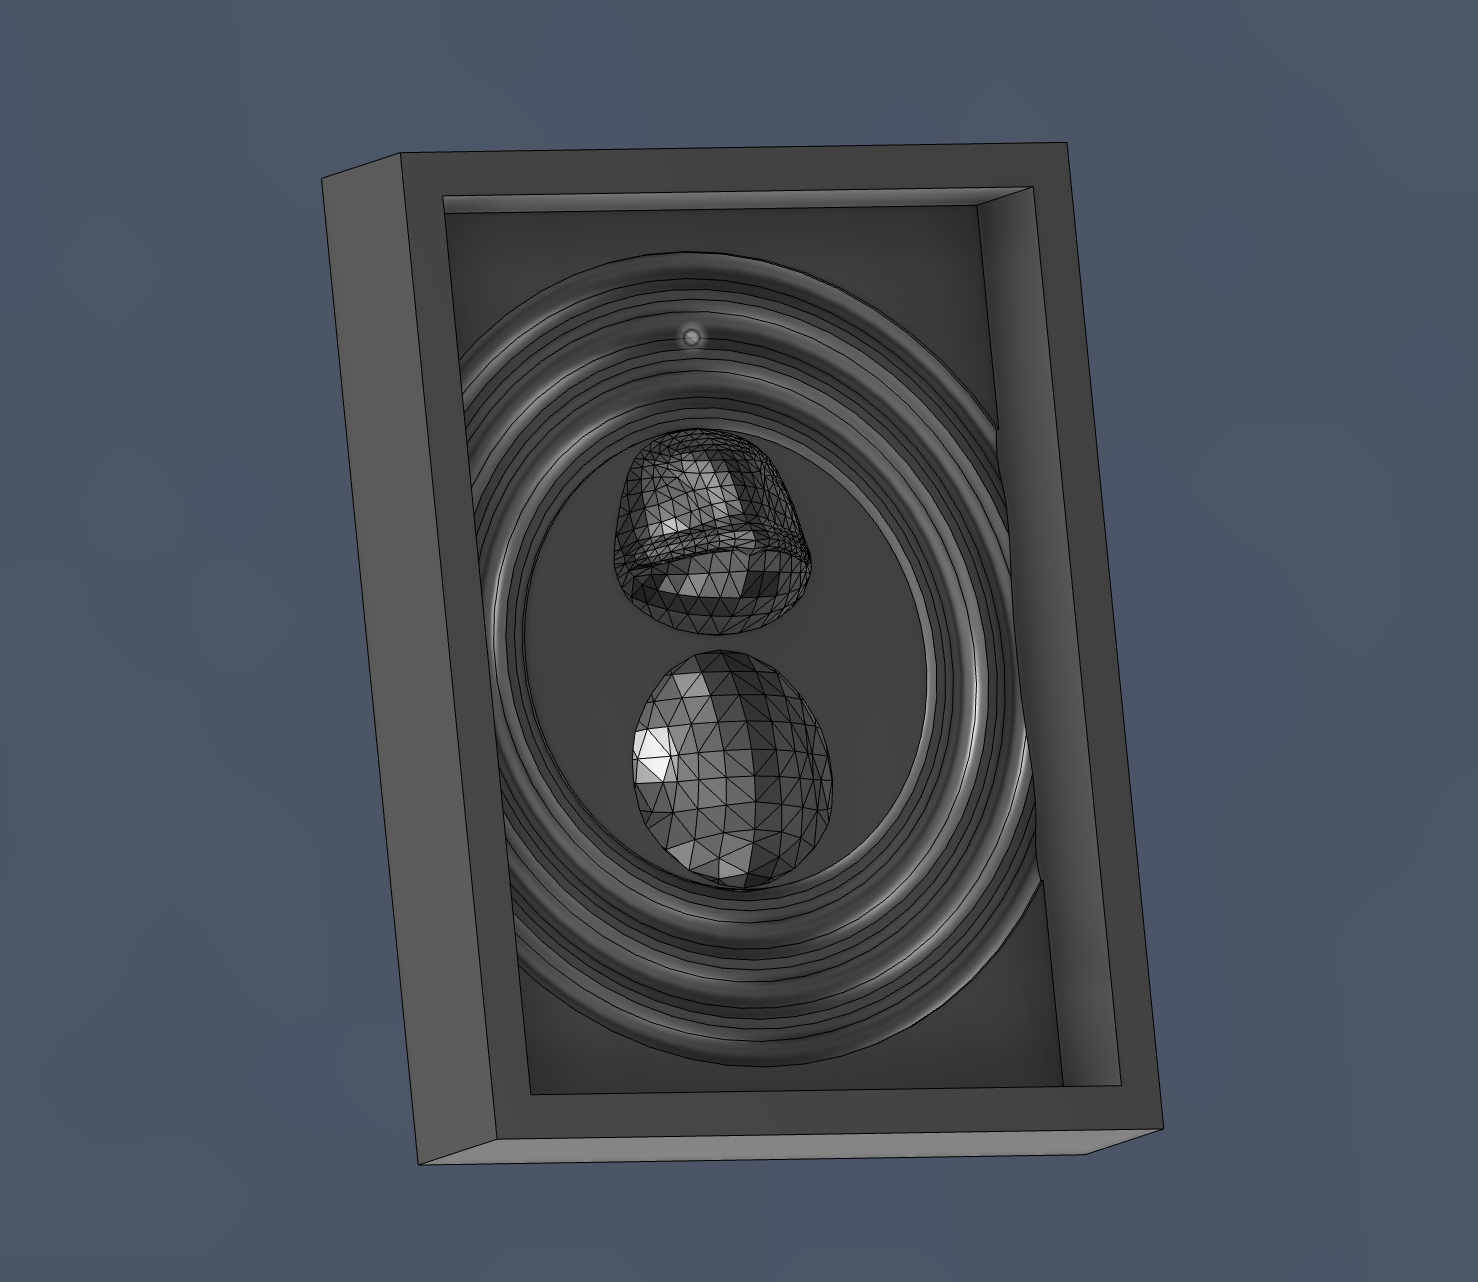
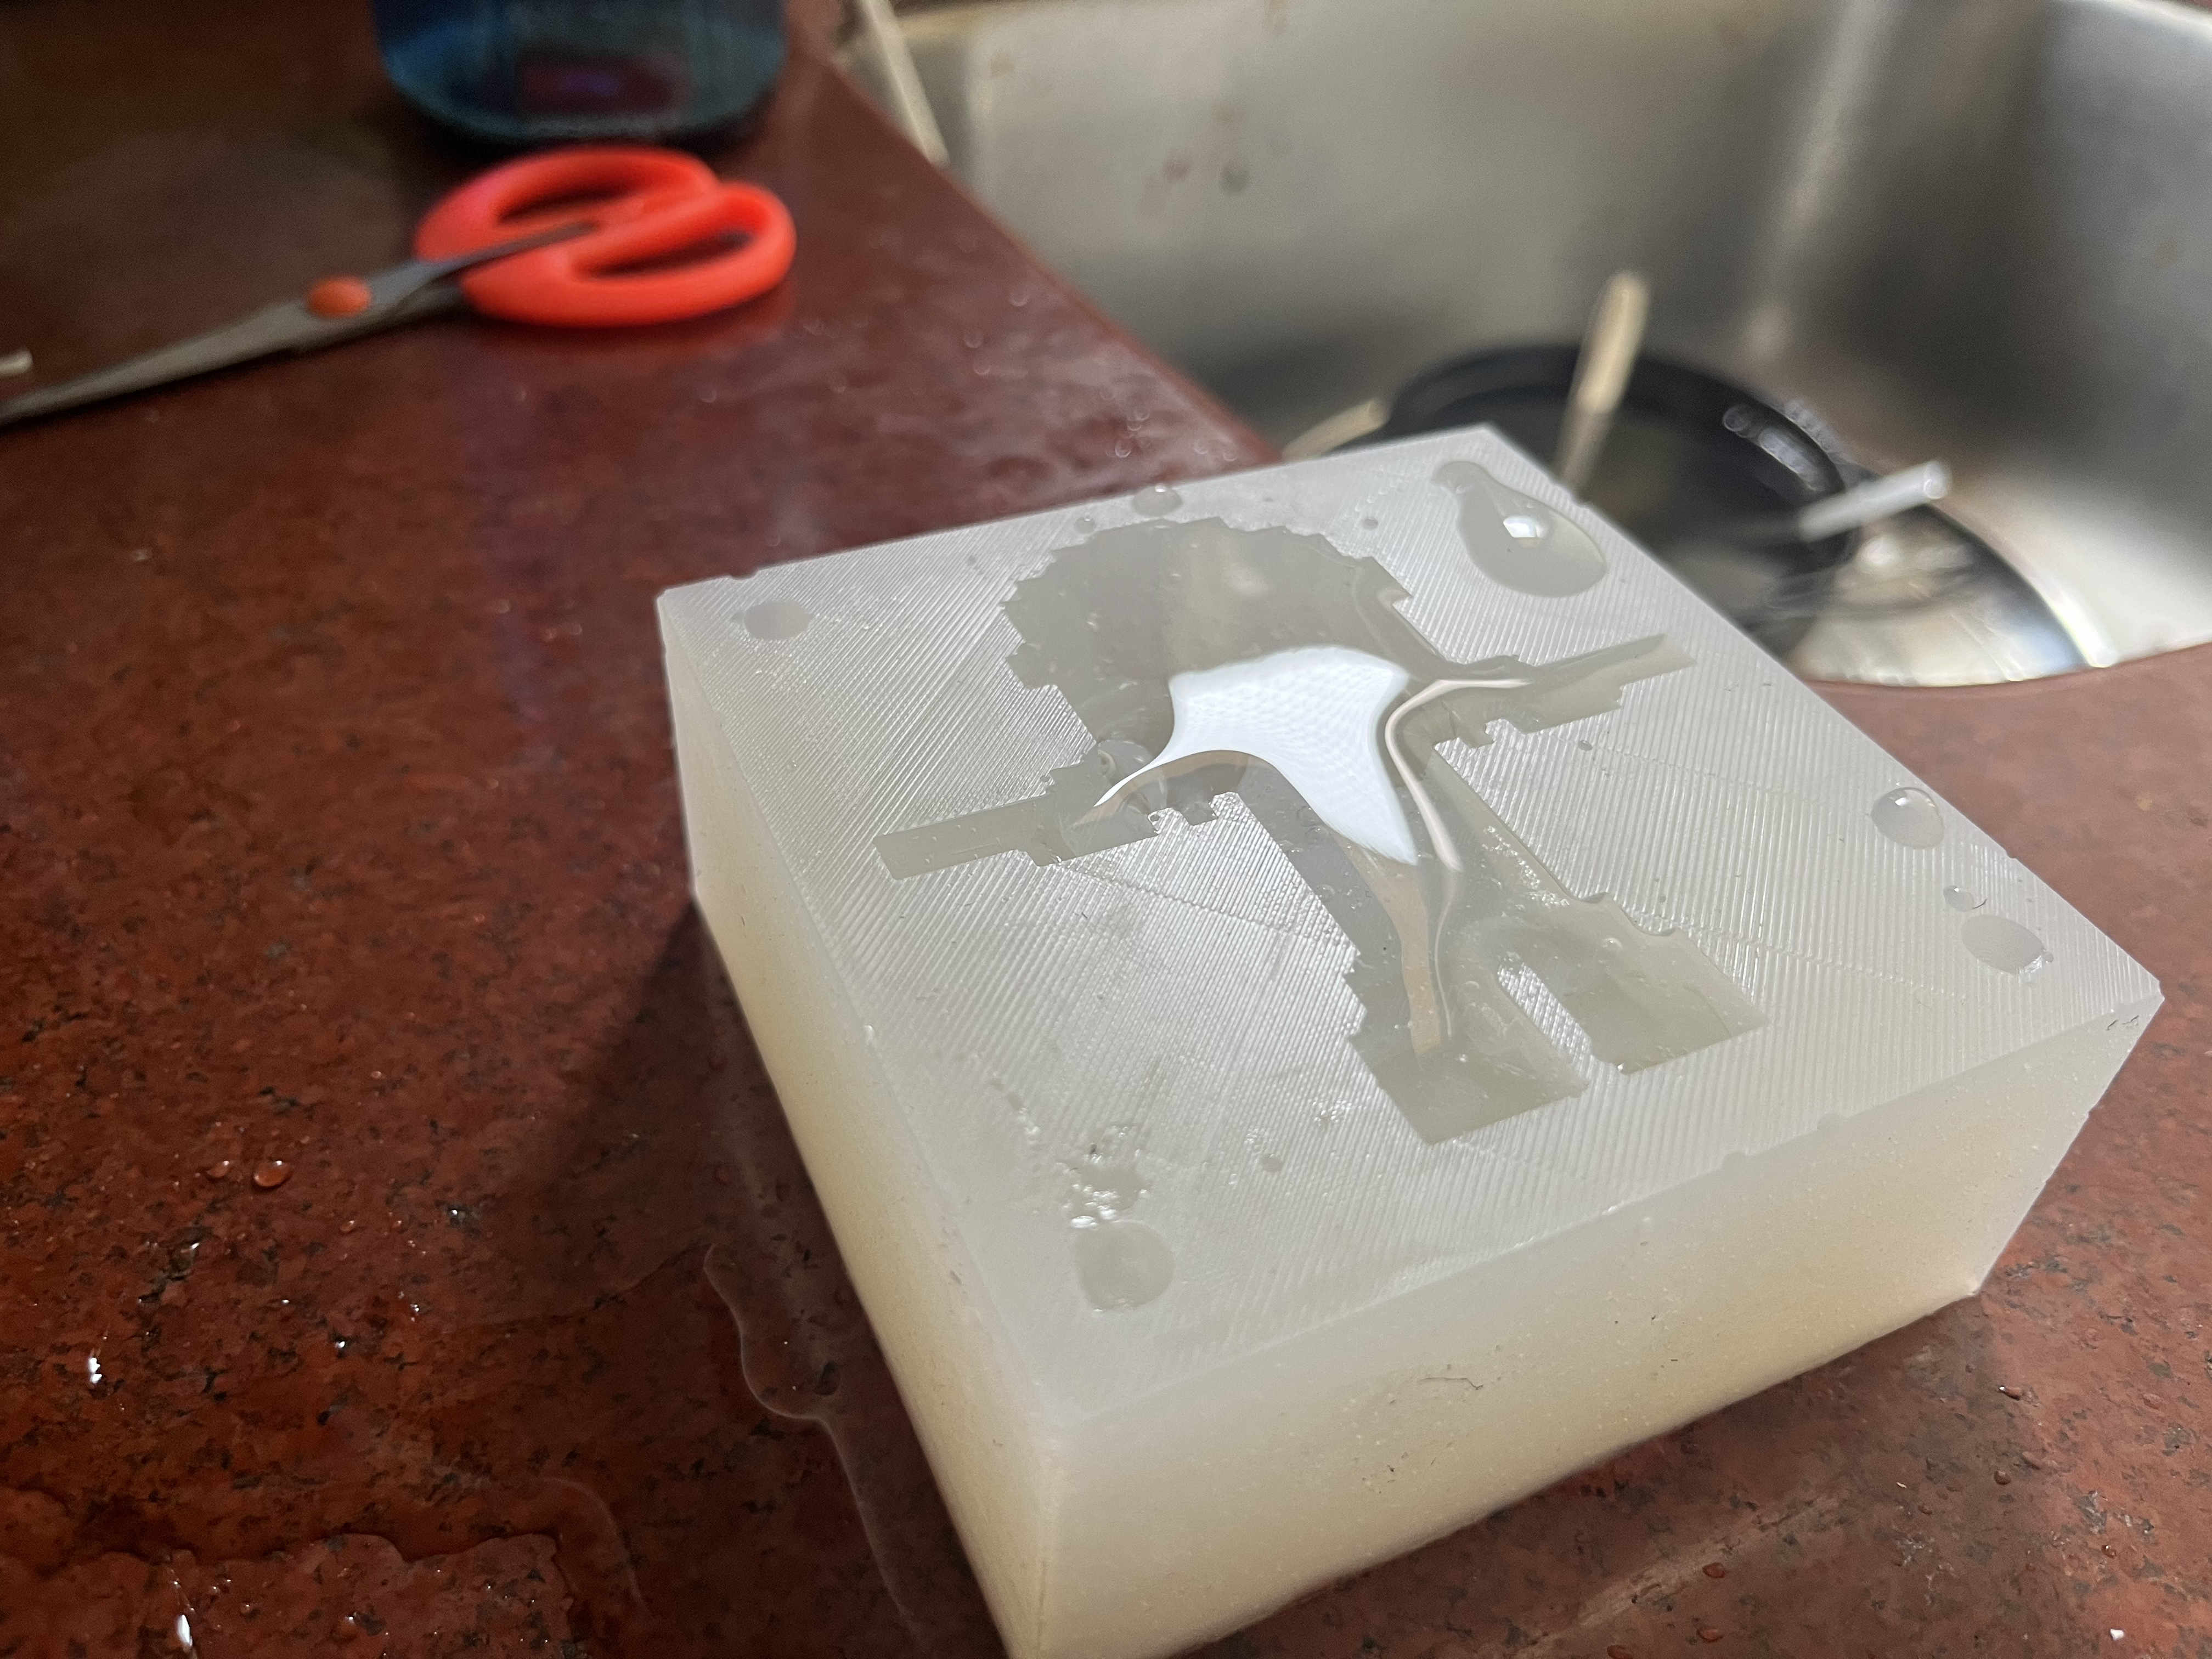
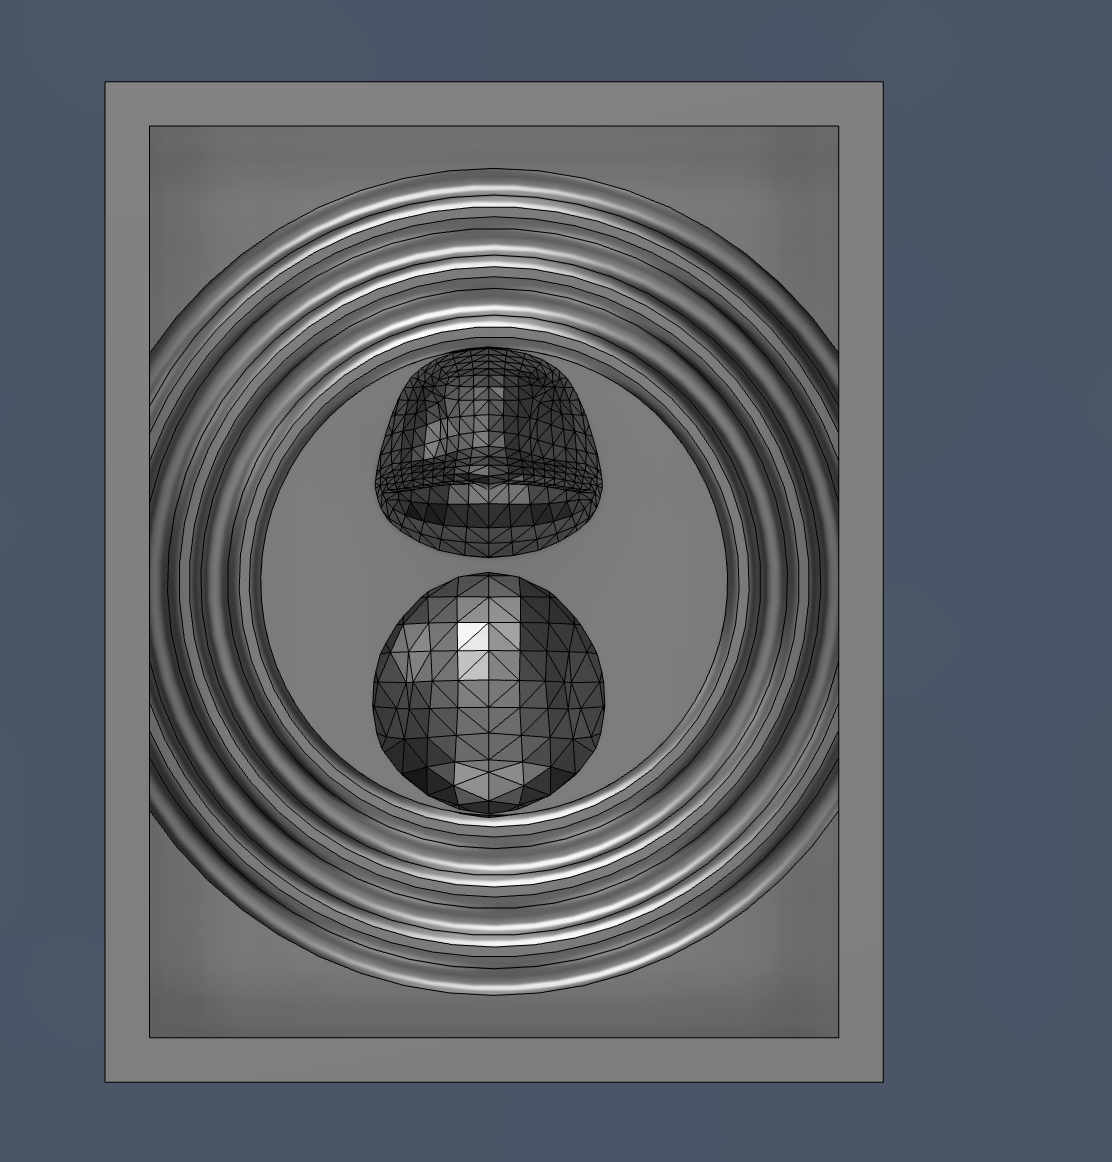 The basic idea behind this was that i wanted to make it seem like a squirtle is floating on a water body
SO i made ripple like texture and added a online model of squirtle
This is a one part mold
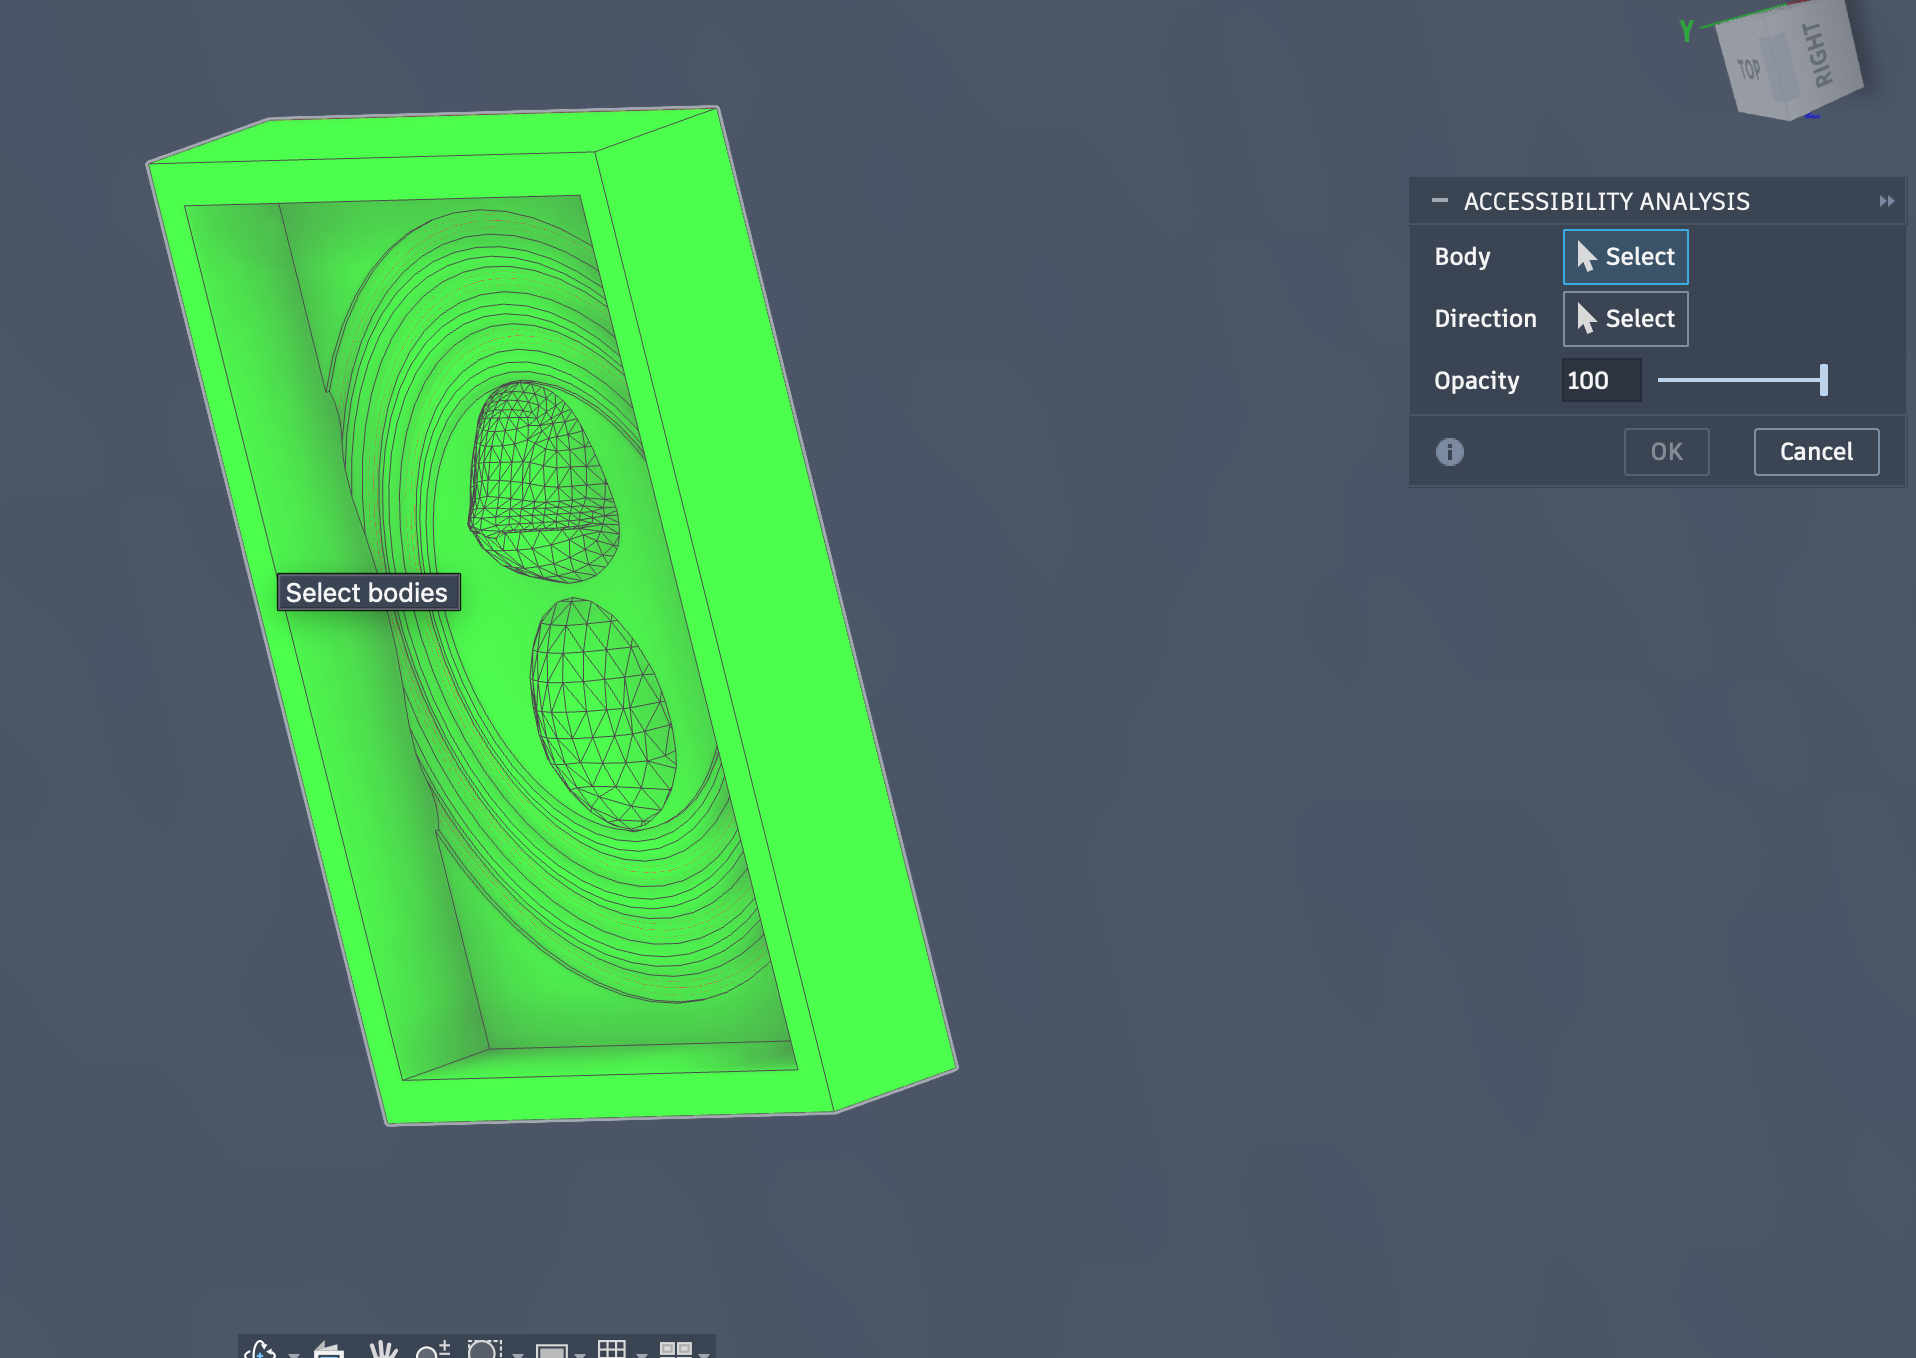 Checking for any undercuts using accesibility analysis feature on usion 360 software.
Once done export the stl file to bring over to srp player to make a Milling file.
Checking for any undercuts using accesibility analysis feature on usion 360 software.
Once done export the stl file to bring over to srp player to make a Milling file.
SRP player
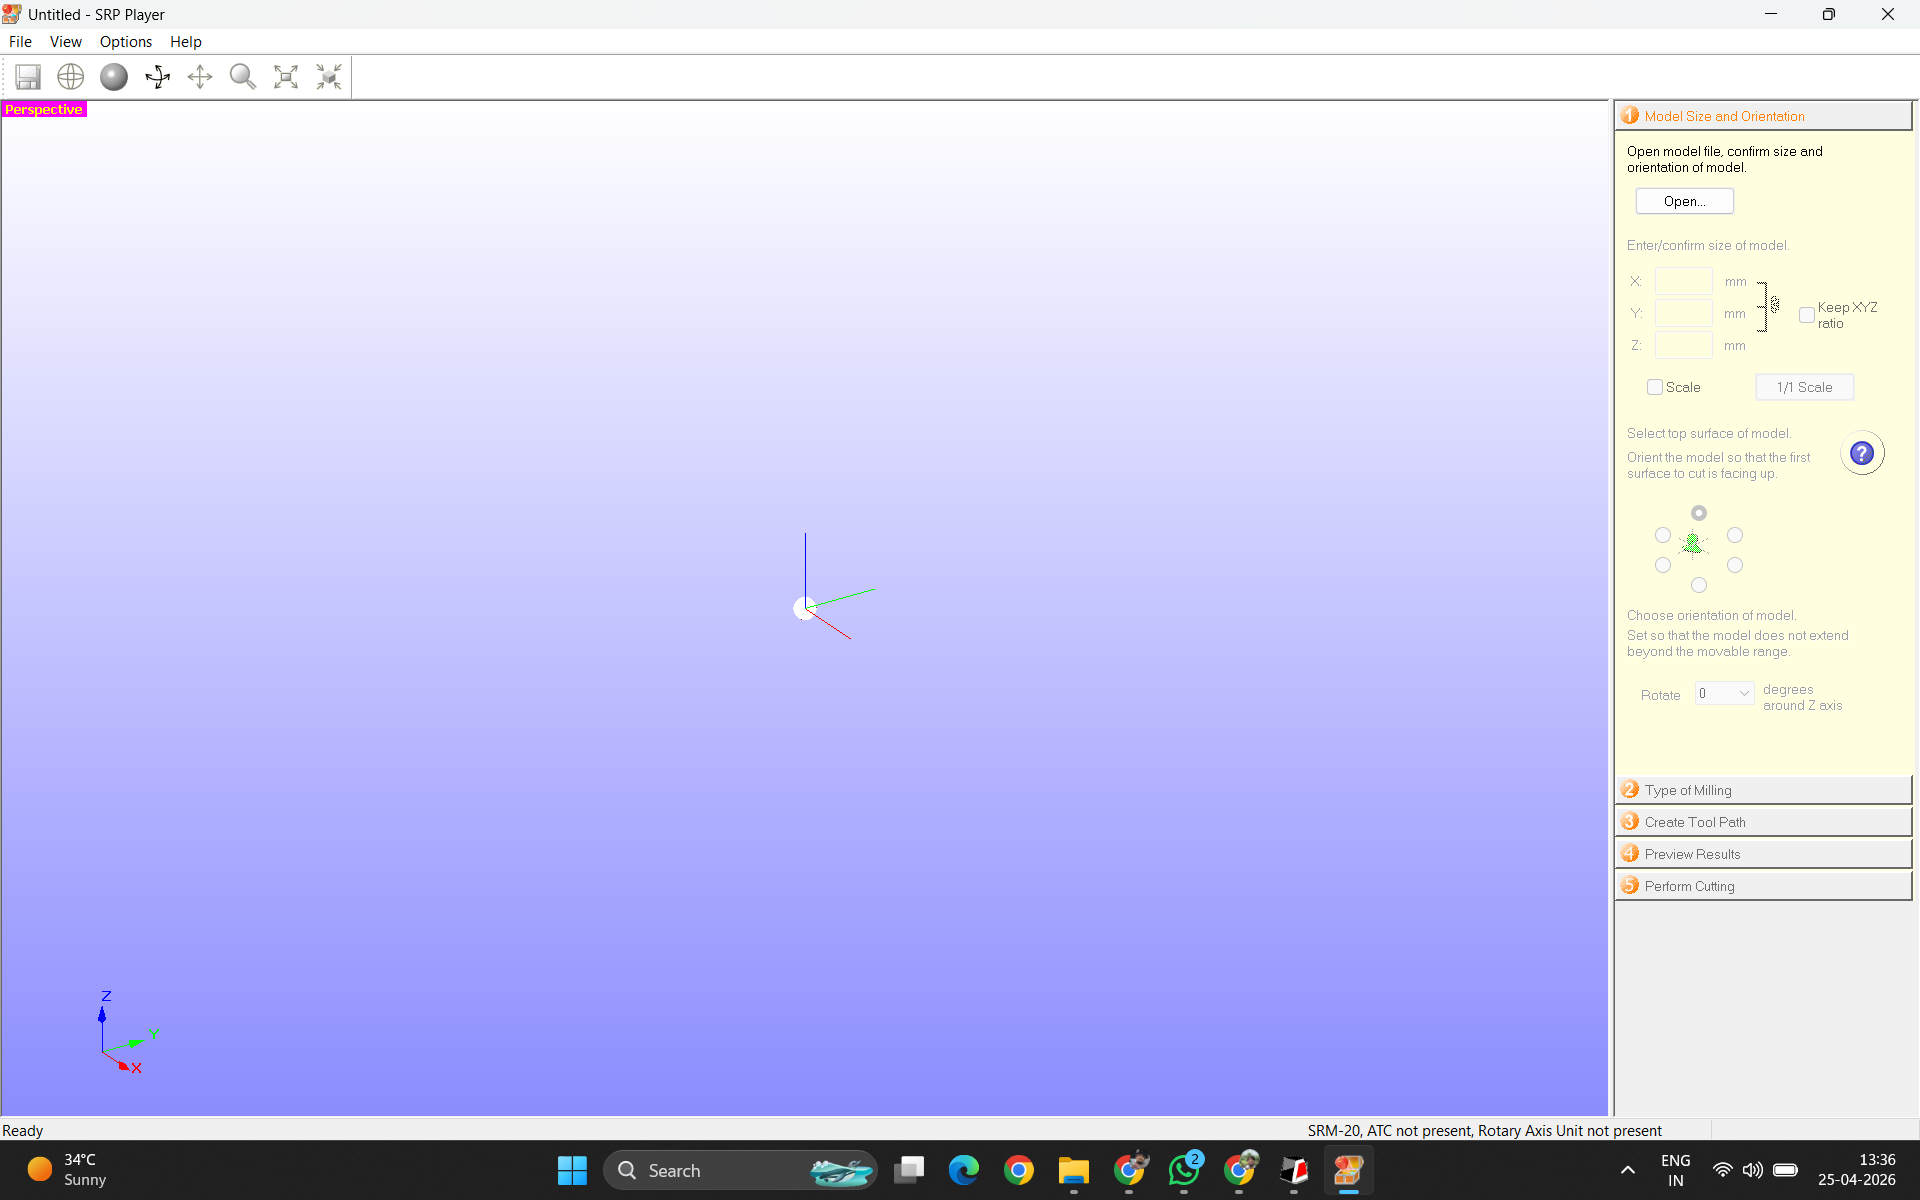 This is the basic landing page of the srp player software
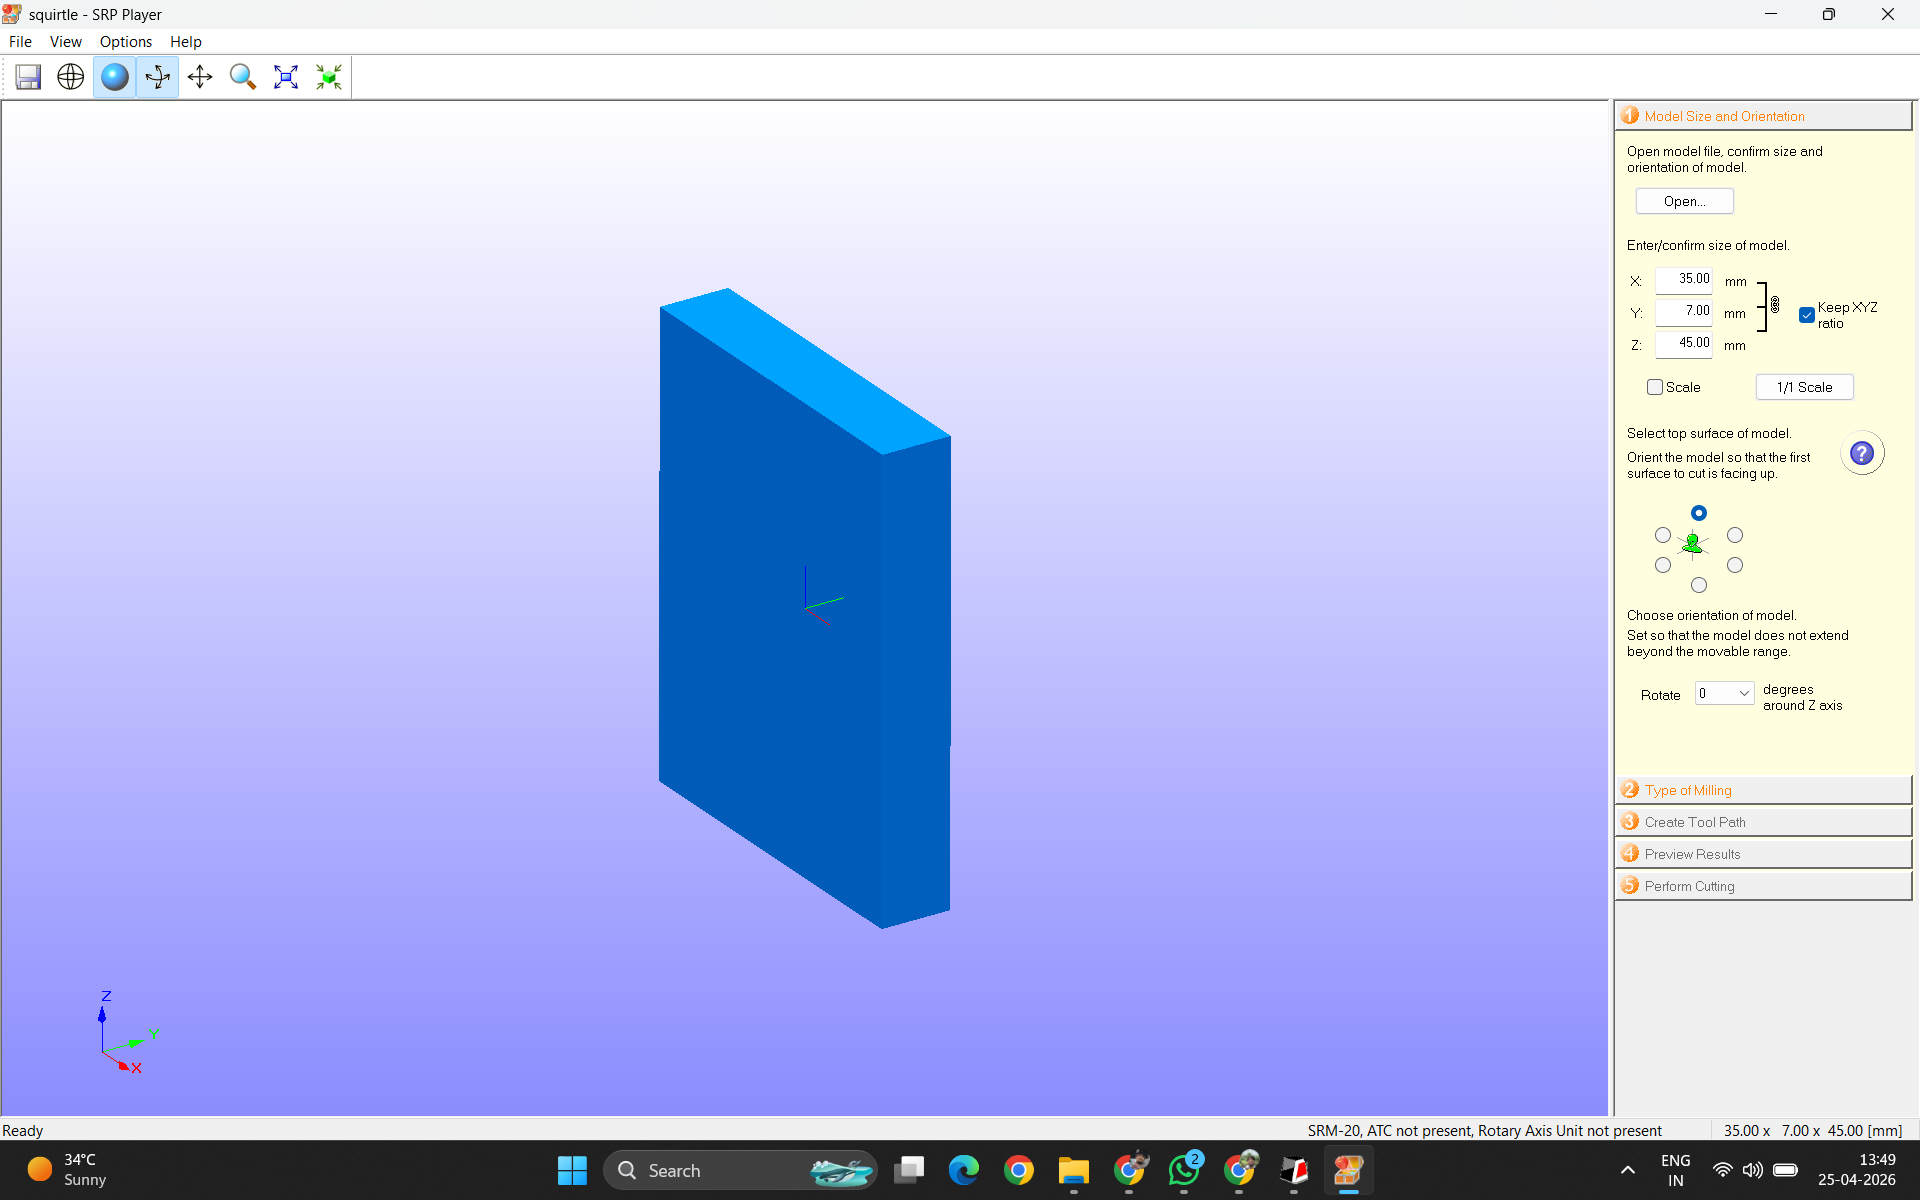 Import you're exported stl file for milling prep
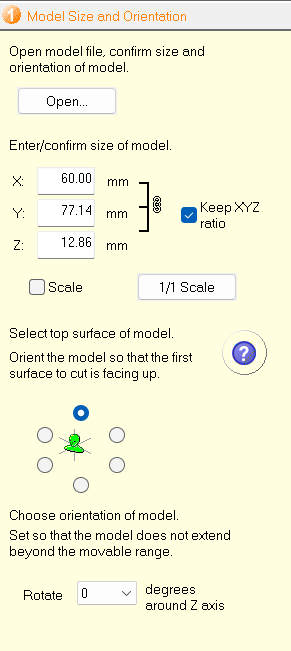 First tab, you can scale your object here.
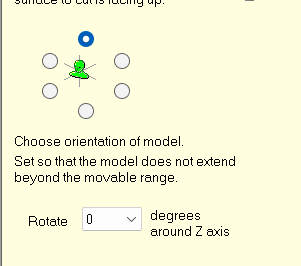 Fix the orientation of the model.
The right tab of jobs is a linear checklist of all to be done.
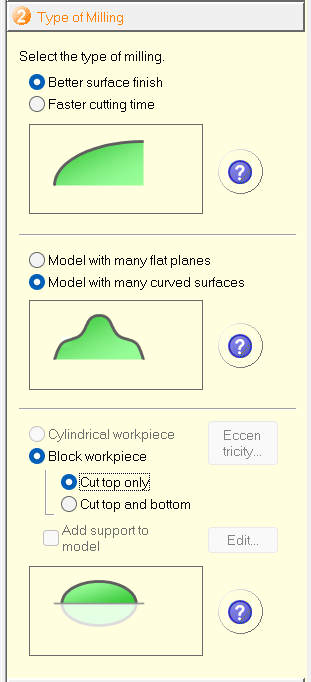 Options based on type of finish
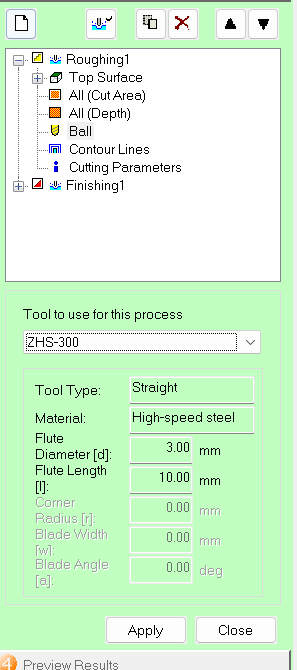 Cross check options if the roughing and soothing operations are using the correct end mill parts
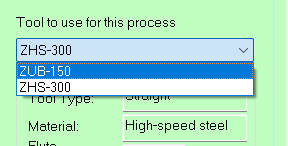 Sometimes roughing has a ball tip(zub300) we manually change it to ZUB 150
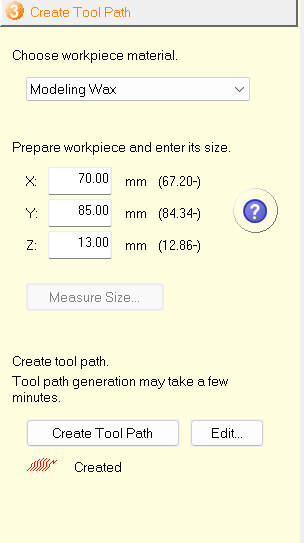 You also have rto set a job area, around the desgn you are cutting
The (-vlaue) that you see are minimum dimensions of the job area
You also have rto set a job area, around the desgn you are cutting
The (-vlaue) that you see are minimum dimensions of the job area
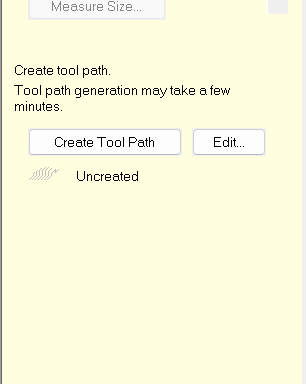 Hit create tool path
Hit Start
Hit create tool path
Hit Start
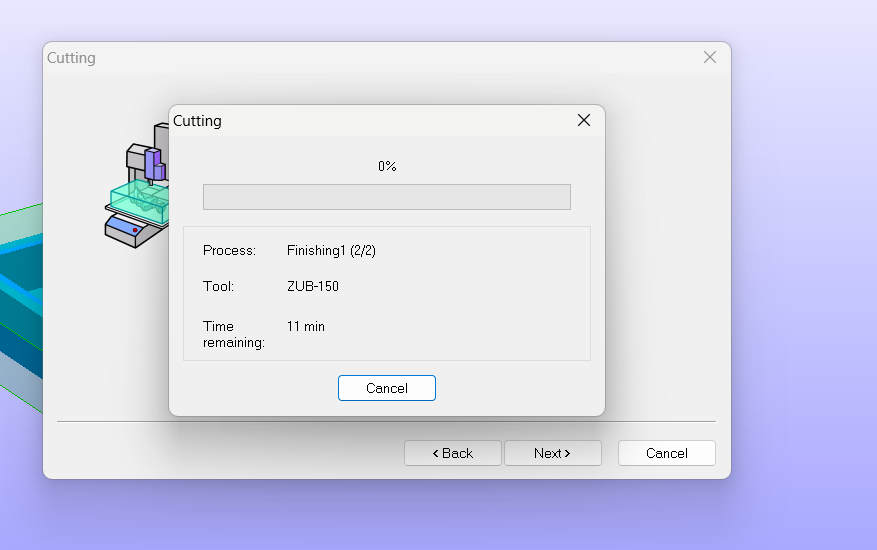 After setting origin usin vpanel on srm 20, we start cutting
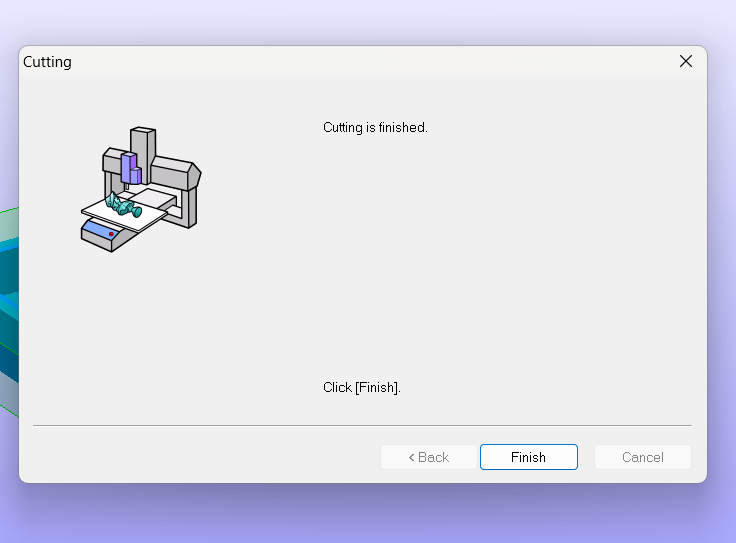 Voila
You will have to change end mill after toughig operation without changing xy origin for the next operation
Voila
You will have to change end mill after toughig operation without changing xy origin for the next operation
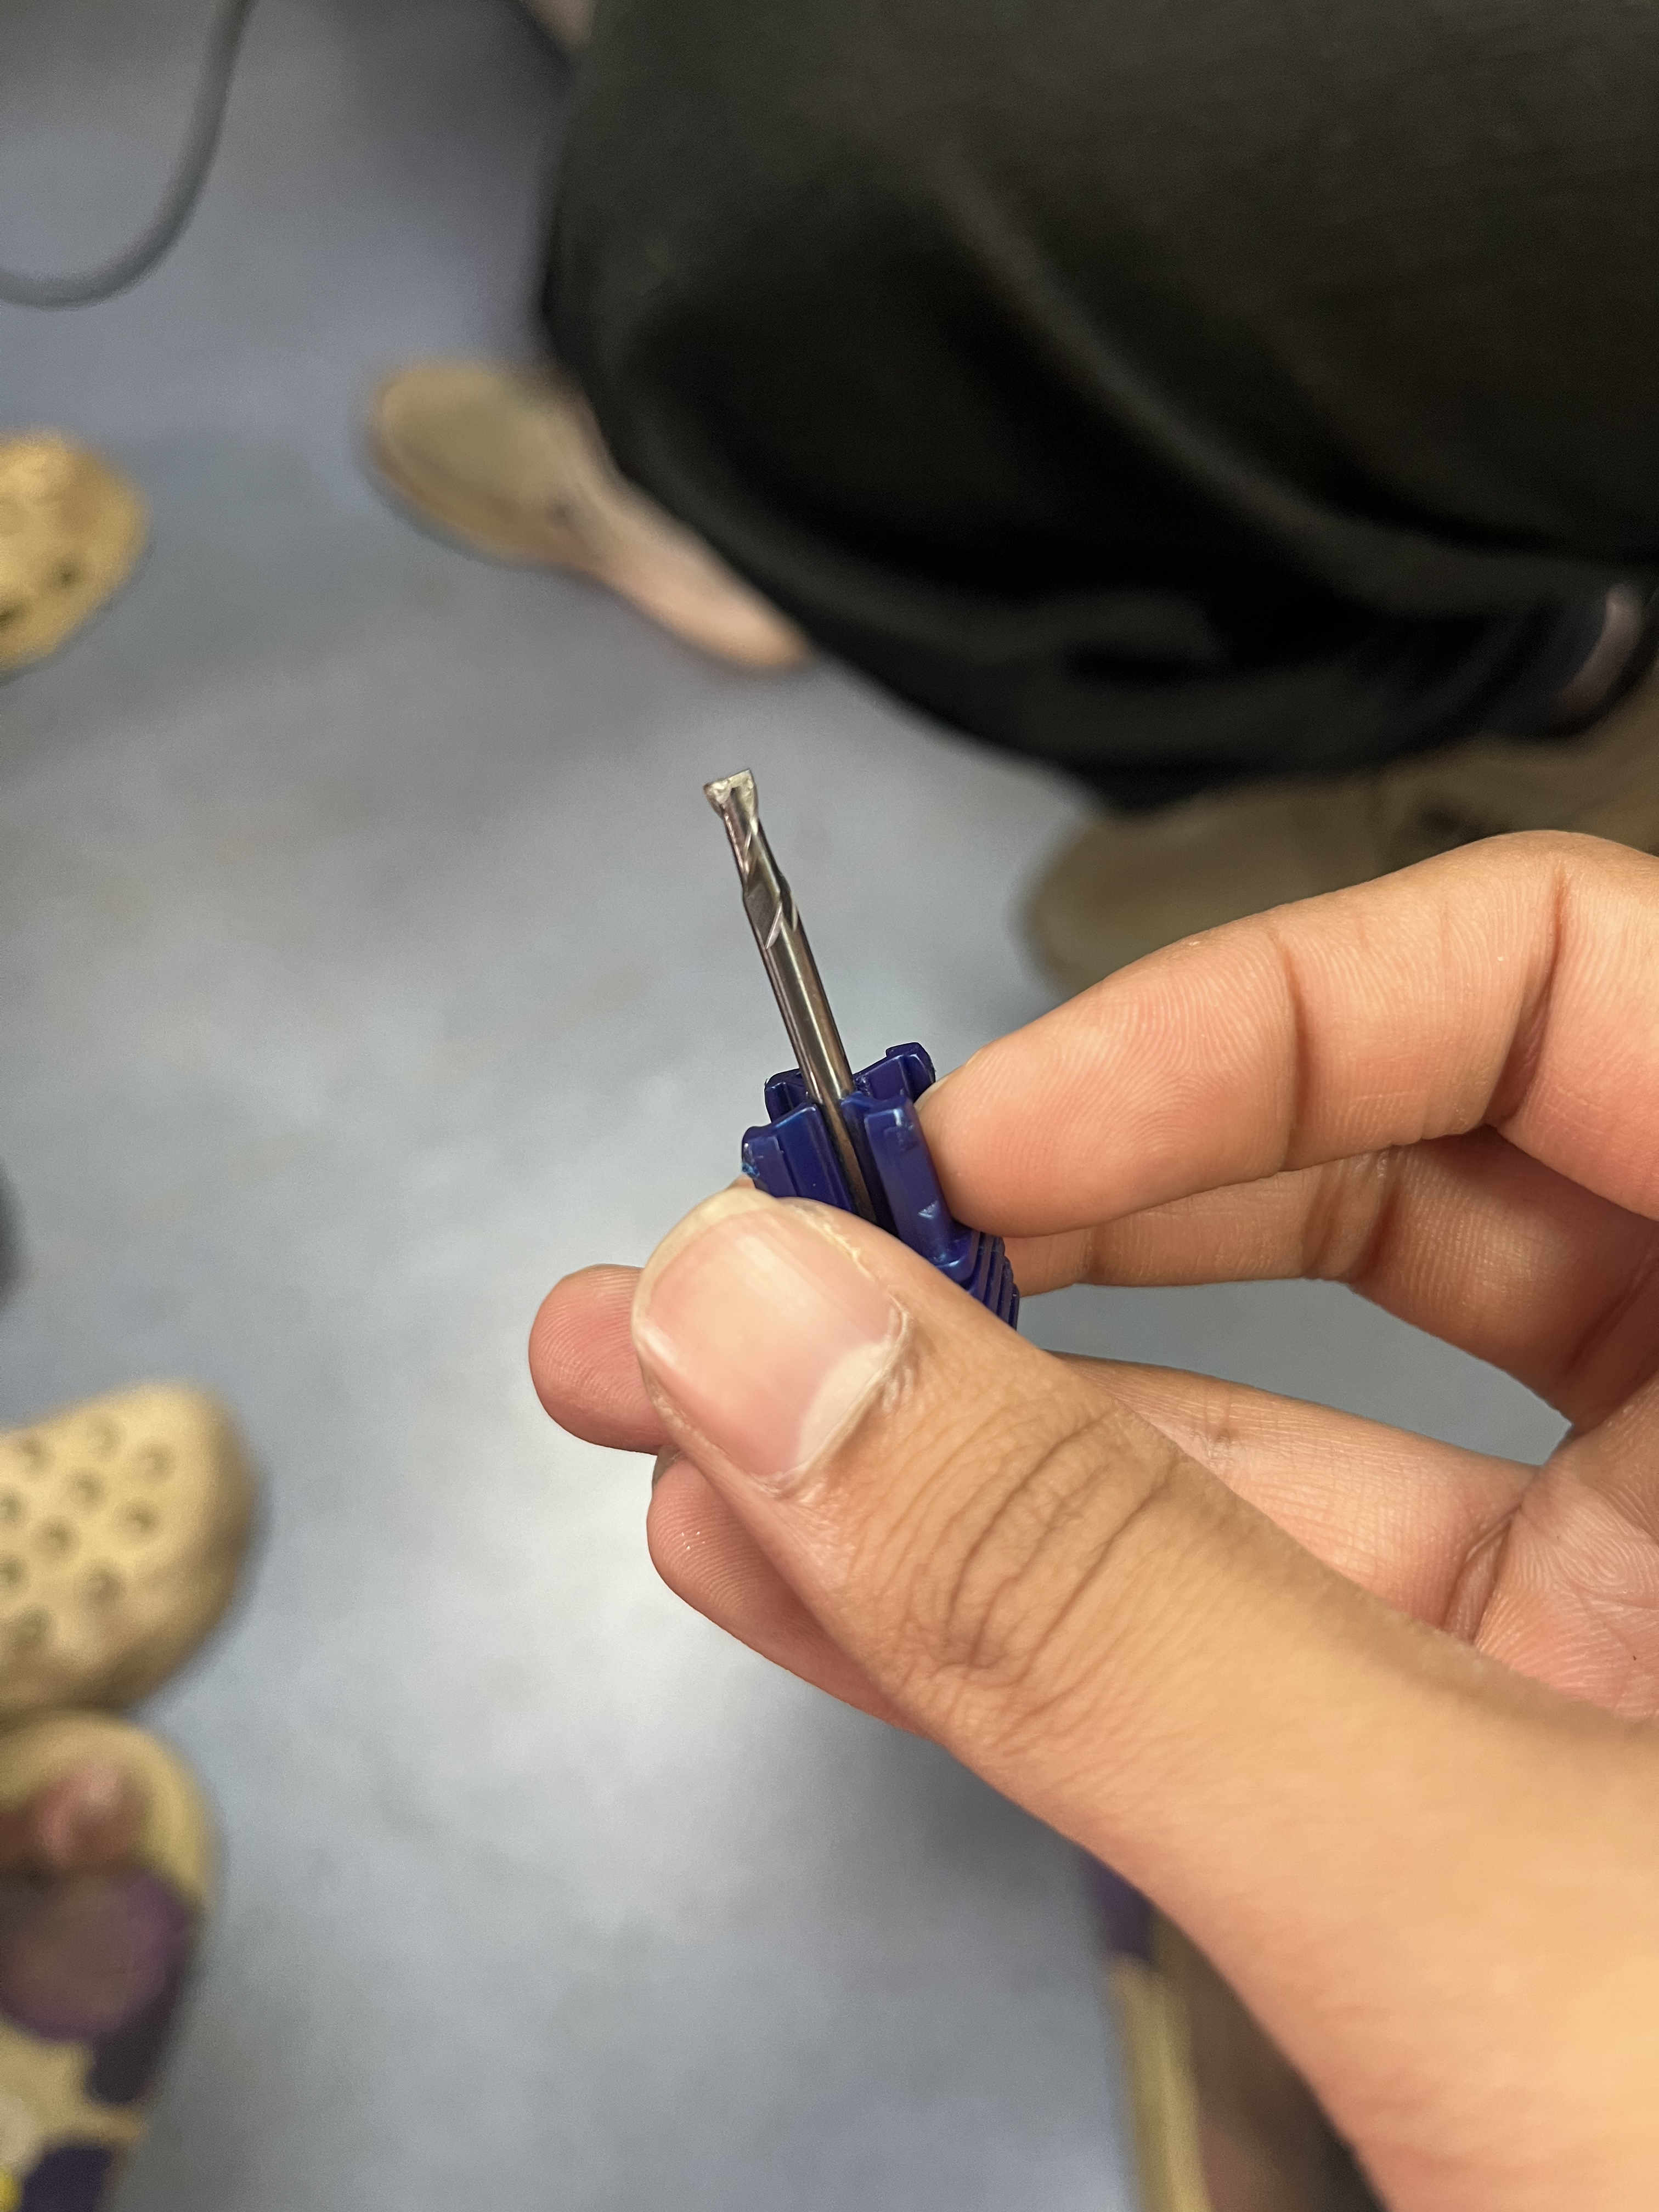
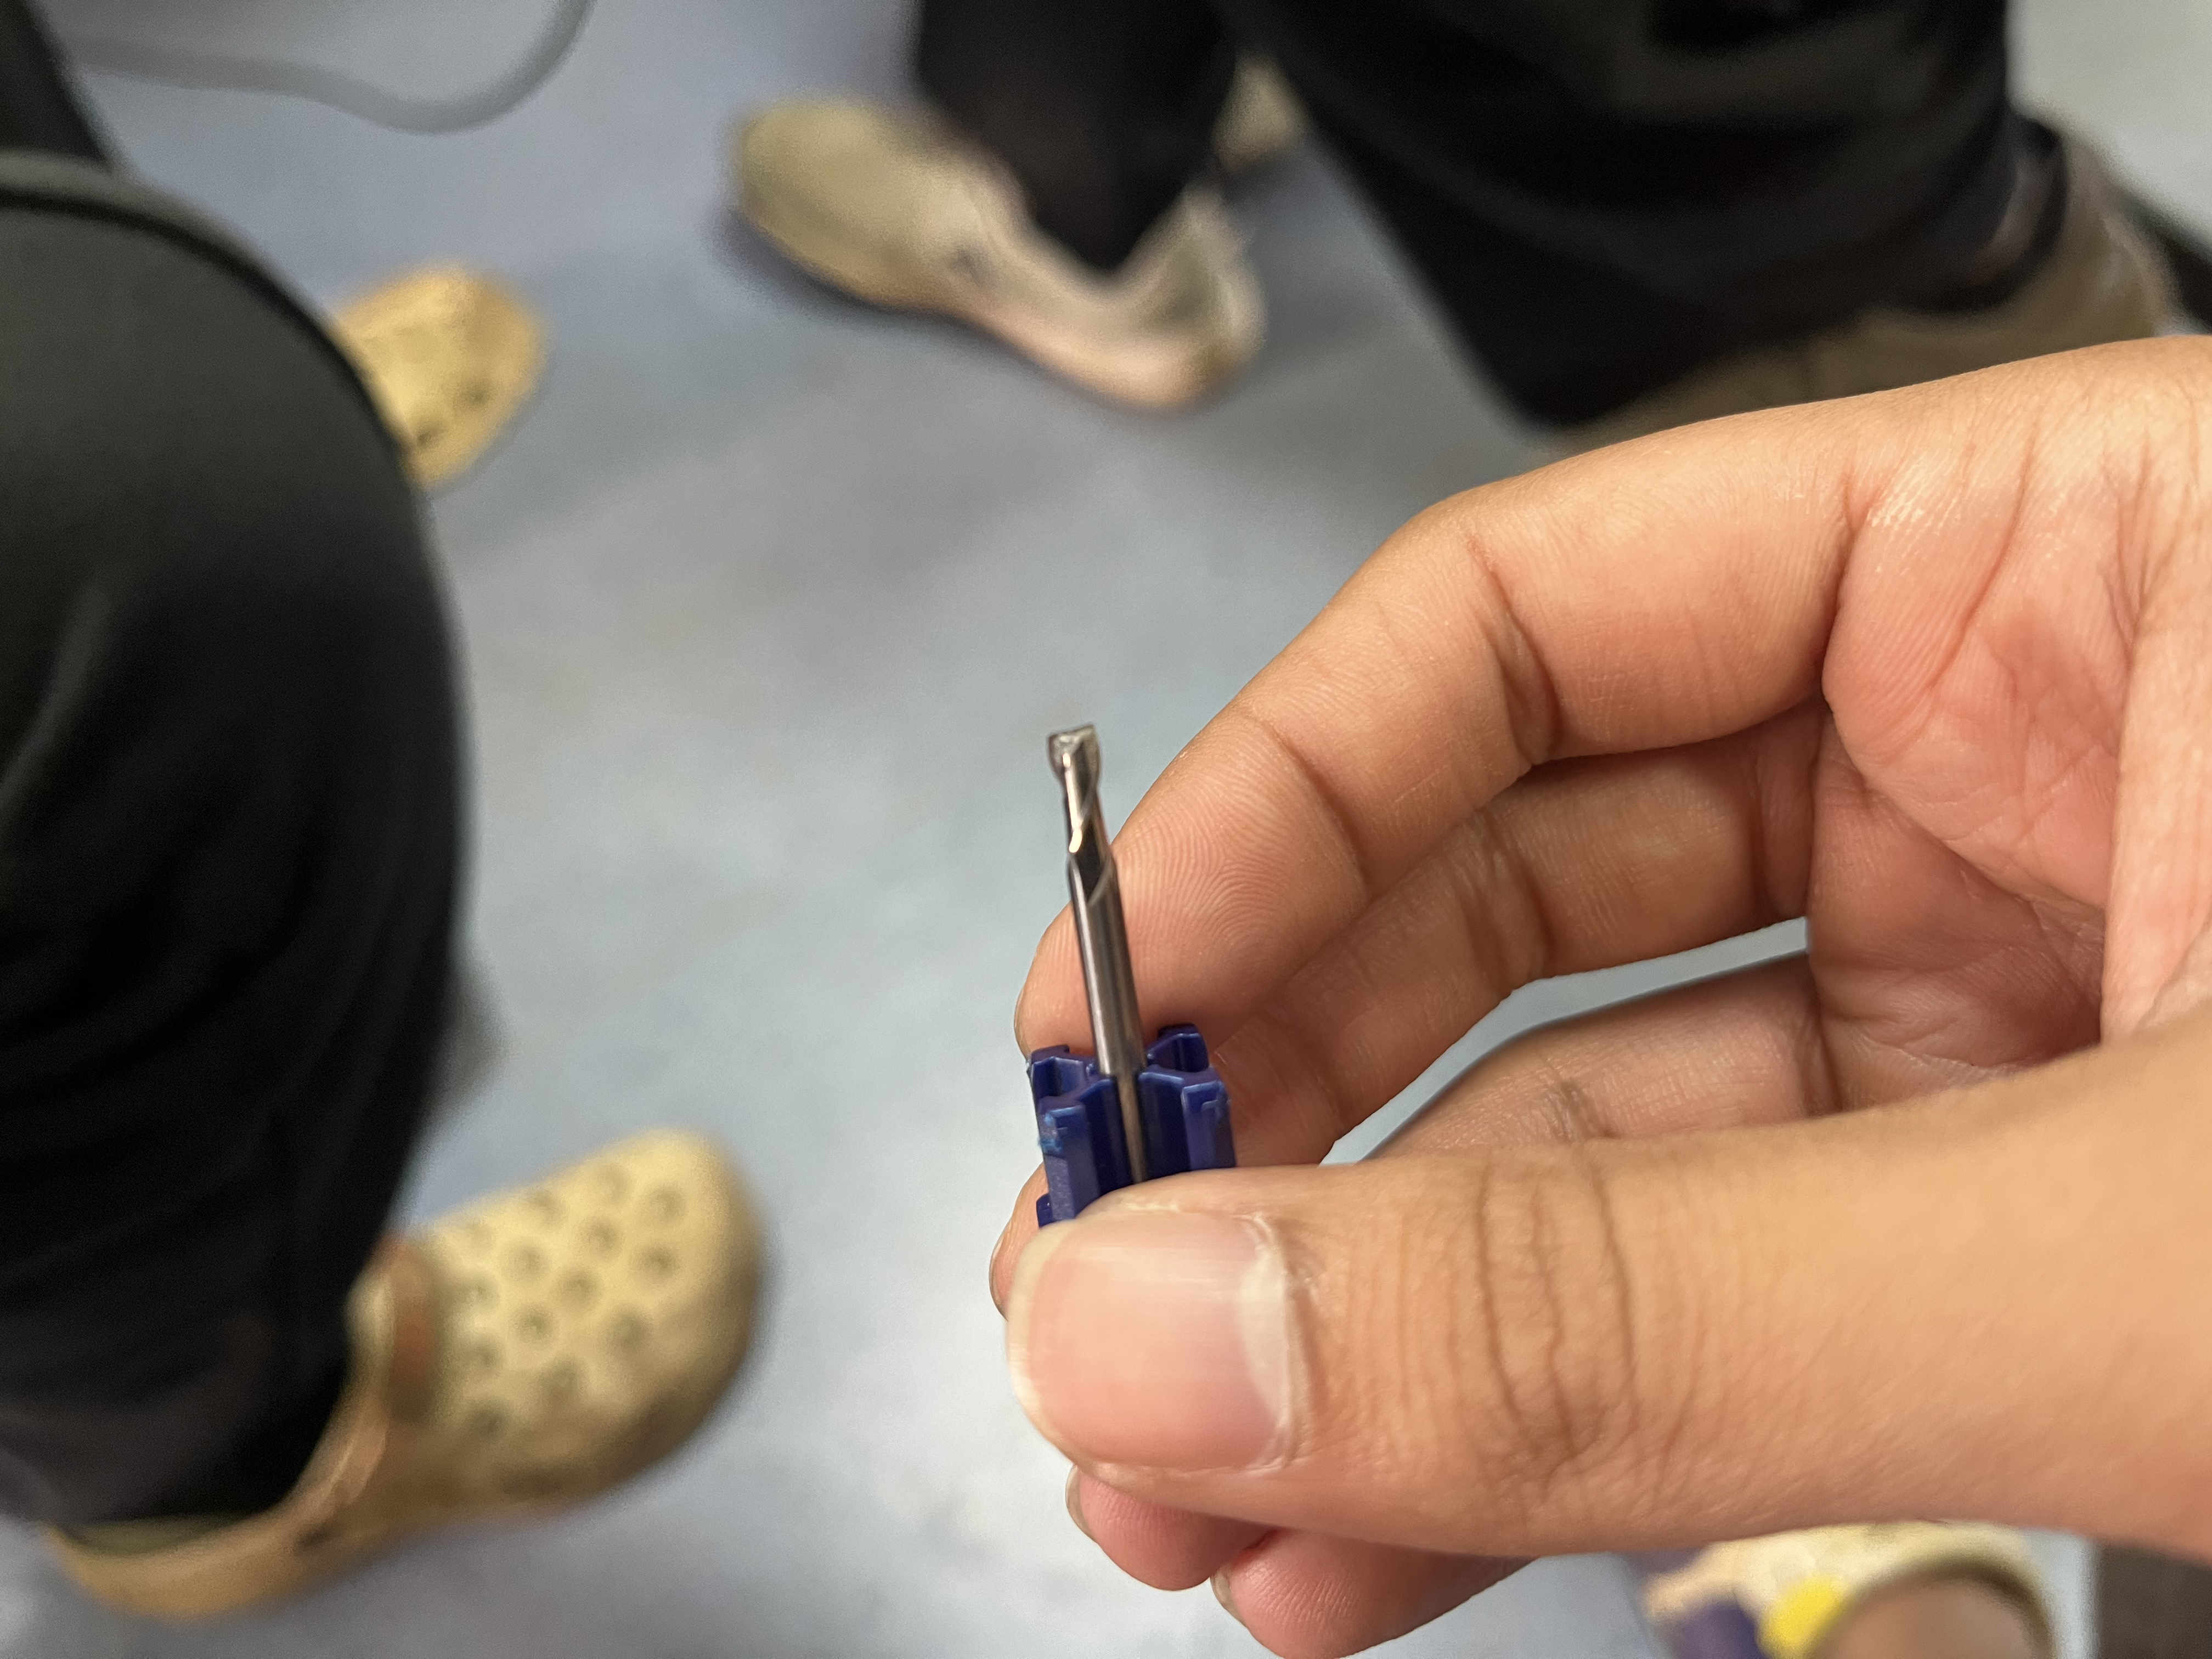 Flat and ball nose end mills
 Cutting and milling operation
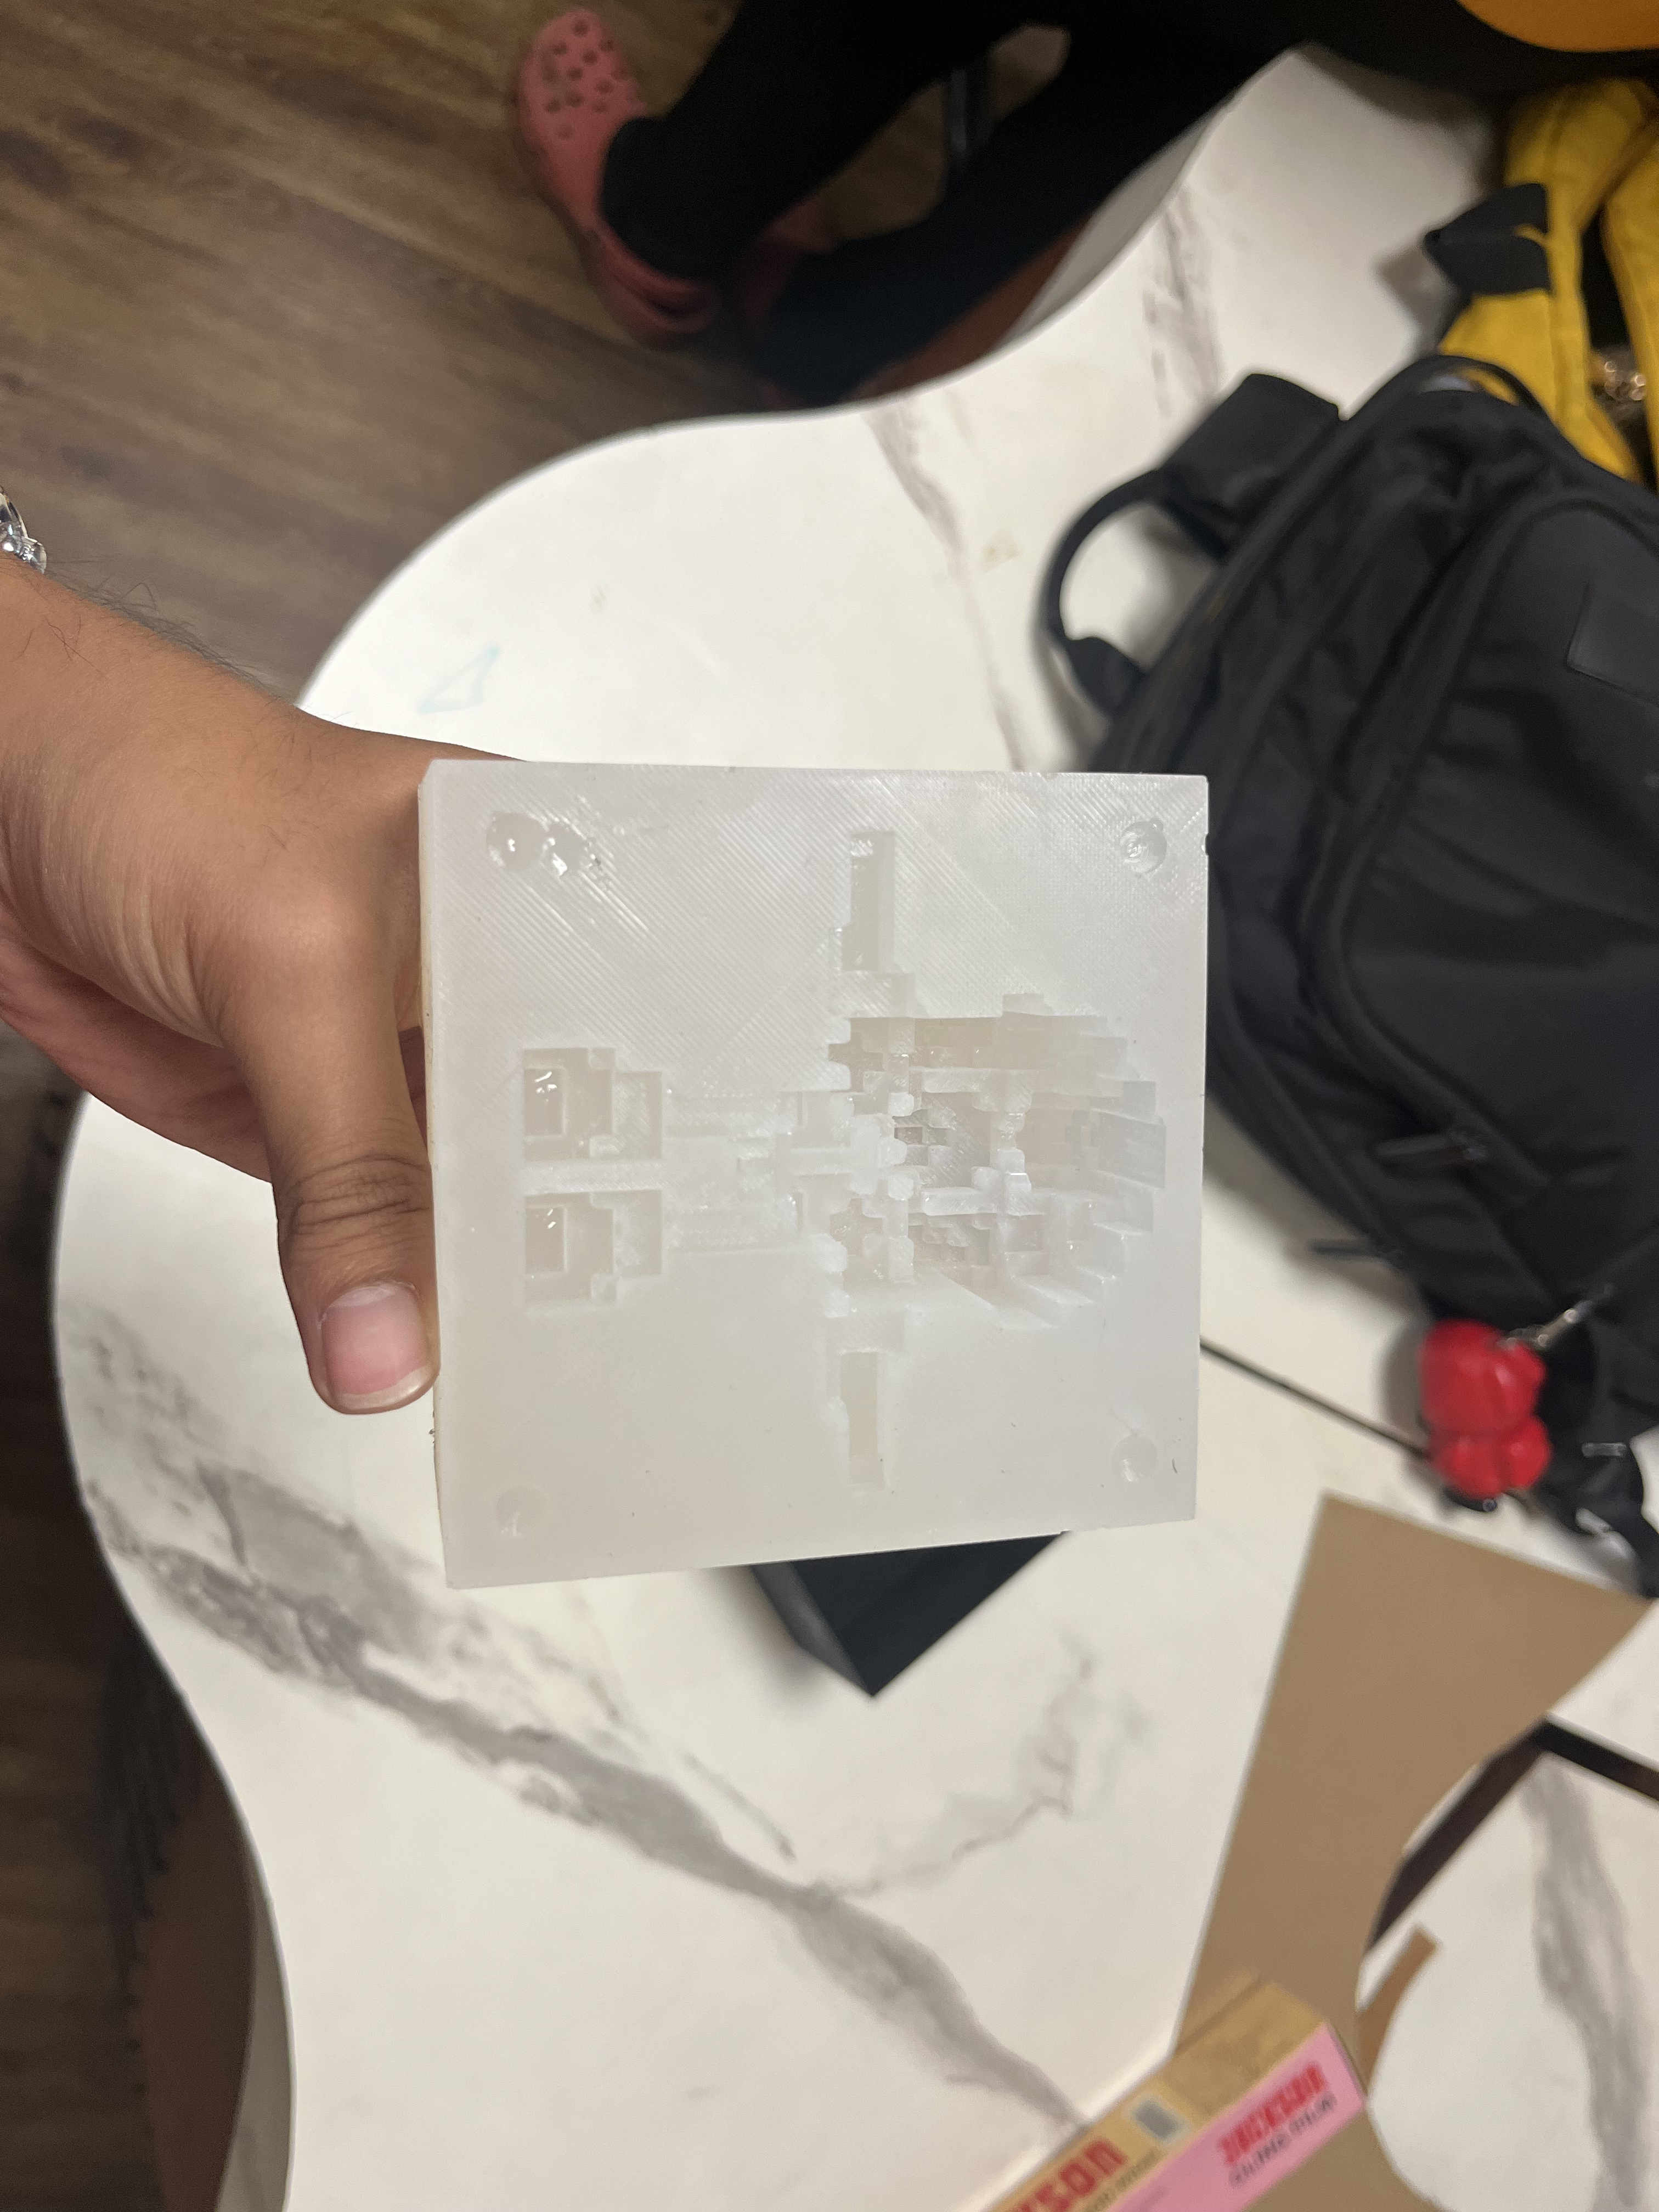
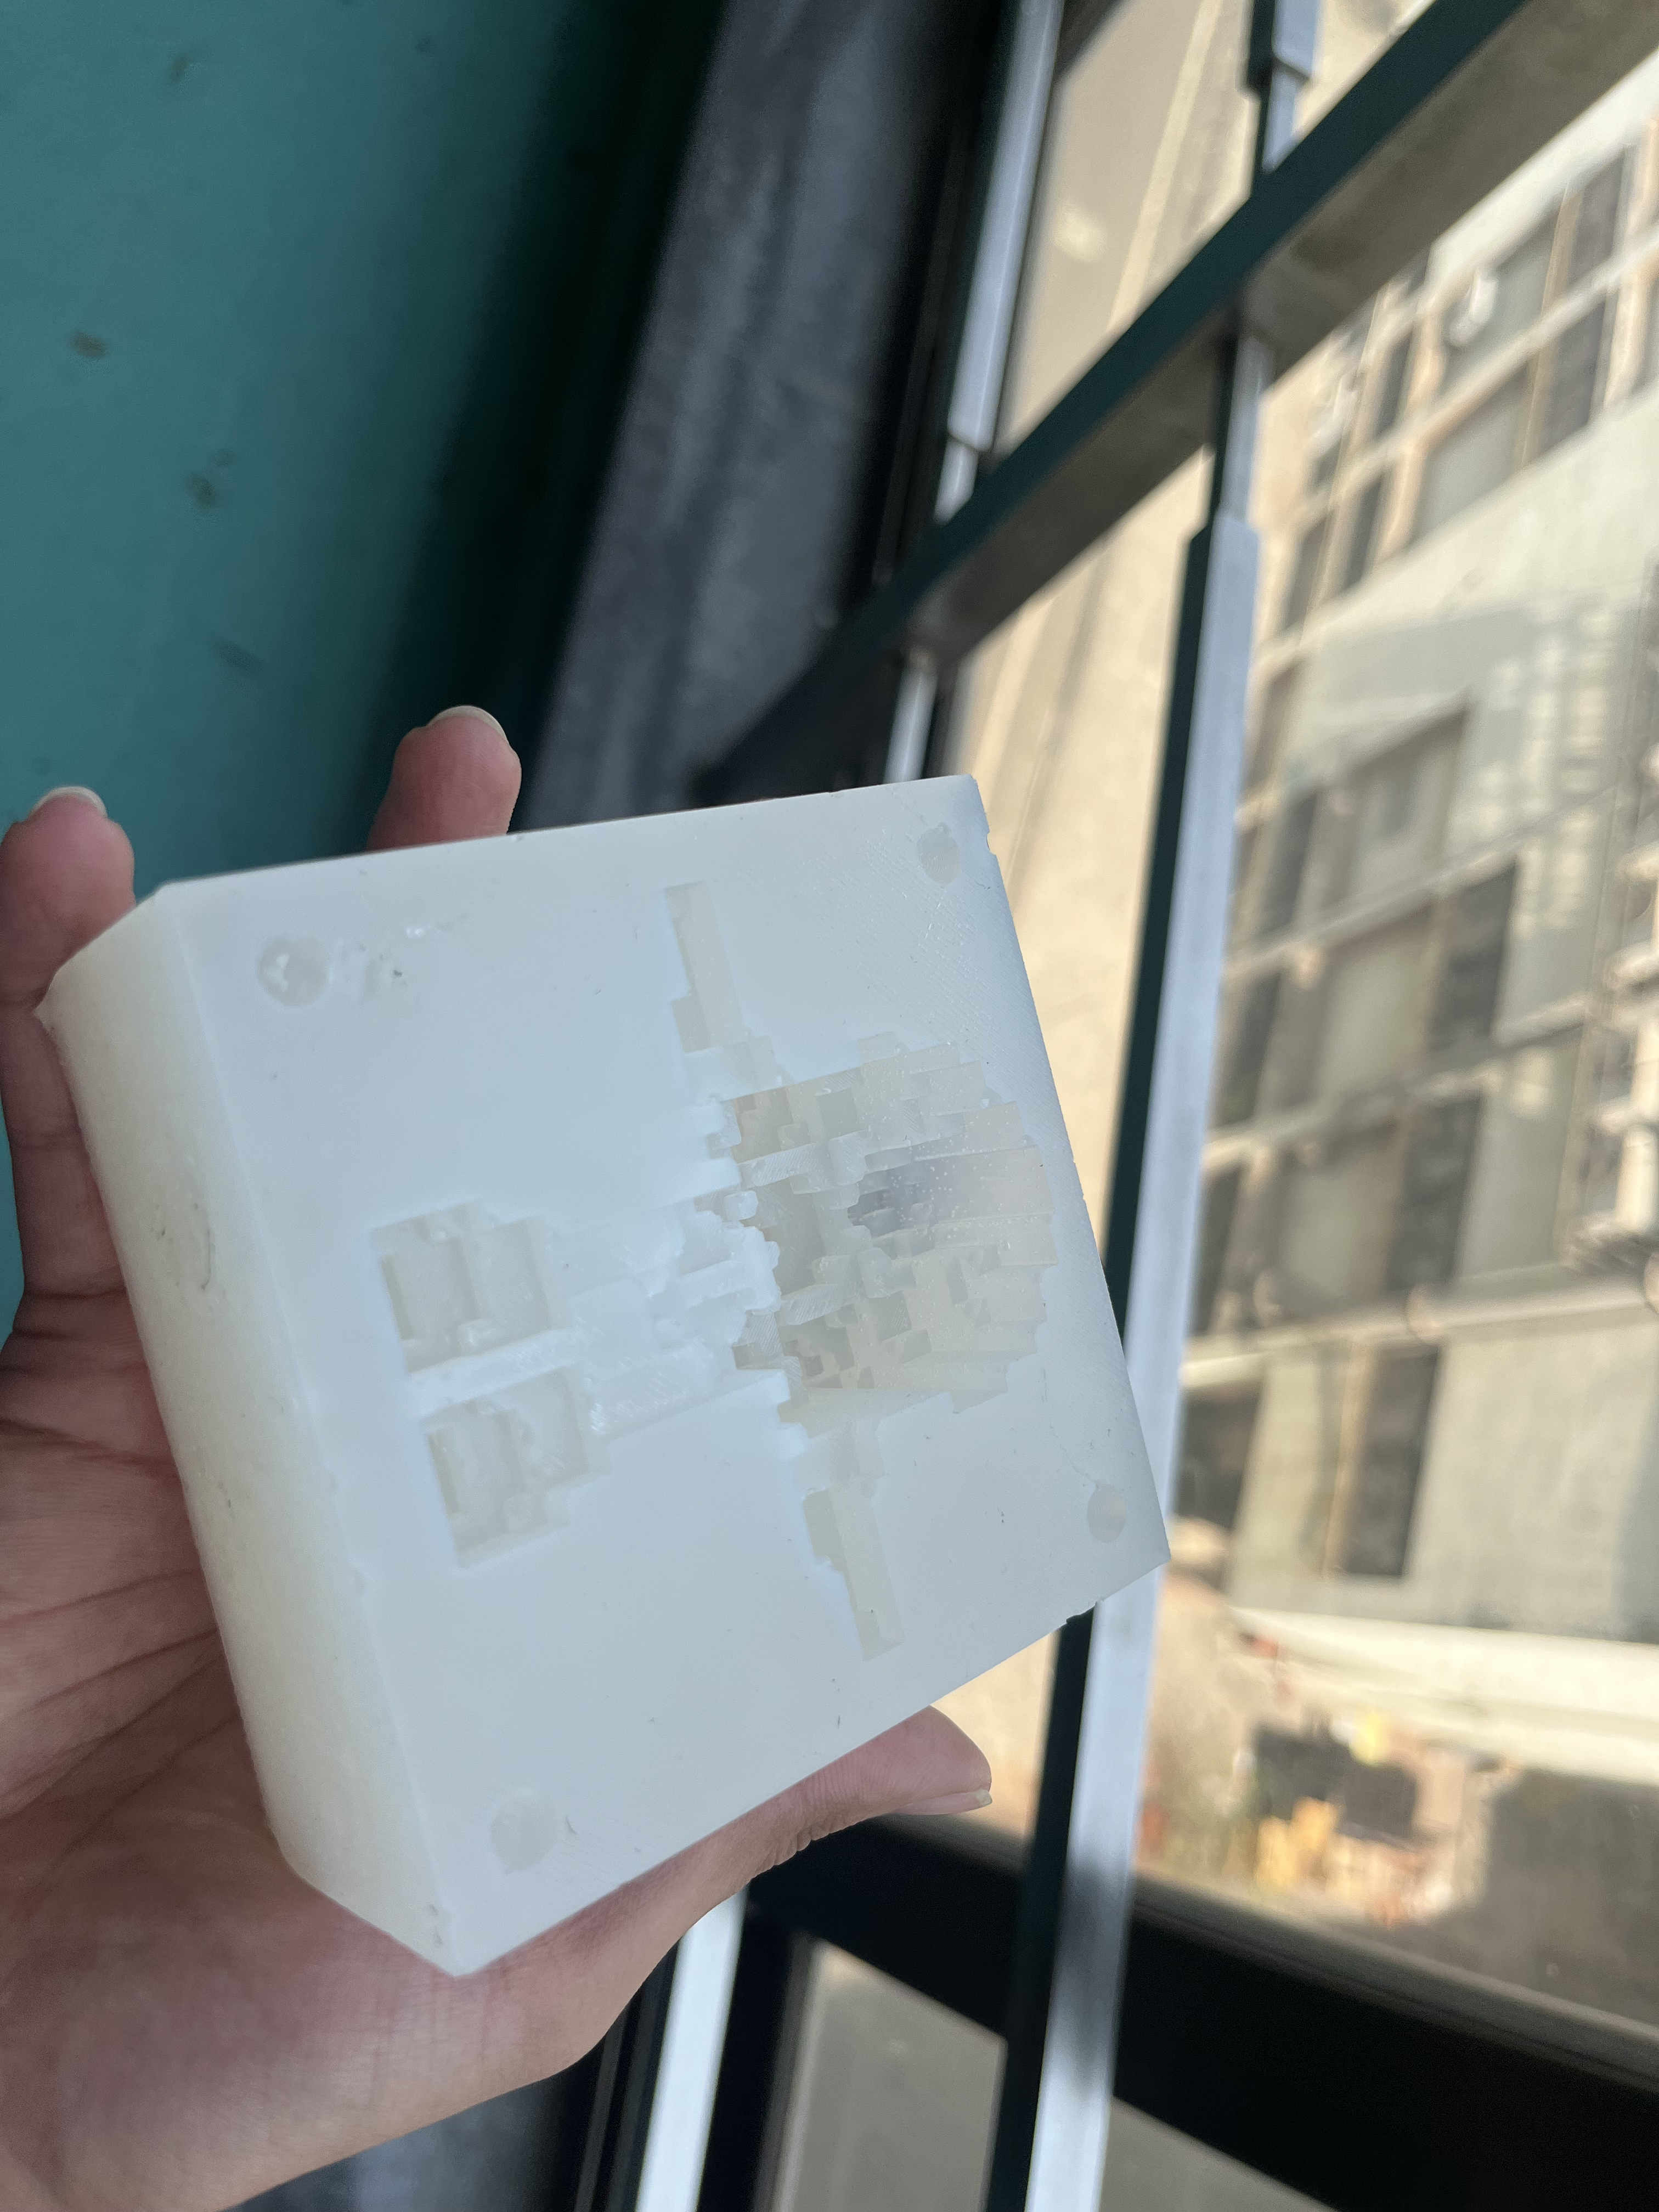
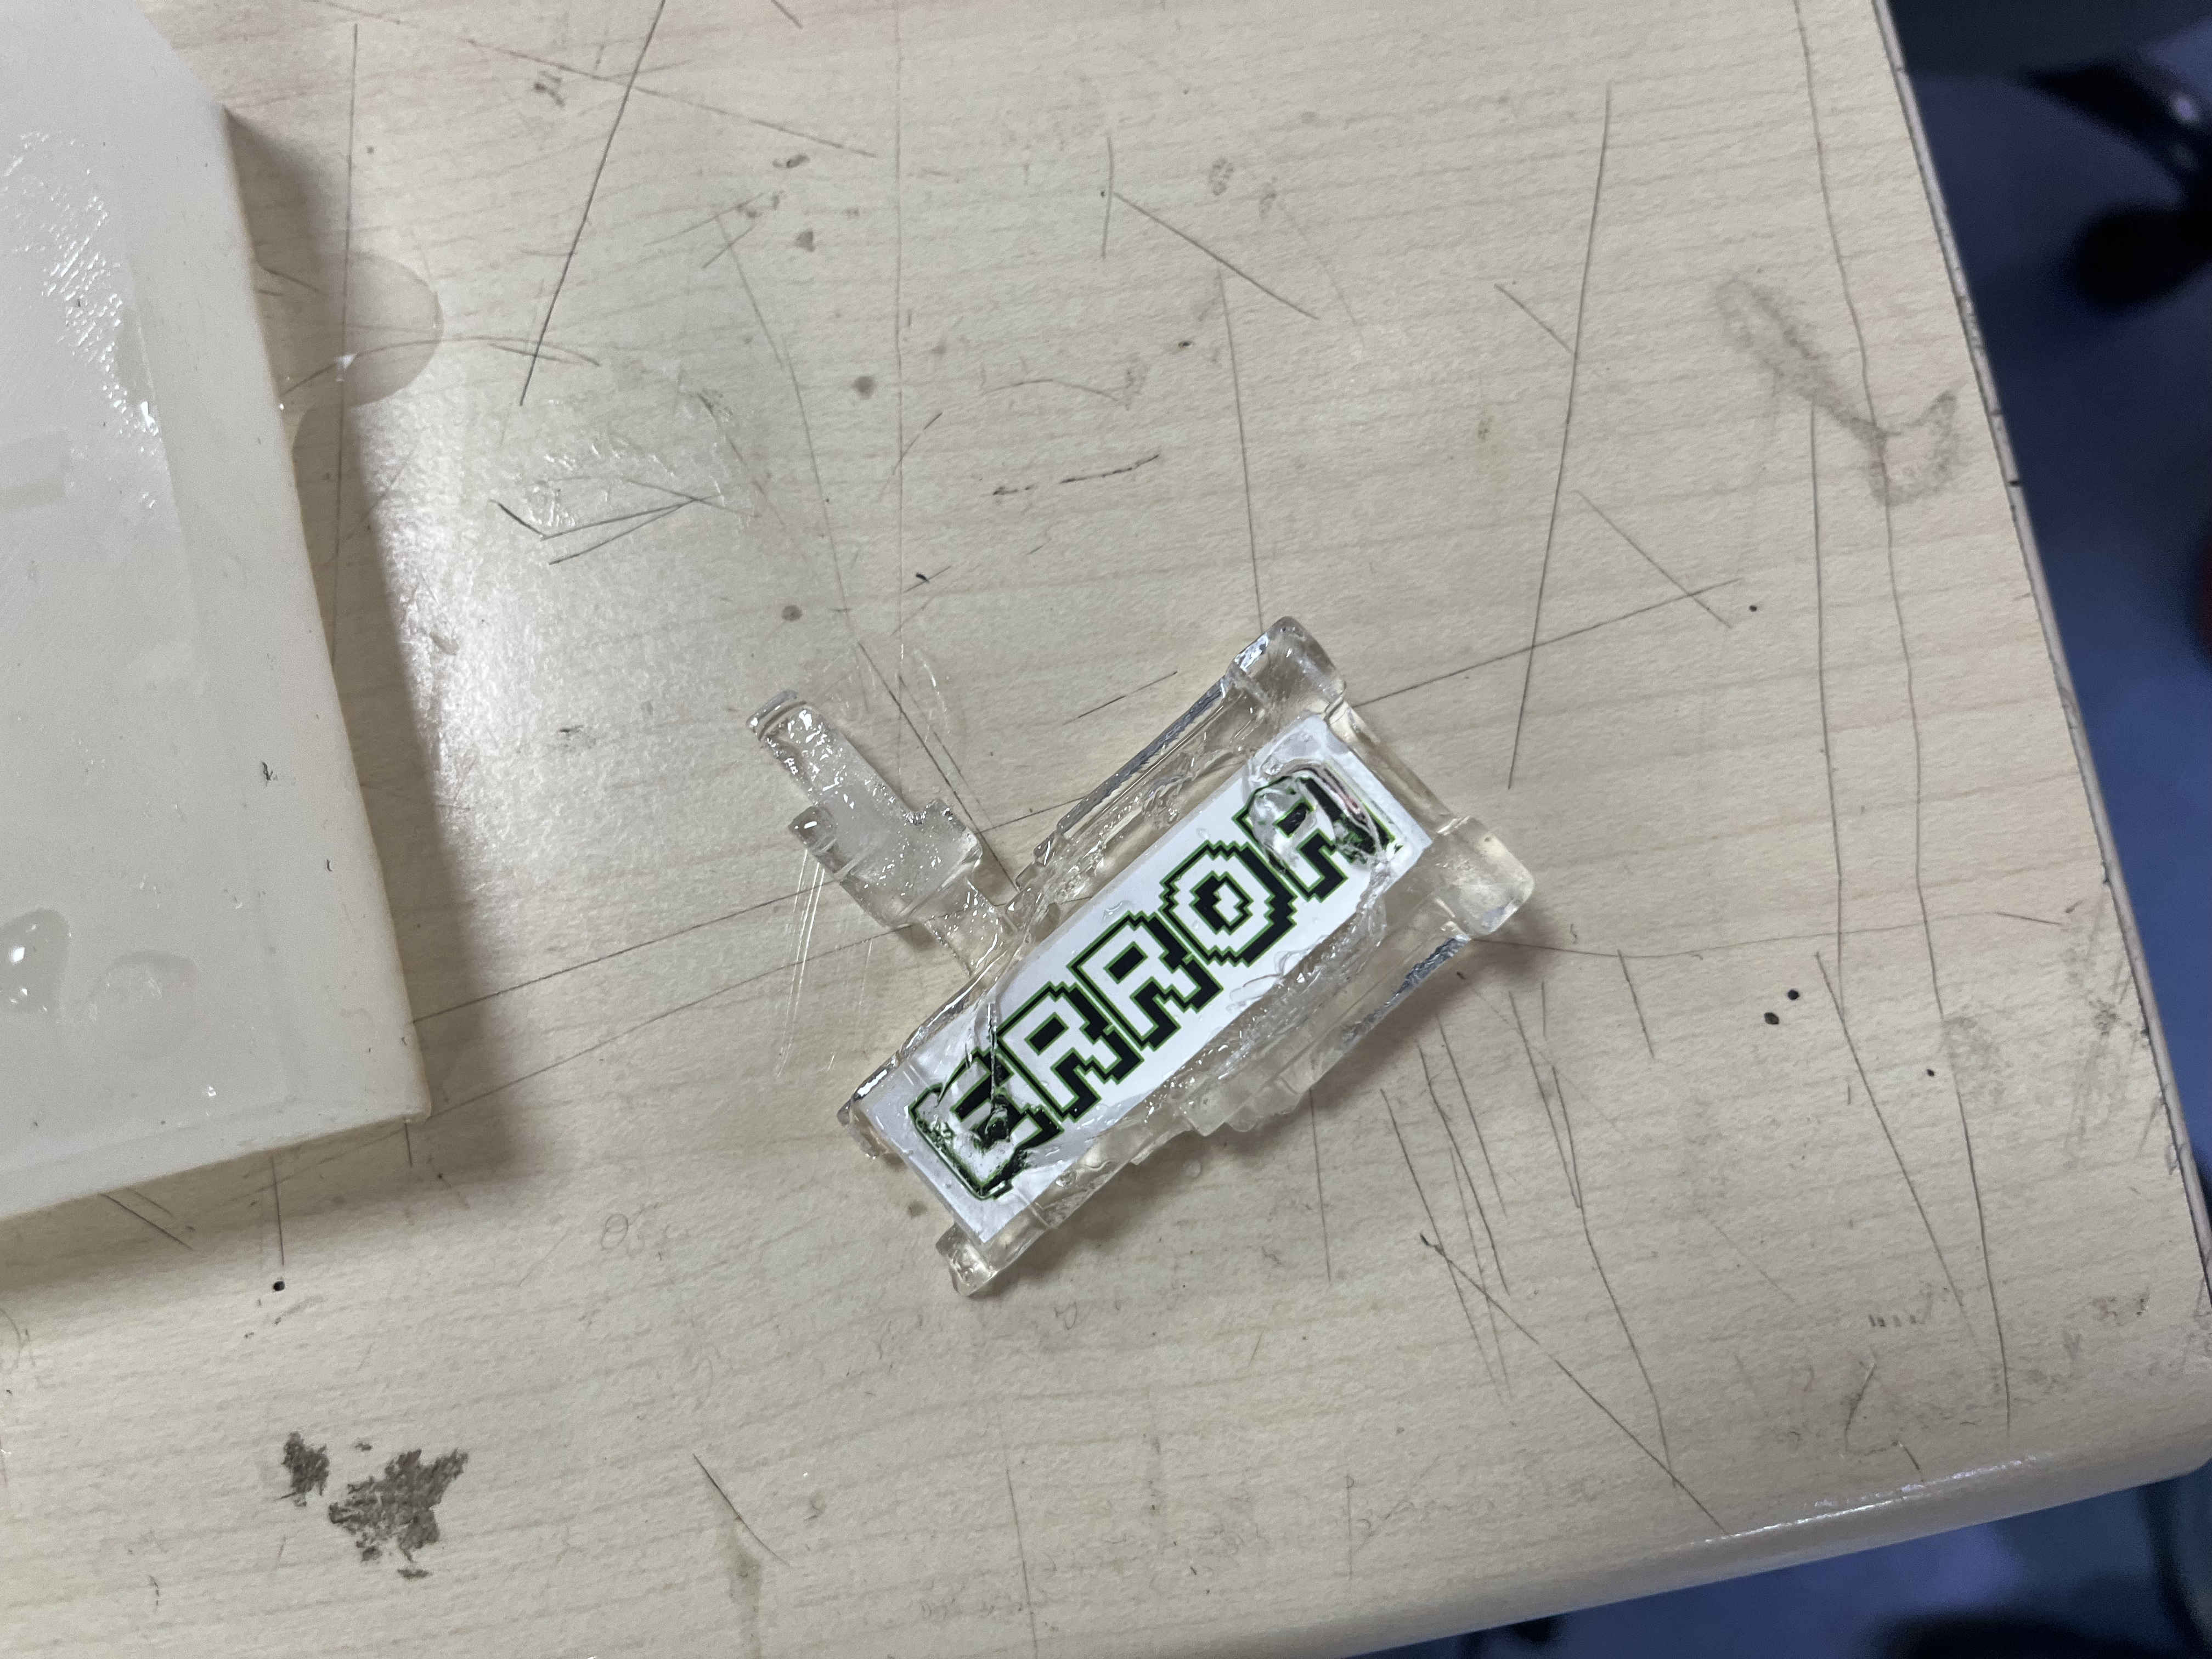
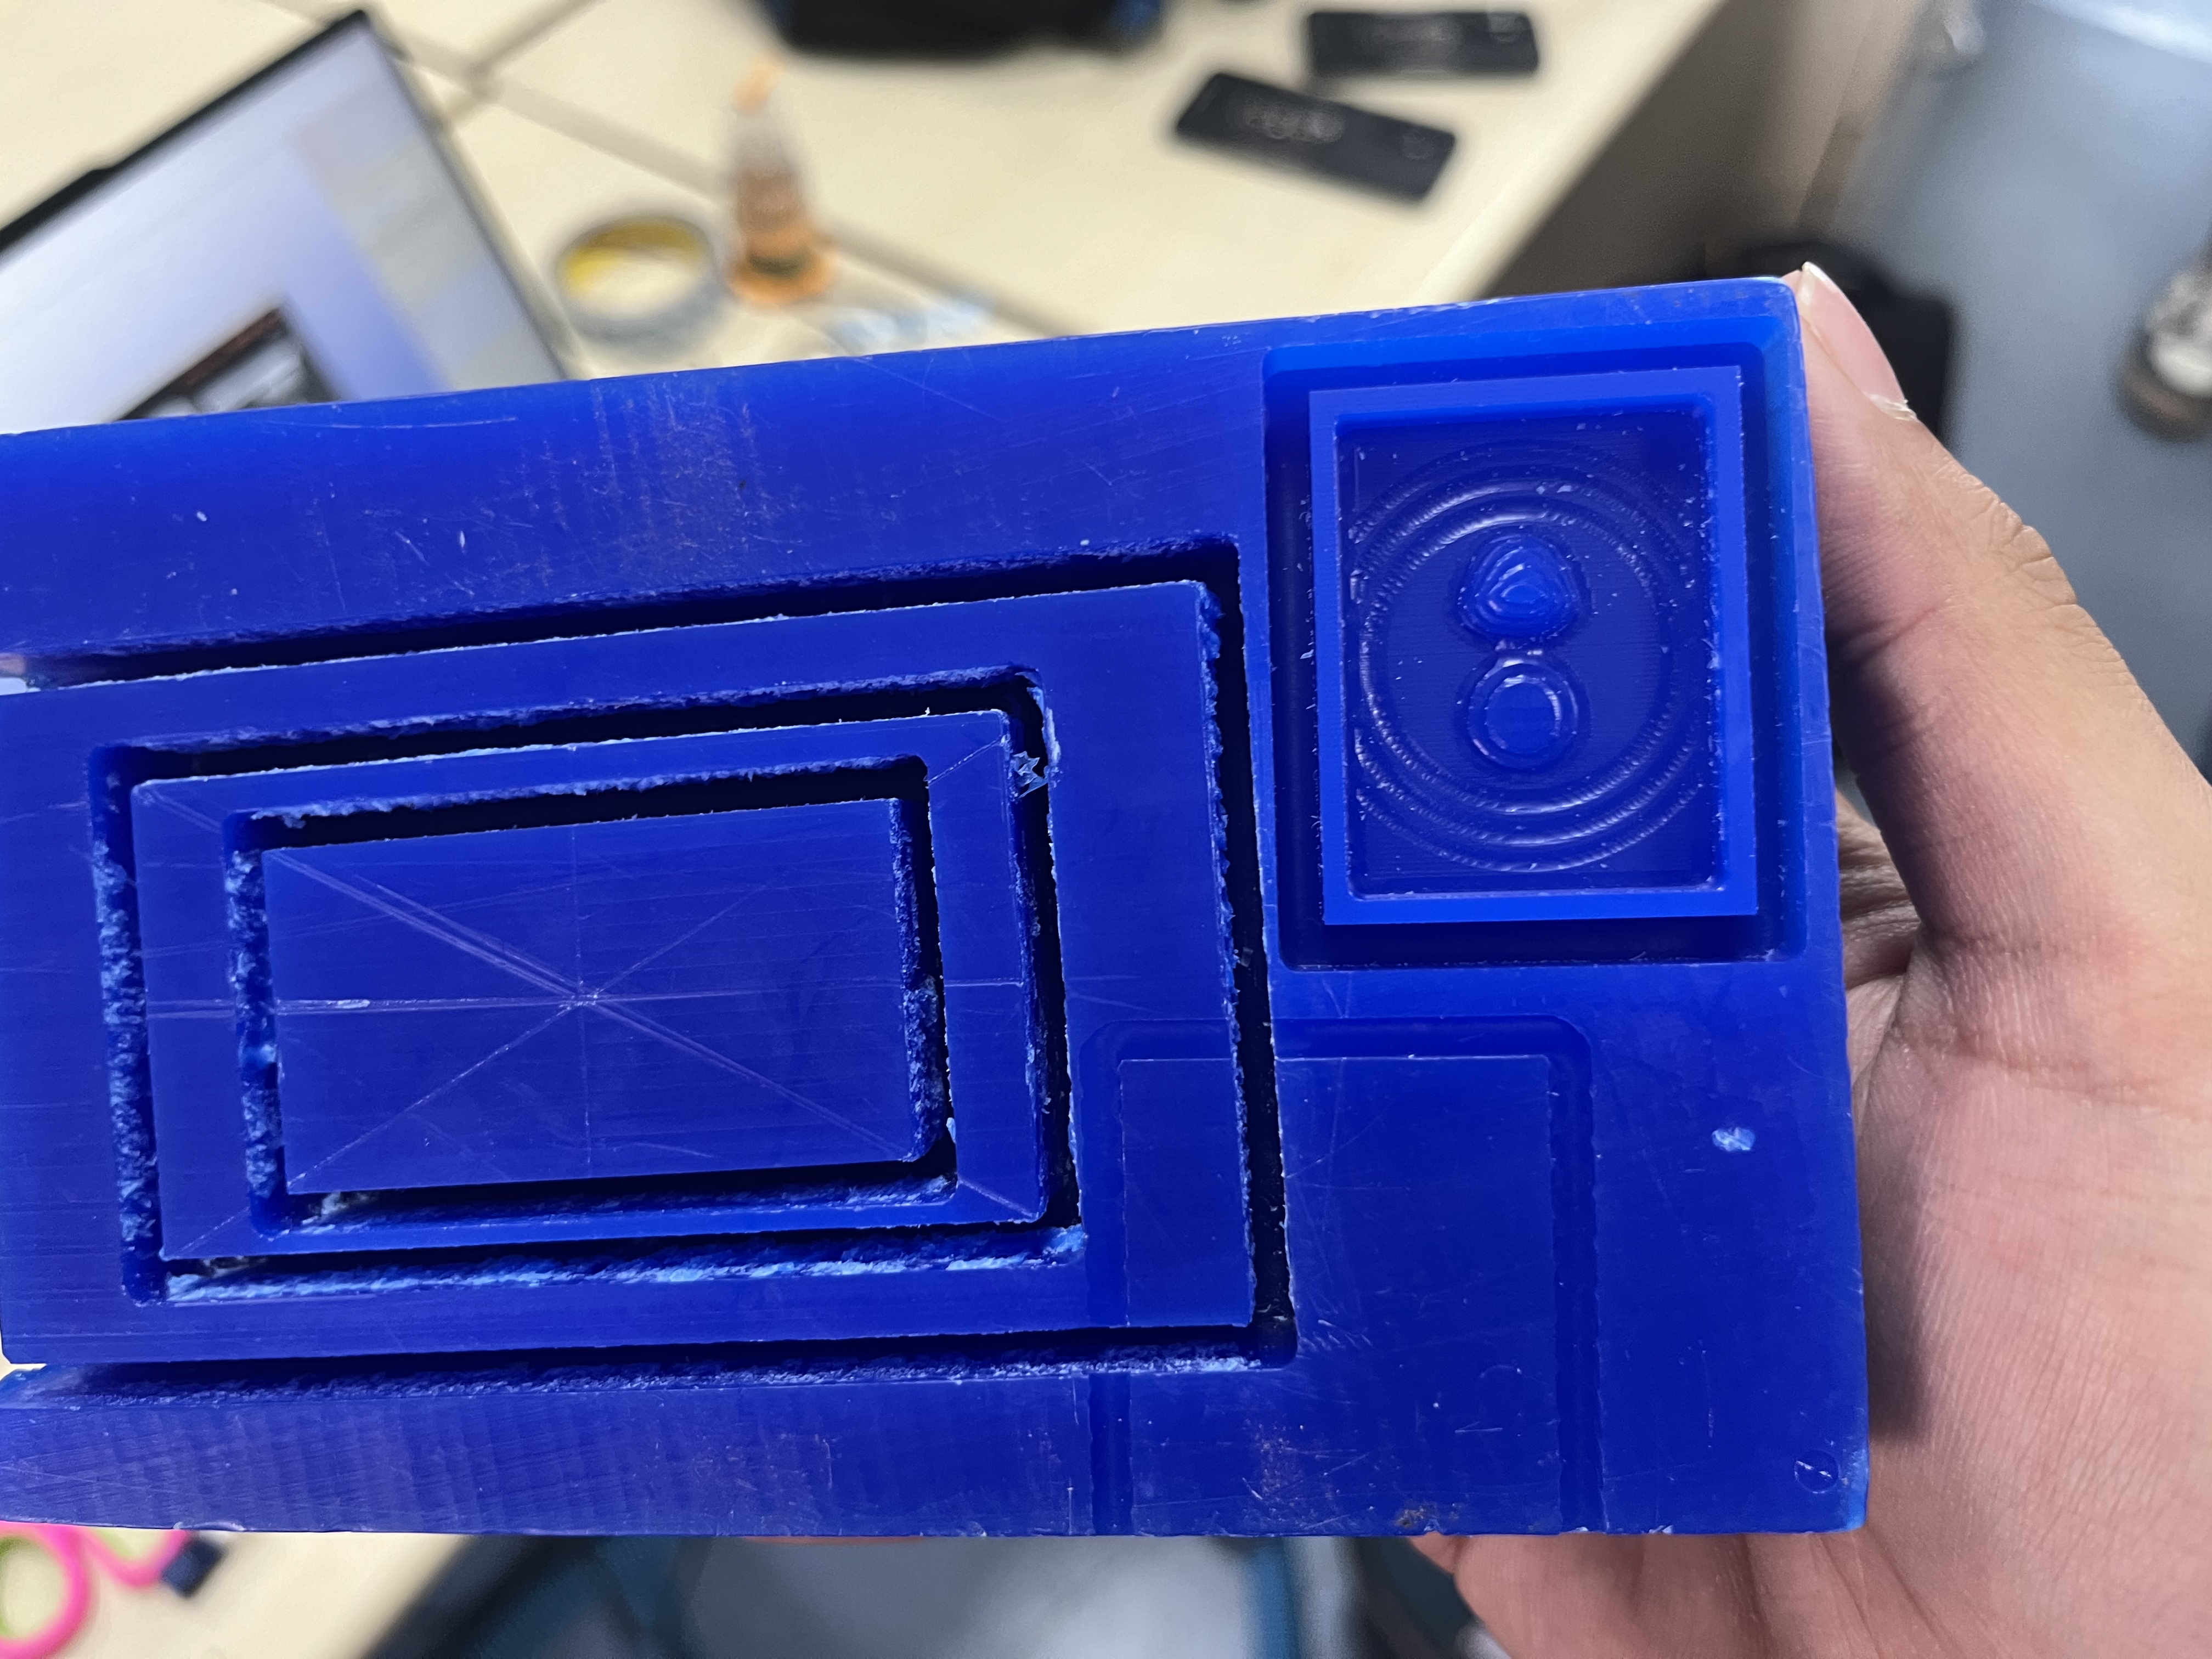 This was the final result
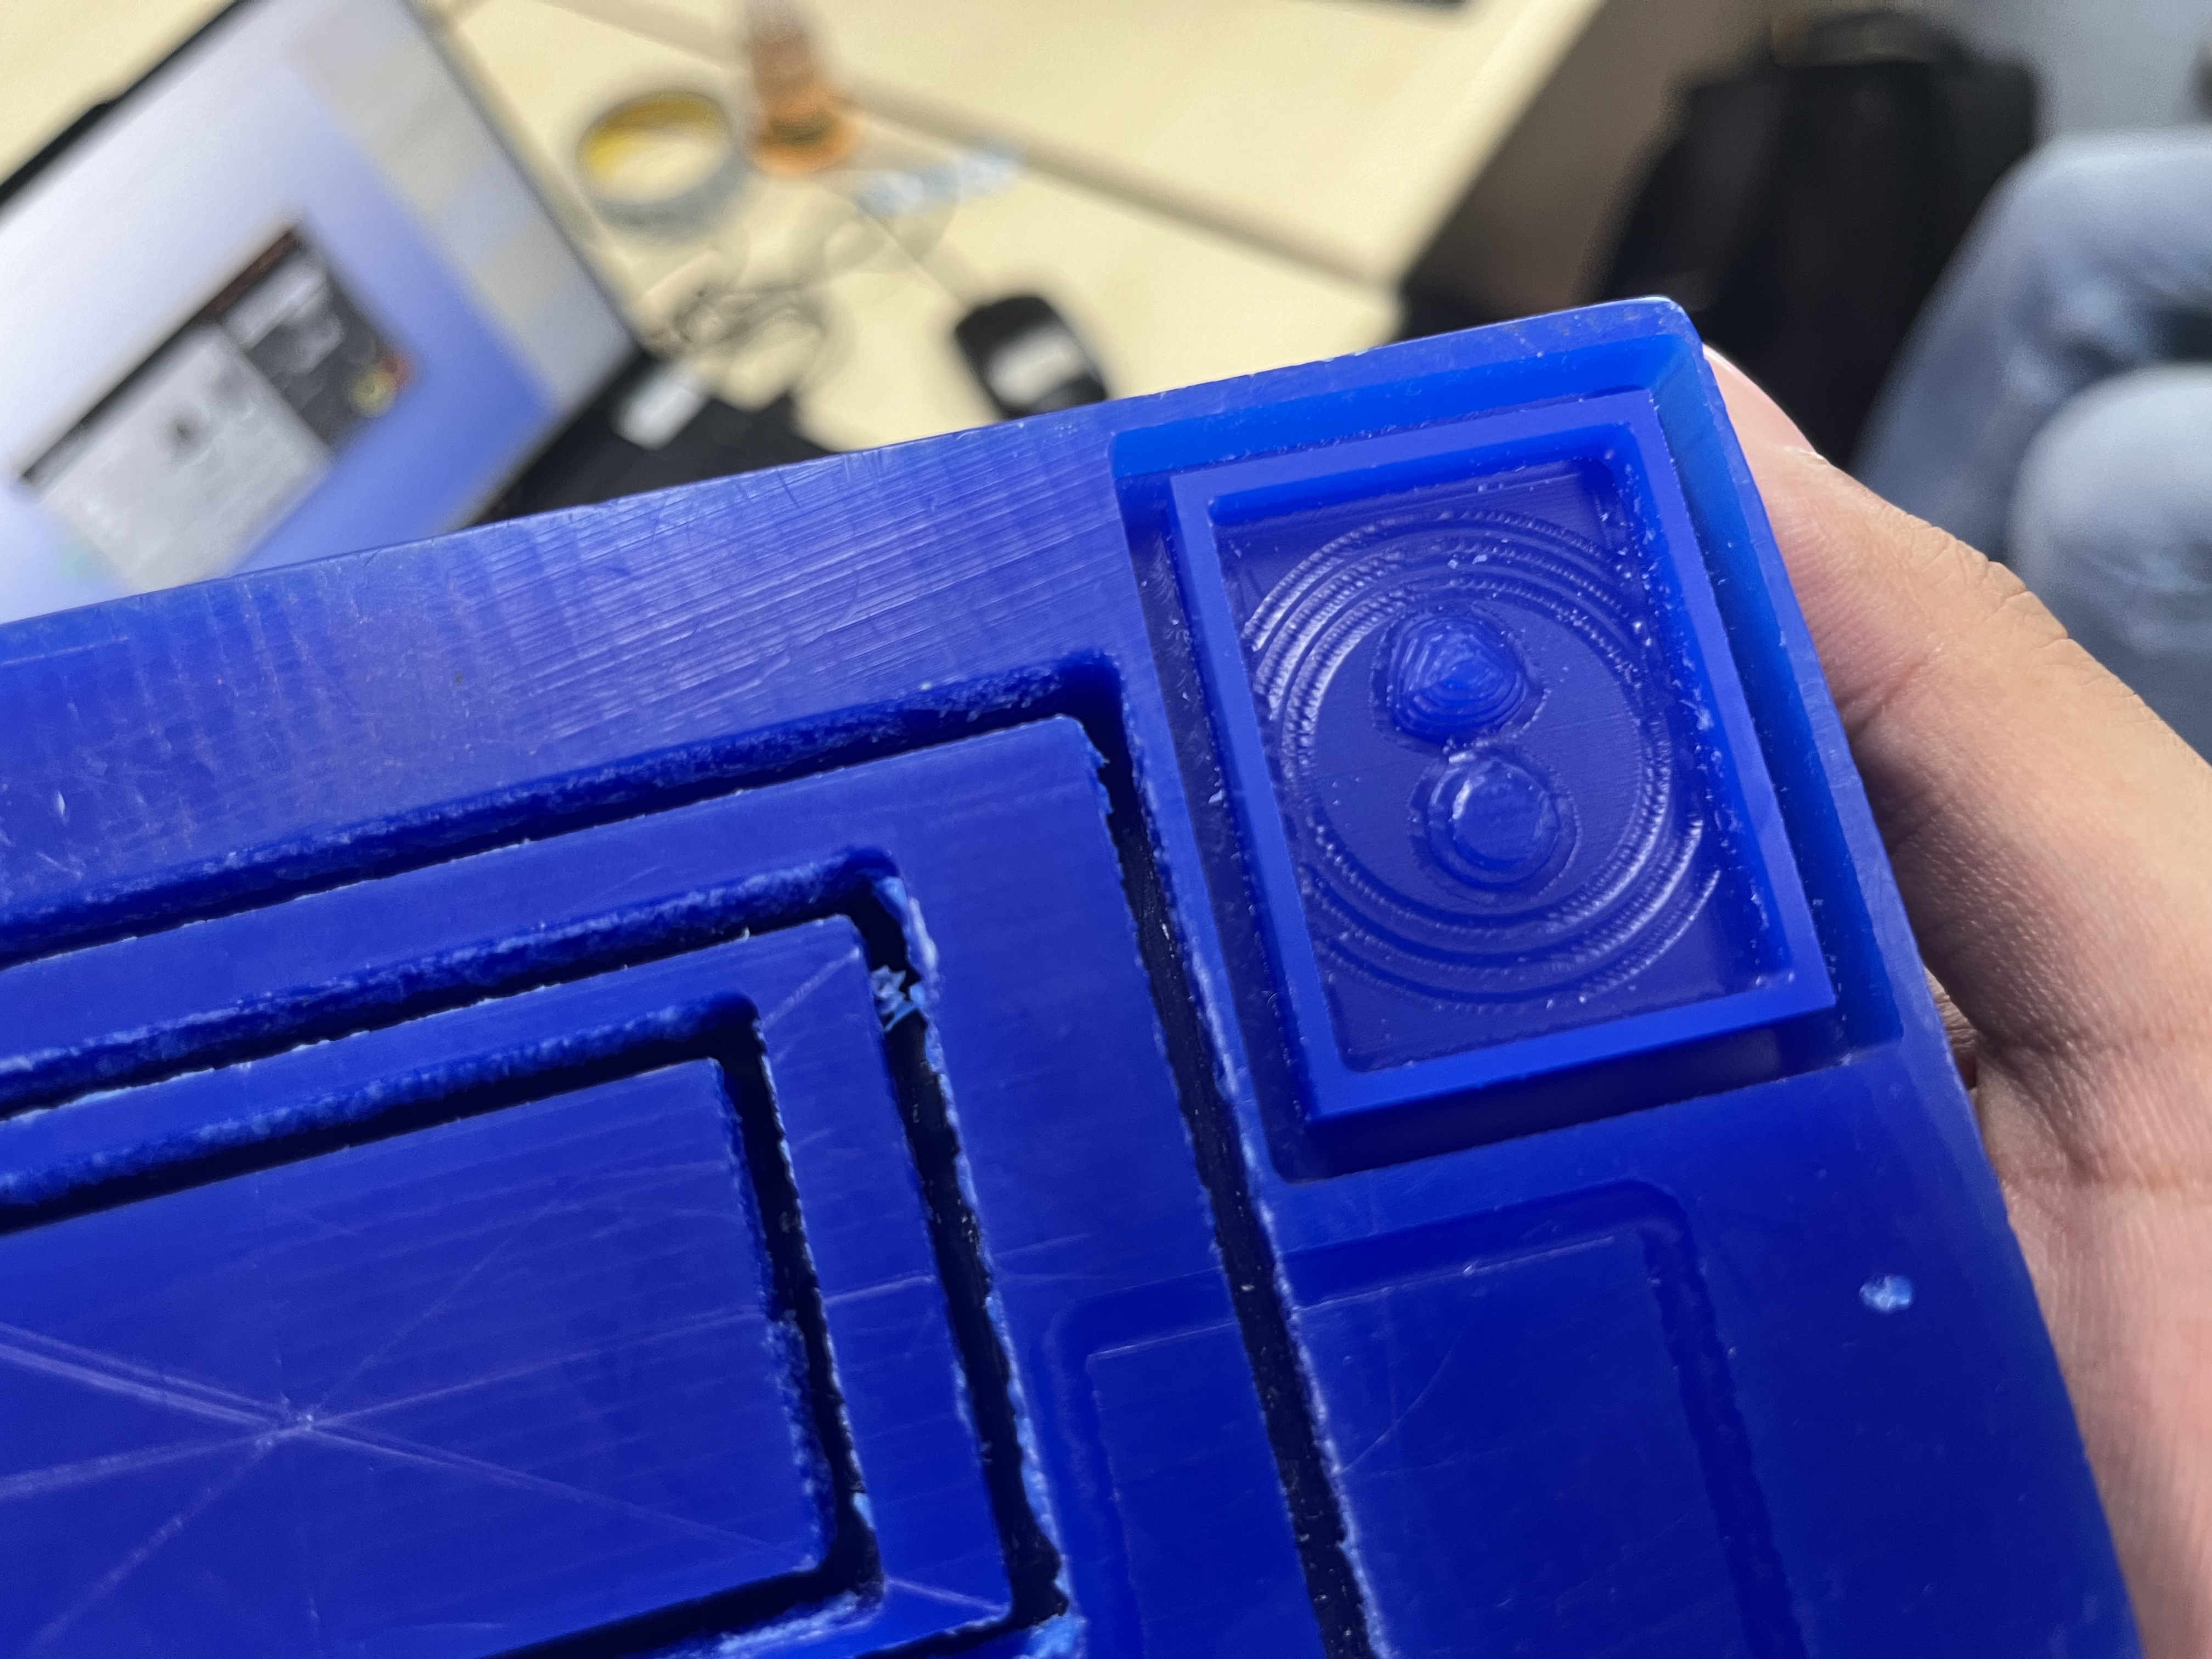 I did not keep scale of model in mind thus the grooves and model was toooooo thin to make anyhting out of
I decided to still just try out what happens and make a new planned model later.
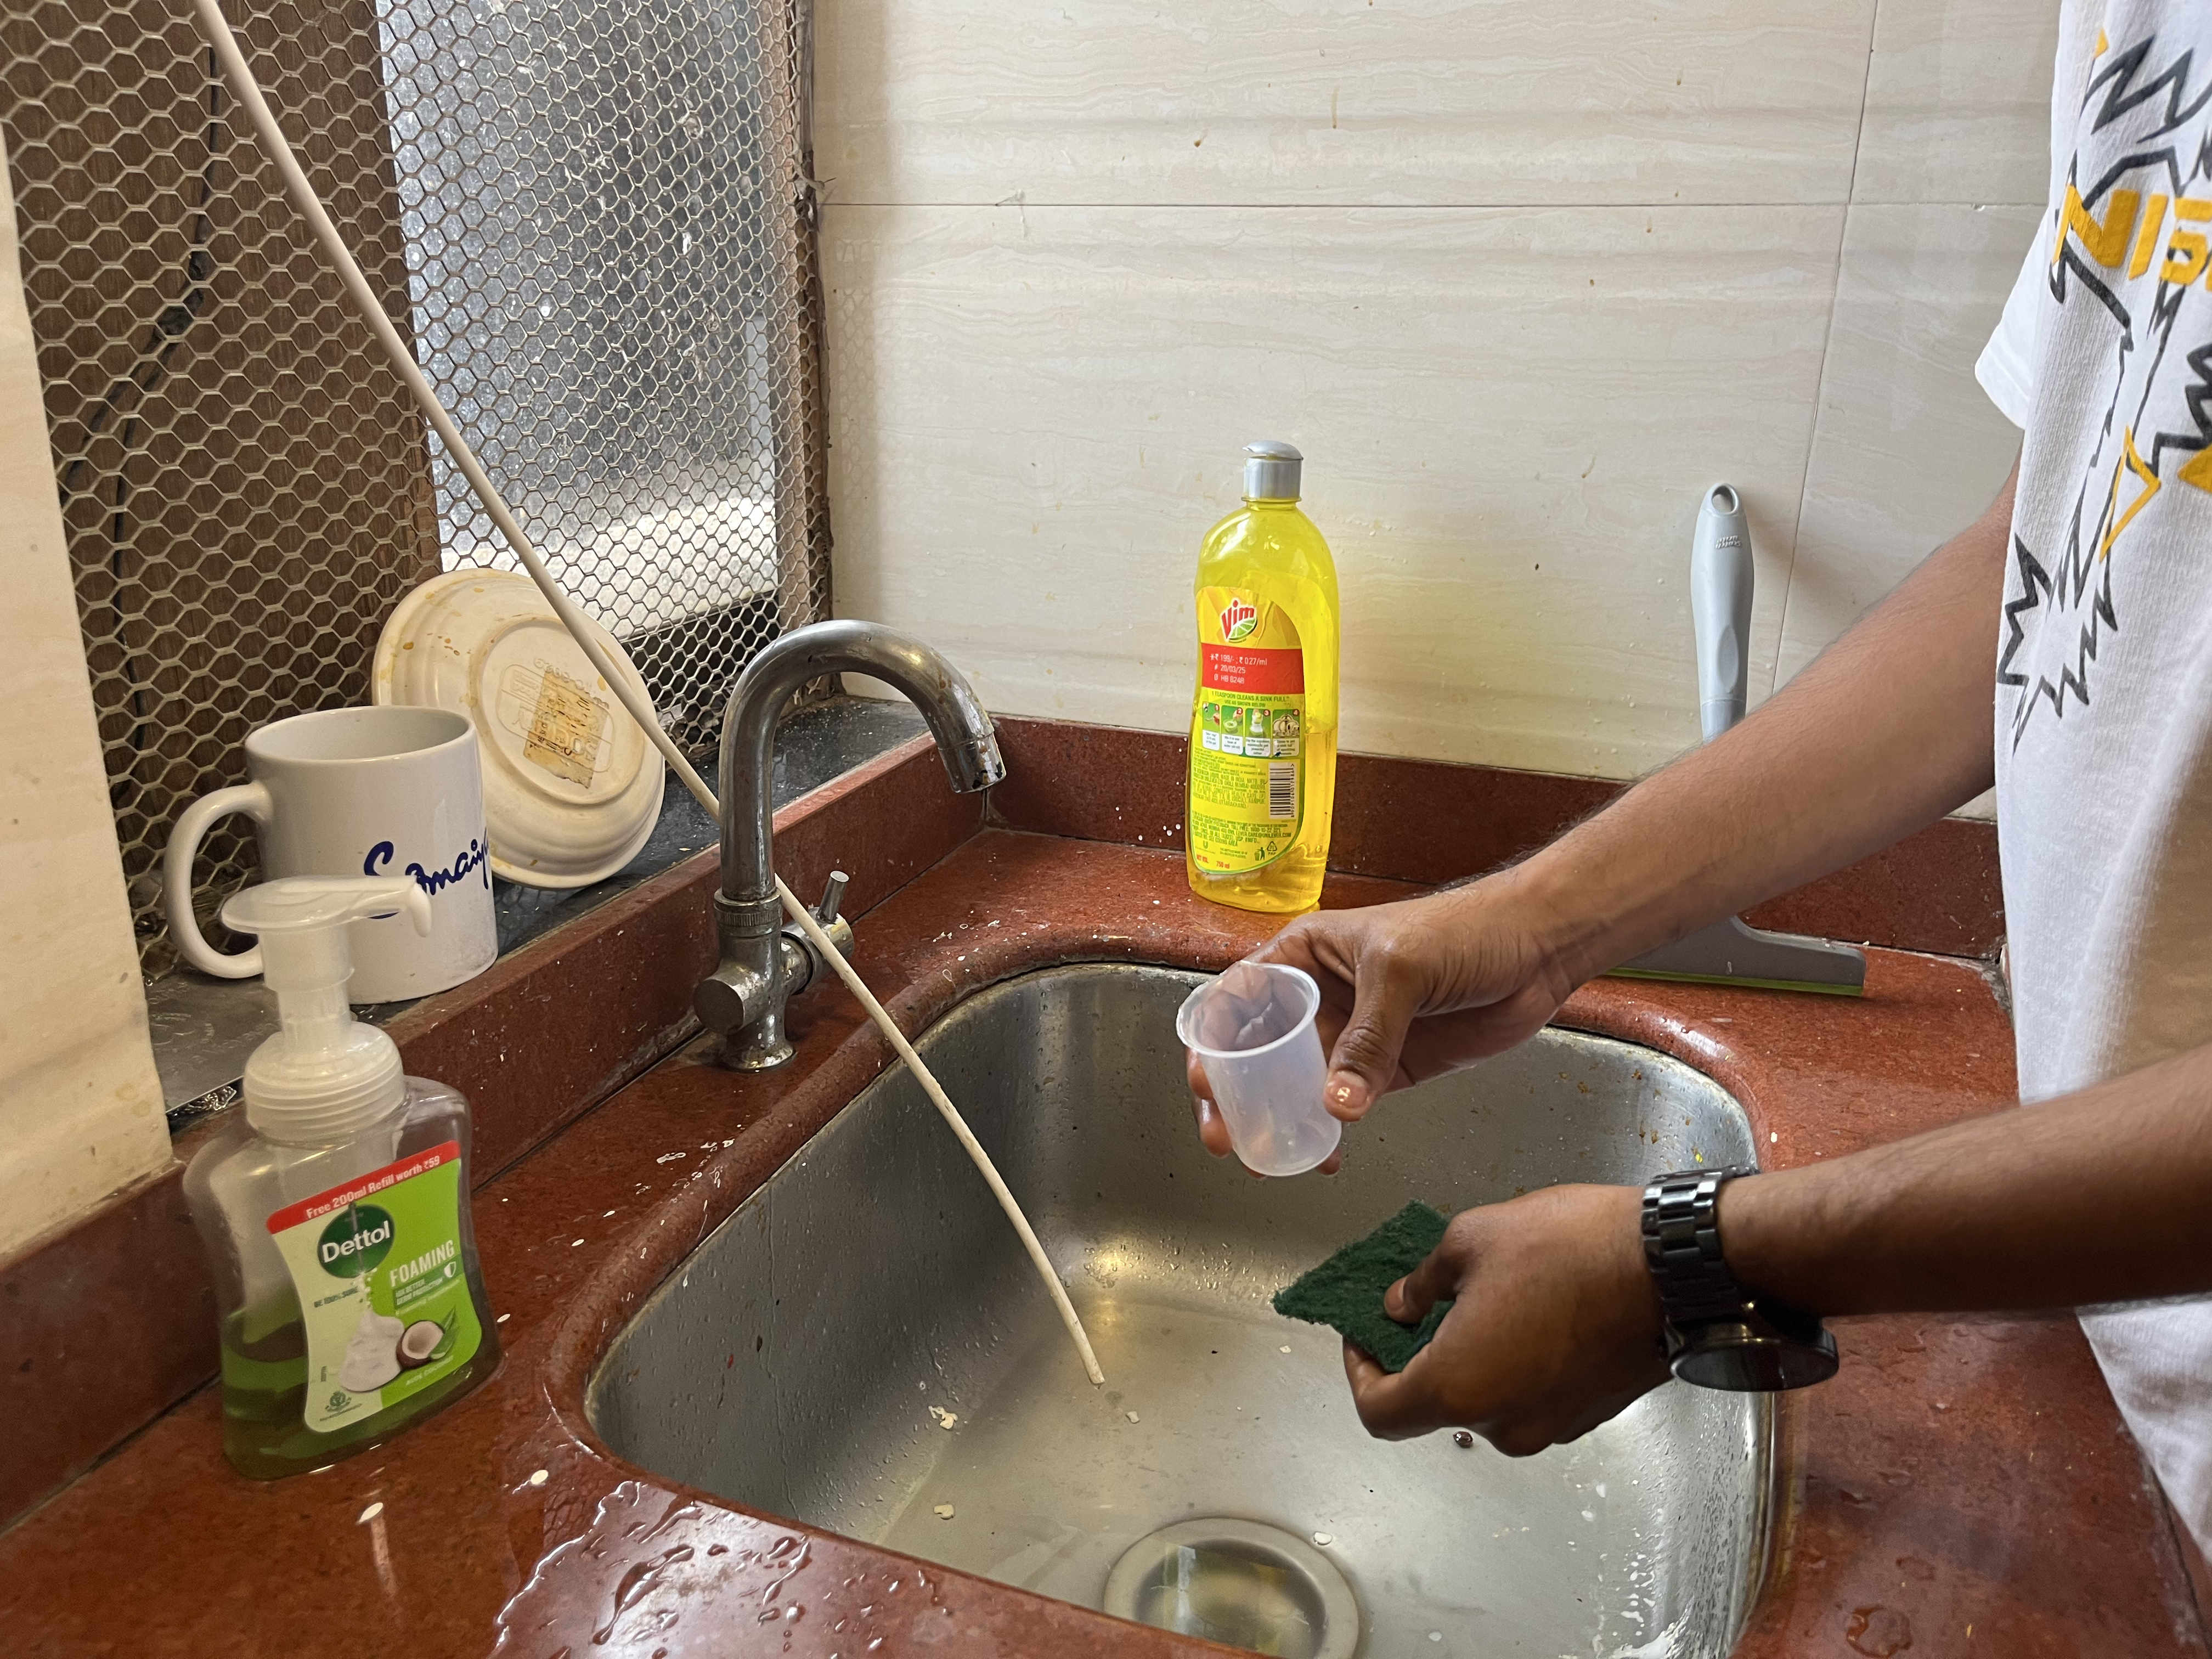
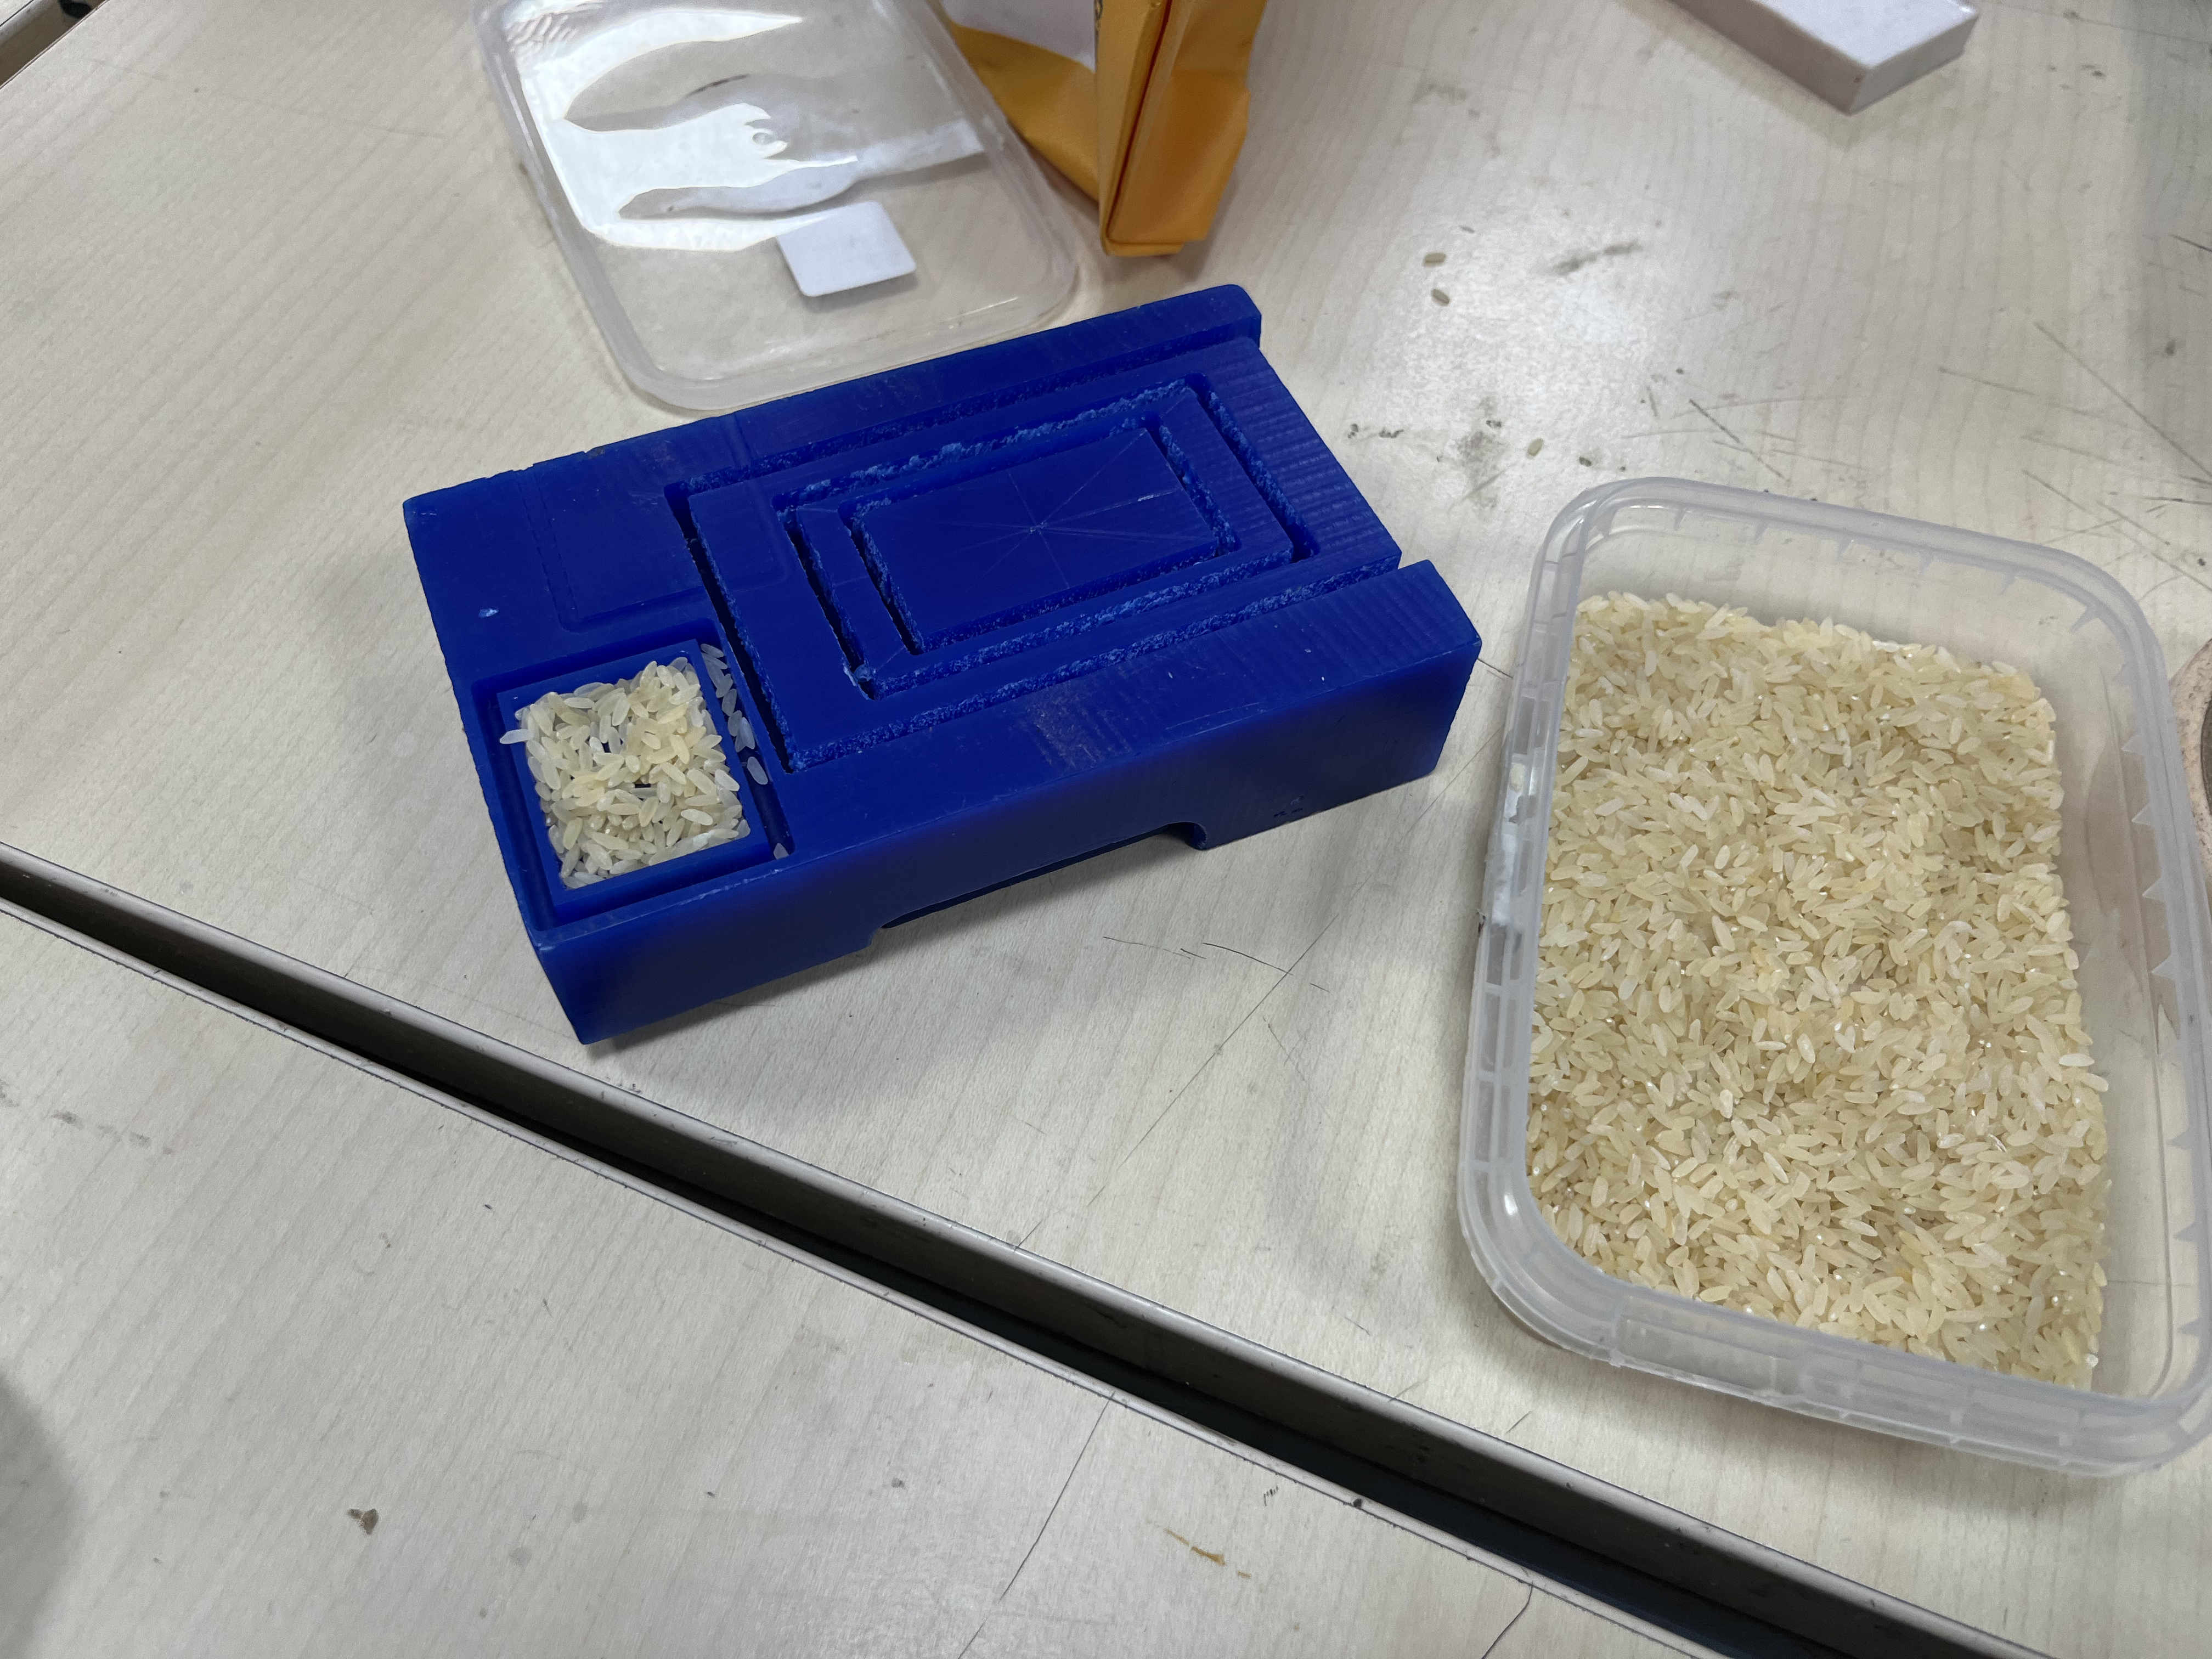 using rice for volumetric calculation of mother mold
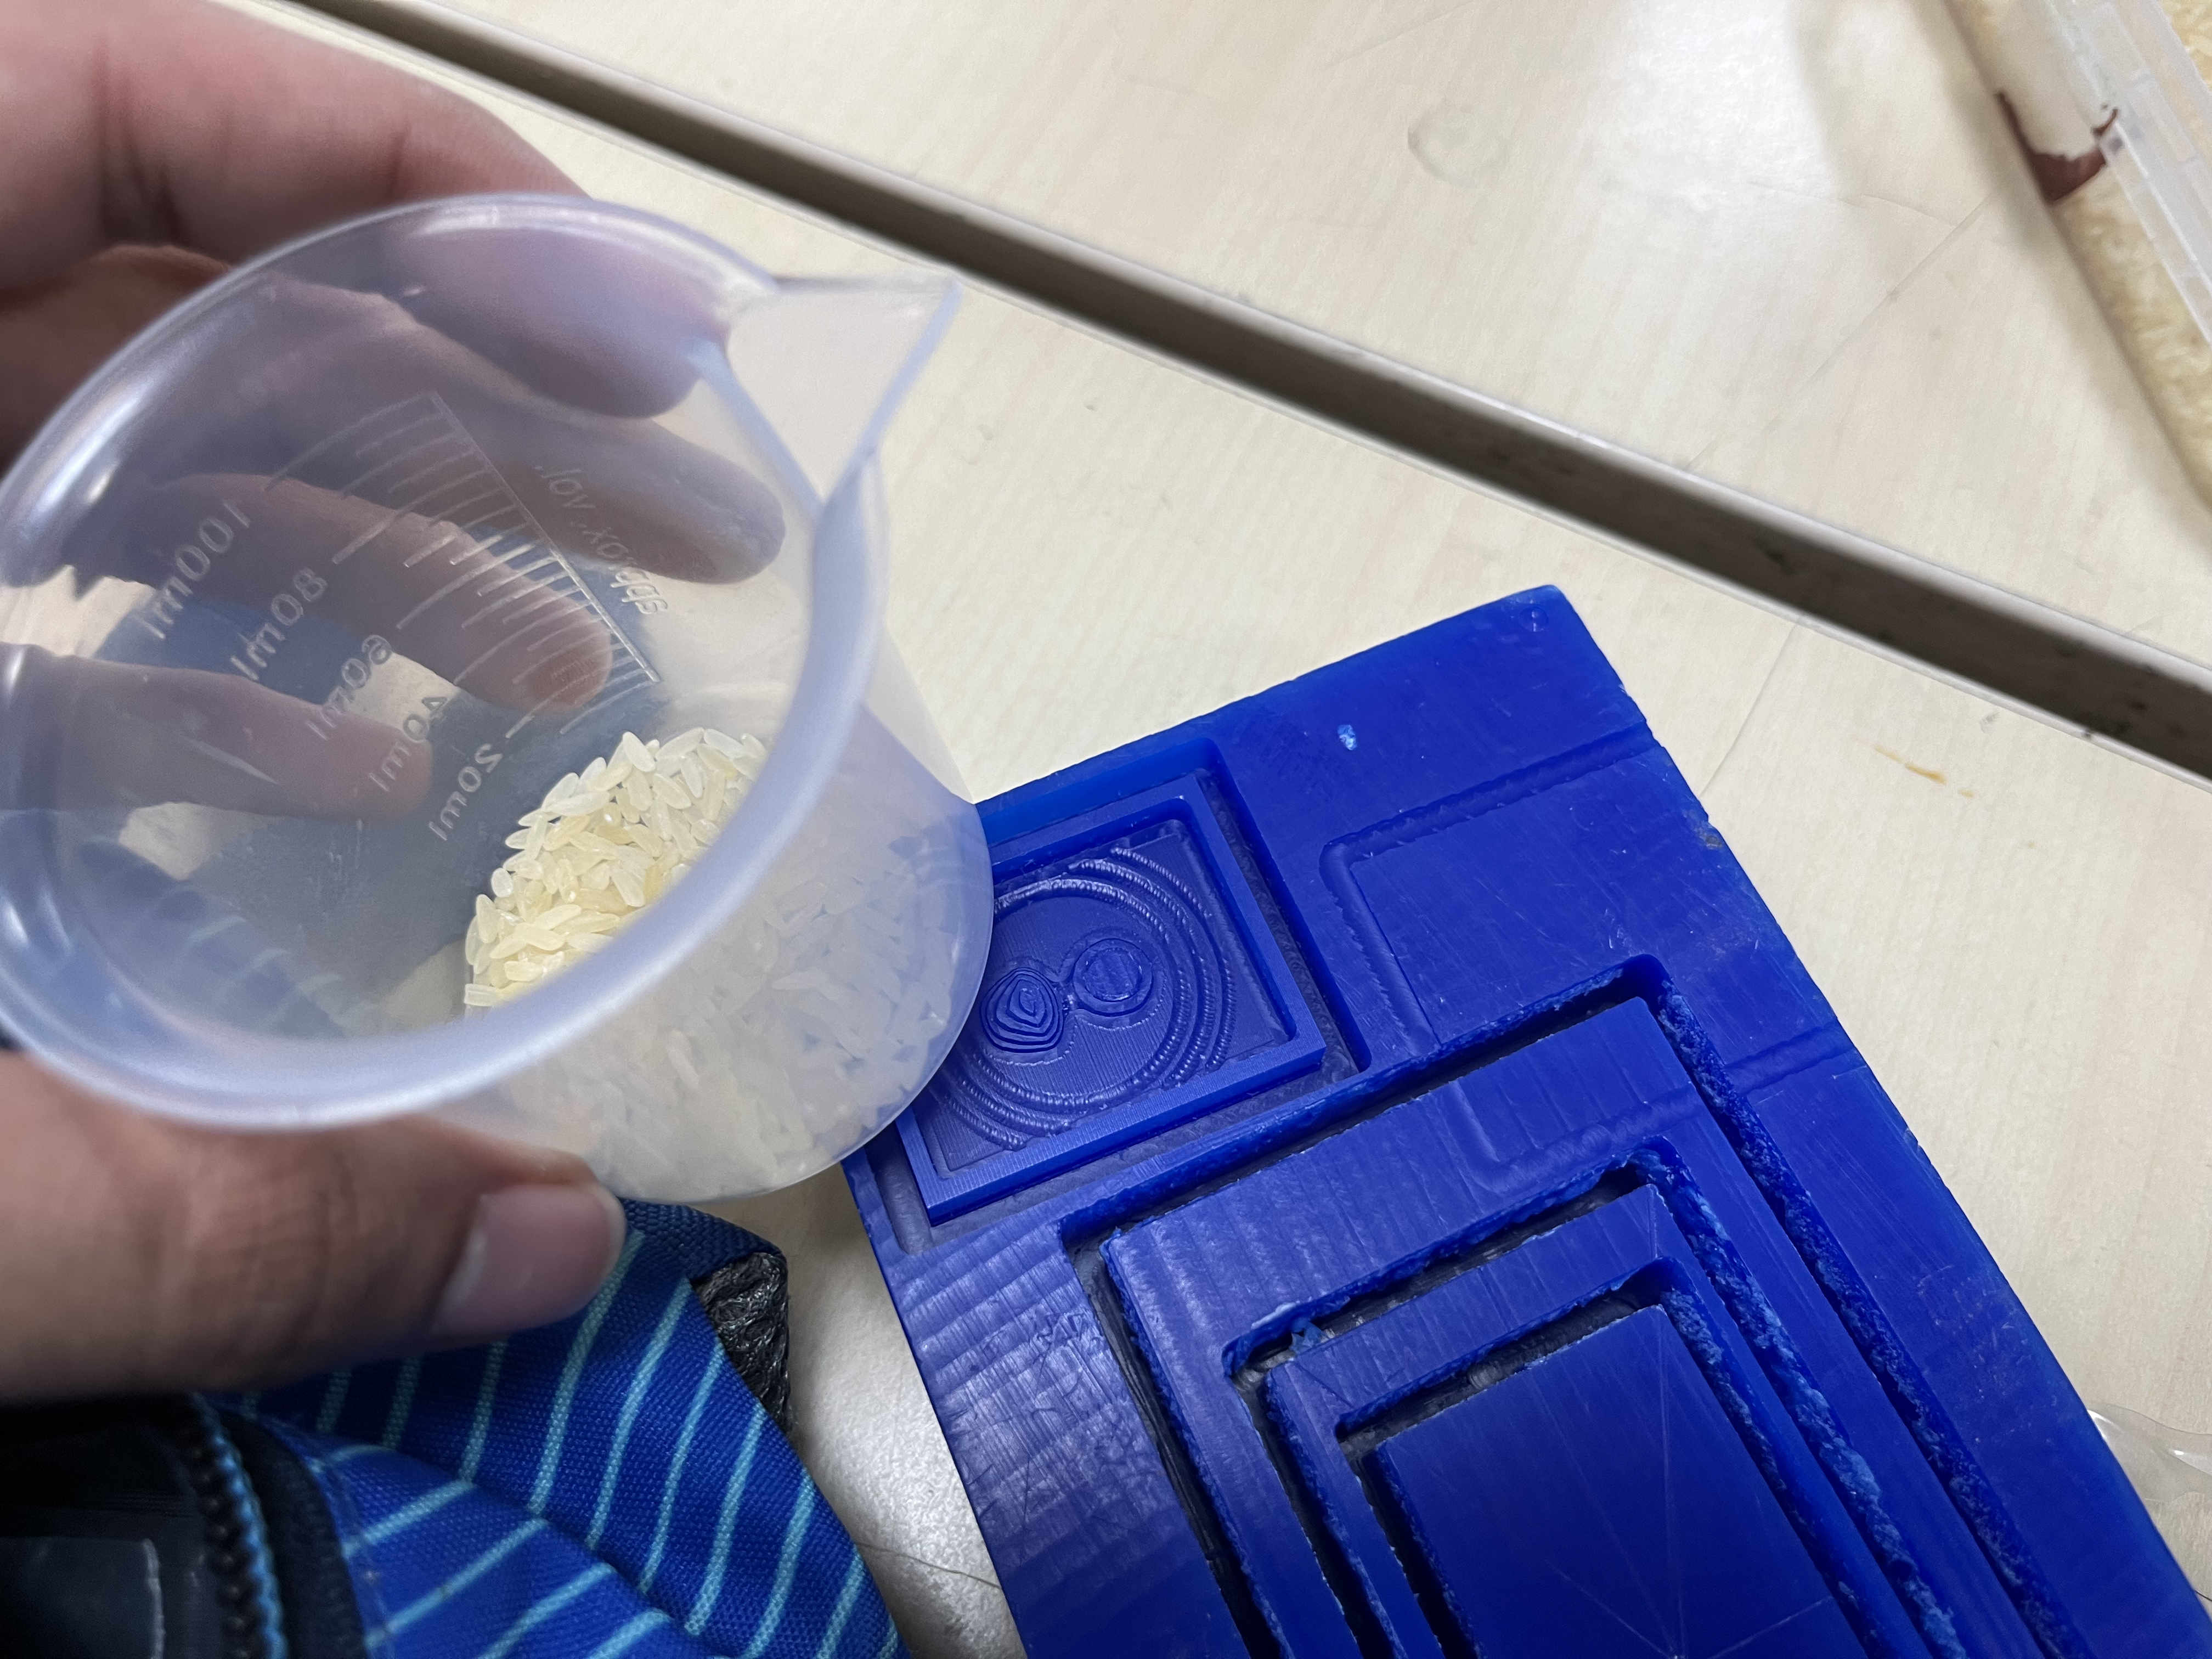

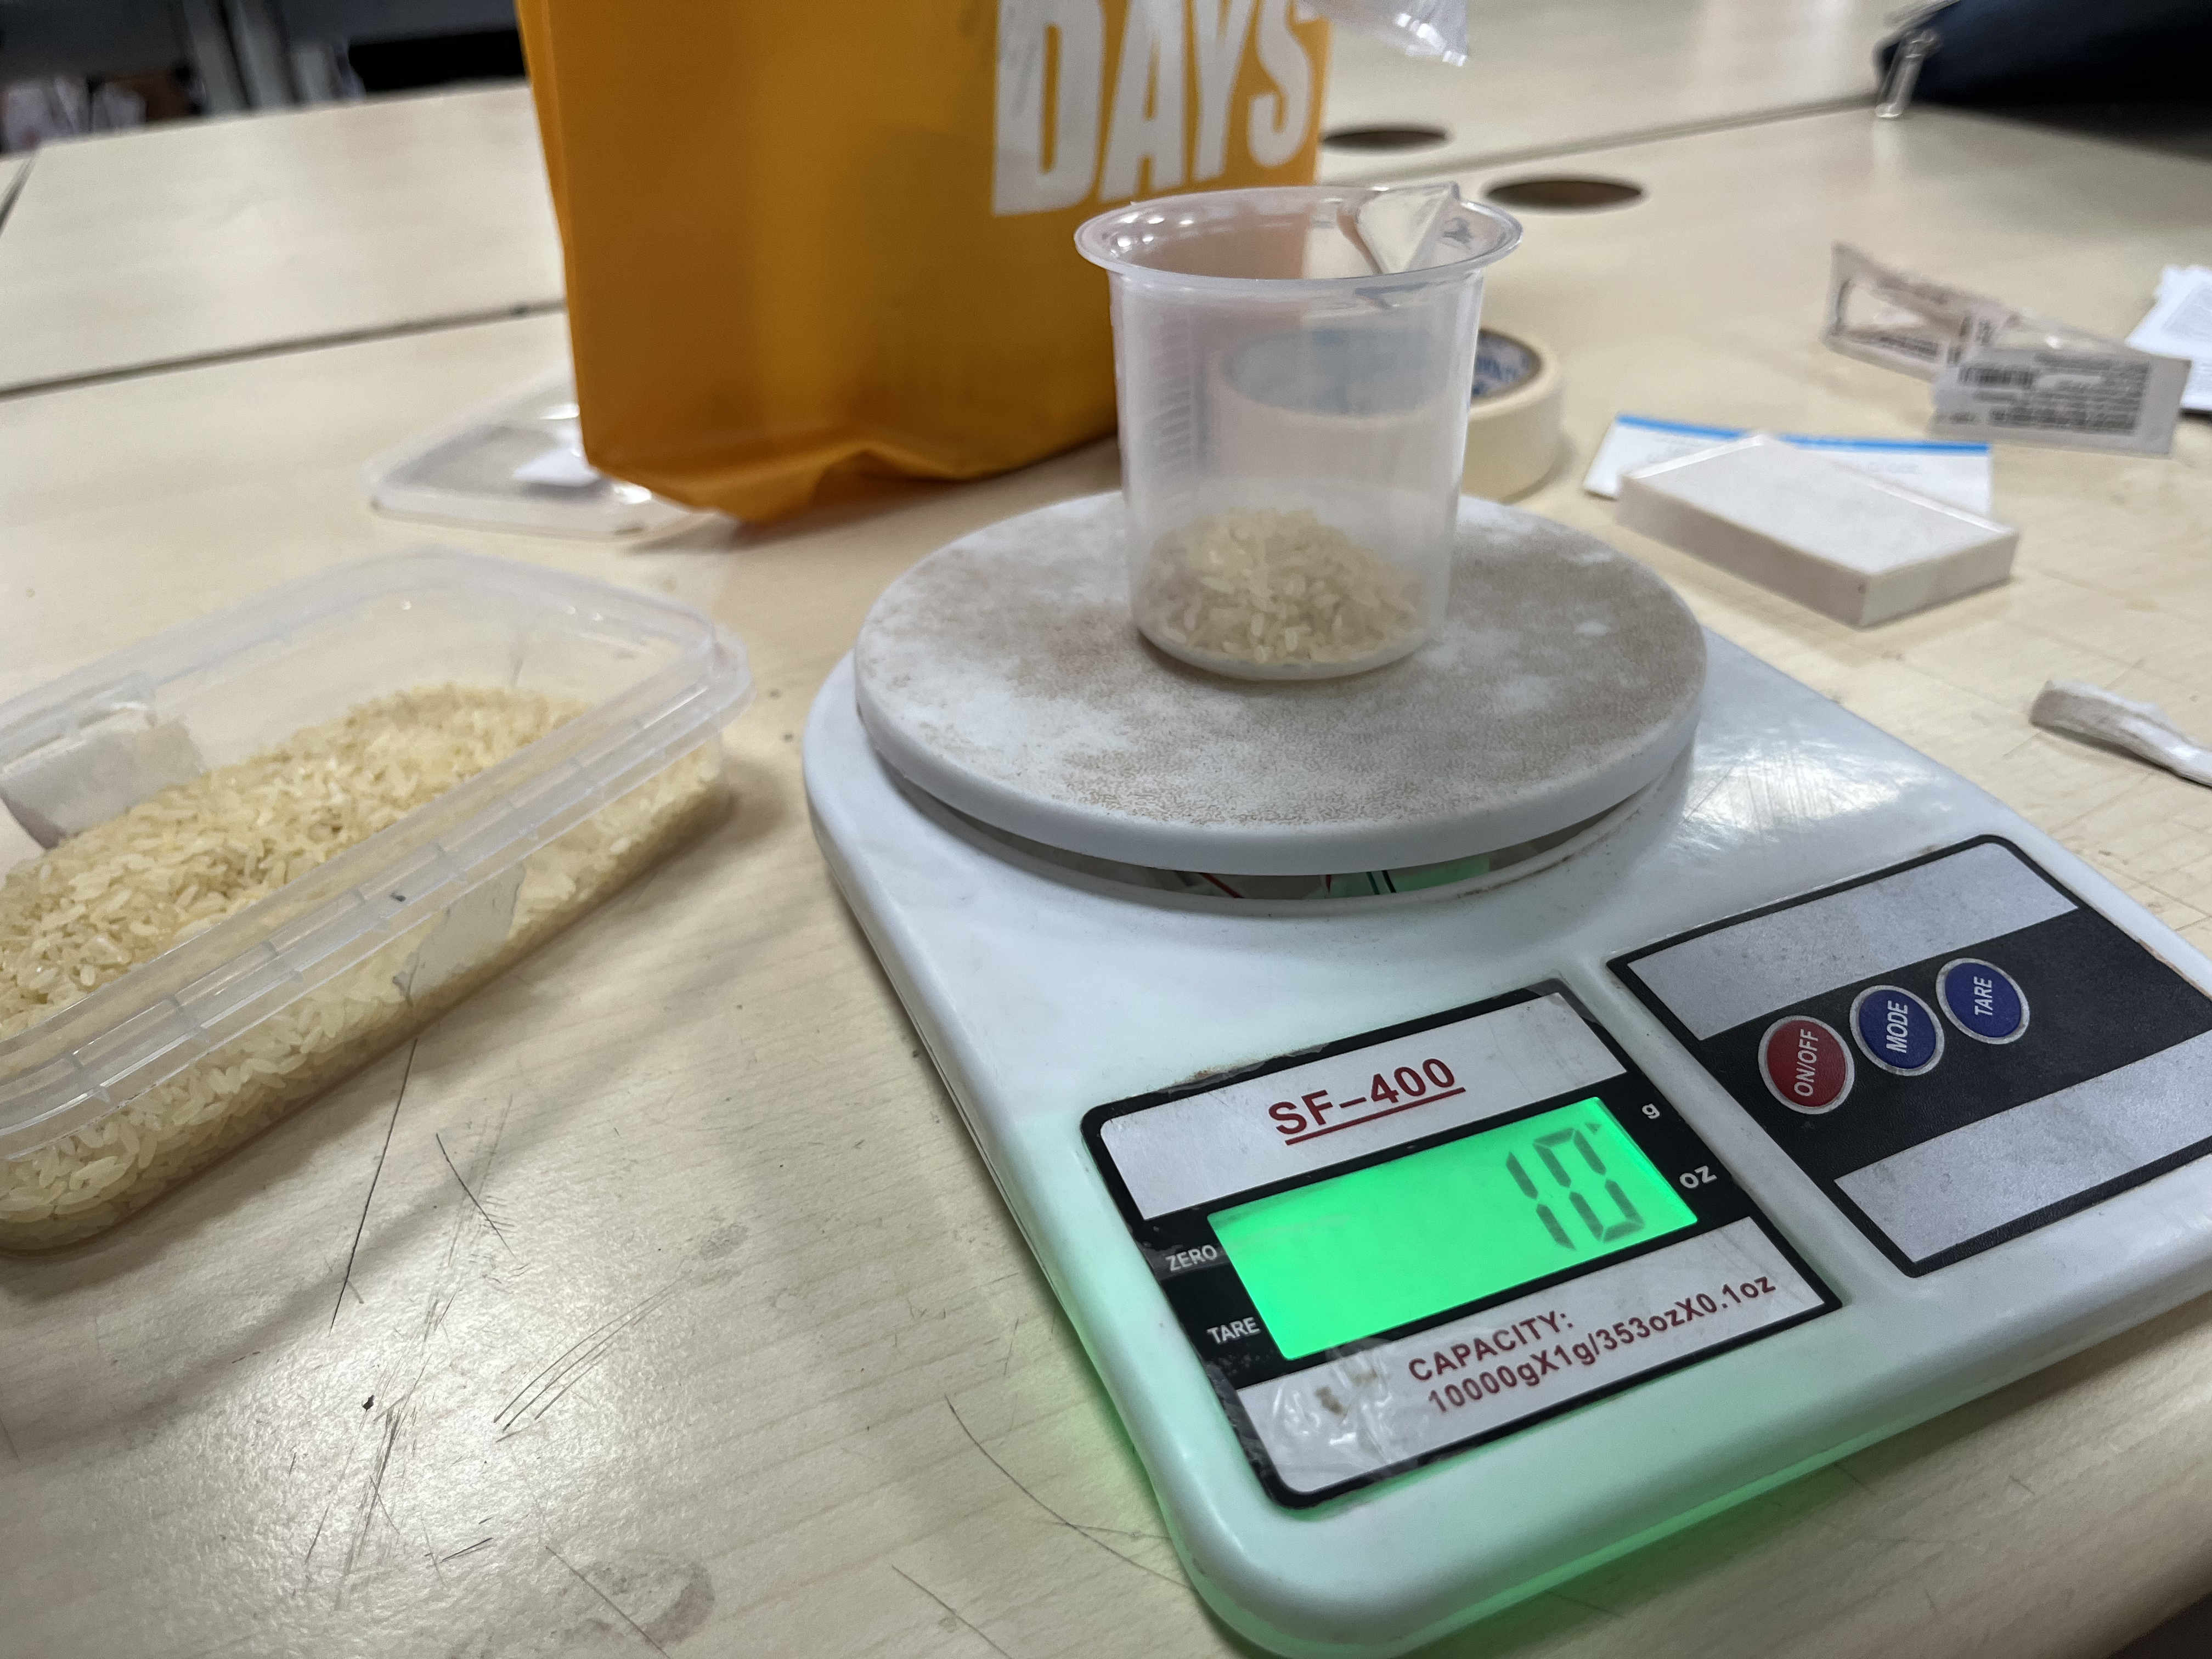 The rice coverng inside is 10 grams thus we need 10 grams of silicon liquid that will fill in this space
Since are compund is 1:1, we need 5 grams of part a and 5 grams of part b
The rice coverng inside is 10 grams thus we need 10 grams of silicon liquid that will fill in this space
Since are compund is 1:1, we need 5 grams of part a and 5 grams of part b
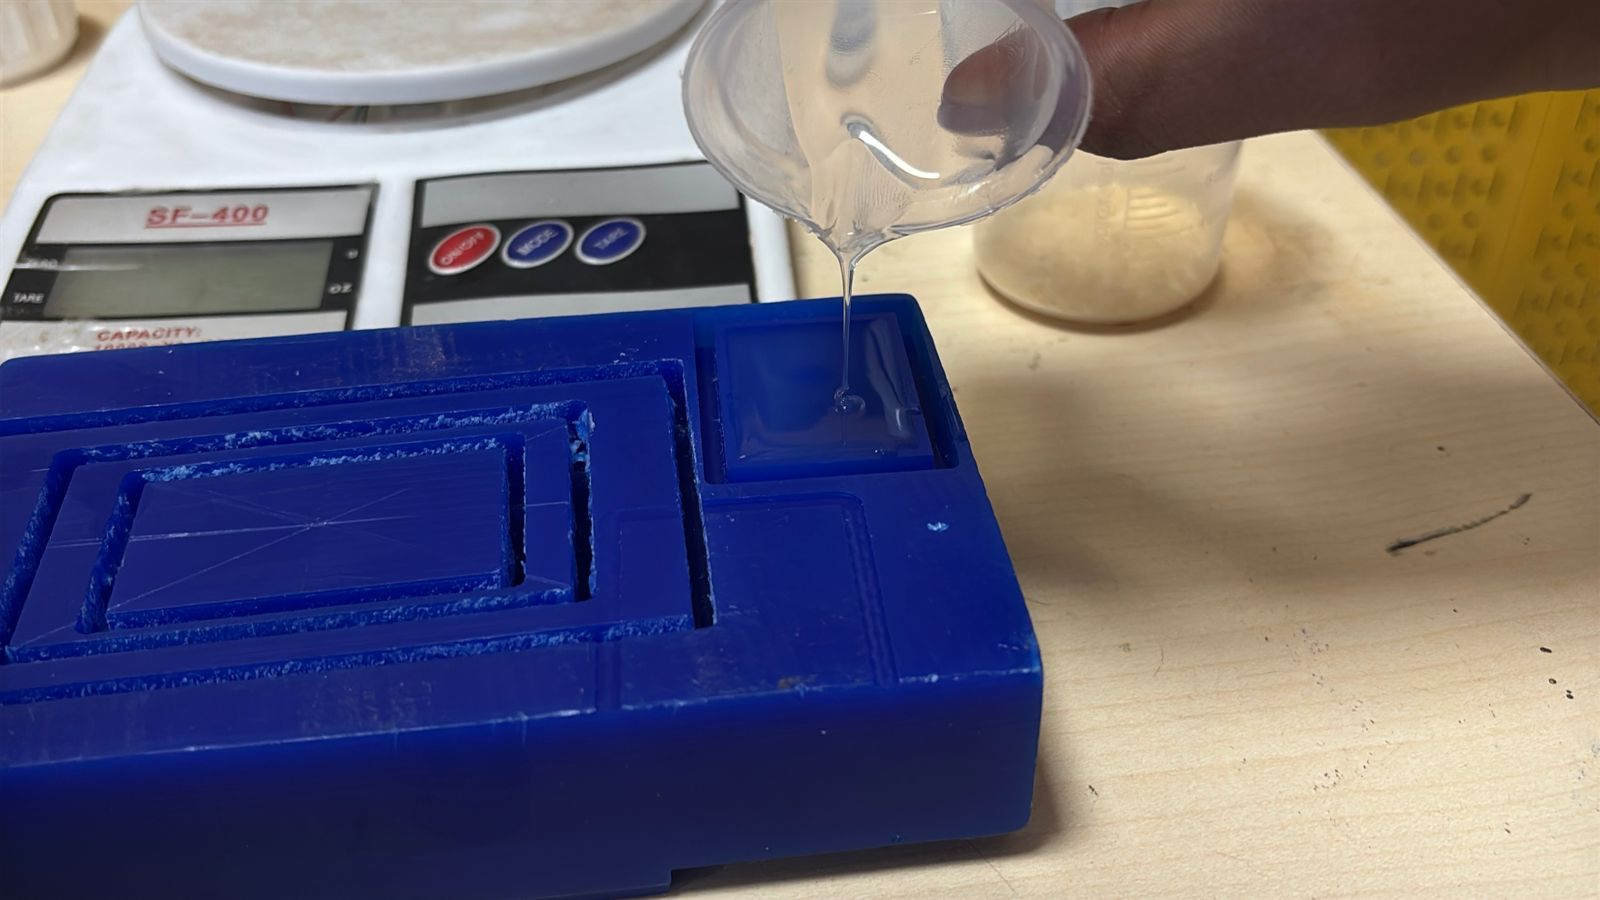 Pouring proportionate liqui silicon
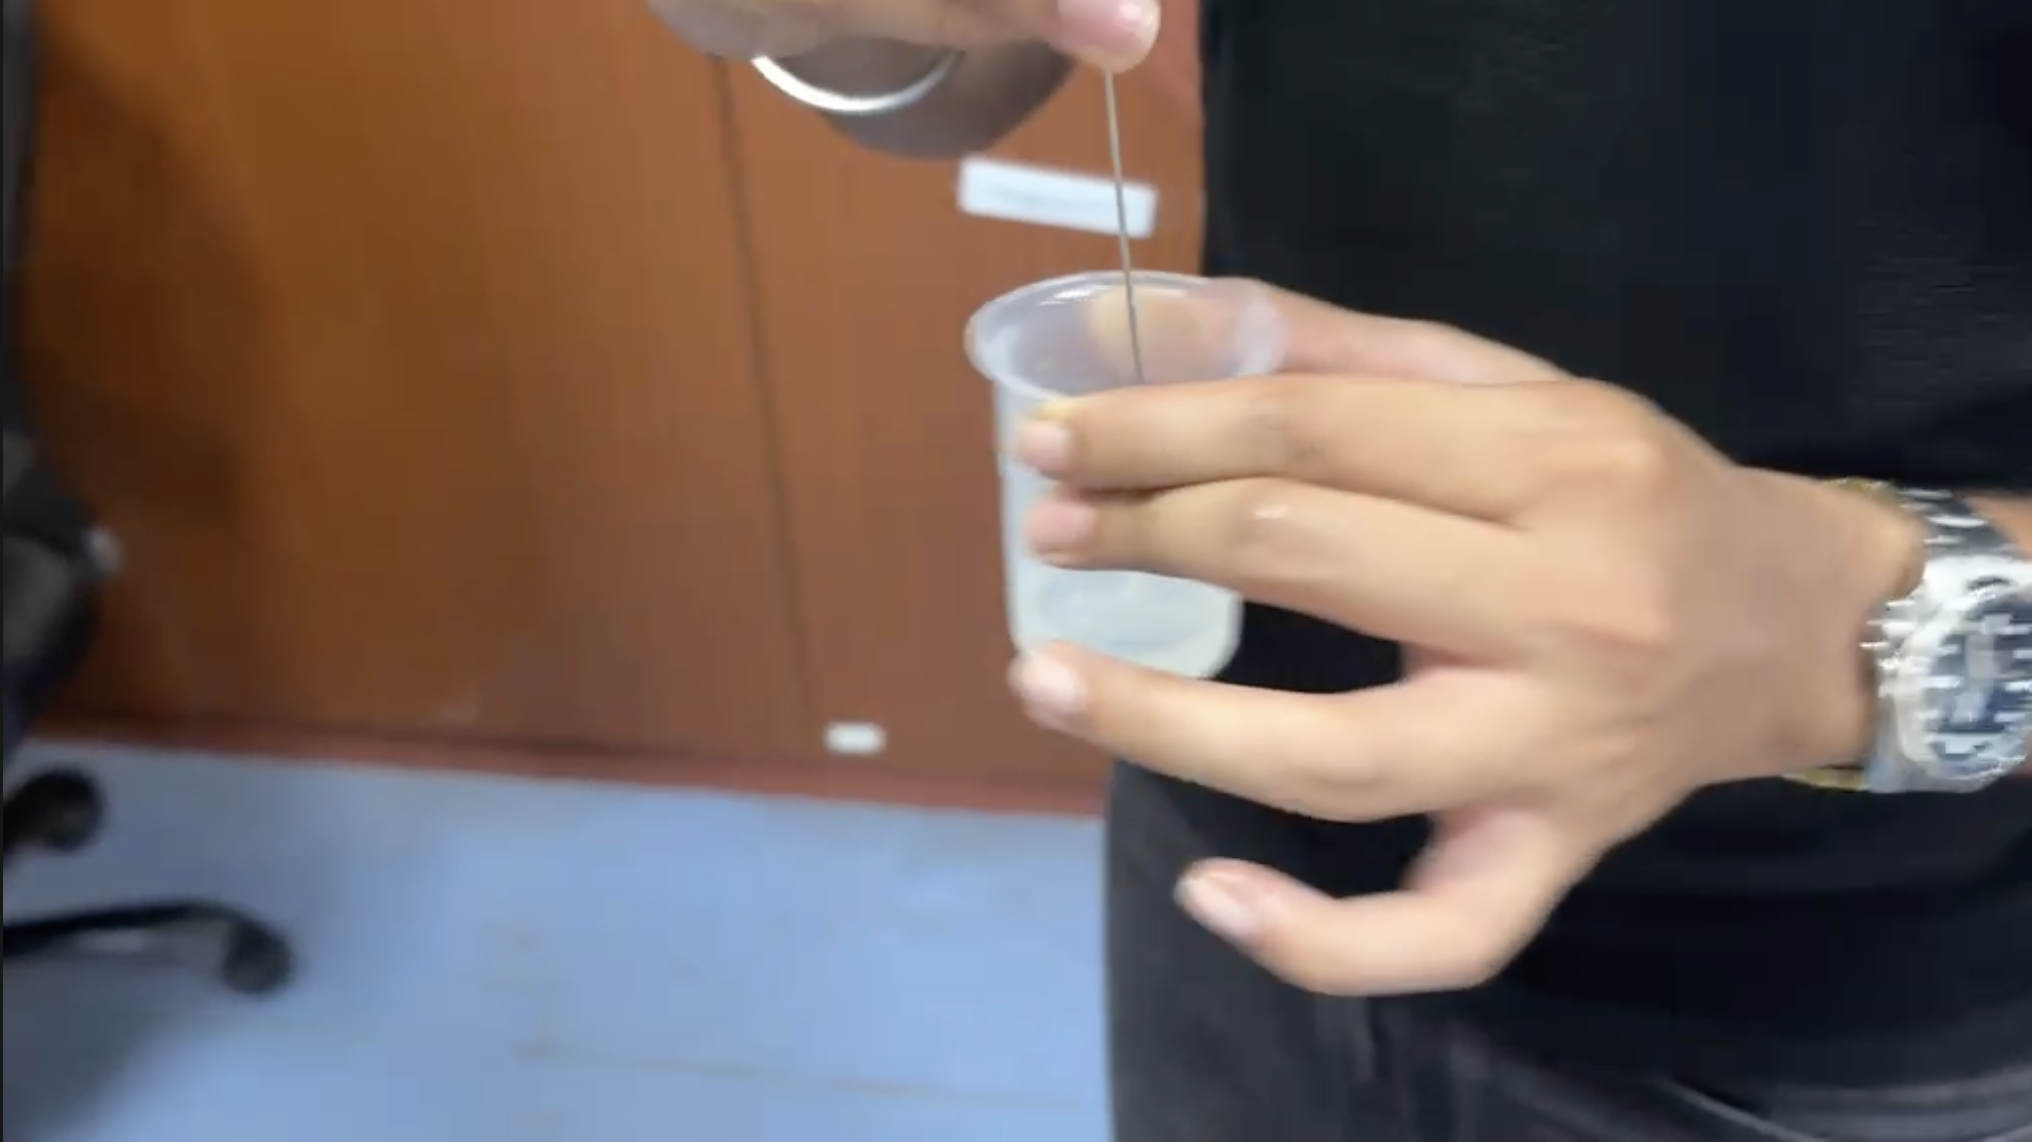 Remember to mix side to side and not swirl,
Swirling will cause air bubbles
 Remember to clean your beakers after use, silicon will dry in the ealls of your beaker causing inaccurate readings the next time you use it
 Taping to remove airbubbles
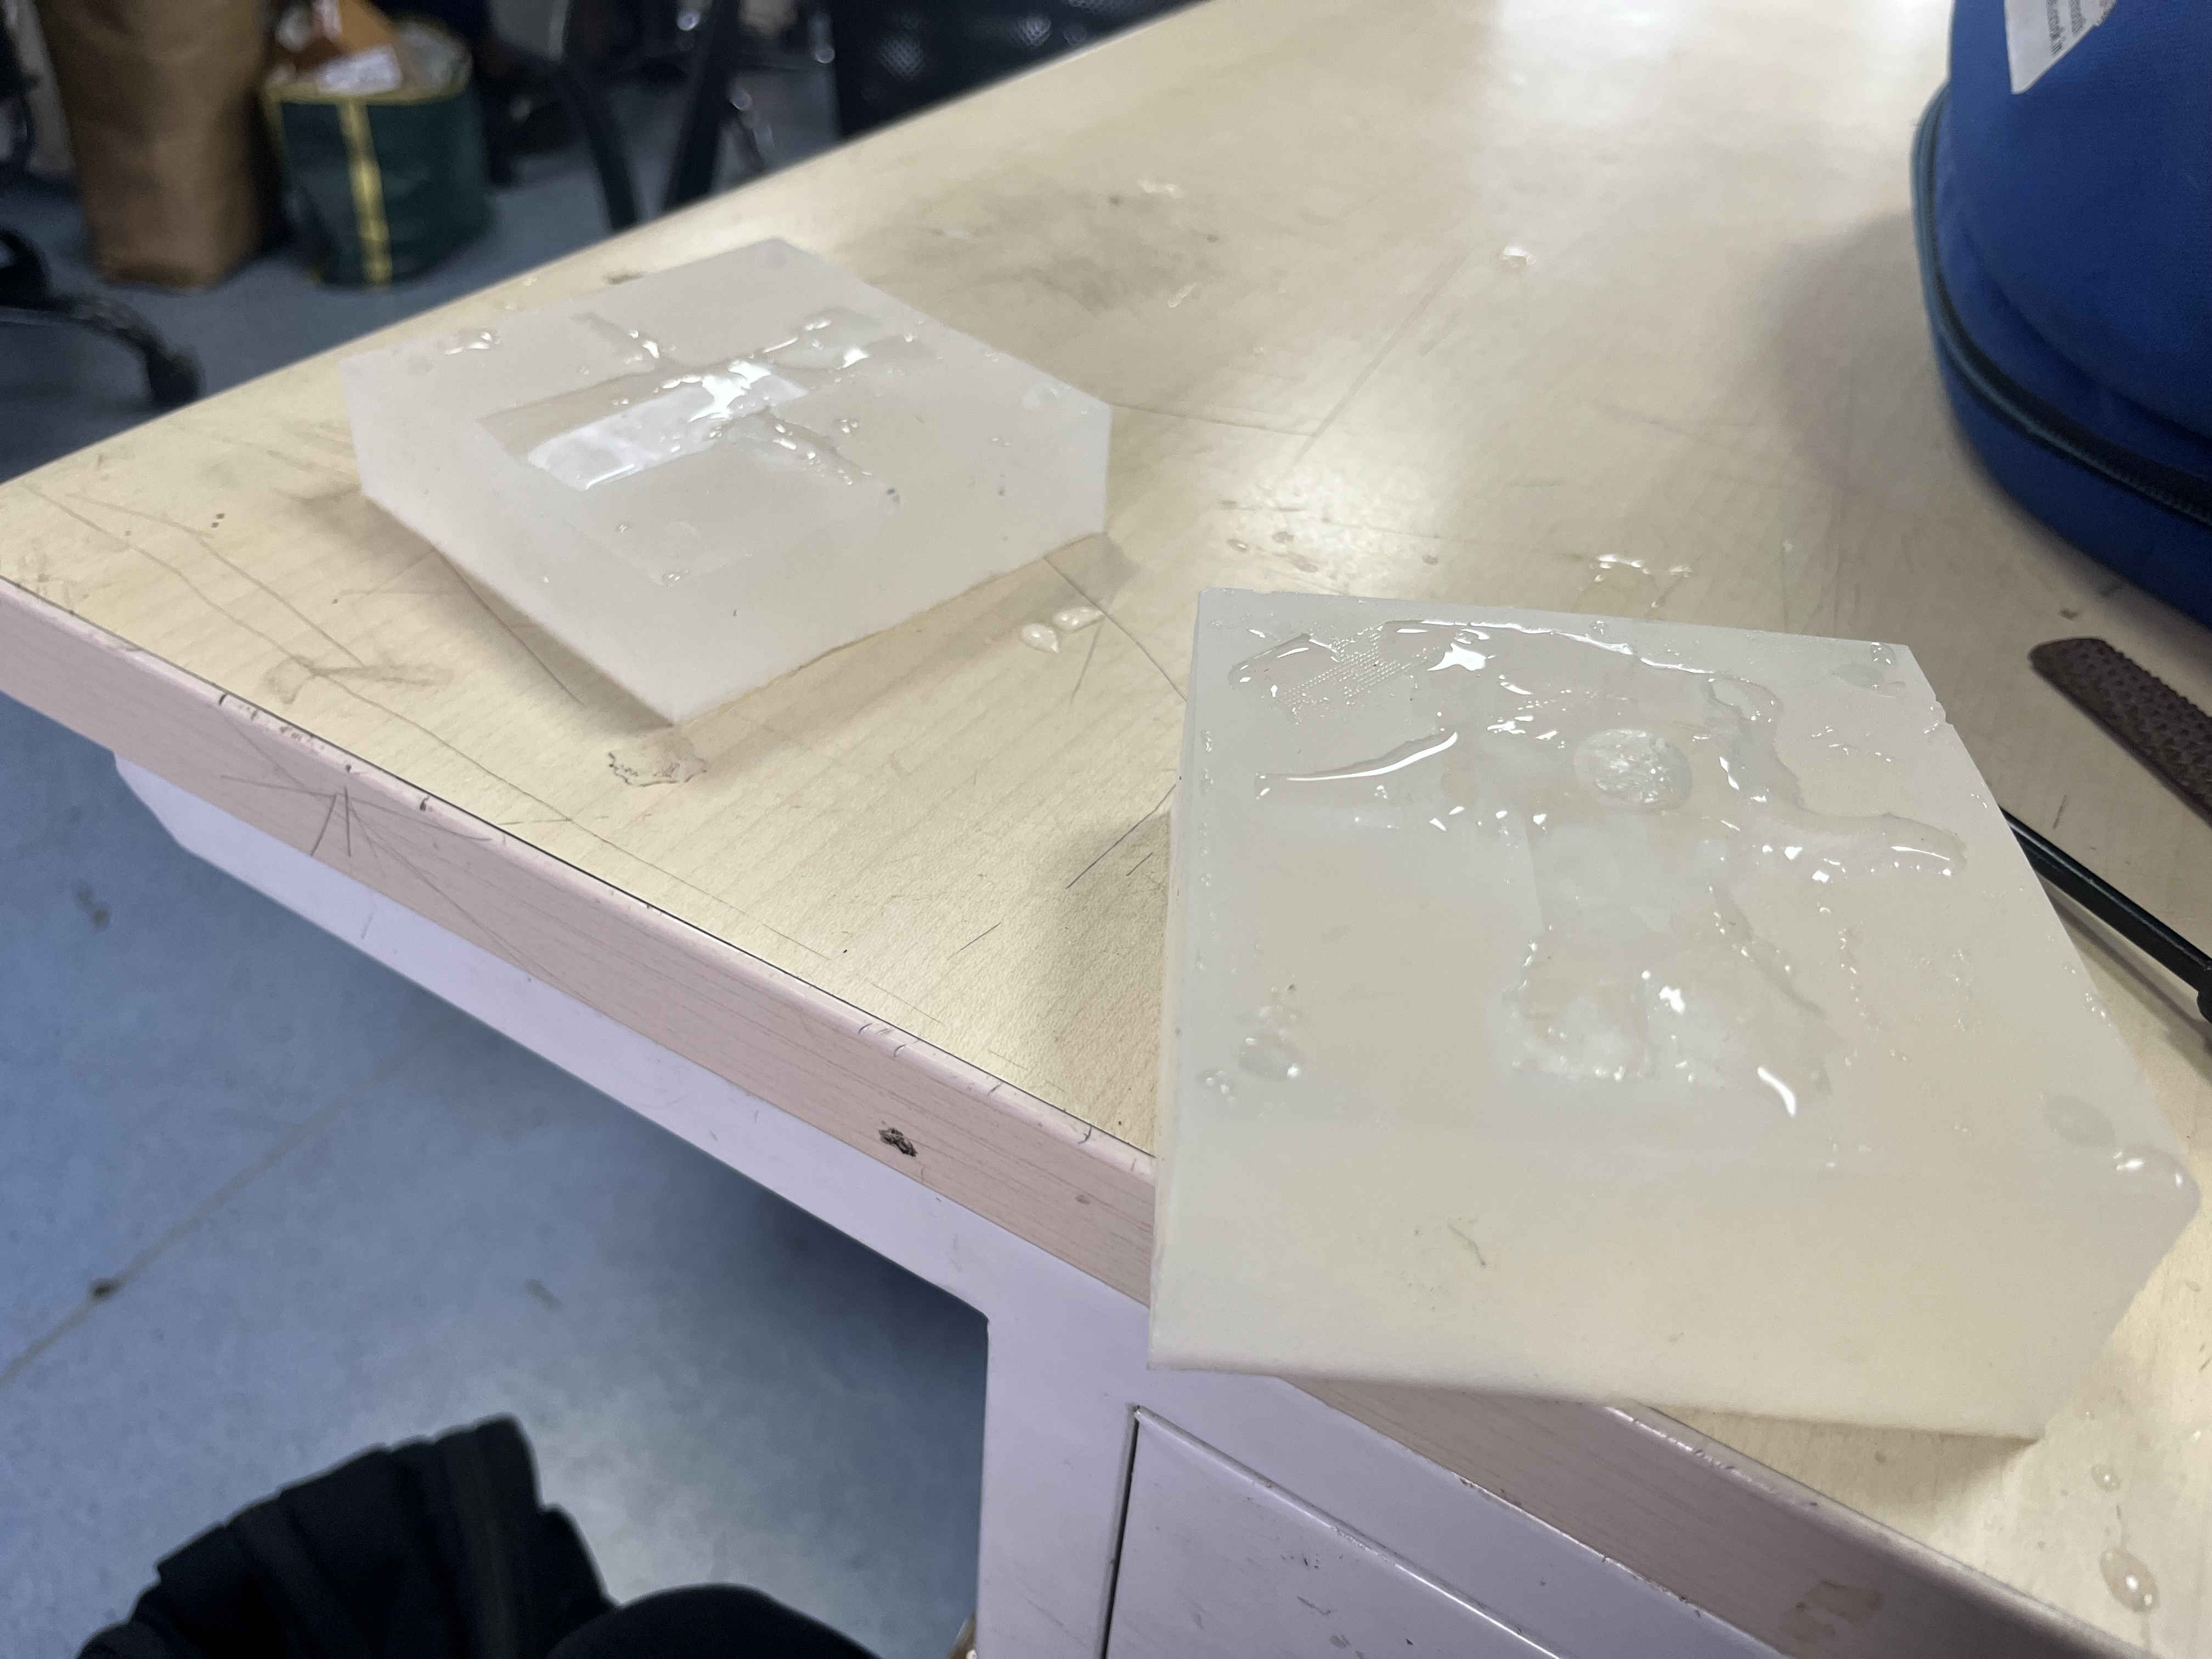
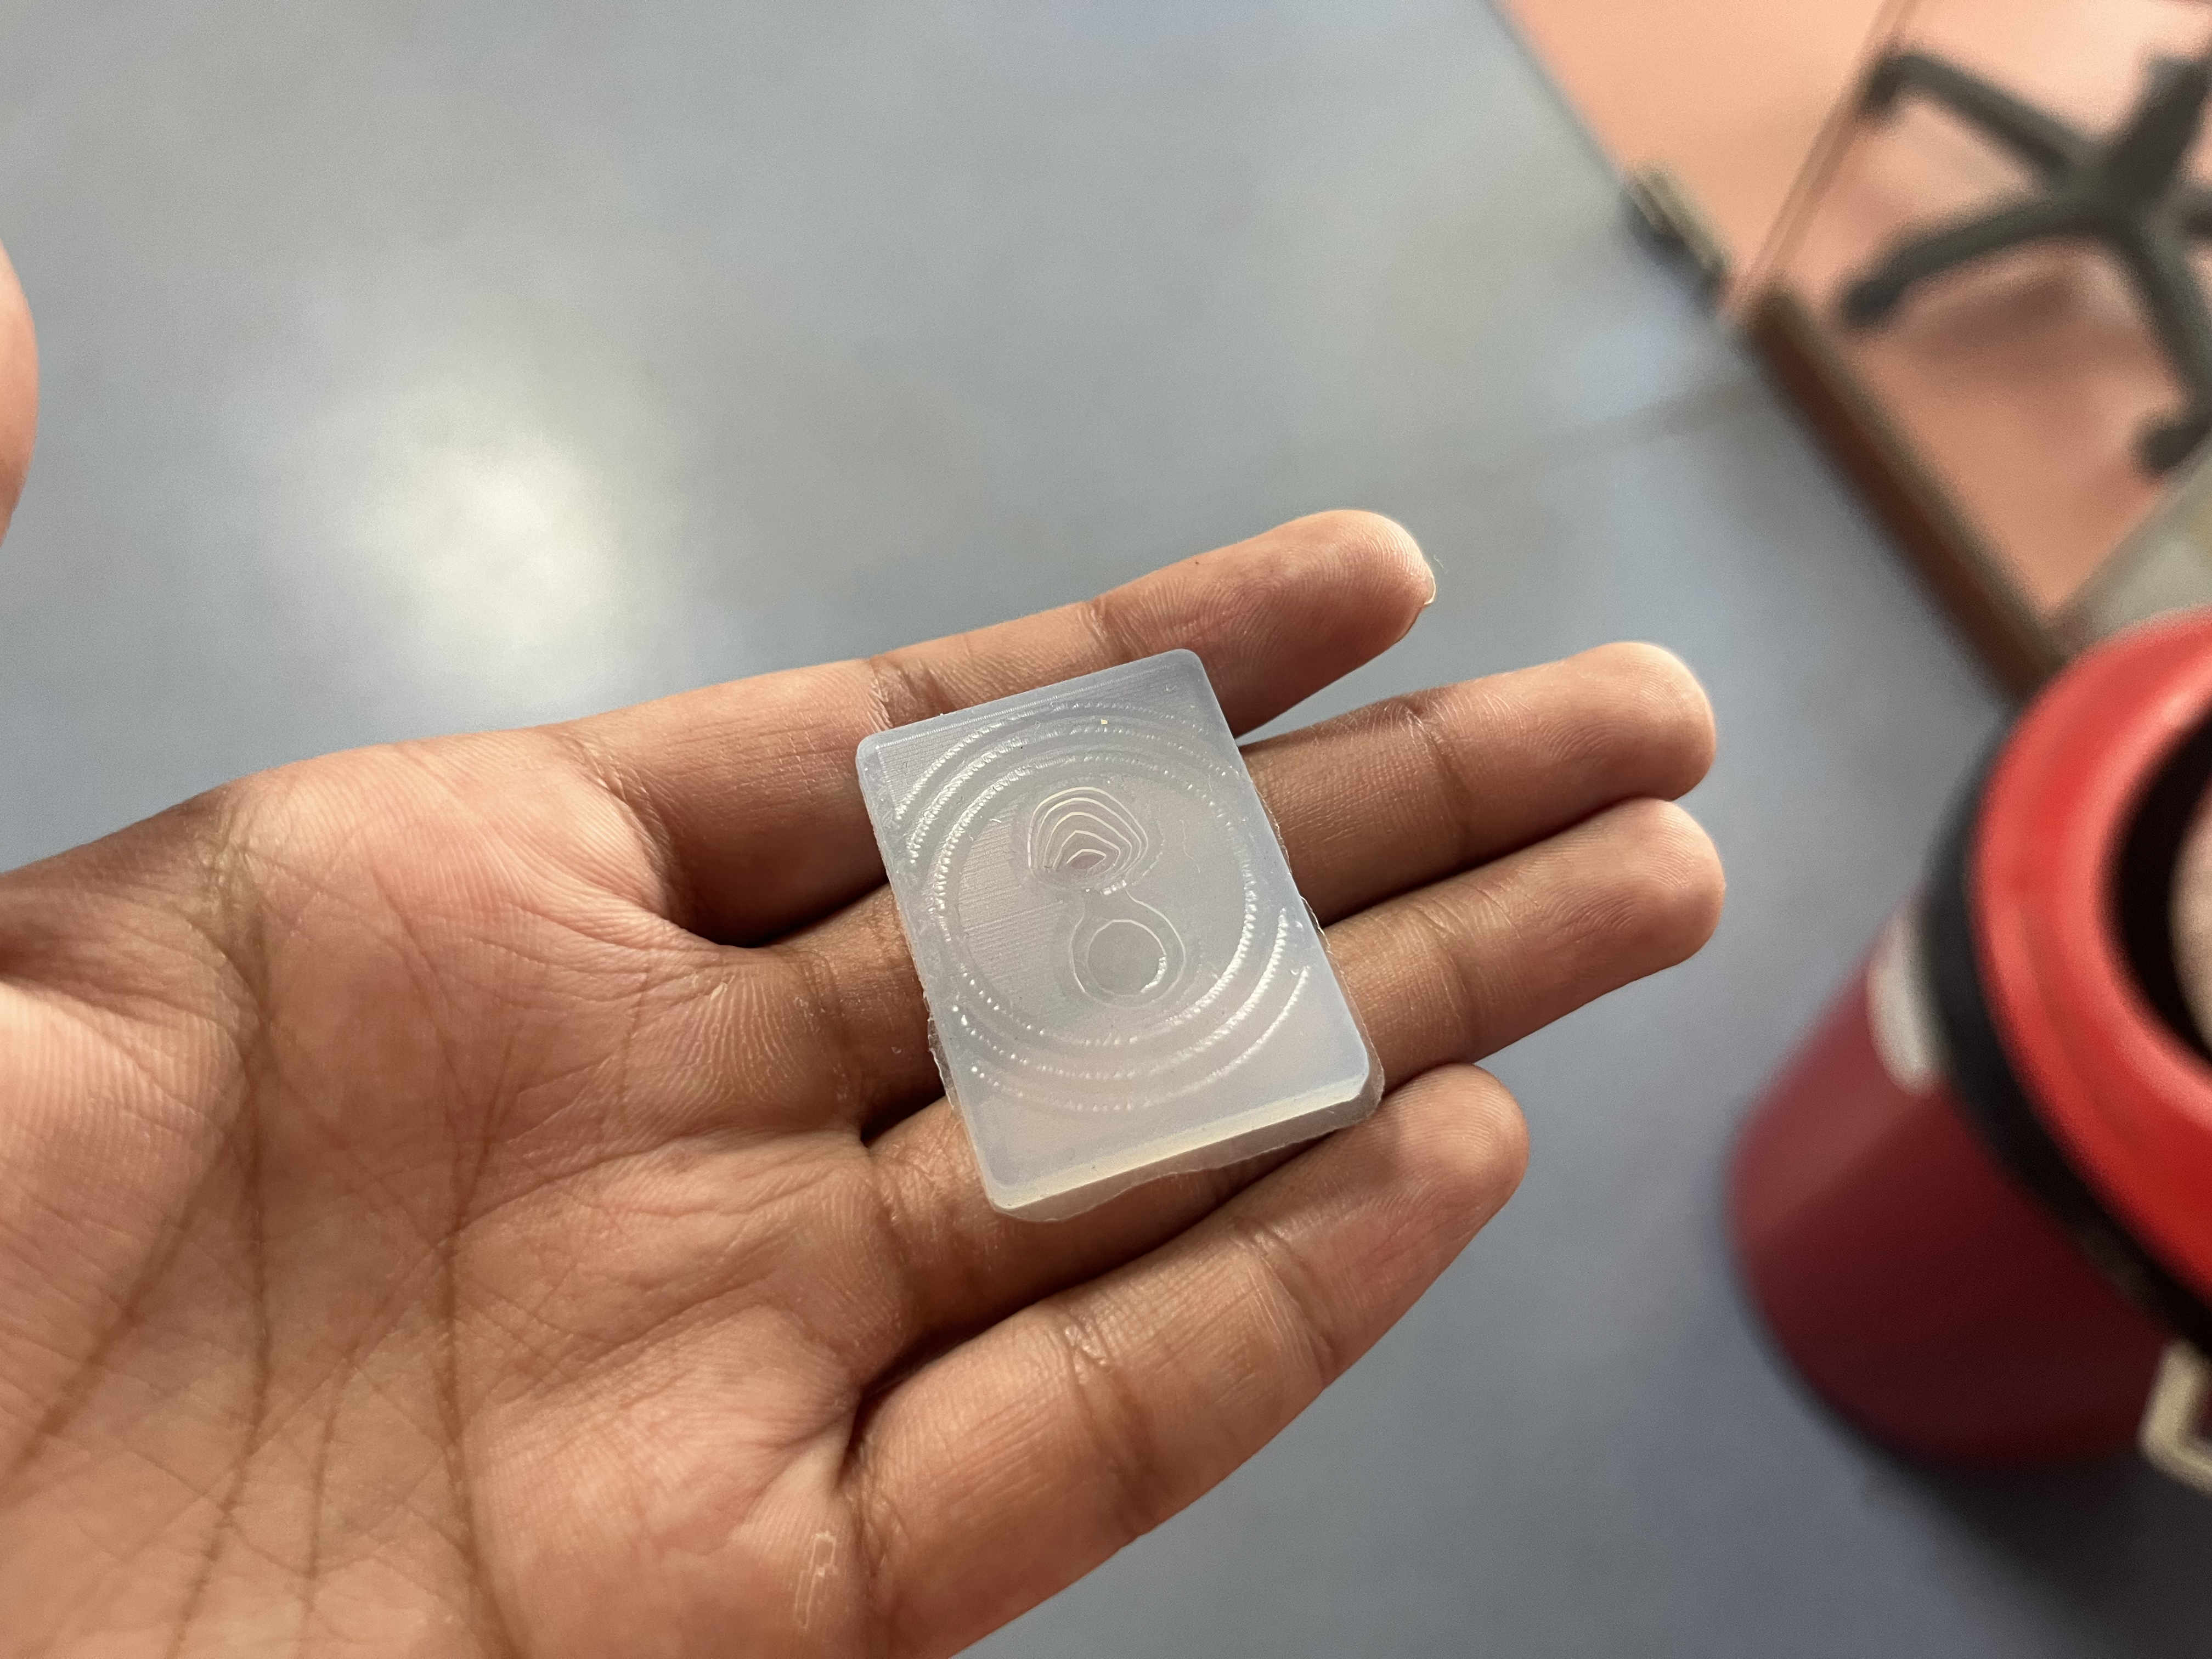 Final result
Learning
I modelled very inefficiently, causing leakage points and improper depth for forming, little measurents earlier could have had a better result
.Final model. pixel Sonic the hedgehog
For a more refined model i decided to create a pixel form from various materials like choclate, cement. Using a well planned 2 part silicon mold
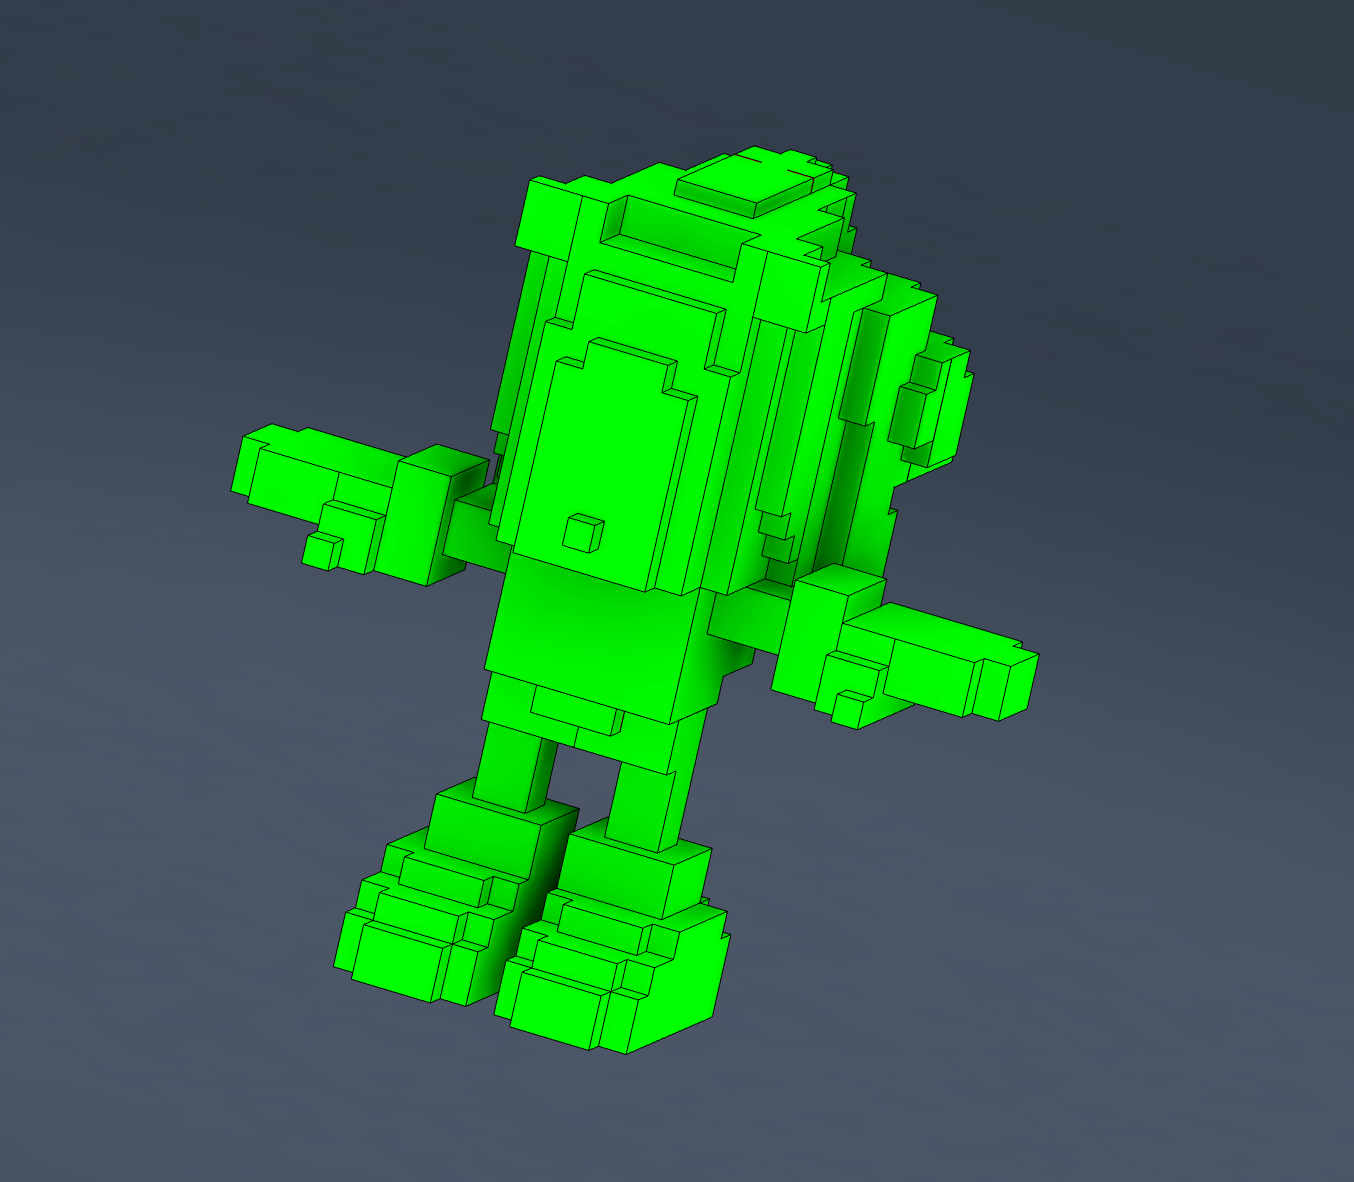
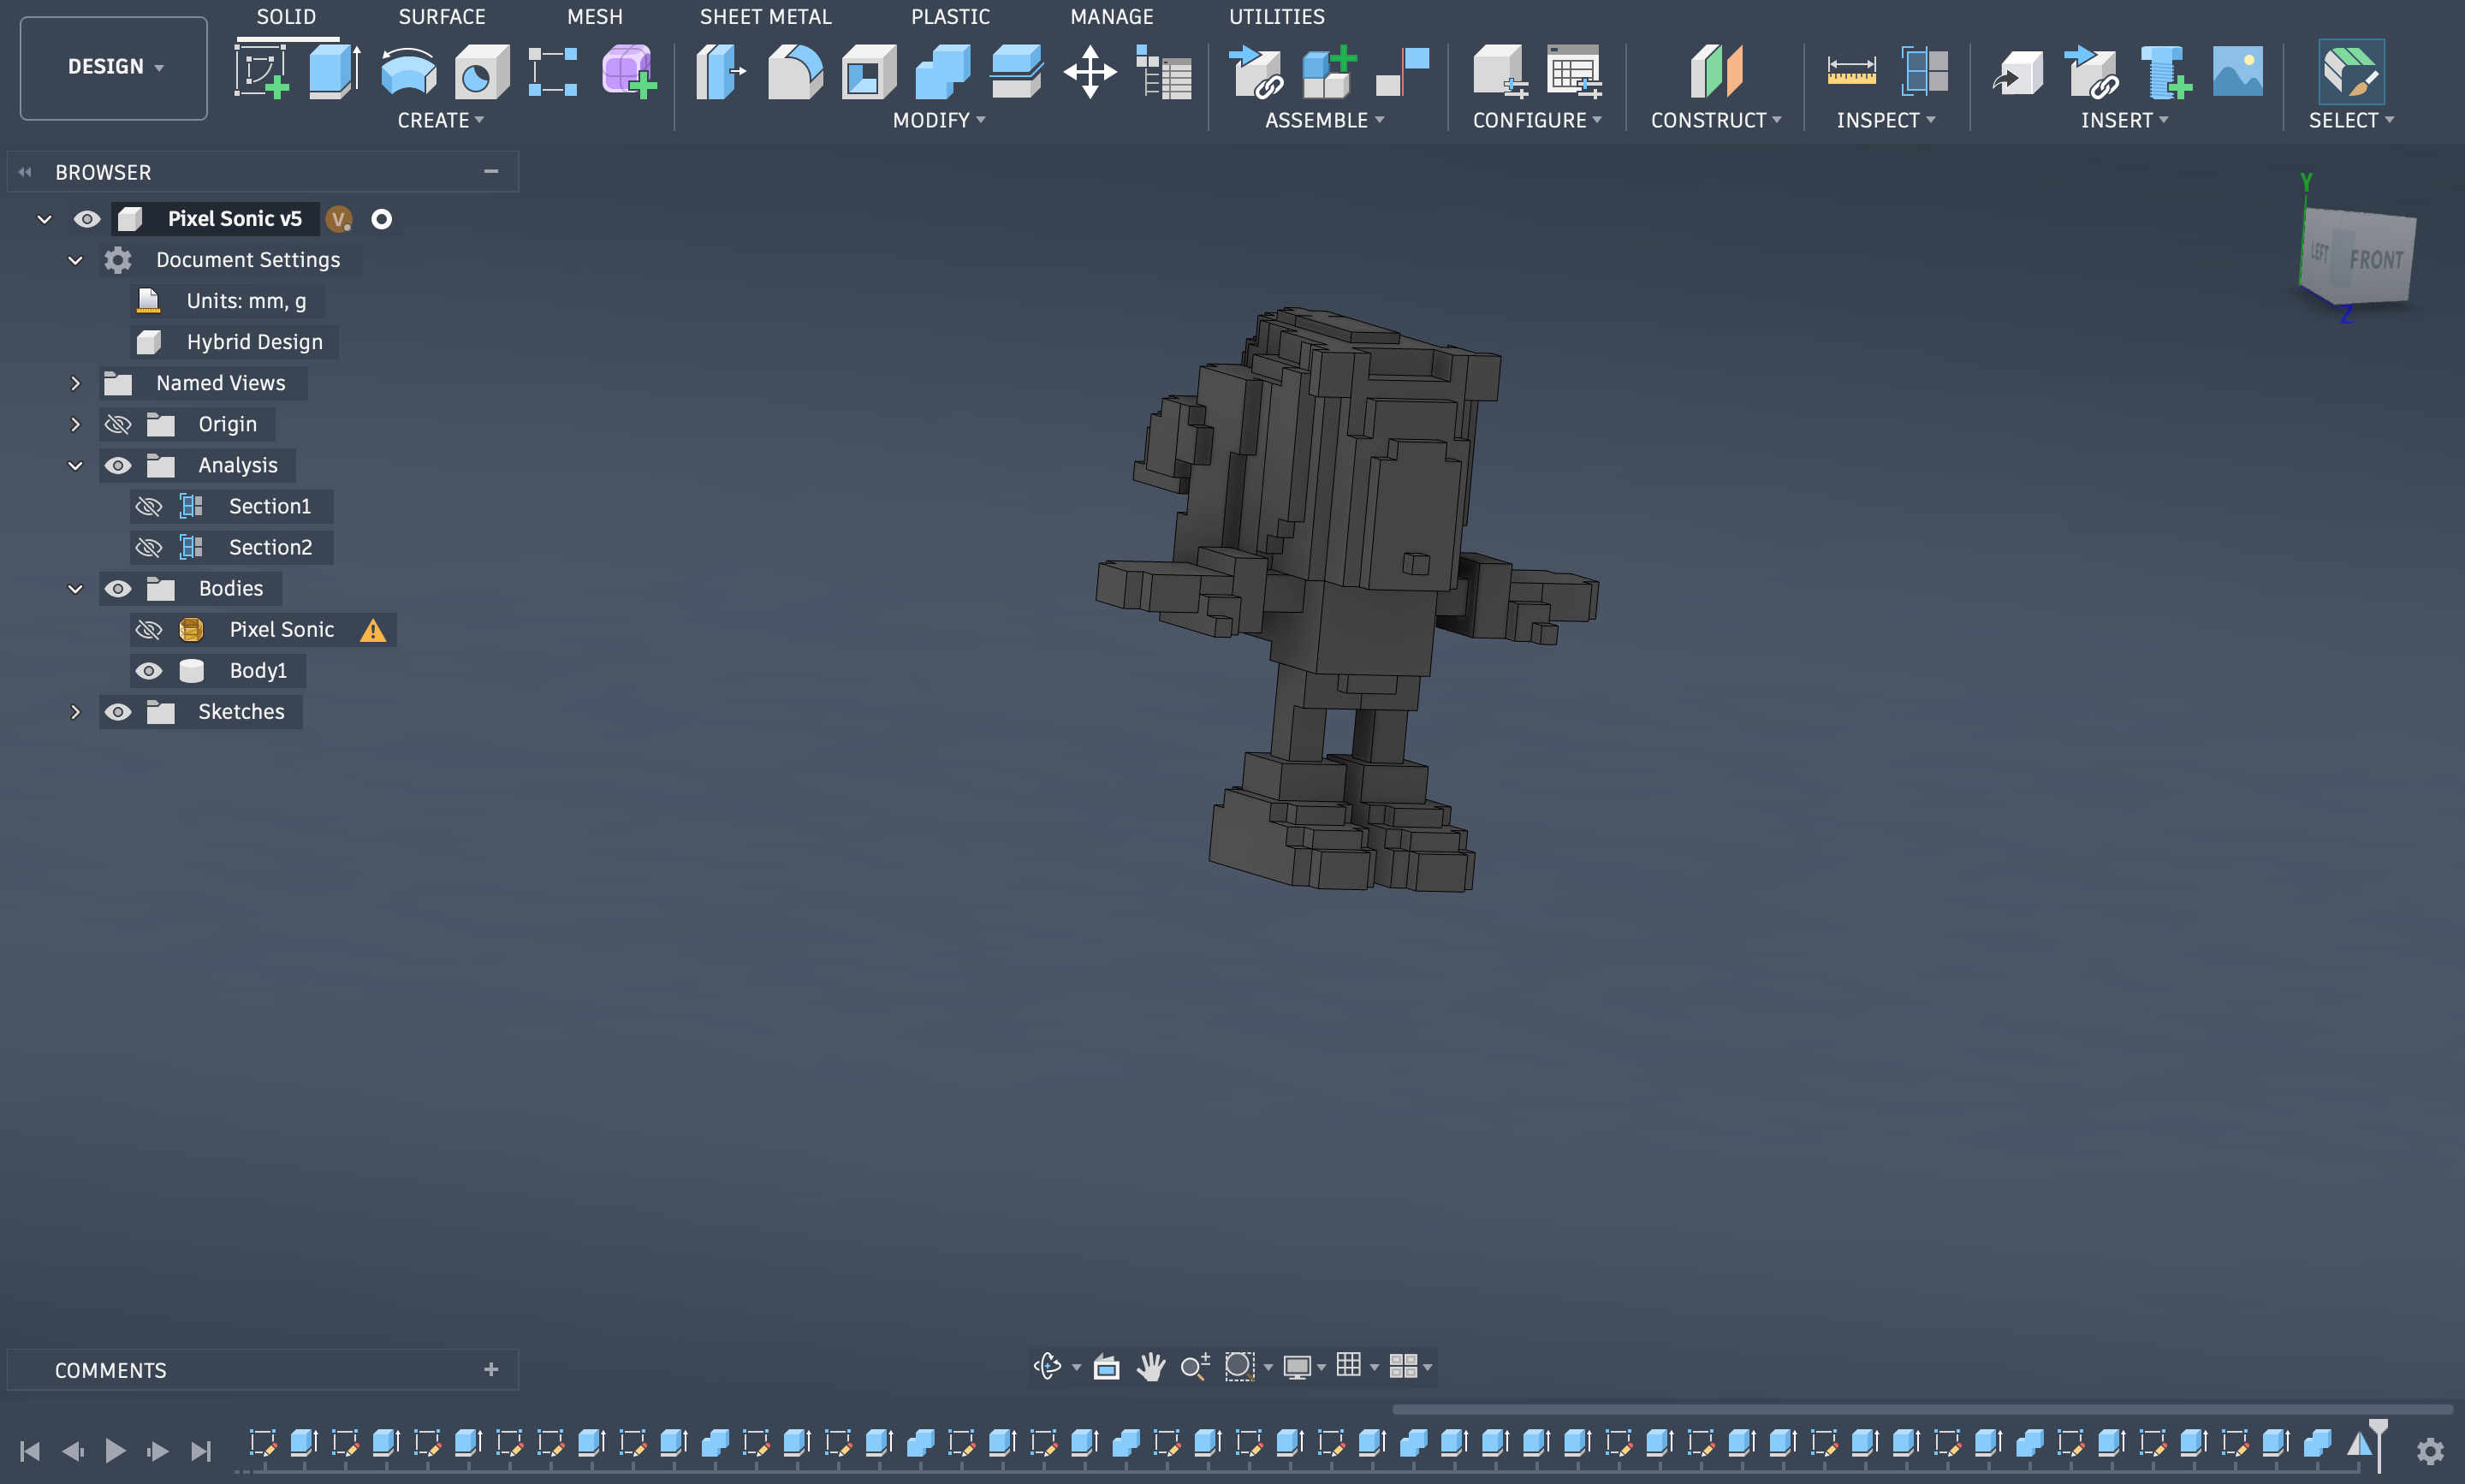 Initial final pixel model
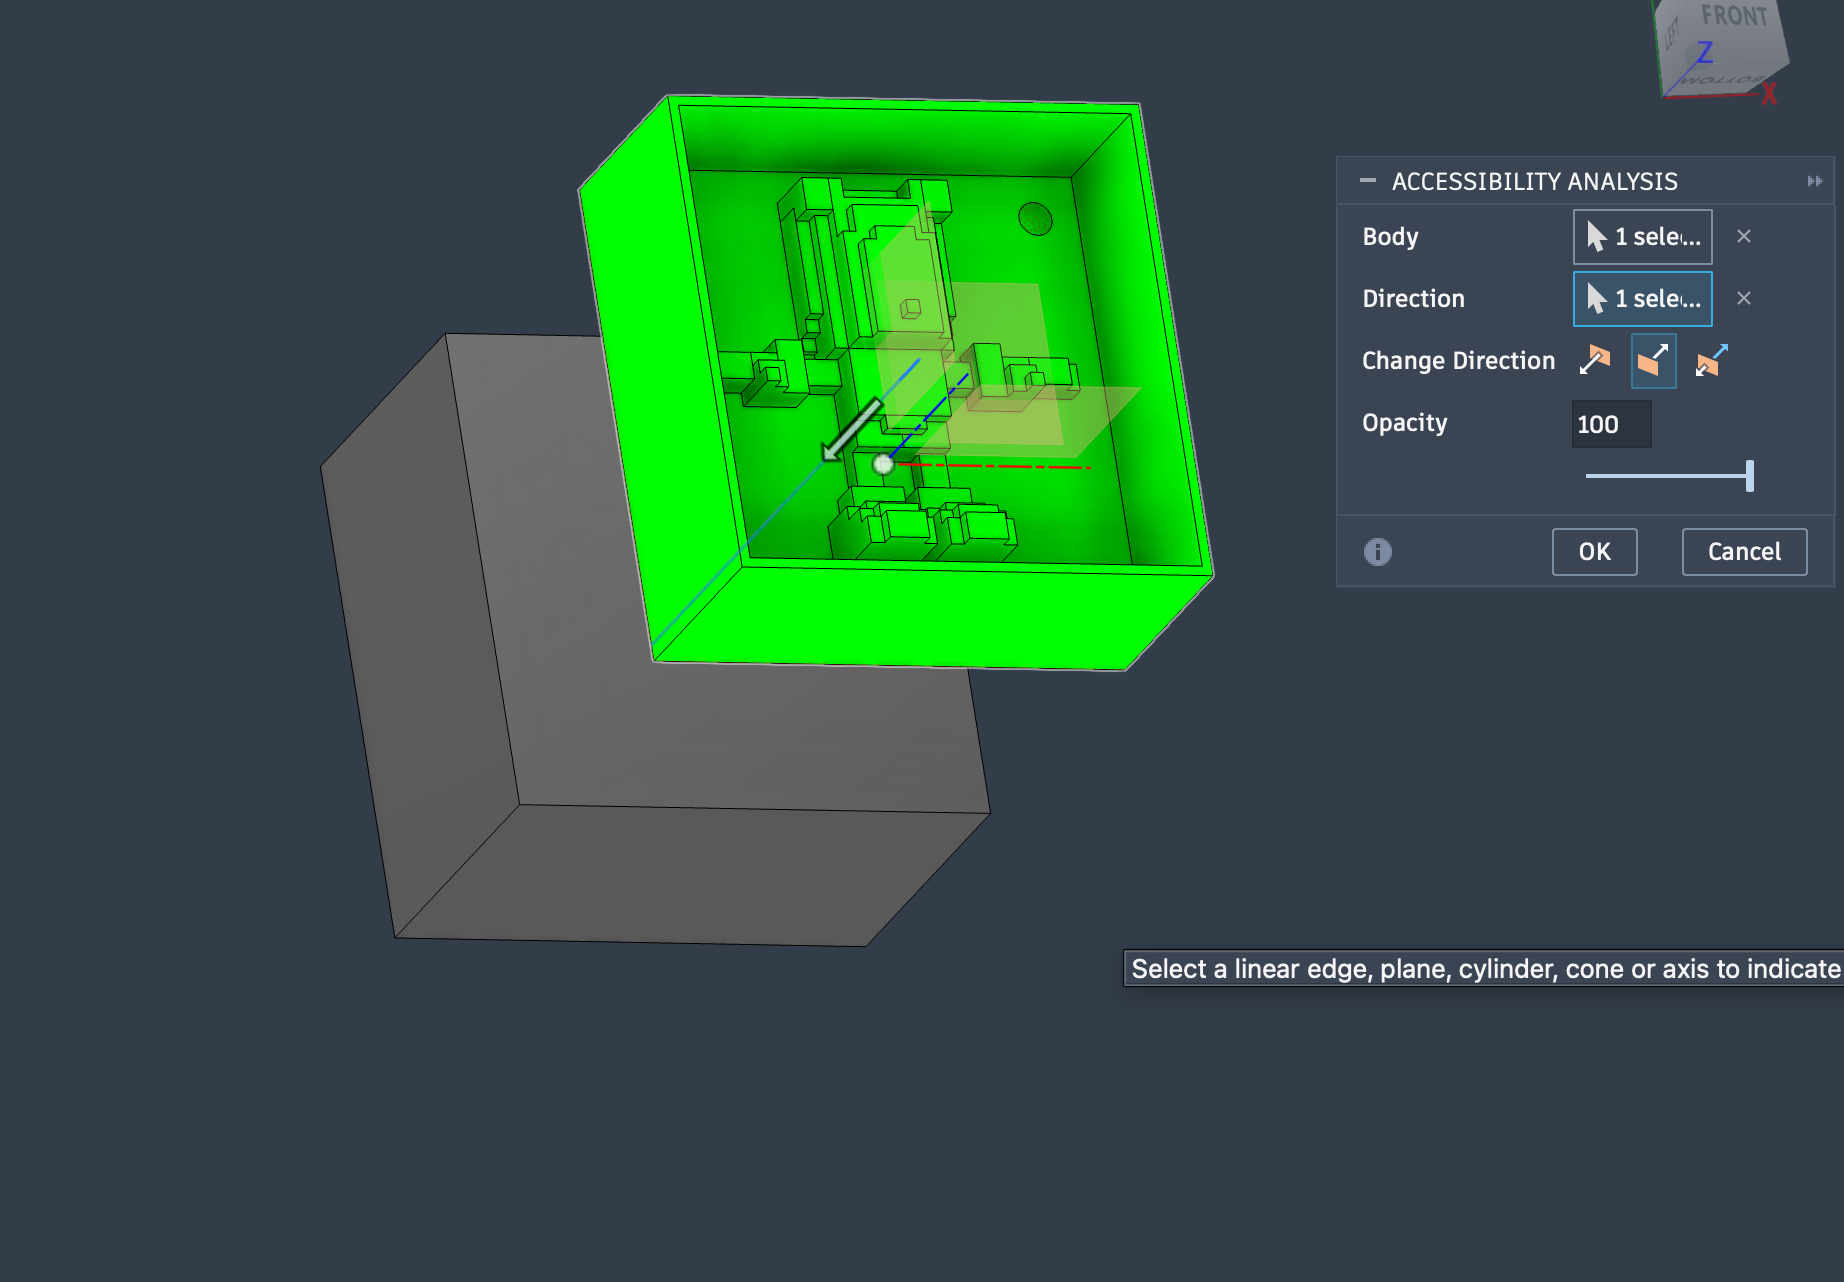
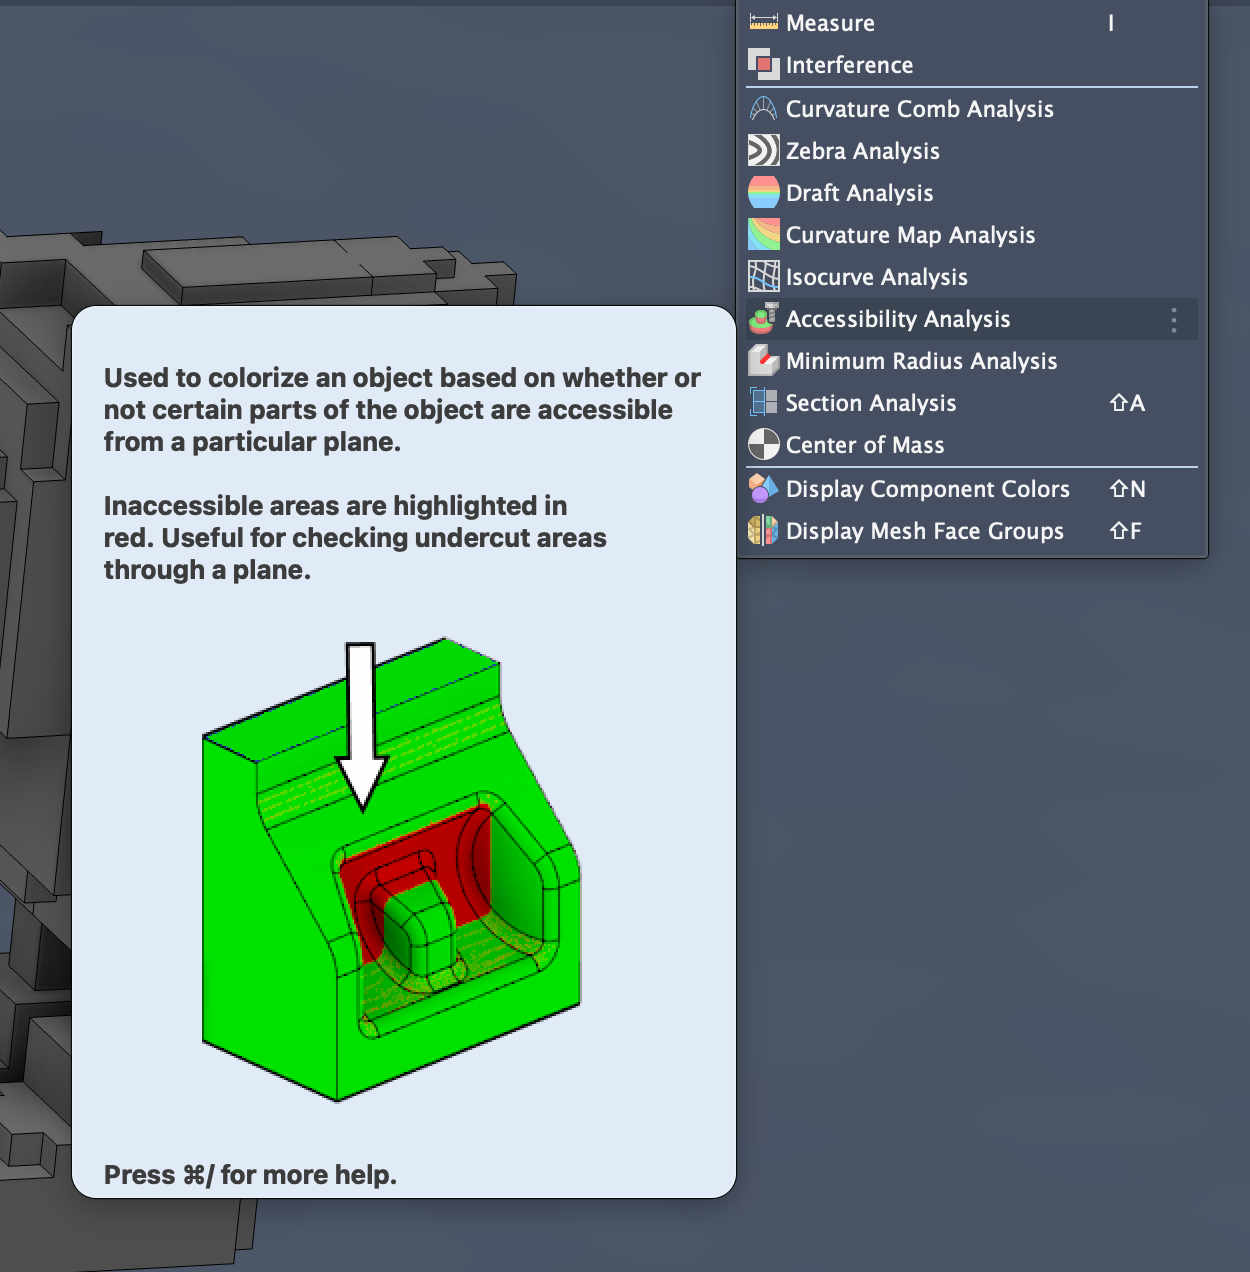 In fusion under Inspect you have an option of accesibility analysis, which shows you if you model has any undercuts
Undercuts
Undercuts are
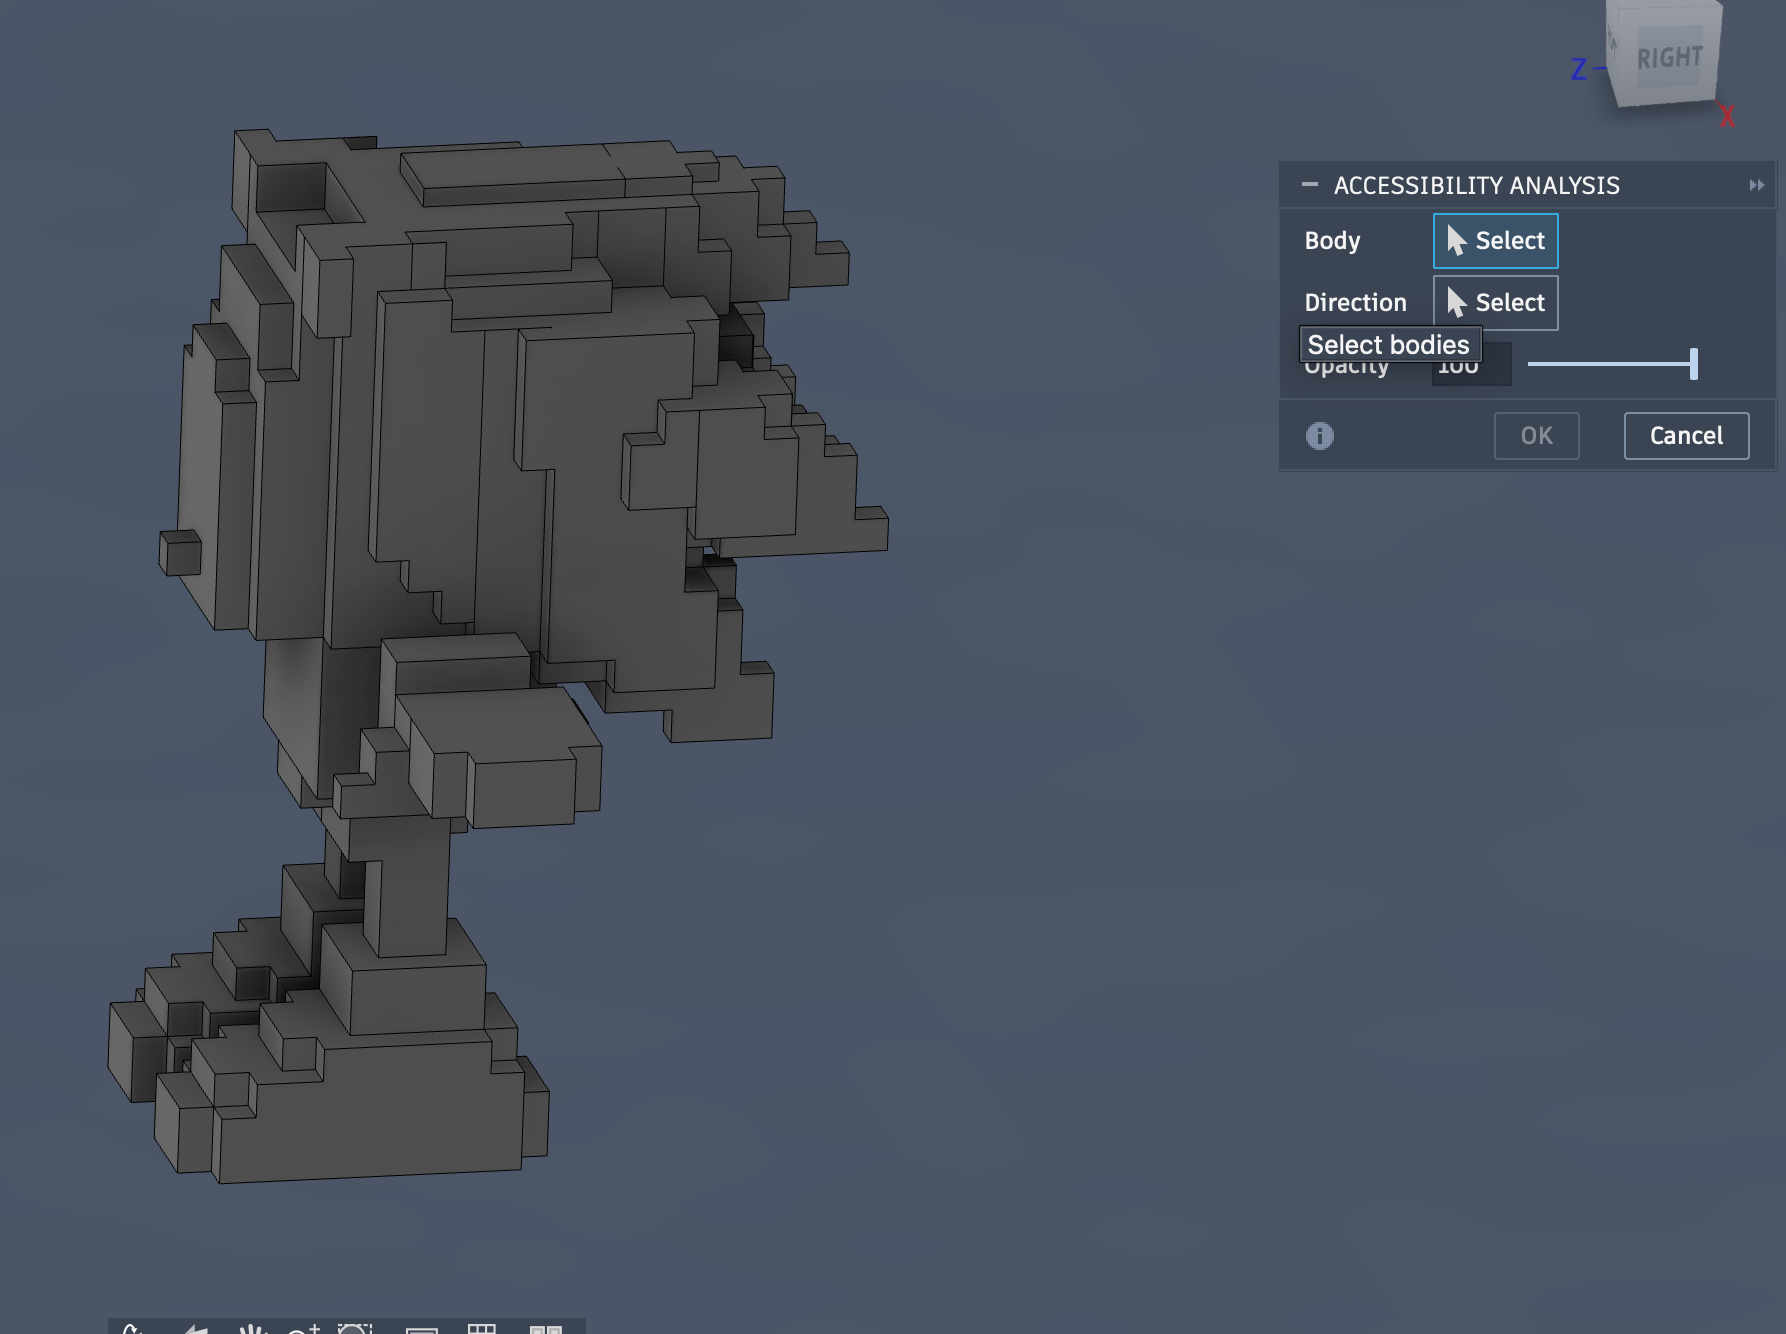 Choose the body you want to analyse
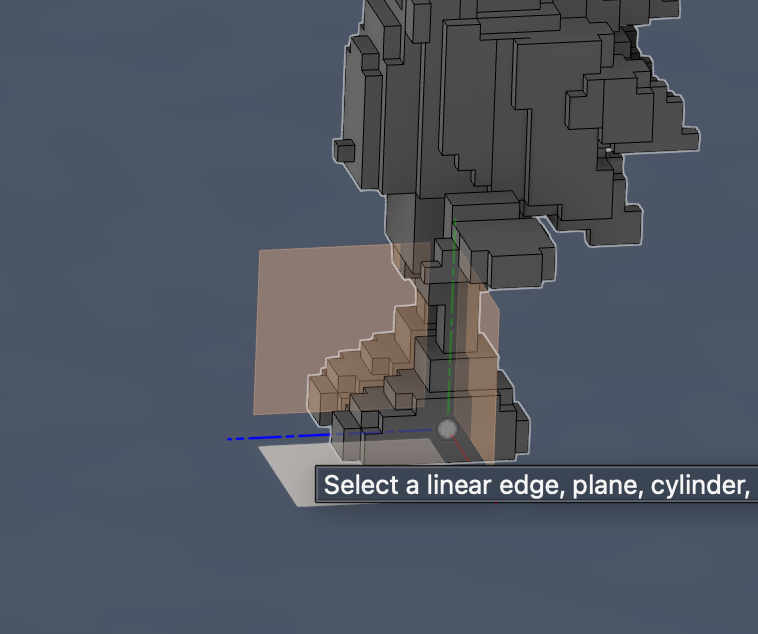 choose the direction of opening by selecting an axis
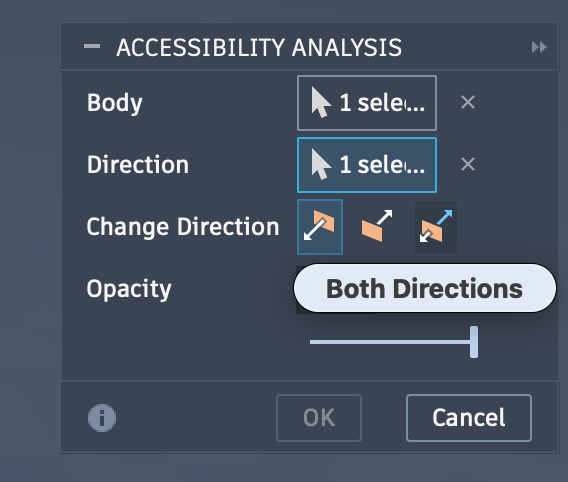 Depending on type of opening choose the option
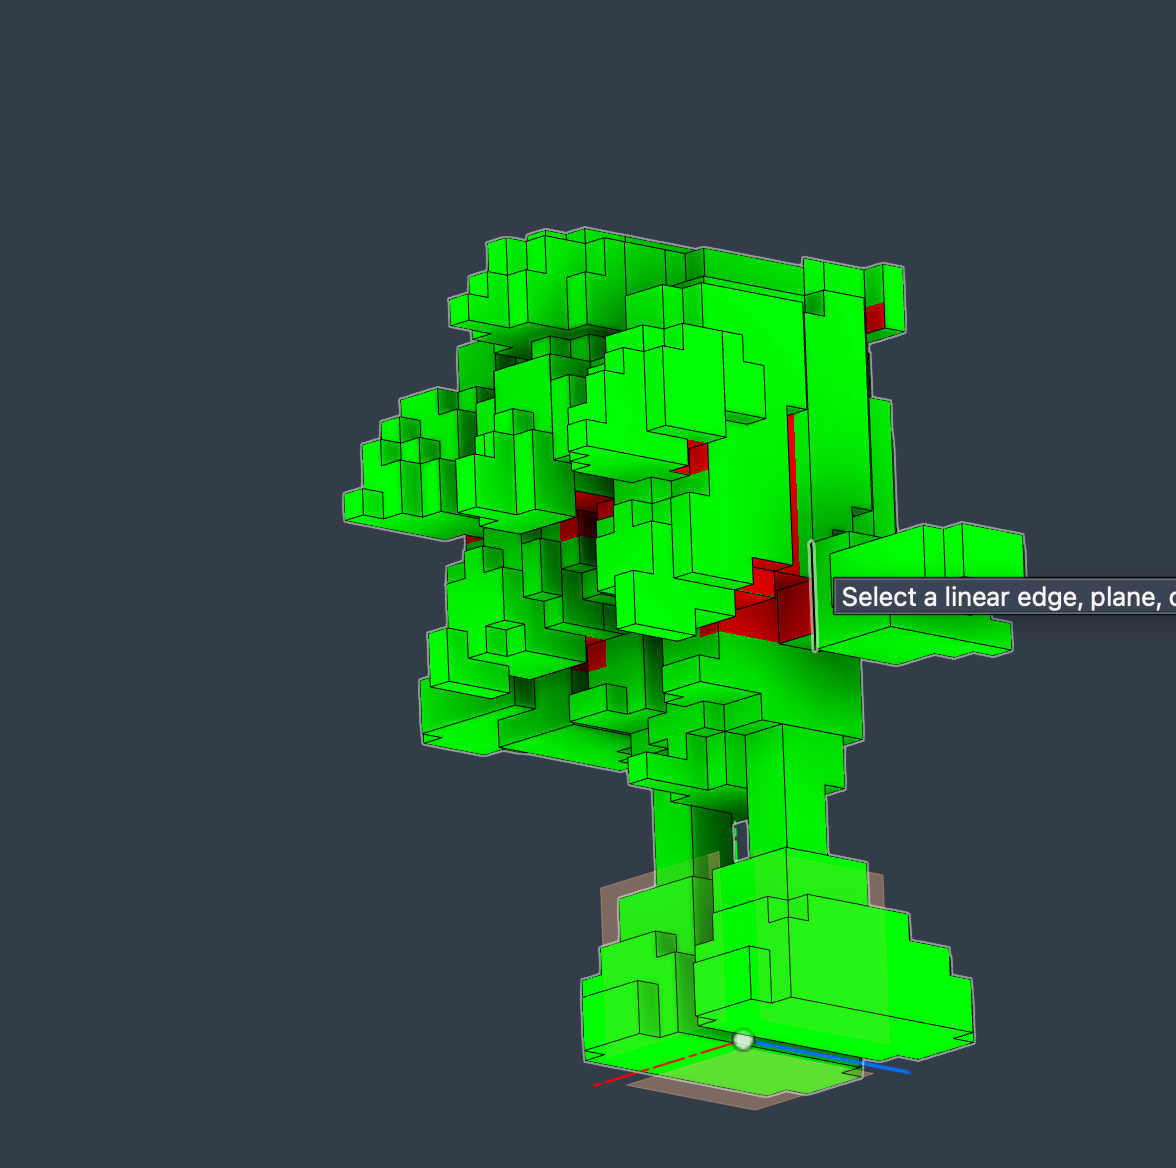 We have a tonne of undercuts here....
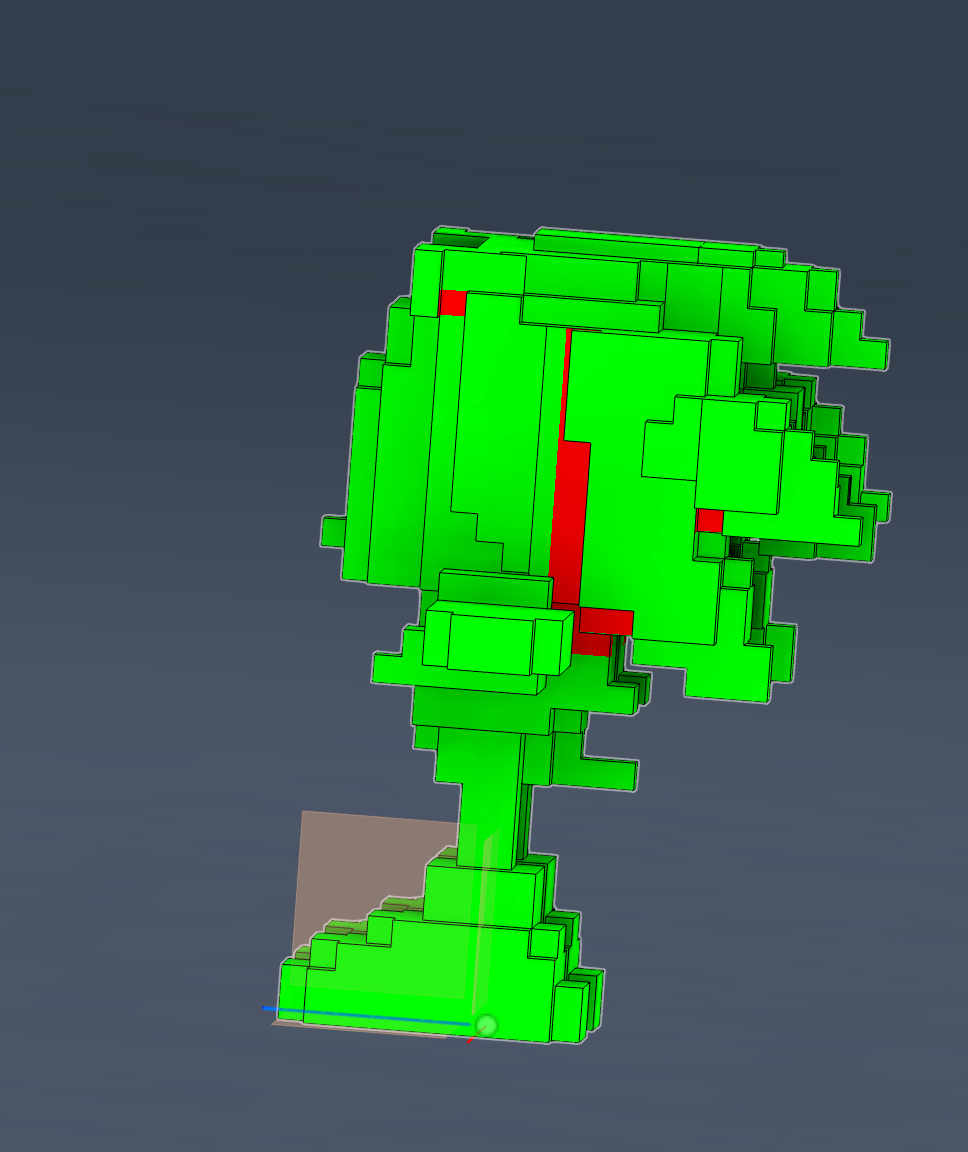
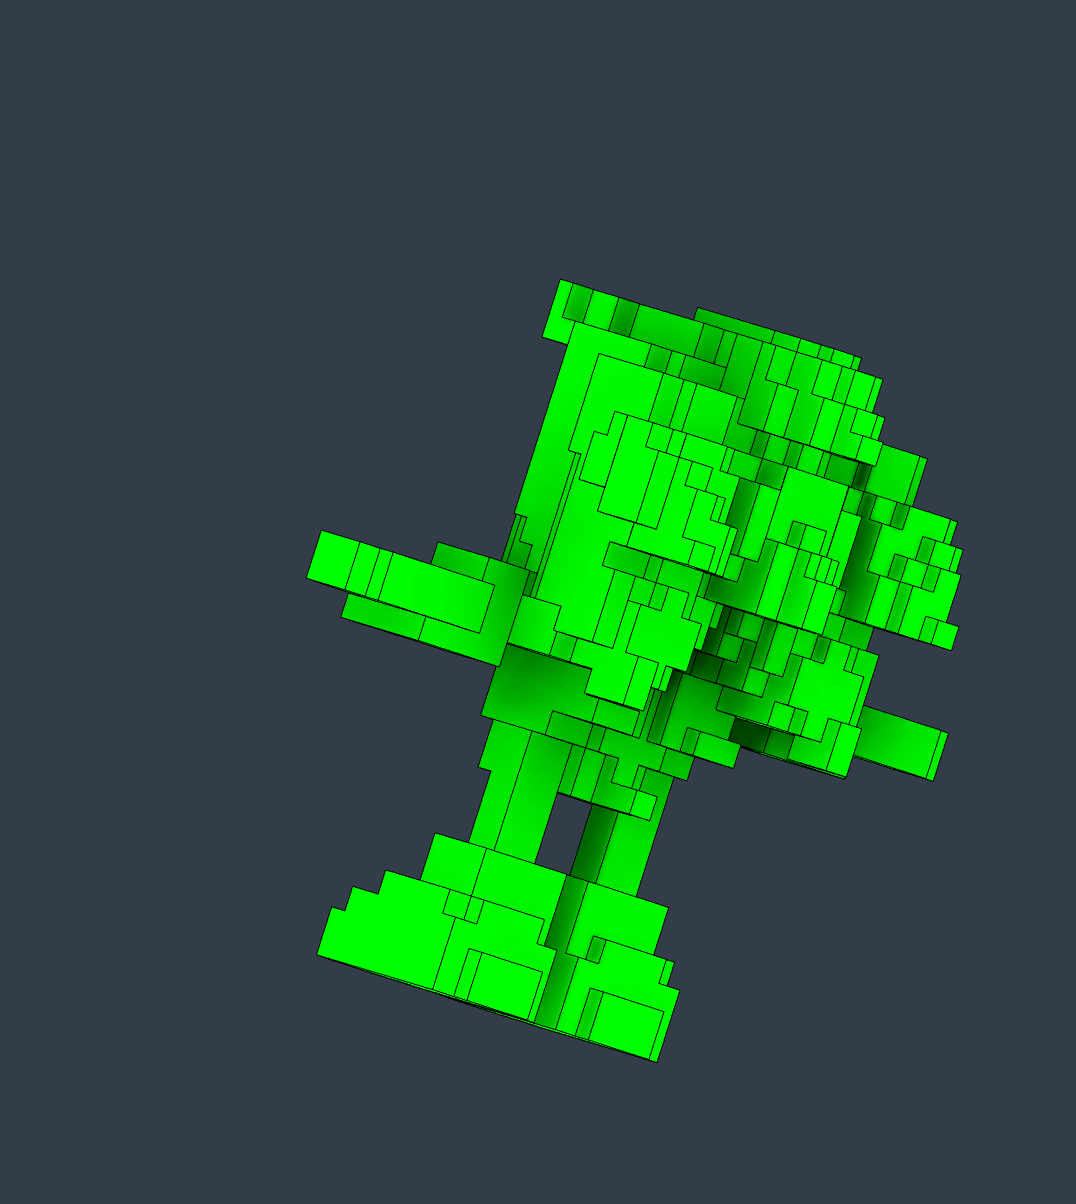 I manually fixed all extrusions that had undercuts to suffice a 2 part mold
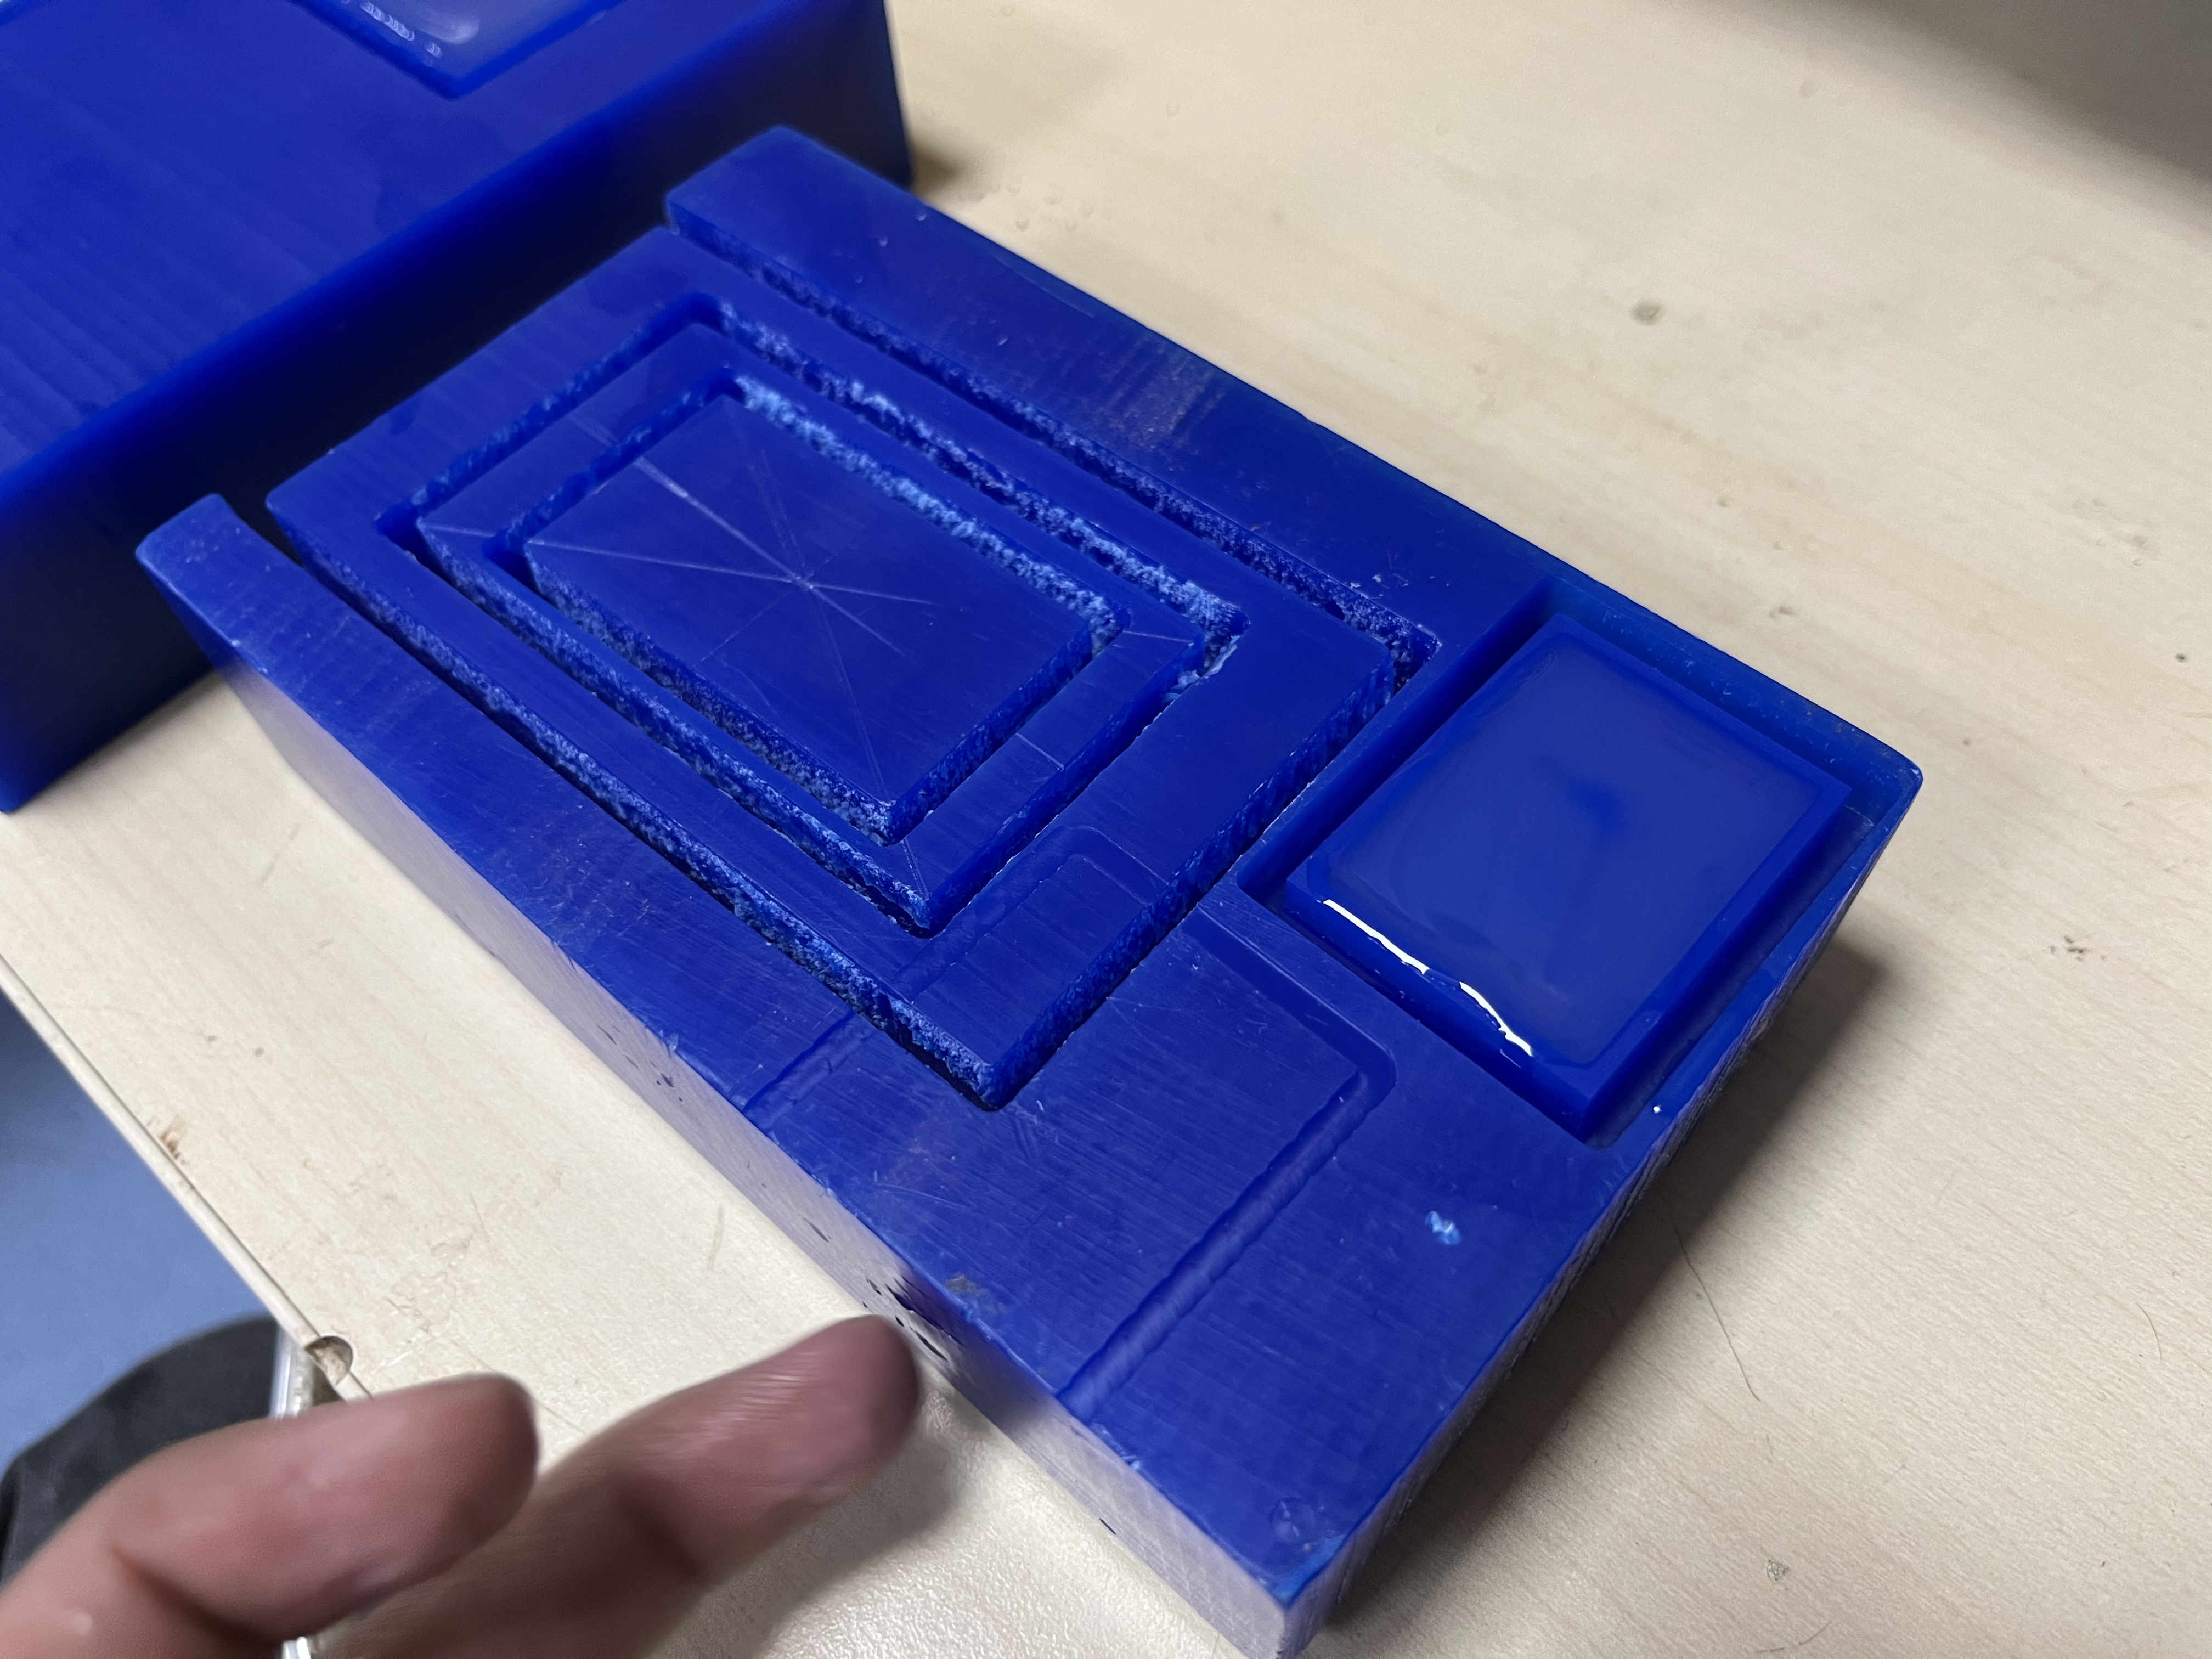
Designing a 2 part mold
Now we need to make the mother mold to form the silicon in
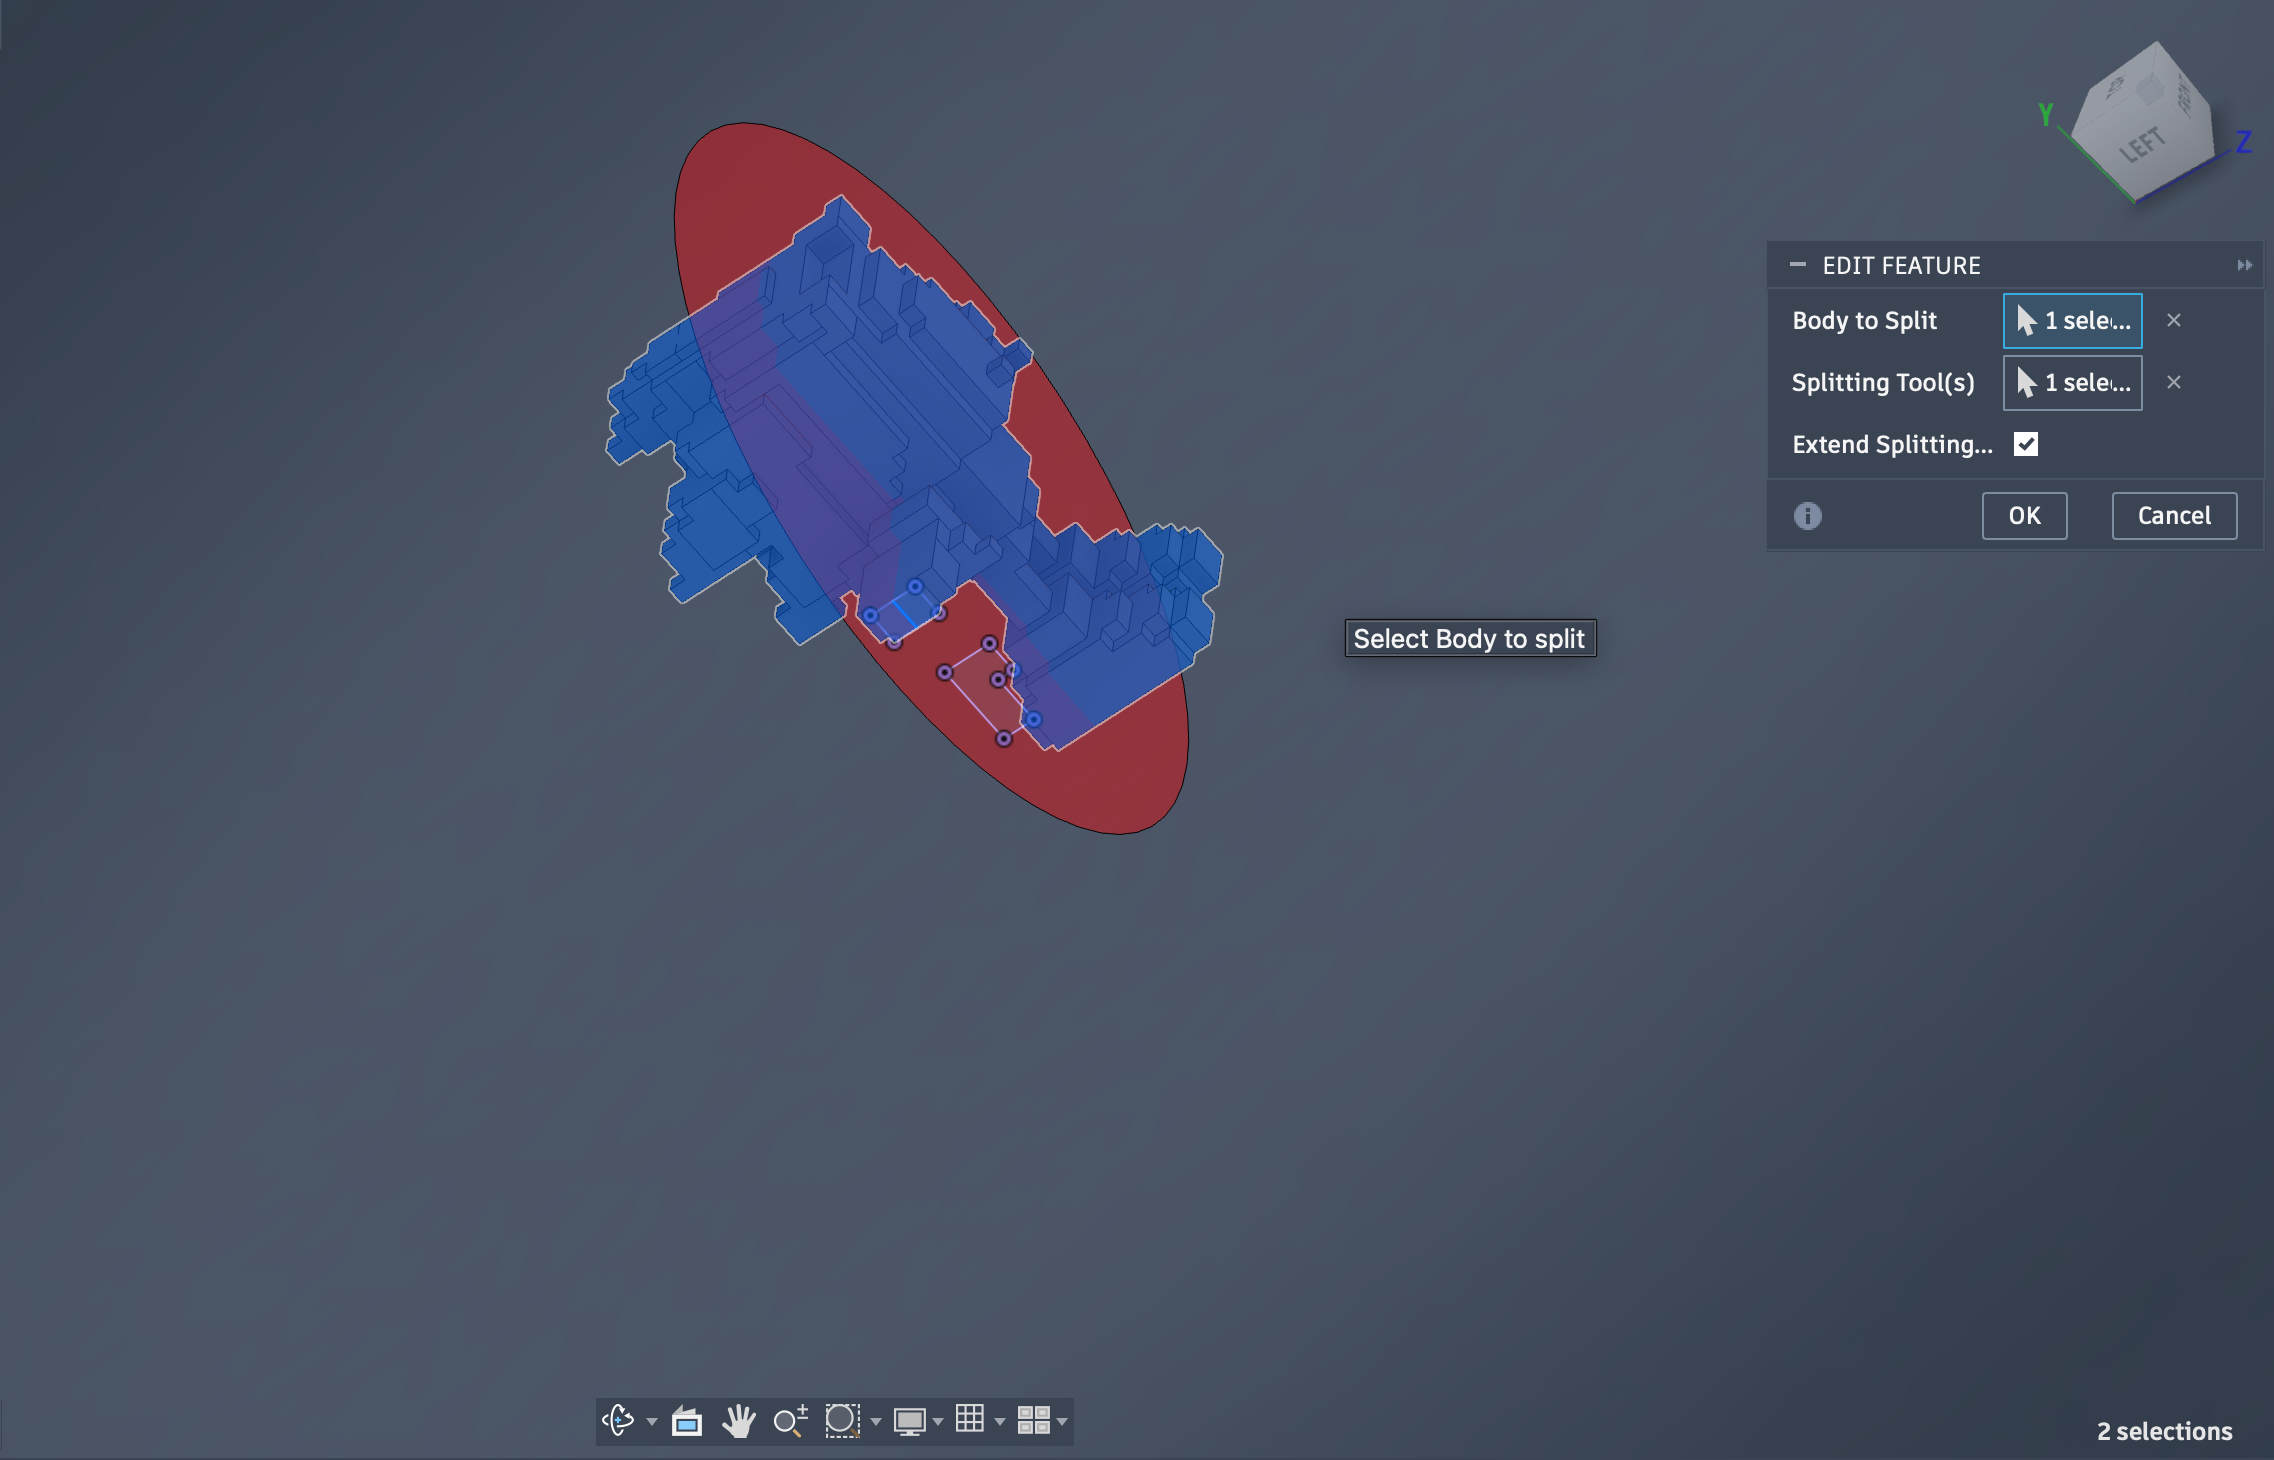 Split the model into 2 halfs exactly at the desired split line
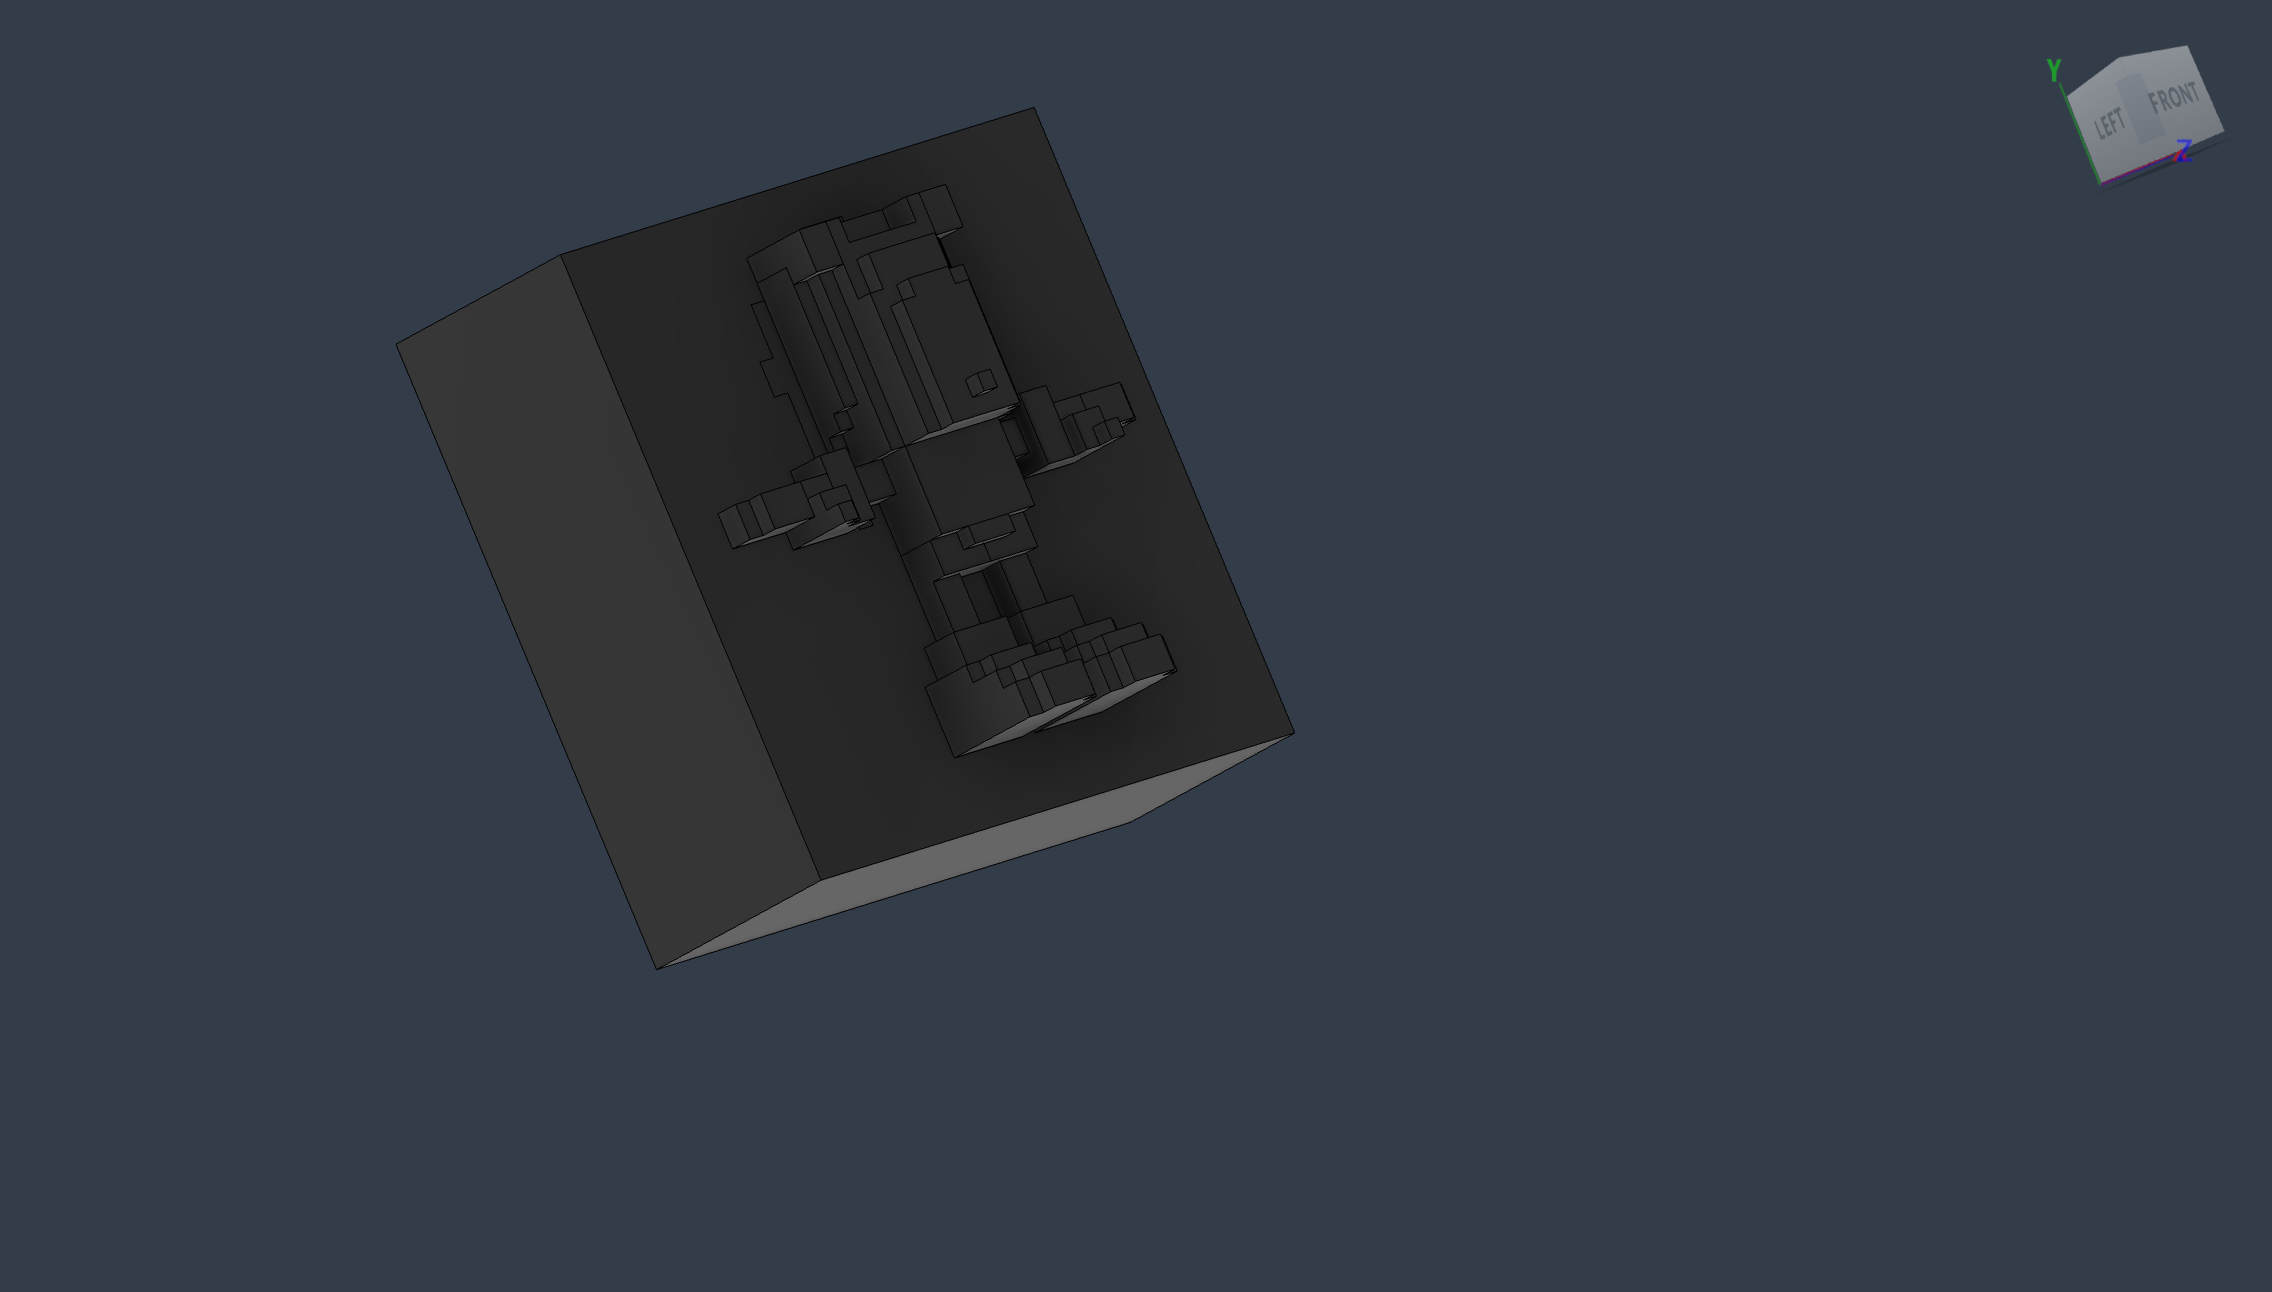 Extrude a simple box to act as the base
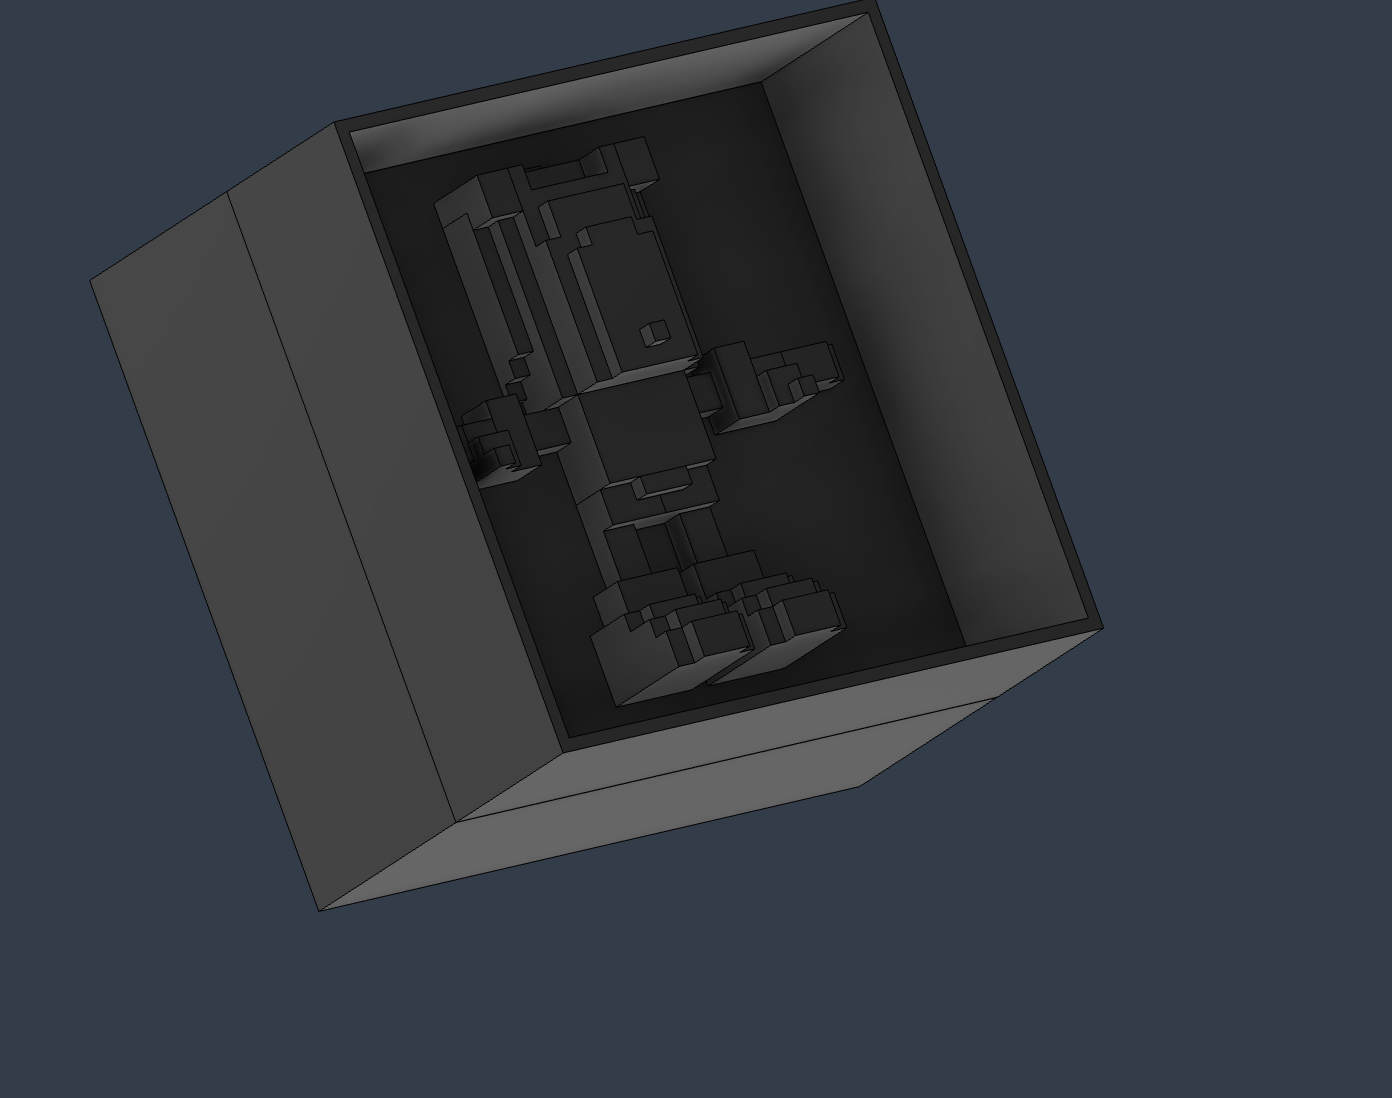 Extrude a thin wall around for the walls of silicon
Add a small draft angle of 1 to 2 degrees outward on this wall
Extrude a thin wall around for the walls of silicon
Add a small draft angle of 1 to 2 degrees outward on this wall
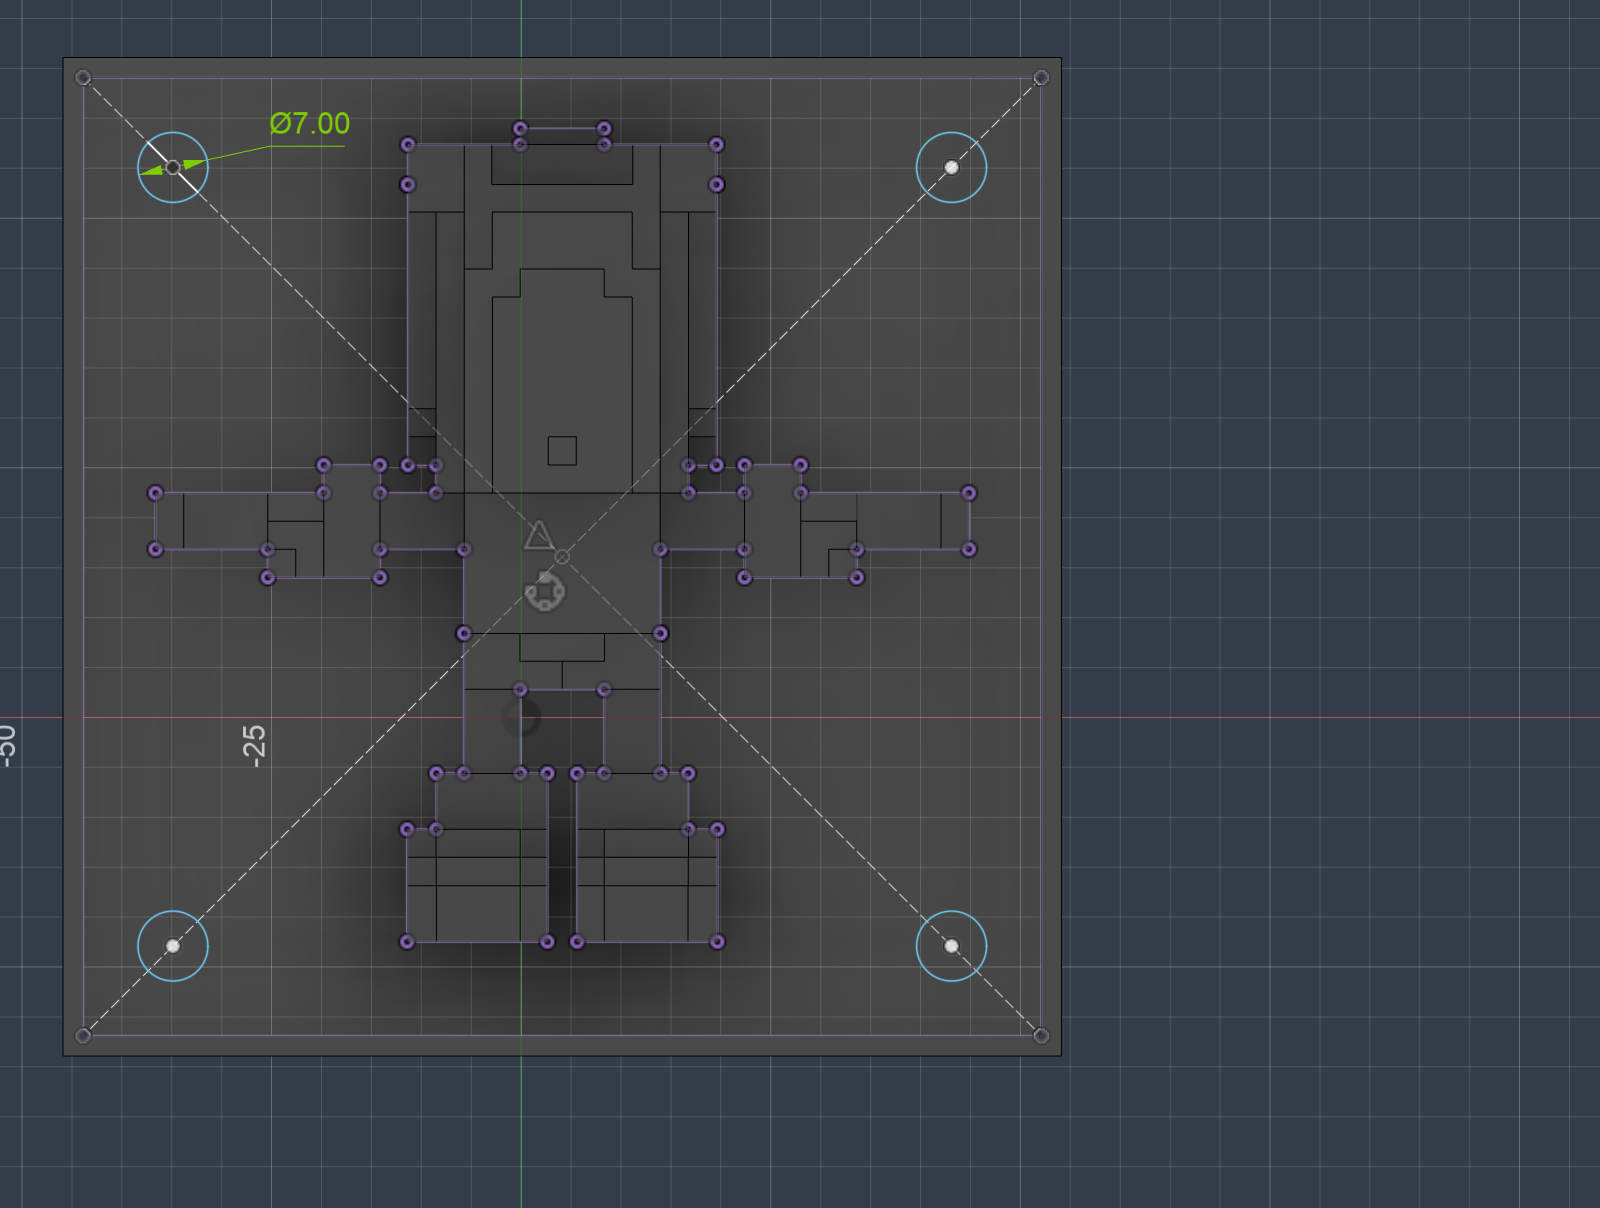 connect the 4 corners with a construction line and create a circle on the points
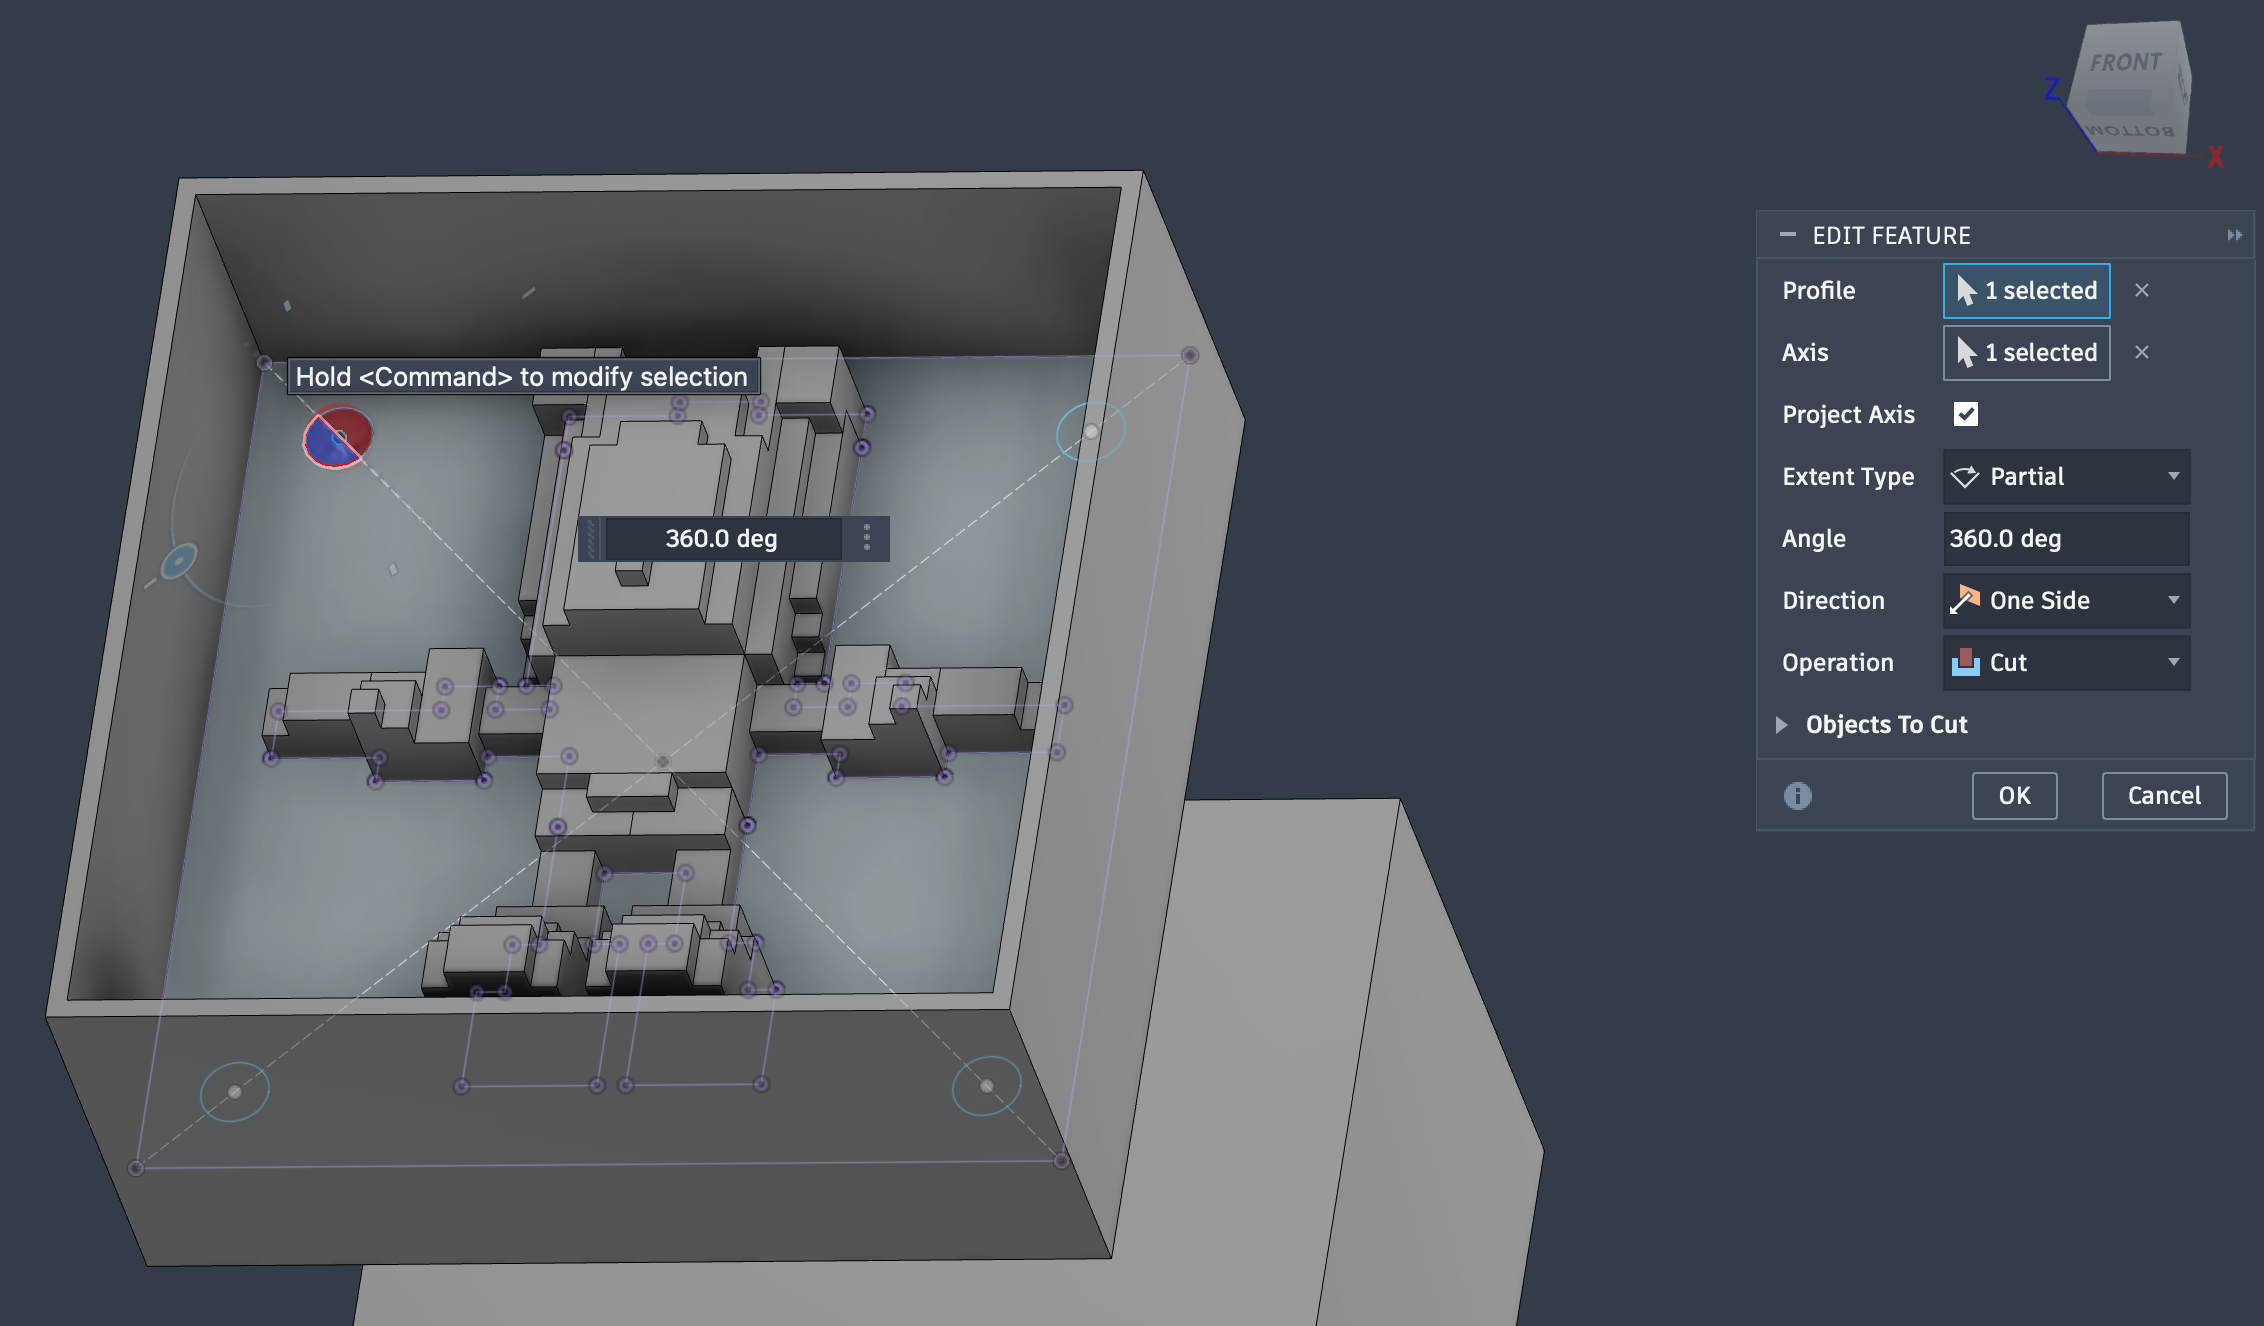 Revolve the circle to cretate a indent on one side and an extrusion on the other
This step is done to align the two molds when kept together, without this there can be misalignement
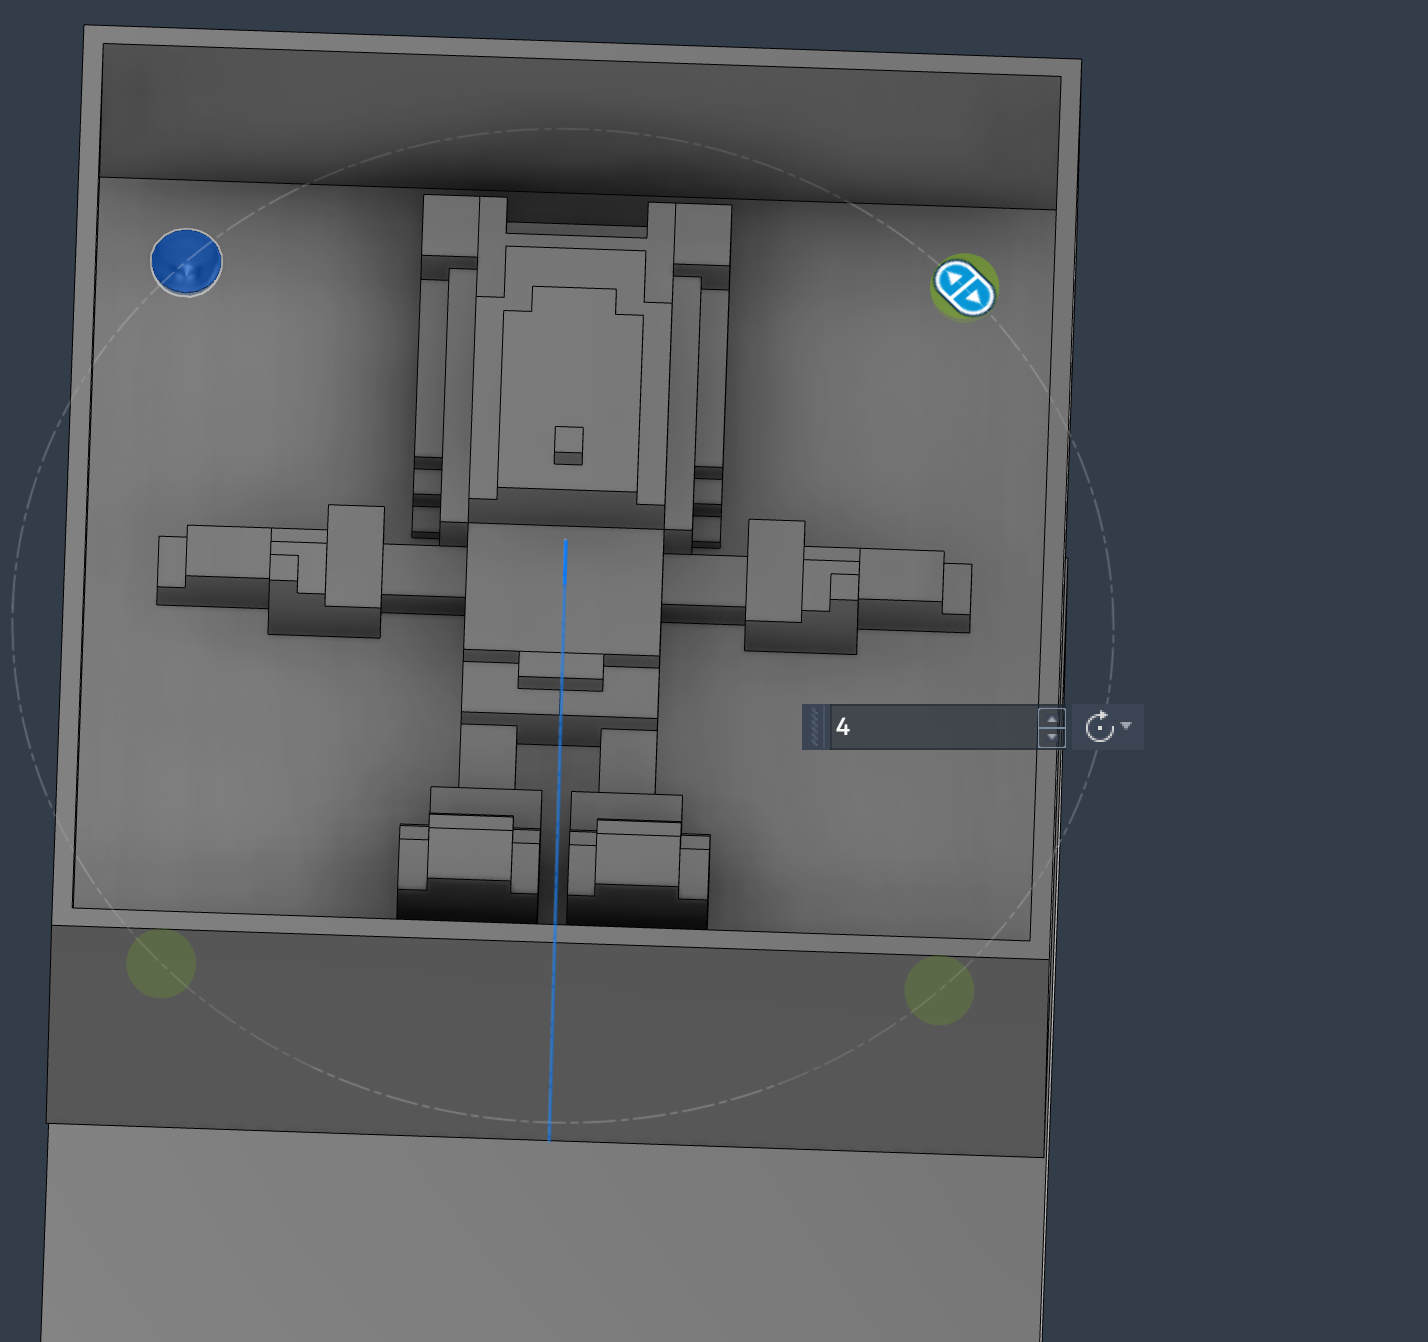 Circular patten the indent feature and the extrudes feature on both sides for 4 alignment points
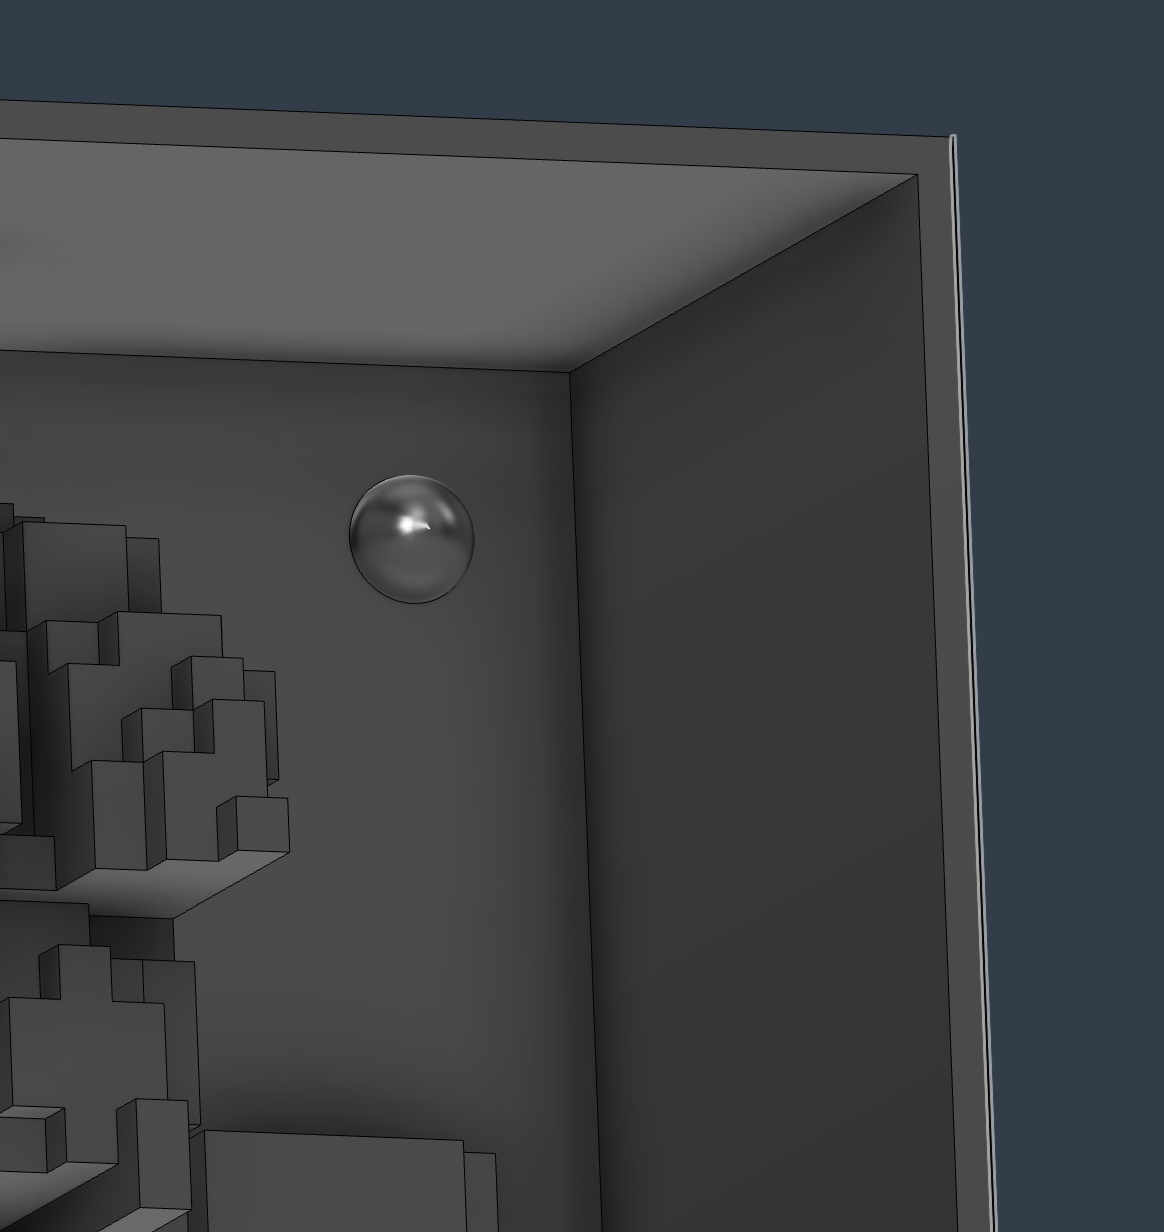 Indented feature in the other side of the mother mold
 Checking accesibility analysis of the the mother mold as well
I couldnt add any draft angles to the model itself without it looking super odd, I did not want to risk a fresh wax mold and waste it if the silicon does not come out thus I decided to print a mother mold first
Checking accesibility analysis of the the mother mold as well
I couldnt add any draft angles to the model itself without it looking super odd, I did not want to risk a fresh wax mold and waste it if the silicon does not come out thus I decided to print a mother mold first
 My model had many small extrusions which were very probable to snap from my print, increasing infill for th whiole block would increase time drastically
Thus i added modifiers to my models small parts
Adding modifiers
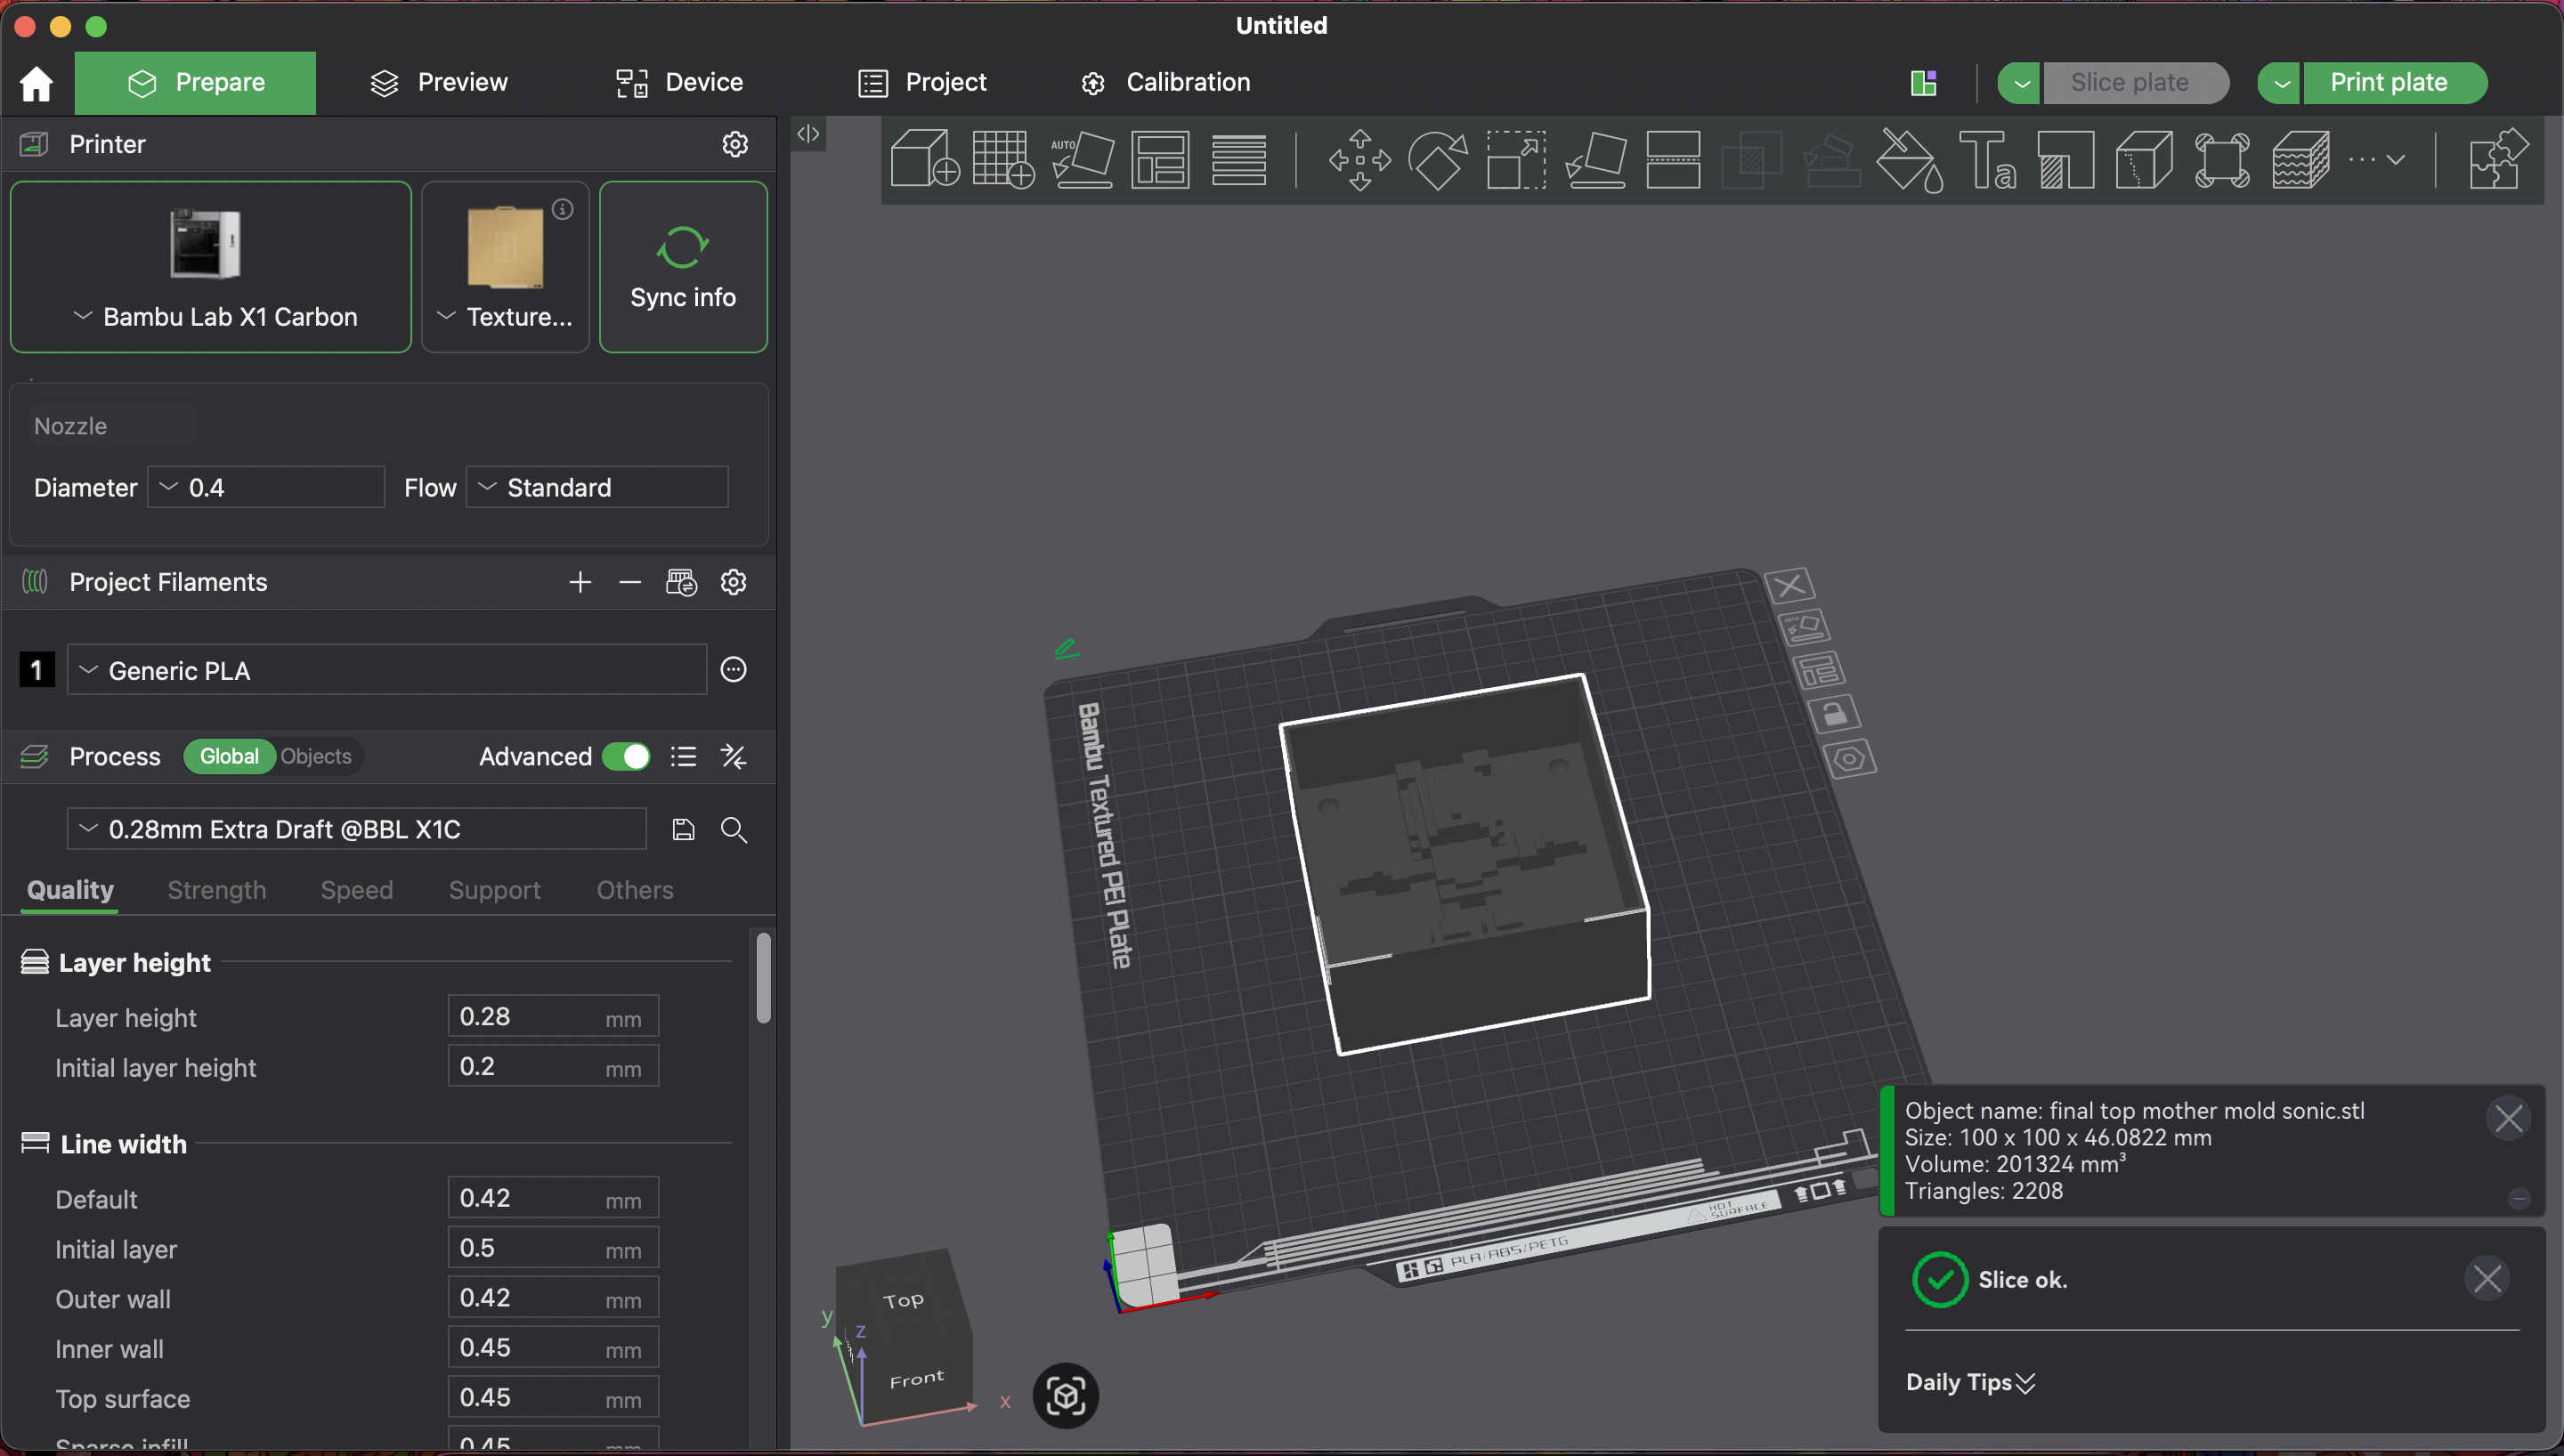 Import model into slicer
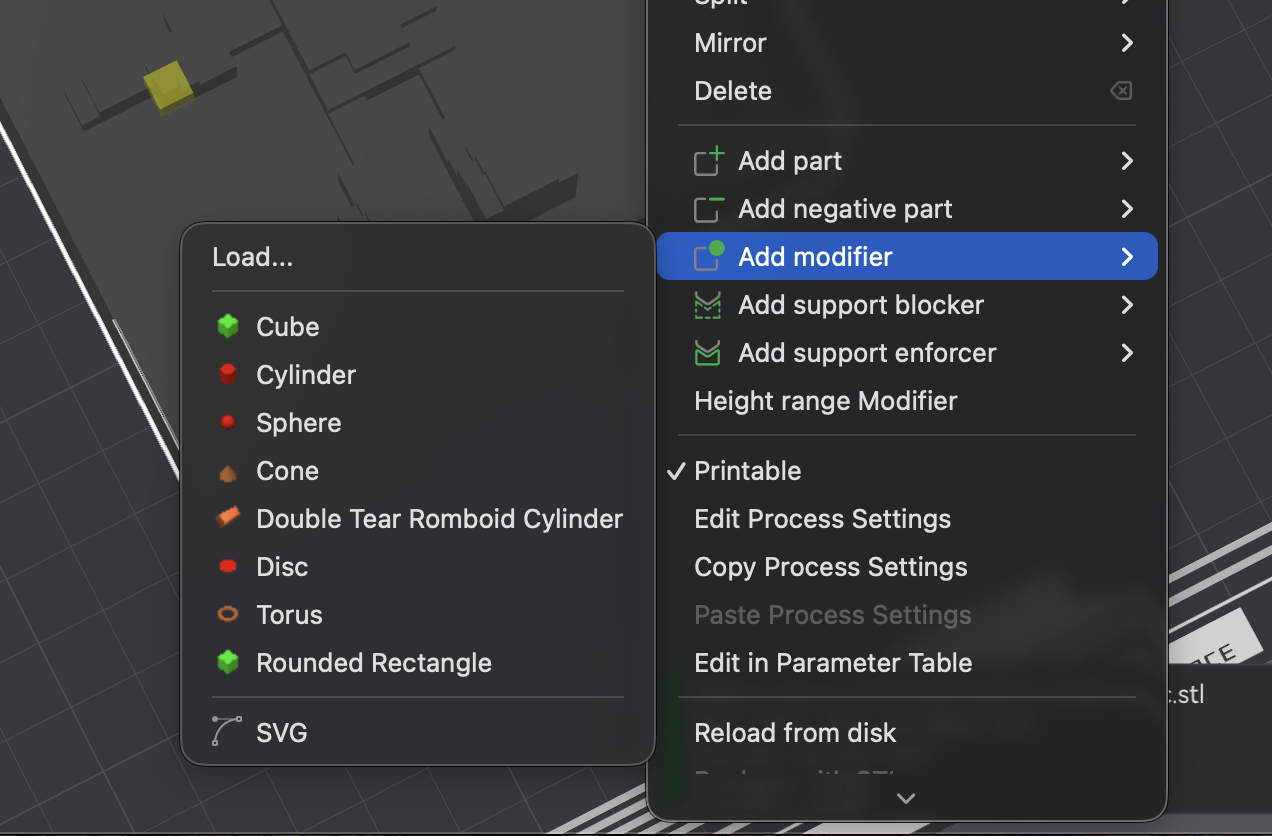 Right click & Choose add modifier with the desired shape
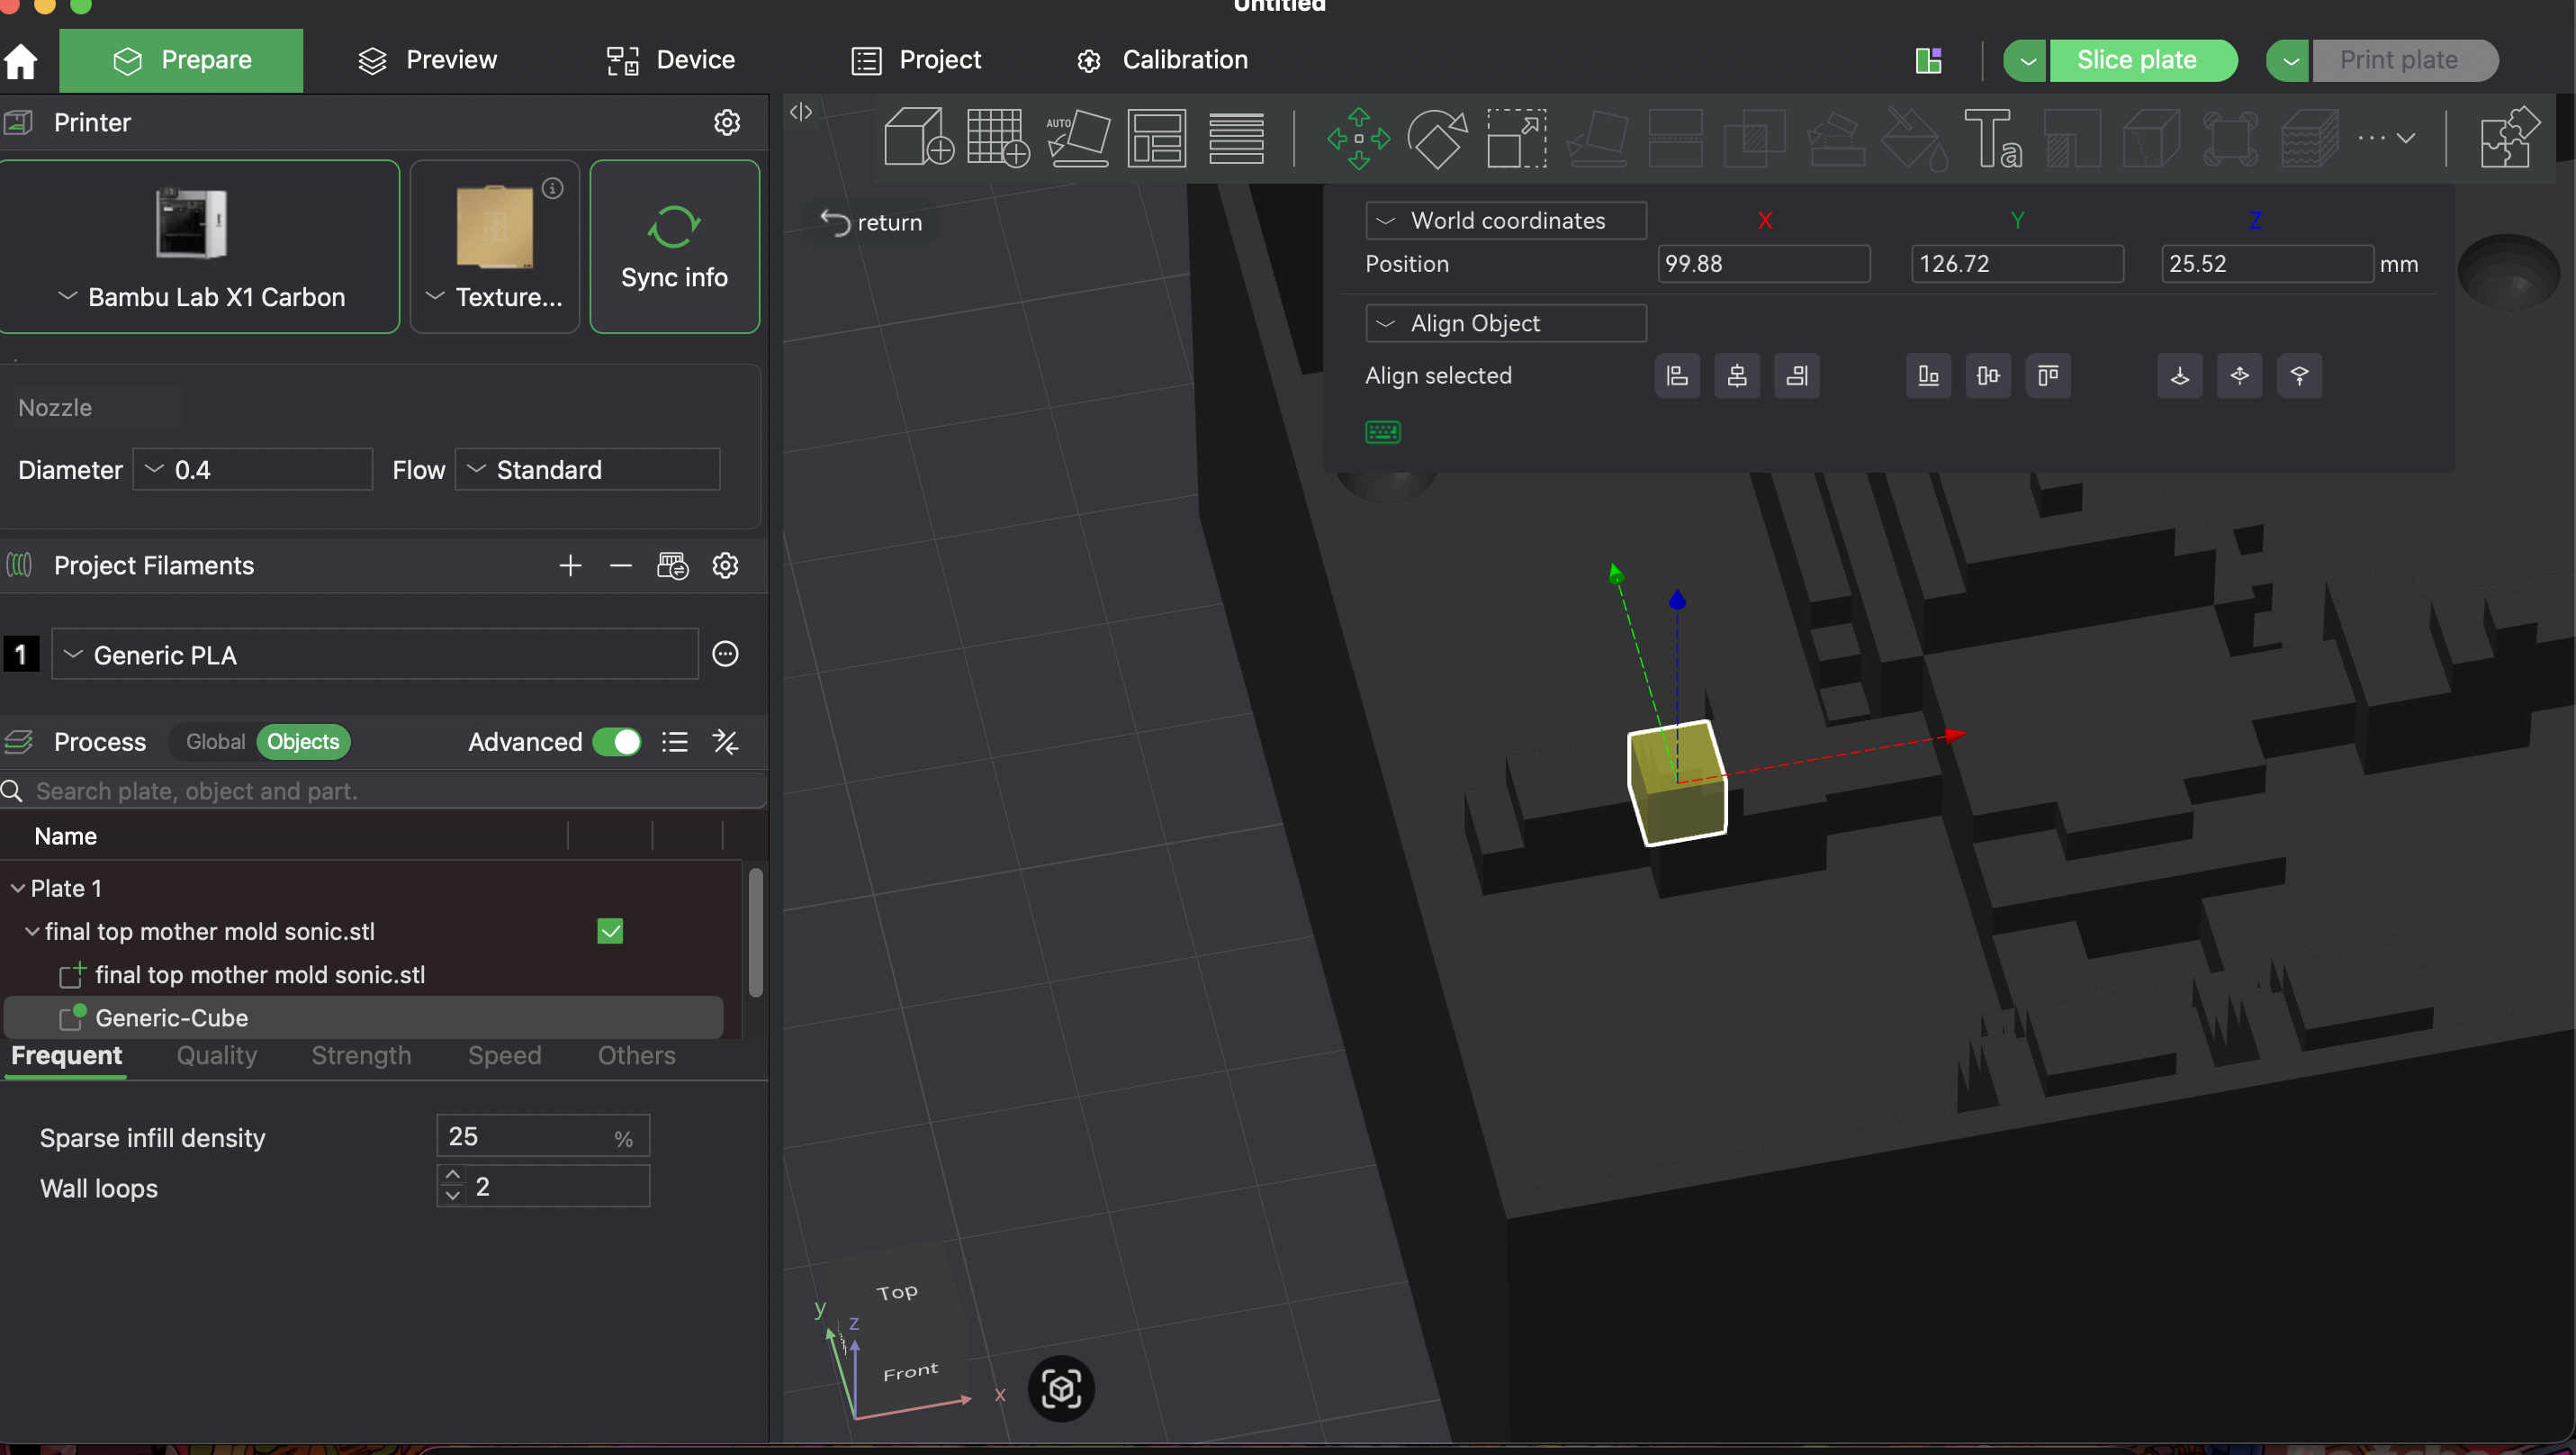 A modifier just acts as a new body, where you can control wall lopps and infill and scale the block to affect certain areas on the 3D print
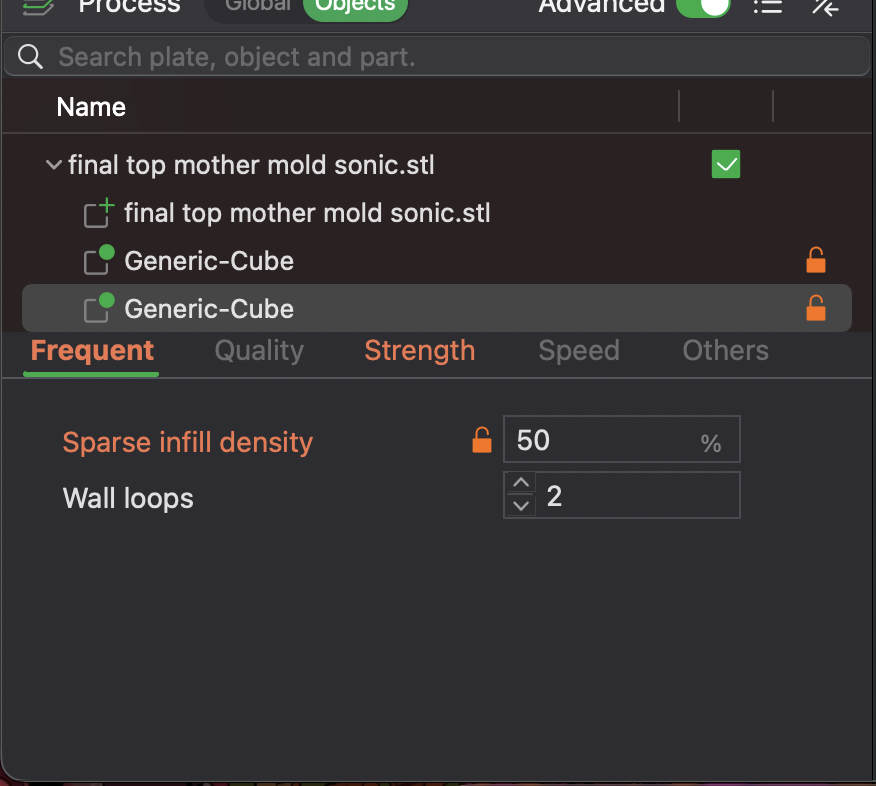 Set desired infill percent and wall loops
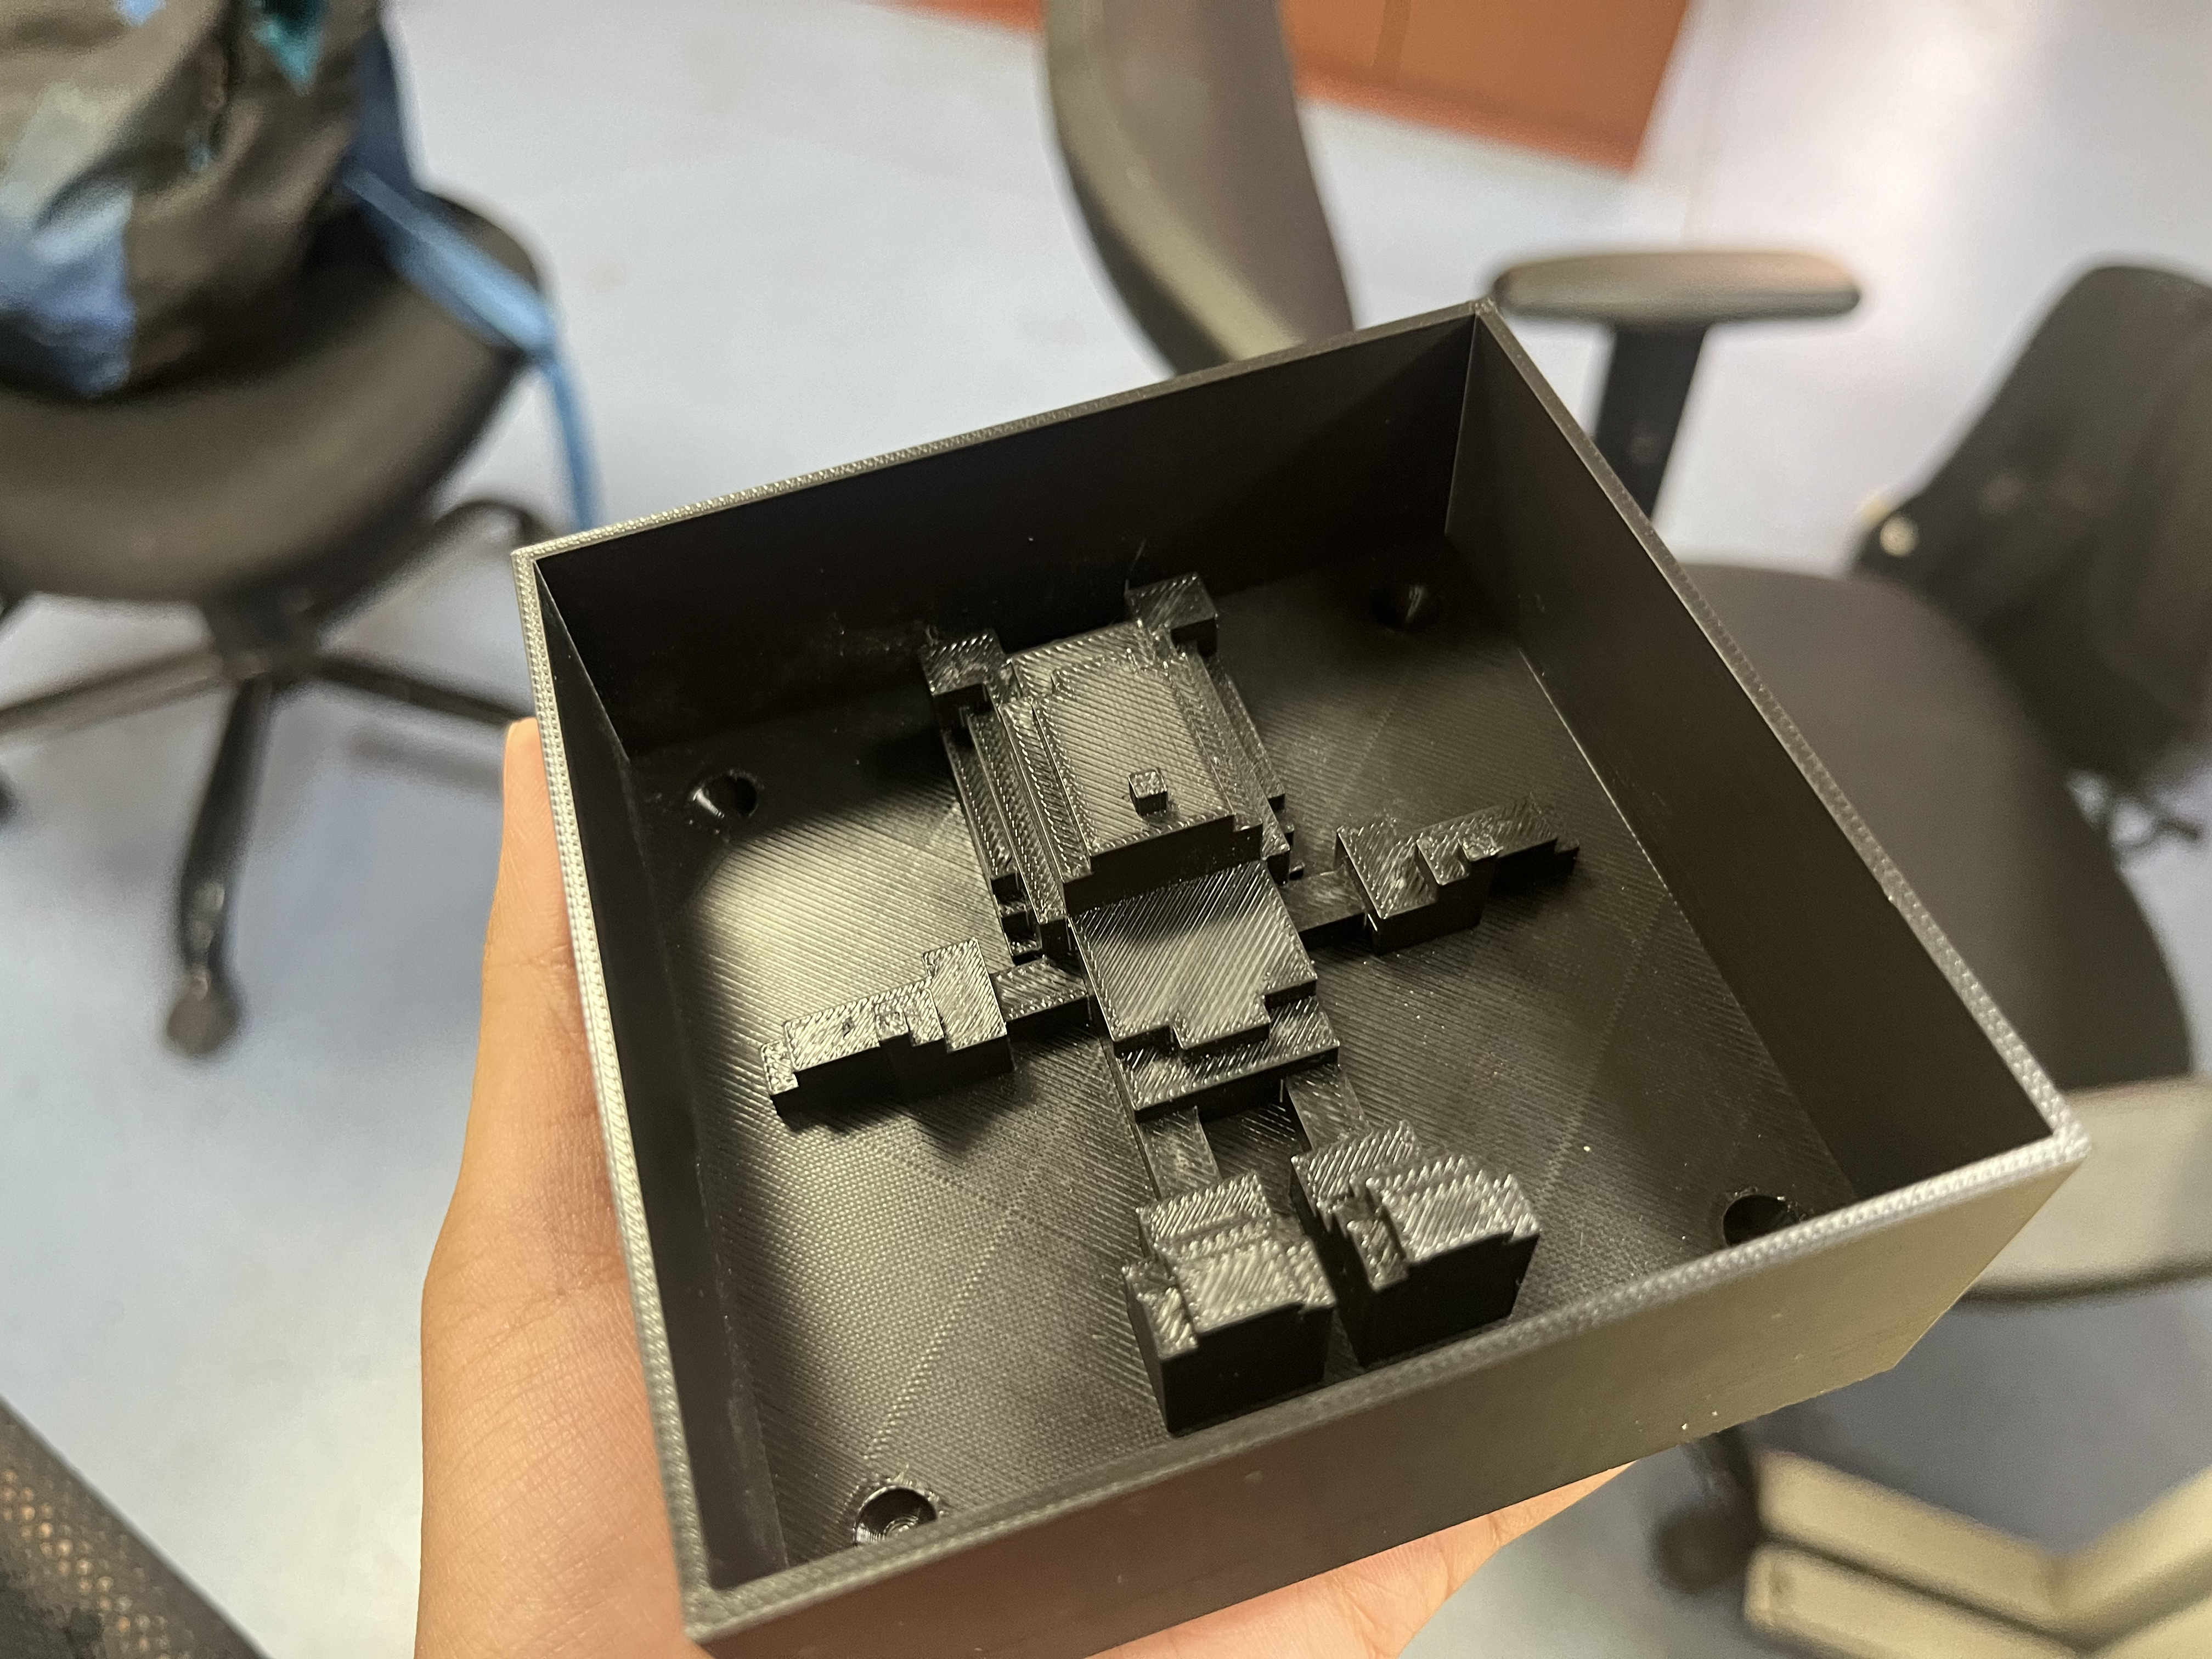 Printed mother mold
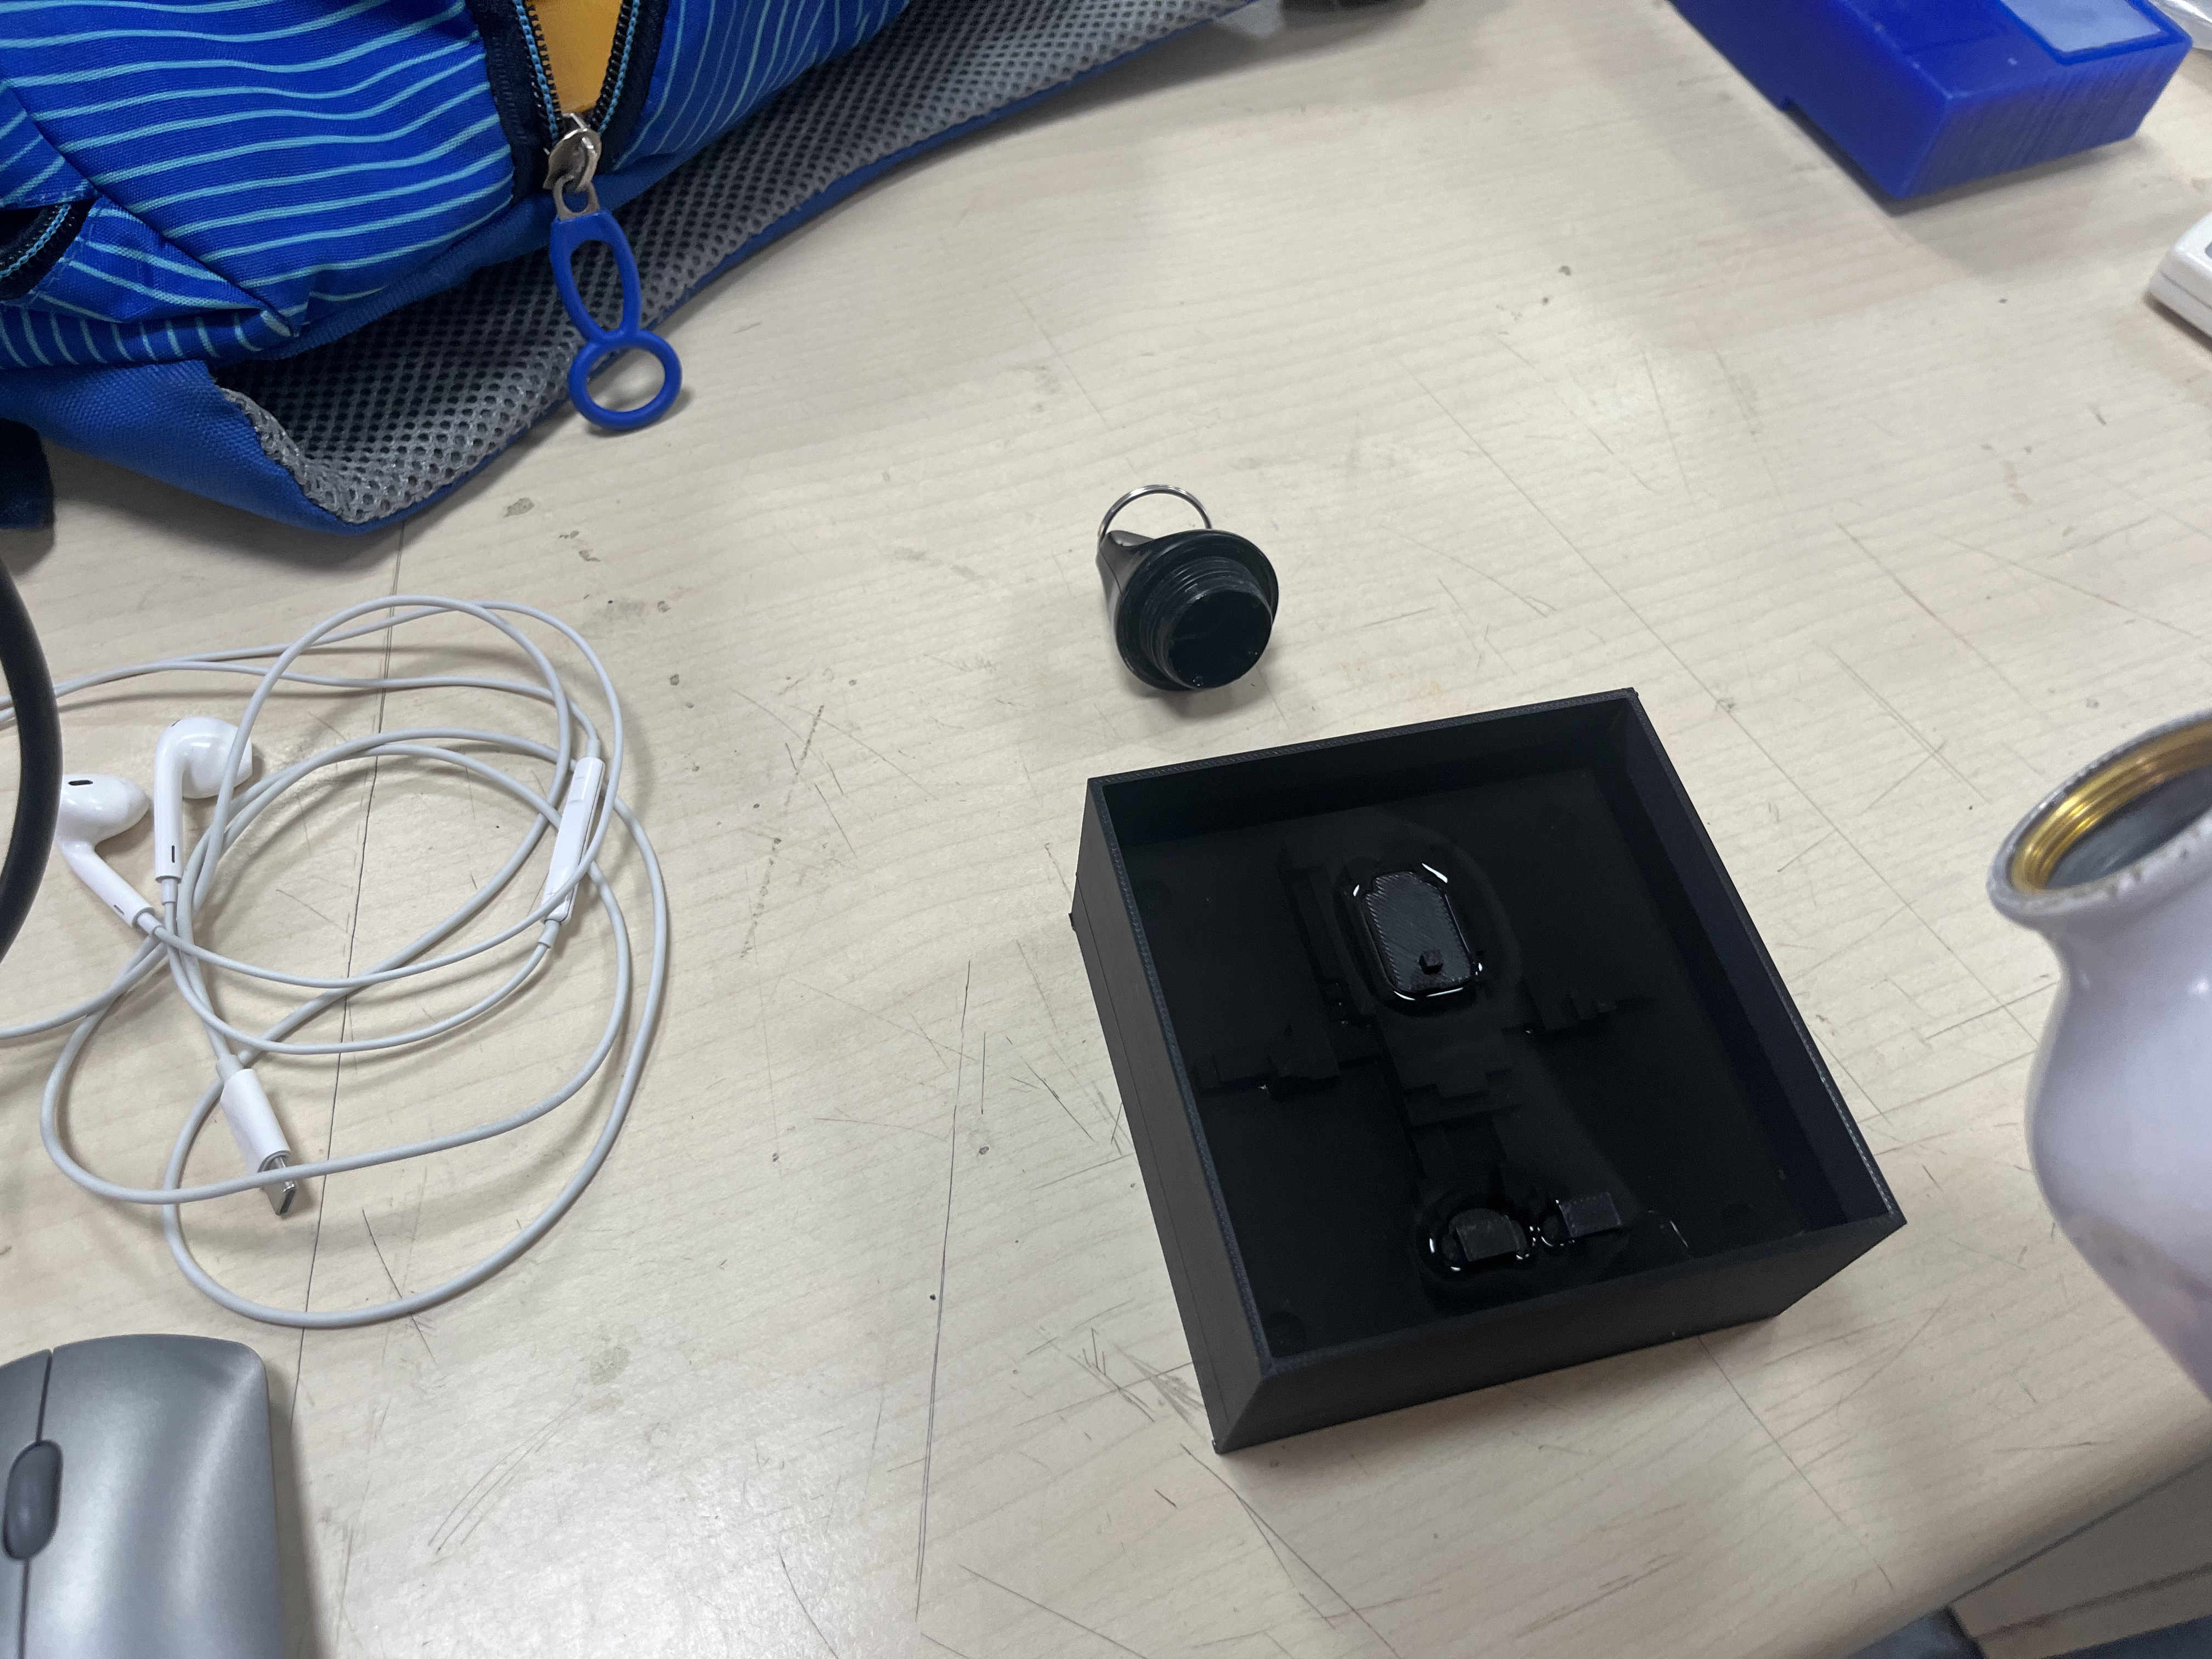 This time I checked the model volume with water instead of rice
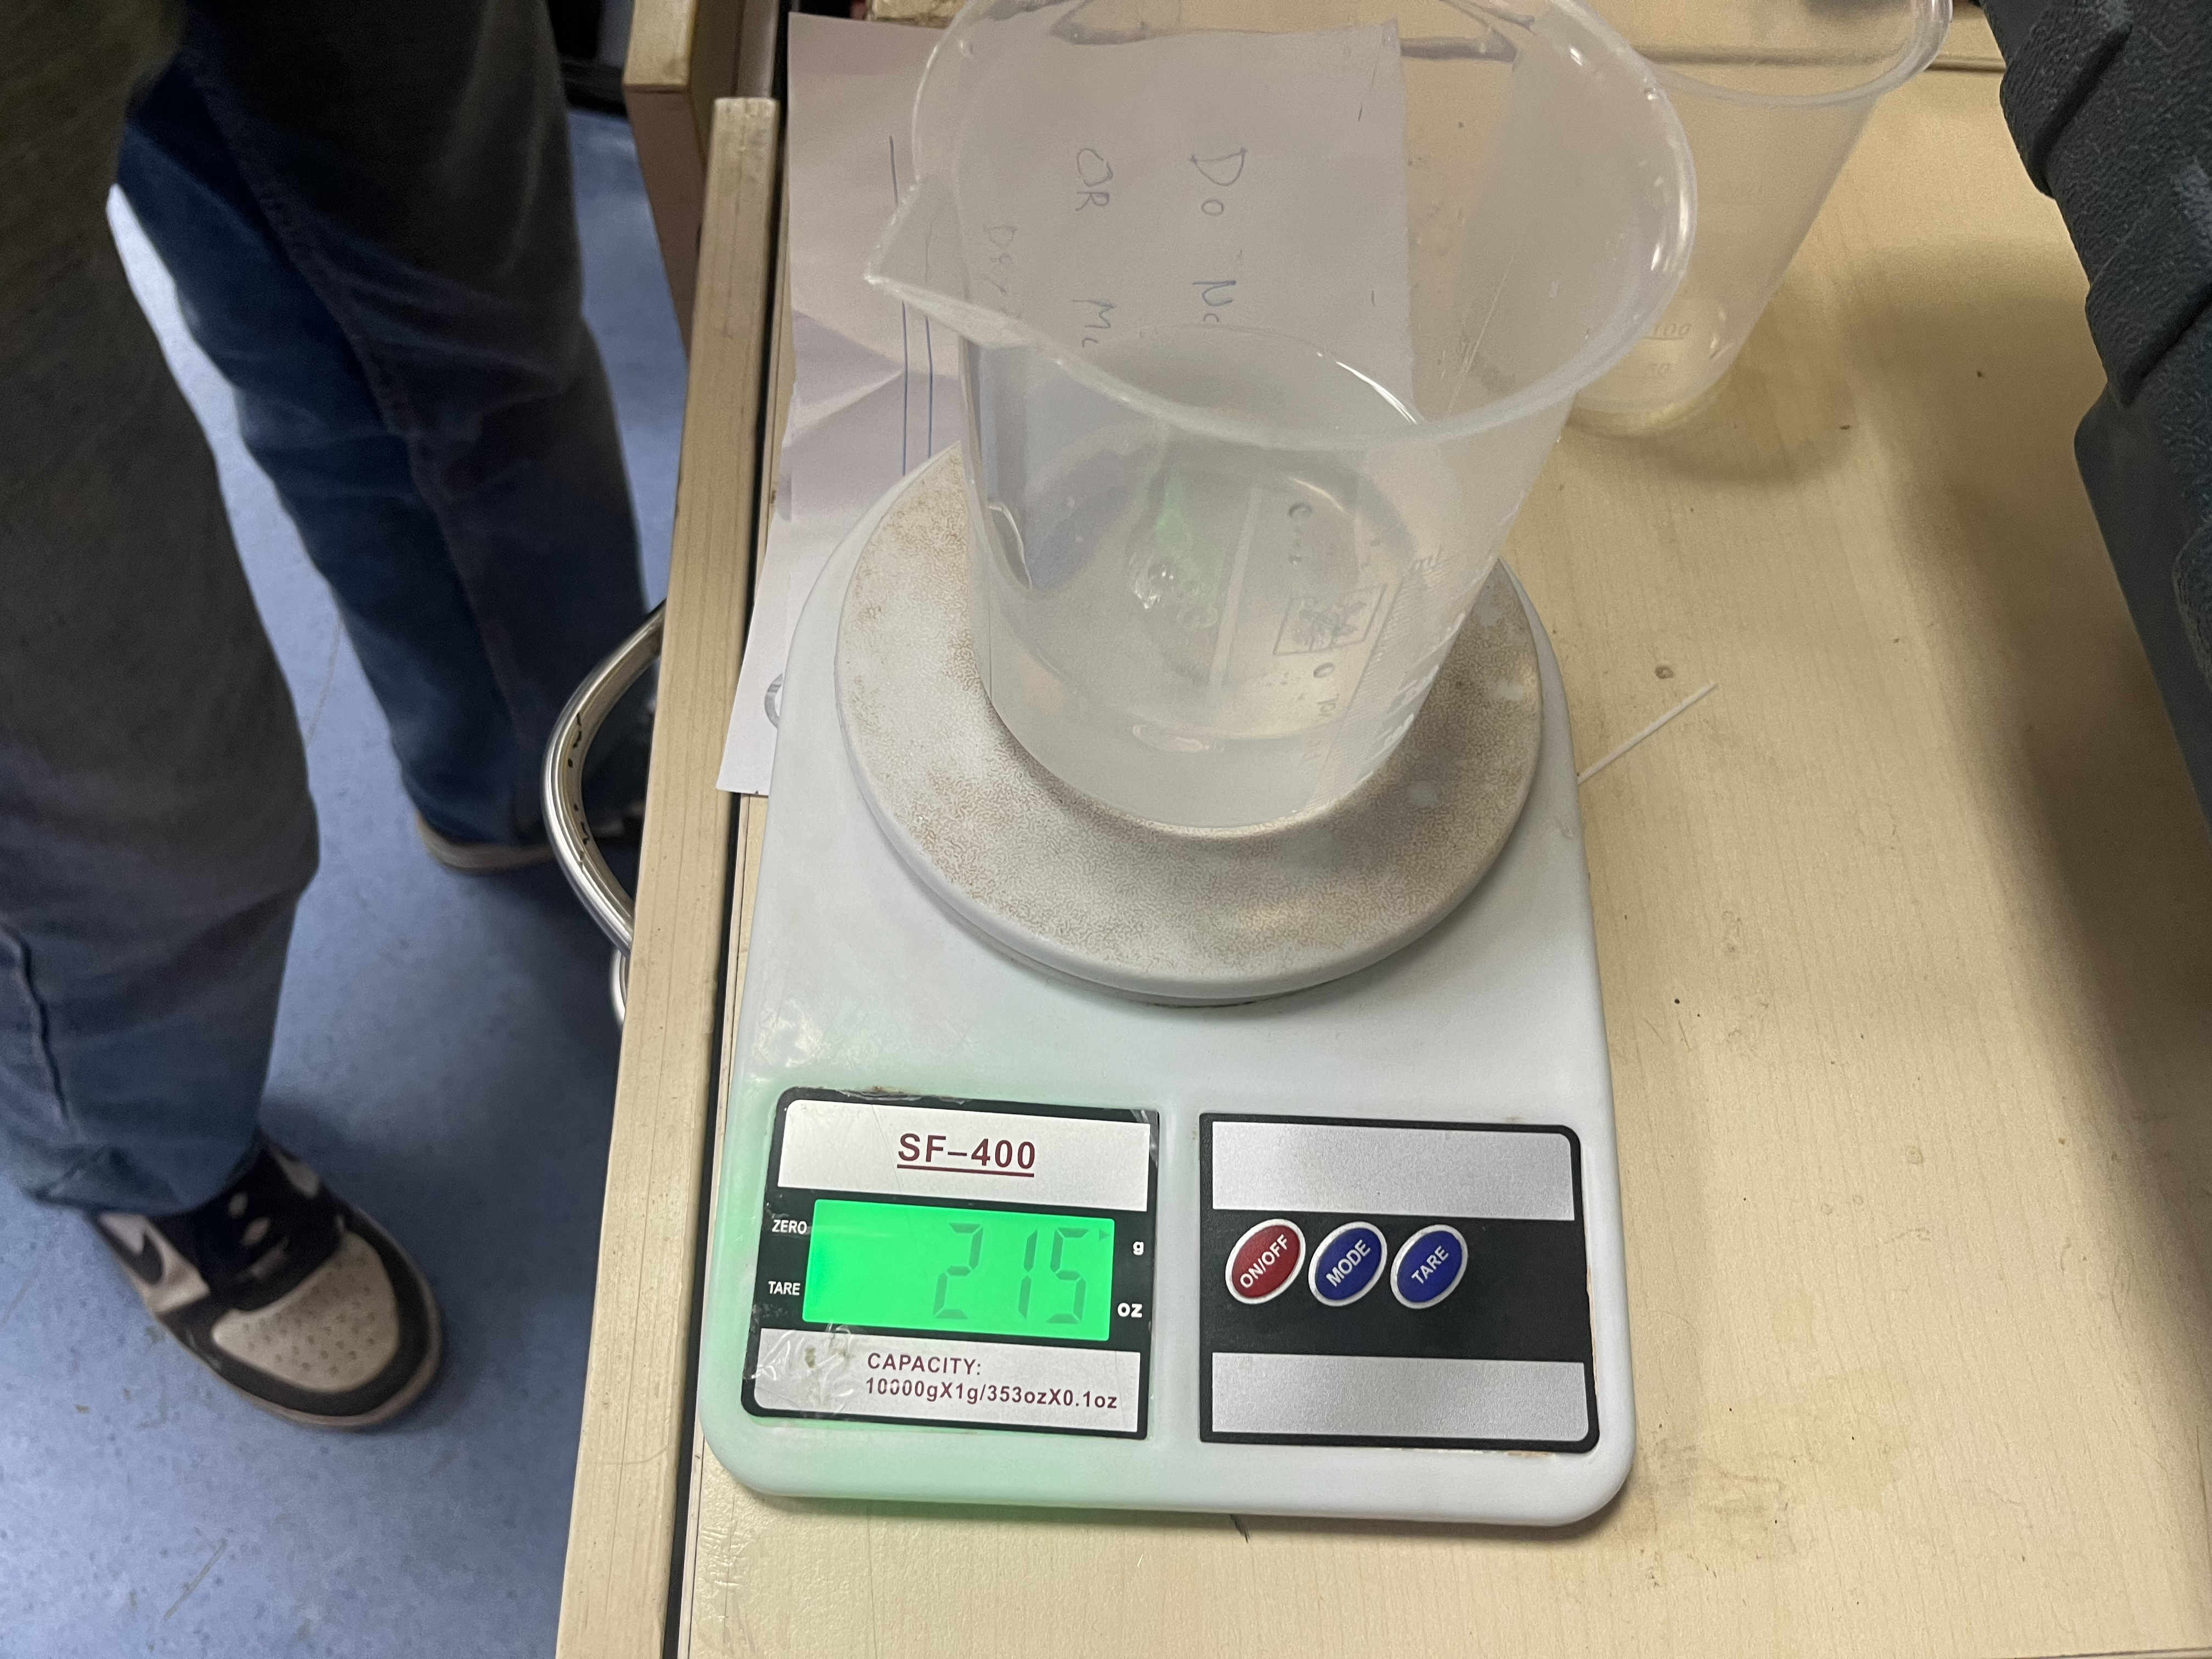 Weighing the volume of liquid
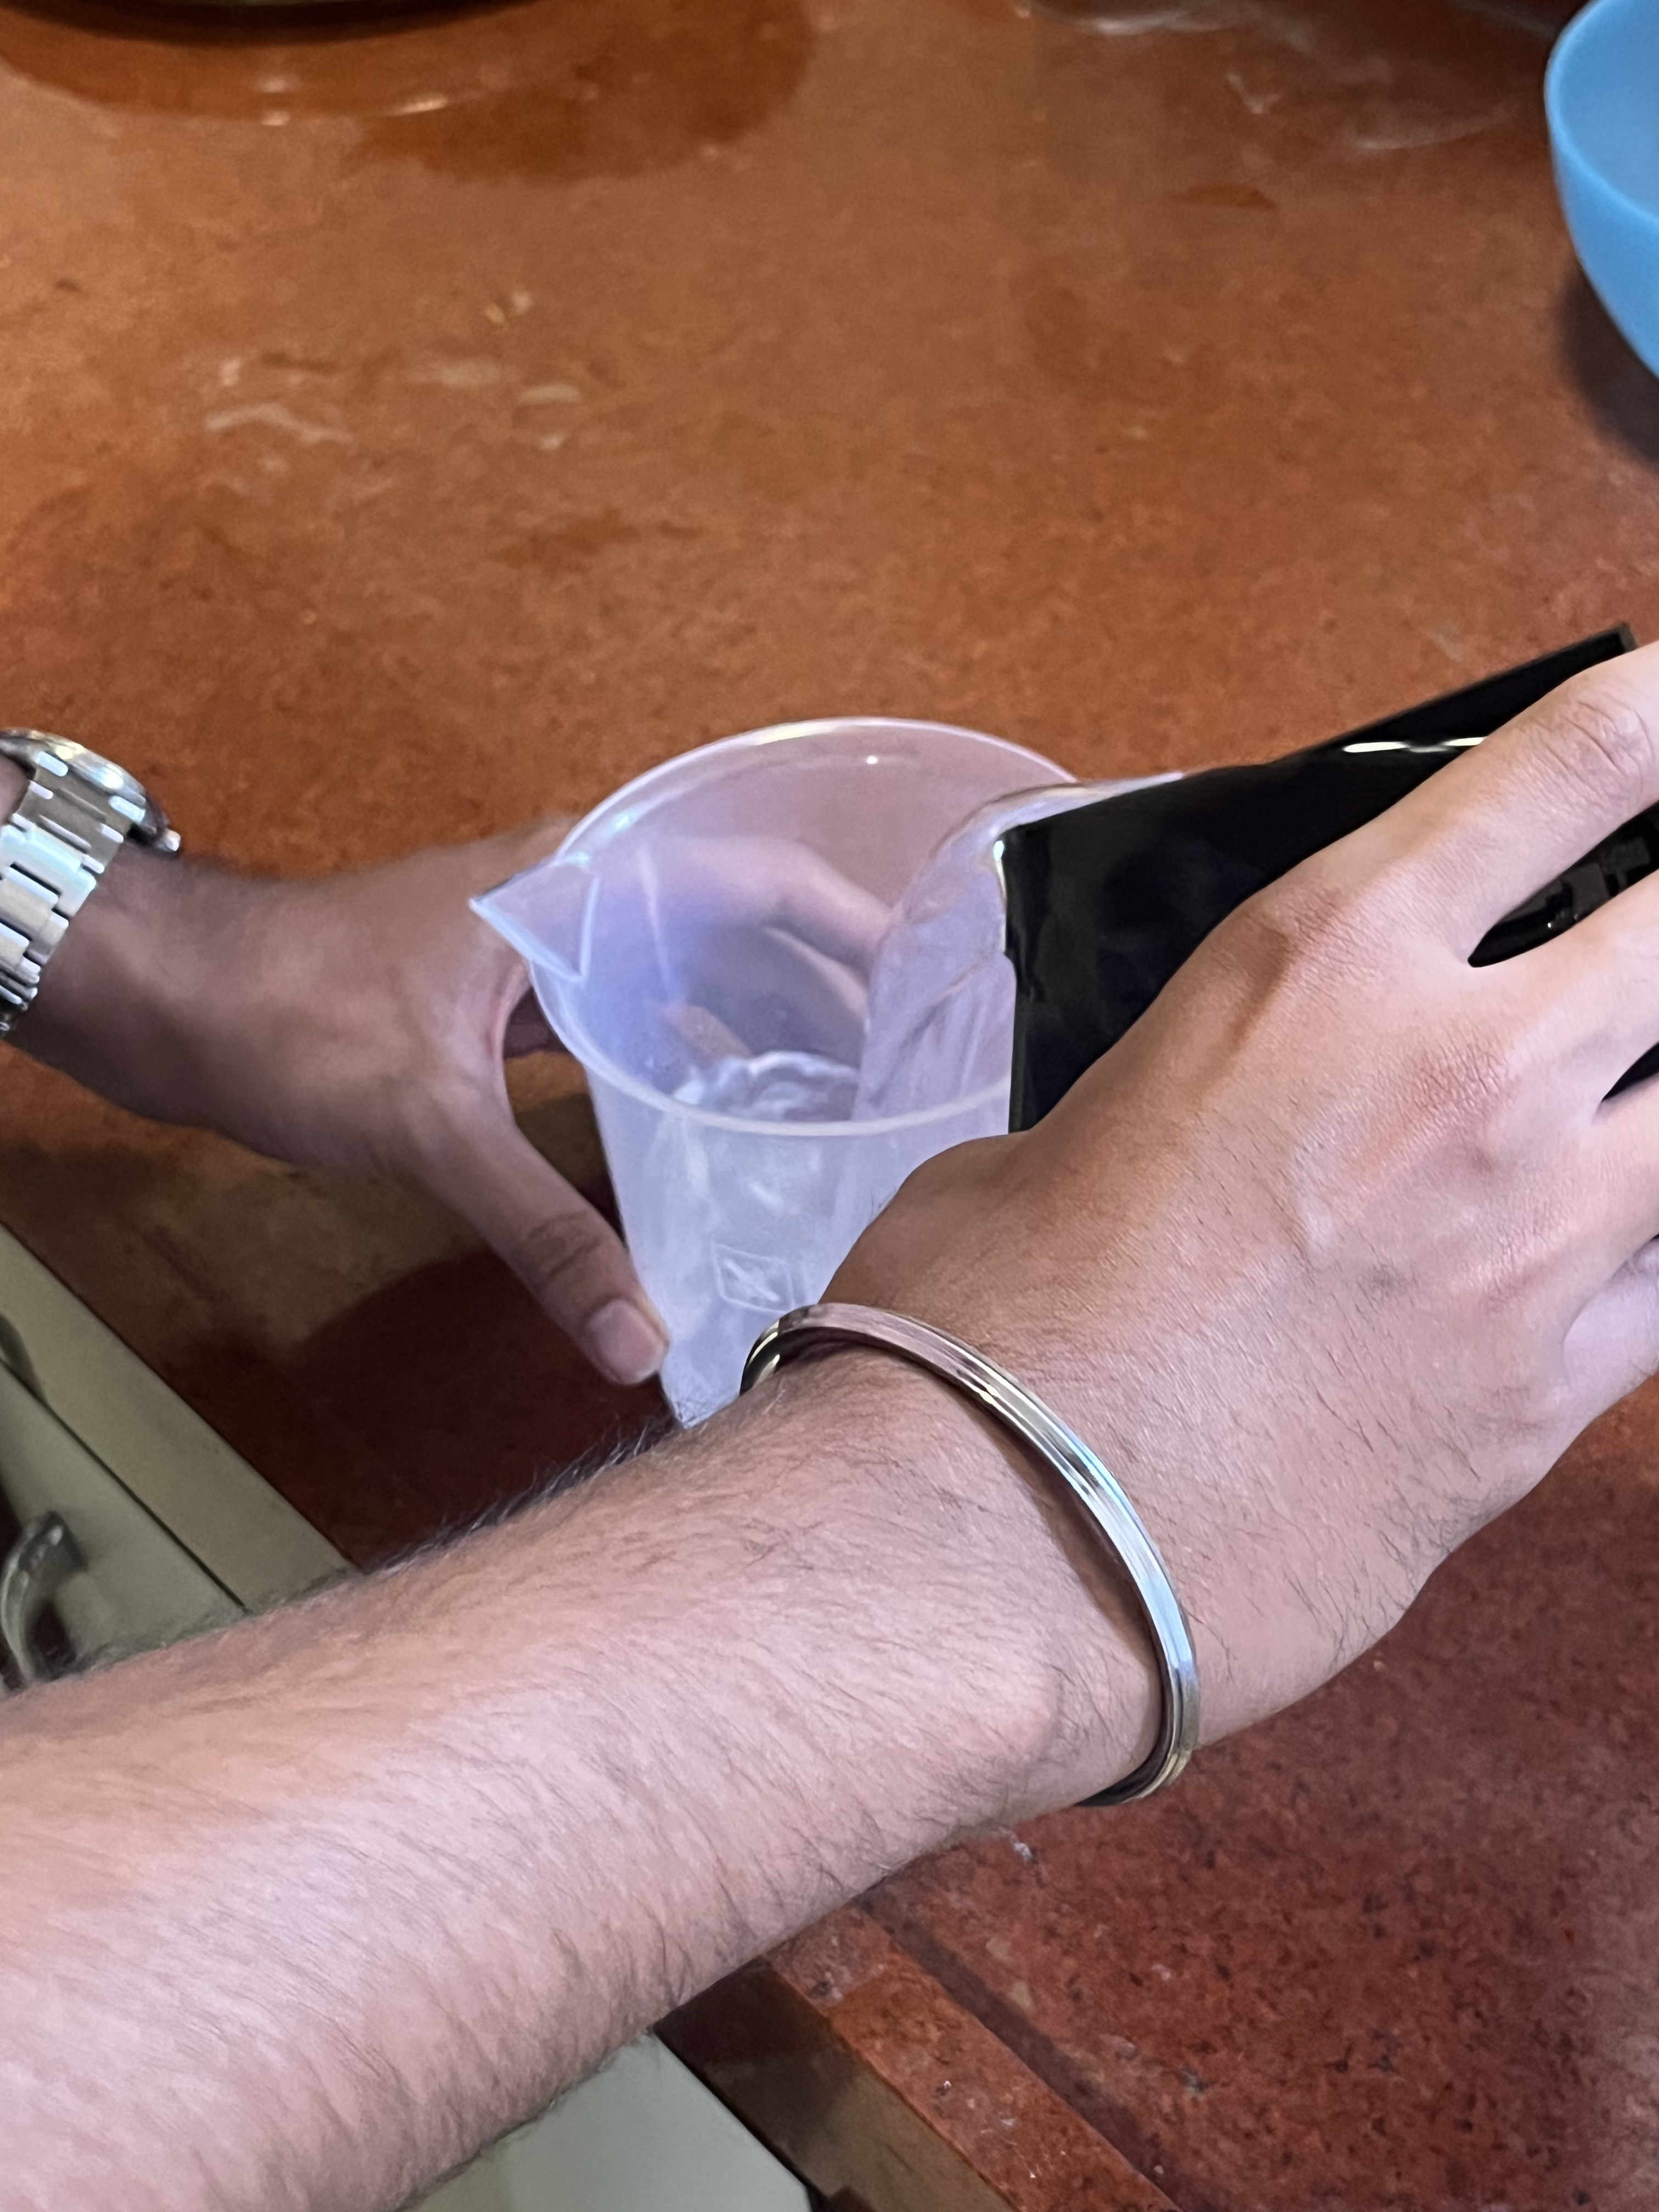
assuming one ML is one gram then proportionatly add ailicon in the ratio
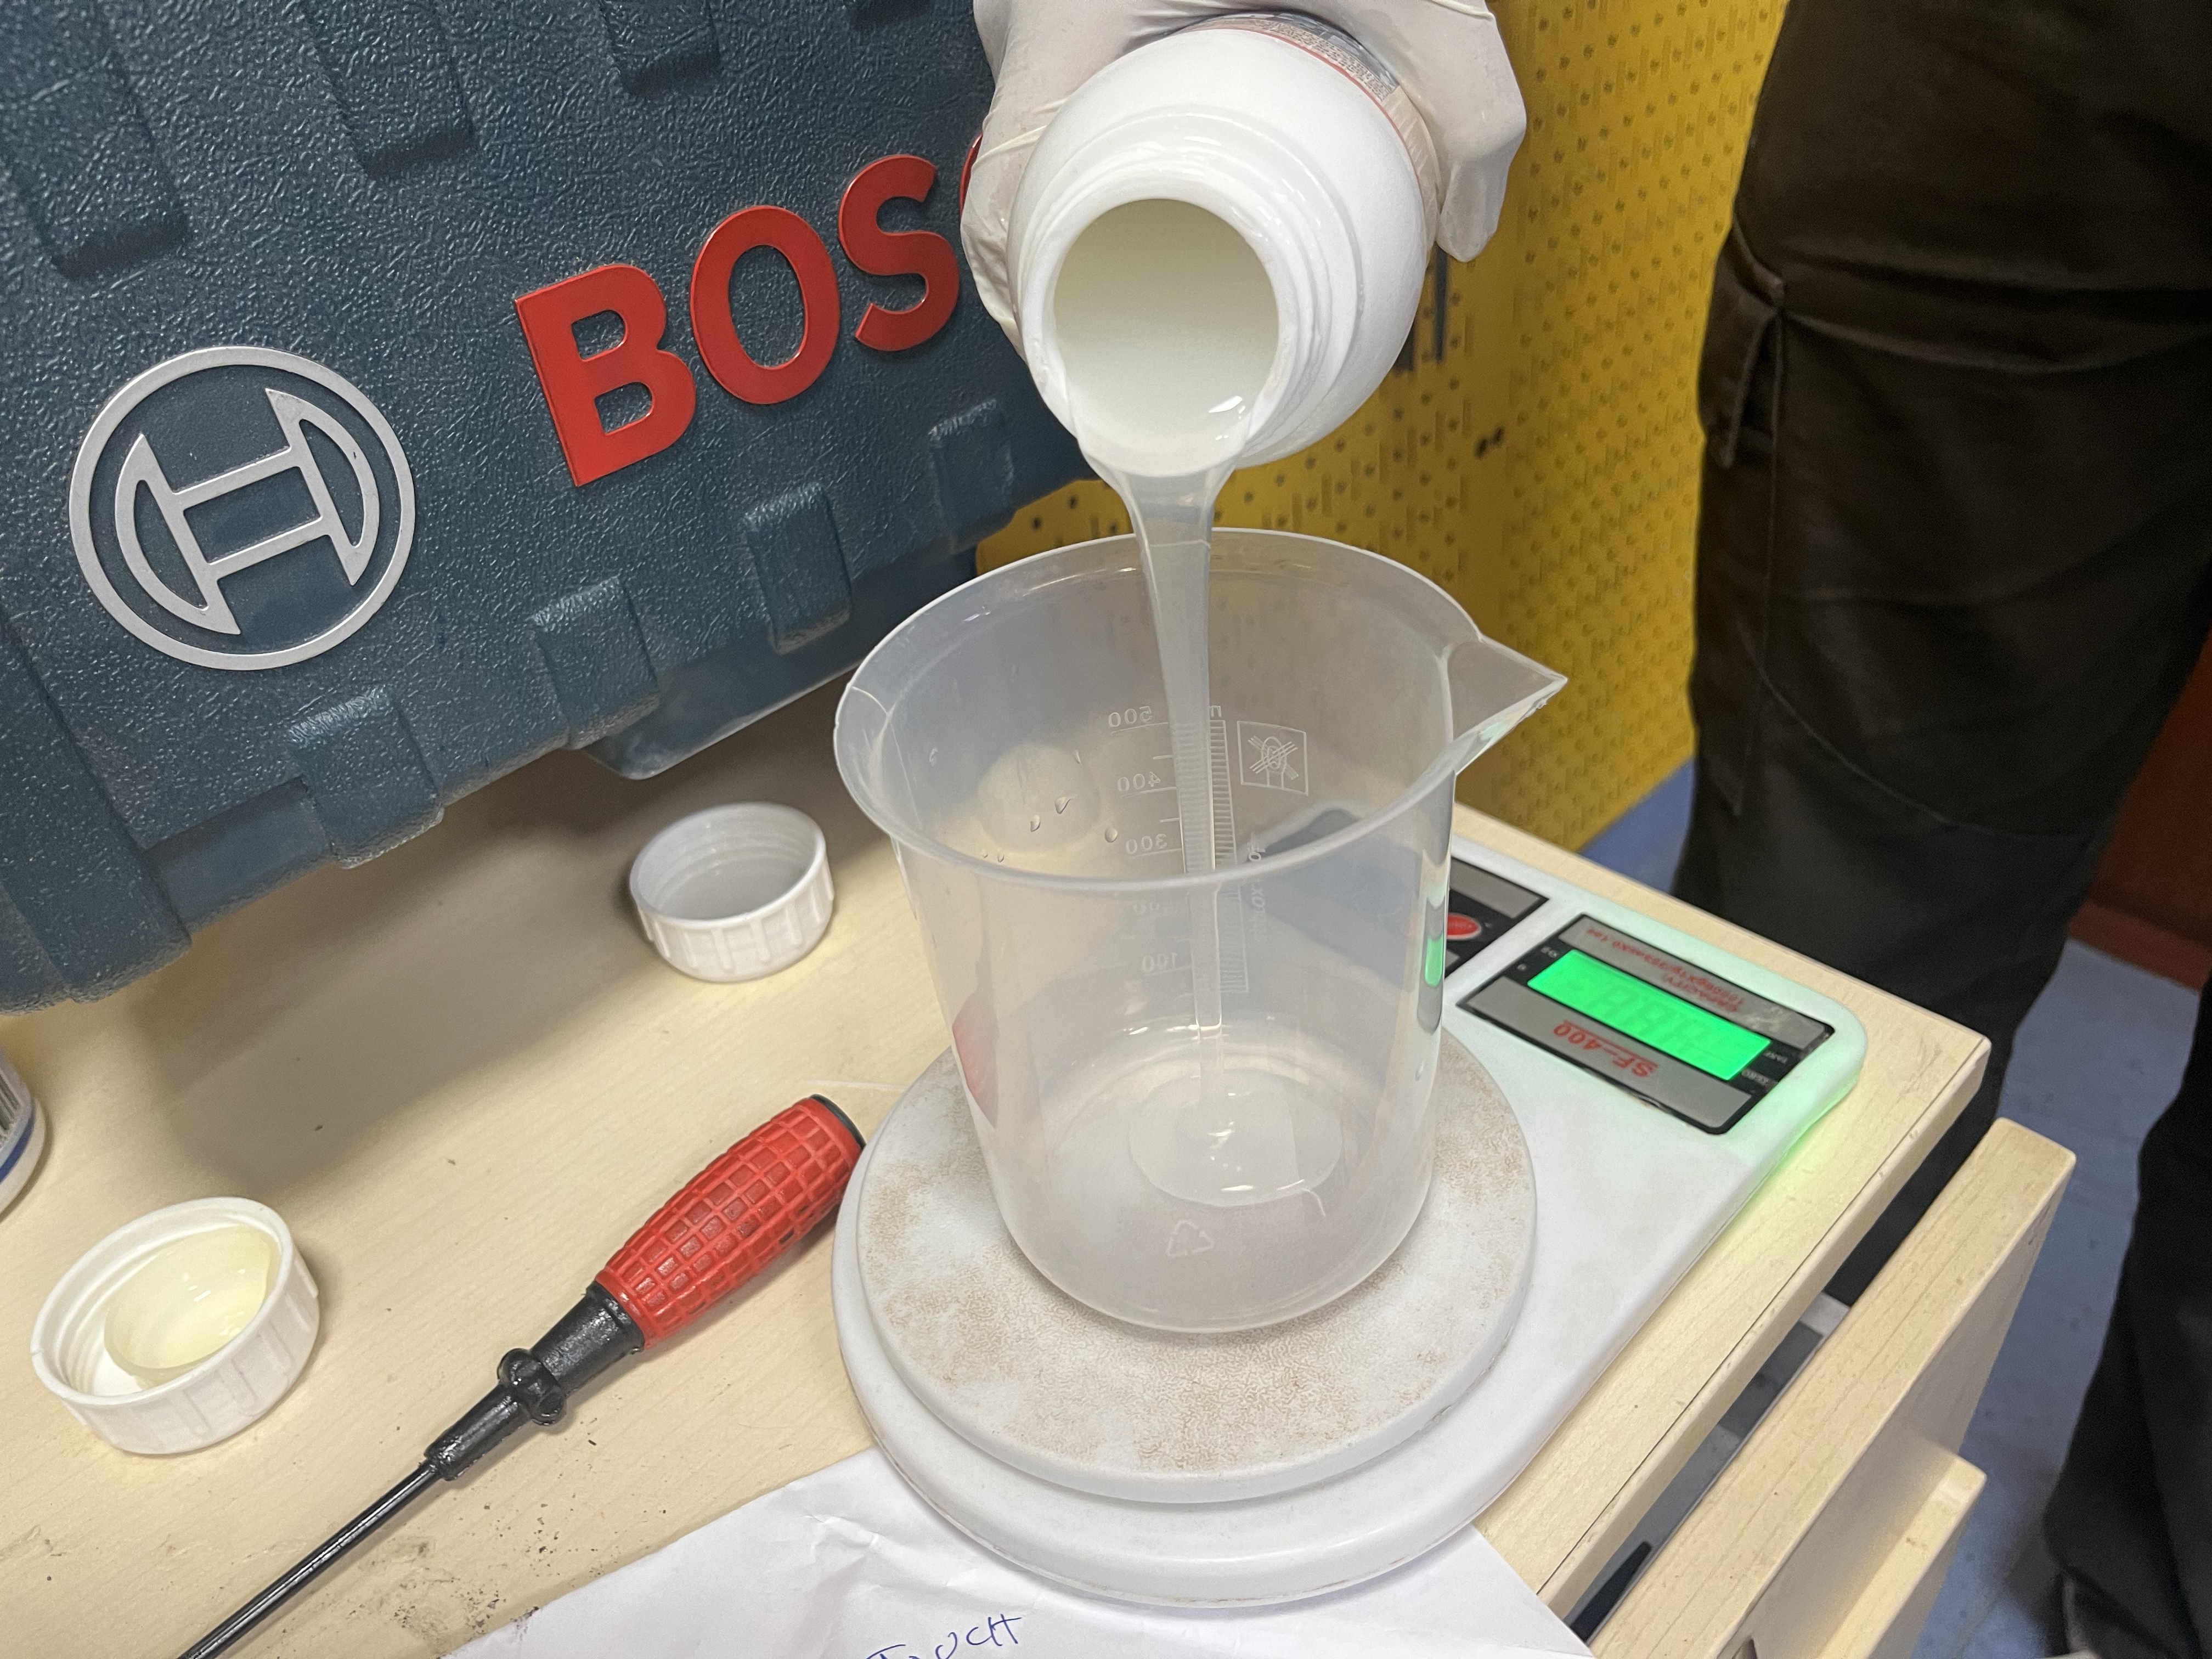
 Pouring the silicon
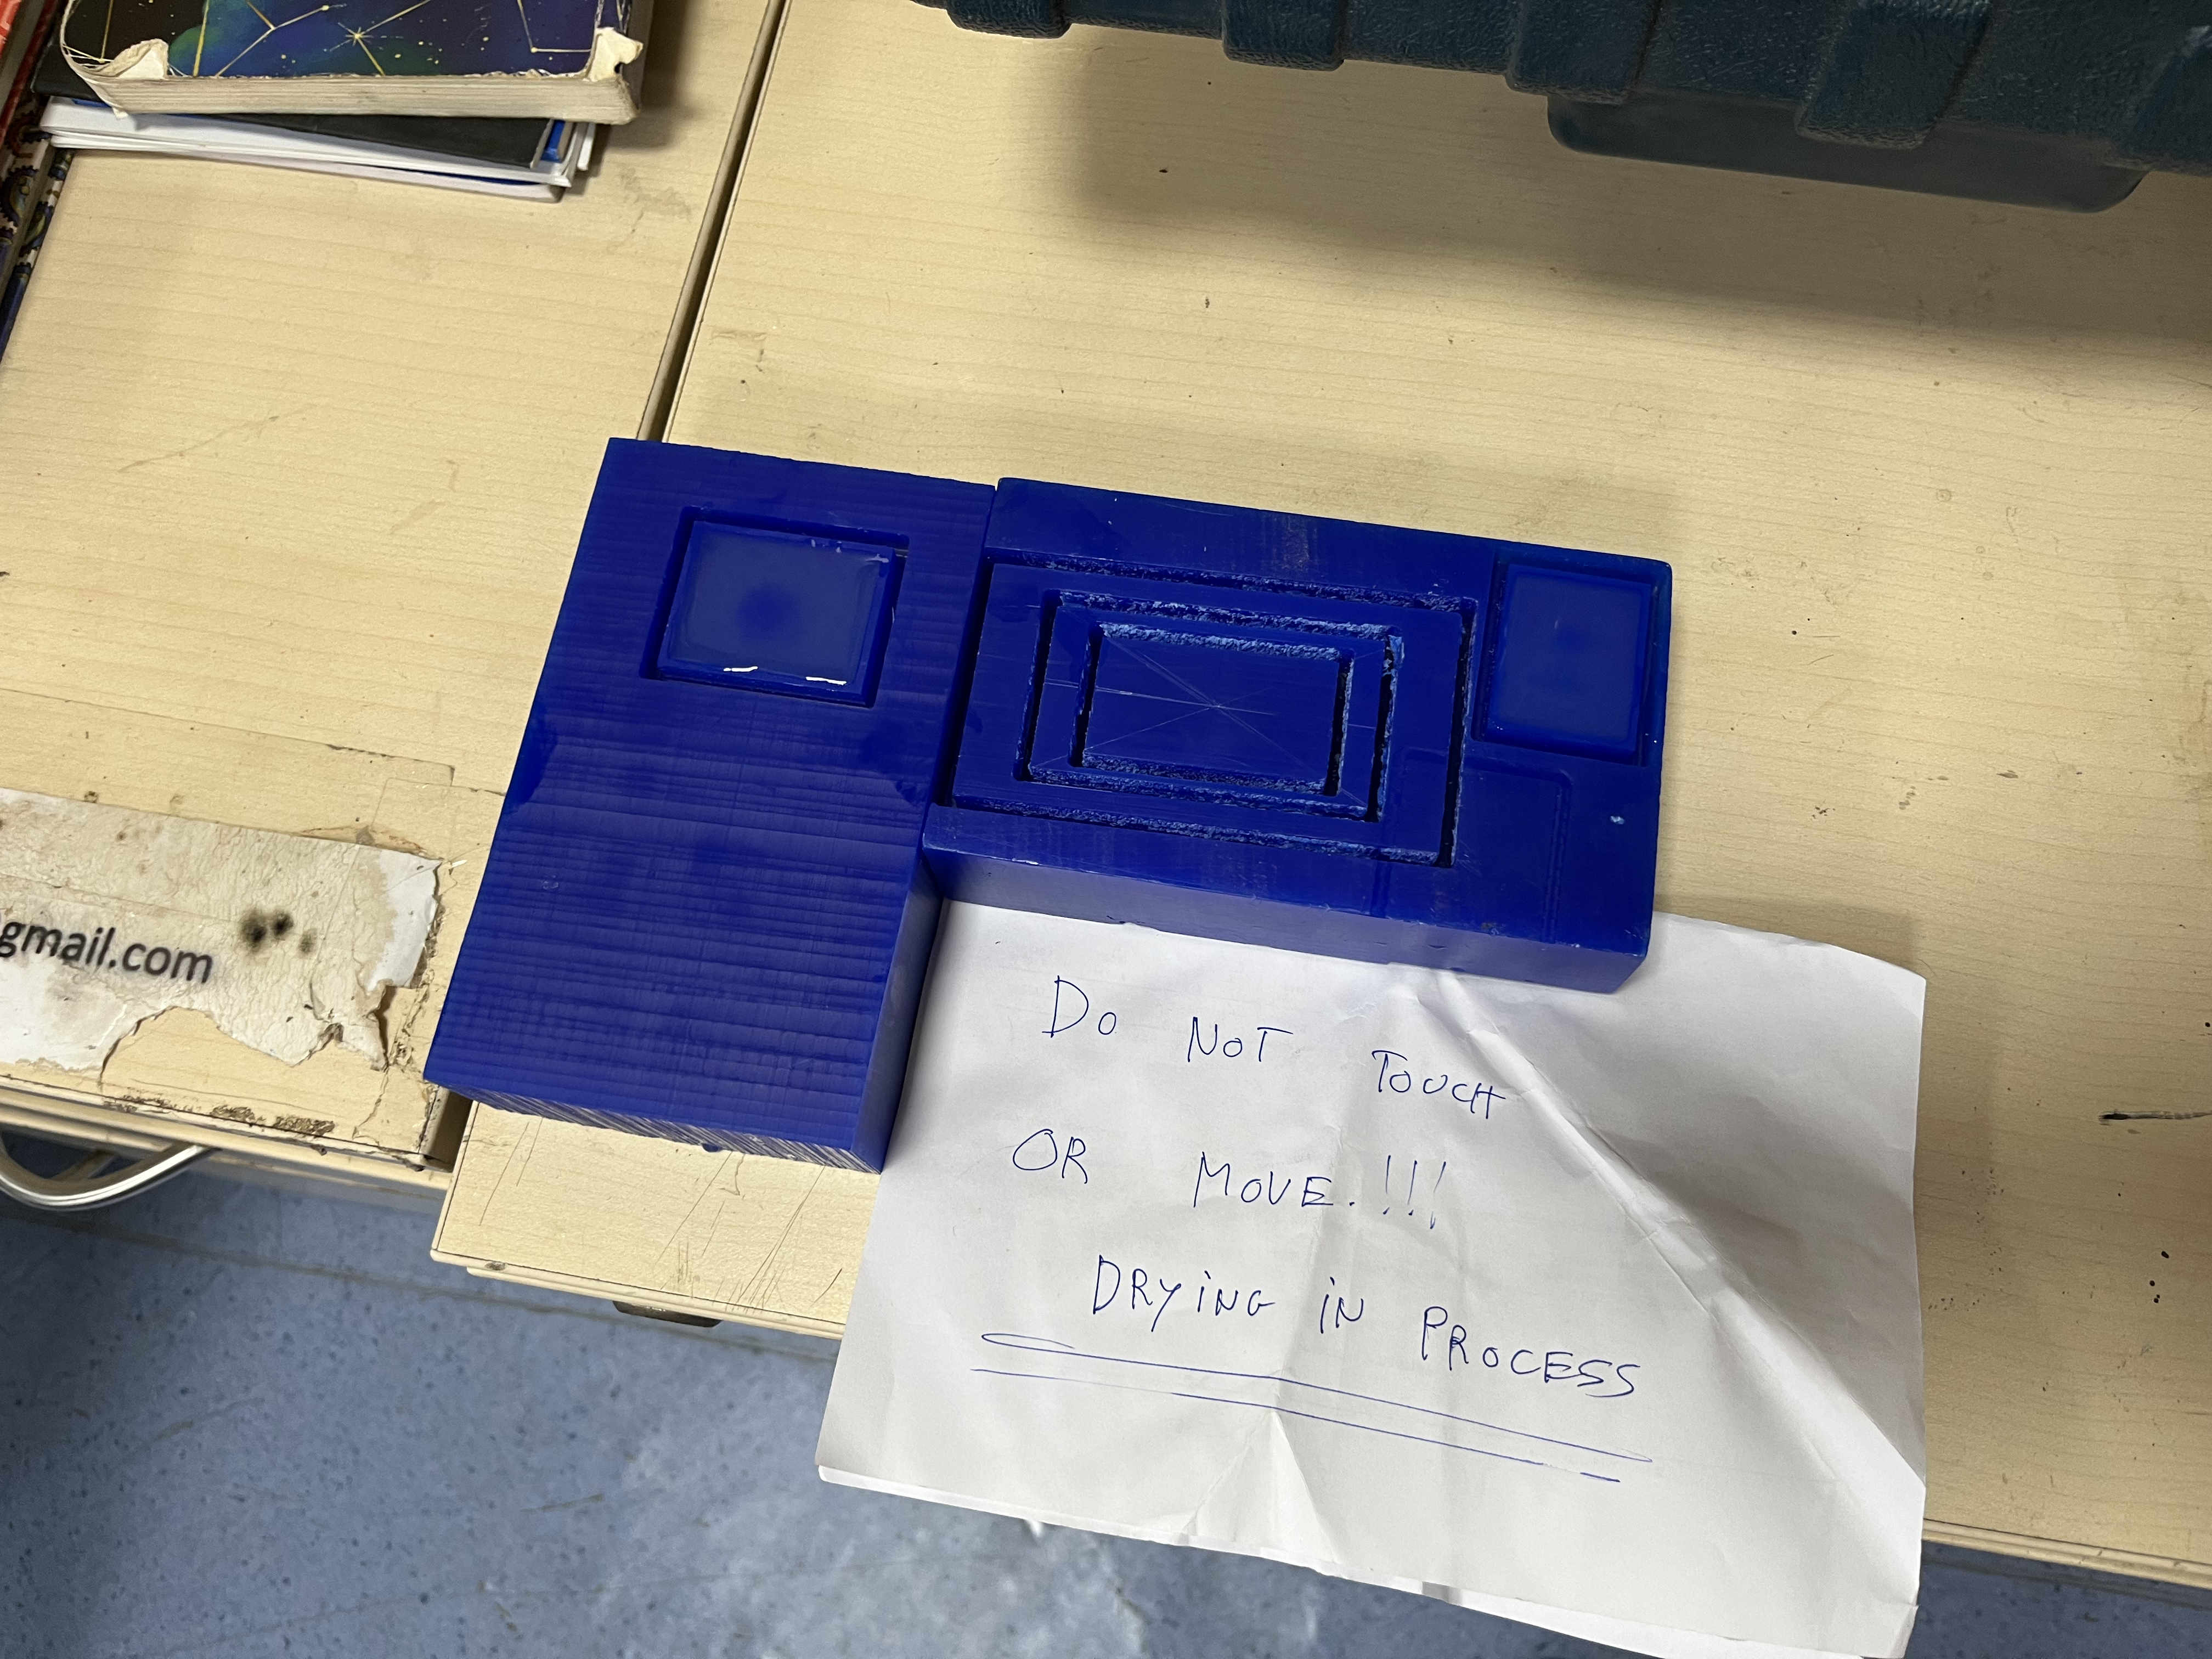
 curing the silicon
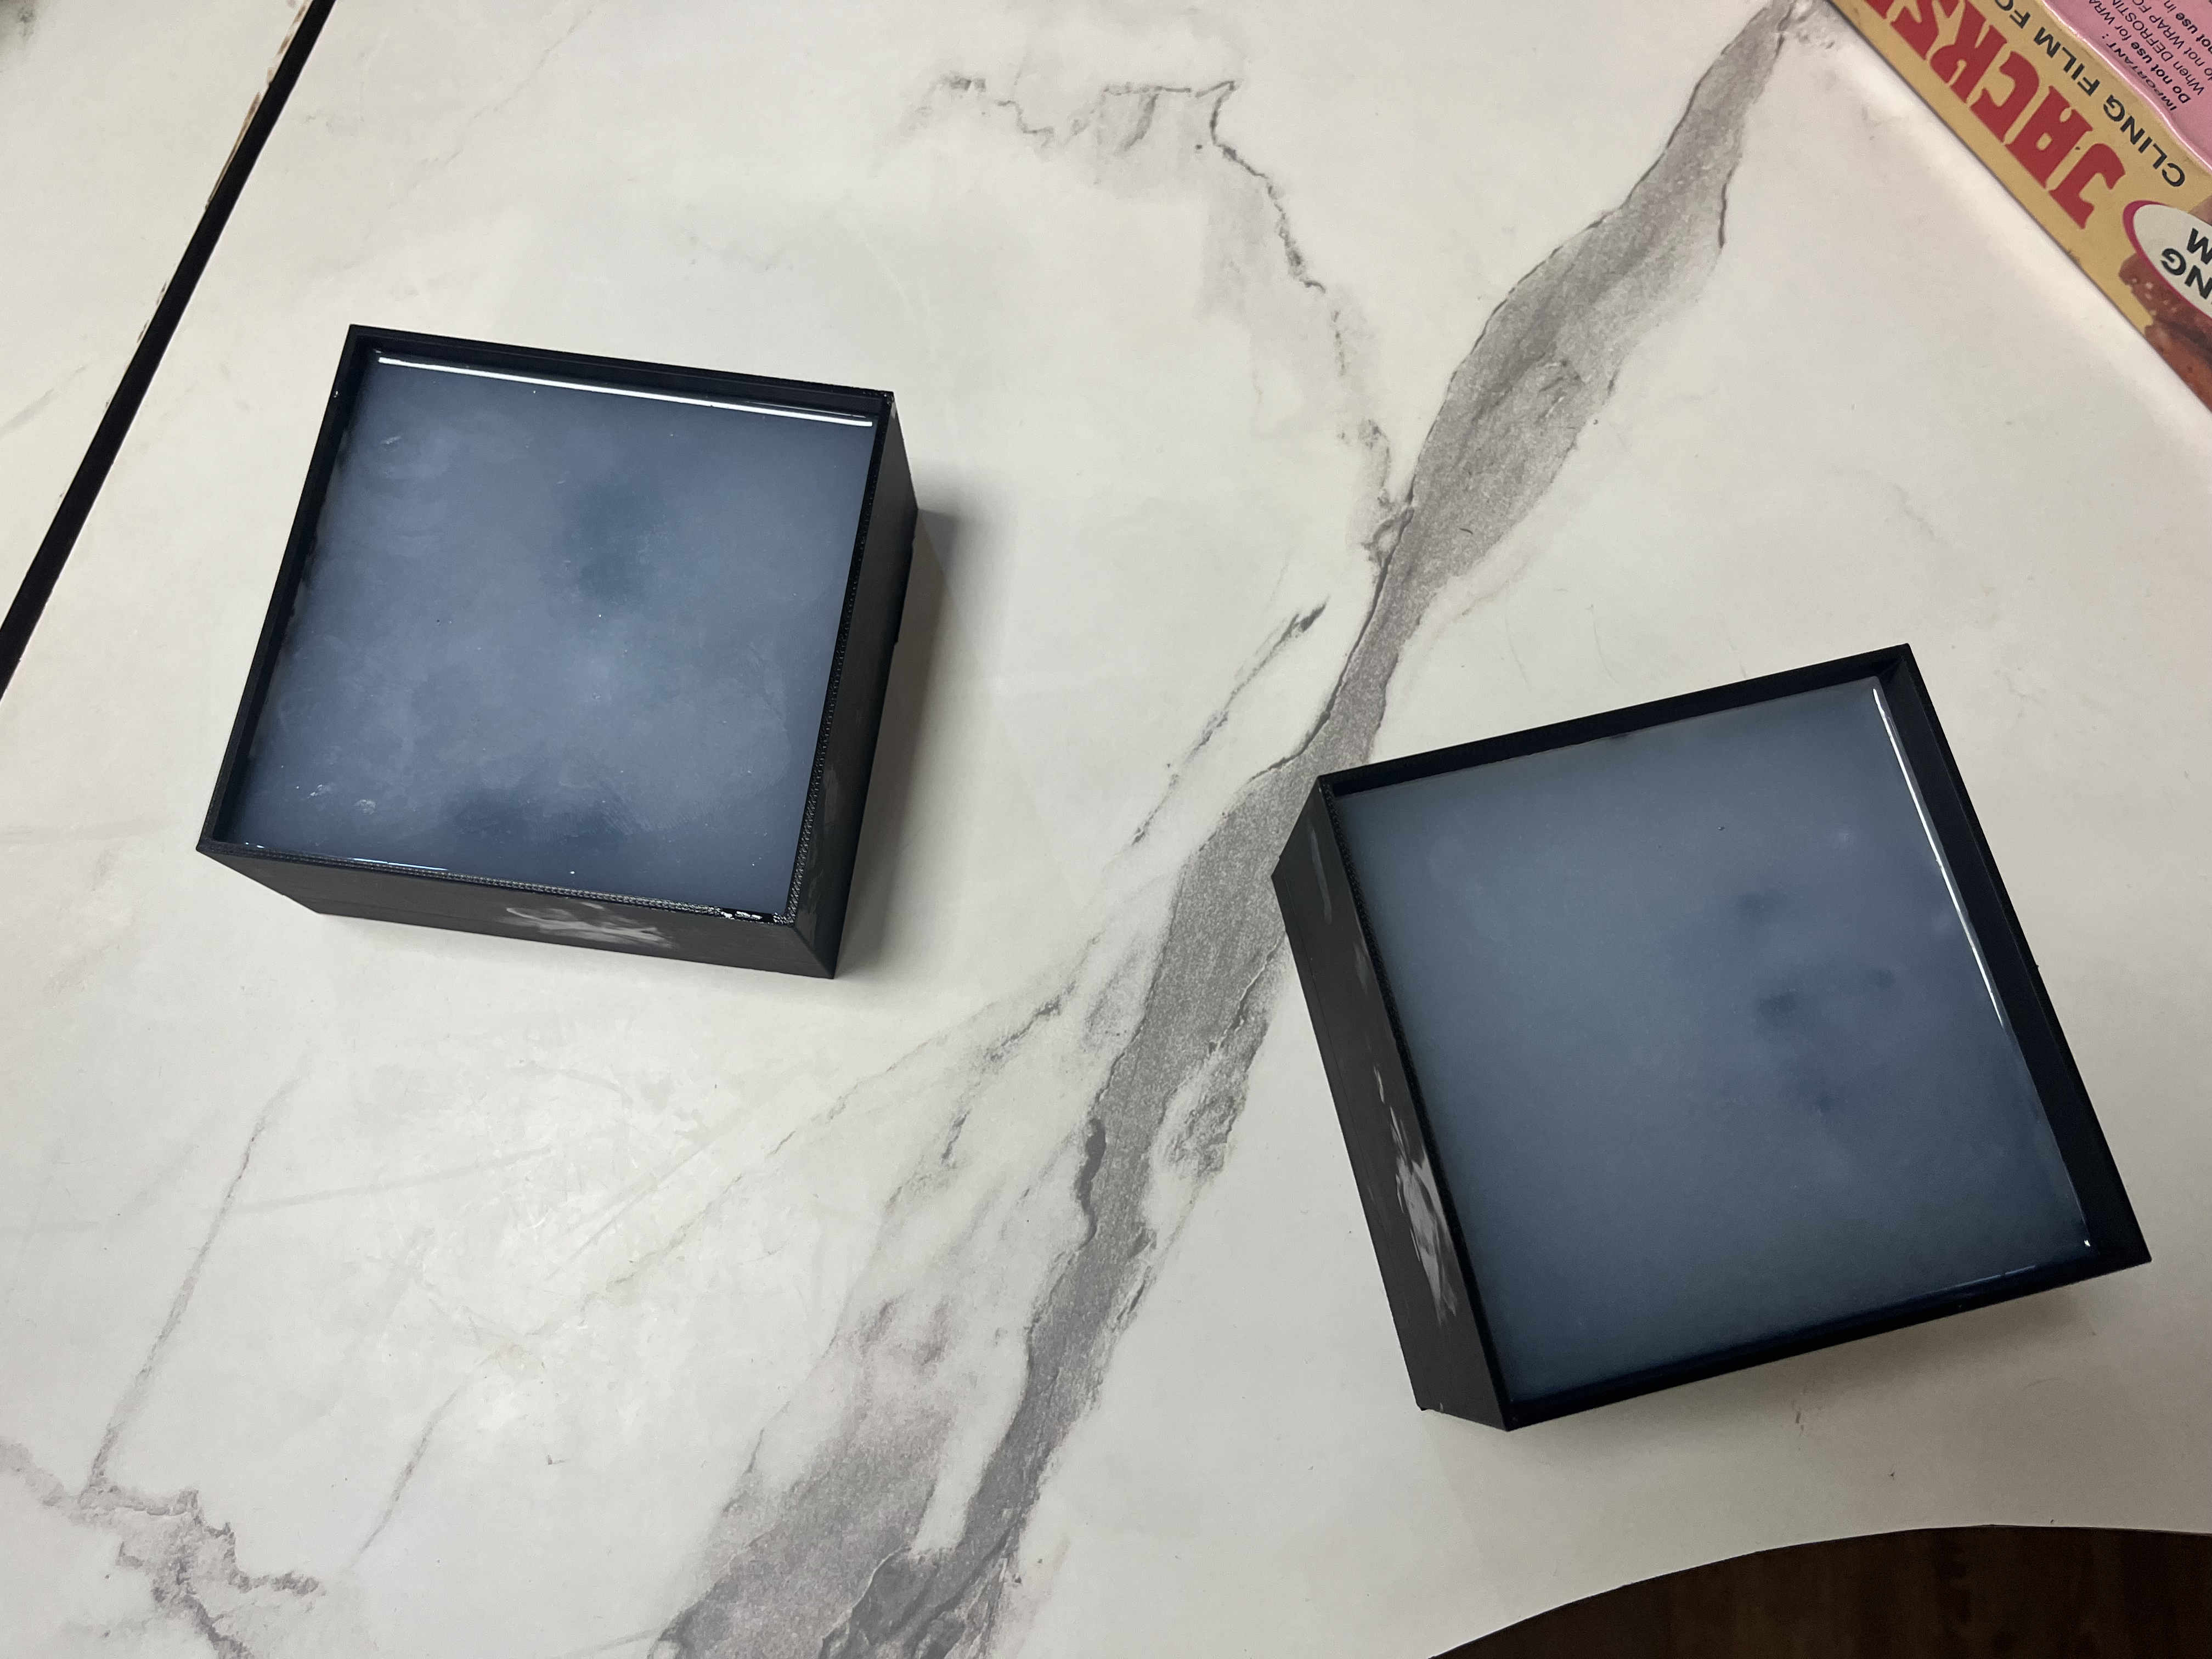
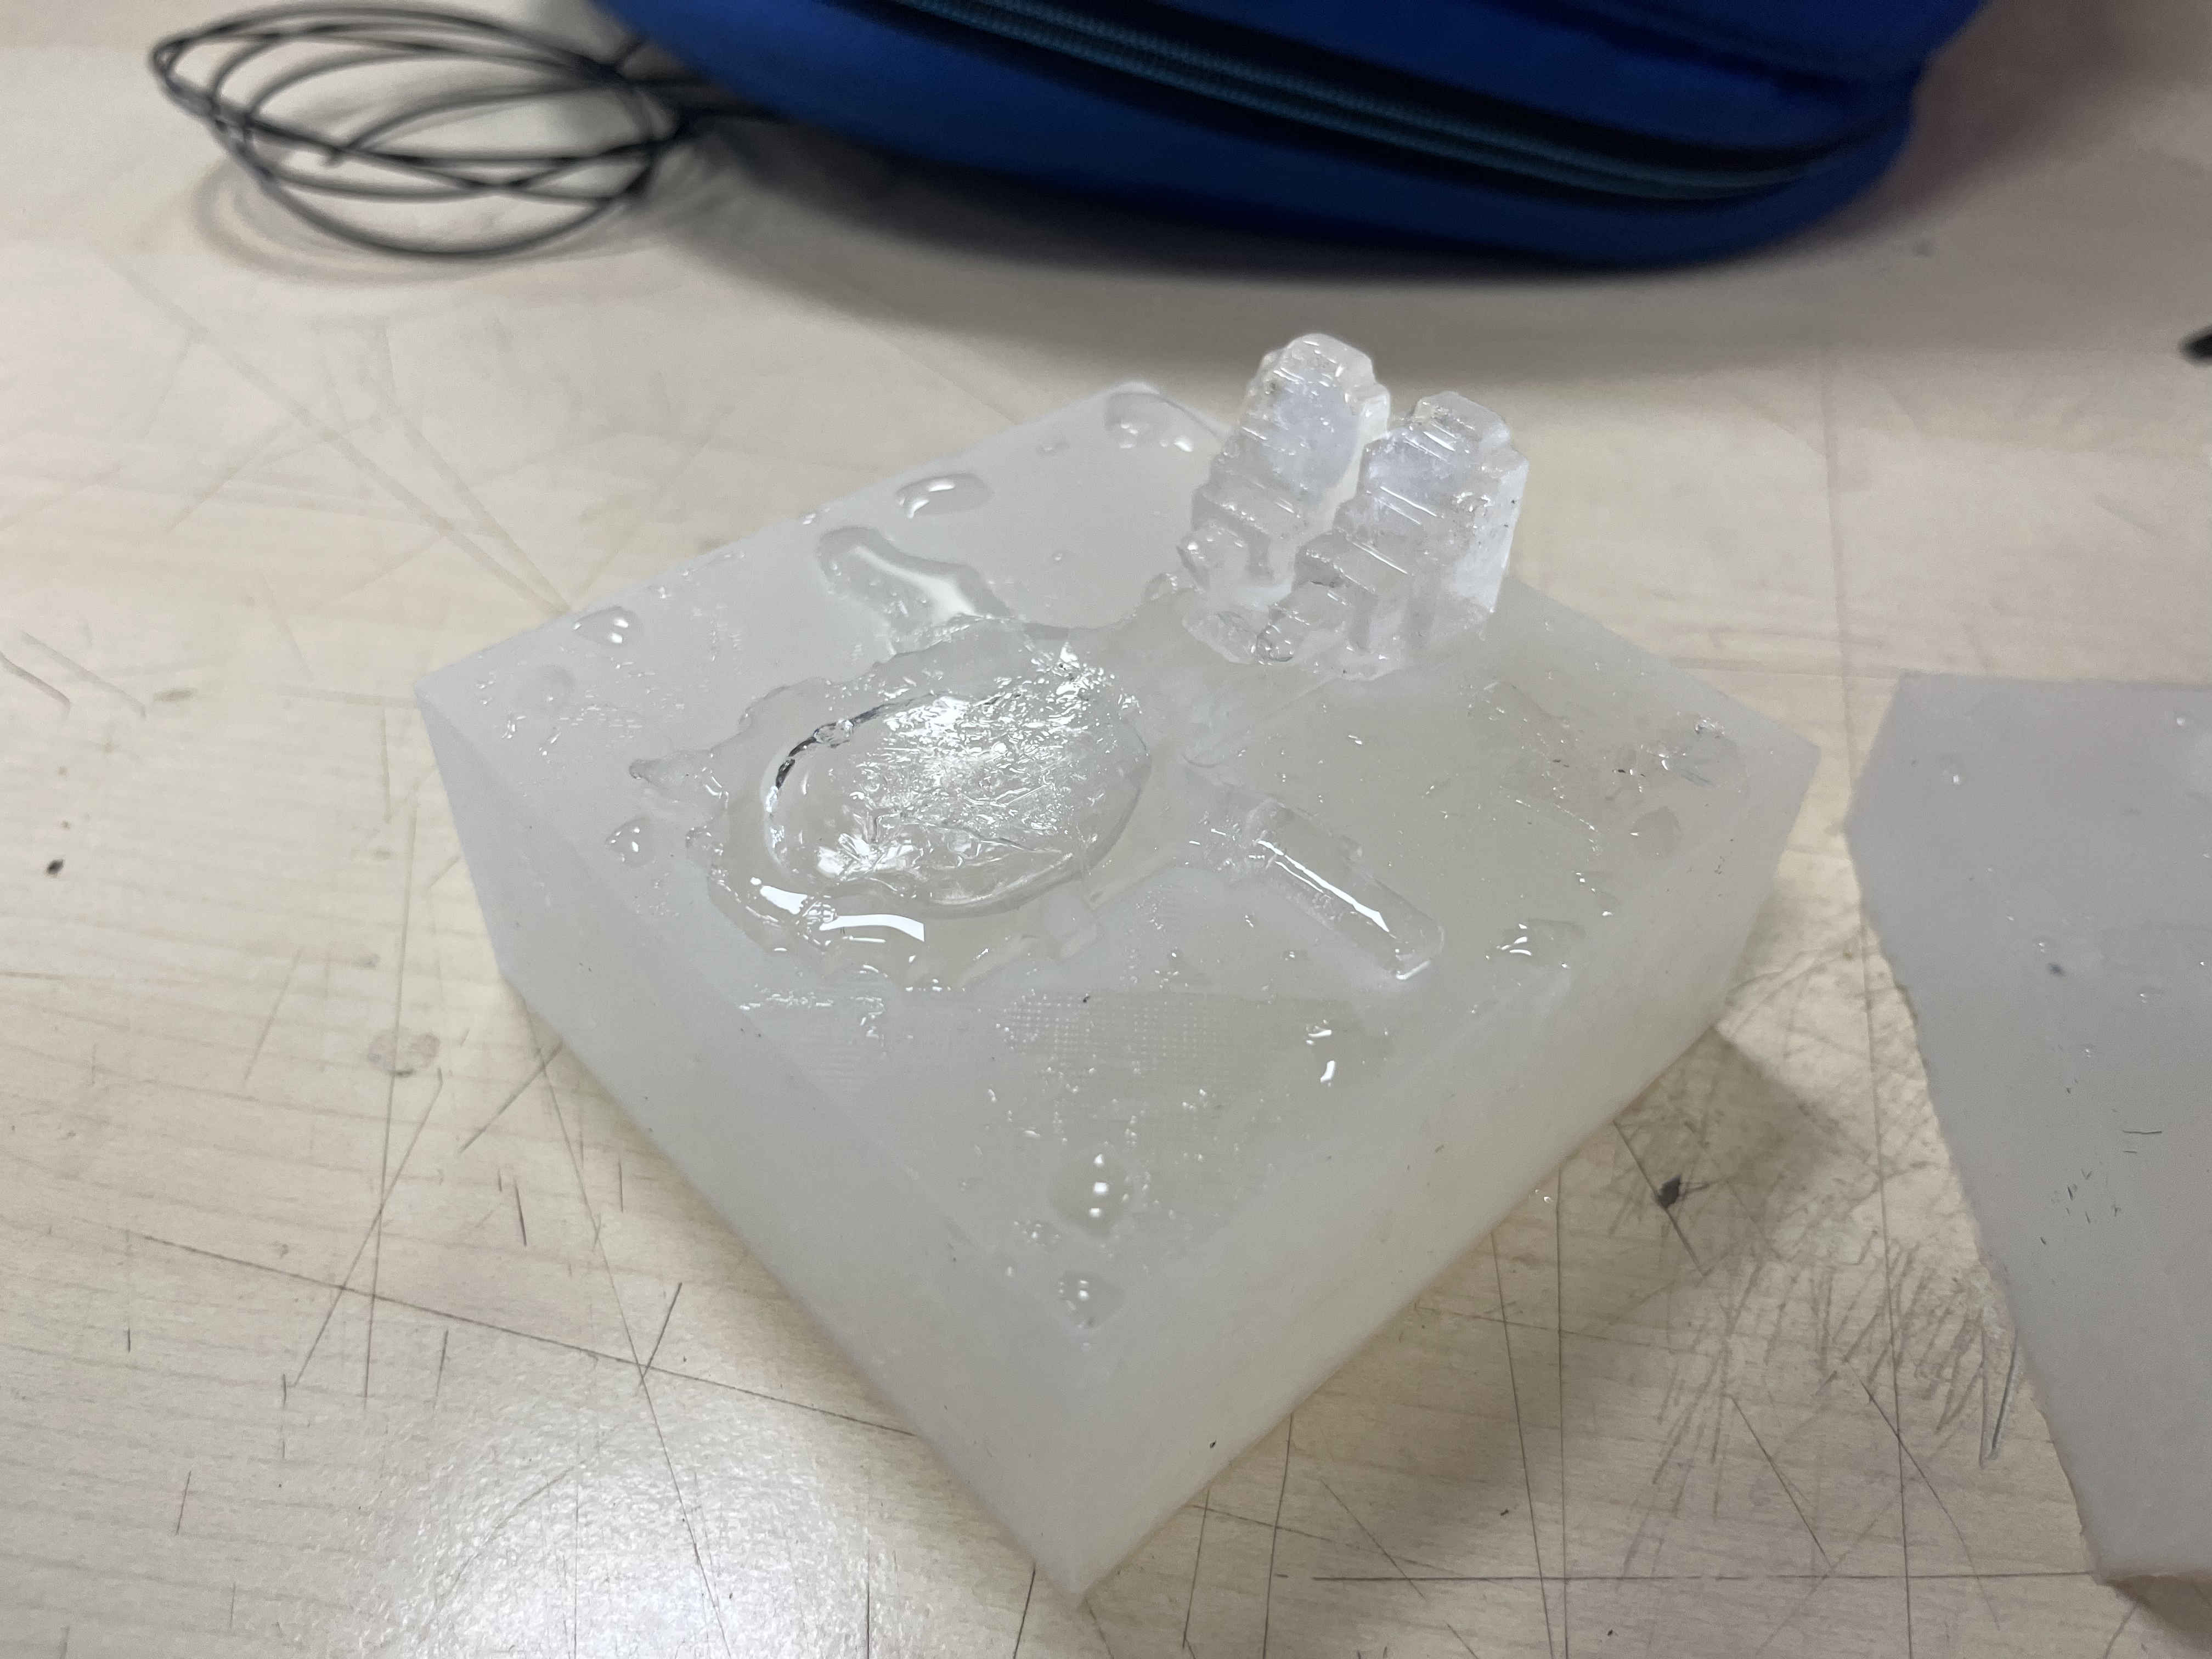
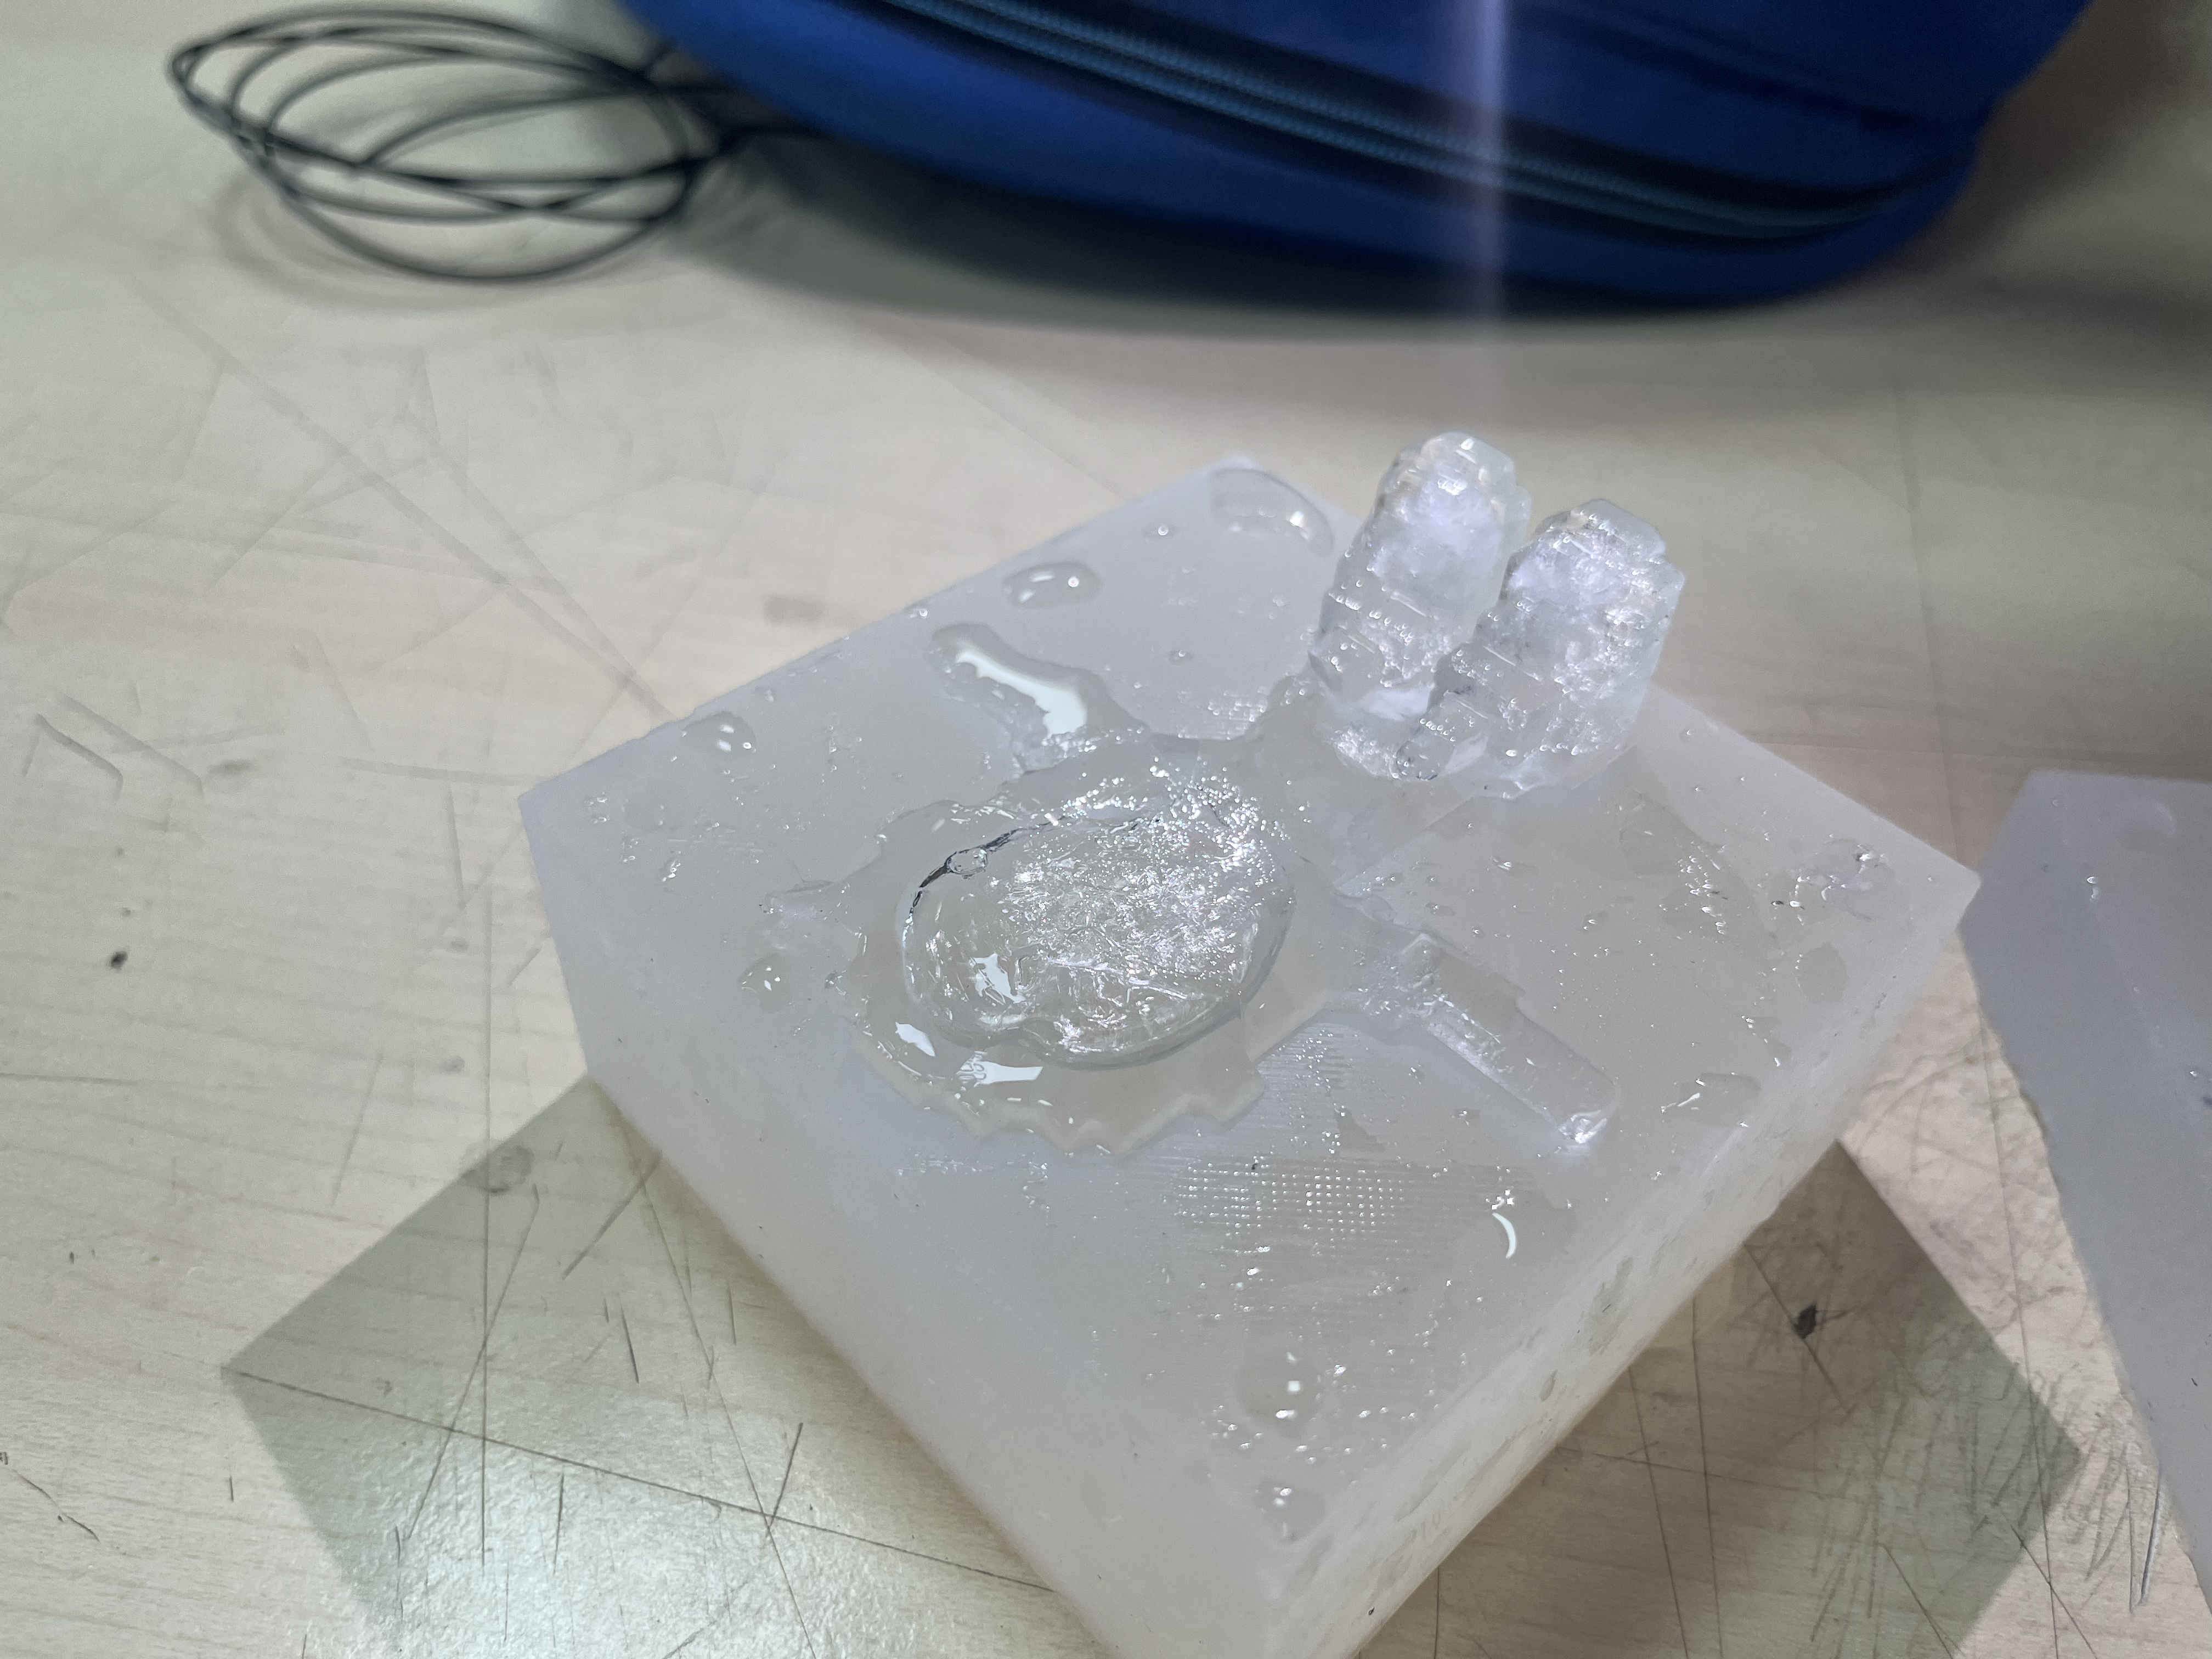
 MOLD IS READYYYYY
 The mold had some undried spots but mostly well cured
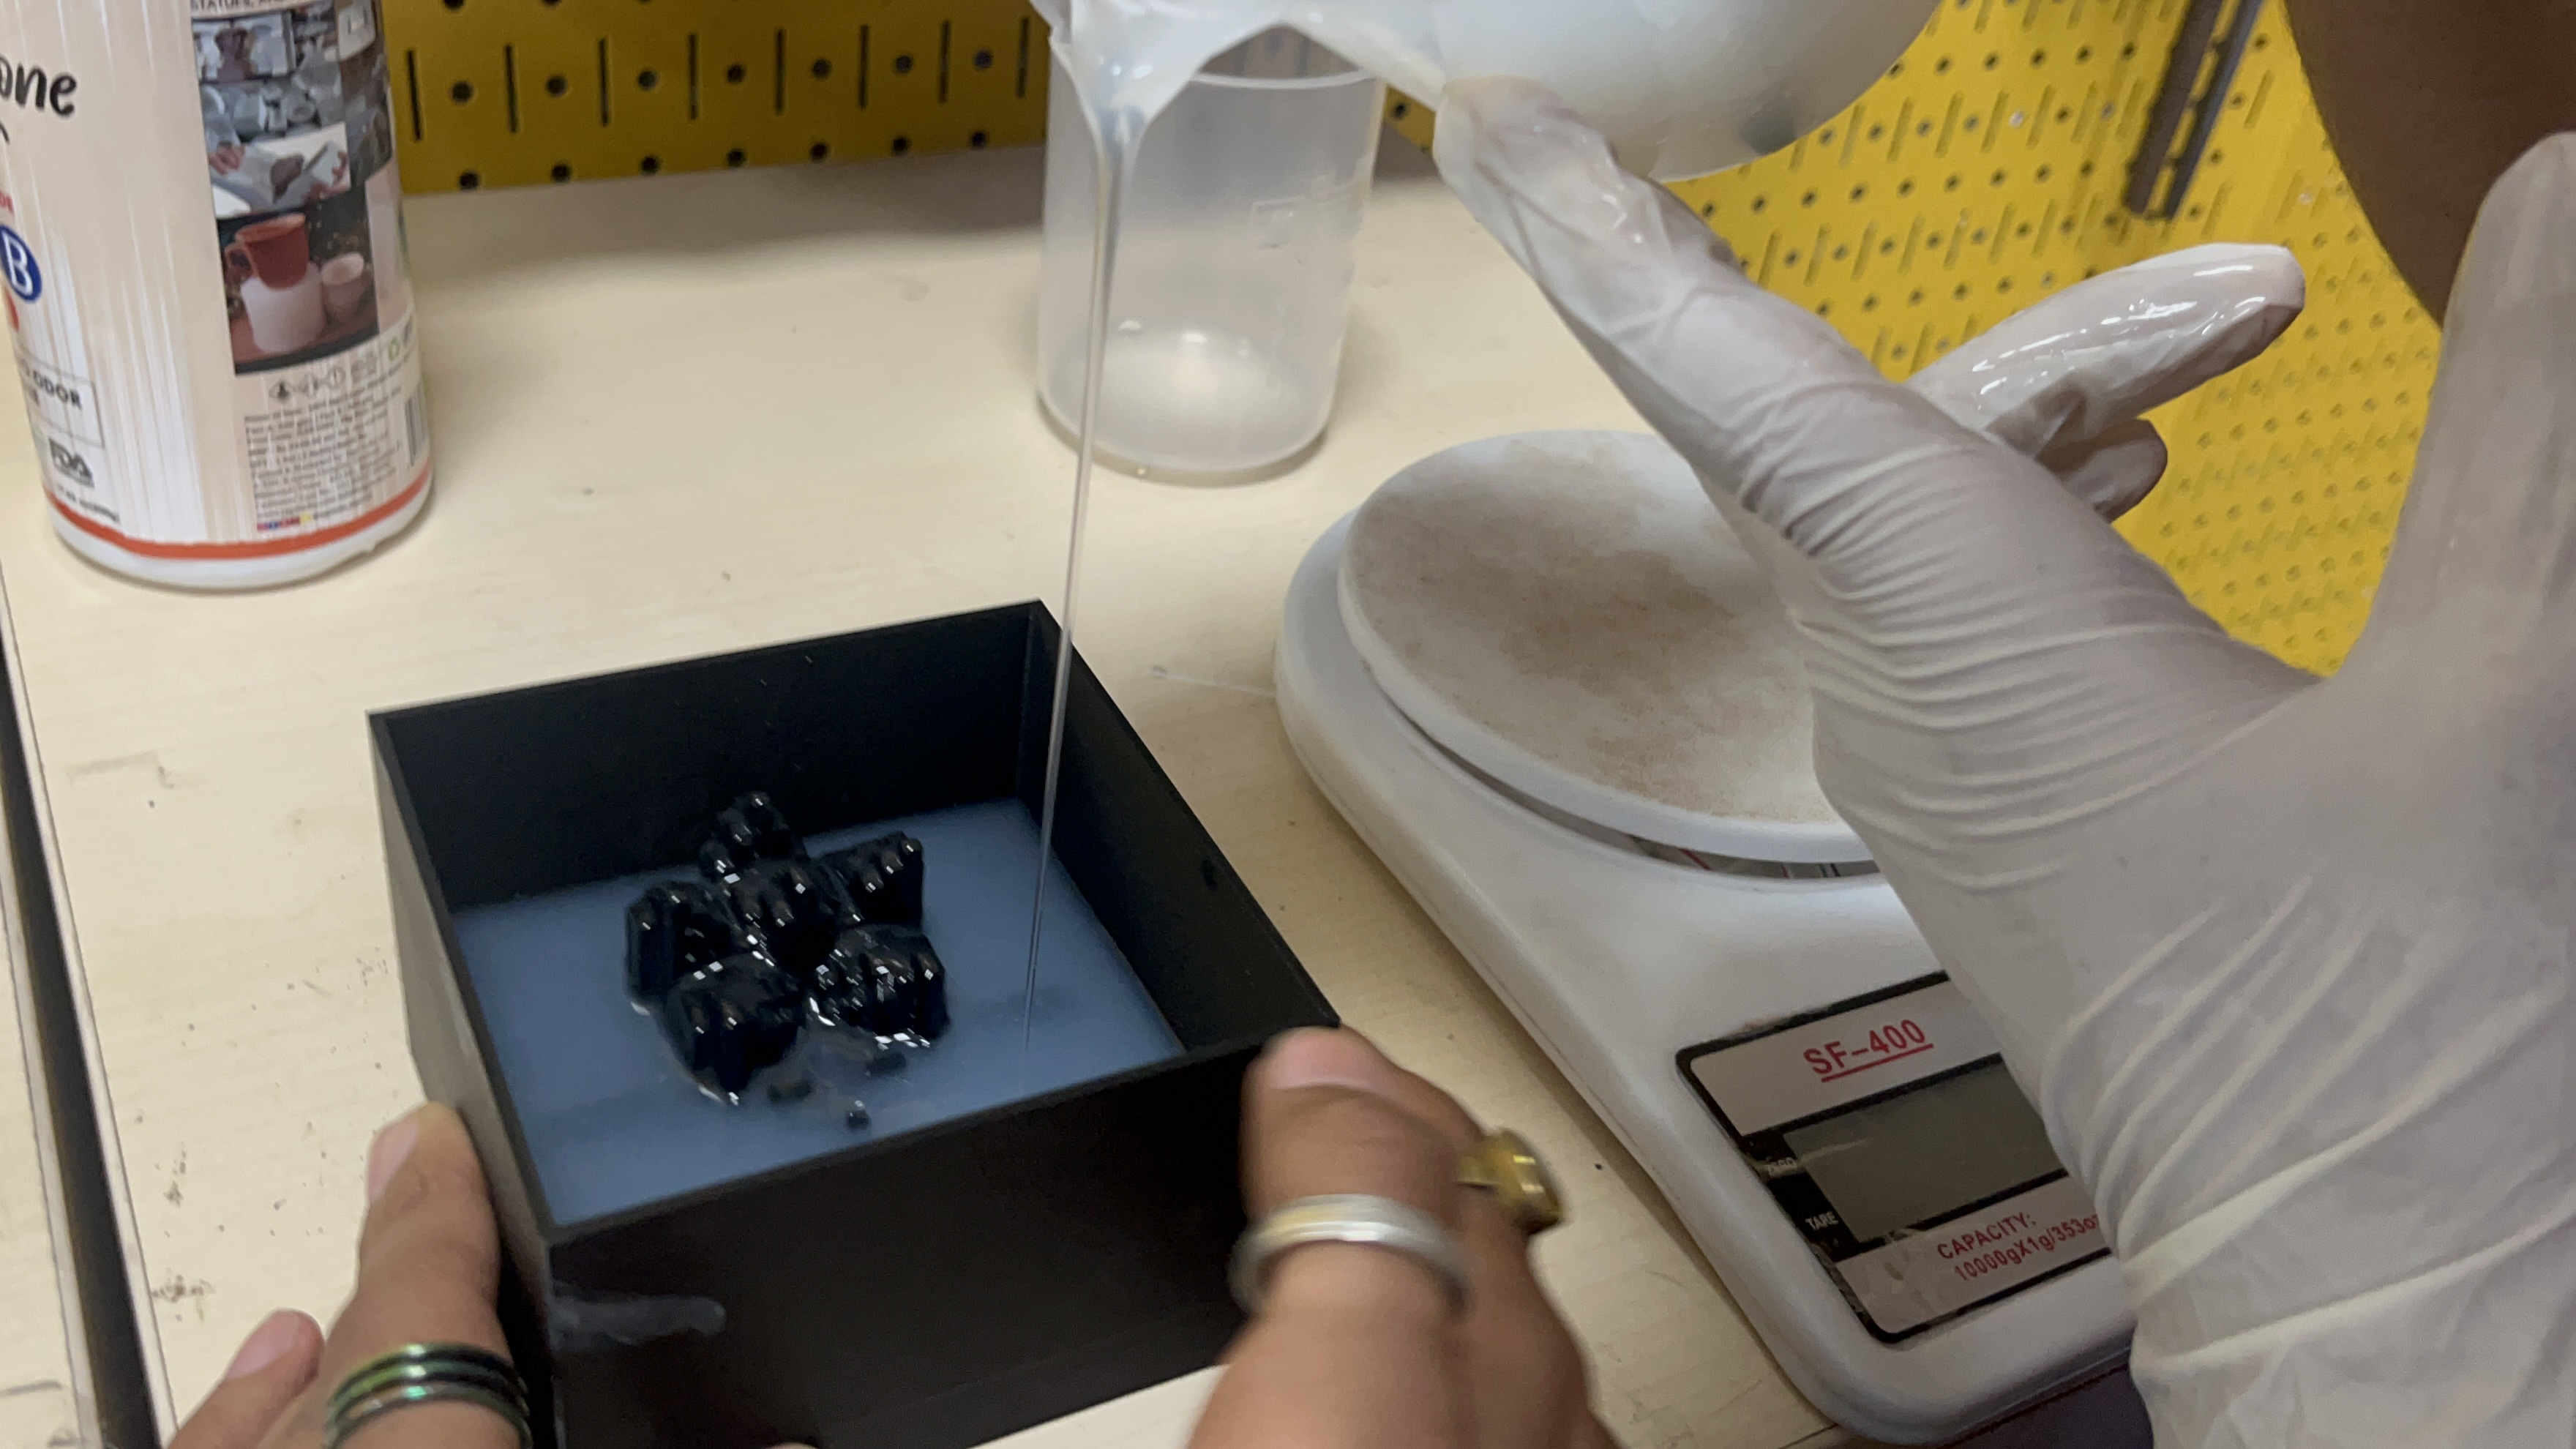
 Trying to mold ice first
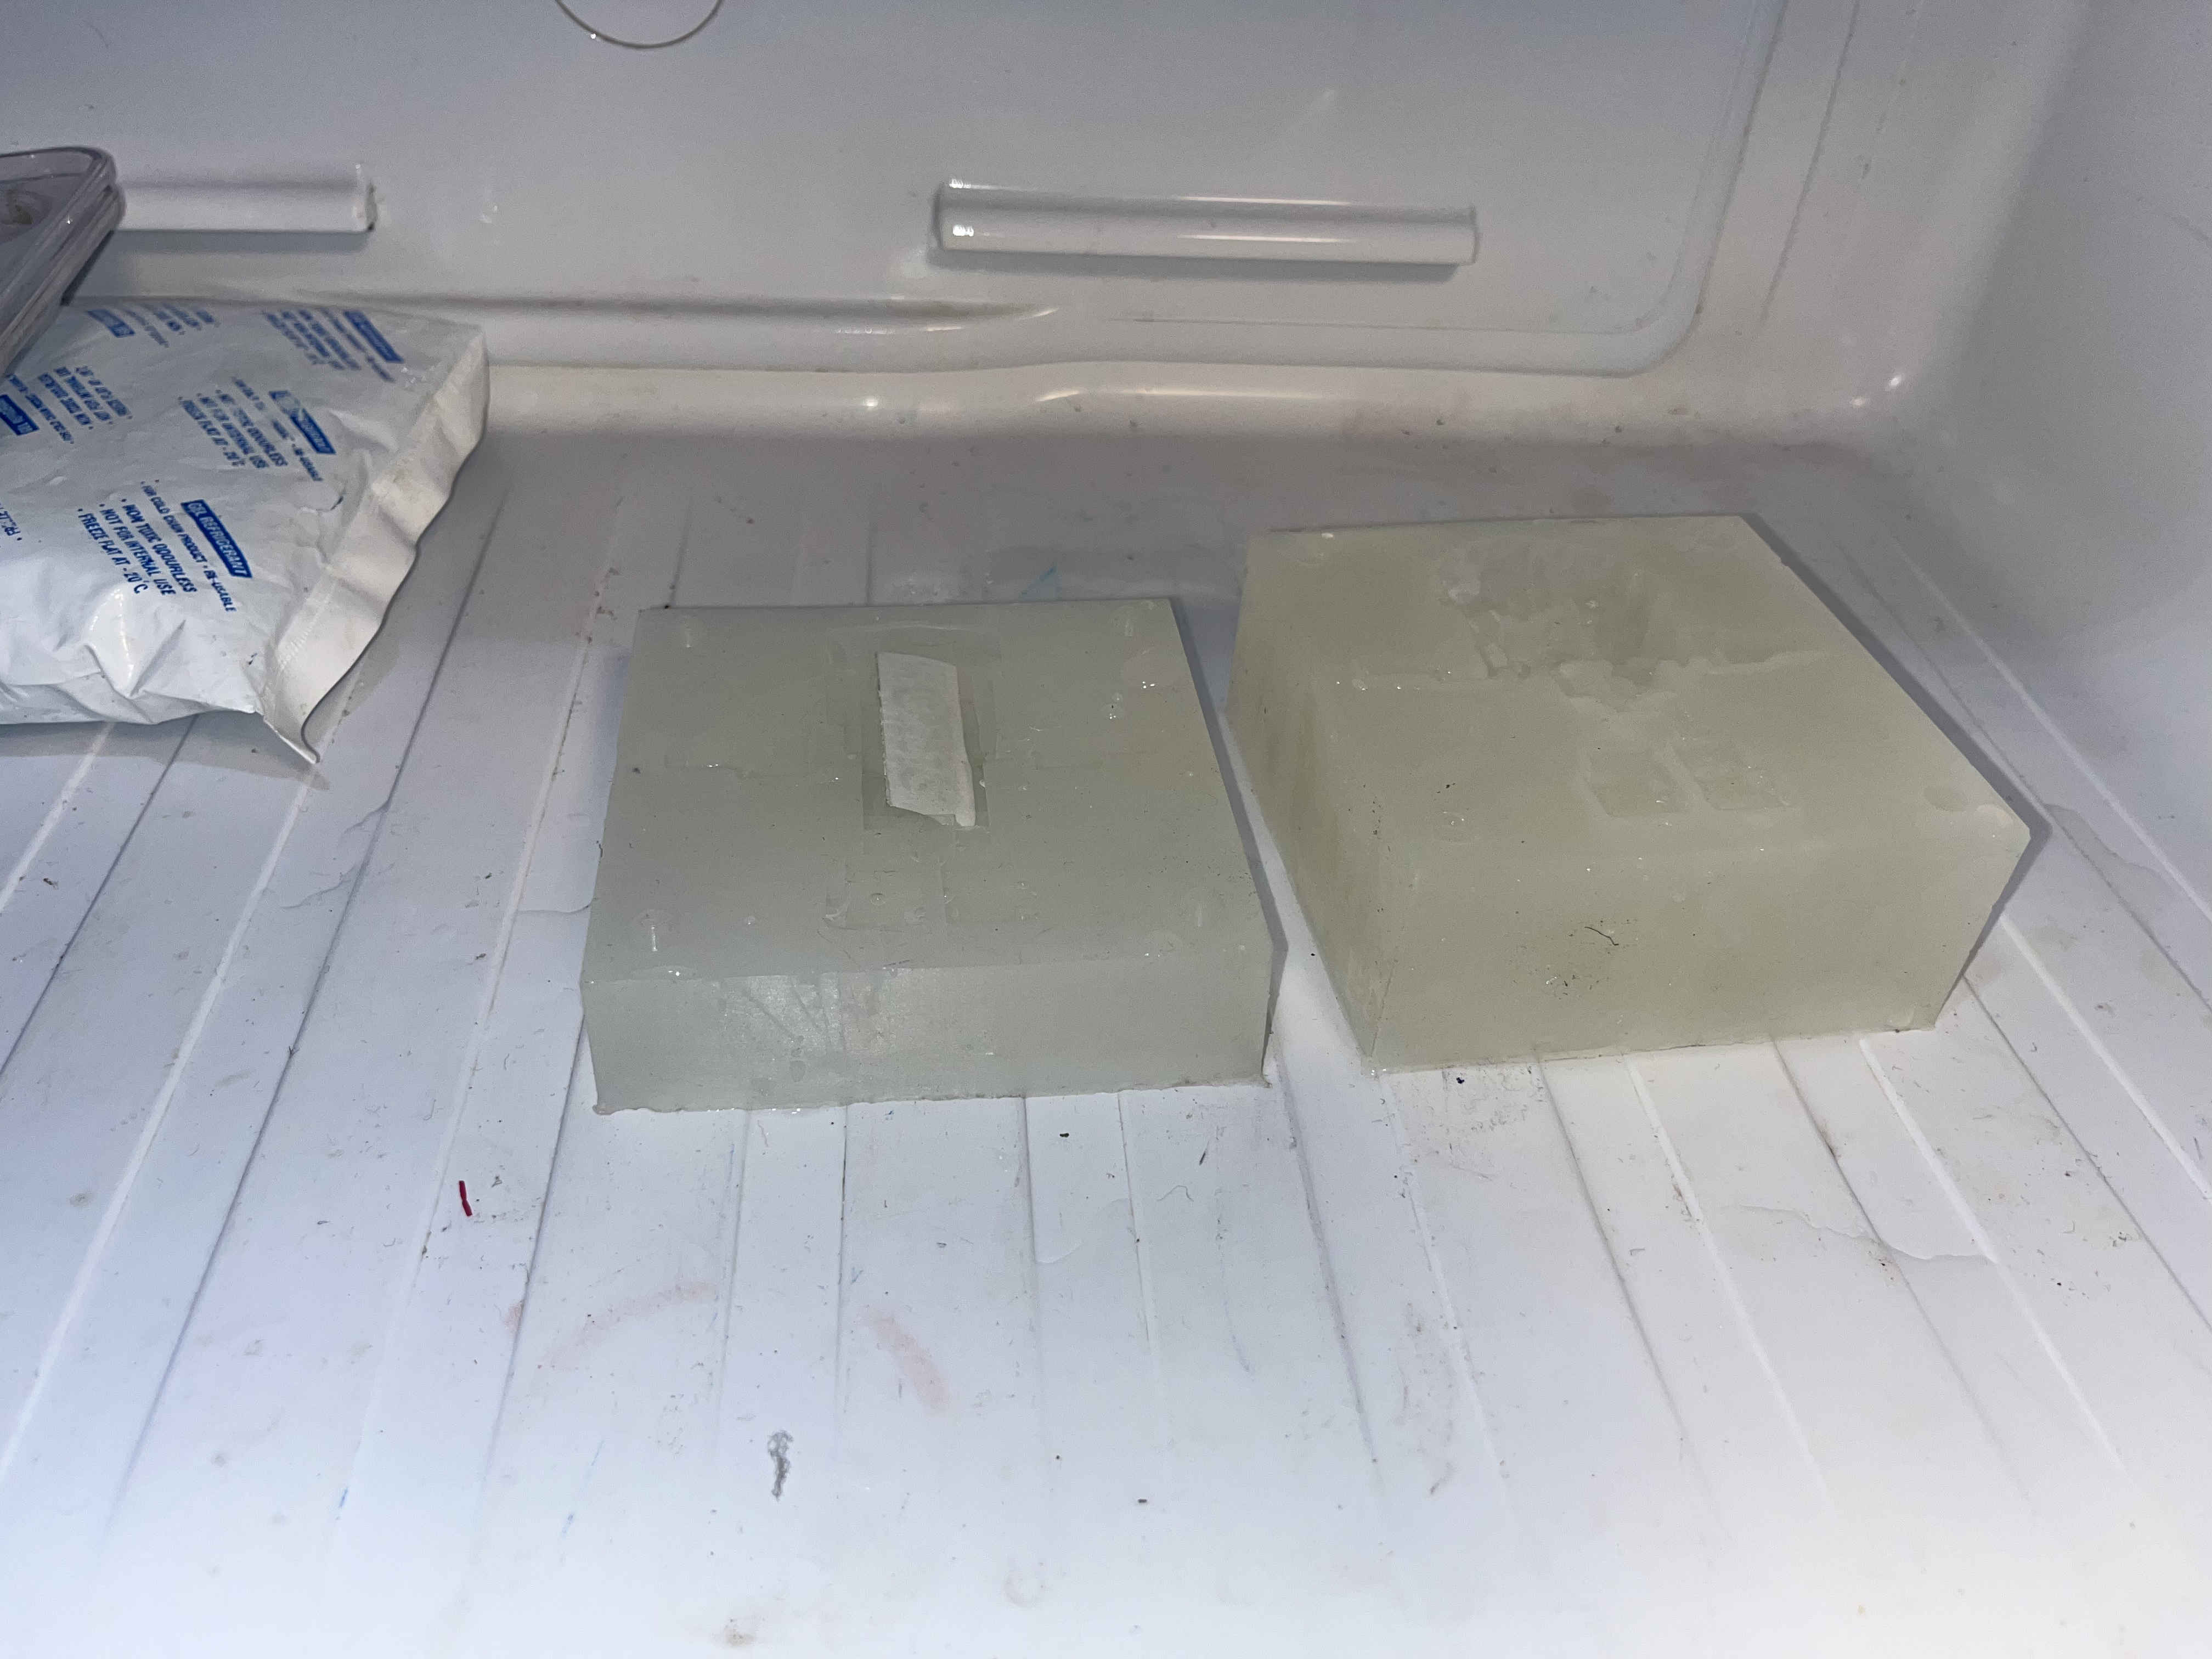 I very foolishly forgot a runner hole in my mother mold to add material.
consequently I had to freeze two seperately
 Half frozen ice mold
My plan
Add water individually to each half of the mold
once half frozen, and some water as a interfsce sticking layer
stack the two molds on top of each other and then
I assumed i would have a strong mold that had strongly bonded with each other that i can peel off
This failed miserably........
the shape was superbly taken but parts of my mold were tooo small for a brittle when hard material like ice

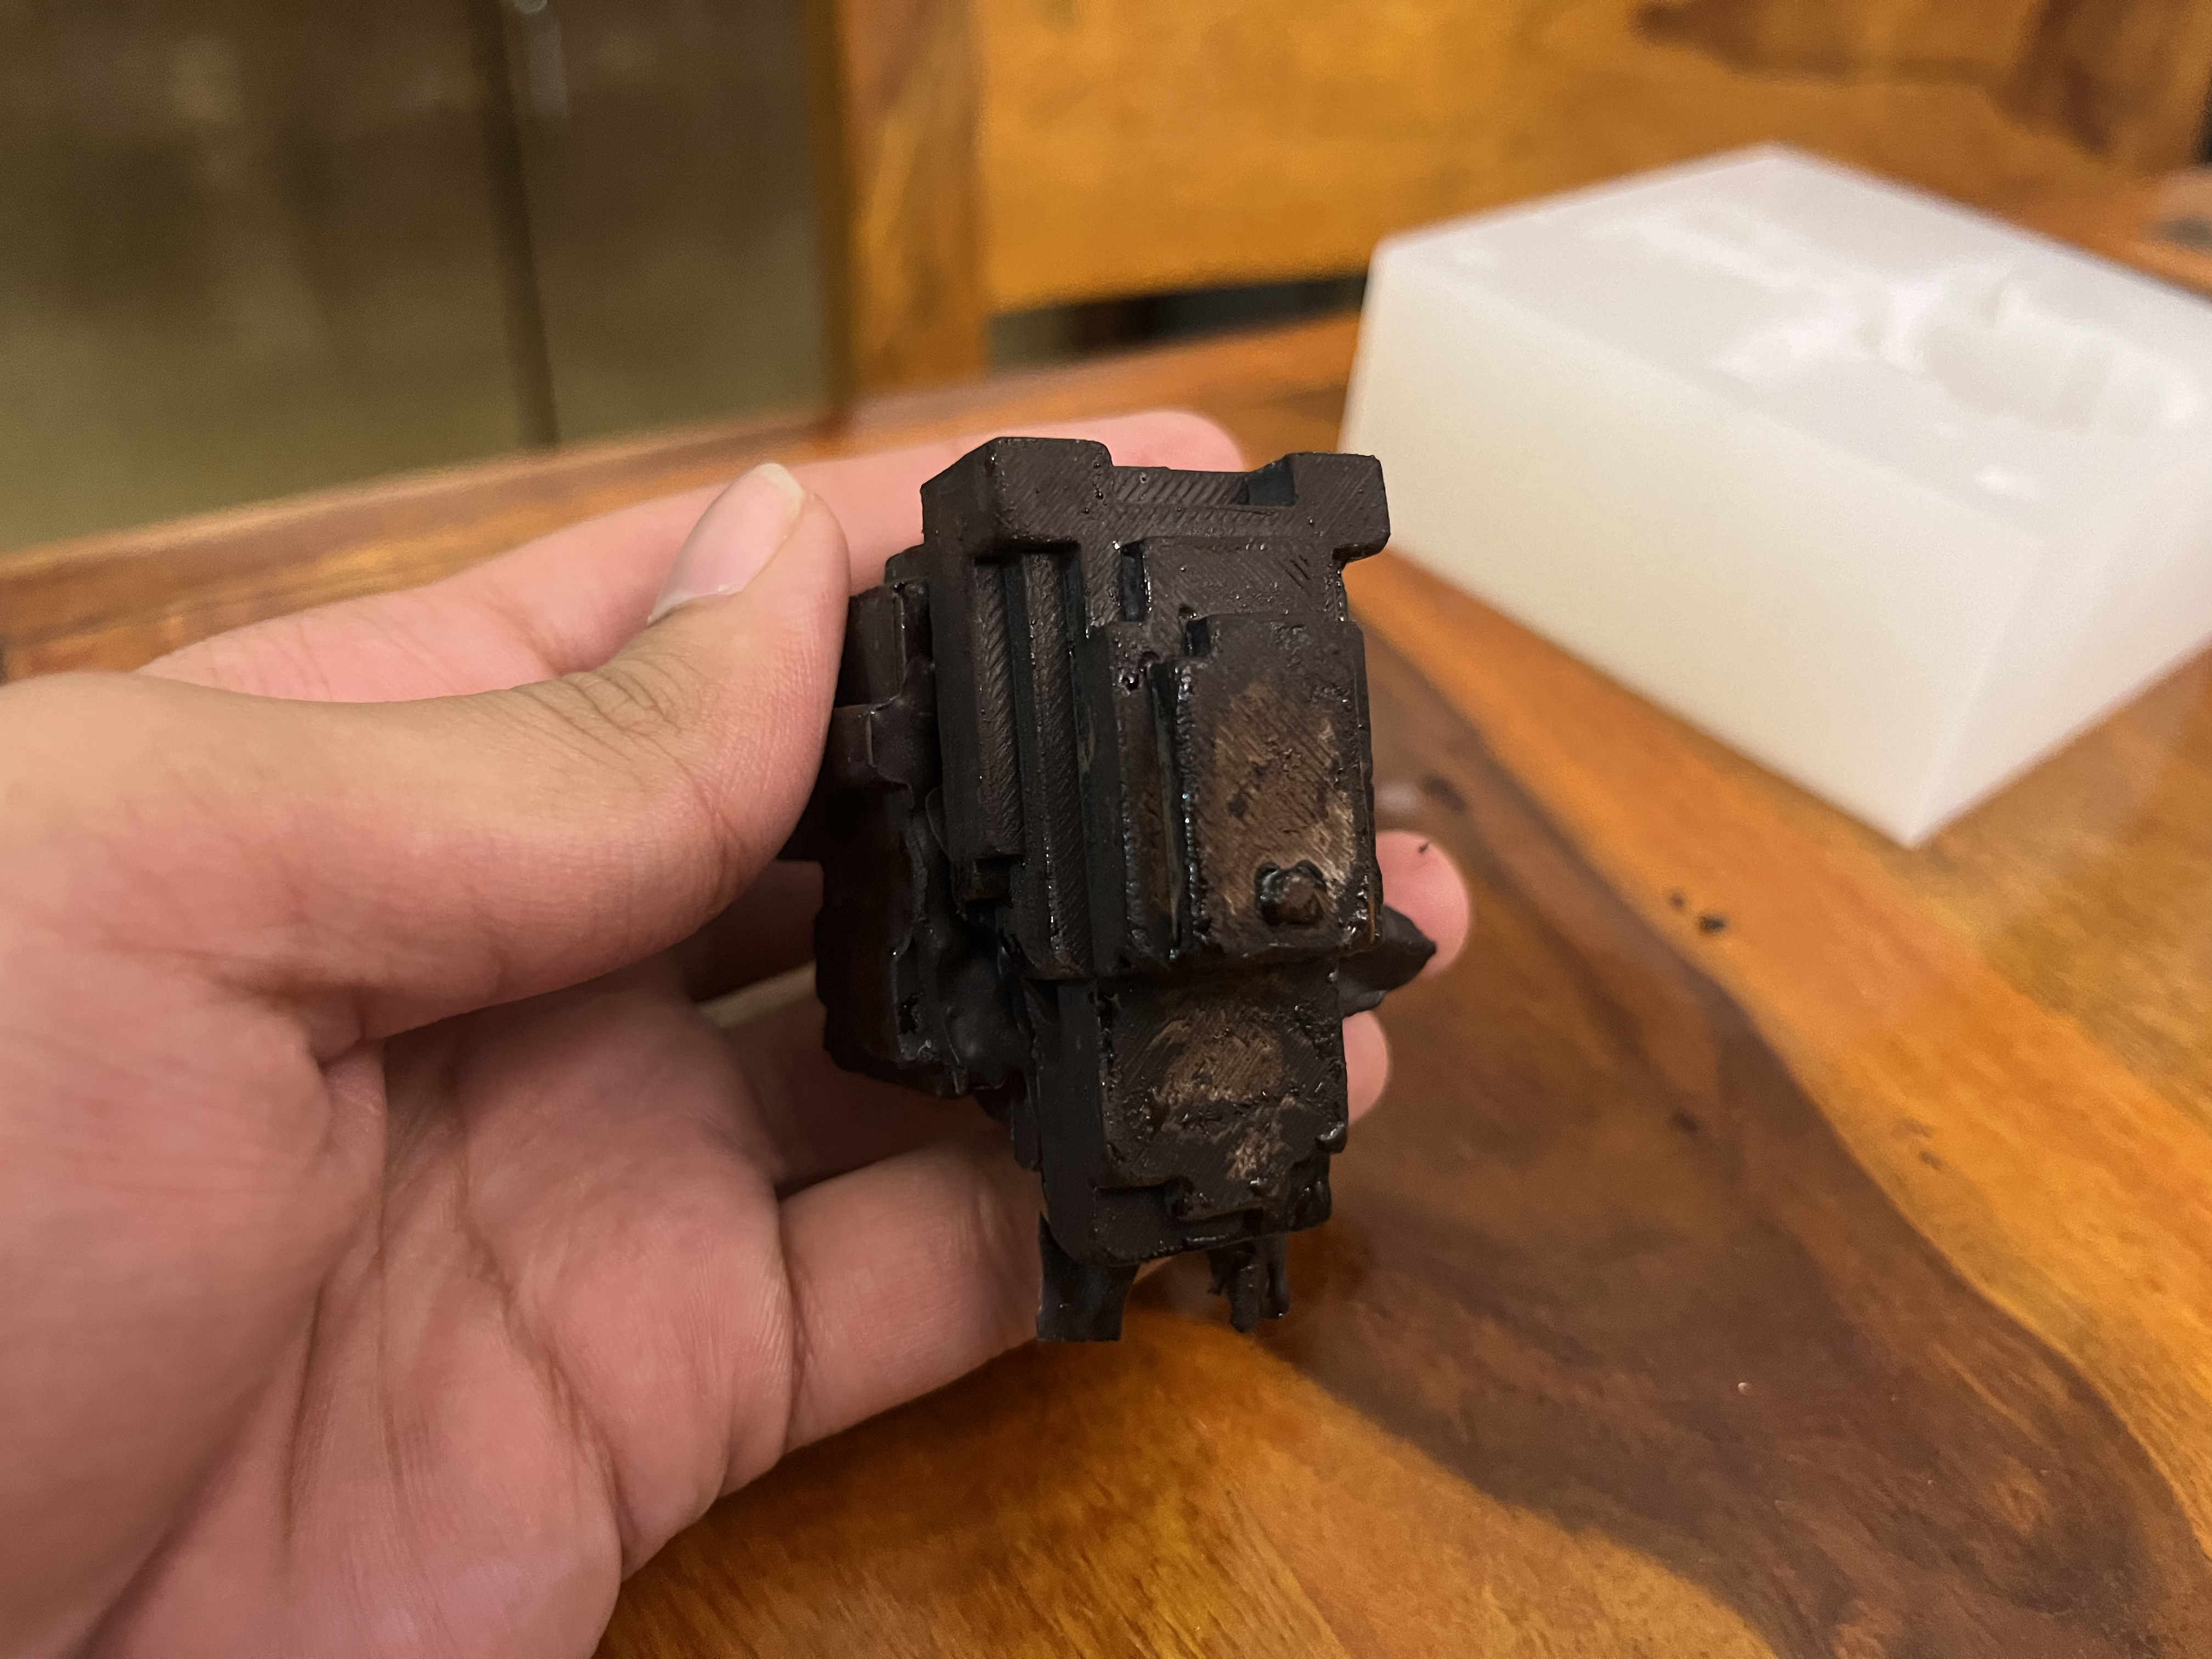
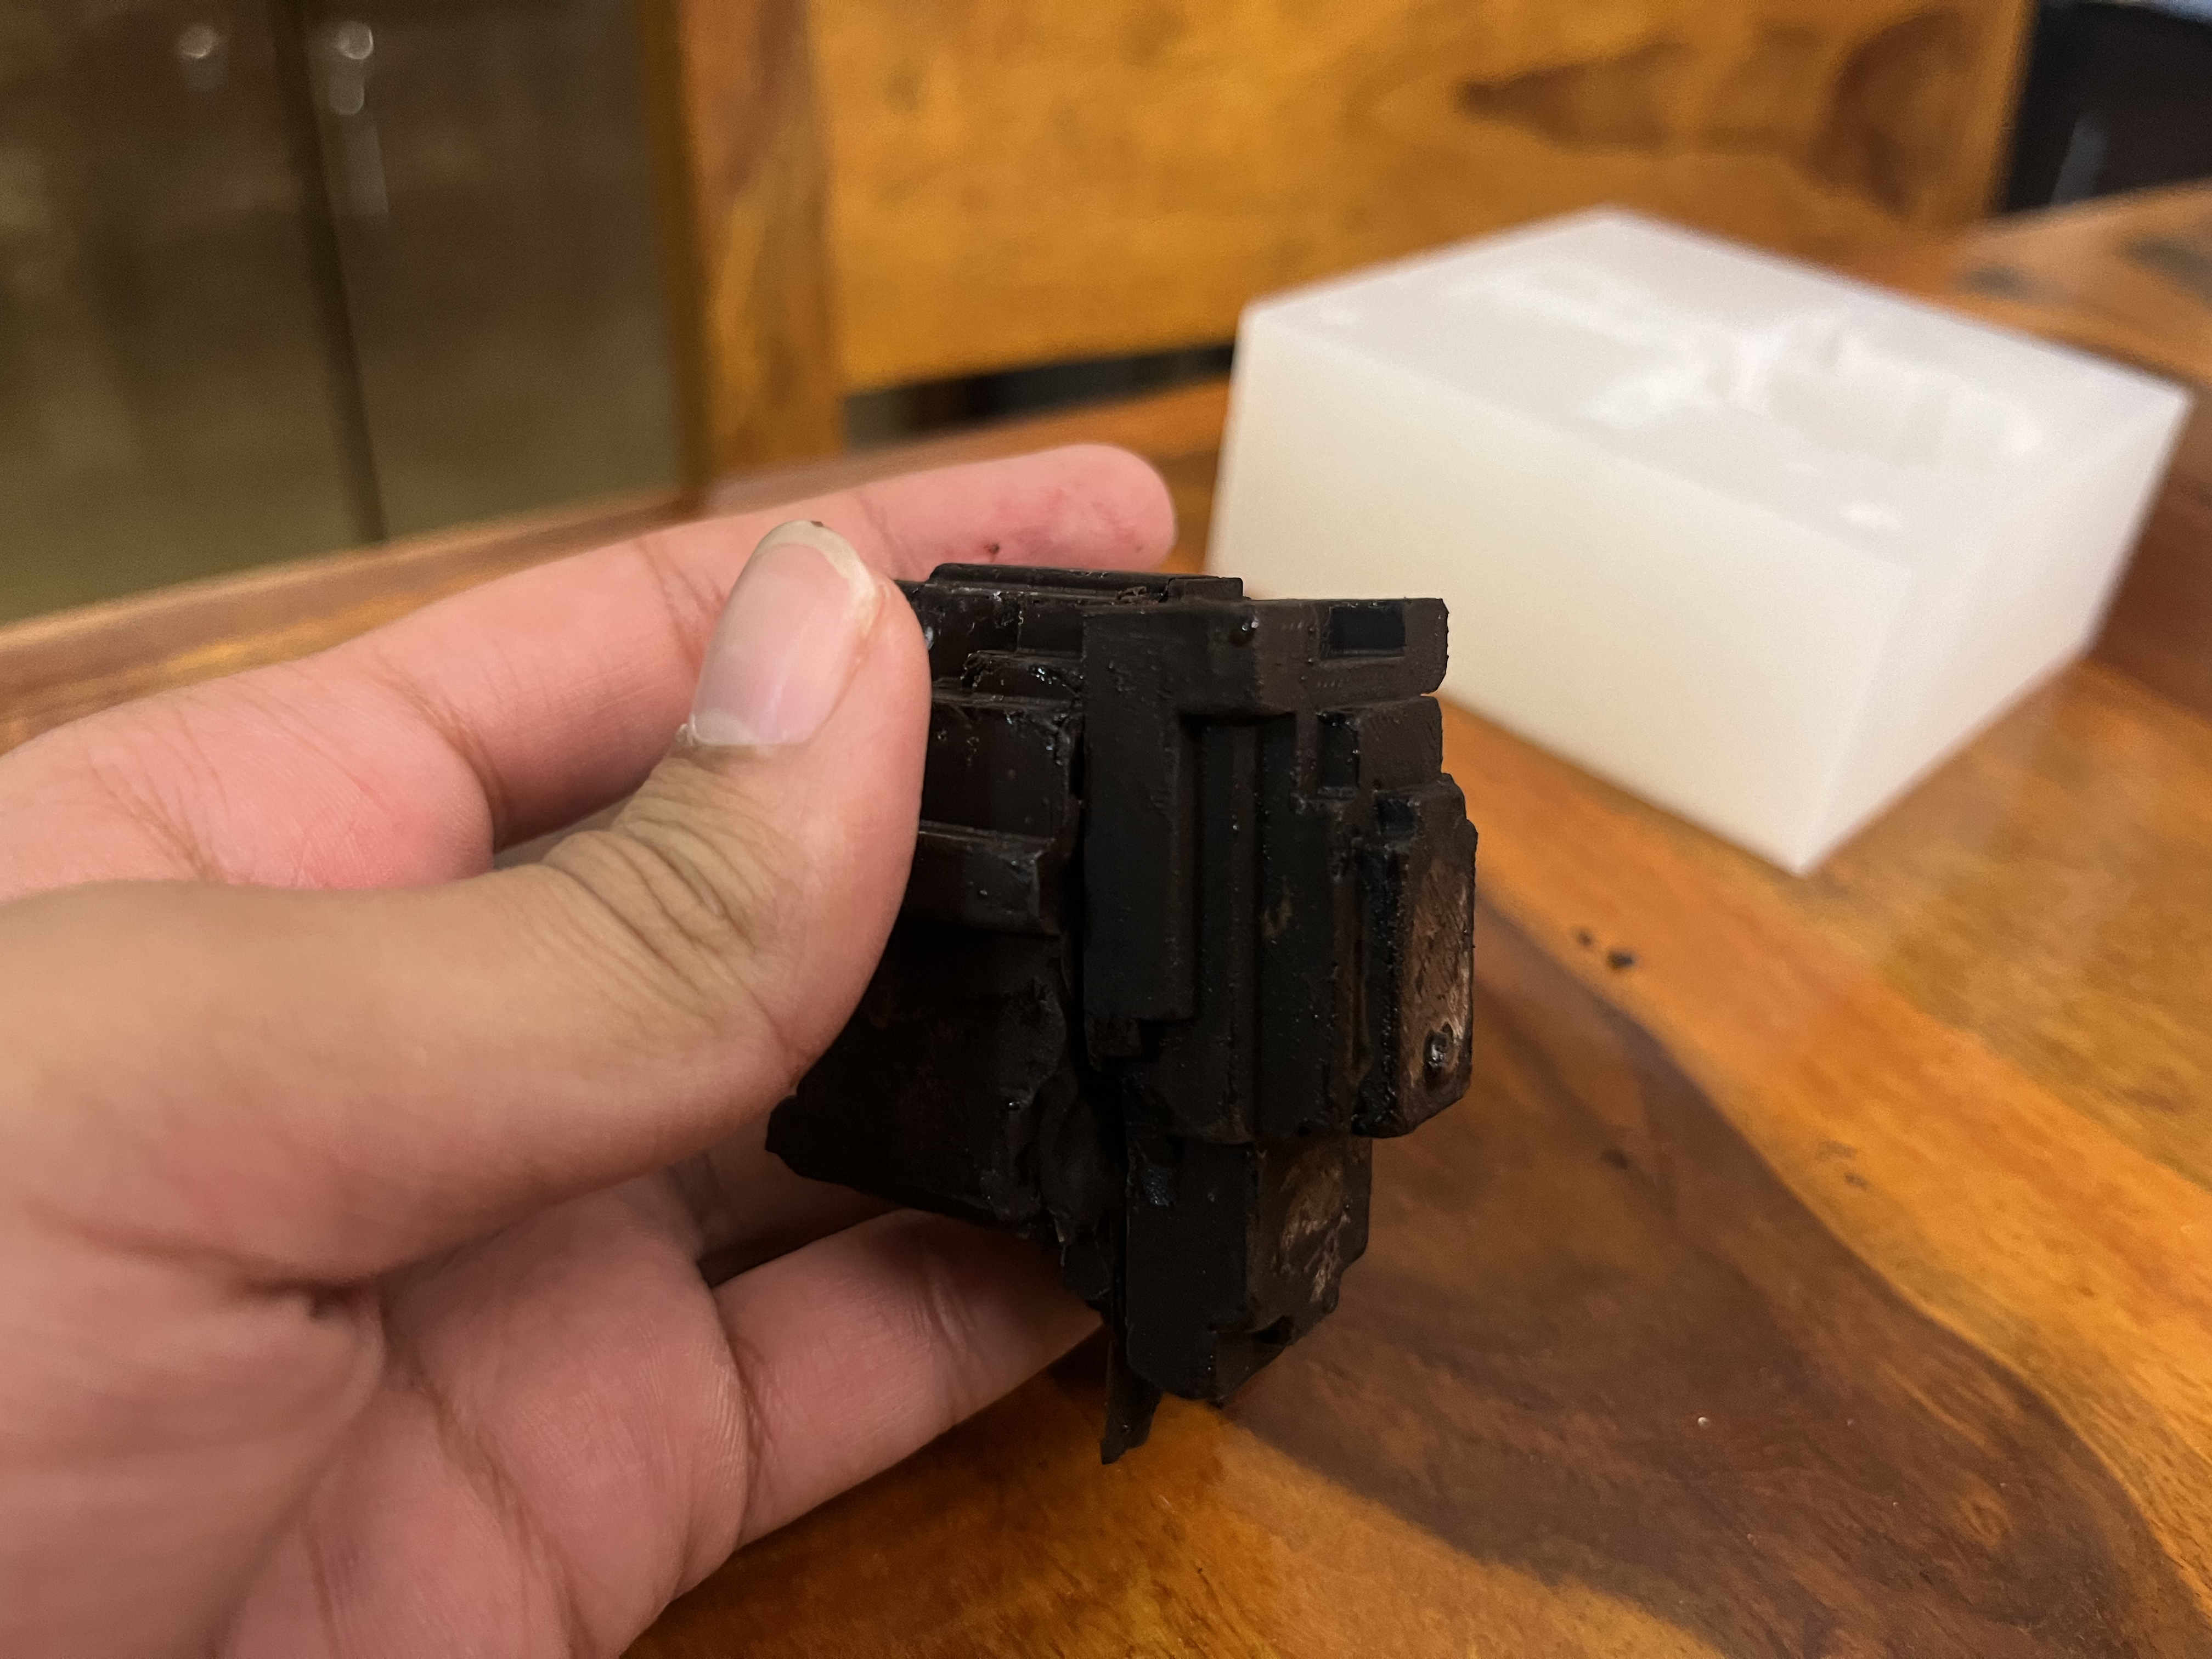
Chocolate time
 Lets try this with choccy aswelll
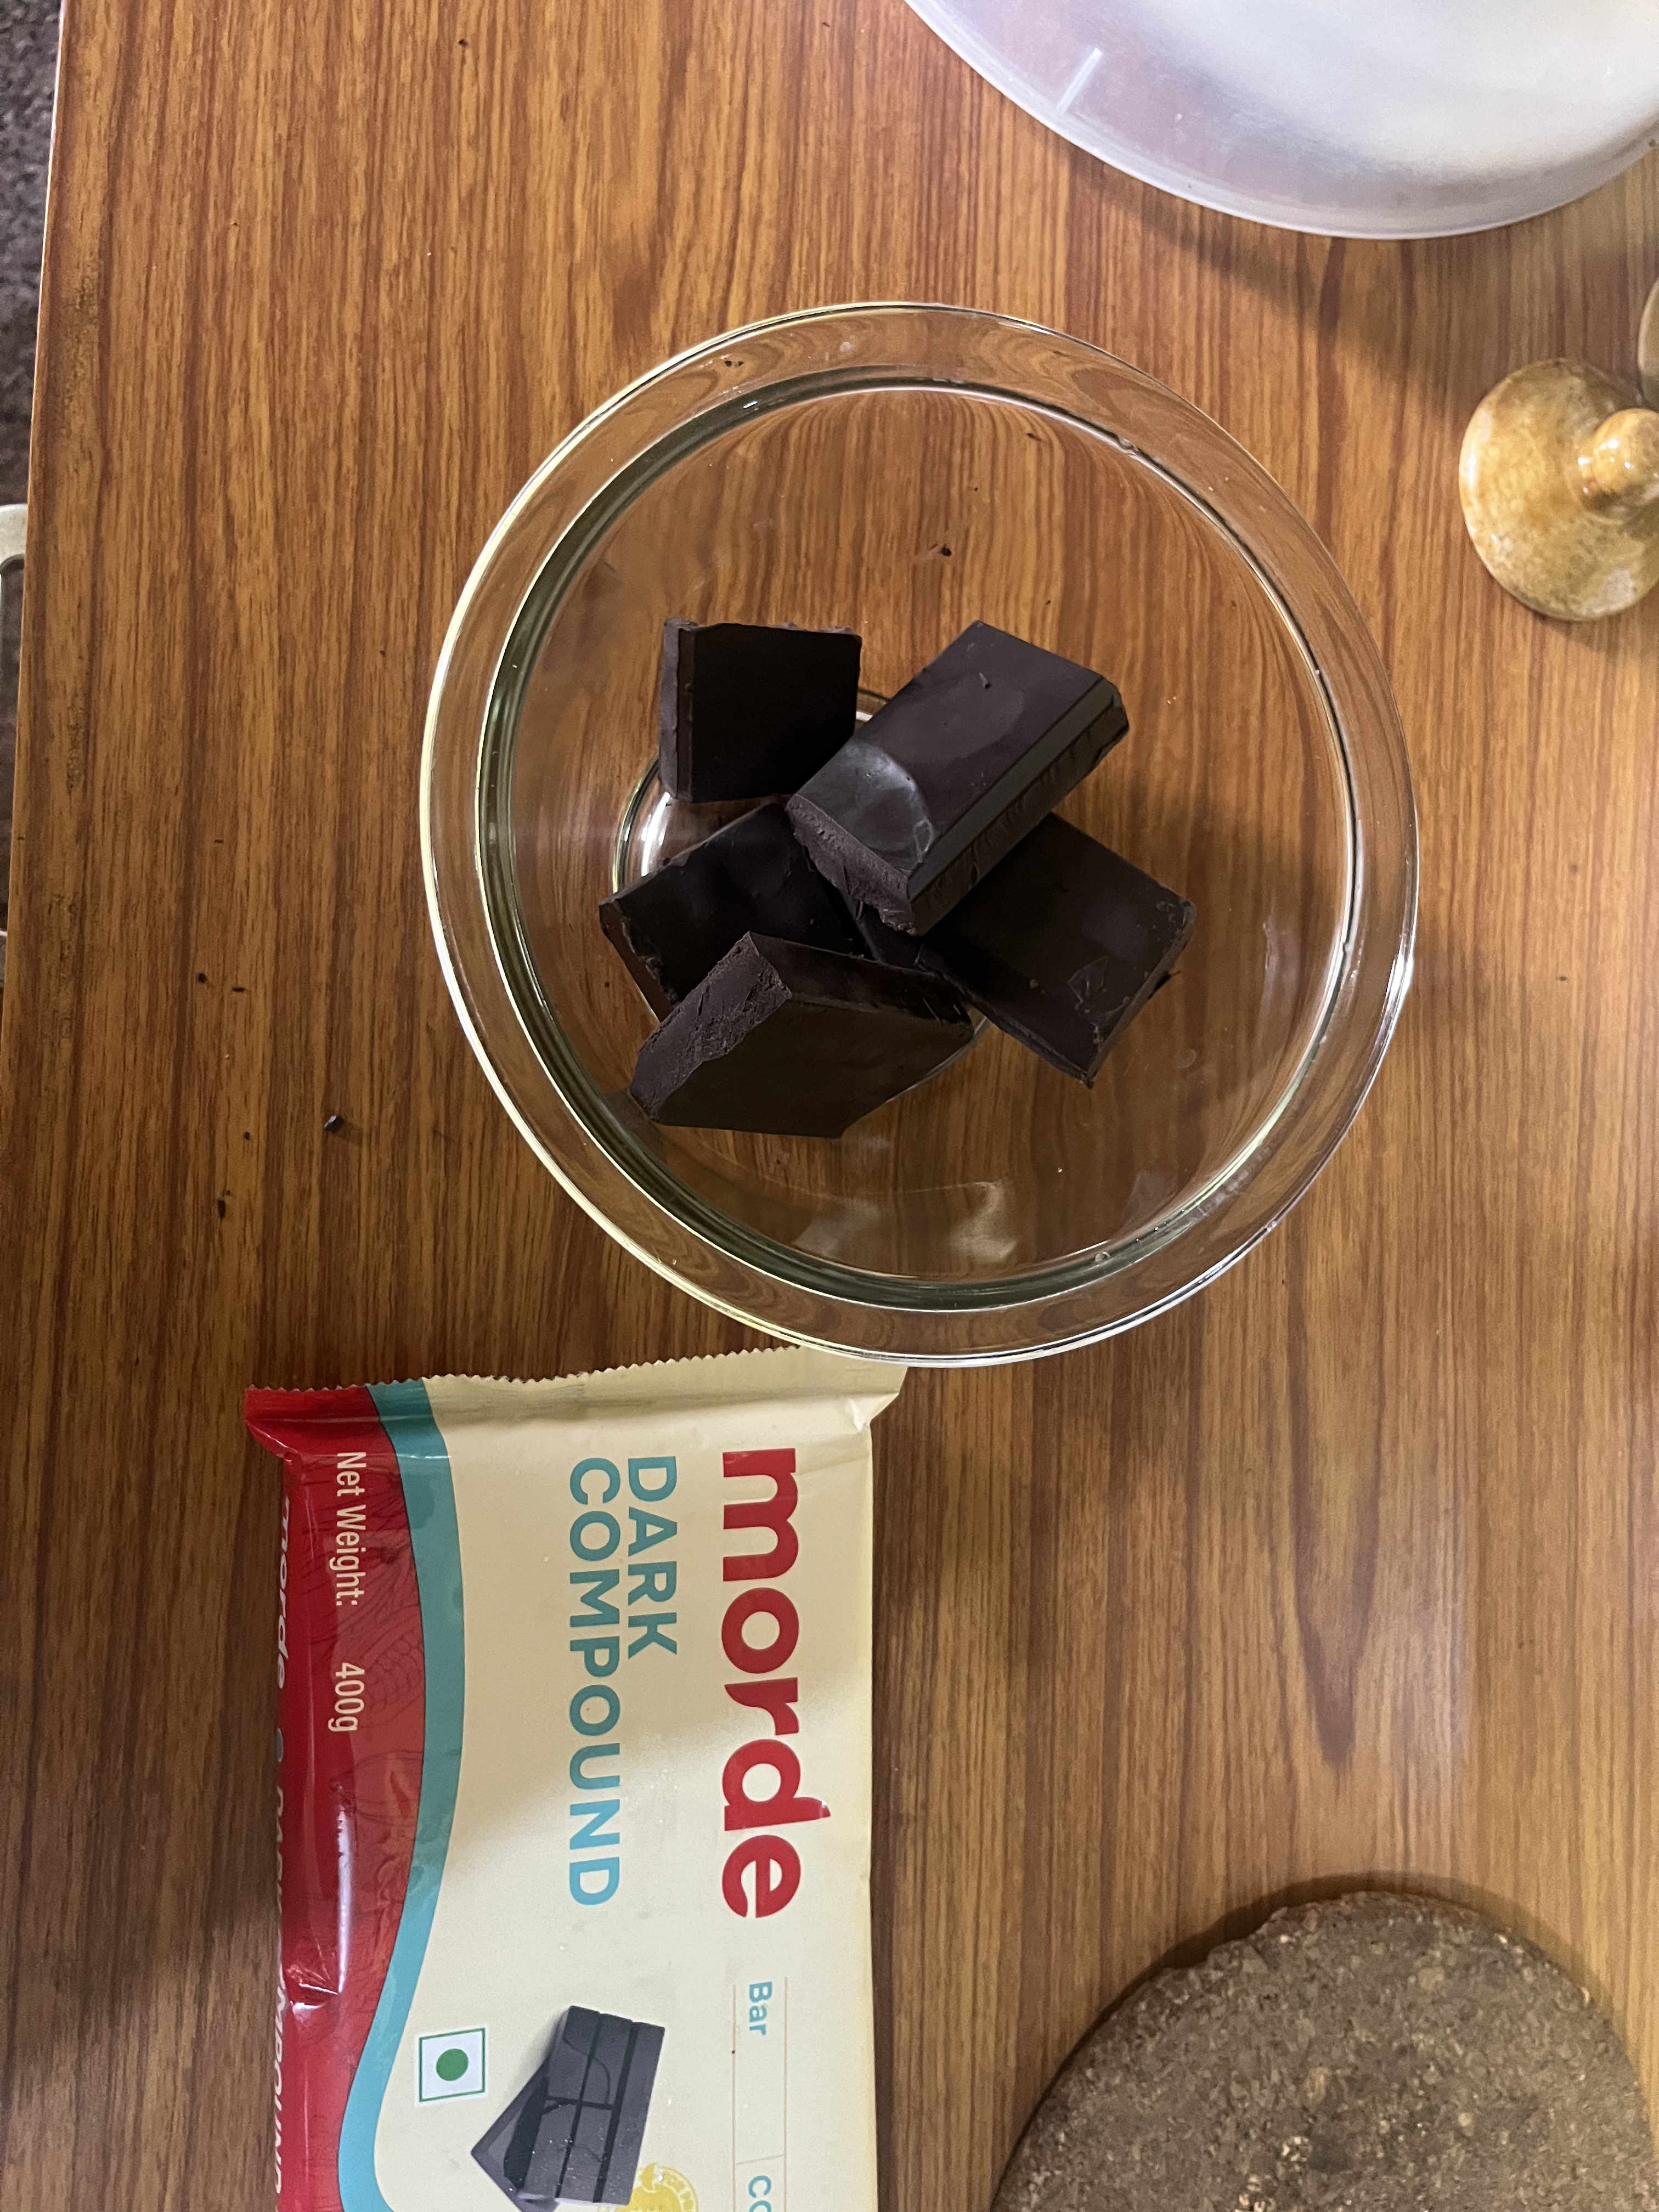
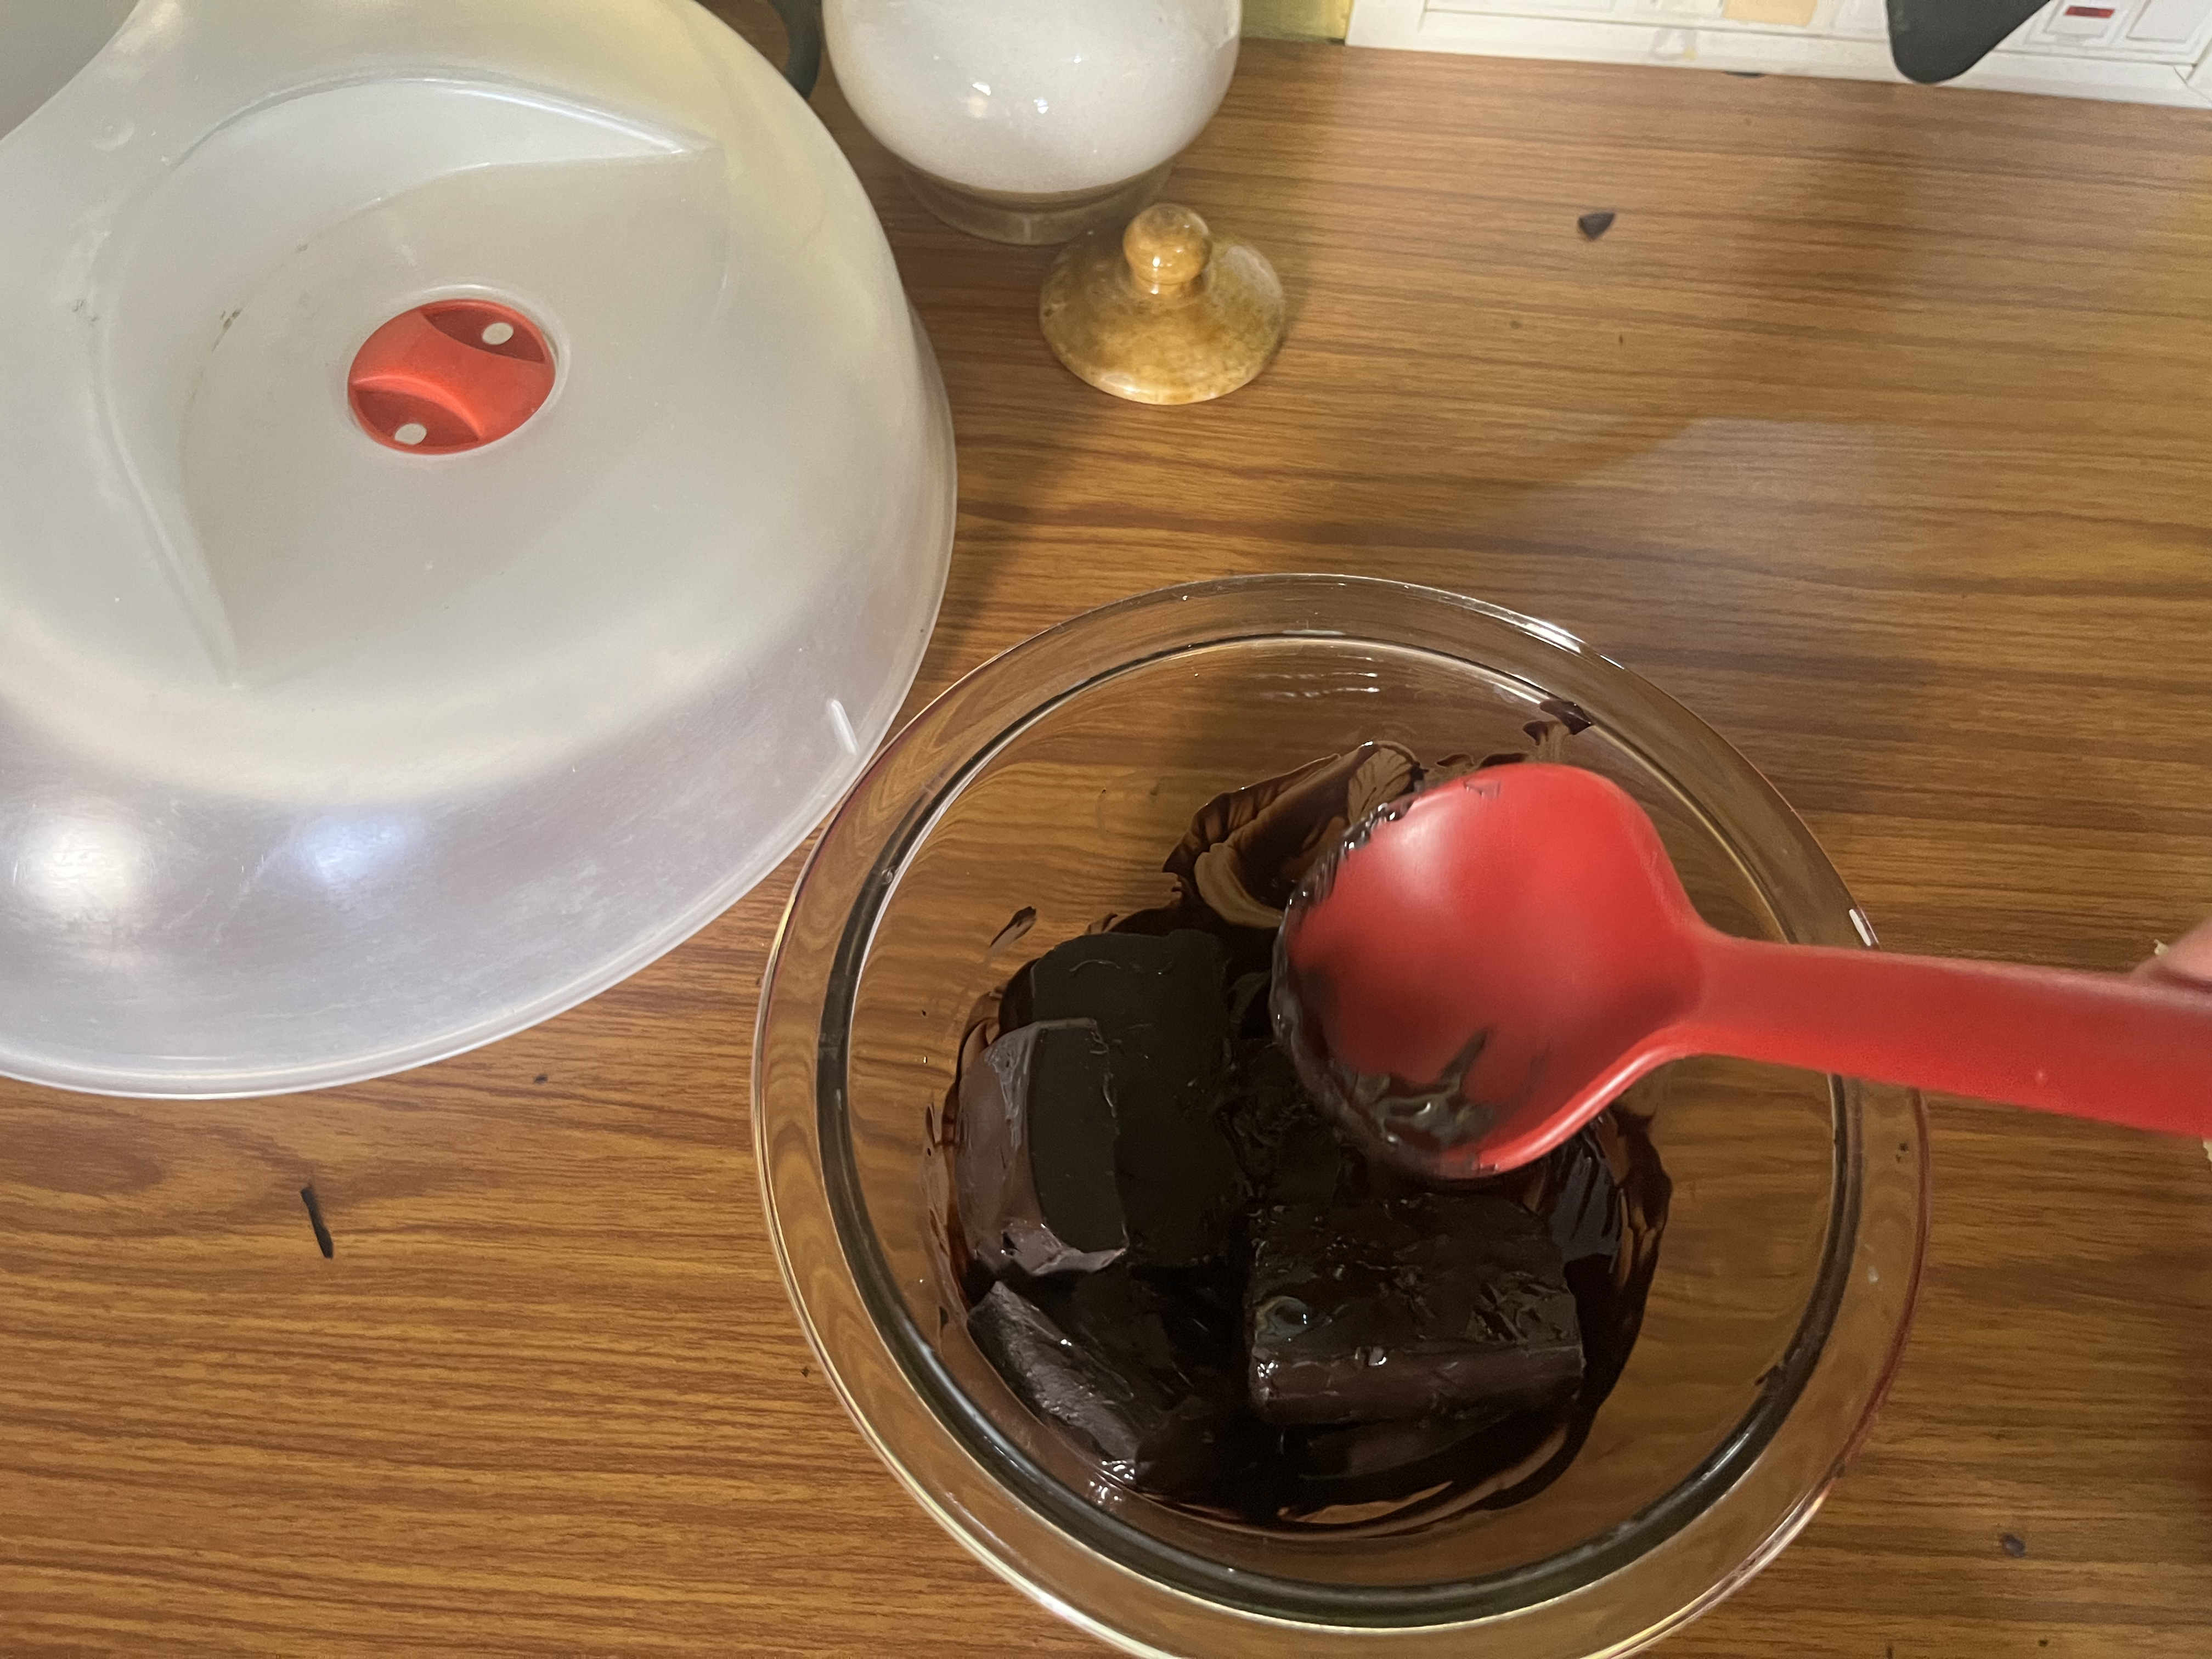
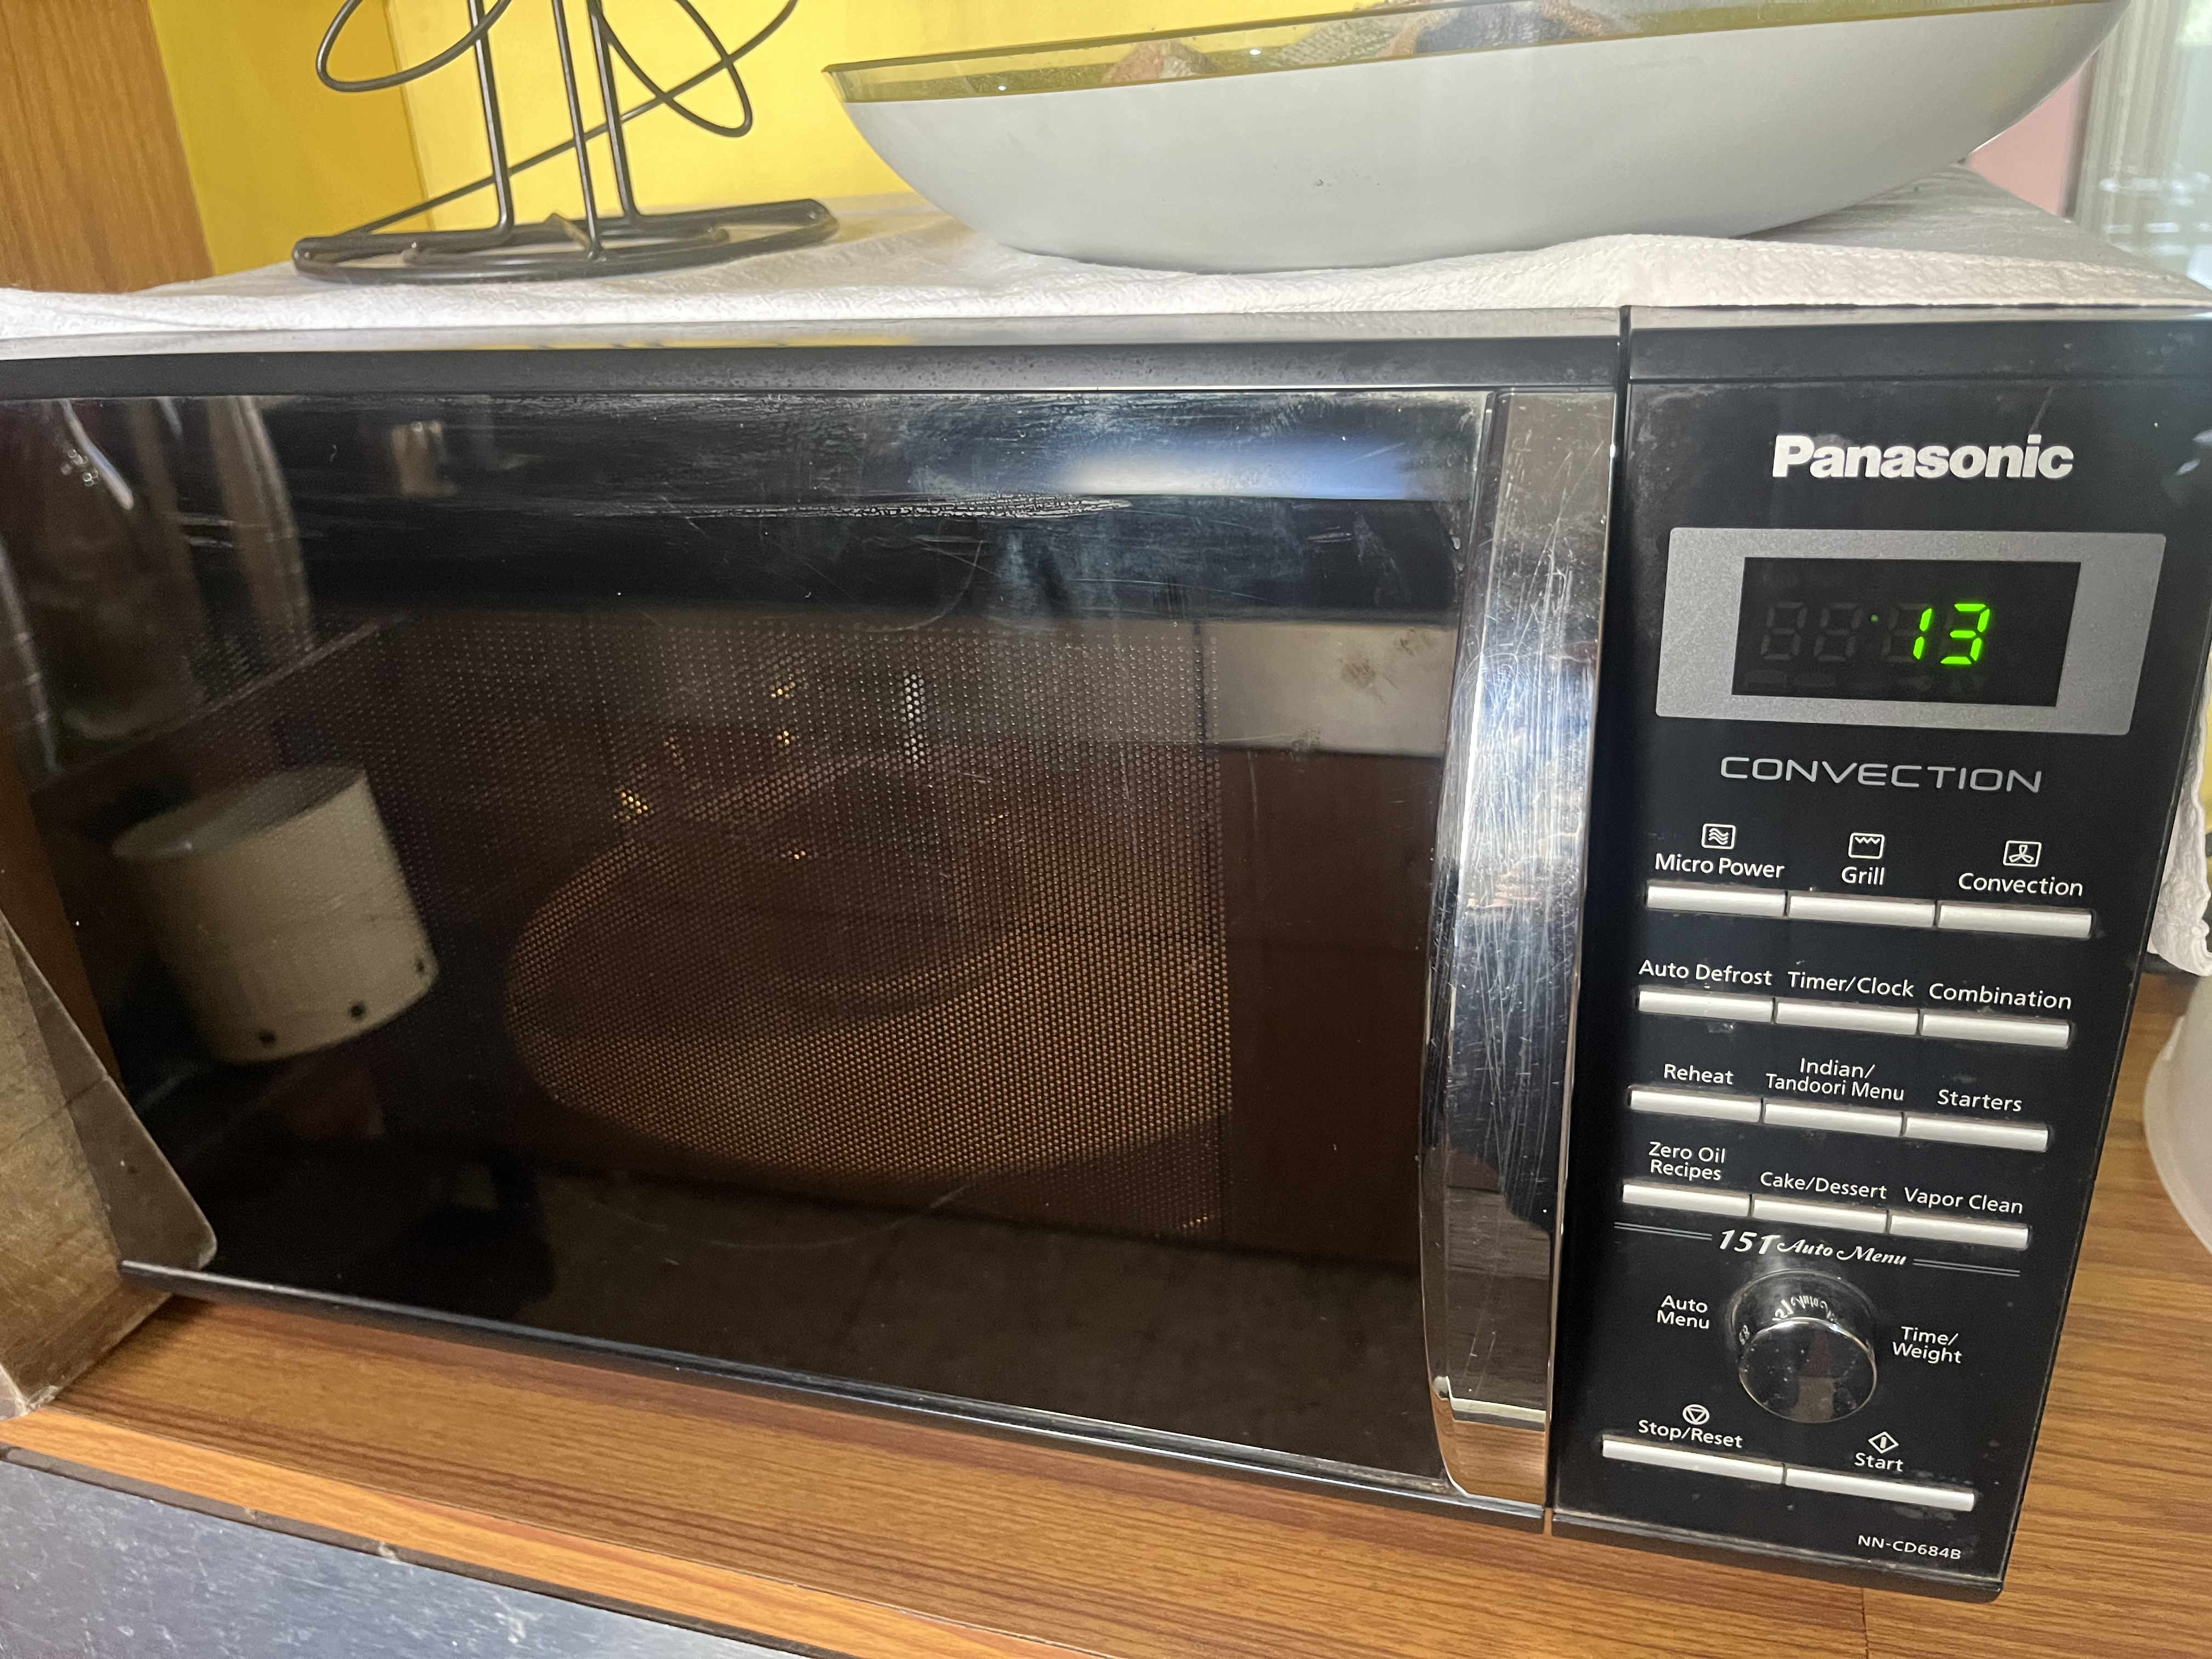 melting chocolate
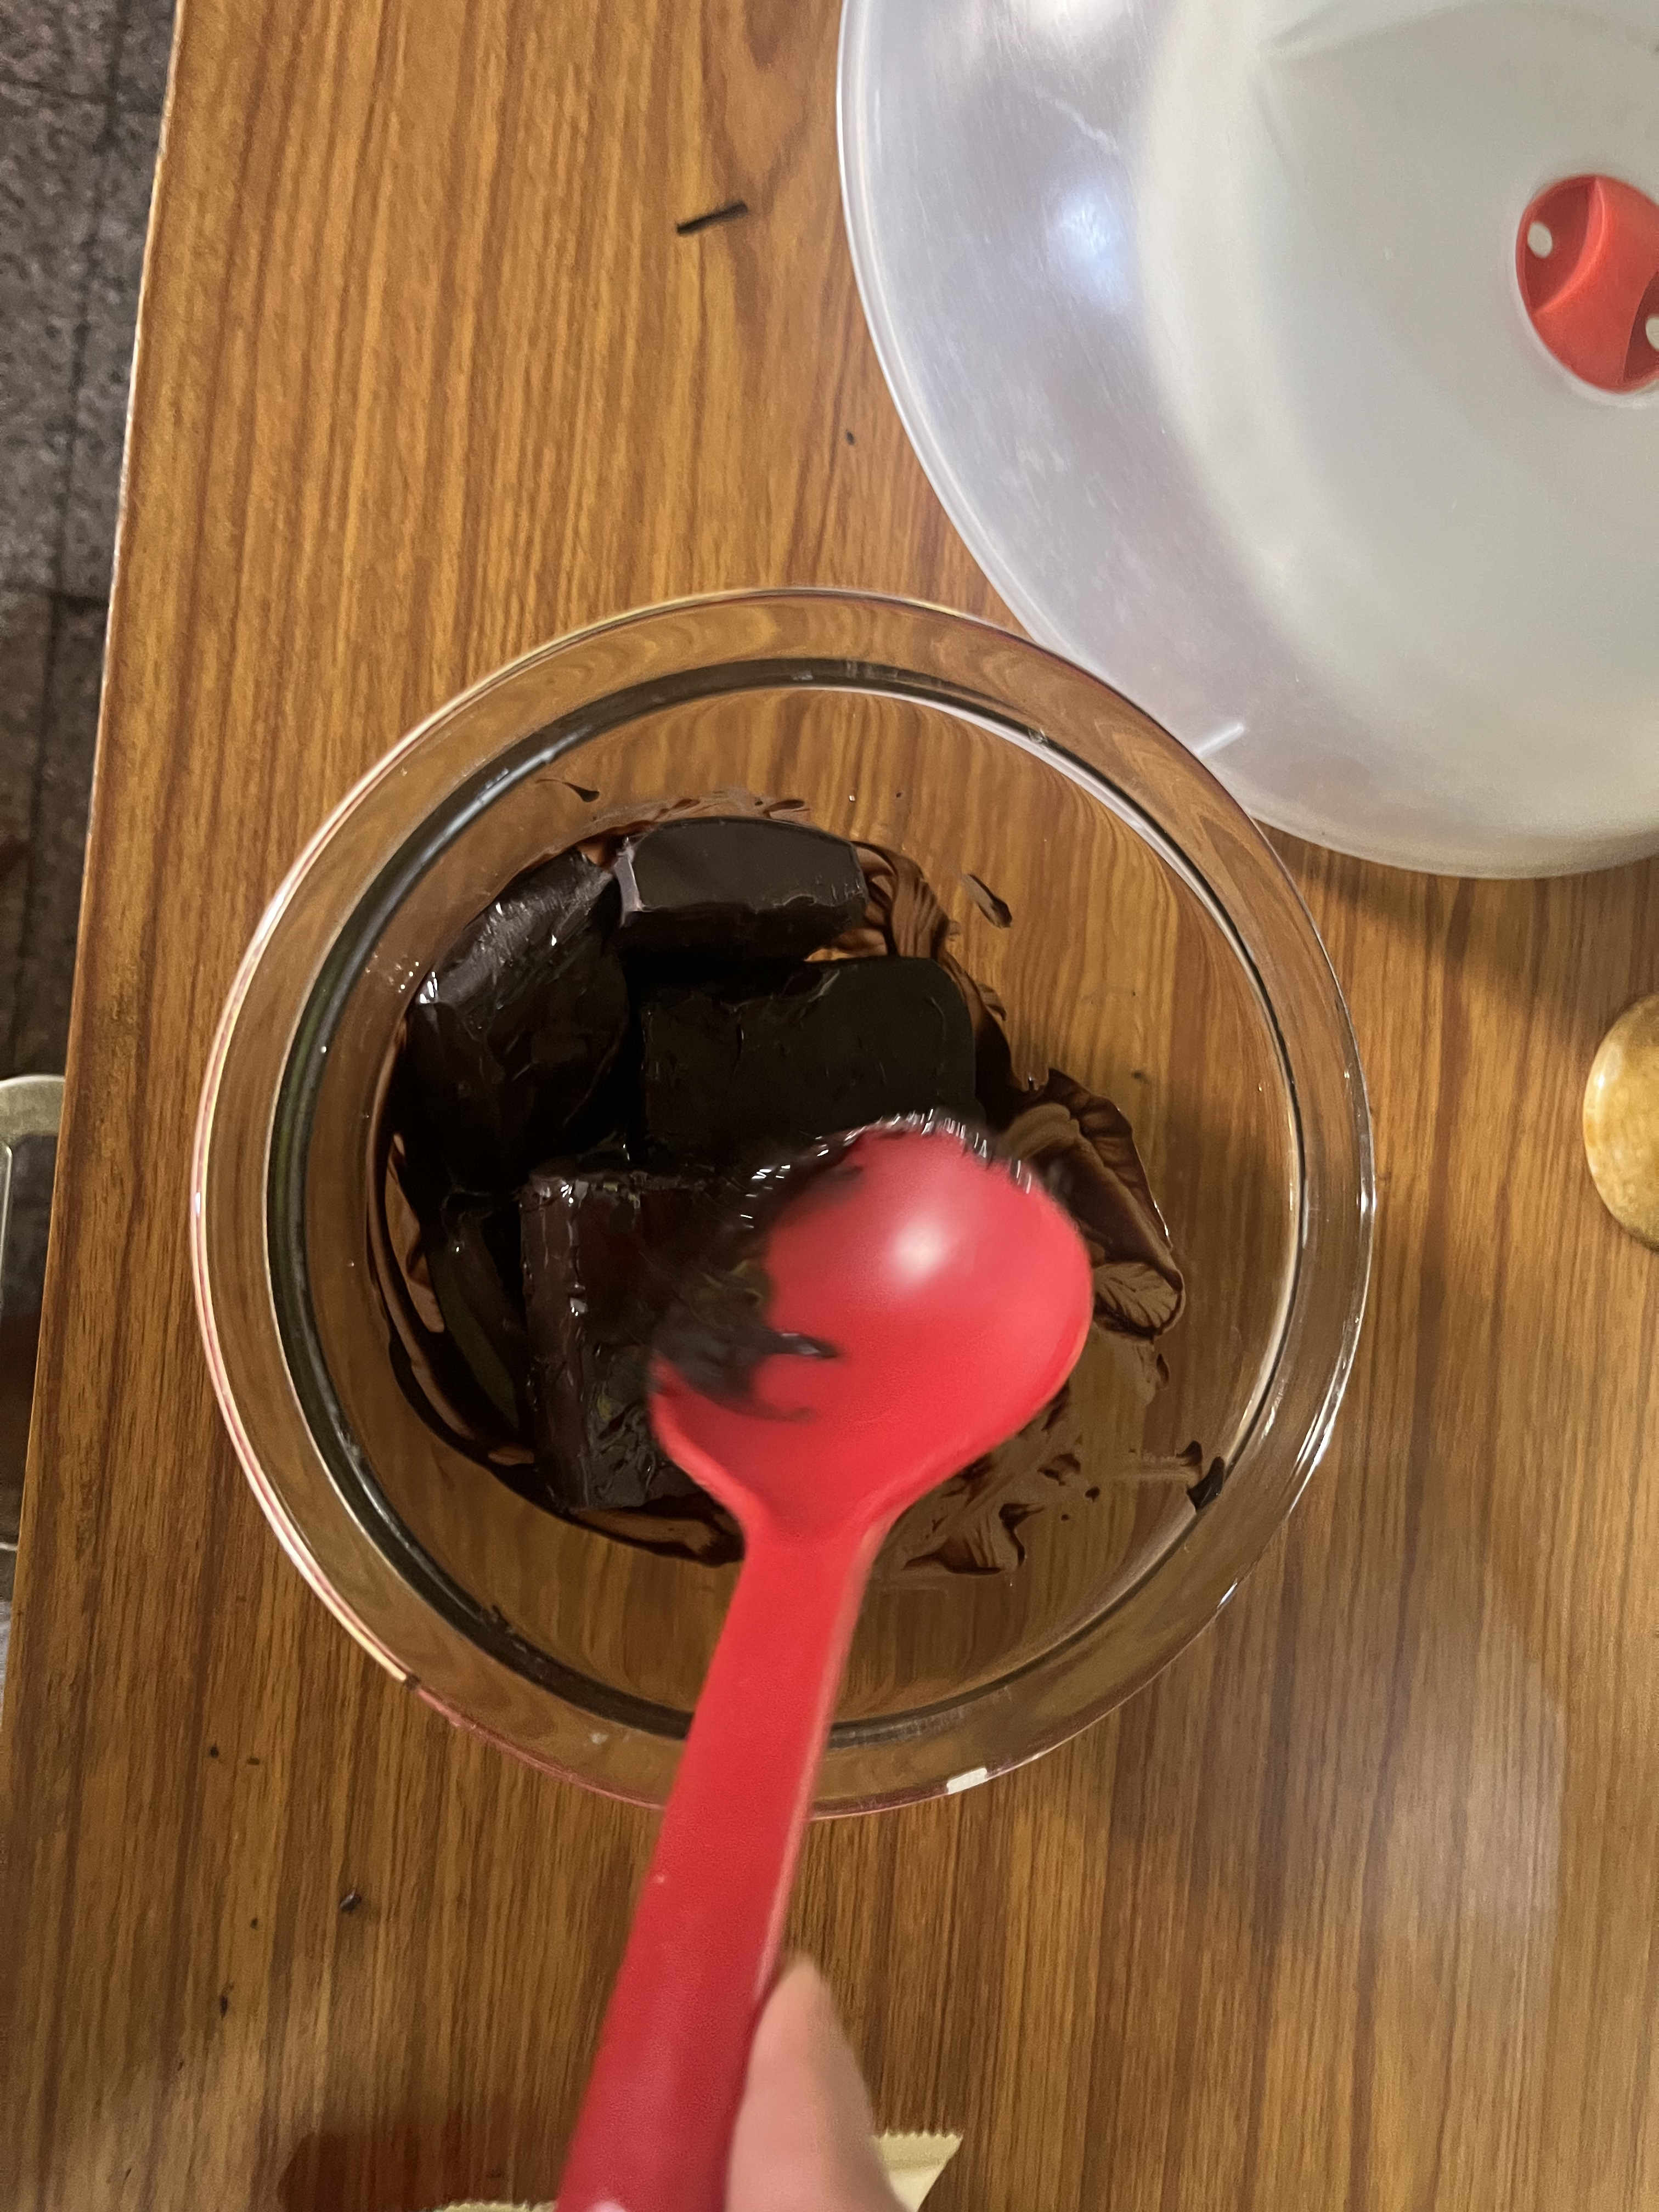 Remember never melt all choclate together, melt in steps
20 seconds at a time
Mix after every step
Less is more
Remember never melt all choclate together, melt in steps
20 seconds at a time
Mix after every step
Less is more
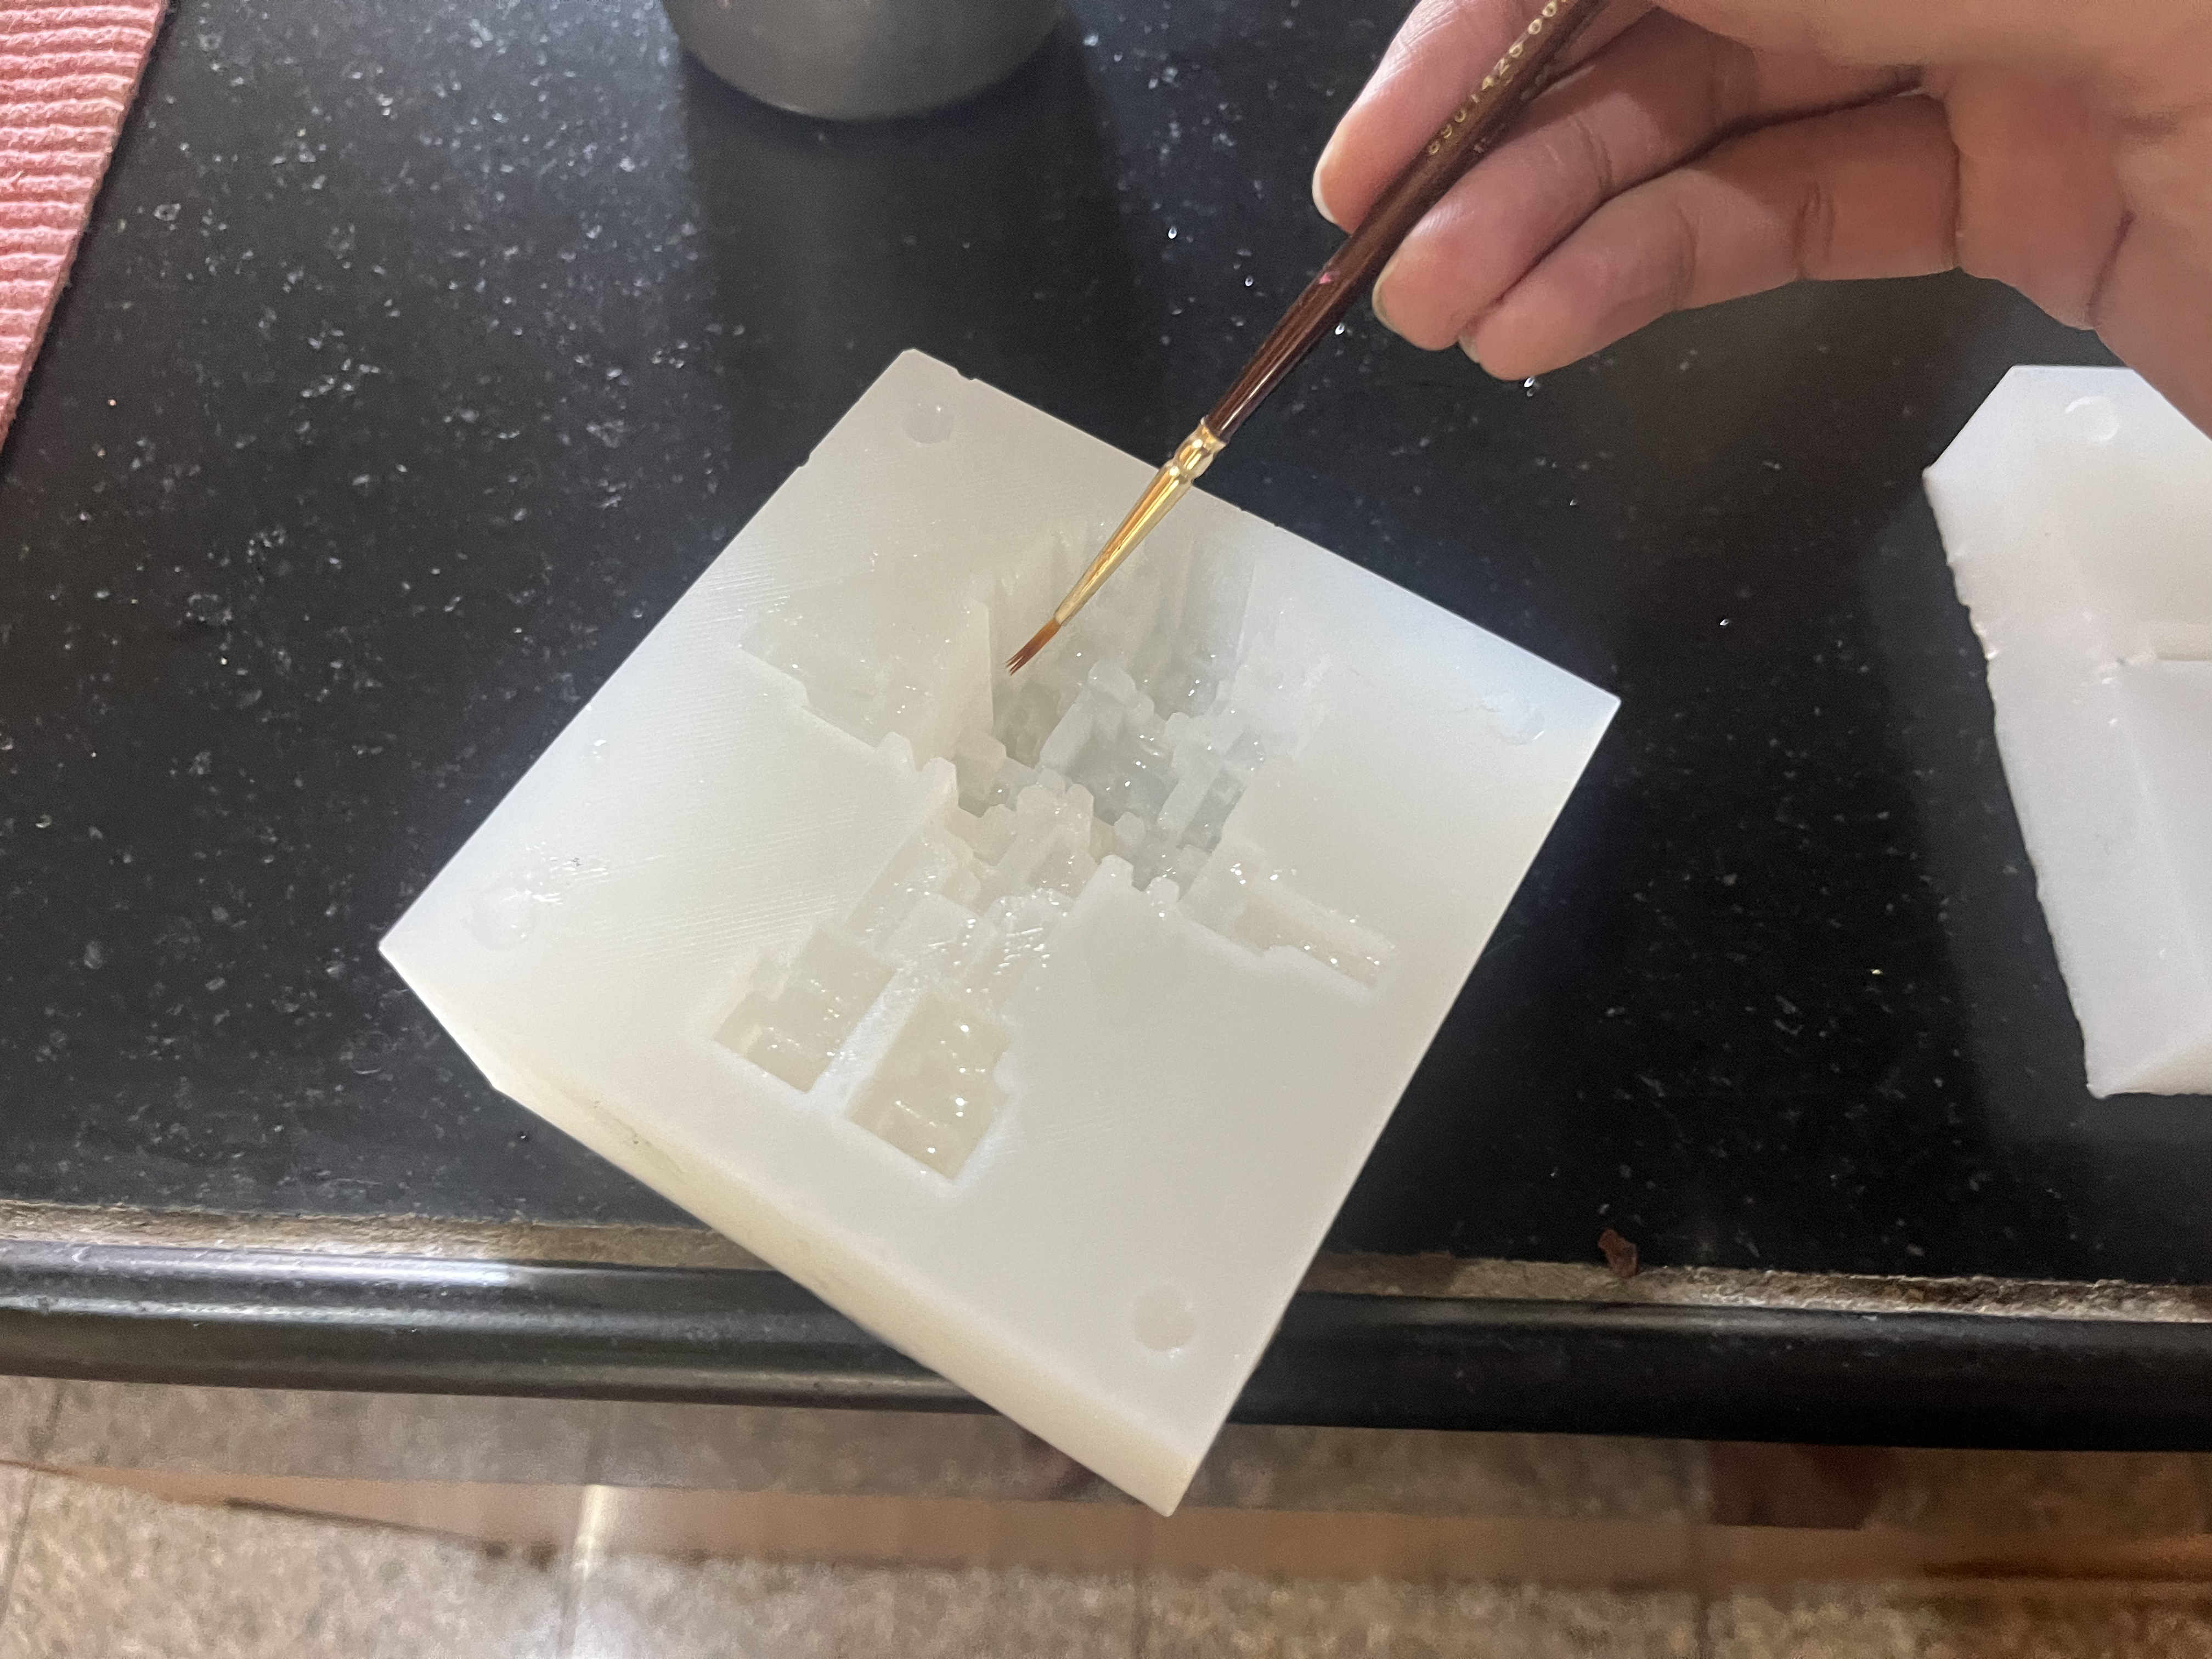 painting oil on surfaces to aid easy Demolding of shaped cholate
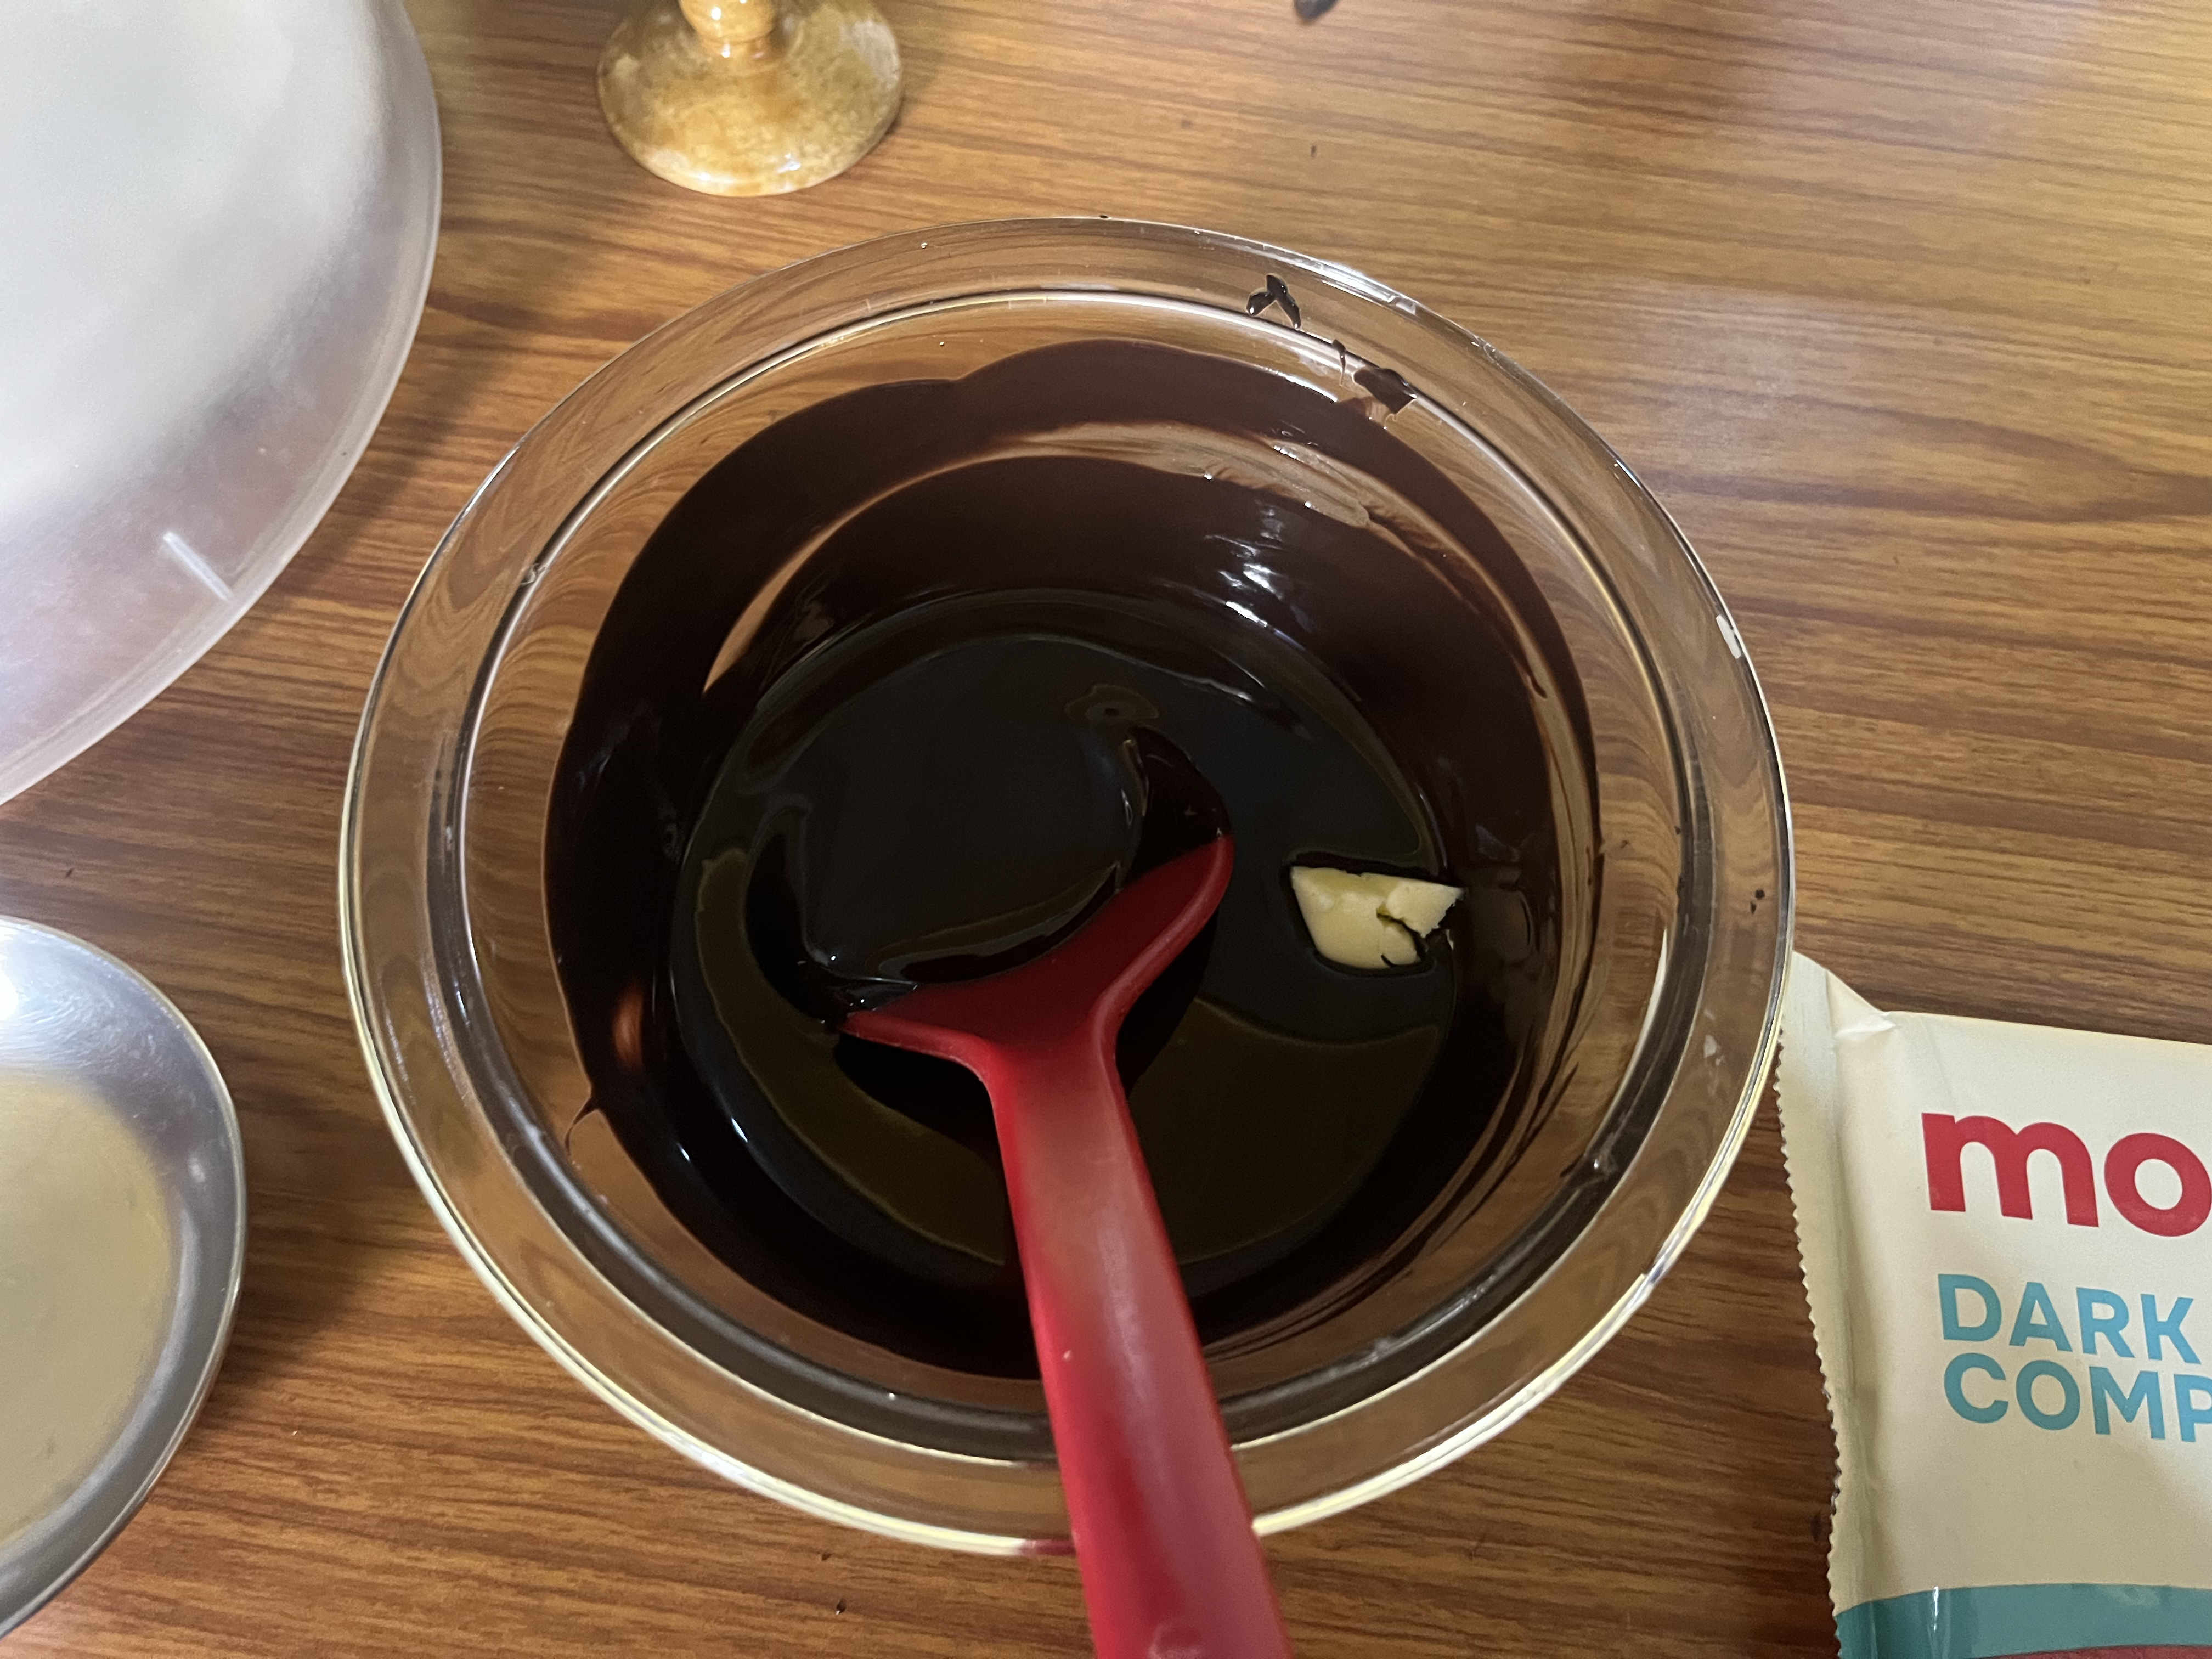 Put a bit of melted butter to set the chocolate better
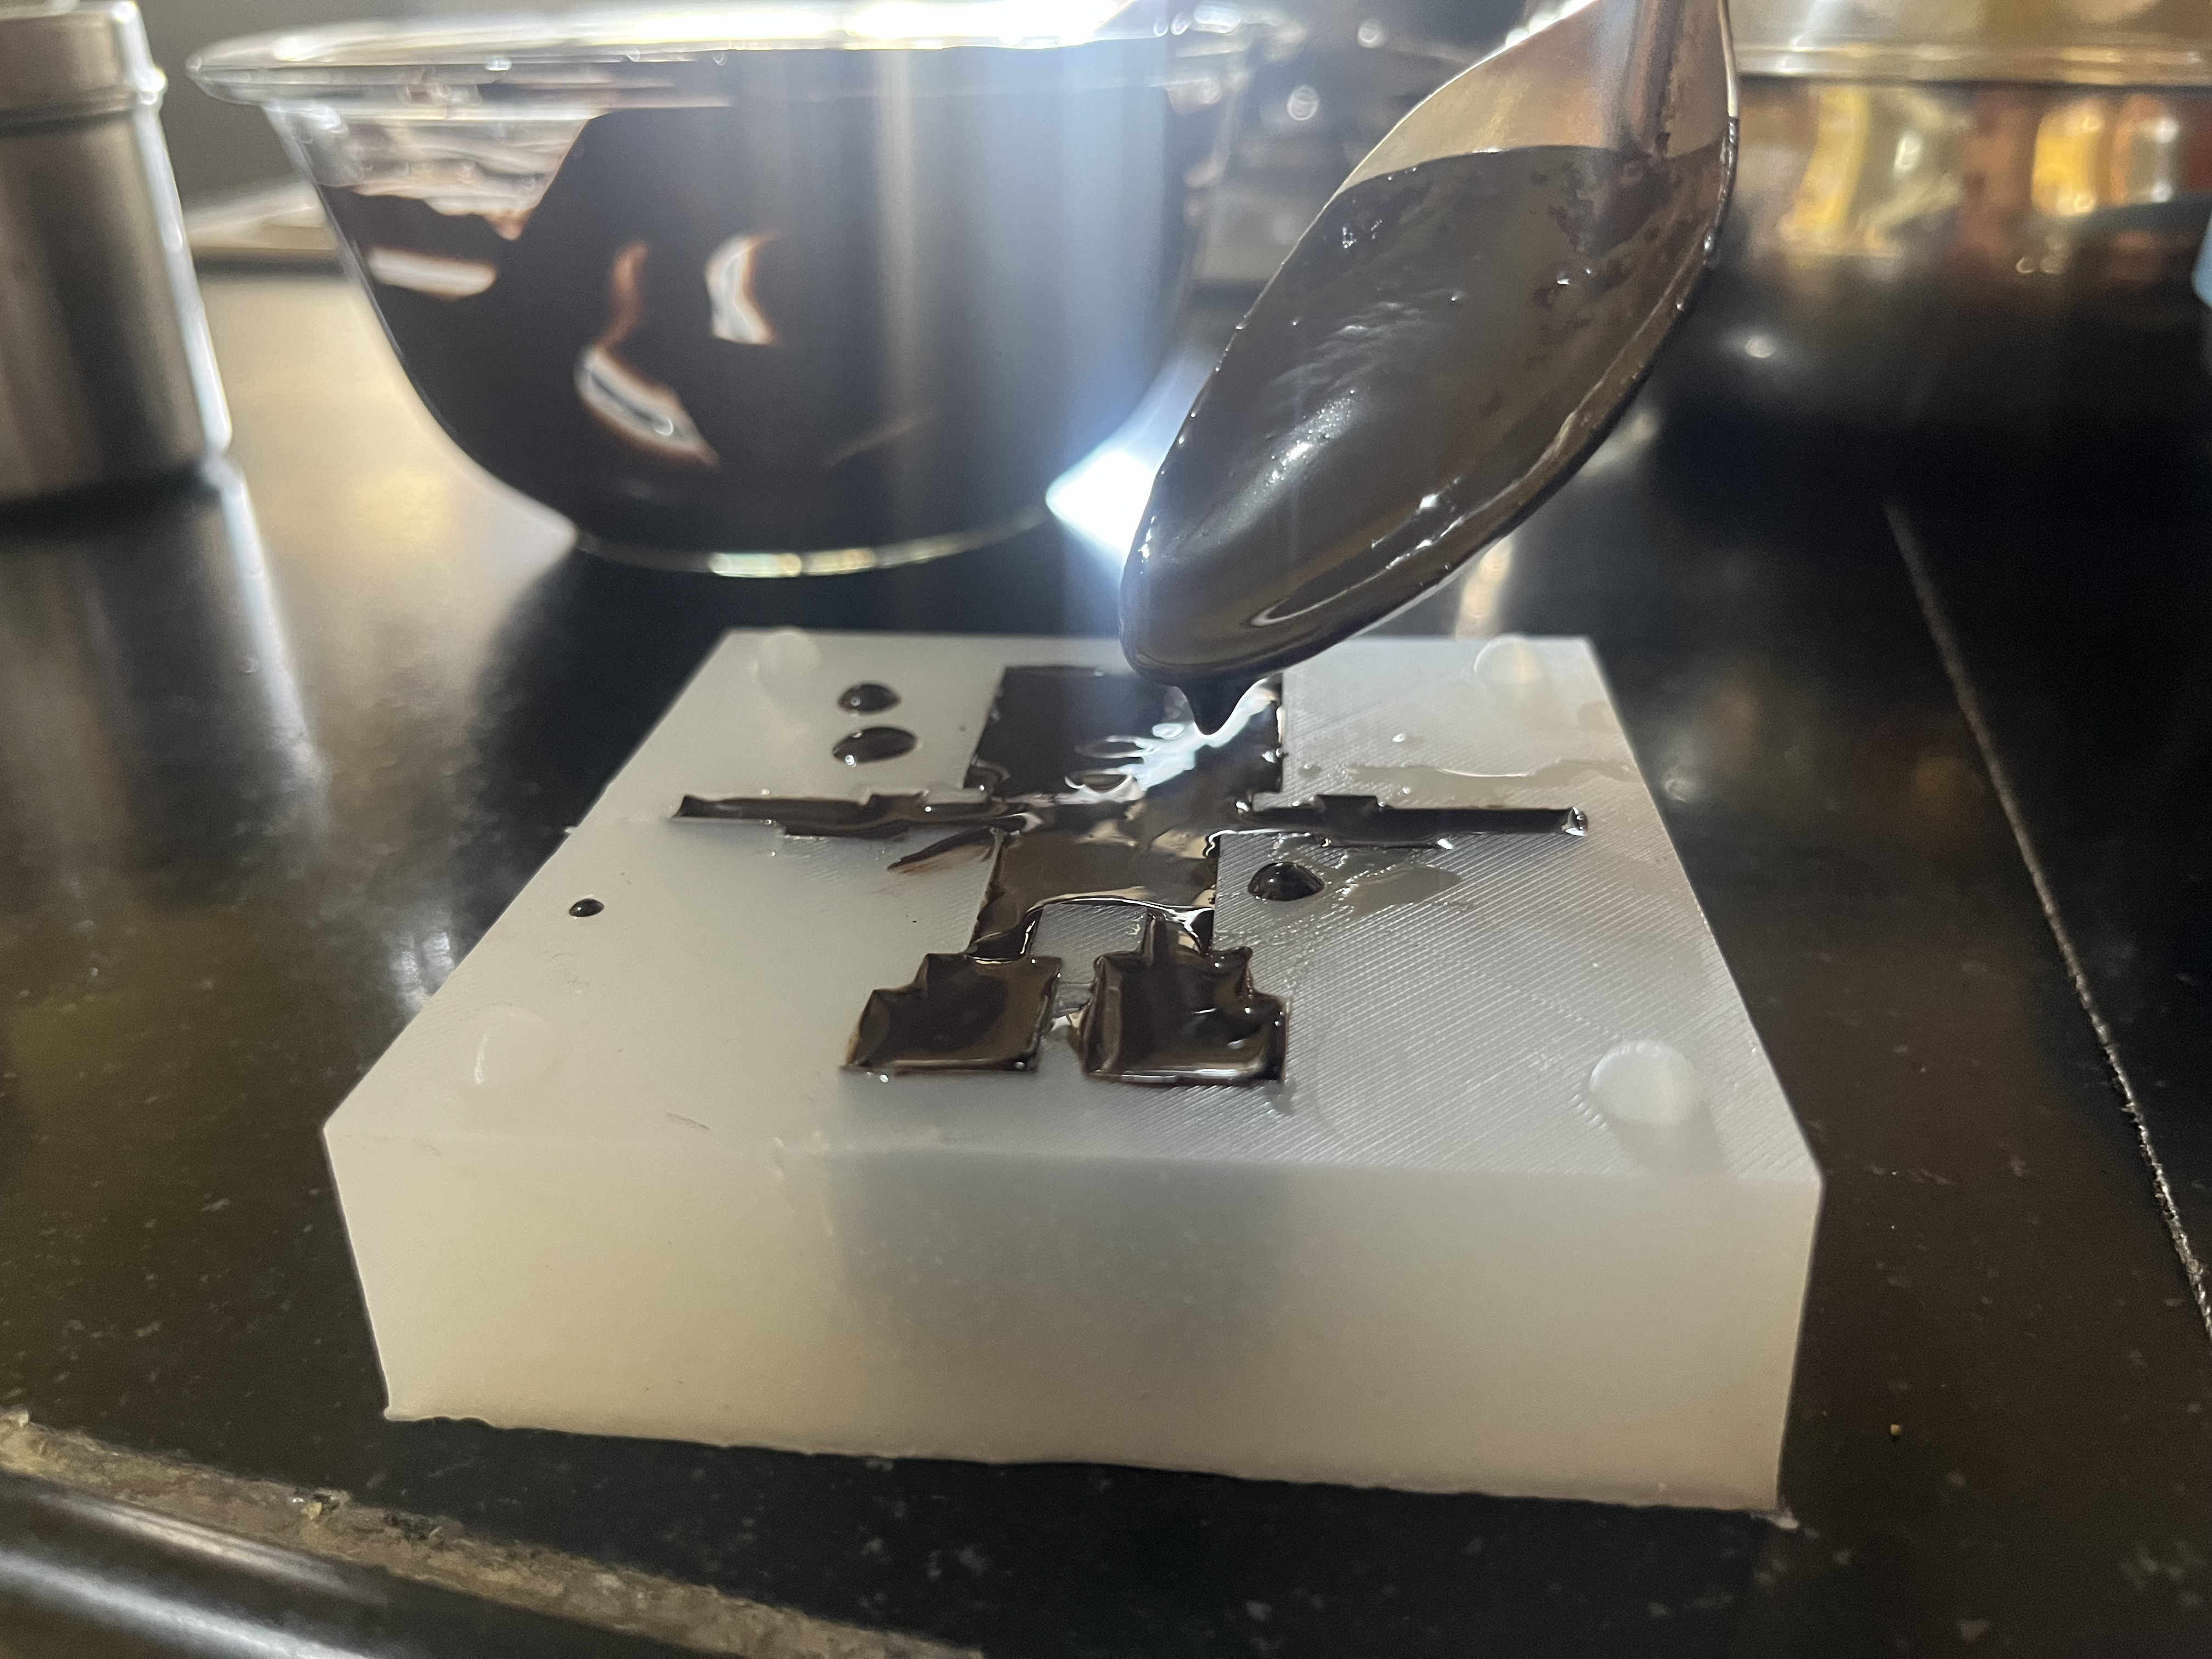 pouring melted choclate carefully
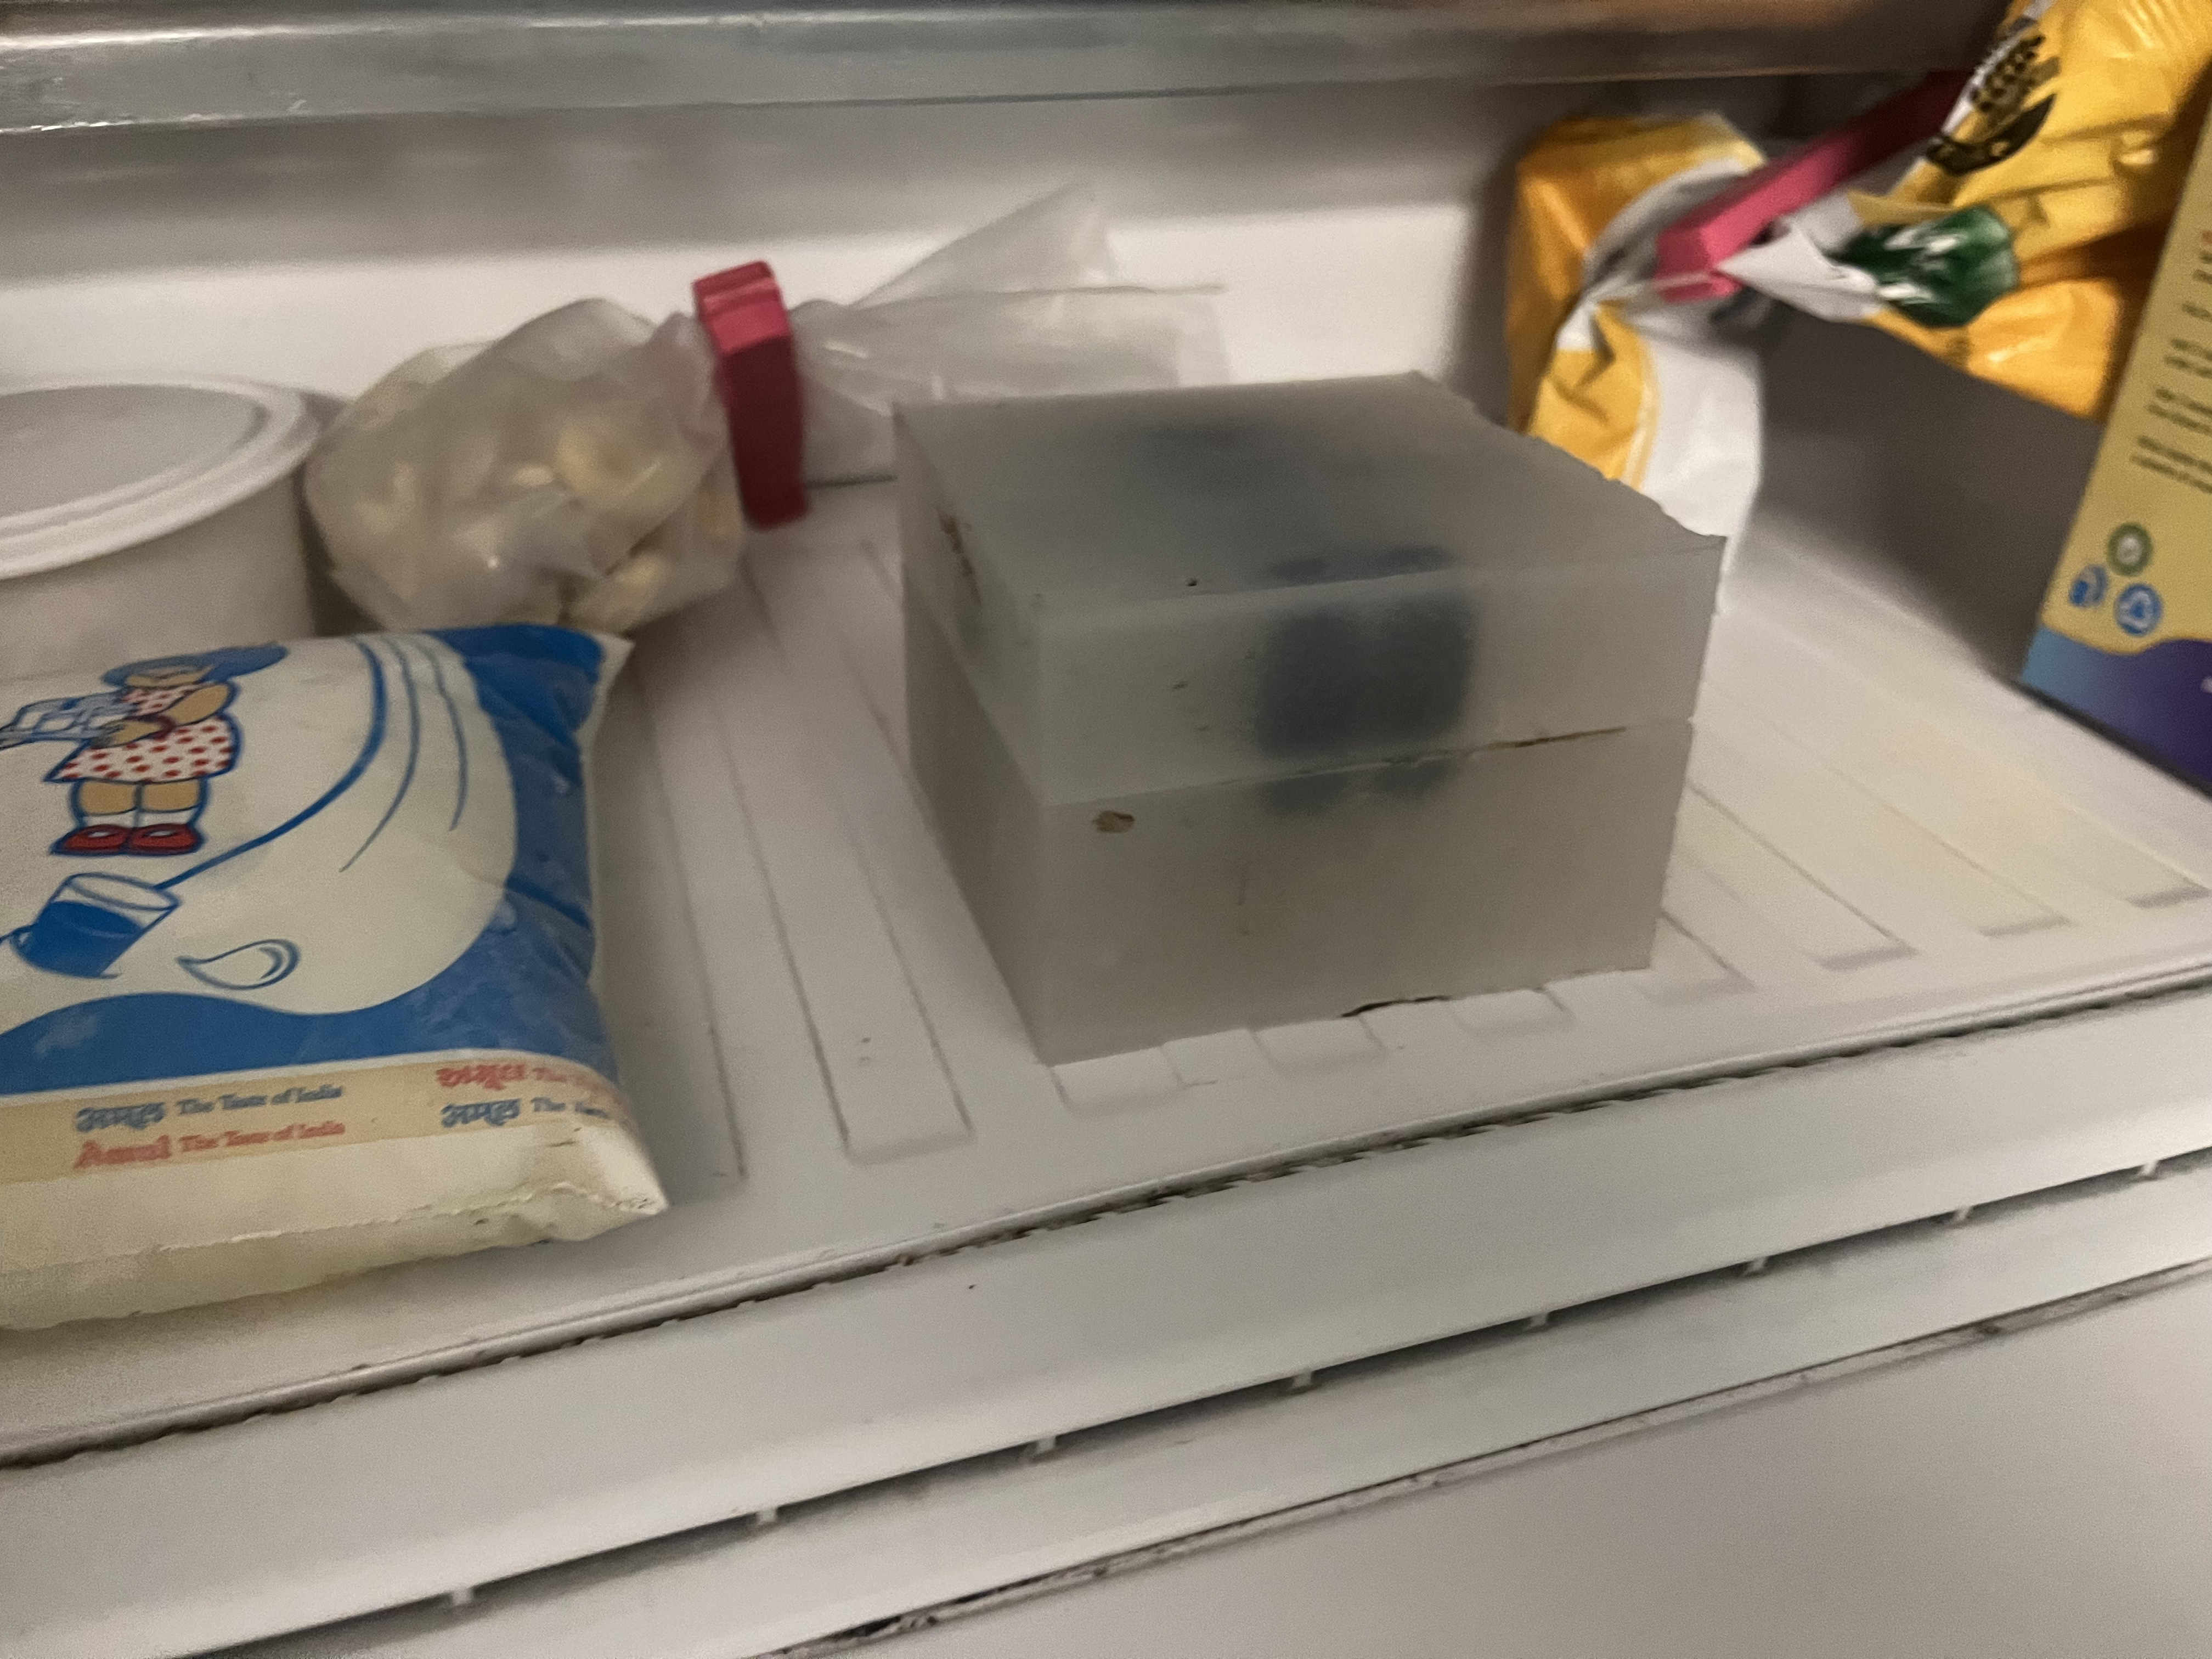 stacked the choclate mold as disscussed earlier
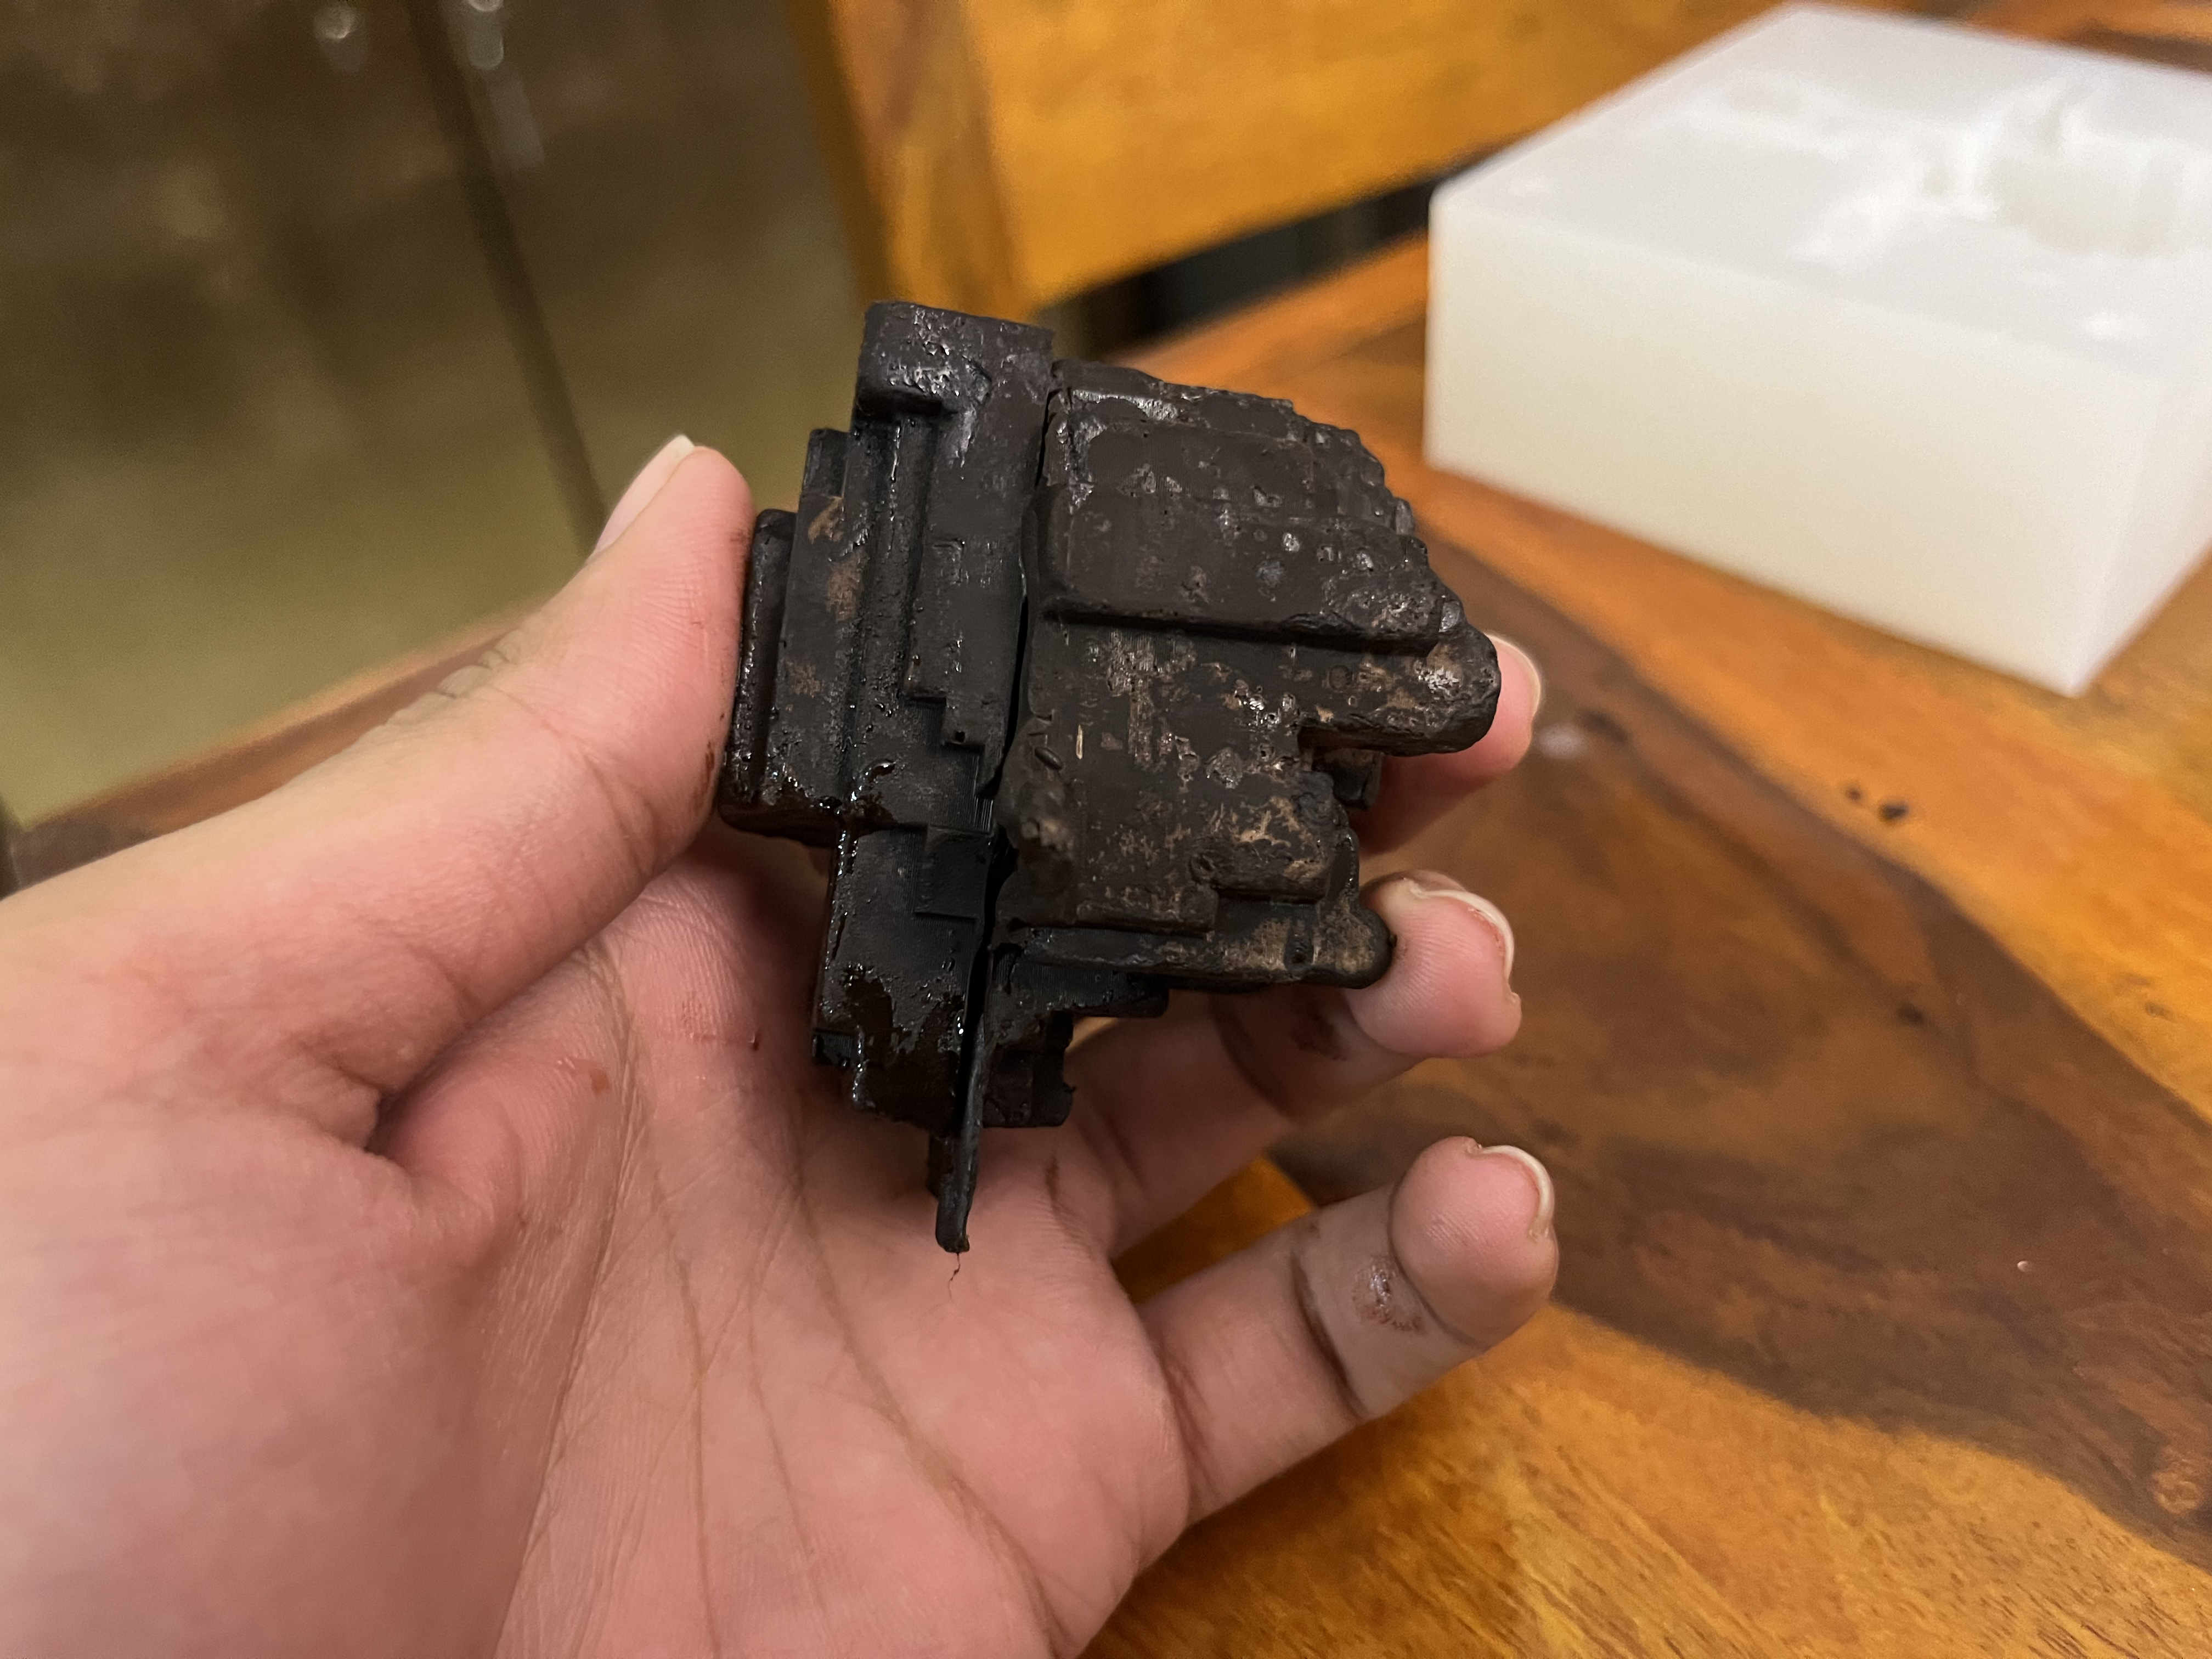
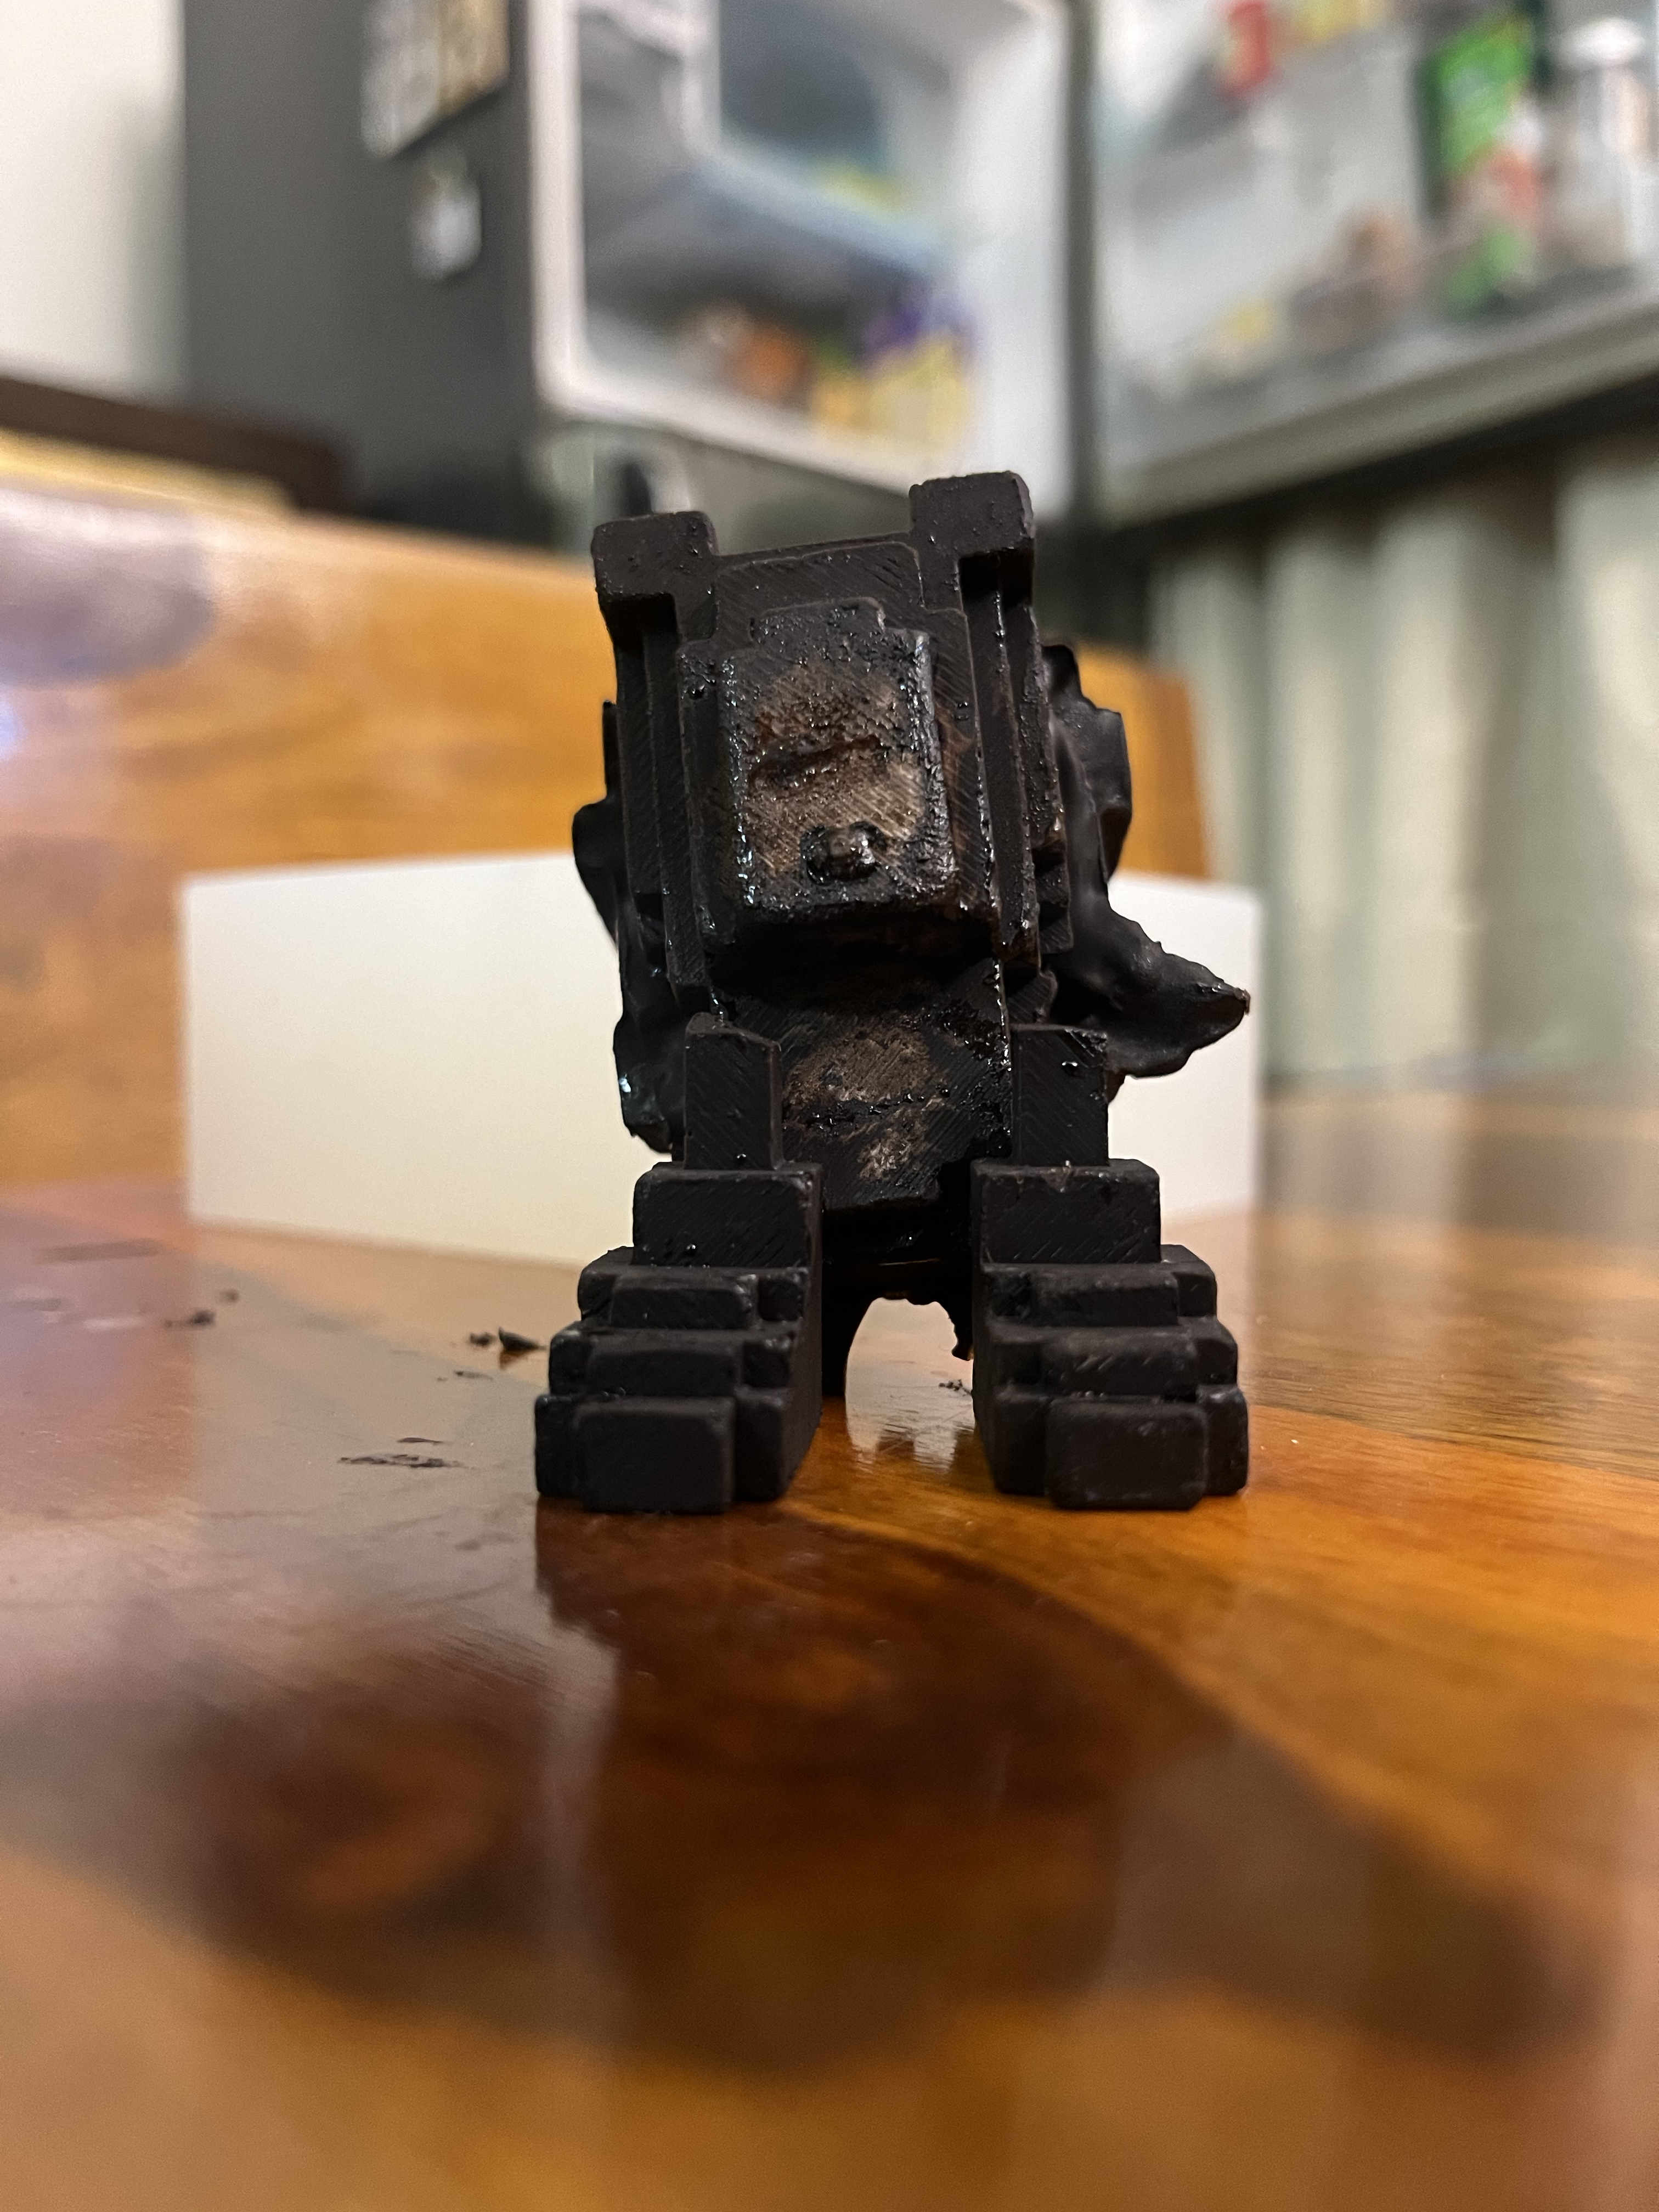
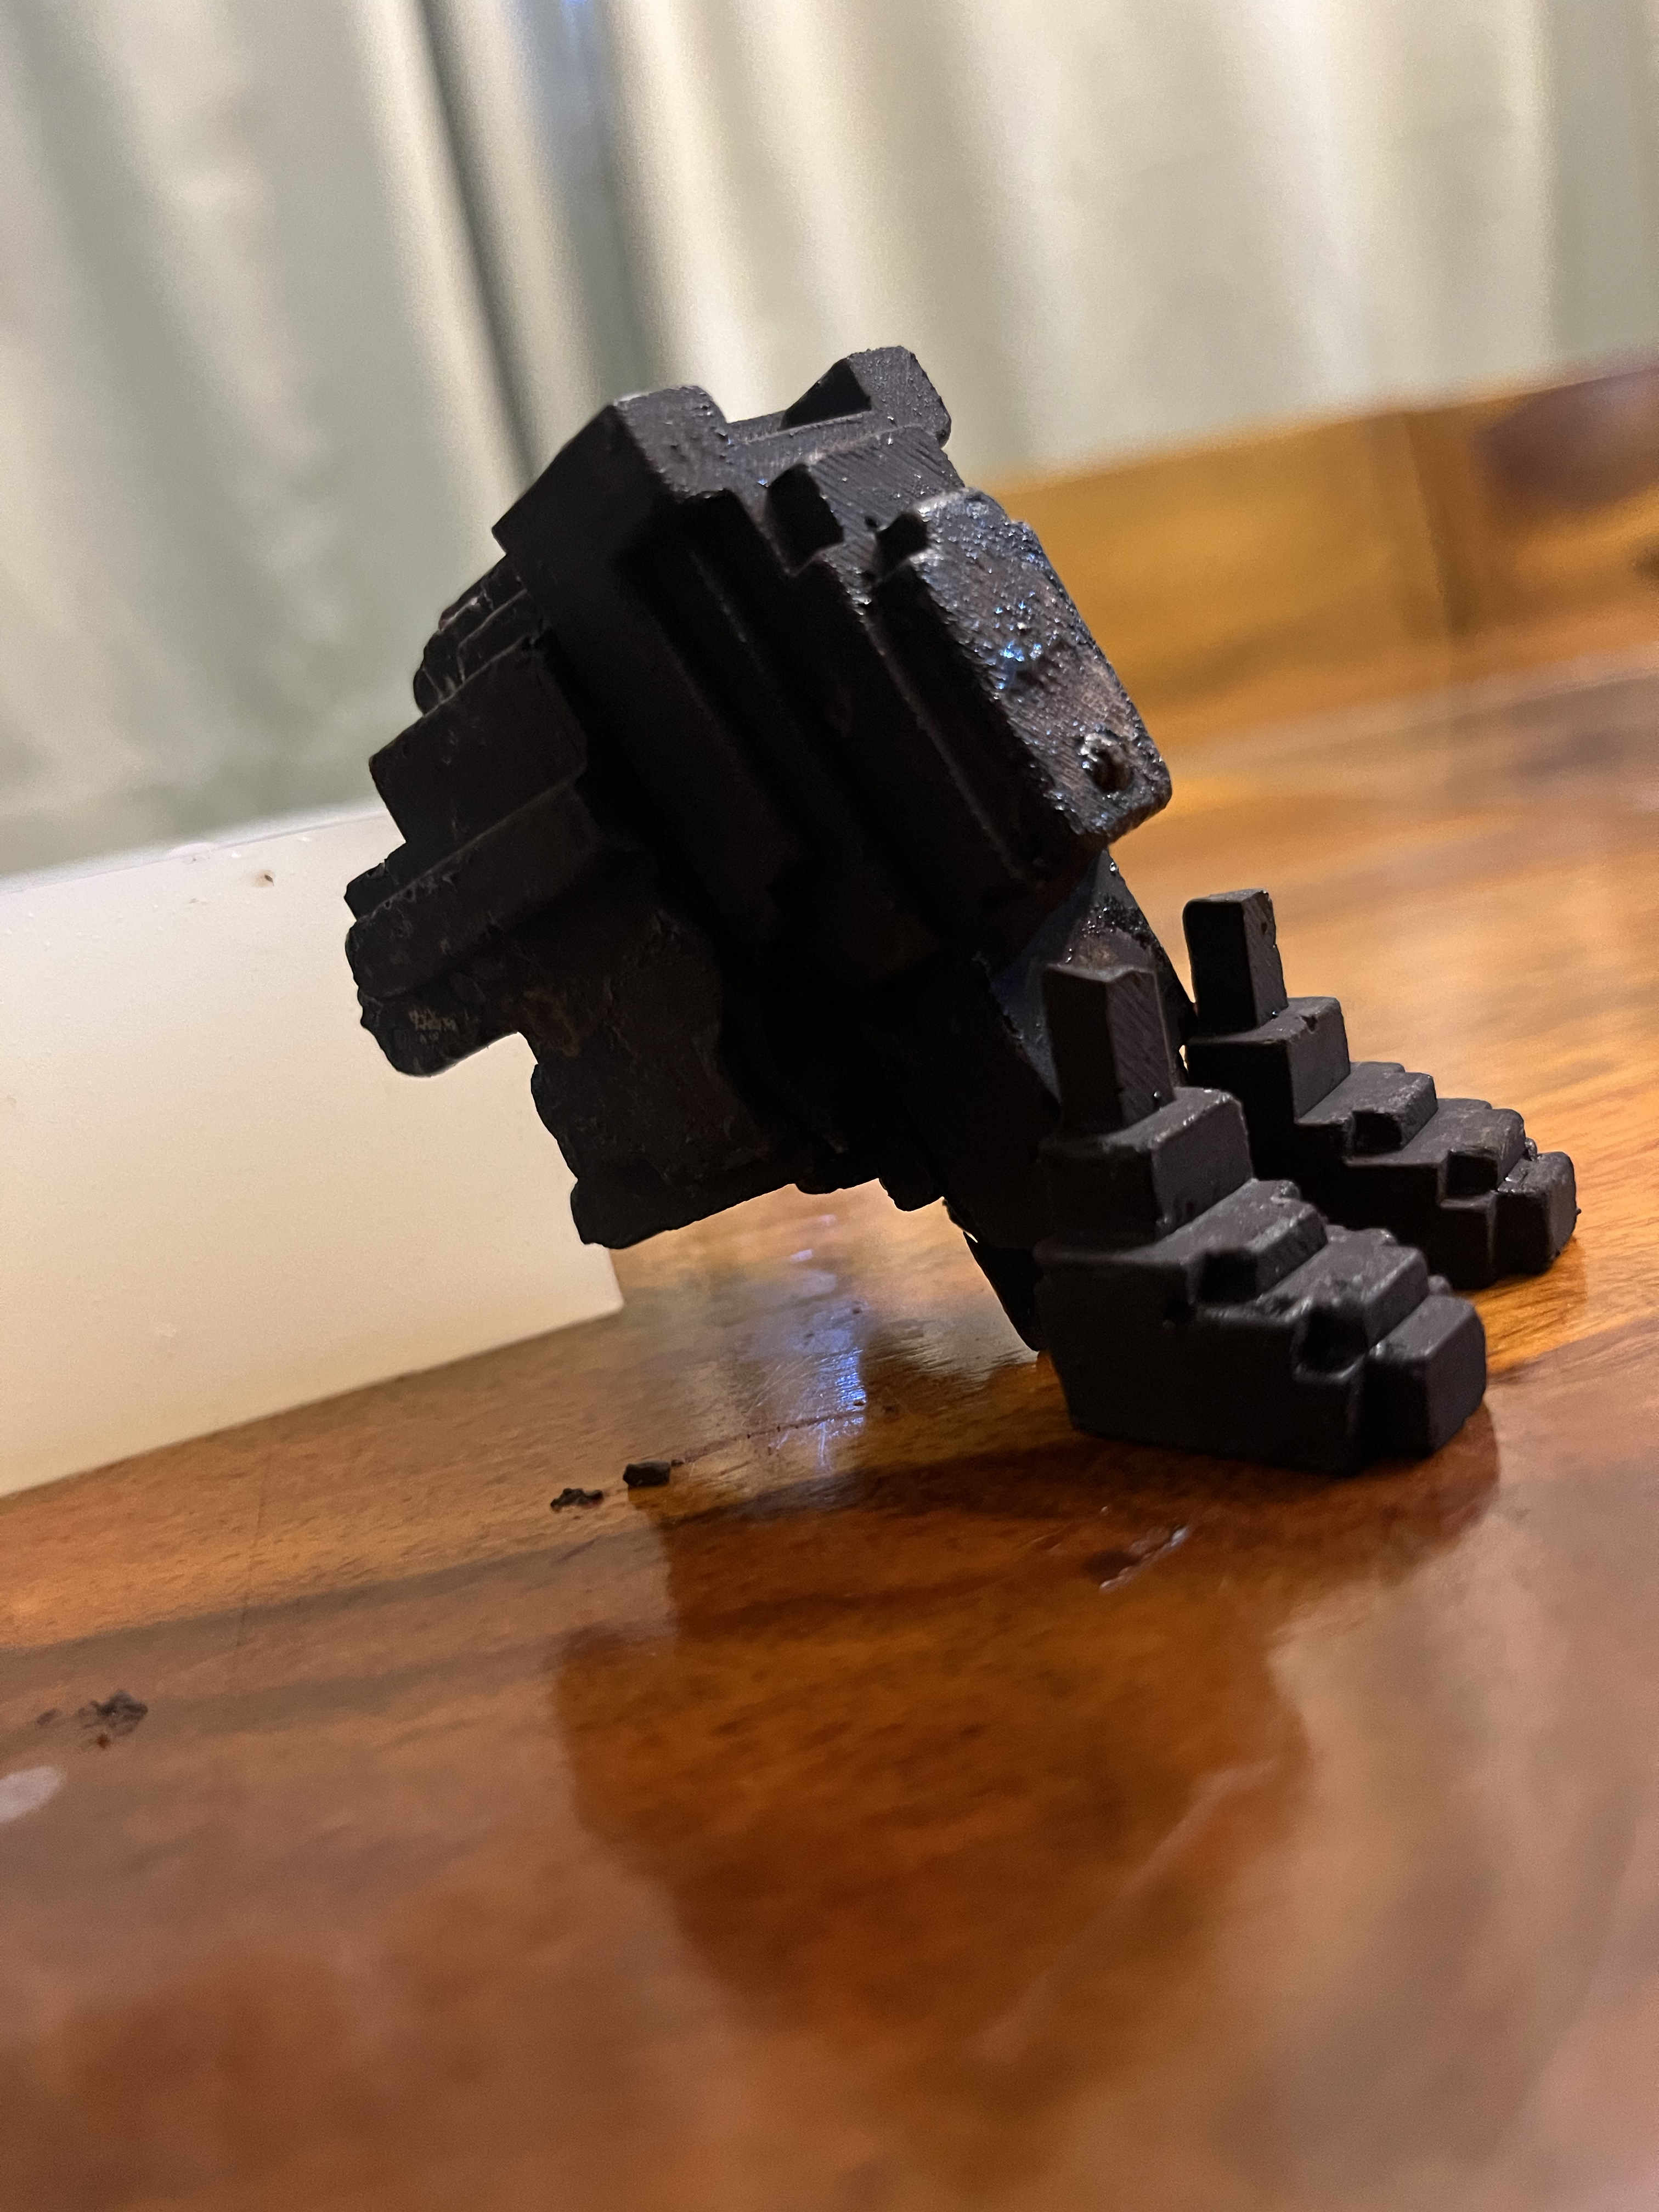
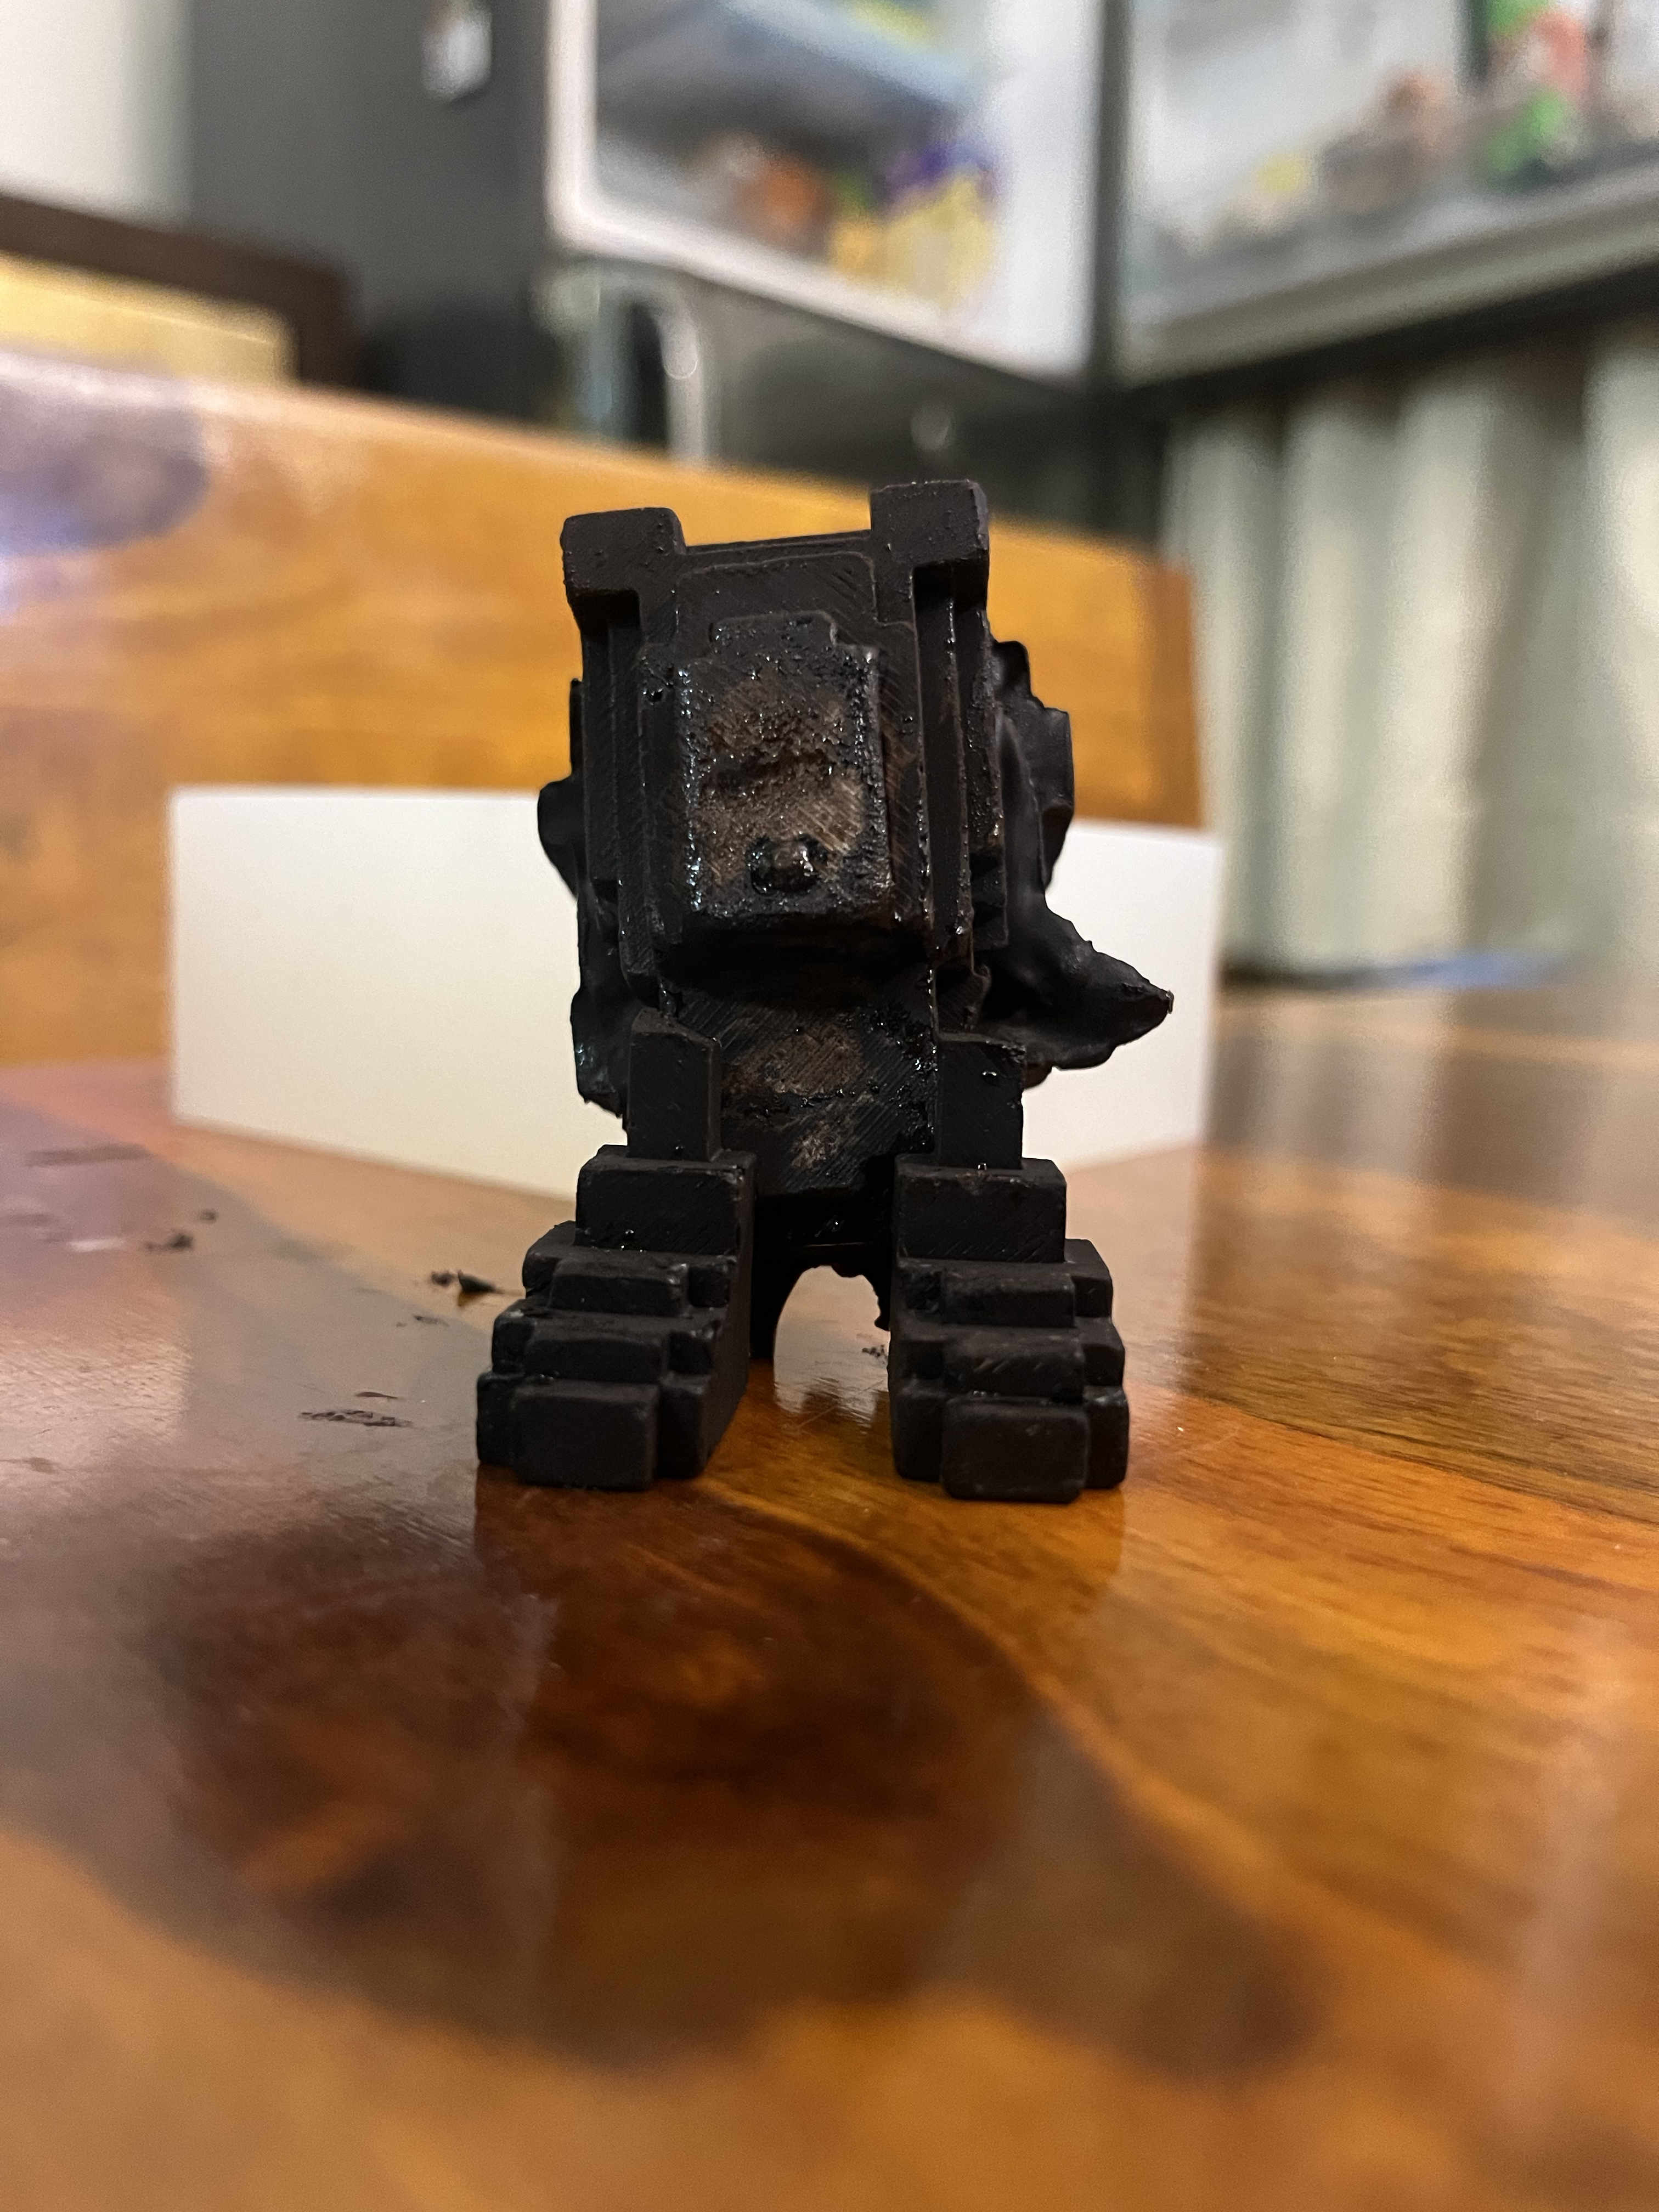
FINAL CHOCOLATE RESULT

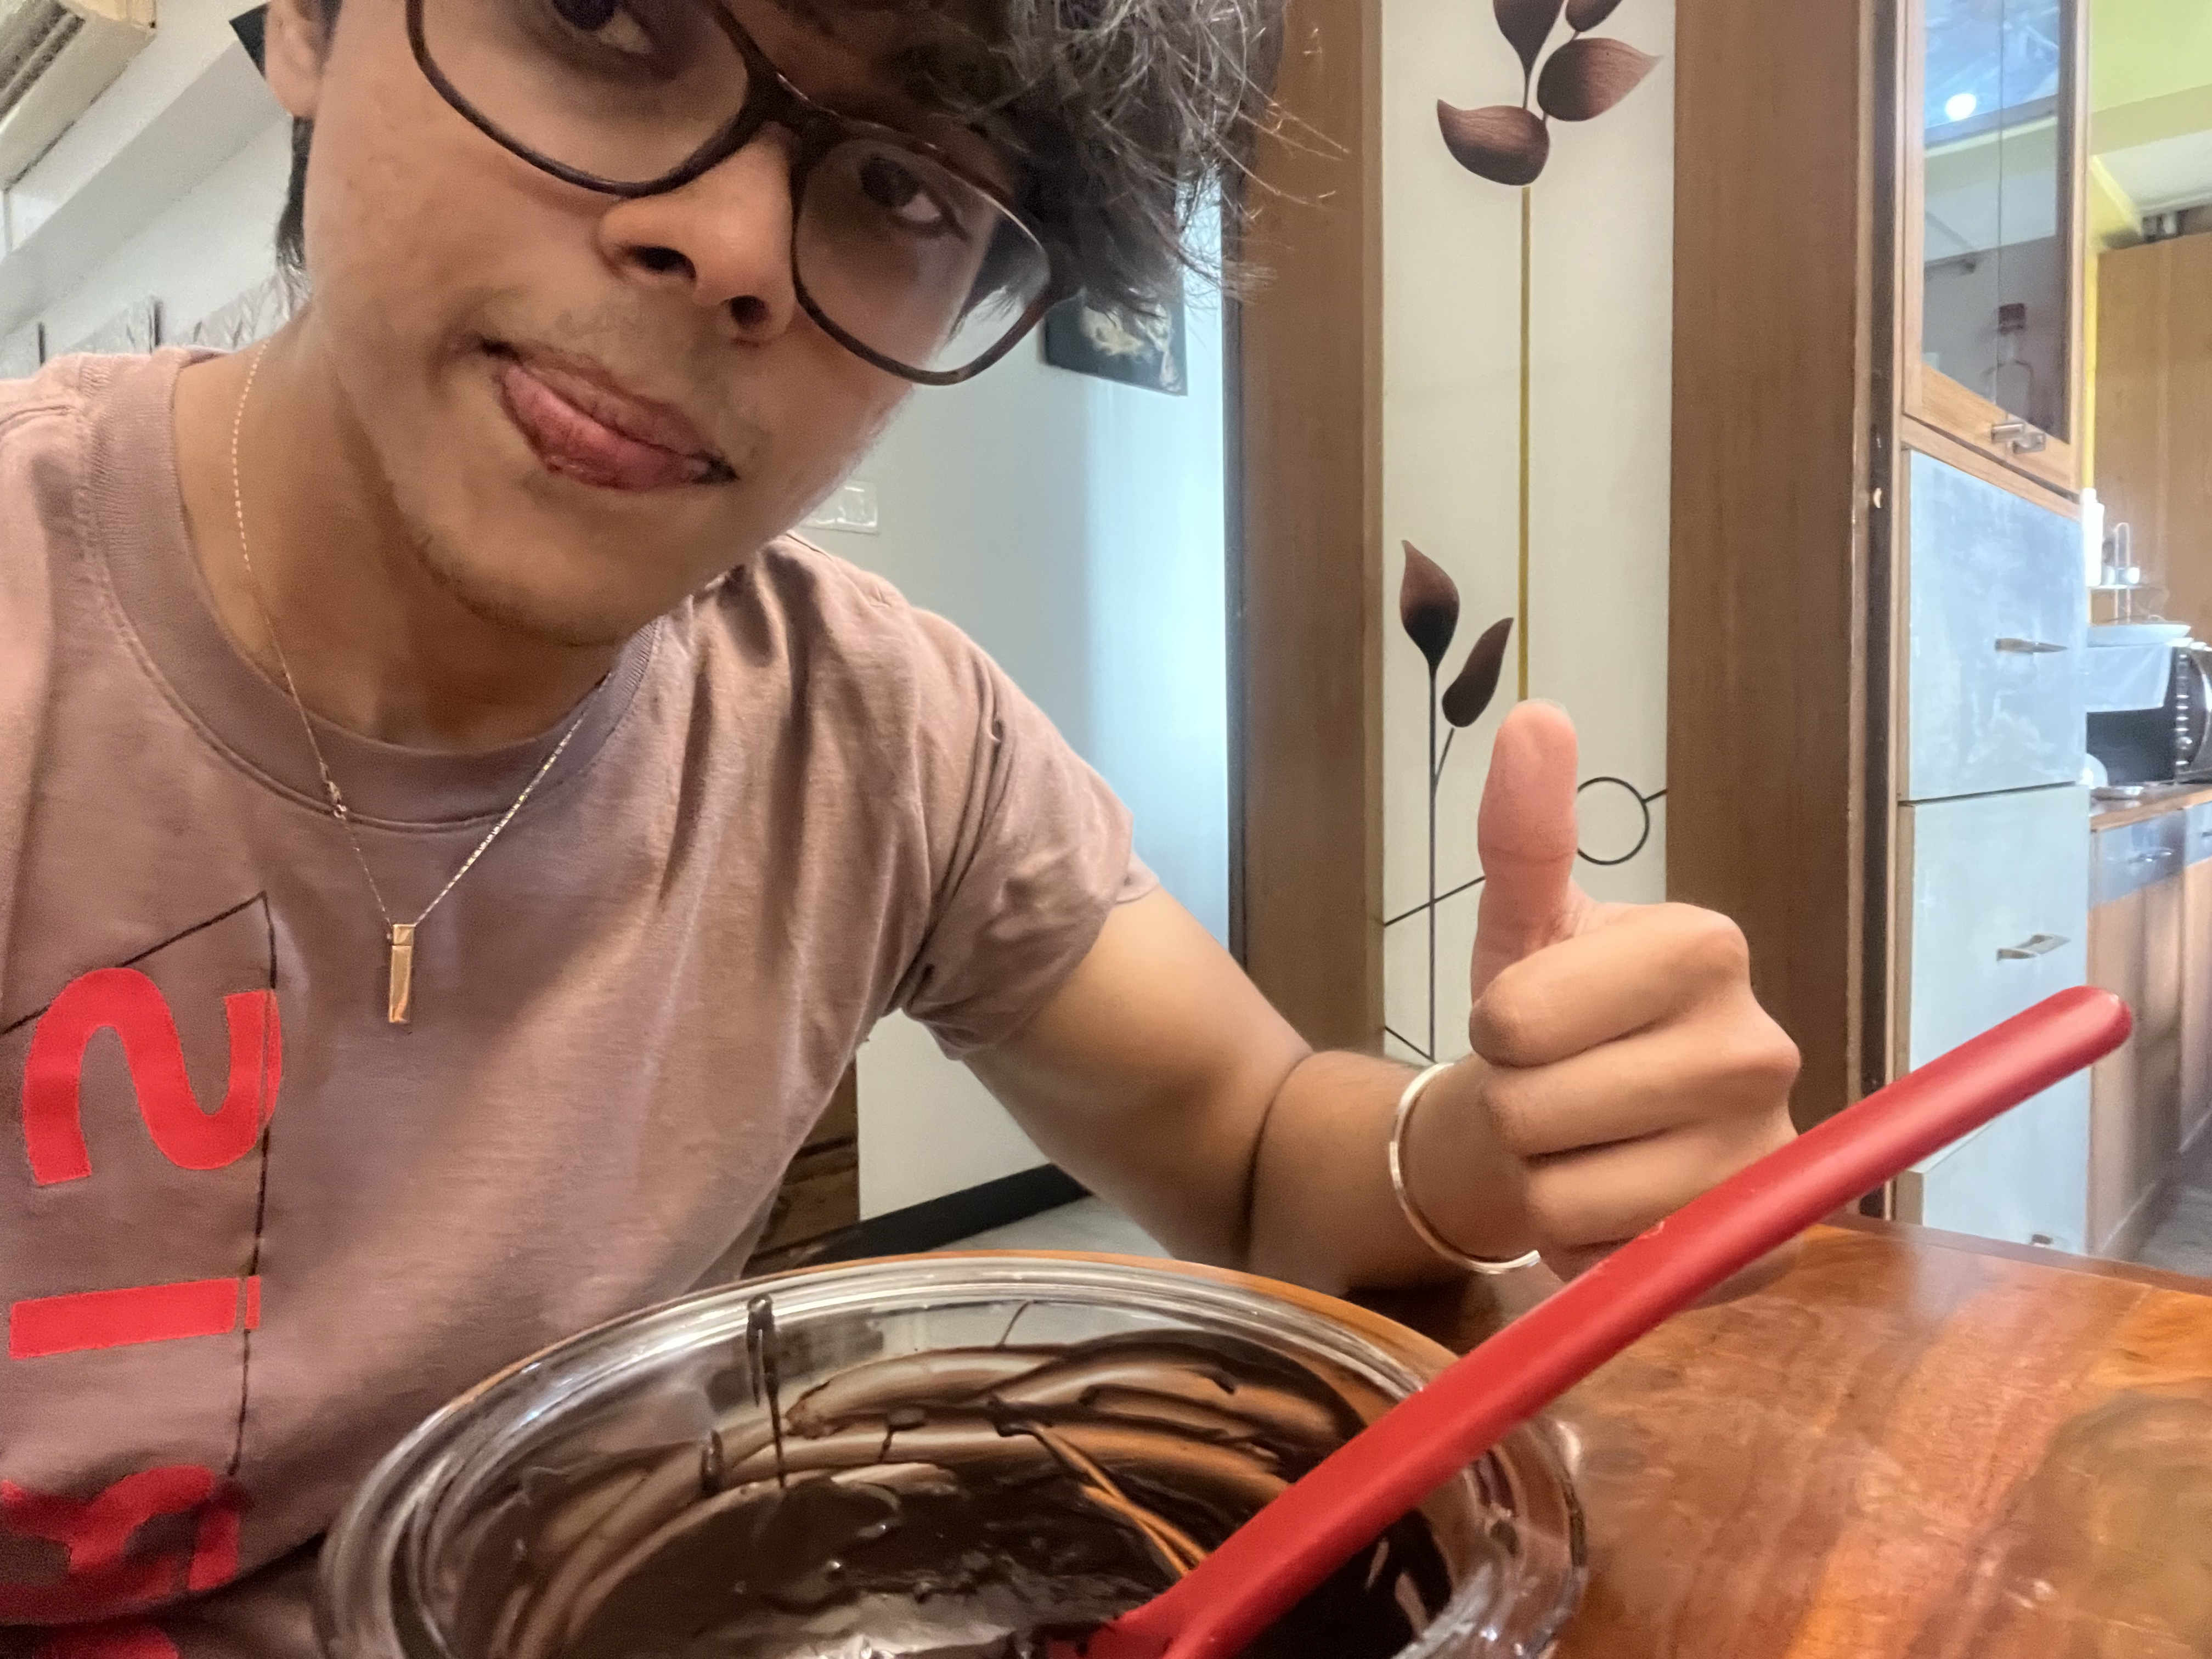 Enjoying leftover choclate
3D printed Mother mold file
Custom mother mold fusion file
Download File
Wax mold Mother mold file
Custom mother mold fusion file
Download File