.System Integration.
What is it?
HOLOGRAPHIC FAN
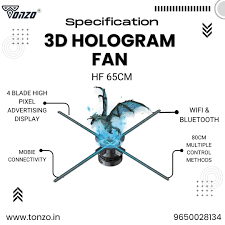
HoloFan is a holographic fan display built around a high-speed spinning blade fitted with a NeoPixel LED strip controlled by a XIAO ESP32-S3.
The result: a self-contained holographic display that can render static images, animations, and live reflections — all from a spinning strip of LEDs.
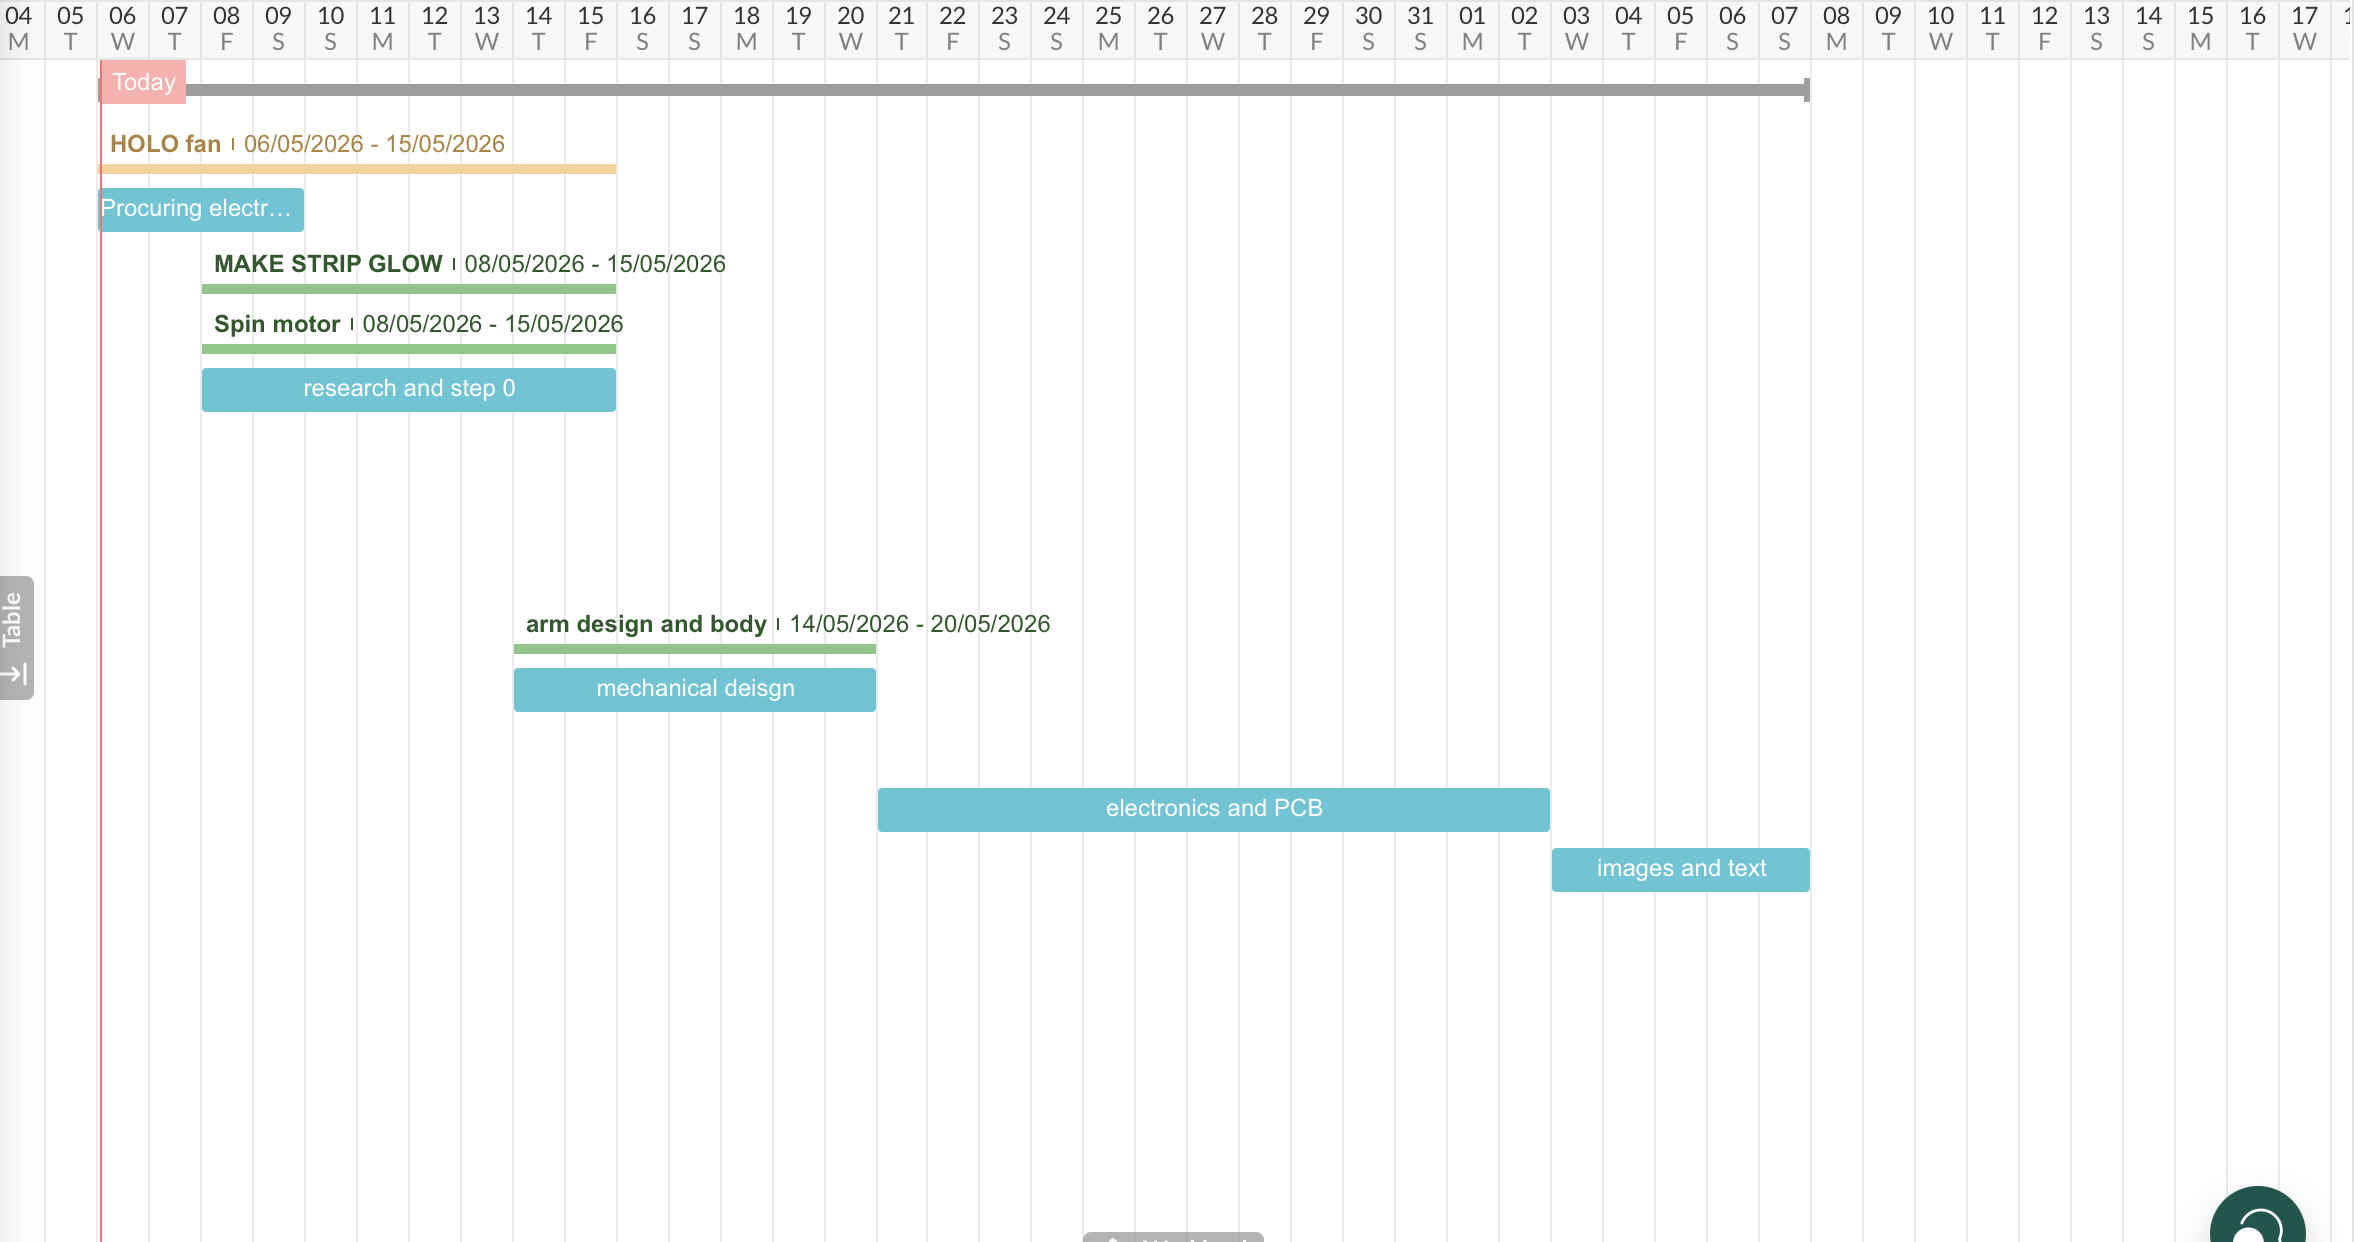
Plan for the project
Parts list

Task at hand
The biggest challanege with system integration in my project was that there were 2 distinct systems that lie in my project
This meant carefully deisgning a body that can house 2 sytems without looking jagged. and of course soemthing that WORKS
to betetr integrate my systems i redesigned the blade and more to be extremly detailed in sense of almost an actual injection moldable product with multiple parts.
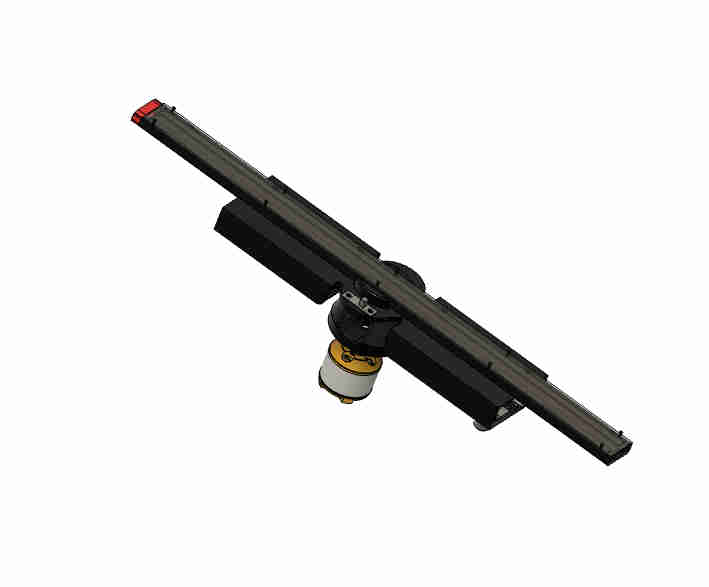
This is how my blade looks like assembled
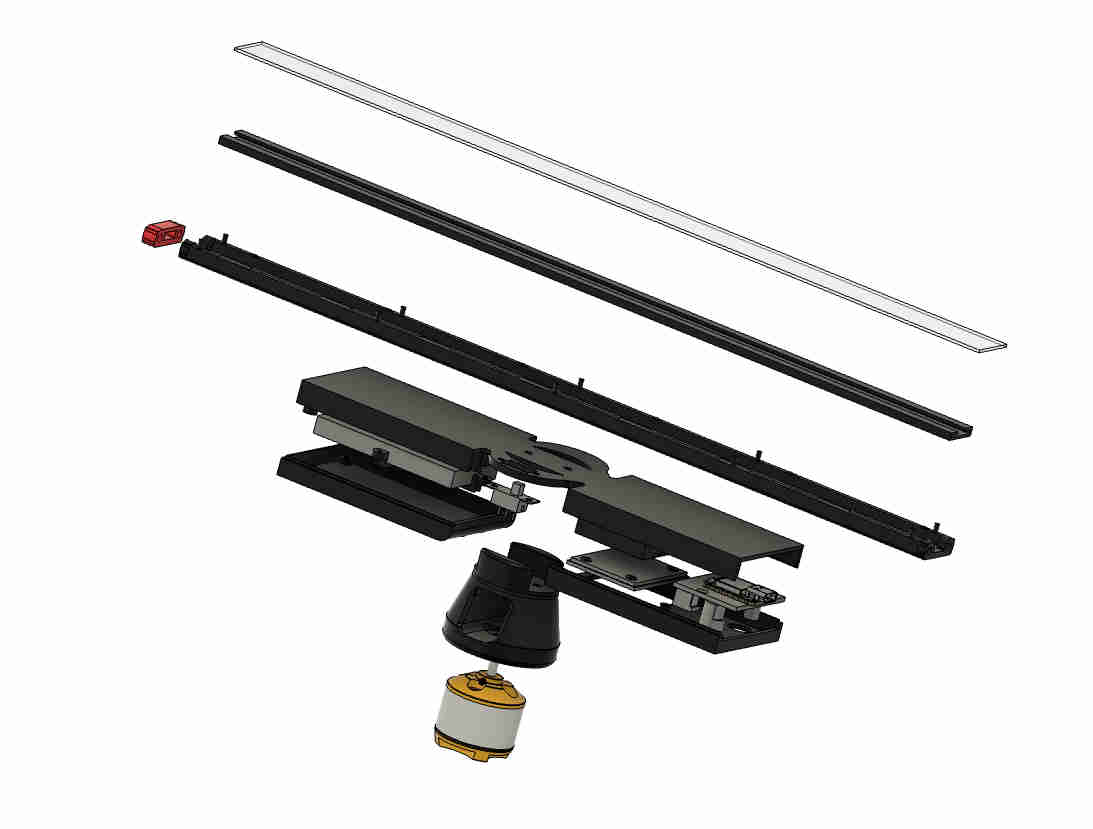
These are the mutiple parts i have diveded the same blade in
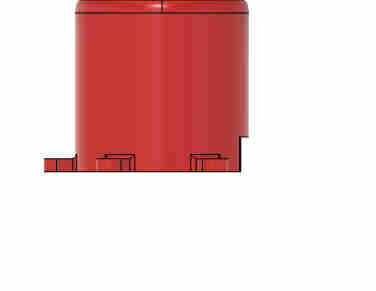
This is the housing for the drone motor.
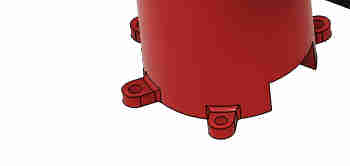
It had holes for m3 bolts to firmly hold itself to the base.
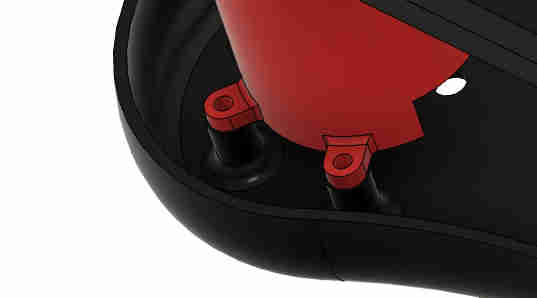
The base had corresponding holes with threaded inserts for holfing the motor housing.

All srew holes outside the body were designed with finish in mind, with steps so that the screws and bolts stay flush.
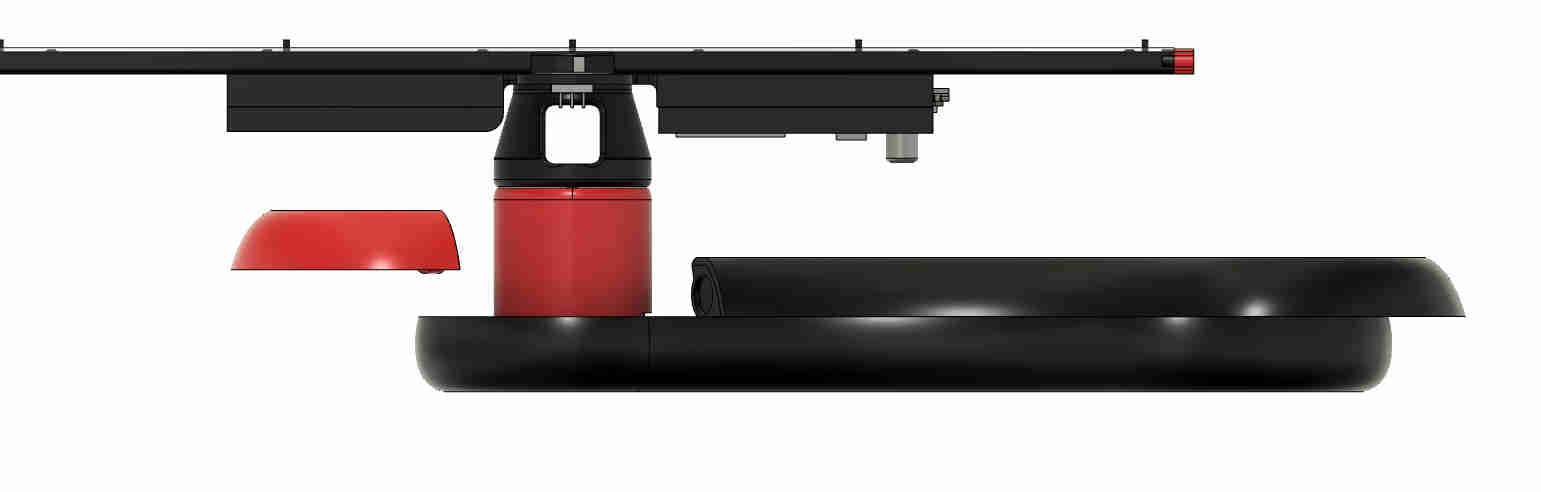
The top half the base also was designed in two parts with a magnetic snap to provide easy assembly of the blade system to the base system
The multipart reduced print time, increased freedom as broken part only meant a 30 minute print. and overall housed the entire project super well.
electronics
just body wasnt enough, the electronics also had to be desigend to support the system integration.
i kepot things simple for now but eventually my plan is to mke a single thin pcb that gets completly hidden behind the blade.
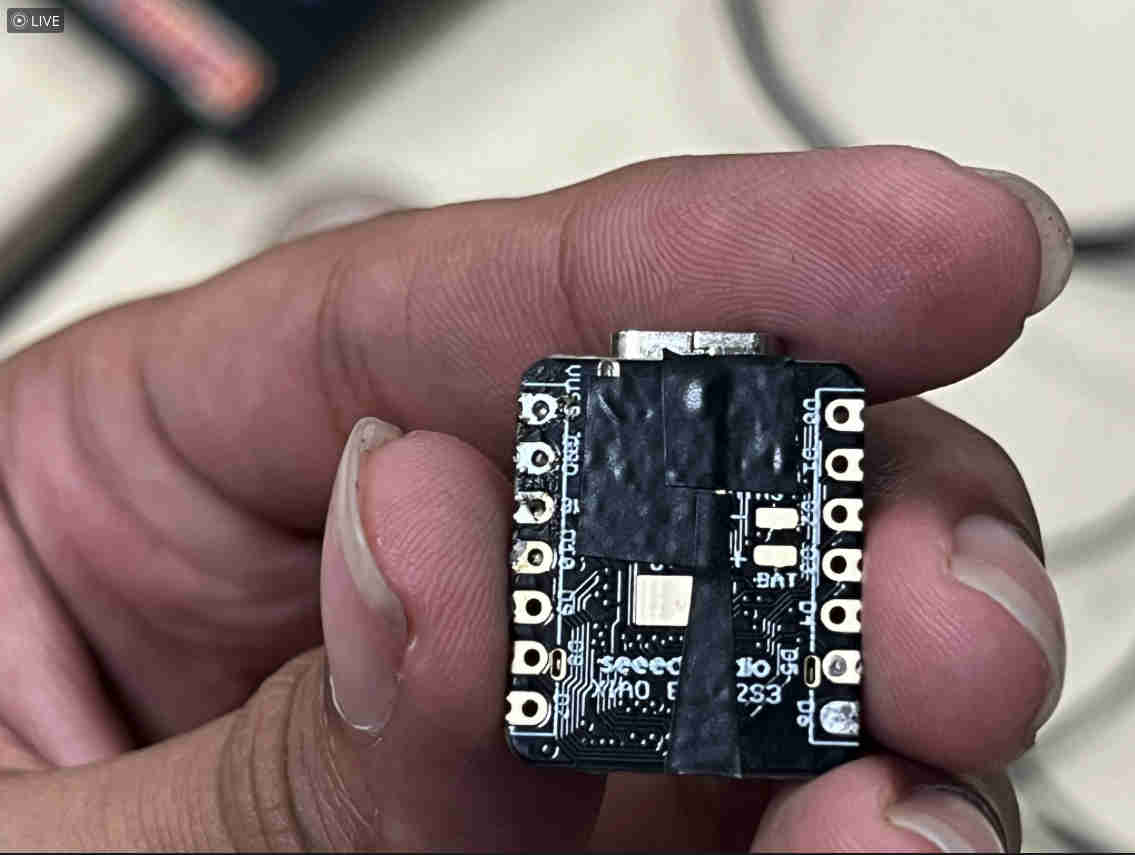
This was how I prepped my esp32 s3, i highly recommend doing this as the bottom pns can catch conducting signals or misalign and short the board.
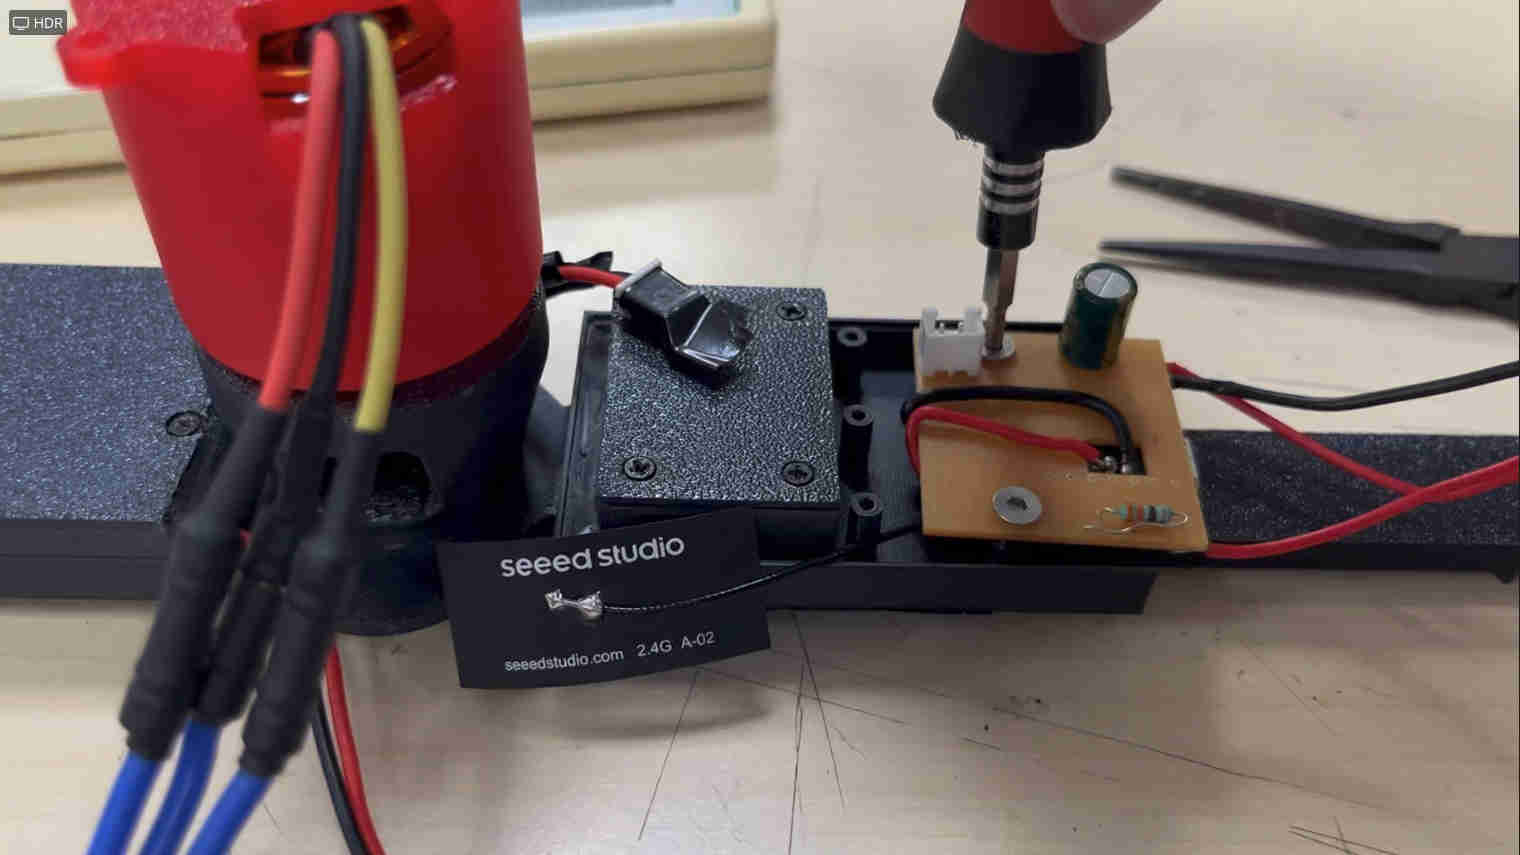
This is how the board fit onto the blade.
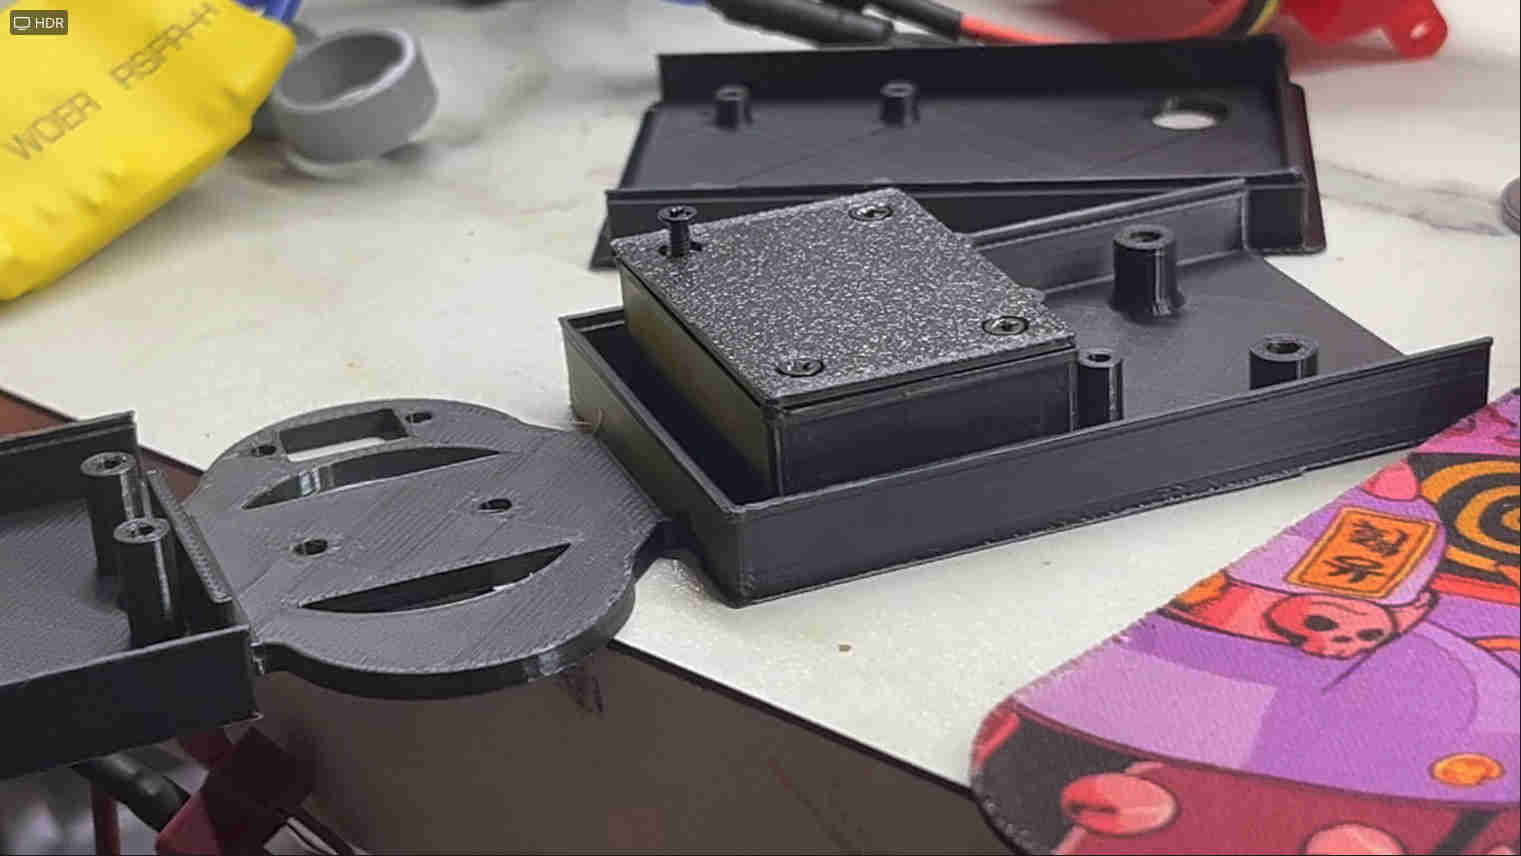
This is th encasing for the clay that I used to stabilize, to know more about the clay hack. click here
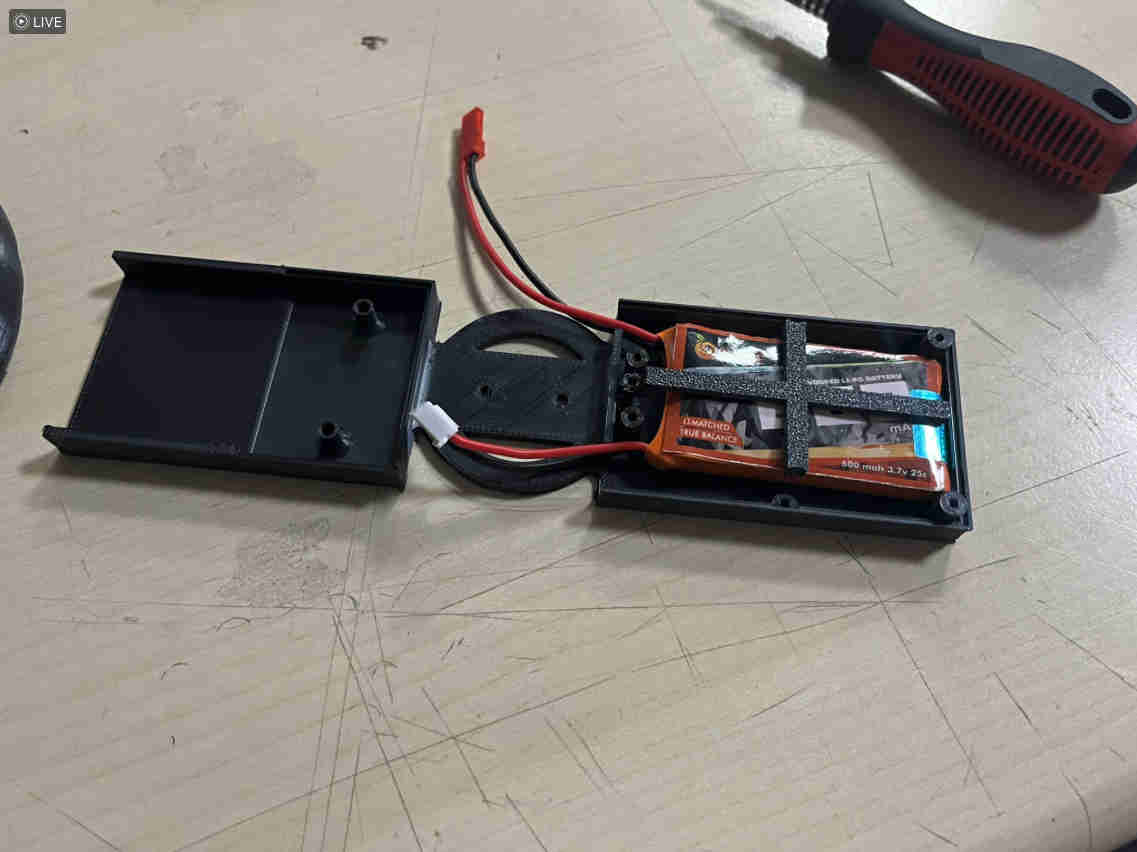
This is how i braced the battery in place with a custom 3dprinted part.
heres how the blade system was turned on with a rocker switch.