Week 13: Molding & Casting
A.k.a. carving Kuromi out of wax so silicone can copy her 🖤💀
🪛 Overview
This week was about making a mould. The workflow I followed:
- • Design a positive model (Kuromi's face inside a walled tray) in SolidWorks
- • Mill it out of machinable wax on the Roland SRM-20
- • Pour silicone into the wax tray to get a flexible negative mould
The wax is the positive (it looks like the final object), and the silicone poured over it becomes the negative (the mould you can cast into).
👥 Group Assignment
The group assignment was to review the safety data sheets for the moulding and casting materials, and to make and compare test casts with them.
🔗 View Group Assignment Documentation
✏️ Designing the Mould
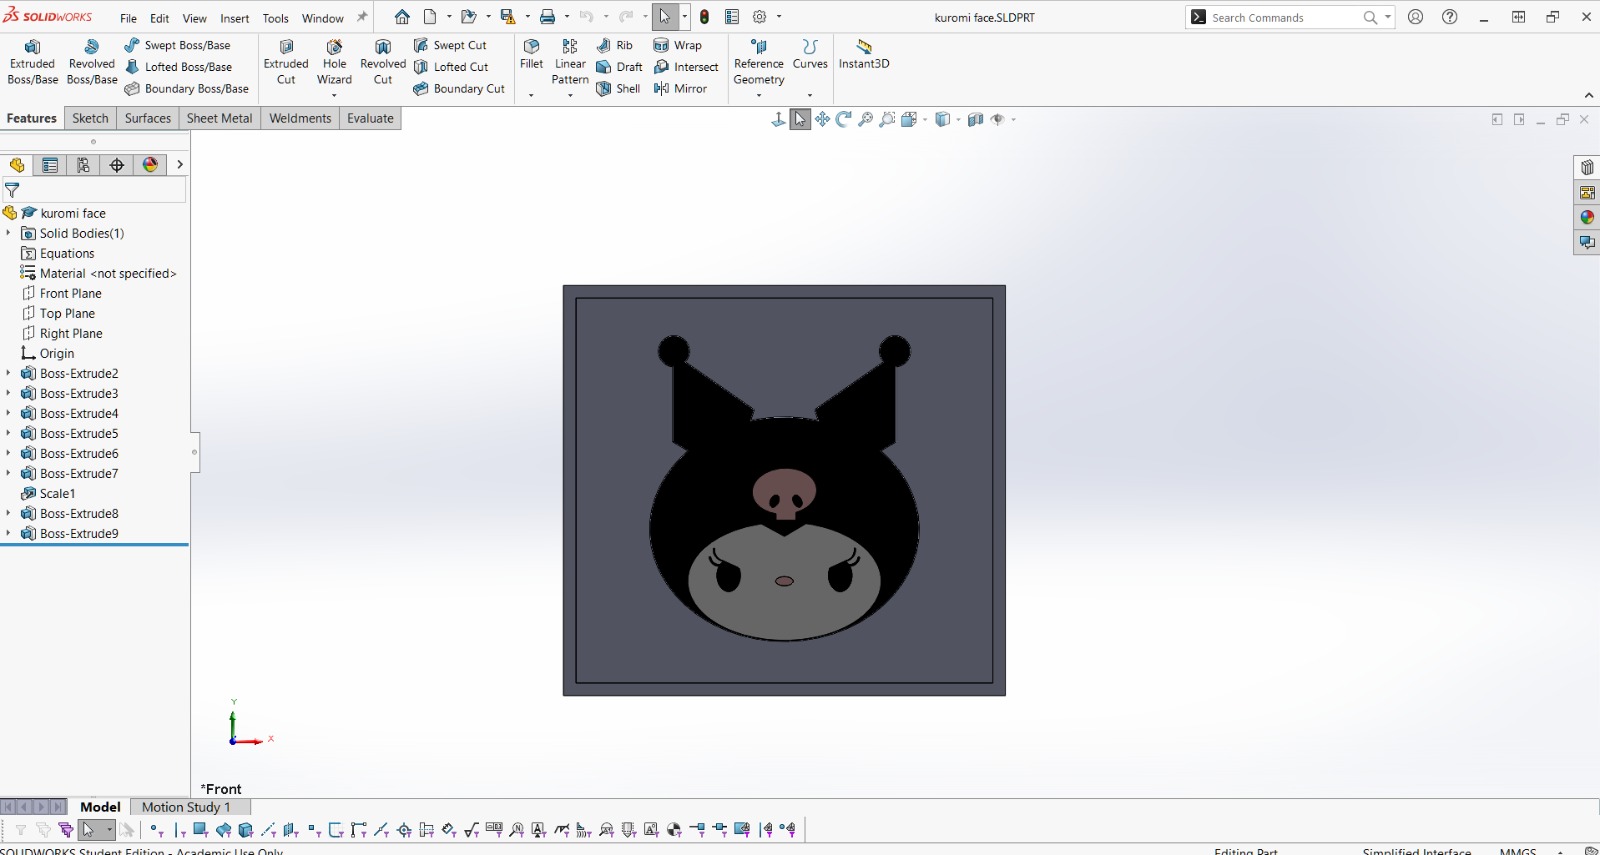
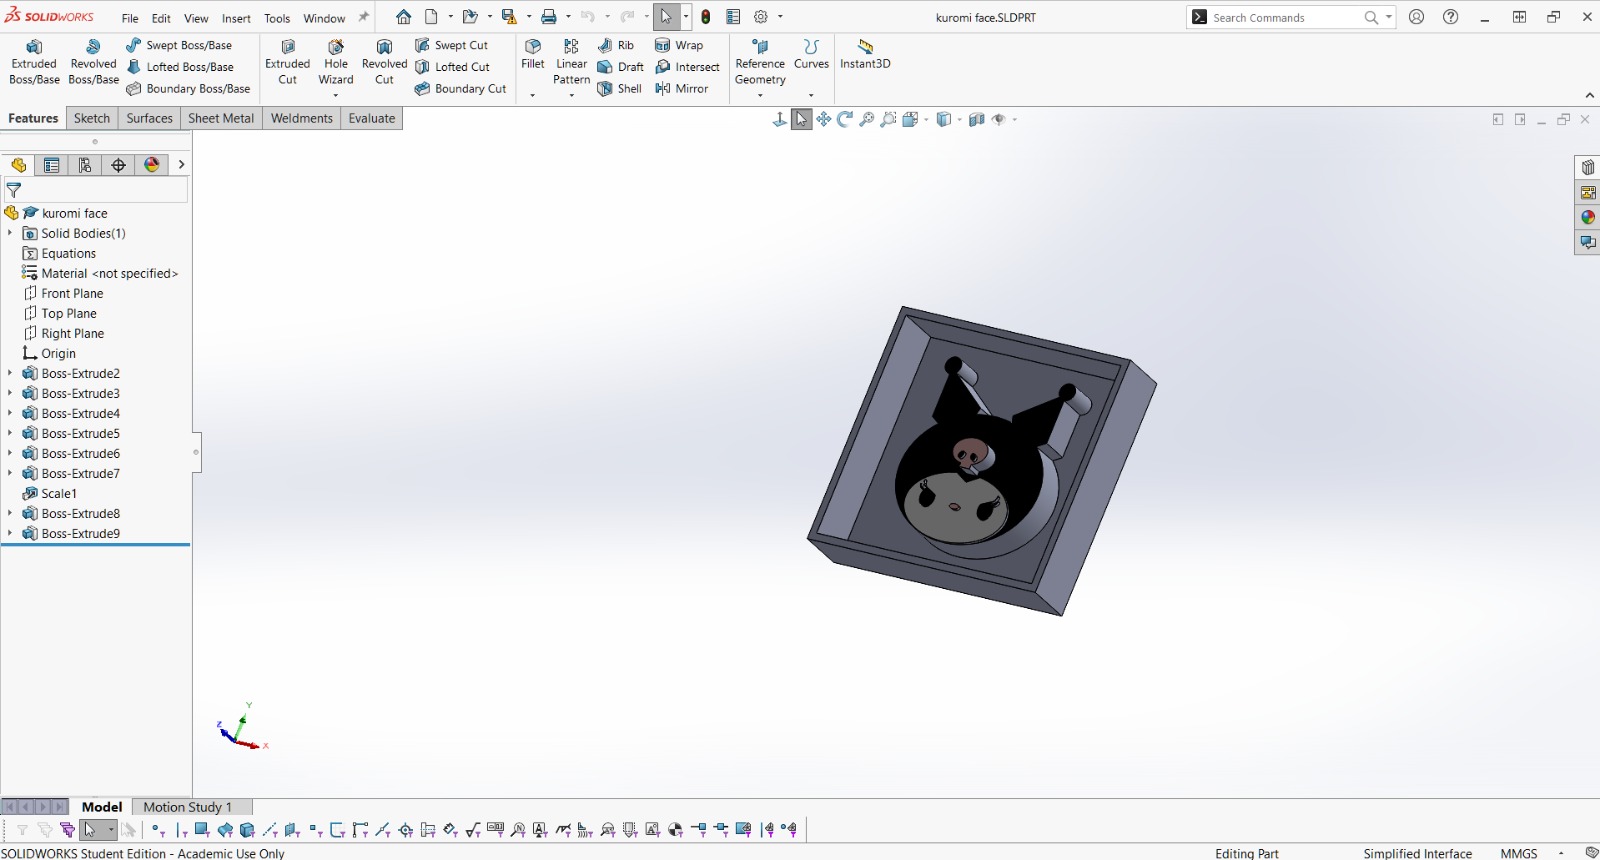
I modelled the part in SolidWorks as a square tray with walls around it and a Kuromi face relief raised from the floor. It's built up from a stack of extrusions: the base, the walls, then the face, ears, skull and features as separate layers so each detail sits at its own height. A Scale feature sizes the whole thing to fit the wax block.
- • Walls: they hold the liquid silicone in, so the wax tray is the mould box
- • Layered relief: stepped heights instead of steep undercuts, so the silicone can peel off cleanly
🌀 Milling the Wax
🔹 Preparing the block
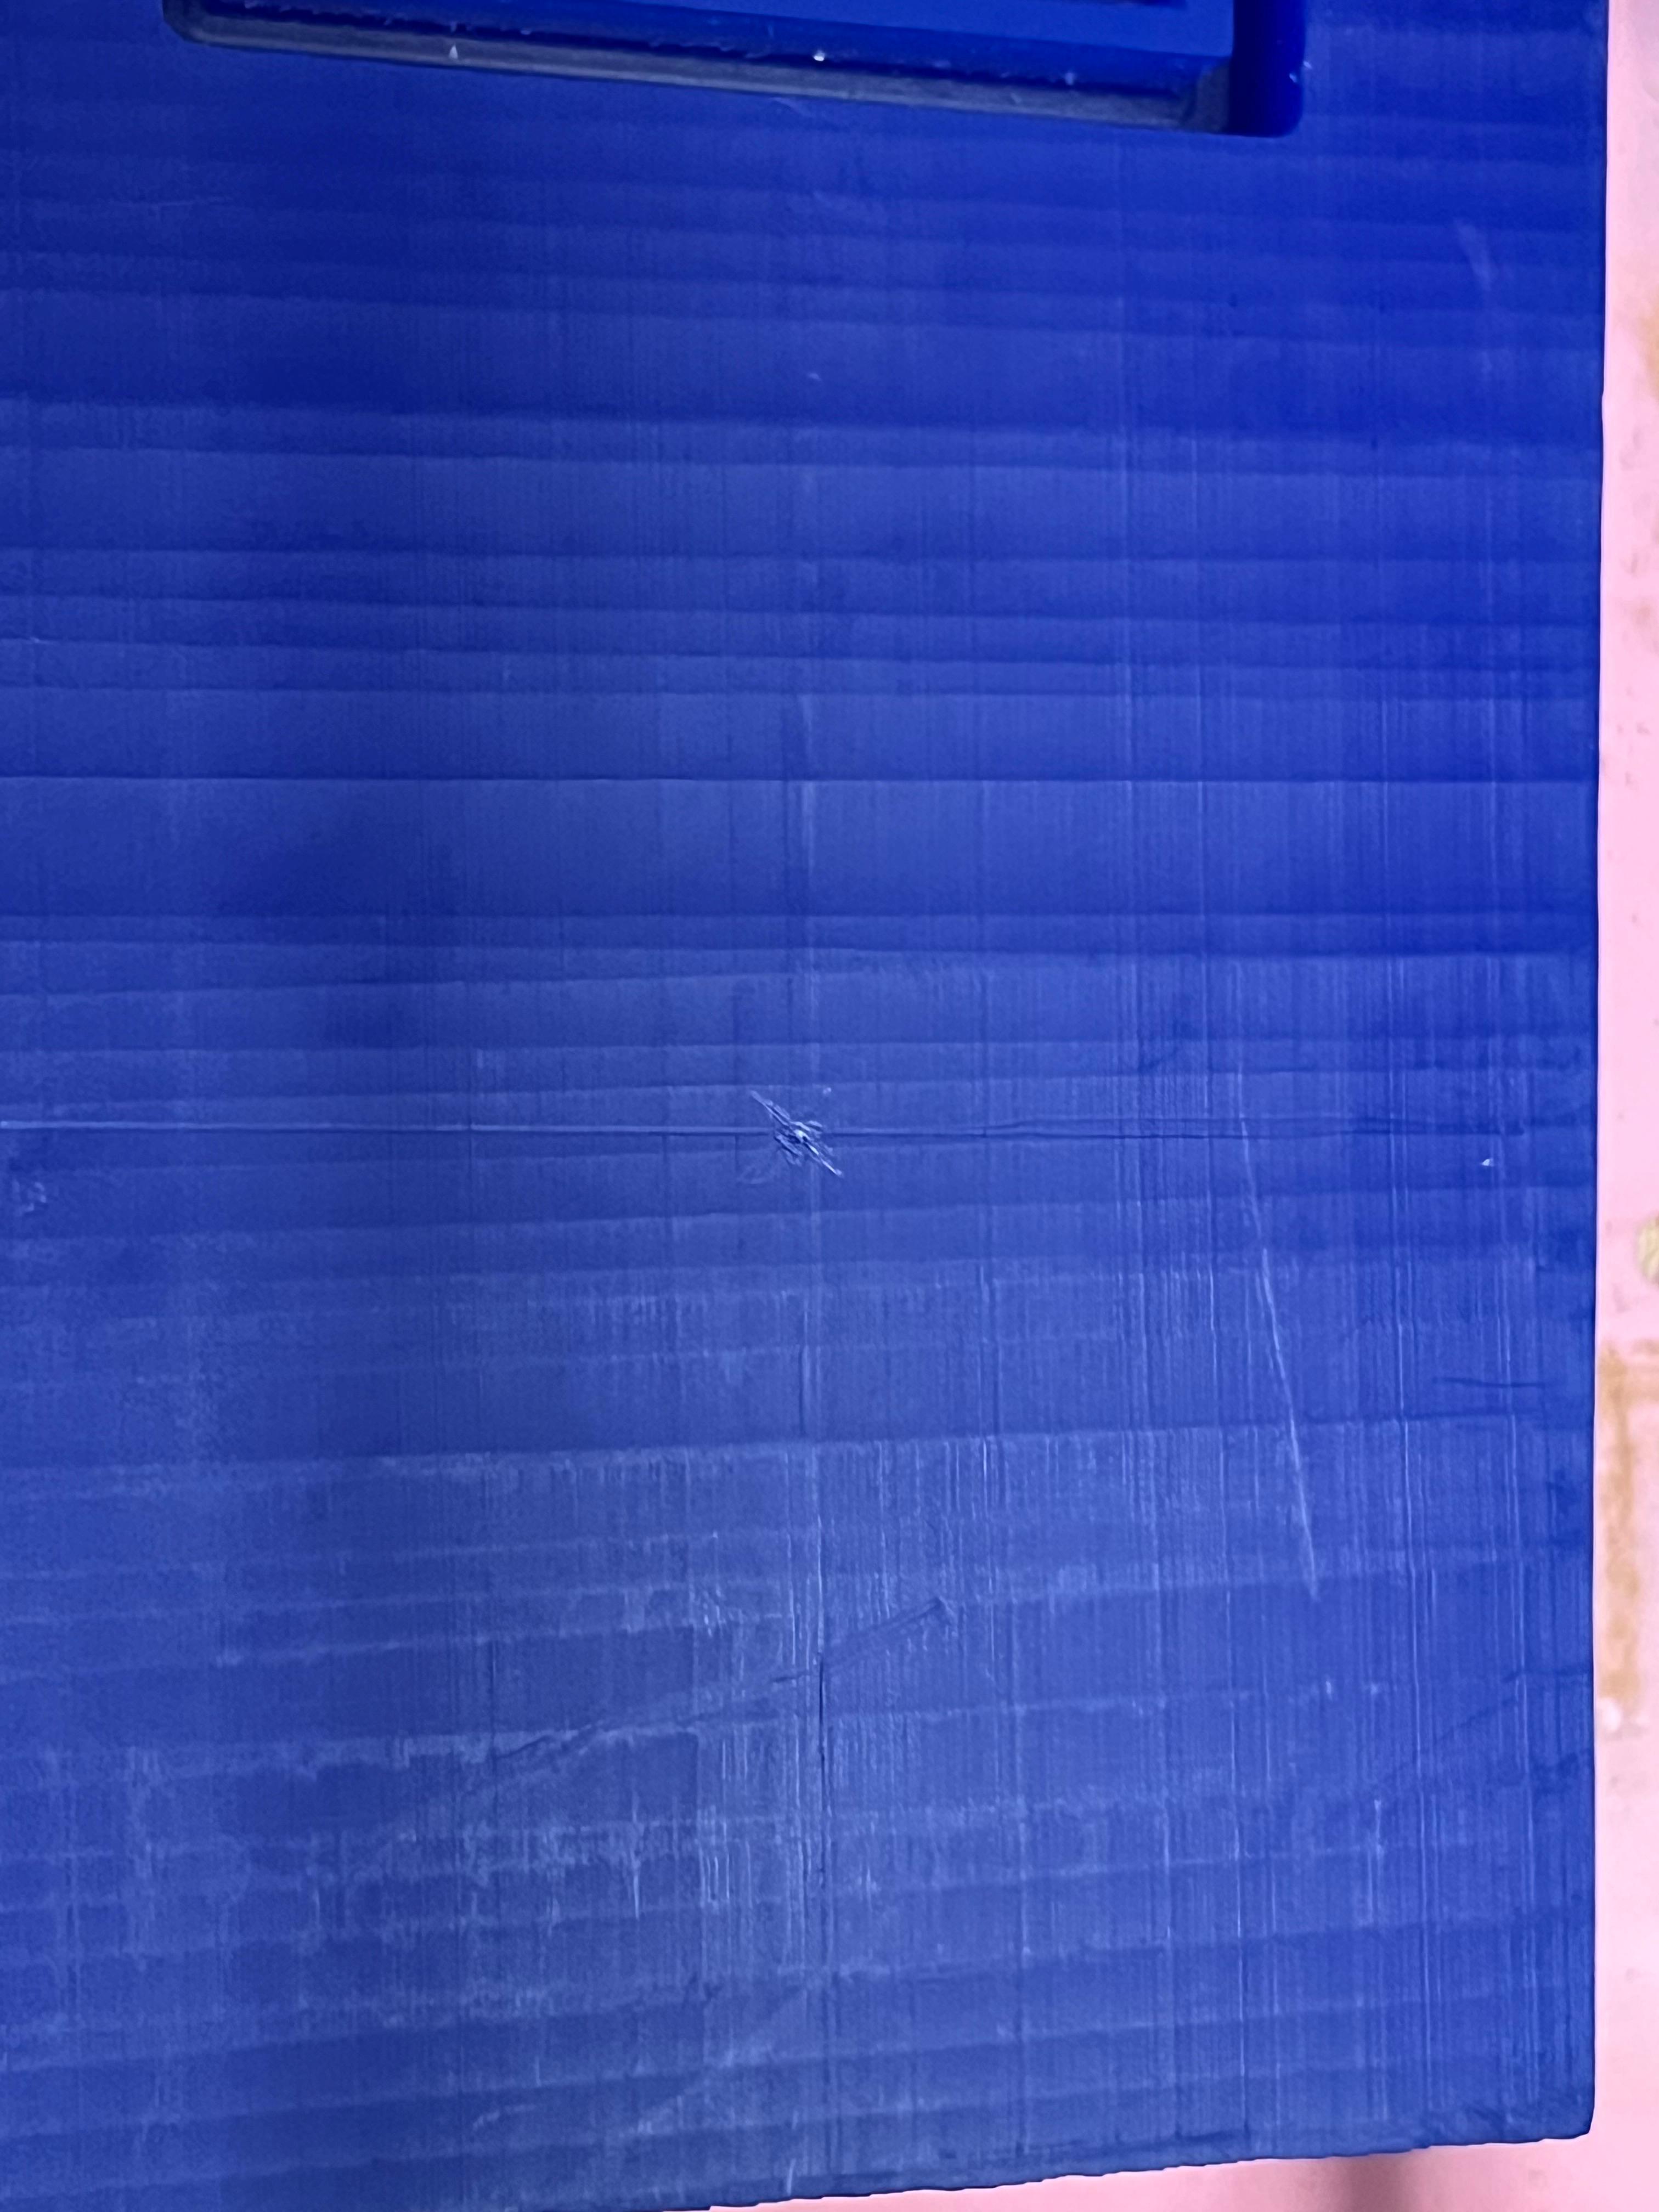
The machinable wax block was fixed onto the sacrificial bed of the Roland SRM-20 and its top surface was faced flat first, so the mould would start from a level reference.
🔹 First attempt
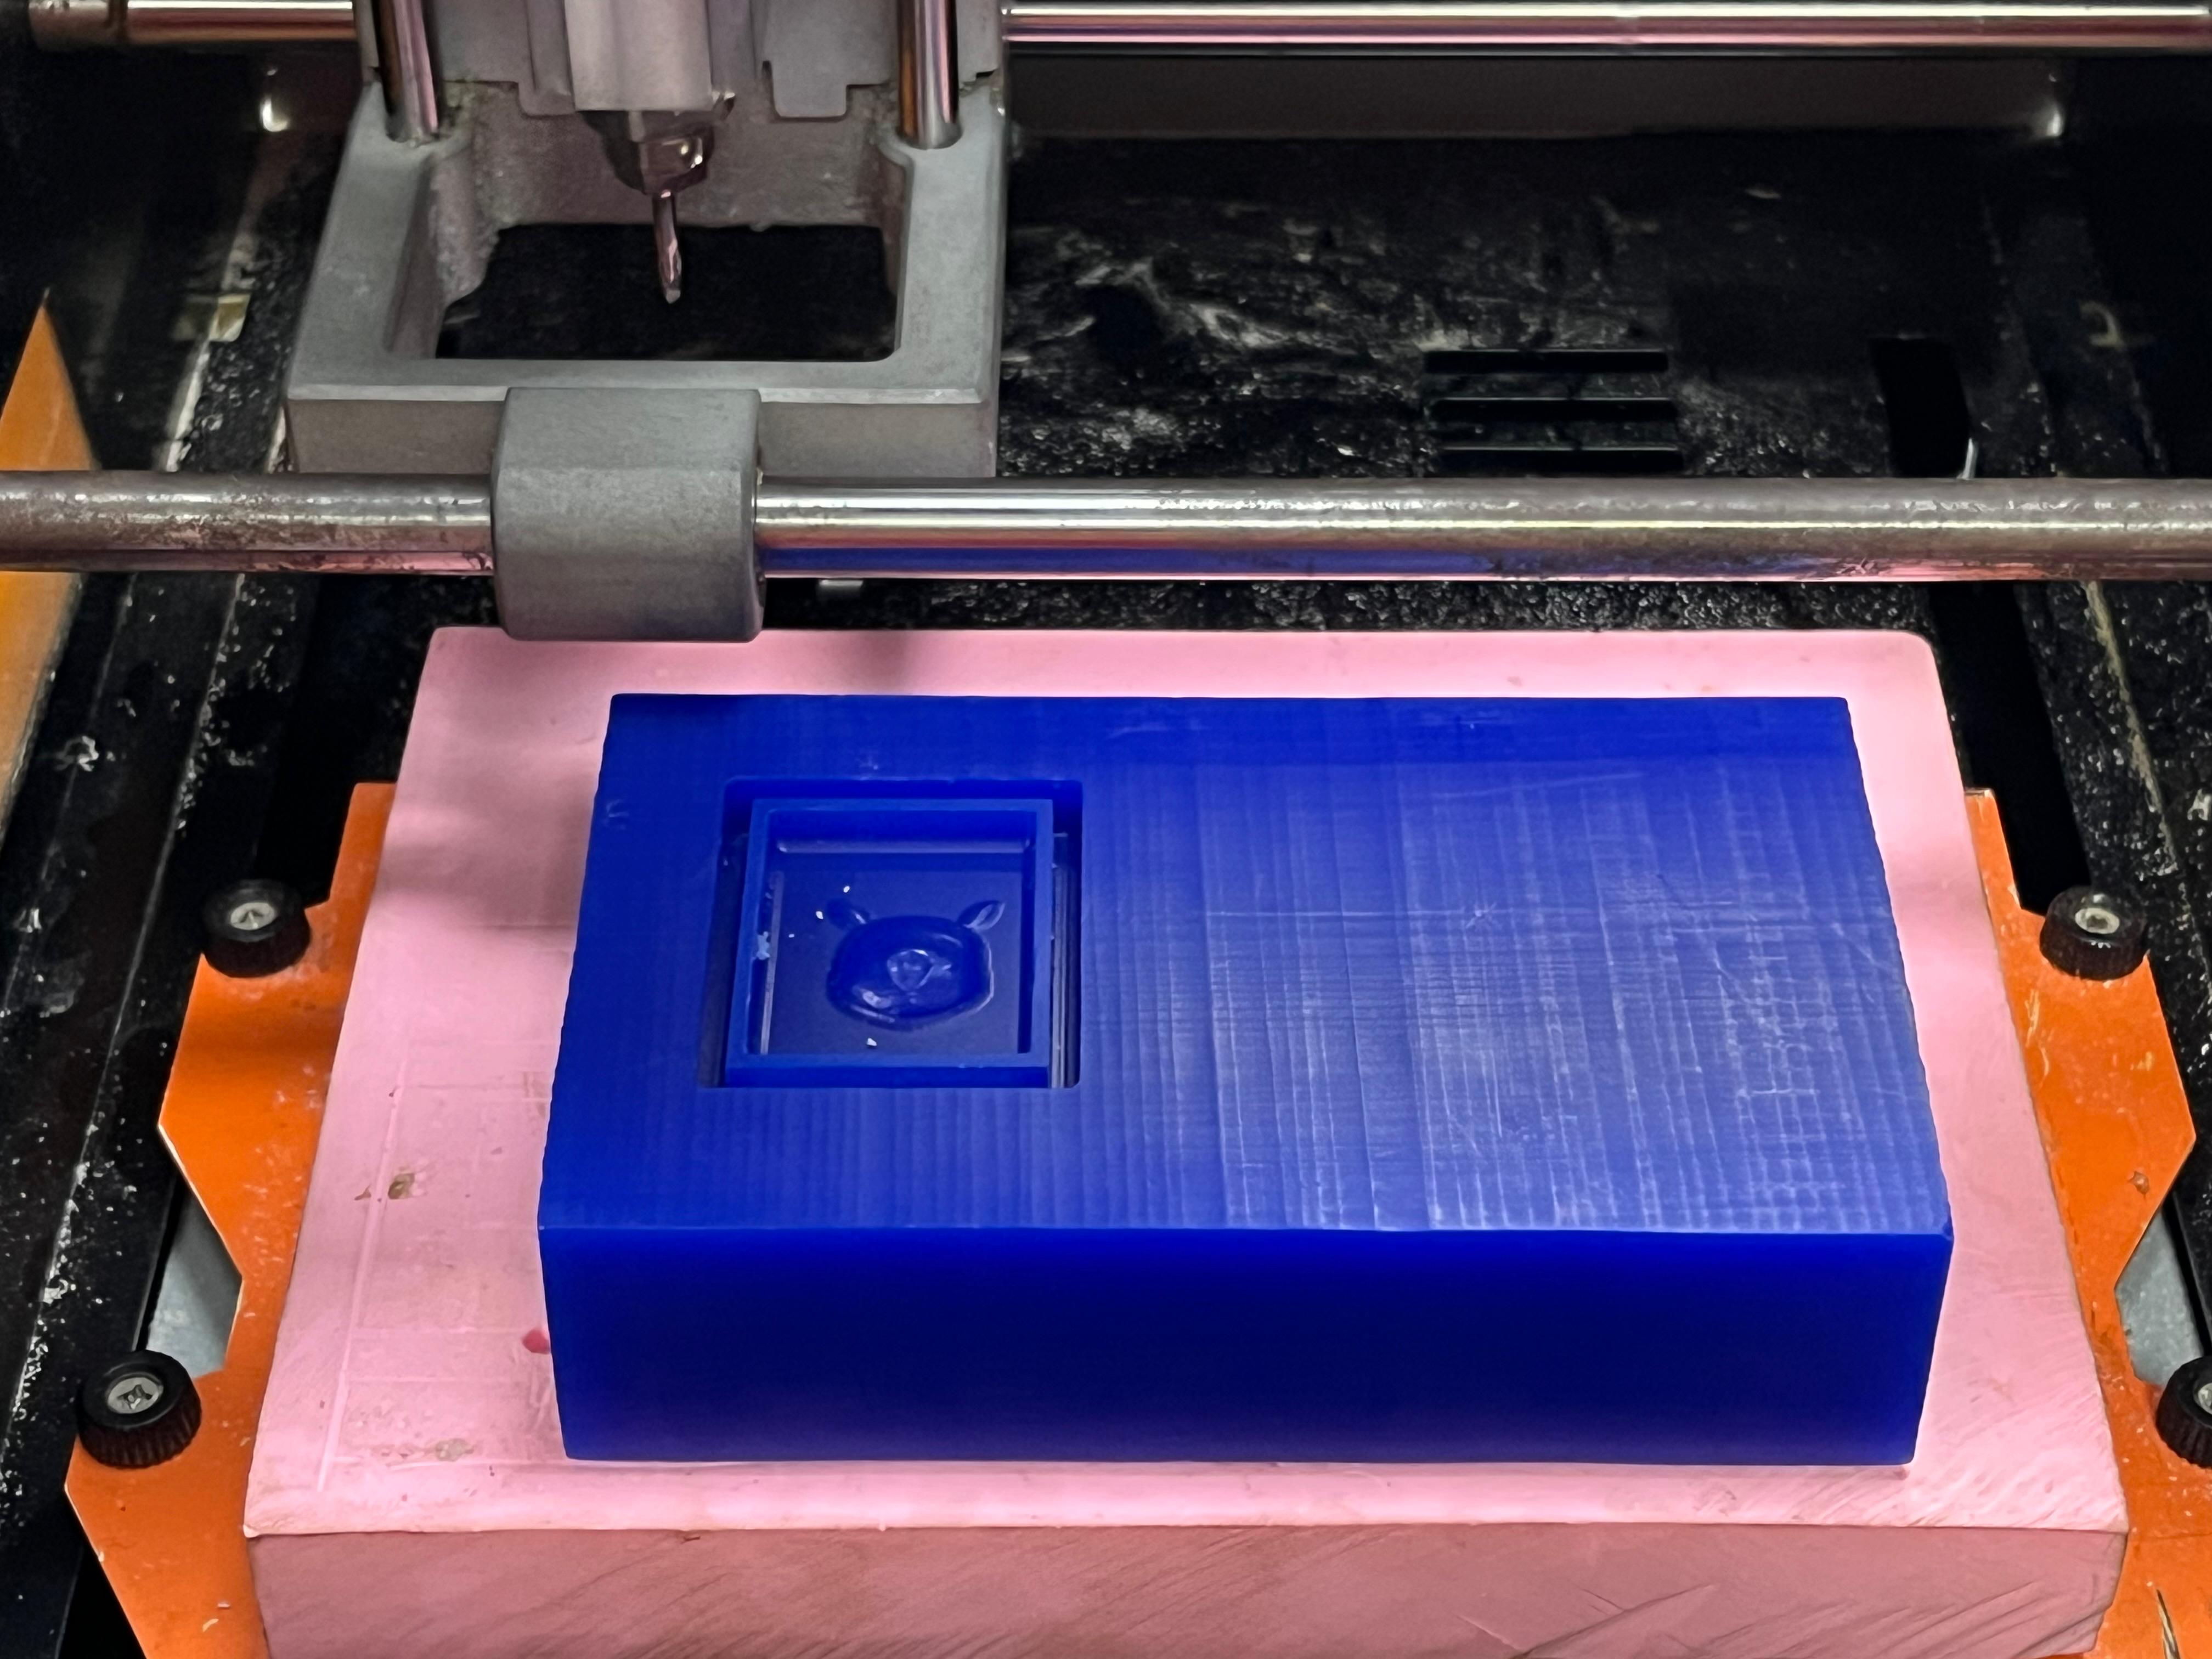
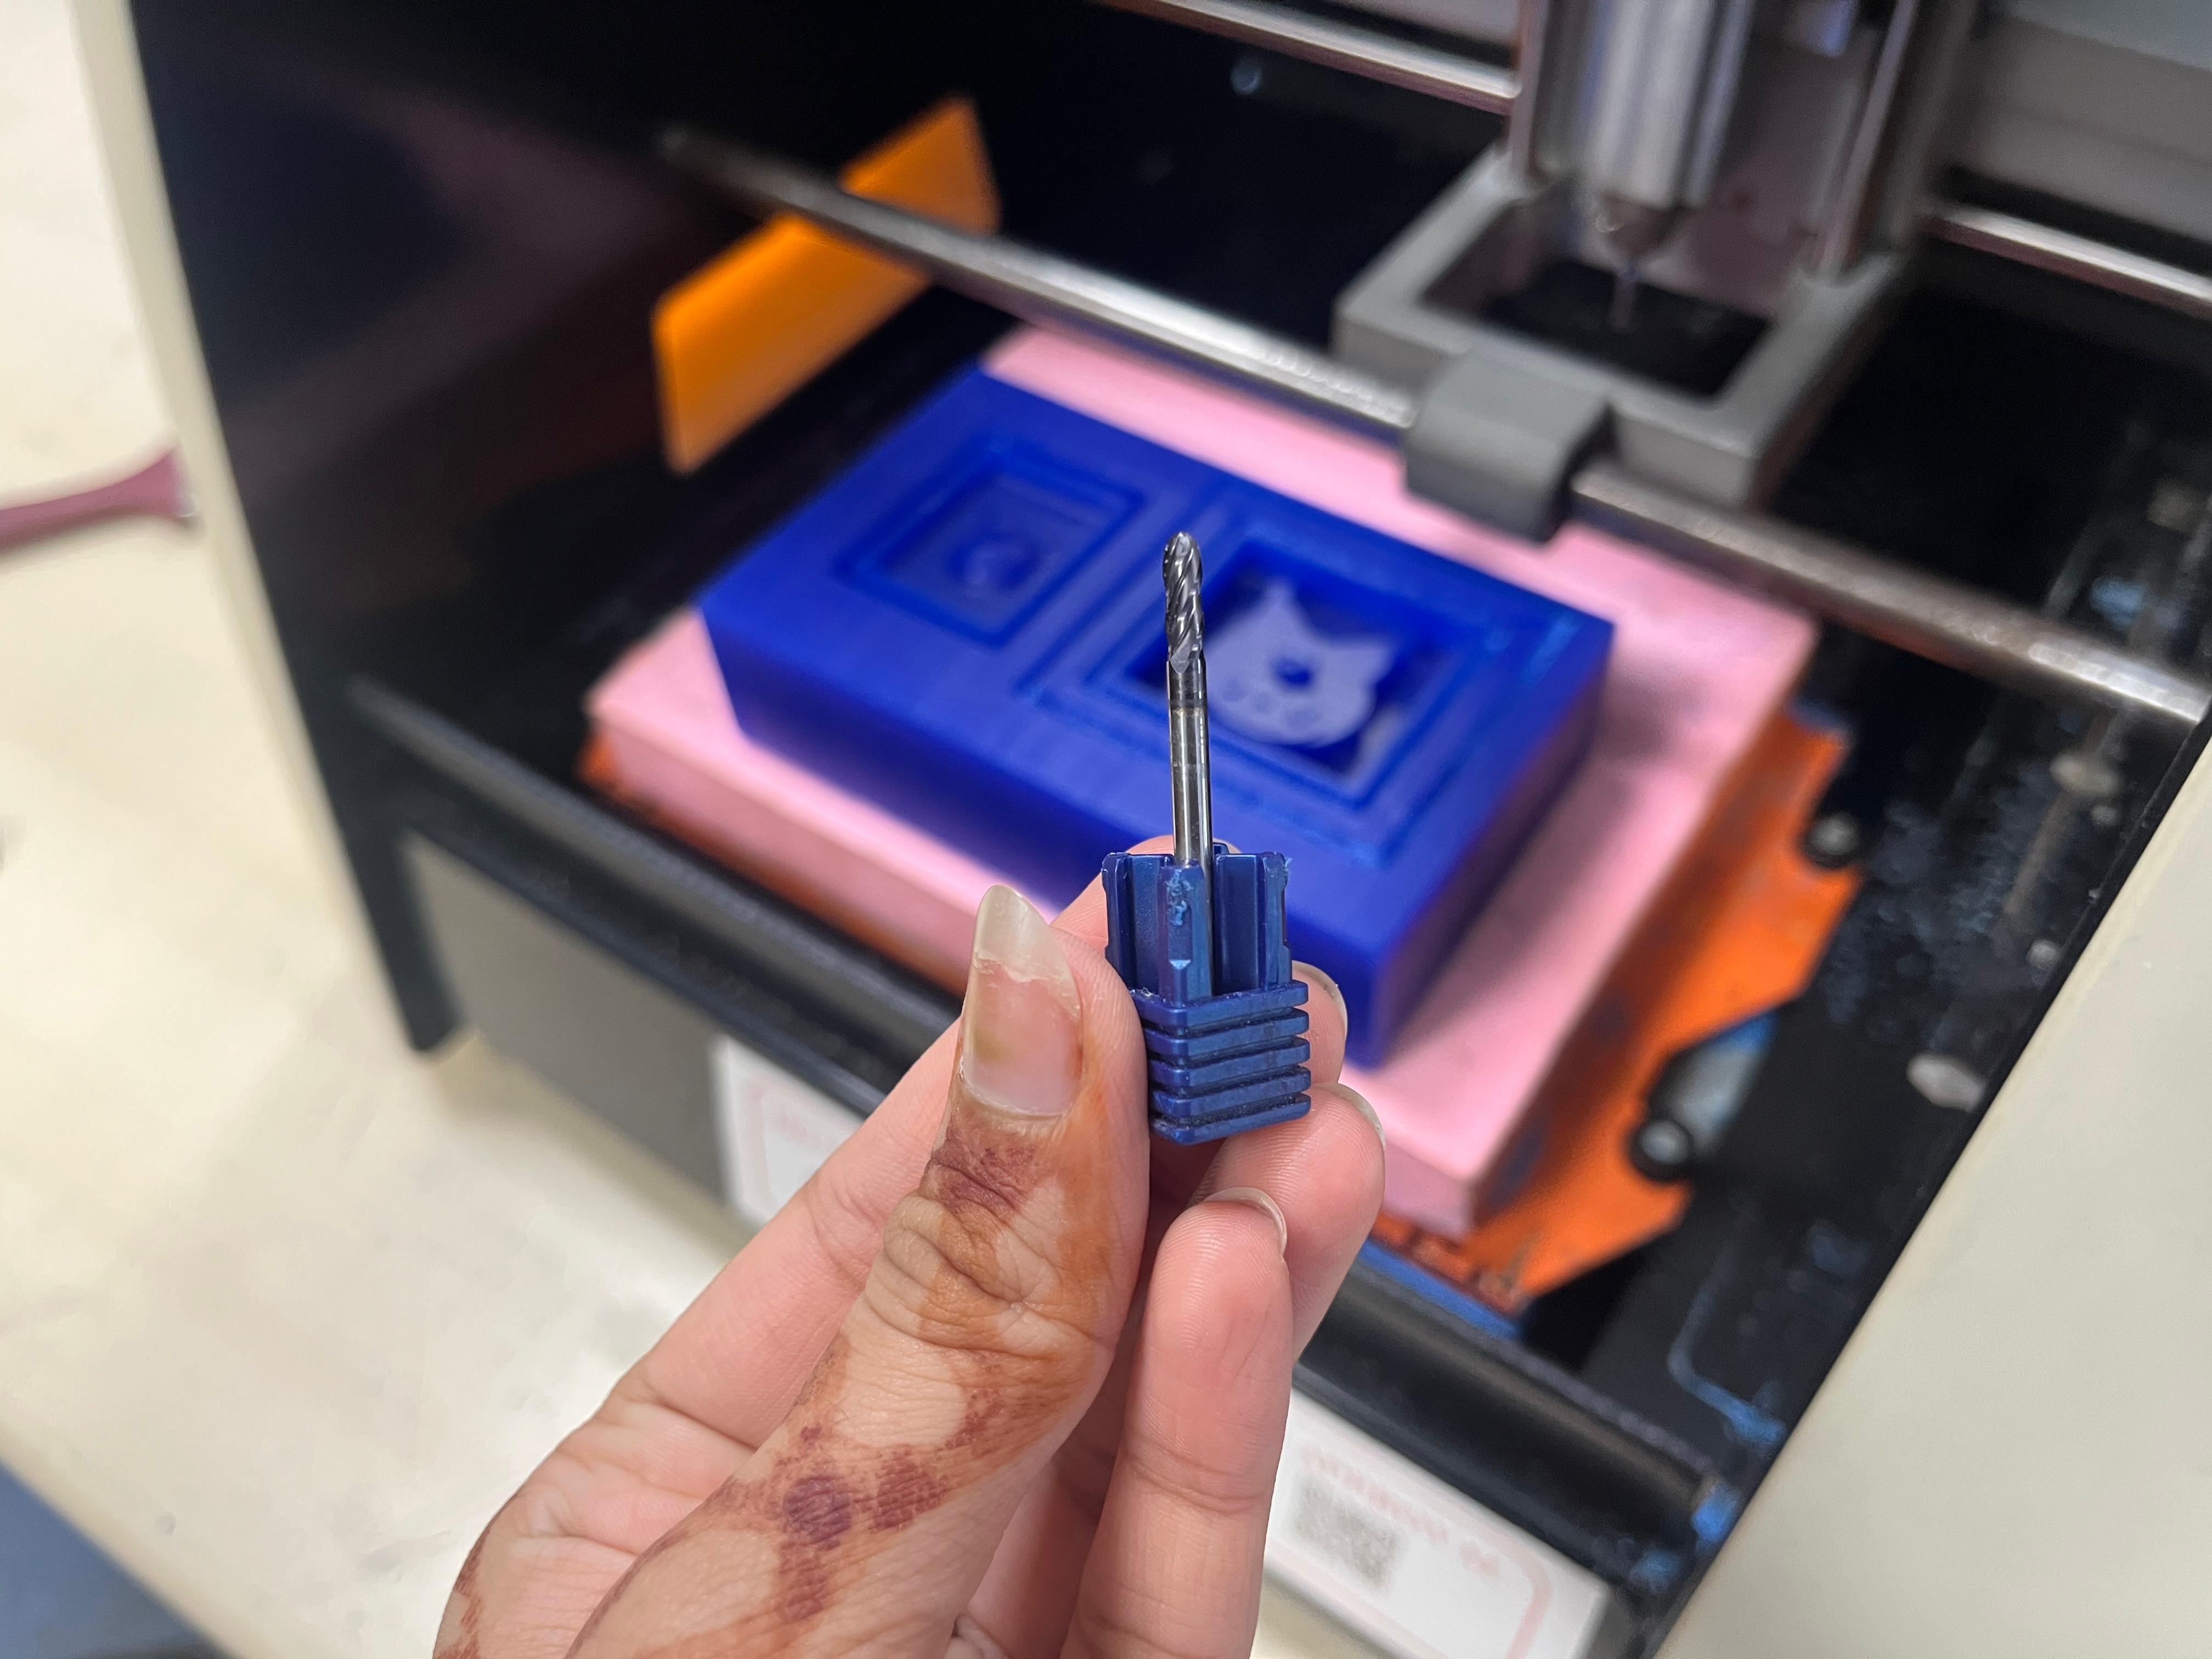
The first design I milled was a smaller face, in one corner of the block.
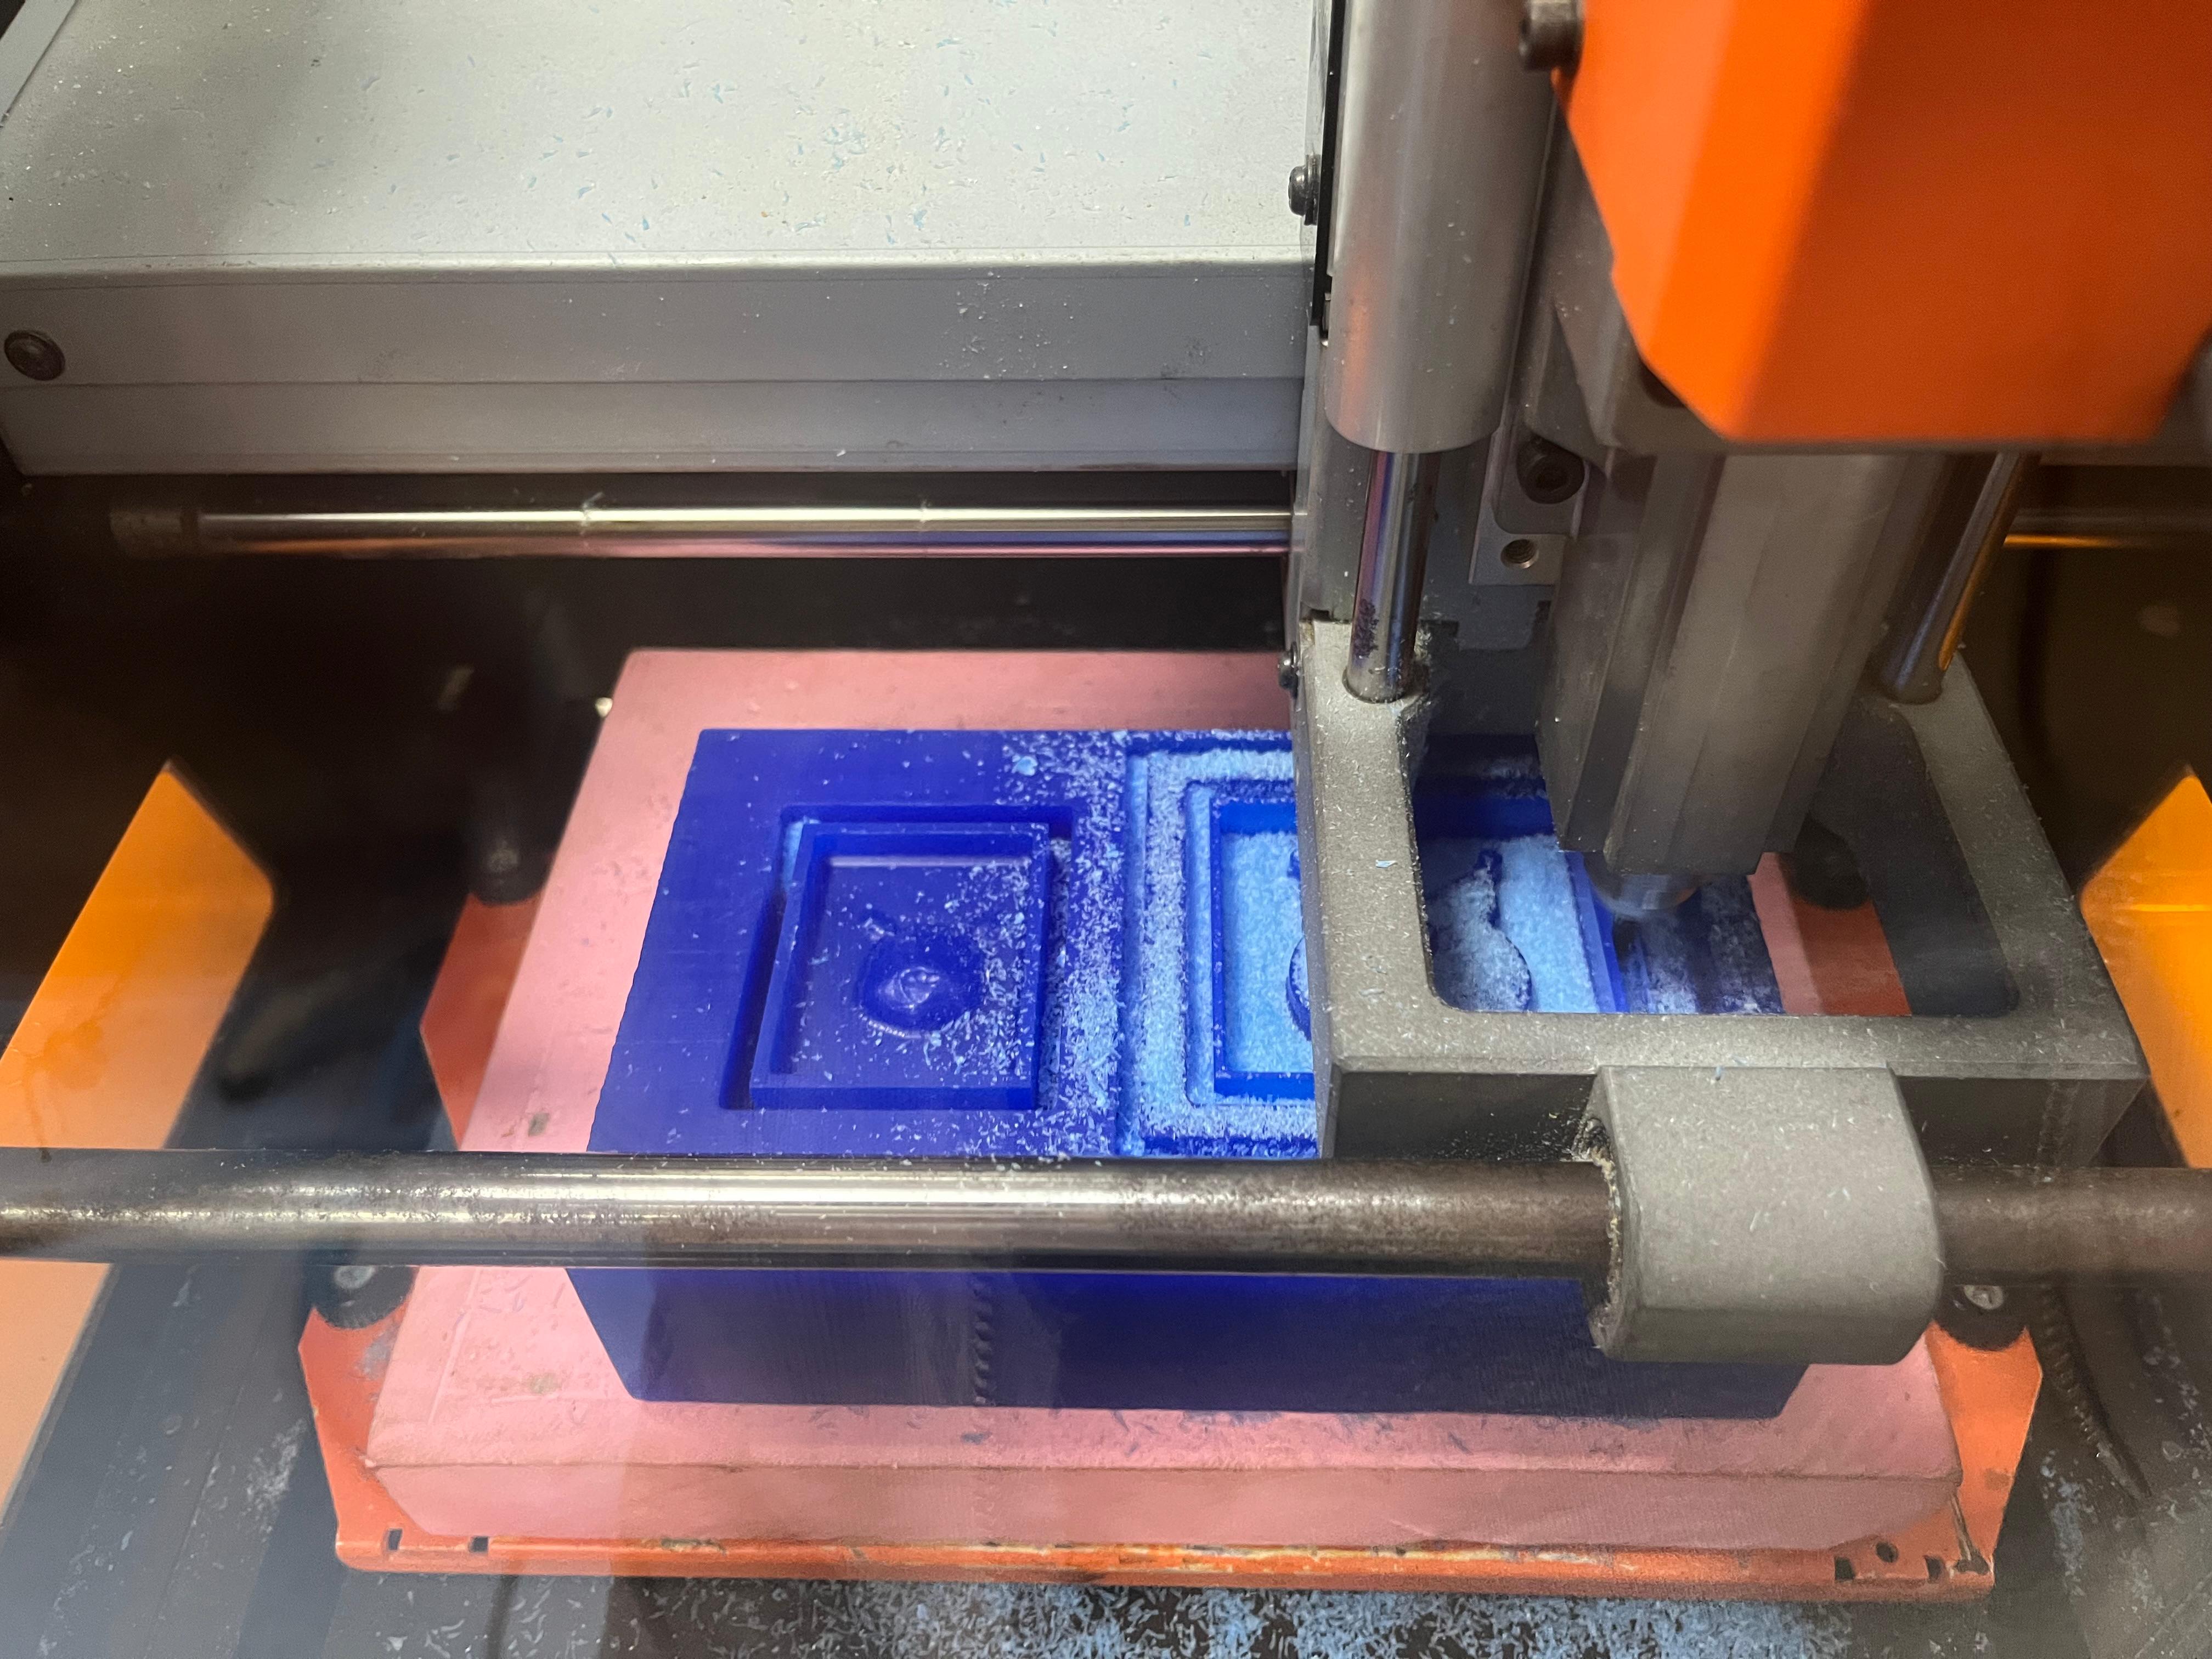
🔹 Kuromi
Then Kuromi went in next to it: the pocket around the tray is cleared first, then the tool works down through the layers of the face.
🔹 The result
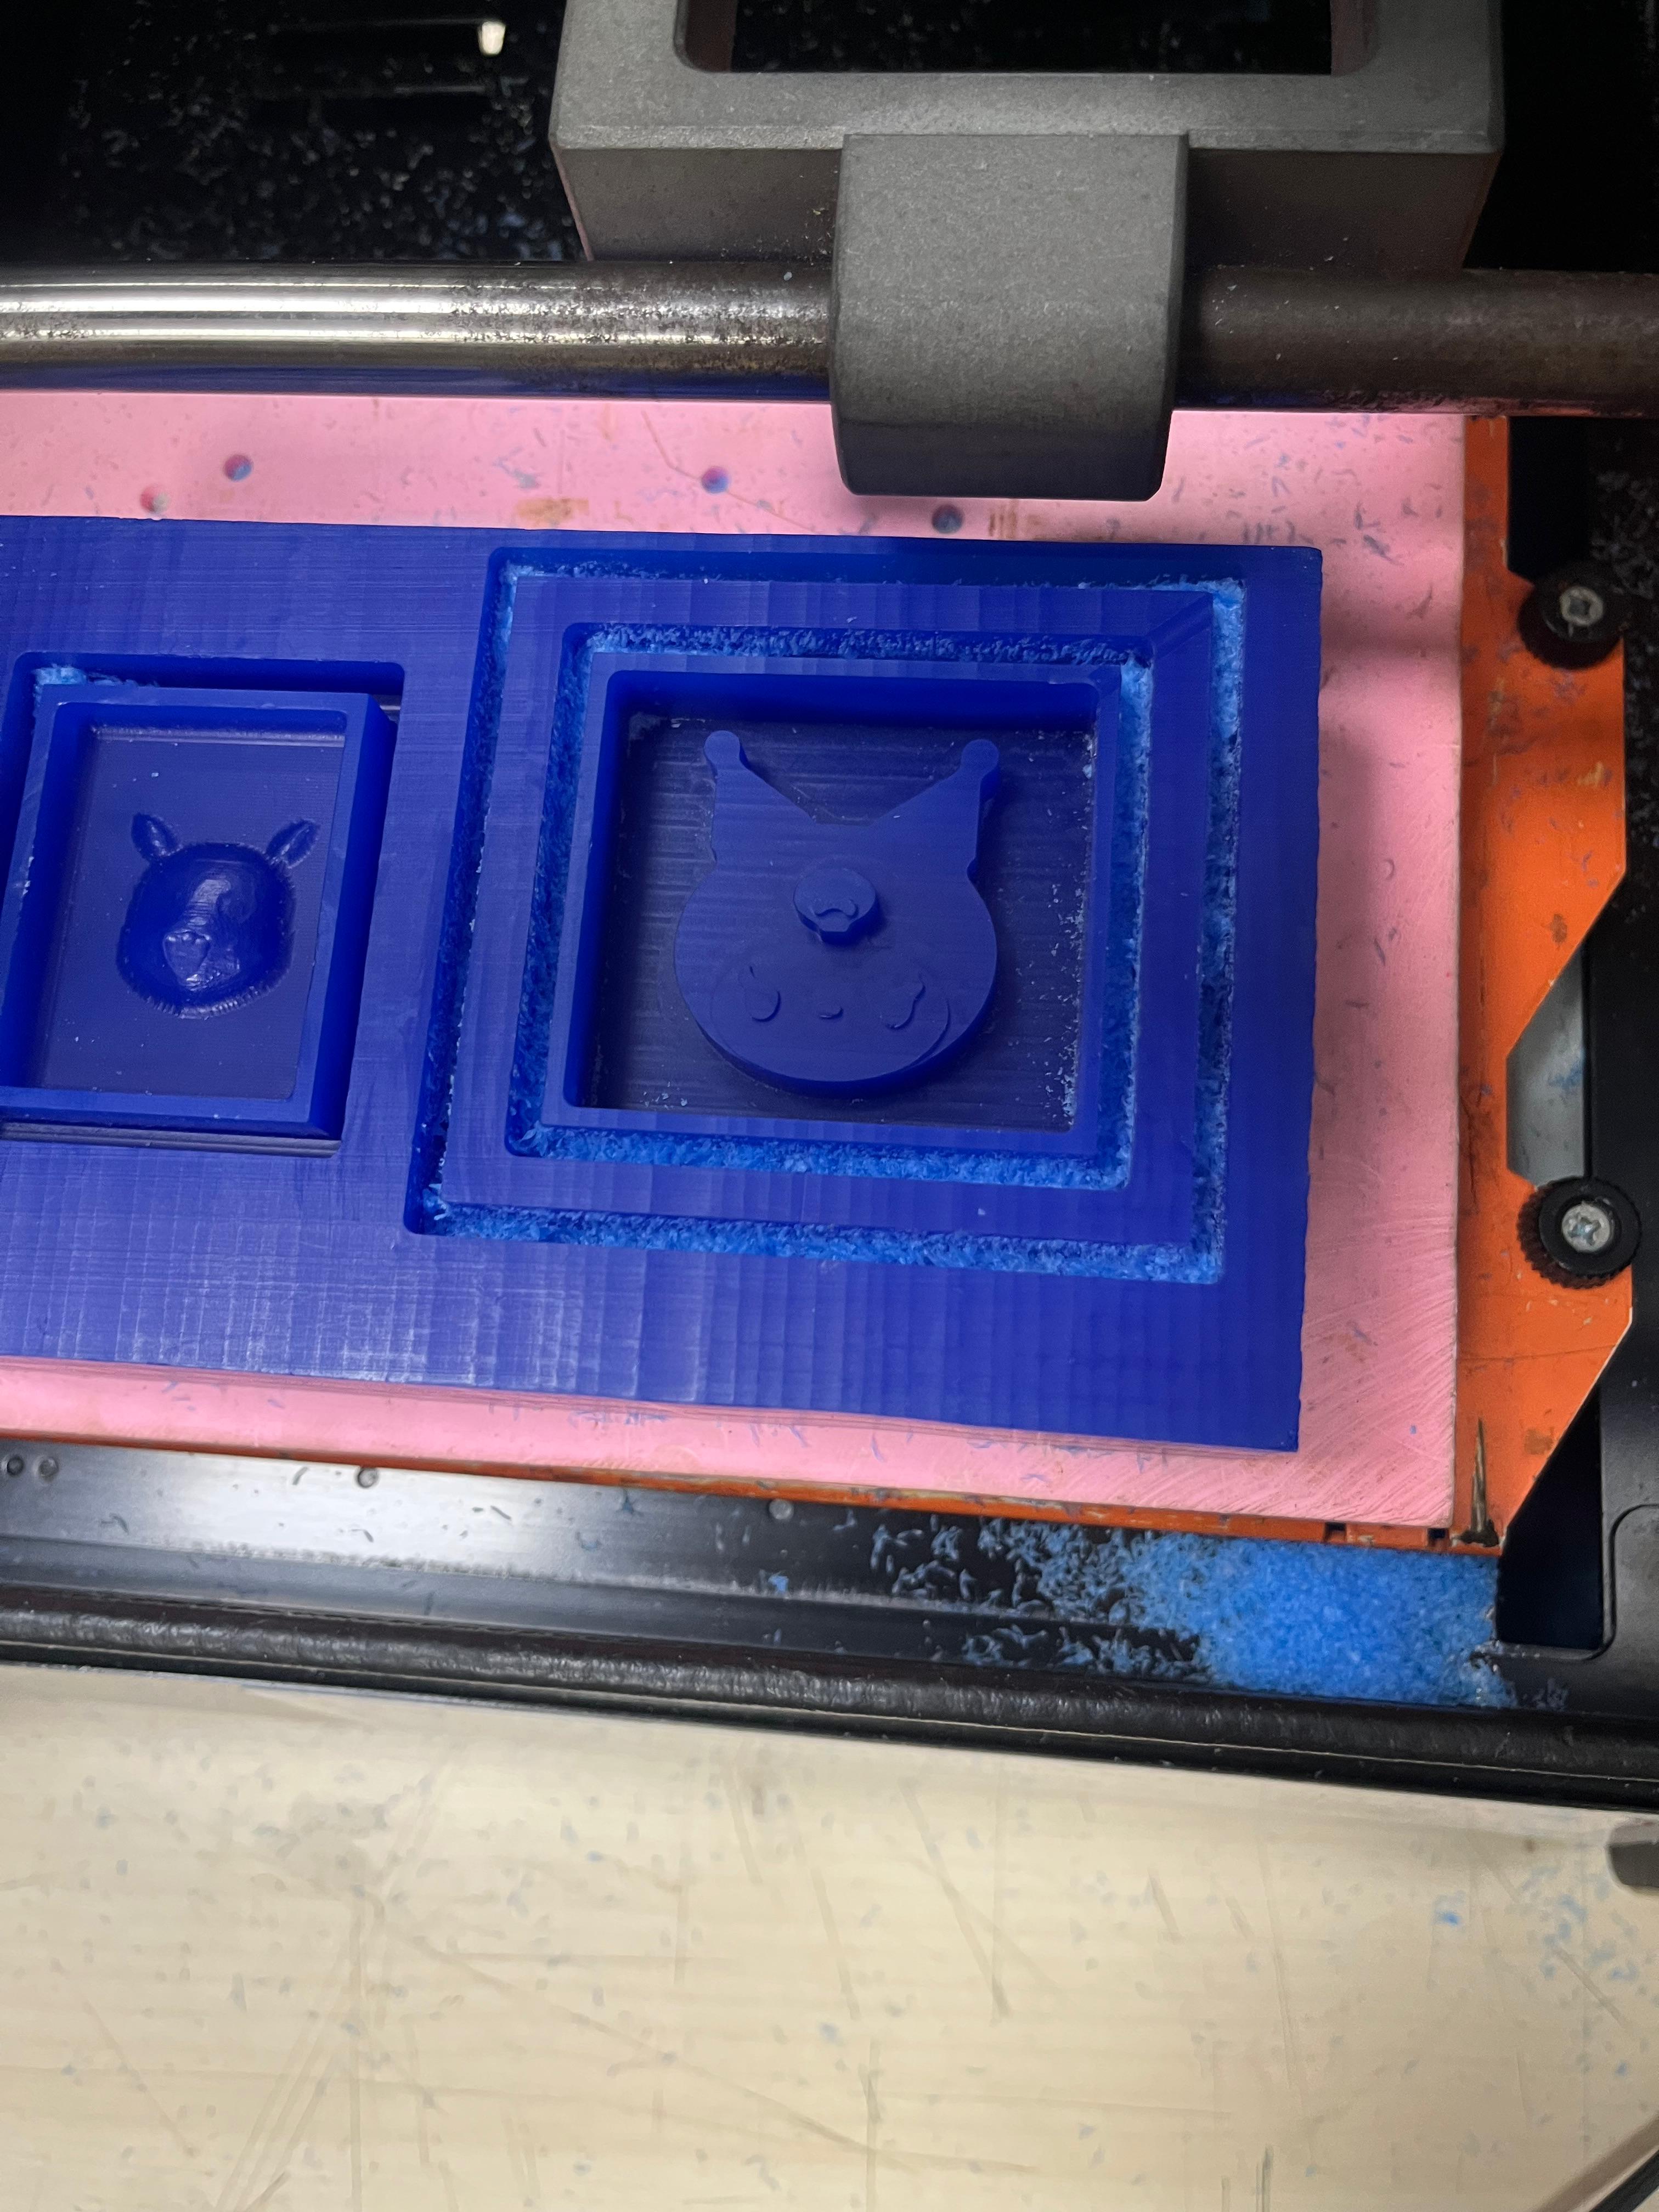
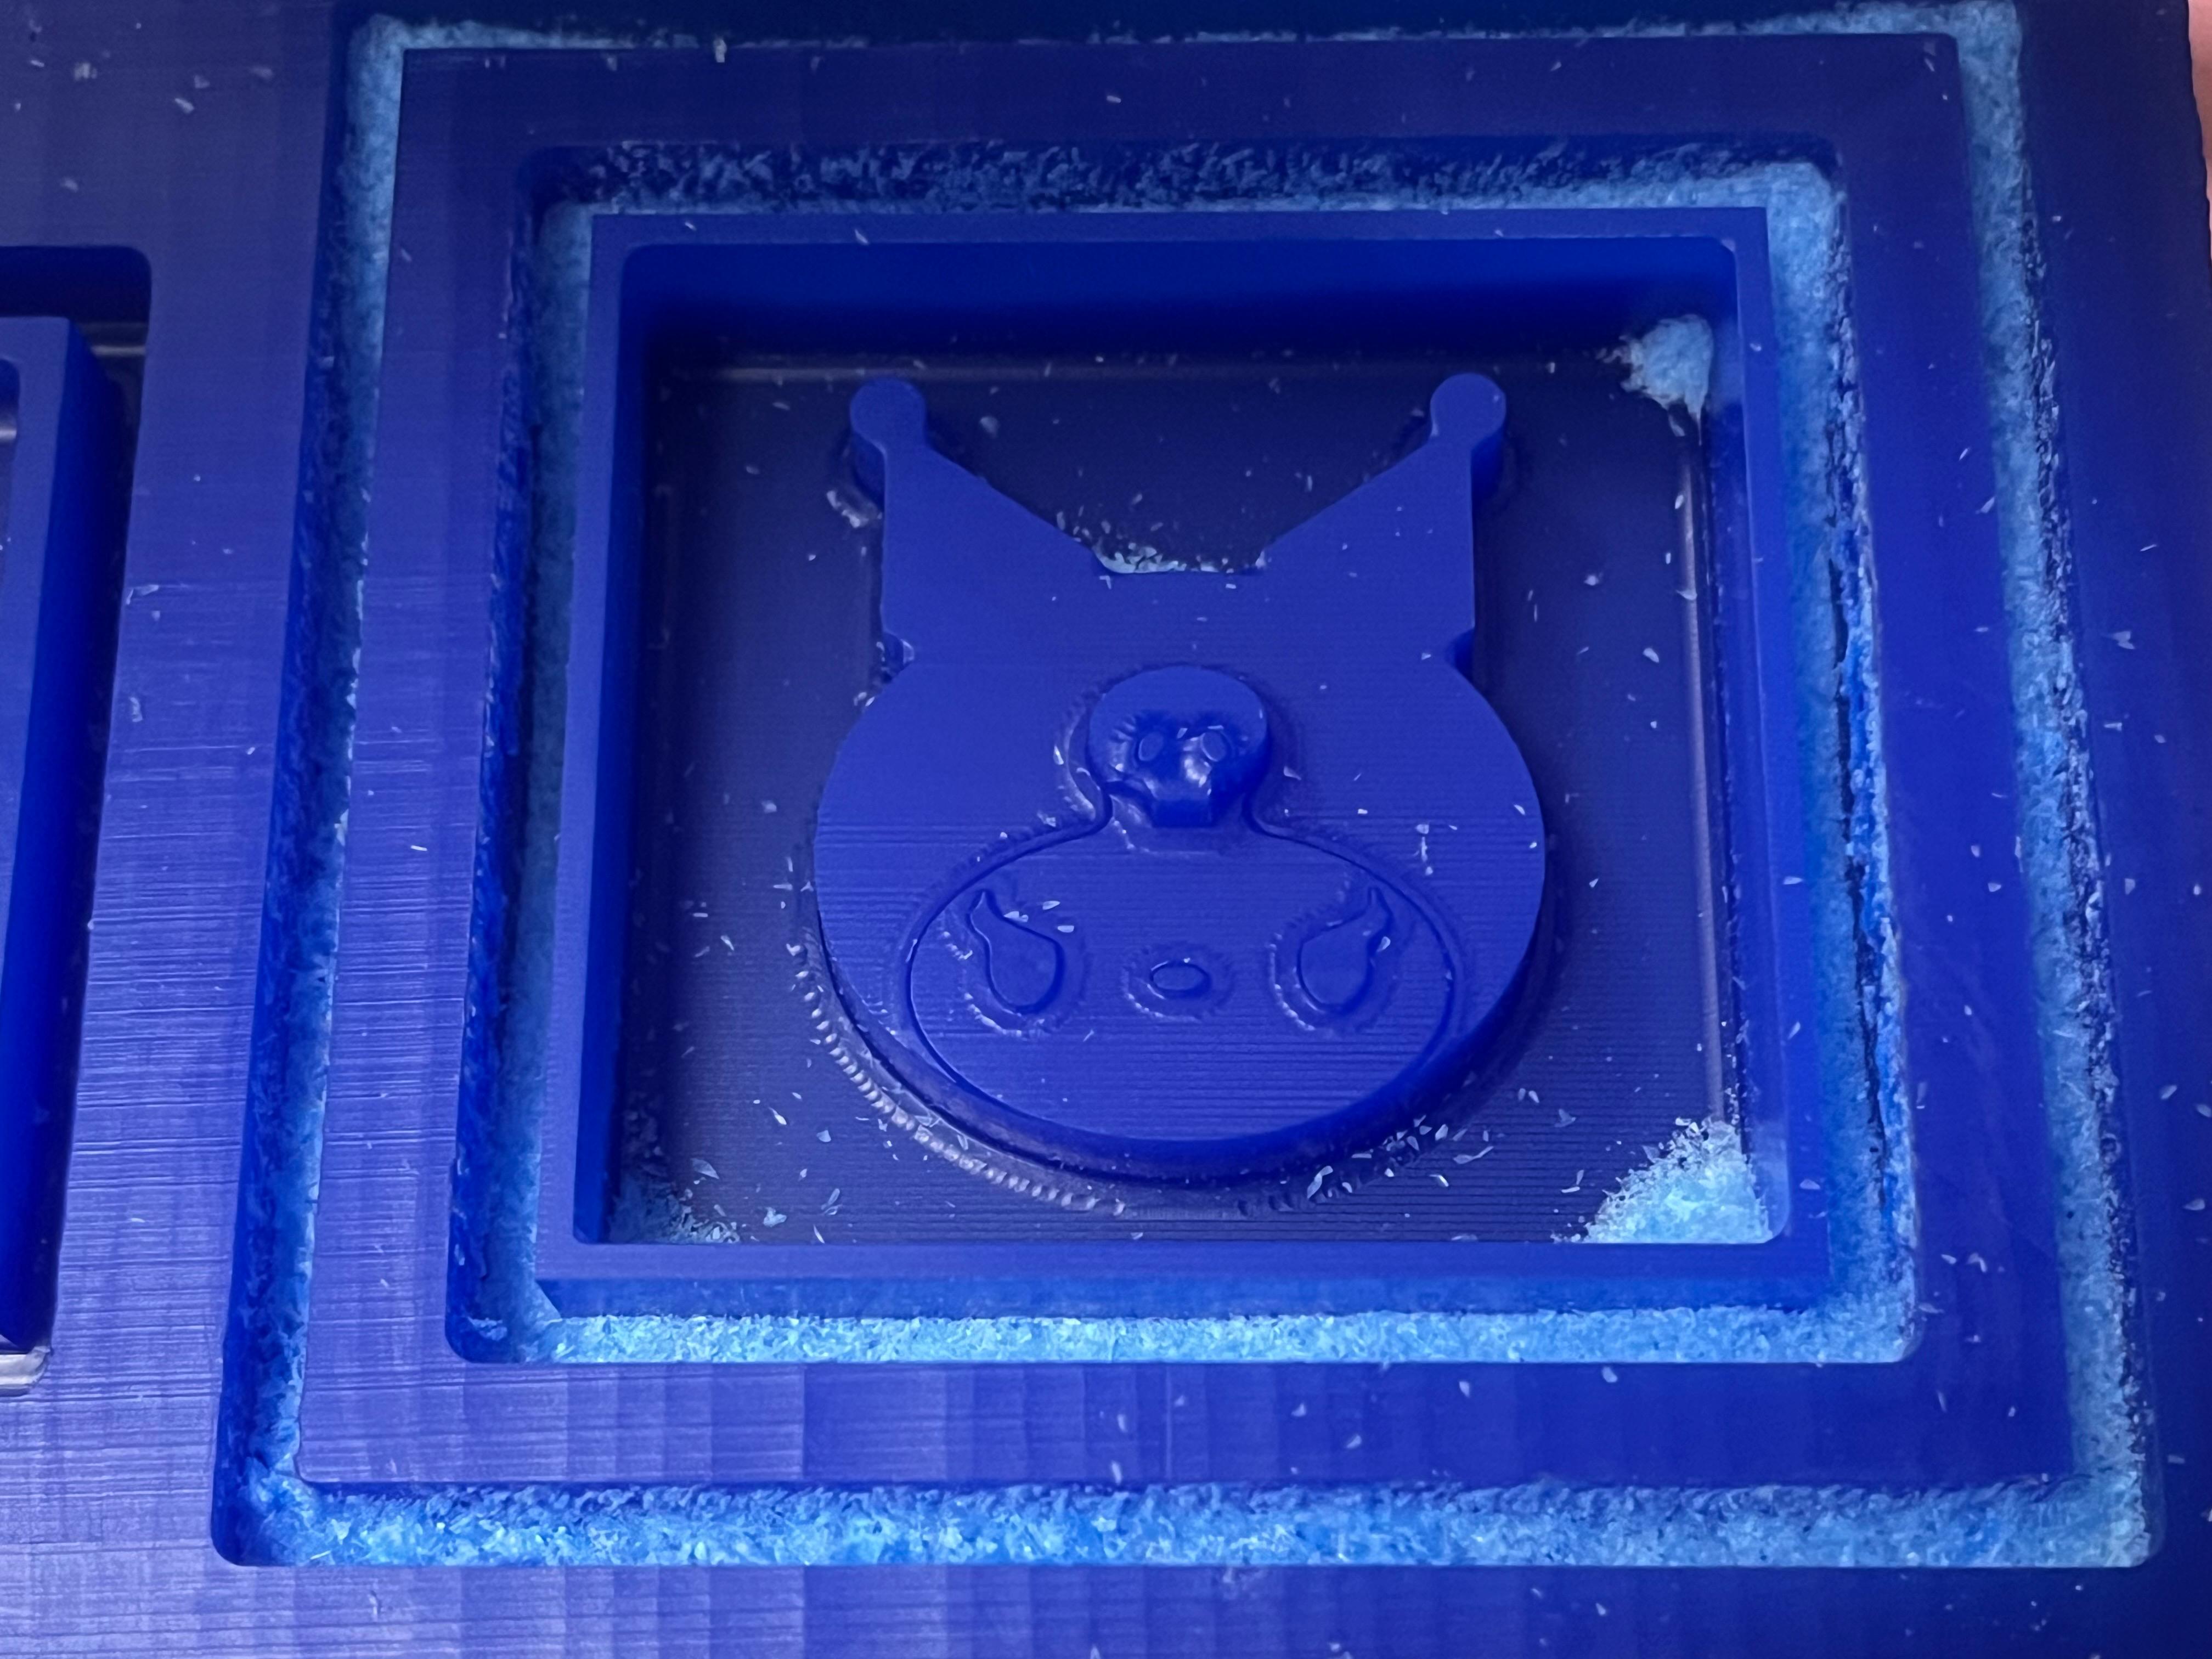
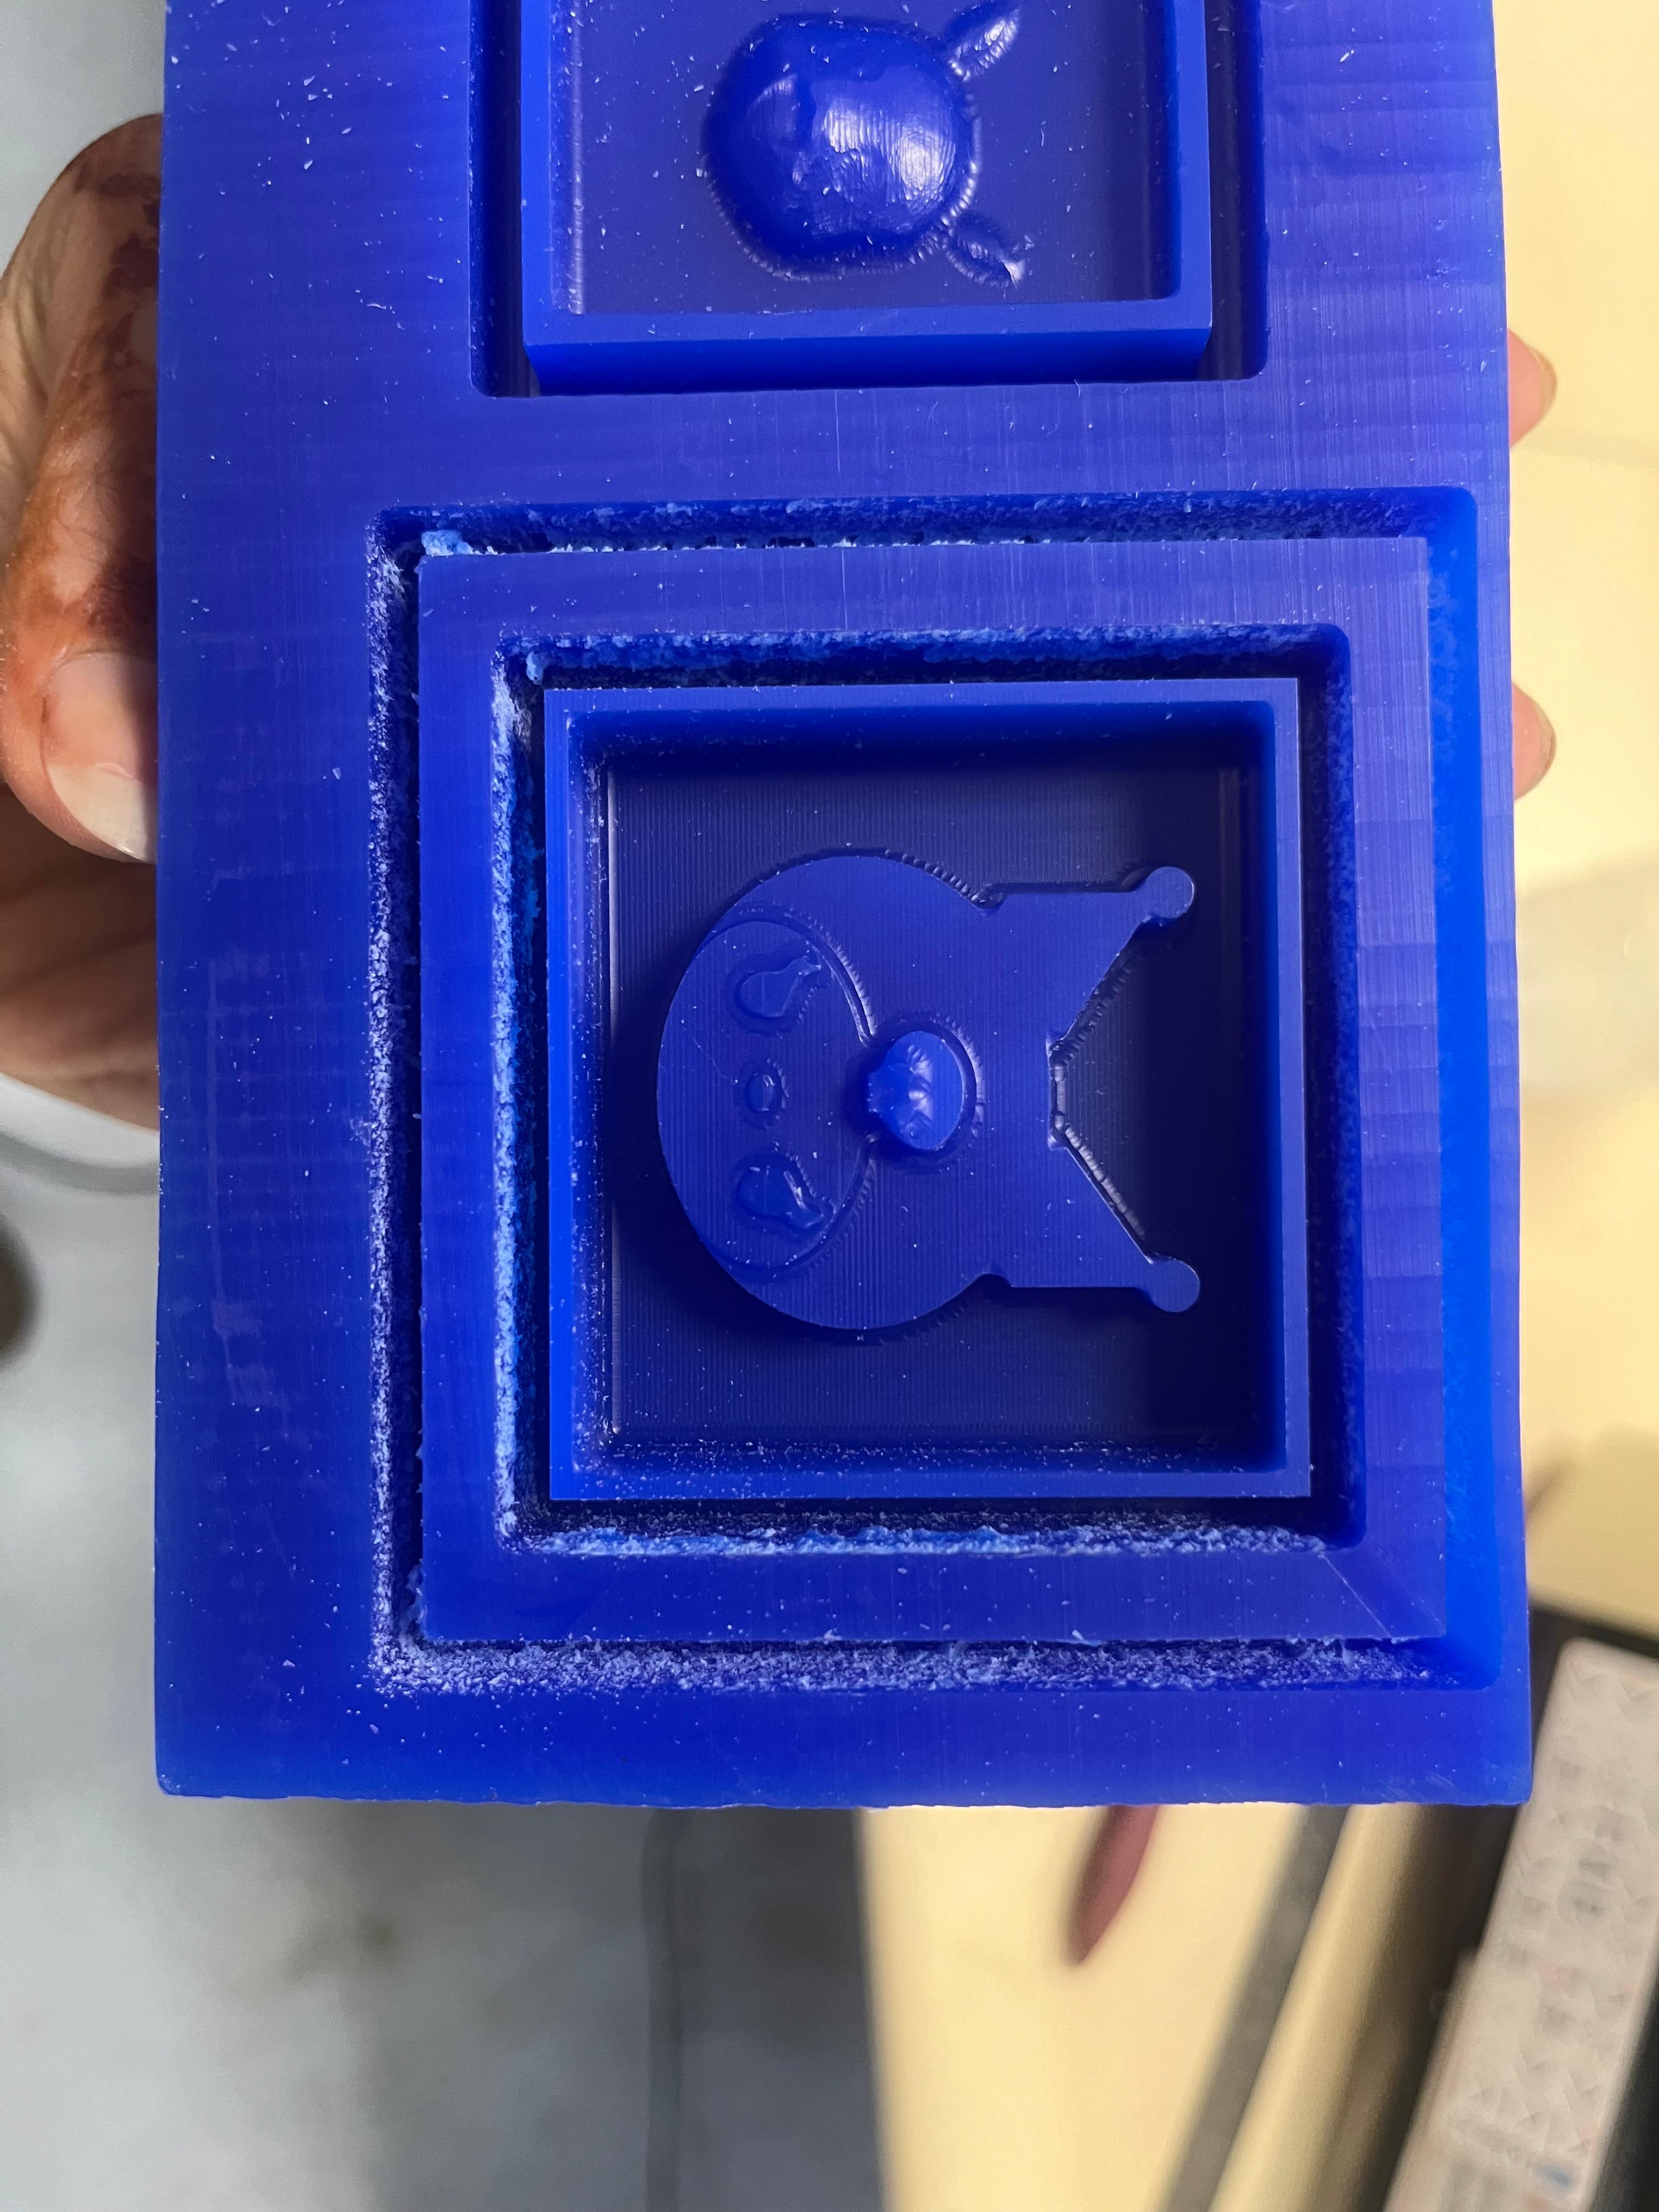
The details came out crisp on the face itself. The fuzzy edges are only on the clearance pocket around the outside of the tray, not on the surfaces the silicone will copy.
🧪 Pouring the Silicone
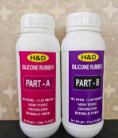
For the negative mould I used a two-part silicone rubber (H&D, Part A + Part B). Silicone cures into a flexible rubber, so it can be peeled off the wax without breaking either one.
🔹 Process
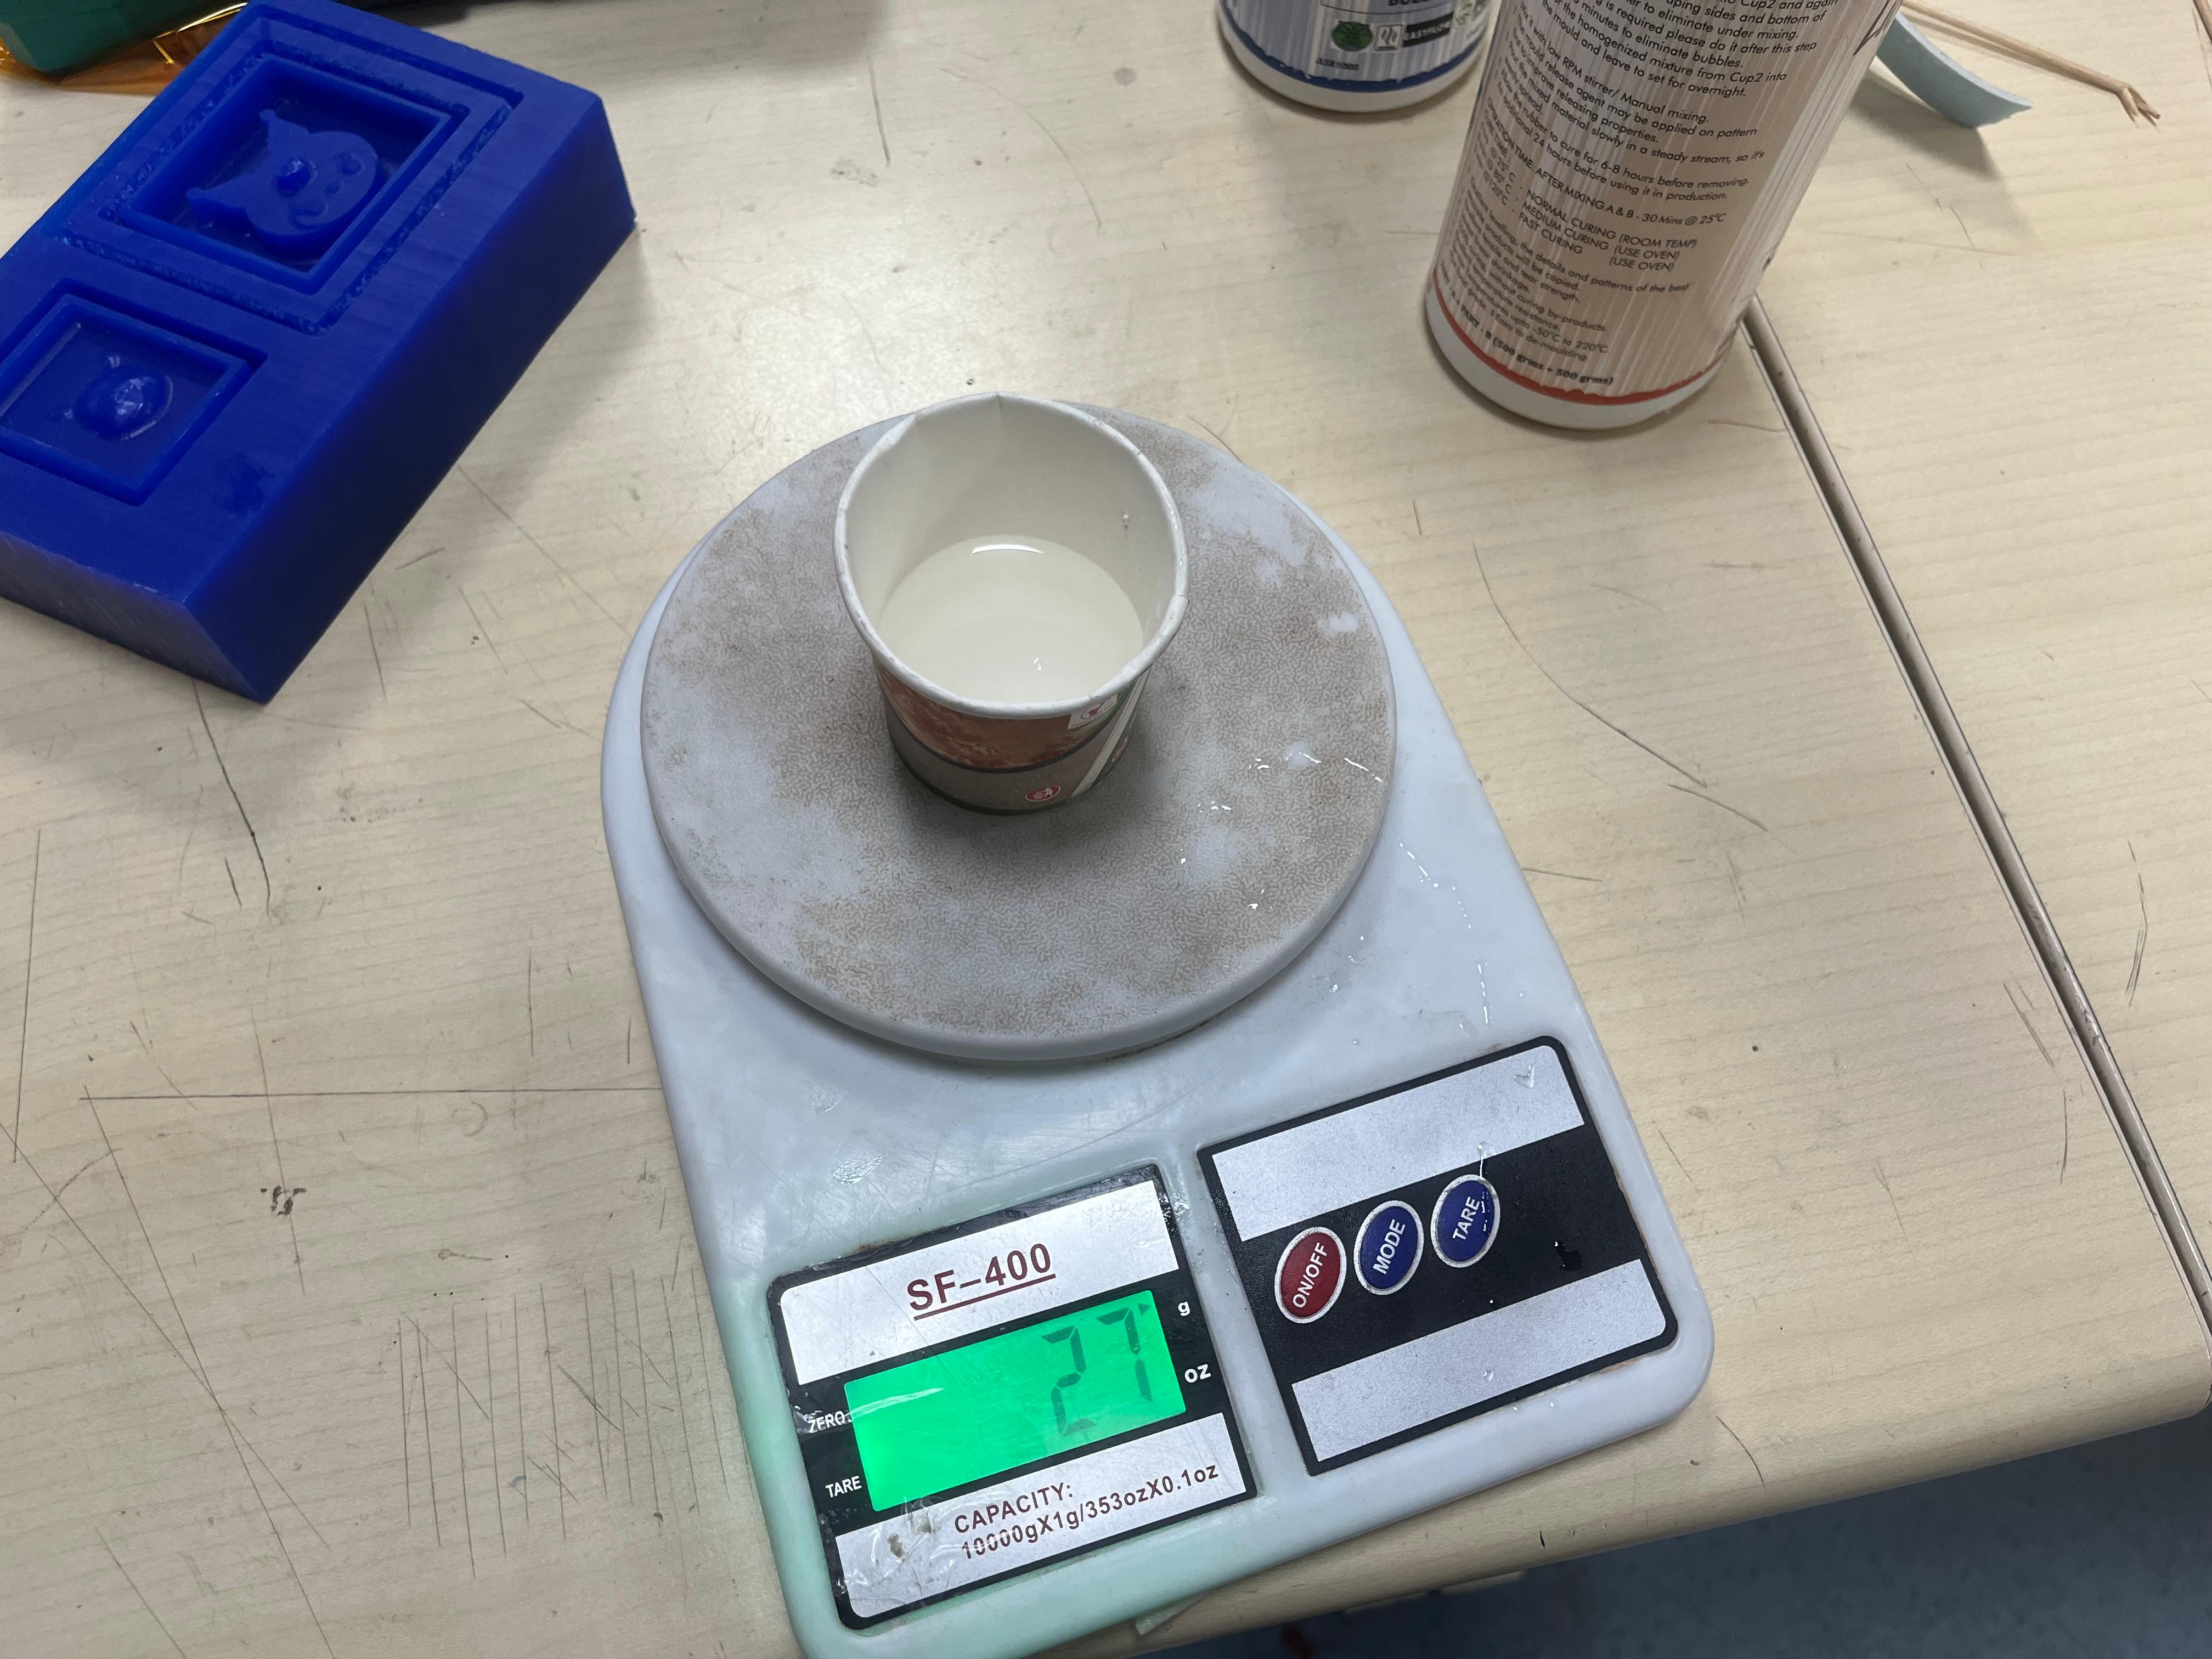
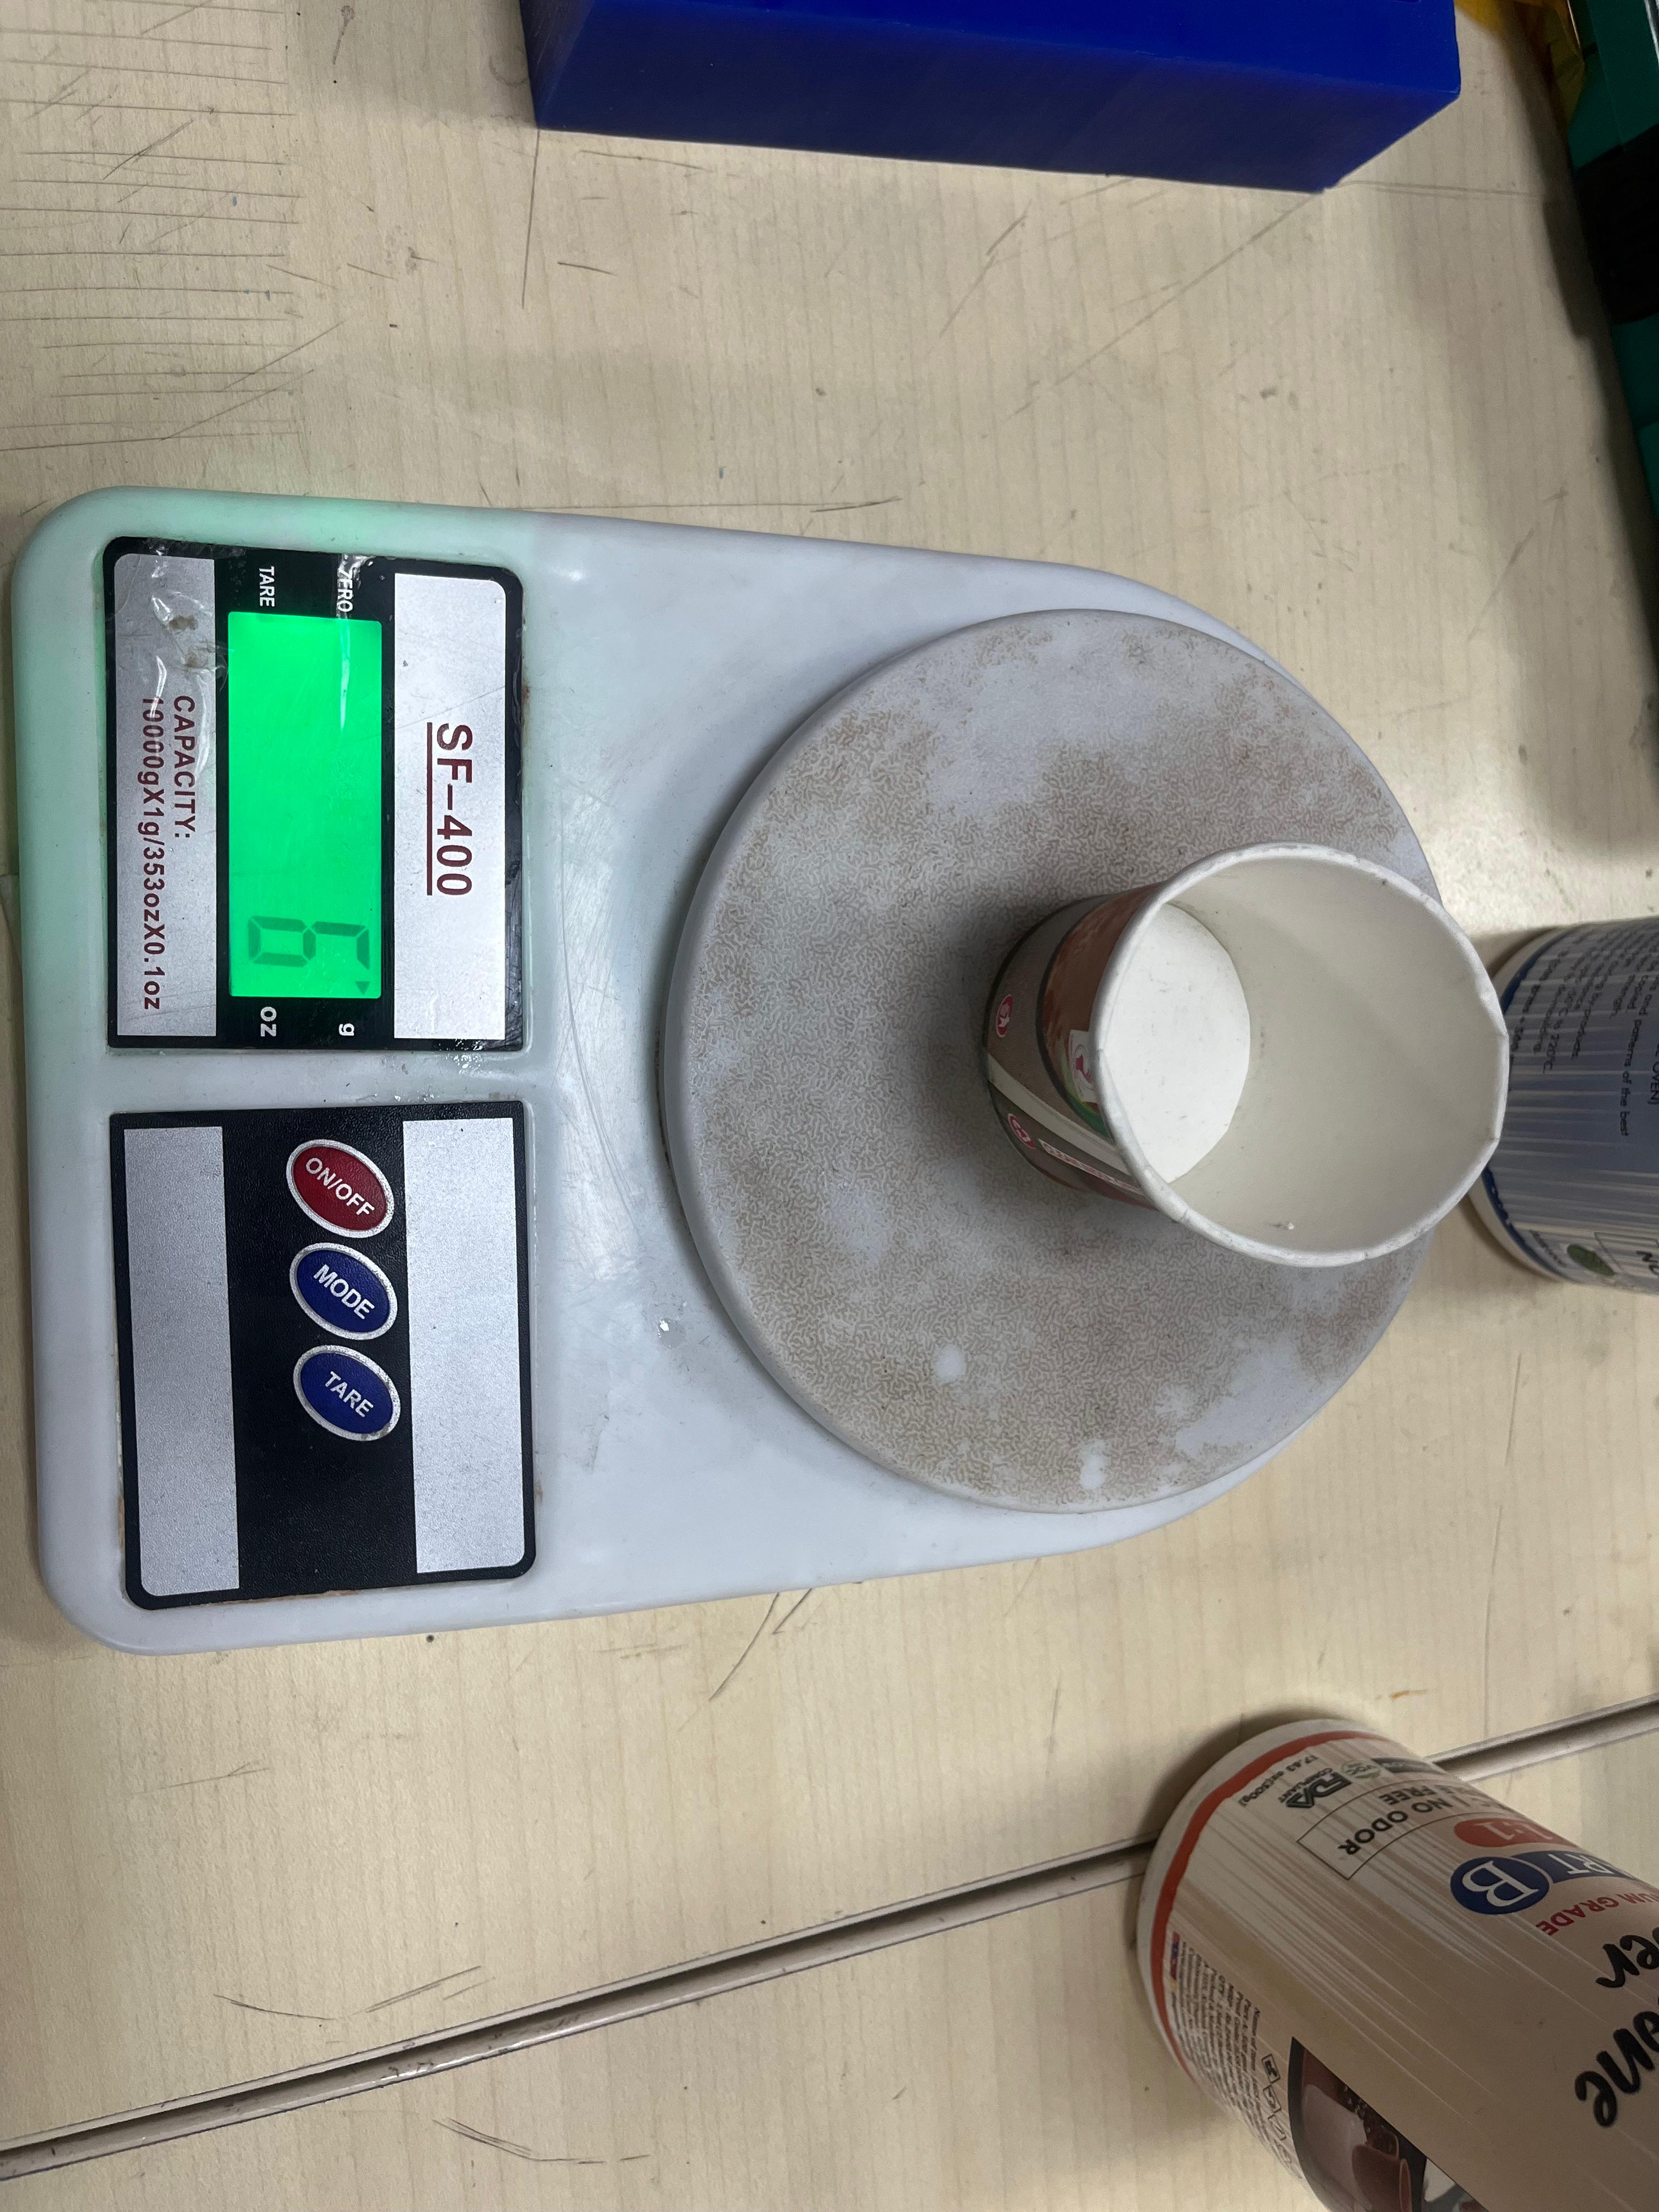
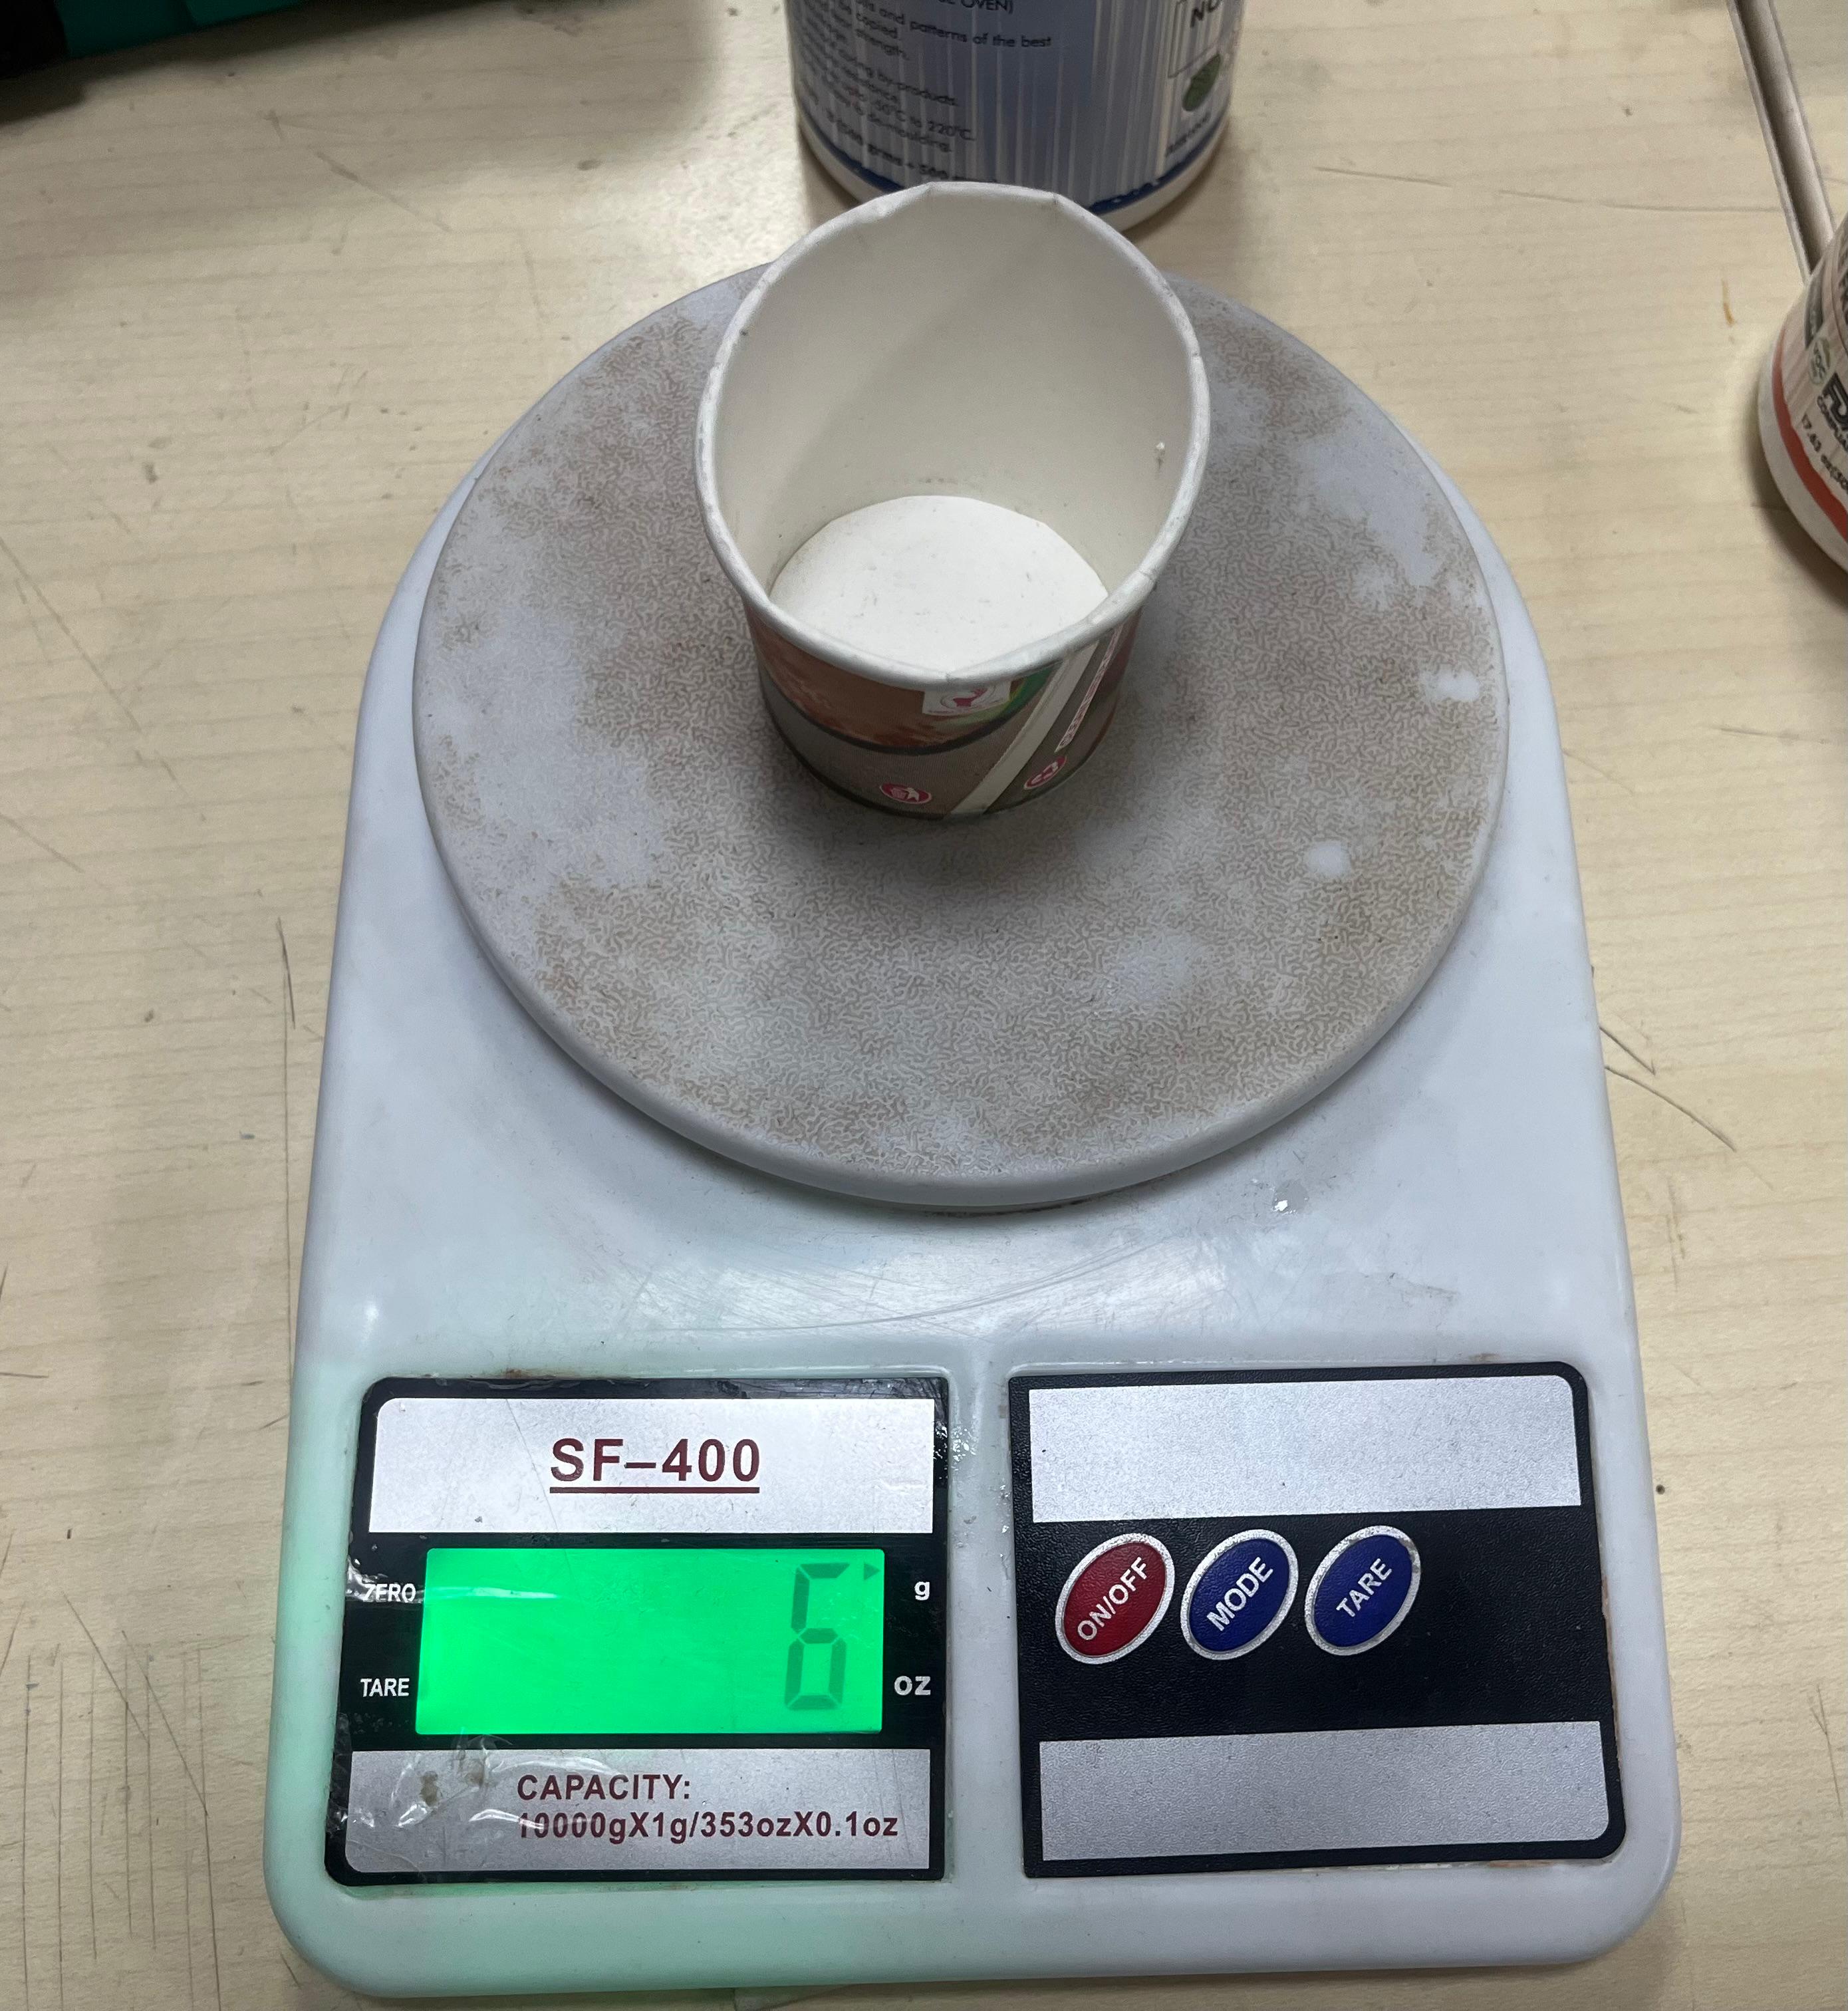
- • Weighed the parts in paper cups on a digital scale (zeroing it with the empty cup first)
- • Mixed them together slowly, scraping the sides and bottom of the cup, to avoid trapping air bubbles
- • Poured the mix into the wax tray in a thin, steady stream from one corner, so the silicone flows over the details and pushes the air out
- • Left it to cure before demoulding
🖤 The Silicone Mould
Once the silicone had cured, I peeled it out of the wax. The result is a flexible negative of the Kuromi face: everything that was raised on the wax is now a cavity in the silicone, ready to be filled with casting material.
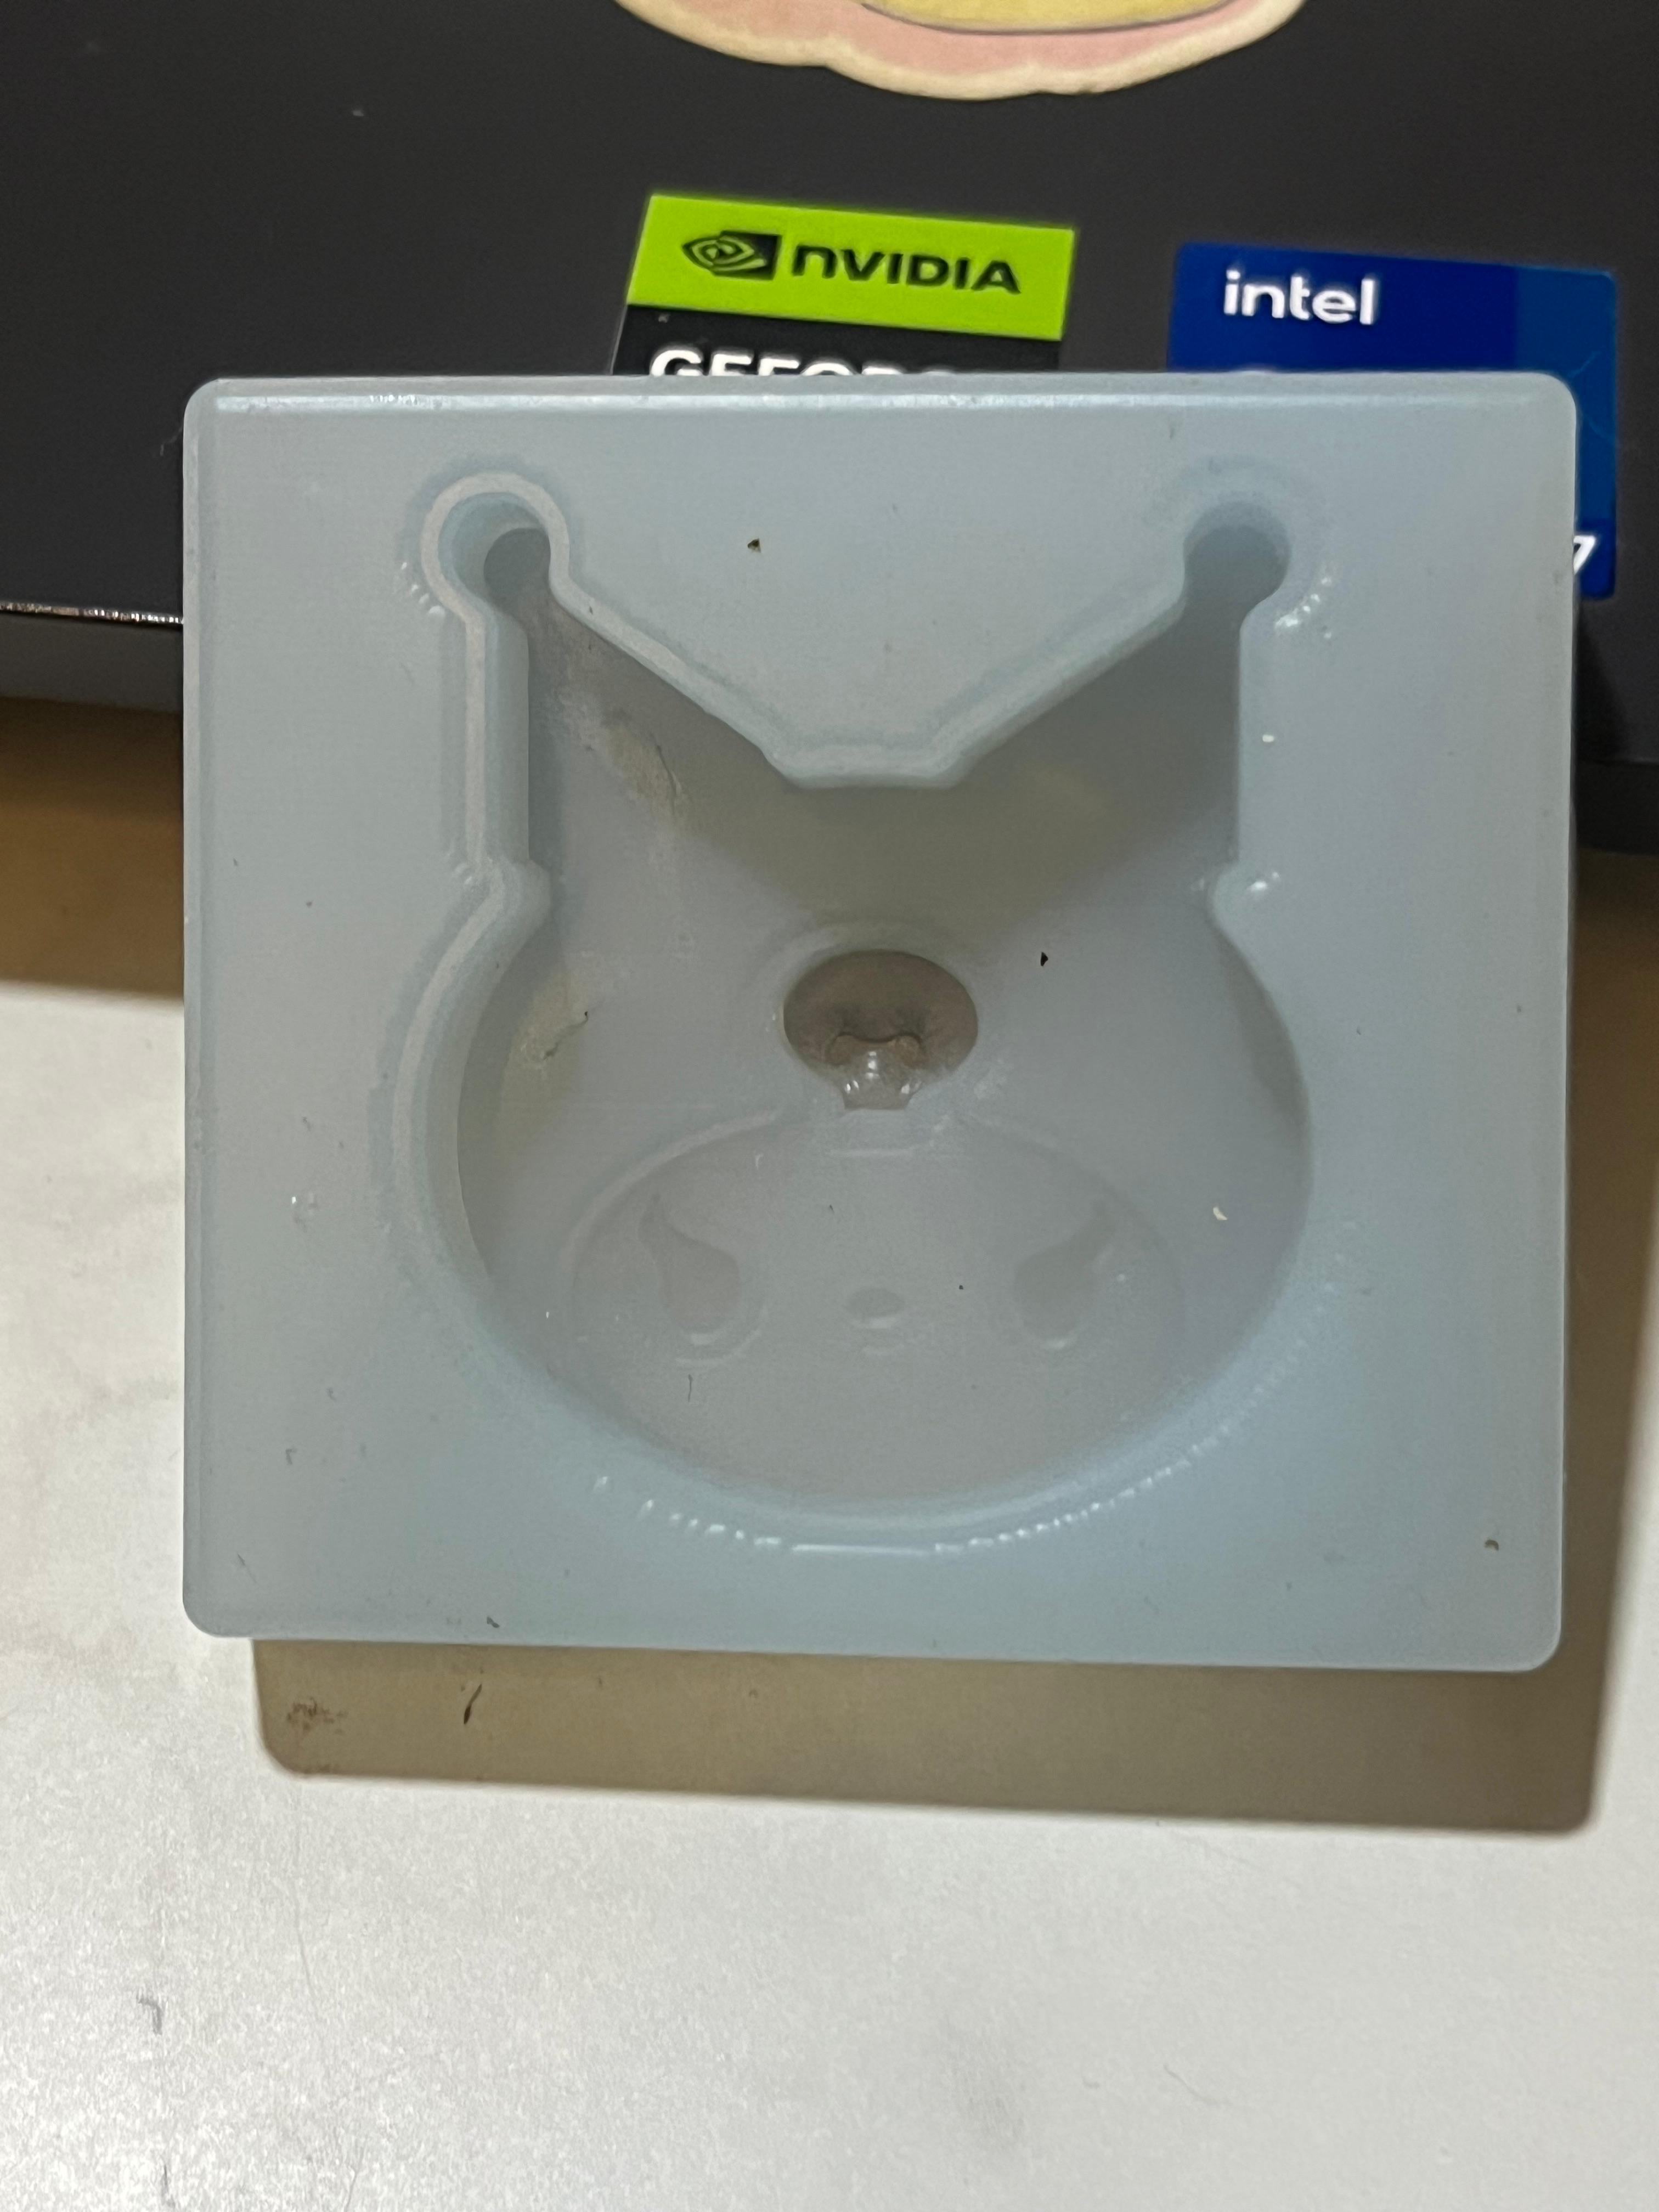
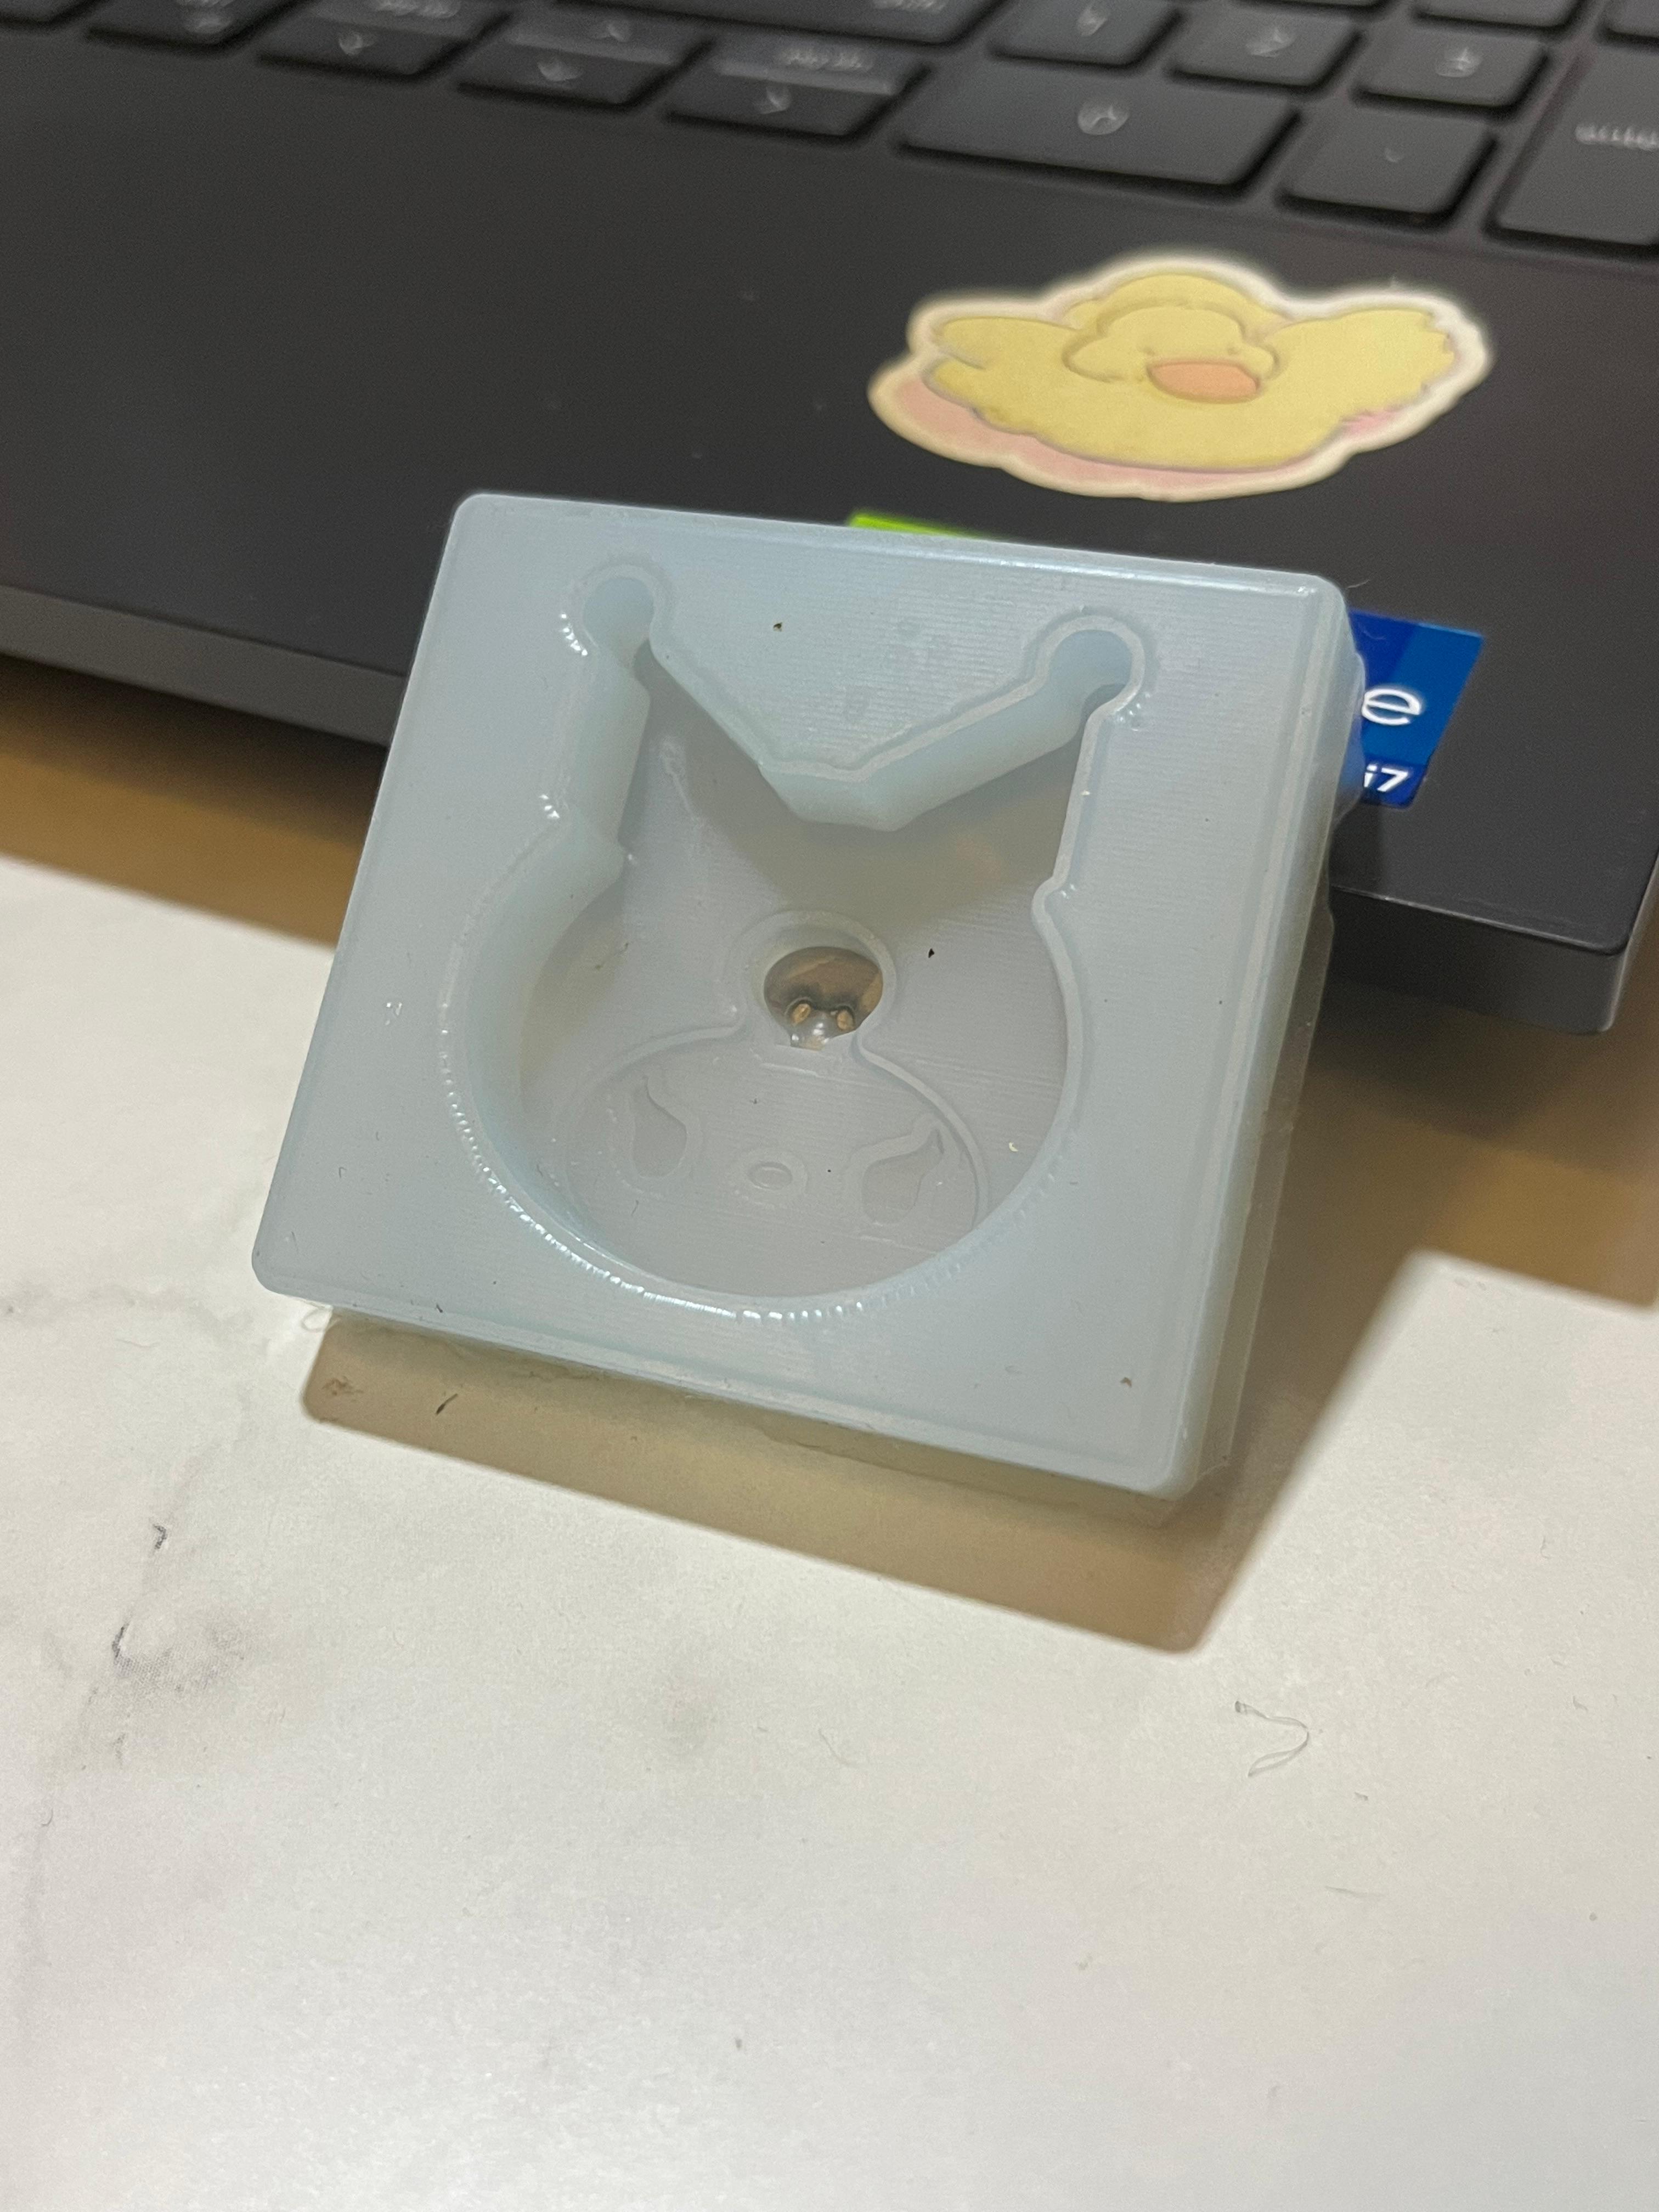
The silicone picked up the ears, the outline of the head, the eyes and the nose, and even the fine tool marks from the milling. A little wax stayed stuck in the skull detail at the centre, which shows how closely the silicone copies the surface.
✨ What I Learned
- • Moulding is a chain of positives and negatives: wax positive → silicone negative → cast positive
- • Designing the walls into the wax means the milled block is also the box that holds the silicone
- • Layered, stepped details mill well and release from silicone more easily than steep undercuts
- • Facing the block first gives the mould a flat, level reference
- • Two-part materials need to be weighed carefully and mixed slowly, or you get bubbles and soft spots
📁 Design Files
Kuromi face mould (.STEP)Kuromi face mould, SolidWorks (.SLDPRT)