Week 9: Input Devices
A.k.a. I bent things, shook things, and yelled at things for data(╯▔皿▔)╯
🪛 Overview
For this week, I tested sensors to understand how physical interaction, motion, and sound can be translated into data. This connects directly to my final project, where the input decides how the puppet moves. The first version of Sandy was actually driven by the sound sensor from this week 🎵
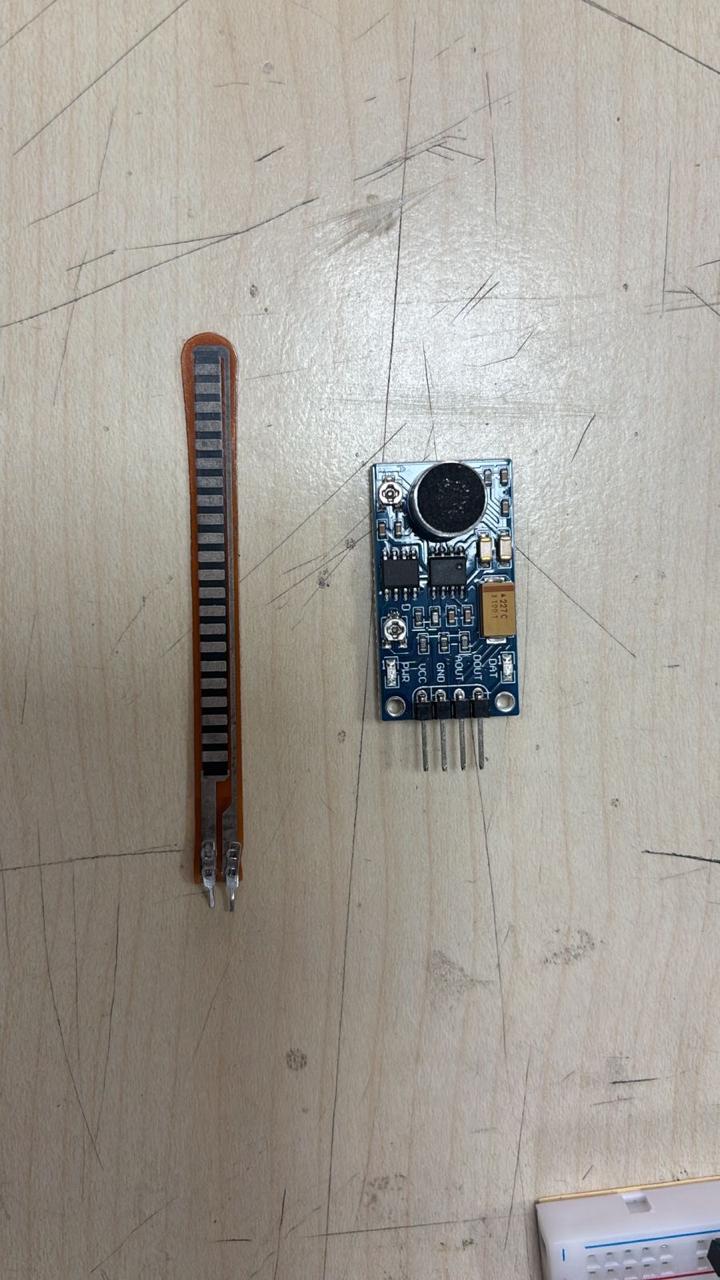
👥 Group Assignment
The group assignment was to probe an input device's analog levels and digital signals.
🔗 View Group Assignment Documentation
🔹 Flex Sensor
👉 Measures bending by changing resistance. The more it bends, the higher the resistance.
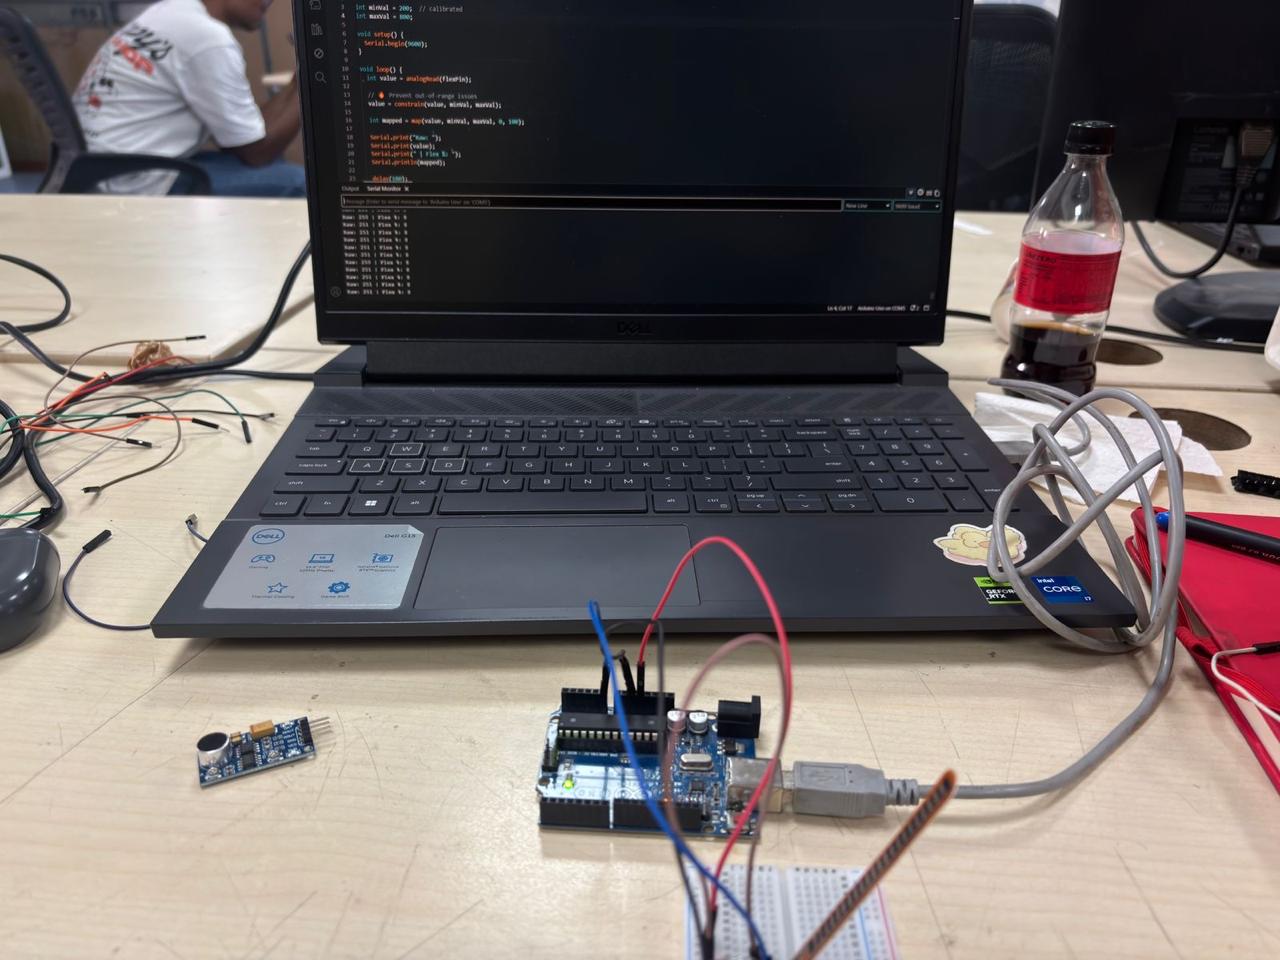
📌 What I did:
- • Connected the flex sensor using a voltage divider circuit
- • Wired it to the Arduino (signal on A0)
- • Added a resistor to stabilize readings
- • Uploaded code to read analog values in the Serial Monitor
- • Physically bent the sensor to observe changes


📌 The code
The raw reading is mapped to a 0–100 "Flex %" so it's easier to read. The minVal and maxVal
values get adjusted after testing what the sensor actually reads when it's straight and fully bent.
int flexPin = A0;

int minVal = 300;  // adjust after testing
int maxVal = 800;

void setup() {
  Serial.begin(9600);
}

void loop() {
  int value = analogRead(flexPin);

  int mapped = map(value, minVal, maxVal, 0, 100);

  Serial.print("Raw: ");
  Serial.print(value);
  Serial.print(" | Flex %: ");
  Serial.println(mapped);

  delay(100);
}
🔹 Sound Sensor
👉 A microphone module with an amplifier. It has an analog output (AOUT) that follows the sound level, and a digital output (DOUT) with a sensitivity pot.
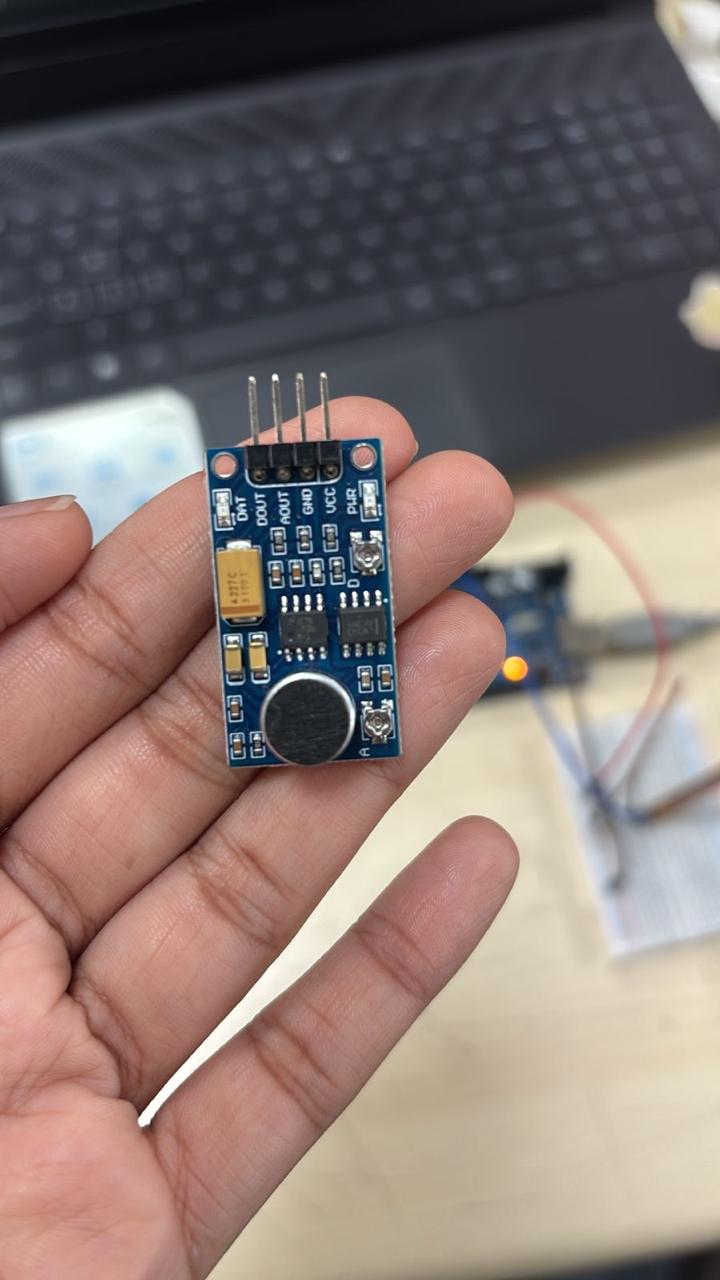
📌 Version 1: Detecting a sound
Instead of just reading the loudness, the code compares each reading to the previous one. If the jump is bigger than a threshold, it counts as a sound (a clap, a beat, me yelling at it...).
int soundPin = A0;

int threshold = 150;   // adjust accordingly
int prevValue = 0;

void setup() {
  Serial.begin(9600);
}

void loop() {
  int value = analogRead(soundPin);
  int diff = abs(value - prevValue);

  if (diff > threshold) {
    Serial.print("🔥 SOUND DETECTED! Value: ");
    Serial.print(value);
    Serial.print(" | Change: ");
    Serial.println(diff);

    delay(50); // to prevent spam
  }

  prevValue = value;  // CRITICAL LINE

  delay(50);
}
📌 Version 2: Plotter
To actually see the signal, I made a version that prints just two numbers per line (the value and the change), so the Arduino Serial Plotter can draw them as two lines.
Serial.print(value);
Serial.print(" ");
Serial.println(diff);
🎭 How This Fed Into My Final Project
My first idea for the puppet was to make it react to music. The sound sensor drove the servos: sound in, movement out. It technically worked, but the movement felt random rather than intentional (¬_¬)
So for the final version I switched the input to voice commands and buttons on my phone, so Sandy can actually perform (wave, bow, dance). That interface is documented in Week 14.
✨ What I Learned
- • A resistive sensor like the flex sensor needs a voltage divider before the microcontroller can read it
- • Raw values are never 0–1023 in practice, so you have to test and calibrate the min and max
- • Looking at the change between readings is a simple way to detect events like claps
- • The Serial Plotter makes a noisy signal much easier to understand than a wall of numbers
📁 Design Files
Flex sensor code (.ino)Sound sensor: detection (.ino)
Sound sensor: plotter version (.ino)