Week 3: Computer Controlled Cutting.
A.k.a. convincing lasers to not burn everything down 🔥😭
🪛 Overview
This week focused on understanding computer-controlled cutting processes, specifically laser cutting and vinyl cutting. The goal was to learn how digital vector files translate into physical fabrication while accounting for machine parameters such as power, speed, kerf, and joint tolerances.
I experimented with both the laser cutter and vinyl cutter to explore their capabilities and limitations. Through hands-on practice, I learned how to prepare vector files for cutting, set appropriate machine parameters, and troubleshoot common issues like material burning or incomplete cuts.Since my final project involves creating physical structures and articulated systems, this week was especially useful in understanding how flat materials can be transformed into functional assemblies.
I explored:
- • Vinyl cutting workflows.
- • Laser cutting setup and testing.
- • Laser cutting setup and testing.
- • Kerf and joint tolerance.
- • Assembly-based design thinking.
🛠️ Safety + Machine Understanding
Before diving into the machines, I made sure to understand the safety protocols and operational guidelines for both the laser cutter and vinyl cutter. This included learning about proper ventilation, material restrictions, and emergency procedures to ensure a safe working environment.
For the laser cutter, I familiarized myself with the control software, material settings, and how to adjust parameters like power and speed to achieve clean cuts without burning the material. I also learned about kerf (the width of material removed by the cut) and how to account for it in my designs to ensure proper fit and assembly.
For the vinyl cutter, I learned how to prepare vector files for cutting, set the appropriate blade depth and cutting speed, and troubleshoot issues like incomplete cuts or material tearing. I also explored how to use the vinyl cutter for creating stencils and decals, which could be useful for adding details to my final project.
You'll find the safety training attached on my friend Vivan Gupta's website.
✂️ Vinyl Cutting
🔹 Exploring Vector-Based Cutting
For the vinyl cutting assignment, I experimented with converting digital vector graphics into cuttable paths.
📌 What I did:Vinyl cutting is less about modeling and more about precision in vector preparation. Tiny inconsistencies in paths directly affect fabrication output.
🔥 Laser Cutting
🔹 Understanding Kerf + Joint Tolerance
The main focus of this week was learning how laser cutting removes material and how this affects press-fit construction.
📌 Kerf TestingKerf refers to the amount of material removed by the laser beam during cutting.
To understand this:
🧩 Parametric Construction Kit
Making flat things become not-flat things ✨
For this assignment, I explored modular press-fit construction using laser-cut parts and repeating parametric patterns.
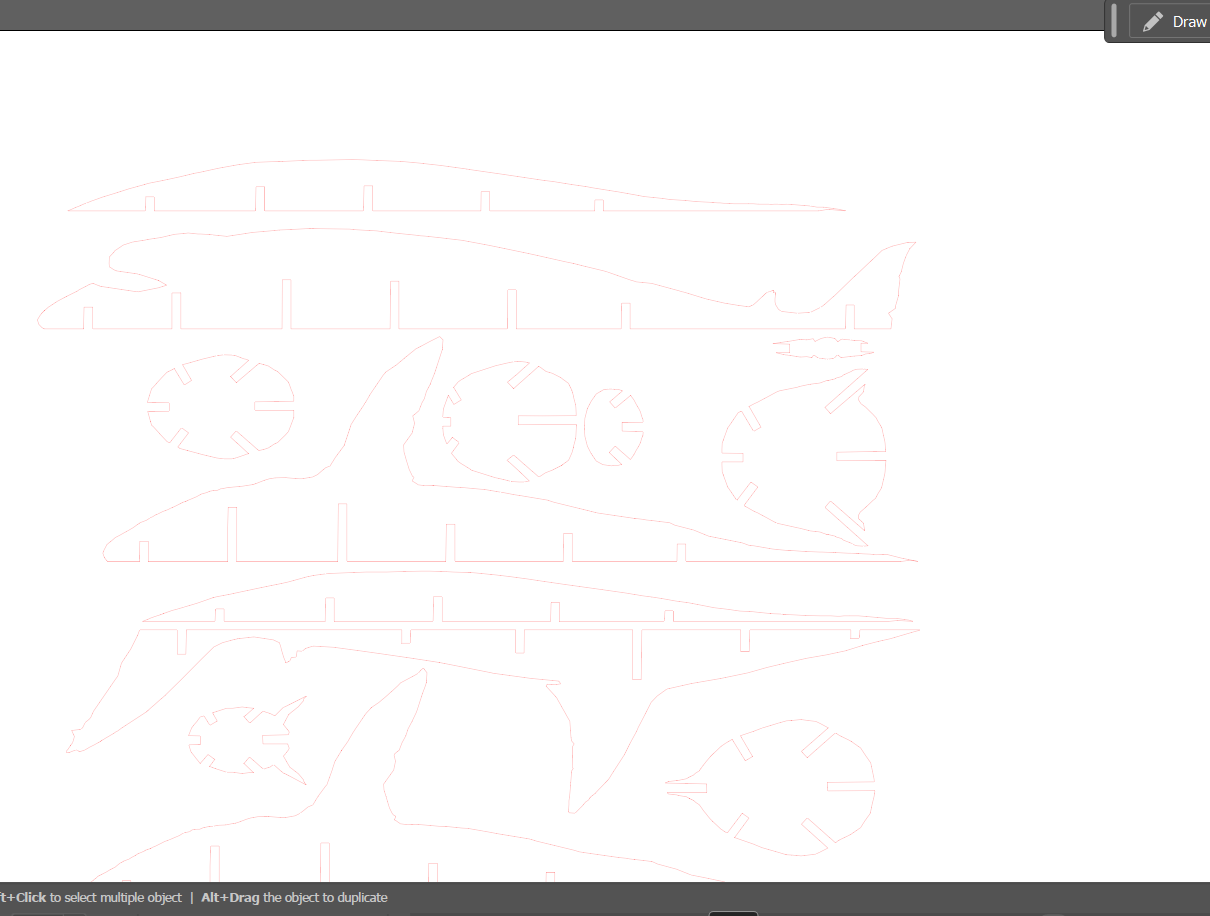
The first design was a cardboard shark model assembled using slot-based joints without glue. The second was a repeating parametric paper pattern that could be folded and combined into different forms.
- • Designed slot-based shark parts for press-fit assembly on illustrator
- • Adjusted slot sizes according to cardboard thickness
- • Laser cut and assembled the shark model
- • Created and laser cut a repeating paper pattern
- • Tested different combinations and forms