Week 14: Interface & Application Programming.
A.k.a. I talk to my phone, my phone talks to my board, my board makes Sandy move 🎙️🎭
🪛 Overview
The assignment this week: write an application for the embedded board I made that interfaces a user with an input and/or output device I made.
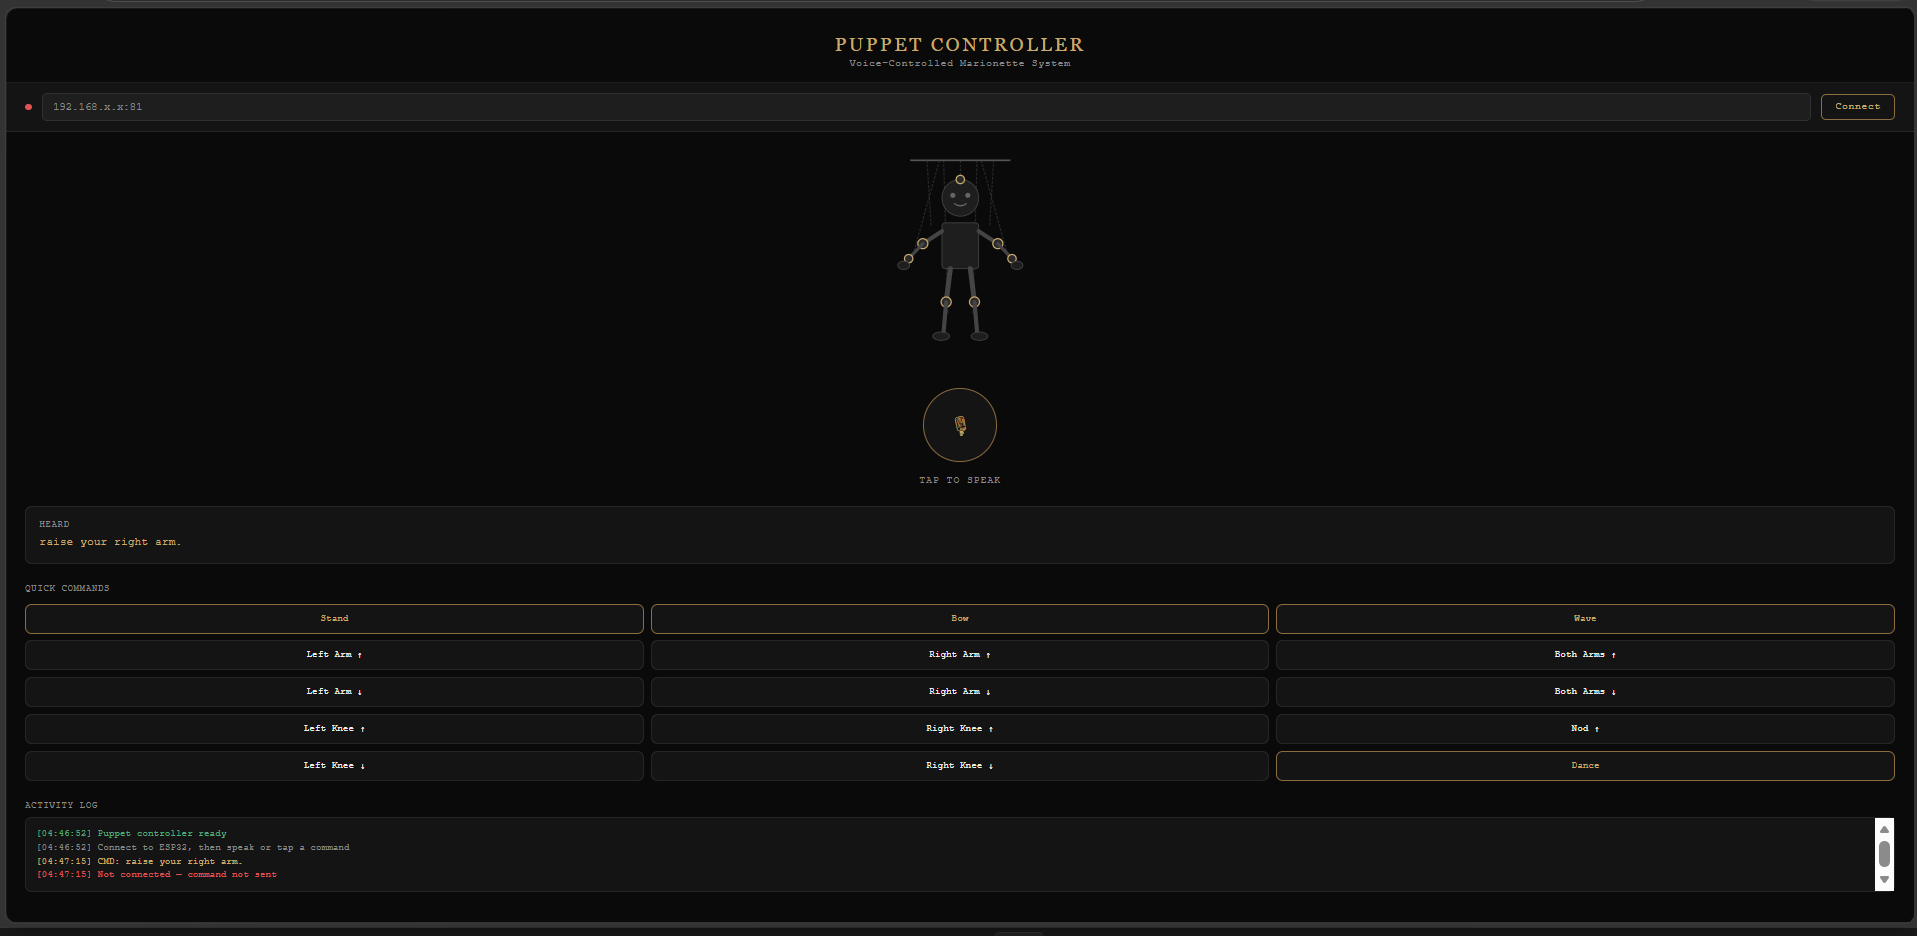
I built this straight into my final project, Sandy: The Performer 🎭. The application is a Puppet Controller web app that runs in the phone's browser. You can either speak a command or tap a button, and the app sends it over Wi-Fi to my custom XIAO ESP32-S3 board. The board then drives the servos that pull the puppet's strings.
- • User: me, with a phone 📱
- • Application: HTML + CSS + JavaScript page (voice input + buttons)
- • Board: my custom XIAO ESP32-S3 PCB
- • Output device: PCA9685 servo driver + SG90 servos pulling the puppet's strings
🔗 How It All Connects
Phone browser (voice / buttons)
   ↓  JSON over WebSocket
Wi-Fi access point "PuppetControl"  (192.168.4.1, port 81)
   ↓
XIAO ESP32-S3 on my PCB
   ↓  I²C (SDA D4, SCL D5)
PCA9685 servo driver (0x40, 50 Hz)
   ↓
SG90 servos → strings → Sandy moves 🎭
The ESP32 doesn't need a router: it creates its own Wi-Fi network. The phone joins PuppetControl,
opens the web page, and connects to ws://192.168.4.1:81. Every command is a tiny JSON message:
{"command": "wave"}
The board replies with {"status":"ok"} once it has handled the command, and the app logs it as ACK ✓.
🧩 The Board
The application talks to the custom PCB I designed in EasyEDA and milled for the final project. It carries the XIAO ESP32-S3 and has a 4-pin header (SDA, SCL, VCC, GND) for the PCA9685 servo driver.
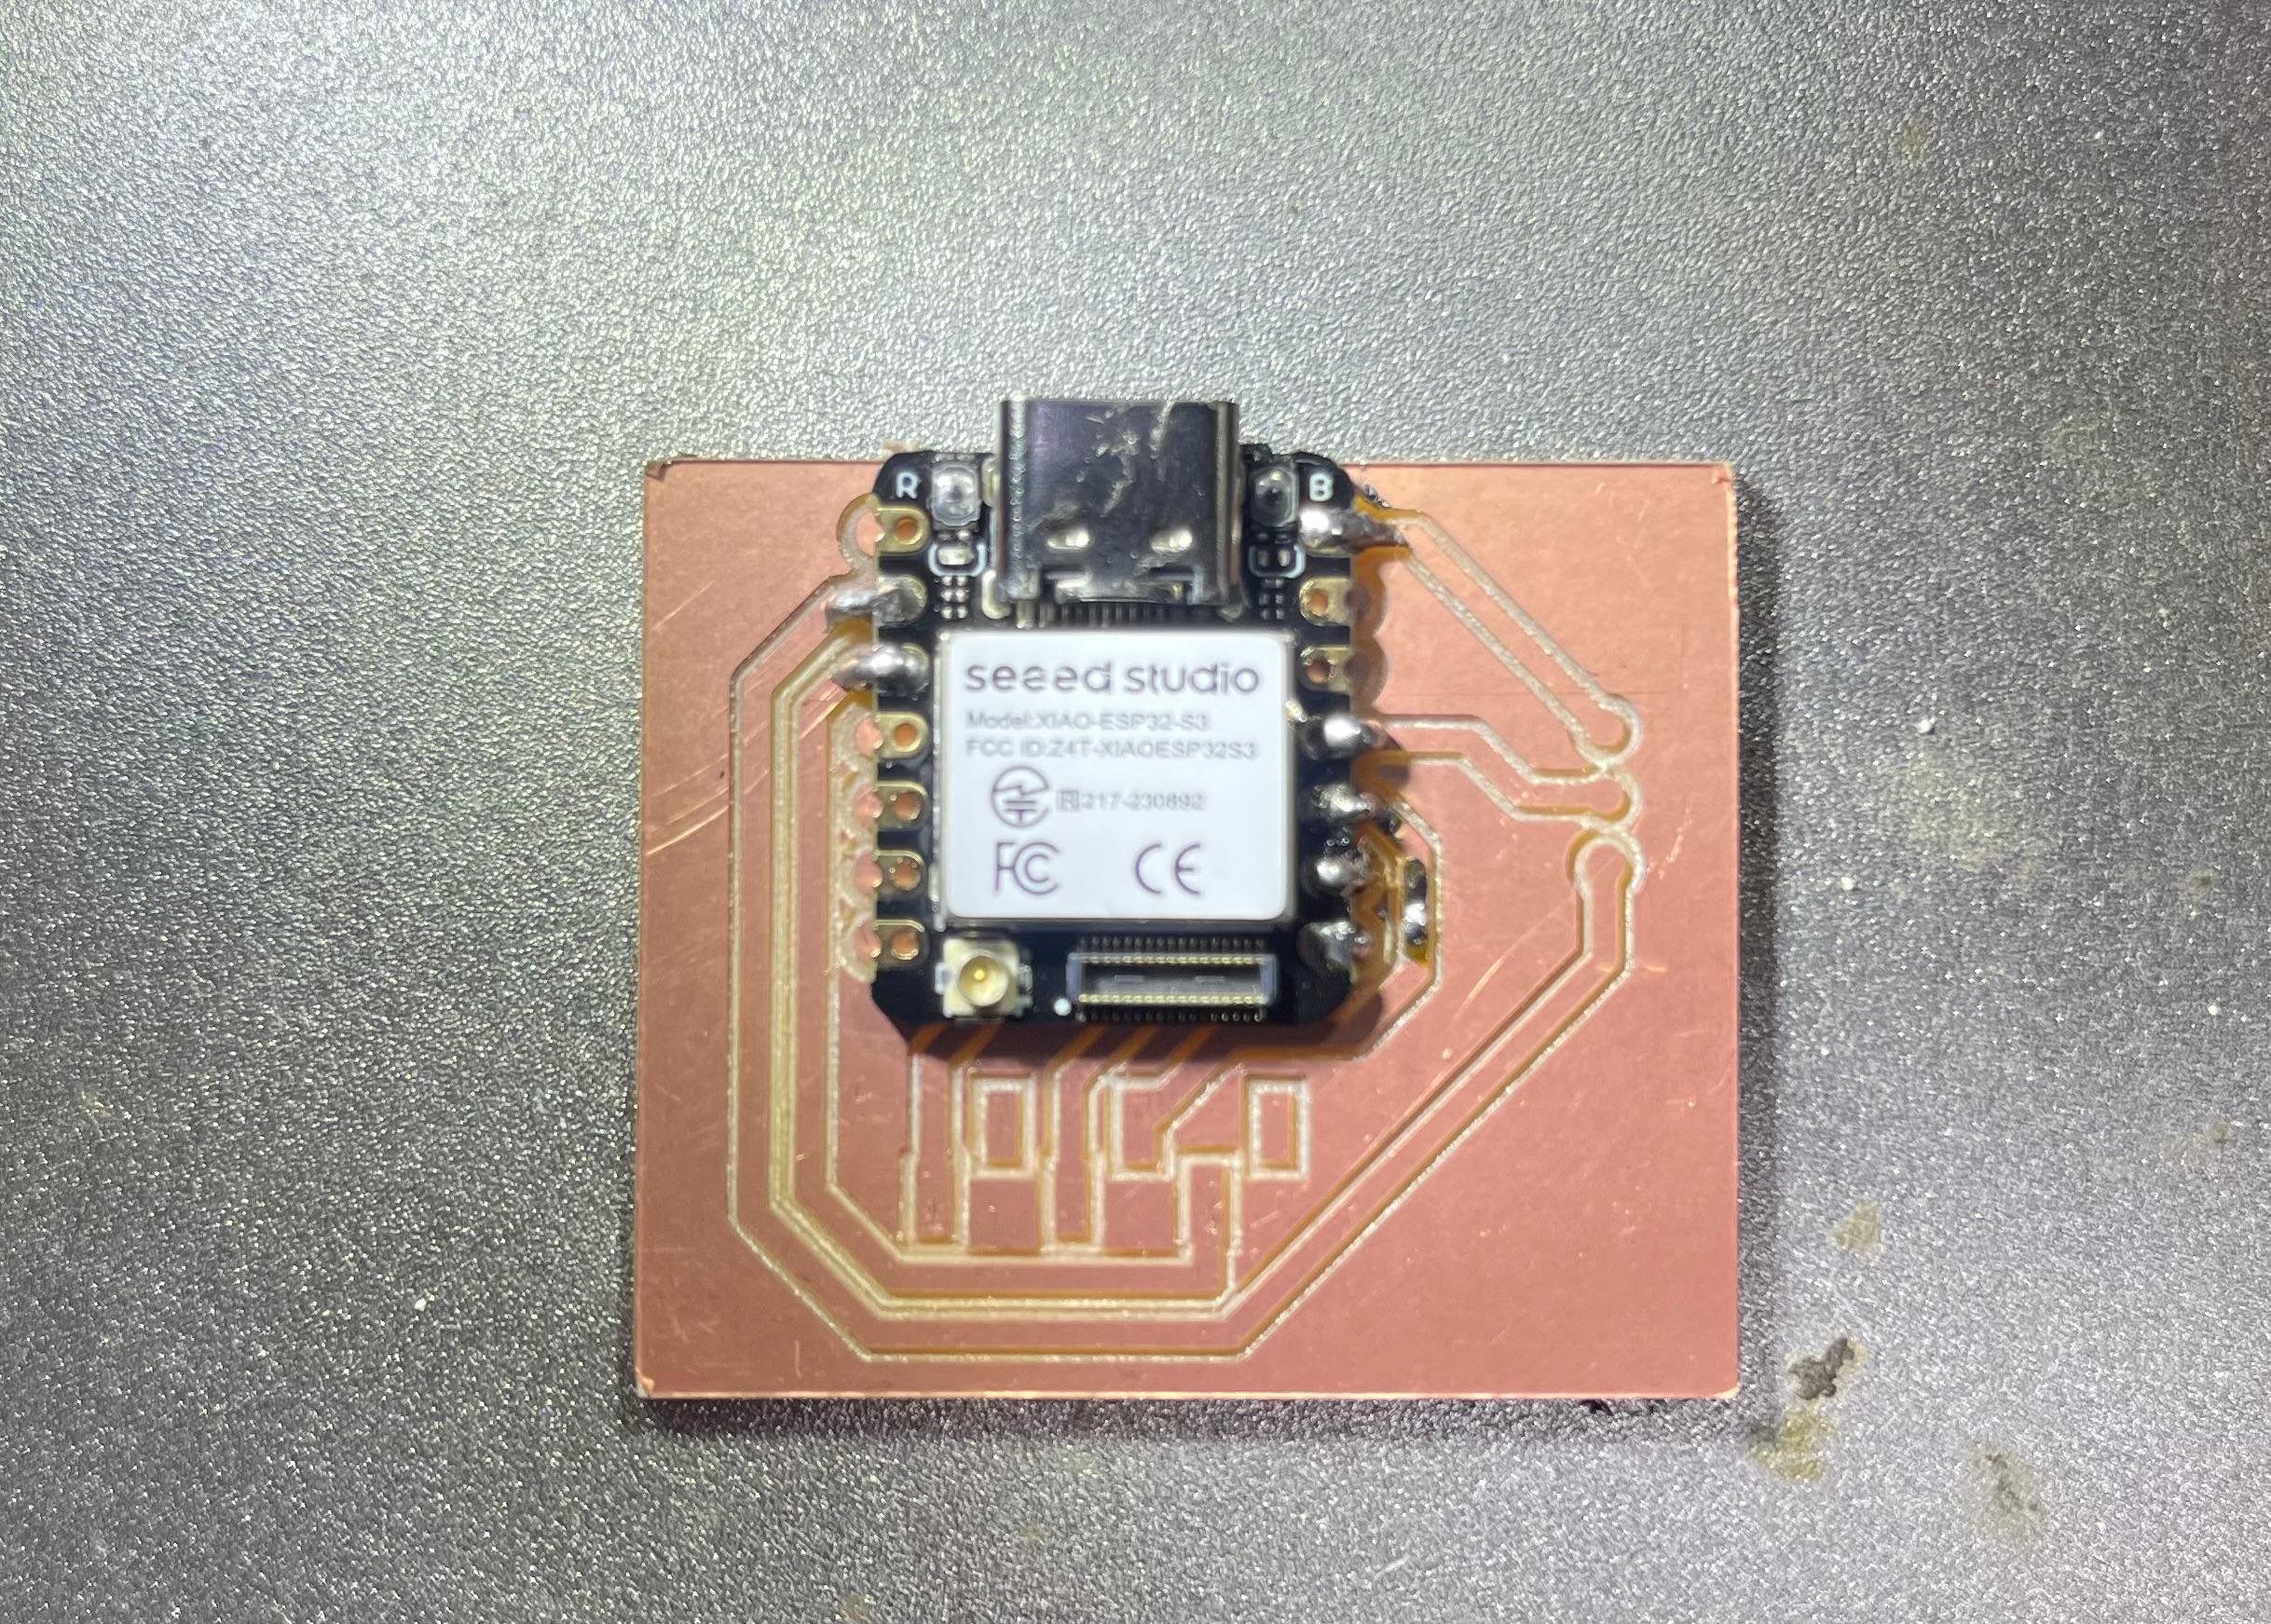
| XIAO pin | PCA9685 pin |
|---|---|
| SDA (D4) | SDA |
| SCL (D5) | SCL |
| 3.3V | VCC (logic) |
| 5V | V+ (servo power) |
| GND | GND (shared) |
📱 The Interface
The whole app is a single HTML file with its CSS and JavaScript inside, so there's nothing to install. I went for a dark theatre look with gold accents, to match the stage ✨
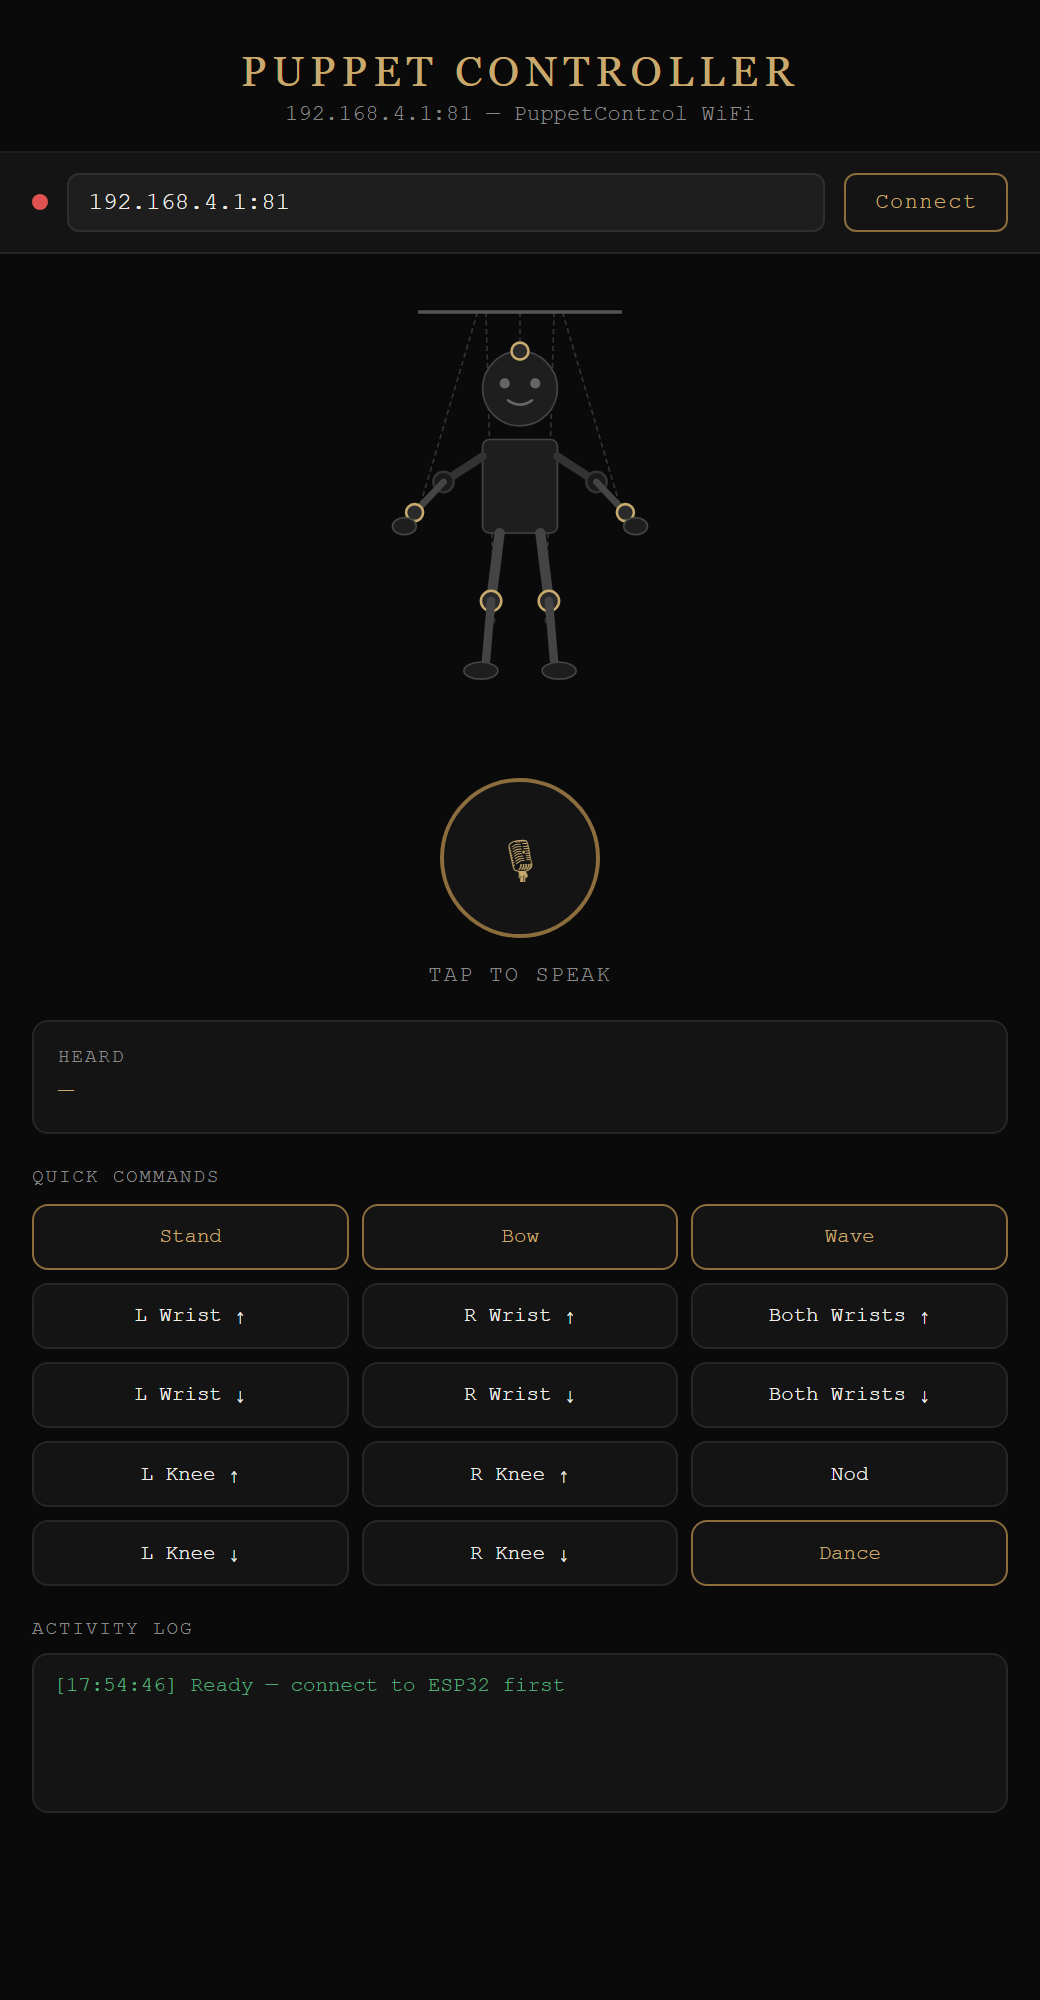
🔹 What's on the screen (top to bottom)
- • Connection bar: the board's address (pre-filled with
192.168.4.1:81), a Connect button, and a status dot that turns from red to green once connected - • Puppet diagram: an SVG of Sandy with the 5 active joints (head, both wrists, both knees) drawn as gold circles. The elbows are greyed out because they aren't used in the final version
- • Mic button: tap to speak, and it pulses while it's listening 🎙️
- • Heard: shows what the app understood (or which button you pressed)
- • Quick Commands: a 3 × 5 grid of buttons. The gold-outlined ones are full poses (Stand, Bow, Wave, Dance)
- • Activity Log: timestamped messages: commands in gold, success in green, errors in red
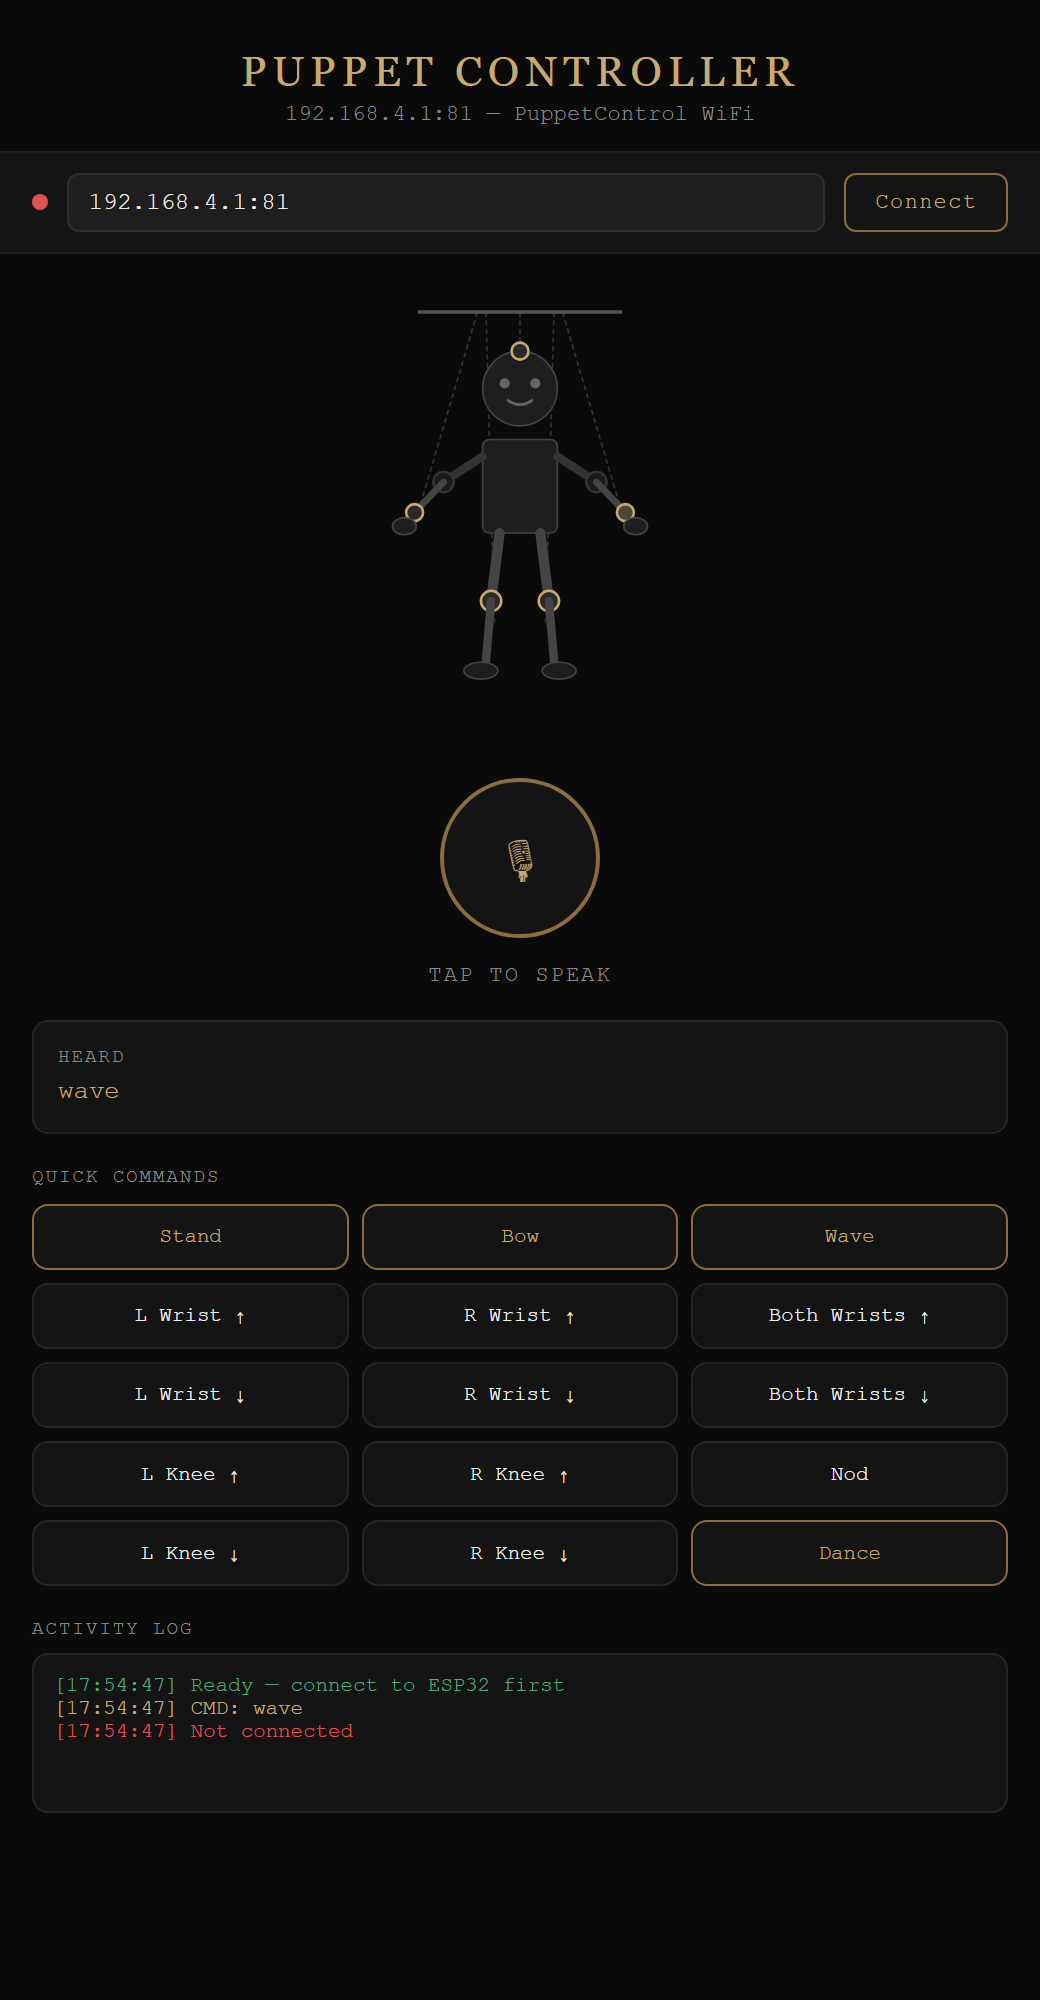
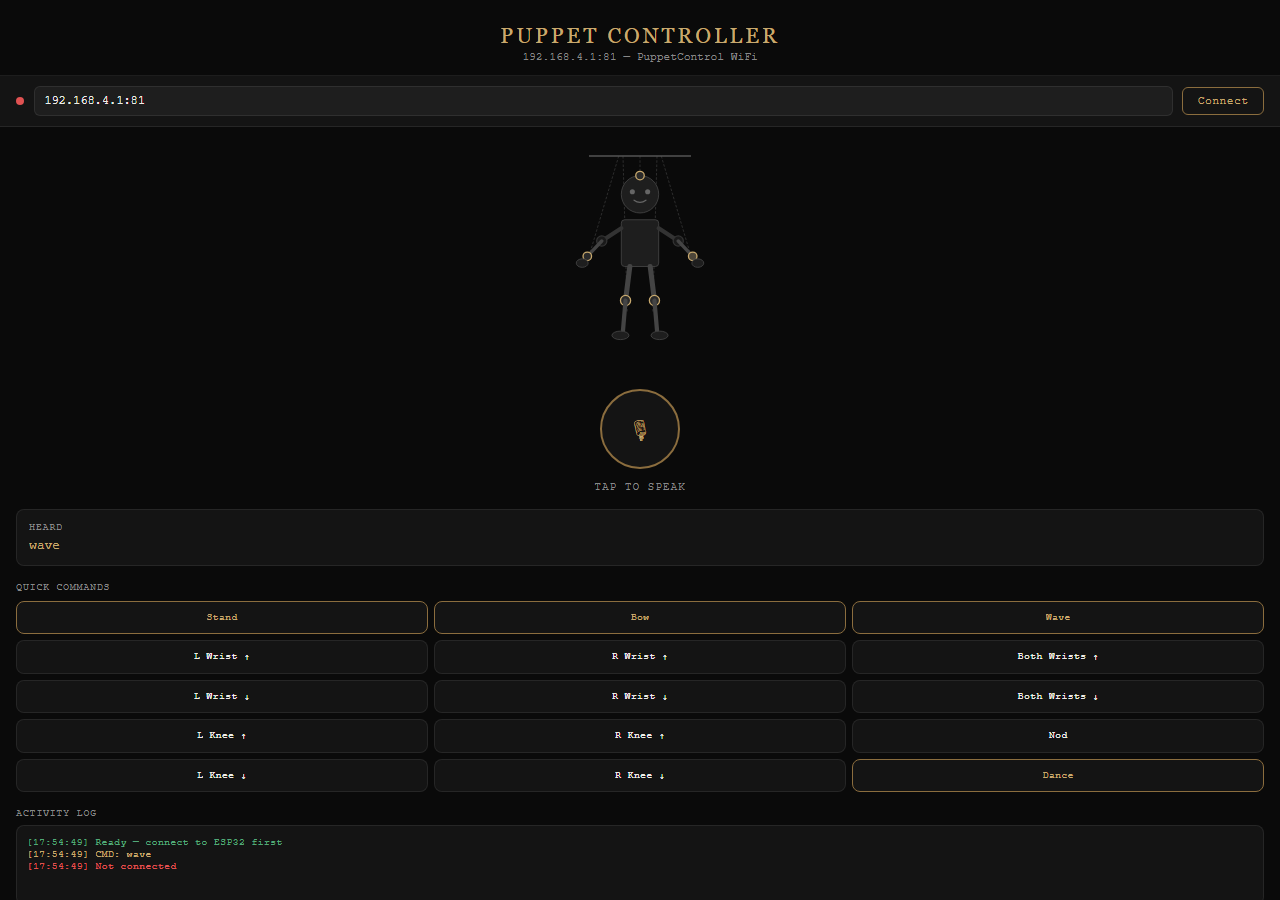
🎙️ Voice Input
Voice uses the browser's built-in Web Speech API (SpeechRecognition, or webkitSpeechRecognition in Chrome).
It listens in English, shows the words live as you speak (interim results), and as soon as the sentence is final it sends it as a command.
If the browser doesn't support it, the log says "Speech not supported in this browser".
r.onresult = (e) => {
  let interim='', final='';
  for (let i=e.resultIndex; i<e.results.length; i++) {
    if (e.results[i].isFinal) final += e.results[i][0].transcript;
    else interim += e.results[i][0].transcript;
  }
  if (interim) document.getElementById('transcriptText').textContent = interim;
  if (final) sendCmd(final.trim());
};
📤 Sending a Command
Buttons and voice both end up in the same sendCmd() function. It lowercases the text, shows it under "Heard",
lights up the matching joints on the diagram for 1.5 seconds, logs it, and sends it over the WebSocket.
function sendCmd(cmd) {
  cmd = cmd.toLowerCase().trim();
  document.getElementById('transcriptText').textContent = cmd;
  highlightJoints(cmd);
  log(`CMD: ${cmd}`,'cmd');
  if (!isConnected || !ws) { log('Not connected','err'); return; }
  ws.send(JSON.stringify({command: cmd}));
}
The joint highlighting uses a small lookup table (CMD_JOINTS). For example, hands up lights up both wrists,
and stand lights up all five joints.
🧠 On the Board
The XIAO runs the firmware I wrote in Arduino IDE using the WebSockets, ArduinoJson and Adafruit PWM Servo Driver libraries.
When a message comes in, it reads the command field, matches it, and moves the servos.
case WStype_TEXT: {
  String msg = String((char*)payload);
  StaticJsonDocument<256> doc;
  DeserializationError err = deserializeJson(doc, msg);
  if (!err && doc.containsKey("command")) {
    handleCommand(String((const char*)doc["command"]));
    webSocket.sendTXT(clientId, "{\"status\":\"ok\"}");
  }
  break;
}
handleCommand() accepts a few ways of saying the same thing, which helps a lot with voice input:
"raise left wrist", "left wrist up" and "lift left wrist" all do the same thing.
🔹 Channel map (final version)
| Joint | PCA9685 channel |
|---|---|
| Right wrist | CH2 |
| Left wrist | CH13 |
| Left knee | CH15 |
| Right knee | CH0 |
| Head | CH5 |
Each servo uses three positions: limp (0°), neutral (90°) and full (180°). smoothMove() steps
1° at a time (10 ms per step by default, 8 ms for the faster wave and dance moves), so Sandy moves smoothly instead of snapping.
🔹 What you can say (or tap)
| Command | What Sandy does |
|---|---|
| raise / lower left wrist, right wrist, both wrists (also "hands up" / "hands down") | Lifts or drops the wrists |
| raise / lower left knee, right knee, both knees | Lifts or drops the knees |
| nod | Head goes down and up twice |
| head down / head neutral | Tilts or centres the head |
| stand (or "ready", "wake up") | All joints to neutral |
| limp (or "sleep", "rest") | All strings slack |
| wave | Right wrist up and down twice 👋 |
| bow | Head down, pause, back up |
| dance | Opposite wrist + knee, alternating, 3 times 💃 |
🌀 Iterations
The first version of the interface had buttons for arms (elbows) as well as knees, for the original 7-servo setup. In the final version the elbows were dropped, so the buttons became wrist buttons, the elbow joints on the diagram were greyed out, and the address now comes pre-filled with the access point IP, so you can just hit Connect.
✨ What I Learned
- • A web page is a really easy interface: no app to install, it works on any phone with a browser
- • WebSockets keep the connection open, so commands go through instantly instead of making a new request each time
- • Voice is messy, so accepting several phrasings for the same command makes it much more forgiving
- • Showing feedback (the highlighted joints and the log) makes it obvious whether a command was sent or got lost
📁 Design Files
Puppet Controller interface (.html)Puppet Controller firmware, final (.ino)