Week 16: Wildcard Week
A.k.a. dripping resin onto a mirror to freeze a water ripple 💧🪞
🪛 Overview
Wildcard week is open: you pick a process that wasn't covered in the other weeks and document it. I used it to play with materiality. I wanted to see how a liquid behaves on a reflective surface, and whether I could make a hard, permanent object that still looks like it's moving.
The plan was to drip clear epoxy resin onto a mirror so it forms rings, like drops landing on water, and let it cure in place. The workflow I followed:
- • Find a reference for the look I wanted
- • Build a frame around the mirror out of cardboard
- • Mix a two-part epoxy resin by weight
- • Drip the resin onto the mirror and let it cure
💡 Reference & Idea
This is the reference I started from. Clear resin dripped onto a mirror spreads out into ripples. Because it's transparent, the reflection shows through and gets bent by the curved surface, so the mirror looks like it has a splash frozen on it.
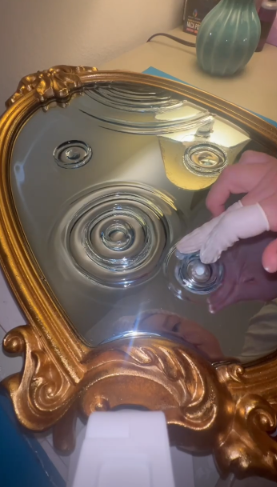
What I liked about it is that the material does most of the work. Rather than drawing the shape, you control the drop size, the height and the spacing, and the resin's flow and surface tension decide the final form.
🧰 Materials
- • Square mirror
- • Cardboard, a steel ruler and a cutter for the frame
- • 3M double-sided tape
- • Oytra epoxy resin: Part A (resin) and Part B (hardener)
- • Paper cups and a stirrer for mixing
- • Disposable gloves
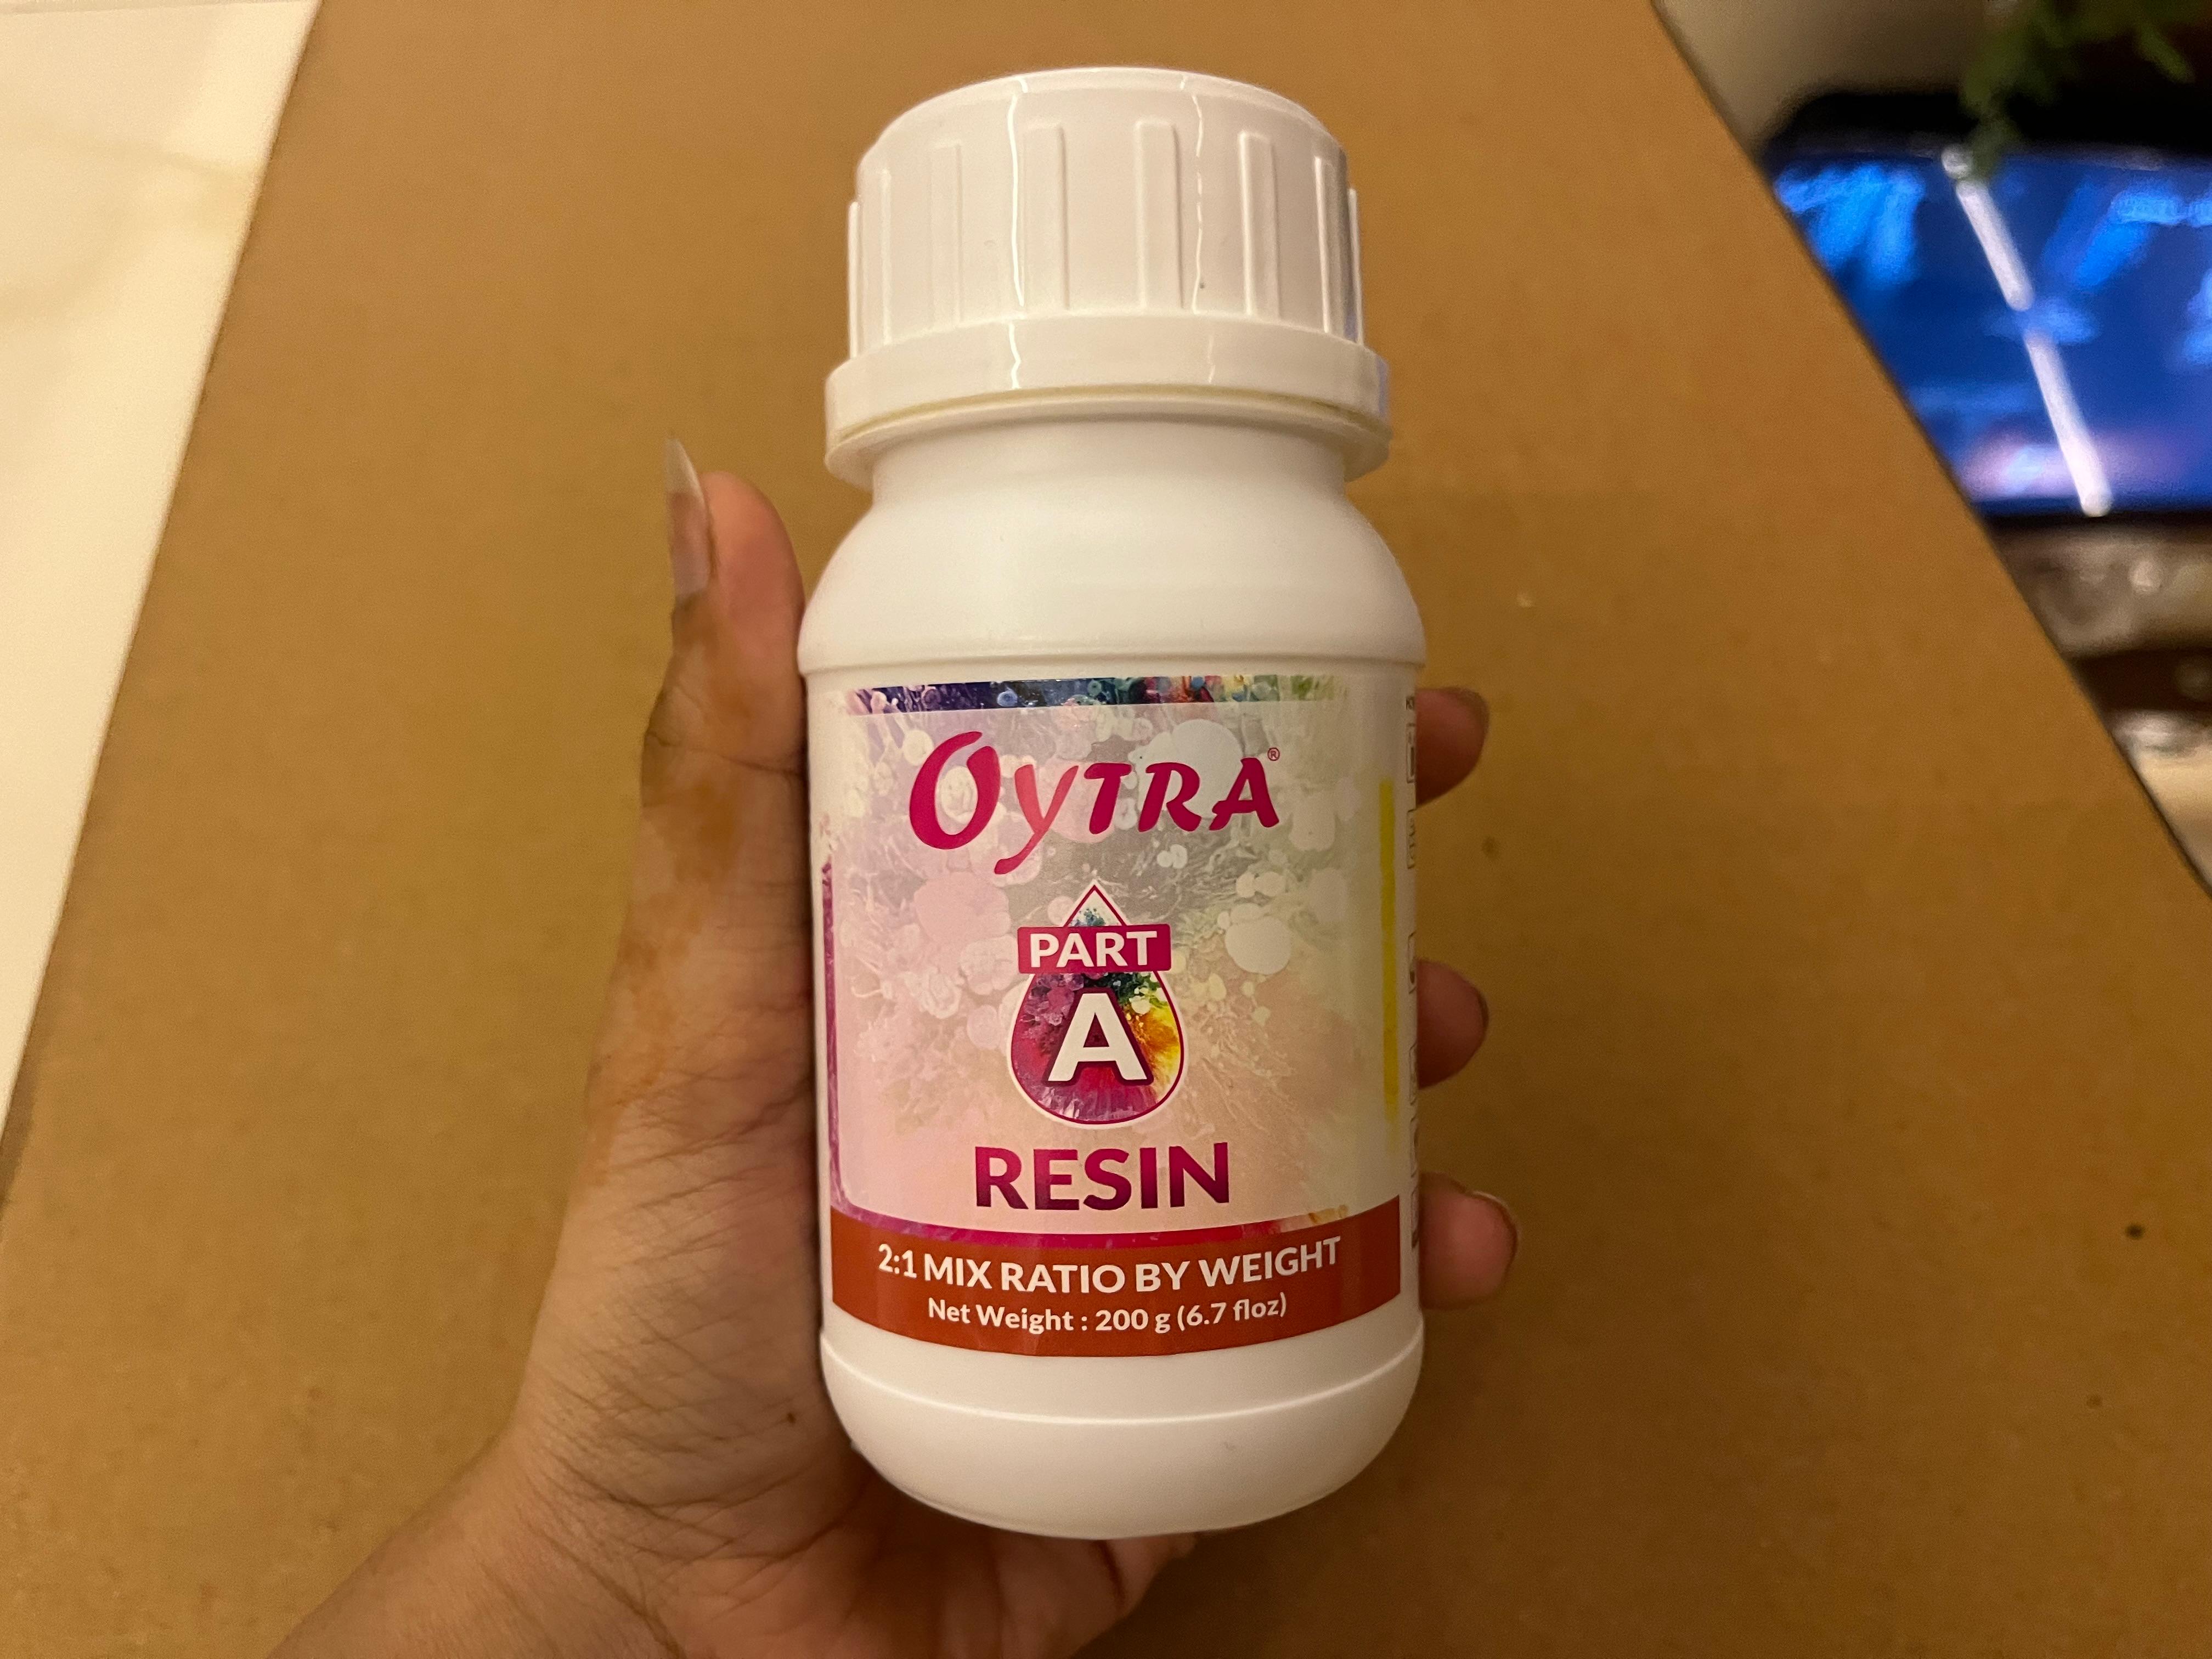
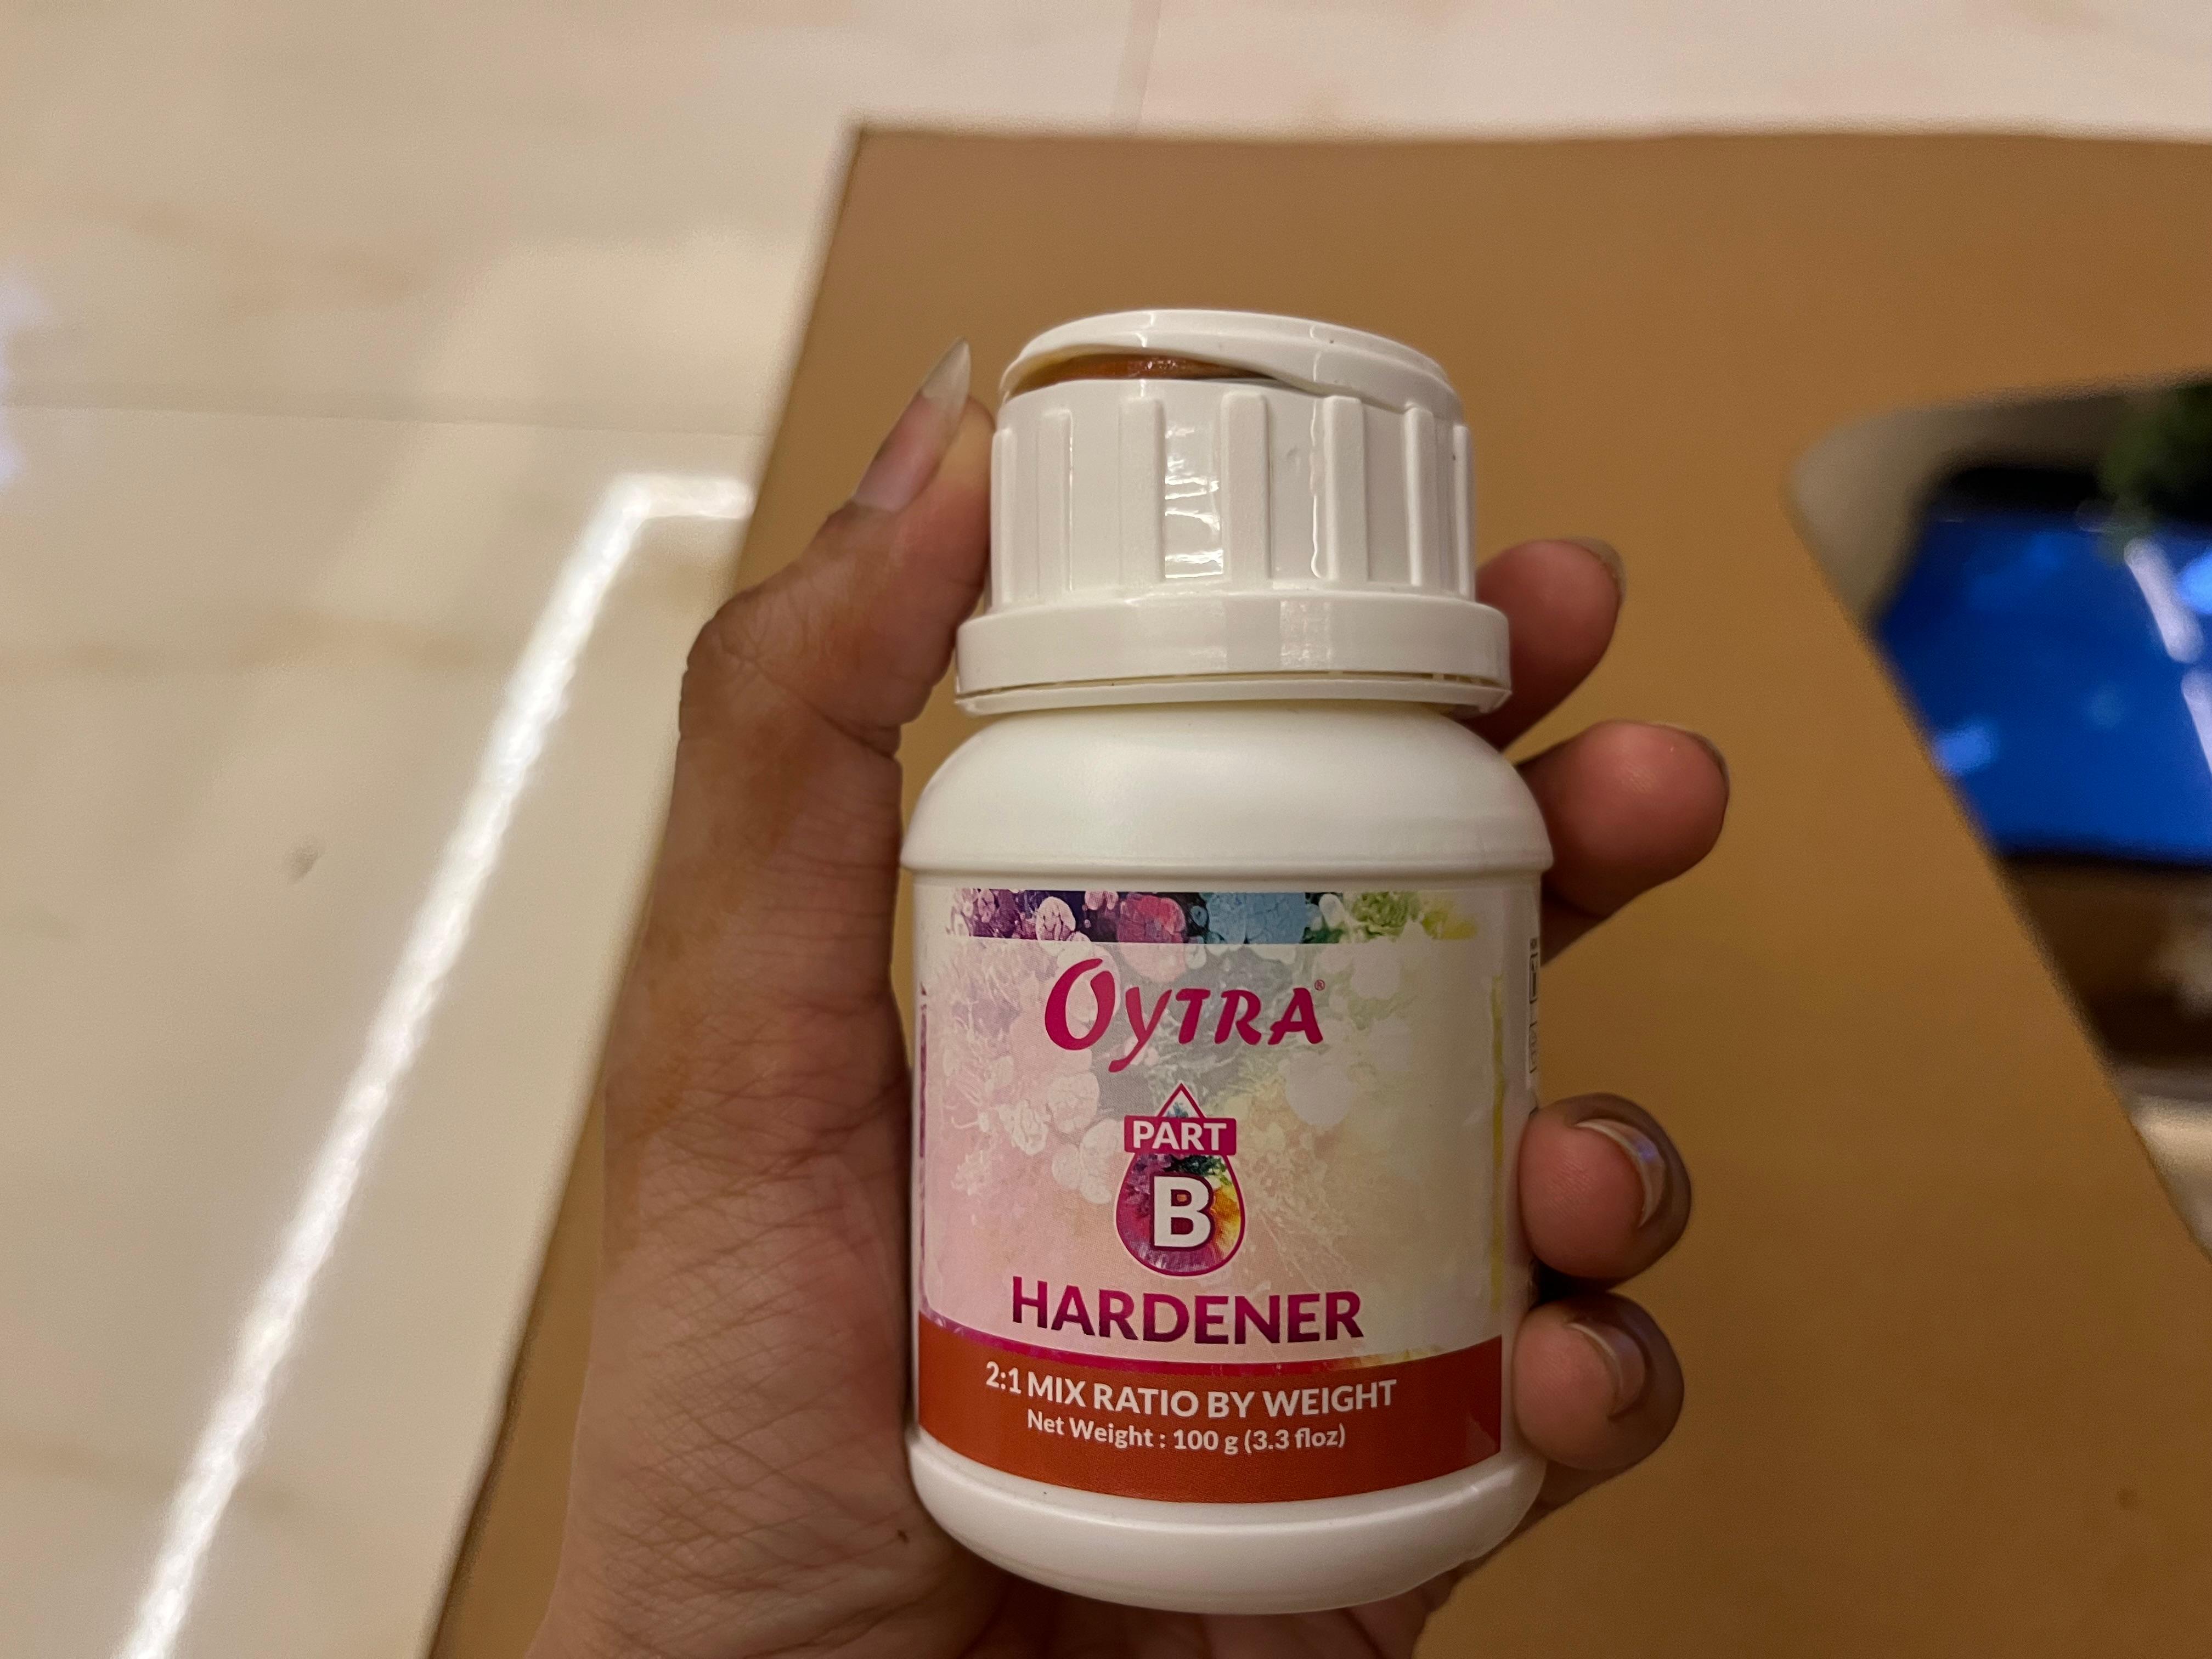
Both bottles say 2:1 mix ratio by weight, so for every 2 g of resin you add 1 g of hardener. The bottle sizes (200 g and 100 g) follow the same ratio, so one full kit is one full batch.
🖼️ Building the Frame
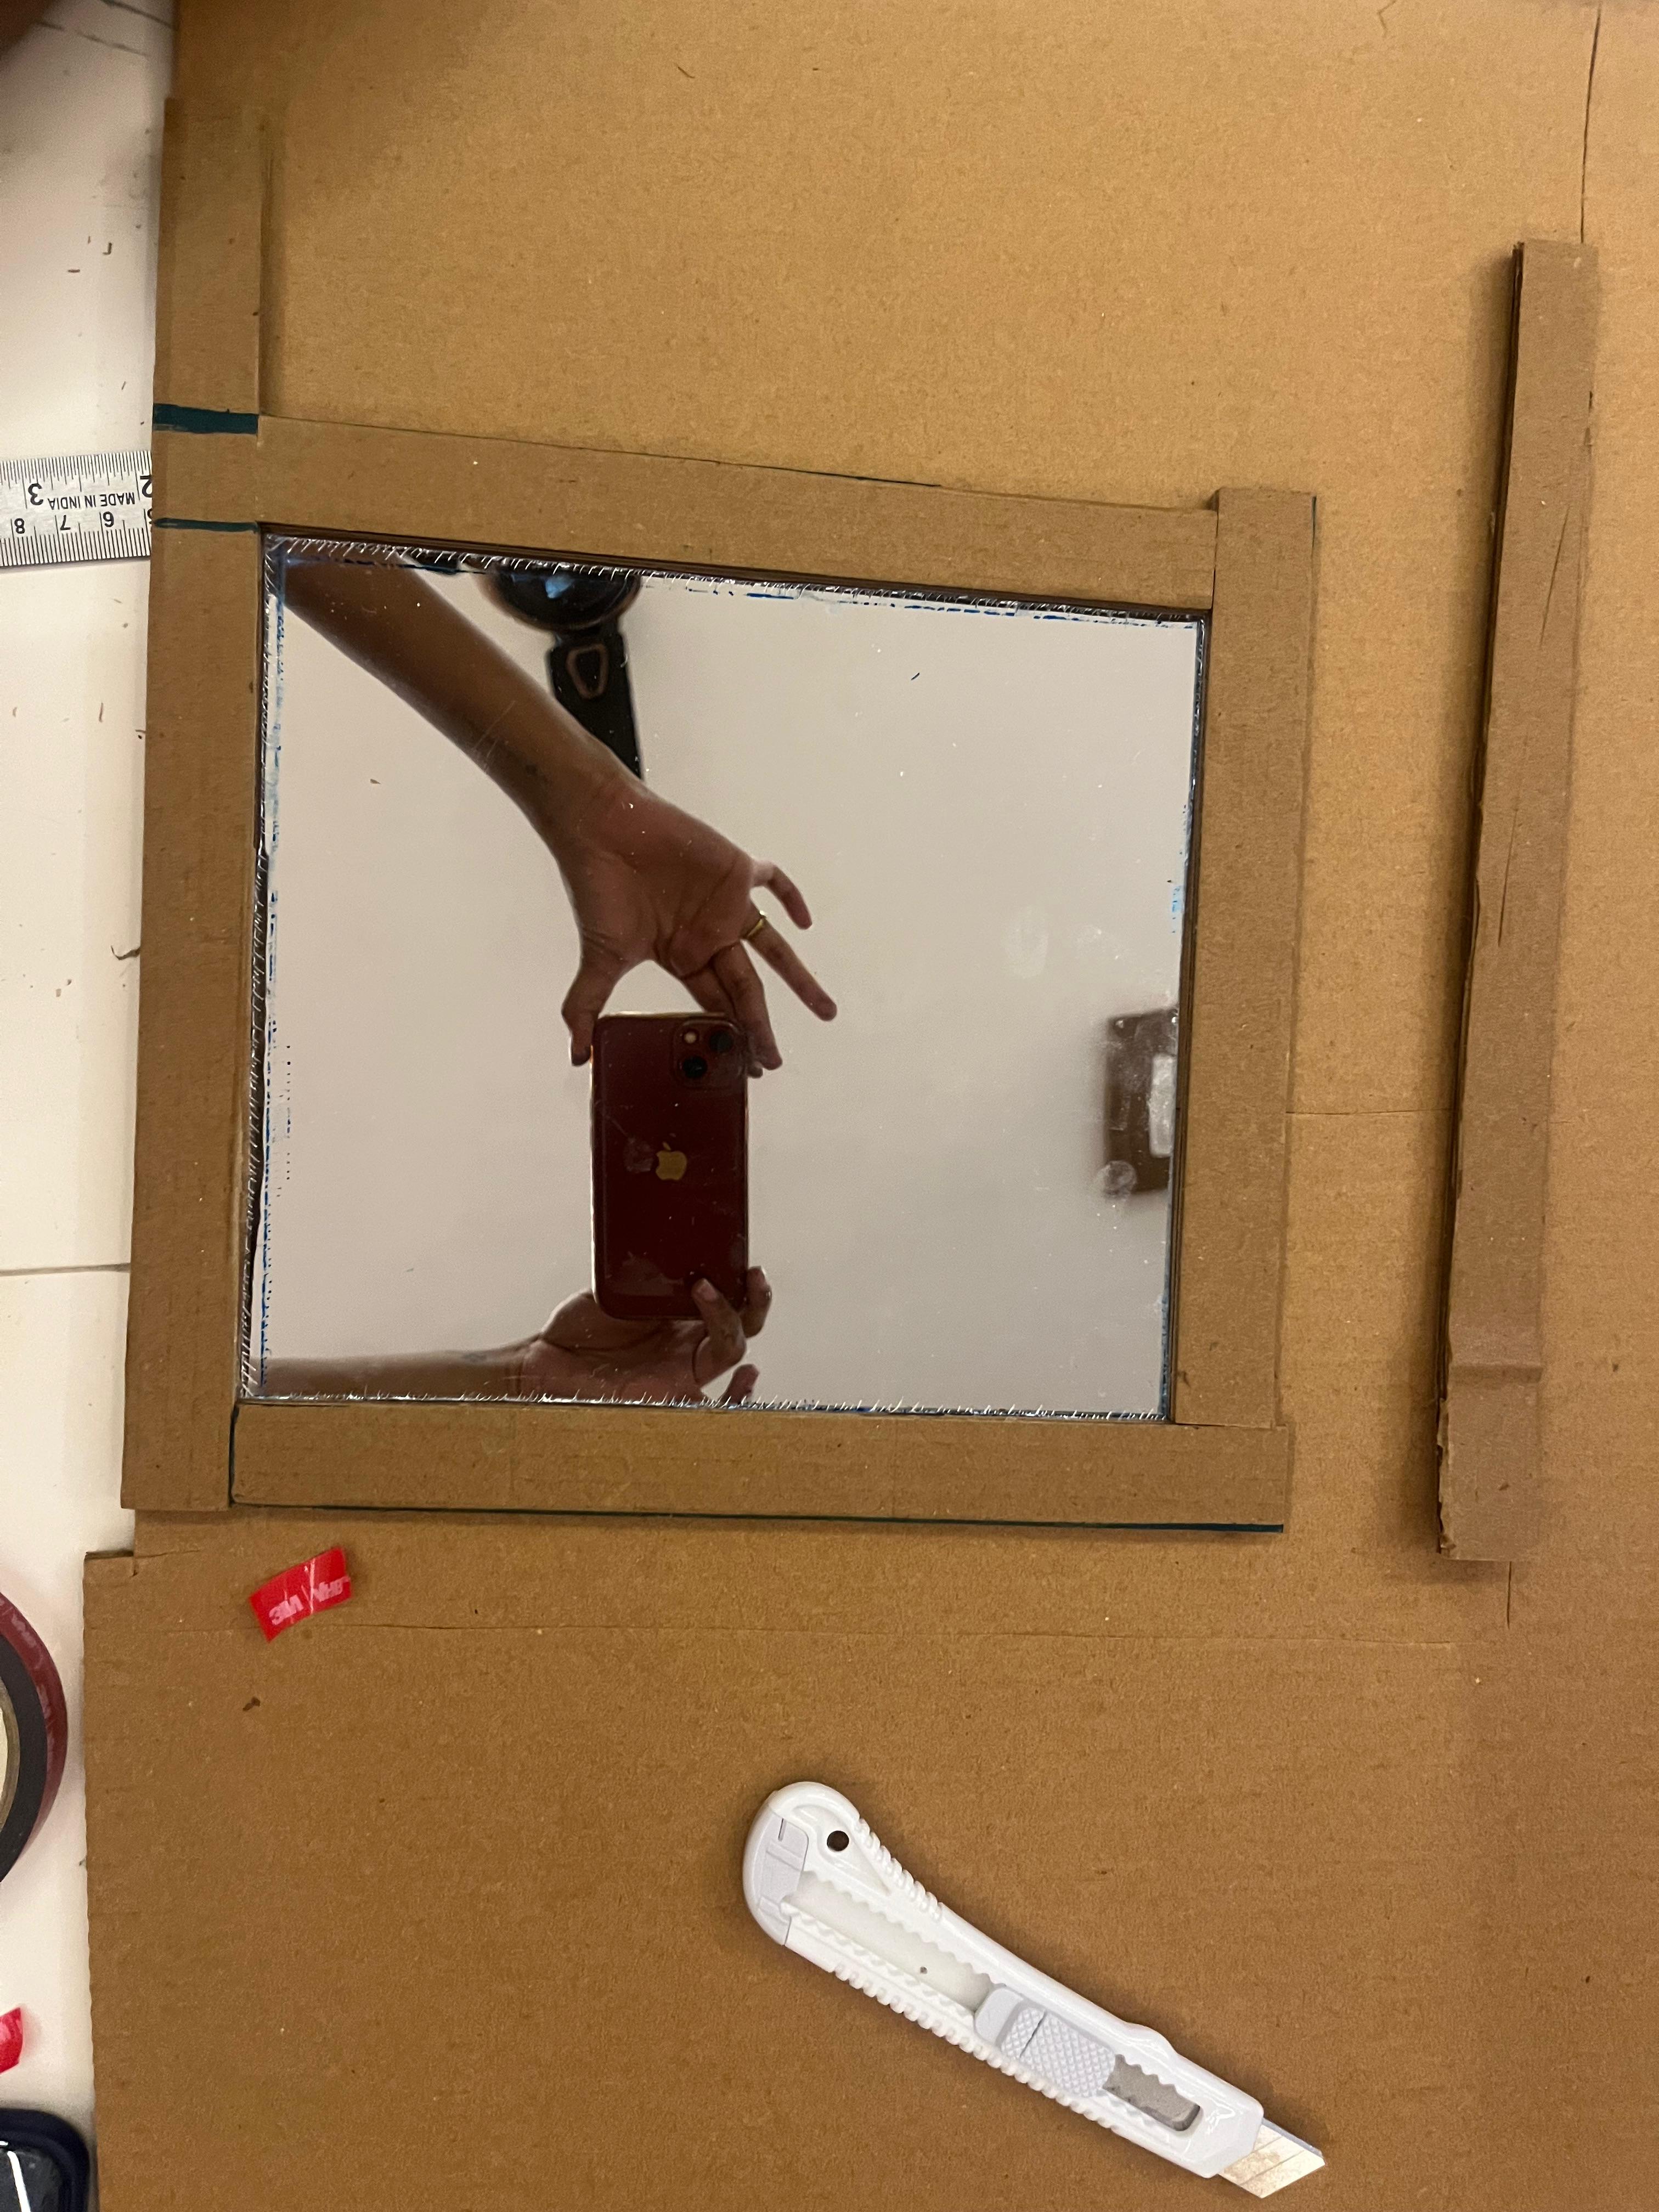
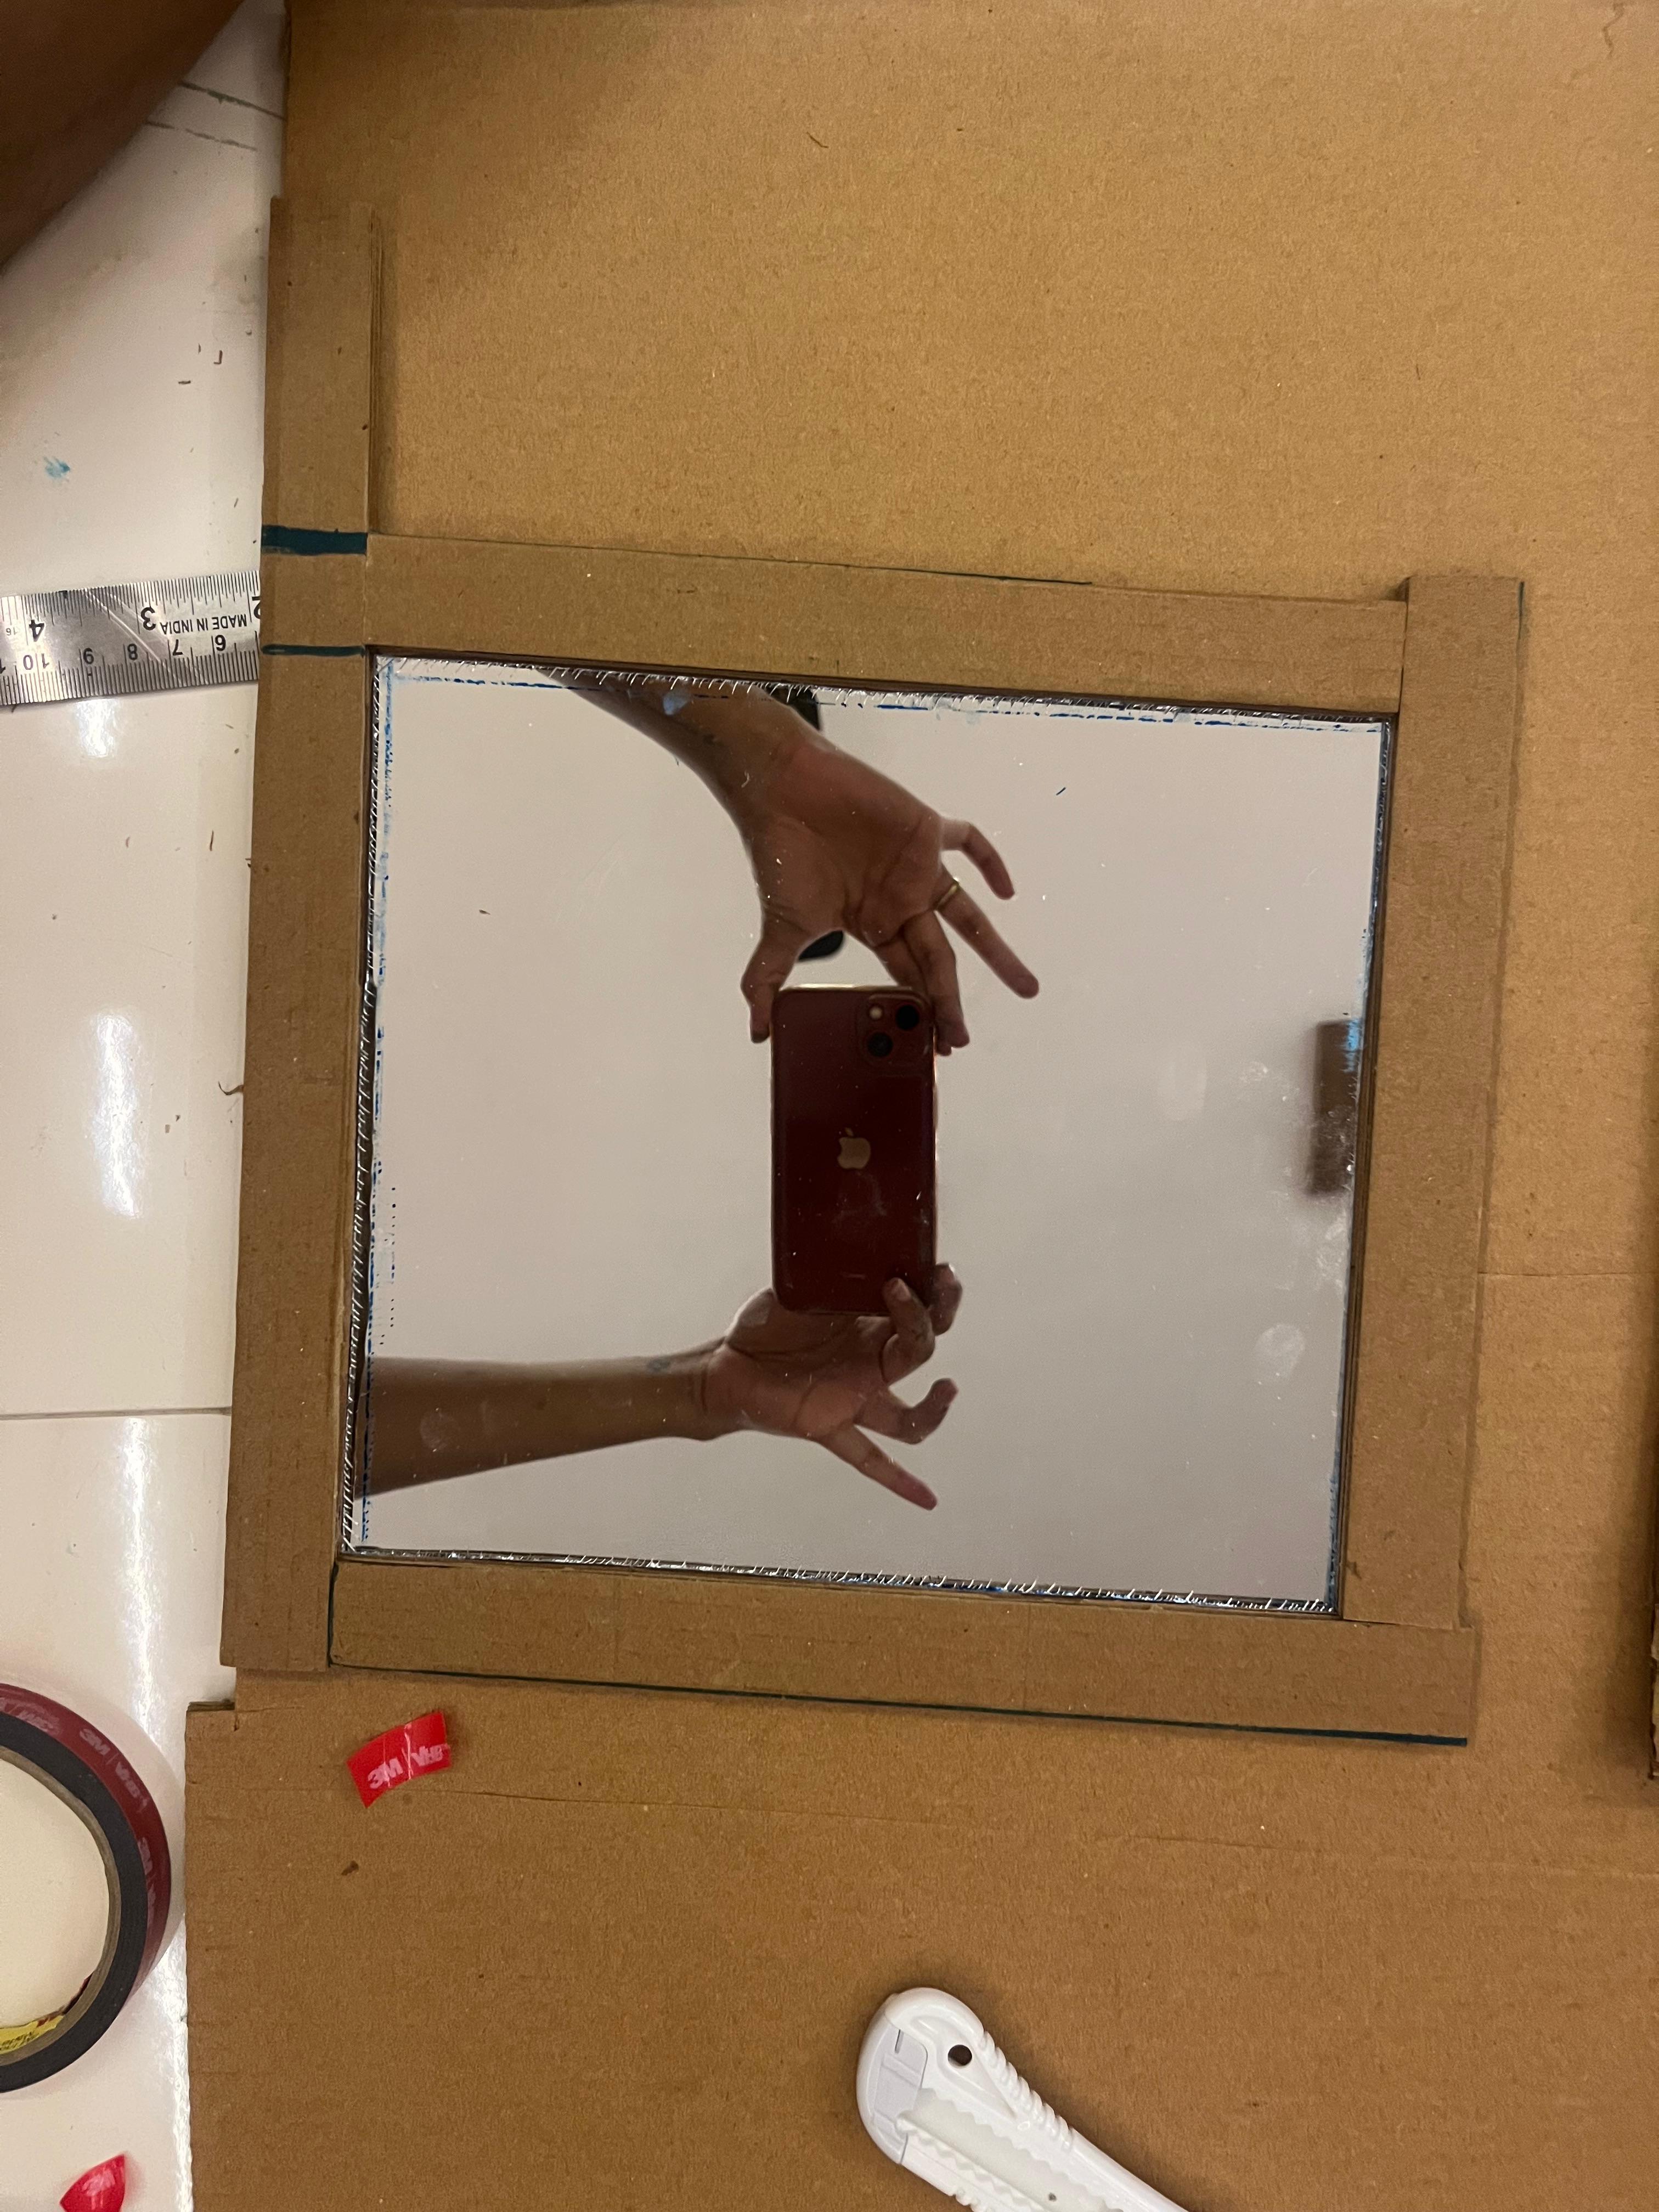
I cut strips of cardboard with the cutter and a steel ruler, and stuck them around the edges of the mirror with 3M double-sided tape. The frame holds the mirror in place, covers the rough cut edges of the glass, and gives the piece a border.
🧪 Mixing the Resin
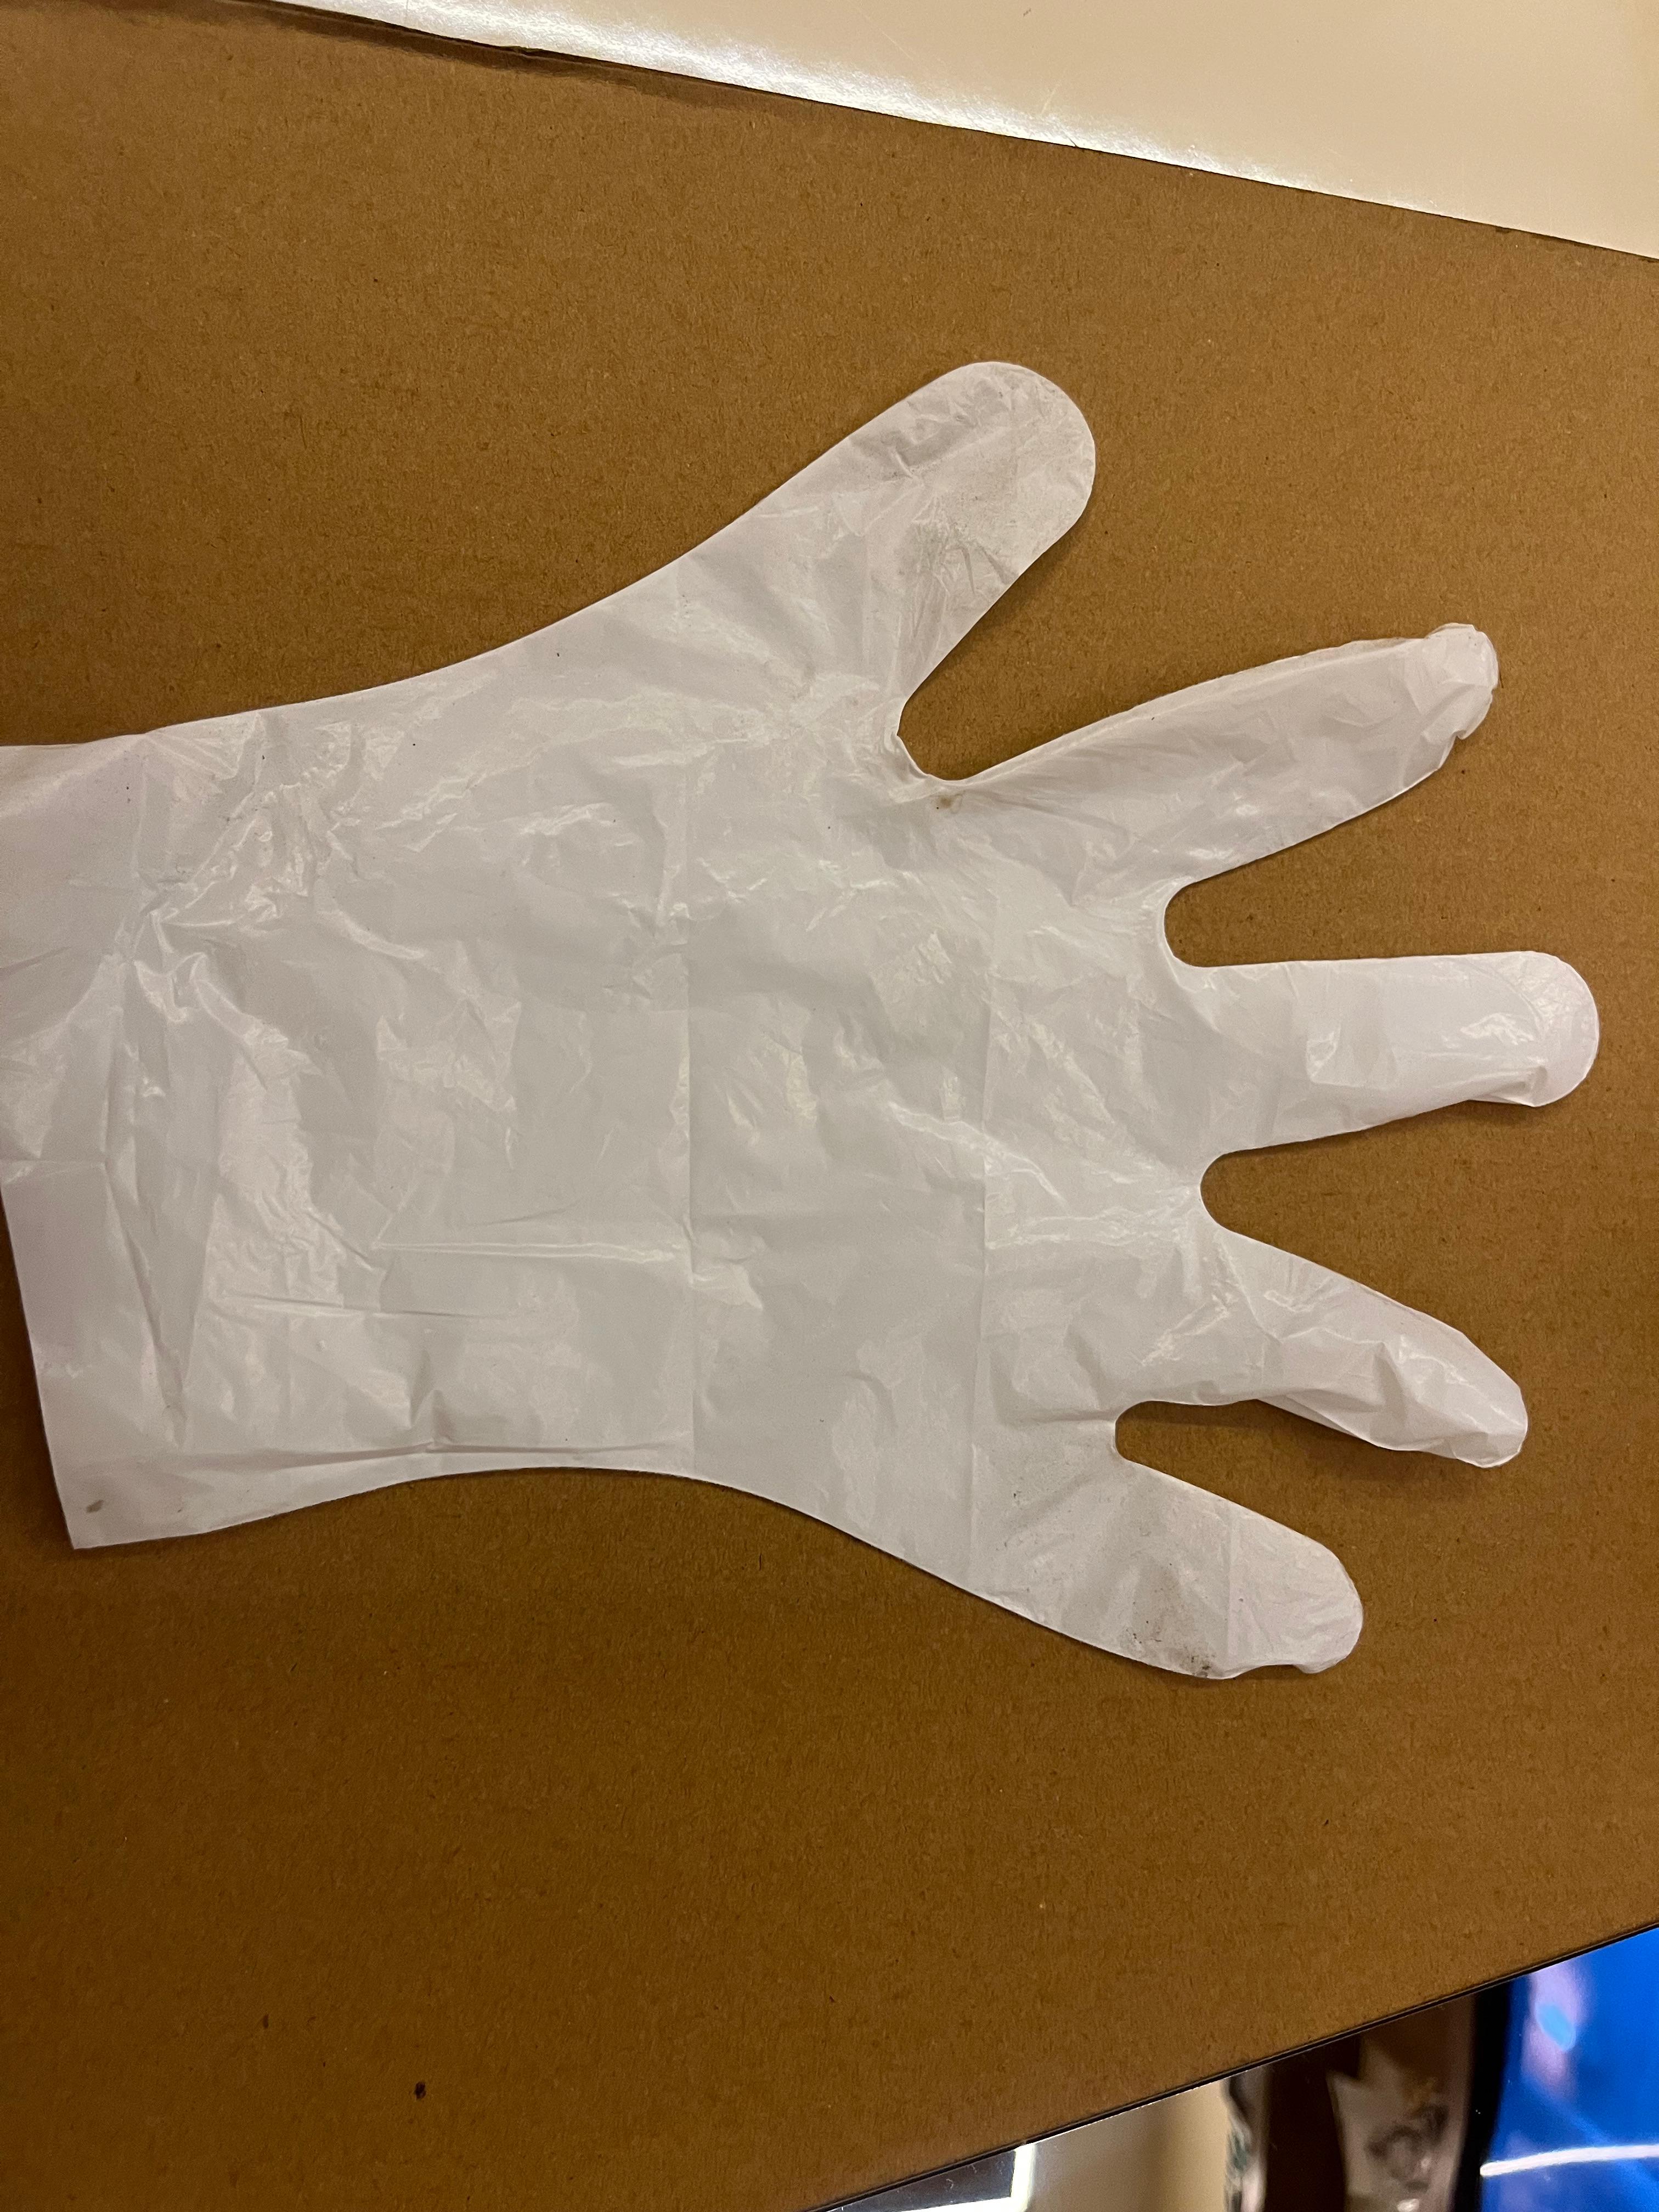
Epoxy is sticky and irritates skin, so I wore disposable gloves the whole time and covered the work surface.
🔹 Process
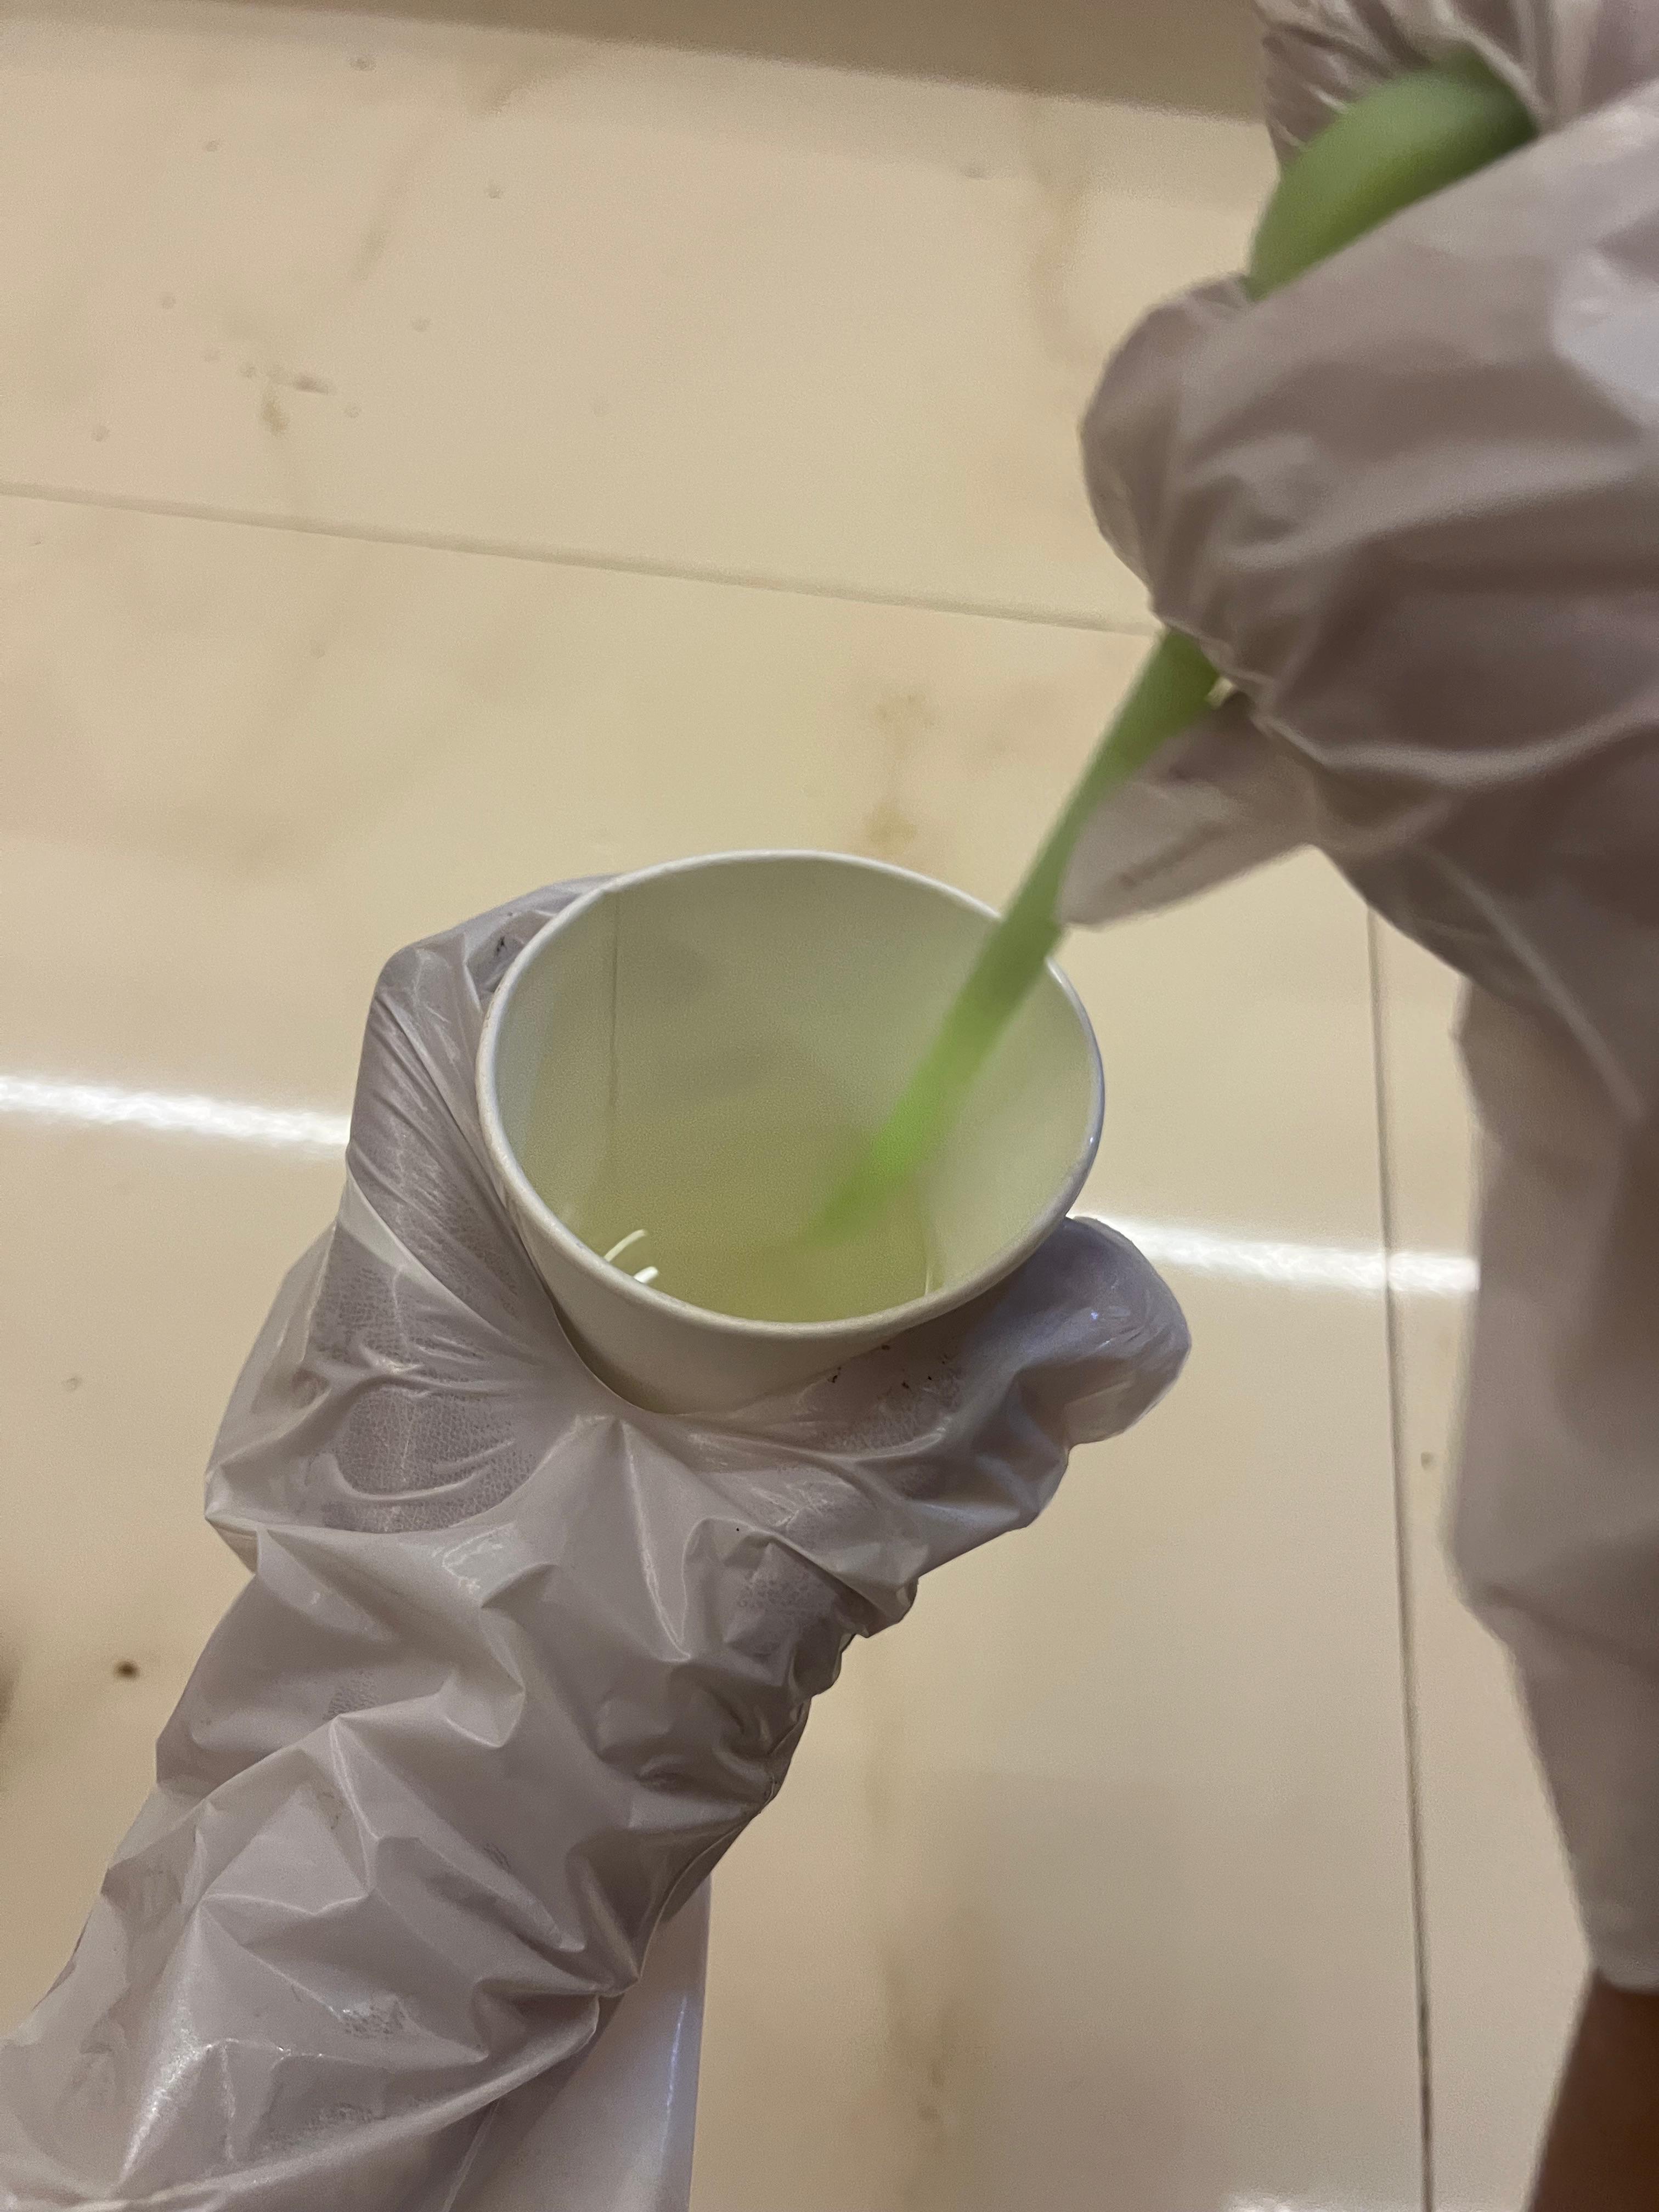
- • Weighed Part A into a paper cup, then added Part B at 2:1 by weight
- • Stirred slowly for a few minutes, scraping the sides and bottom, so the two parts fully combine without whipping in bubbles
- • Let the mix rest briefly so trapped air could rise out before dripping
💧 Dripping on the Mirror
With the mirror lying flat and level, I dropped a pool of resin where I wanted each ripple. Then, wearing a finger cover, I touched the centre of the pool and pushed the resin outwards in small circles. Each dab pushes a new ring out from the centre, so the ripple builds up from the inside out, just like a drop hitting water.
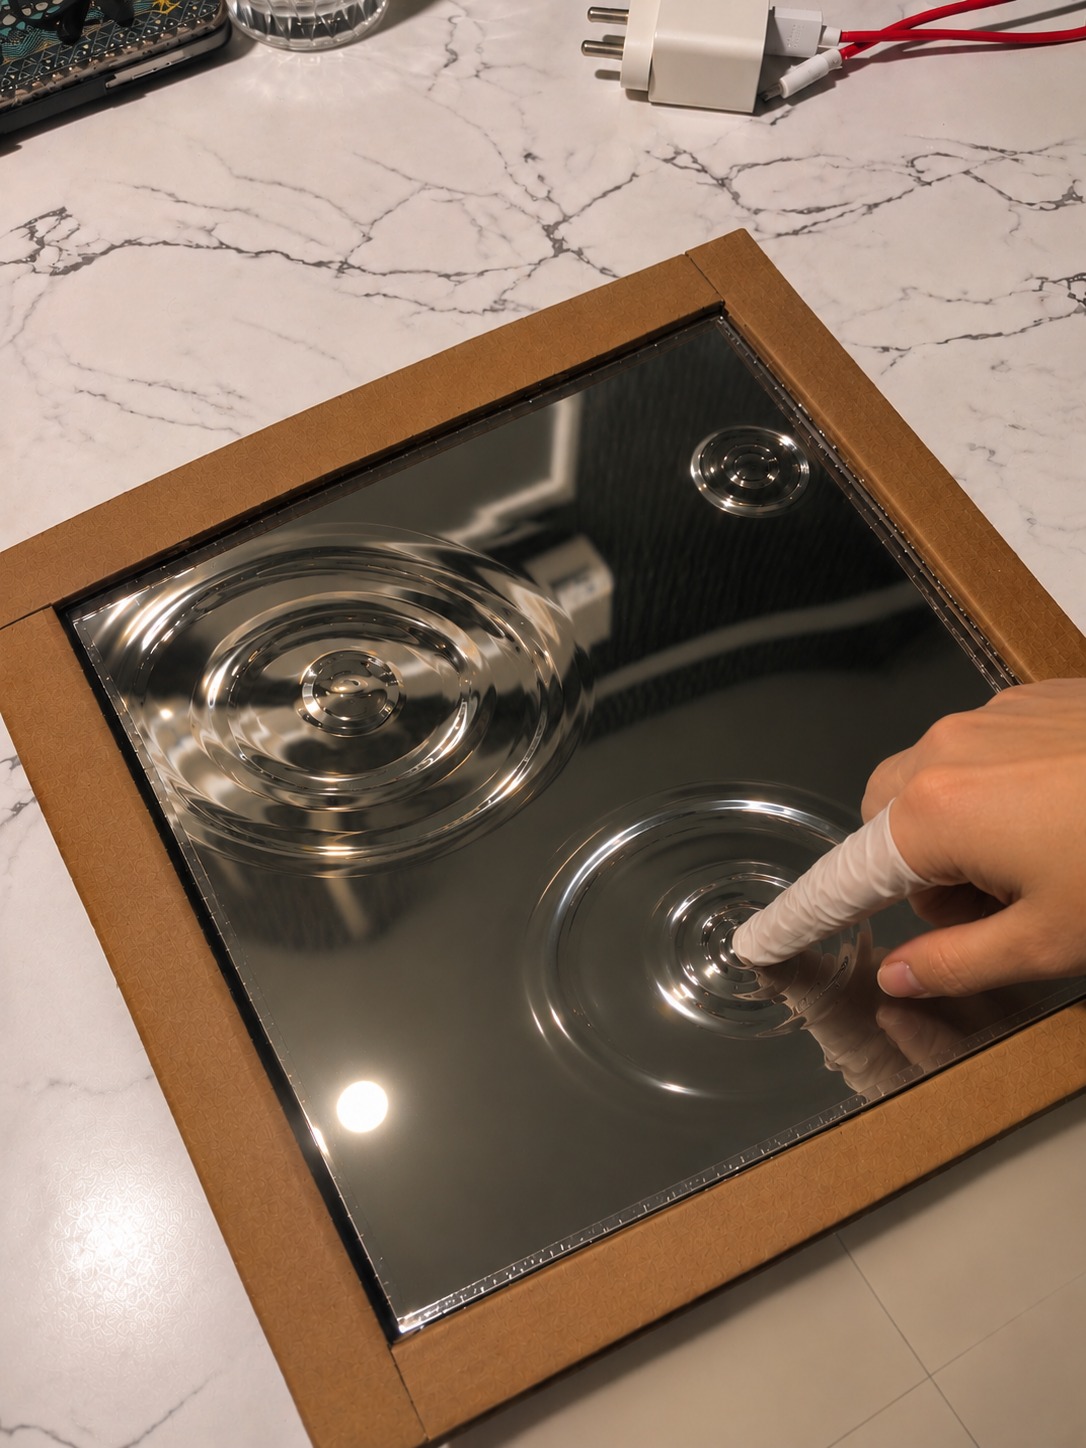
I made three ripples of different sizes: a large one, a medium one and a small one. Spreading them across the mirror makes it look like a few drops landed at different moments. After that I left it flat and undisturbed to cure.
🪞 Final Result
Once cured, the resin is hard and glassy, but it still looks wet. The clear rings act like lenses, so the reflection in the mirror bends and wobbles through each ripple, and the light catches on every ridge. I also finished the cardboard frame so it reads as a clean border around the mirror.
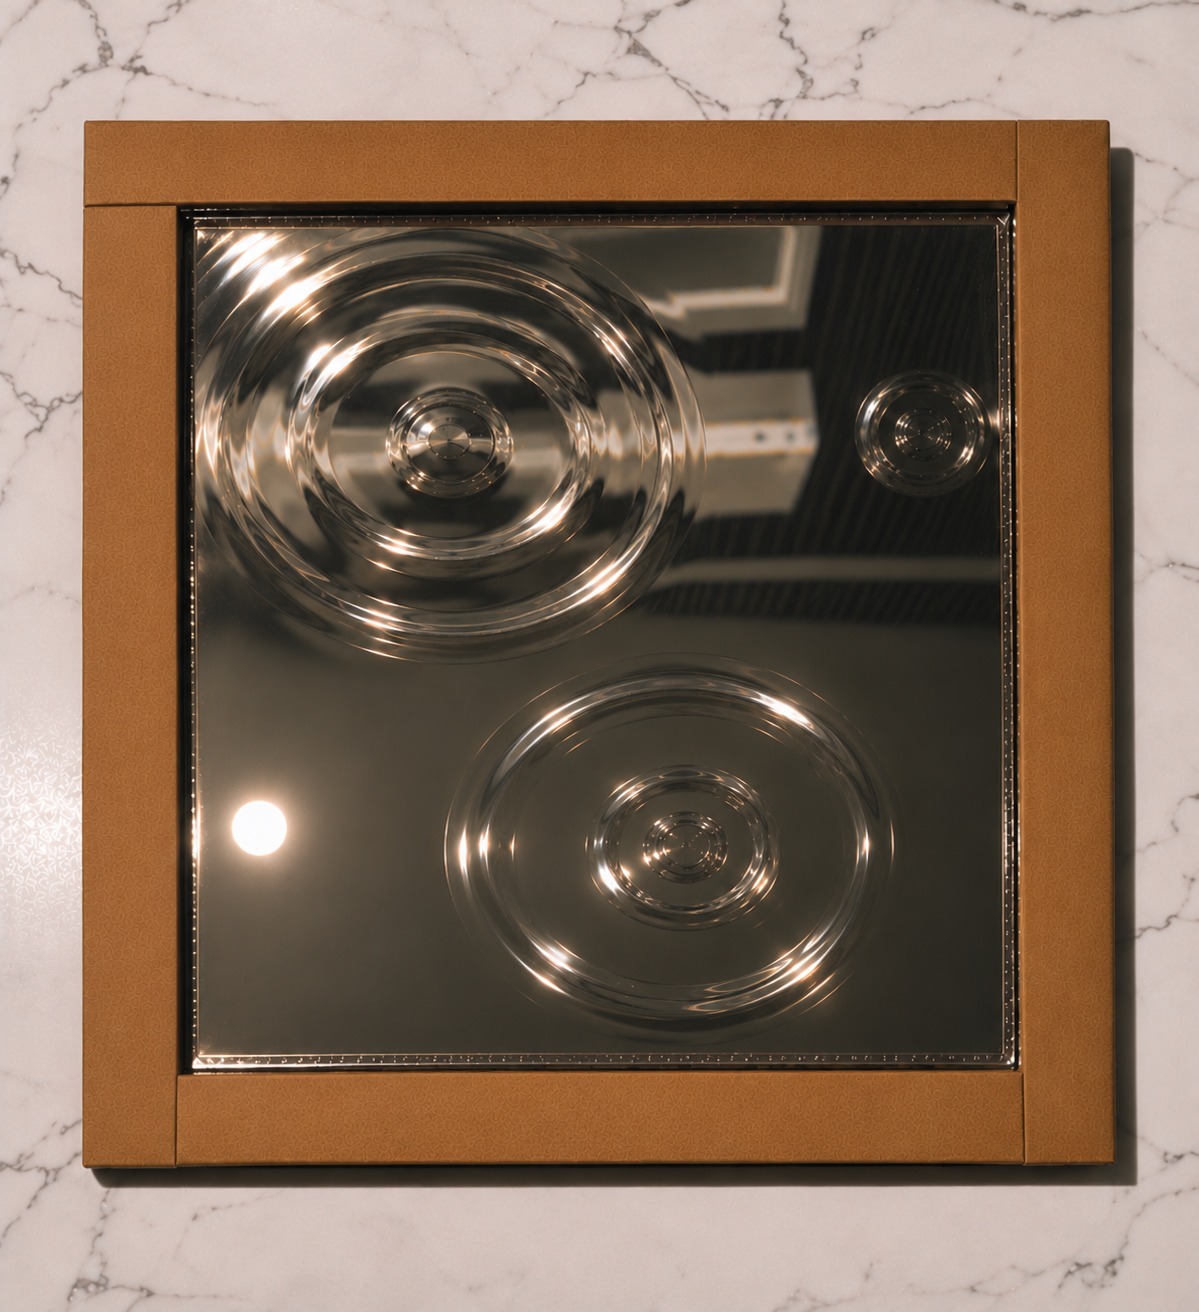
The result came out close to the reference. From straight on, the mirror looks like a still pool that has just been disturbed, even though the ripples are actually raised and solid.
✨ What I Learned
- • With a material like resin, the process decides the shape: drop size, height and timing matter more than any drawing
- • A mirror doubles the effect, because the clear resin bends the reflection underneath it
- • Two-part epoxy only cures properly at the right ratio, so it has to be weighed, not guessed
- • Slow mixing matters, because bubbles stay trapped in clear resin and show up in the final piece
- • The surface has to be level, otherwise the drops slide and the rings go lopsided