Week 15: System Integration.
A.k.a. making the browser, the board, 7 servos and a puppet all agree with each other 🧵🎭
🪛 Overview
This week was about planning how every part of my final project, the
autonomous puppeteering system, fits and works together as one finished object,
instead of a pile of separately-working bits.
A system that only works on my desk with wires everywhere isn't finished, so this page covers the
architecture, wiring, power, mechanics, software flow and packaging, plus how I test it all.
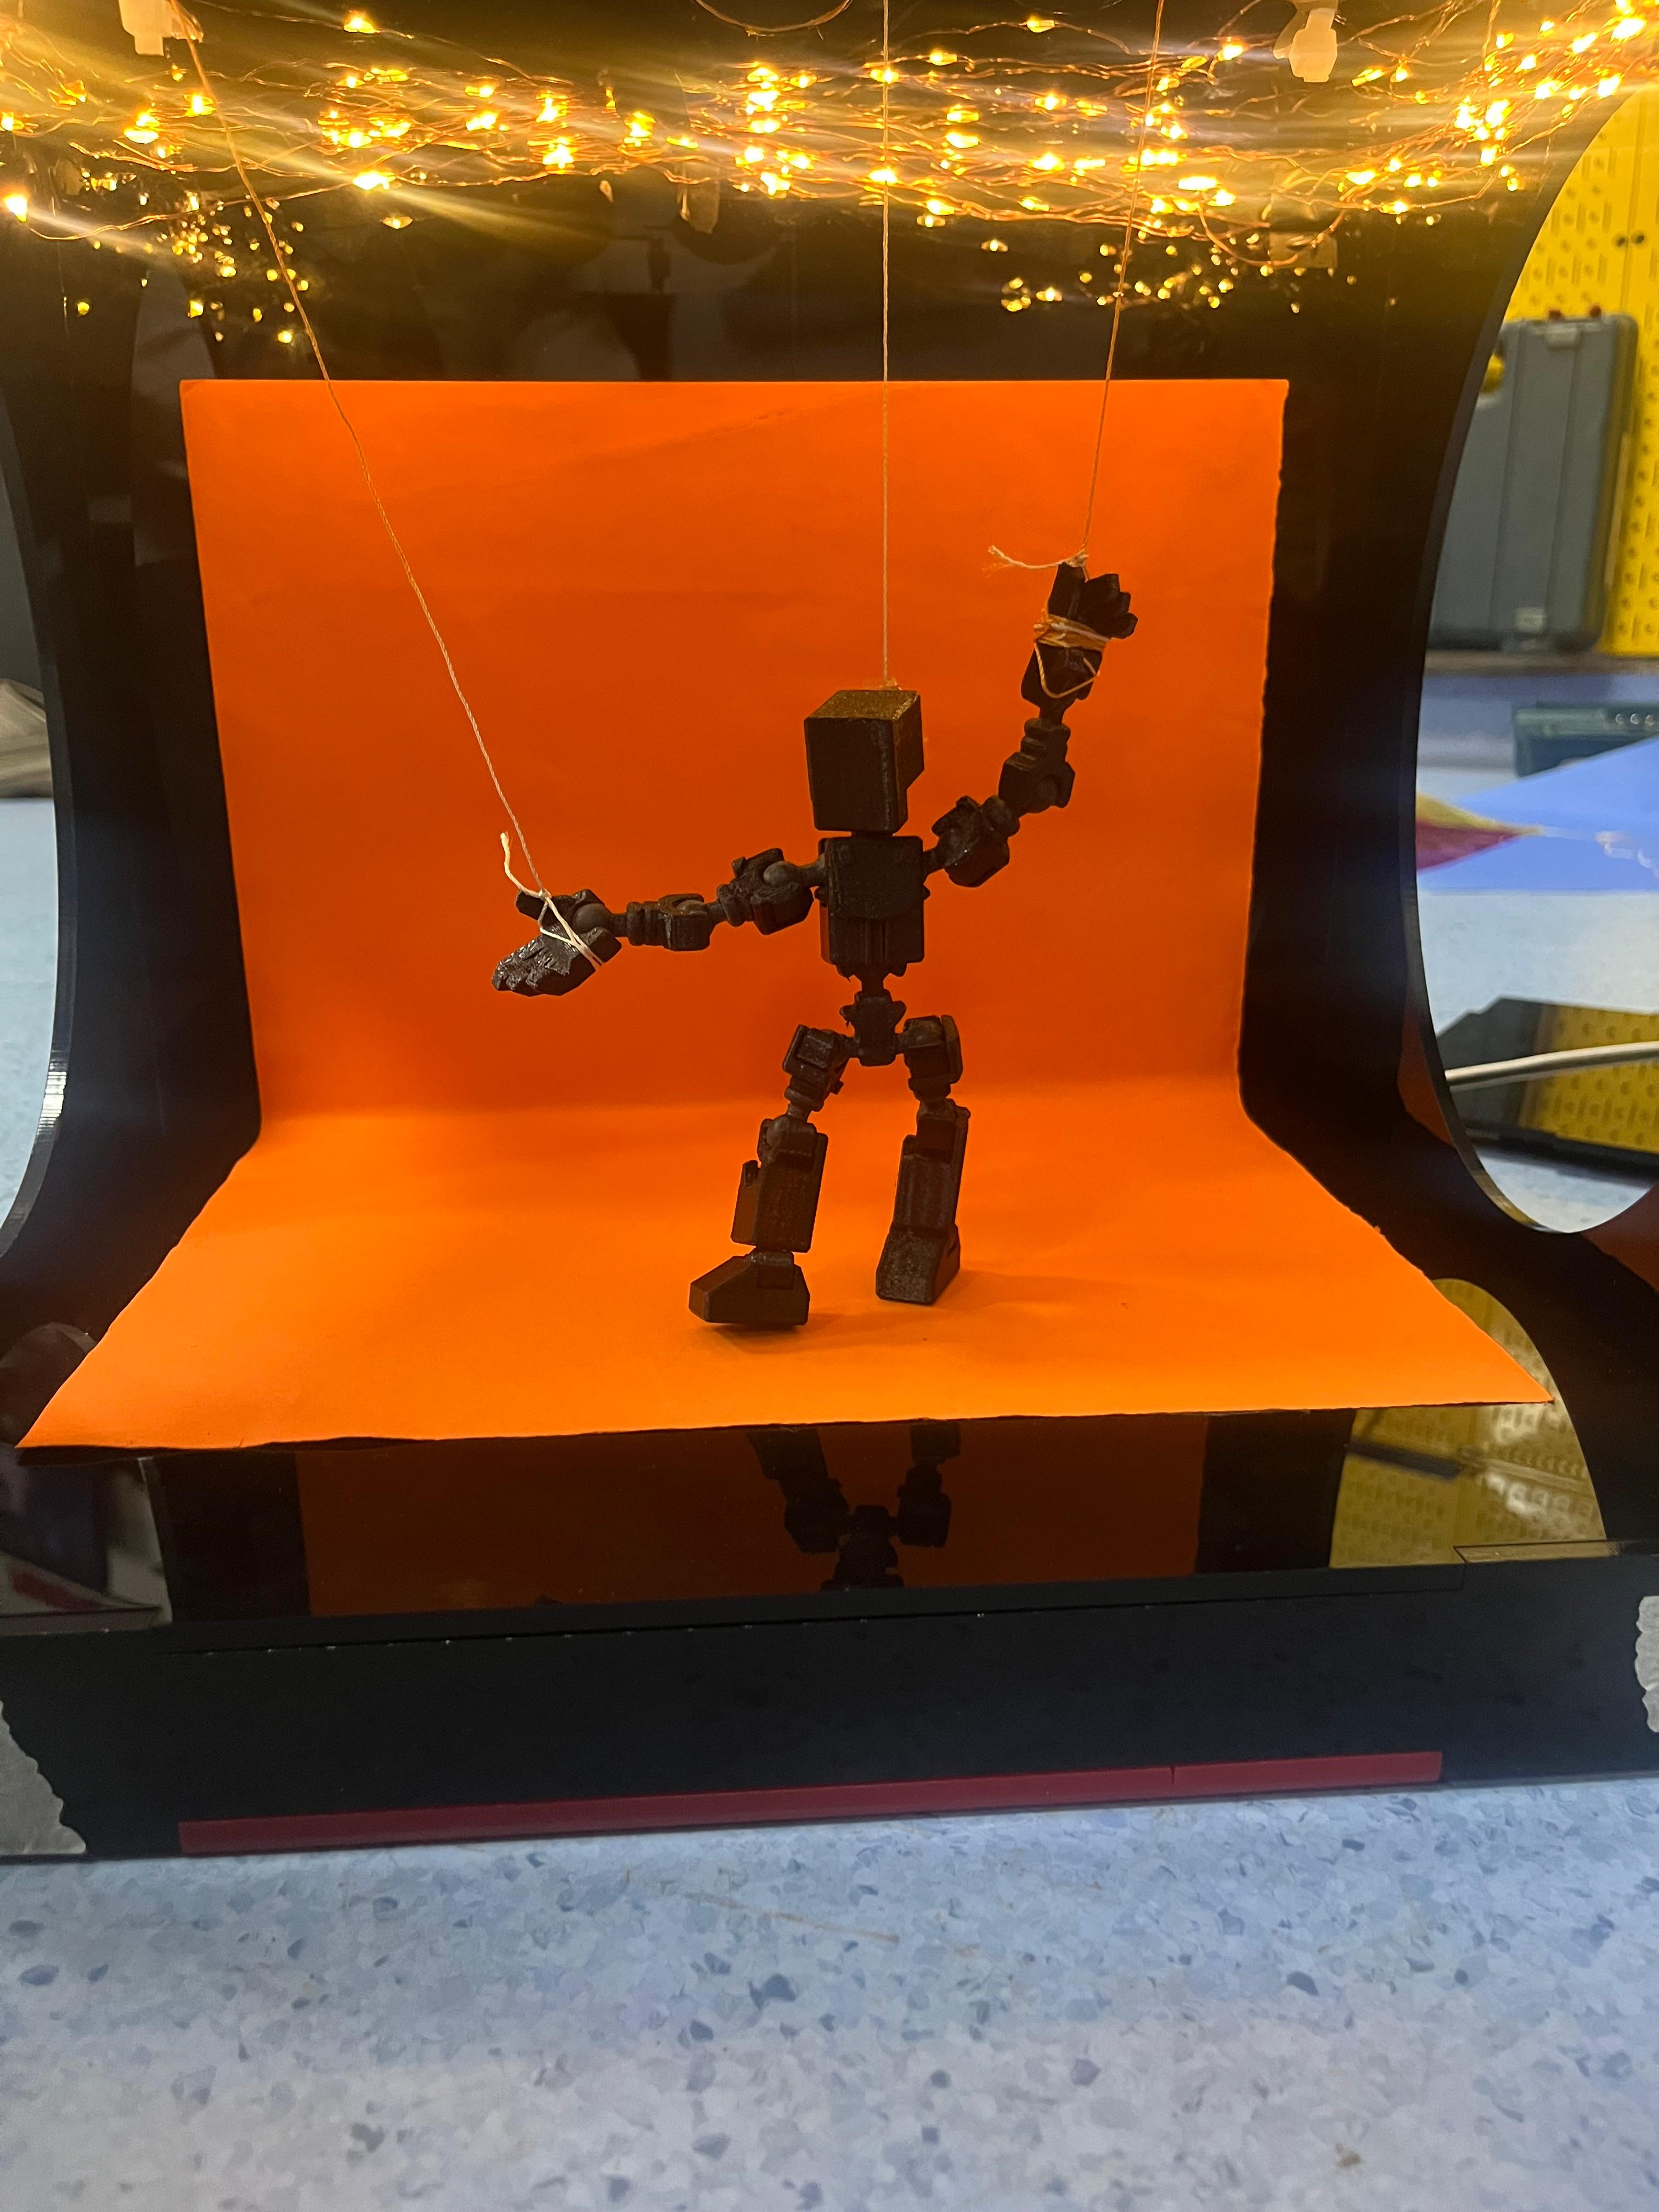
🧩 The Subsystems
| Subsystem | What it is | Made with |
|---|---|---|
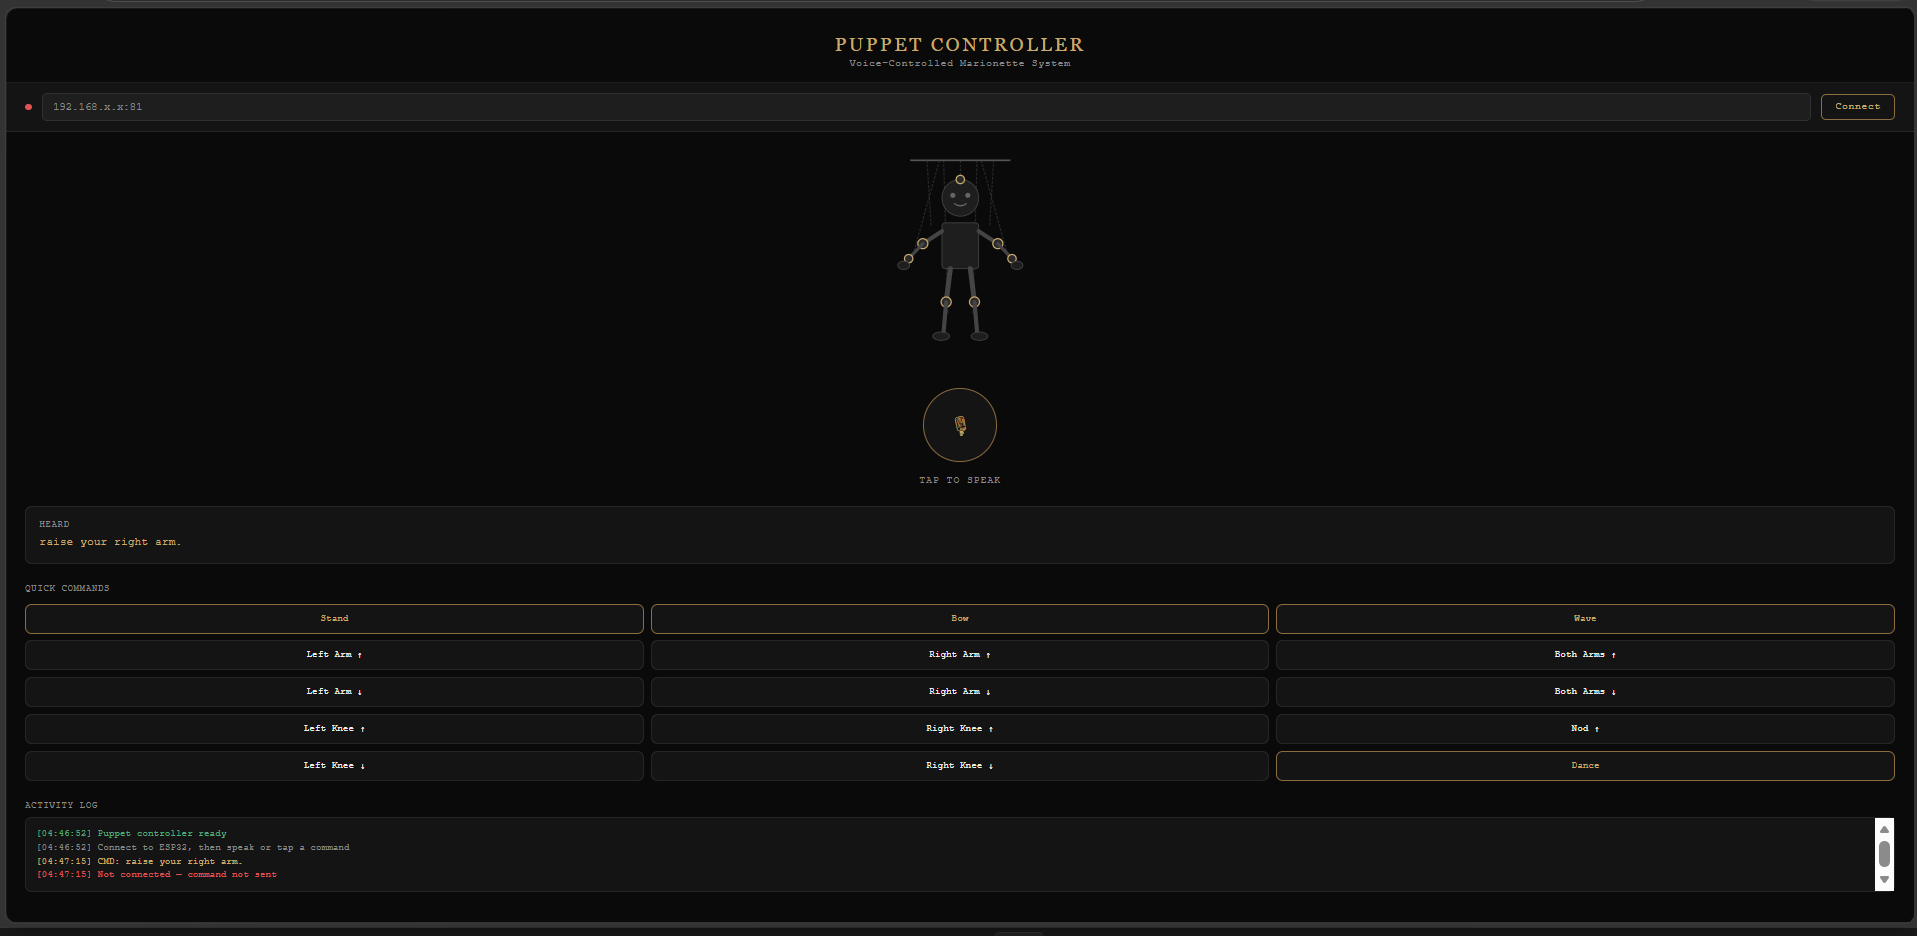
| Interface | Browser app with voice input + quick buttons | HTML / JS (Web Speech + WebSocket) |
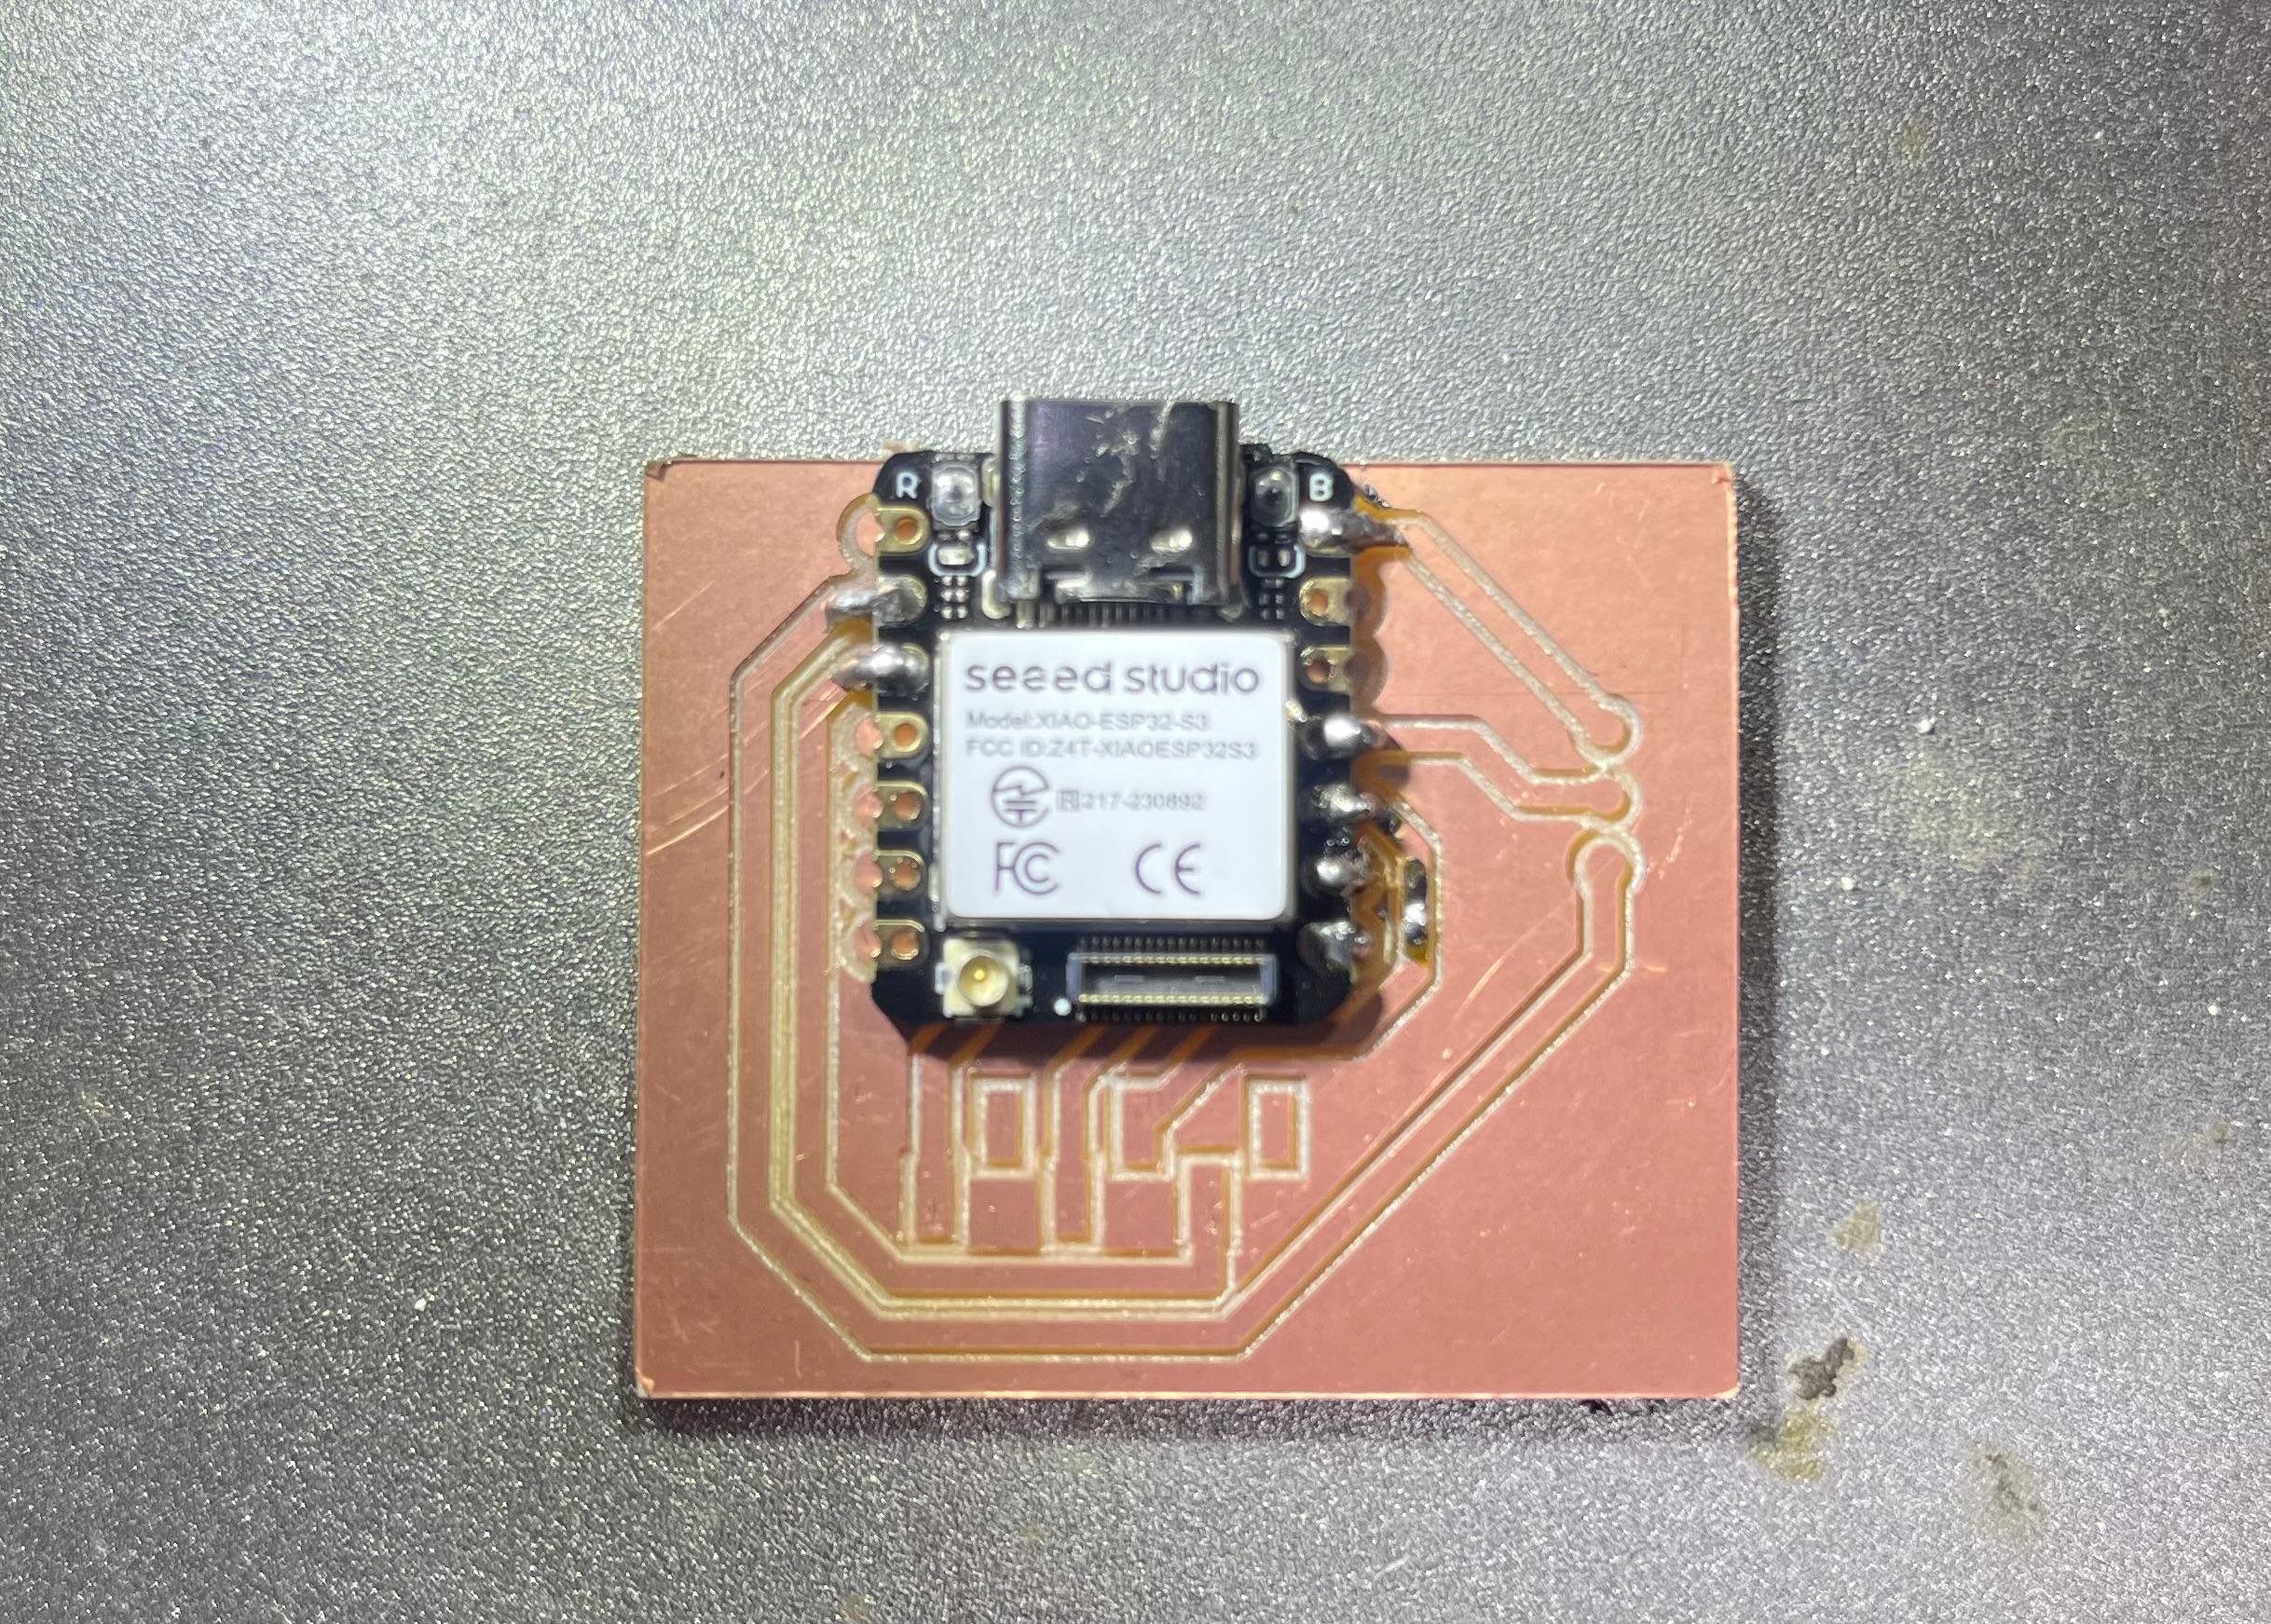
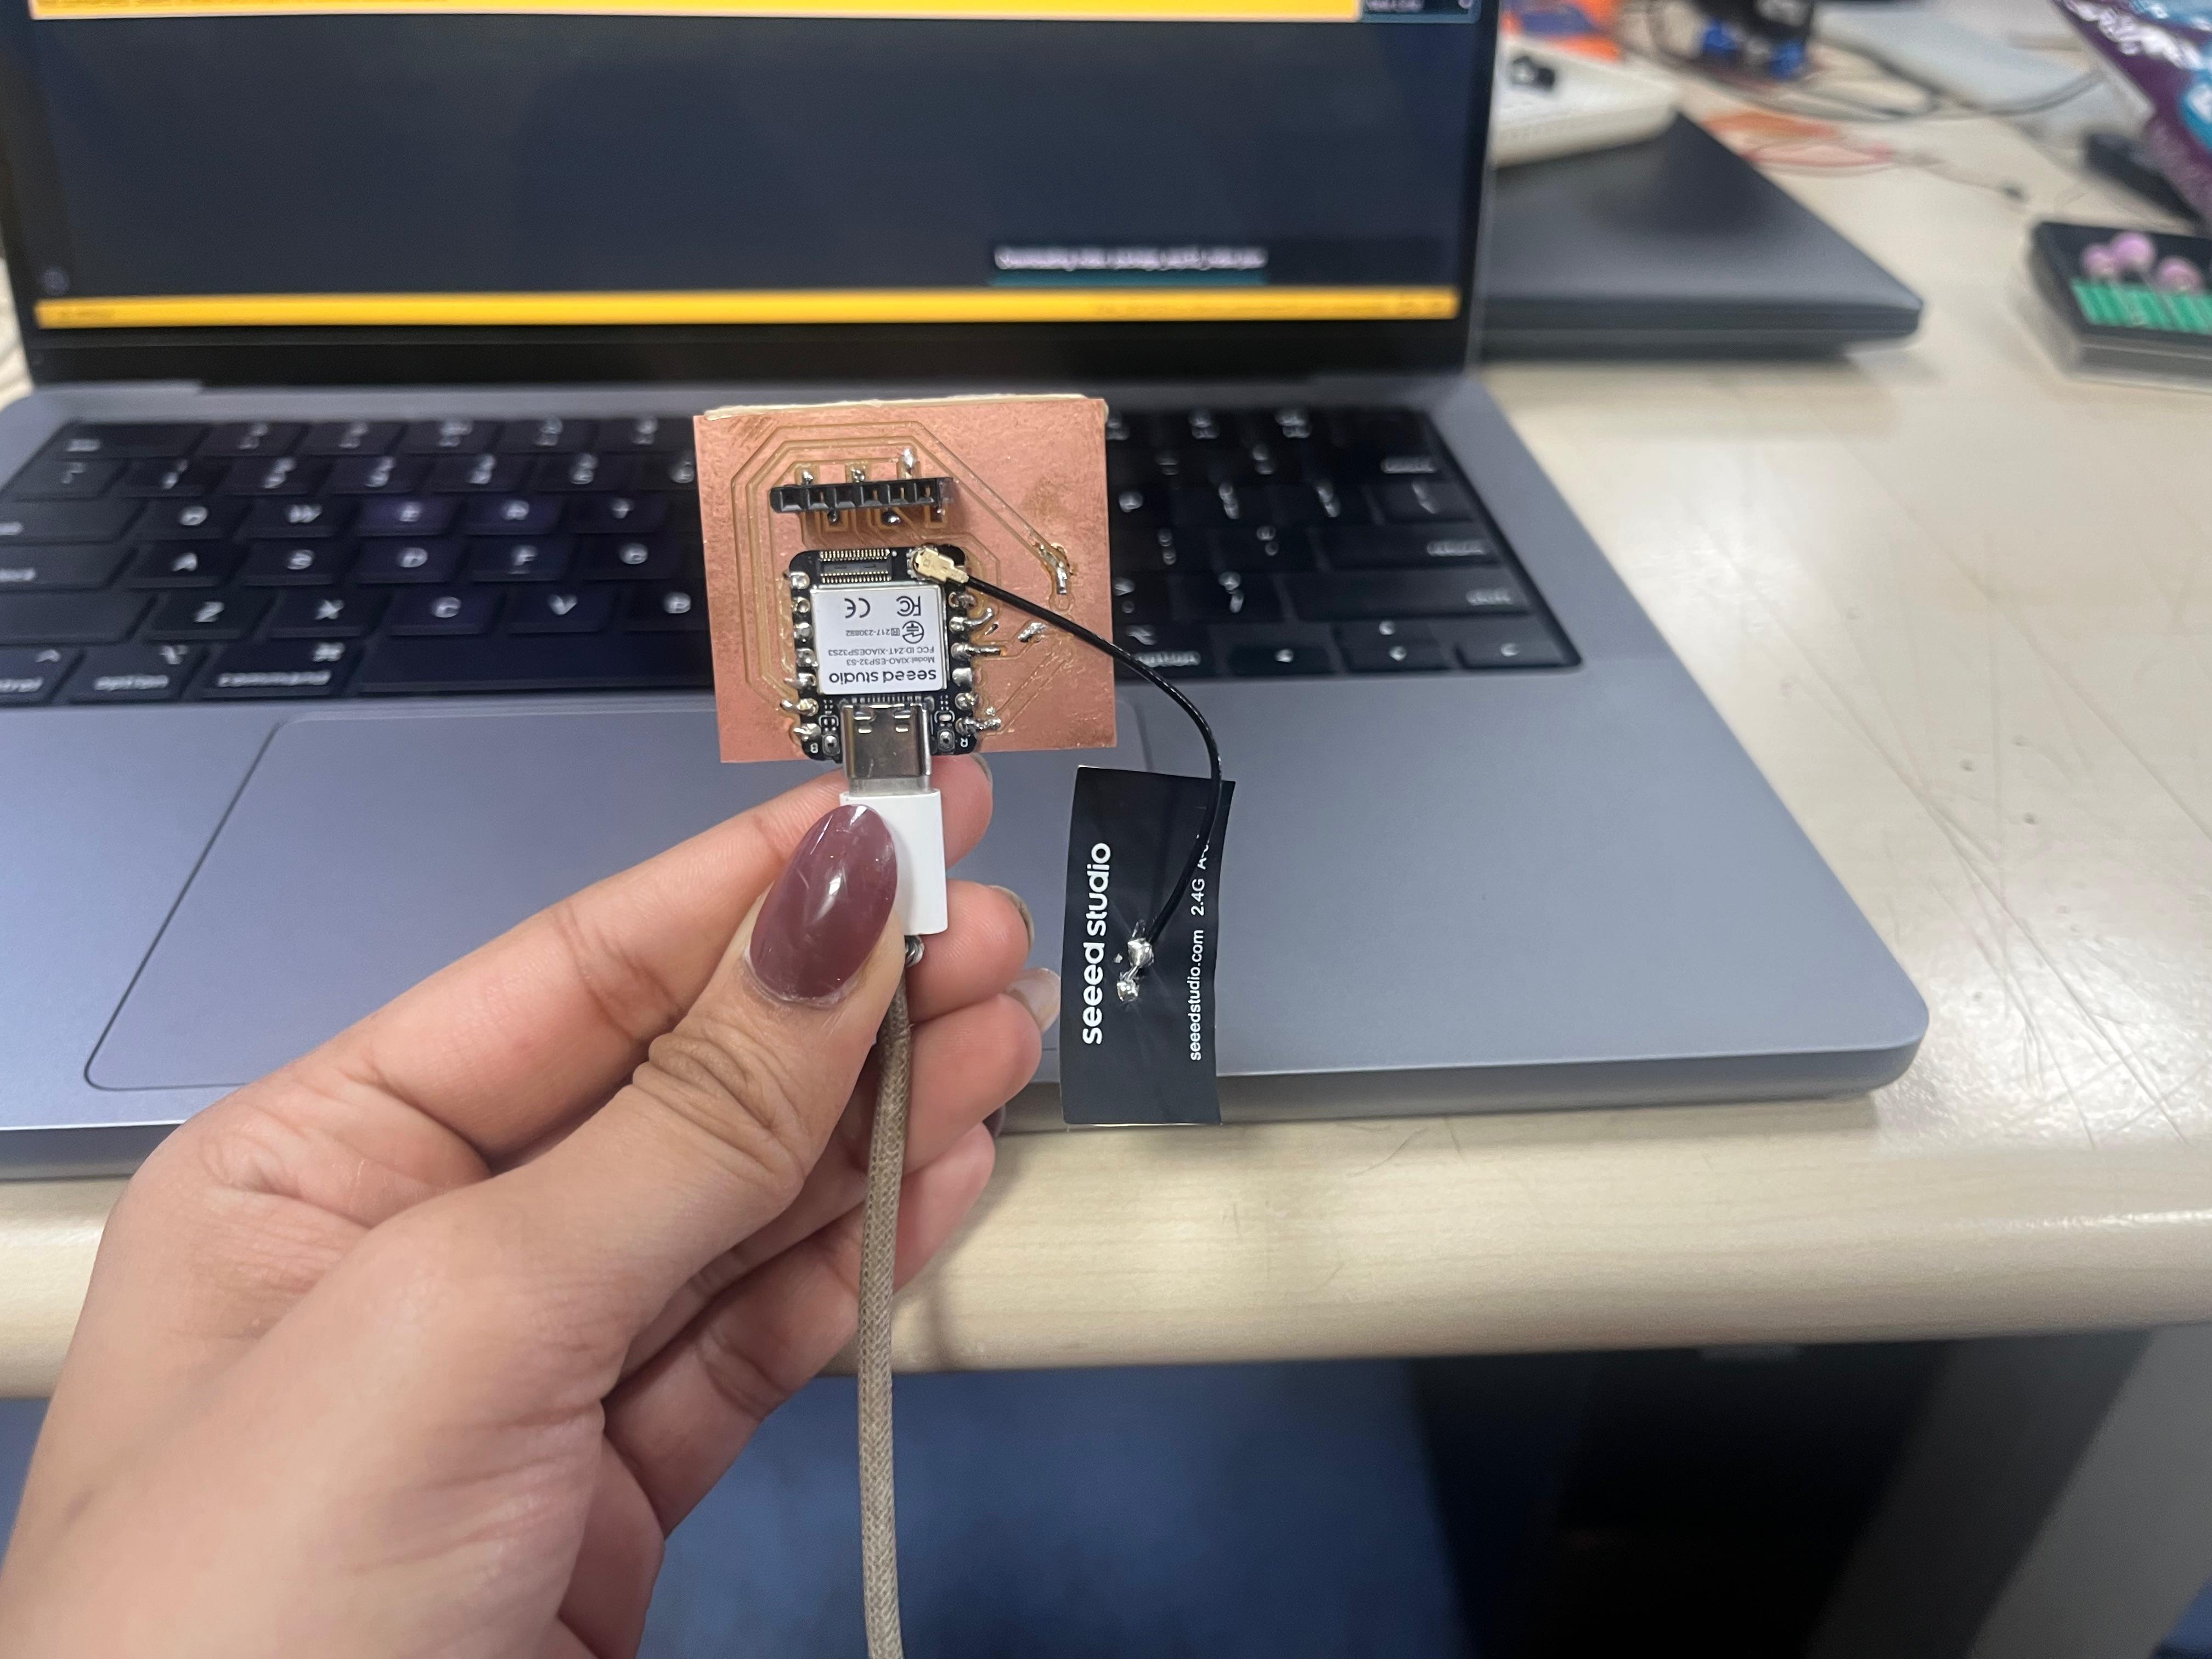
| Controller | XIAO ESP32-S3 on my custom PCB | EasyEDA, PCB milling, soldering |
| Driver | PCA9685 16-channel PWM servo driver | Off-the-shelf module |
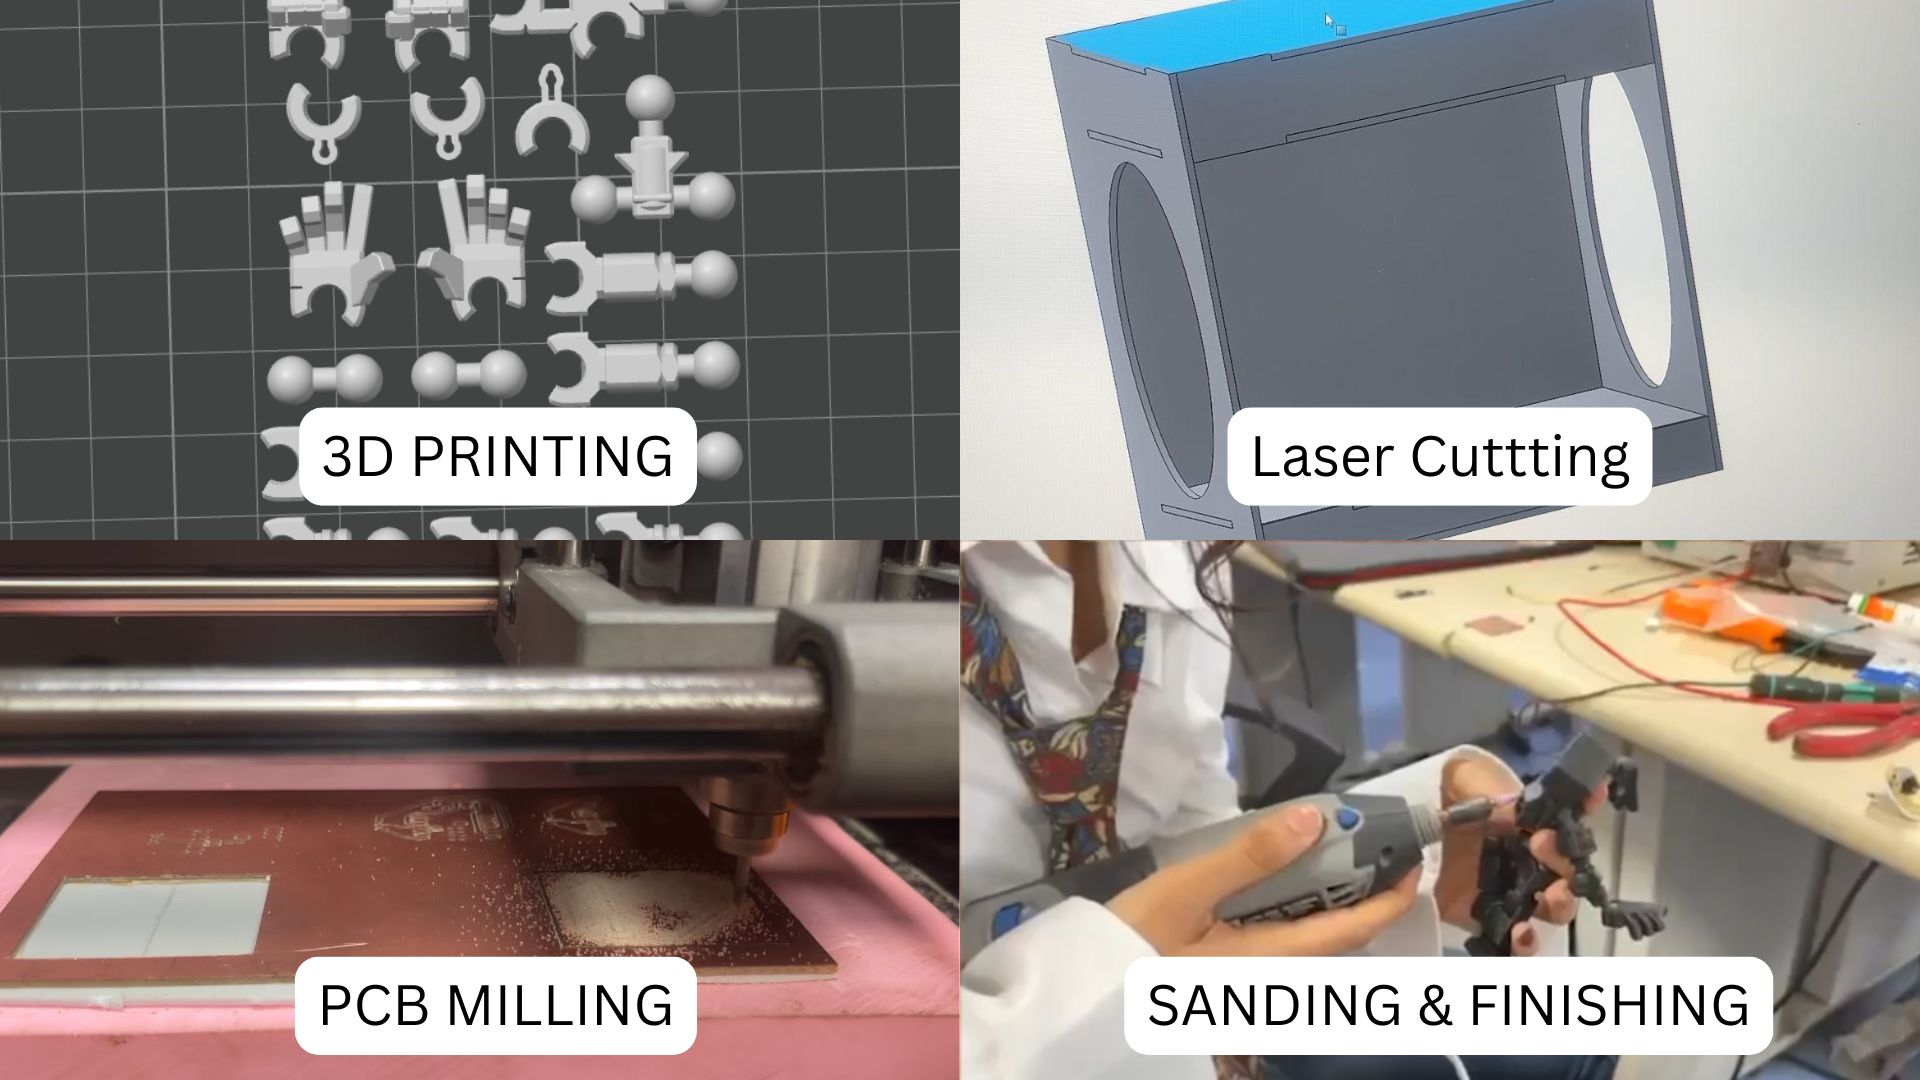
| Actuators | 7 × SG90 servos with custom pulleys | 3D printing (pulleys) |
| Transmission | Strings from pulleys to puppet joints | Thread |
| Puppet | Articulated skeletal marionette | 3D printing (PLA) |
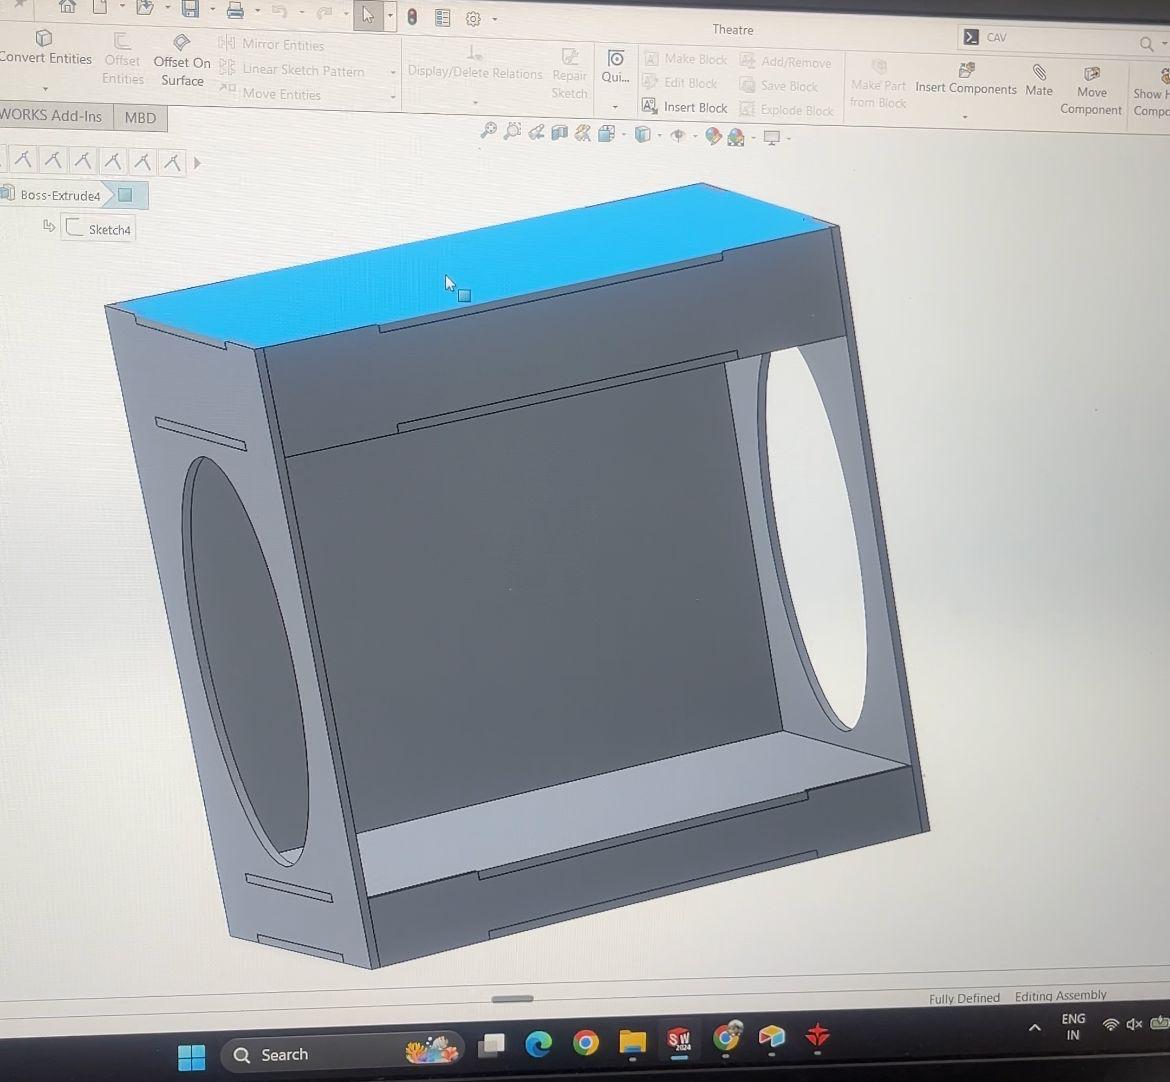
| Enclosure | Theatre / stage with slot joints | SolidWorks, laser cutting (acrylic) |
| Power | External 5V supply for servos + USB-C for the XIAO | Bought |
🔗 System Diagram
How a command travels from my phone to the puppet's wrist:
⚡ Wiring + Connections
My PCB breaks out a 4-pin header for the PCA9685, so the controller-to-driver link is one tidy cable instead of loose jumpers.
| From | To | Why |
|---|---|---|
| XIAO SDA | PCA9685 SDA | I²C data |
| XIAO SCL | PCA9685 SCL | I²C clock |
| XIAO 3V3 | PCA9685 VCC | Logic power for the driver chip |
| XIAO GND | PCA9685 GND | Common ground (must be shared!) |
| External 5V +/− | PCA9685 V+ / GND terminal | Servo power, kept off the XIAO |
| PCA9685 CH0–CH6 | 7 × SG90 (3-pin) | Signal + 5V + GND per servo |
🔹 Servo channel map
| Channel | Joint | Limp | Neutral | Pulled |
|---|---|---|---|---|
| CH0 | Left elbow | 0° | 20° | 45° |
| CH1 | Left wrist | 0° | 20° | 45° |
| CH2 | Right elbow | 0° | 20° | 45° |
| CH3 | Right wrist | 0° | 20° | 45° |
| CH4 | Left knee | 0° | 20° | 45° |
| CH5 | Right knee | 0° | 20° | 45° |
| CH6 | Head | 0° | 15° | 35° |
Angles go 0–180° → pulse counts 150–600 (out of 4096) at 50 Hz, i.e. roughly 0.7 ms to 2.9 ms pulses. Labelling each servo cable with its channel number saved me from a lot of "why did the knee just move?!" moments (¬‿¬)
🔋 Power Budget
The servos are the hungry part, so they get their own 5V supply on the PCA9685's V+ terminal. The XIAO is powered separately over USB-C, so a servo pulling a big current spike can't brown-out the Wi-Fi.
A rough estimate using typical SG90 figures (not measured yet):
| Load | Approx. current |
|---|---|
| 1 servo moving (worst case, near stall) | ~650 mA |
| 6 servos holding against string tension | ~6 × 100–150 mA |
| Peak total | ~1.3–1.6 A |
Because smoothMove() moves one servo at a time, only one servo is ever accelerating, which keeps the peak low.
Even so, a 5V supply rated 2 A or more leaves comfortable headroom. Next step: measure the real current with a multimeter during
a dance routine and update this table.
🪢 Mechanical Integration
The servos sit on a mounting plate above the puppet, laid out to mirror the body (head in the middle, elbows on top, wrists on the outside, knees in the centre) so each string drops almost straight down to its joint. Slots in the plate let the strings pass through.
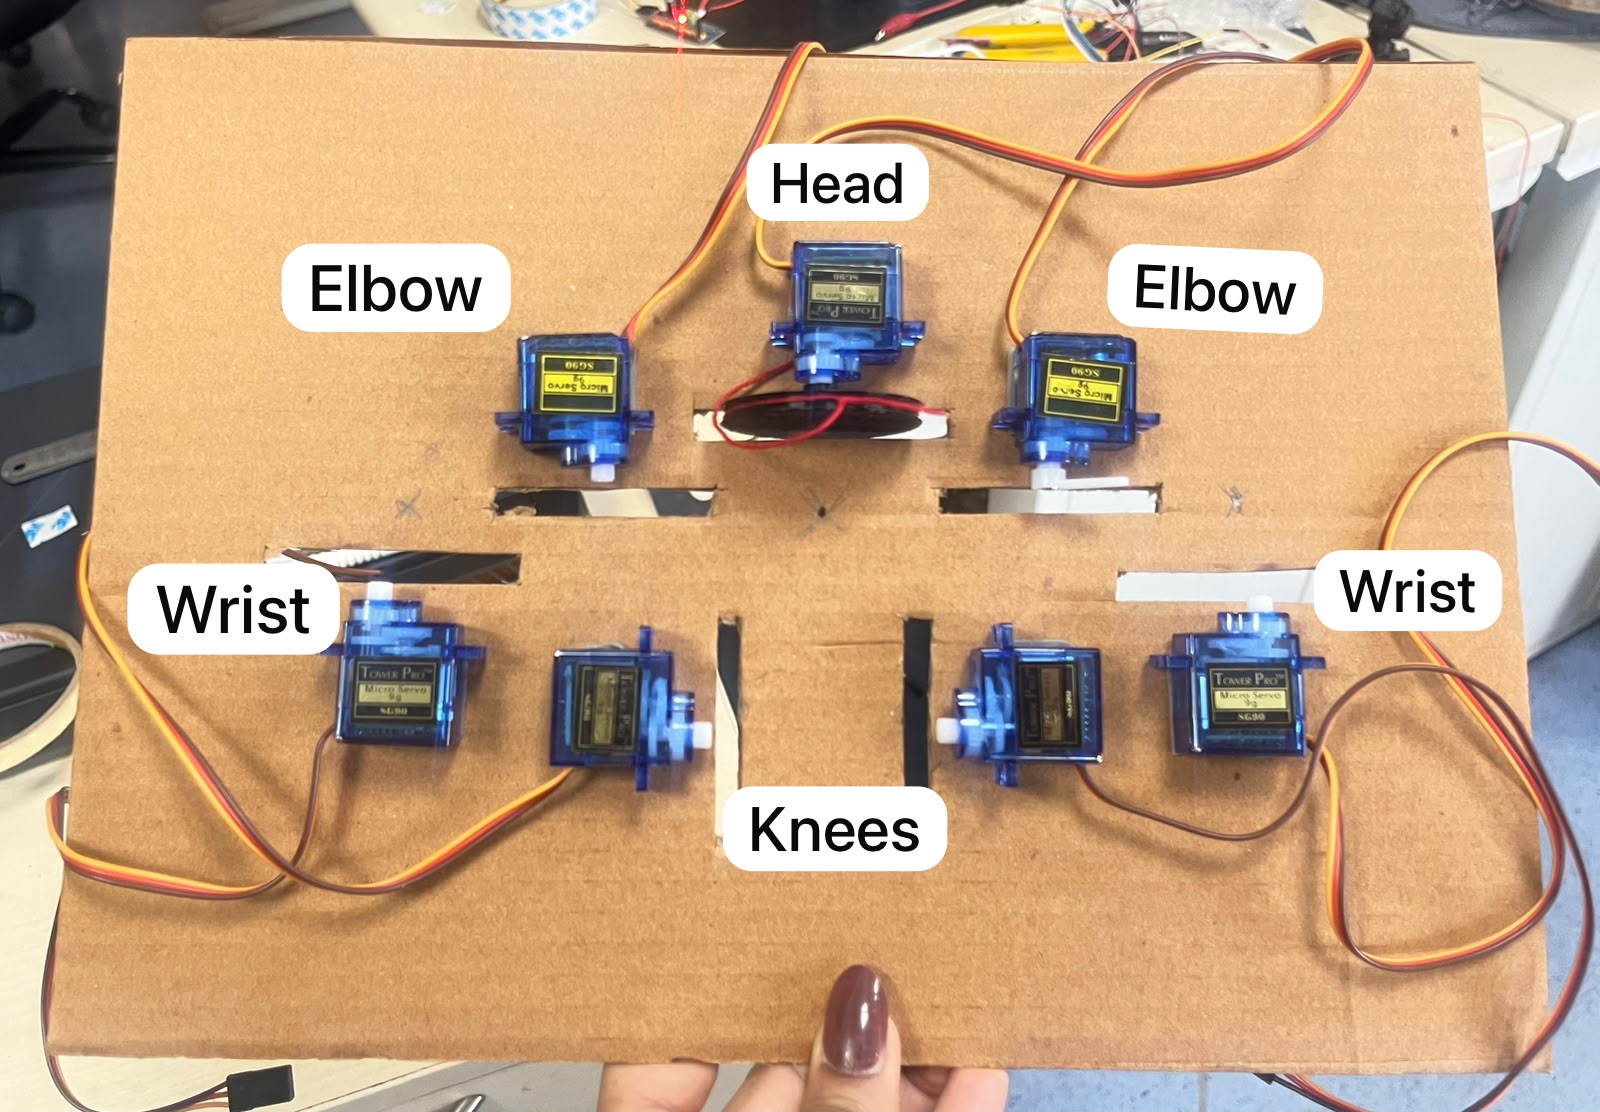
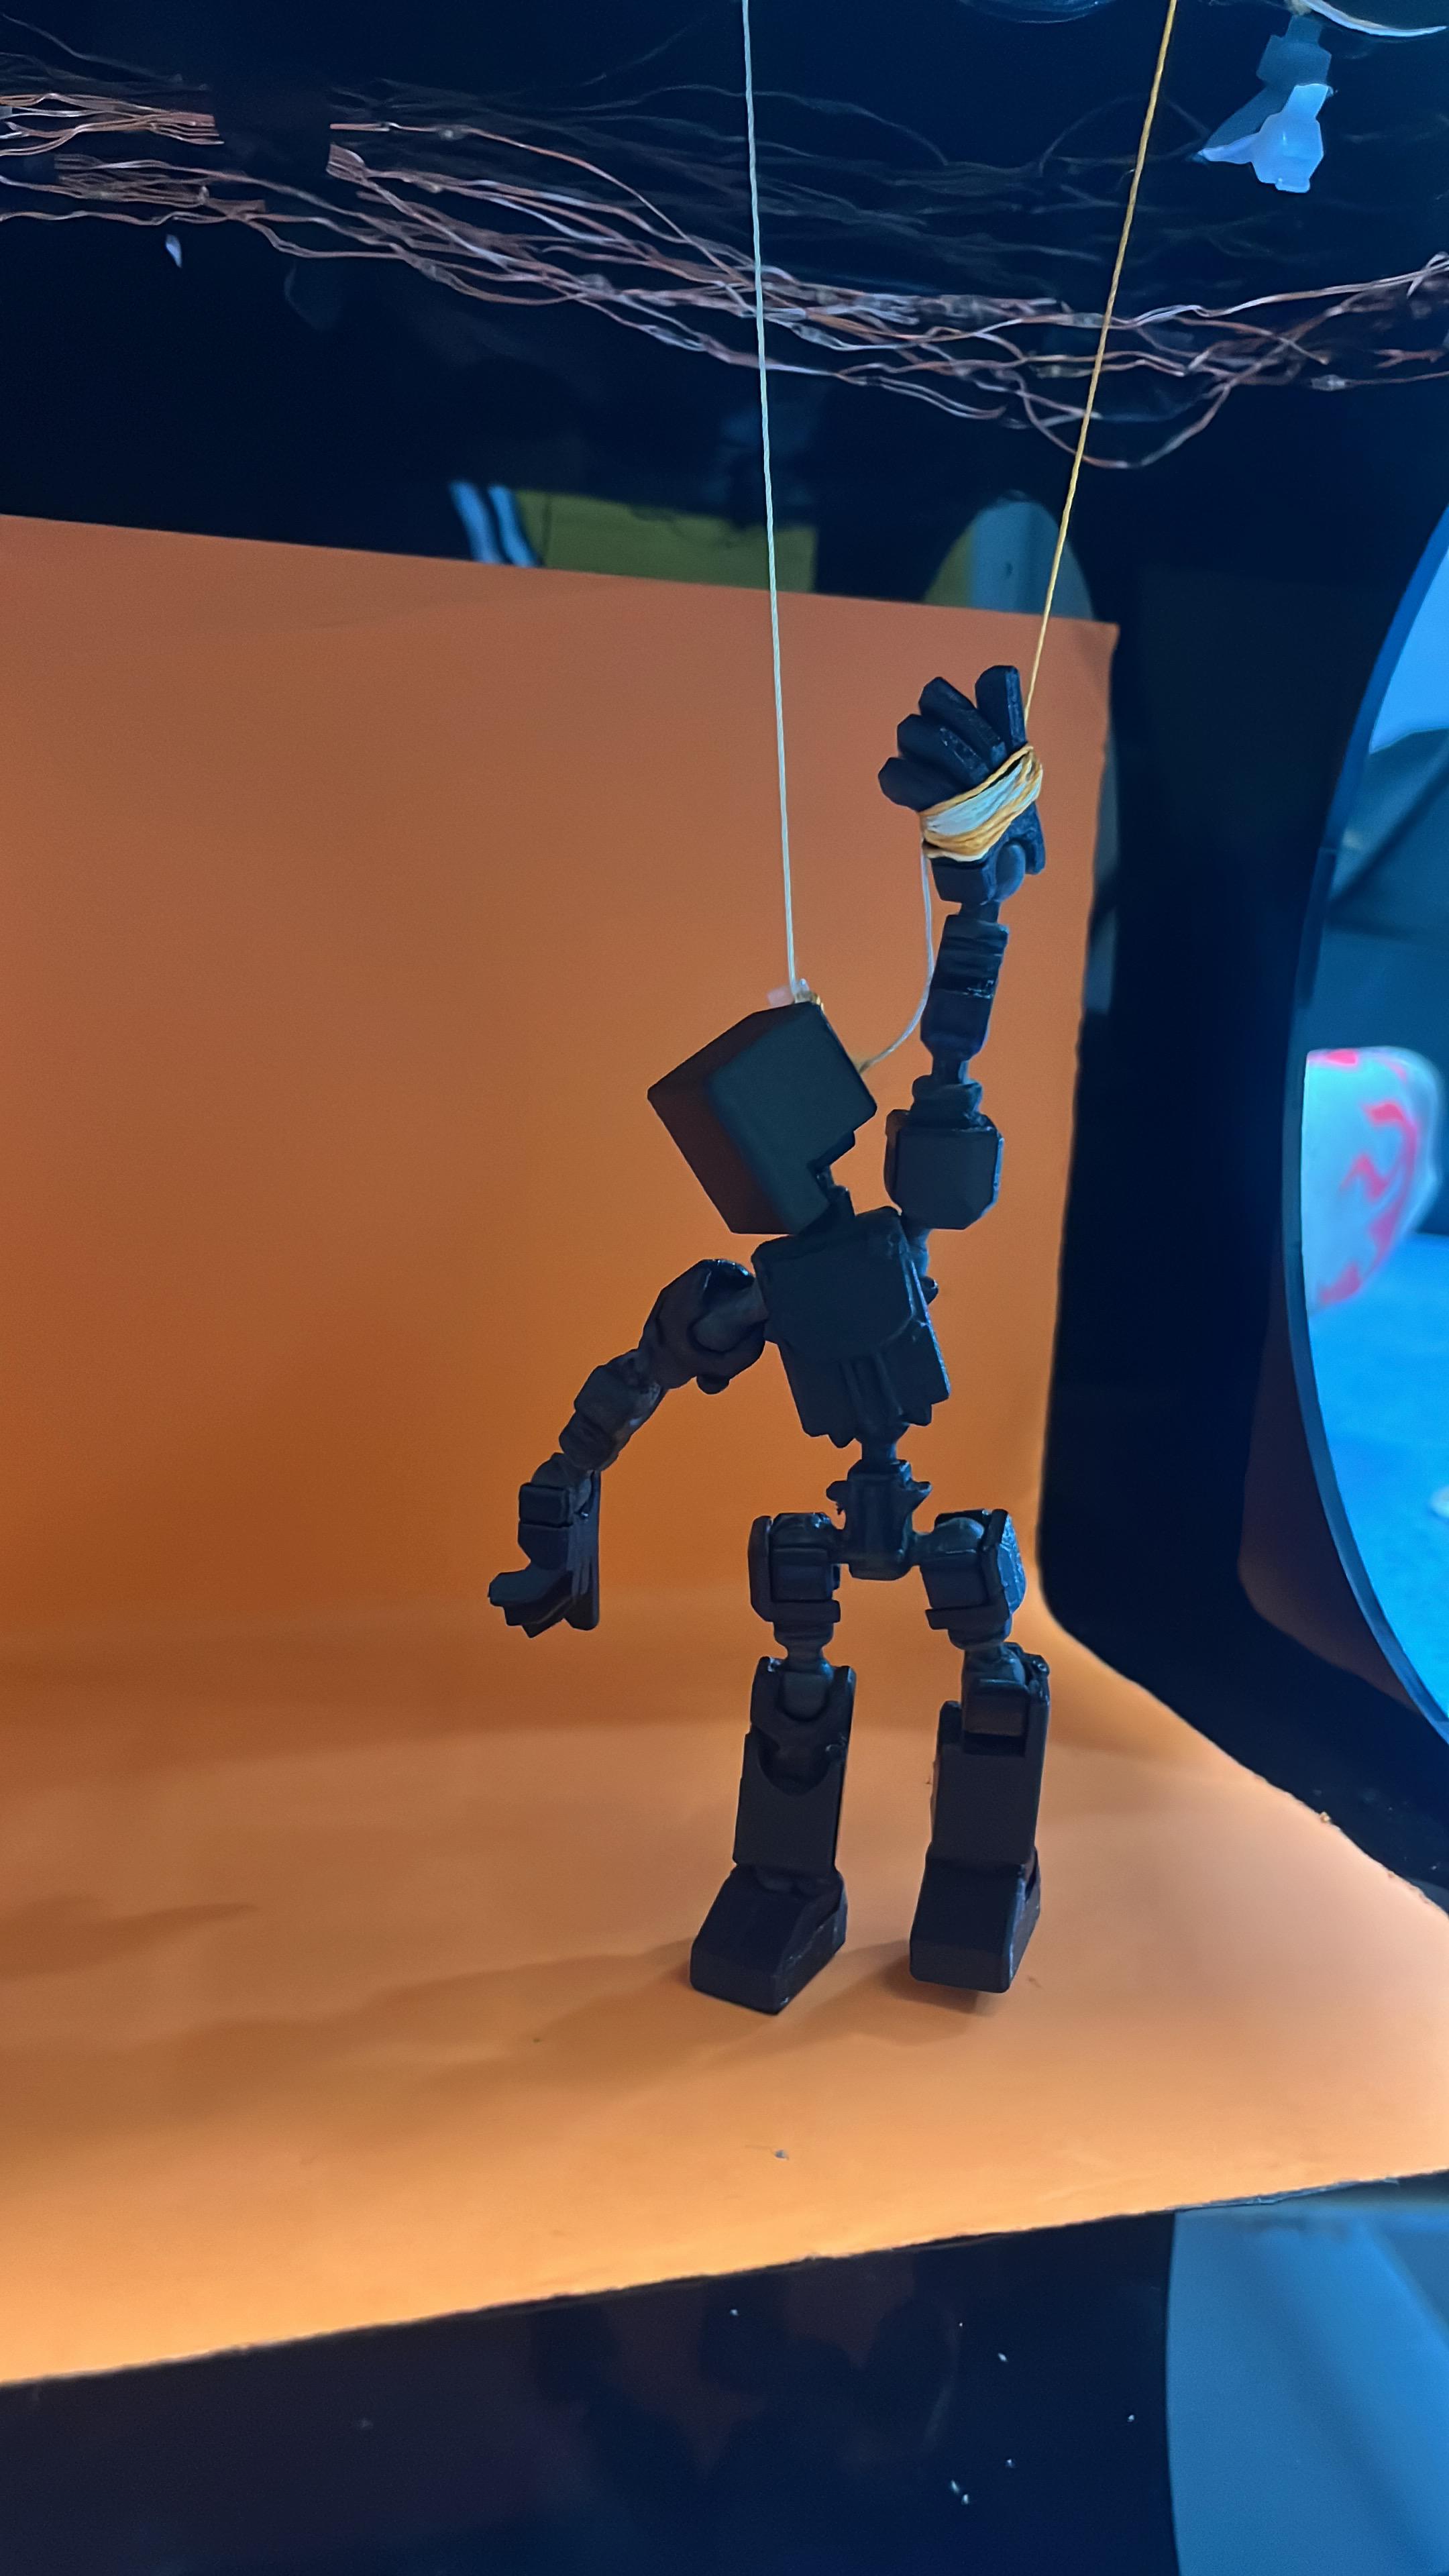
- • Custom 3D-printed pulleys sit on the SG90 horns and wind the string, turning rotation into a pull
- • The limp angle (0°) is the "slack" position, so the puppet powers up relaxed instead of yanking on its strings
- • String length is tuned with the servo at neutral, so neutral = puppet standing
- • The theatre is laser-cut with slot joints, so it goes together (and comes apart for fixes) without glue
💻 Software Flow
🔹 On power-up
- Start Serial (115200) for debugging
- Start I²C and the PCA9685 at 50 Hz
- Move every joint to limp, so the puppet always boots in a safe, known state
- Start the Wi-Fi access point
PuppetControl(no router needed, so it works anywhere) - Start the WebSocket server on port 81
🔹 For every command
- The browser connects to
ws://<XIAO IP>:81(the IP is printed on Serial; for an ESP32 access point it's usually 192.168.4.1) - It sends JSON like
{"command": "raise left arm"} - The XIAO parses it with ArduinoJson, matches it to a joint or pose and calls
smoothMove() - When the move is done, the XIAO replies
{"status":"ok"}
Timing: each step is 1° every 15 ms, so neutral → pulled (25°) takes about 0.4 s per joint, and "stand" from limp takes about 2 s because the joints move one after another. Moves are blocking, so a new command waits until the current one finishes. That's actually handy, because poses never get half-overwritten.
📦 Packaging + Finish
For it to feel like a product and not a prototype, the plan is:
- • Hide the electronics: the PCB, PCA9685 and power entry go inside the stage, out of the audience's view
- • One power entry point: the 5V supply and USB-C cable come in at the back of the stage
- • Cable management: servo leads bundled and routed along the frame, each labelled with its channel
- • Antenna placement: the XIAO's external antenna stays plugged in and isn't boxed in behind anything metal
- • Serviceable: slot-jointed panels so I can open it up to re-tune strings or swap a servo
- • Stage lighting: fairy lights along the top for the theatre feel ✨
🧪 Integration Testing
I bring things up one layer at a time, so when something breaks I know which layer to blame:
- One servo on the PCA9685, sweeping, to check I²C + power
- All 7 servos, checking each channel moves the right joint
- Wi-Fi + WebSocket: connect from the phone, send a command, watch the Serial log
- Strings attached: tune limp / neutral / pulled per joint
- Full poses: stand, limp, wave, bow, dance, hands up
- Full demo run: inside the stage, on the real power supply, for a whole performance
😵 Integration Problems I've Hit
- • Mirrored PCB: the XIAO had to sit upside down, so check the board orientation before milling!
- • Lifted copper trace while soldering, so I now go easy on heat and rework
- • No Wi-Fi: the antenna wasn't plugged in (ಥ﹏ಥ). It's now on my pre-demo checklist
- • String tension drifts and needs re-tuning, which is why the panels have to be easy to open
✨ What I Learned
- • Separate the servo power from the logic power and tie the grounds together
- • Always boot into a safe state (limp)
- • Bring the system up one layer at a time
- • Design the enclosure to be opened, because things will need fixing 🫡
📁 Design Files
Puppet Controller Code (.ino)PCB Gerber Files (.zip)
PCB Schematic, EasyEDA (.json)
SG90 Pulley (.3mf)