WILDCARD WEEK
Wildcard Week Assignment
- Demonstrate workflows used in a process not covered elsewhere in the assignments
- Document the process with photos and/or video
Vaccum Forming
For Wildcard Week I explored vacuum forming. It is a manufacturing process for shaping thermoplastic sheets over a mold using heat and suction.
Vacuum forming sits within the broader category of thermoforming, which covers any process where a plastic sheet is heated until pliable and then shaped using a mold. What distinguishes vacuum forming specifically is that atmospheric pressure, with the air evacuated on one side, does the forming work.
Here is the guide I used.
Process Overview
The vacuum forming process follows the same fundamental sequence regardless of the scale of the machine:
- Prepare the mold : Manufacturers use cast aluminum, wood, structural foam, or 3D-printed plastics to make a vacuum mold. The mold is placed on the perforated bed of the machine.
- Clamp the sheet : A flat thermoplastic sheet is secured in the machine's frame, suspended above the mold. The clamp must be strong enough to hold the plastic throughout the forming process; its strength depends on the machine.
The heater comes with a radiation source to perform its function, and the heating time depends on the type of plastic one is working with. - Heat : A heating element raises the plastic to its forming temperature. The sheet visibly softens and begins to sag under its own weight, indicating it is ready.
- Form : The softened sheet is brought down over the mold (or the bed is raised into the sheet, depending on the machine design).
- Apply vacuum : A vacuum pump or domestic vacuum cleaner evacuates the air between the plastic and the mold. Atmospheric pressure pushes the plastic into every surface detail of the mold.
- Cool : The plastic is held under vacuum while it cools and rigidifies, typically 30–90 seconds.
- Release and trim : Once hardened, the formed part is removed from the mold. Excess flange material around the edges is trimmed with scissors, a knife, or a band saw.
The Mayku Formbox
The machine used this week is the Mayku Formbox, a desktop vacuum former designed for rapid prototyping and small-batch production. It is compact enough to sit on a lab bench and requires only a standard domestic vacuum cleaner as its suction source.
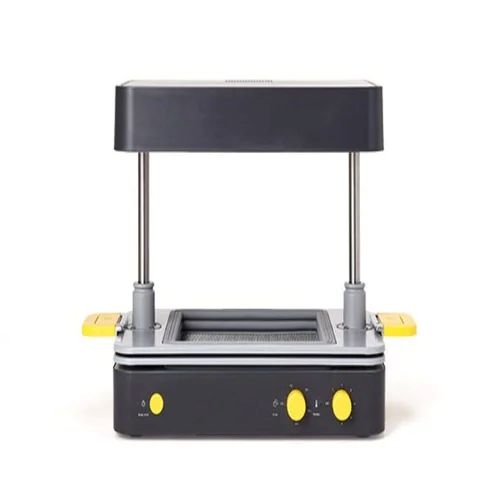
Key Features
- Desktop footprint — fits on a standard workbench
- Uses a household vacuum cleaner (no dedicated vacuum pump required)
- Compatible with both Mayku-branded sheets and standard thermoplastic stock
- Halogen heating element provides rapid, even heat distribution
- Perforated forming bed for uniform vacuum distribution
- Fixed forming area with a spring-loaded clamp frame
Technical Specifications
| Parameter | Value |
|---|---|
| Forming area | 200 × 200 mm (approx.) |
| Maximum mold height | 150 mm |
| Sheet thickness range | 0.25 mm – 3 mm |
| Heater type | Halogen (radiant) |
| Heater power | 1400 W |
| Vacuum source | Standard domestic vacuum cleaner (min. 1000 W recommended) |
| Machine dimensions | 410 × 330 × 235 mm |
| Machine weight | ~8 kg |
| Supply voltage | 220–240 V AC / 110–120 V AC |
Compatible Materials
Thermoplastics are the only class of material suitable for vacuum forming. They soften reversibly when heated and rigidify on cooling. Thermosets and elastomers cannot be vacuum formed by this method.
| Material | Forming Temp. (°C) | Characteristics | Typical Use |
|---|---|---|---|
| HIPS (High-Impact Polystyrene) | 130–160 | Easy to form, rigid, paintable, low cost | Prototypes, packaging inserts, trays |
| PETG (Polyethylene Terephthalate Glycol) | 140–170 | Clear, tough, food-safe, good detail reproduction | Clear covers, food packaging, medical trays |
| ABS (Acrylonitrile Butadiene Styrene) | 150–180 | Strong, impact-resistant, good surface finish | Enclosures, automotive parts |
| Polycarbonate (PC) | 175–190 | Excellent impact strength, optically clear | Visors, lenses, protective covers |
| TPU (Thermoplastic Polyurethane) | 160–185 | Flexible, rubber-like finish, abrasion-resistant | Soft-touch grips, gaskets |
| PVC | 130–160 | Flexible or rigid depending on formulation, clear | Blister packs, clamshell packaging |
Mold Design Considerations
The quality of a vacuum-formed part is largely determined by the mold.
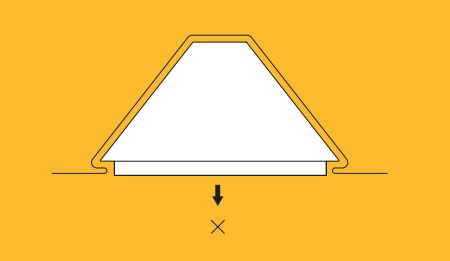
Draft Angle
Every vertical wall of the mold must be tapered outward by at least 3° (5° recommended) in the direction of release. Without draft, the cooled plastic grips the mold and cannot be removed without tearing.

Undercuts
Ffeatures that point back inward beneath the parting line. This must be avoided on rigid molds. The hardened plastic cannot stretch back over an undercut to release. For designs that require undercuts, a split mold or a flexible mold material (like silicone) is needed.
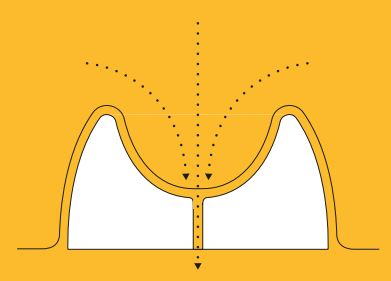
Vent Holes
Deep recesses and blind corners trap air, preventing the plastic from reaching the mold surface. Small vent holes (0.5–1 mm diameter) drilled through the mold at those points allow trapped air to be evacuated and produce sharper detail.
Surface Texture
The vacuum-formed part reproduces the mold surface faithfully. A smooth mold yields a smooth part. Sanding, priming, and polishing the mold before forming pays dividends in the final finish.
Assignment
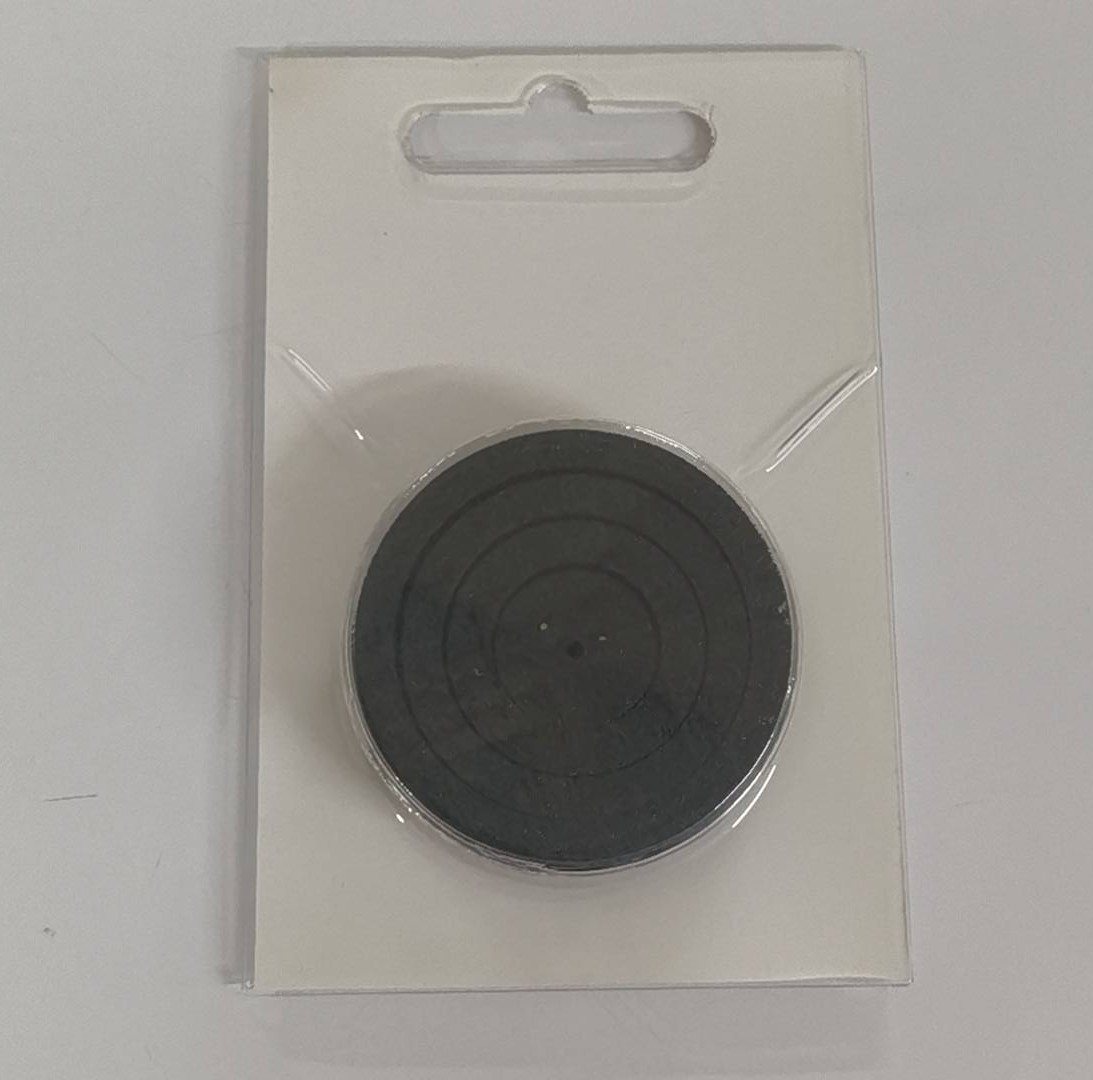
My plan this week was to make a package for the Fidget Spinner I designed in Computer Aided Design week.
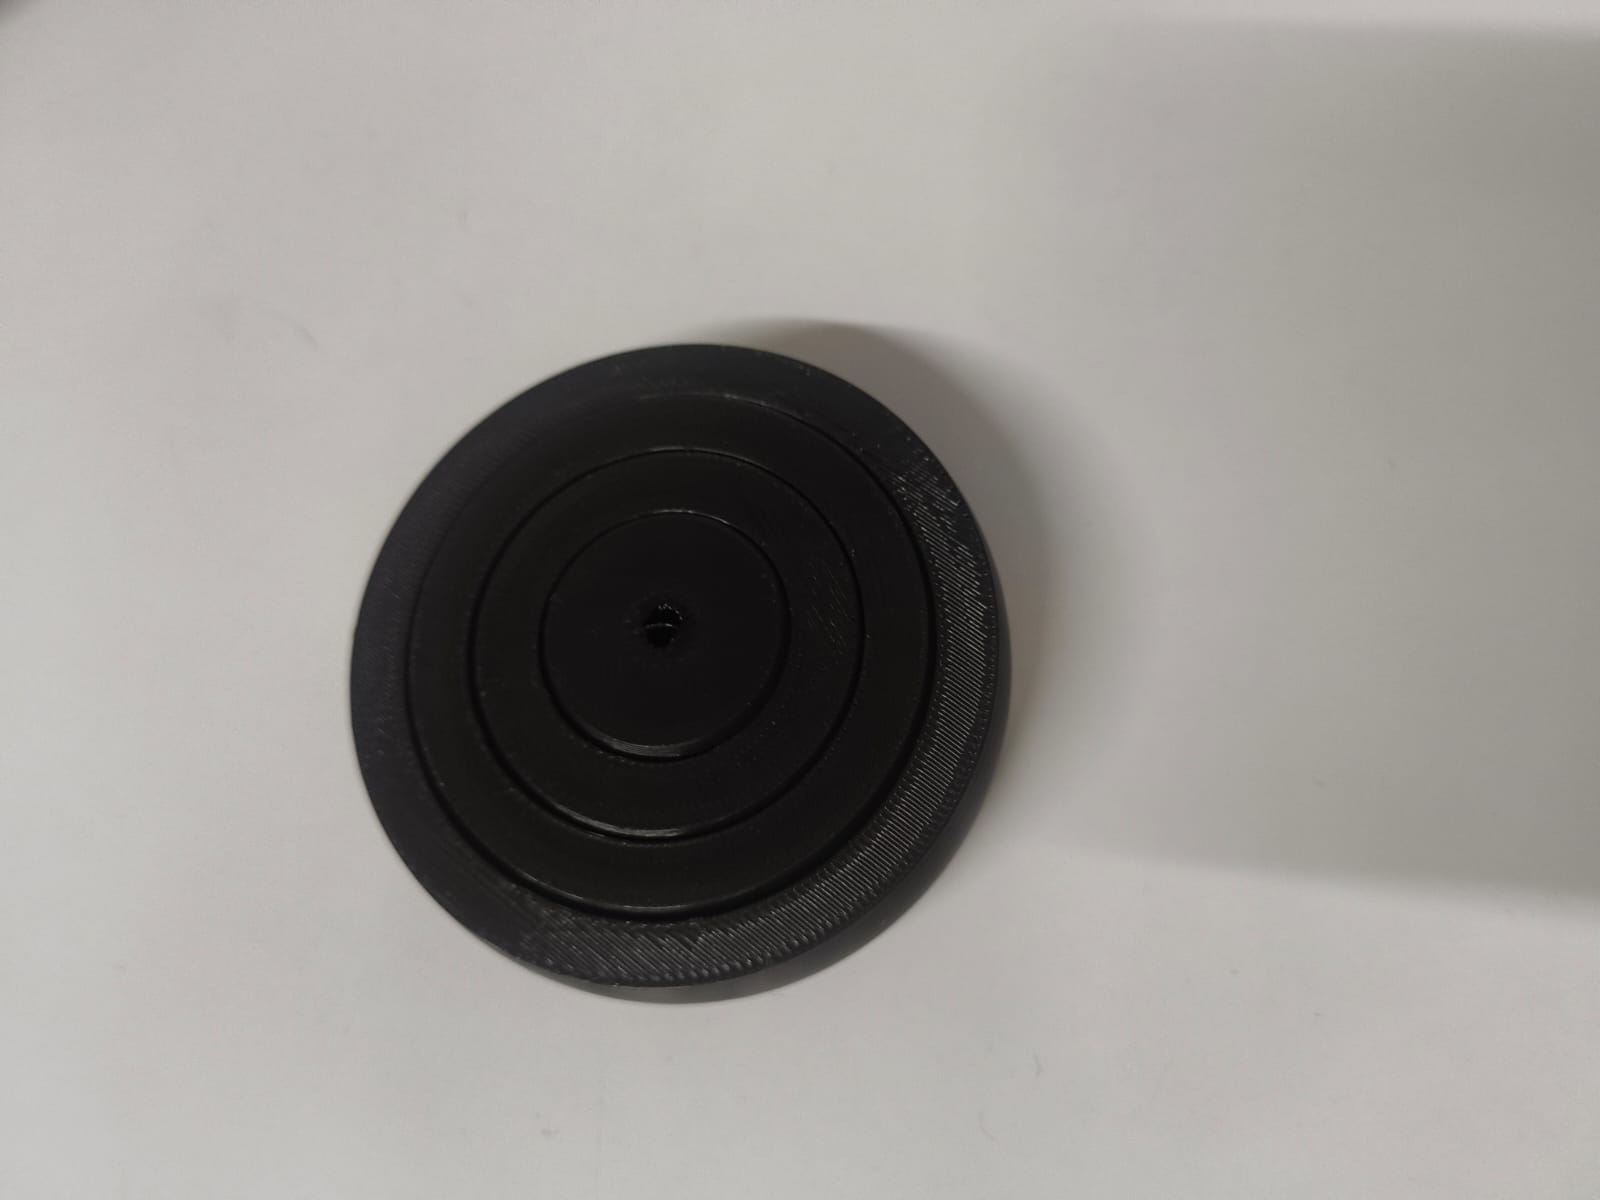
So I went and designed the shell in the same file.
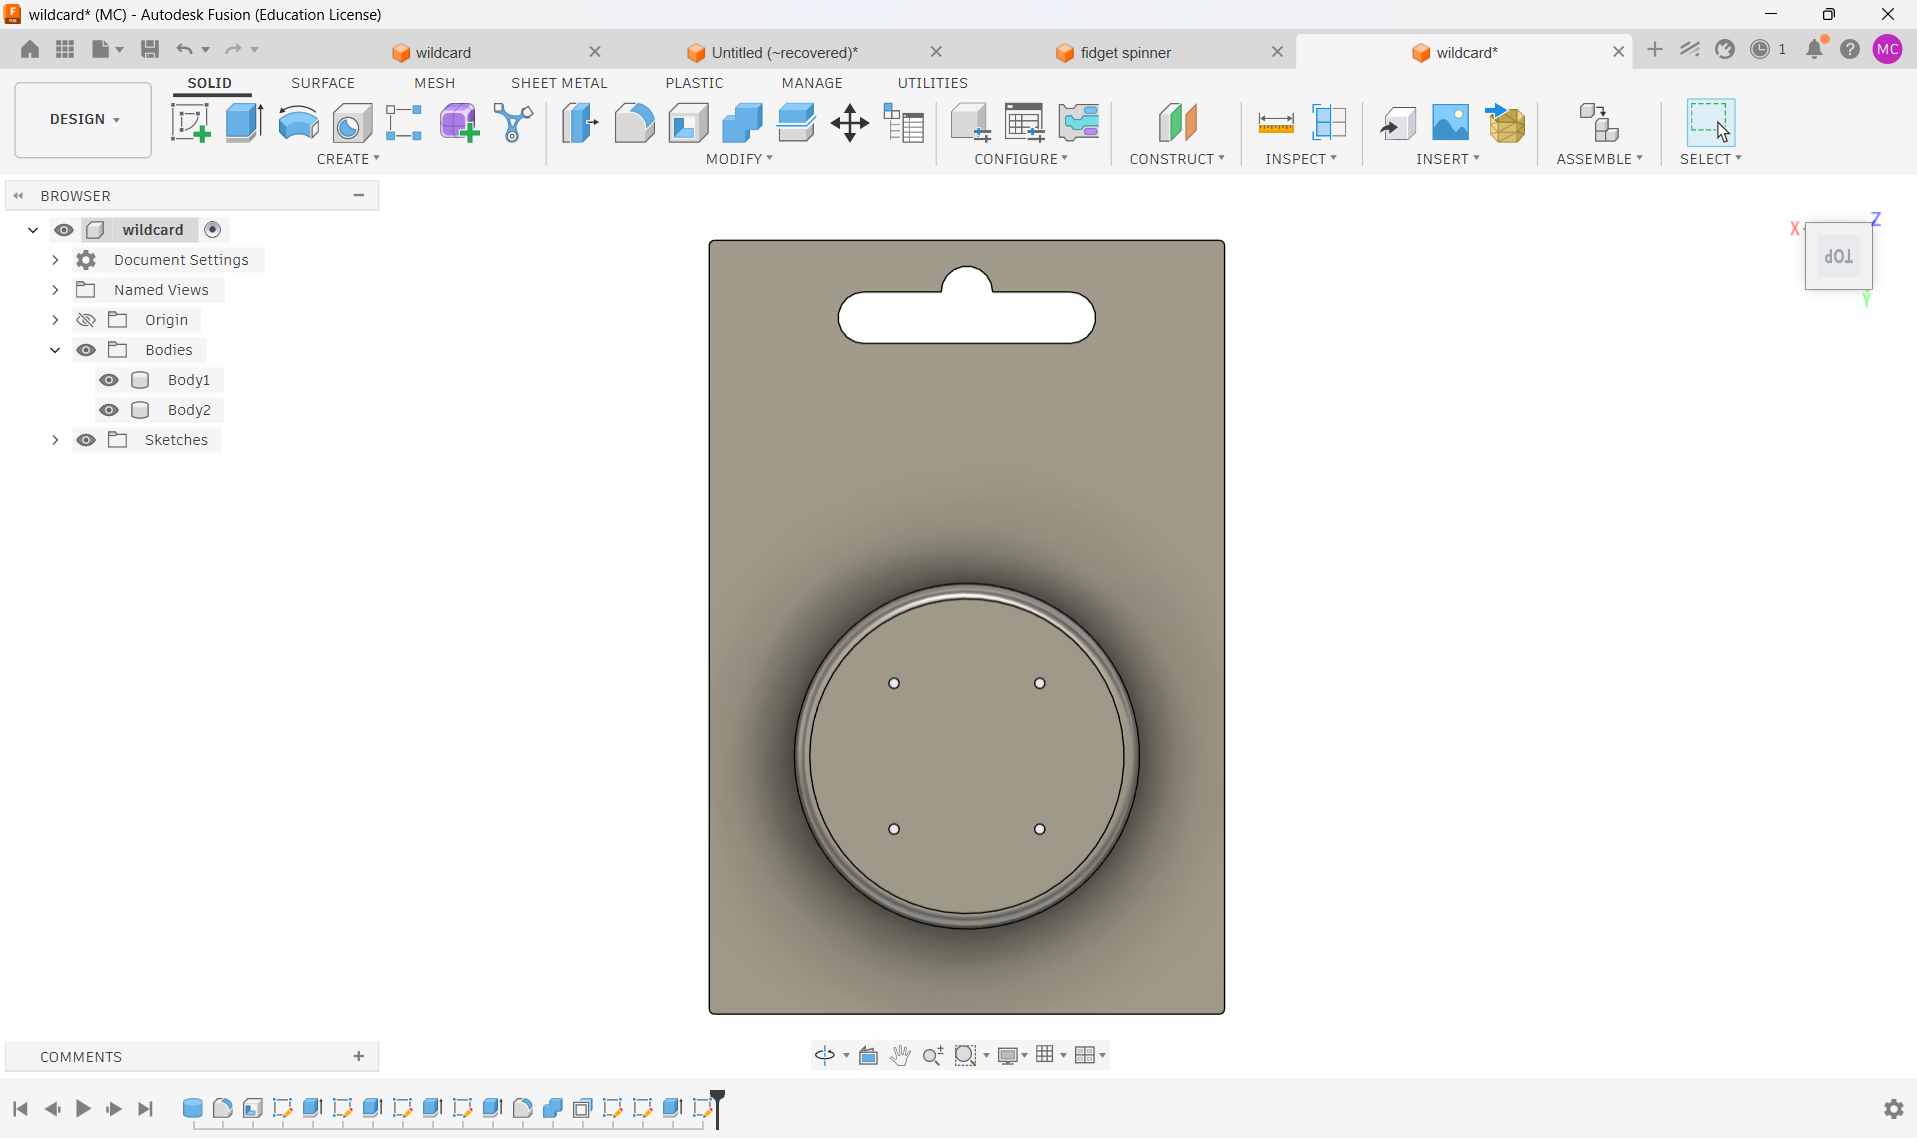
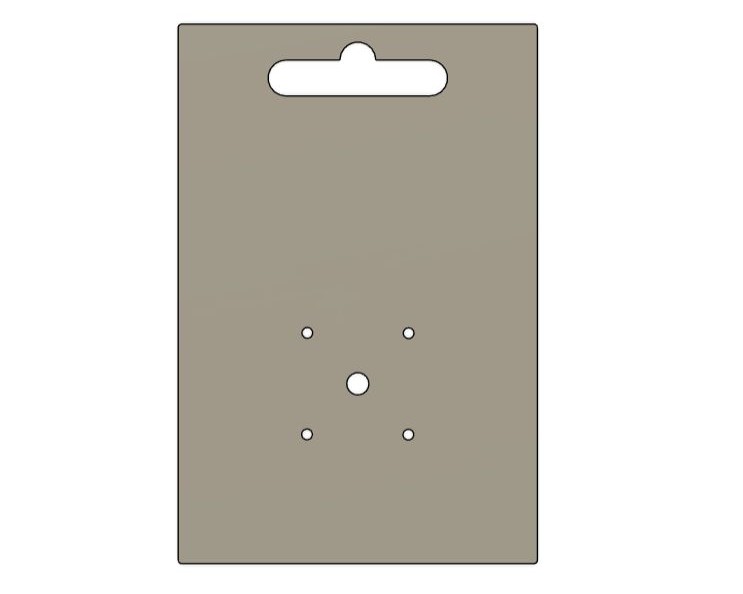
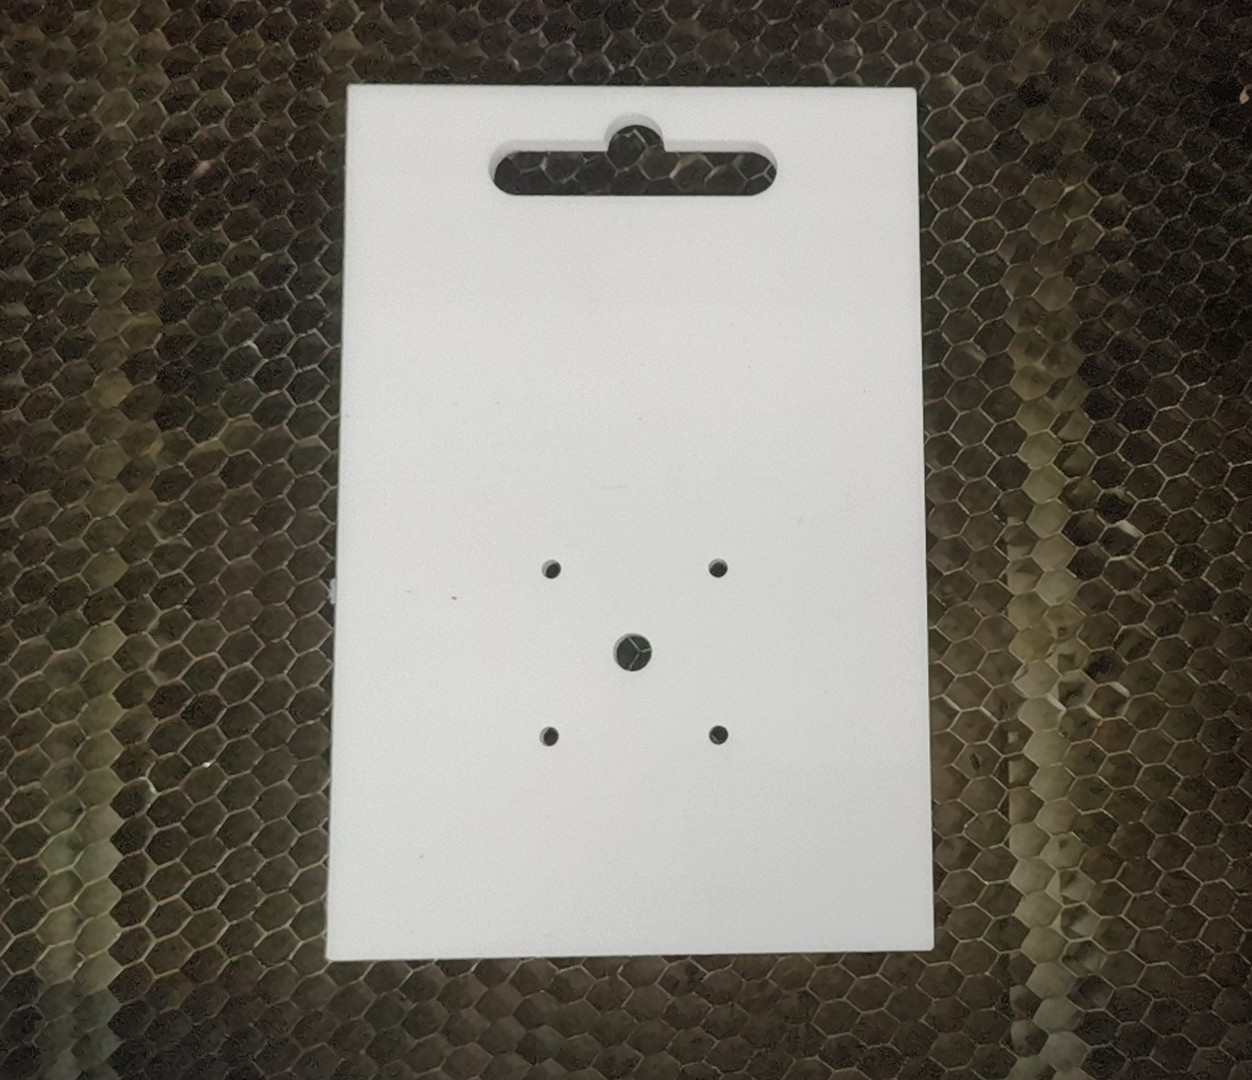
The hanging hook at the top of the rectangular package card was inspired by common packaging designs I found from the internet.

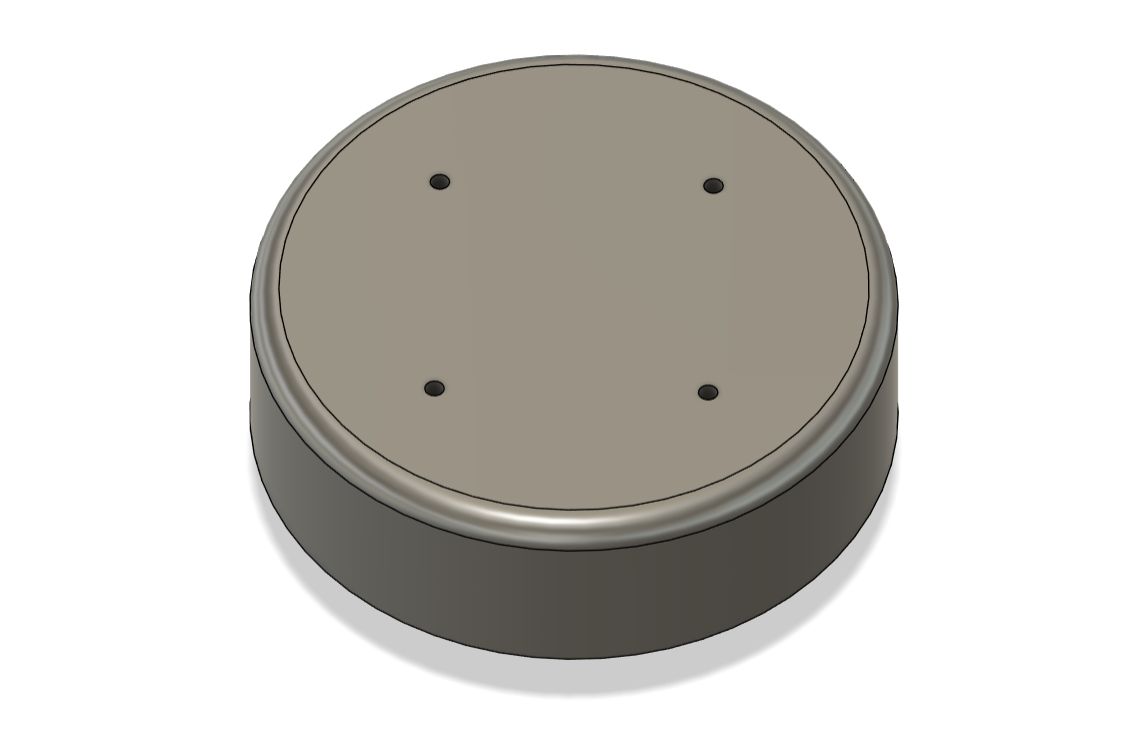
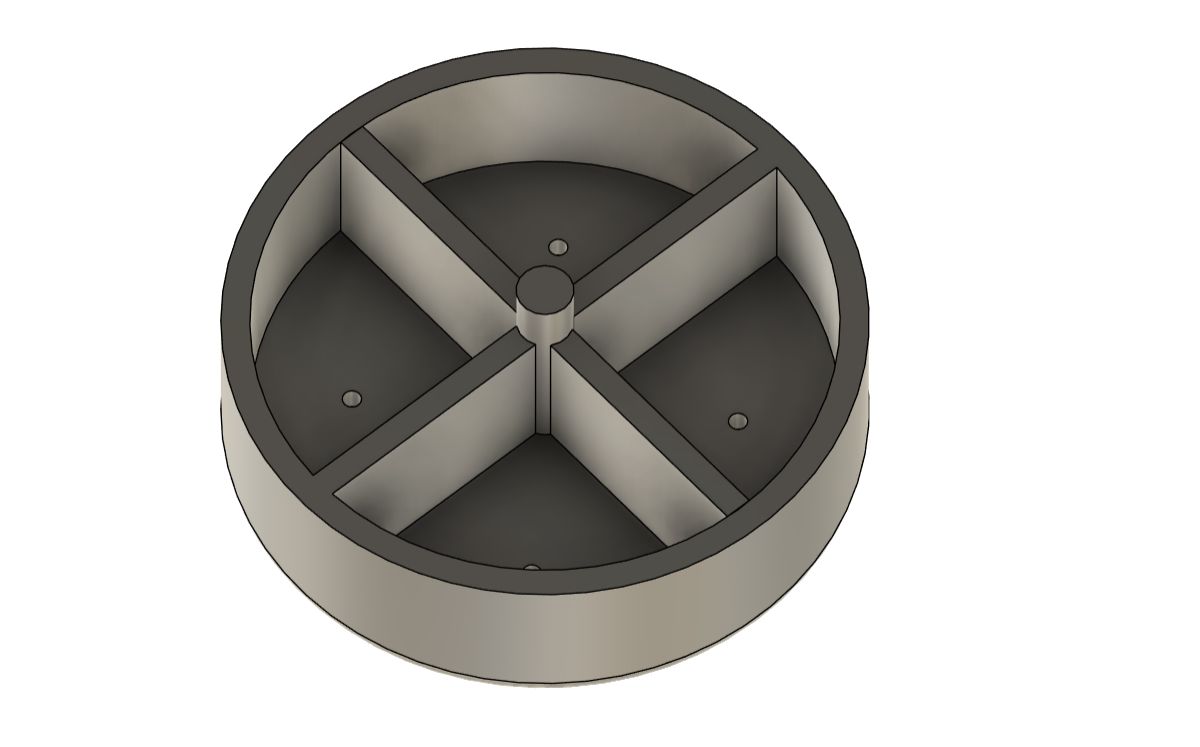
During the designing process, I added small vent holes into the circular mold design. Each is approximately 2 mm in diameter and distributed across the surface. These holes allow trapped air to escape during the forming cycle.
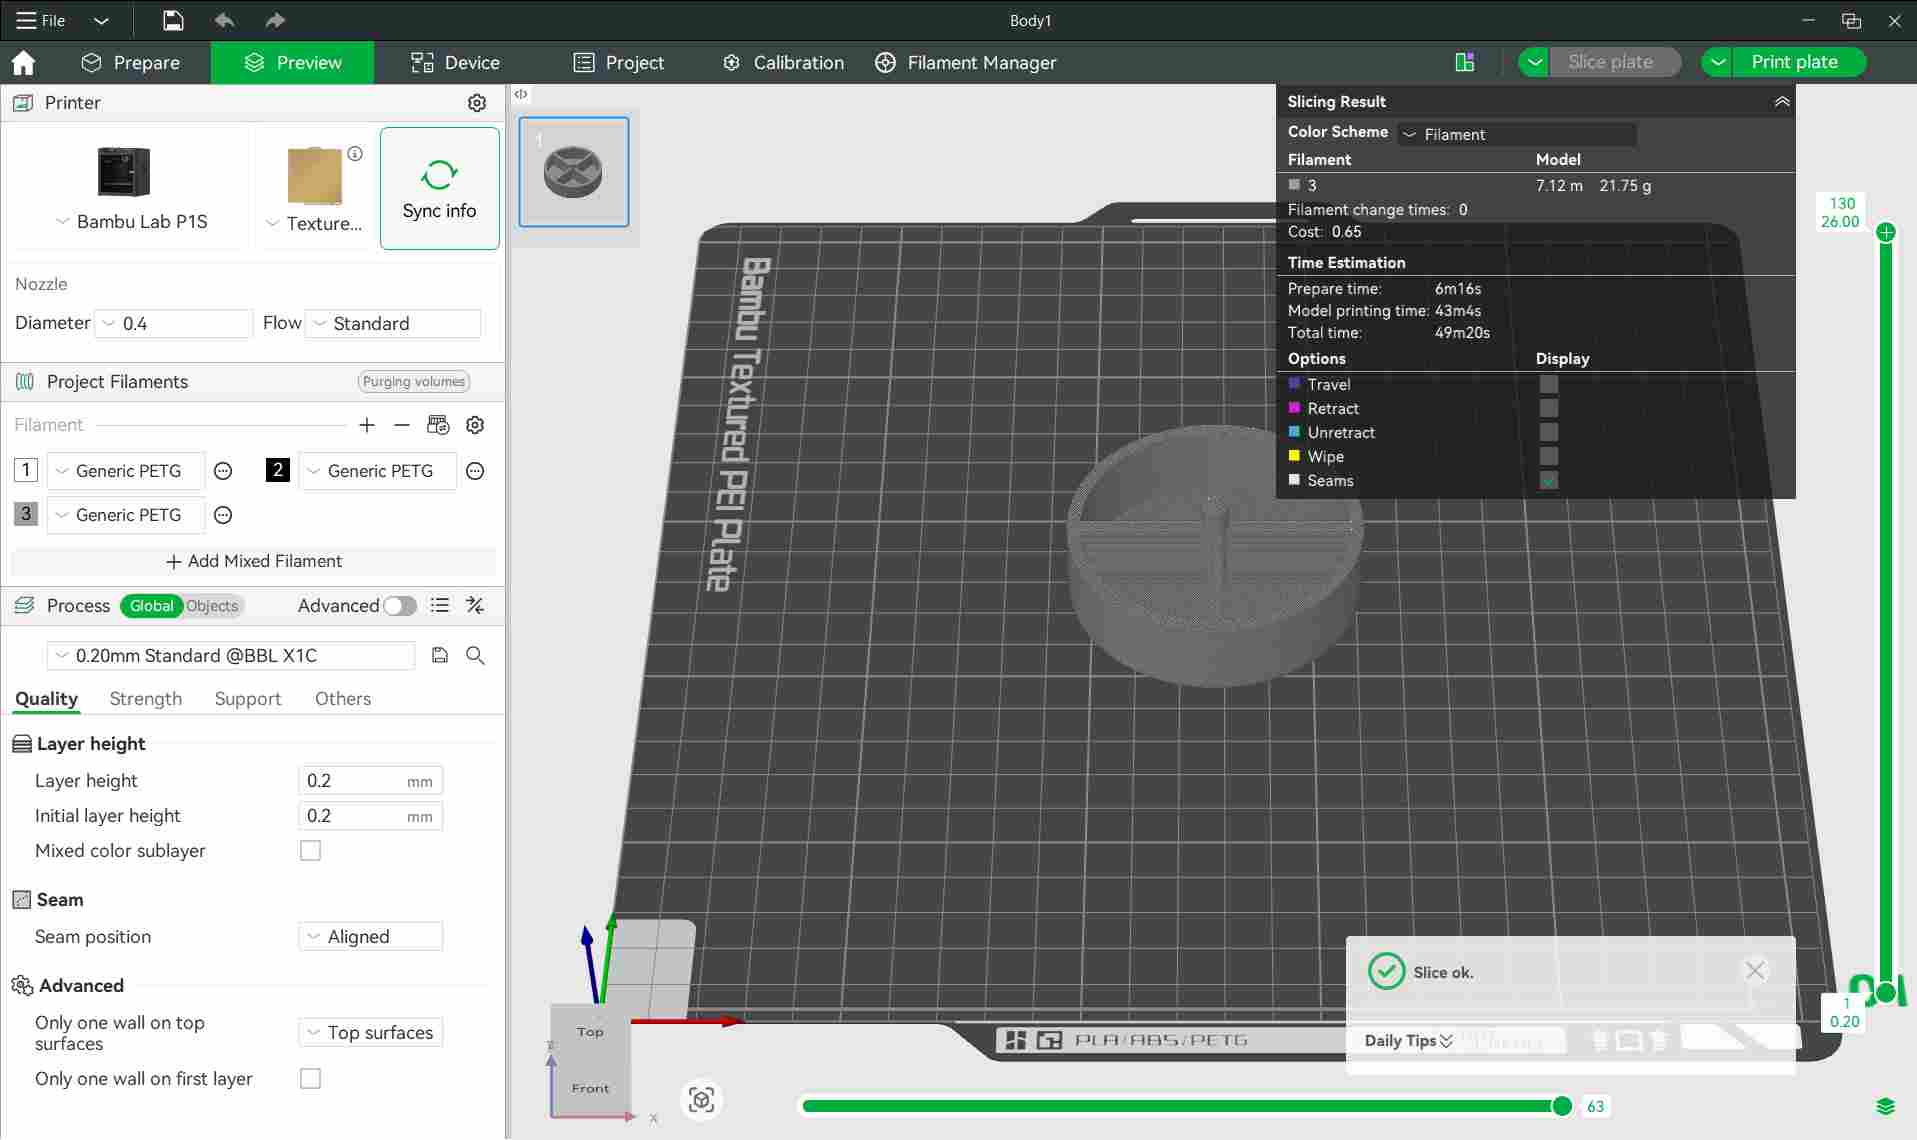
I 3D printed the mold body using bambu studio software.
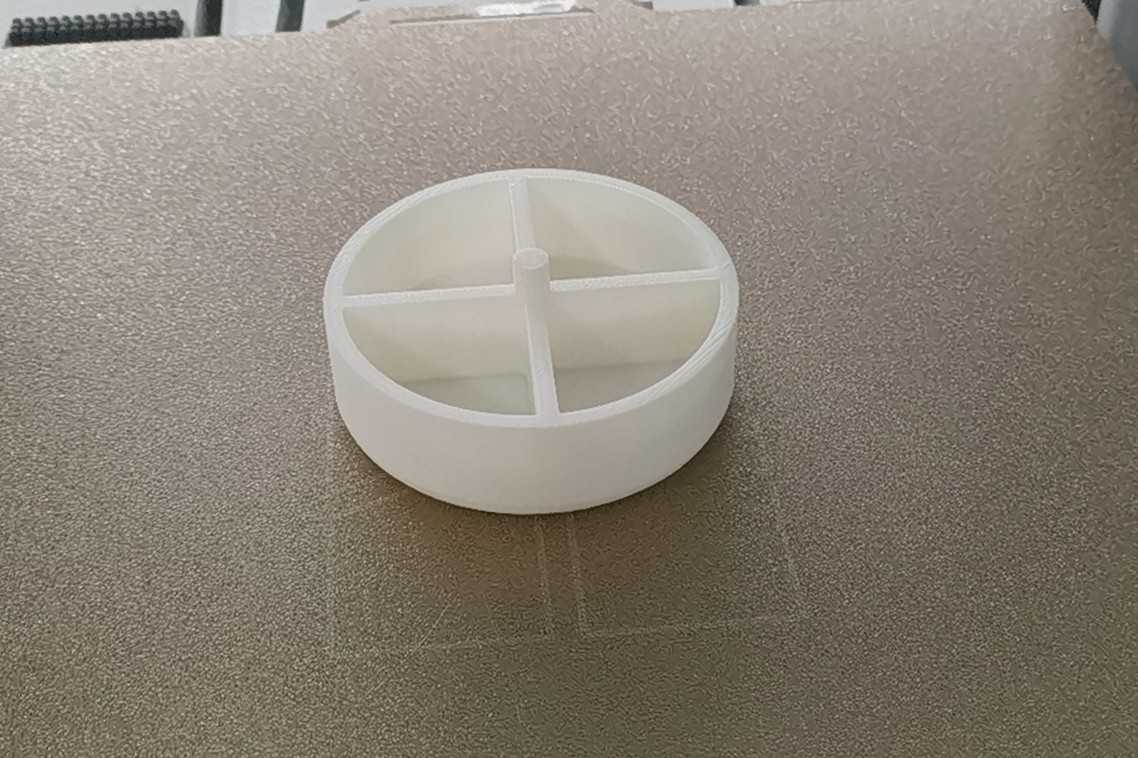
I laser cut the package card.
Machine Setup and Operation
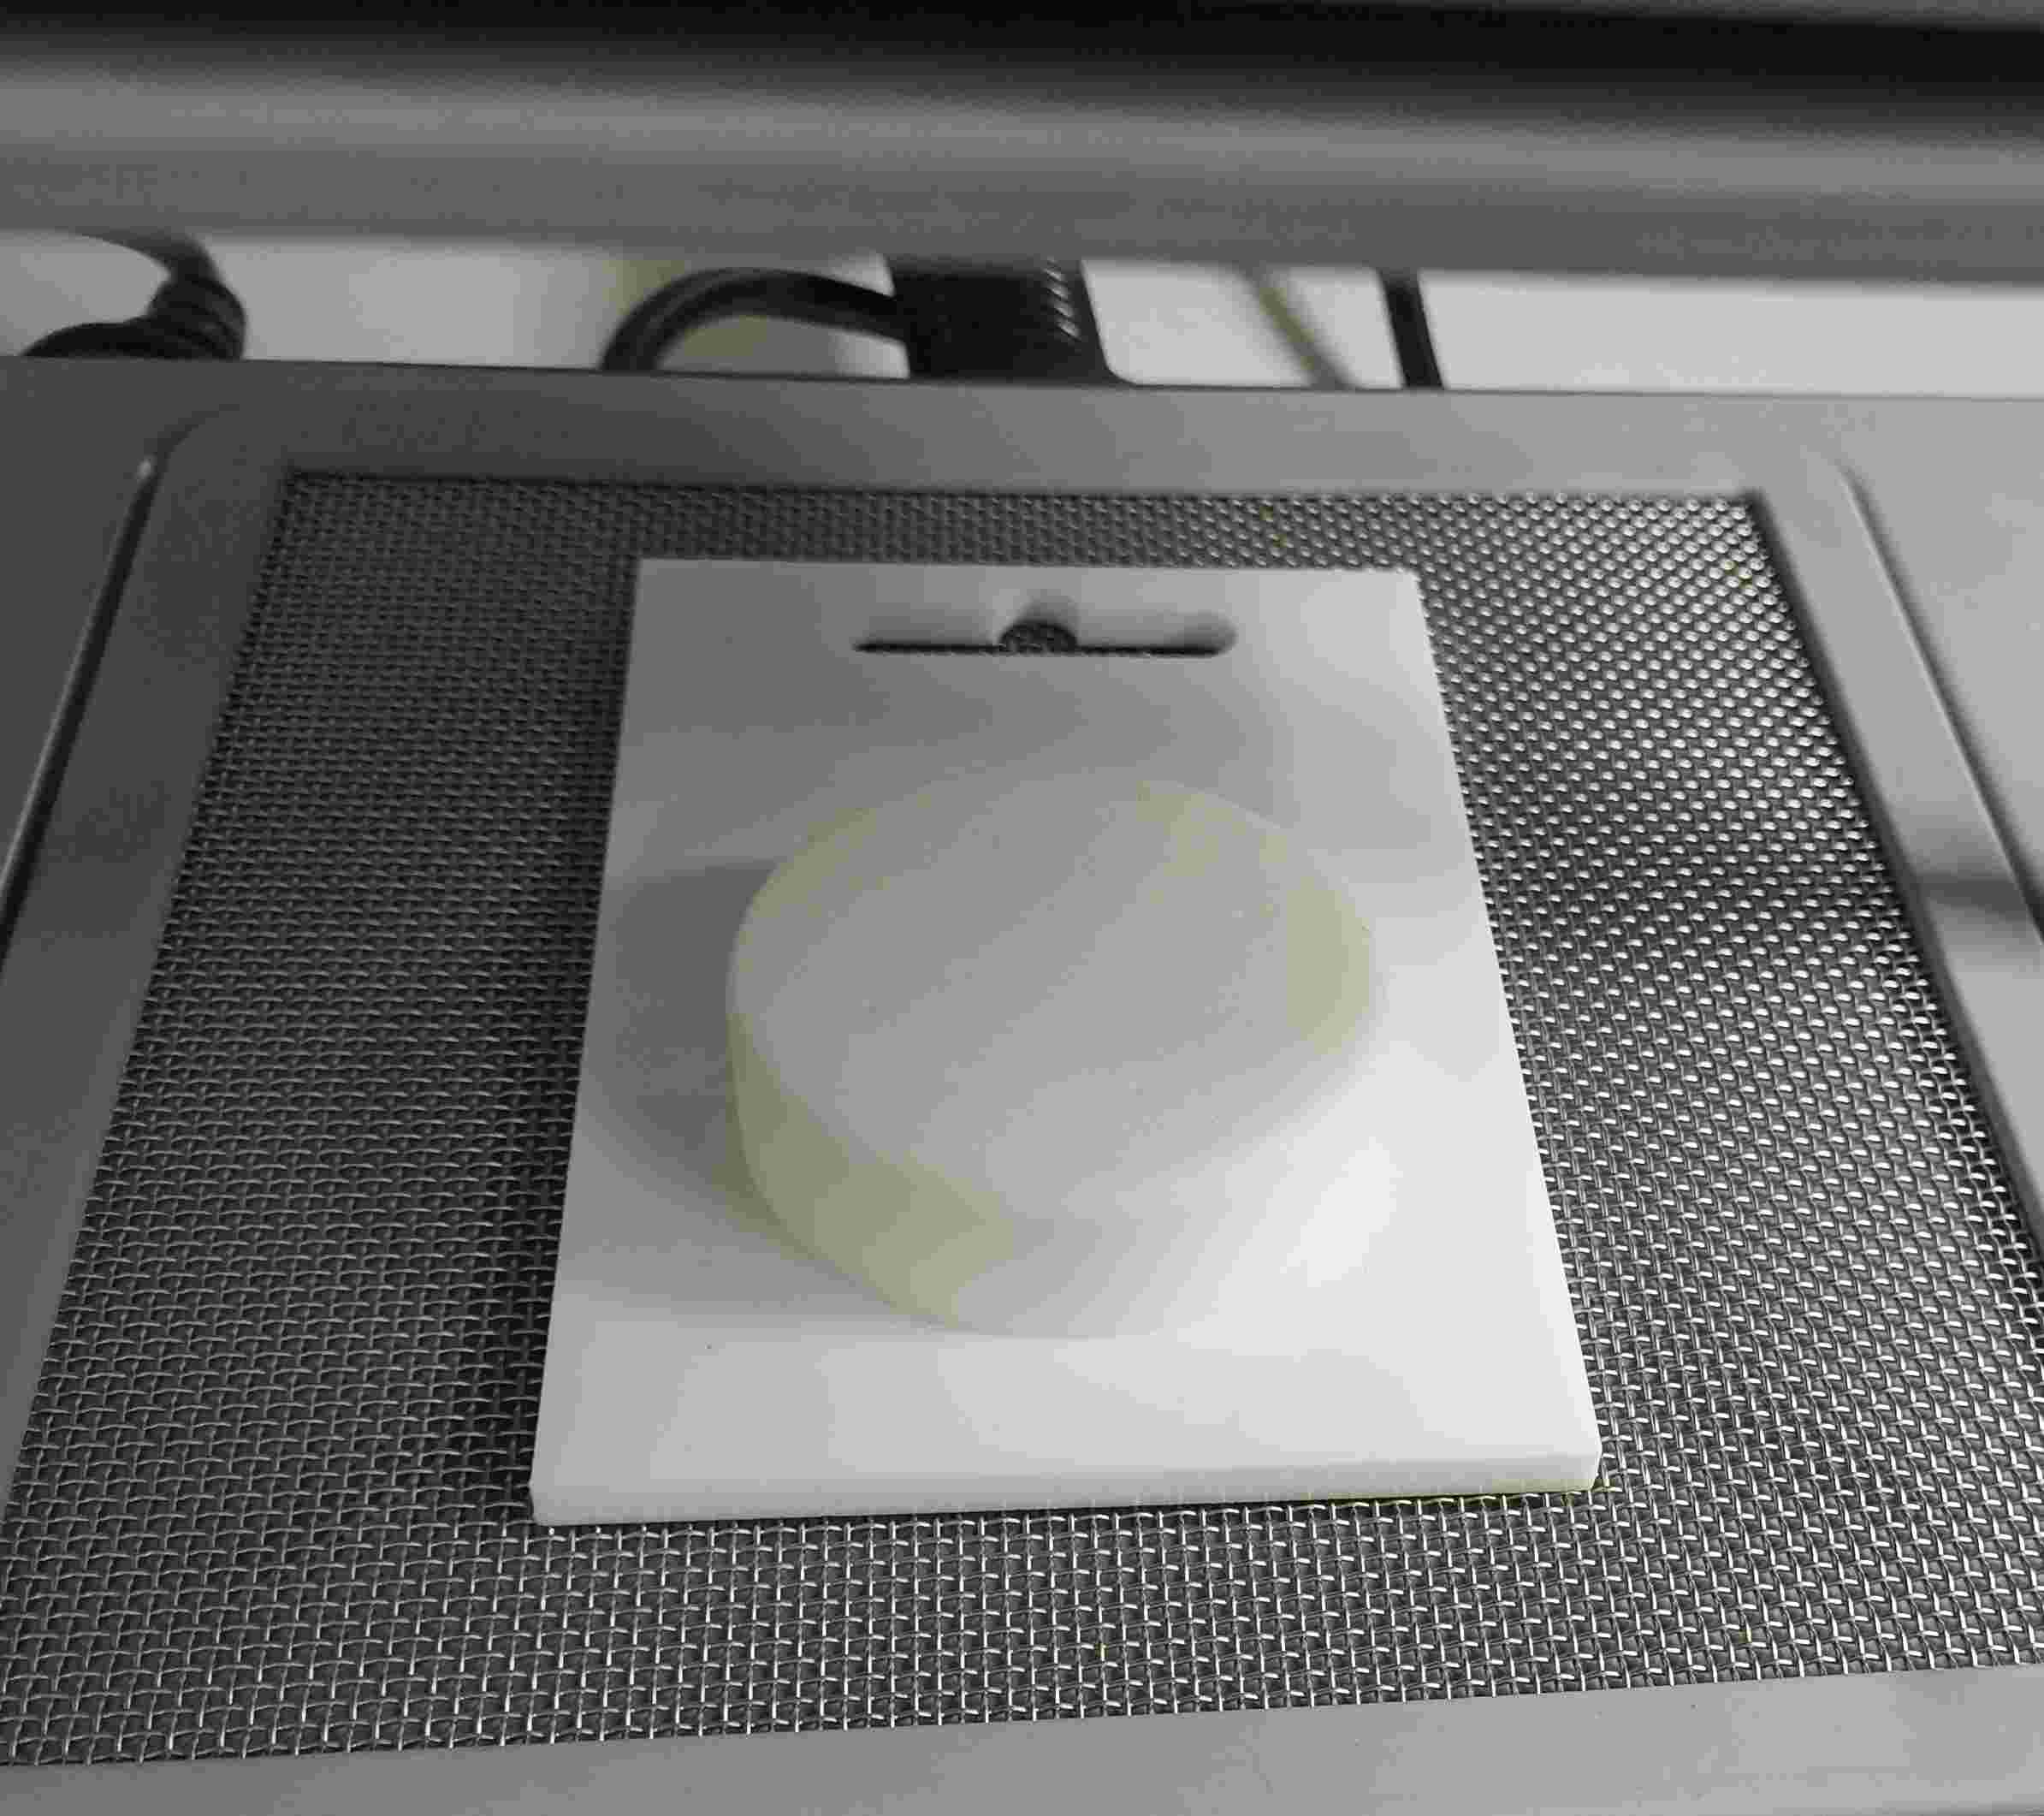
The mold was placed centrally on the perforated forming bed. For molds with deep pockets, small vent holes were drilled at the base of recesses to ensure full evacuation.
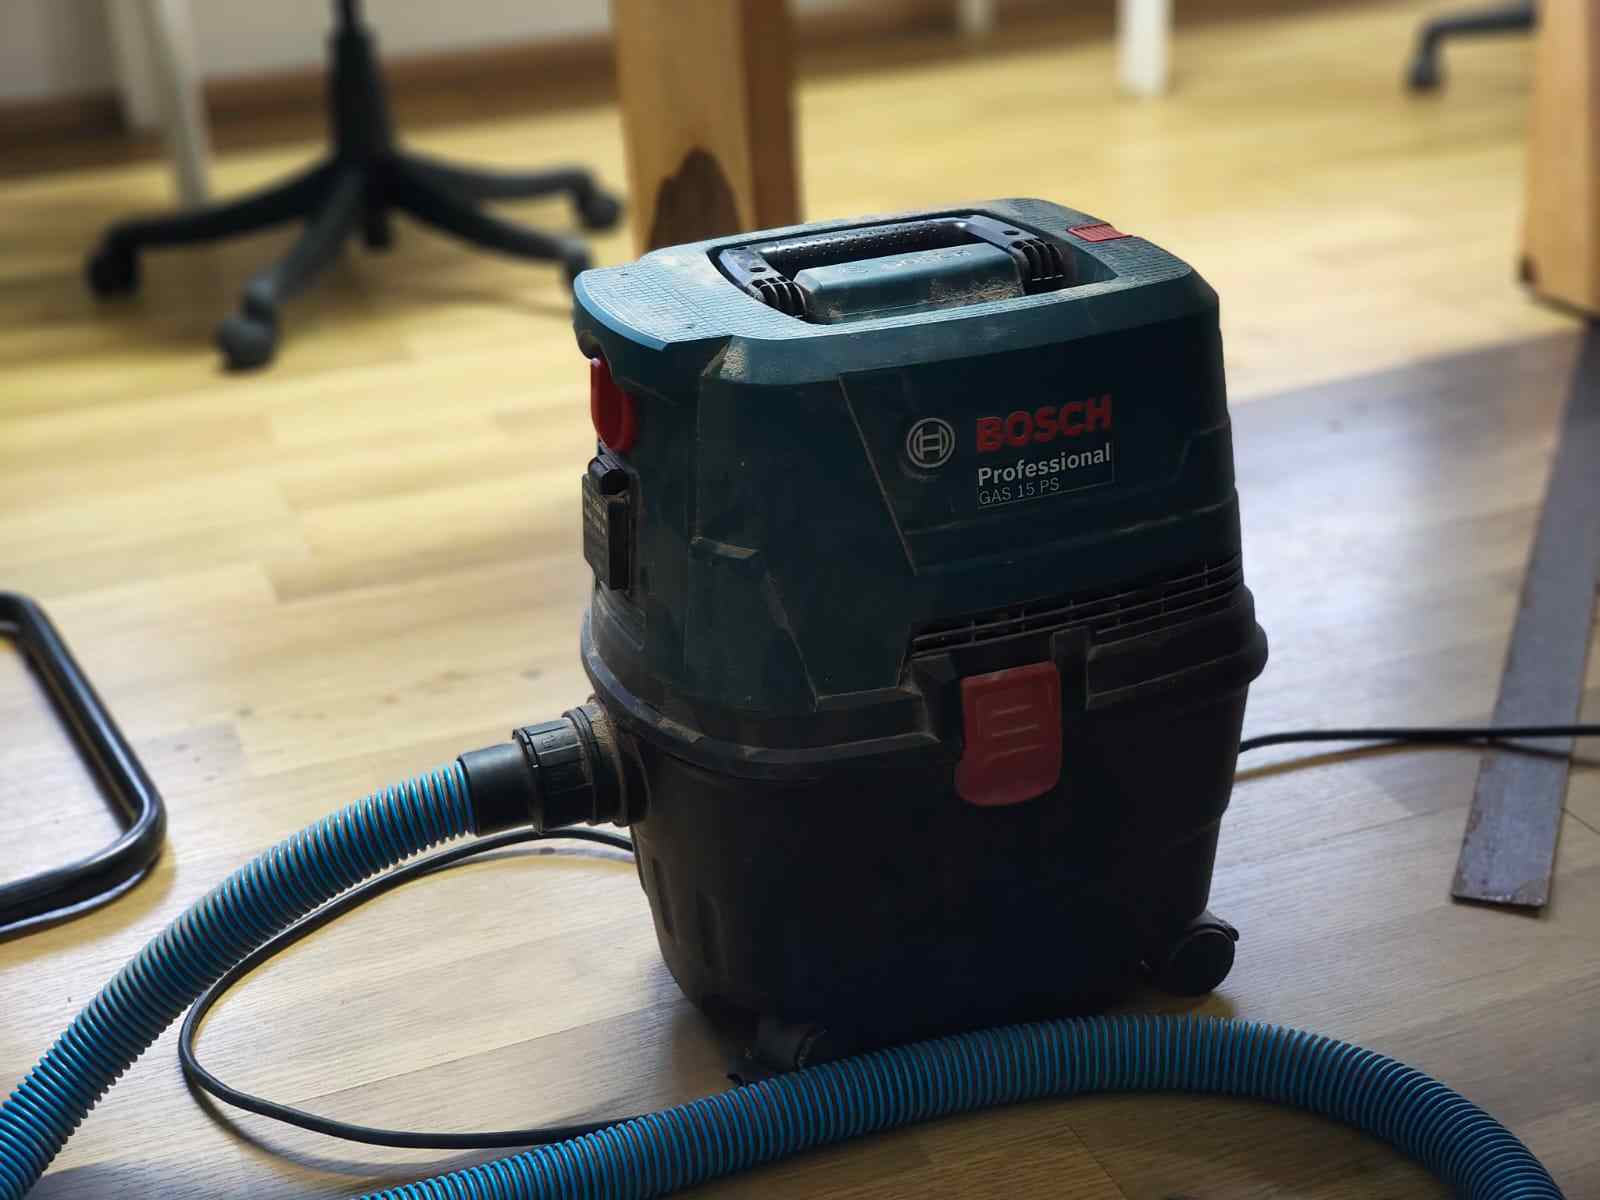
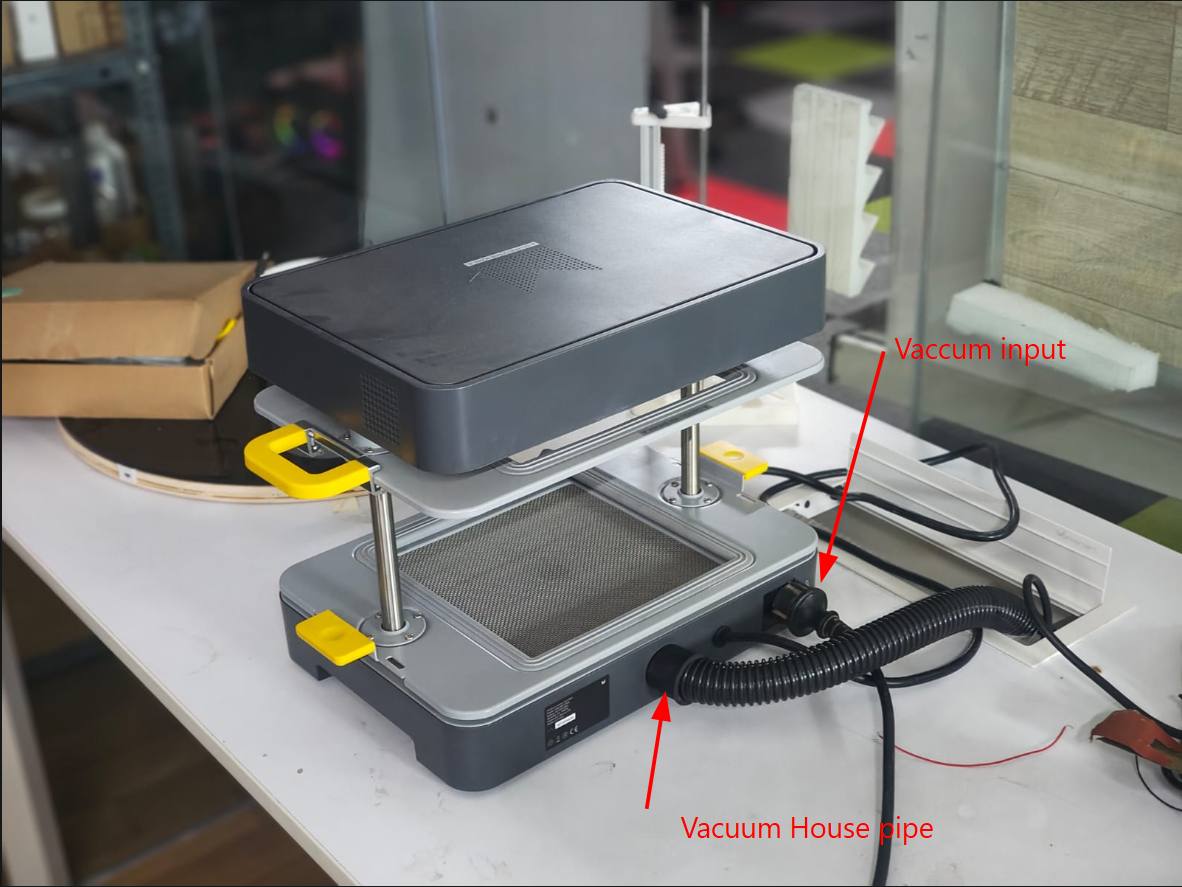
The vaccum was connected to the back of the Formbox.
The heater was switched on. Following the manufacturer's recommended heating time, I turned to level 5 and operated it for 2.00 minutes.
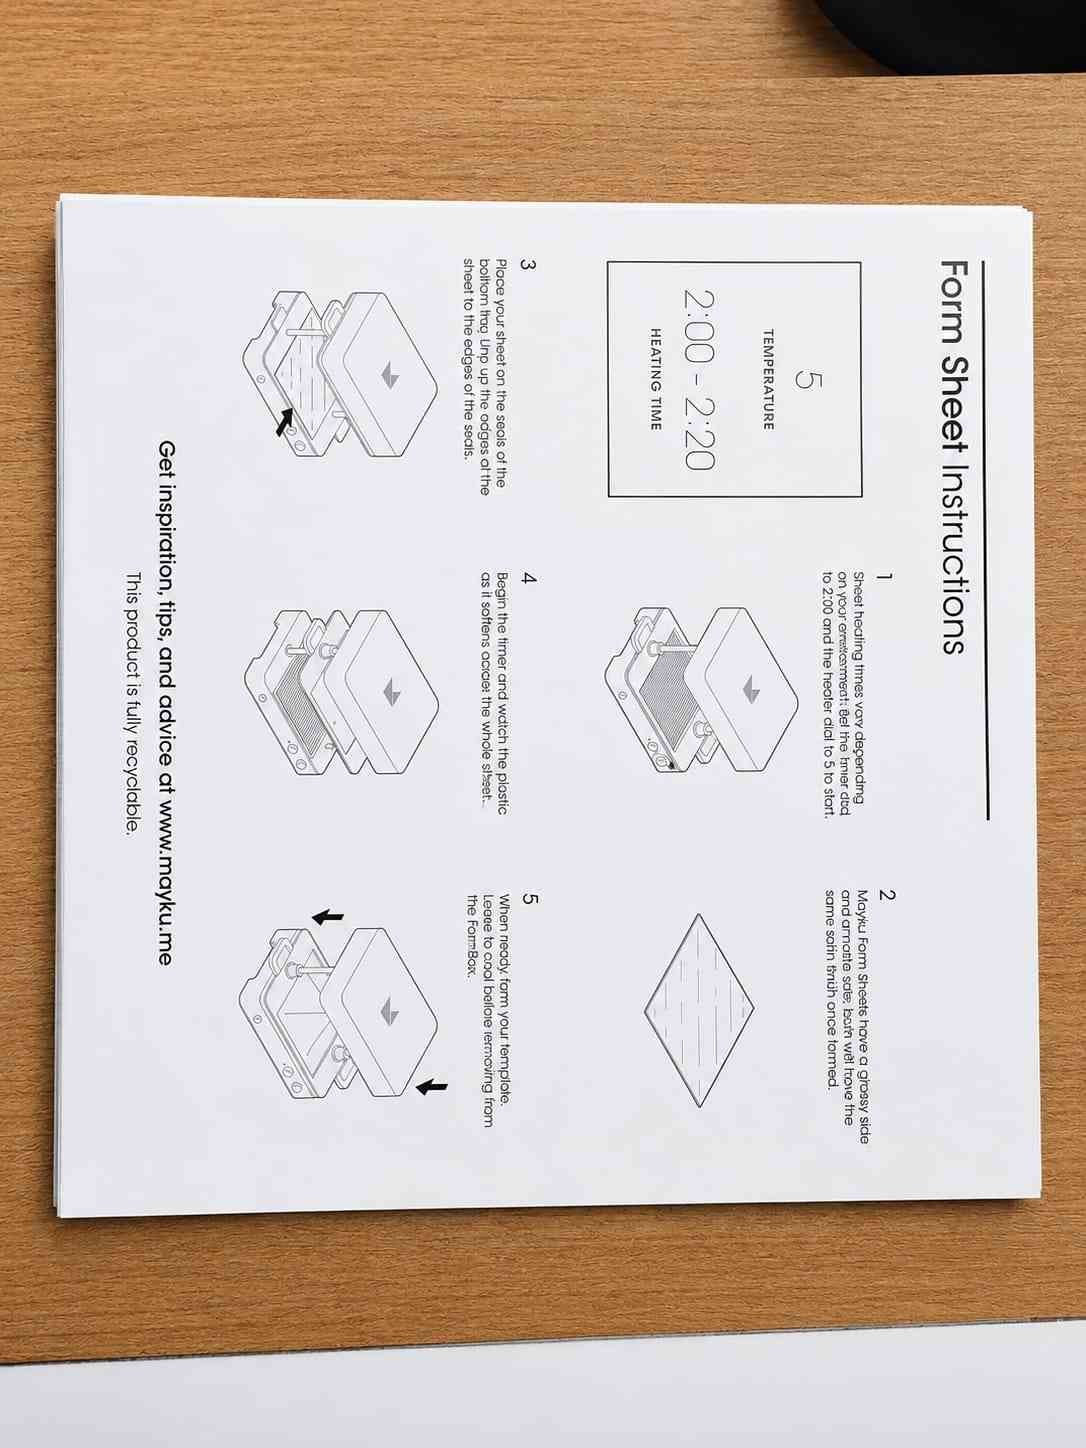
When the timer completes, the light will turn green. Then you can insert the sheet.
A thermoplastic sheet of .5 mm thickness was secured in the spring-loaded clamp frame. The frame holds the sheet flat and under slight tension to prevent uneven sagging during heating.
Load and Heat Form Sheet
- Unclamp the tray handles.
- Remove the protective film from the plastic sheet.
- Place the sheet onto the bottom tray.
- Lower the top tray onto the bottom tray and firmly clamp the handles to secure the sheet in position.
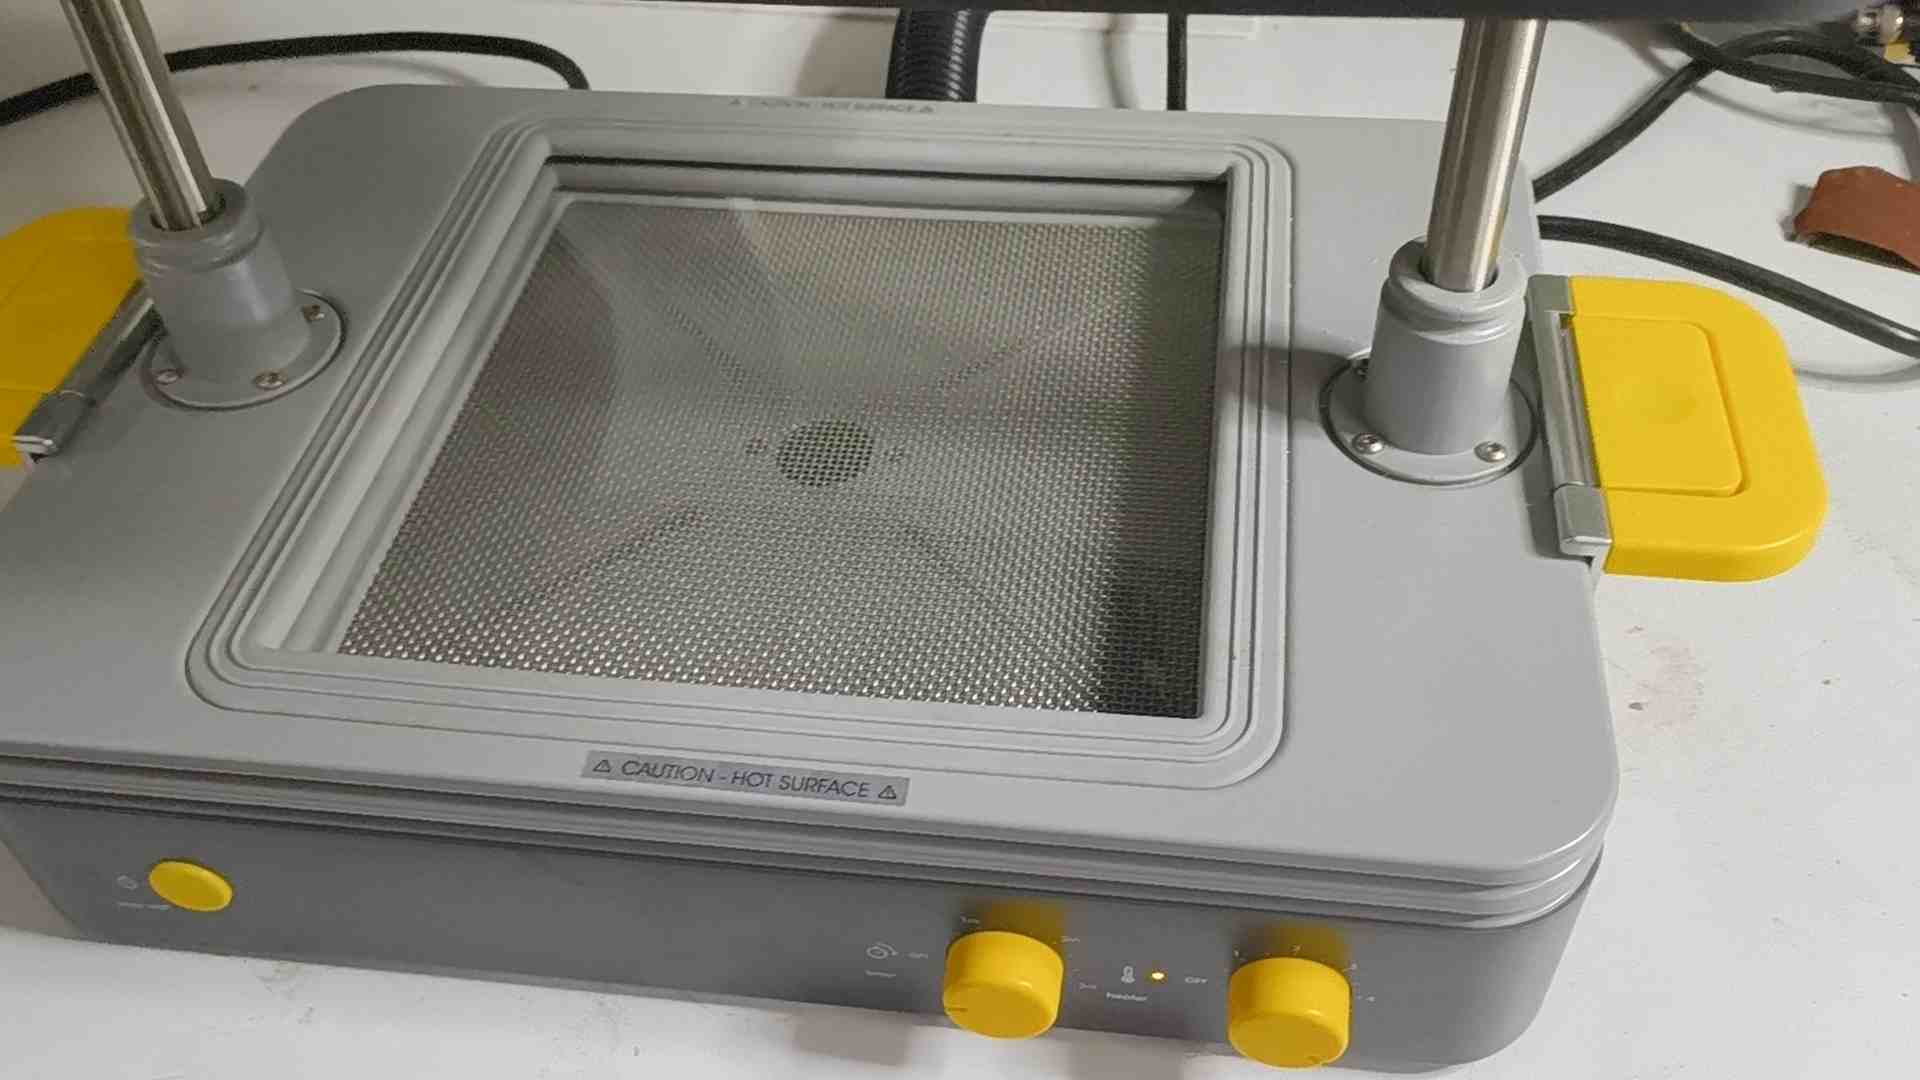
The sheet was monitored visually. It begins to sag noticeably in the centre when it has reached forming temperature. This typically takes 60–90 seconds depending on sheet thickness and material.
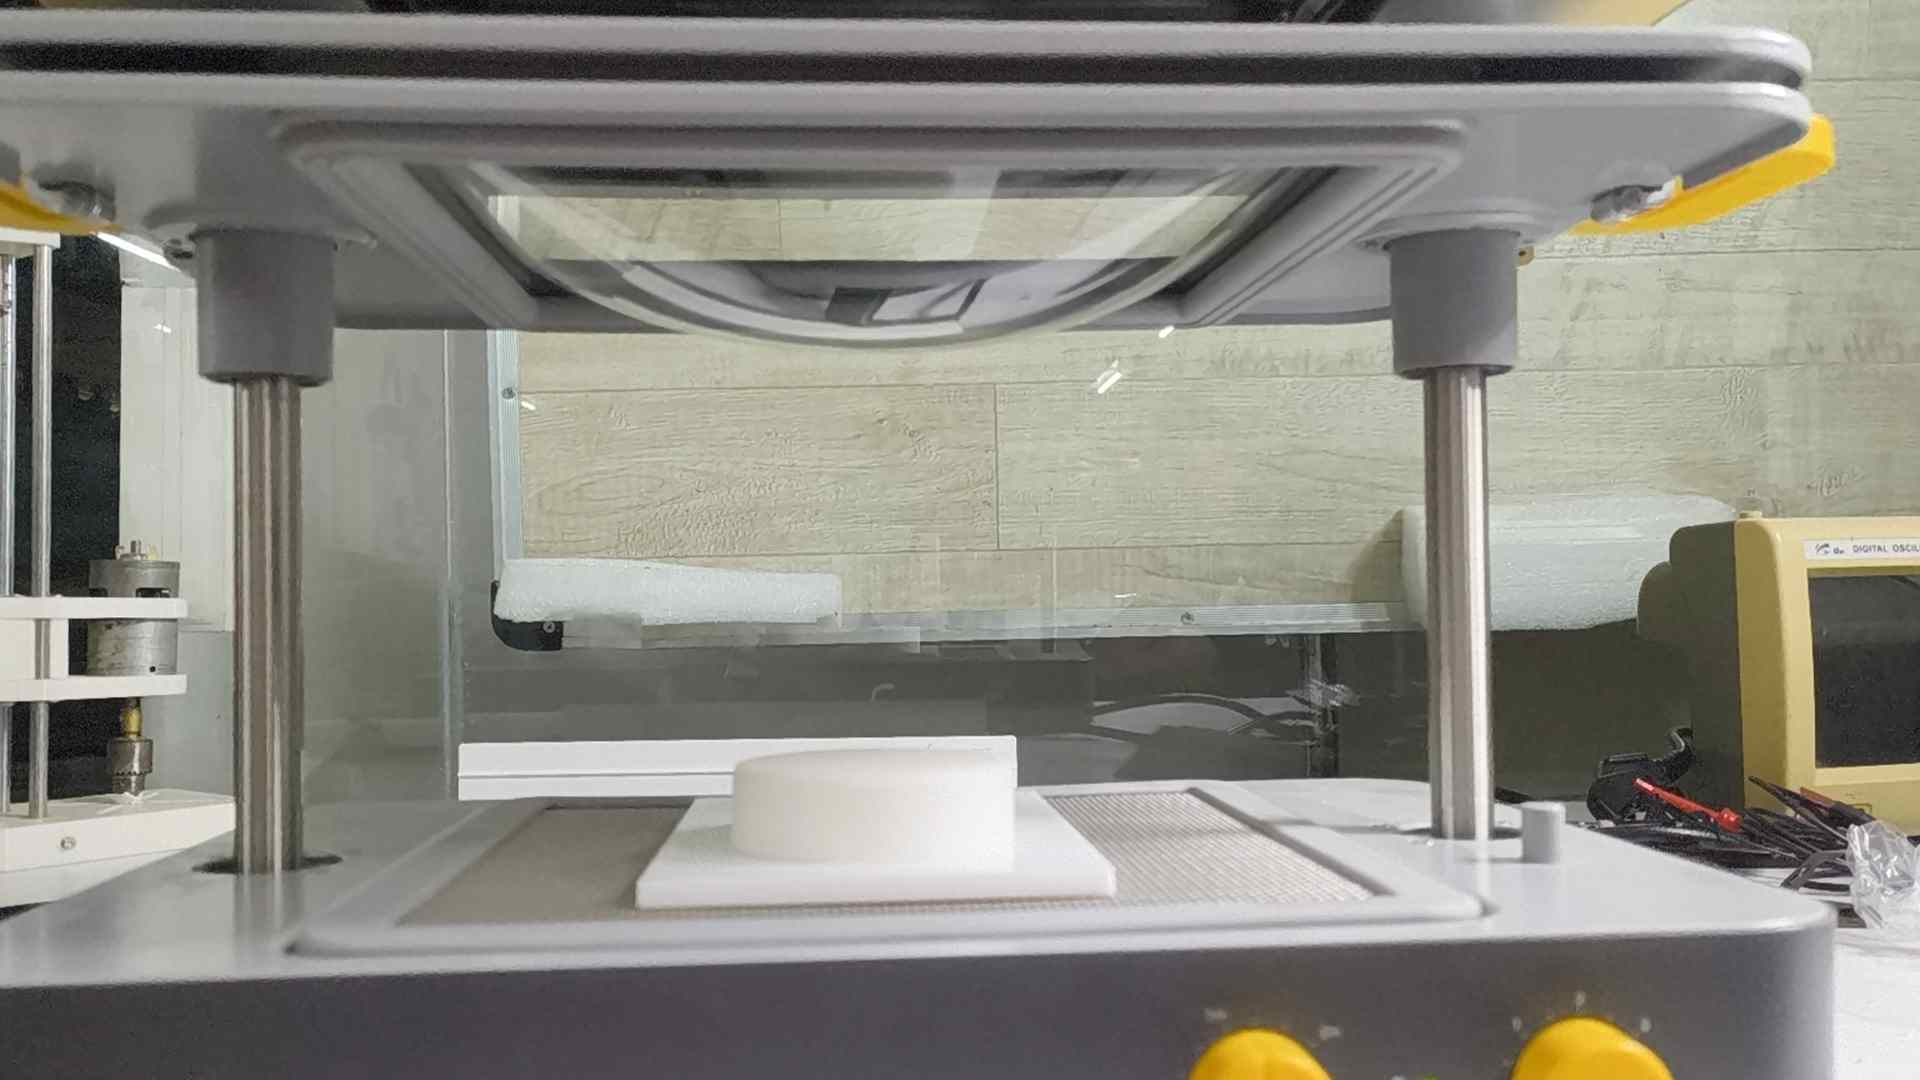
Once the sheet was fully softened, the forming lever was pulled down to drape the sheet over the mold. The vacuum cleaner was switched on automatically by the machine. Atmospheric pressure drew the plastic tightly against every surface of the mold within seconds.
The vacuum was maintained for some time to allow the part to cool and rigidify. The heater and vacuum were then switched off. The formed part was carefully peeled away from the mold.
Upon removing the formed package from the mold, I identified several defects in the final product that revealed areas for improvement in my vacuum-forming technique.
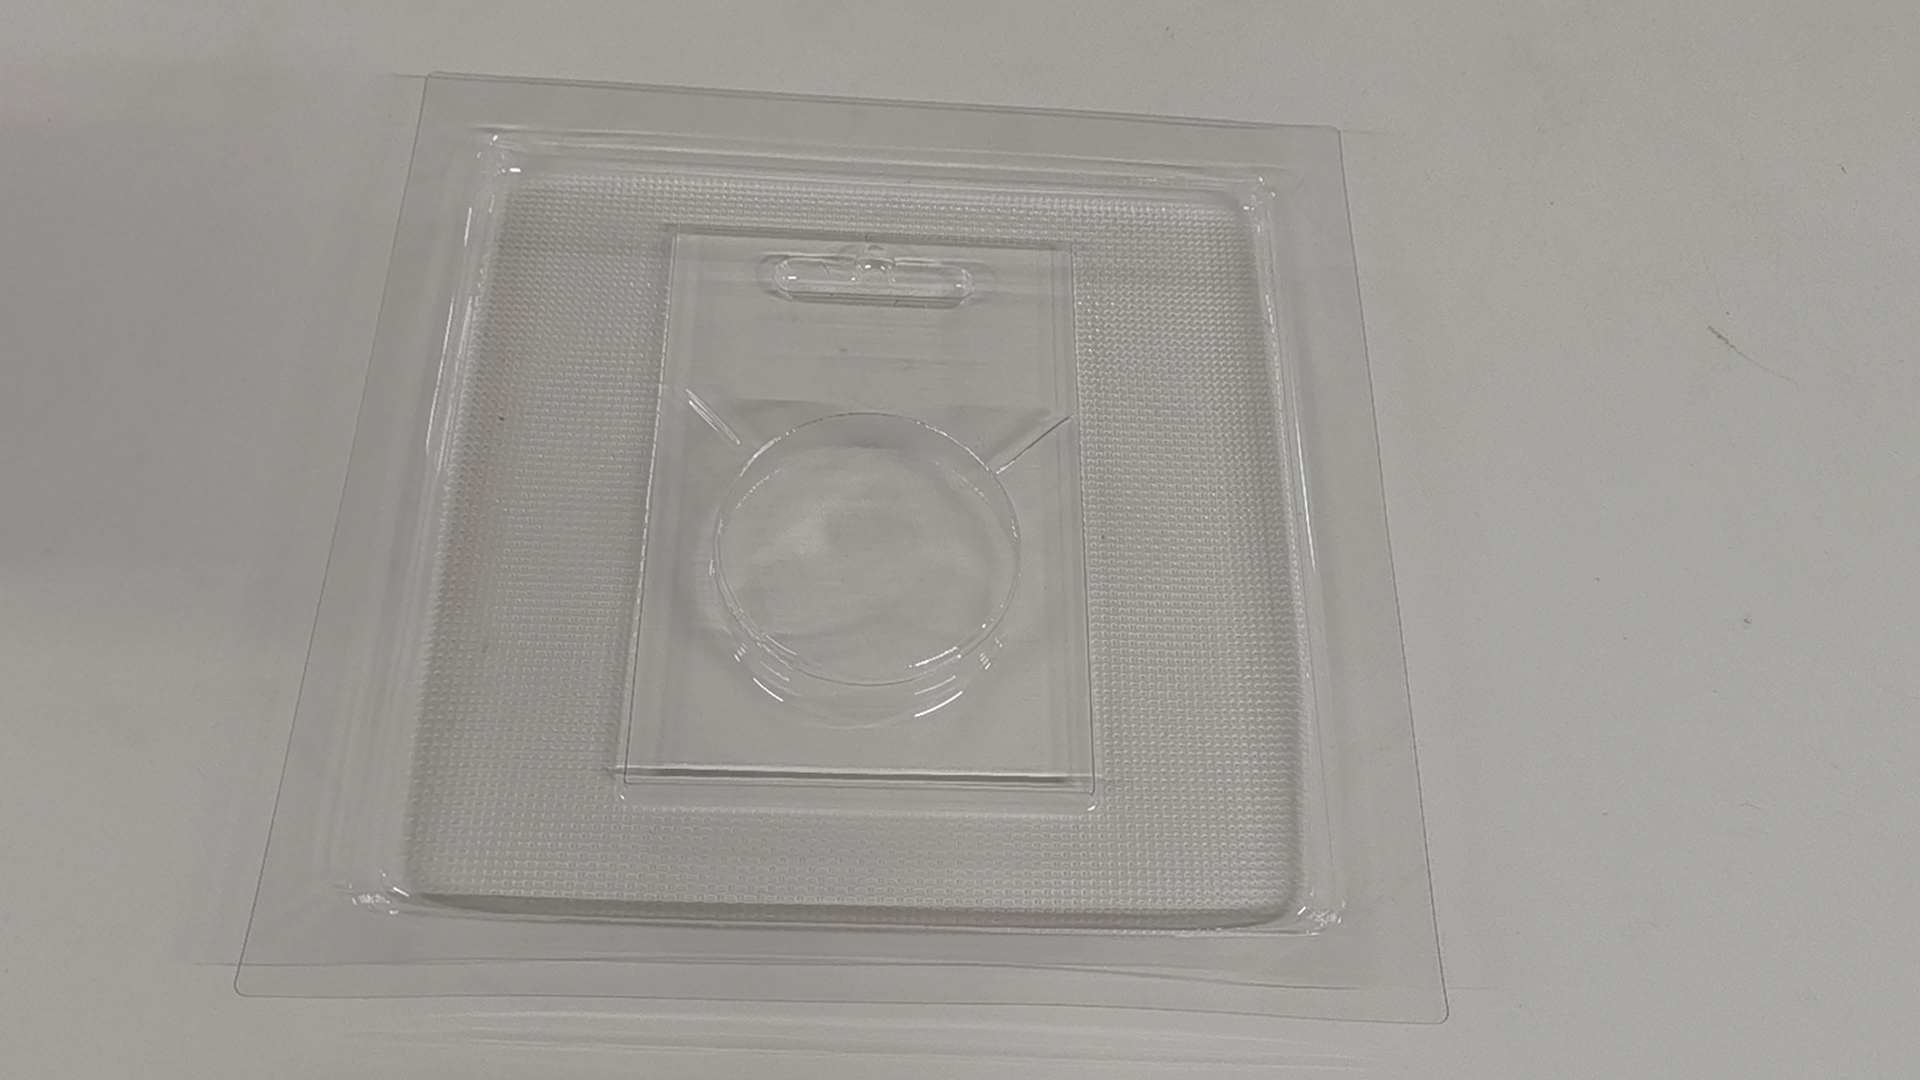
During the vacuum-forming process, I observed slight wrinkles and surface irregularities across the formed plastic shell.
This may be due to non-uniform cooling or imprecise heating.
The excess material around the perimeter was trimmed using a knife, leaving only the formed part.
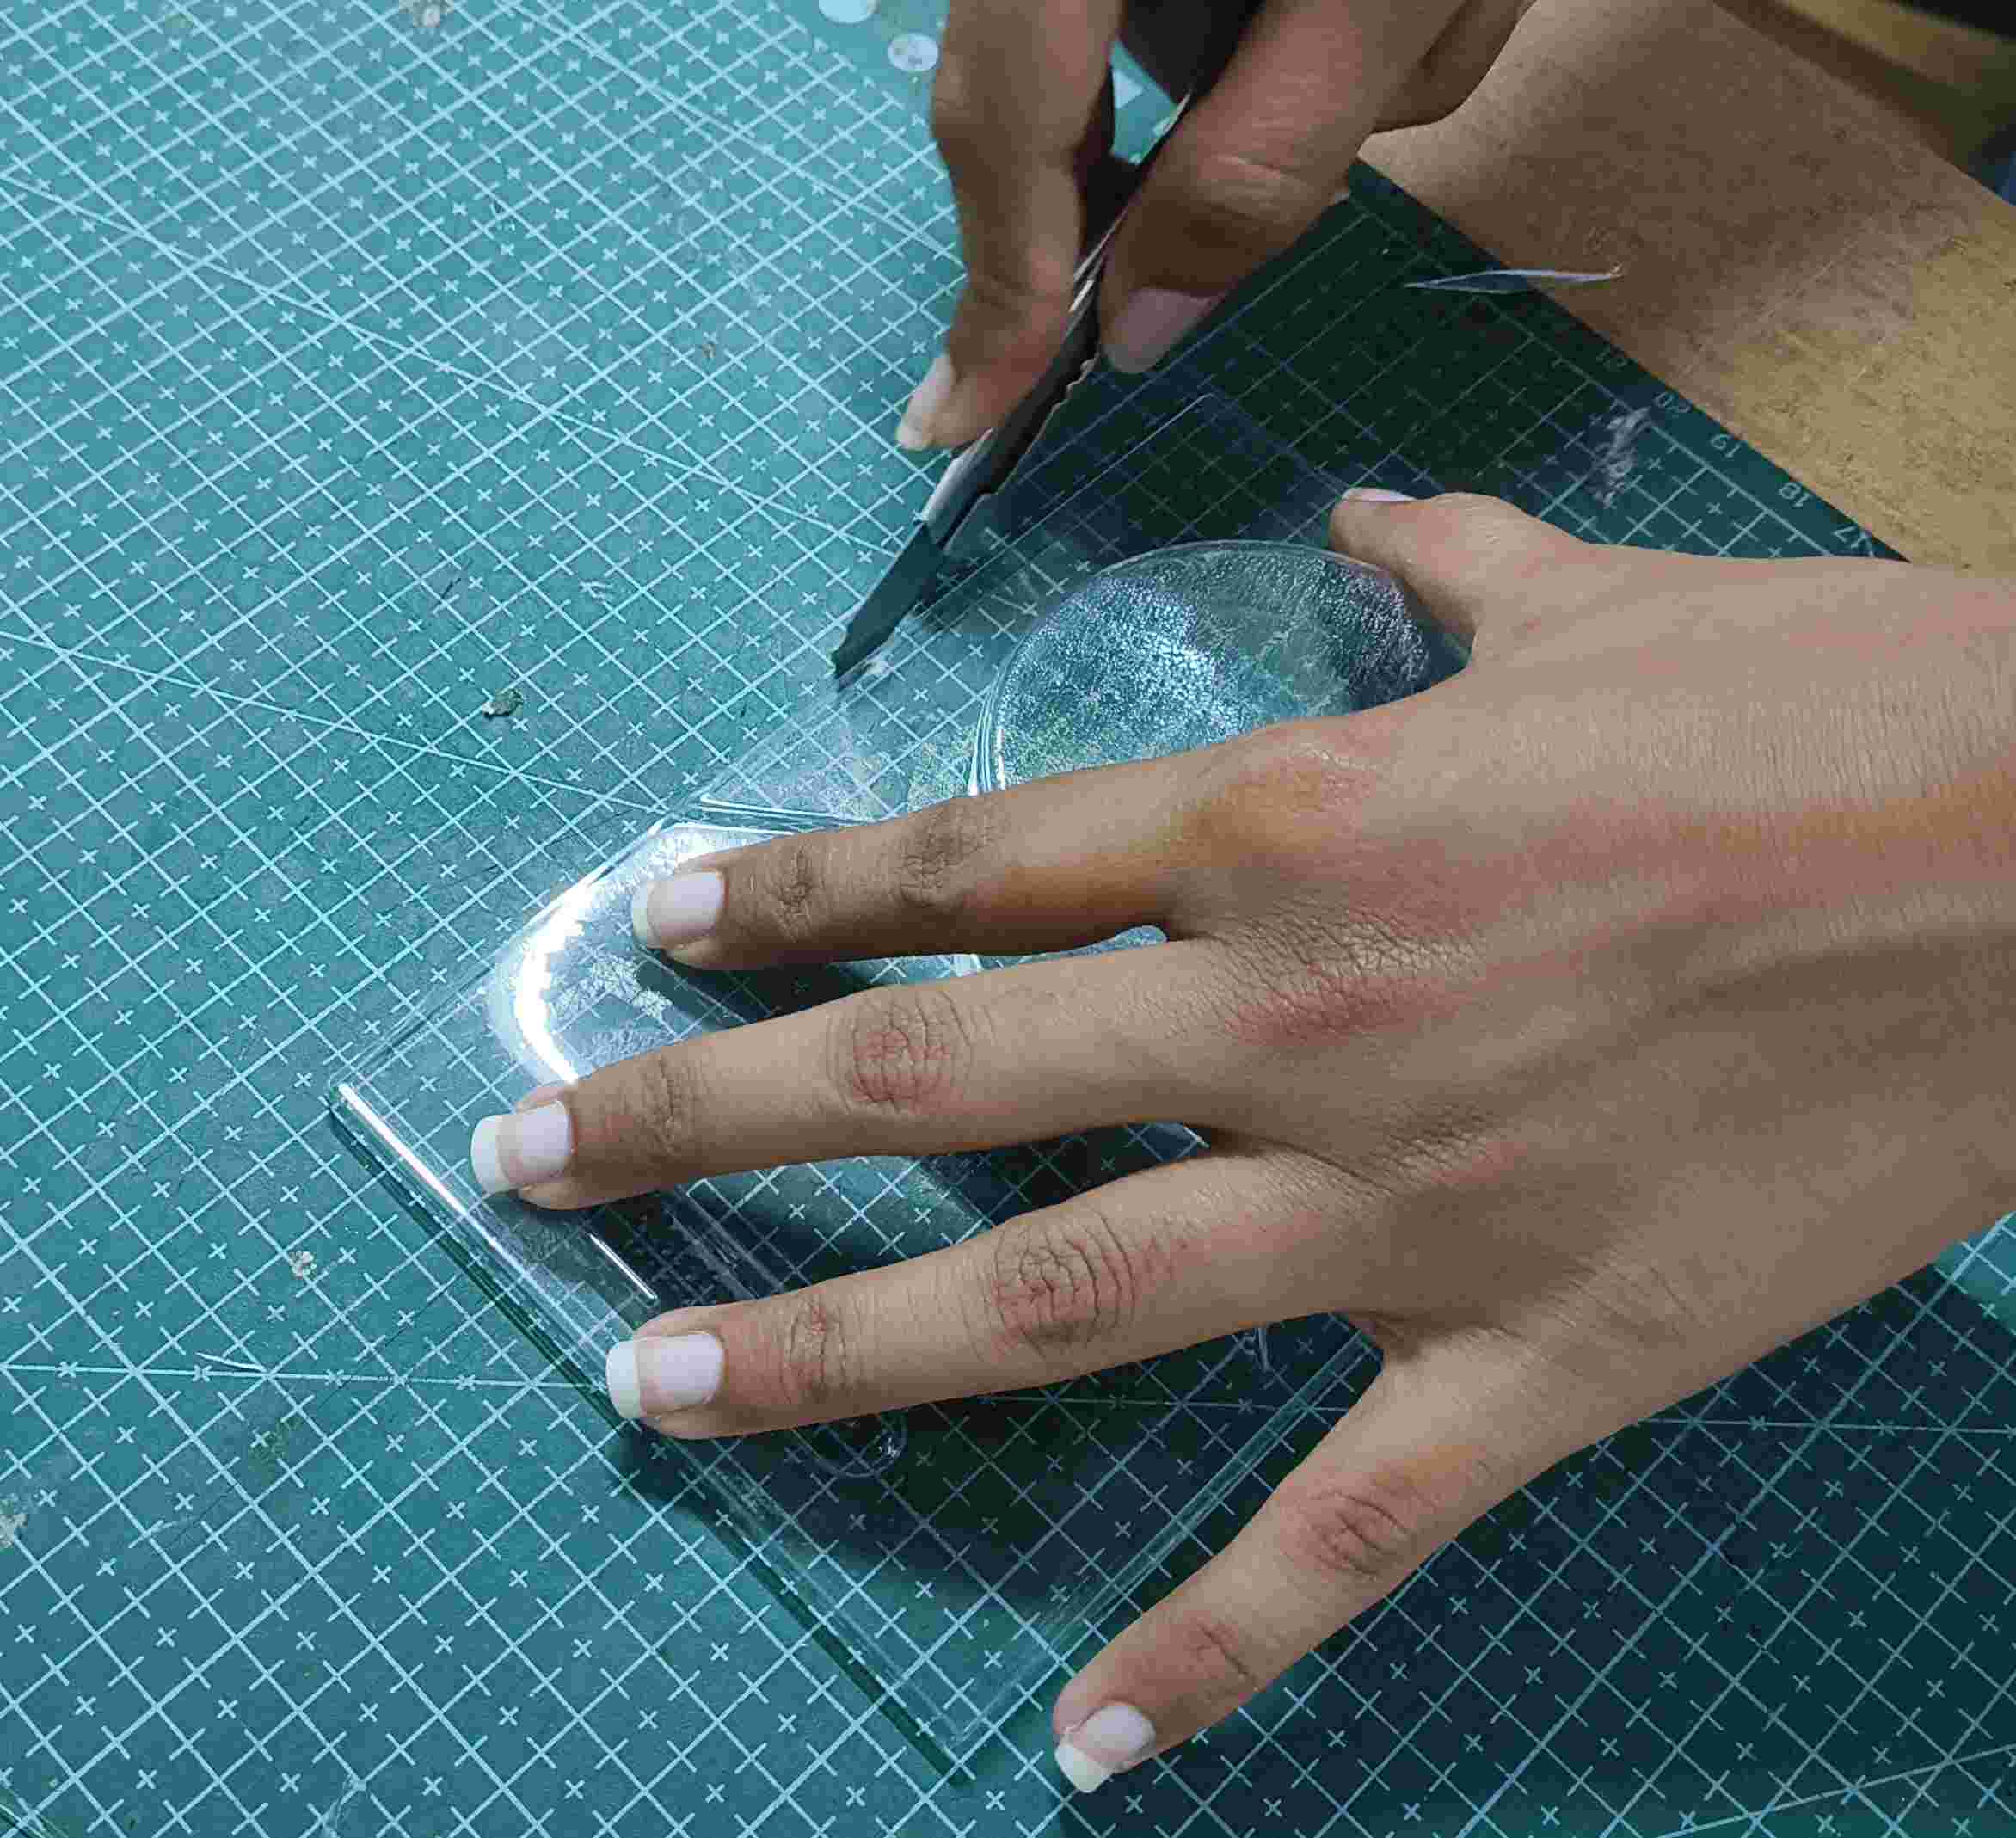
I laser cut pixima photo paper to put at the back of the package.
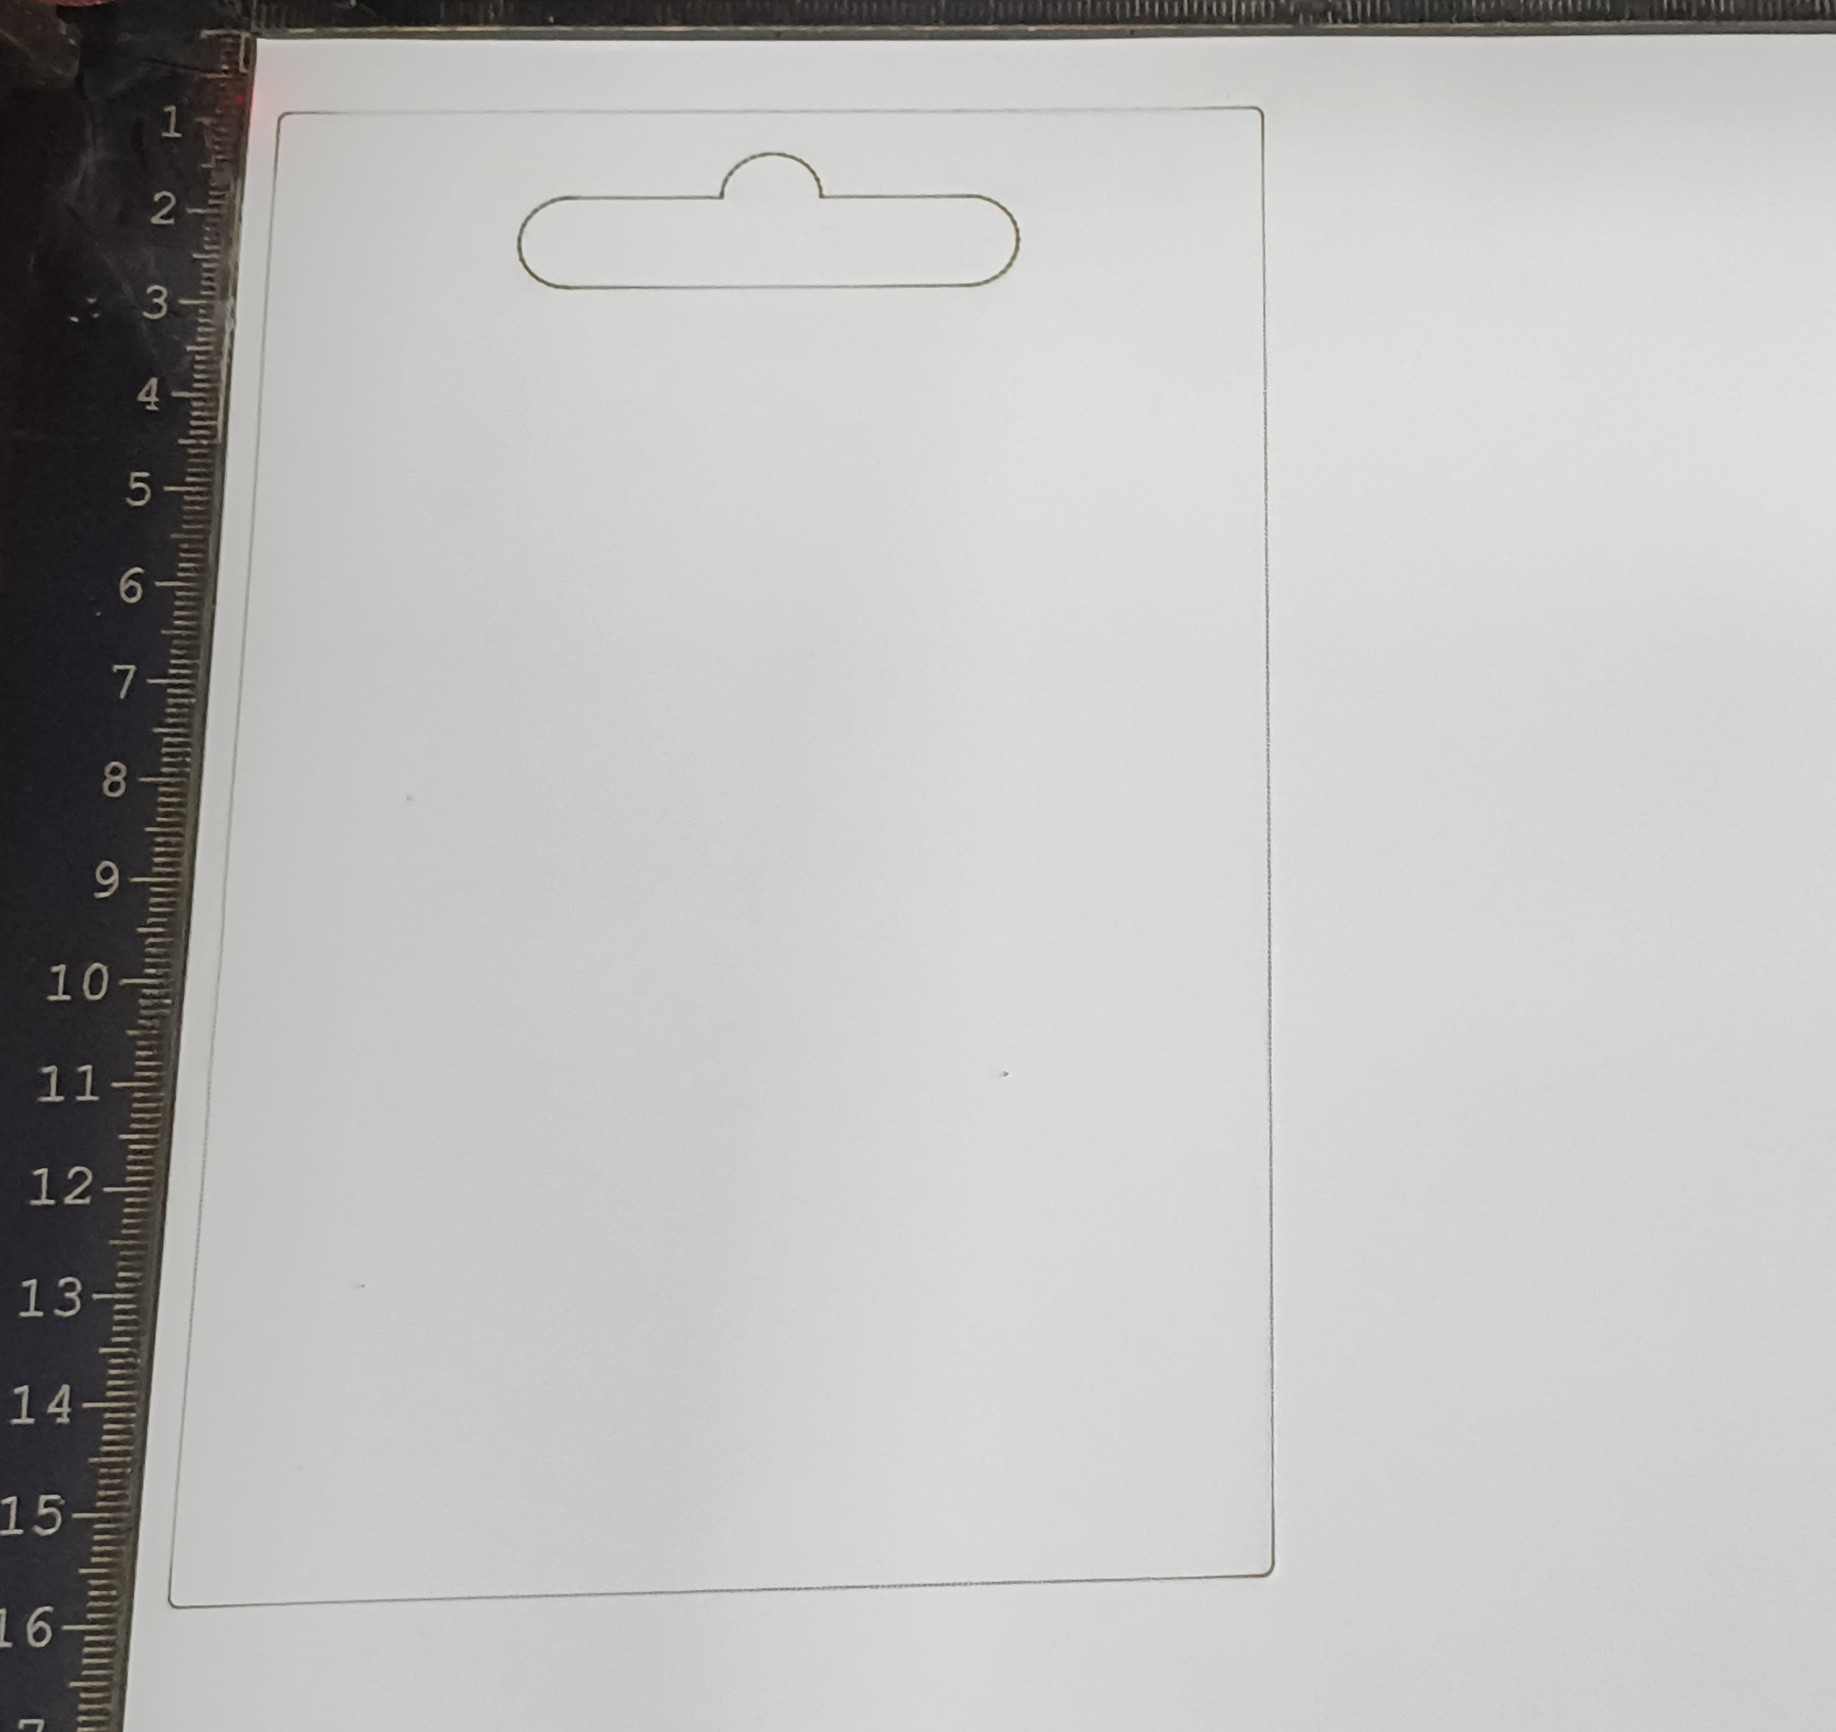
But the paper didn't fit the first time. It was too big.
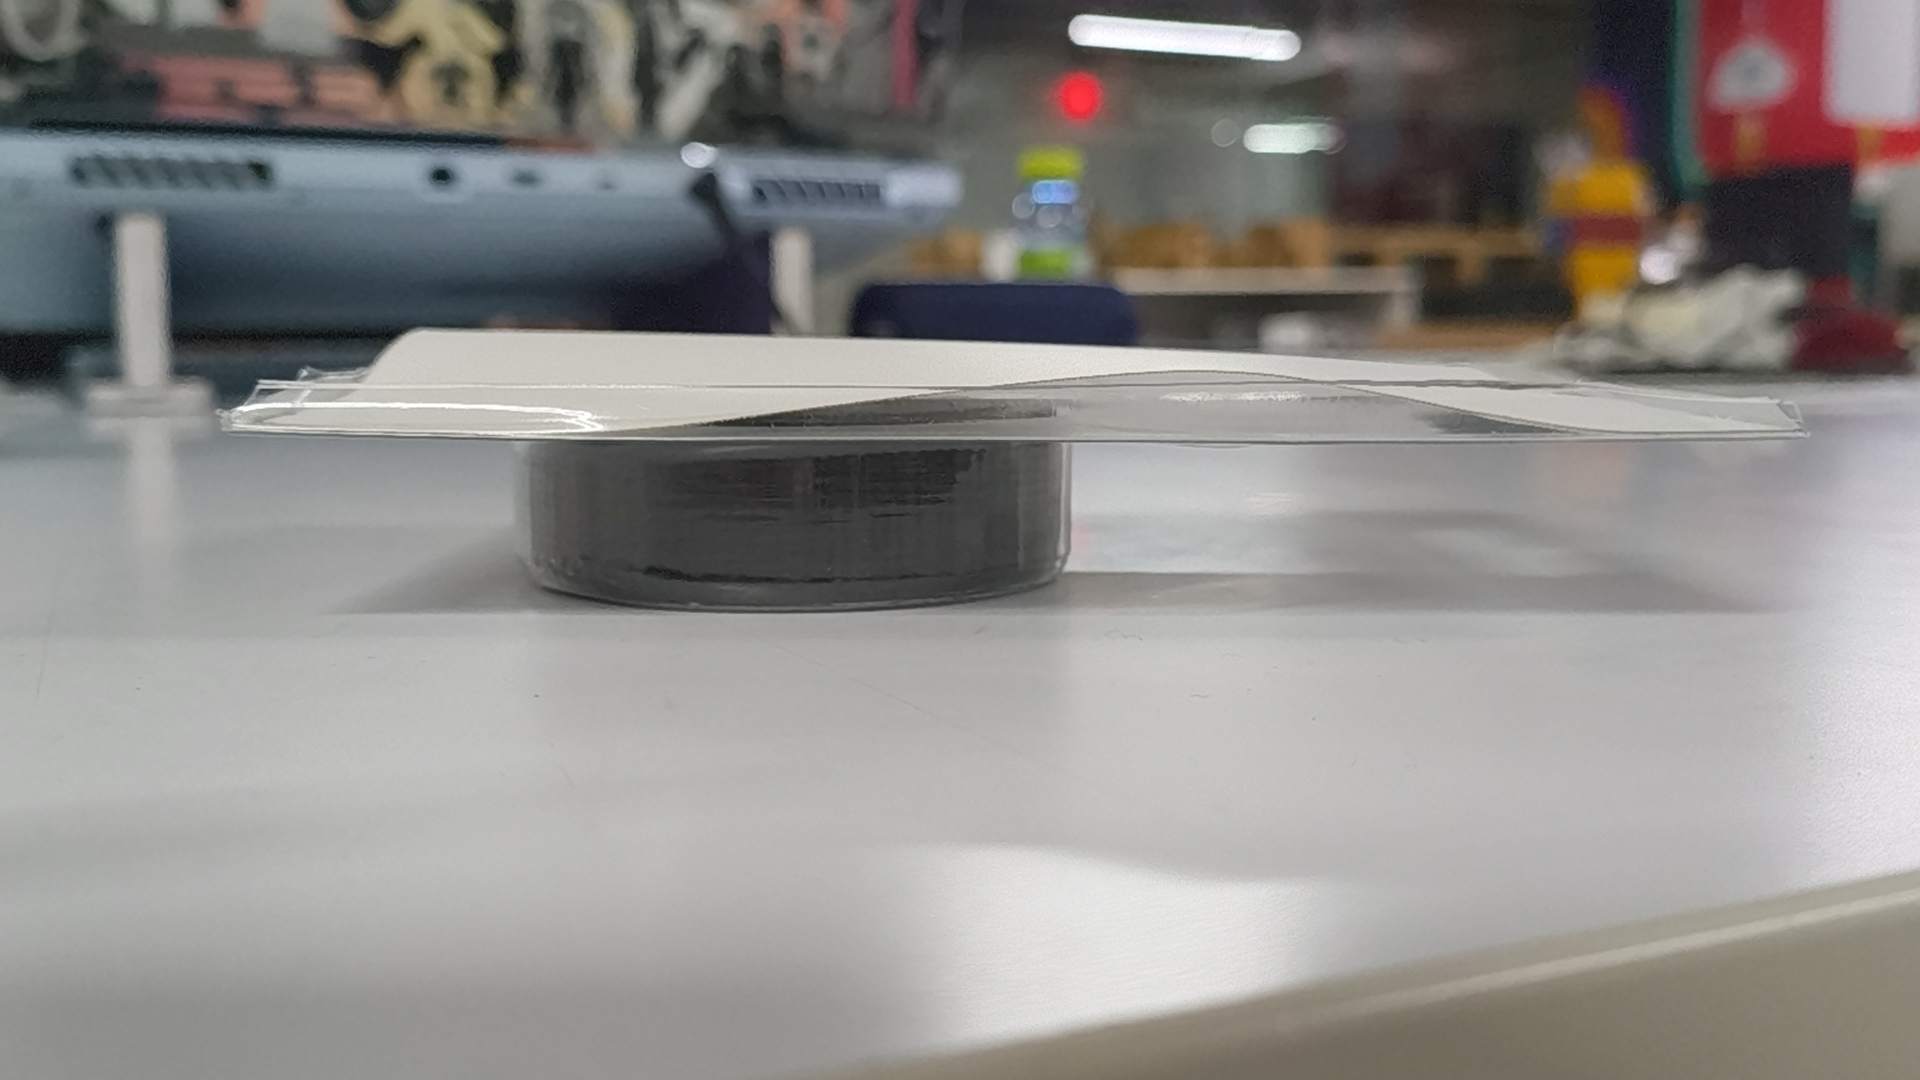
After cutting the excess paper, I tried again. It fit perfectly.