7. Computer controlled machining
Group assignment:
- Complete your lab's safety training
- Test runout, alignment, fixturing, speeds, feeds, materials and toolpaths for your machine
- Document your work to the group work page.
To see our group assignment click here
Individual assignment:
- Make (design+mill+assemble) something big (~meter-scale)
- Extra credit: don't use fasteners or glue.
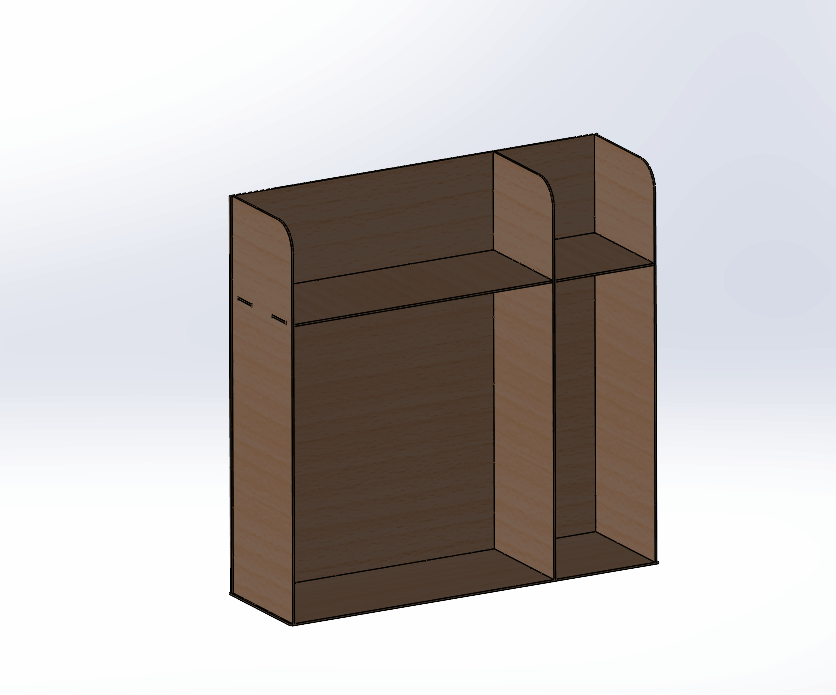
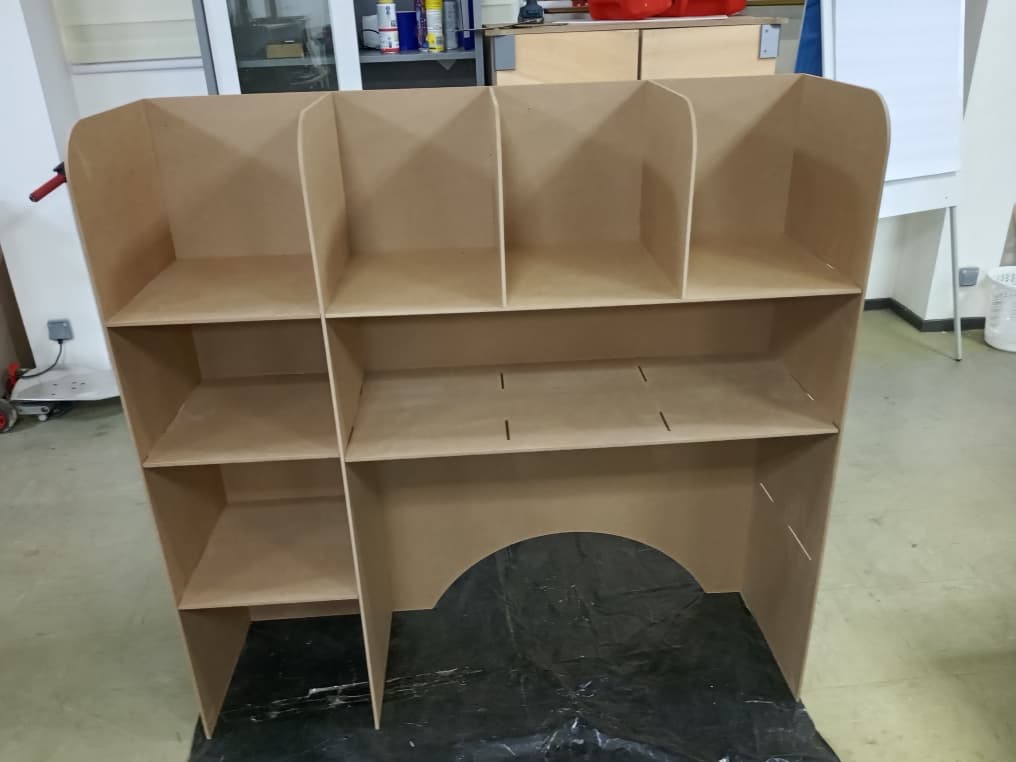
Storage Cabinet Fabrication Process
This documentation details the design and manufacturing of a storage cabinet, from 3D modeling to final assembly using CNC machining.
Step 01: Modeling and Cutting File Generation
I designed a custom storage cabinet using SolidWorks, focusing on structural integrity.
Cabinet Dimensions
| Feature | Dimension (mm) |
|---|---|
| Height | 1200 mm |
| Width | 90 mm |
| Depth | 300 mm |
| Material Thickness | 6 mm |
Design Workflow
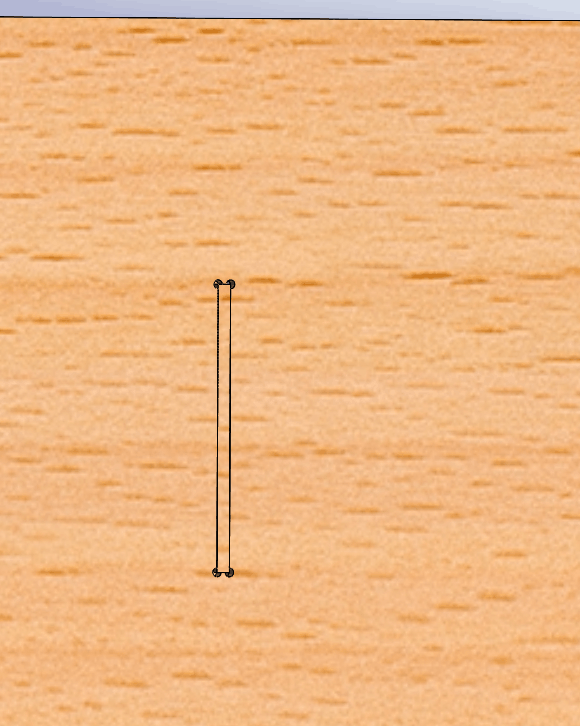
- 2D Sketching: Precise dimensions and Dog-bone fillets at the corners for tool clearance.
DOG-BONE

- 3D Modeling & Assembly: Converted to 3D to verify joinery and fit.
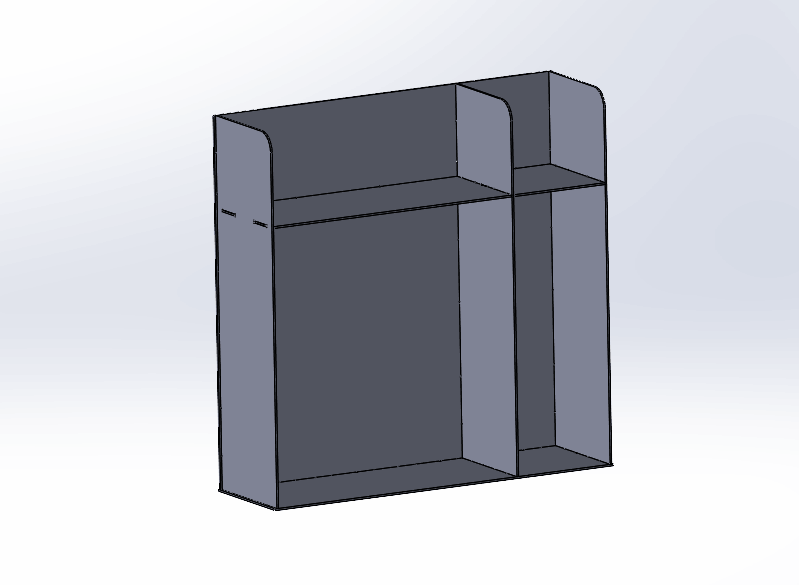
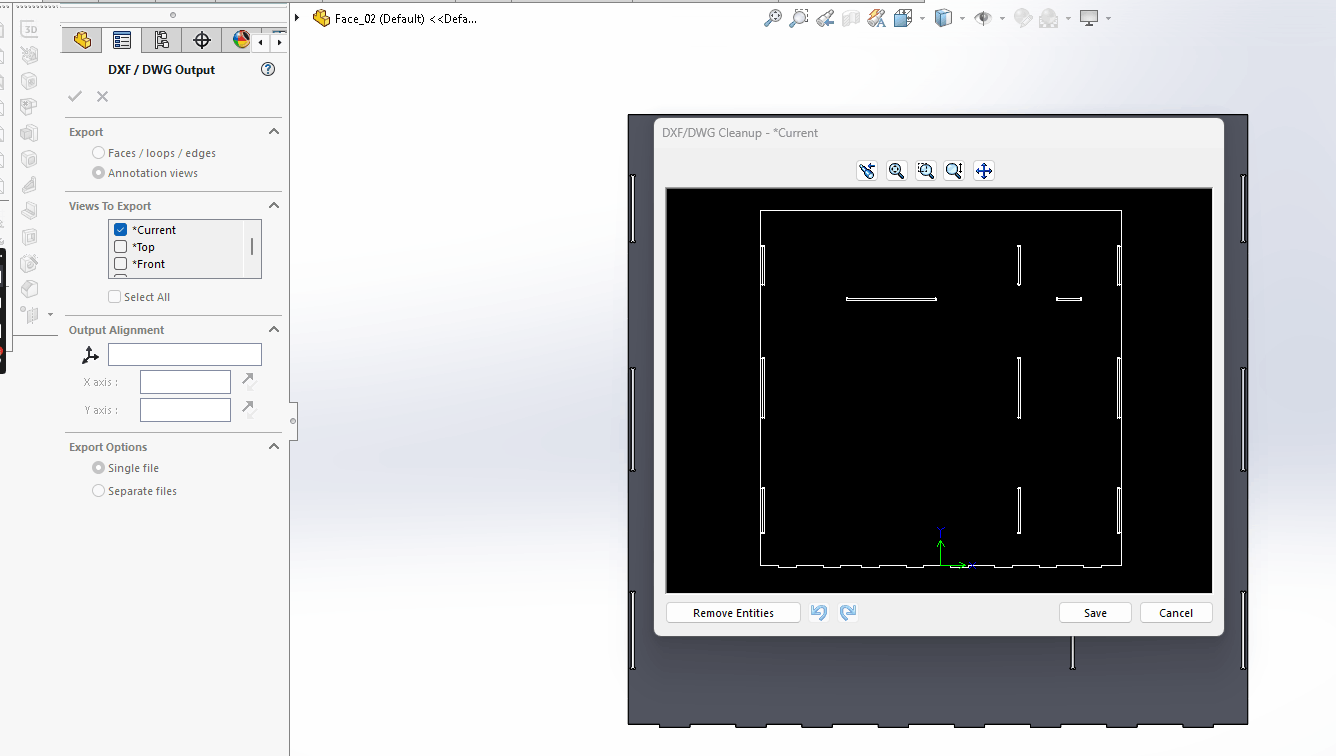
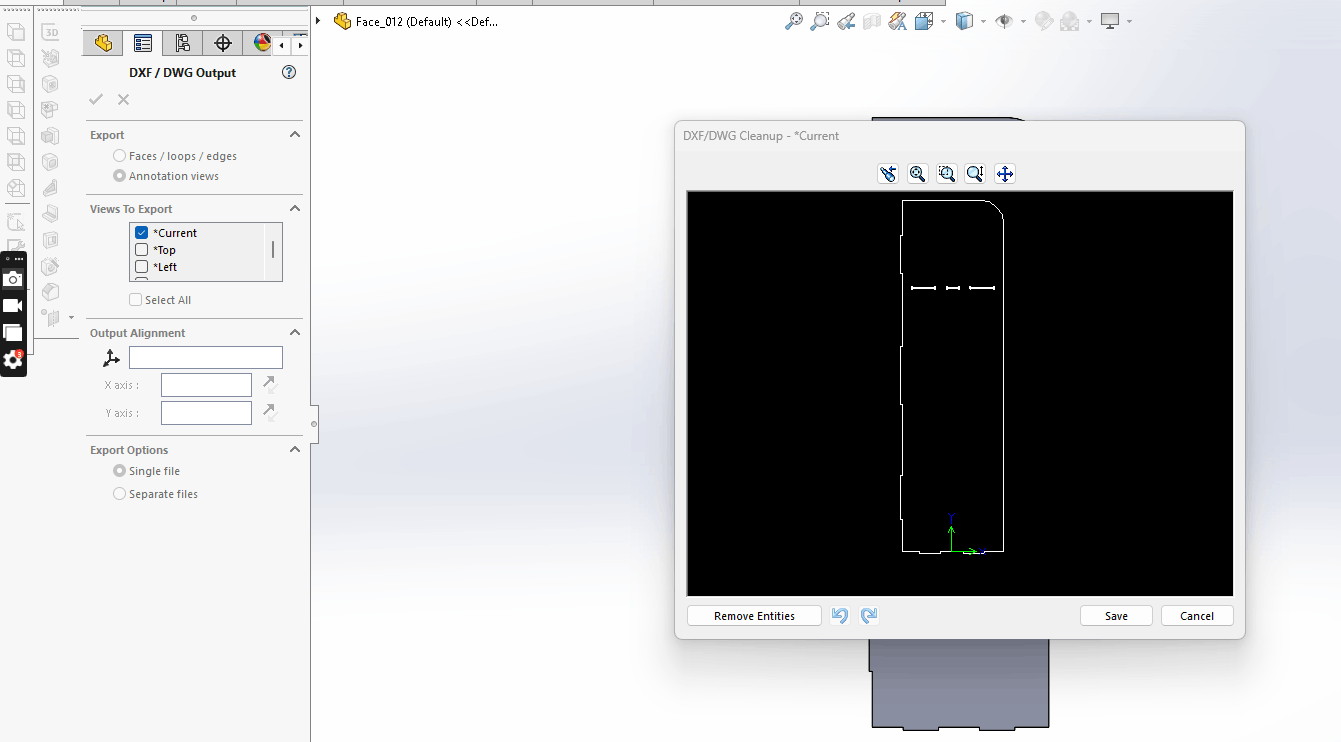
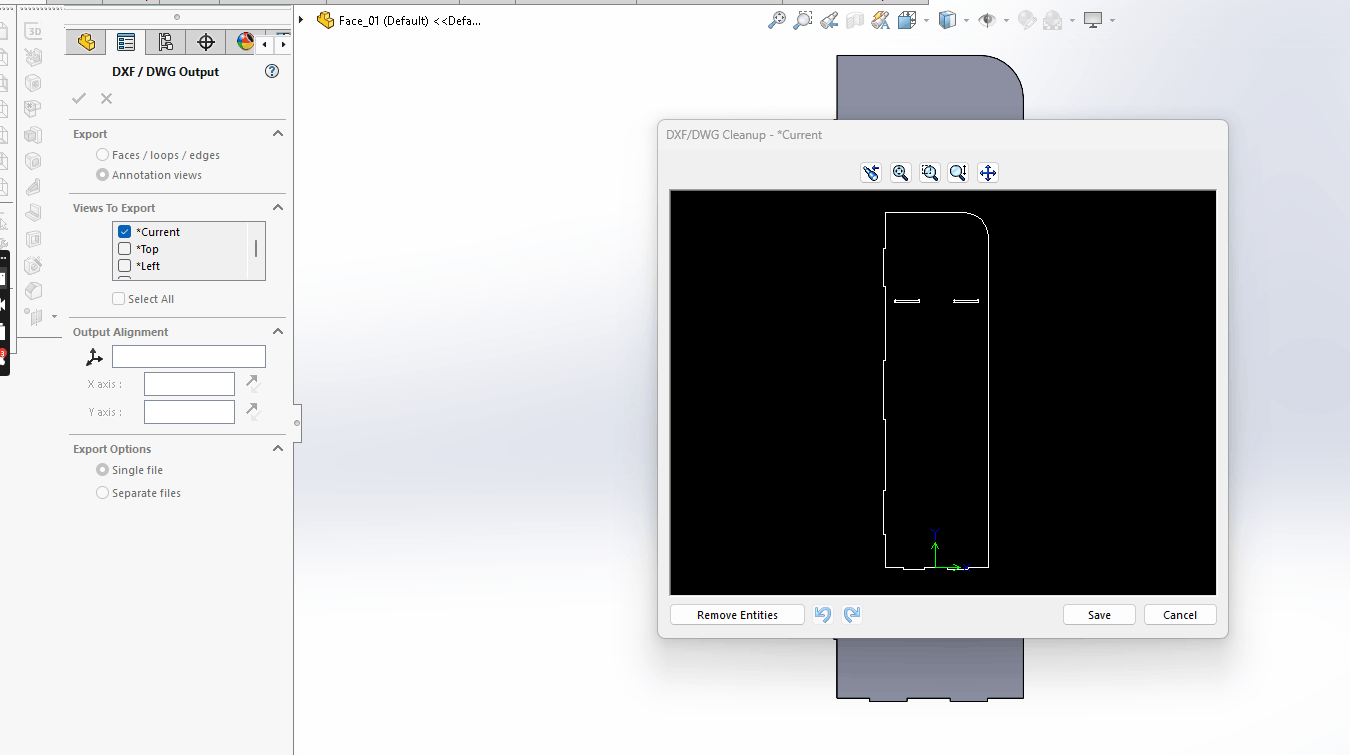
- Export: Generated individual .DXF files for each piece.
Dxf file from Solidworks
Step 02: ShopBot CNC Preparation
1. Toolpath Creation (V-Carve Pro)
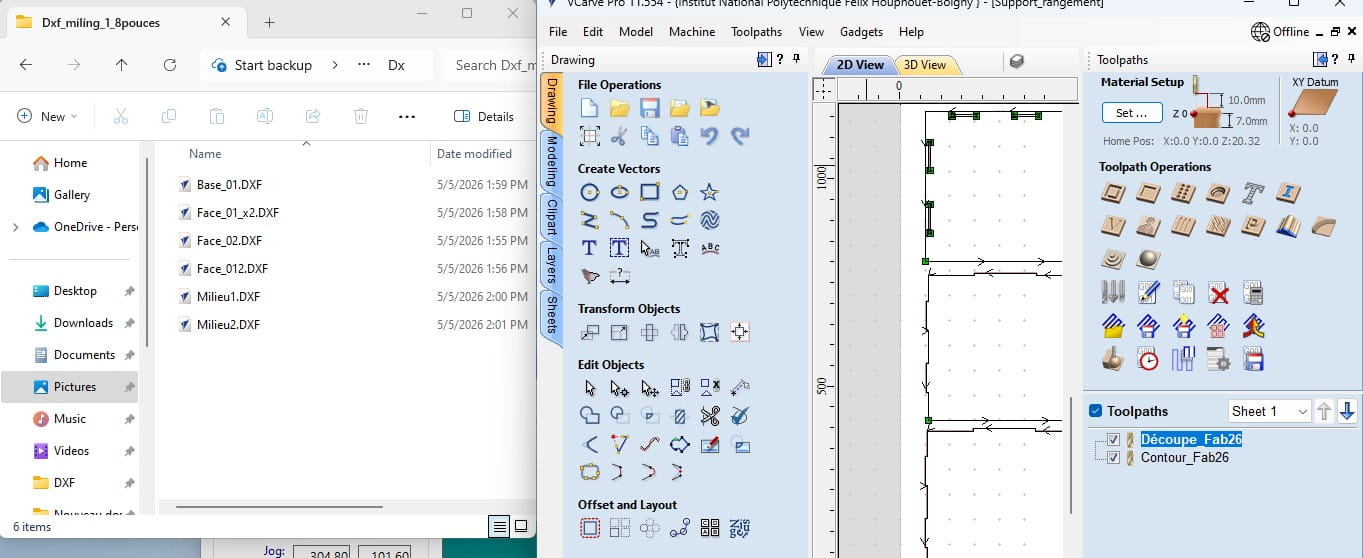
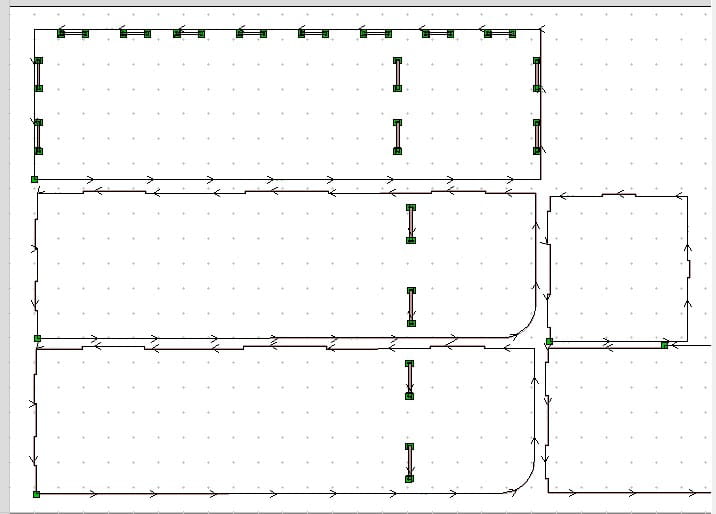
The DXF files were processed in V-Carve Pro to create the toolpaths.
 Interface of V-Carve Pro showing the part positioning.
- Import & Positioning:
-
Vector Check: Closing open vectors and nesting.
-
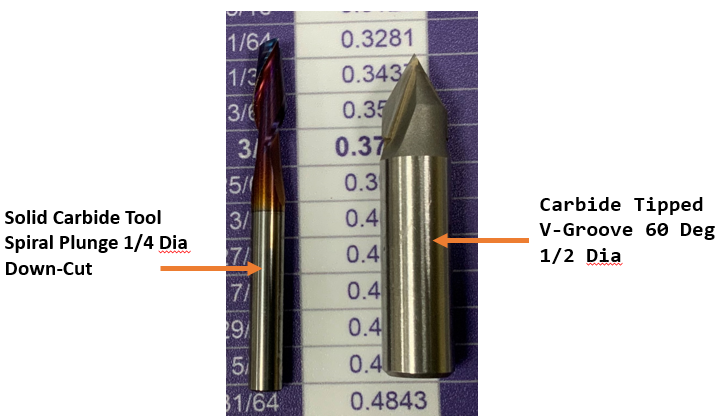
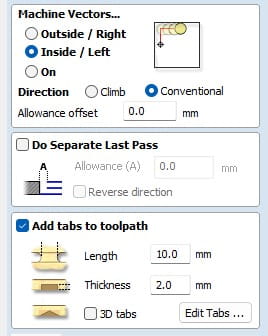
Tool Selection: Using a 6mm down-cut end mill.

-
Put a tab for secure
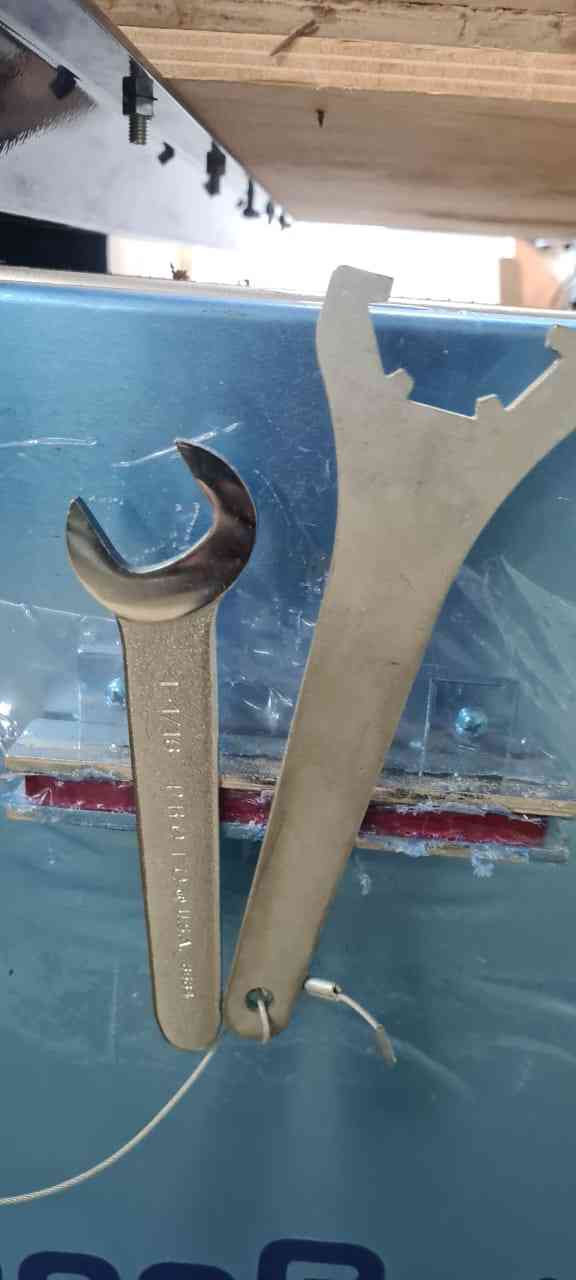
2. Machine & Material Setup
Before launching, I set up the ShopBot and the MDF sheet.
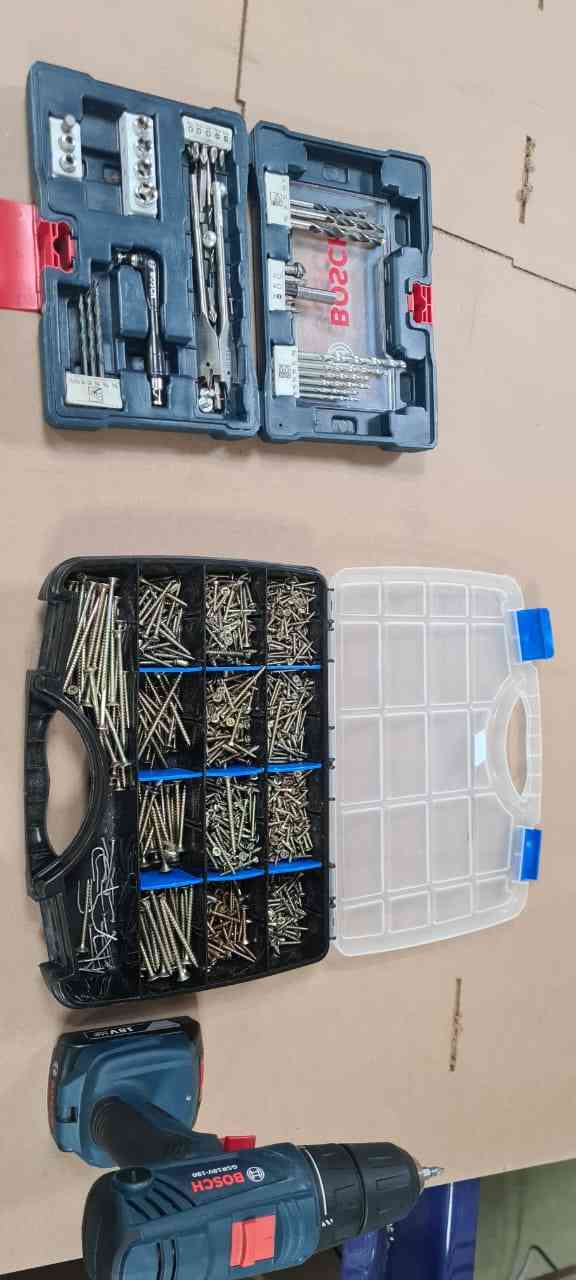
- Securing Material: Fixed the MDF sheet using screws.
- Machine Power: Starting the unit and the software.

- Spindle Control: Setting the correct RPM.
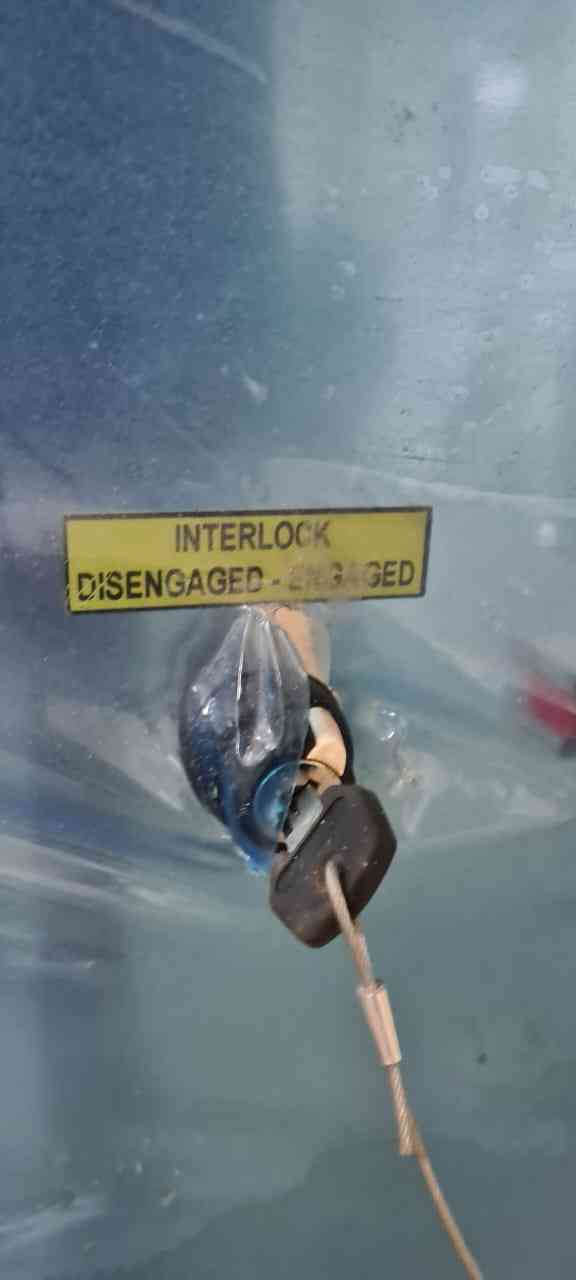
- Zeroing: Setting X, Y origin and Z-zero with the plate.
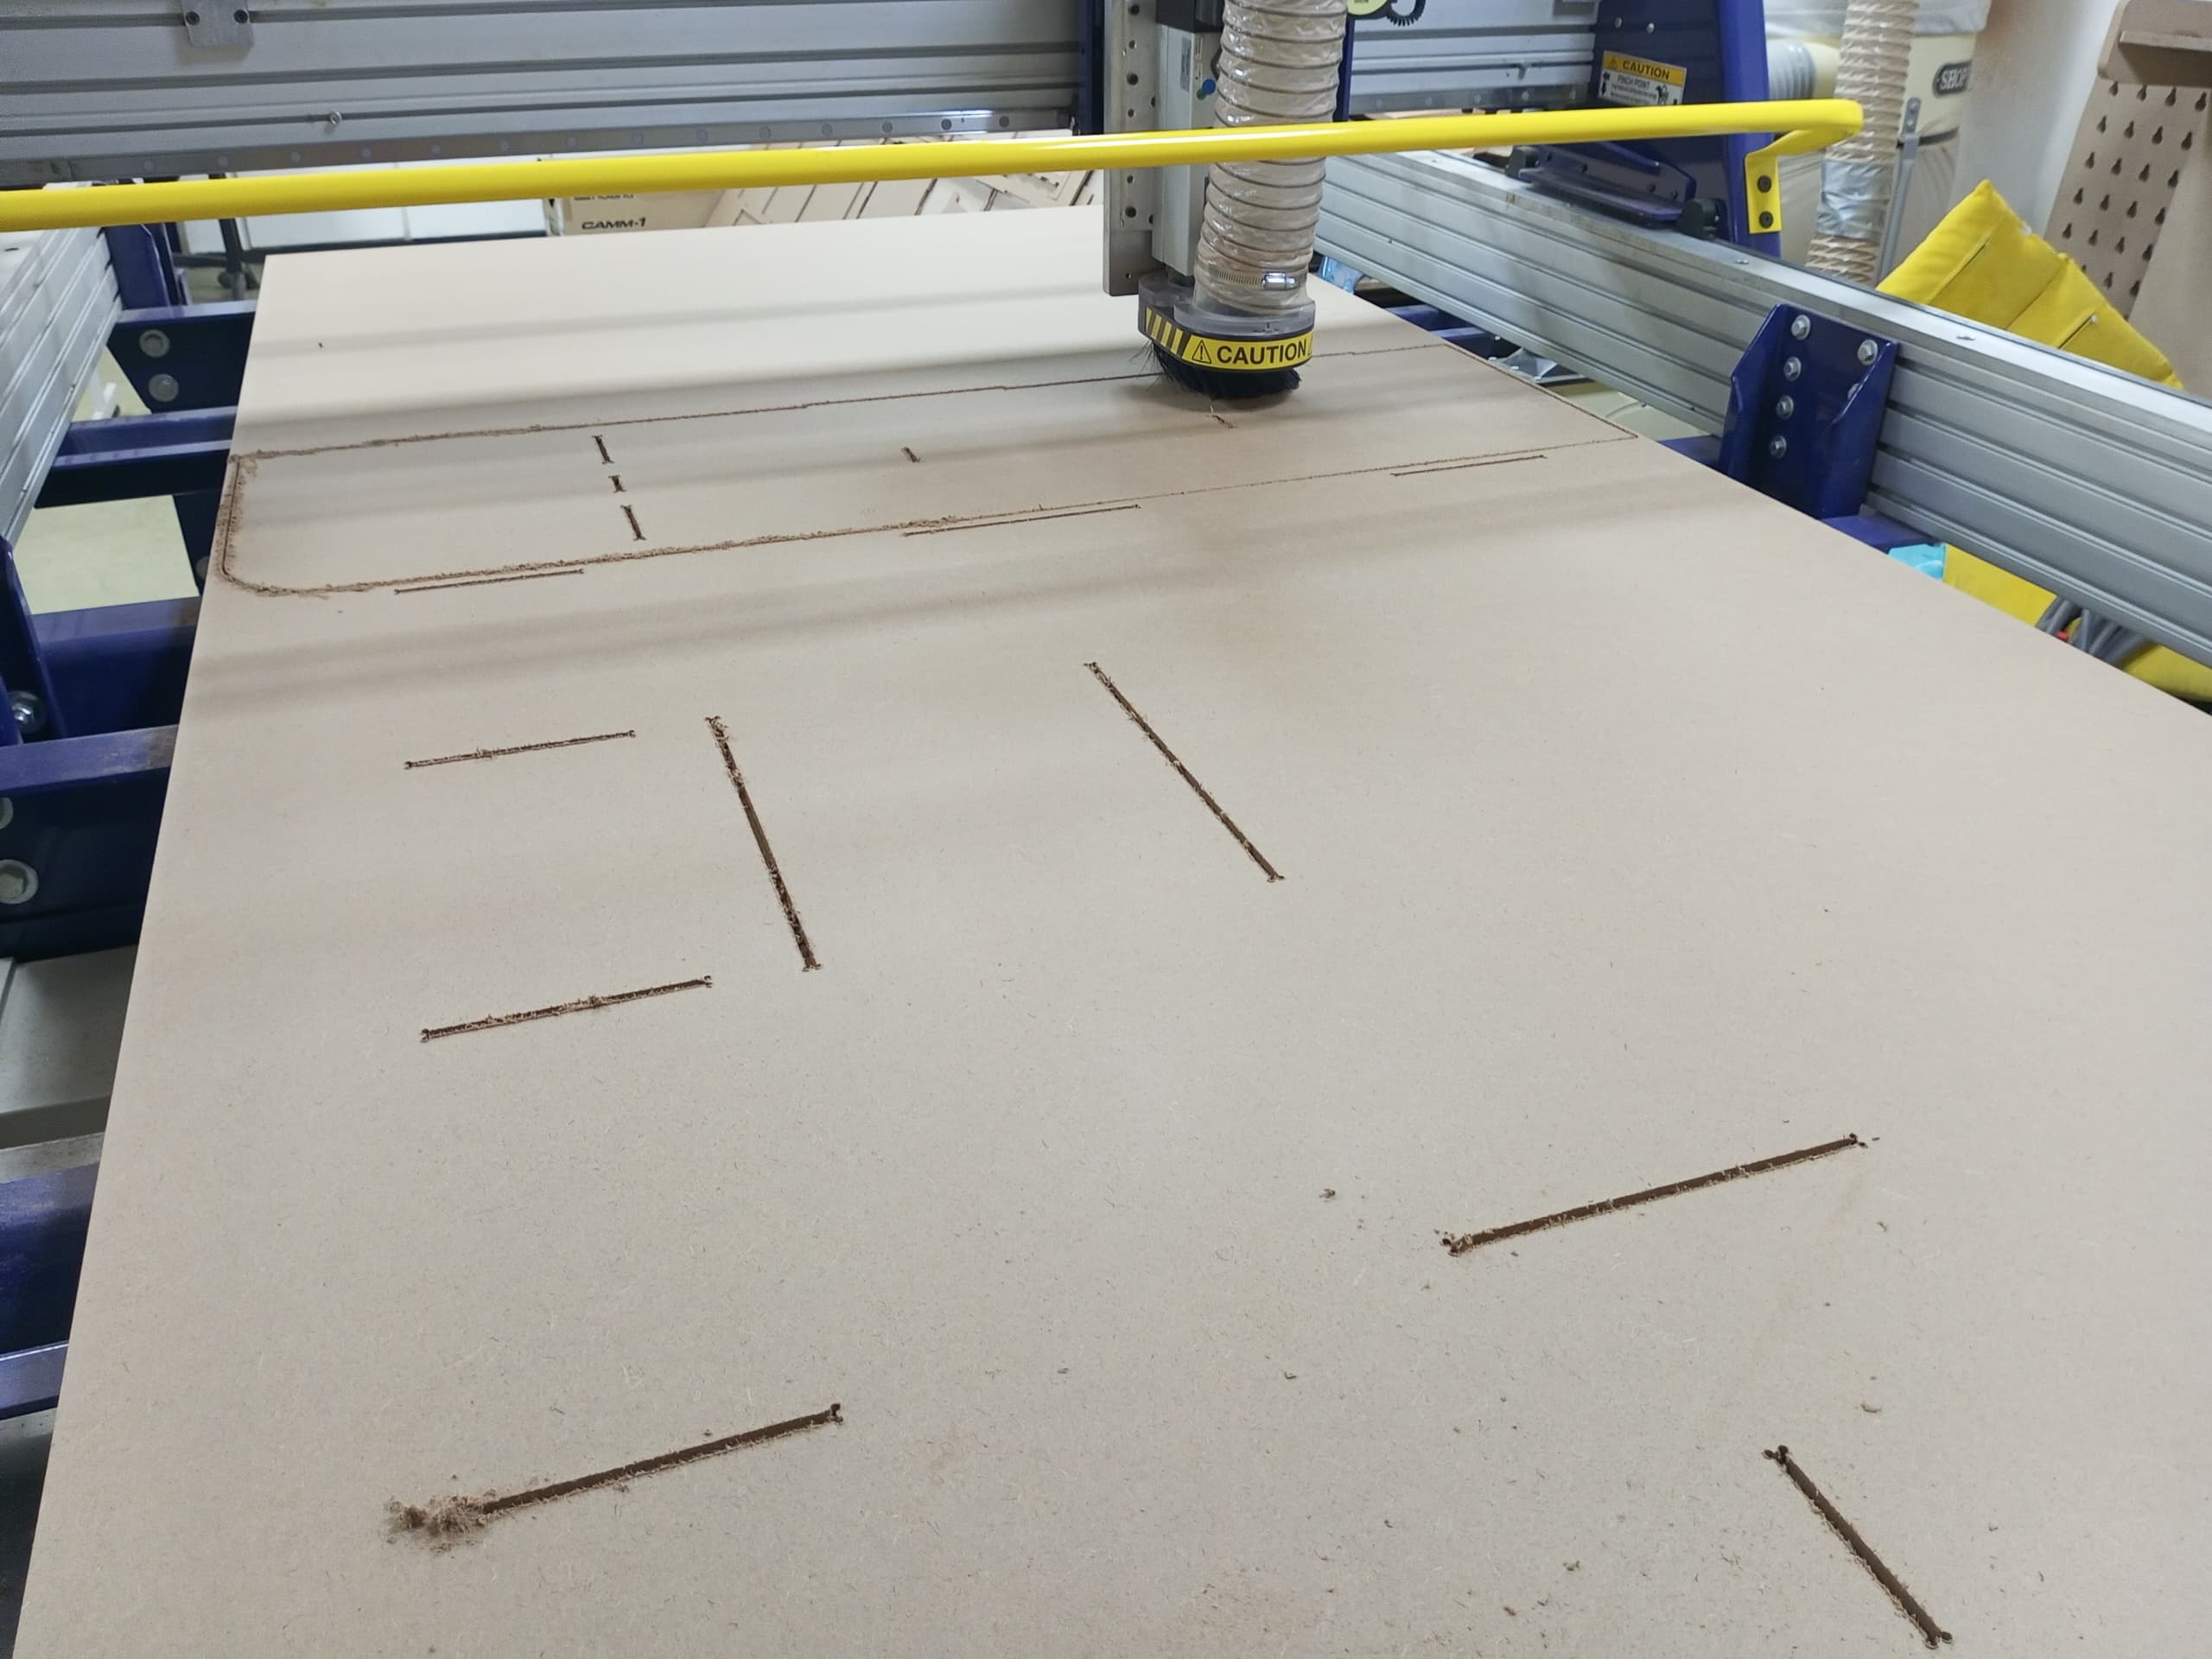
Step 03: Manufacturing Launch
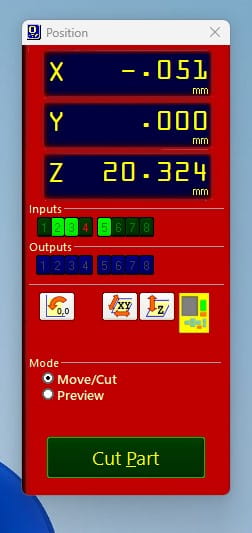
The machining process is controlled via the ShopBot software:
1. Click Cut Part and select the G-code.
2. Press the green START button on the control pendant.
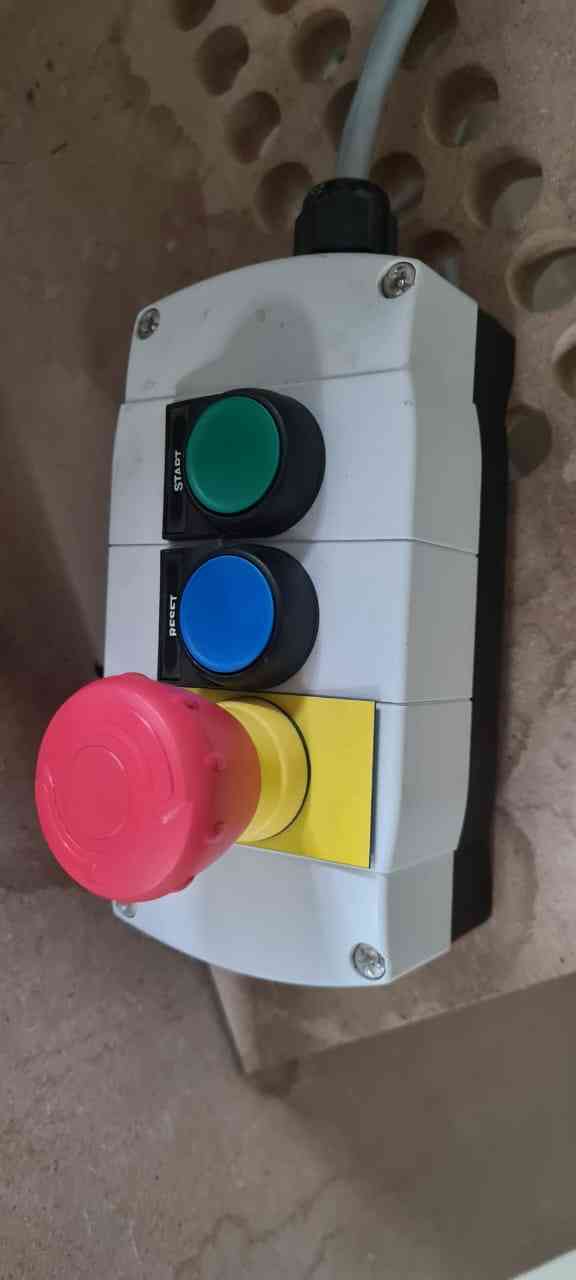
Safety First
Always monitor the machine during the entire process to react quickly to any issues.
- video
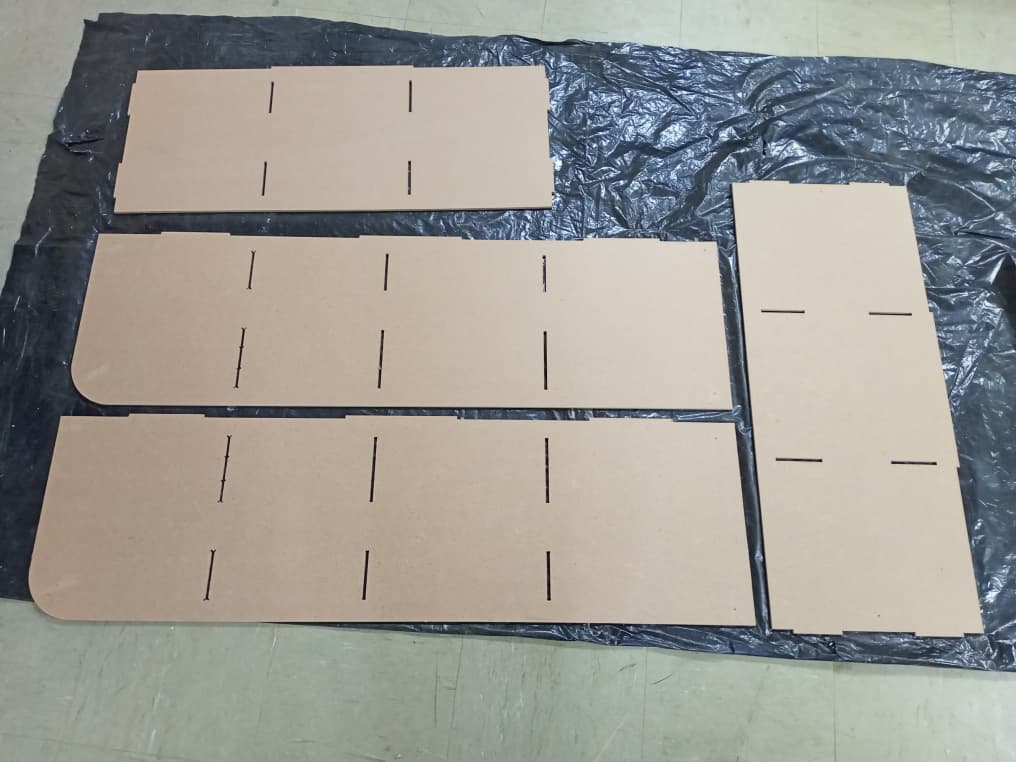
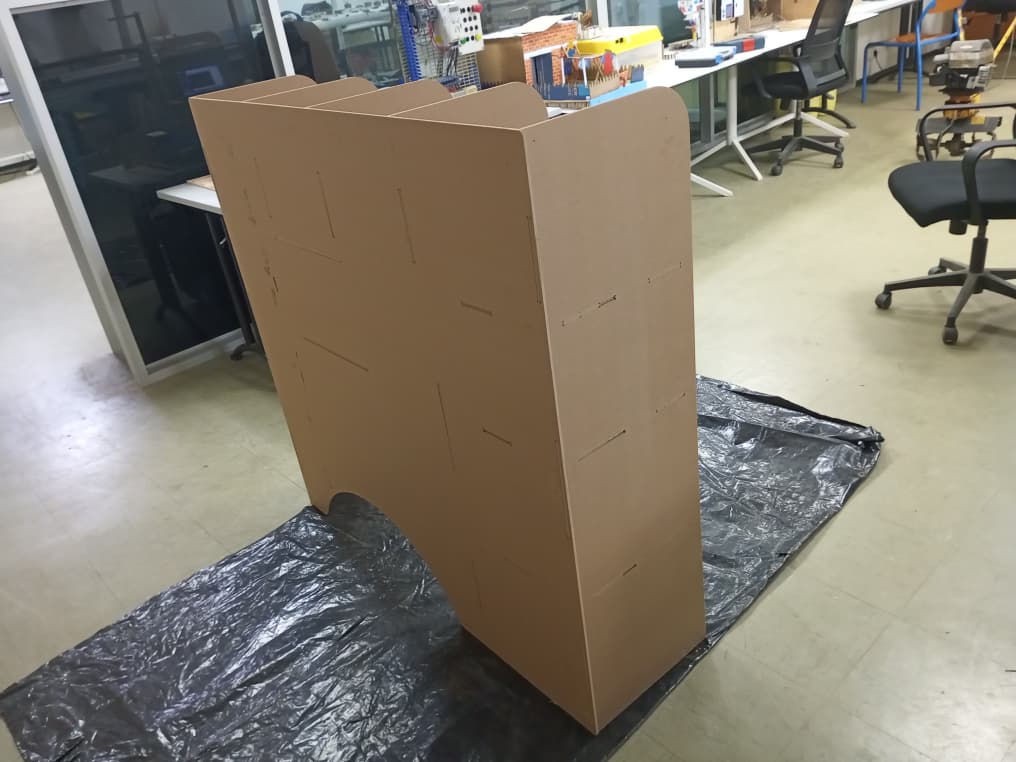
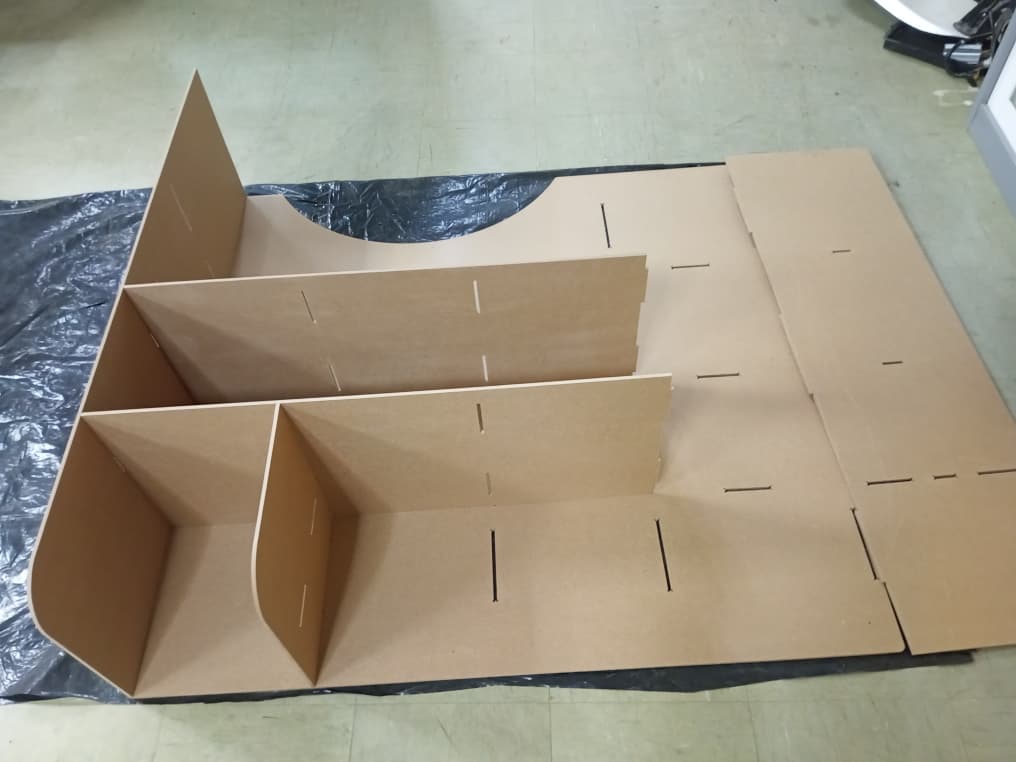
Step 04: Assembly
The parts were cut, sanded, and assembled according to the 3D model.
📂 Project Files
| Type | Link |
|---|---|
| Cabinet Parts (DXF) | Download DXF |
| CAD | box: Download ZIP |
| Vcarve | box: Download ZIP |