5. 3D Scanning and Printing
Group assignment:
- Test the design rules for your 3D printer(s)
To see our group assignment click here
Individual assignment:
-
Design and 3D print an object (small, few cm3, limited by printer time) that could not be made subtractively
-
3D scan an object (and optionally print it)
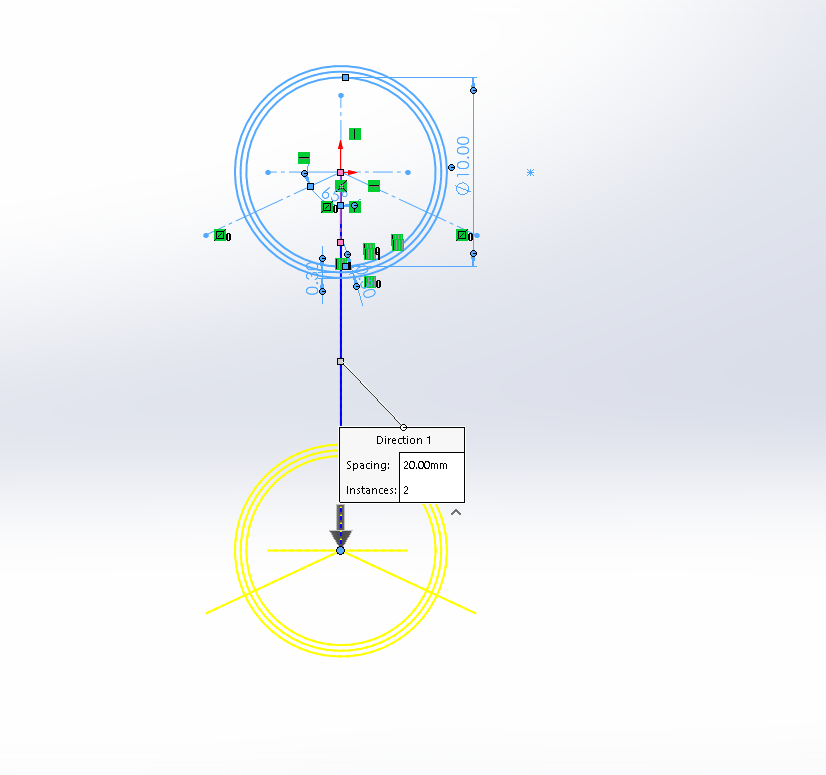
Design
For the design i used Solidworks
sketch and dimensions
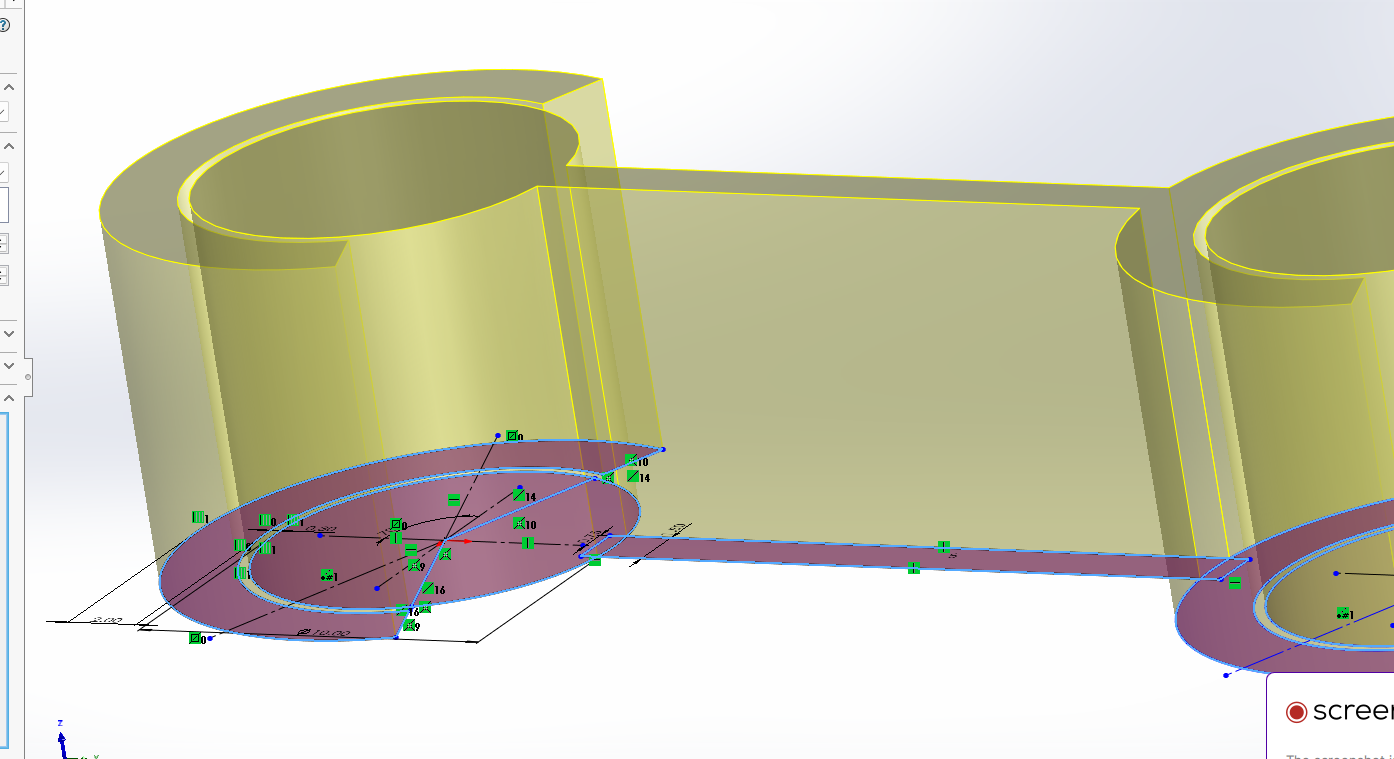
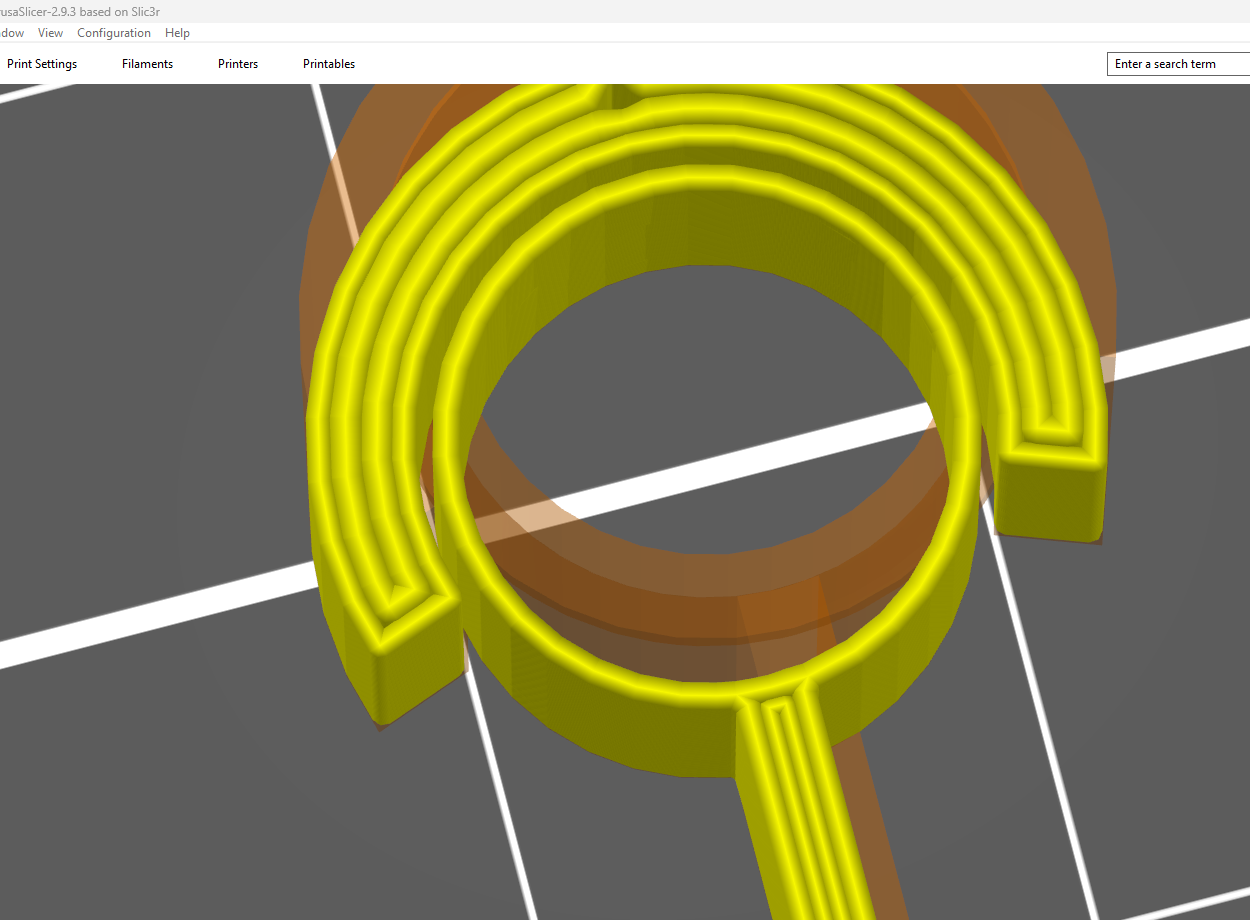
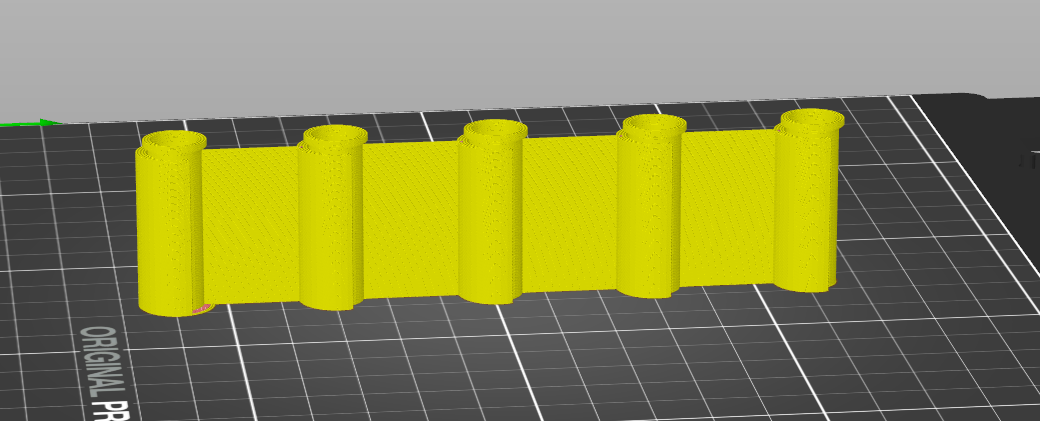
3D Print
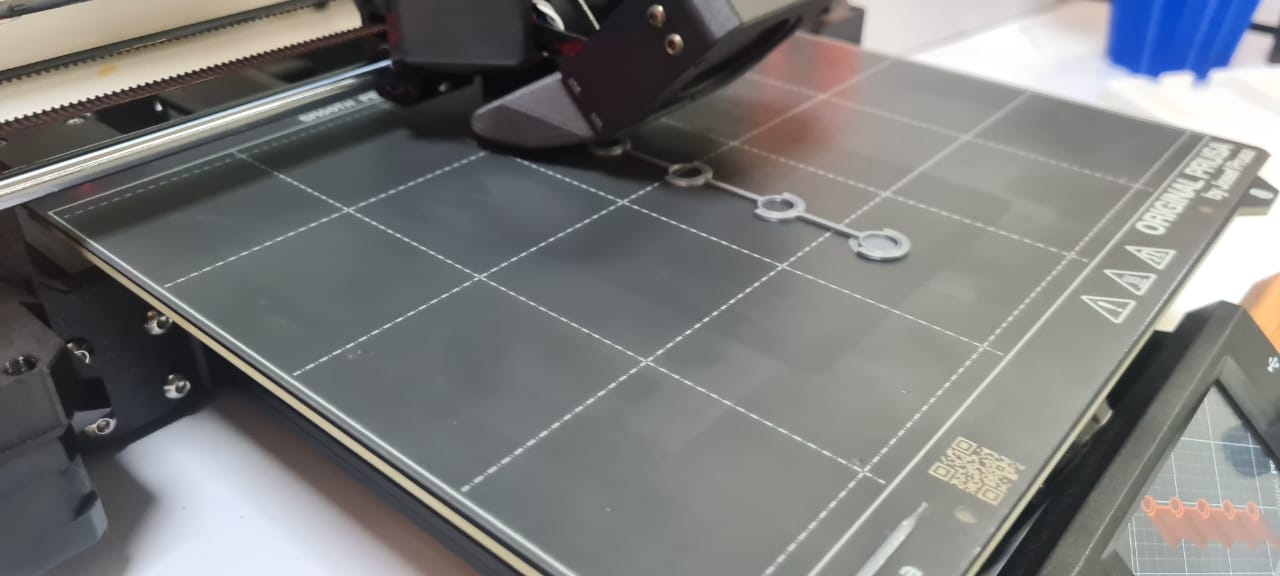
For the 3D print our printer is PRUSA MKS 4

3D Scan
3D Scanning Application Workflow
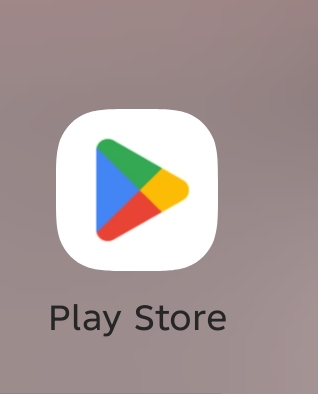
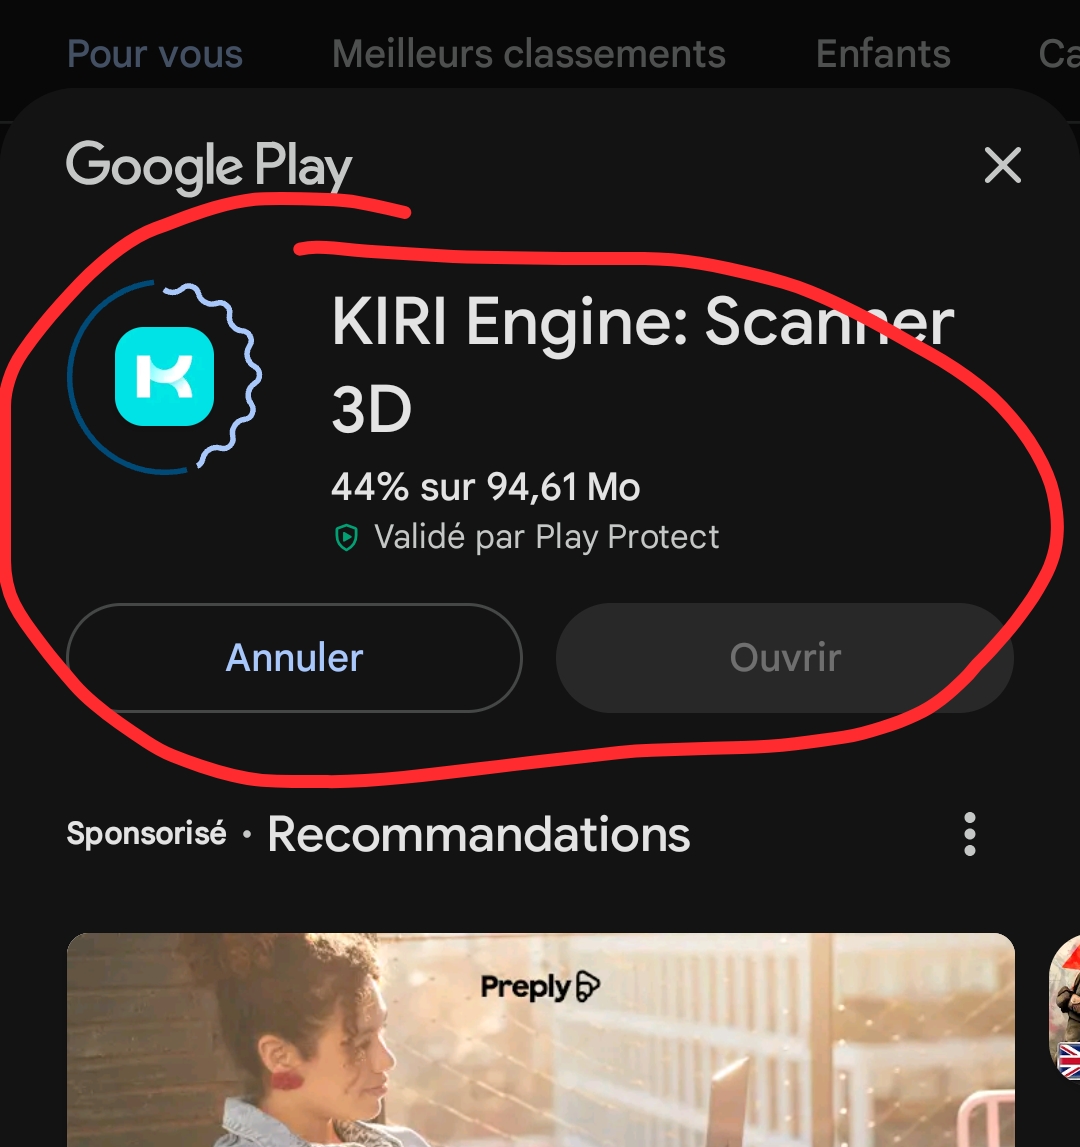
1. Download the Application
The first step is to download the 3D scanning application from the Play Store.
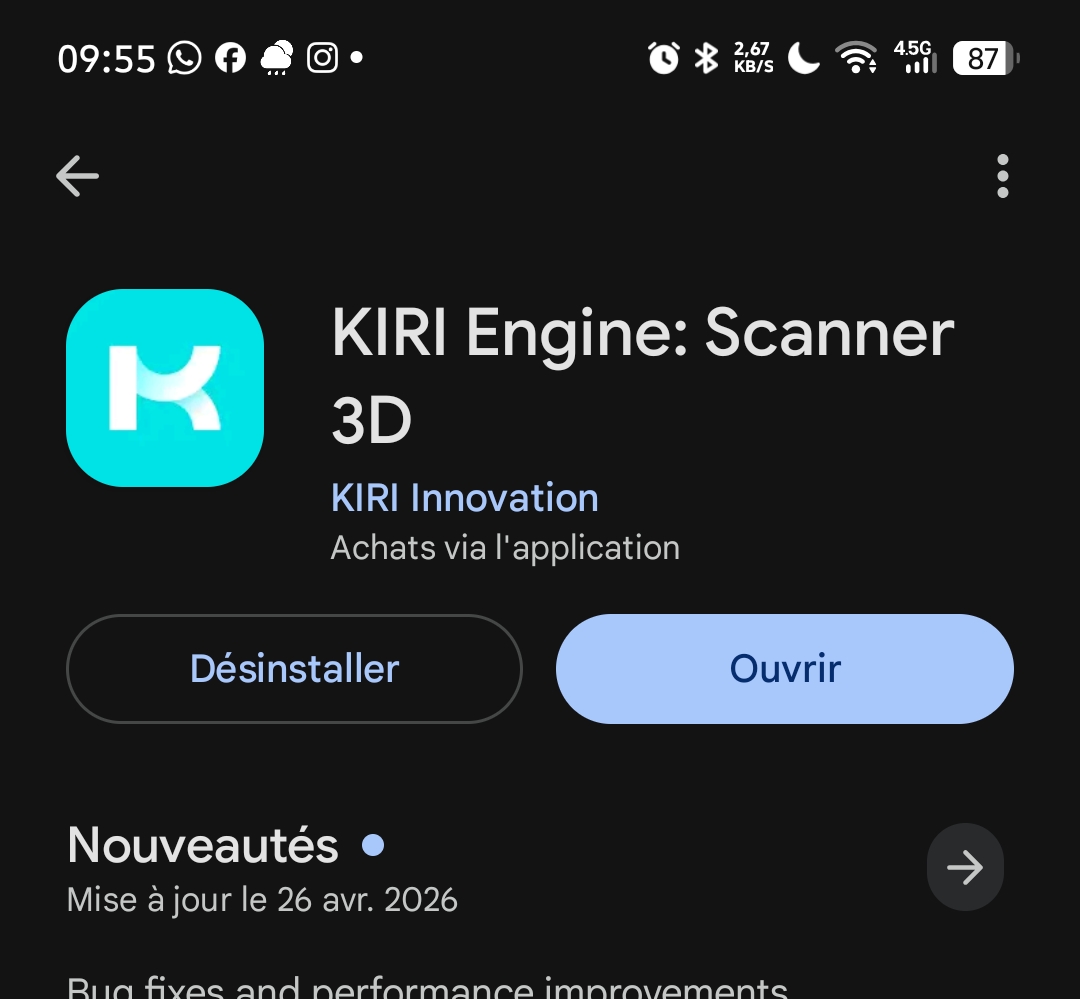
2. Install the Application
After downloading, install the application on the smartphone or tablet.
3. Open the Application
Launch the application from the home screen of the
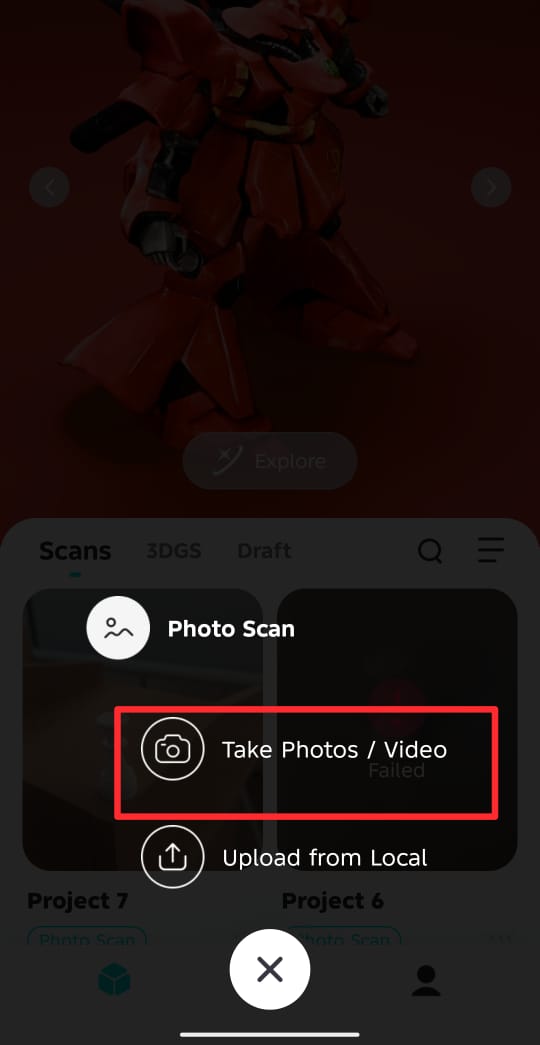
4. Select the “+” Button
Press the “+” button to start a new scan.
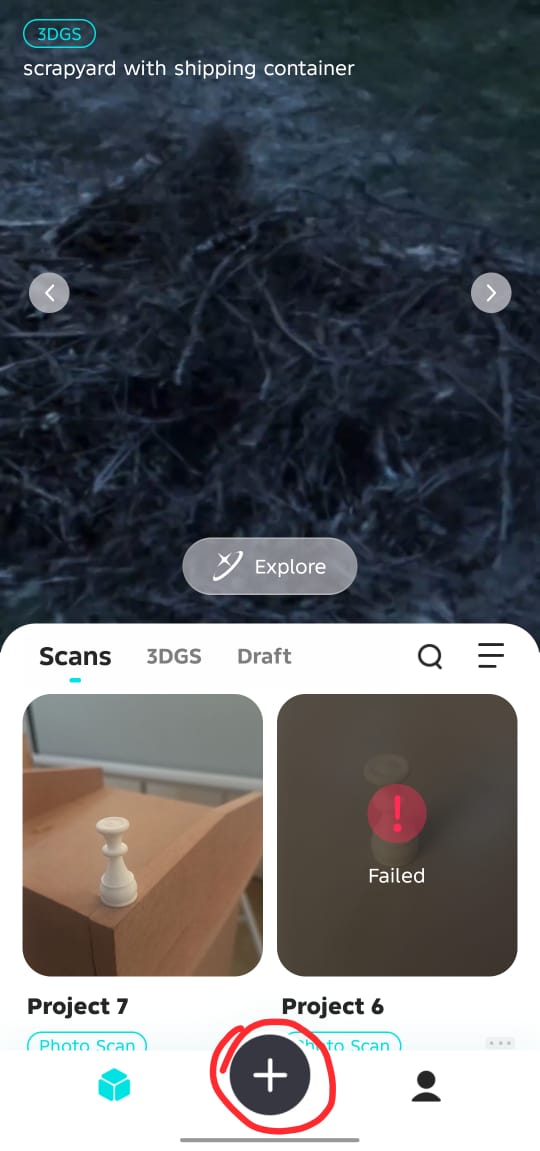 The application allows:
- Taking photos
- Recording video for scanning
The application allows:
- Taking photos
- Recording video for scanning
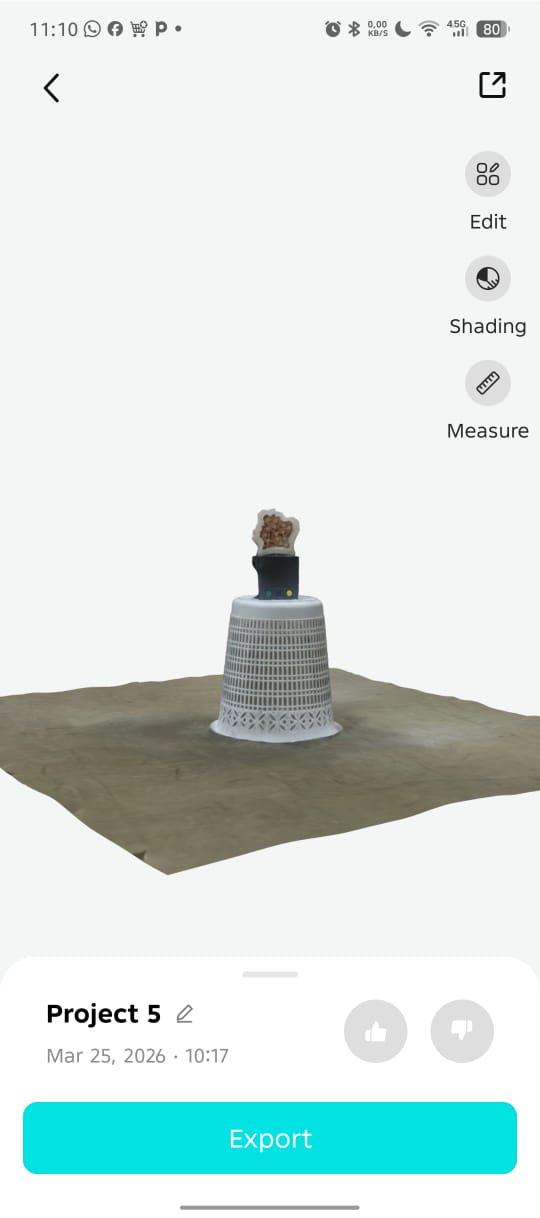
5. Generate the 3D Model
The application processes the captured images and creates the 3D model automatically.
6. Export the STL File
After processing, export the scanned object as an STL file for 3D printing or editing.
NB: Difficulties Encountered
During this project, I encountered a difficulty with the 3D scanning application.
The application allowed the creation and visualization of the 3D model, but the export and printing features required a paid subscription.
As a result, I was unable to print the scanned object directly from the application.
Files
| Type | Link |
|---|---|
| Files | Full files |
| Files | Gcode files |