13. Moulding and Casting
Group assignment:
-
review the safety data sheets for each of your molding and casting materials,
-
then make and compare test casts with each of them
-
compare mold making processes
For this week we tried to cast metal, milled and 3D printed a mold, made a mold with plaster and casted with metal. We also did some trial casts with silicone.

👥 Group Contribution — Moulding and Casting Experiments
Mariam’s full page: Week 14 documentation
Hrach’s full page: Week 13 documentation
Ani’s full page: Week 13 documentation
Gevorg’s full page: Week 13 documentation
For the group assignment, Mariam, Hrach, Ani, and Gevorg started by deeply studying the details of moulding and casting — different types of applications and how they are used across different fields. Below is a summary of the experiments they ran together, the safety rules they followed, and the conclusions they drew before moving into their individual projects.
⚠️ Safety First
Before touching any material, Mariam, Hrach, Ani, and Gevorg reviewed the safety rules for each one.
When working with plaster, it is important to protect the respiratory system, eyes, and skin — dry plaster dust is a strong irritant, and wet plaster is highly alkaline.
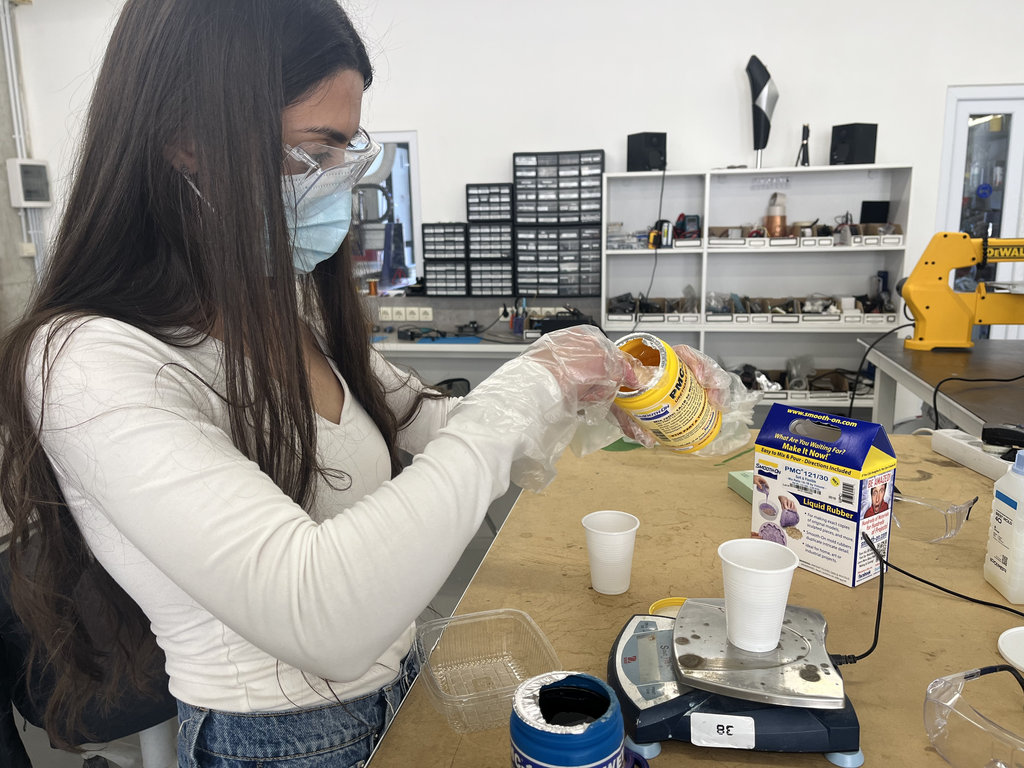
When working with liquid rubber (PMC™-121 Series), the key rules are:
- Wear safety glasses with side shields
- Wear liquid-proof, chemical-resistant gloves (butyl rubber, neoprene, or PVC)
- Wear long sleeves and trousers to minimize skin contact
- Work only in a well-ventilated area
- Wash hands thoroughly with soap and water immediately after use
- Clean up spills immediately with absorbent material and a diluted ammonia solution
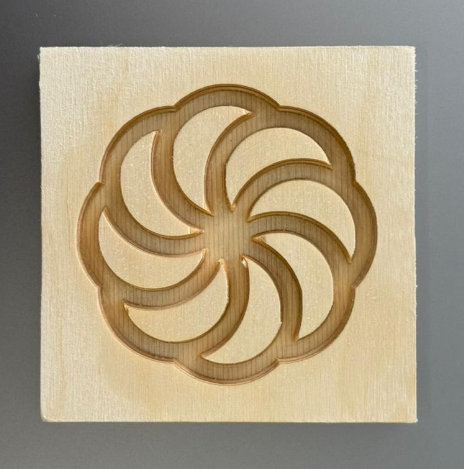
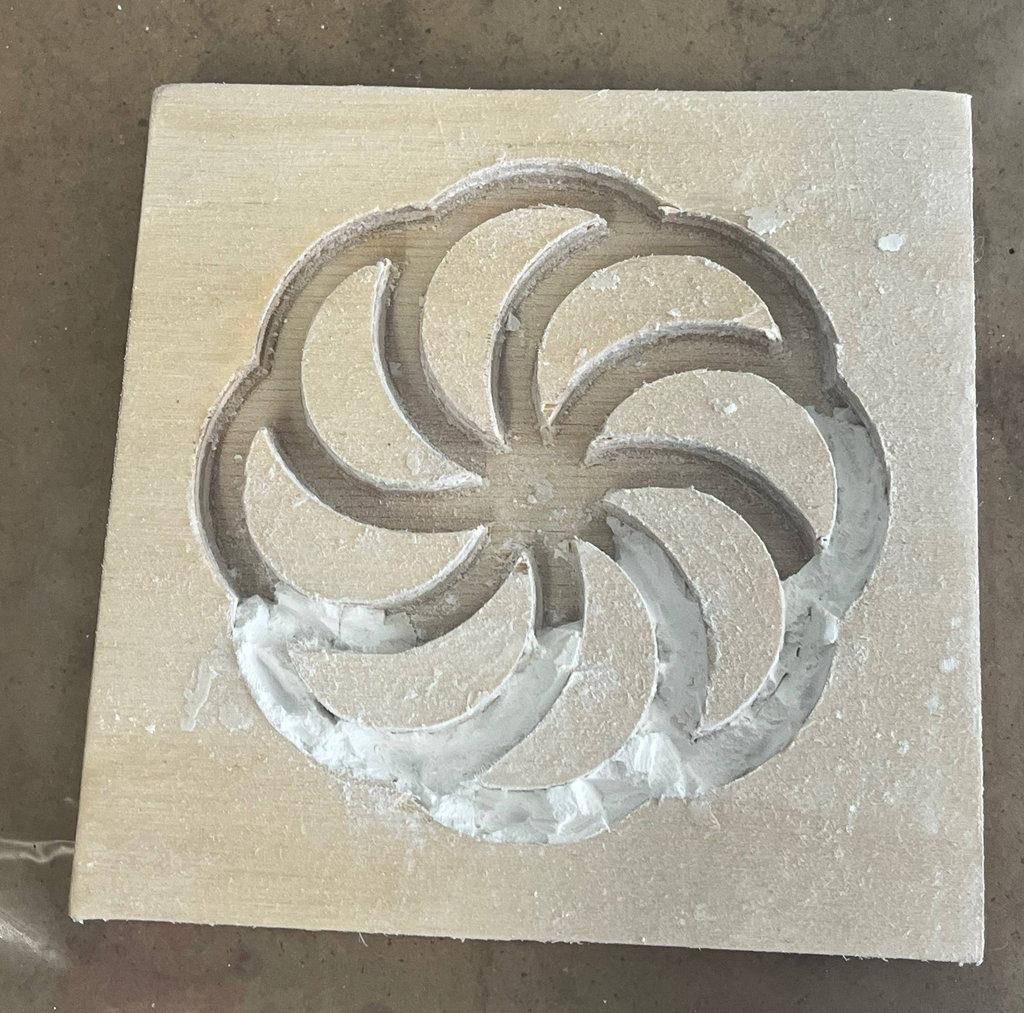
🪵 Experiment 1 — Plaster Cast in a CNC-Milled Plywood Mould
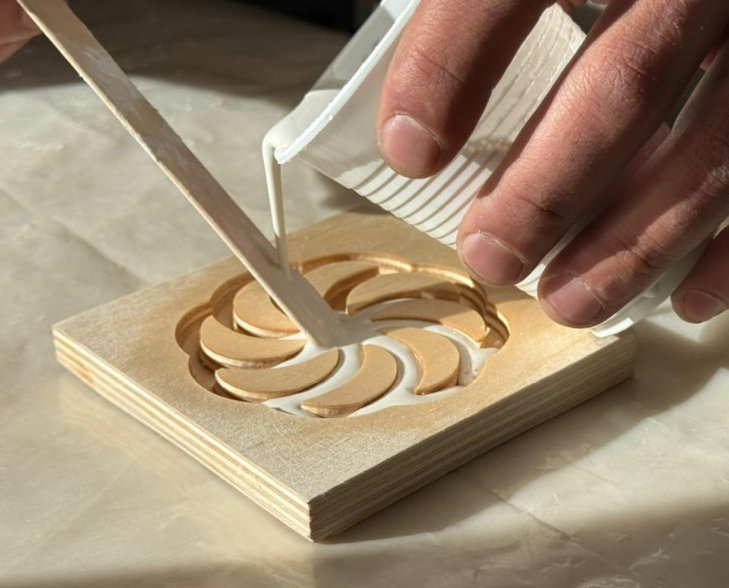
Mariam, Hrach, Ani, and Gevorg designed the Armenian infinity symbol and used the CNC ShopBot machine to mill a mould from plywood. Plaster was then prepared using a 1:2 water-to-plaster ratio — in this case, 100g of plaster and 50g of water.

After carefully pouring the mixture into the mould, they waited about two hours for it to harden. Then came the moment of truth — trying to remove it.
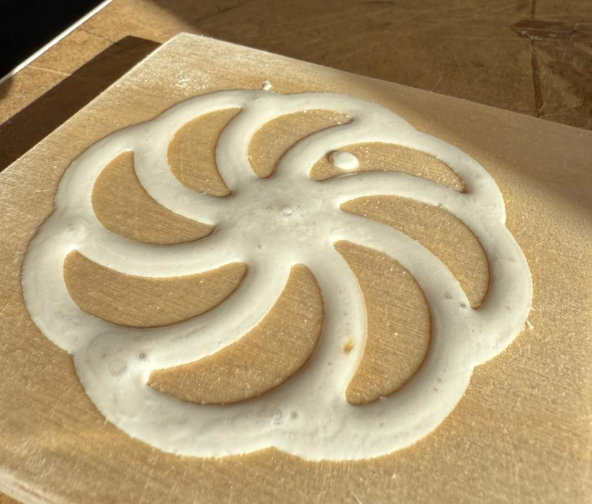
It didn’t come out. 😄 Plywood retains moisture for a long time, and during drying, diffusion caused the plaster and plywood to bond together instead of separating. Lesson learned: plywood is not a suitable mould material for plaster.
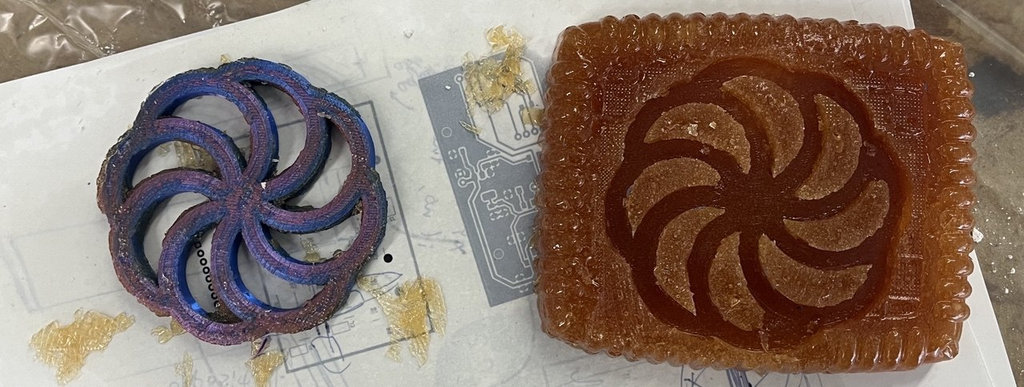
🖨️ Experiment 2 — Liquid Rubber Cast with a 3D Printed Master Model
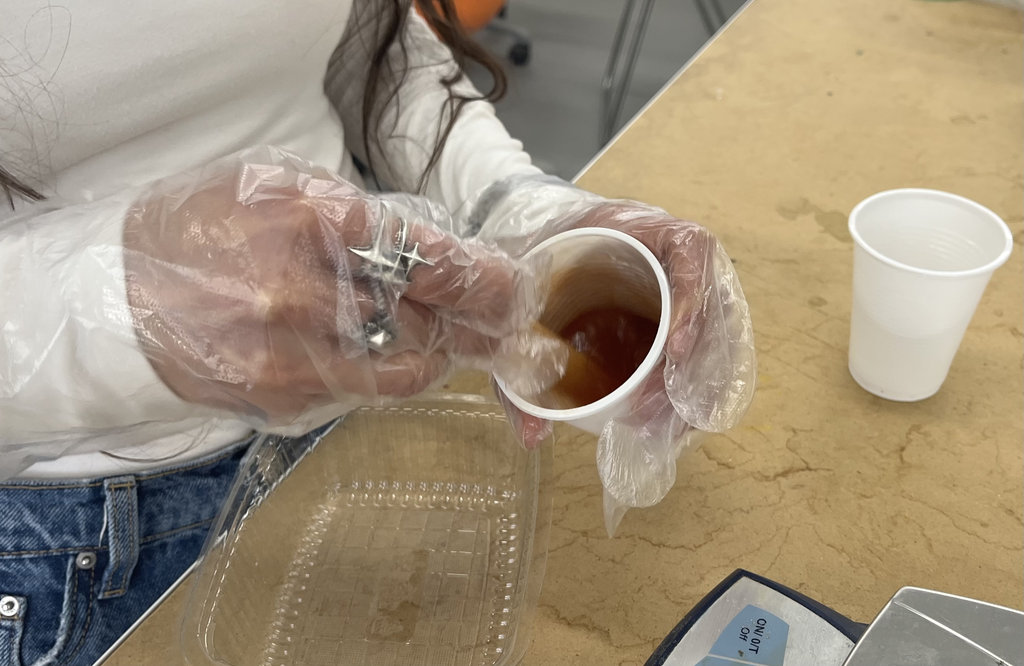
For the next experiment, Mariam, Hrach, Ani, and Gevorg used the same Armenian design but this time 3D printed it. The goal was not to create a master model but to make a mould using PMC™-121 Series liquid rubber, mixed at a 1A : 1B ratio following the manufacturer’s instructions.
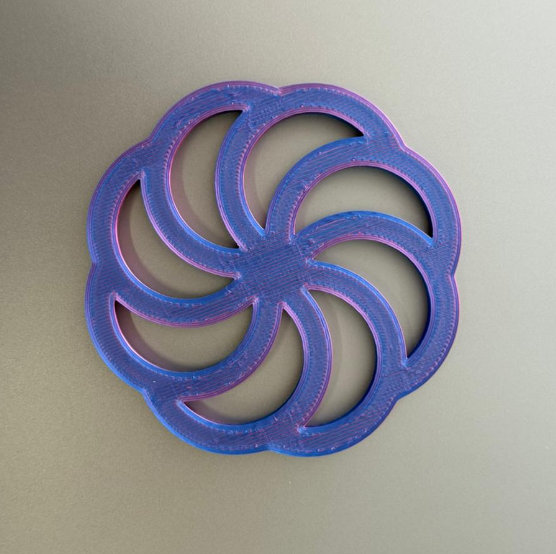
The mixture was stirred slowly to avoid creating bubbles, then poured into a plastic container around the model. After waiting one day, the mould was removed.
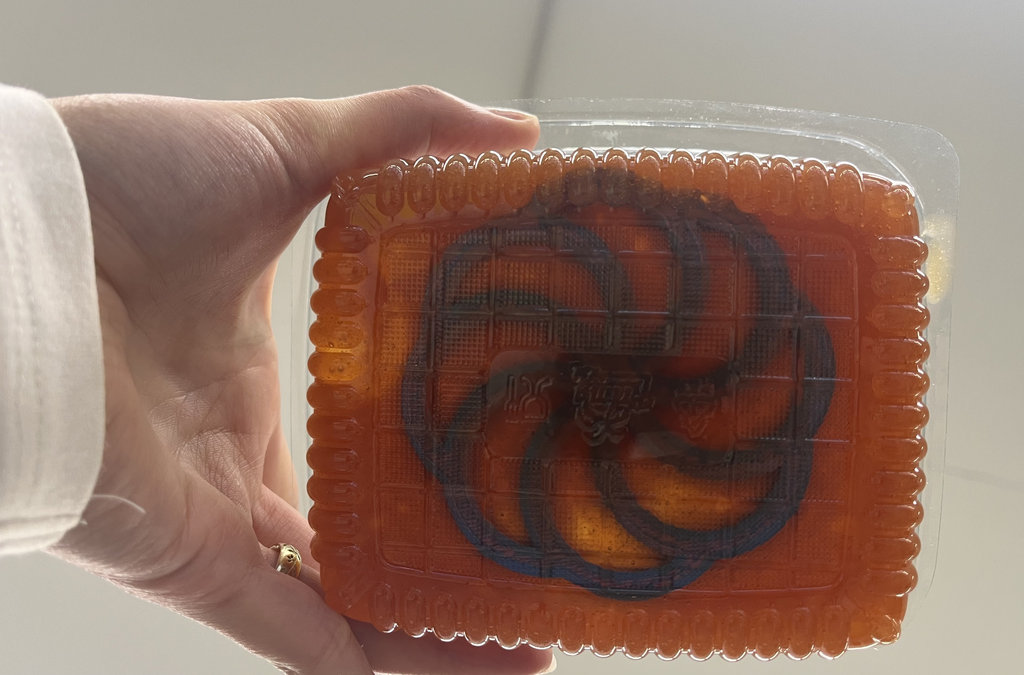
The result was quite good — especially considering the liquid rubber had expired about two years earlier. 😄😄
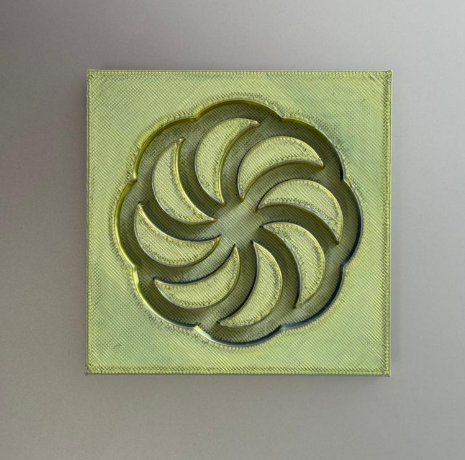
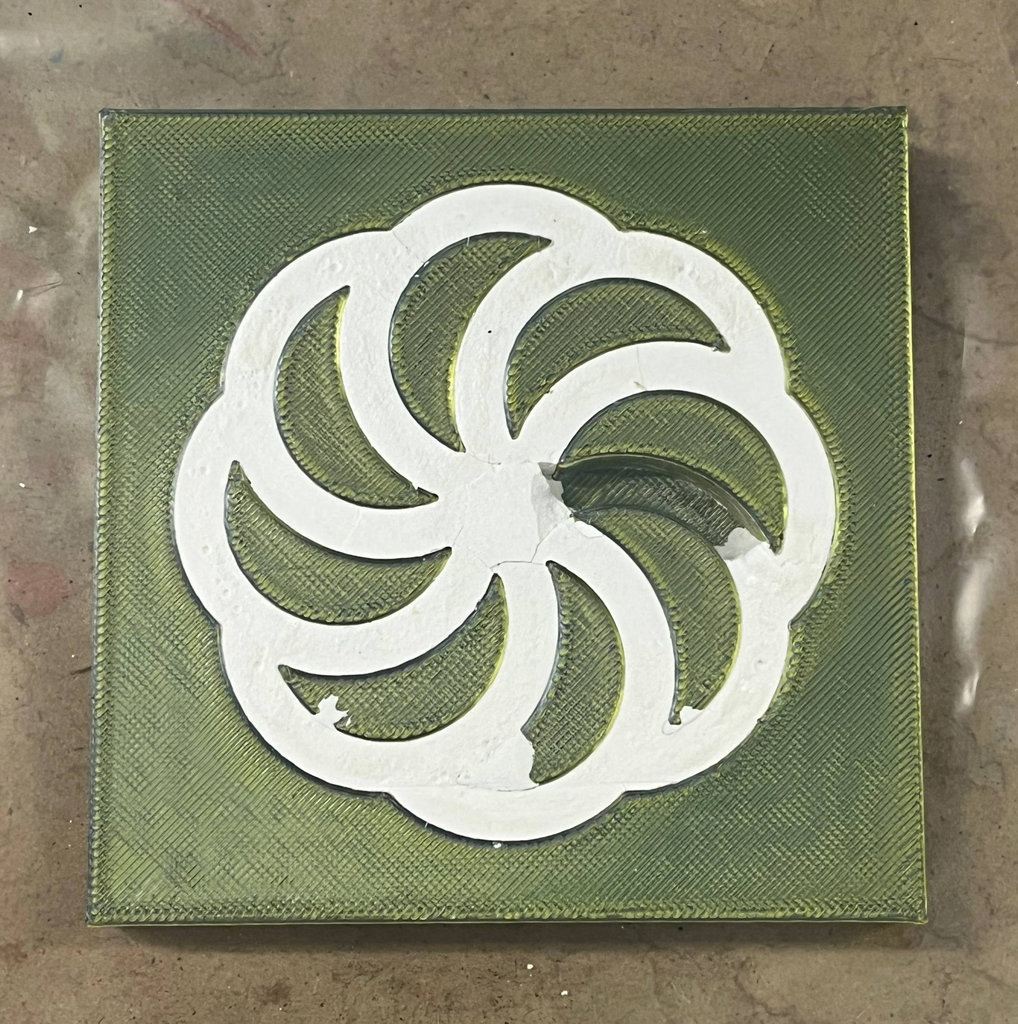
🖨️ Experiment 3 — Plaster Cast in a 3D Printed Mould
The group also 3D printed the mould itself and tried pouring plaster into it. Once again, the plaster could not be removed. 😄
Conclusion: to get a proper plaster casting, the mould must be made from a suitable material — not plywood, not PLA.
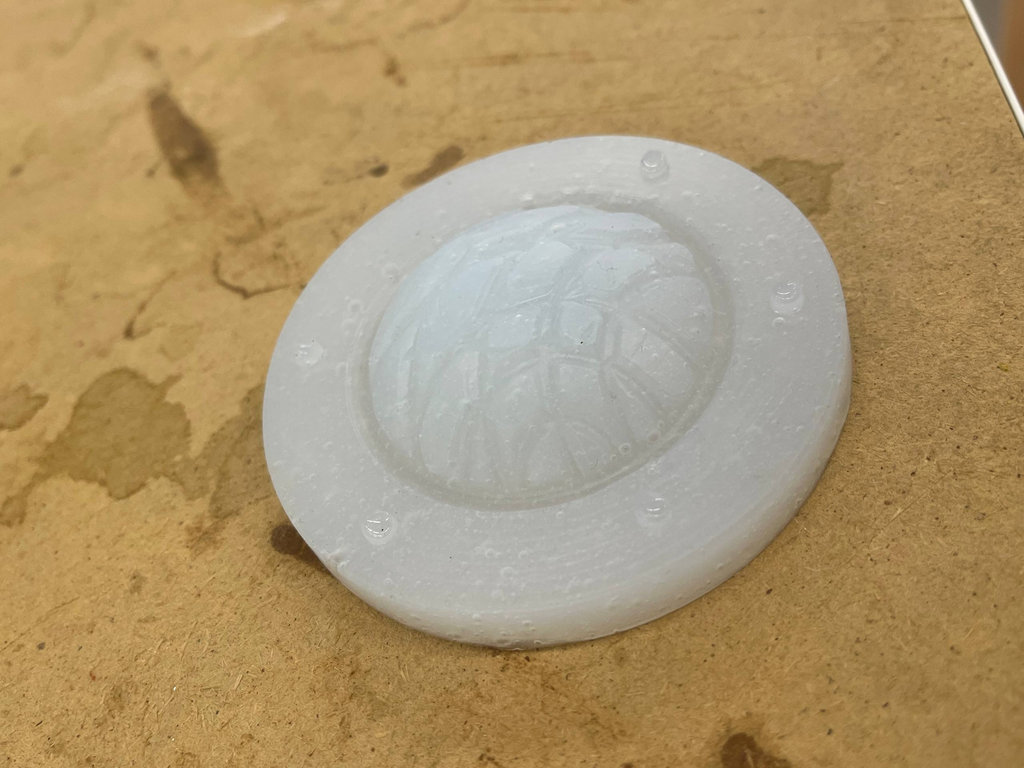
🧴 Experiment 4 — Silicone Cast with a Last Year’s Printed Mould
Finally, Mariam, Hrach, Ani, and Gevorg used silicone with a mould printed by last year’s students. Silicone should also be mixed slowly to avoid bubbles — but it was rushed a little. 😄
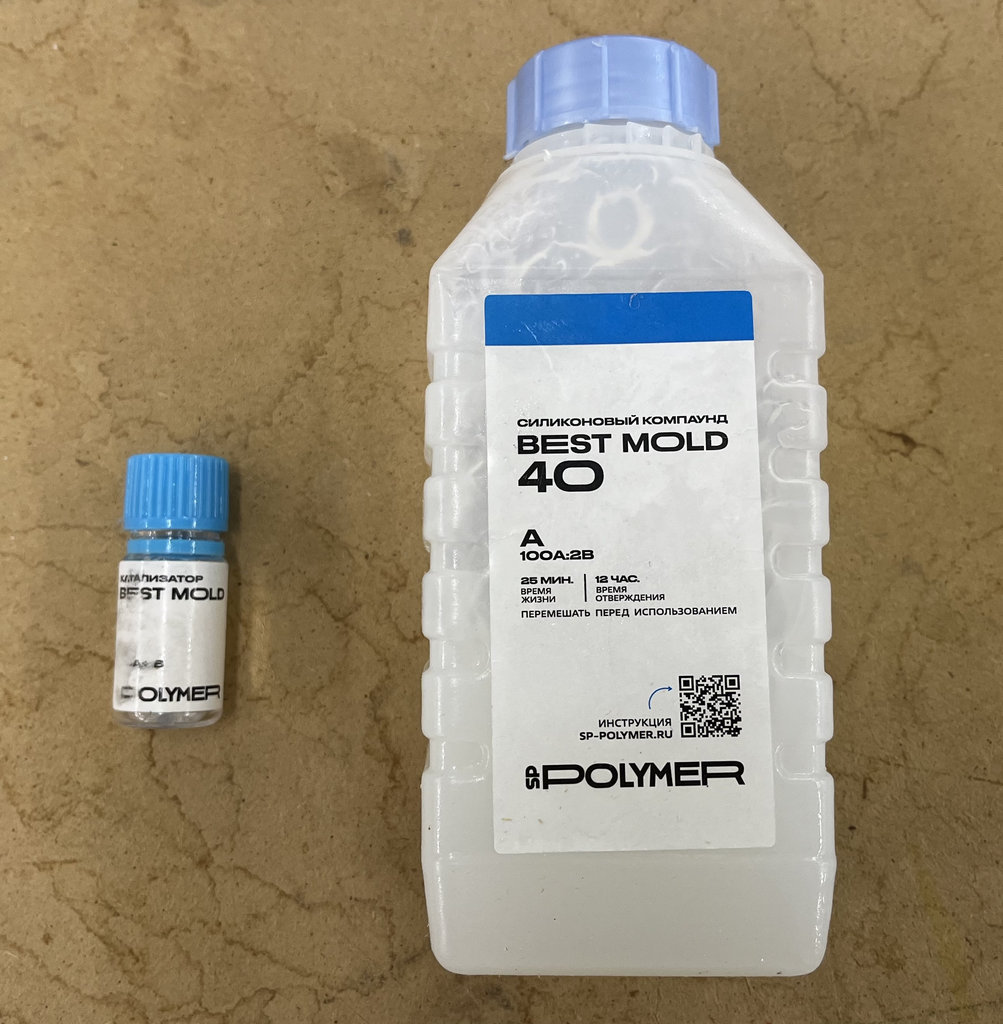
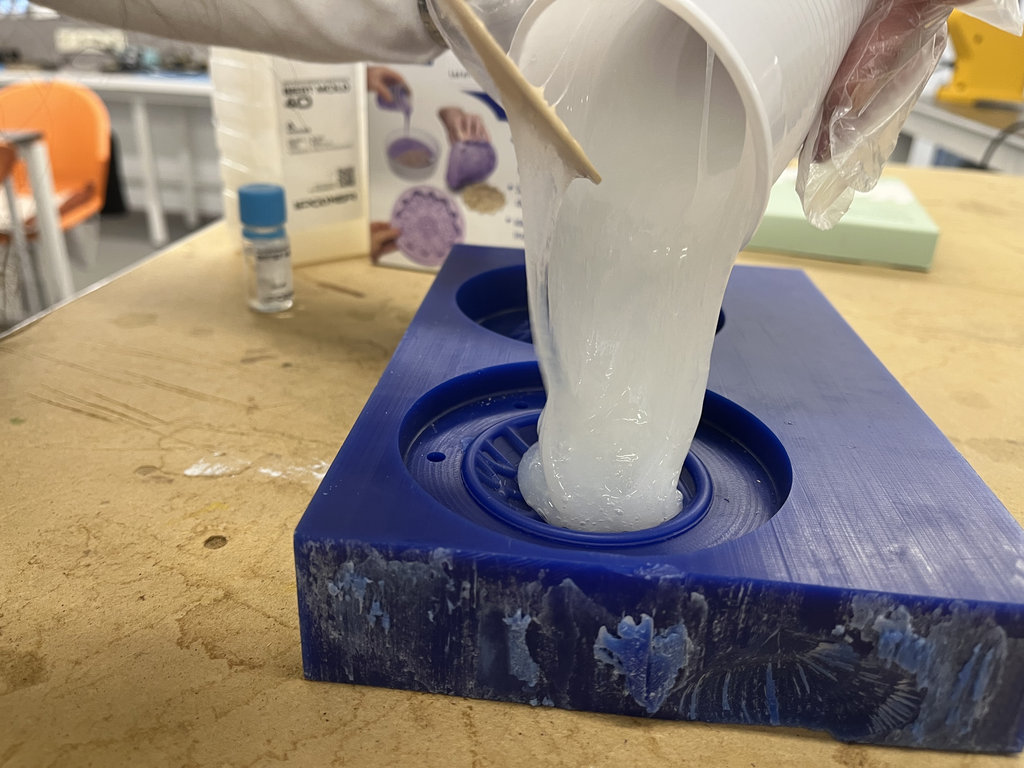
Still, the result was fairly good. 😄😄