Week 3 computer-controlled cutting
Group assignment
We get together to Shenzhen Chaihuo Fablab facility to learn how to use the laser and vinyl cutter to do 2D cutting. Here is the record of the group assignments.
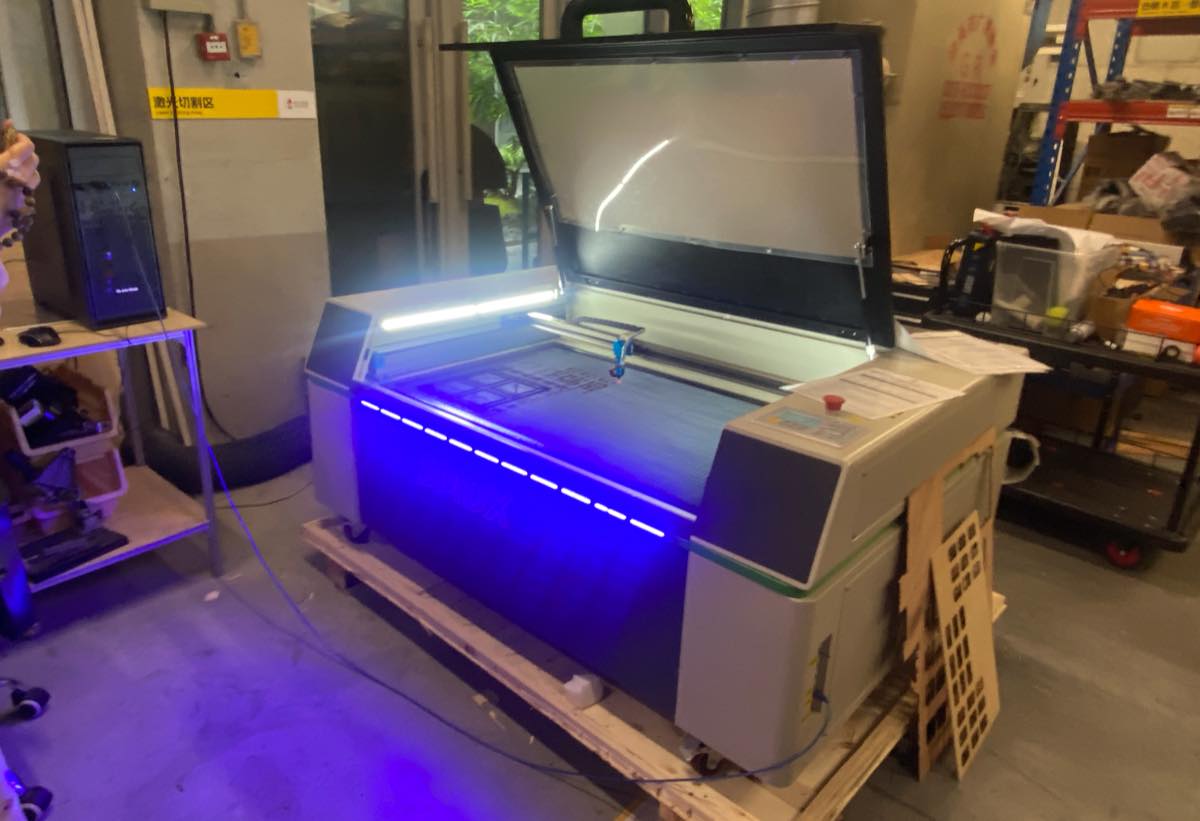
Laser cutting
Target:
learn how to operate the laser cutting machine and follow safety precautions
cutting a comb to verify the error range of kerf
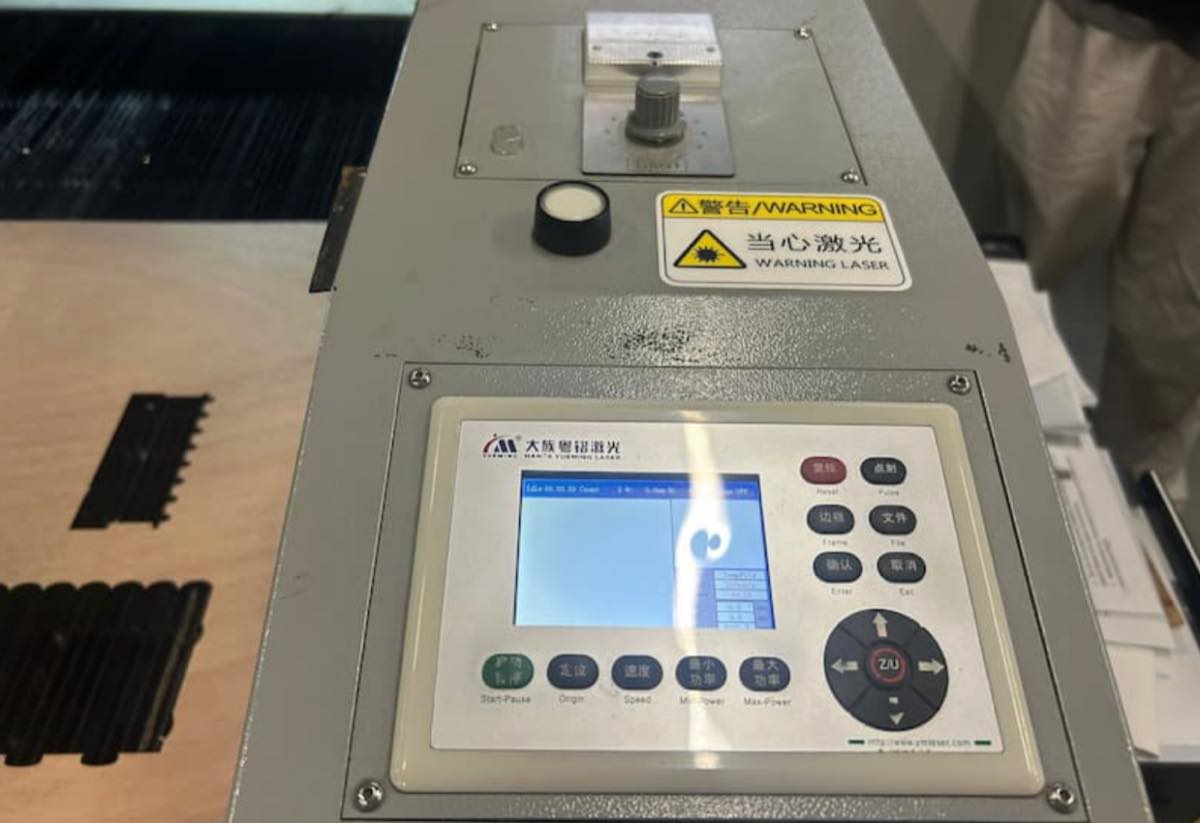
Step 1 - reading cautions before operating the machine
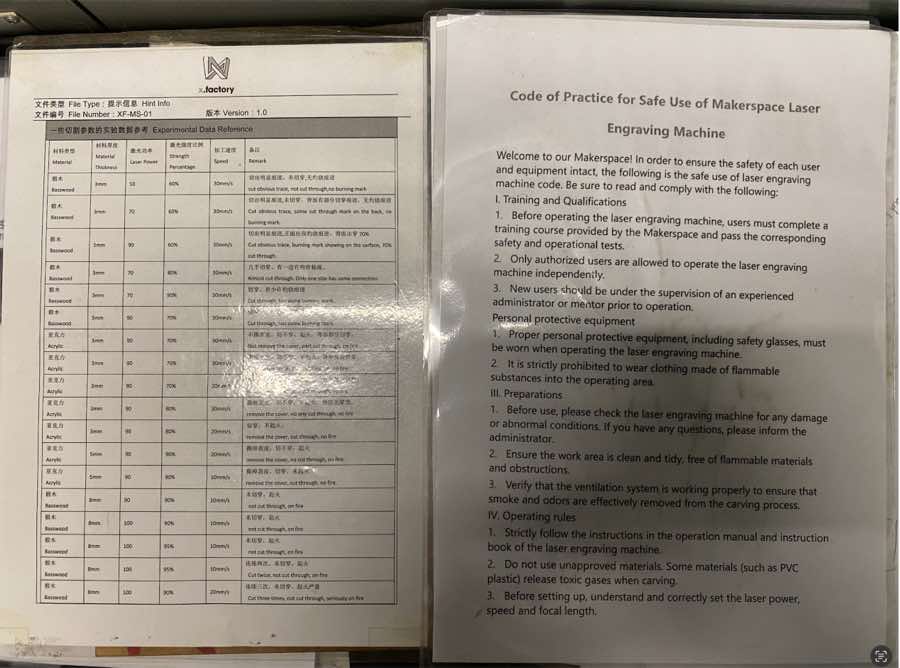
In this group work, we are using the basswood for the cutting, we will refer the setting above to proceed.
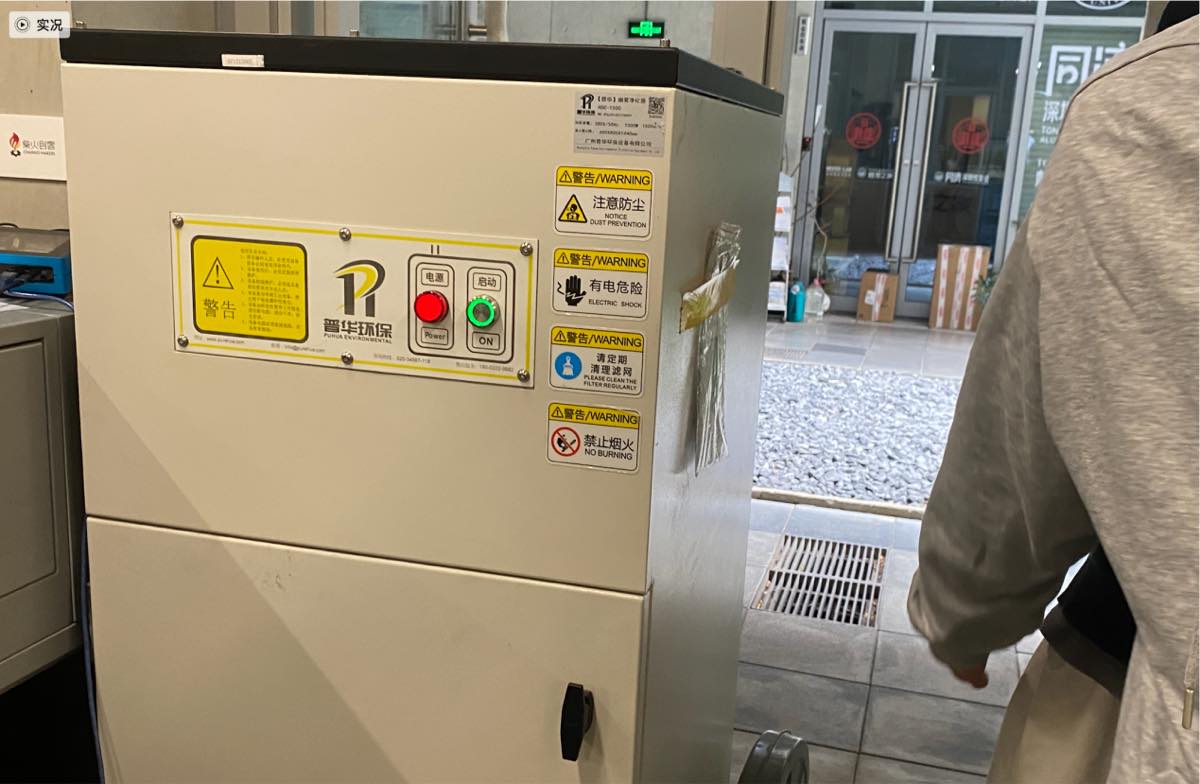
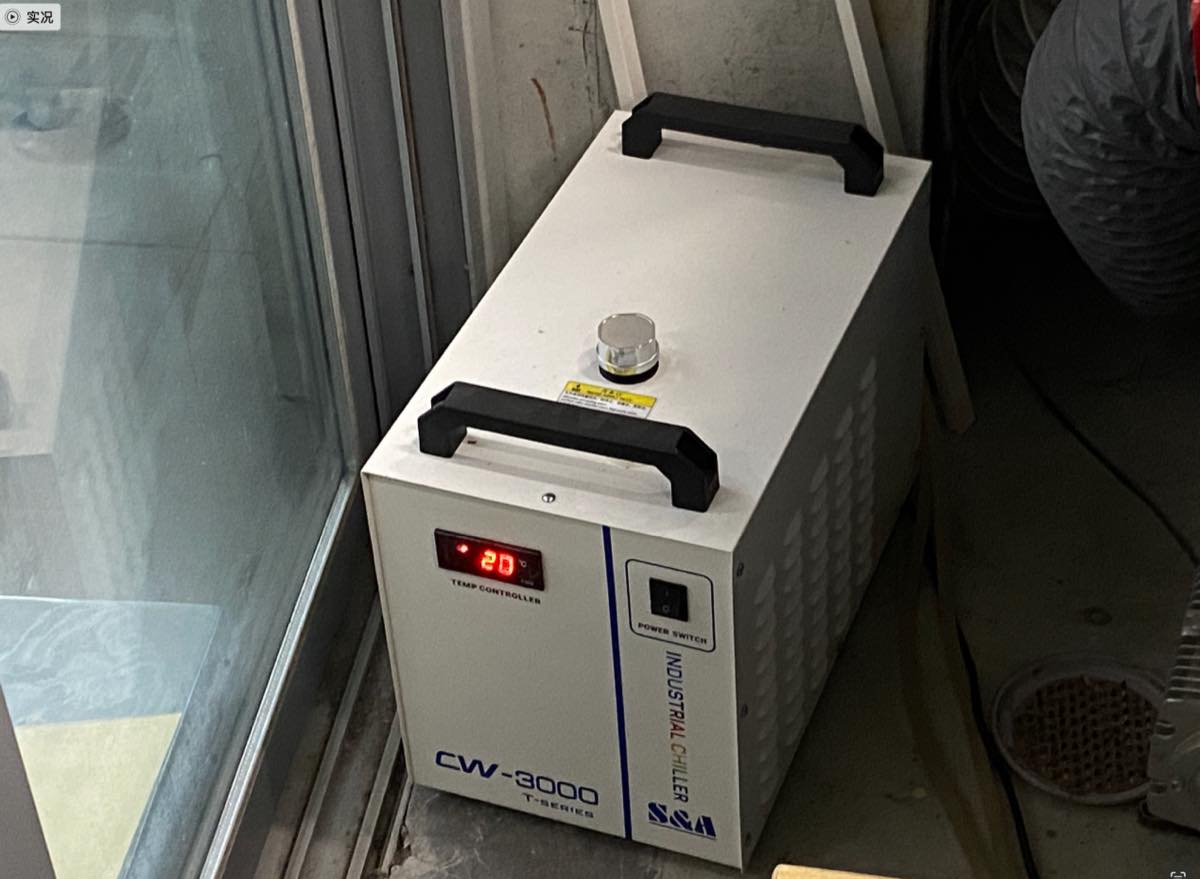
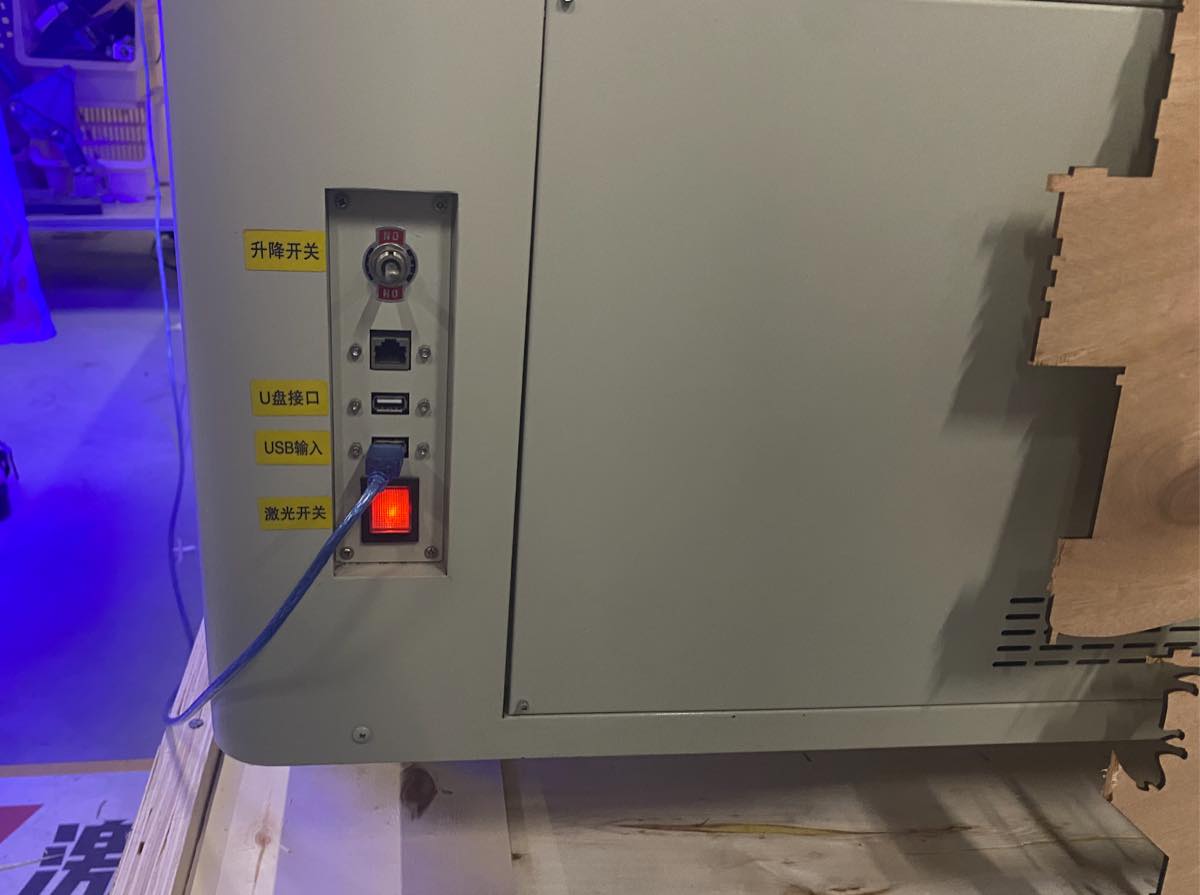
Step 2 Turn the Laser machine and computer, preparation for the cutting
Keep the door open and Turn on the Laser machine
Turn on the exhaust fan
Turn on the Chiller
Turn on the Laser machine
Open the DXF file
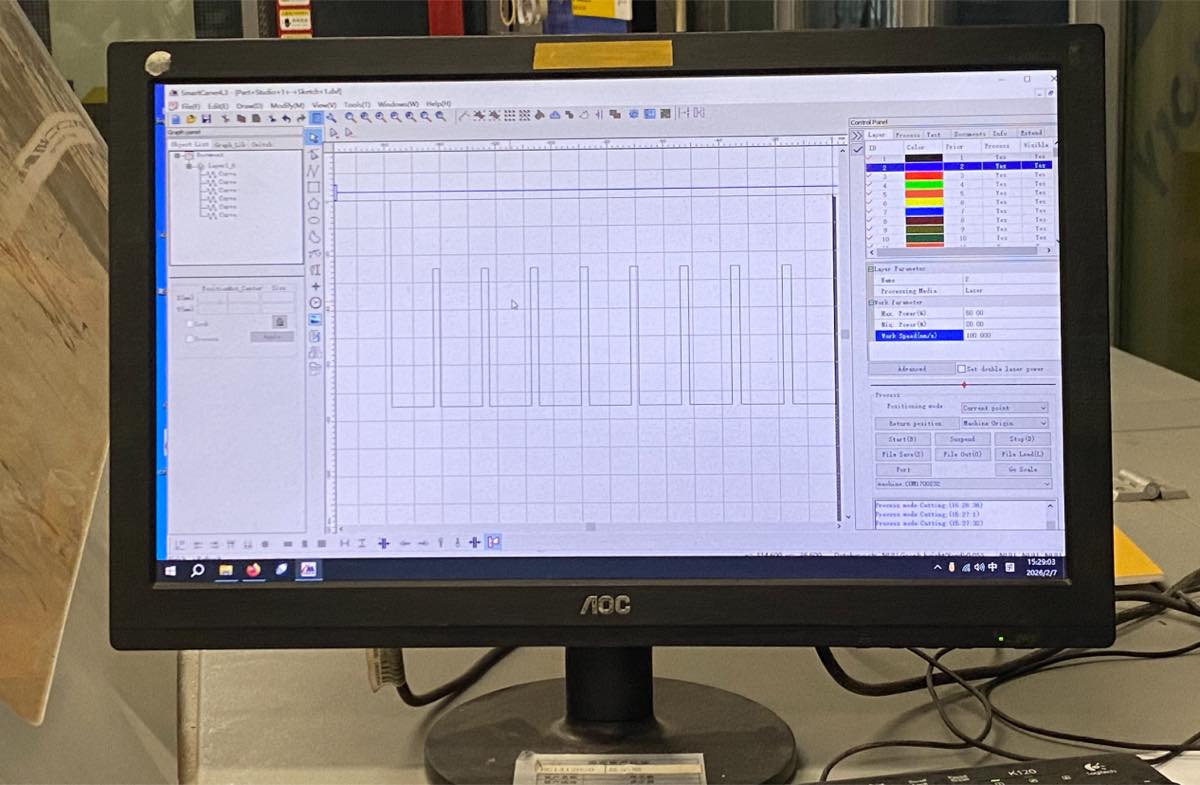
Step 3 follow the instruction for the setting, for basswood, we tried
| Max. Power(%) | 80.00 |
| Min. Power(%) | 60.00 |
| Work Speed(mm/s) | 30.000 |
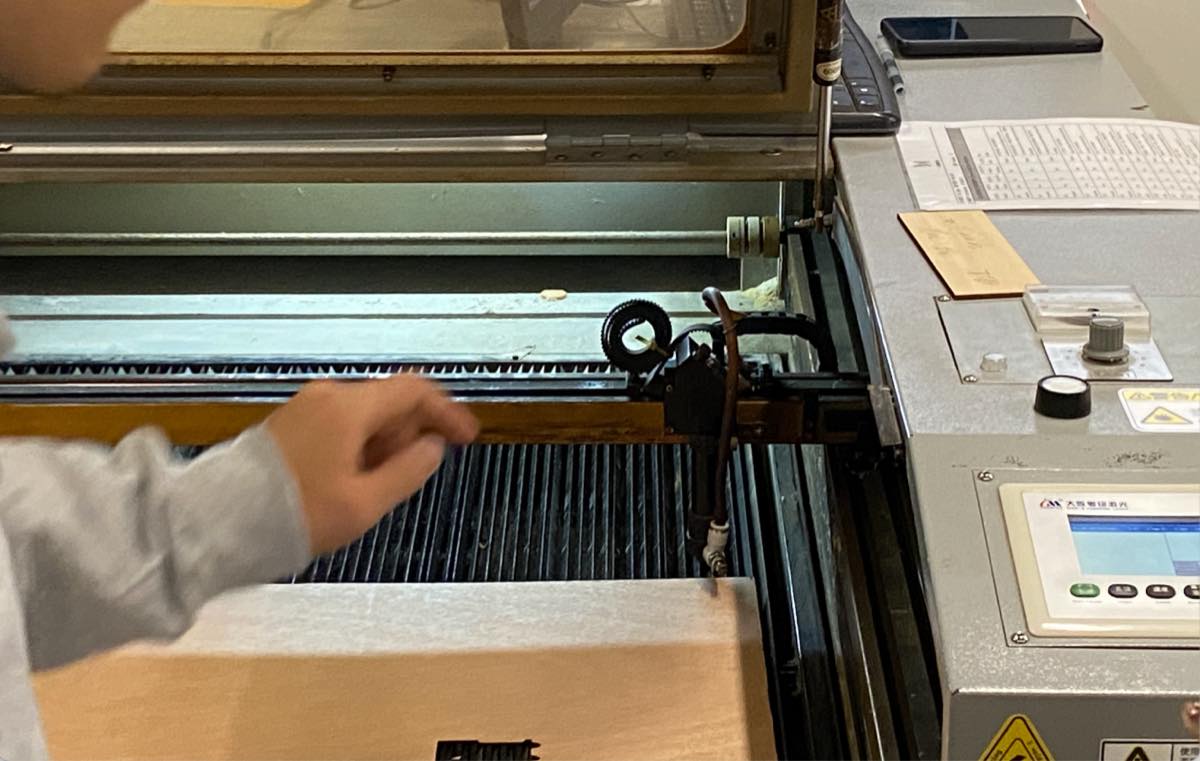
Step 4 place the wood plate and find the origin of the cutting with the button on the operation interface, close the protection cover.
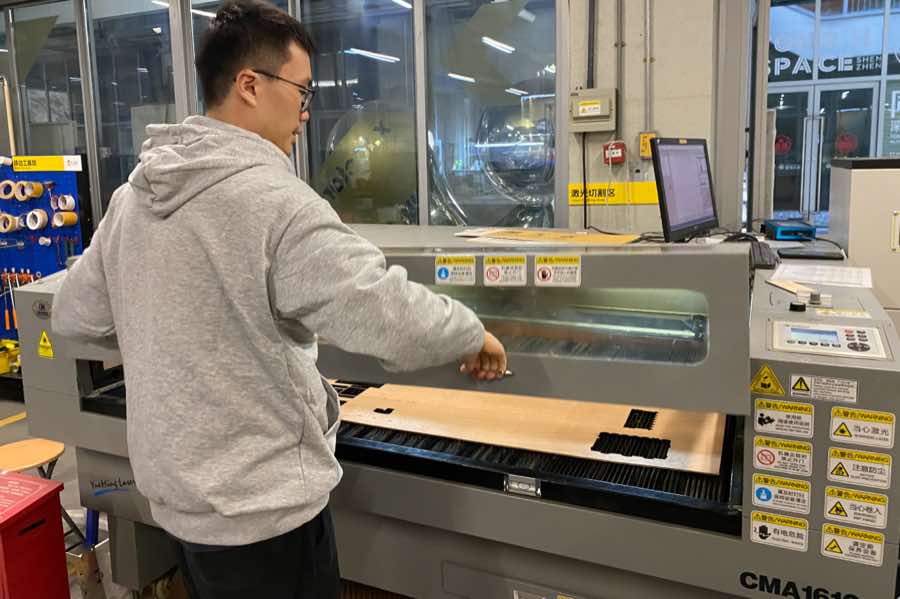
Step 5 preparation on computer
Verify the connection between computer and laser machine, click “Port” and then “Connect”
Verify the cutting area with “go scale”, the Laser head will move as the boundary of the file, to make sure the laser head will work in the right area on the wood plate.
Click “start” to start the laser cutting.
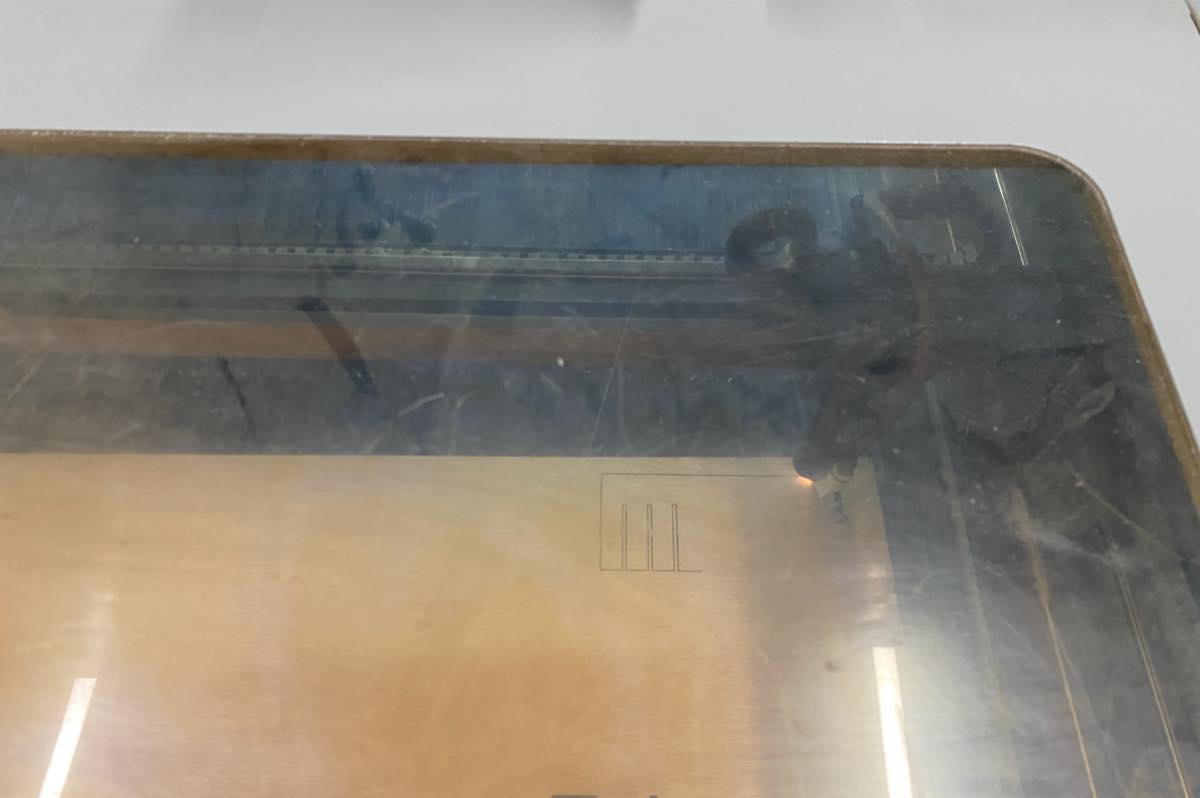
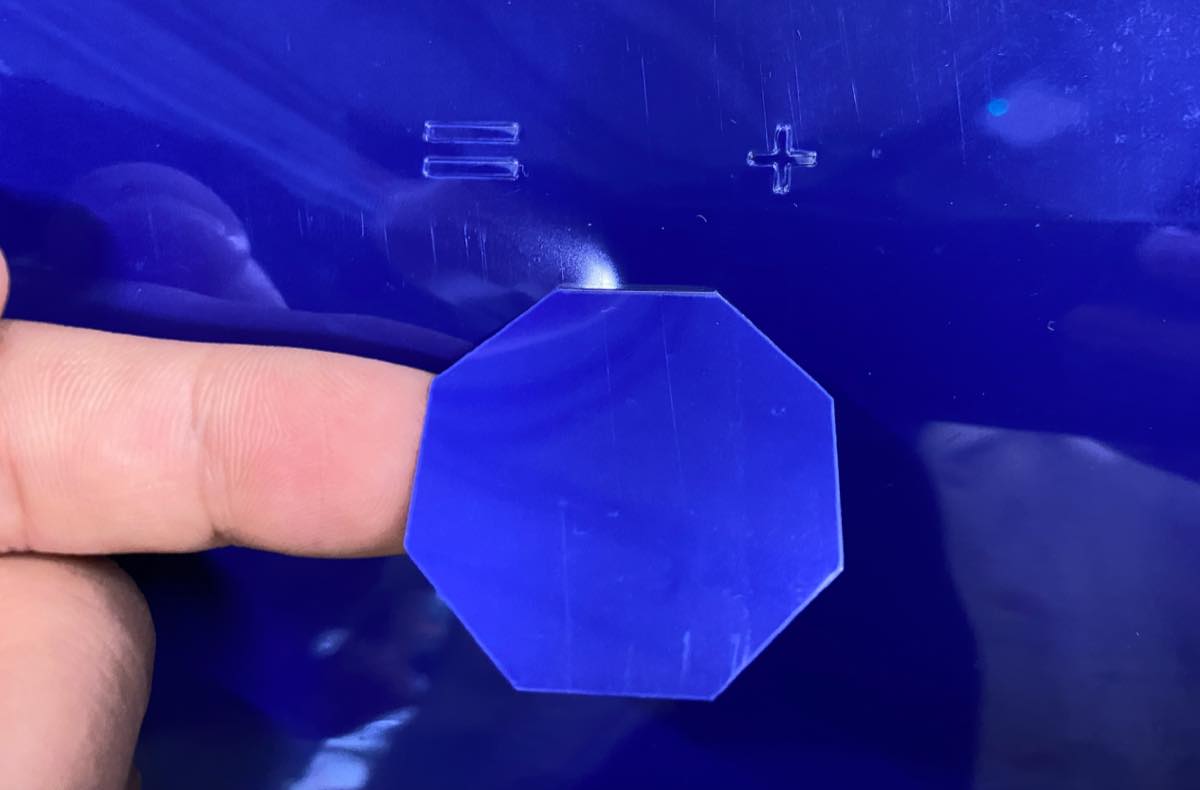
Finally, we got the 1st comb
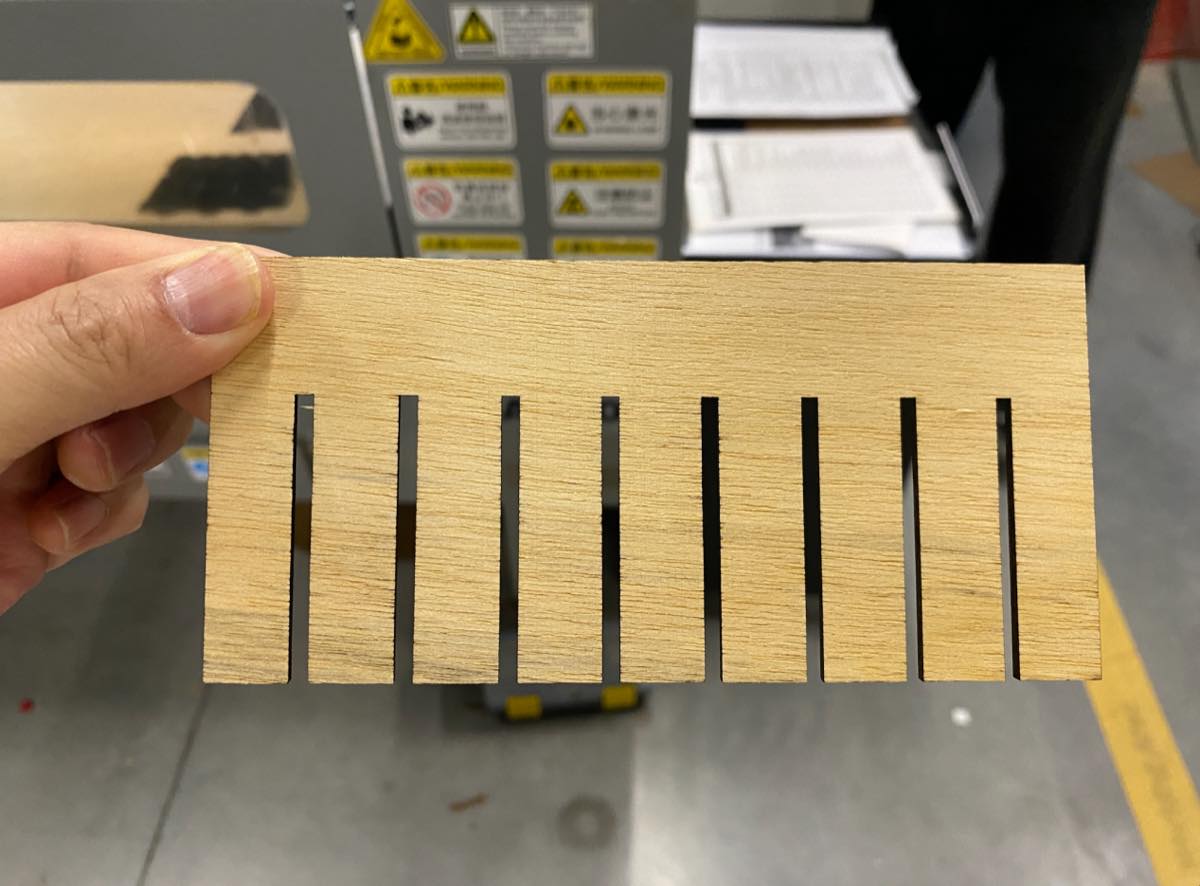
2 pieces to check the press fitting

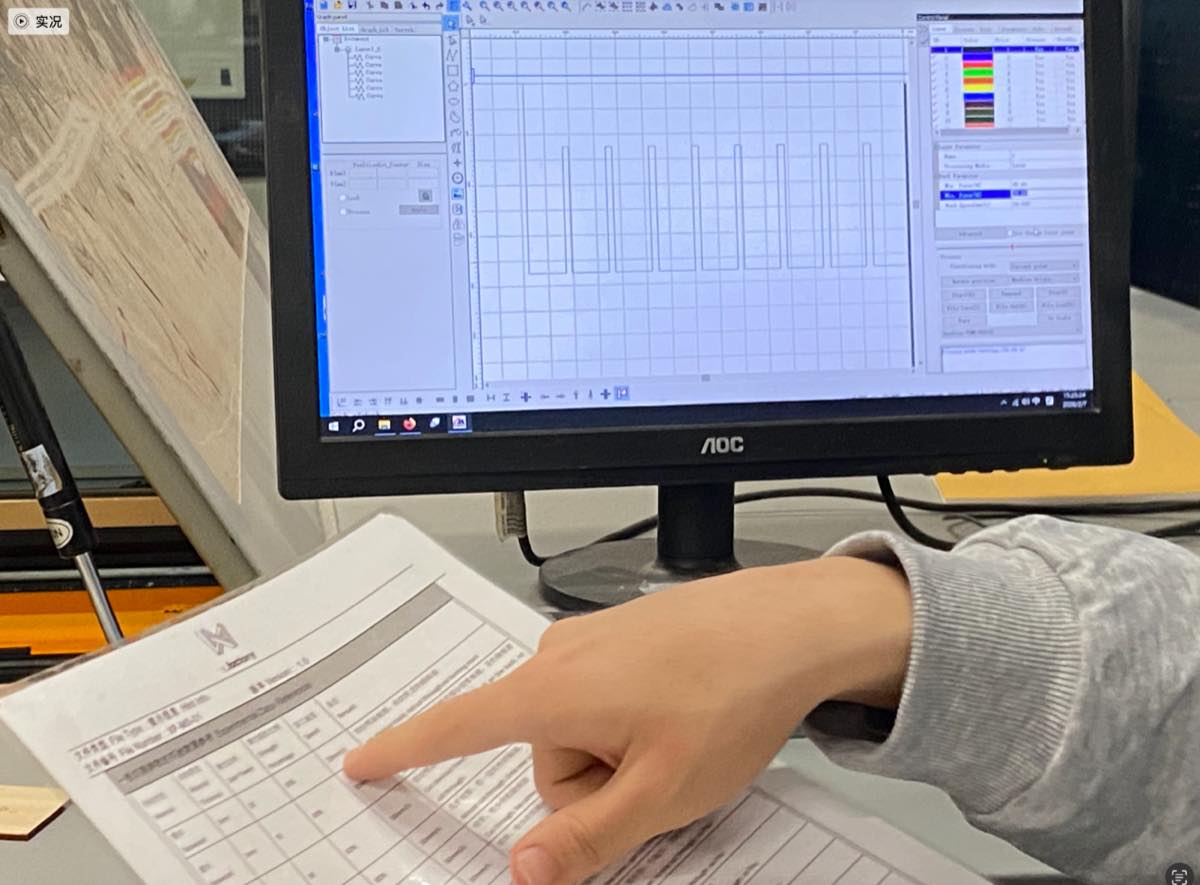
Step 6 Checking the error range of the laser cutting machine on the Comb, compare the actual width and the one in the file.
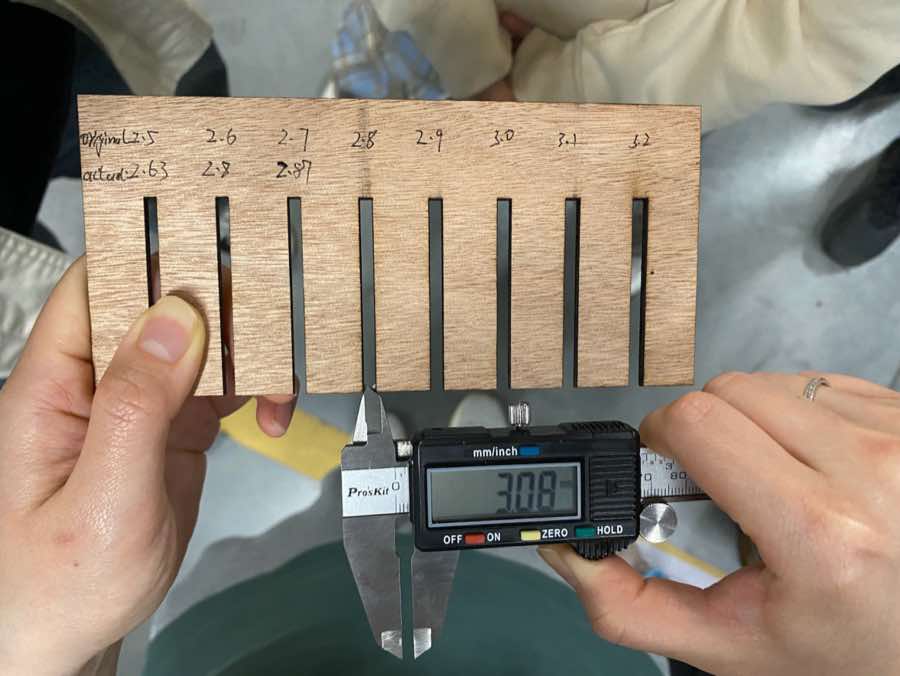
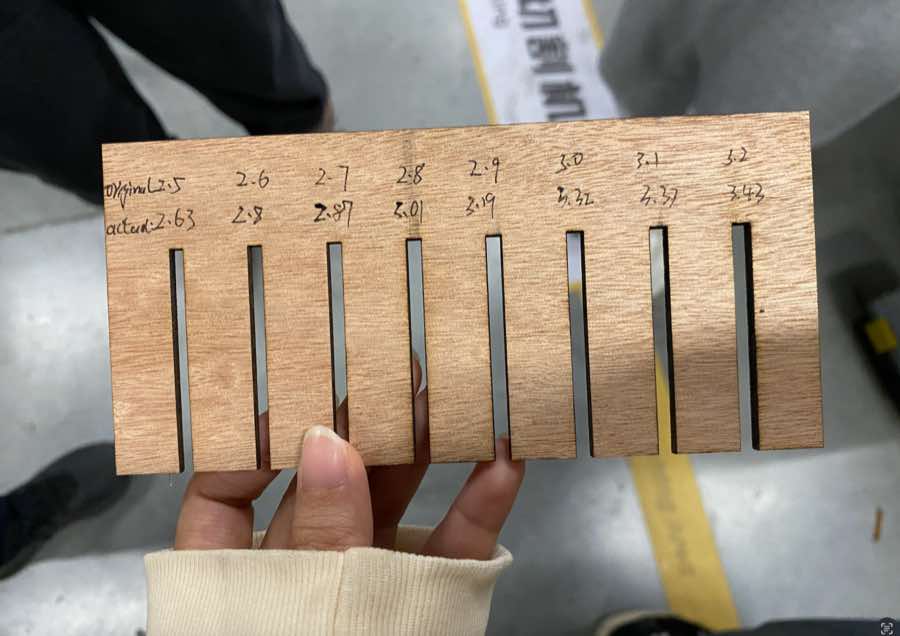
Step 7 Calculate the error of Kerf
| Original (mm) | Actual (mm) | Difference (mm) |
| 2.5 | 2.63 | 0.13 |
| 2.6 | 2.8 | 0.20 |
| 2.7 | 2.87 | 0.17 |
| 2.8 | 3.01 | 0.21 |
| 2.9 | 3.19 | 0.29 |
| 3.0 | 3.32 | 0.32 |
| 3.1 | 3.37 | 0.27 |
| 3.2 | 3.43 | 0.23 |
The average difference is 1.82 / 8 = 0.22 mm
The error is 0.11 mm (0.22/2 = 0.11 mm)
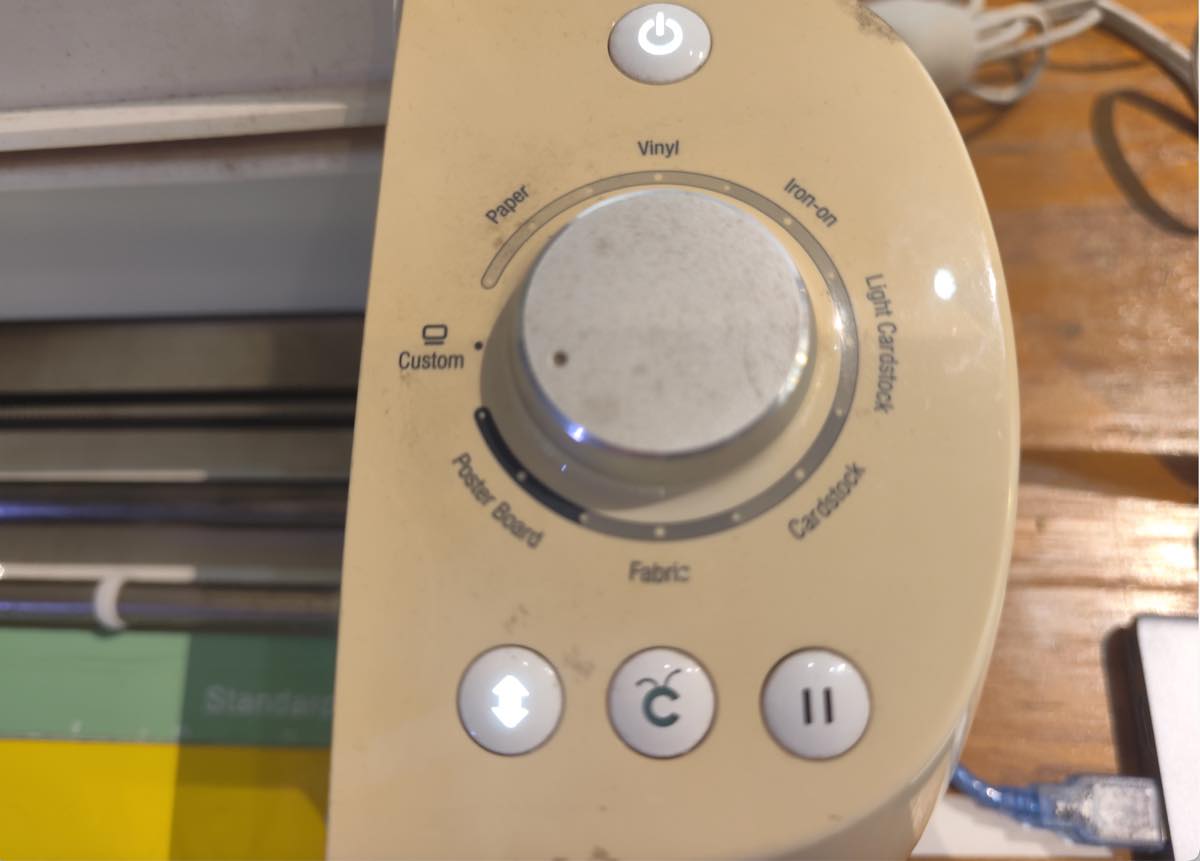
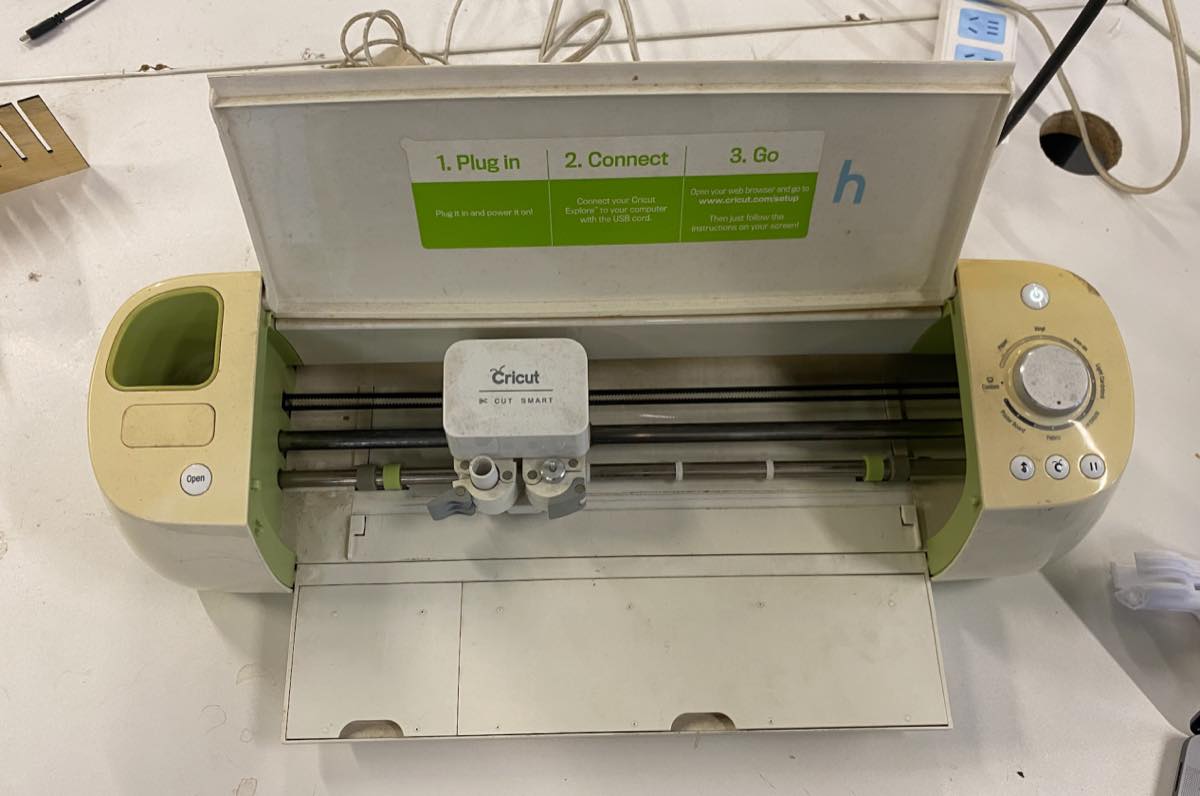
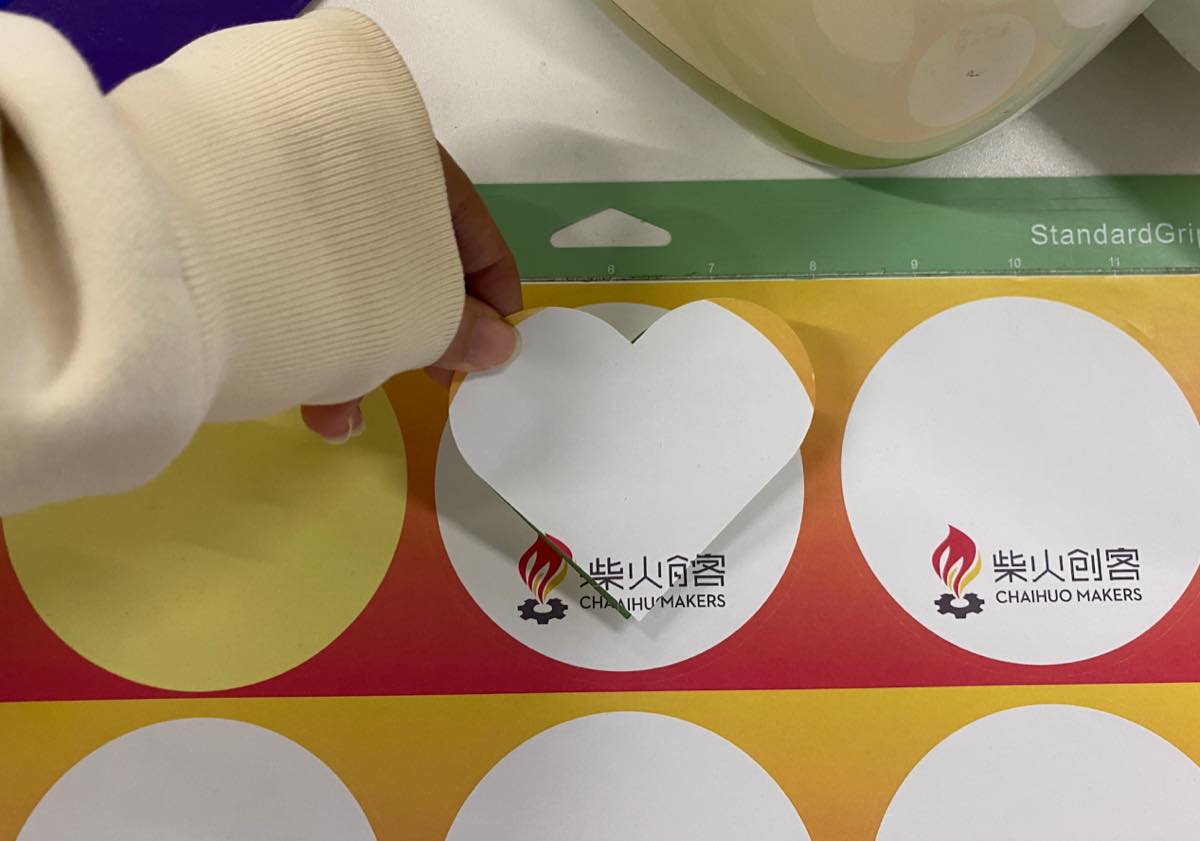
Vinyl cutter
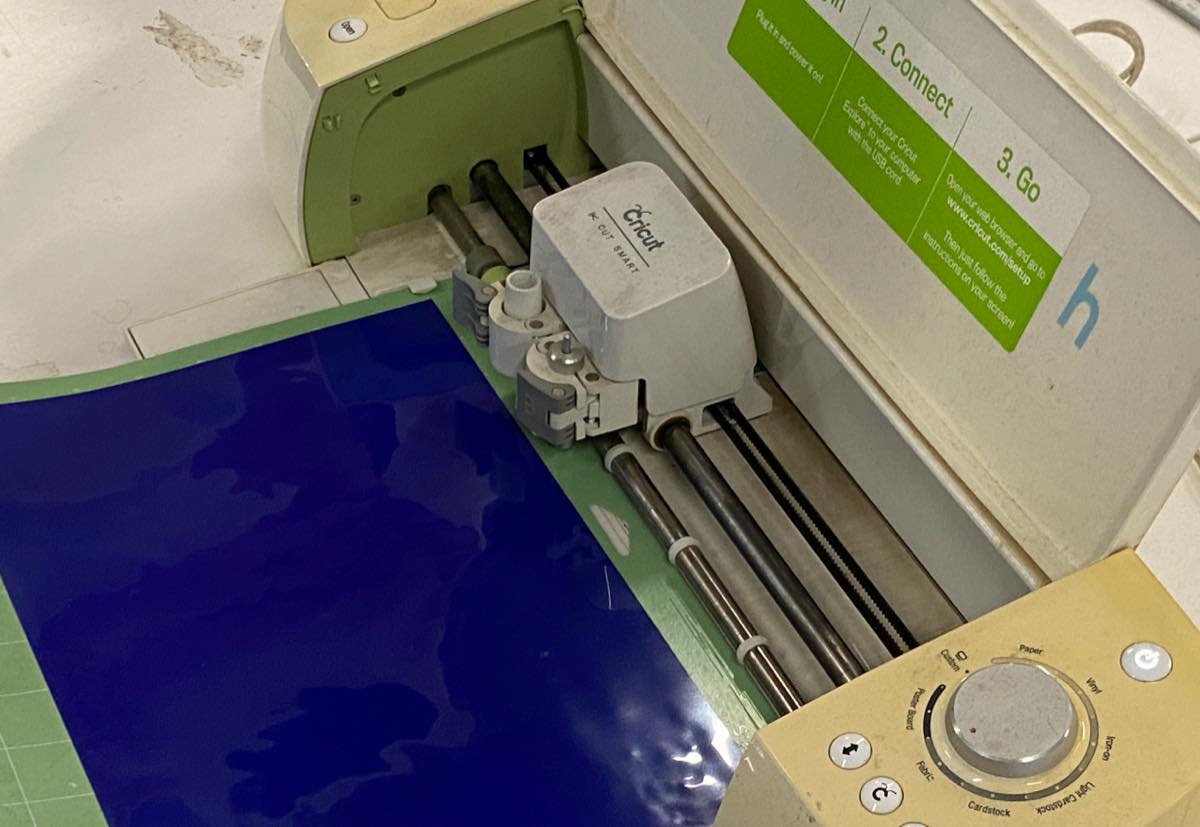
Vinyl Cutter is suitable to cut 2D stickers or film, machine as below, Cricut.
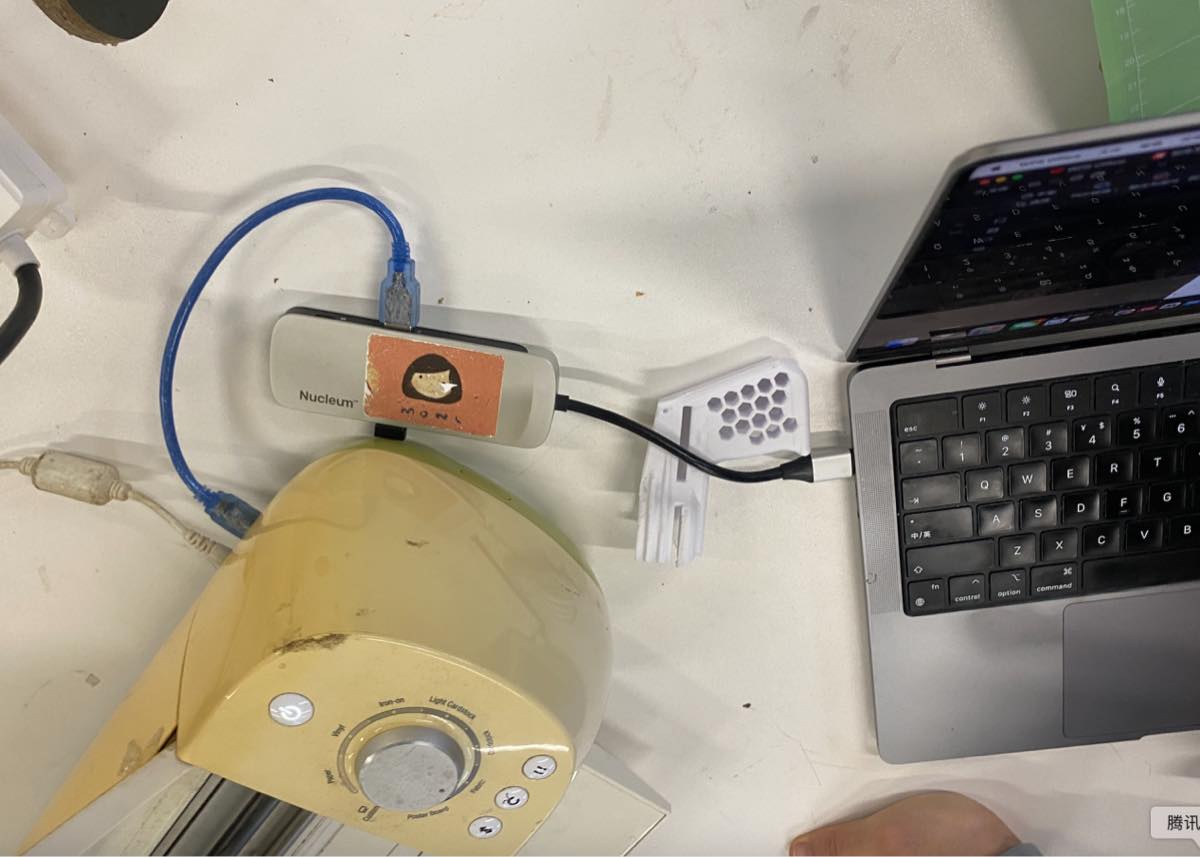
Step 1 connect the Cricut and computer with USB
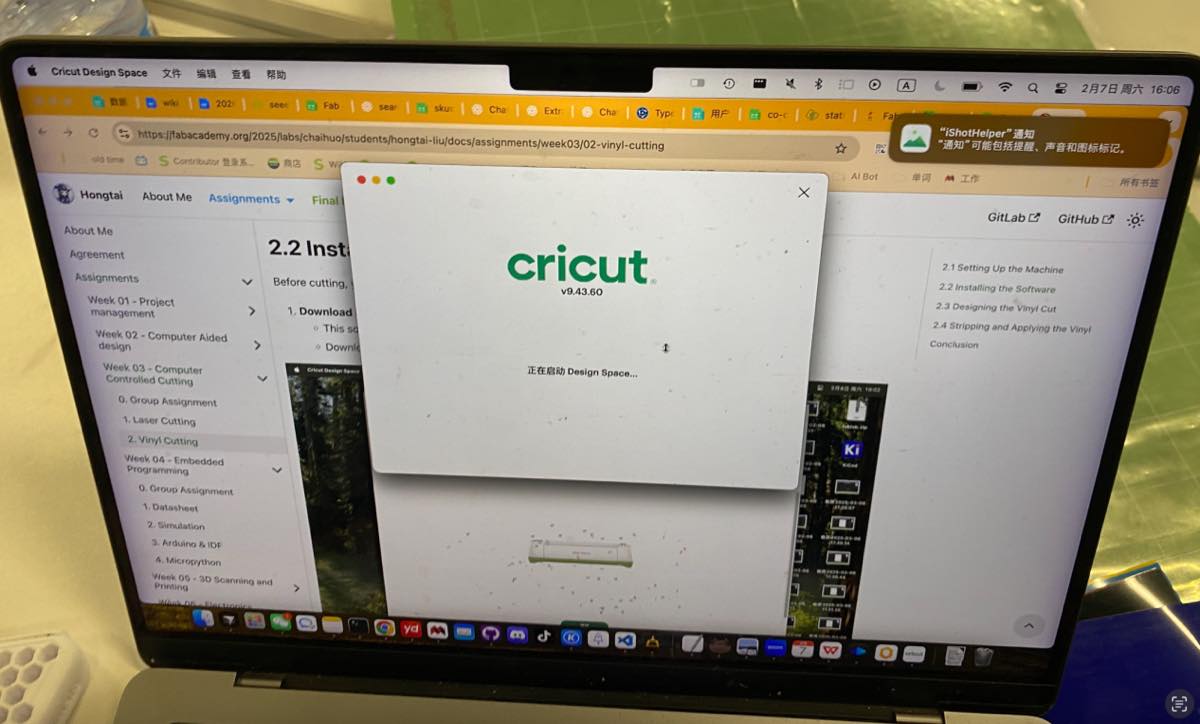
Step 2 open the software, Cricut
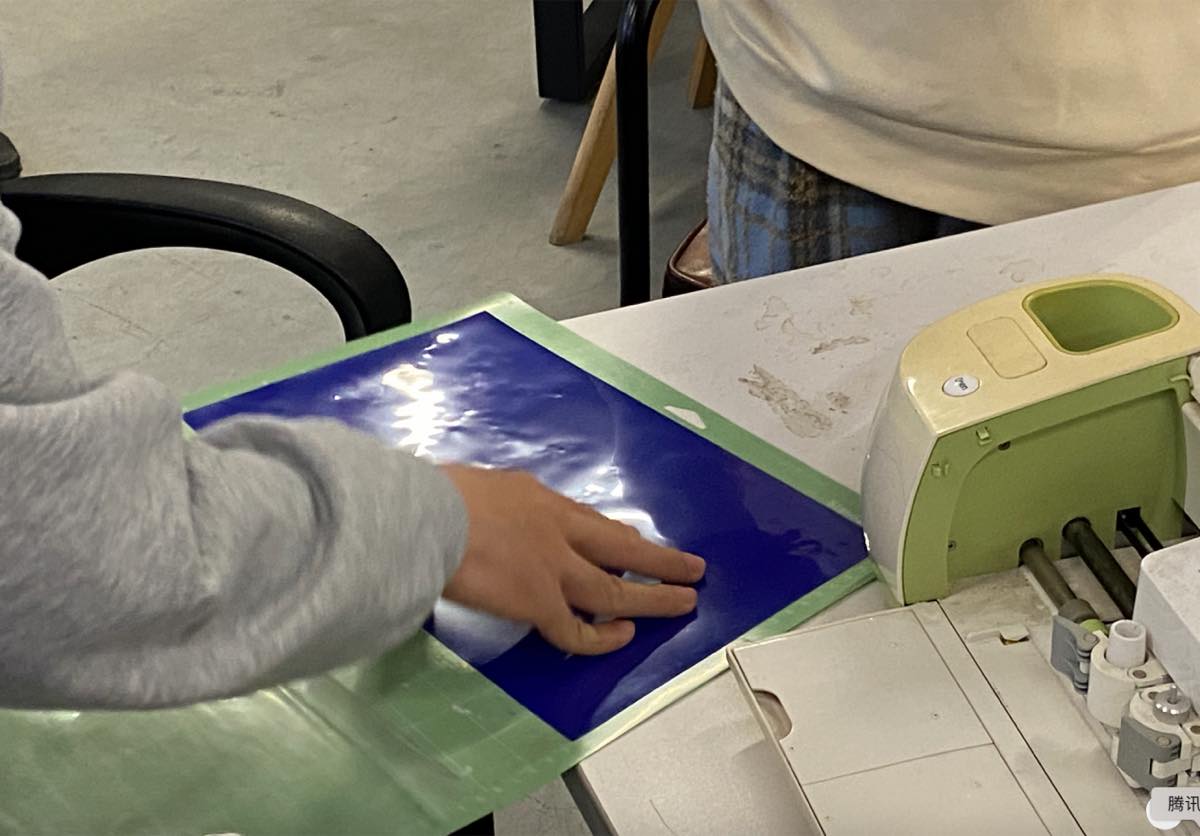
Step 3, prepare the sticker and cutting mat. Place the sticker on the mat and then insert into the machine
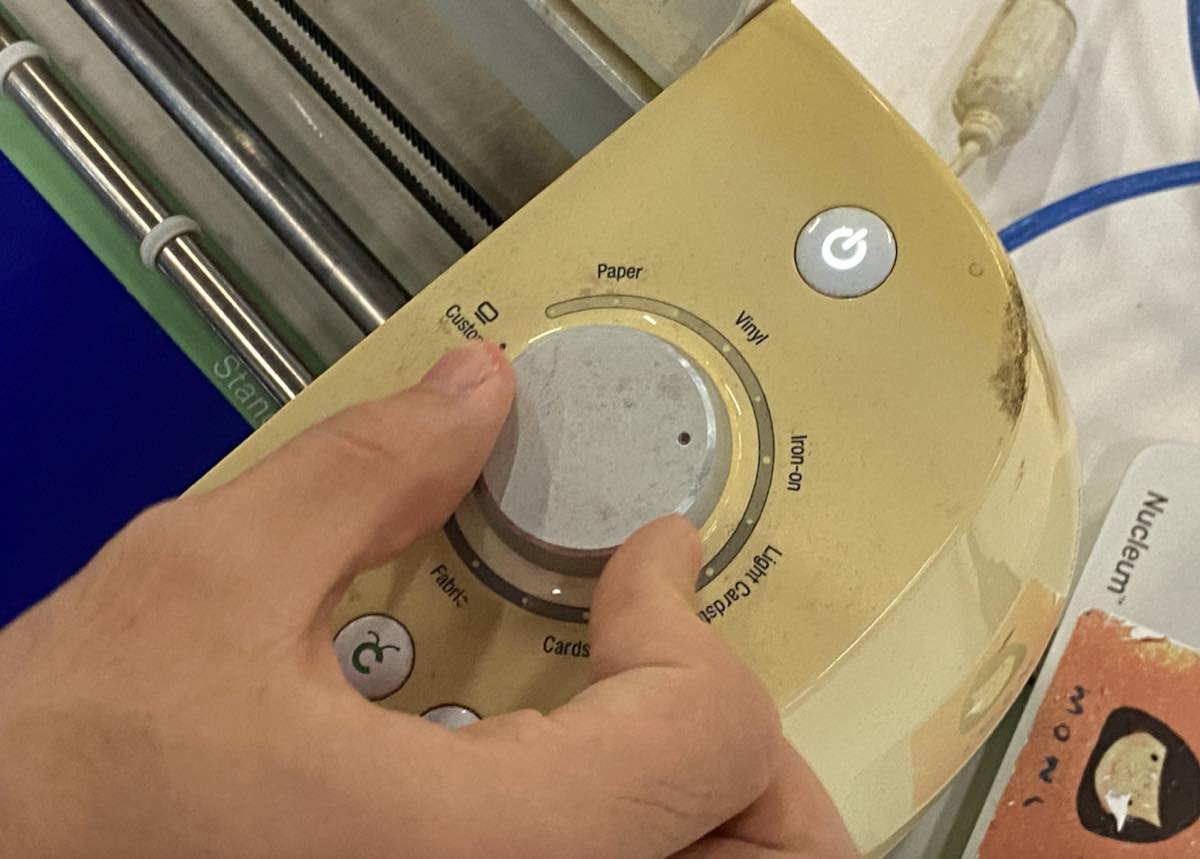
Step 4 select the cutting force
Step 5
Individual assignment
Laser cutting
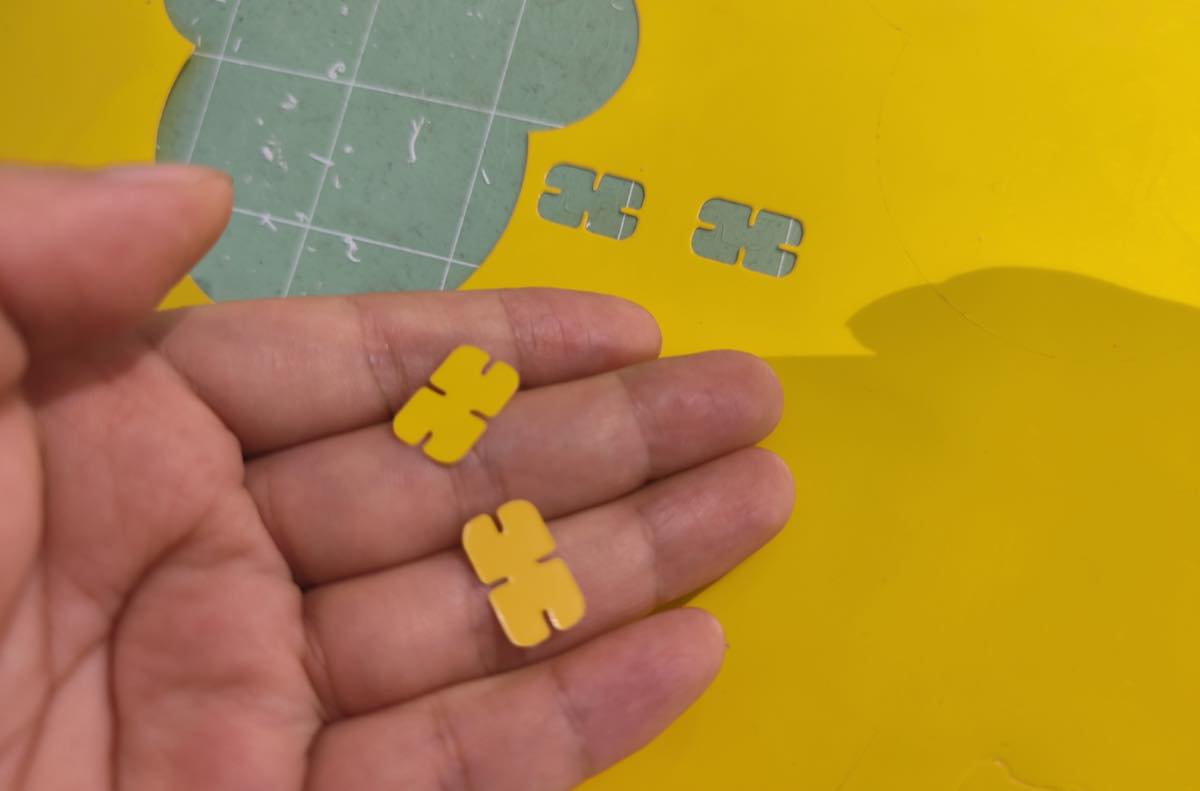
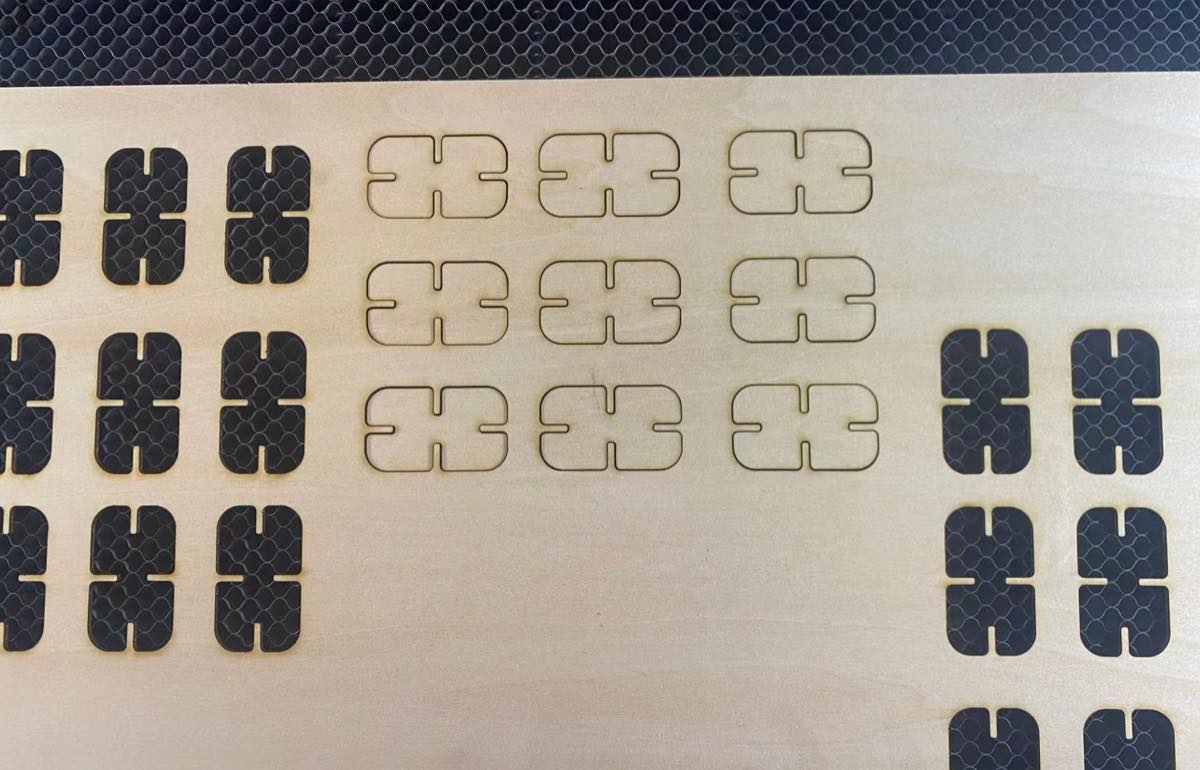
Make several pieces of rectangular blocks as below, there are 4 kerfs on each side

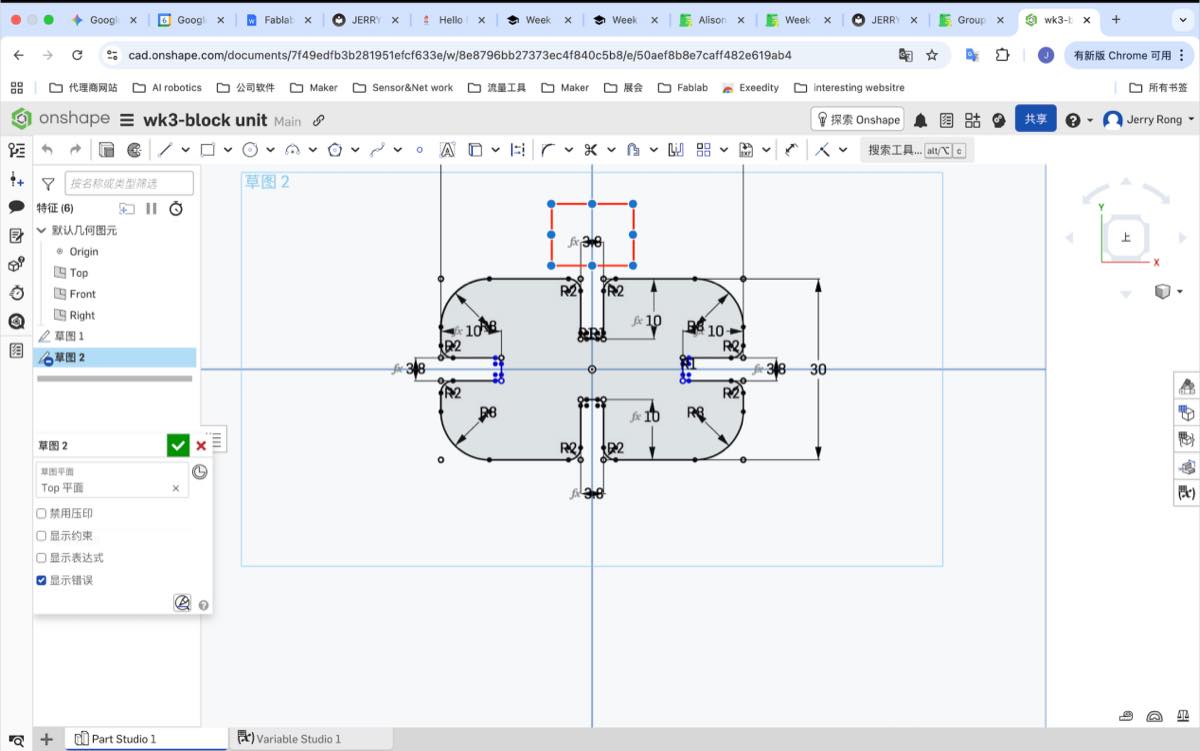
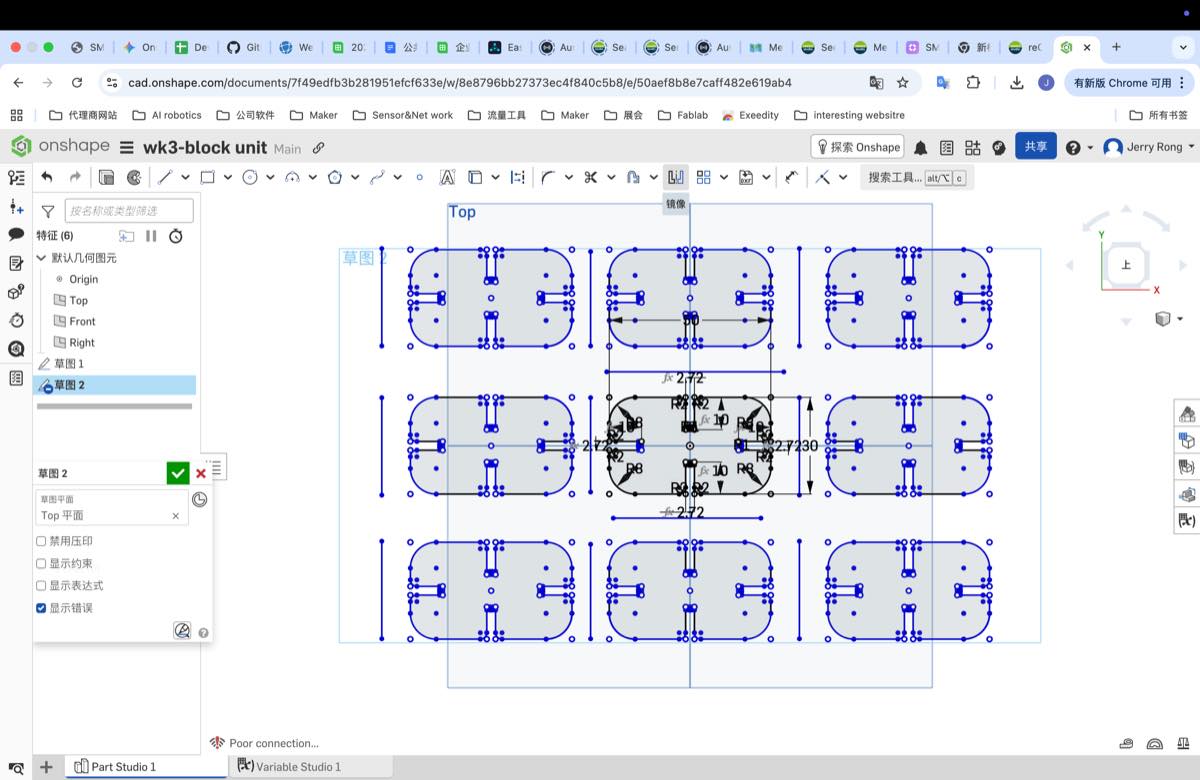
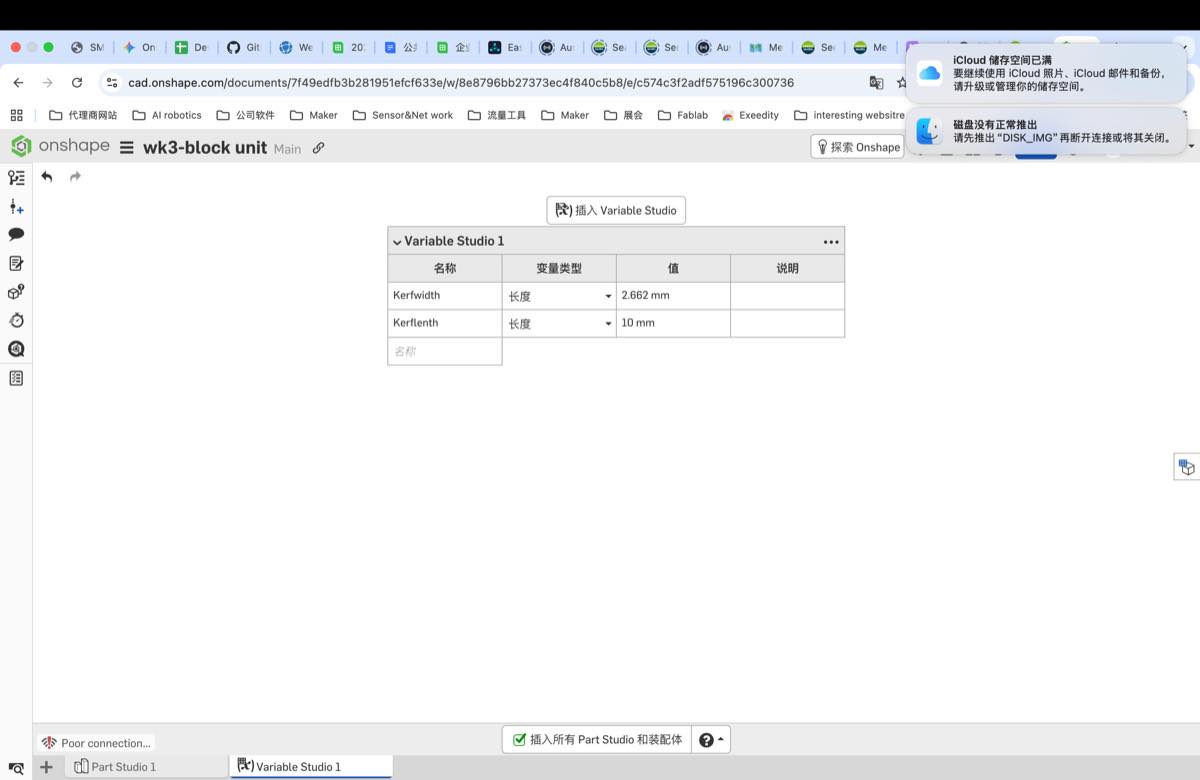
Step 1 make 2D DXF on OnShape
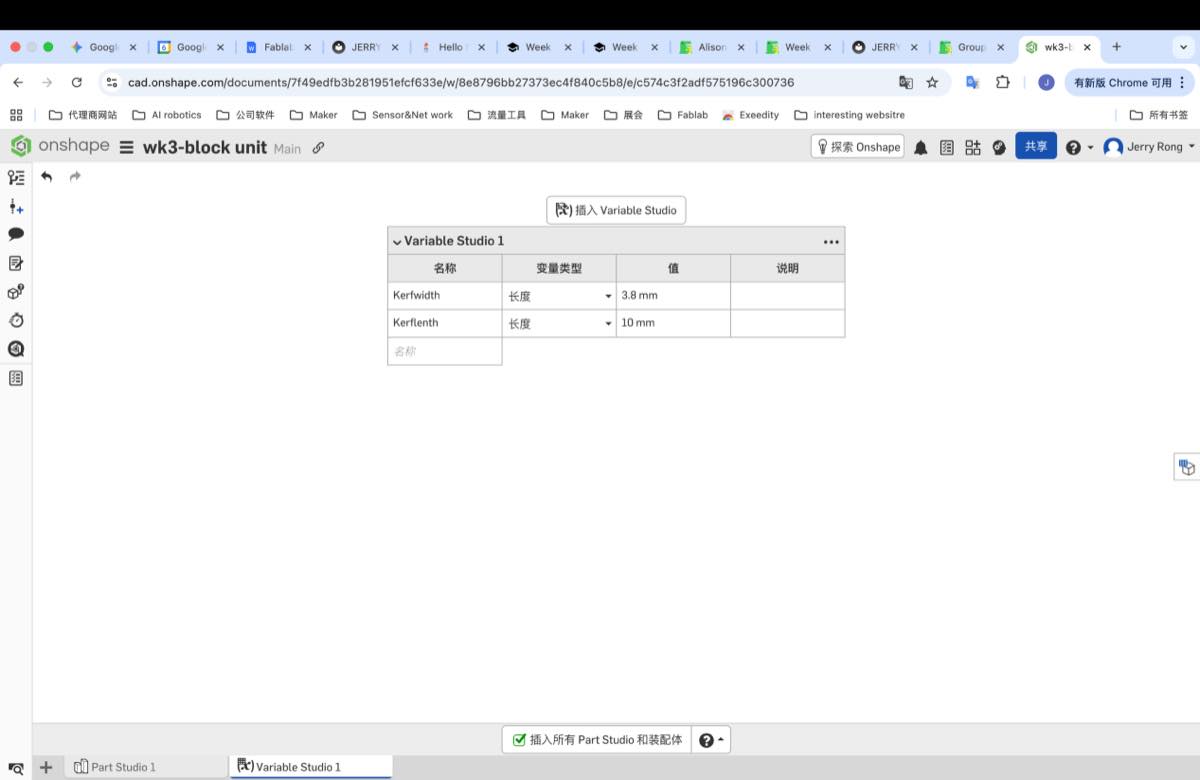
Settings in the Variables panel

Draft the 2D file
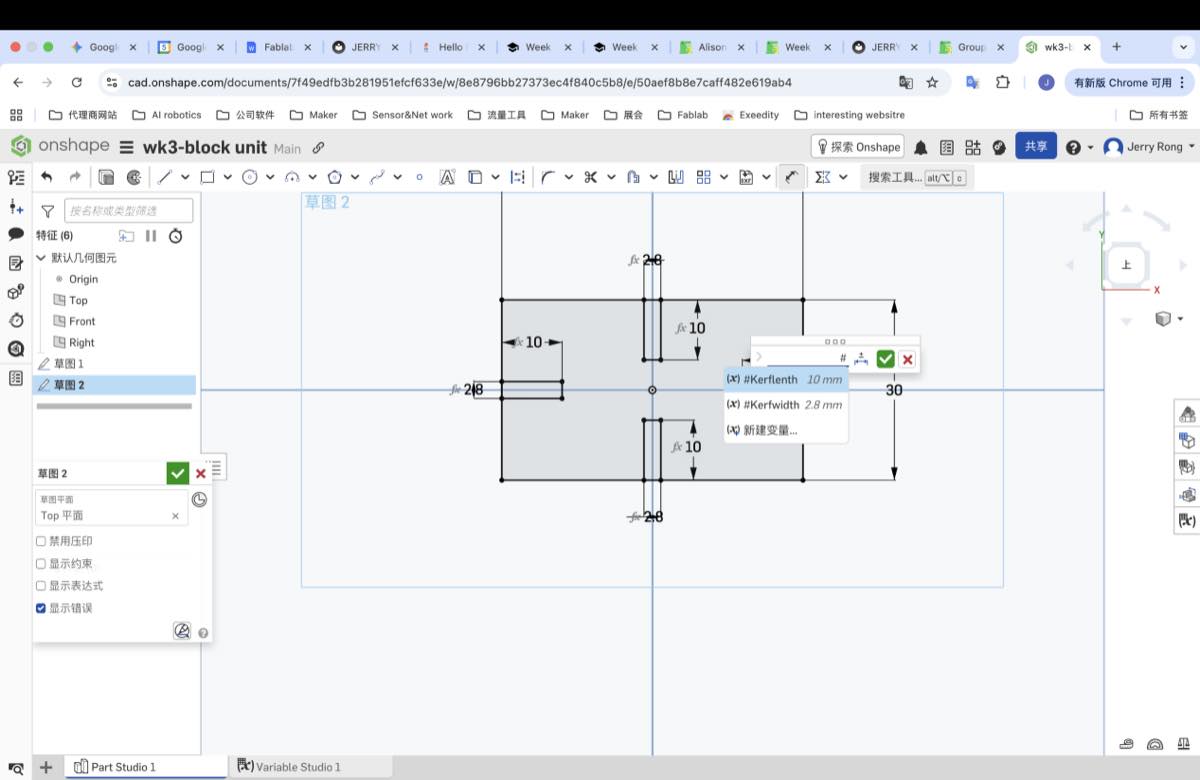
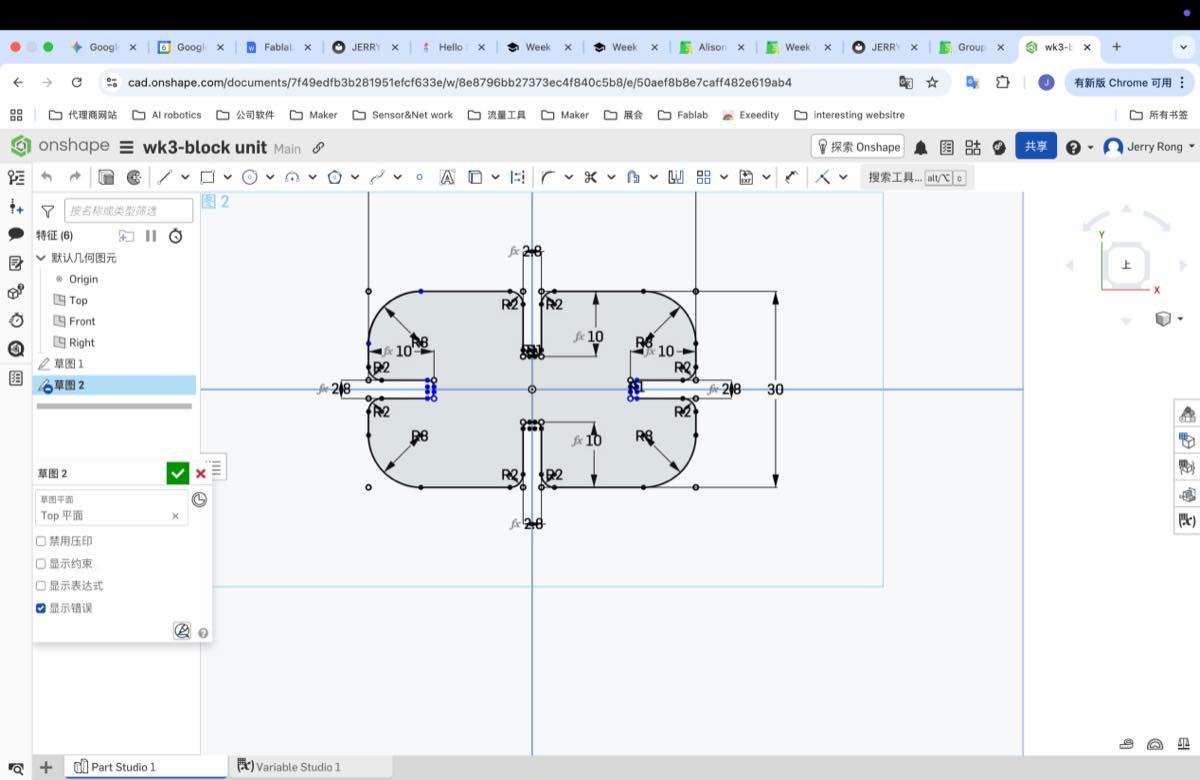
Change the thickness of Kerf to 3.8 mm, the file sketch change automatically
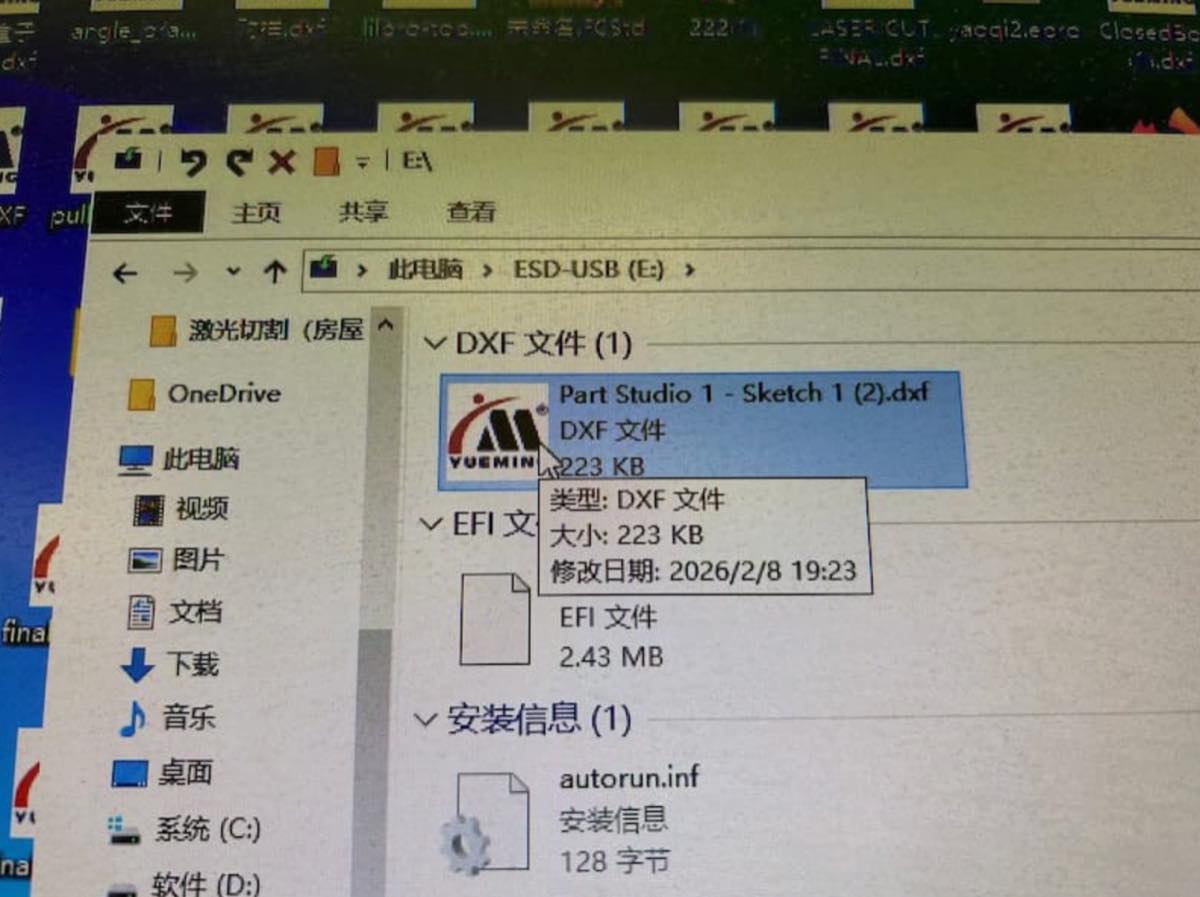
The file of the 2D rectangle block unit online file:
DXF file (rectangle block unit): wk3-block-unit.dxf
Laser cutting on the 2D rectangle block unit (to be updated).
Use Inkscape, use control +C and Control +V, make more the same units.

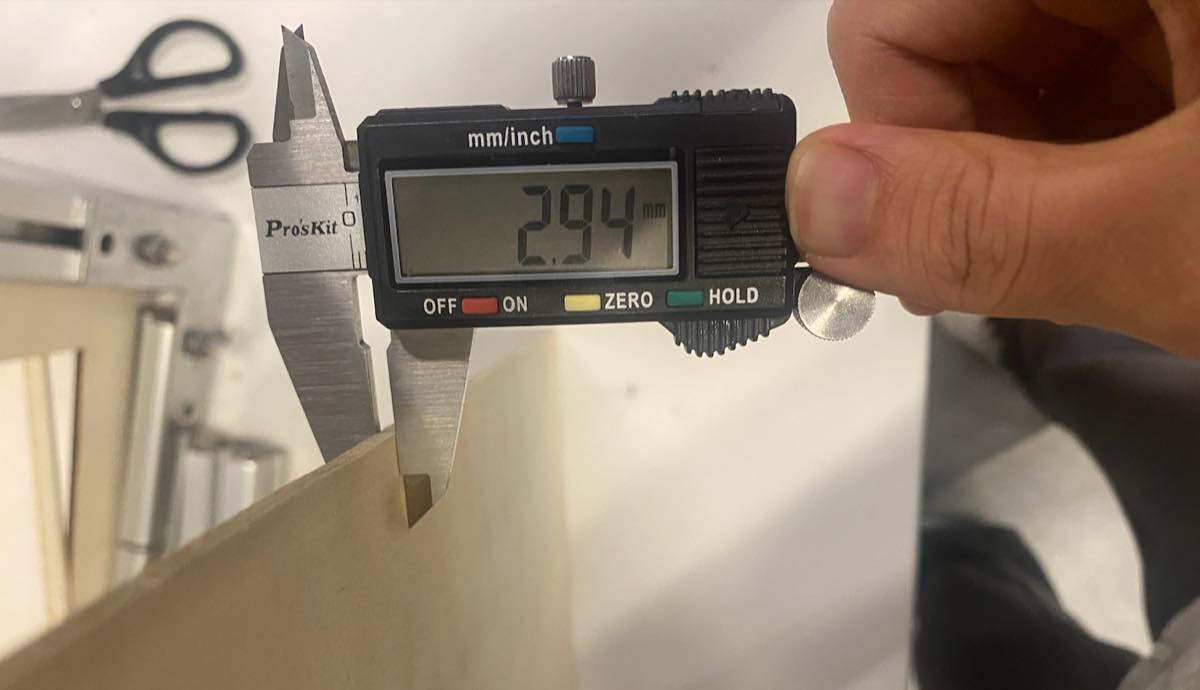
The thickness of the palte is 2.94 mm
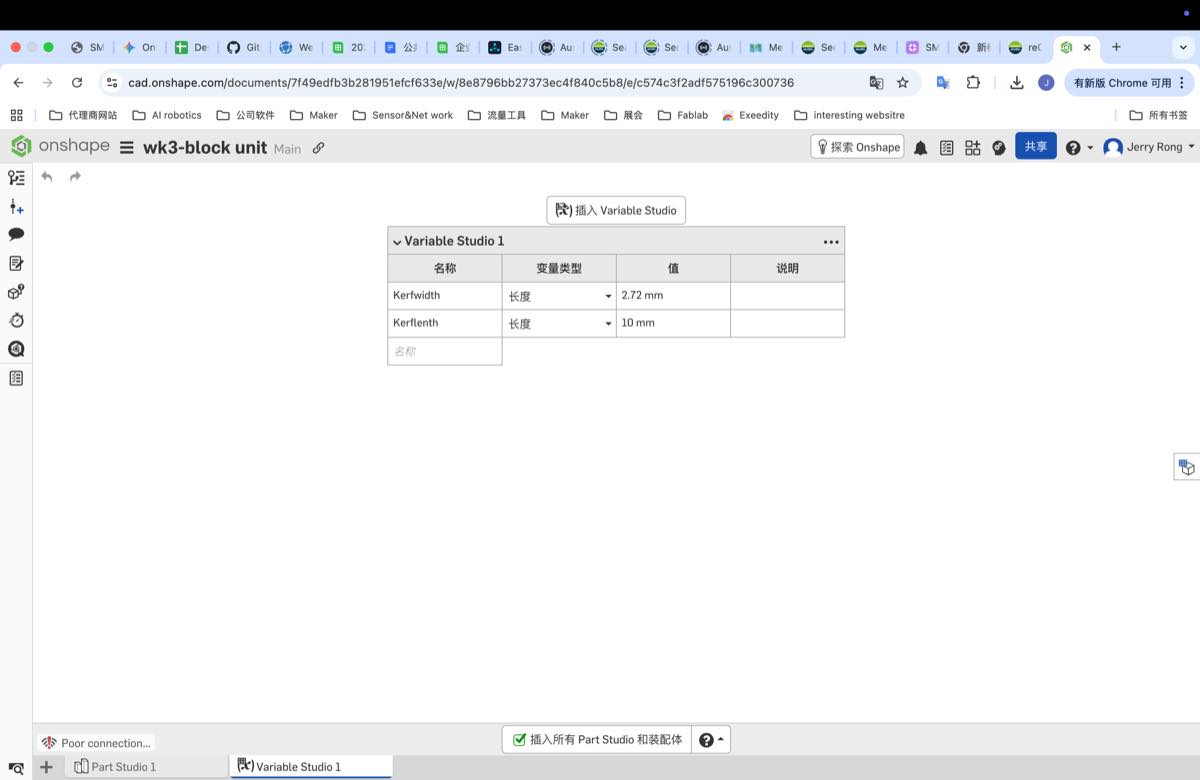
I need to ajust the Kerf to 2.94 -0.22 =2.72 mm, use onshape with the function “miror” to make 12 same block.
Upload the file on Computer
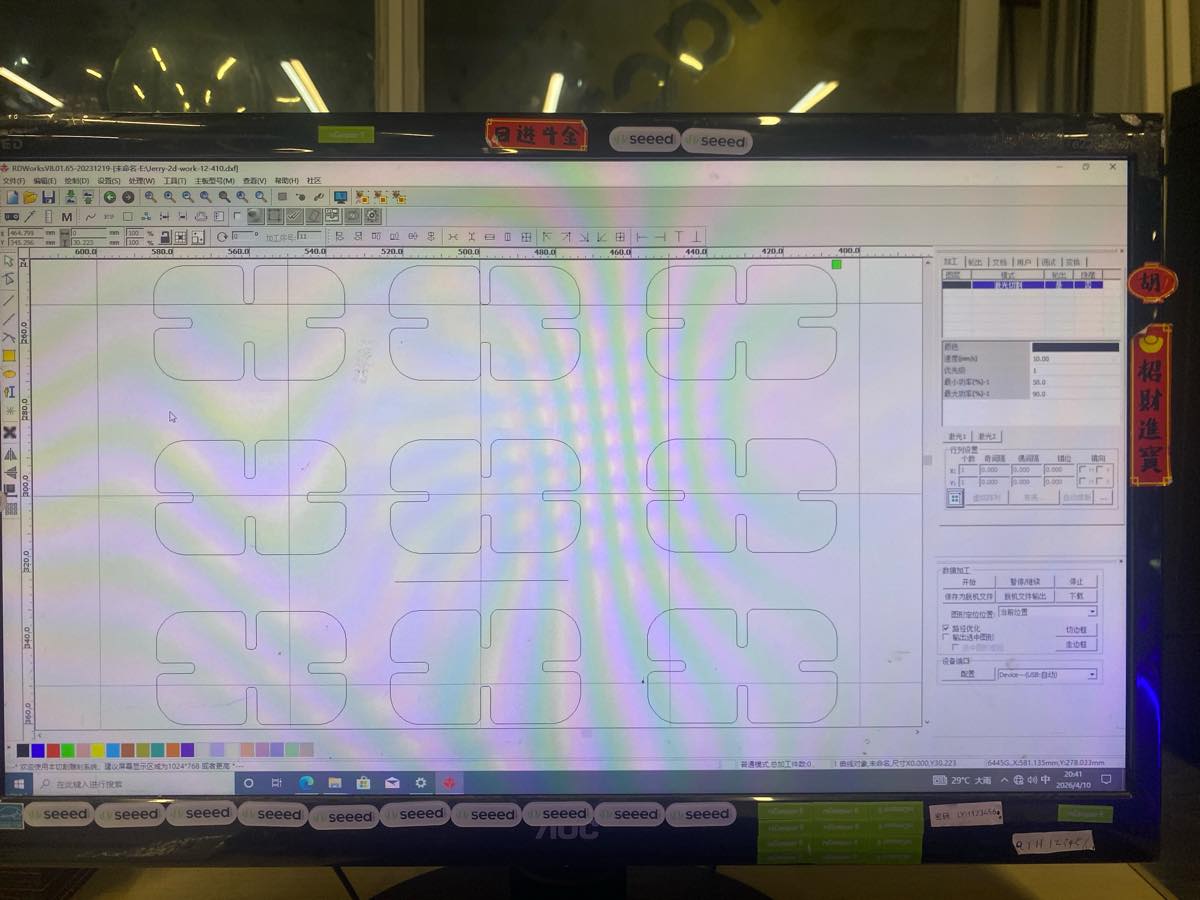
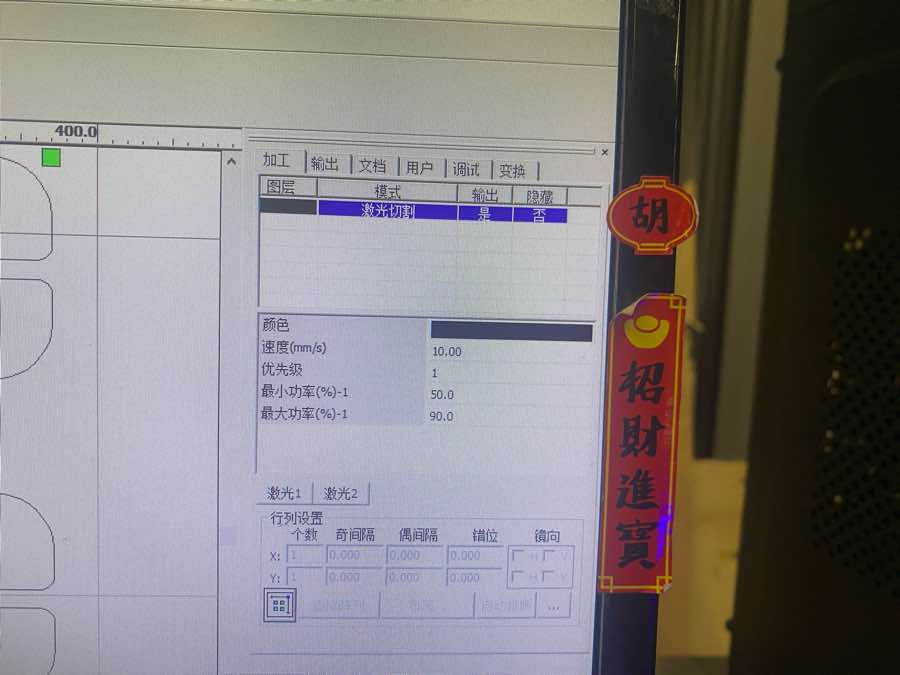
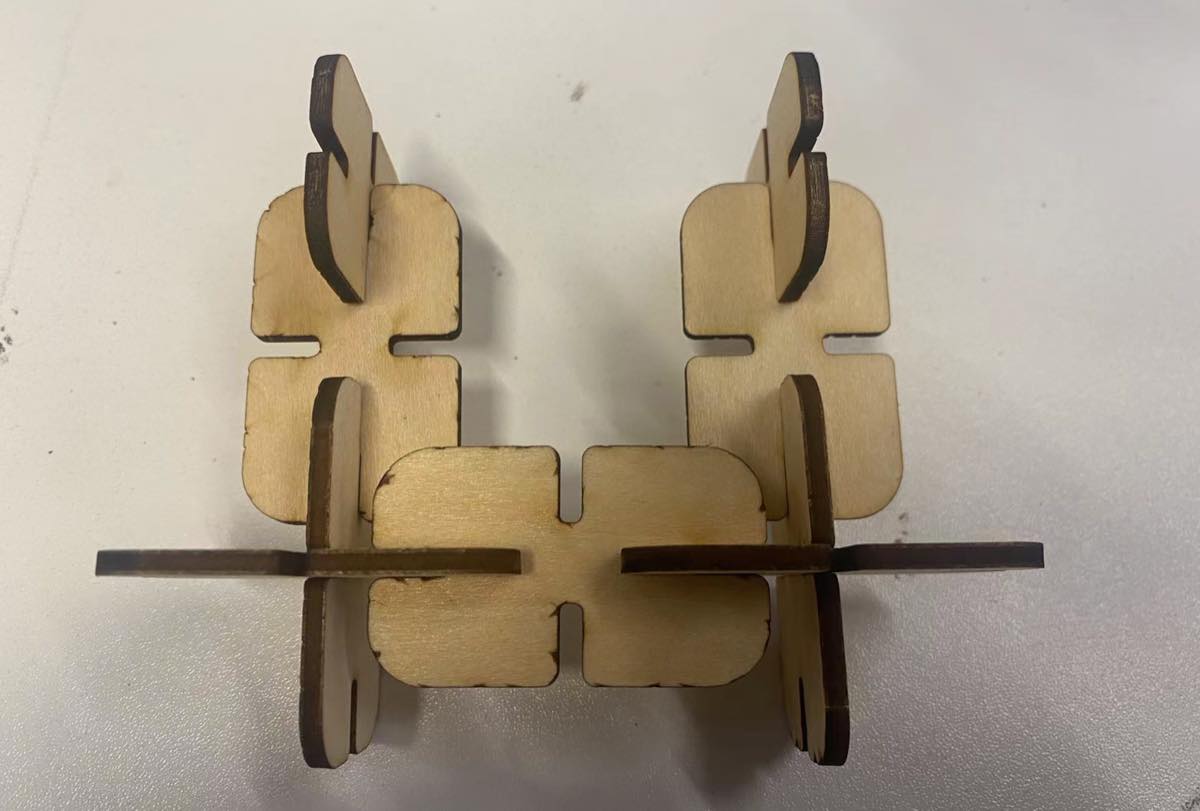
After cutting I got the block
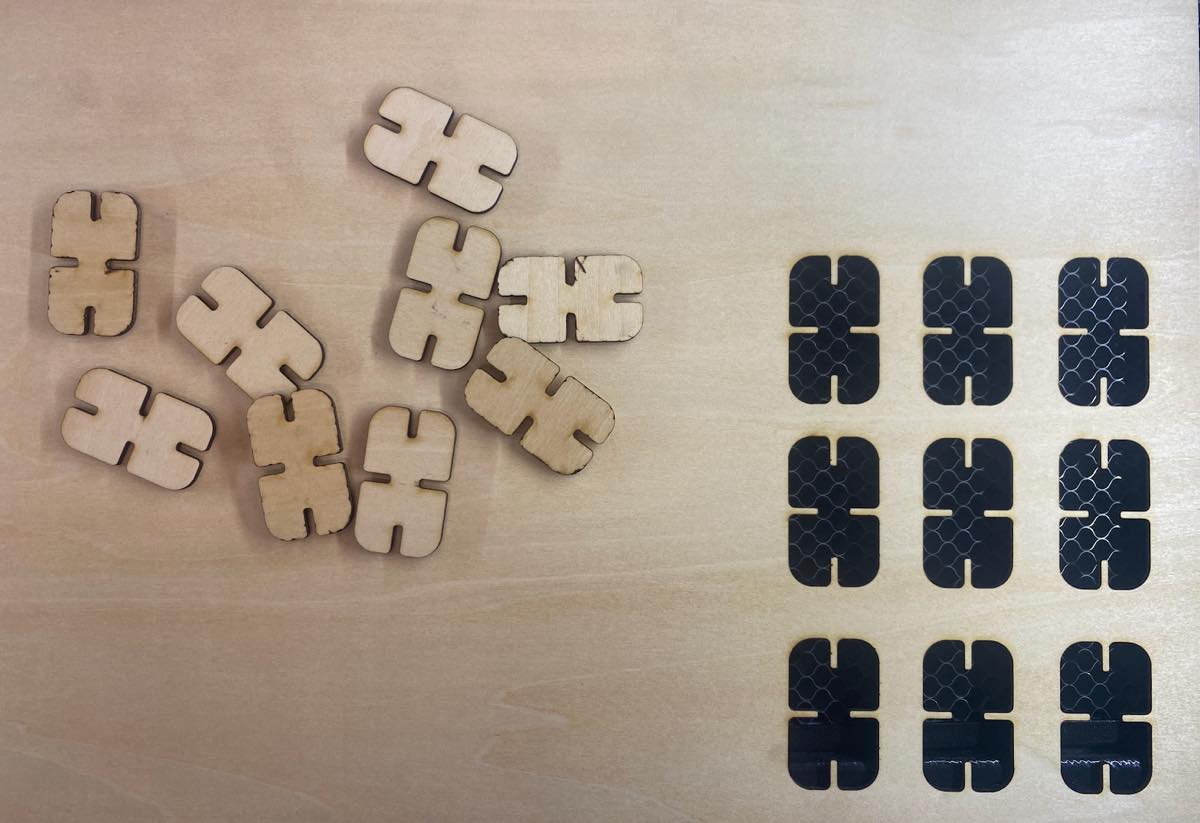
The wood block, but not too tight. I found I made a mistake, the plate is not the same one in the group work, it’s some thiner, which 2.94 mm, not 3.00 mm
So I need caculate the difference again.
| 1 | 2 | 3 | 4 | 5 | |
| Width value | 2.72 | 2.72 | 2.72 | 2.72 | 2.72 |
| Actual value | 3.01 | 3.01 | 2.96 | 2.99 | 3.02 |
| difference | 0.29 | 0.29 | 0.24 | 0.27 | 0.3 |
| Average difference | (0.29+0.29+0.24+0.27+0.3) / 5 =0.278 |
The update width of the kerf is 2.94 -0.278= 2.662 mm, and then cut again.
My final dxf file with the width 2.662 mm:
2.662 DXF file: 2.662.dxf
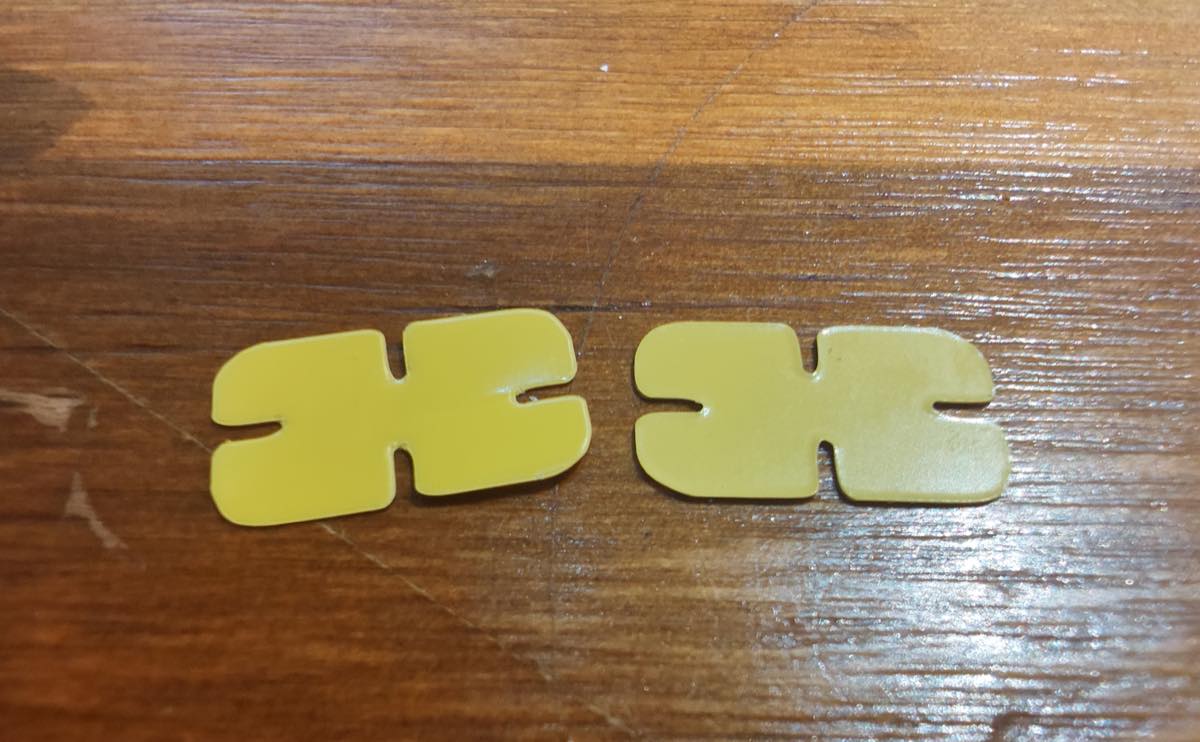
Video showing two versions of the blocks: the one without any mark is the first version; the one marked with 2.662 is the latest version.
Vinyl cutter
Use the same 2D file to try the vinyl cutter, setting the power as below, and got the 2 pieces.