Week 14 Modeling and Casting
Group assignment
Week 14 Chaihuo group assignment.
The link to our group work:
https://fabacademy.org/2026/labs/chaihuo/docs/week14/chaihuo/week14_group_assignment
Individual assignment
I used modeling and casting to make an ancient-style coin, as shown below. I think it is a fun idea.
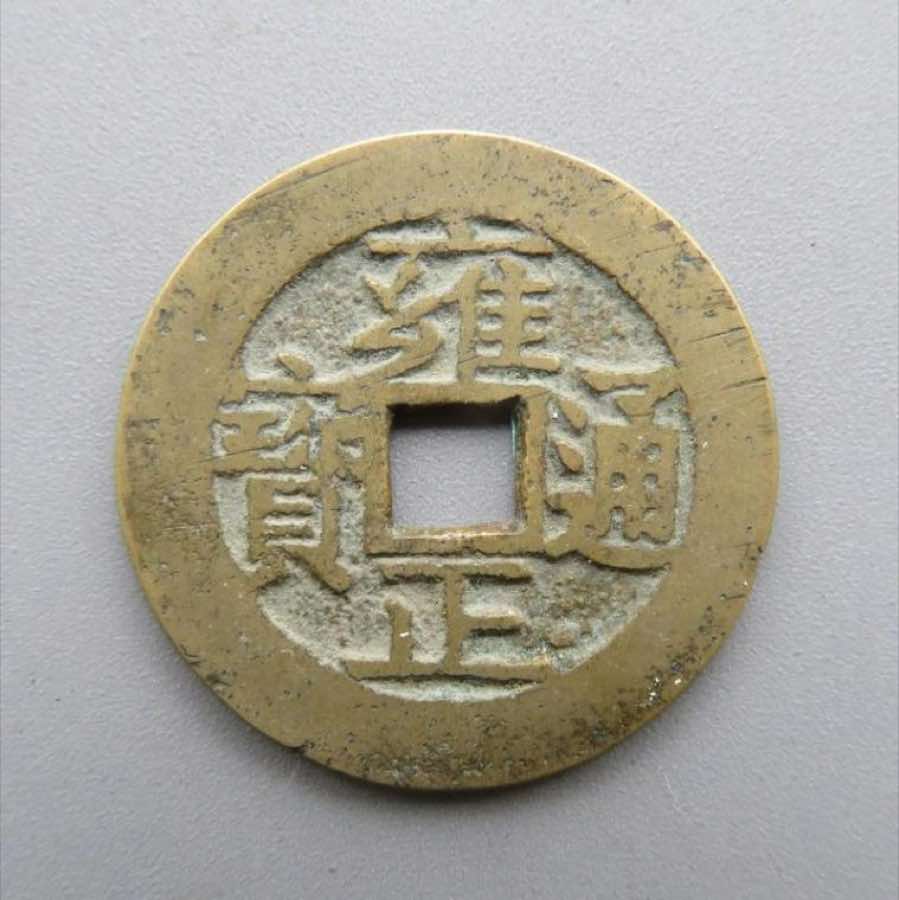
Step 1 — Onshape modeling
Step 1: Use Onshape to make a similar sample, as shown below.
Step 1.1
I used a circle and rectangle with extrude, as shown below. I set the thickness to 5 mm and the diameter to 50 mm.
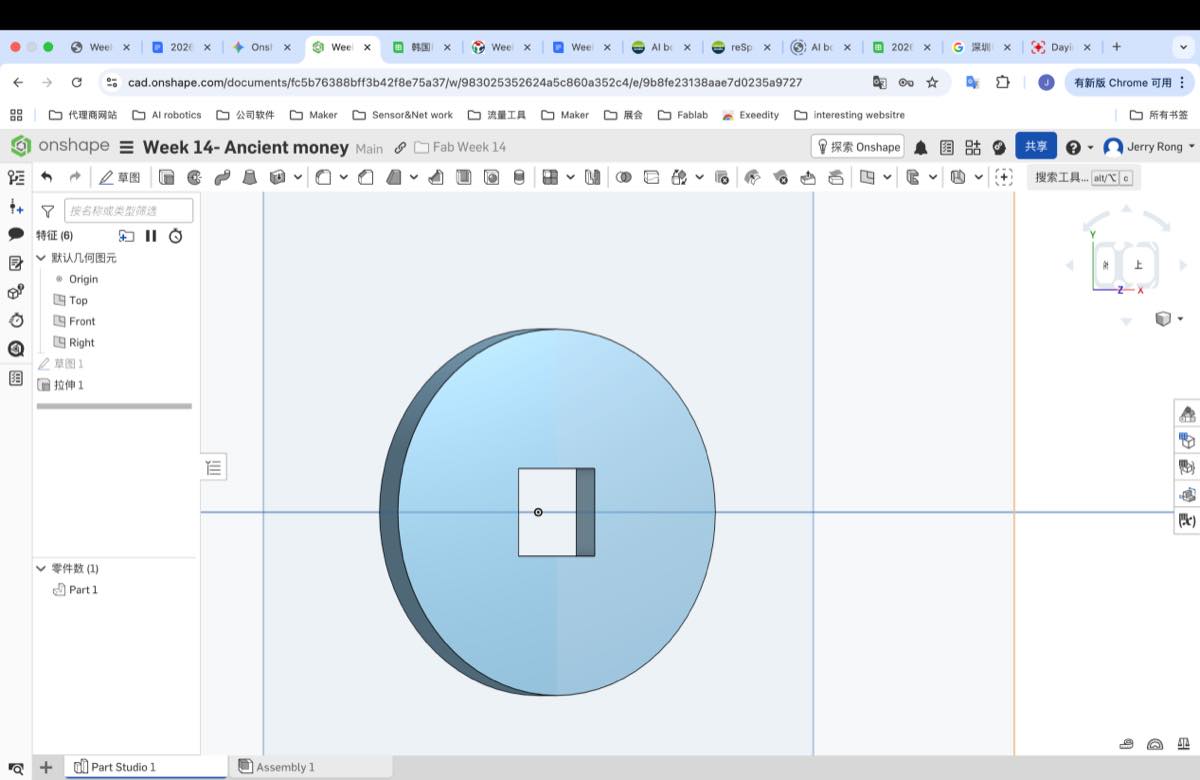
Step 1.2
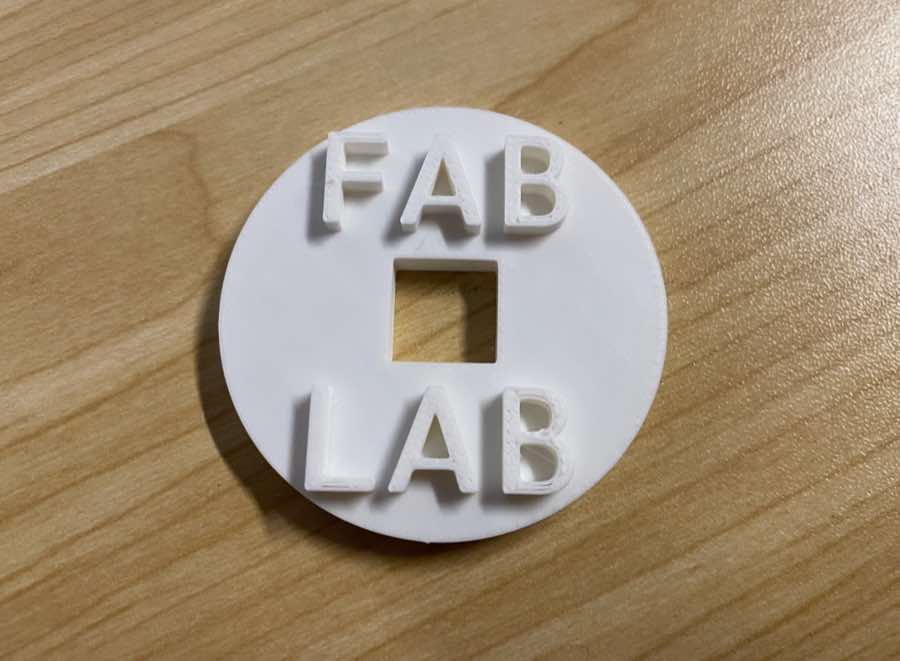
Add the text "FAB LAB" and extrude it by 2 mm.
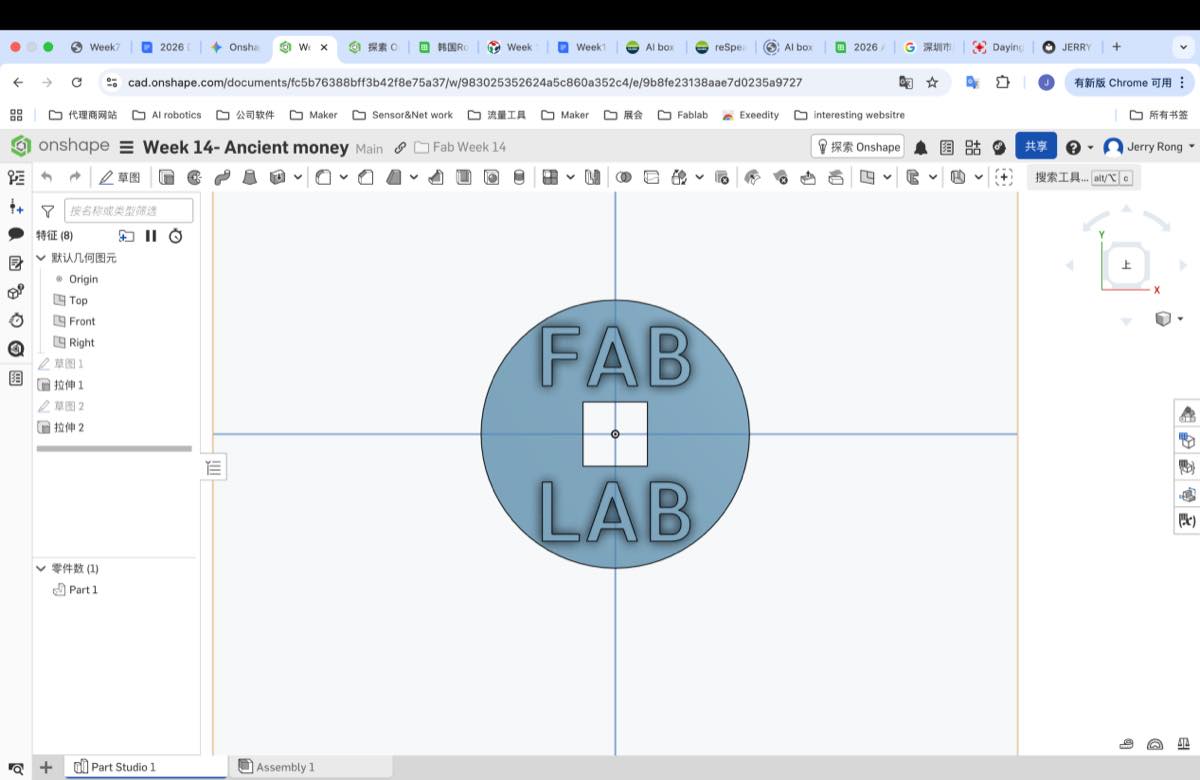
I got the model below and exported the 3D file.
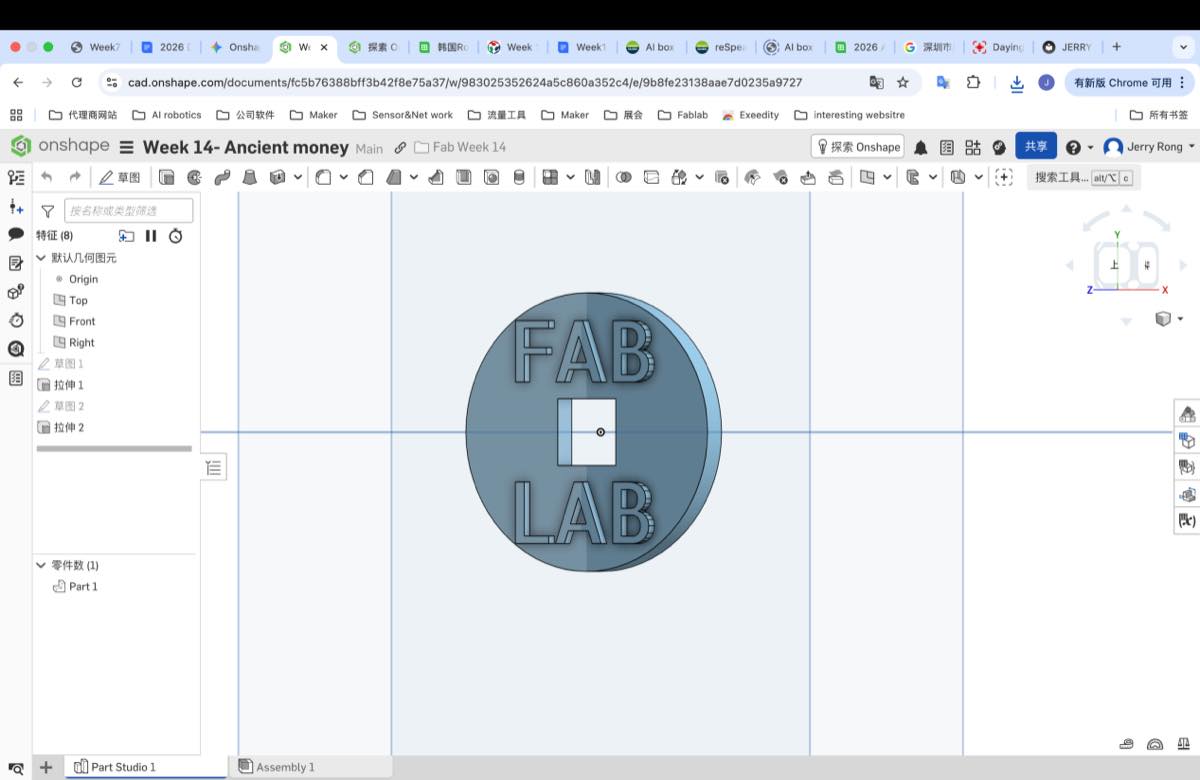
Design file: Week 14-3D printing.stl
Design file: Part Studio 1 - Part 1.stl
Design file: Fab.svg

Design file: Fab.dxf
Step 2 — 3D printing
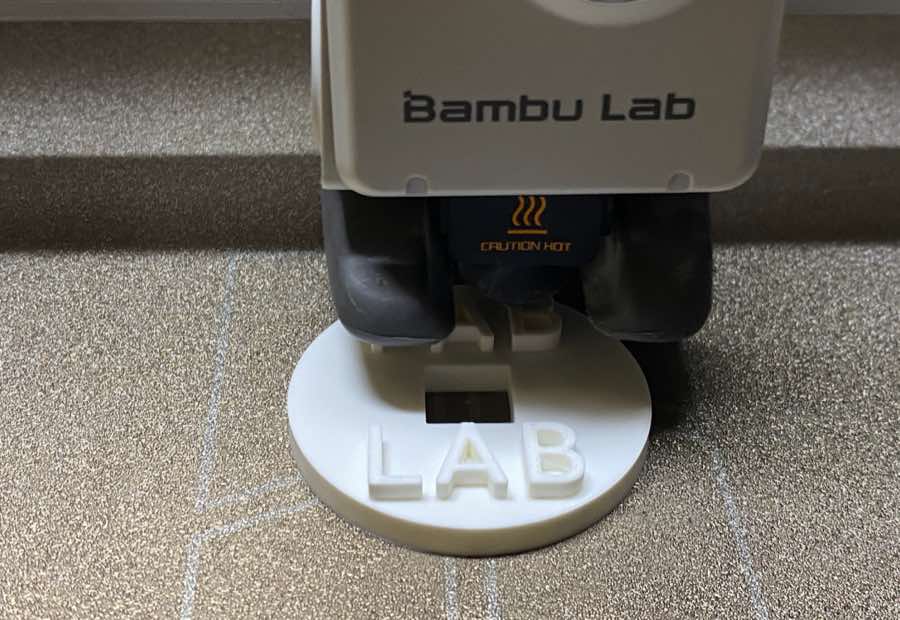
Step 2: Print the model with a 3D printer.
Molding
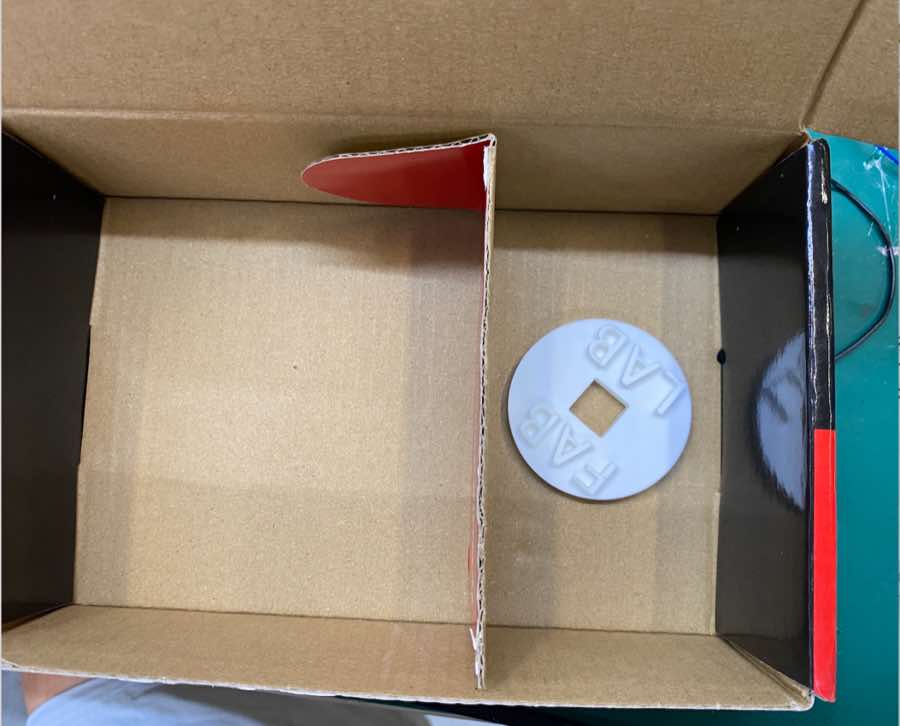
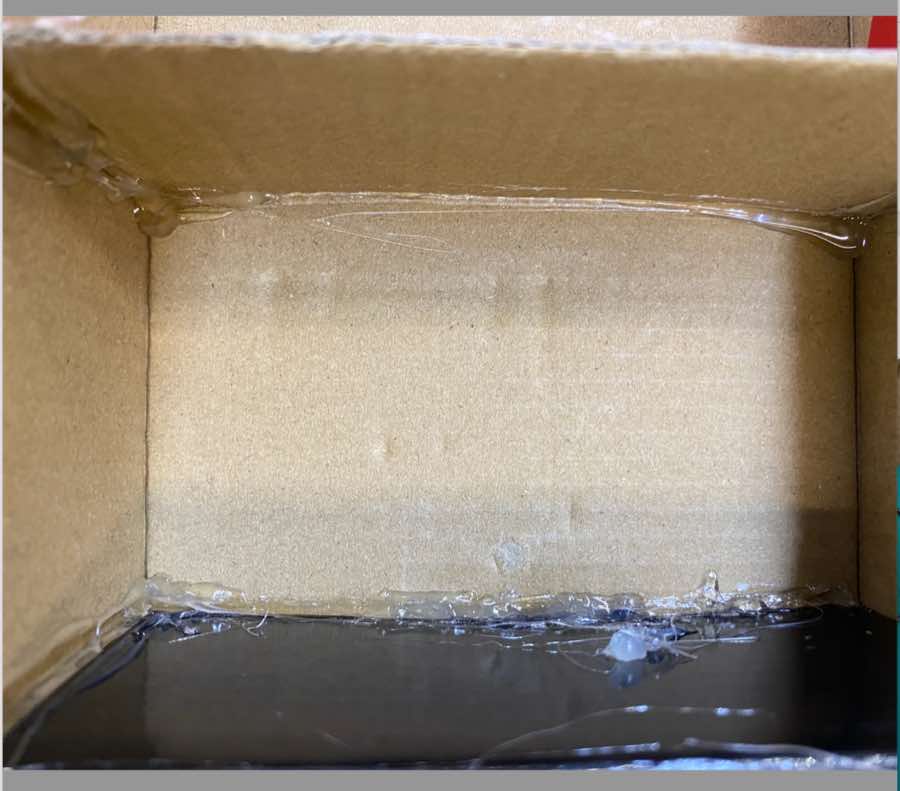
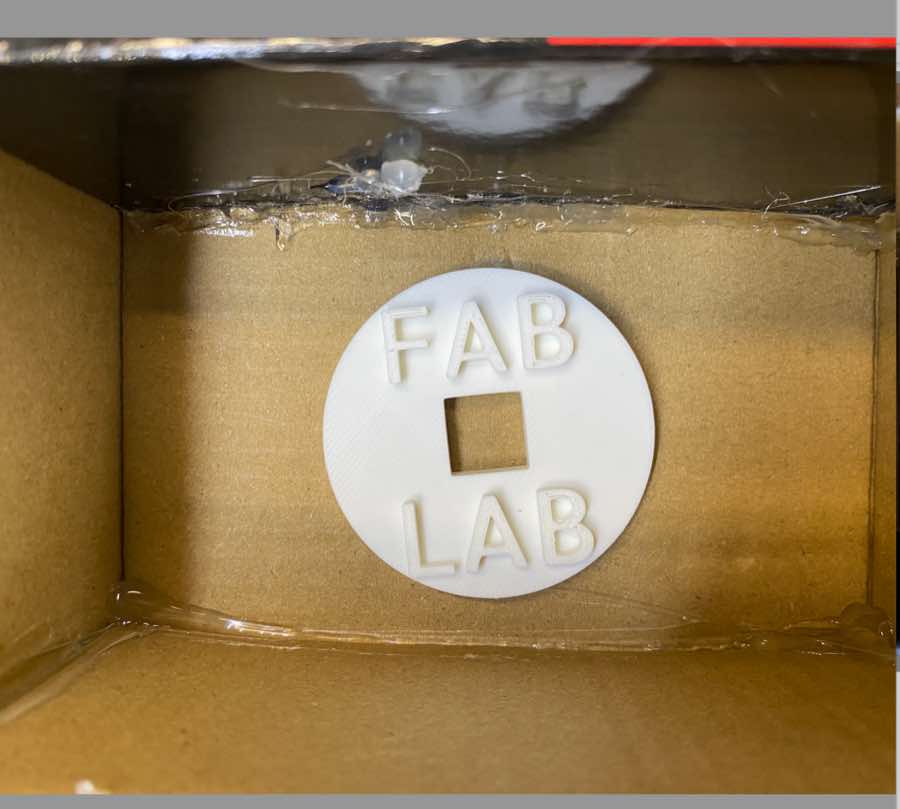
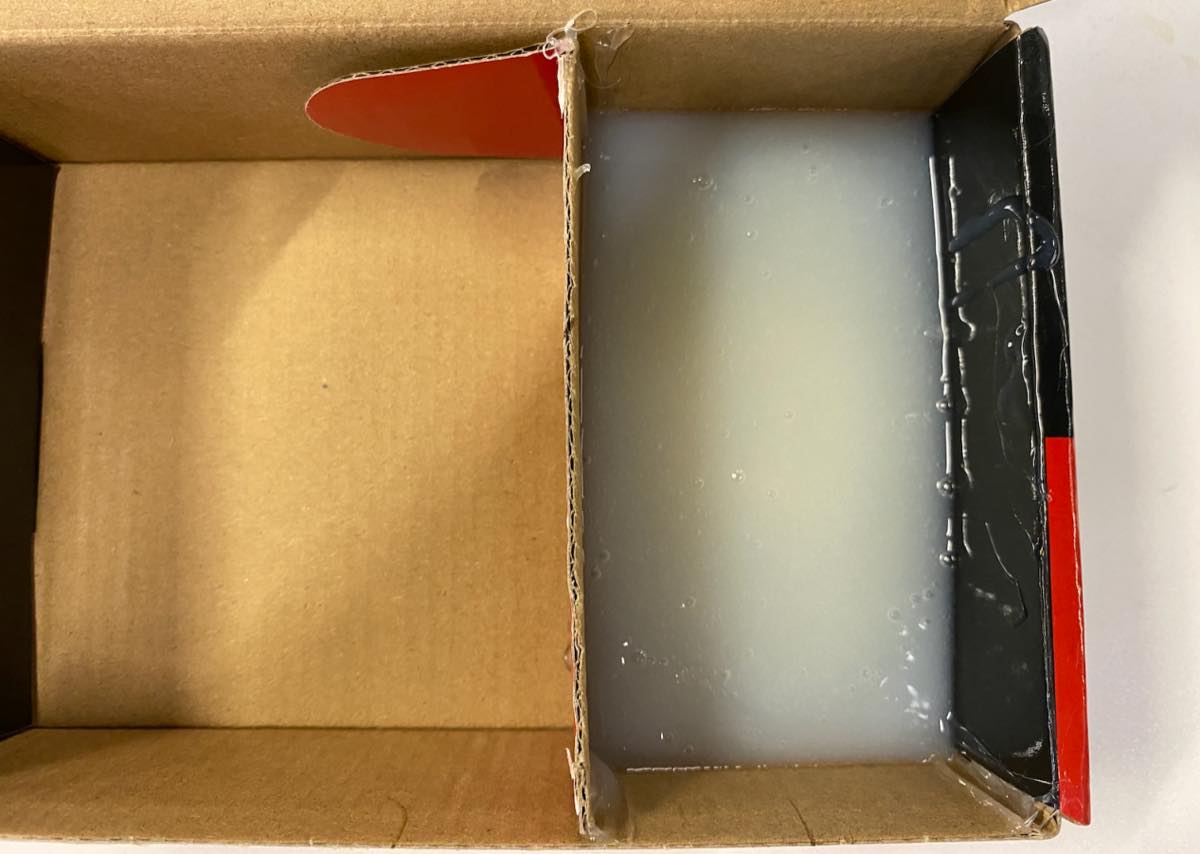
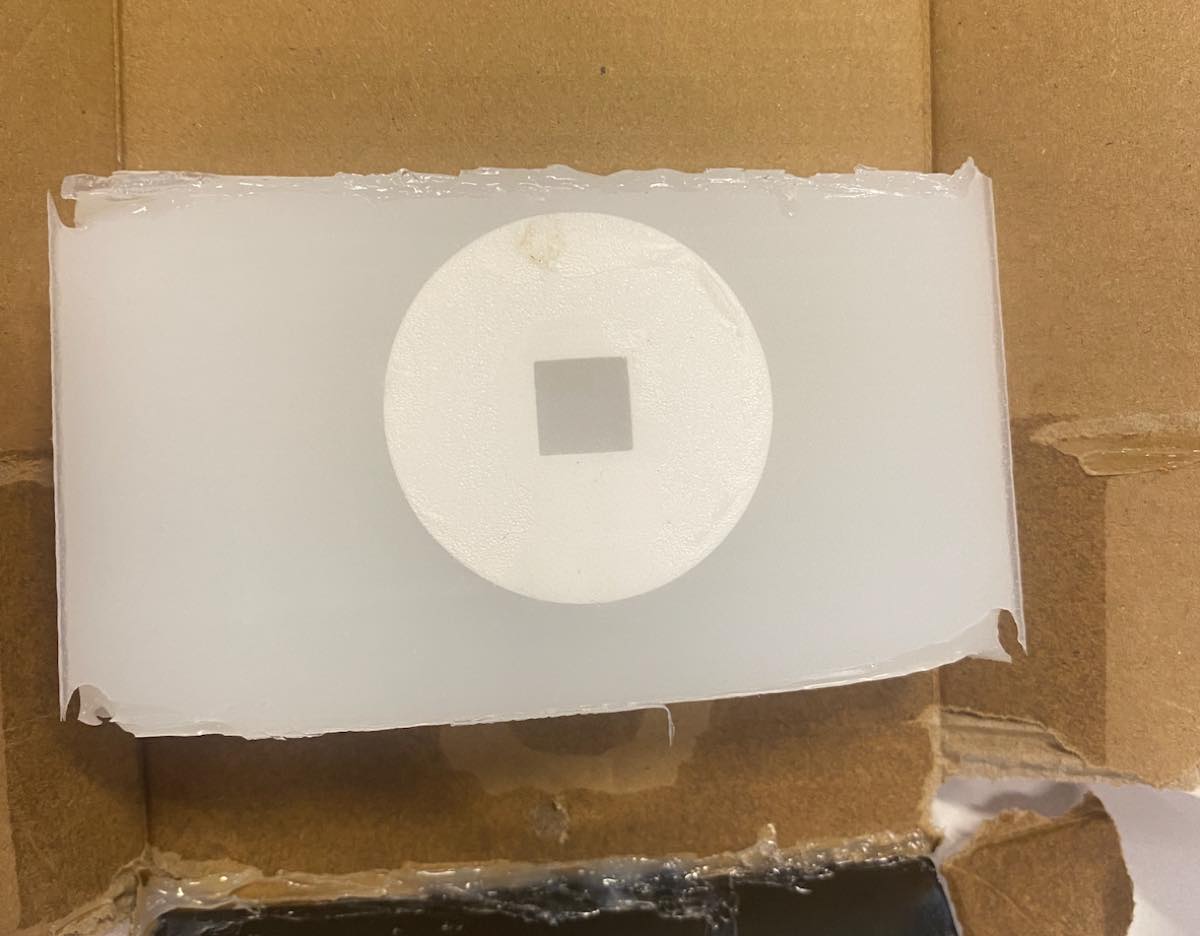
I made a small box to hold the 3D-printed part. I used a waste packaging box and a hot glue gun to add one wall and reduce the space, saving material.
Materials
-
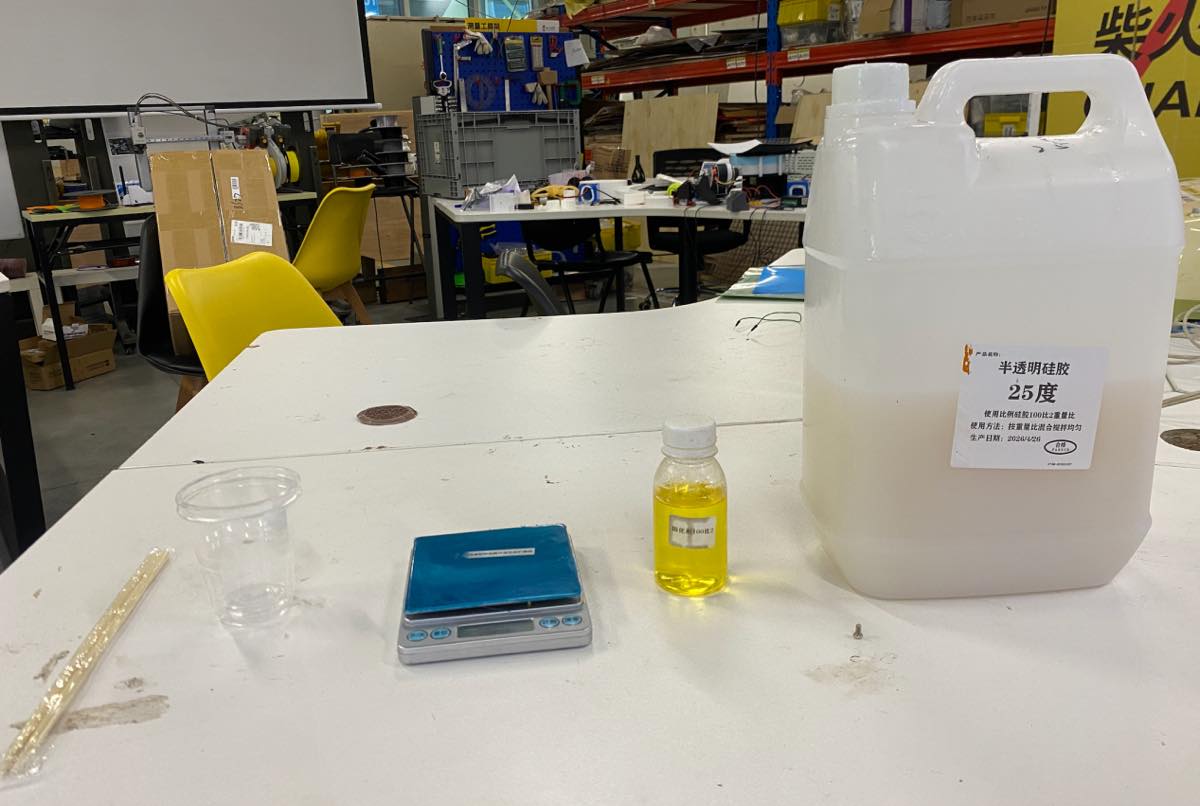
Silicone
-
Silicone curing agent
-
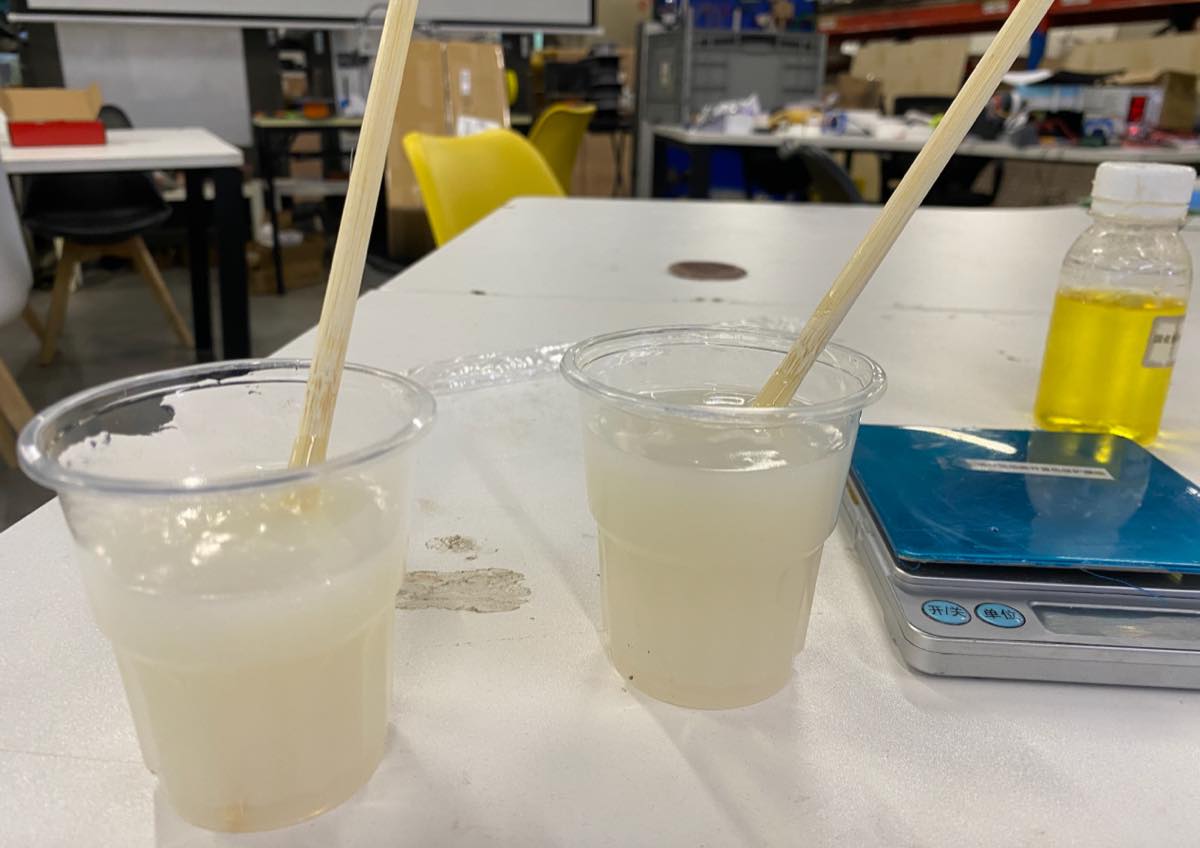
Scale to measure the weight of silicone and curing agent. The weight ratio is 100 (silicone) : 2 (curing agent).
-
Scale
-
Stir stick to mix the silicone and curing agent
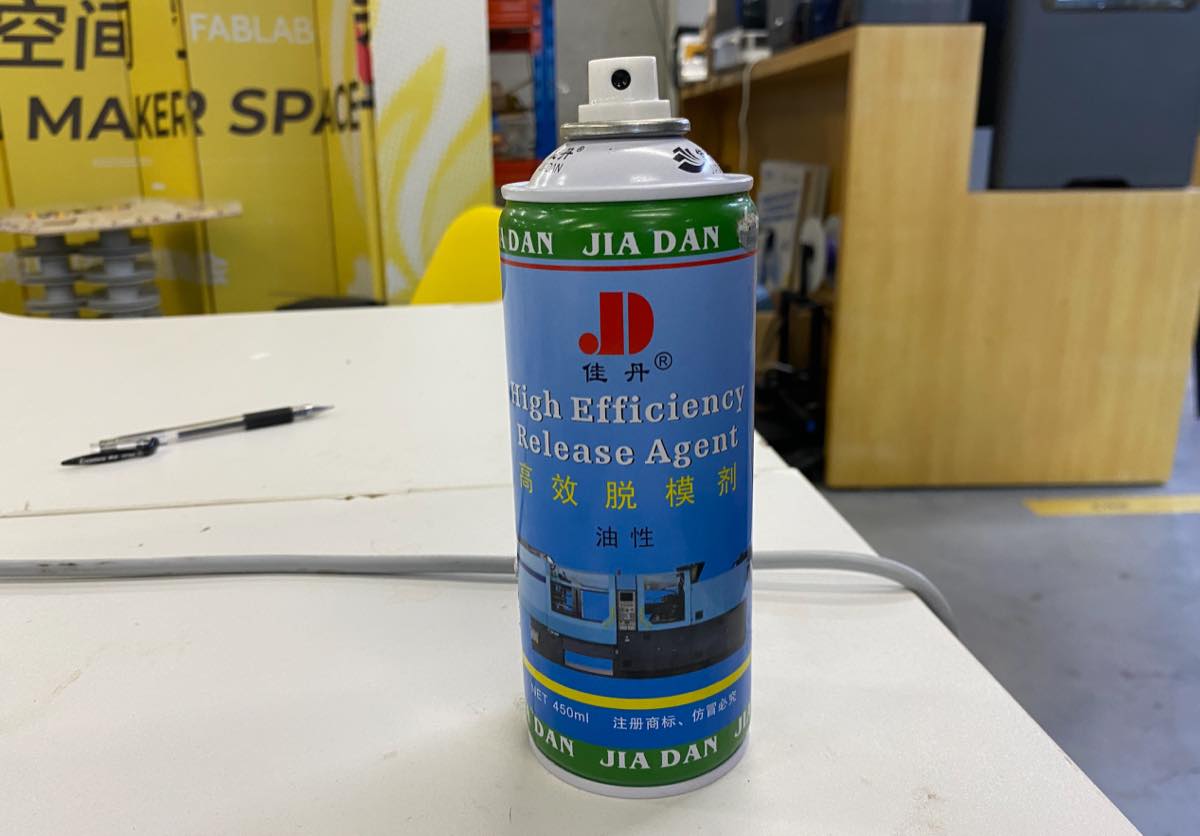
- Release agent
Step 1
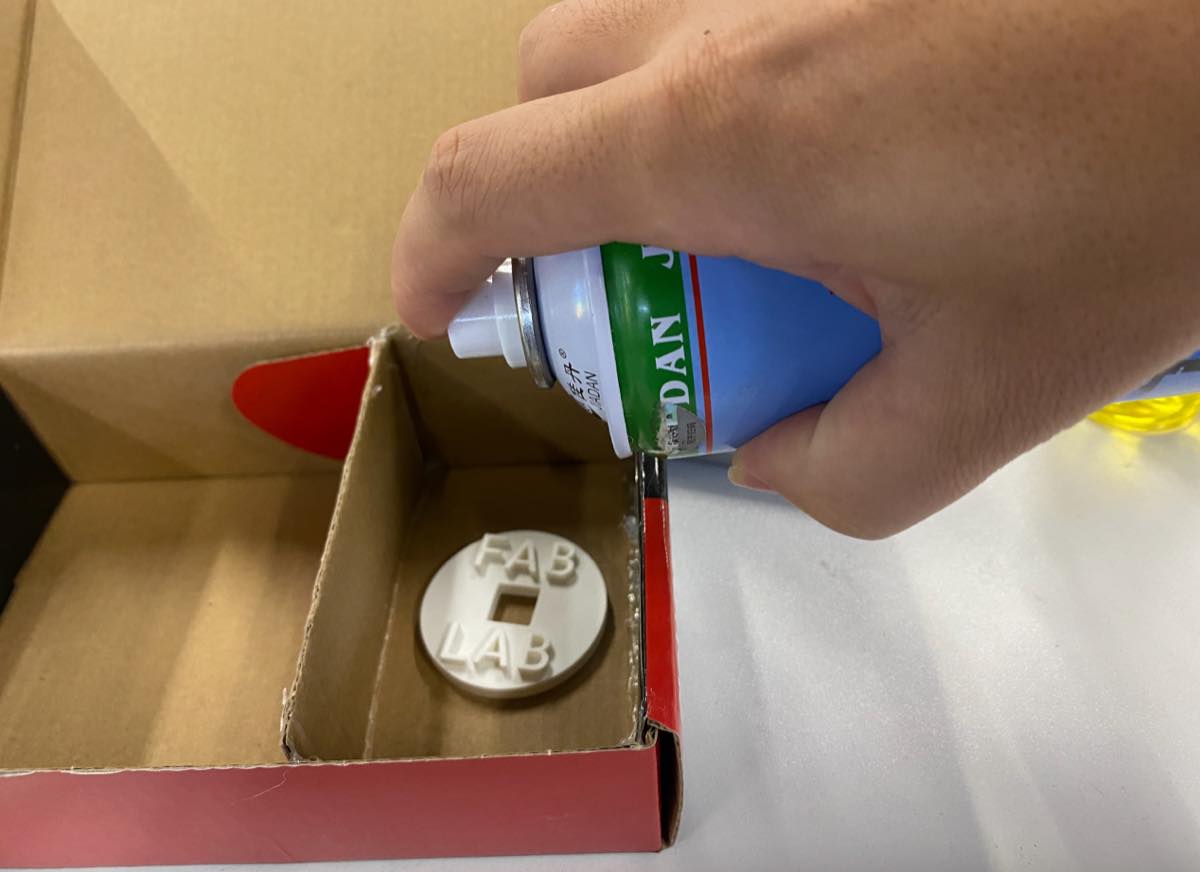
Place the 3D-printed coin in the box and spray release agent twice, with a 2-minute gap between sprays. Wait for the release agent to dry.
Step 2
Mix the silicone and curing agent at a ratio of 100:2.
Step 3
Pour the silicone mixture into the box.
Step 4
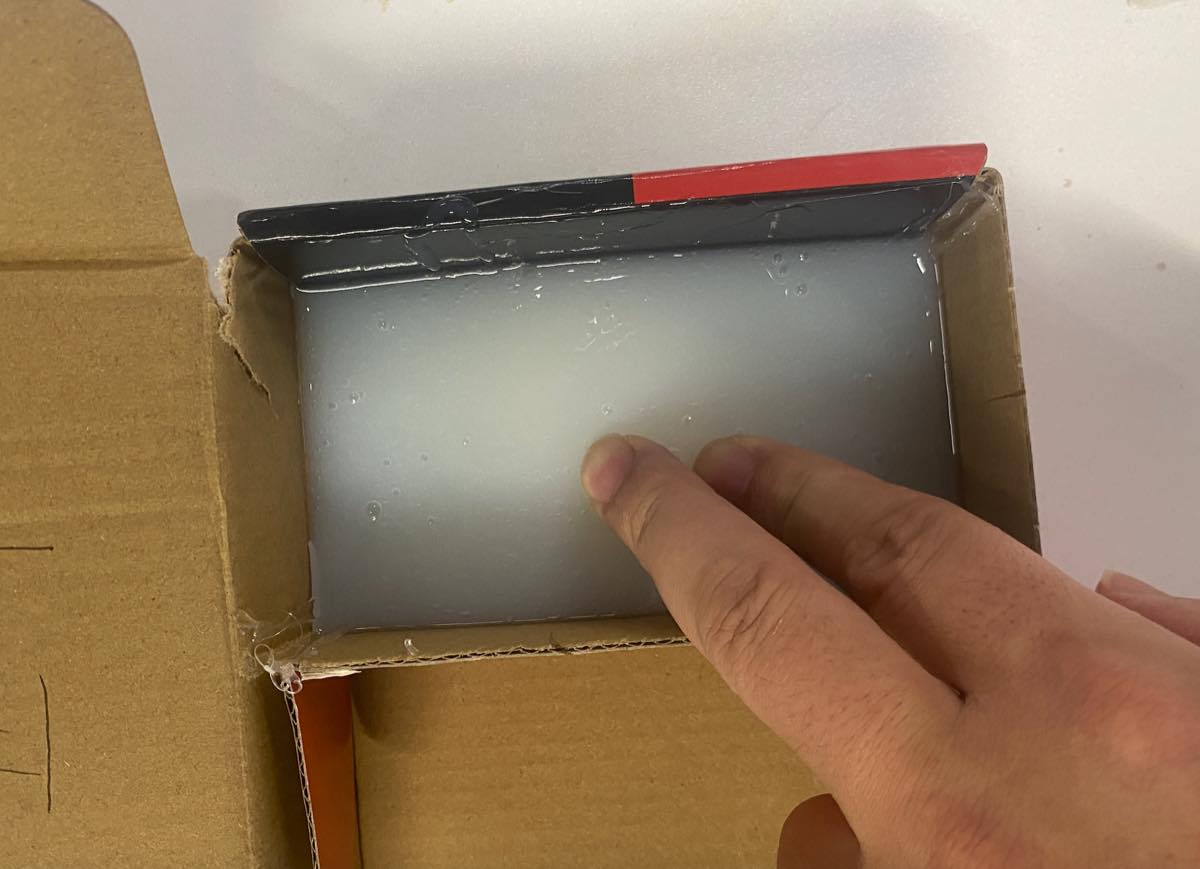
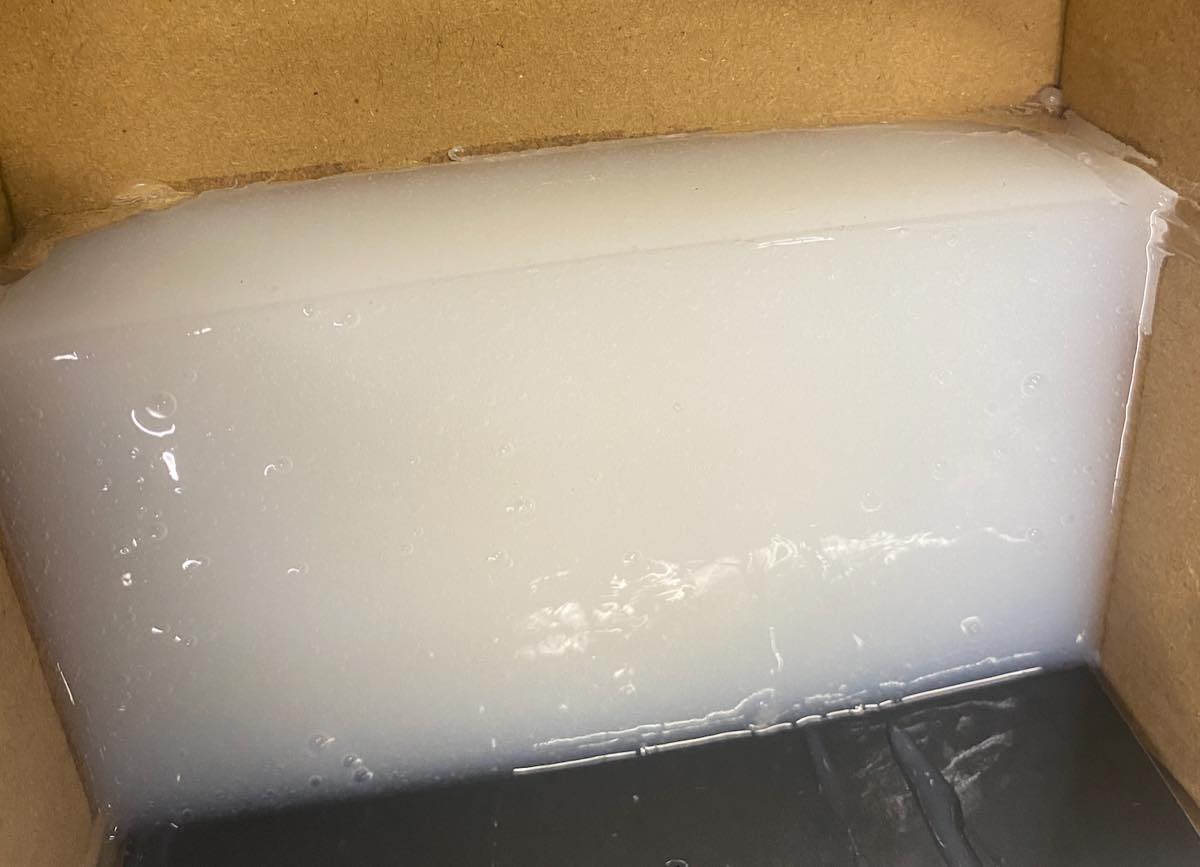
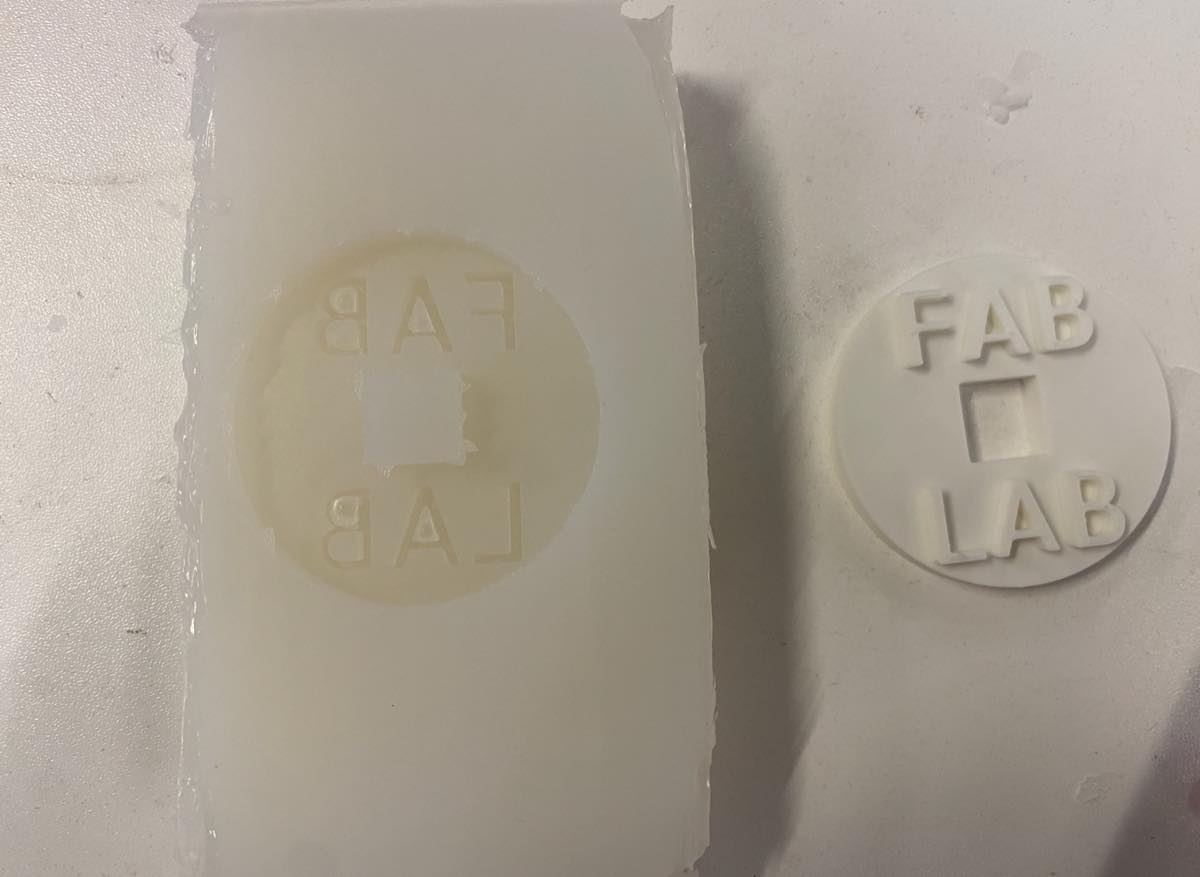
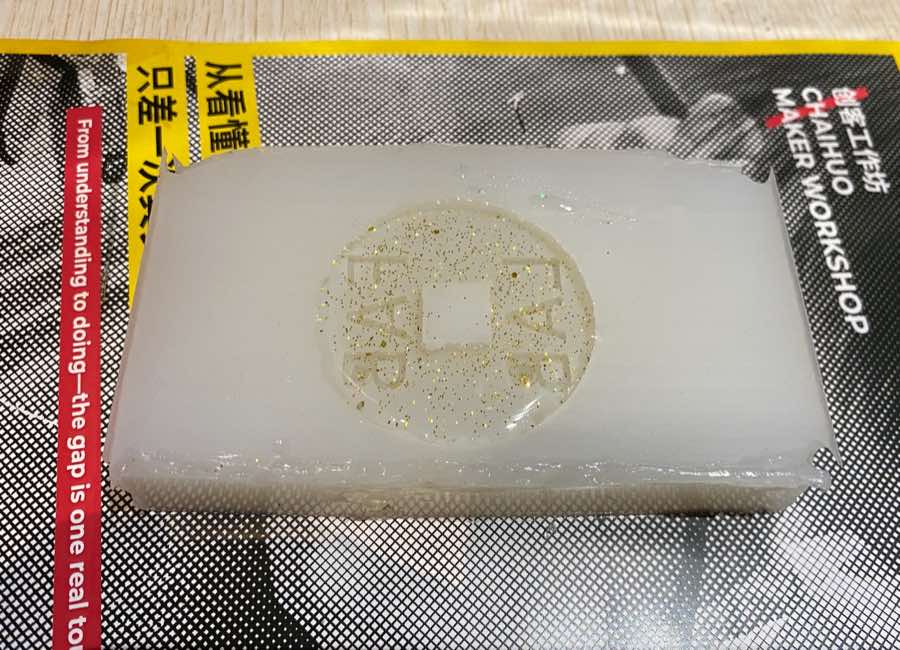
Wait 24 hours for the silicone to solidify. The result is shown below.
Casting
Materials
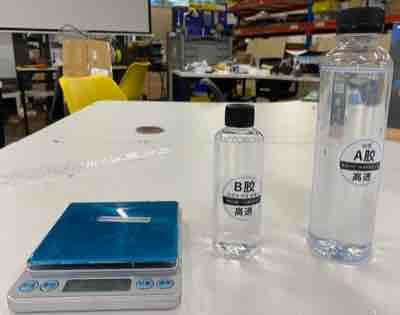
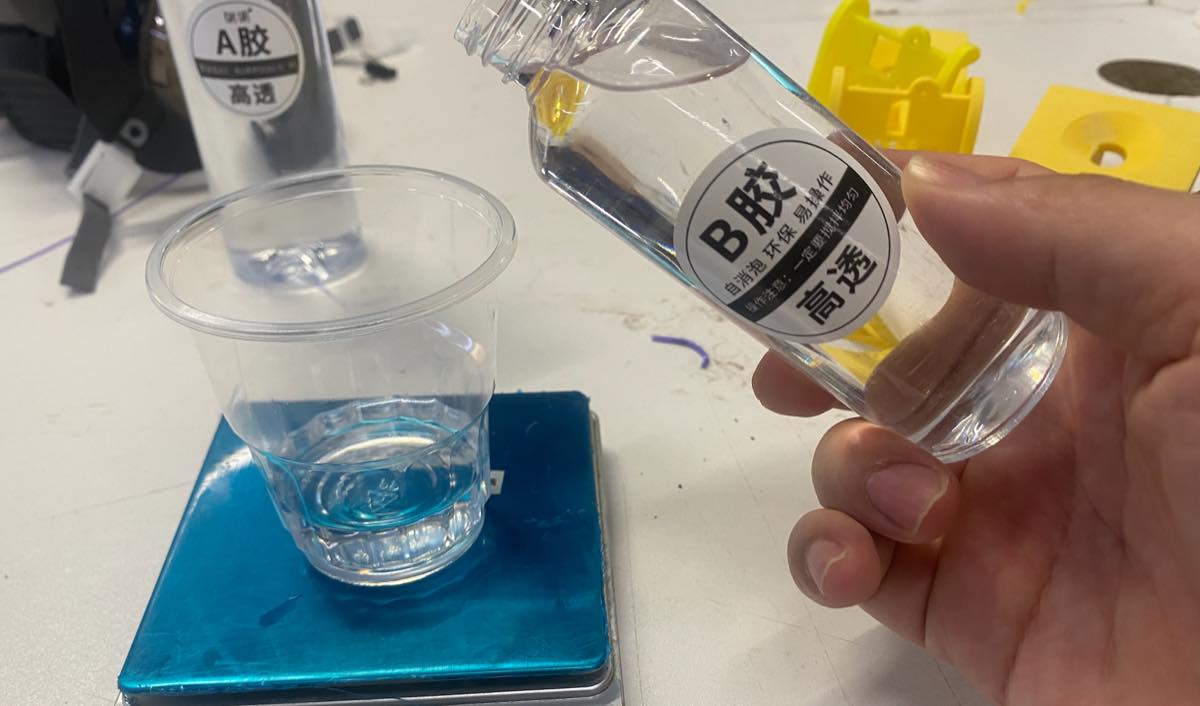
- Epoxy A and B, mixed by weight at a ratio of 3:1.
Step 1
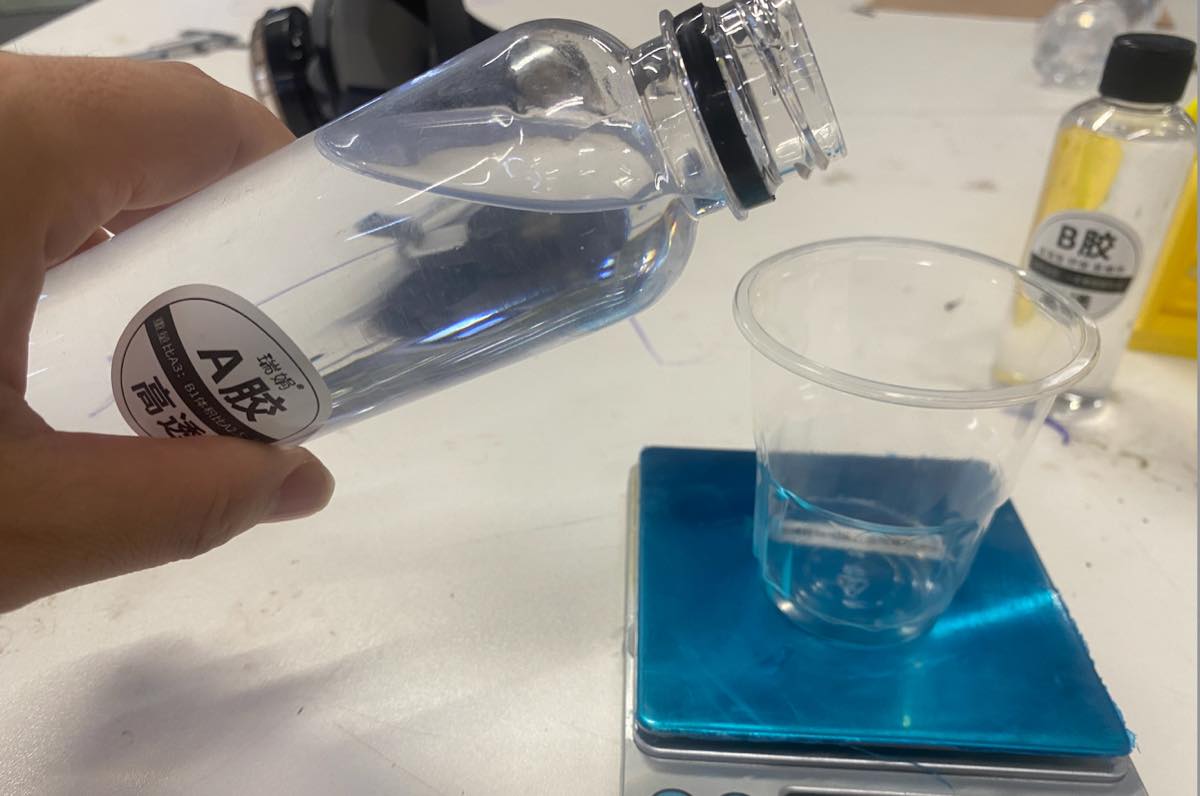
Mix epoxy A and B at a ratio of 3:1.
Step 2
Stir with a stick for 15–20 seconds. The A/B liquid solidifies within 1.5–2 minutes after mixing, so work as quickly as possible.
Step 3
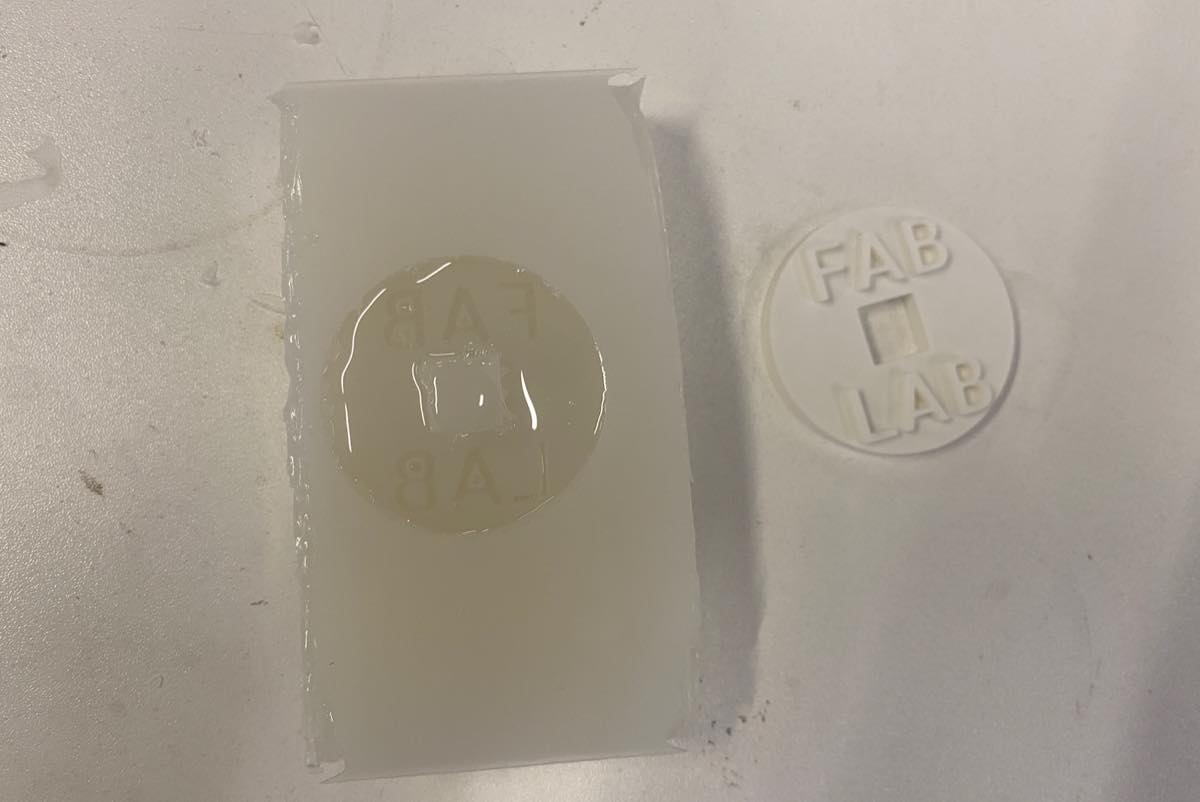
Pour the liquid into the mold.
Step 4
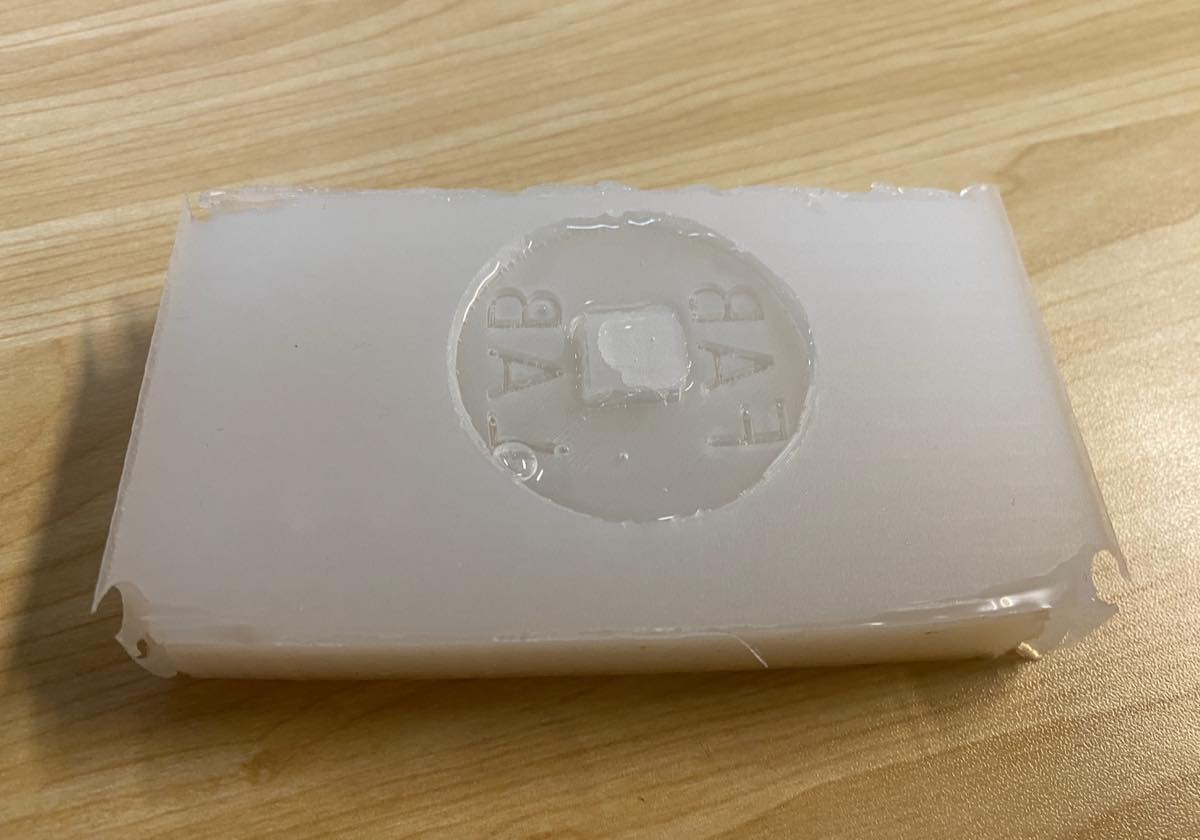
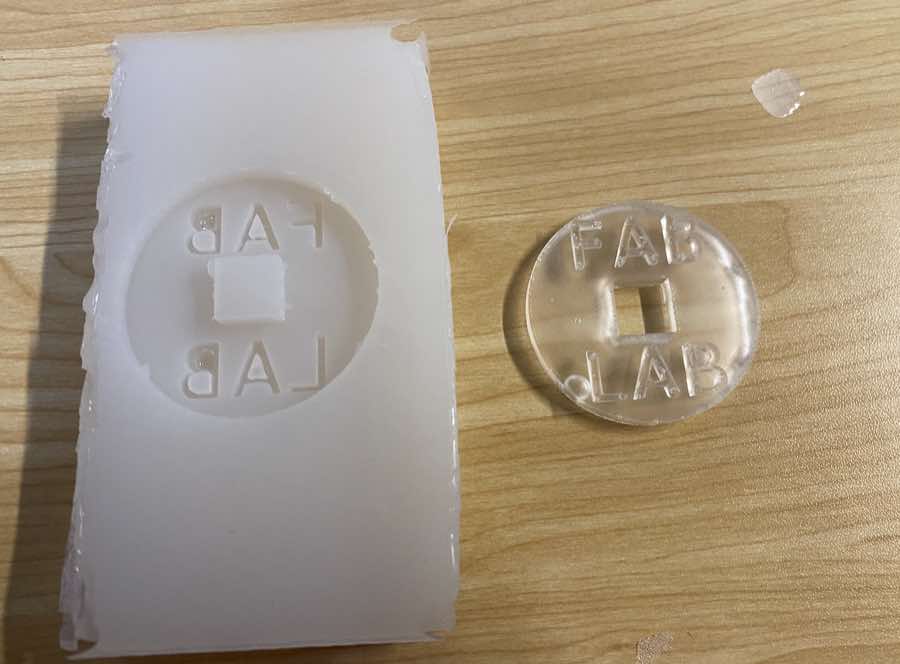
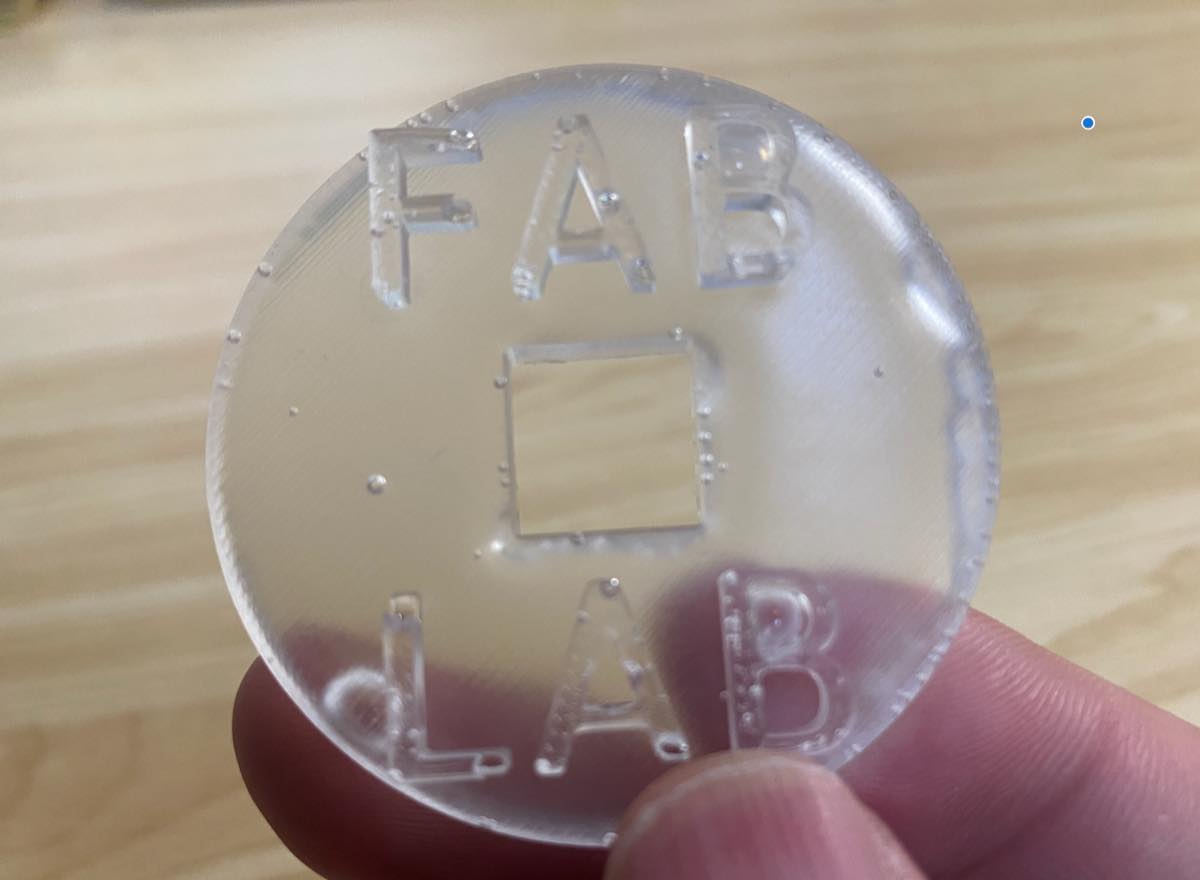
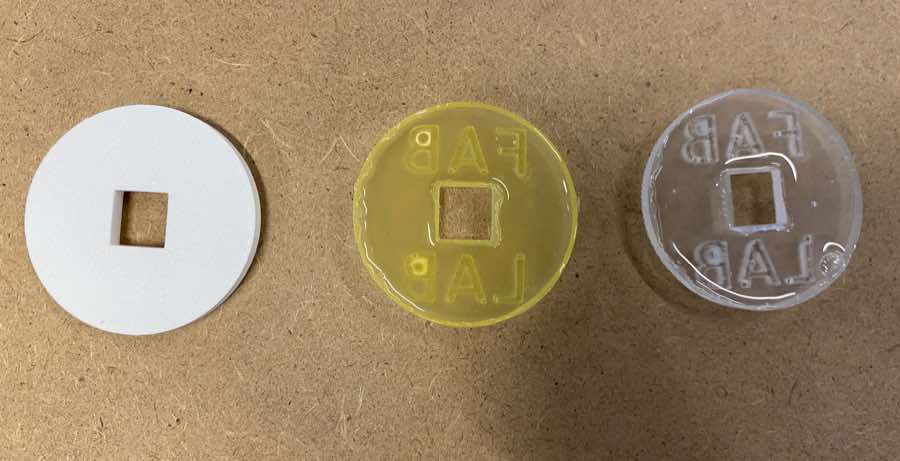
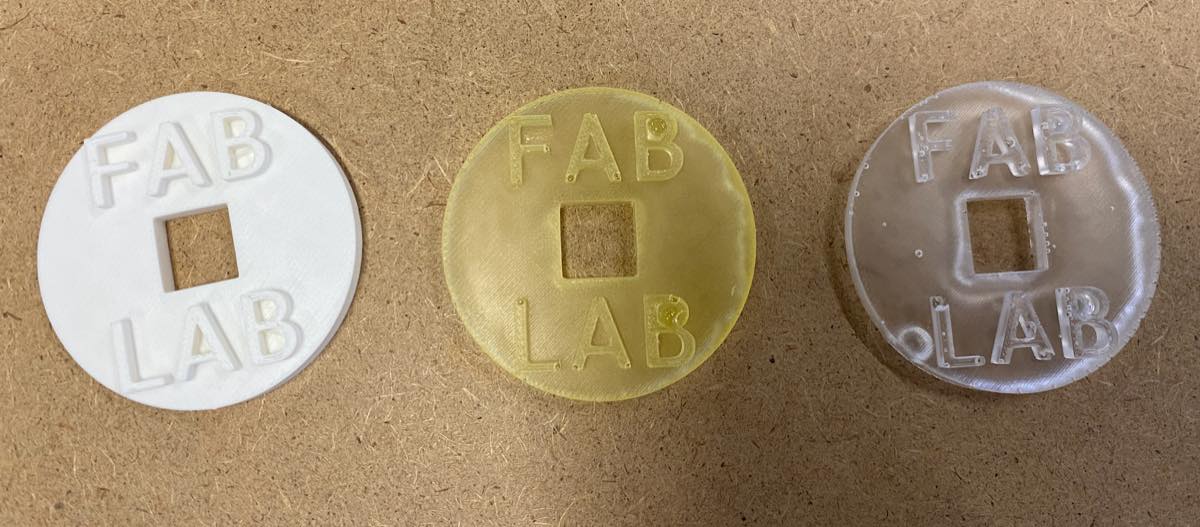
Check back the next day. The cast parts are shown below for comparison.
Reflection
Overall the result is good, but there are some small bubbles. Two steps may be related: 1) mixing and 2) pouring into the mold too quickly.
Update on 27th Jun
Safety Data Sheet review
Before the operation, it is better to wear a mask.
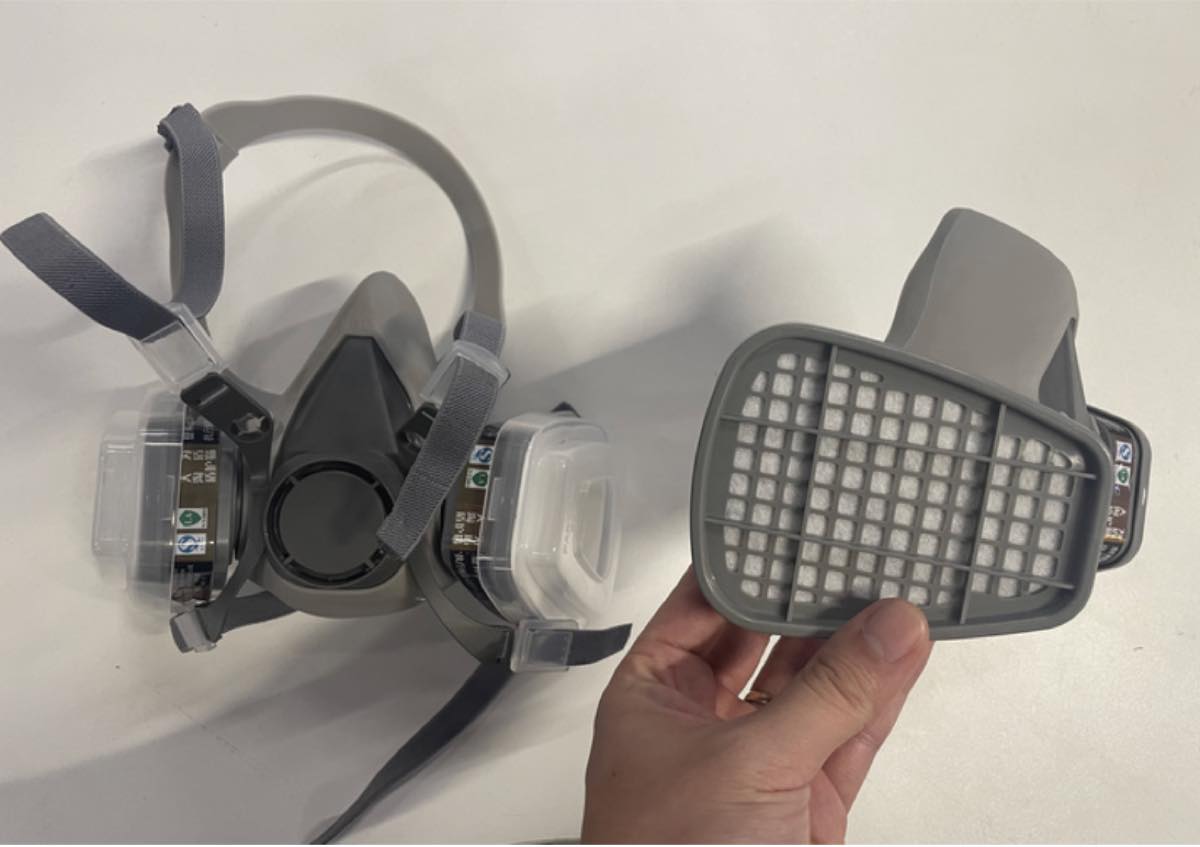
SDS — Modeling part
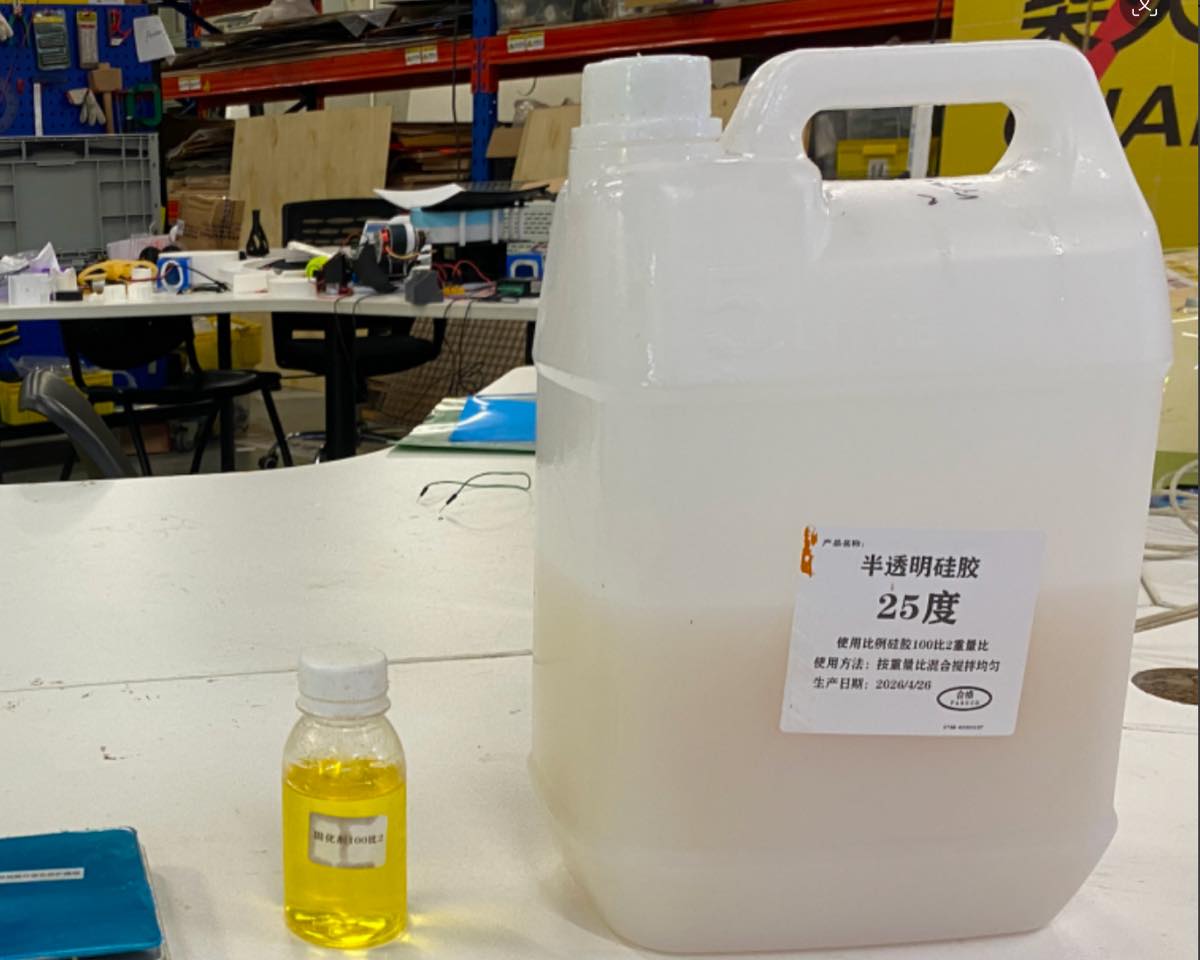
- The white bottle: Translucent silicone gel
- The yellow liquid: Curing agent
- Mix ratio: 100:2 (silicone gel : curing agent)
- Instruction: Stir thoroughly for about 1–2 minutes; apply release agent before casting for easier demolding (see the next sections for findings)
- Full cure: 4+ hours
Oil-based release agent
Hold the spray can approximately 25–30 cm from the target surface during application. Do not operate the can upside down. Suitable for plastic, rubber, metal, and glass surfaces. When it is sprayed onto the 3D-printed part, make sure the oil on the part is dry before molding.
Casting more
- Hi-transparent epoxy resin
- Mix ratio (by weight): 3A : 1B
- Full cure: approx. 24 hours
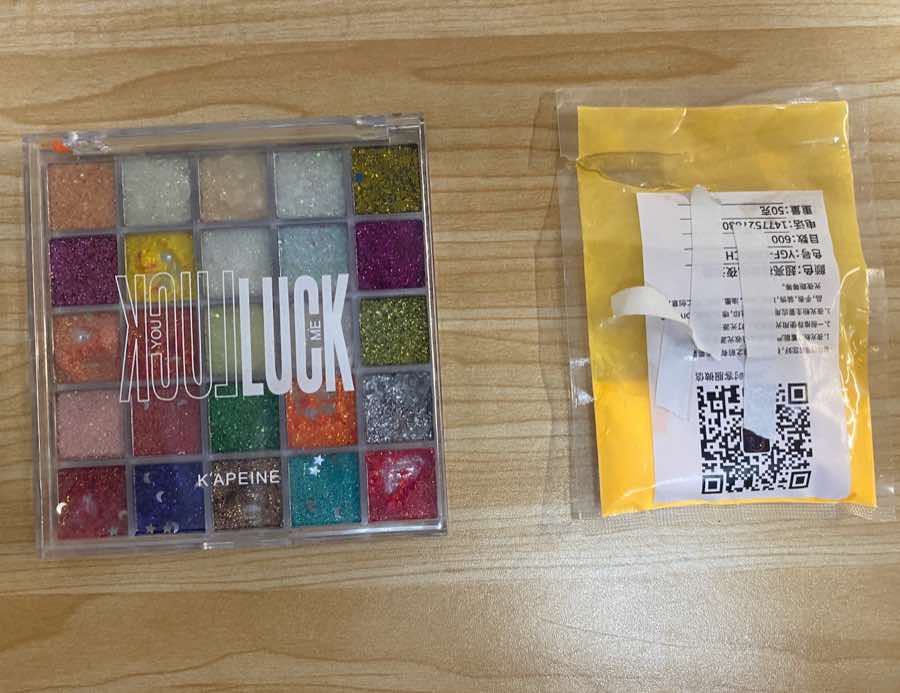
Two different powders to make the casting more fancy.
Casting more pieces
I tried one with luminous powder using a similar procedure, but poured the liquid slowly to reduce bubbles.
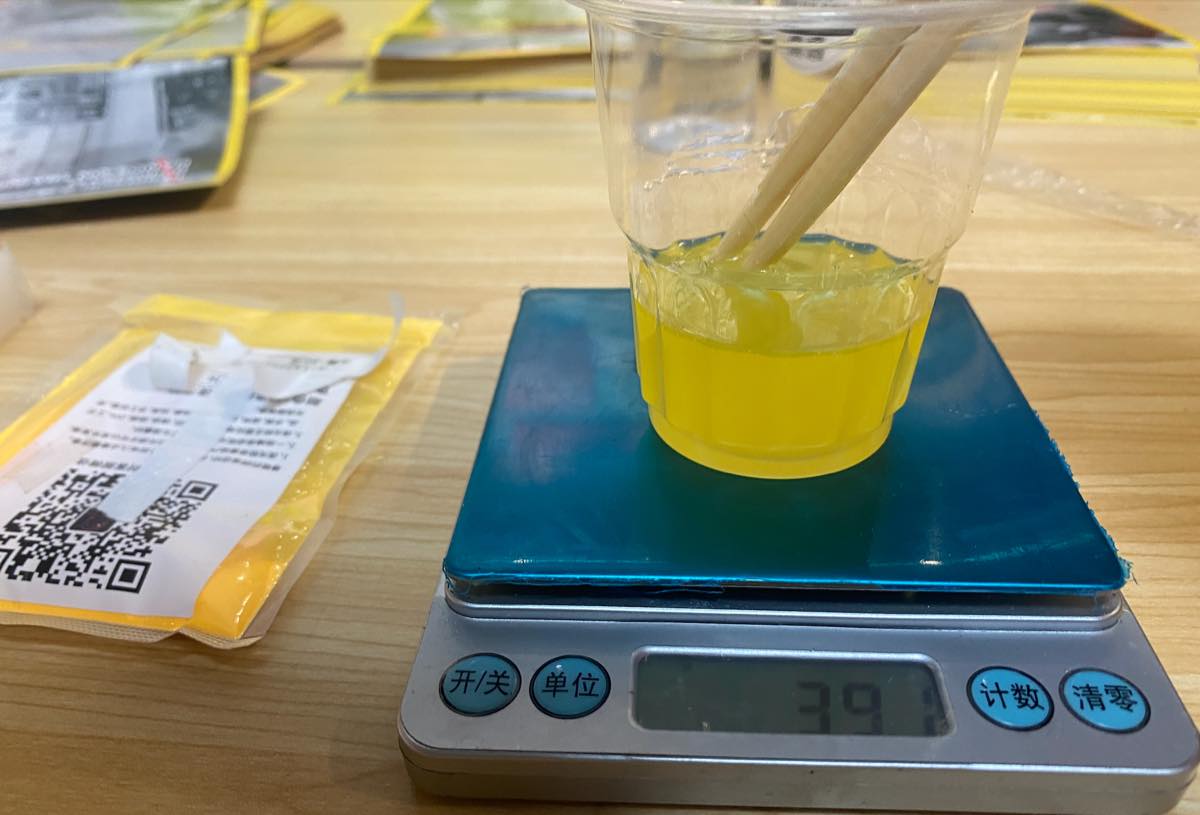
For pouring, I split it into two steps. Some parts of the mold are slim — if I pour the resin too quickly, bubbles form.
- I use a chopstick as a guide and let the resin flow along the chopstick into the mold, filling the slim gaps first.
- When the first step is finished, I pour more resin into the mold.
I checked after 24 hours.
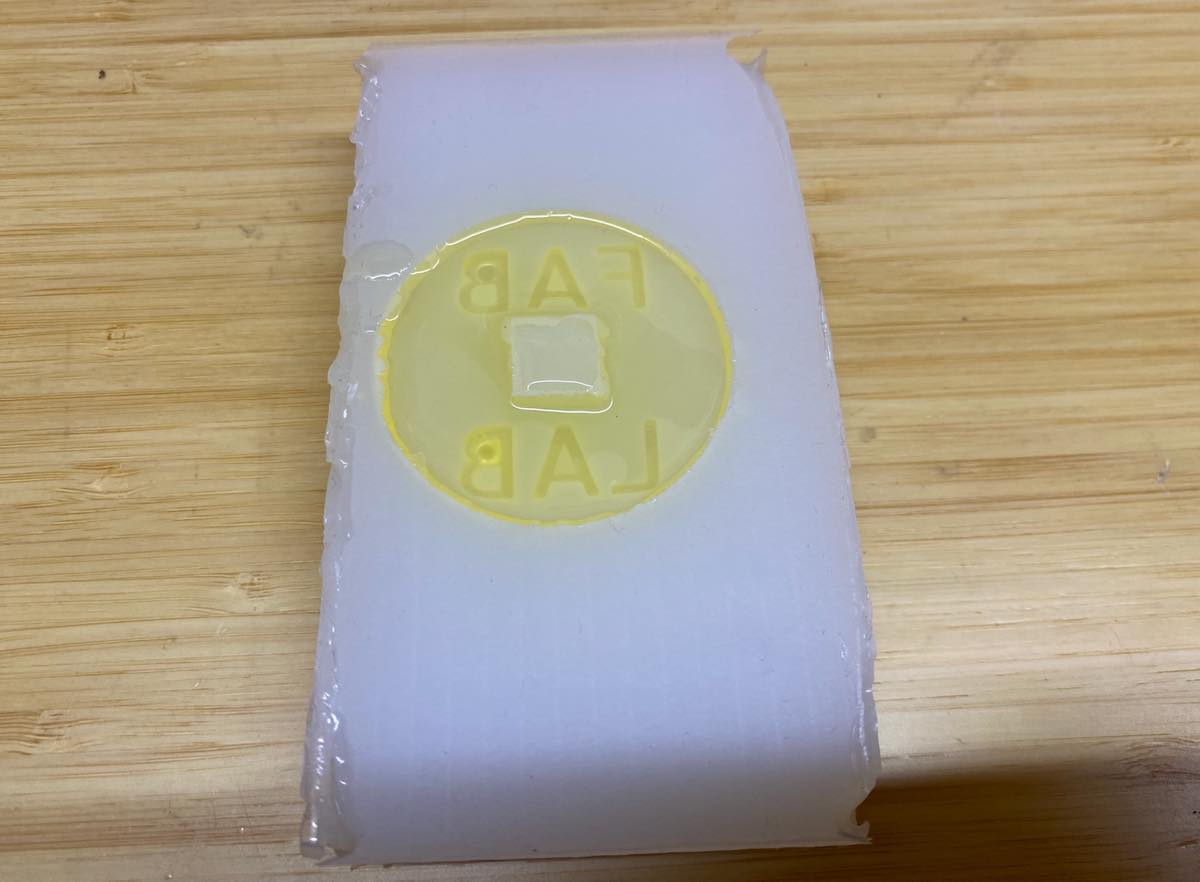
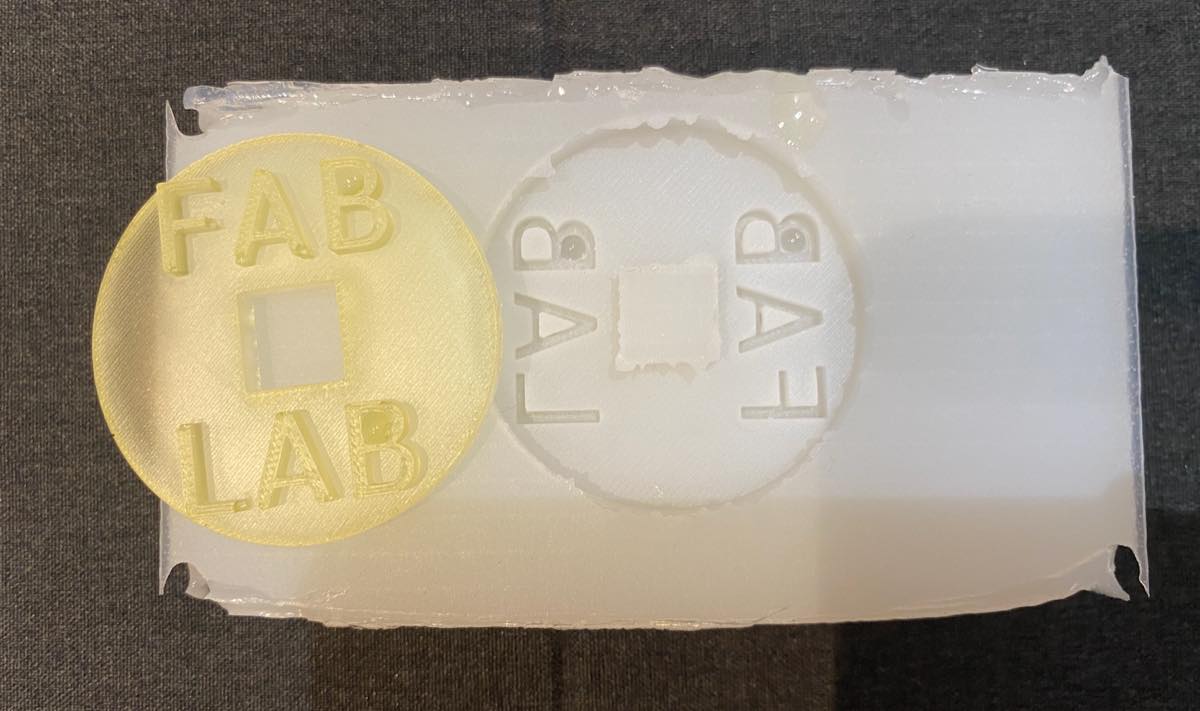
The new one is better than the first one. Pouring liquid resin into the mold is very important.
Colorful powder trial
Try another with some colorful powder.
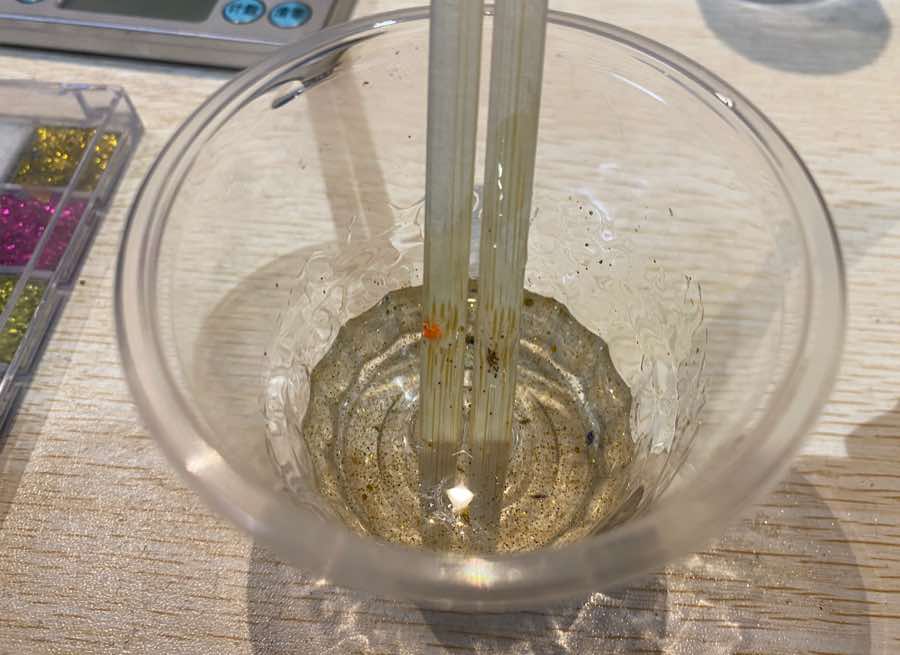
Comparison: 3D printing vs 3 castings
Conclusion
Molding and casting can be almost 100% close to the actual model. I could see the lines (likely from 3D printing) on the surface. For casting, the surface is smoother than 3D printing, and the strength is better. It can make more fancy items.
To make a good casting, some details need attention:
- Bubbles — Some items have slim gaps where bubbles can easily form.
- Pouring slowly — Pour the resin slowly to reduce bubbles.
Silicone molds are somewhat weak and easy to break; you may need to make a new silicone mold.