Computer-controlled Machining
Here is the link to our Group assignment: Week 7 Group Assignment
This group assignment on computer-controlled machining gave me hands-on experience with CNC machines. I learned how to use the CNC machines in our school and the CNC machines in Chaihuo. I also learned how to design a simple cat shield by using Fusion 360.
CNC Machine
There are 3 CNC machines in our School lab:
- CNC Router STM090: Working area 900 mm × 600 mm
- CNC Router STM1530D-4A: Working area 1500 mm × 3000 mm
- Snapmaker A350T CNC module: Working area 350 mm × 350 mm
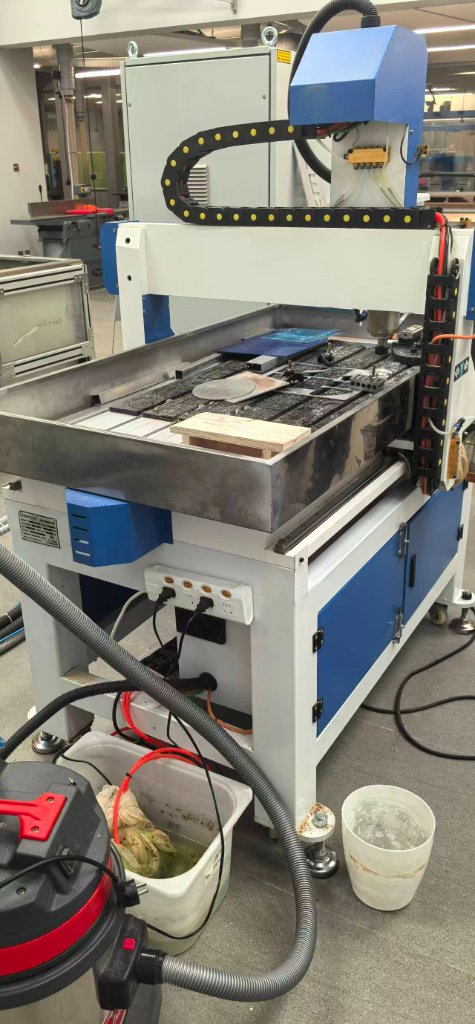


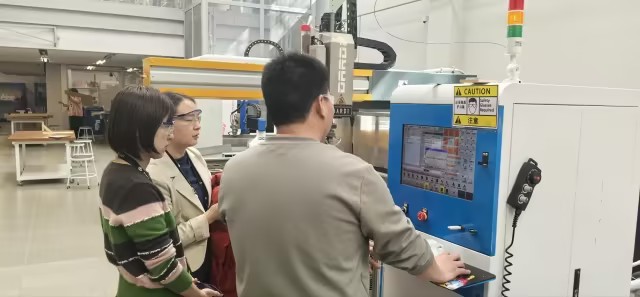
There is one large-sized CNC machine at Chaihuo, our instructor showed us how to use it.
The difference between the CNC machines in our school and the CNC machines in Chaihuo is the working area, the autonomous system, and the software.
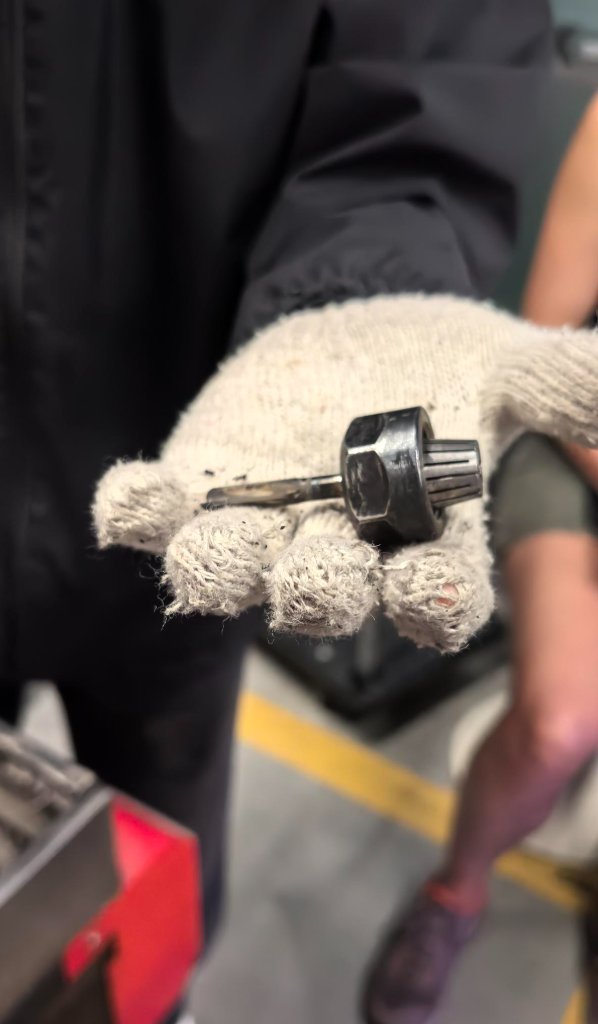
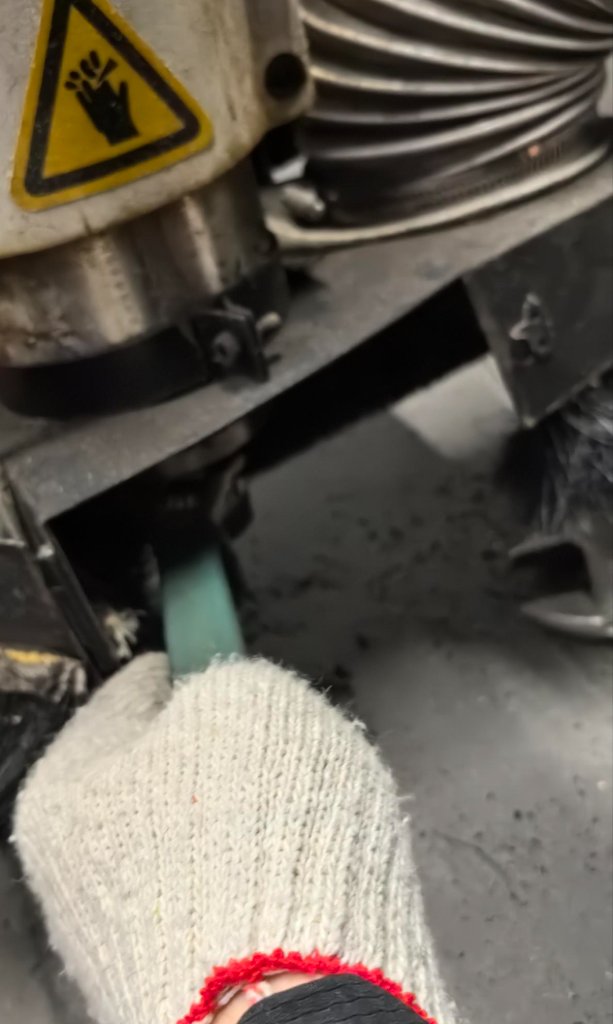
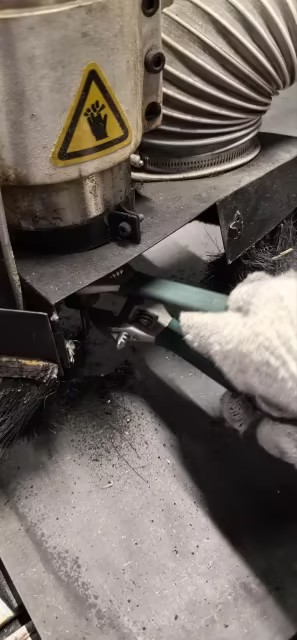
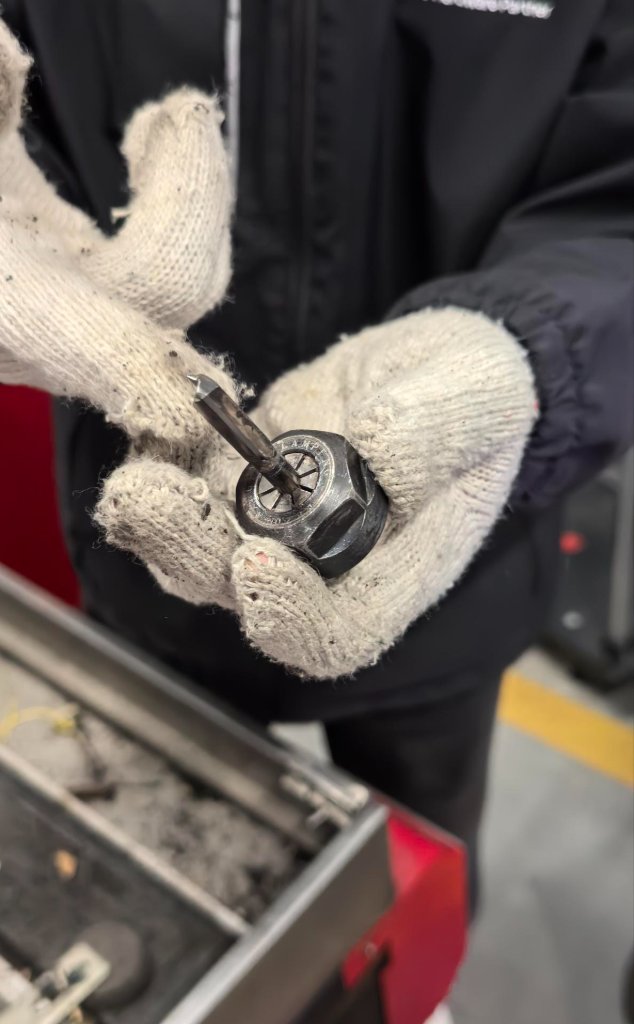
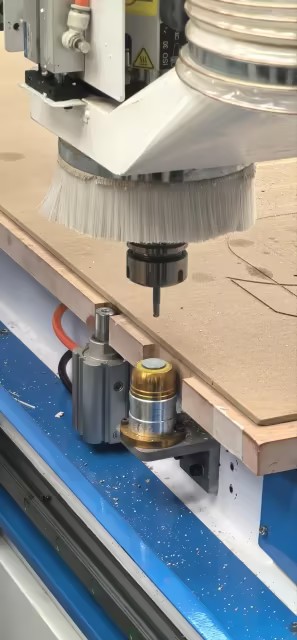
To replace the milling head at Chaihuo, we need to do it manually.
There is a stack for heads at our school, so the replacement is an automatic process.
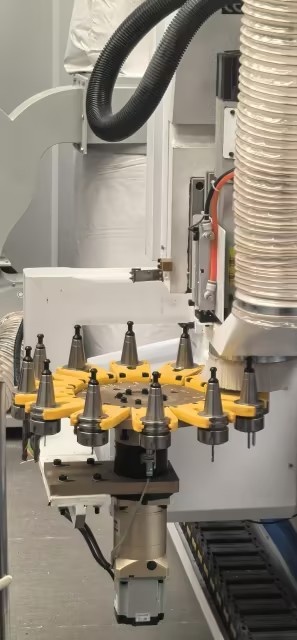
The heads will be different for different materials and different processes.
The board needs to be mounted well in the working area.
In our school, there is a vacuum system to help the board to be mounted well. So normally we don't need to use clamps to hold the board.
After the board is mounted well, we can start the CNC machine.The gcode files will be imported to the machine by using a USB stick. Then we need to tune the zeroes of the machine.
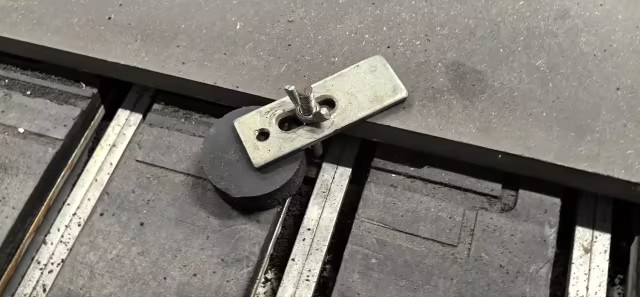
Normaly we need to set up the X-zero, Y-zero and Z-zero.

In our school, as the head is automatically replaced, we don't need to set up the Z-zero manually. It will be set up automatically when the head is replaced.
Here are two videos of the two CNC machines.
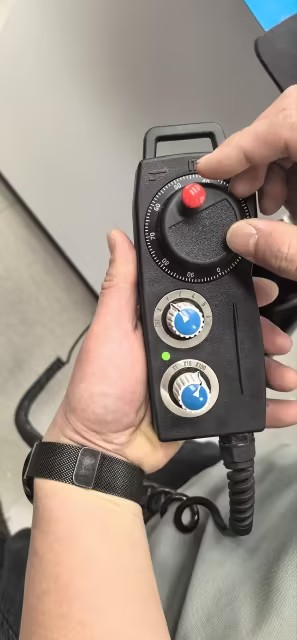
The wheel on the controlling pannel is very useful for adjusting the position of the head slowly and gradually, to protect the machine from being damaged. .
When we talk about safety, we need to wear the safety goggles to protect our eyes from the flying debris.
We also need to wear the earplugs to protect our ears from the noise. Gloves are also needed to protect our hands from the sharp edges when we are moving the materials.
We need to make sure the machine is not moving when we are adjusting the position of the head. We need to make sure the machine is not moving when we are changing the tools. We need to make sure the machine is not moving when we are loading the materials.
Group Machine Characterization
Full group data — runout, alignment, fixturing, speeds/feeds, materials, toolpaths — is documented on the Week 7 Group Assignment — Computer-Controlled Machining page. Summary of what we measured at Chaihuo (Tiancheng Xinli 3STX-1325A, 1300 × 2500 mm bed, HDF ~18.3 mm):
| Topic | What we tested / found |
|---|---|
| Runout | Inspected spindle/bit before first cut; replaced one chipped bit that wobbled under load |
| Alignment | Origin at board front-left corner; Z zero on actual board surface (not bed) — measured thickness 18.3 mm vs 18 mm nominal |
| Fixturing | Edge clamps on sacrificial layer; vacuum at school; strap clamp + T-slot at Chaihuo (Mounting.jpg) |
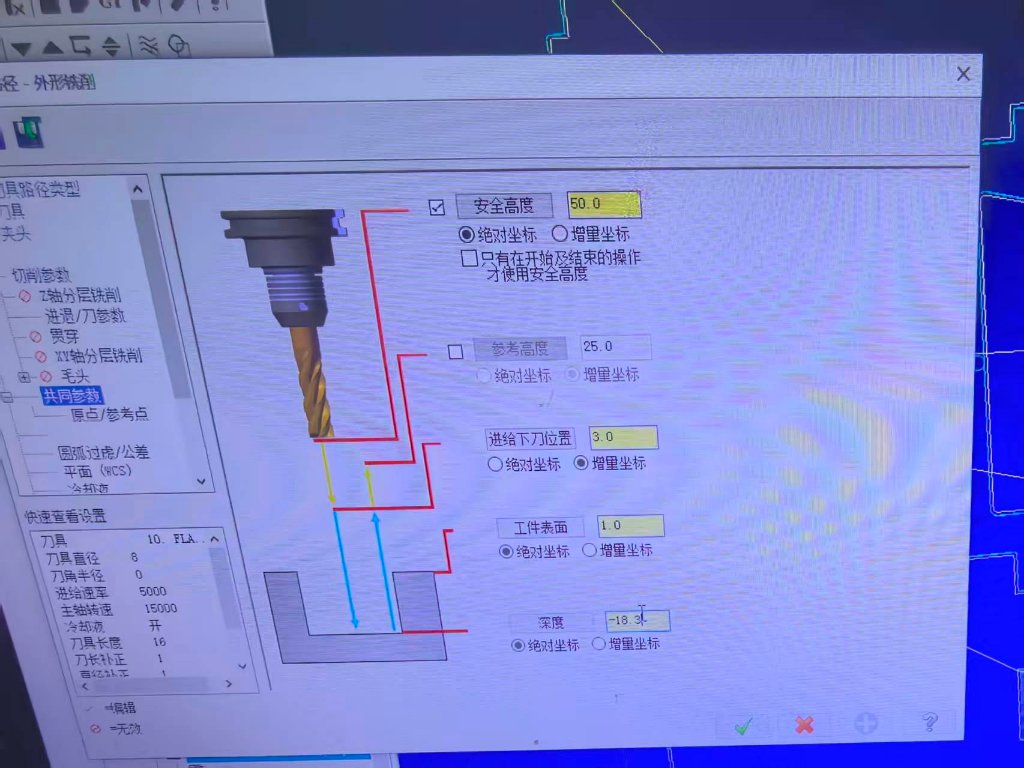
| Speeds / feeds (characterization) | 8 mm flat end mill; 15000 rpm, 5000 mm/min feed, 500 mm/min plunge — matches my cat-shield MasterCAM settings (below) |
| Recommended for HDF final parts | 6 mm bit, 24000 rpm, 2000 mm/min feed, 6 mm depth/pass, −0.4 mm press-fit offset, ~0.4 mm kerf, 3 mm dog-bone radius |
| Toolpaths | Inside before outside; shallow passes better than one full 18 mm pass; dog-bones required for square inside corners |
My individual cat-shield job used the same machine family and CAM workflow documented in the group characterization; Settings screenshots in the personal section below show the 8 mm tool, 15000 rpm, and 5000 mm/min feed values from our group test file.
Personal CNC Project
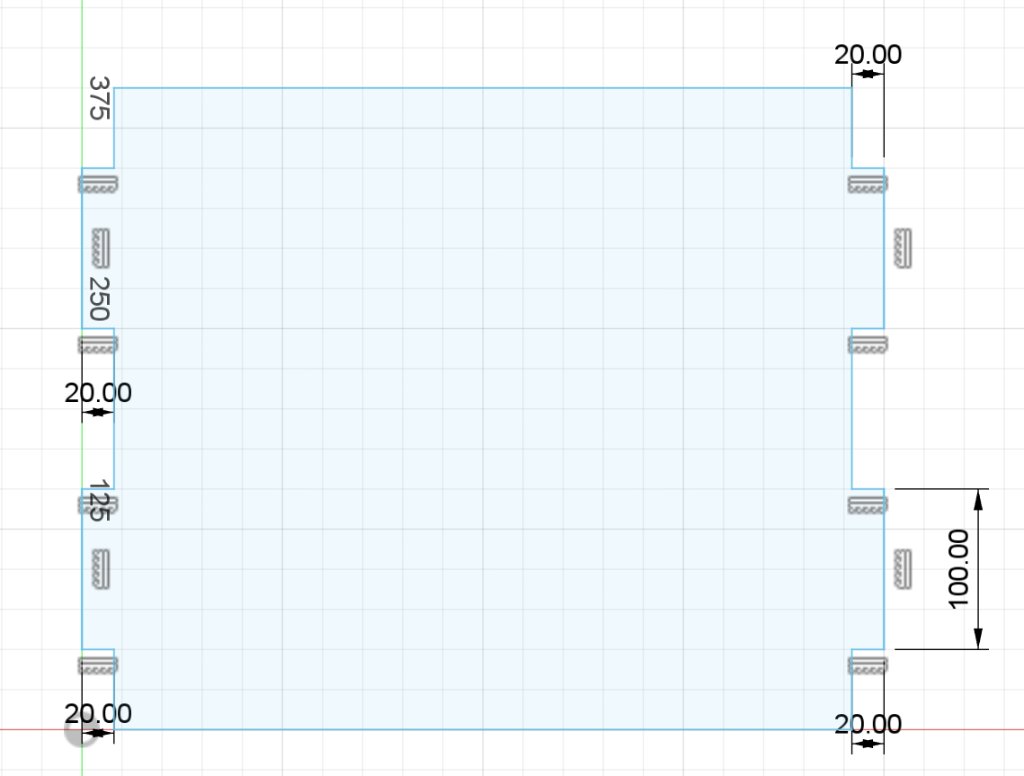
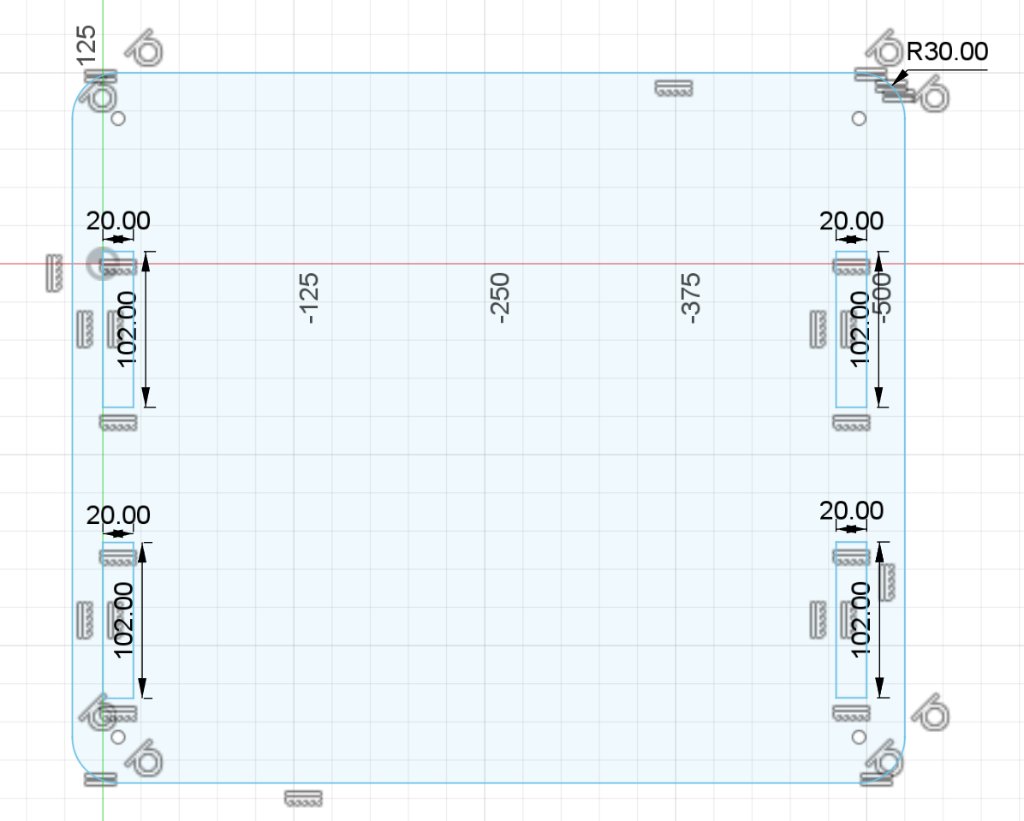
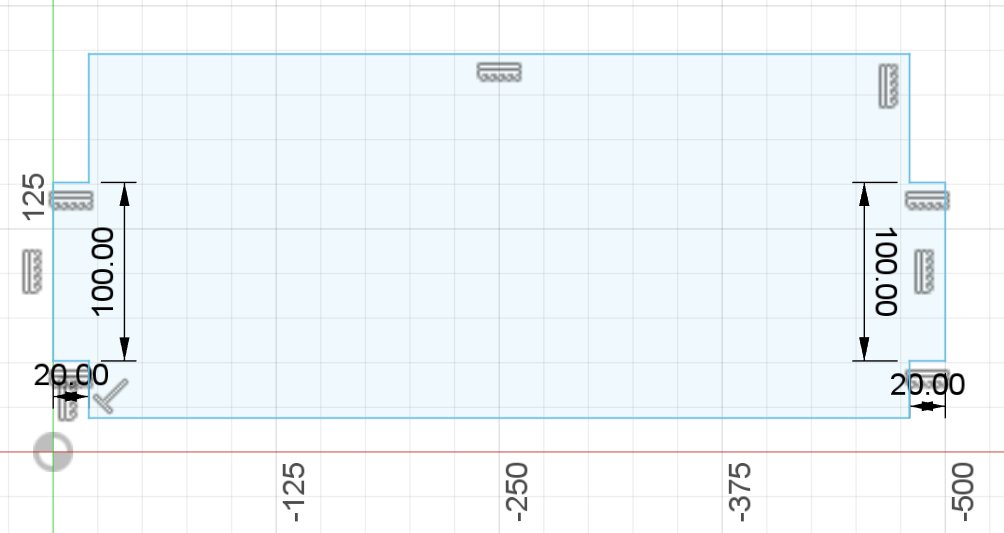
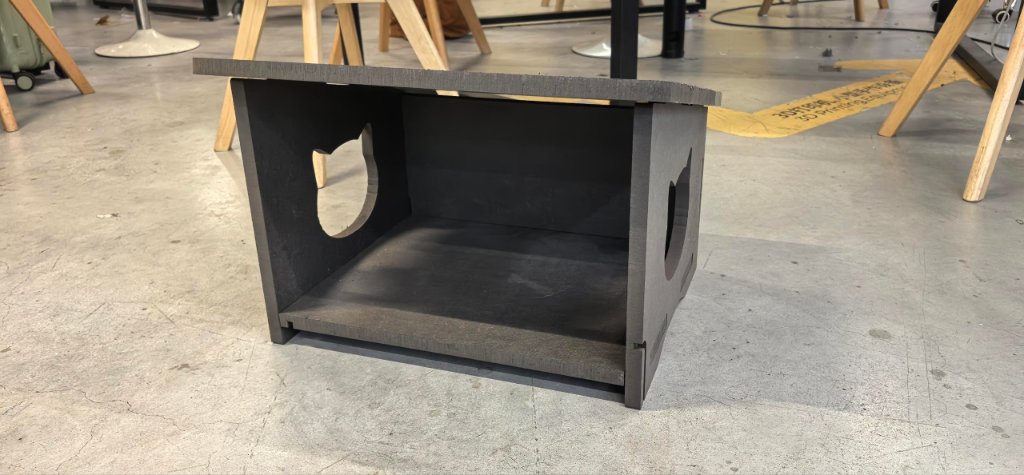
I designed a simple cat shield by using Fusion 360.
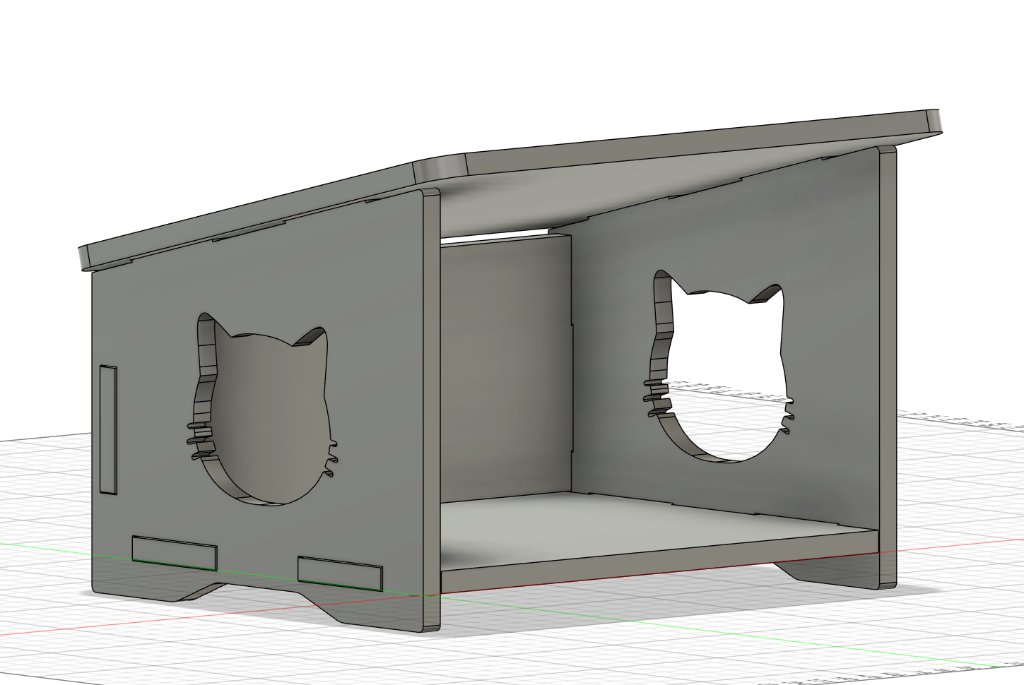
I exported each schetch to a DXF file.

Then I combine them by using Laser Maker 2.0.
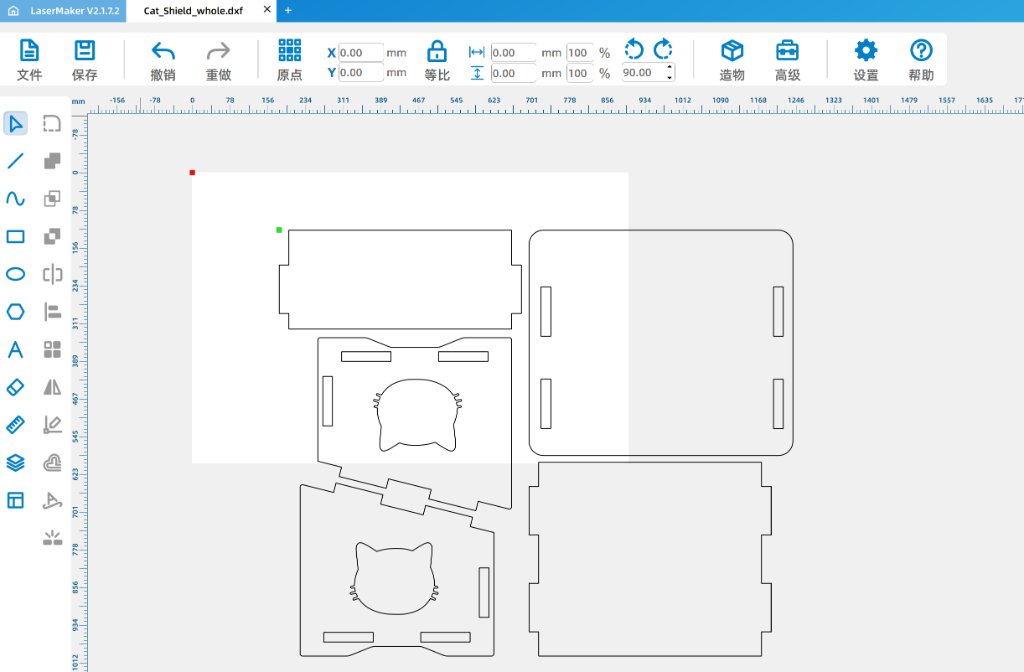
Here is the dxf file of the cat shield. Cat_Shield_whole.dxf
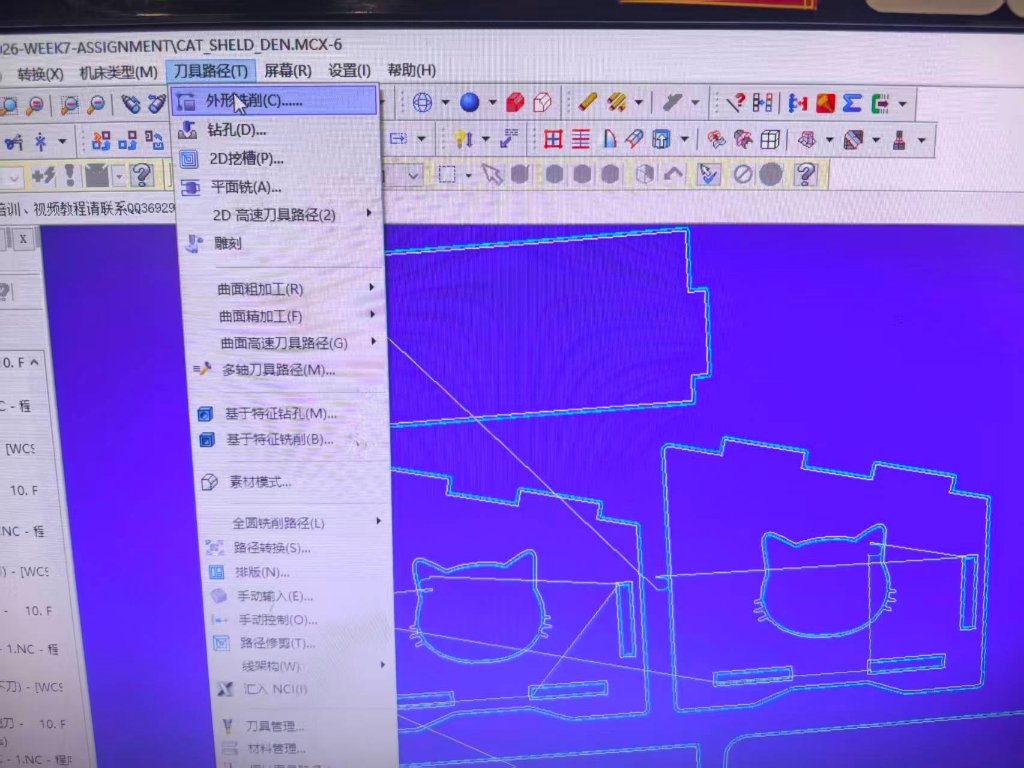
After I exported the dxf file, my instructor showed me how to convert the dxf file to a NC file for the CNC machine.
Here is the NC file: guannan_aligned.nc
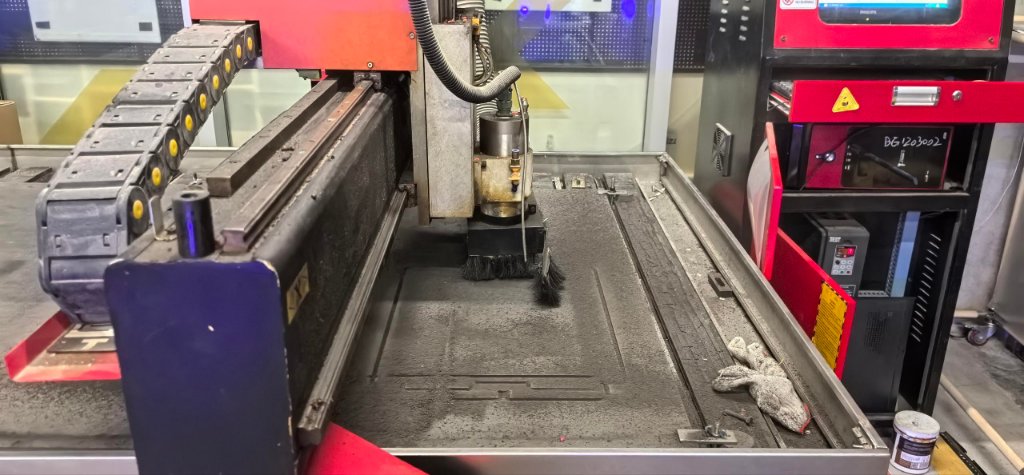
Then I copied the NC file to a USB stick and inserted it into the CNC machine. There is a PC which is connected to the CNC machine and controlling the machine.
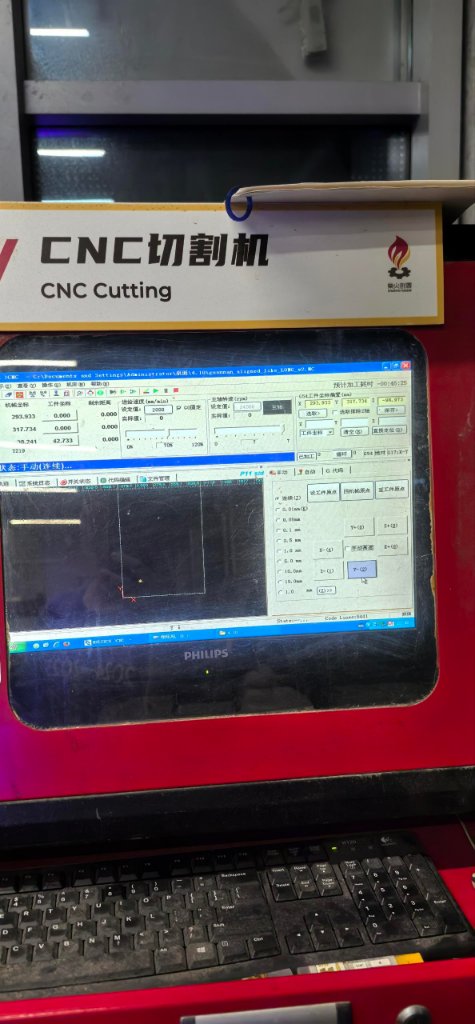
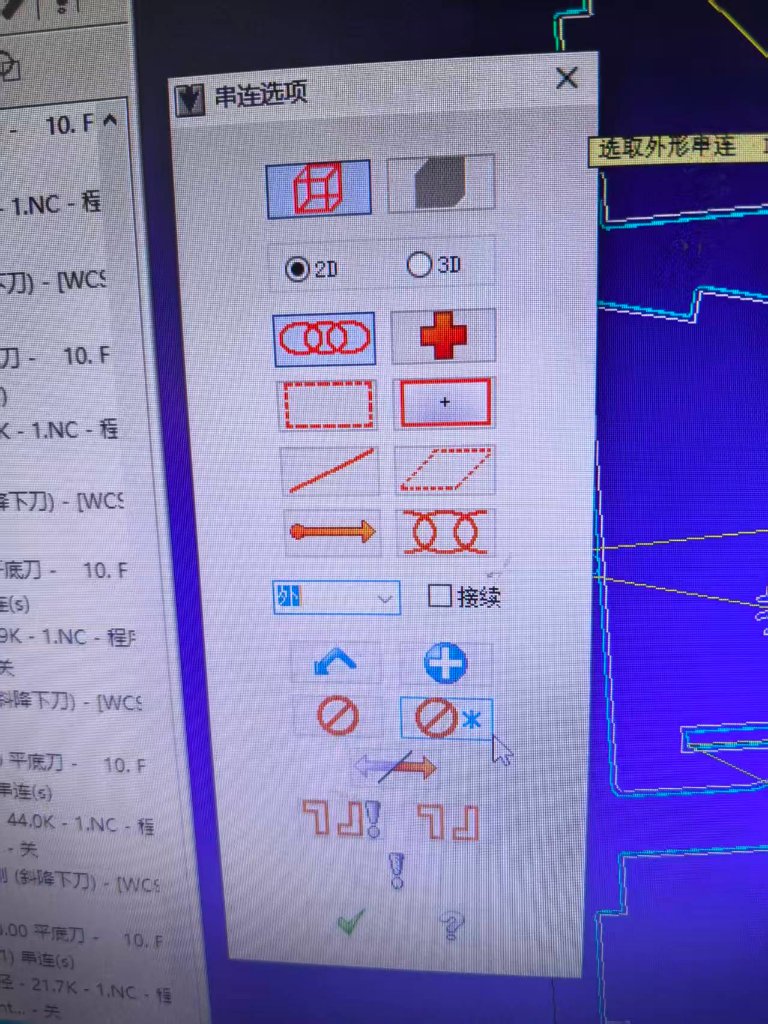
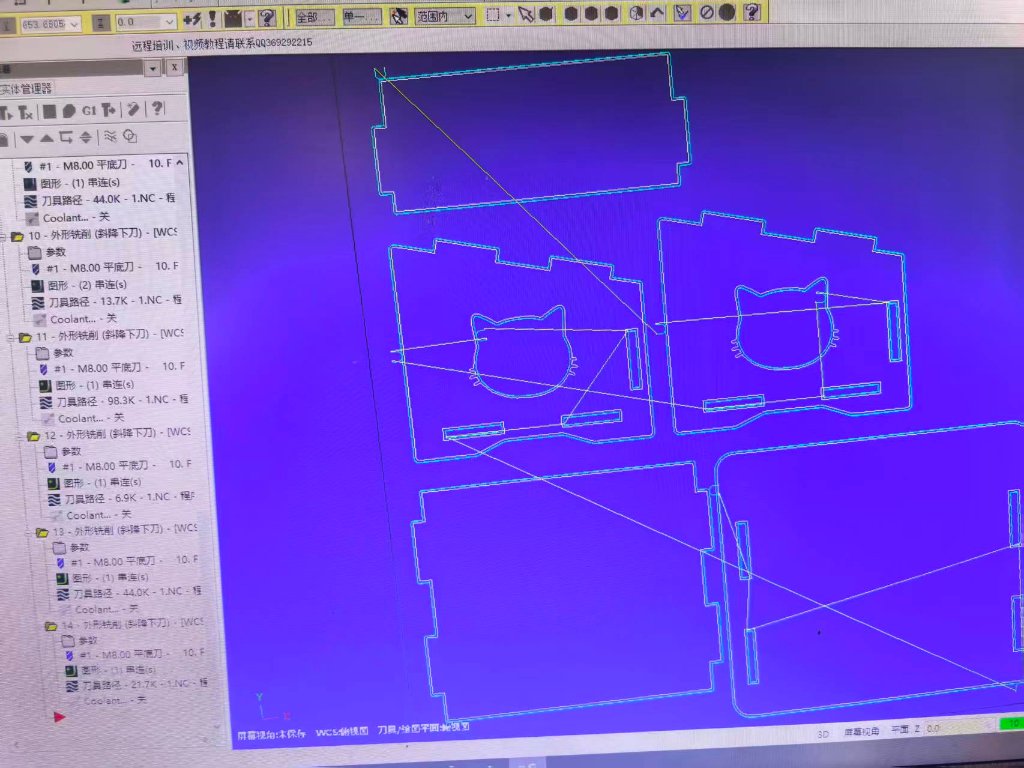
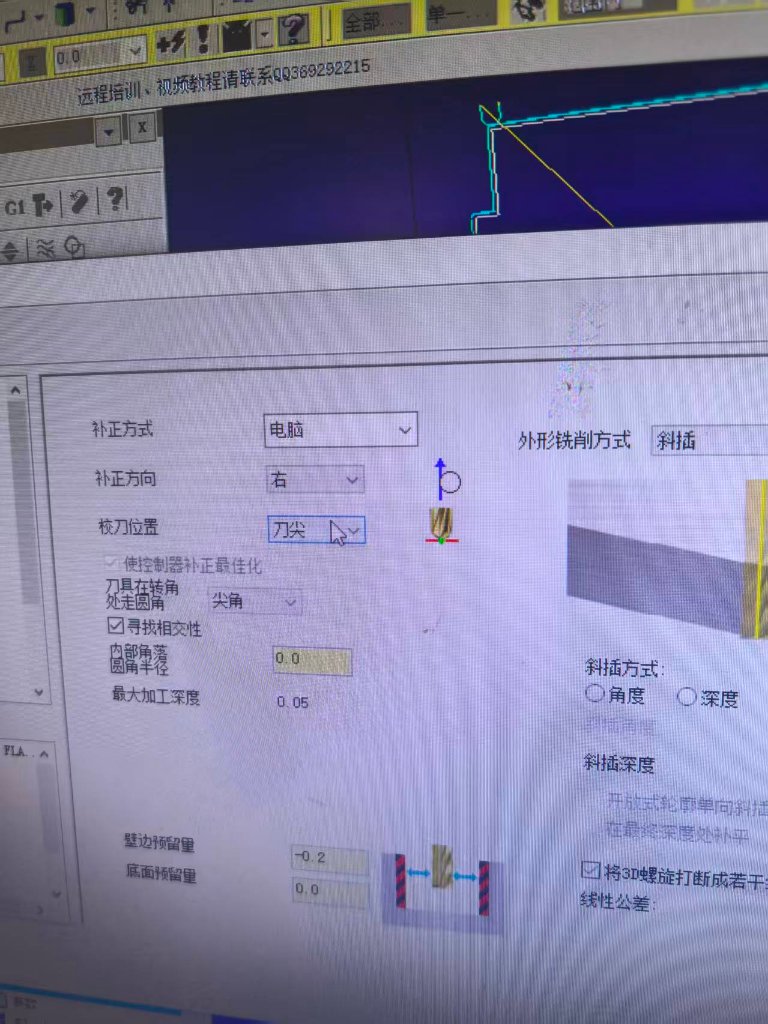
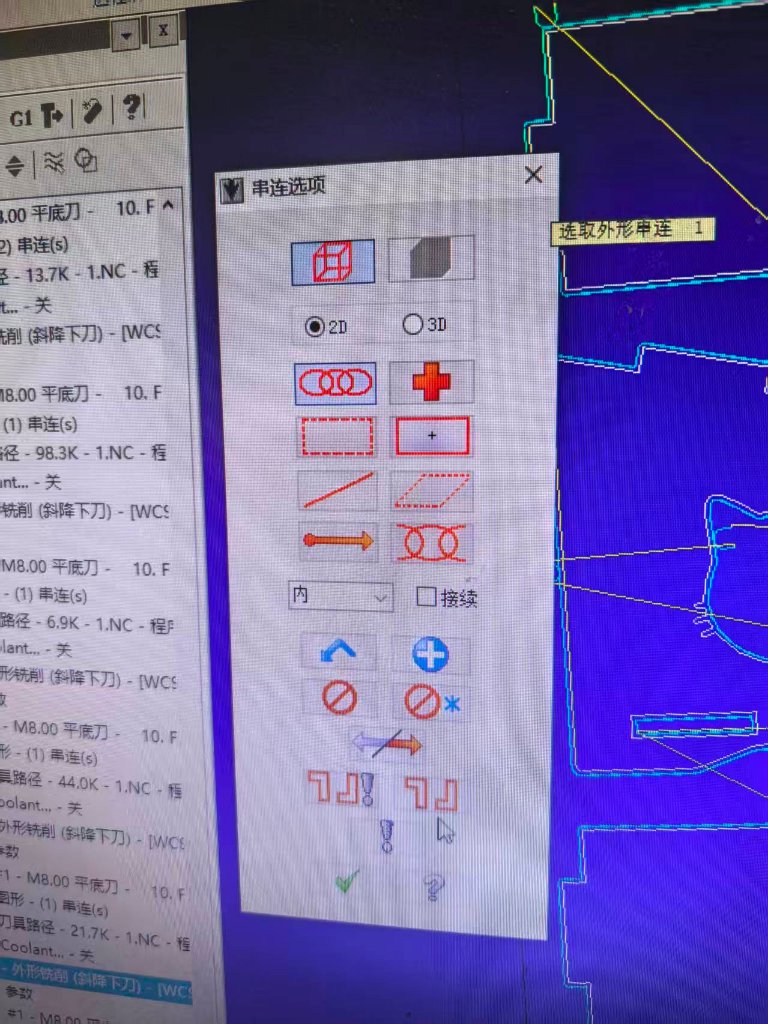
Then I need to set up the settings for the outer and inner contours, then I run a simulation of the cutting process.

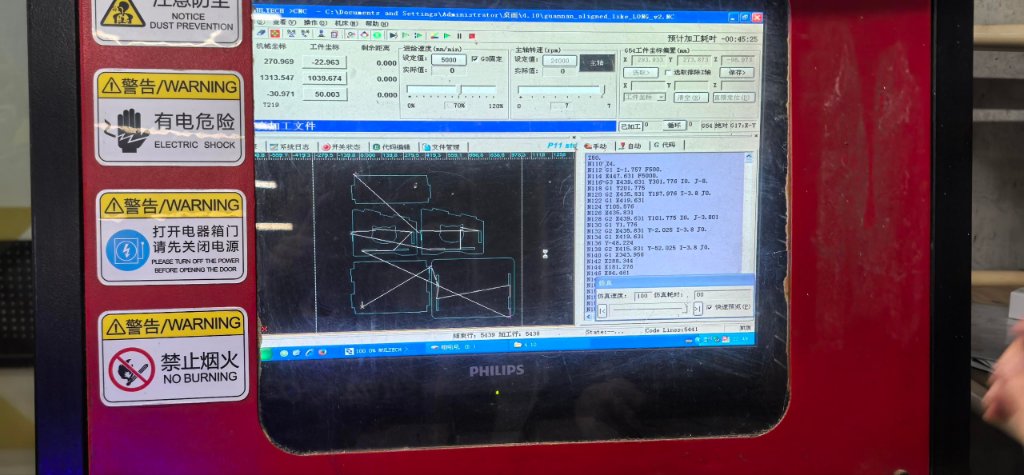
Then it started to cut the material.
The video of how it was running:
It took long time to finish cutting.
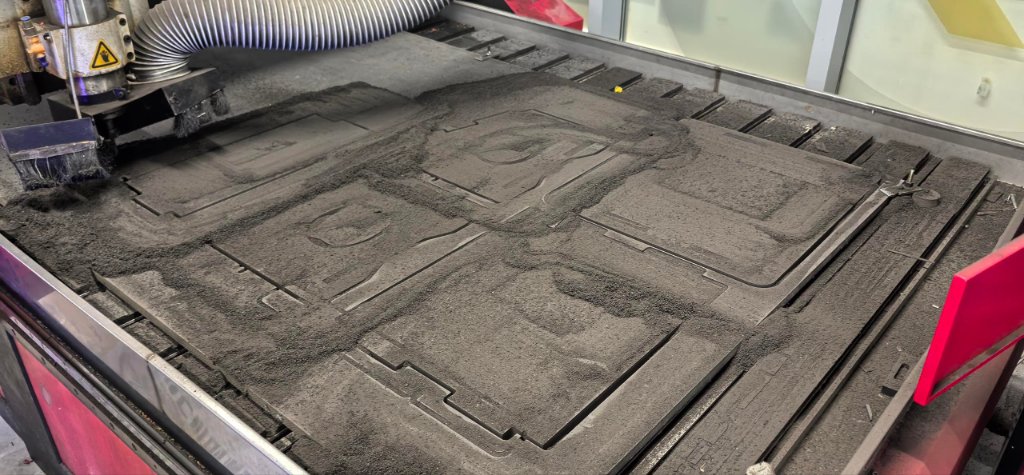
The dust collecting system was not working, so the dust were all there. I have to swipe the dust off the board with a brush.
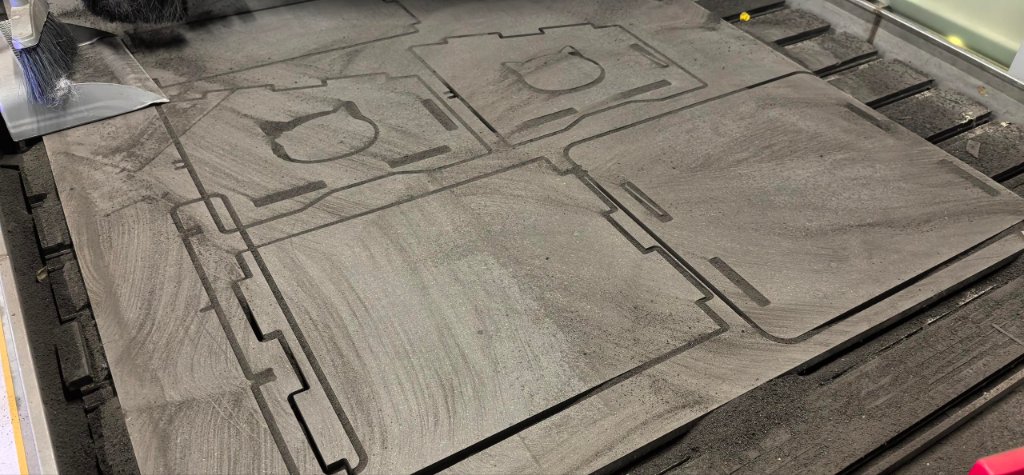
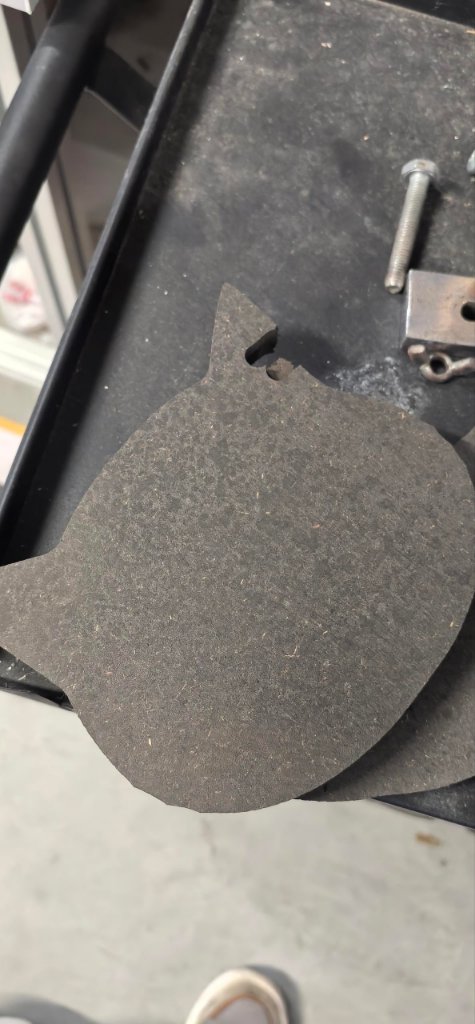
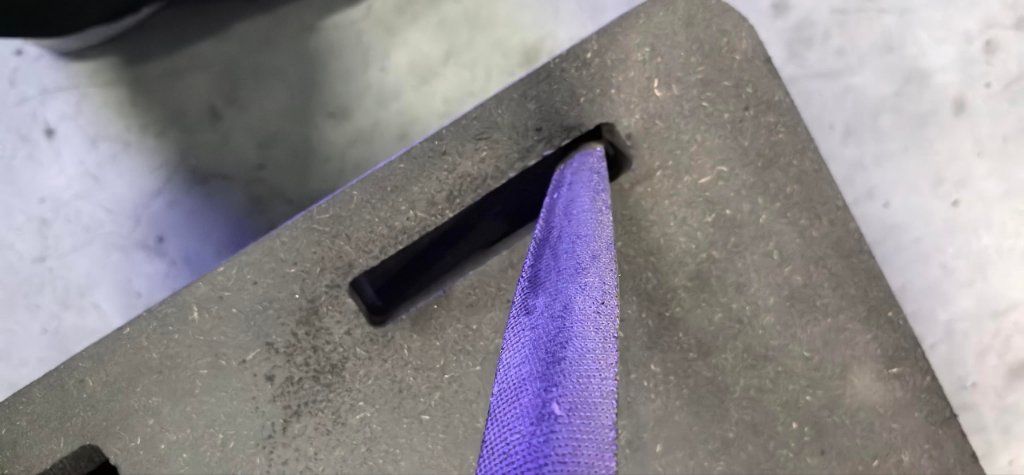
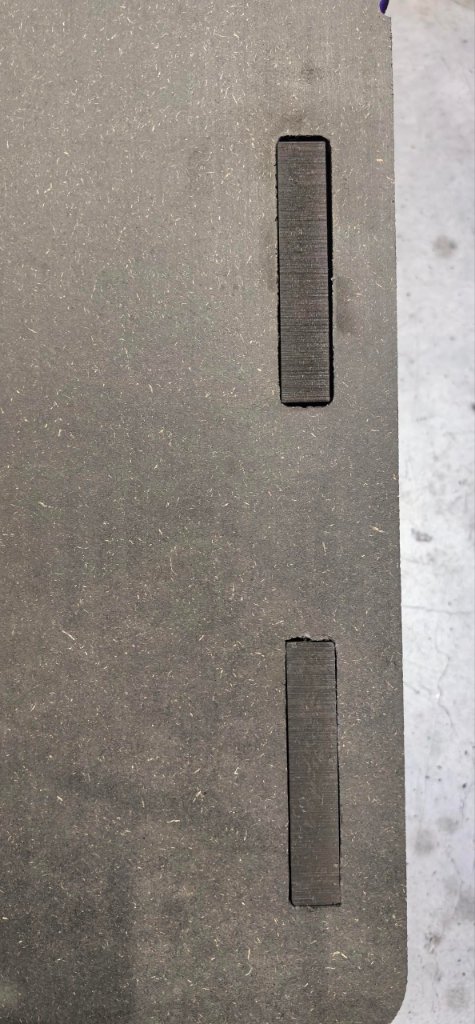
When I tried to assmeble them, I found one issue, the width of the wholes were not the same.
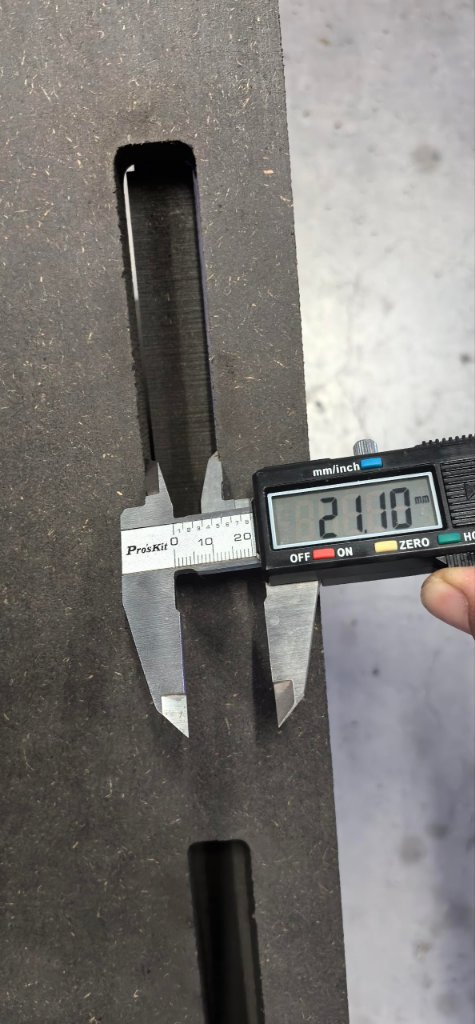
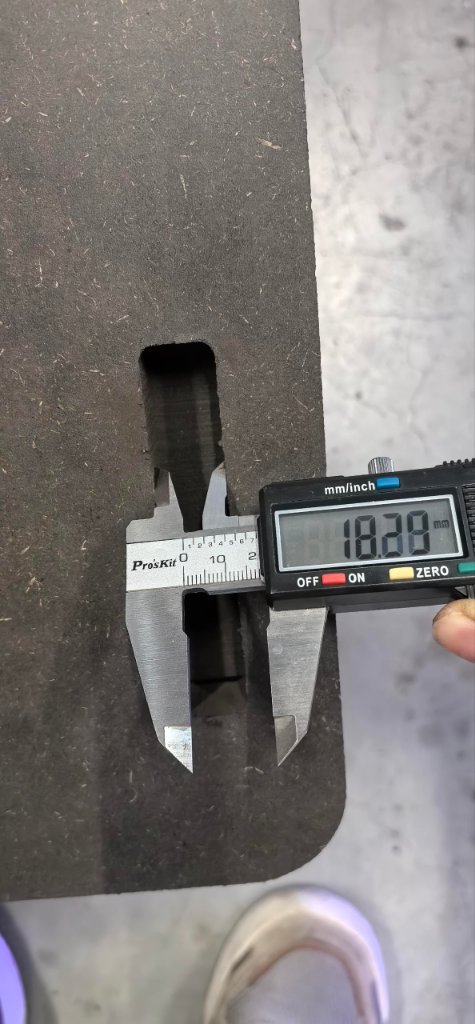
I found the issue, when I exported the dxf file, one more rectangle was exported, so the width of the wholes were not the same. I used a metal file to make the whole wider and then it was fine.
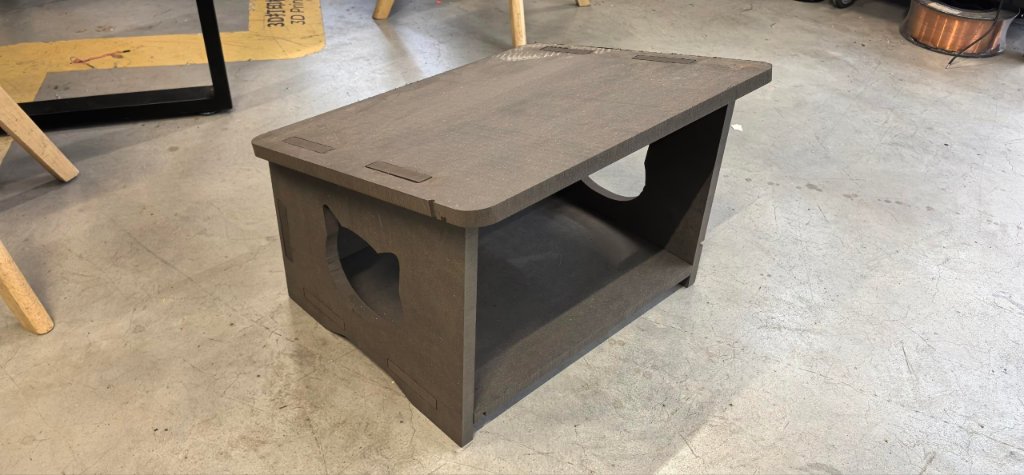
Then it fit well.
After that, the assembly was done.
I also found another thing (not an issue), the CNC machine always has a starting point, we need to put the starting point somewhere not important.