Wildcard Week
Wildcard week is for exploring a process outside the standard Fab Academy syllabus. Beyond the official topics, I studied fabric printing and decoration — how patterns are added to textiles — and experimented with combining heat transfer and FDM 3D printing on T-shirts and canvas tote bags. This page documents the workflows, material tests, HueForge relief prints, and custom holding jigs I designed for the printer bed.
Checklist
- ✓ Documented the workflow(s) and process(es) you used
- ✓ Explained how your process is not covered in other assignments
- ✓ Described problems encountered (if any) and how you fixed them
- ✓ Included original design files and source code
- ✓ Included hero shot of the result
Background — Fabric Pattern Techniques
Before combining 3D printing with textiles, I mapped common ways to add graphics to fabric. These sit largely outside Fab Academy’s default machine list but matter for wearable and soft goods:
| Method | How it works | Notes |
|---|---|---|
| Embroidery | Stitched thread patterns | Durable, tactile; slow for large areas |
| Screen printing | Ink pushed through a mesh stencil | Good for flat colour blocks; needs screens per colour |
| Hand painting | Brush + fabric paint/dye | Flexible, one-off; hard to repeat exactly |
| Shibori / tie-dye | Traditional resist dyeing | Organic patterns; less precise placement |
| Heat transfer (modern) | Print motif on transfer film (often PU-based), press with heat | Common for T-shirts and tote bags; needs heat press or iron |
Commercial heat transfer often uses a PU (polyurethane) adhesive layer to bond printed graphics to cotton or polyester. In FDM 3D printing, TPU (thermoplastic polyurethane) is a flexible filament — chemically related in the “urethane elastomer” family, but used as a solid extruded layer rather than a heat-transfer film. That similarity prompted my wildcard question: can 3D-printed TPU (or other filaments) attach to fabric the same way heat-transfer vinyl does — or even be printed directly onto the textile?
Project — Heat Transfer × 3D Printing
I explored two implementation paths on T-shirts (soft knit cotton) and canvas tote bags (stiffer woven fabric):
Path A — Print patch, then iron transfer
- 3D-print a thin TPU pattern on the build plate (single colour).
- Place the print on the fabric in the desired position.
- Cover with baking parchment paper (protects fabric and spreads heat).
- Press with a clothes iron (or heat press) so the warm TPU bonds to the textile.
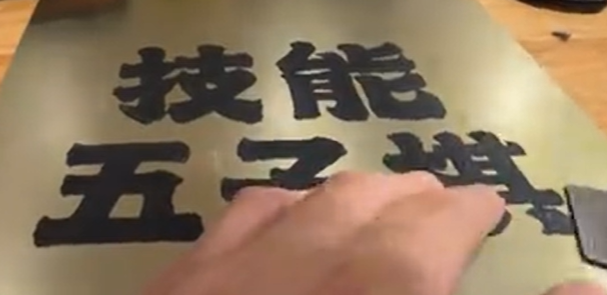
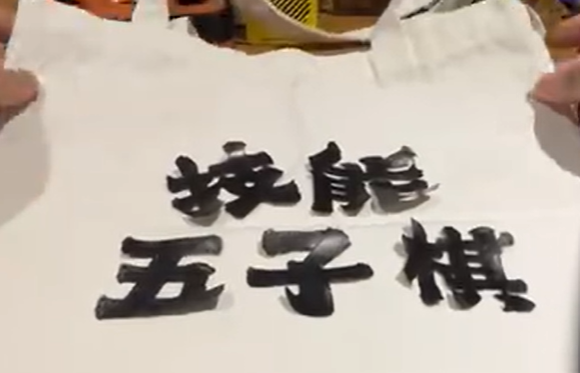
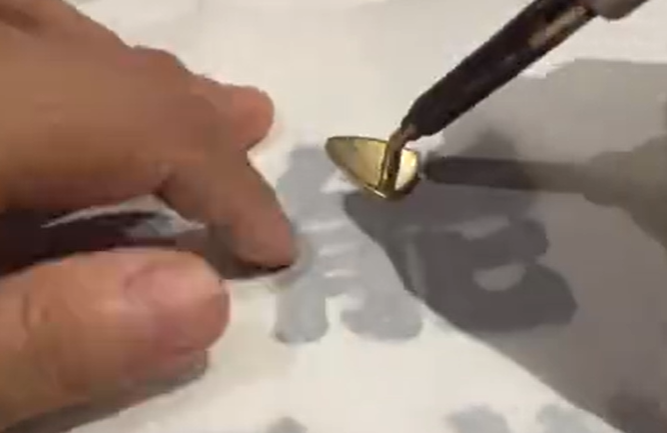
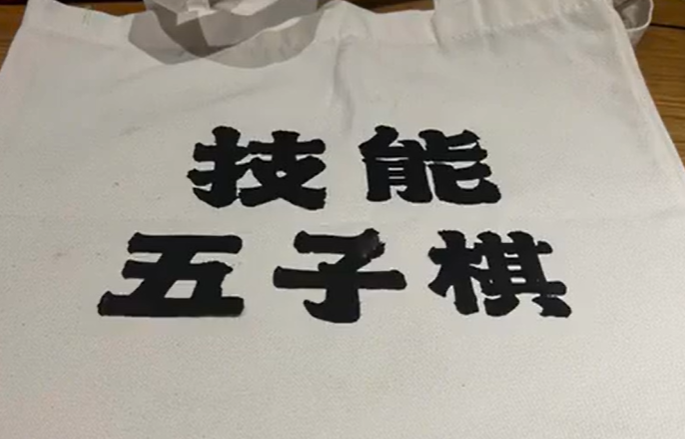
This mirrors industrial heat transfer: the printer makes the “decal”; heat activates adhesion. Works best for small-to-medium TPU patches where the film stays flexible after bonding.
Path B — Direct print on fabric with the 3D printer
- Mount fabric flat on the bed (using custom jigs — see below).
- Print the whole pattern directly onto the textile.
- Rely on nozzle temperature (~200–250 °C depending on material) to soften or embed filament into the fabric surface — conceptually replacing the iron with the hot extruder itself.
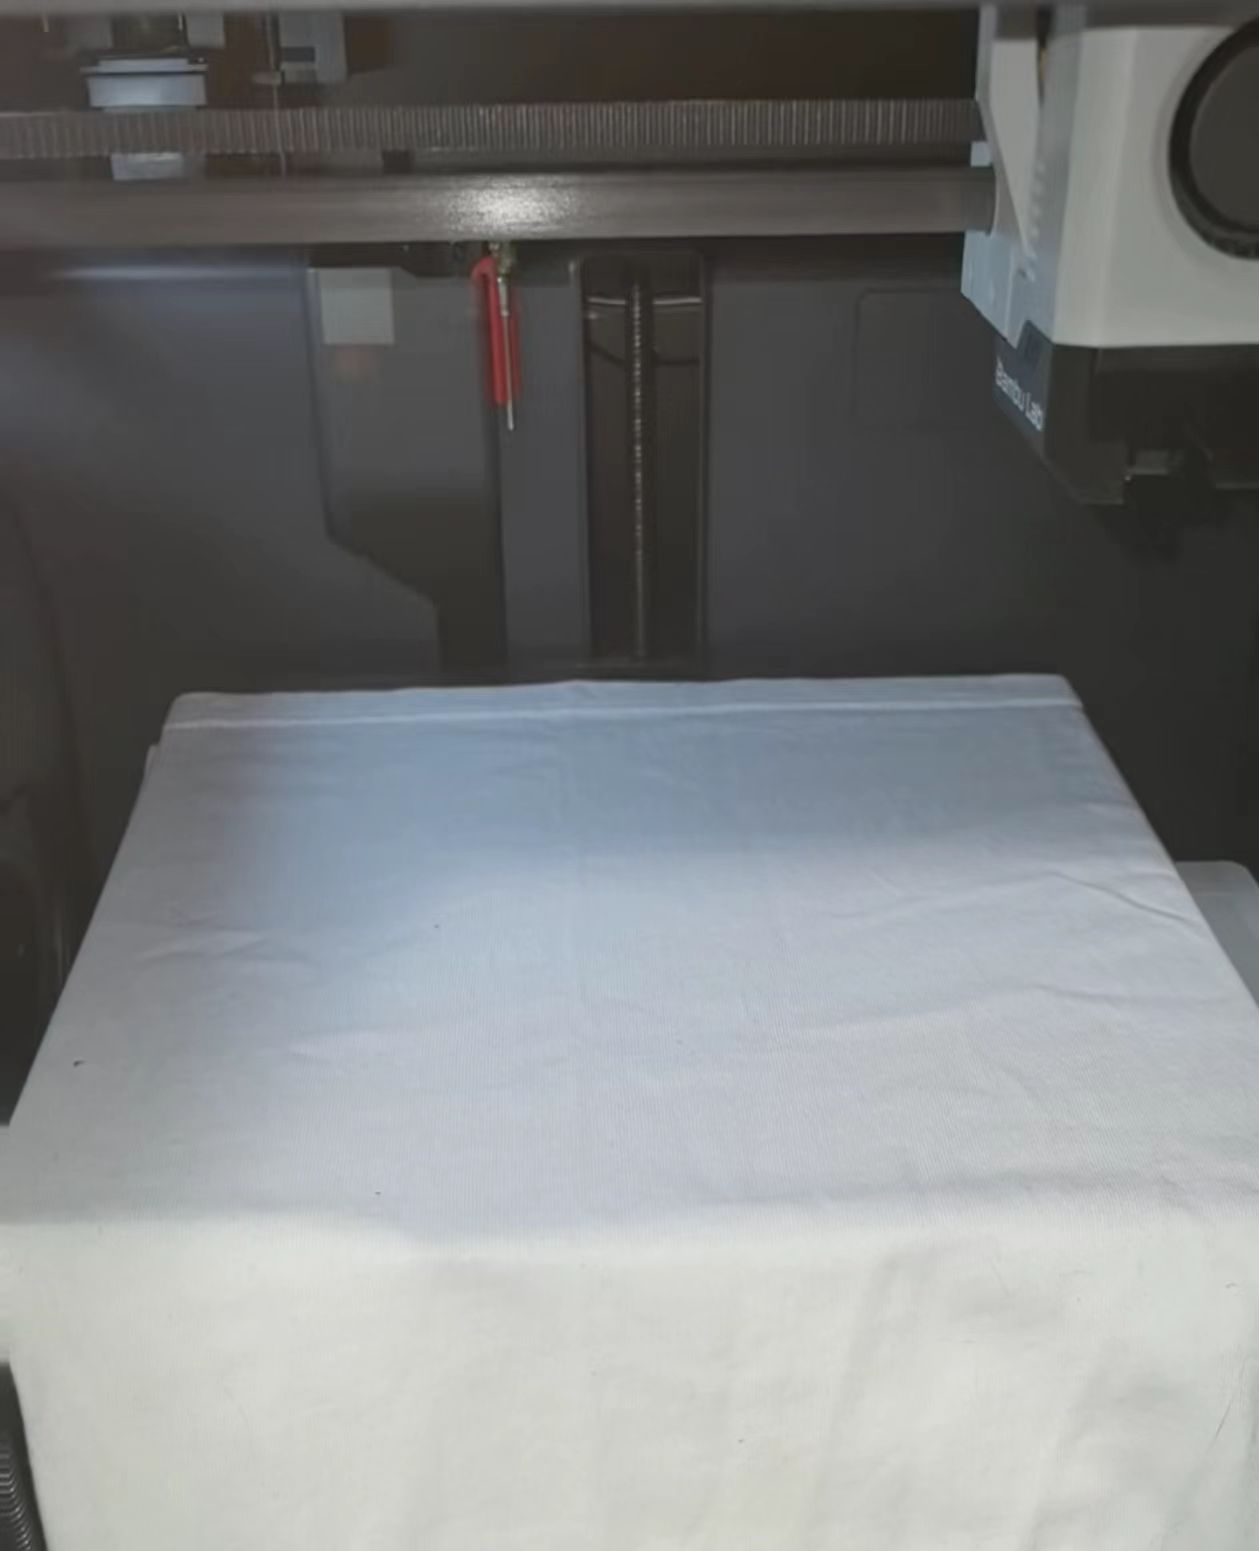
T-shirt on Bambulab A1mini:
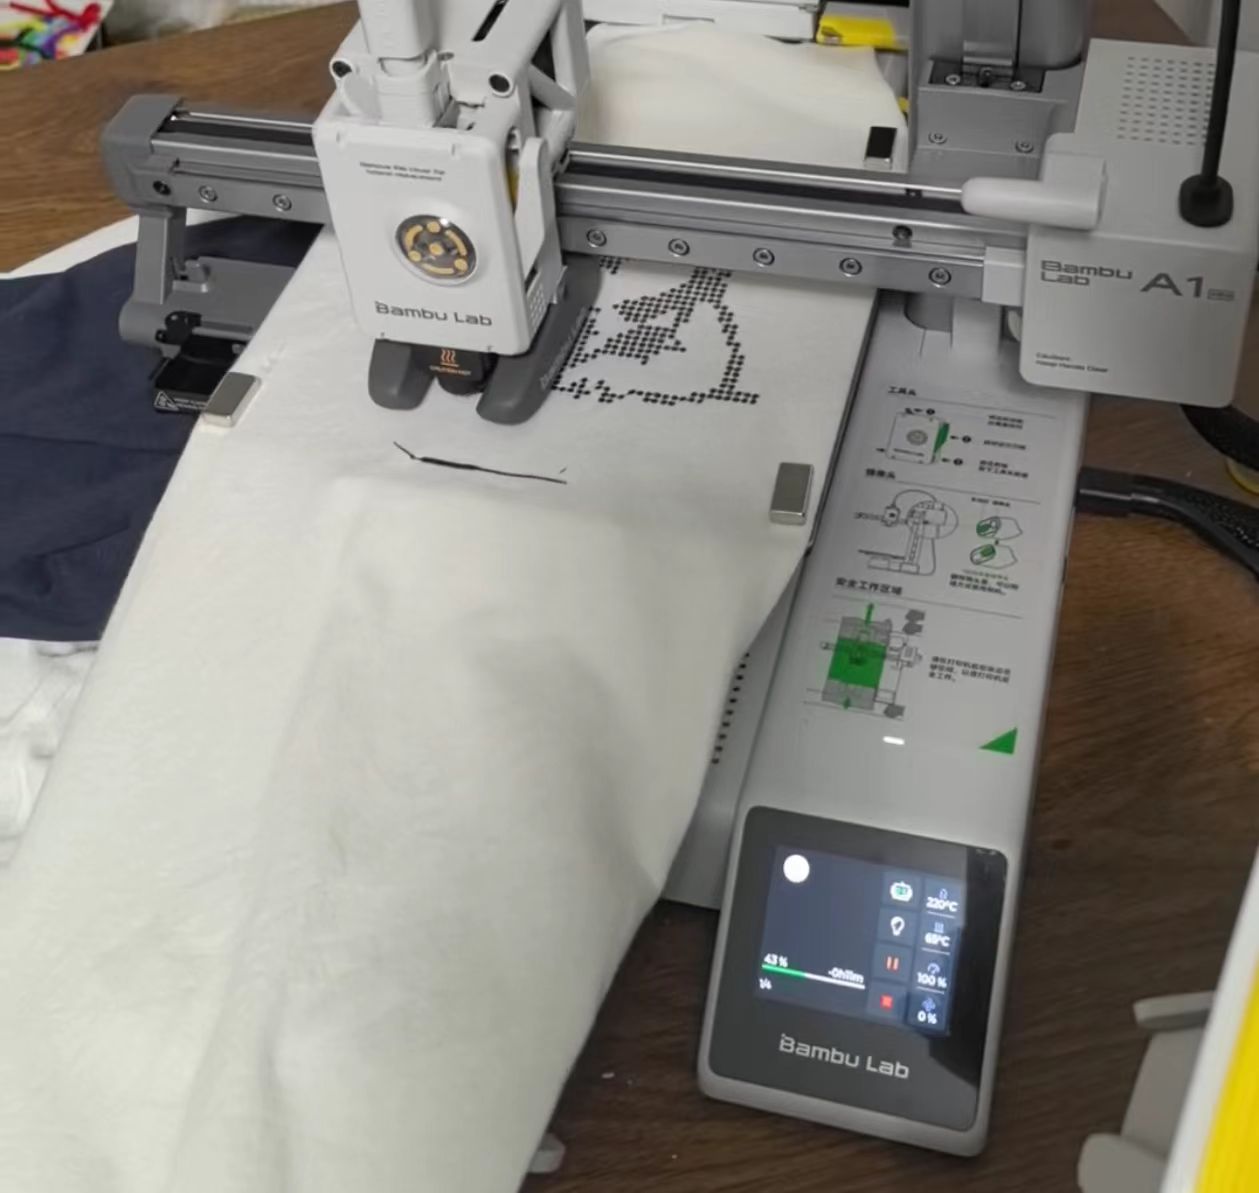
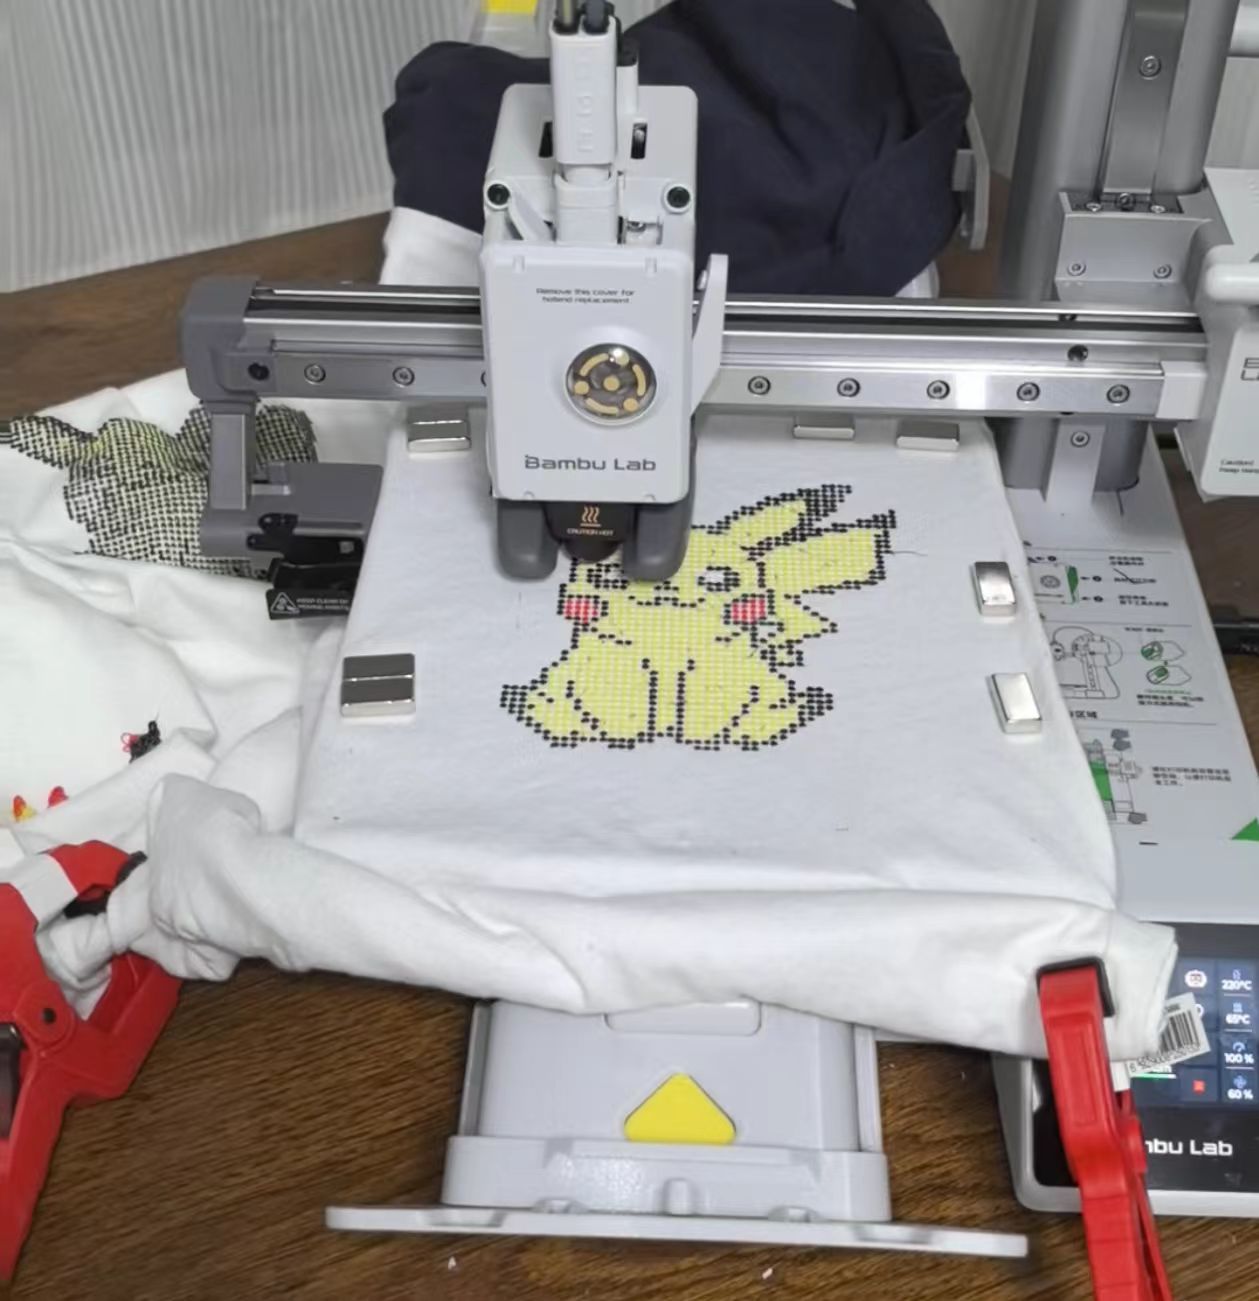
Patterns printed on T-shirt:
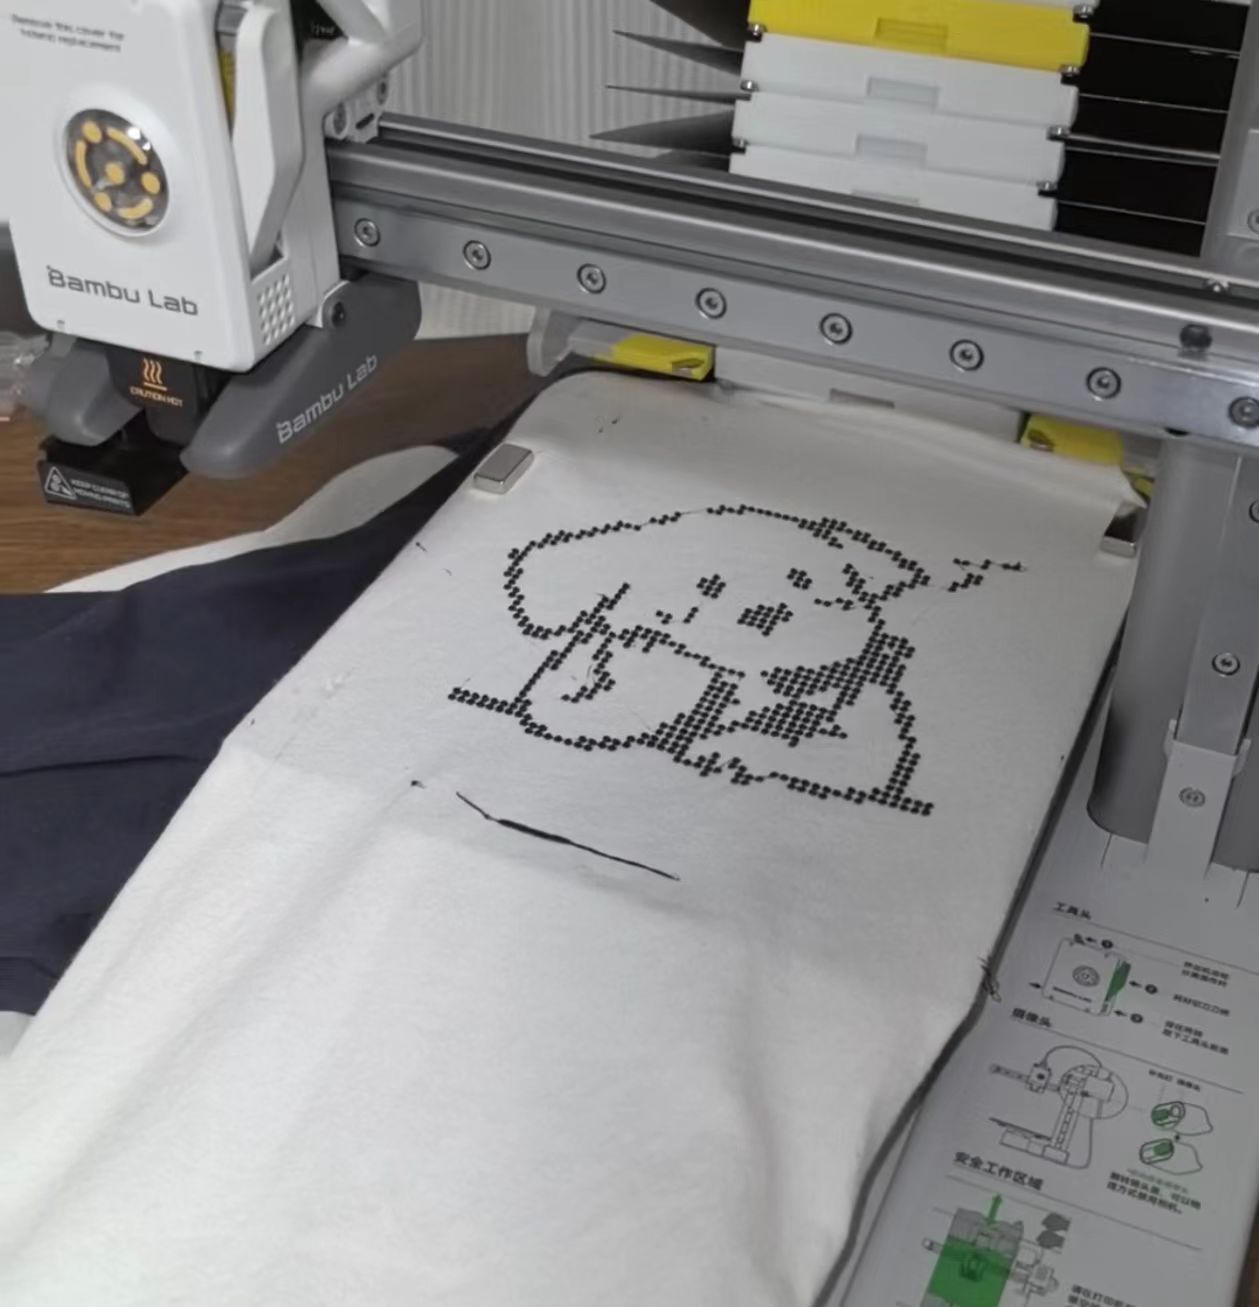
Hypothesis: if nozzle heat can fuse PU transfer films in commercial workflows, perhaps extruded hot plastic can anchor to cotton/canvas without a separate iron step. In practice, success depends heavily on material stiffness, print height, and fabric type.
Material and Pattern Experiments
I tested TPU, PLA, and PETG with different geometries on both garment types:
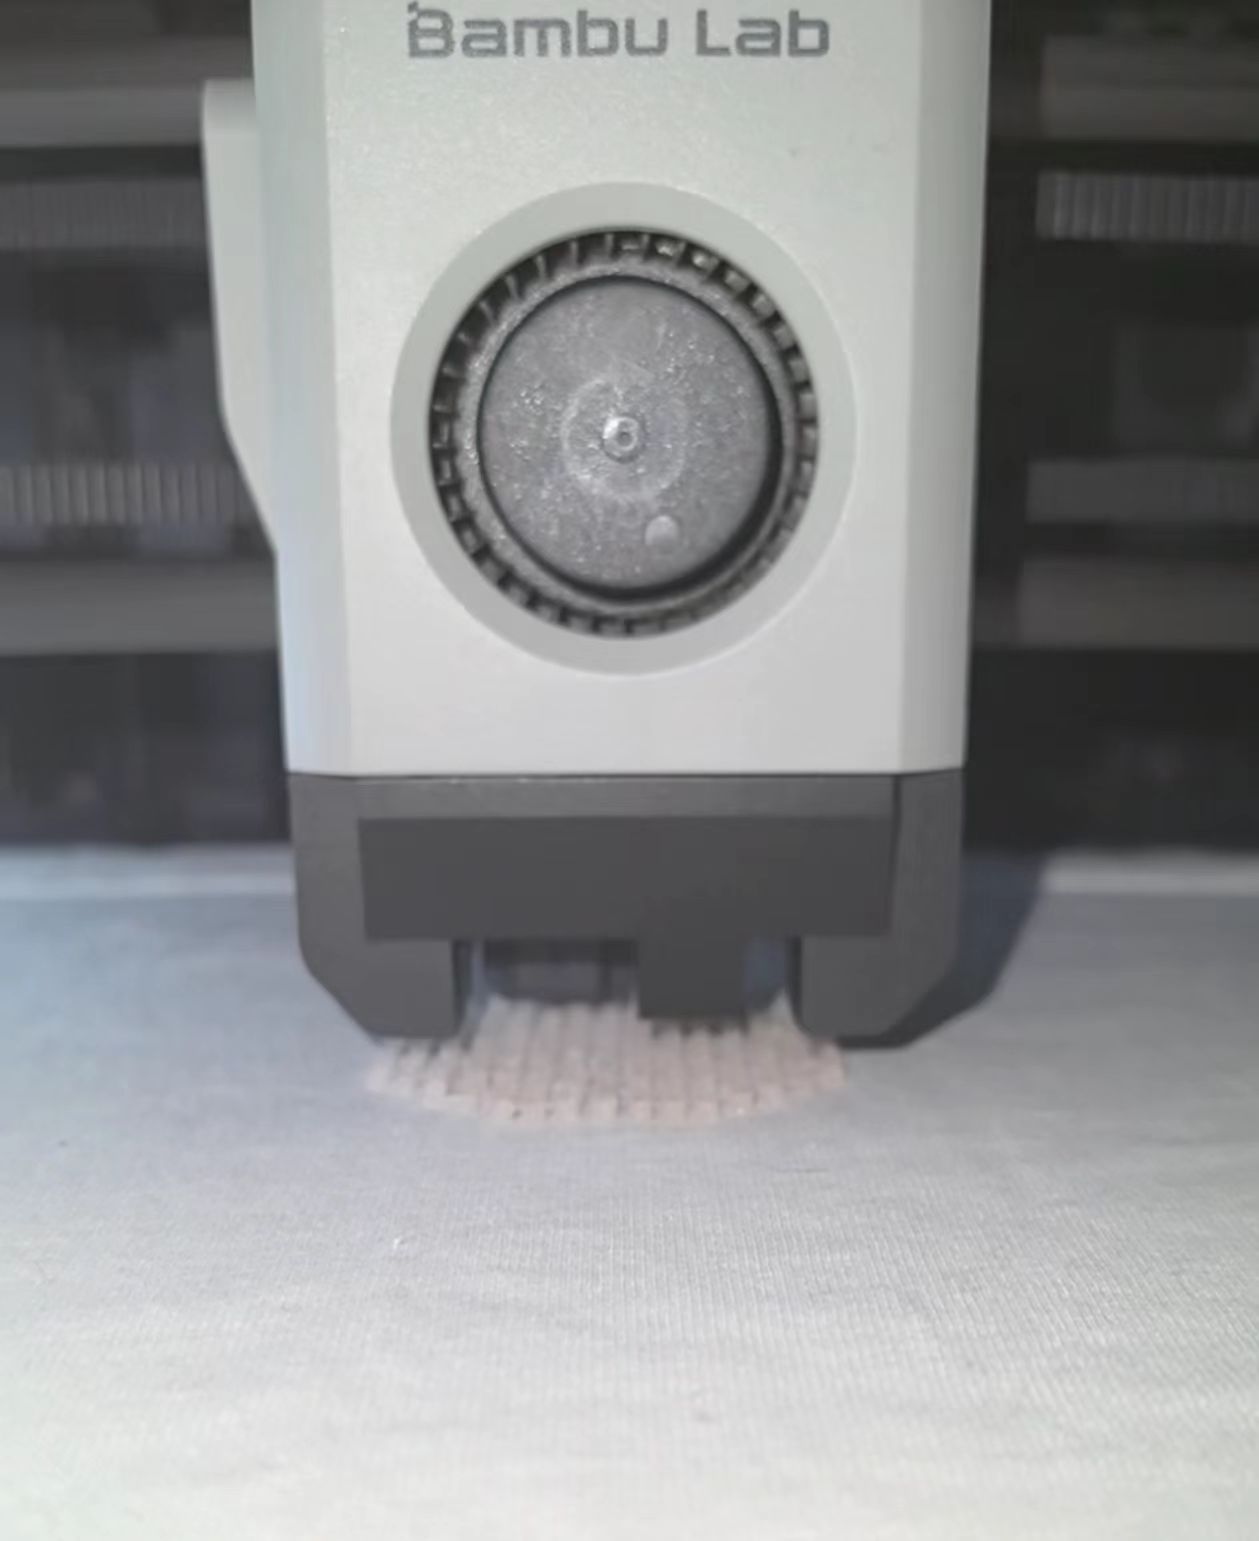
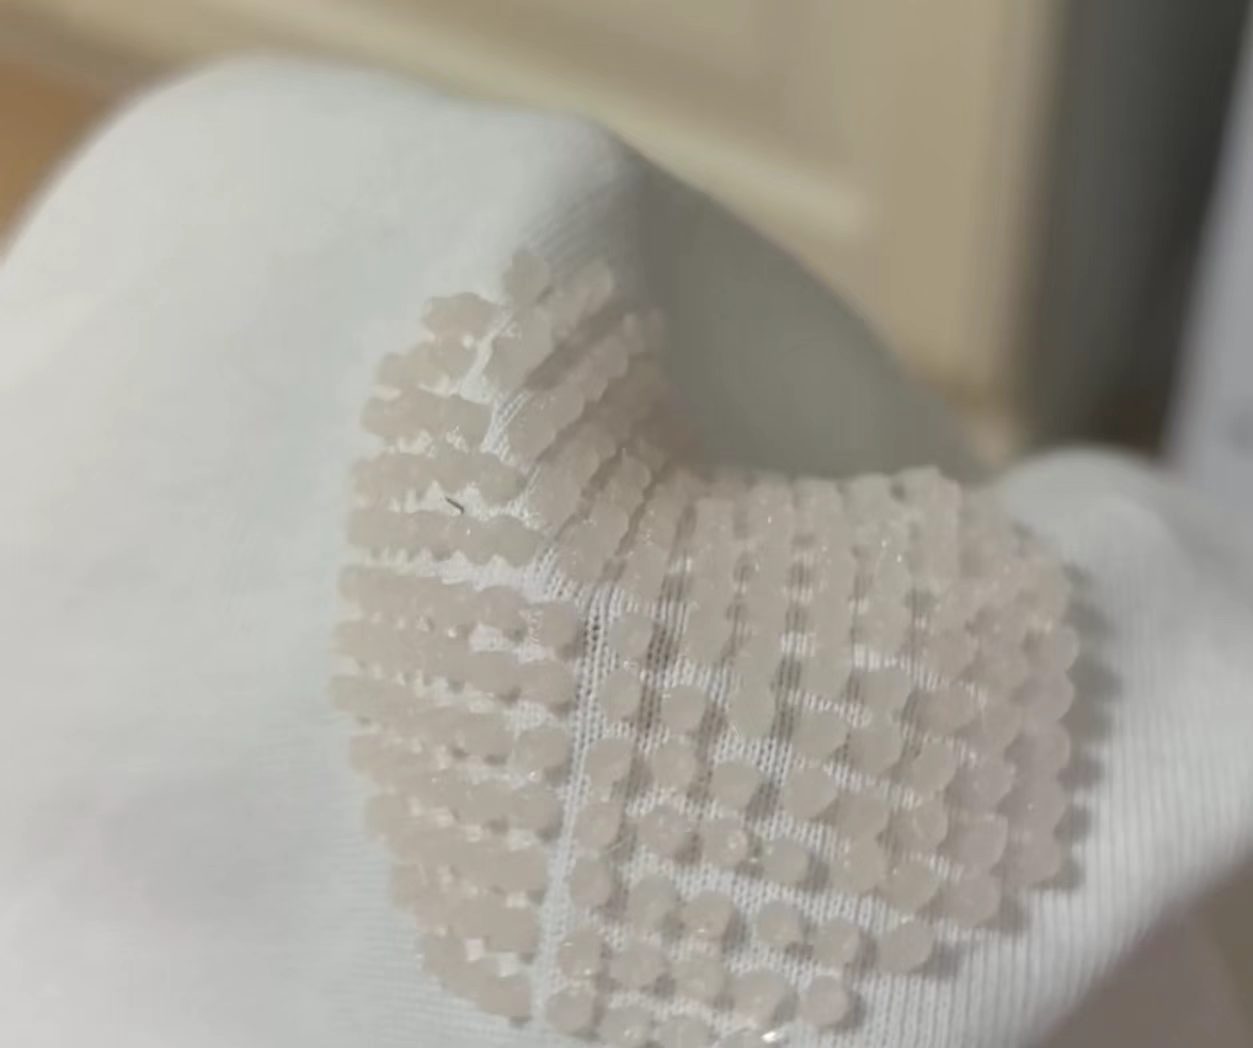
For example, PLA on T-shirt:
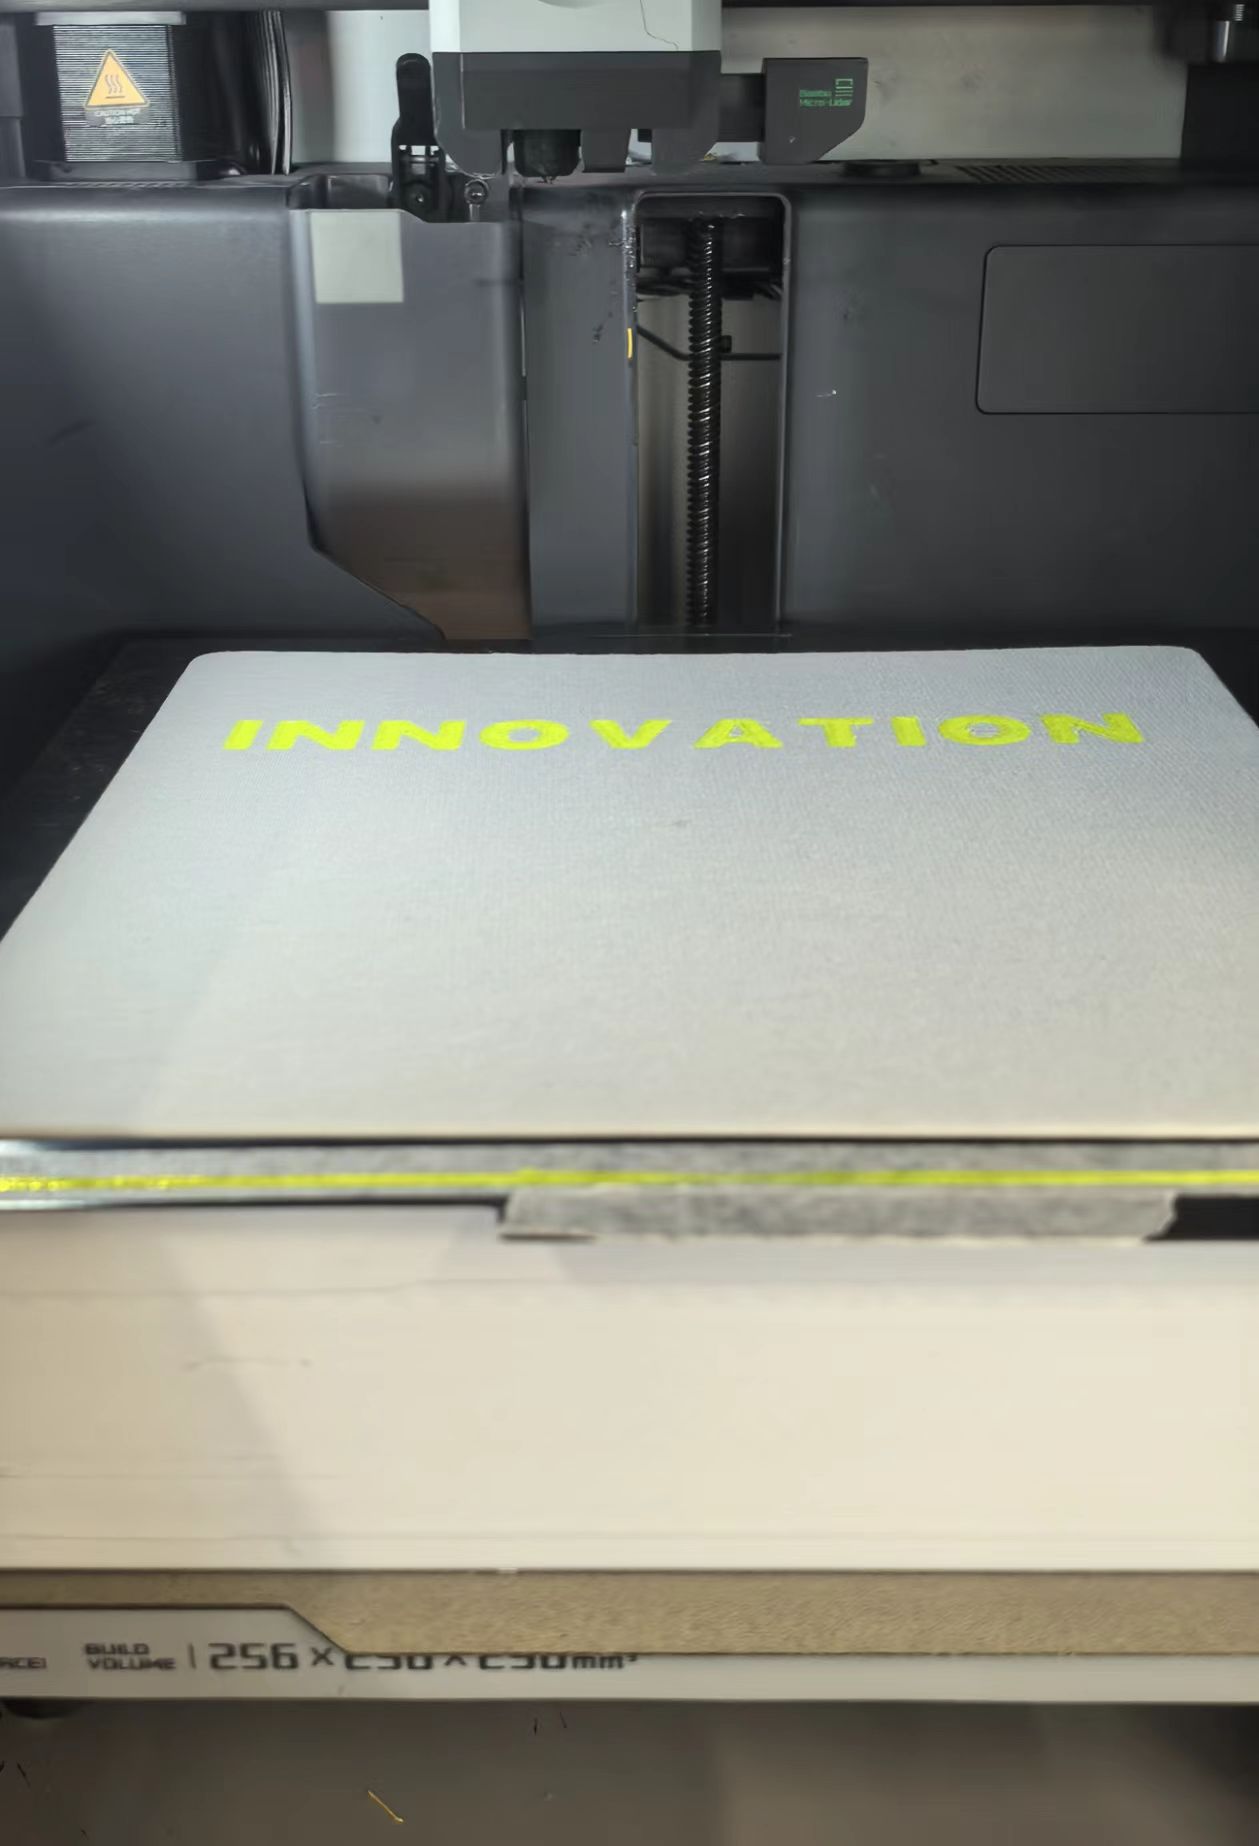
TPU on T-shirt:
| Material | Feel on fabric | Large solid areas | Lines / dots | Multi-colour (AMS) |
|---|---|---|---|---|
| PLA | Hard, crisp | Poor on T-shirt — cracks when fabric flexes | OK for graphic dots/lines | AMS works |
| PETG | Hard, slightly tougher than PLA | Same issue on soft T-shirt | OK for linear graphics | AMS works |
| TPU | Soft, rubber-like | Best for larger patches on T-shirt | Good detail | Too flexible for reliable AMS feeding on my setup |
Key finding: on a T-shirt, PLA and PETG are too rigid for continuous large patches — the print fights the stretch of the knit and feels uncomfortable. I limited those materials to dots, lines, and small motifs. TPU tolerates larger areas because it flexes with the cloth, but its softness caused AMS (automatic material system) jamming, making multi-colour TPU prints impractical without manual filament changes.
On a canvas tote bag, the woven fabric is stiffer and does not need to drape like a shirt. Here even PLA became acceptable for decorative panels, especially when total thickness stays low.
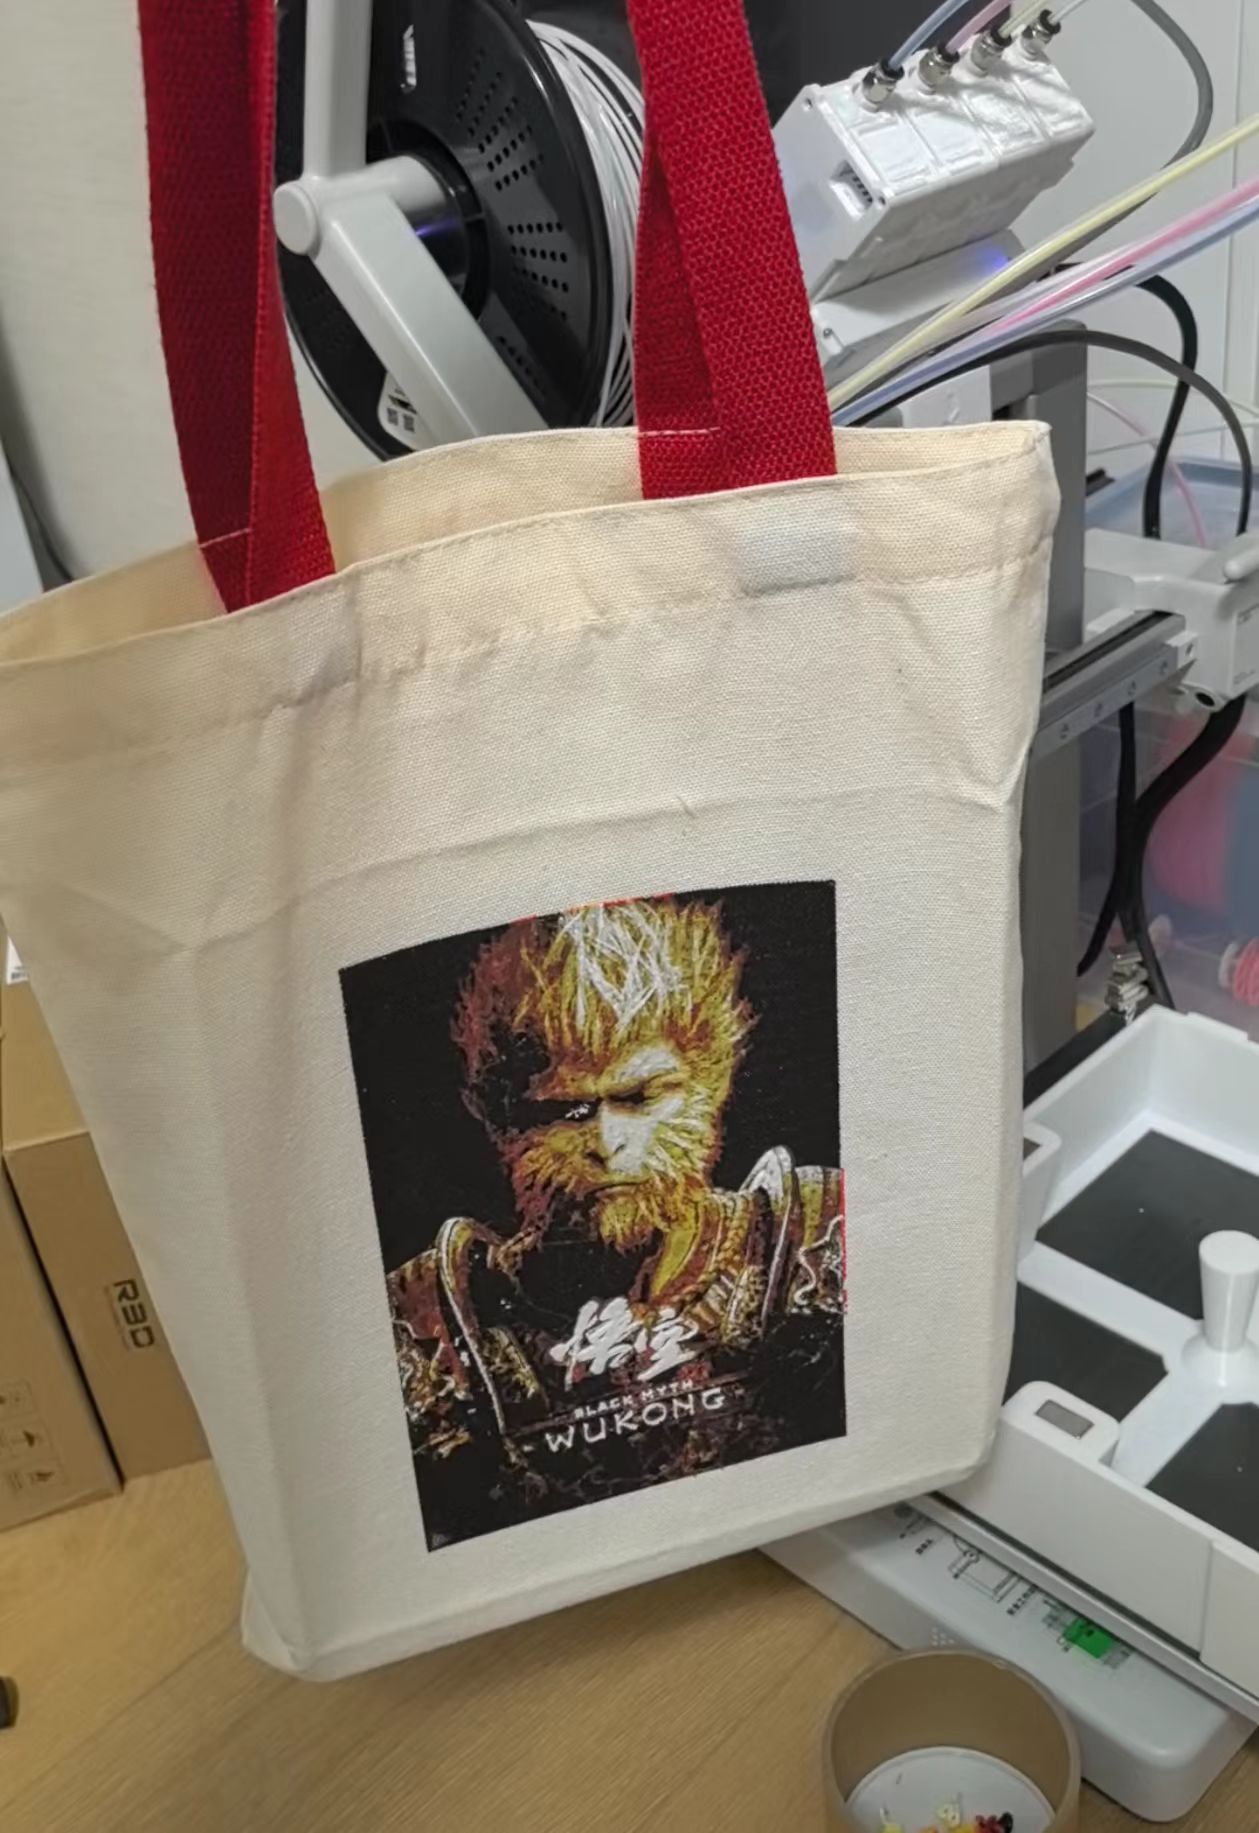
HueForge Relief on Tote Bag
For the tote bag I used a HueForge workflow — a height-based colour illusion where thin stacked layers of different filament colours form a picture when viewed from one angle. Steps:
- Convert an image to a HueForge project (layer height → colour mapping).
- Post-process the model so maximum thickness ≤ 2 mm — keeps print time reasonable and reduces snagging on bag handles.
- Print in PLA on the mounted tote (single-colour changes or pre-sliced multi-colour file).
- Because HueForge builds colour from many thin layers, the result can show more than four distinct colours without painting — ideal for a complex “relief painting” on fabric.
Printing on tote bag:
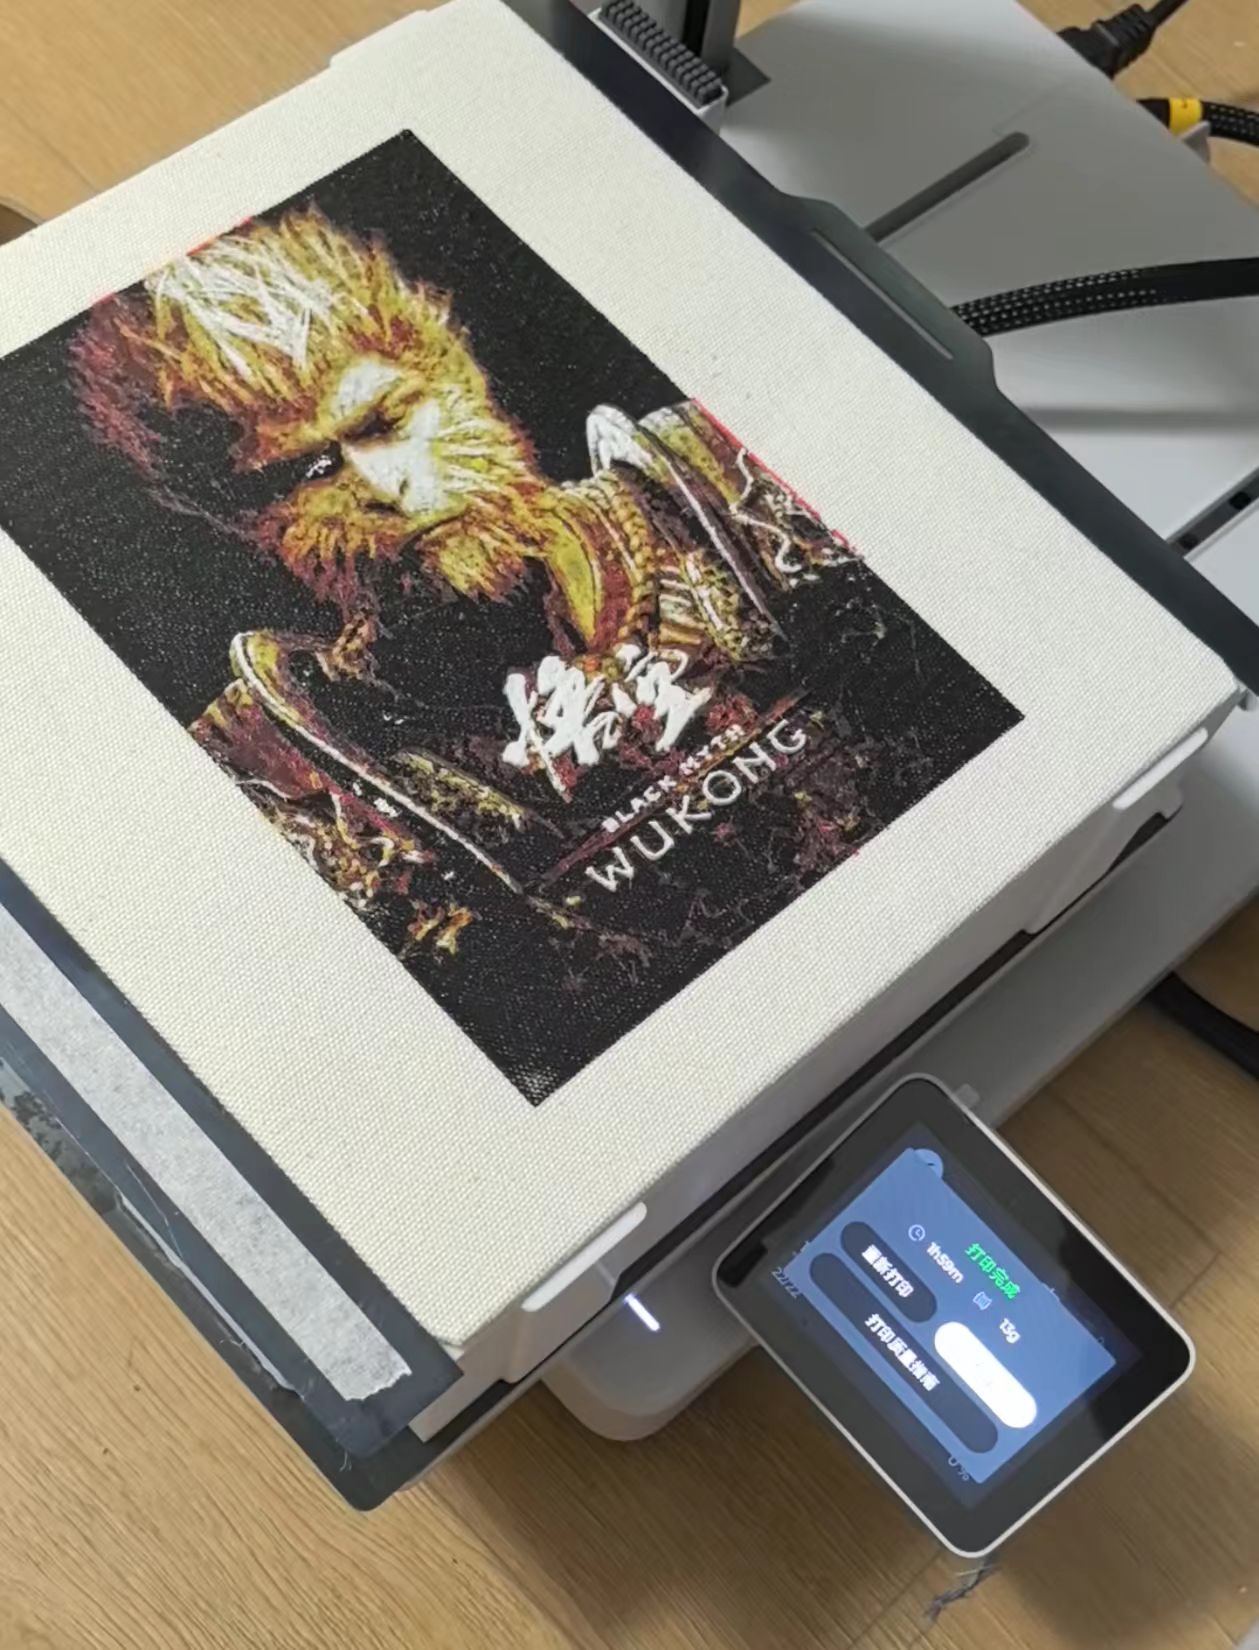
The pattern was printed in about 2 hours.
Custom Holding Jigs (Molds)
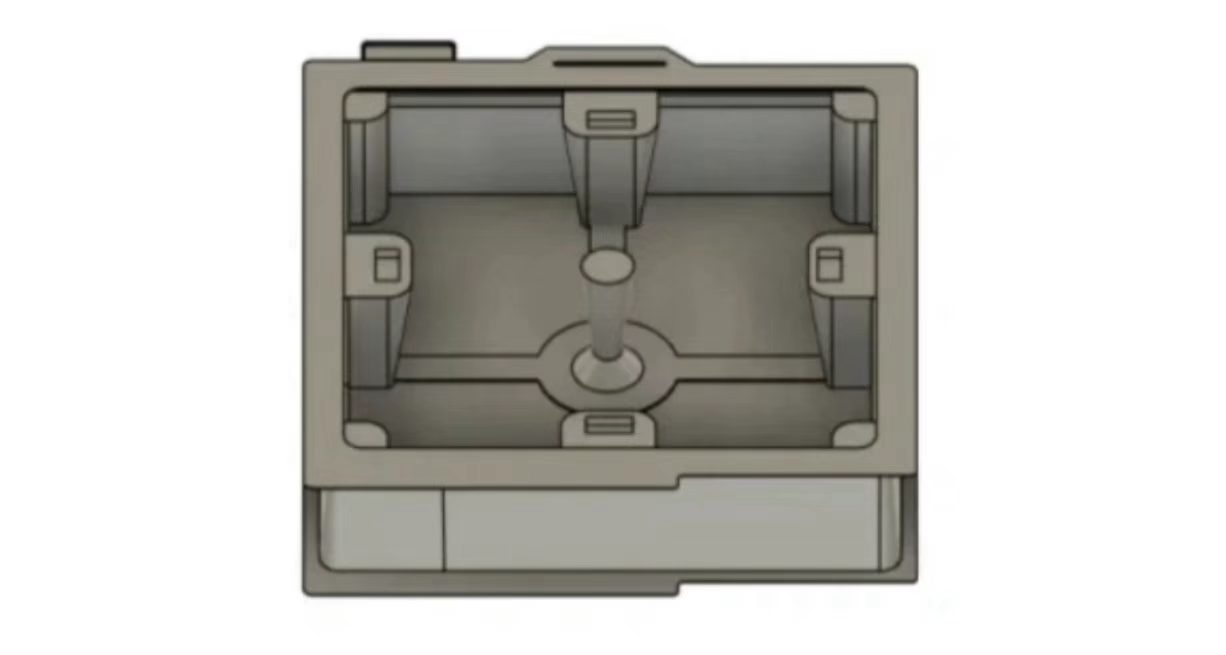
Printing on soft goods is difficult if the fabric moves or wrinkles. I designed separate bed jigs for the T-shirt and the tote bag in CAD (Week 05 3D printing skills):
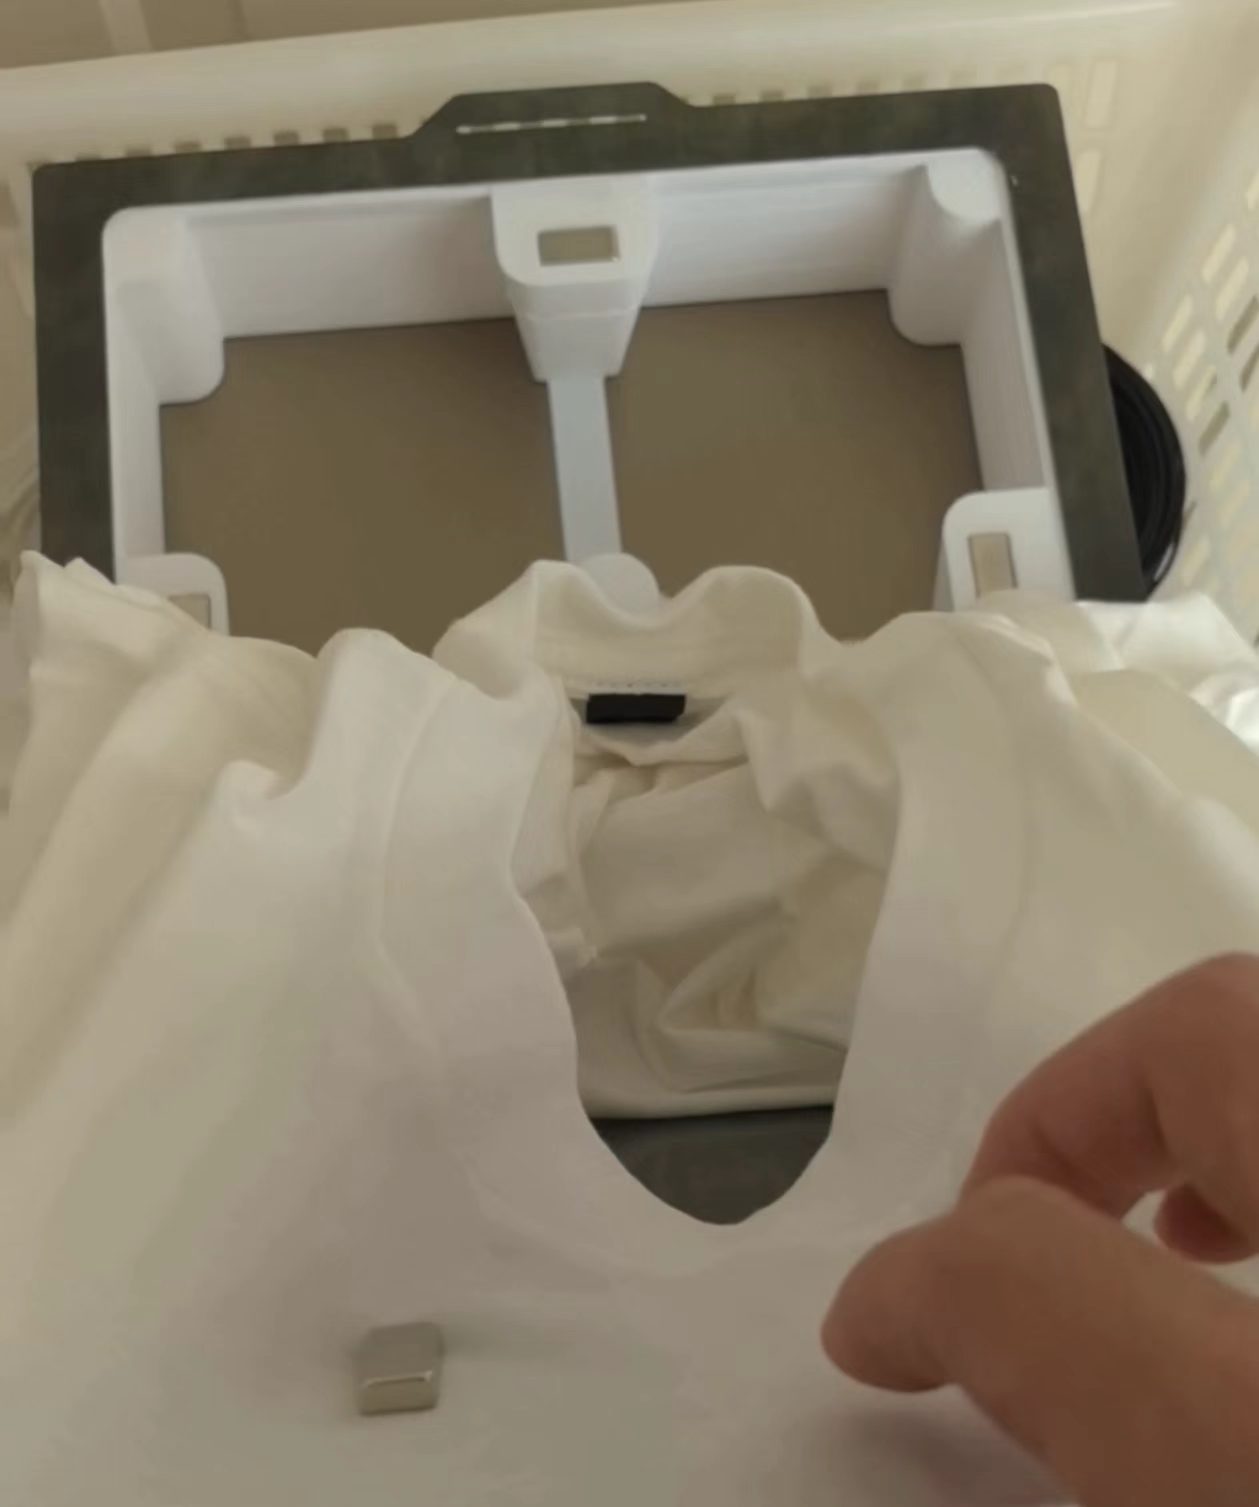
- Function: clamp or nest the textile so only the target print area lies flat and exposed above the jig cavity.
- Rest of garment folds into the hollow space underneath — kept away from the nozzle path.
- Benefits: repeatable registration, safer clearance for sleeves/straps, easier to re-run printing.
The design of the box:
Fabric hidden inside the box:
The box on the printer bed:
How the printing process looks like:
Workflow Summary
Choose substrate (T-shirt vs canvas tote)
    → Install fabric in custom jig (expose print zone only)
    → Prepare the pattern on the computer
    → Slice: 1 or 2 layers single color pattern, or max Z ≤ 2 mm for HueForge
    → Material: TPU (flex patches) | PLA/PETG (doted or lines, or stiff tote)
    → Print (or print patch + iron with parchment paper)
    → Inspect bond: flex test, wash test (optional follow-up)
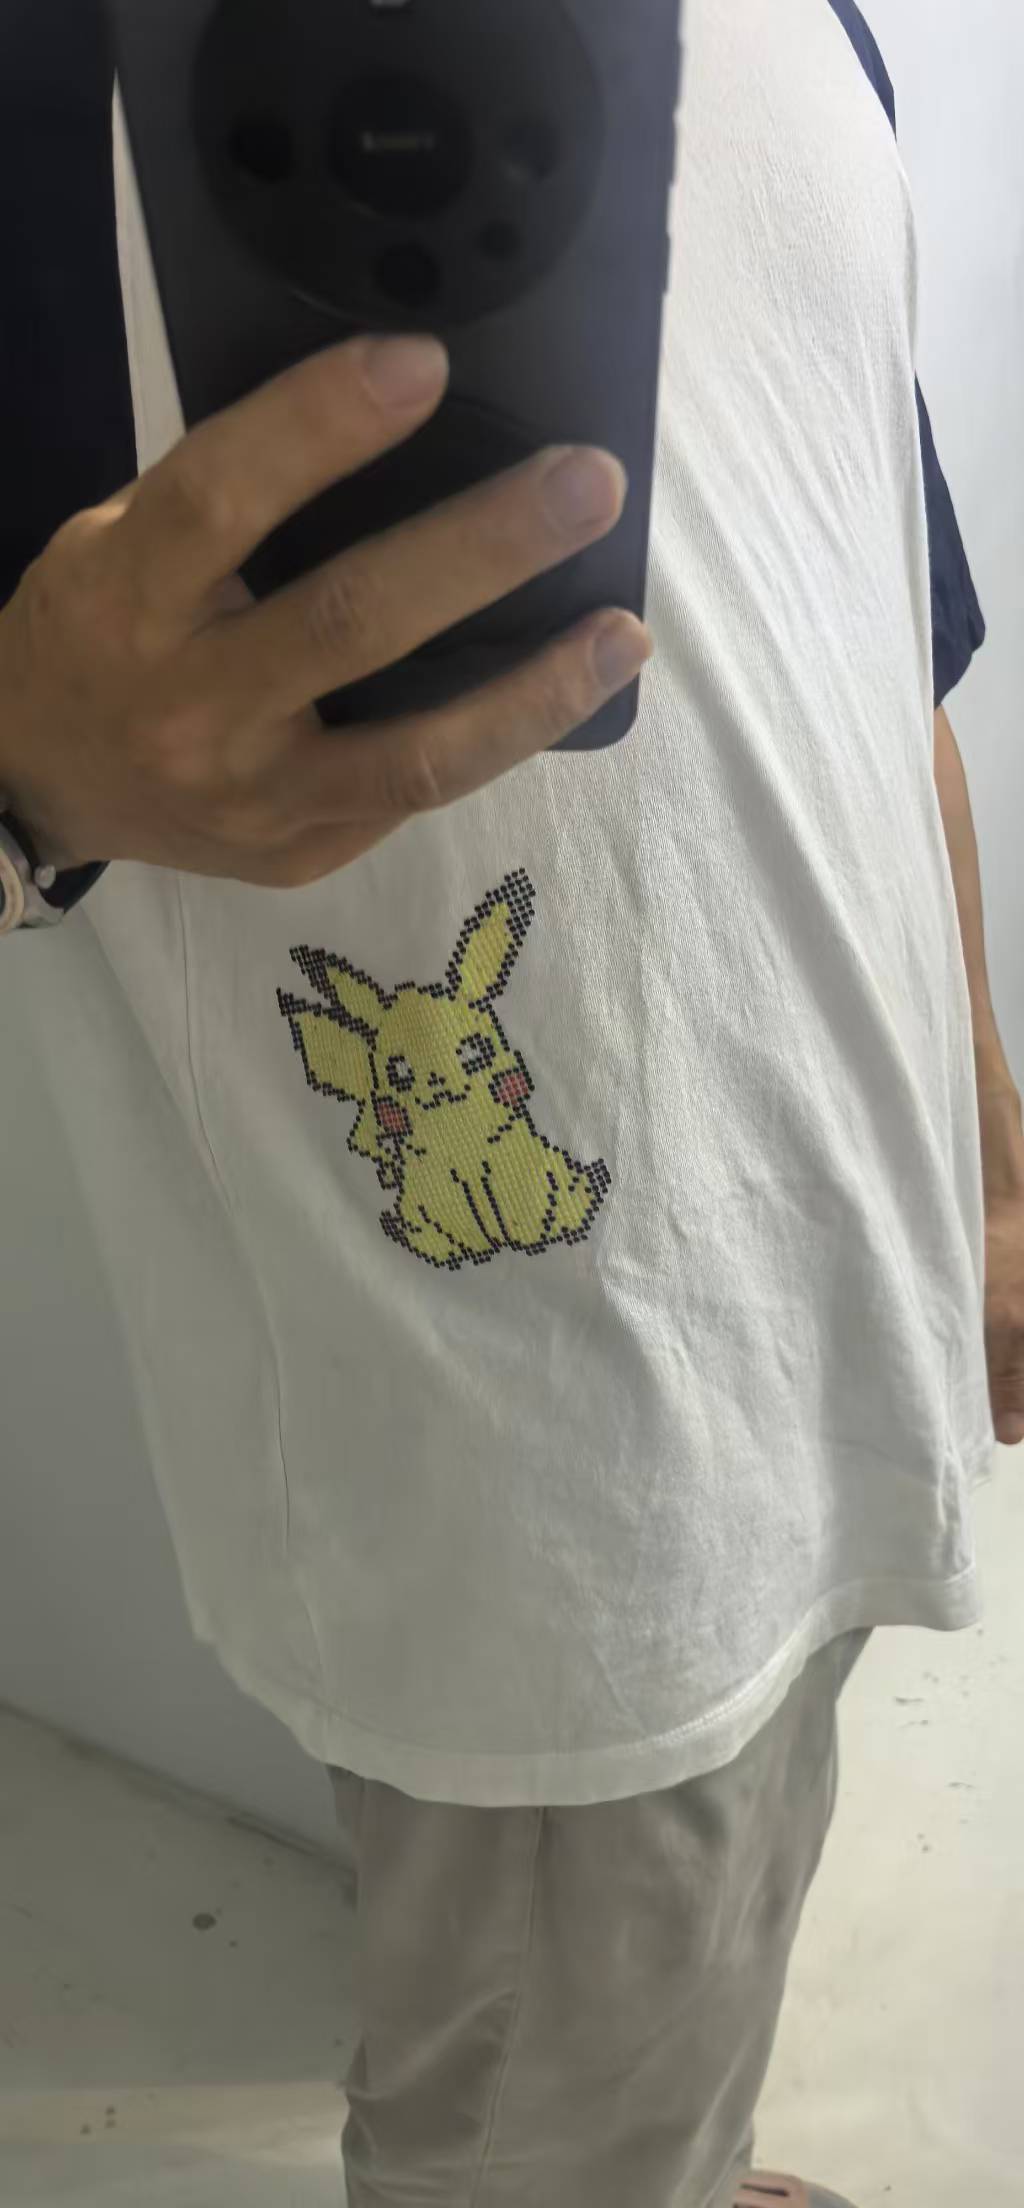
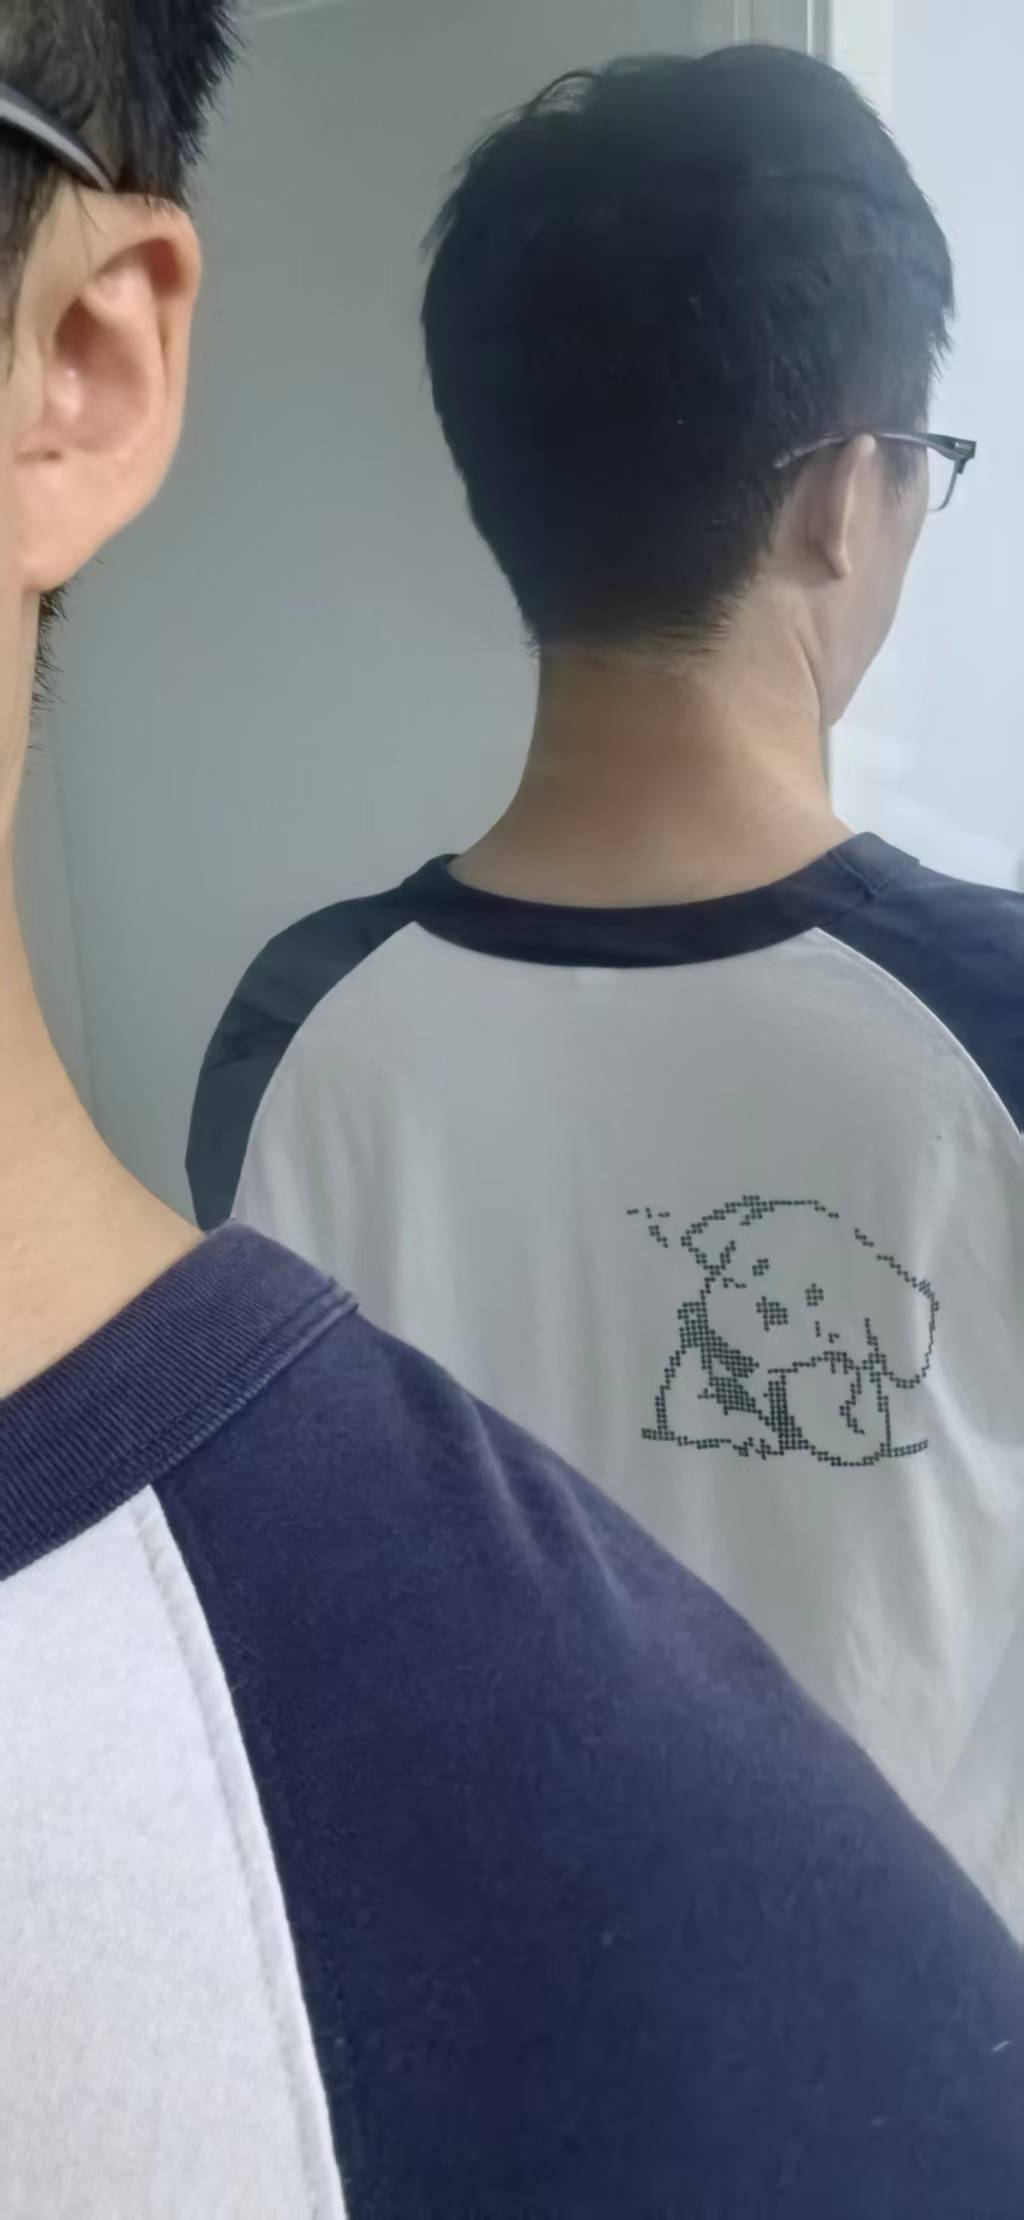
I was wearing the T-shirt:
Why This Is Not Covered by Other Assignments
| Fab week | Overlap | What wildcard adds |
|---|---|---|
| Week 05 — 3D printing | Uses FDM printer | Substrate is fabric, not plastic/PLA benchy; bond to textile matters |
| Week 03 — Vinyl / laser | 2D graphic on sheet goods | Heat transfer + 3D height (HueForge relief), not cut vinyl on flat stock |
| Textile / wearables | Not a core Fab week | Embroidery, screen print, tie-dye, PU heat transfer — entire domain |
Problems Encountered and Fixes
-
PLA/PETG large areas on T-shirt crack when worn
Fix: restrict rigid filaments to lines/dots; use TPU for patches; move complex art to tote bag. -
TPU jams in AMS — no reliable multi-colour
Fix: single-colour TPU jobs or manual filament swap; use HueForge + PLA on stiff tote for multi-colour relief instead. -
Fabric shifts during direct print
Fix: custom jigs that expose only the print window; tape/clamp periphery; slow first-layer speed.
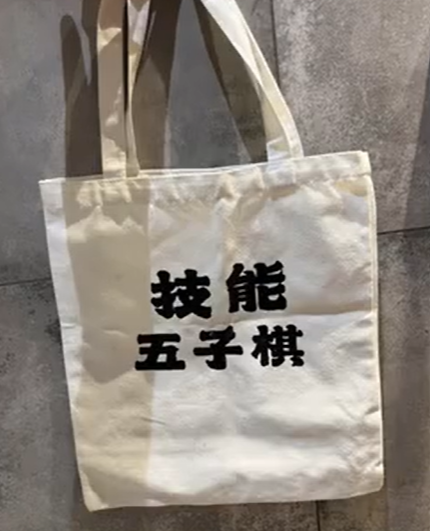
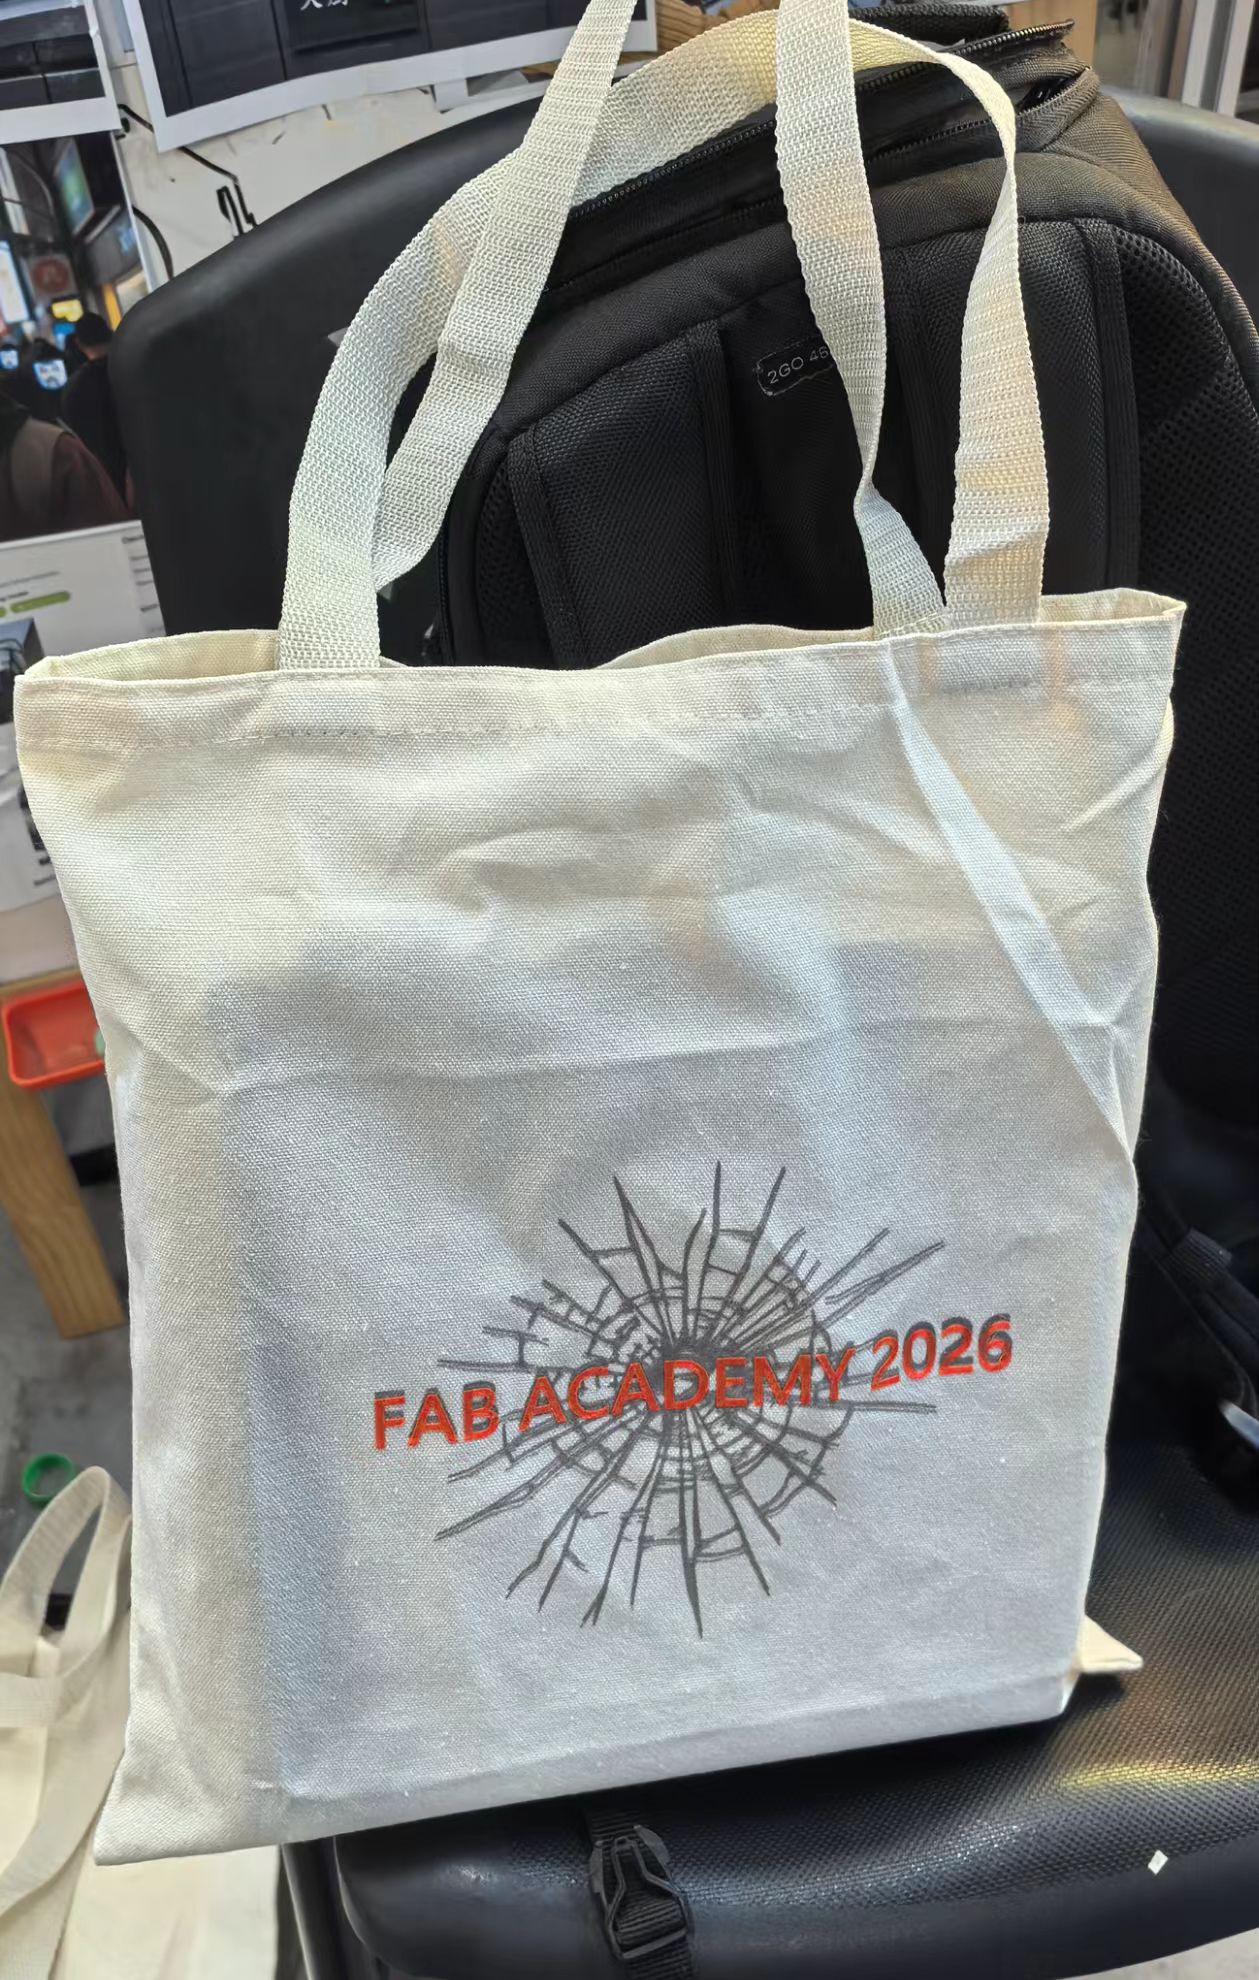
A fabric bag designed for Fab Academy:
What I Learned
Material–substrate pairing matters more than on a rigid bed.
Heat transfer and 3D printing rhyme but are not identical. PU film transfer is engineered for adhesion; molten TPU/PLA can bond with help (iron, pressure, parchment), but direct extrusion on knit fabric is finicky.
Jigs turn soft goods into a “machineable” surface. Without exposing only the print zone, wrinkles and AMS-unrelated motion dominate failure modes.
HueForge is a wildcard superpower on stiff textiles. Thin layered colour stacks give multi-hue art without AMS on flexible TPU — a practical workaround for my printer setup.