Molding and Casting
Here is the link to our group assignment:
Week 14 Group Assignment — Molding and Casting.
For my individual work I chose the 3D-print master → silicone mold → cast route, using the
Voice Keeper logo as the part geometry. I also explored a second track — CNC relief on wood as a master for molding — but did not complete casting from that path because the wood stock was too unstable; that section documents what I learned and where I would go next (dense nylon or PP blocks).
Checklist
- ✓ Group: reviewed SDS for molding and casting materials — see Group SDS summary (full notes on group page)
- ✓ Group: made and compared test casts with each material — see Group test cast comparison
- ✓ Group: compared printing vs milling molds — on group page; my individual print vs CNC wood track below
- ✓ Individual: designed a mold for my chosen process
- ✓ Individual: produced mold with smooth finish (no visible toolpath on cast parts)
- ✓ Individual: used mold to cast parts
Group Assignment — SDS Review
Before mixing materials our group read each SDS, used ventilation, nitrile gloves, eye protection, and organic-vapor respiratory protection where fumes are present. Full group documentation: Week 14 Group Assignment — Molding and Casting.
| Material | Mix ratio (weight) | Key SDS notes | Cure time |
|---|---|---|---|
| Industrial silicone (mold rubber) | 100 : 2 | Stir 1–2 min; ventilated area; test release agent first — same ratio I used individually | ~2 h |
| Epoxy crystal resin (cast) | 3 : 1 (A : B) | Slow pour; exotherm — no bulk dump — comparable to my AB resin 30:10 | ~24 h |
| Polysilicone (cast) | 1 : 1 | Avoid tin/platinum cure mismatch in silicone molds | ~6 h |
| Gypsum | 3 : 1 (powder : water) | Water first; brush details then bulk pour | ~1 h |
Disposal rule from group session: do not pour uncured resin/silicone down the drain — fully cure waste first, then solid lab waste.
Group Assignment — Test Cast Comparison
We poured test casts from shared silicone molds and compared materials (summary from group page; I participated in the group session):
| Cast material | Surface / demold | Group verdict |
|---|---|---|
| Epoxy crystal + glitter | Clean demold from flexible silicone; minor bubbles in recesses | Best overall finish on coin master |
| Gypsum | Good detail when pourable; sets fast | Acceptable stone-like cast; viscosity critical |
| Polysilicone + fluorescent powder | Glows under UV; oily surface (silicone-on-silicone) | Visual demo; chemistry mismatch risk |
My individual AB resin cast (Part A below) aligns with the group epoxy findings — rigid, 24 h cure, best for small detailed positives from a 3D-printed master.
Group Assignment — Print vs Mill Molds
Group comparison of FDM vs SLA masters and CNC hybrid workflows is on the group page (SLA coin master → cleanest silicone; FDM needs filler/sanding). My individual print-vs-CNC wood comparison is in Part B below.
Individual Assignment — Part A: 3D Print Master → Silicone Mold → AB Resin Cast
Goal: print a positive master of the Voice Keeper logo, pour a flexible silicone mold around it, then cast rigid copies in two-part AB resin.
Design source:
VK_logo.svg — logo converted to vector, then built into a printable solid in Bambu Studio.

Step 1 — Build the master in Bambu Studio
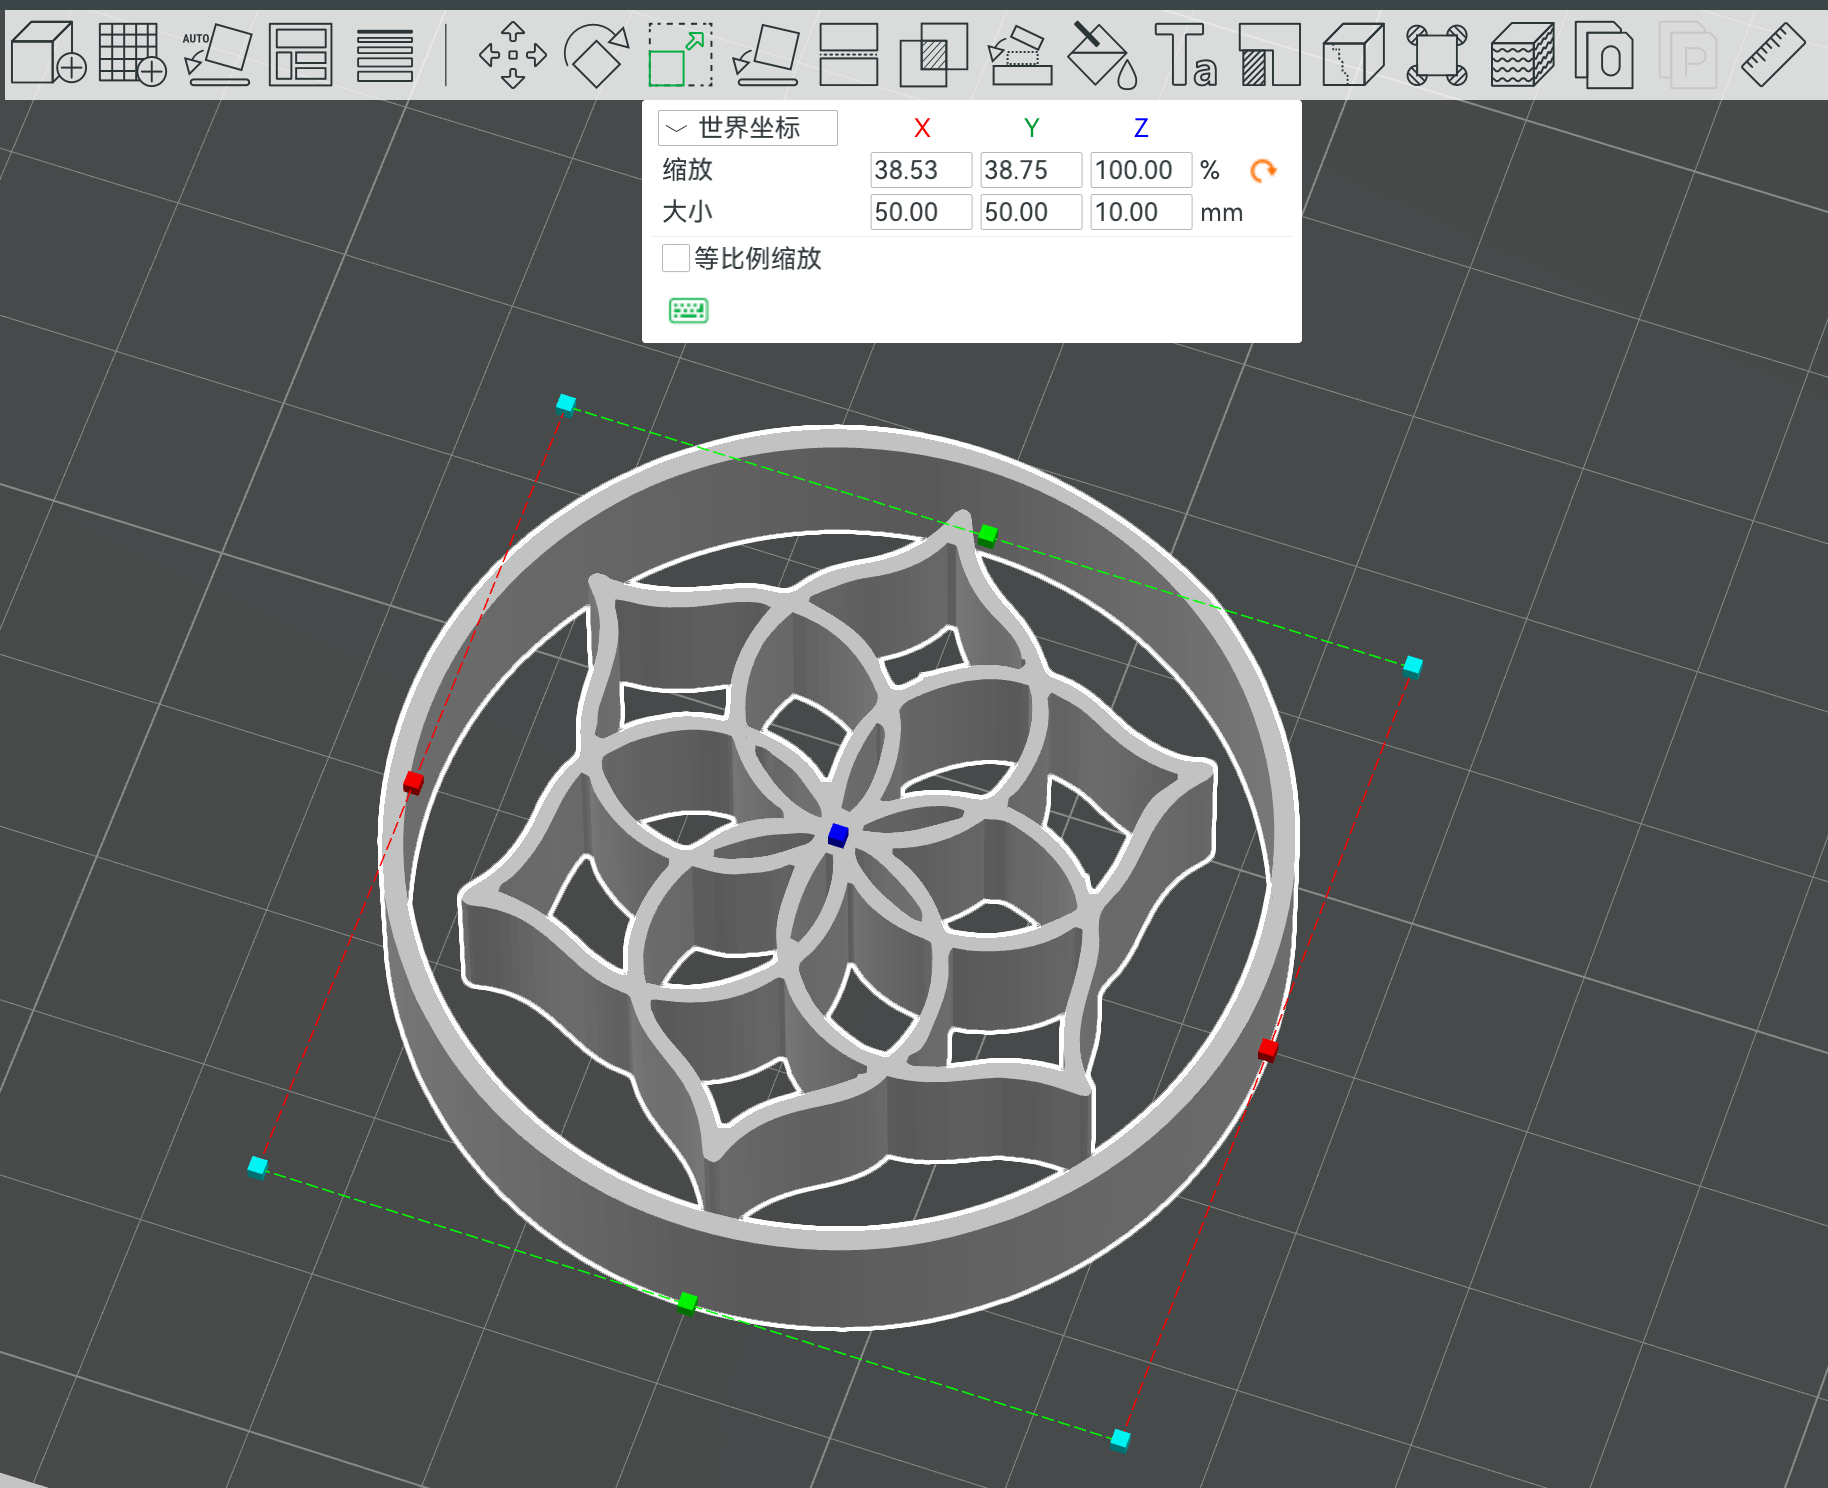
- Import the SVG into Bambu Studio.
- Scale to the desired size and centre on the bed.
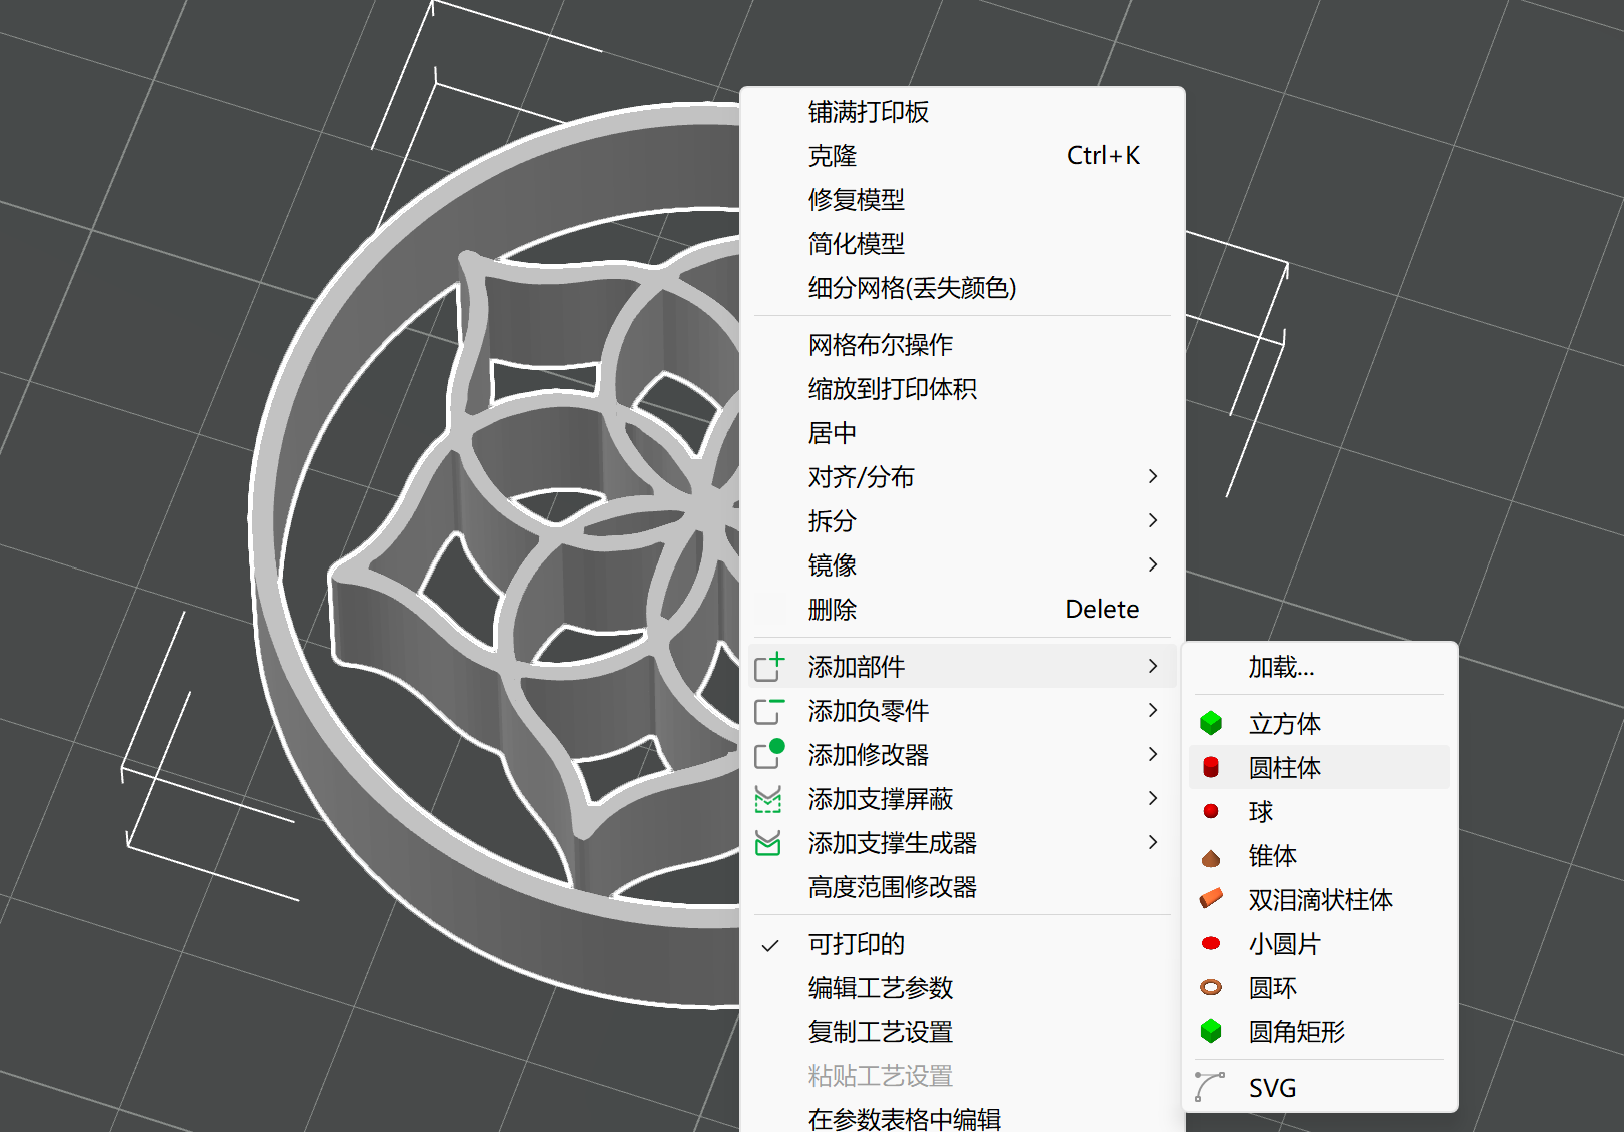
- Add a cylinder primitive, resize and centre it under the logo.
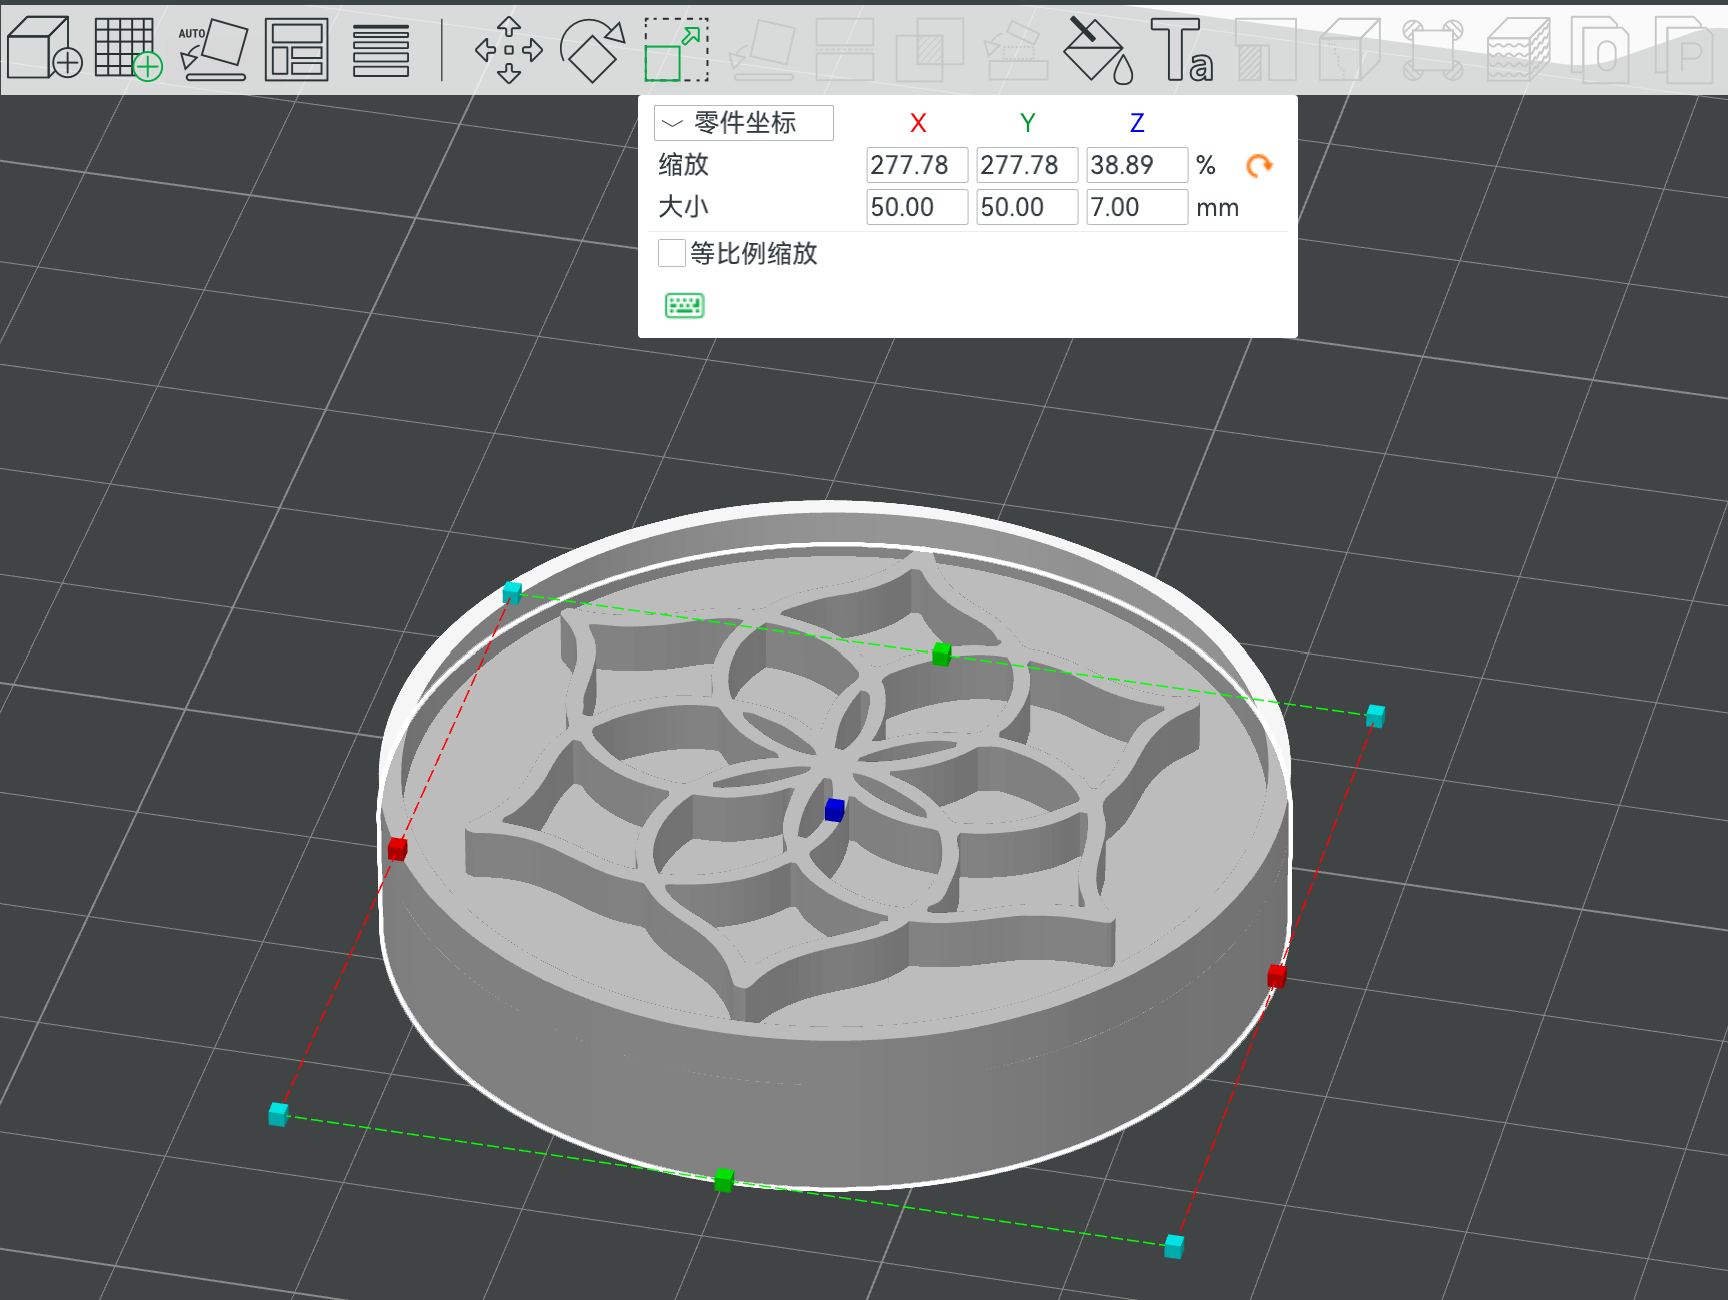
- Boolean / combine logo + cylinder into one solid model.
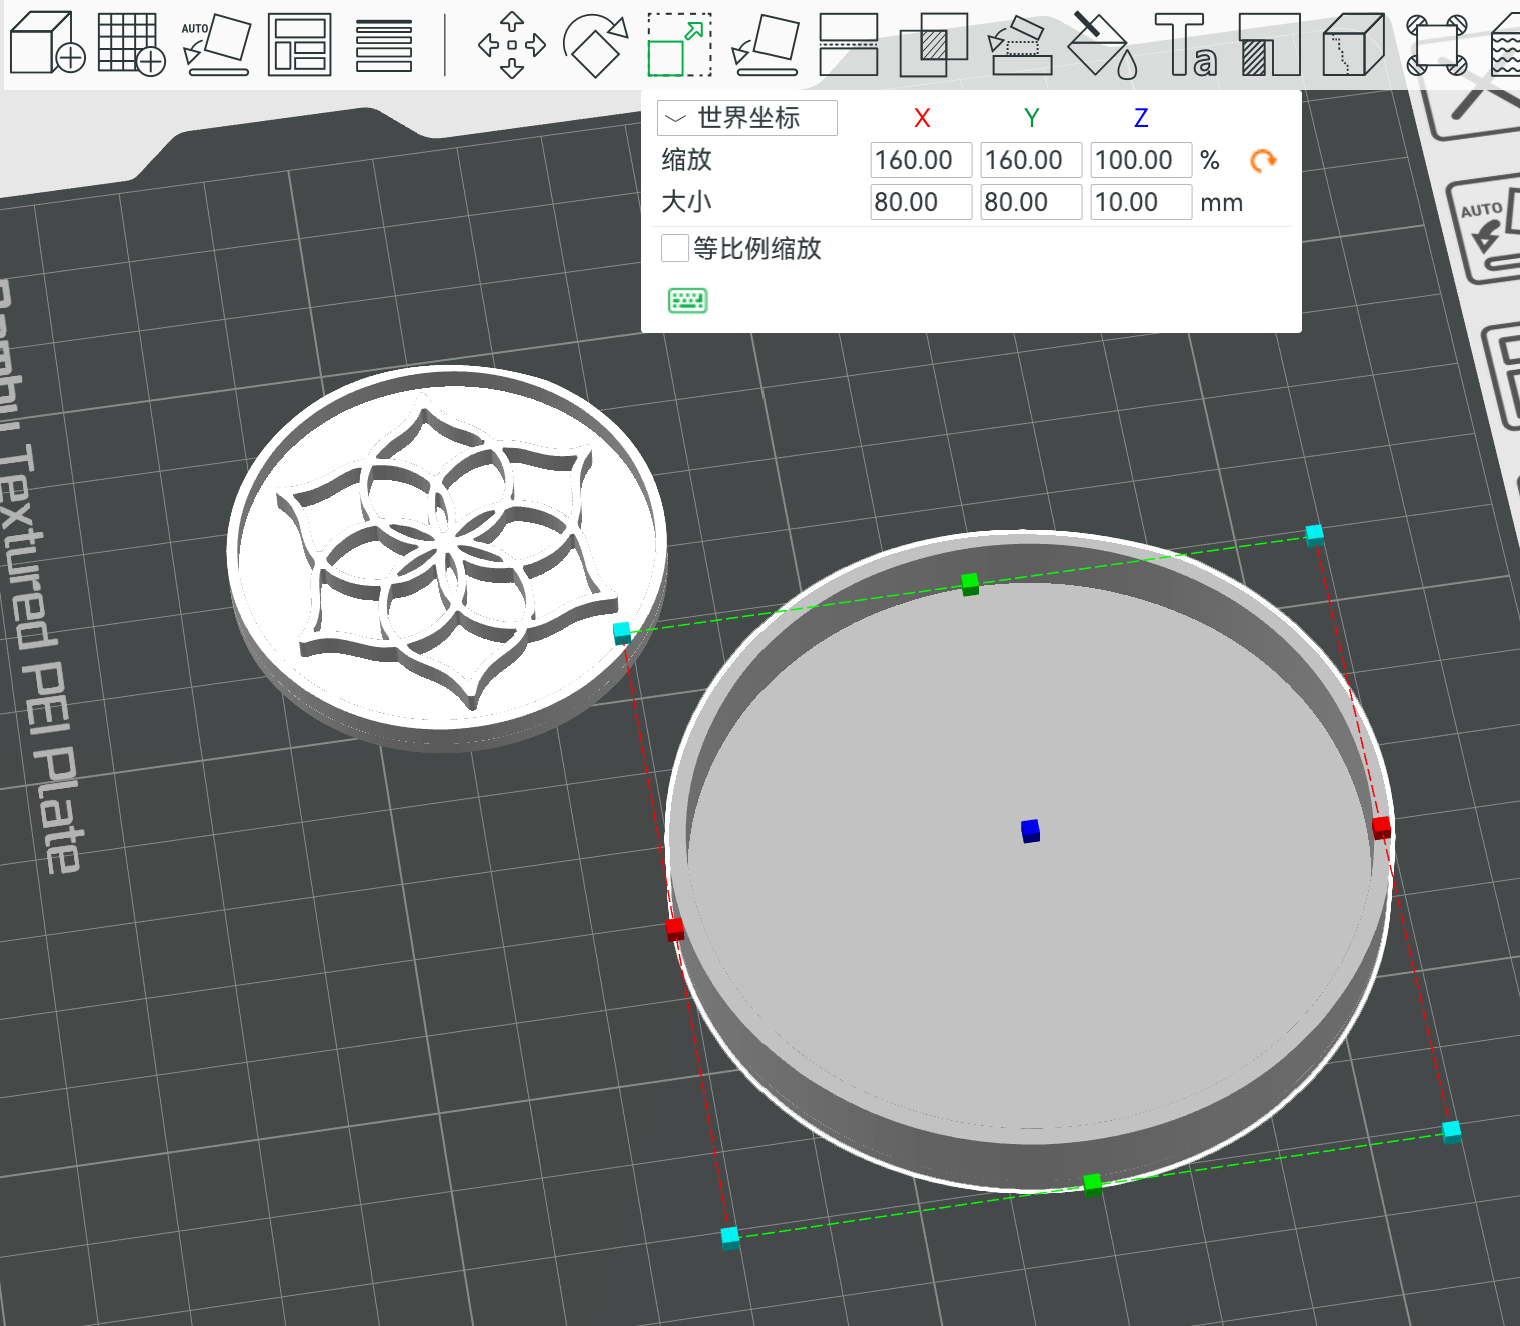
- Slice and 3D-print the master.
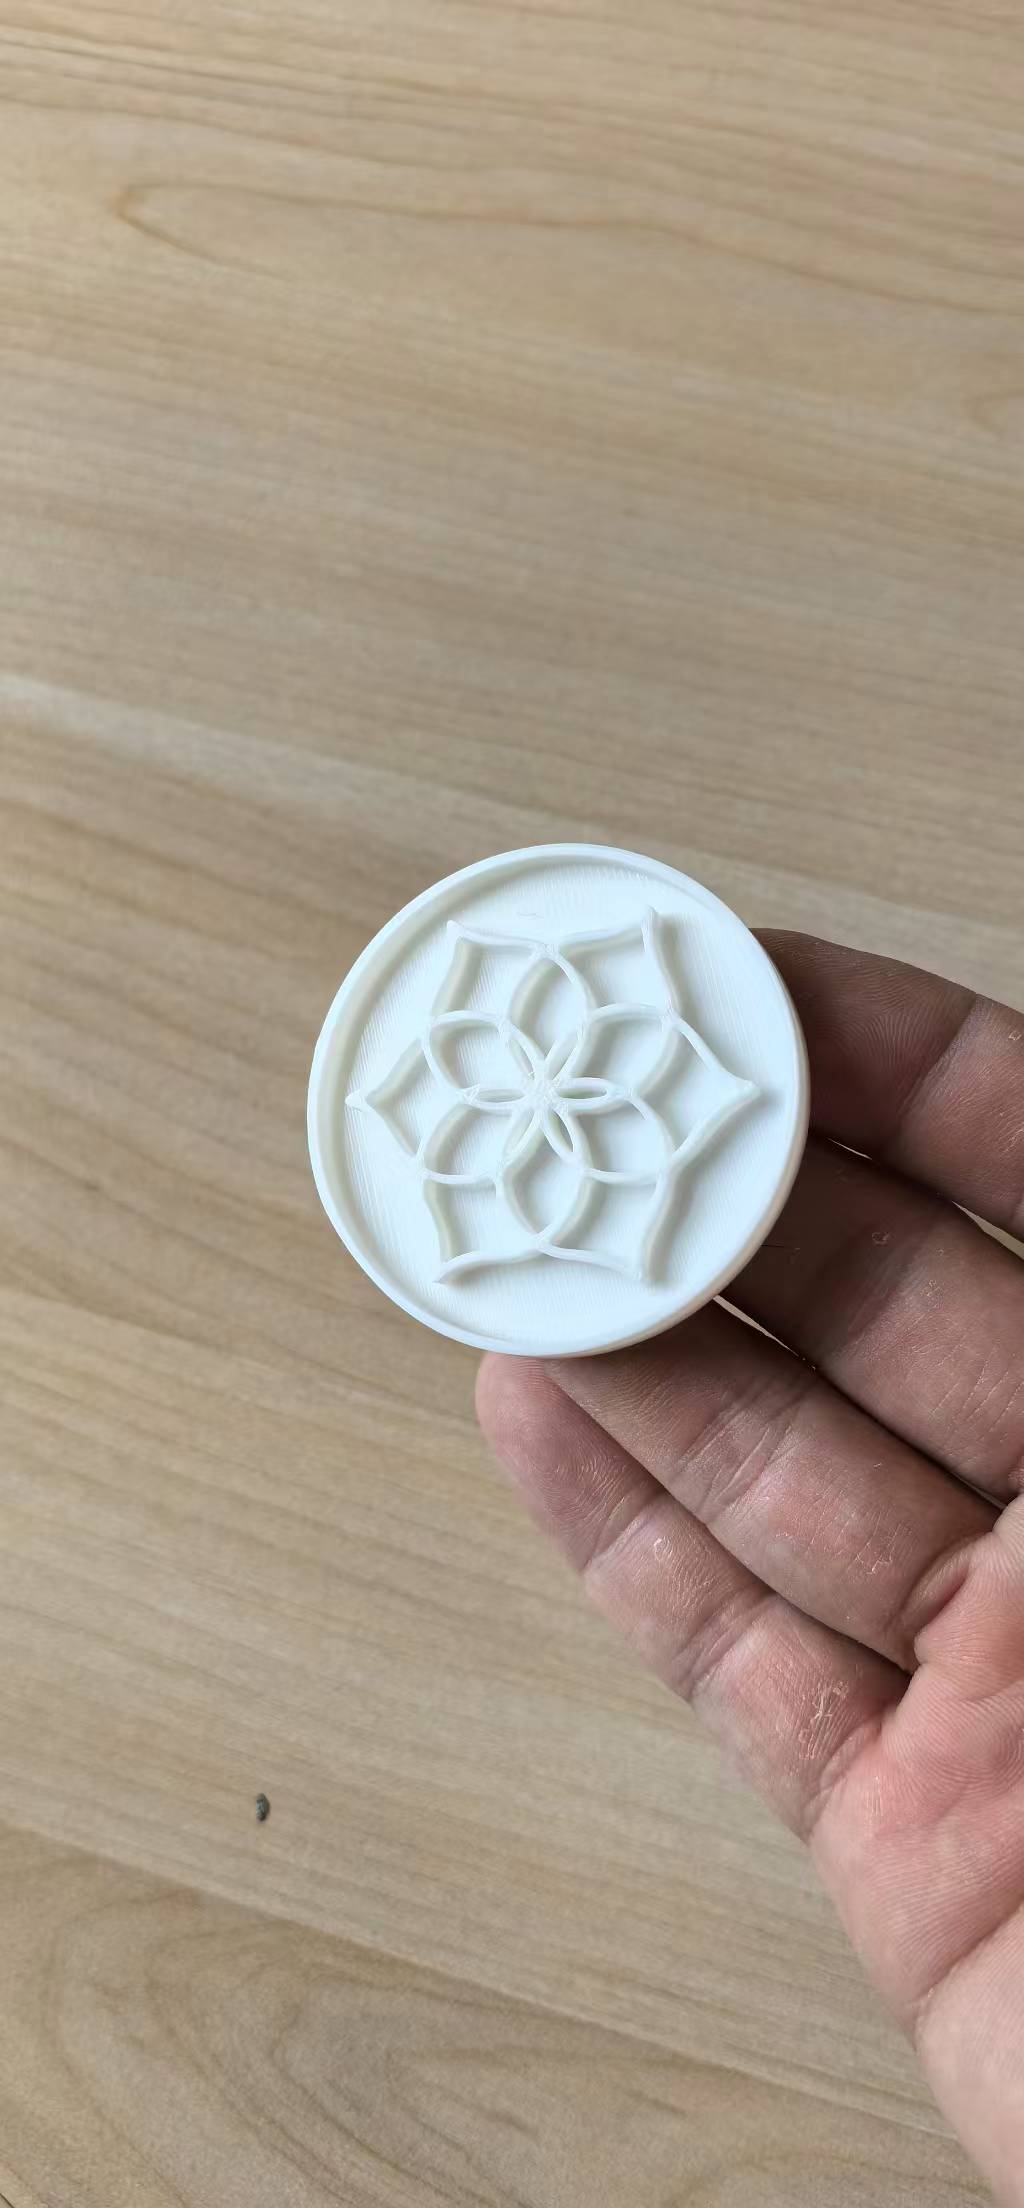
Step 2 — Silicone mold
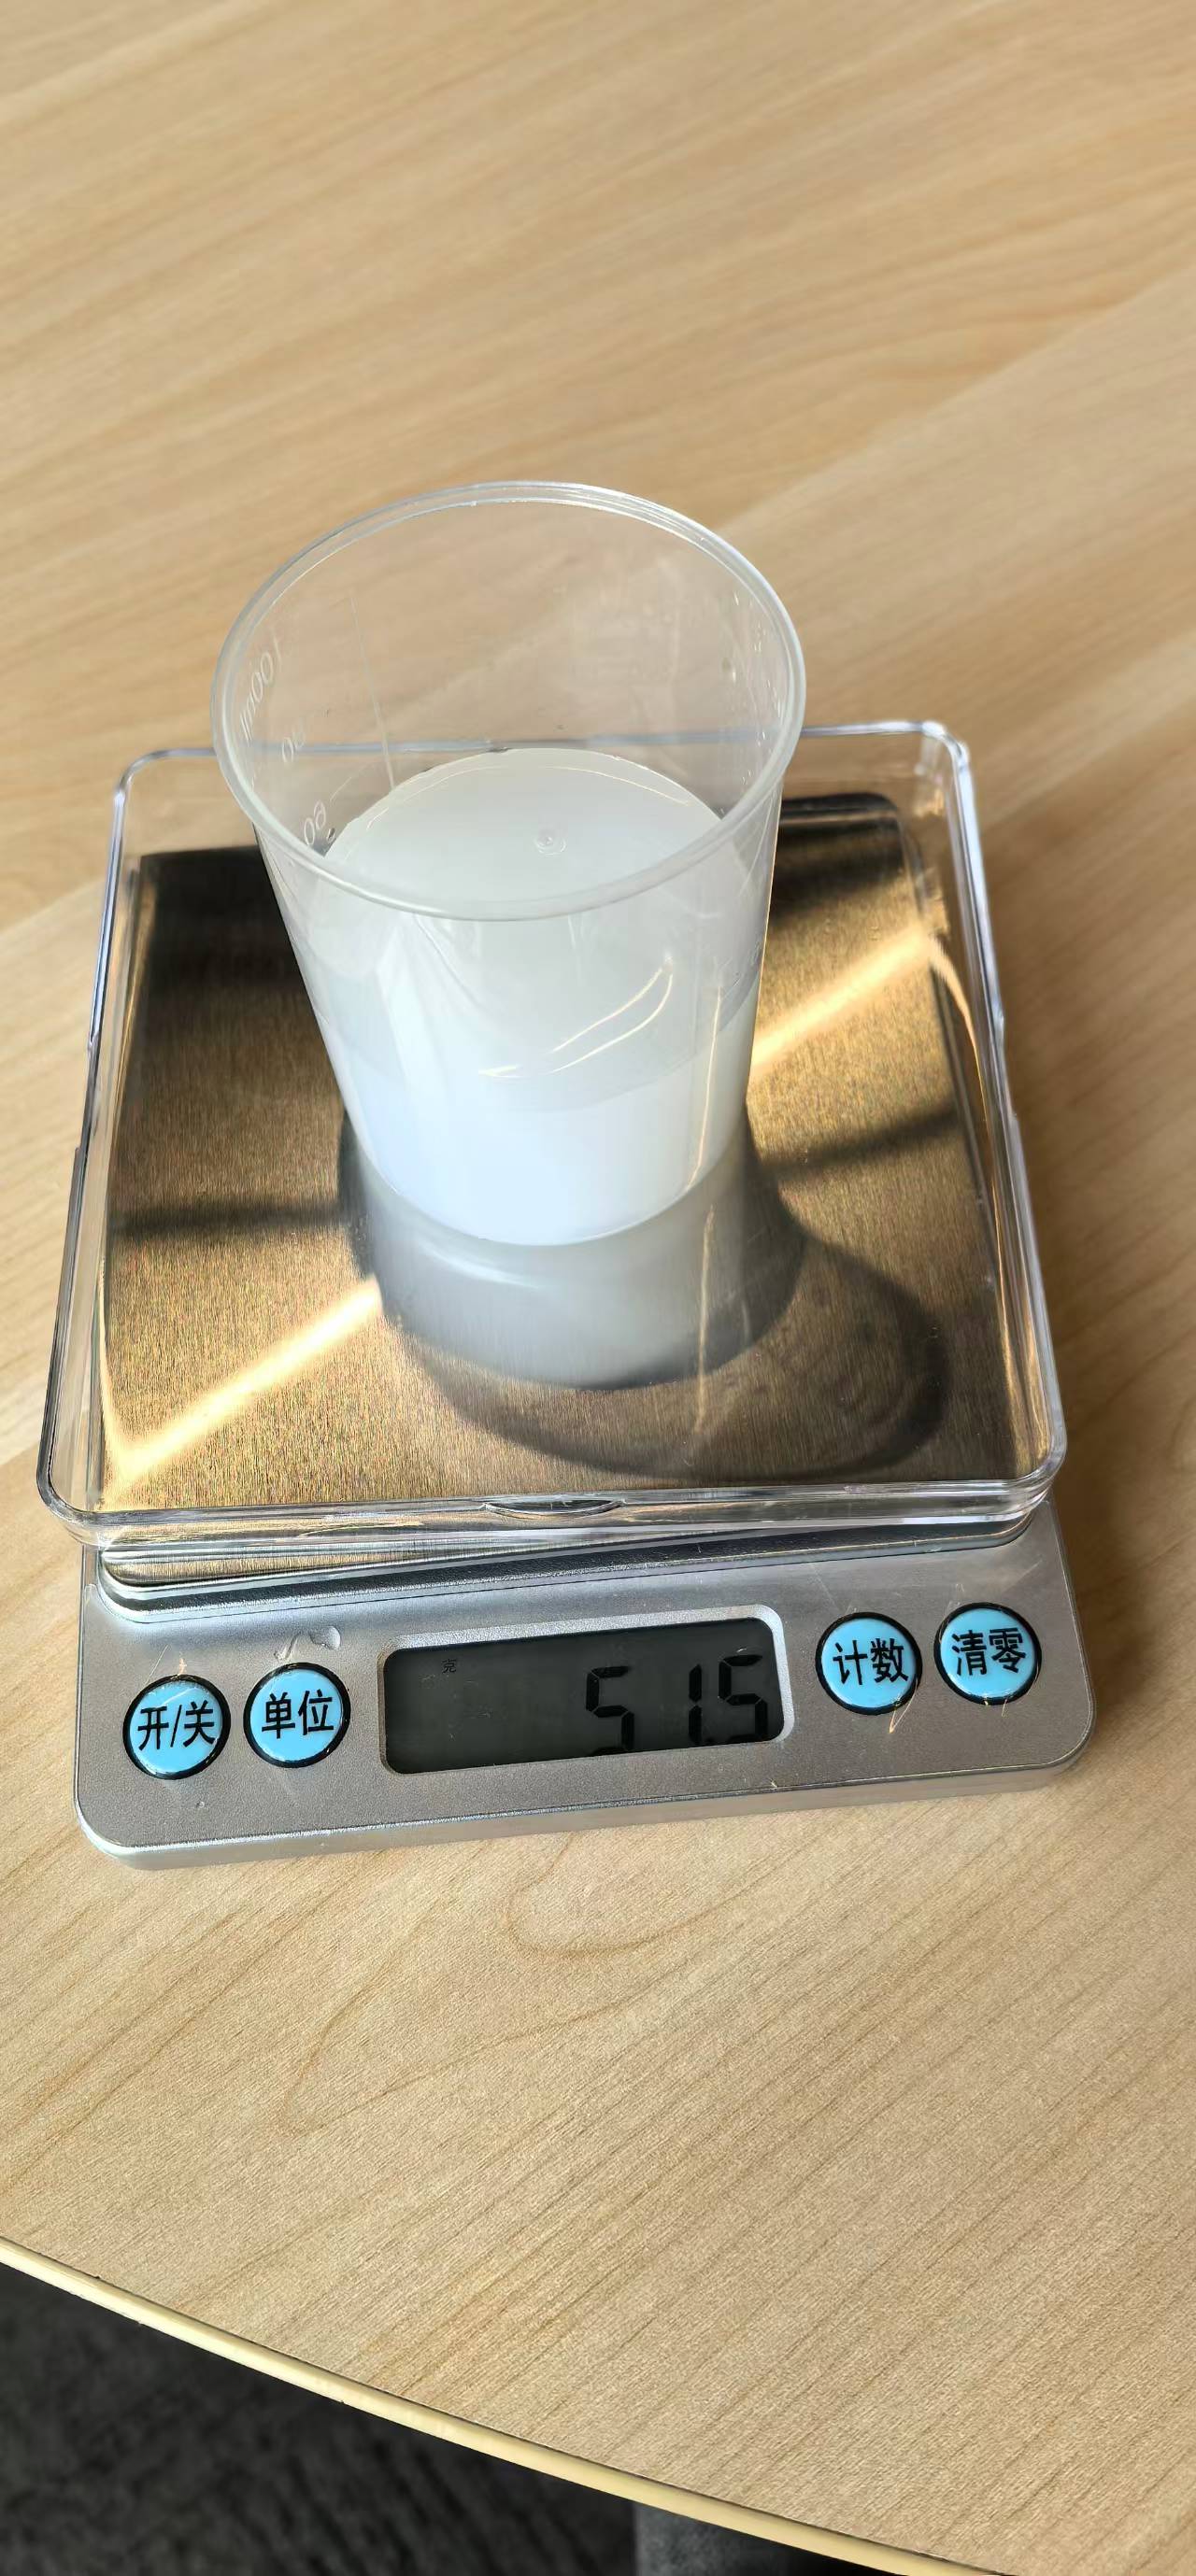
Mix two-part silicone rubber with a 100 : 2 base-to-catalyst ratio (by weight), pour over the master in a mold box, and cure until the rubber is firm enough to demold.
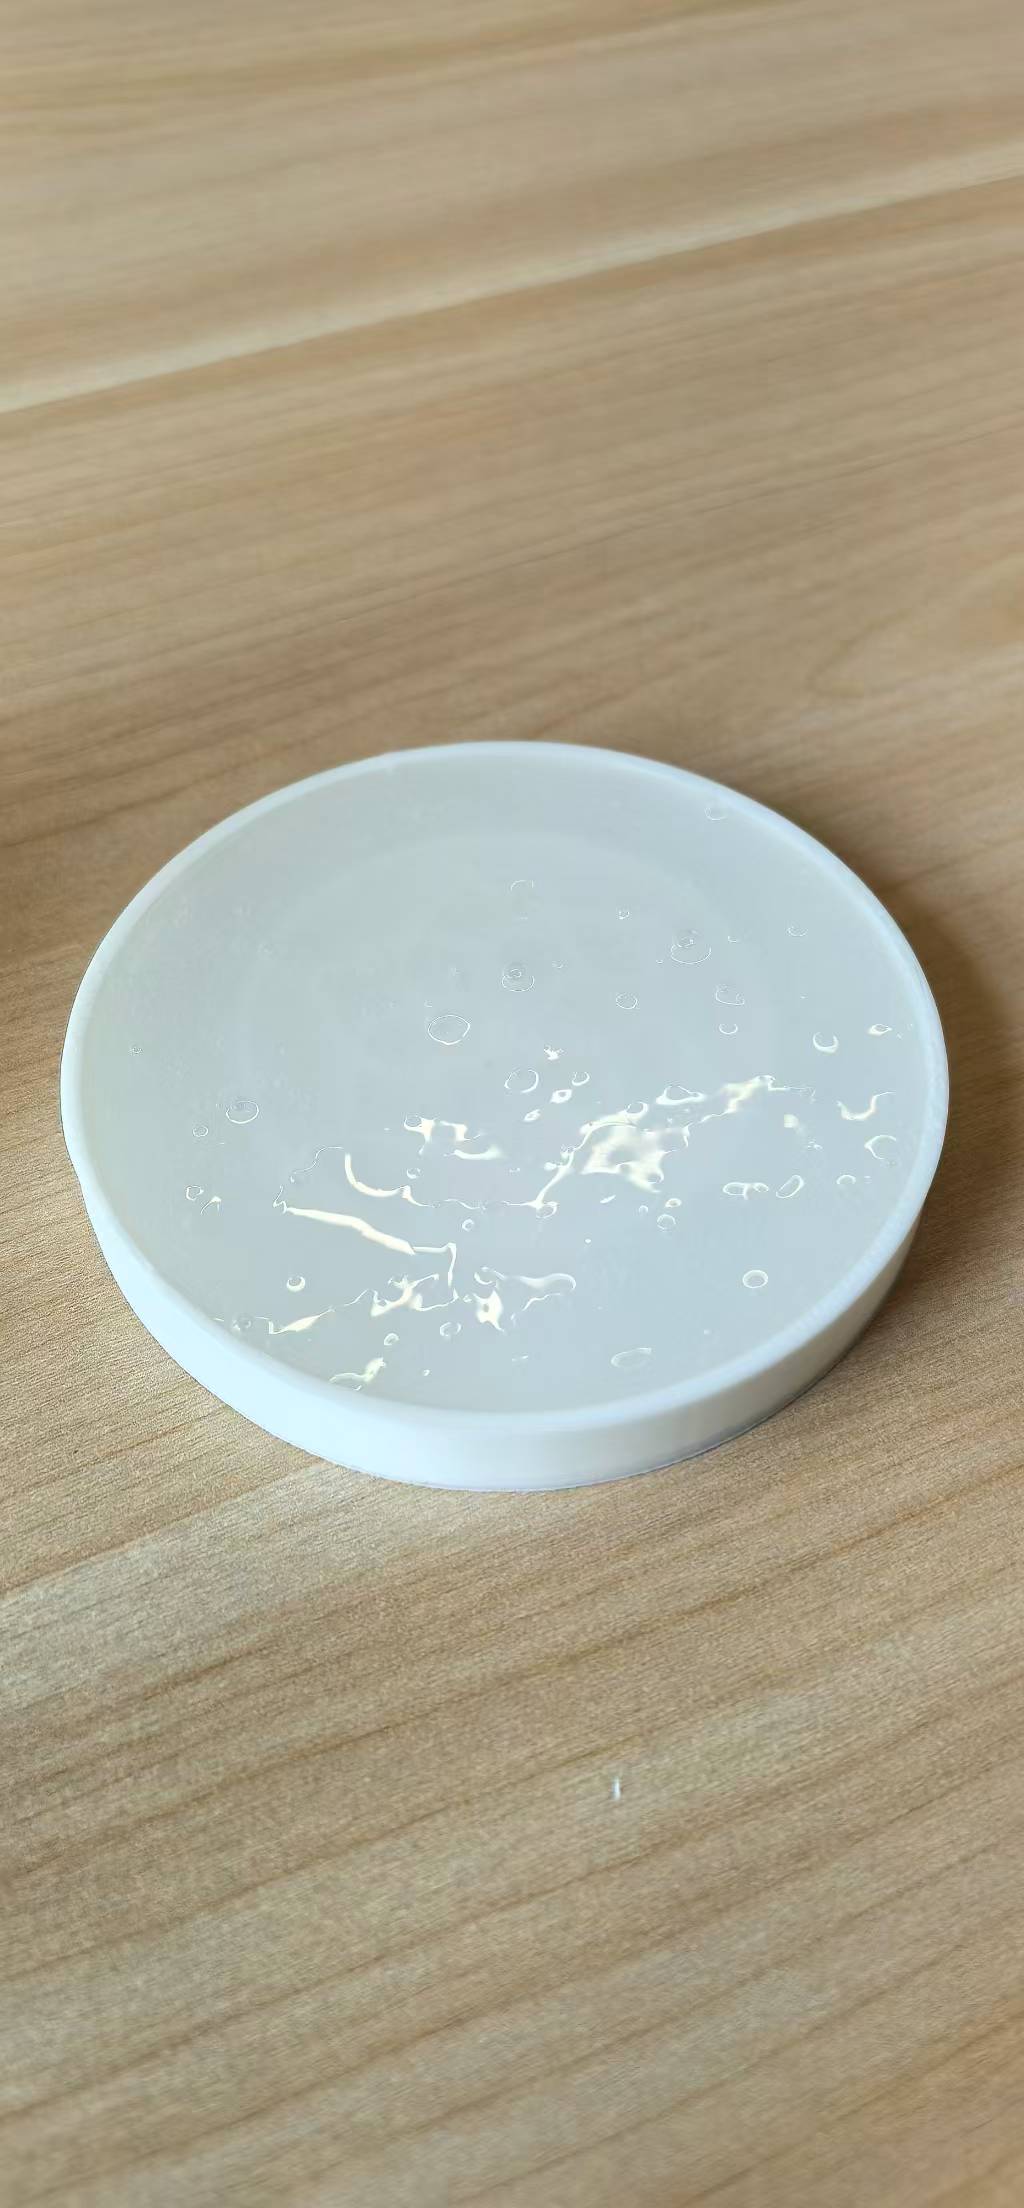
The silicone gel.
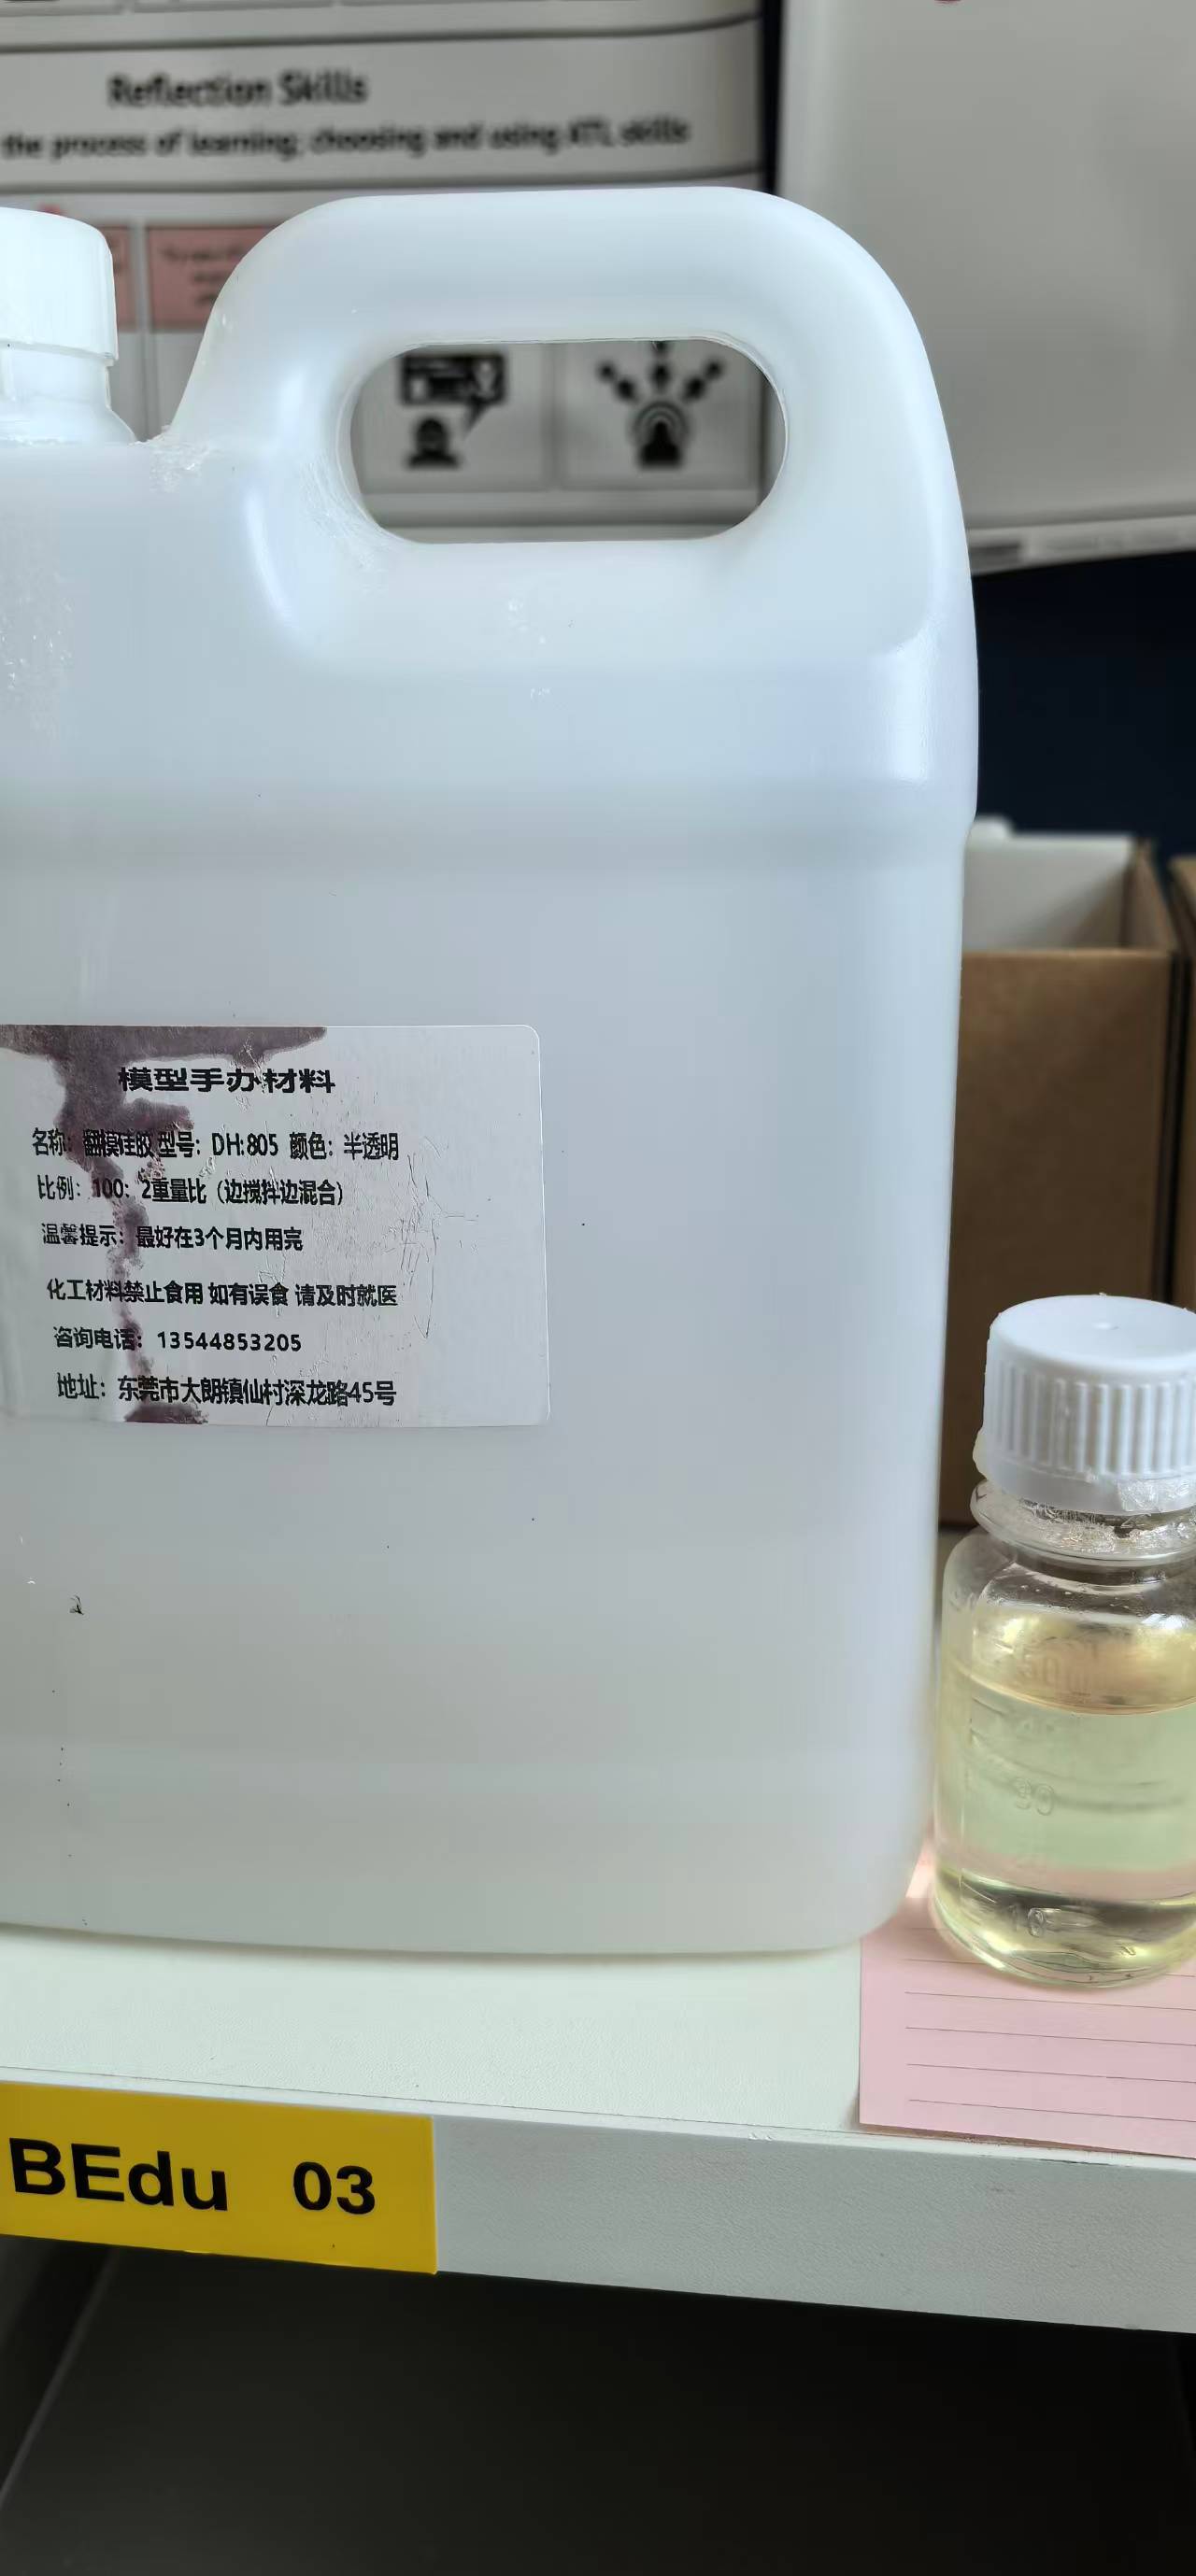
Weigh the silicone base and the catalyst.
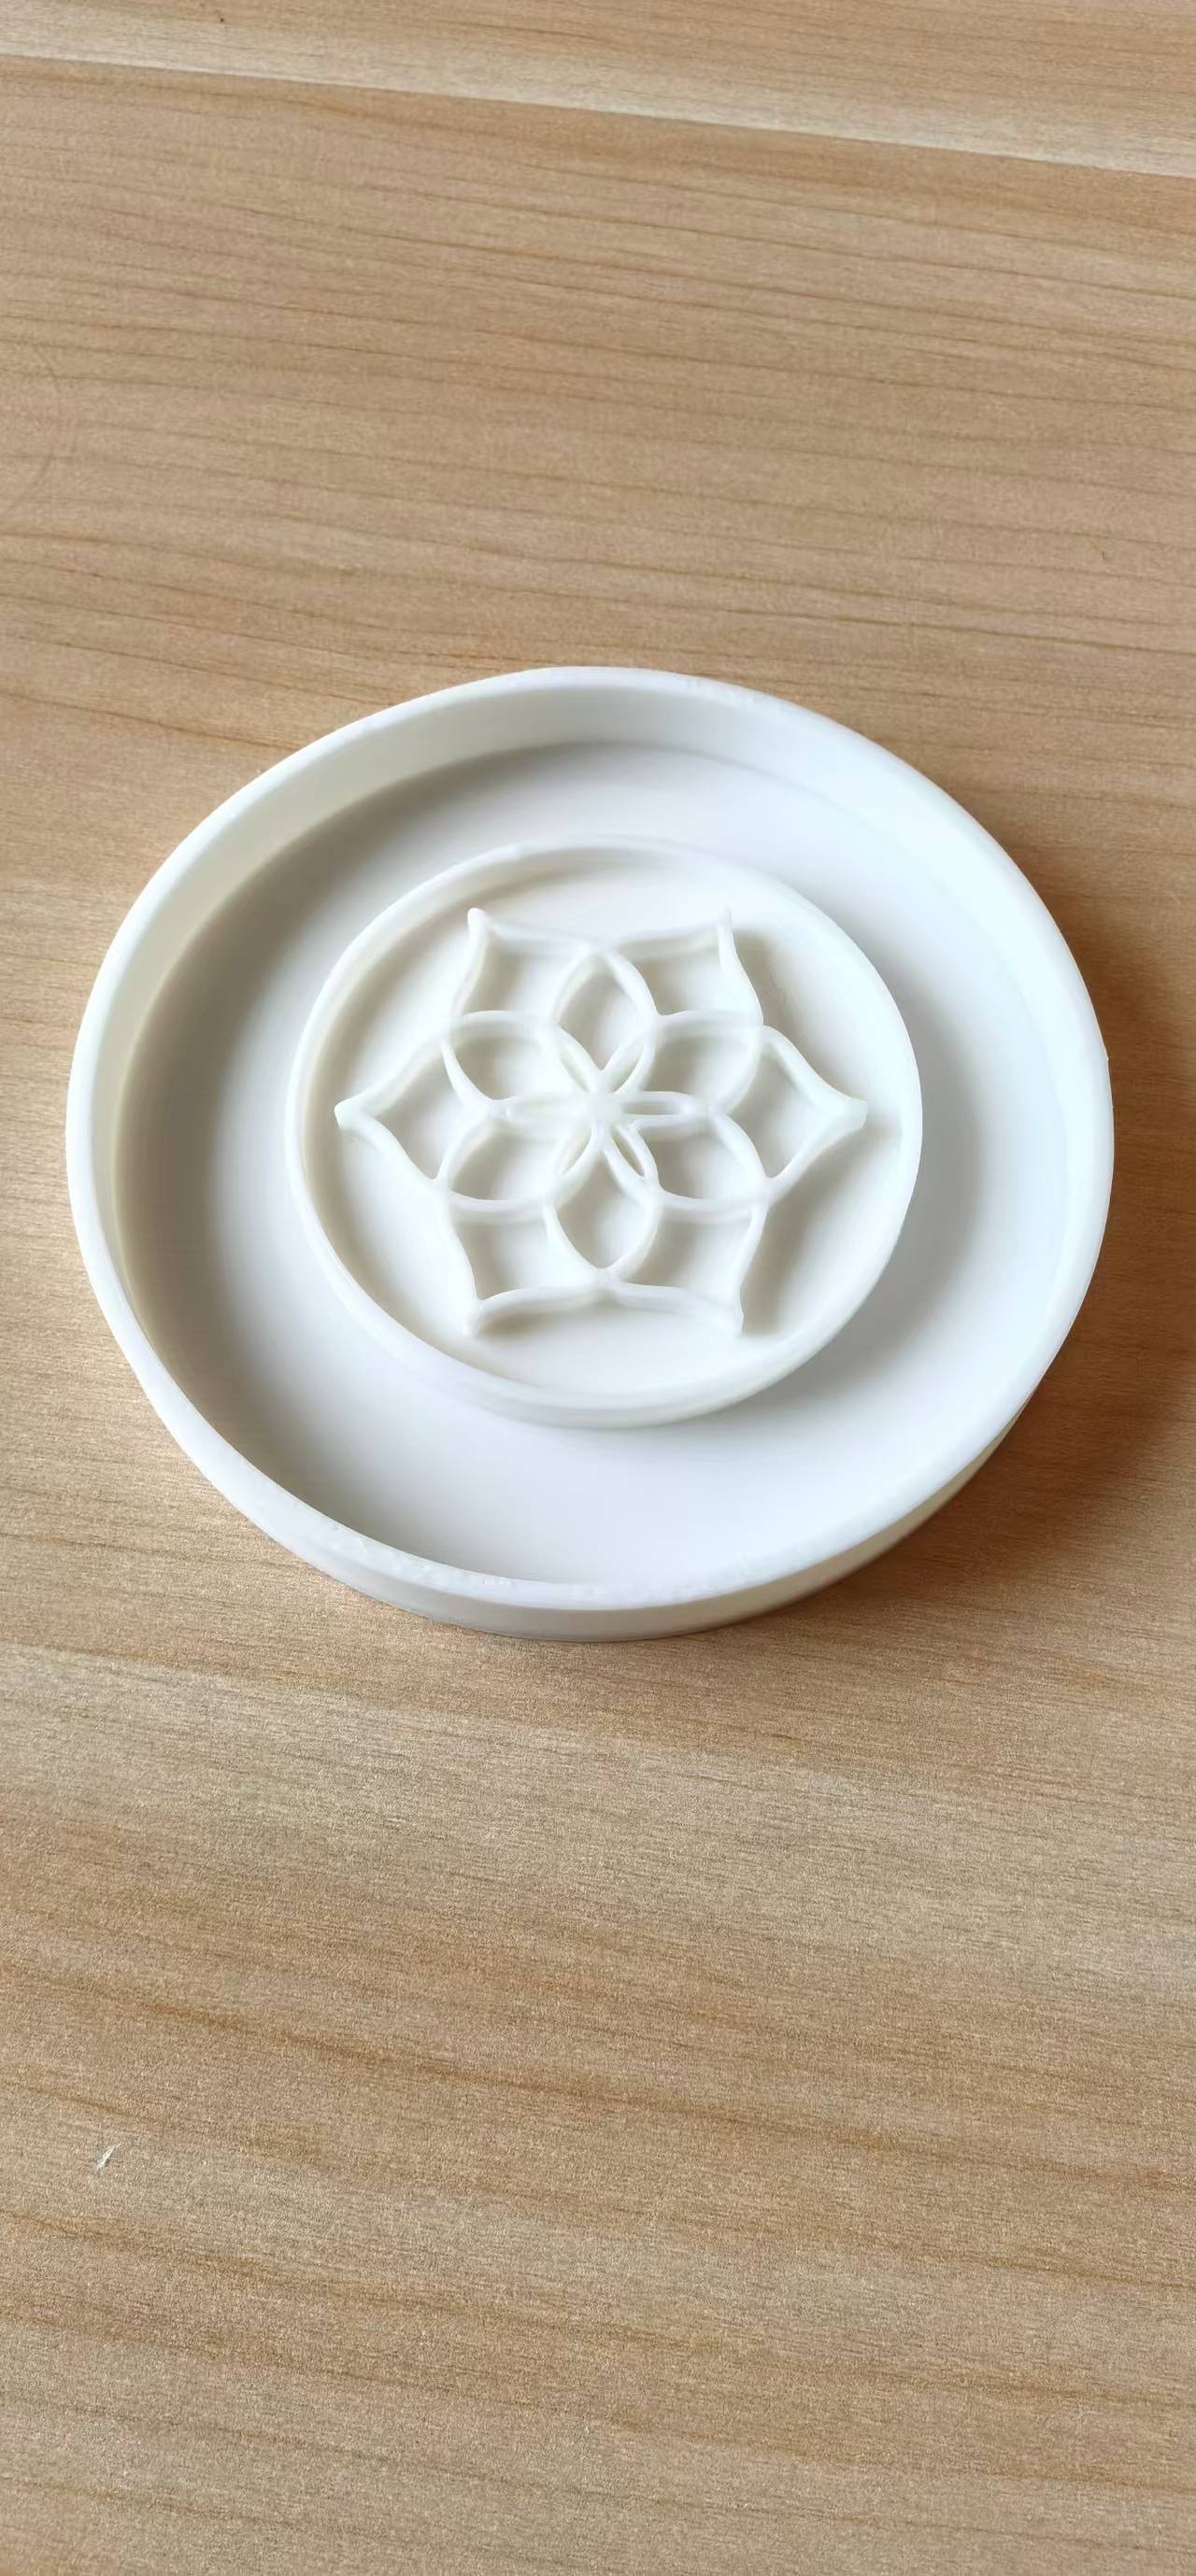
Put the model into a 3D printed mold box.
Add the stirred silicone mixture into the mold box.
Step 3 — AB resin cast
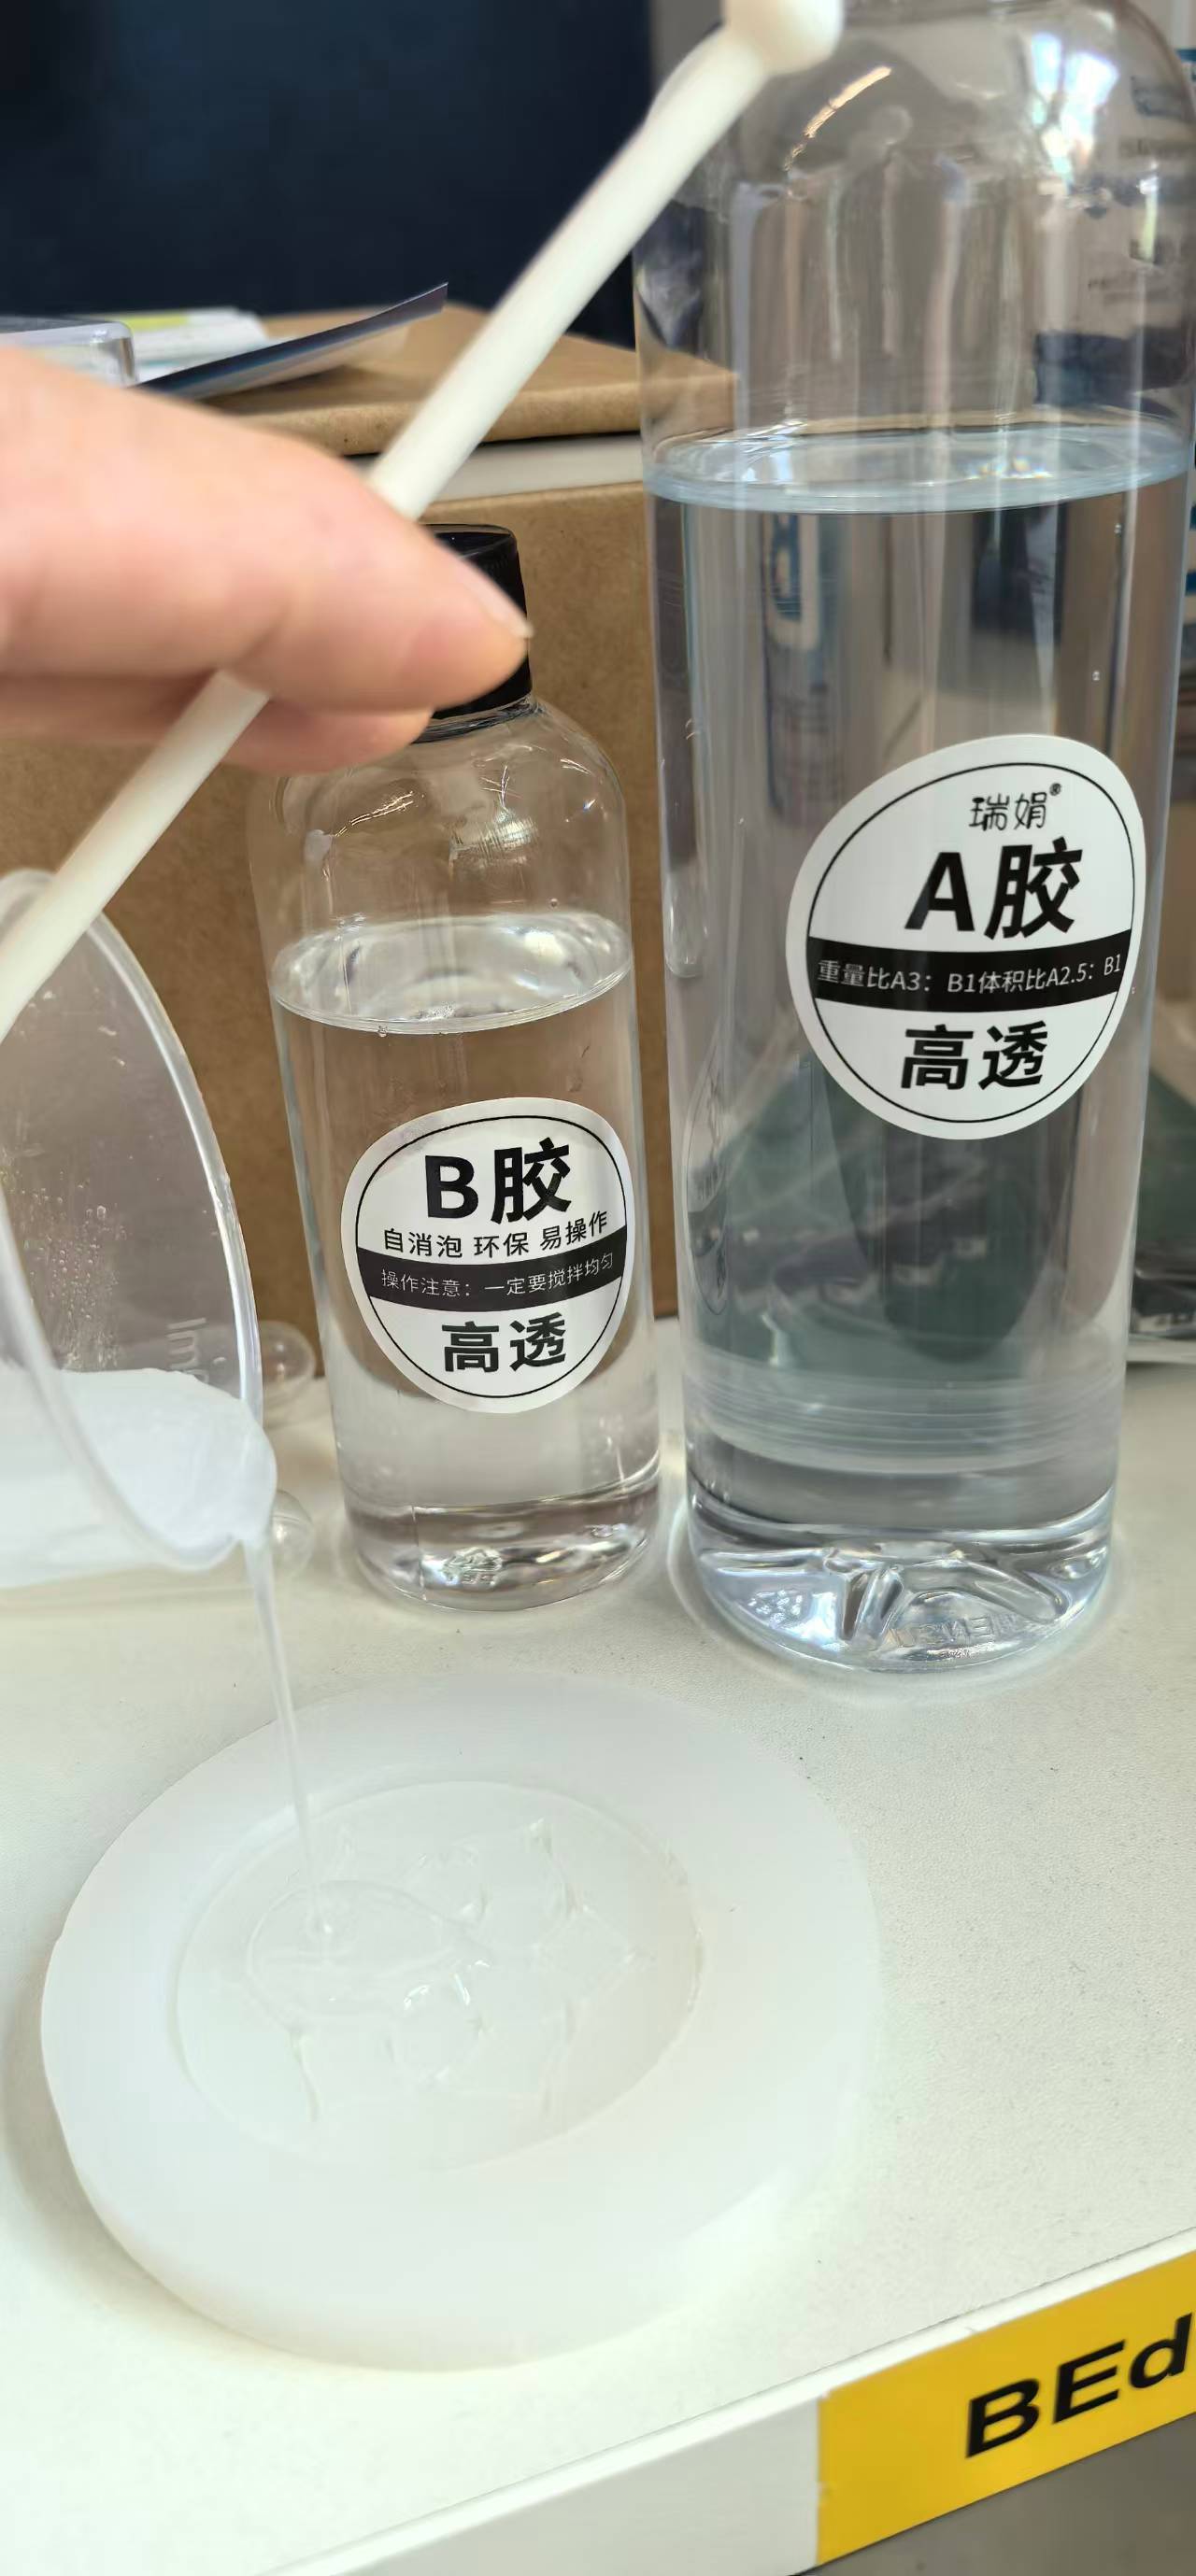
Mix two-part AB casting resin at 30 : 10 (A : B by weight), stir for 5 minutes, pour into the silicone mold, and leave to cure for 24 hours before demolding.
The AB resin.
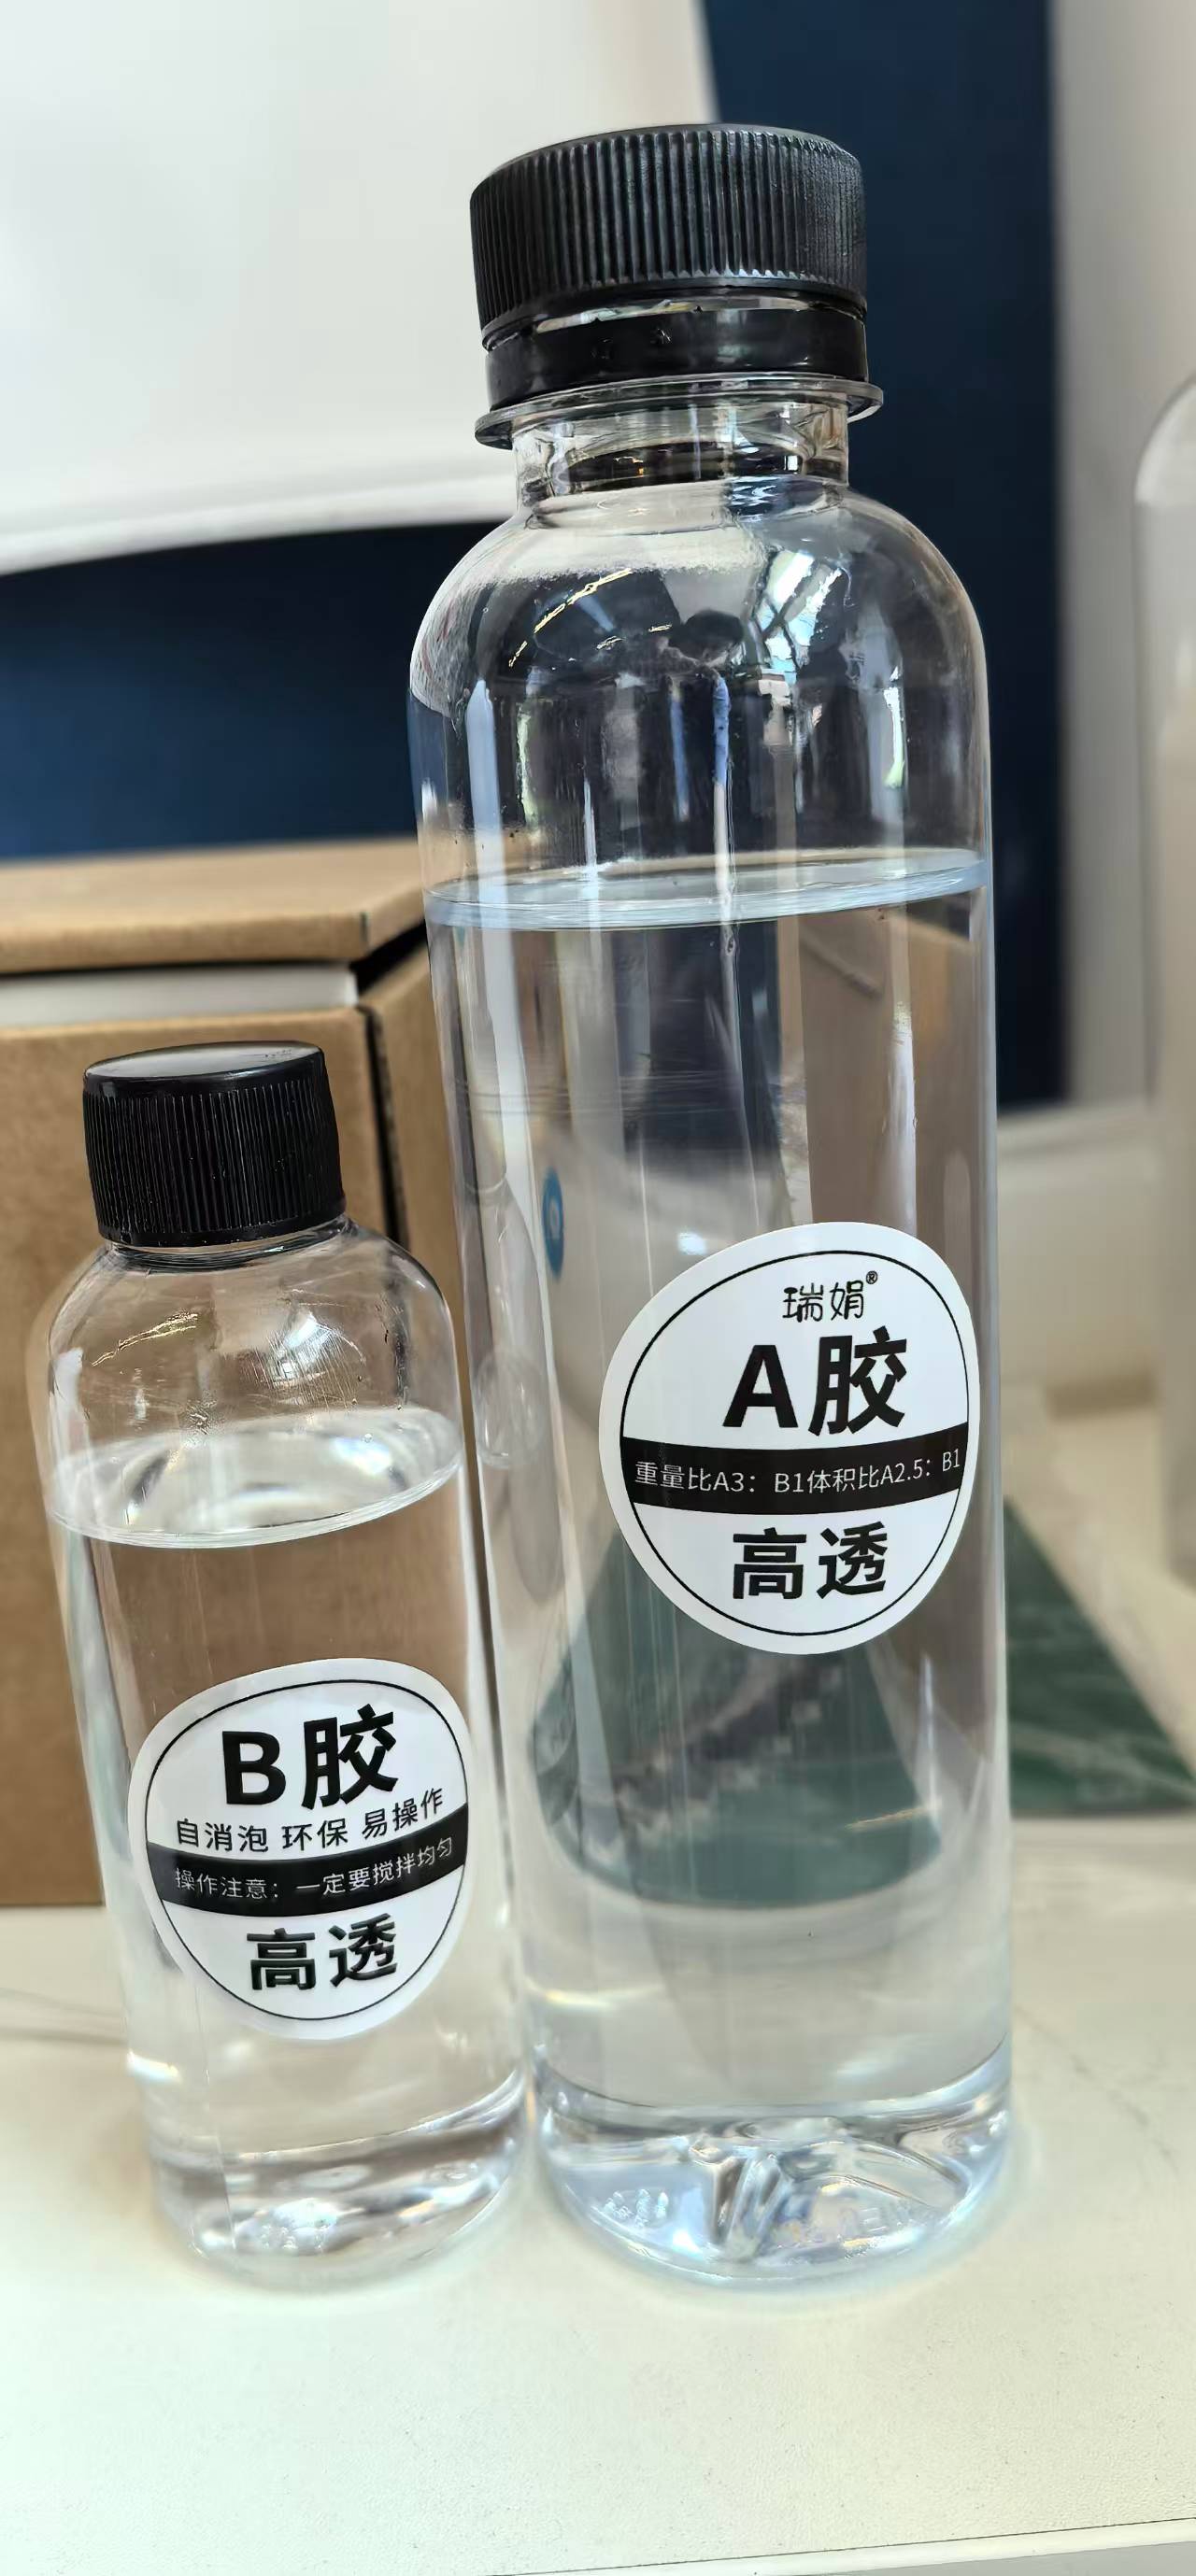
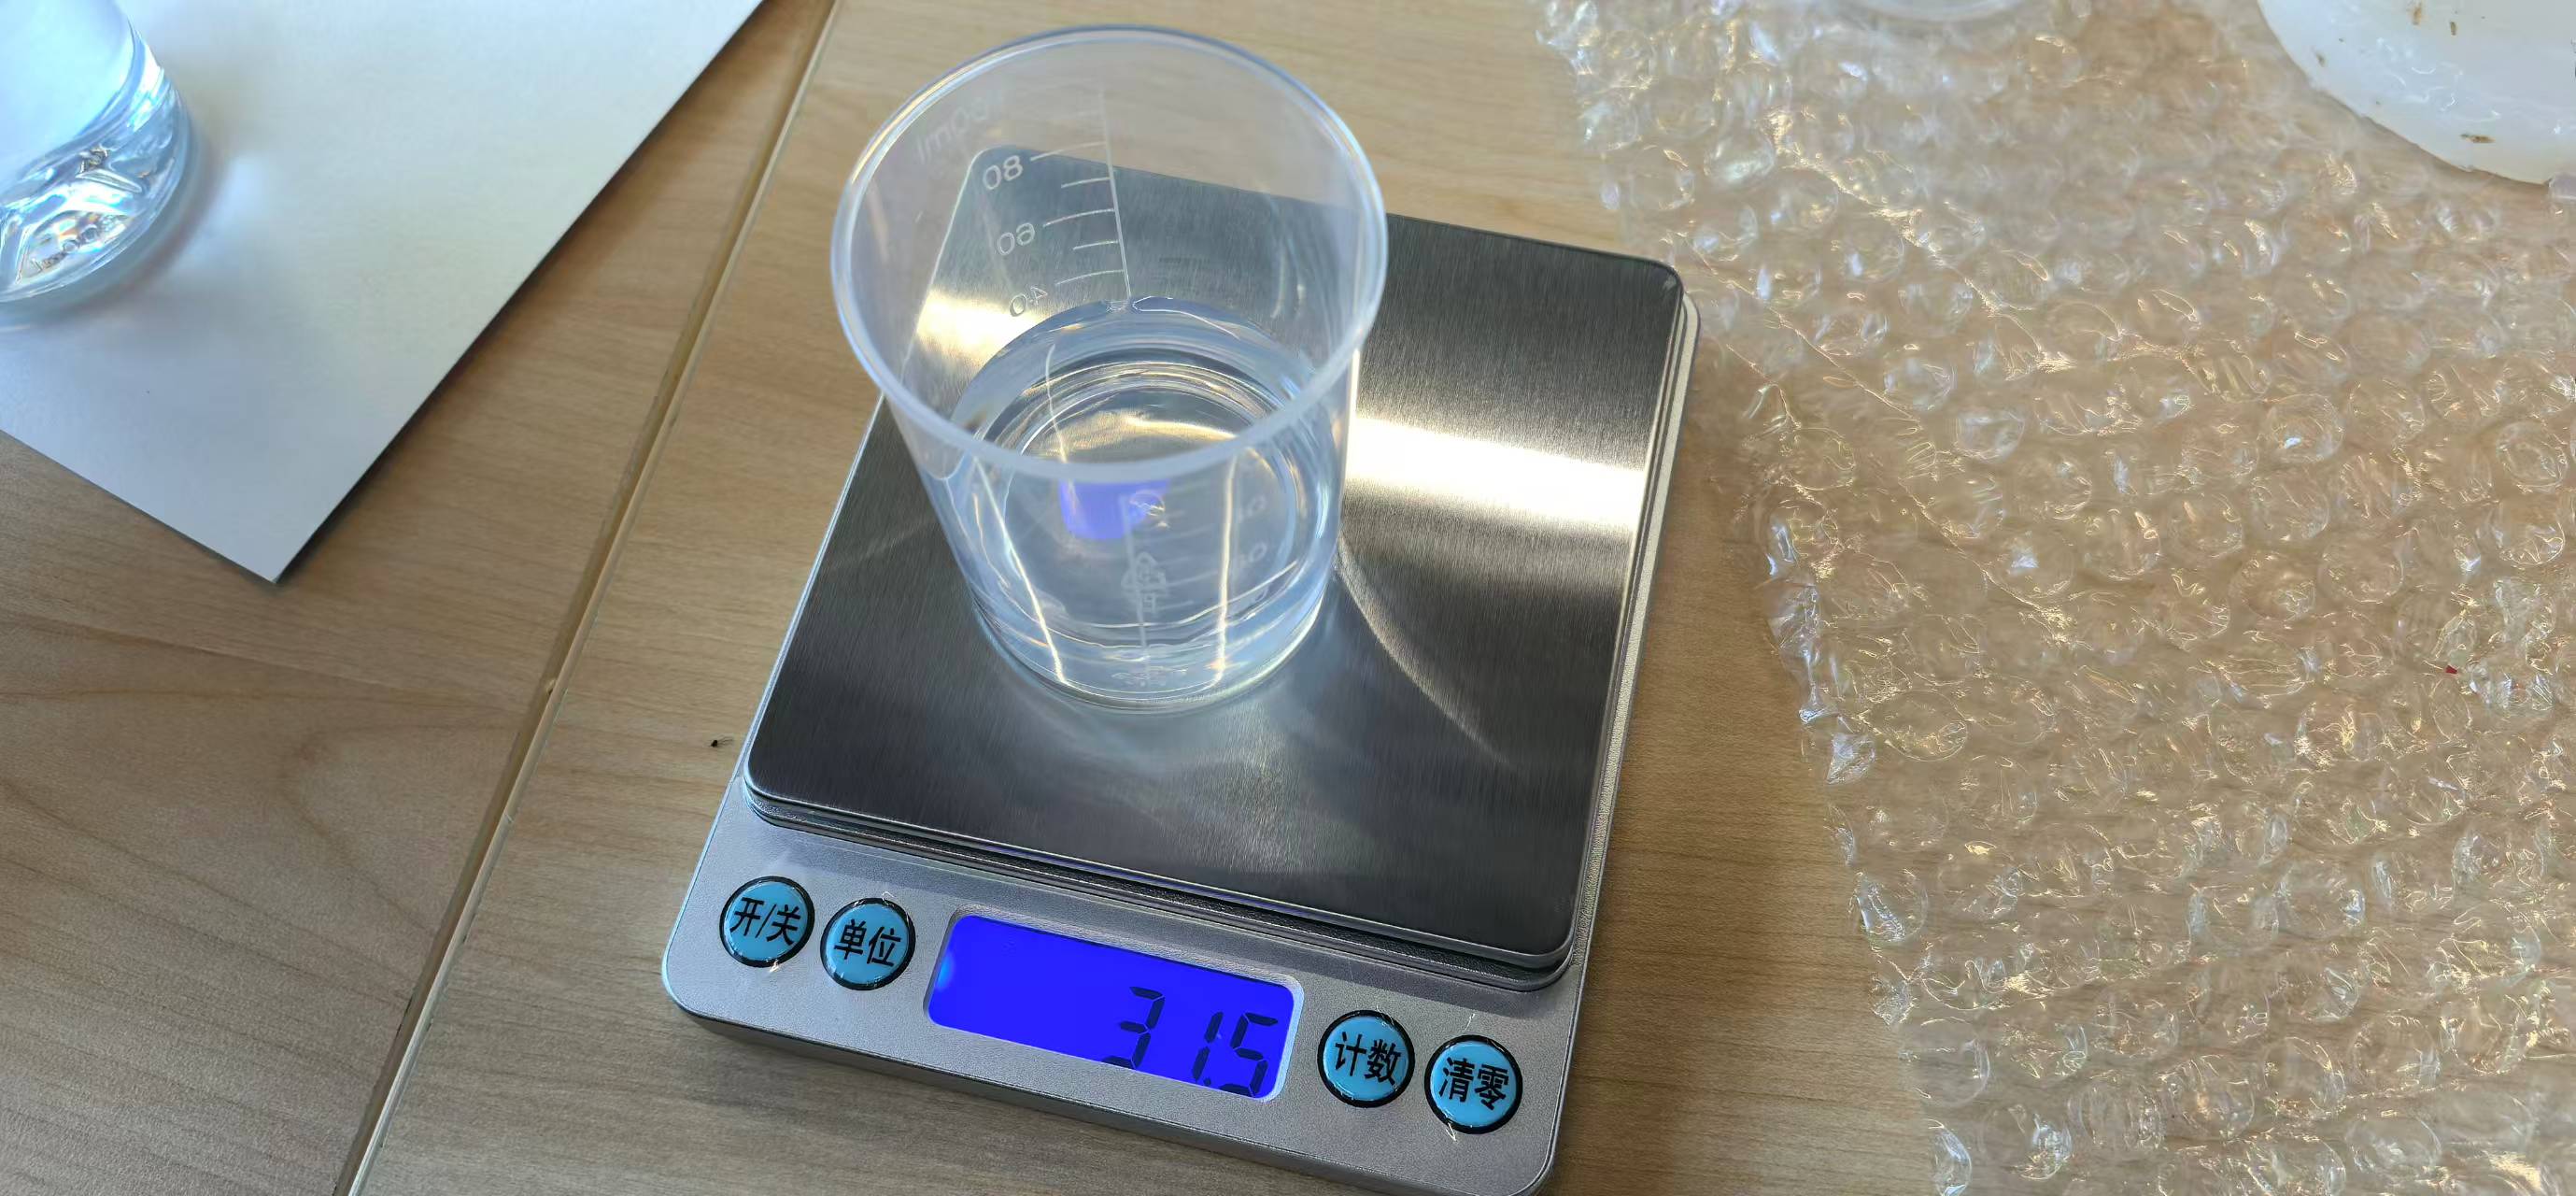
Weigh 31.5g of A glue and 10.5g of B glue.
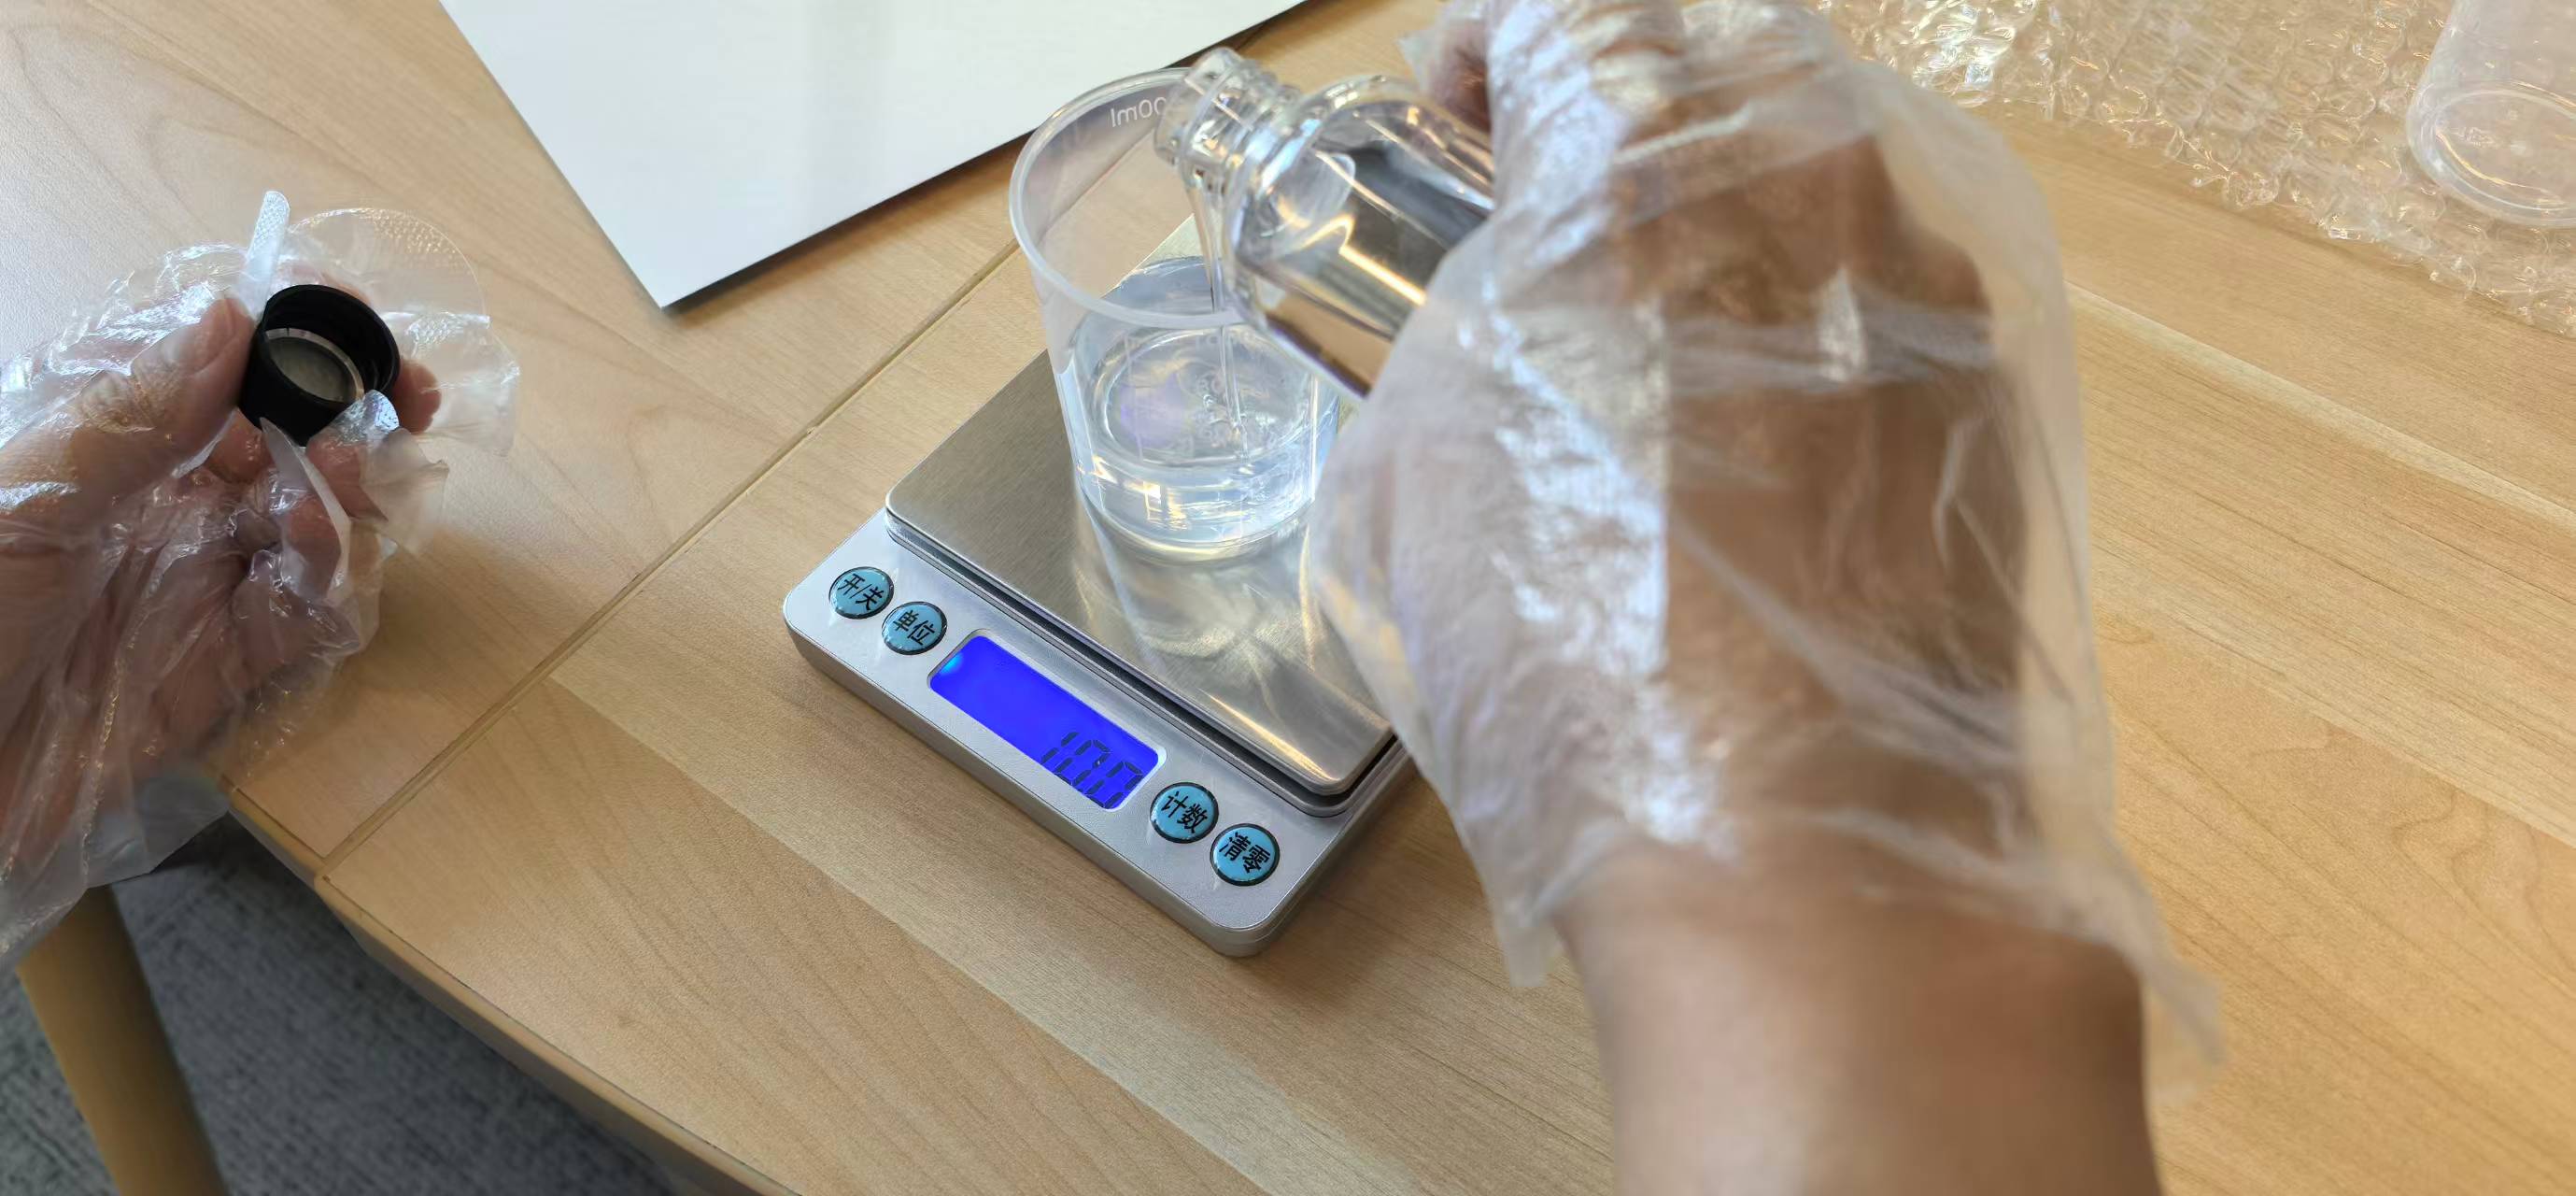
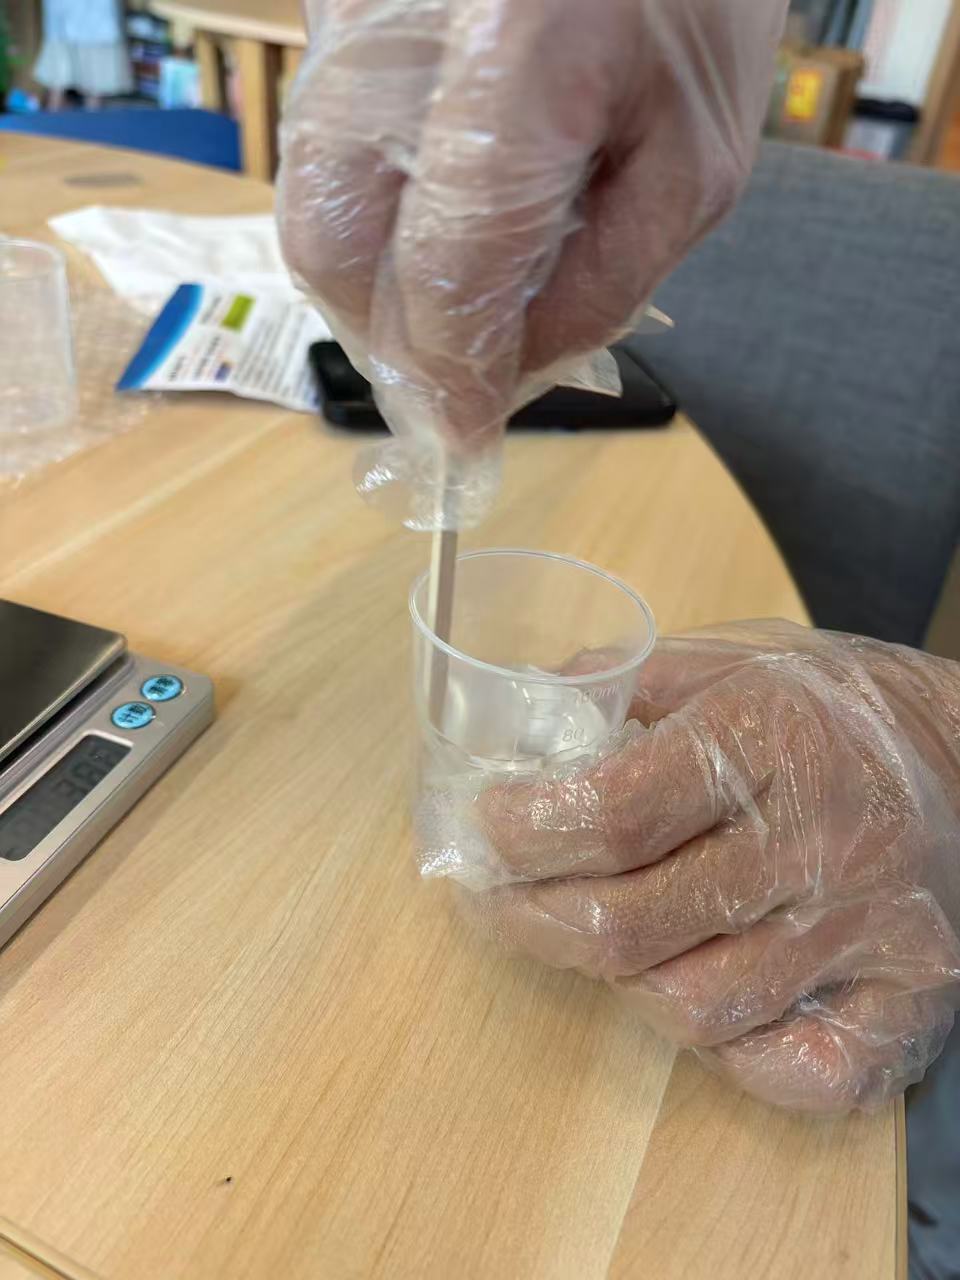
Stirring for 5 minutes.
Pour into the silicone mold.
After 24 hours, the AB resin is cured. The following picture is the results, left side is the AB resin version, the right side is the 3D printed version.
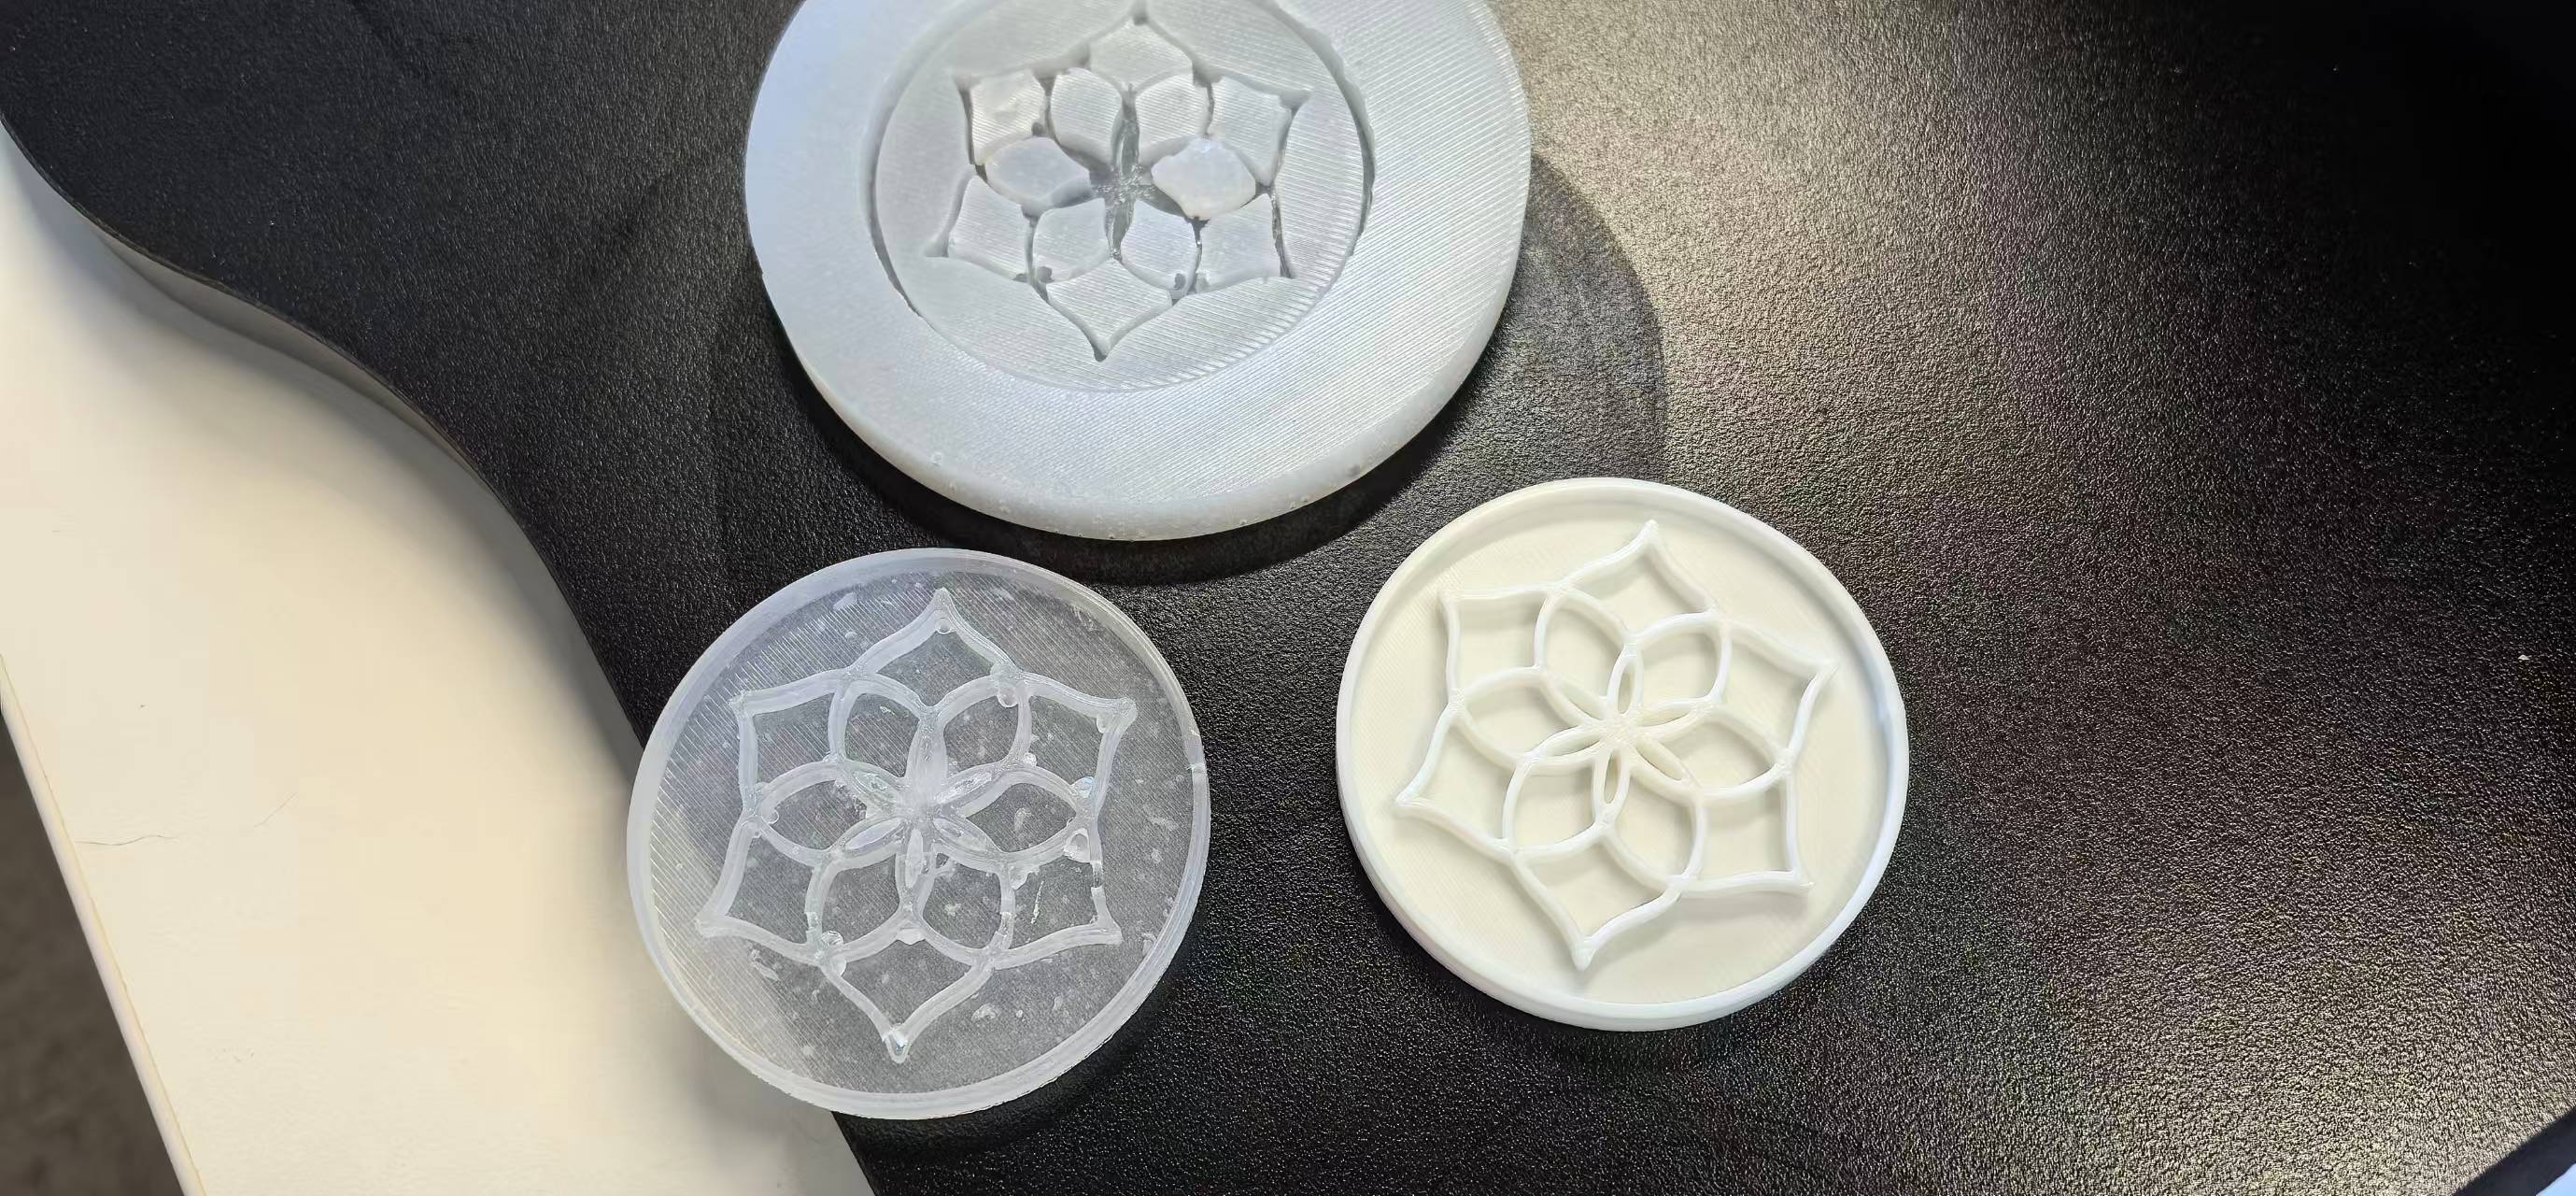
Reflection — print + mold + cast vs direct 3D print
AB resin produces a hard, rigid part with its own material character — useful when you need a stone-like or enamel-like feel rather than layered plastic. However, the full chain — print master, mix and cure silicone, mix and cure resin, wait 24 h — is much slower than printing the logo directly in one step. For a single decorative badge like this, direct FDM (or resin printing) is more efficient unless you need many identical copies from one mold or a material that the printer cannot extrude. The silicone mold itself is reusable, which is where casting pays off at higher volume.
Individual Assignment — Part B: CNC Relief Master (exploratory, not cast)
I also tried making a master on the Snapmaker A350T with a small Ø 1.5 mm end mill, using Luban CAM software — to compare whether a milled positive would give a smoother mold surface than an FDM print. Source artwork:
VK_logo.svg (thickened line version for CNC).
The svg file was converted from the png file.

Luban workflow — Relief, Invert
- Import SVG into Luban.
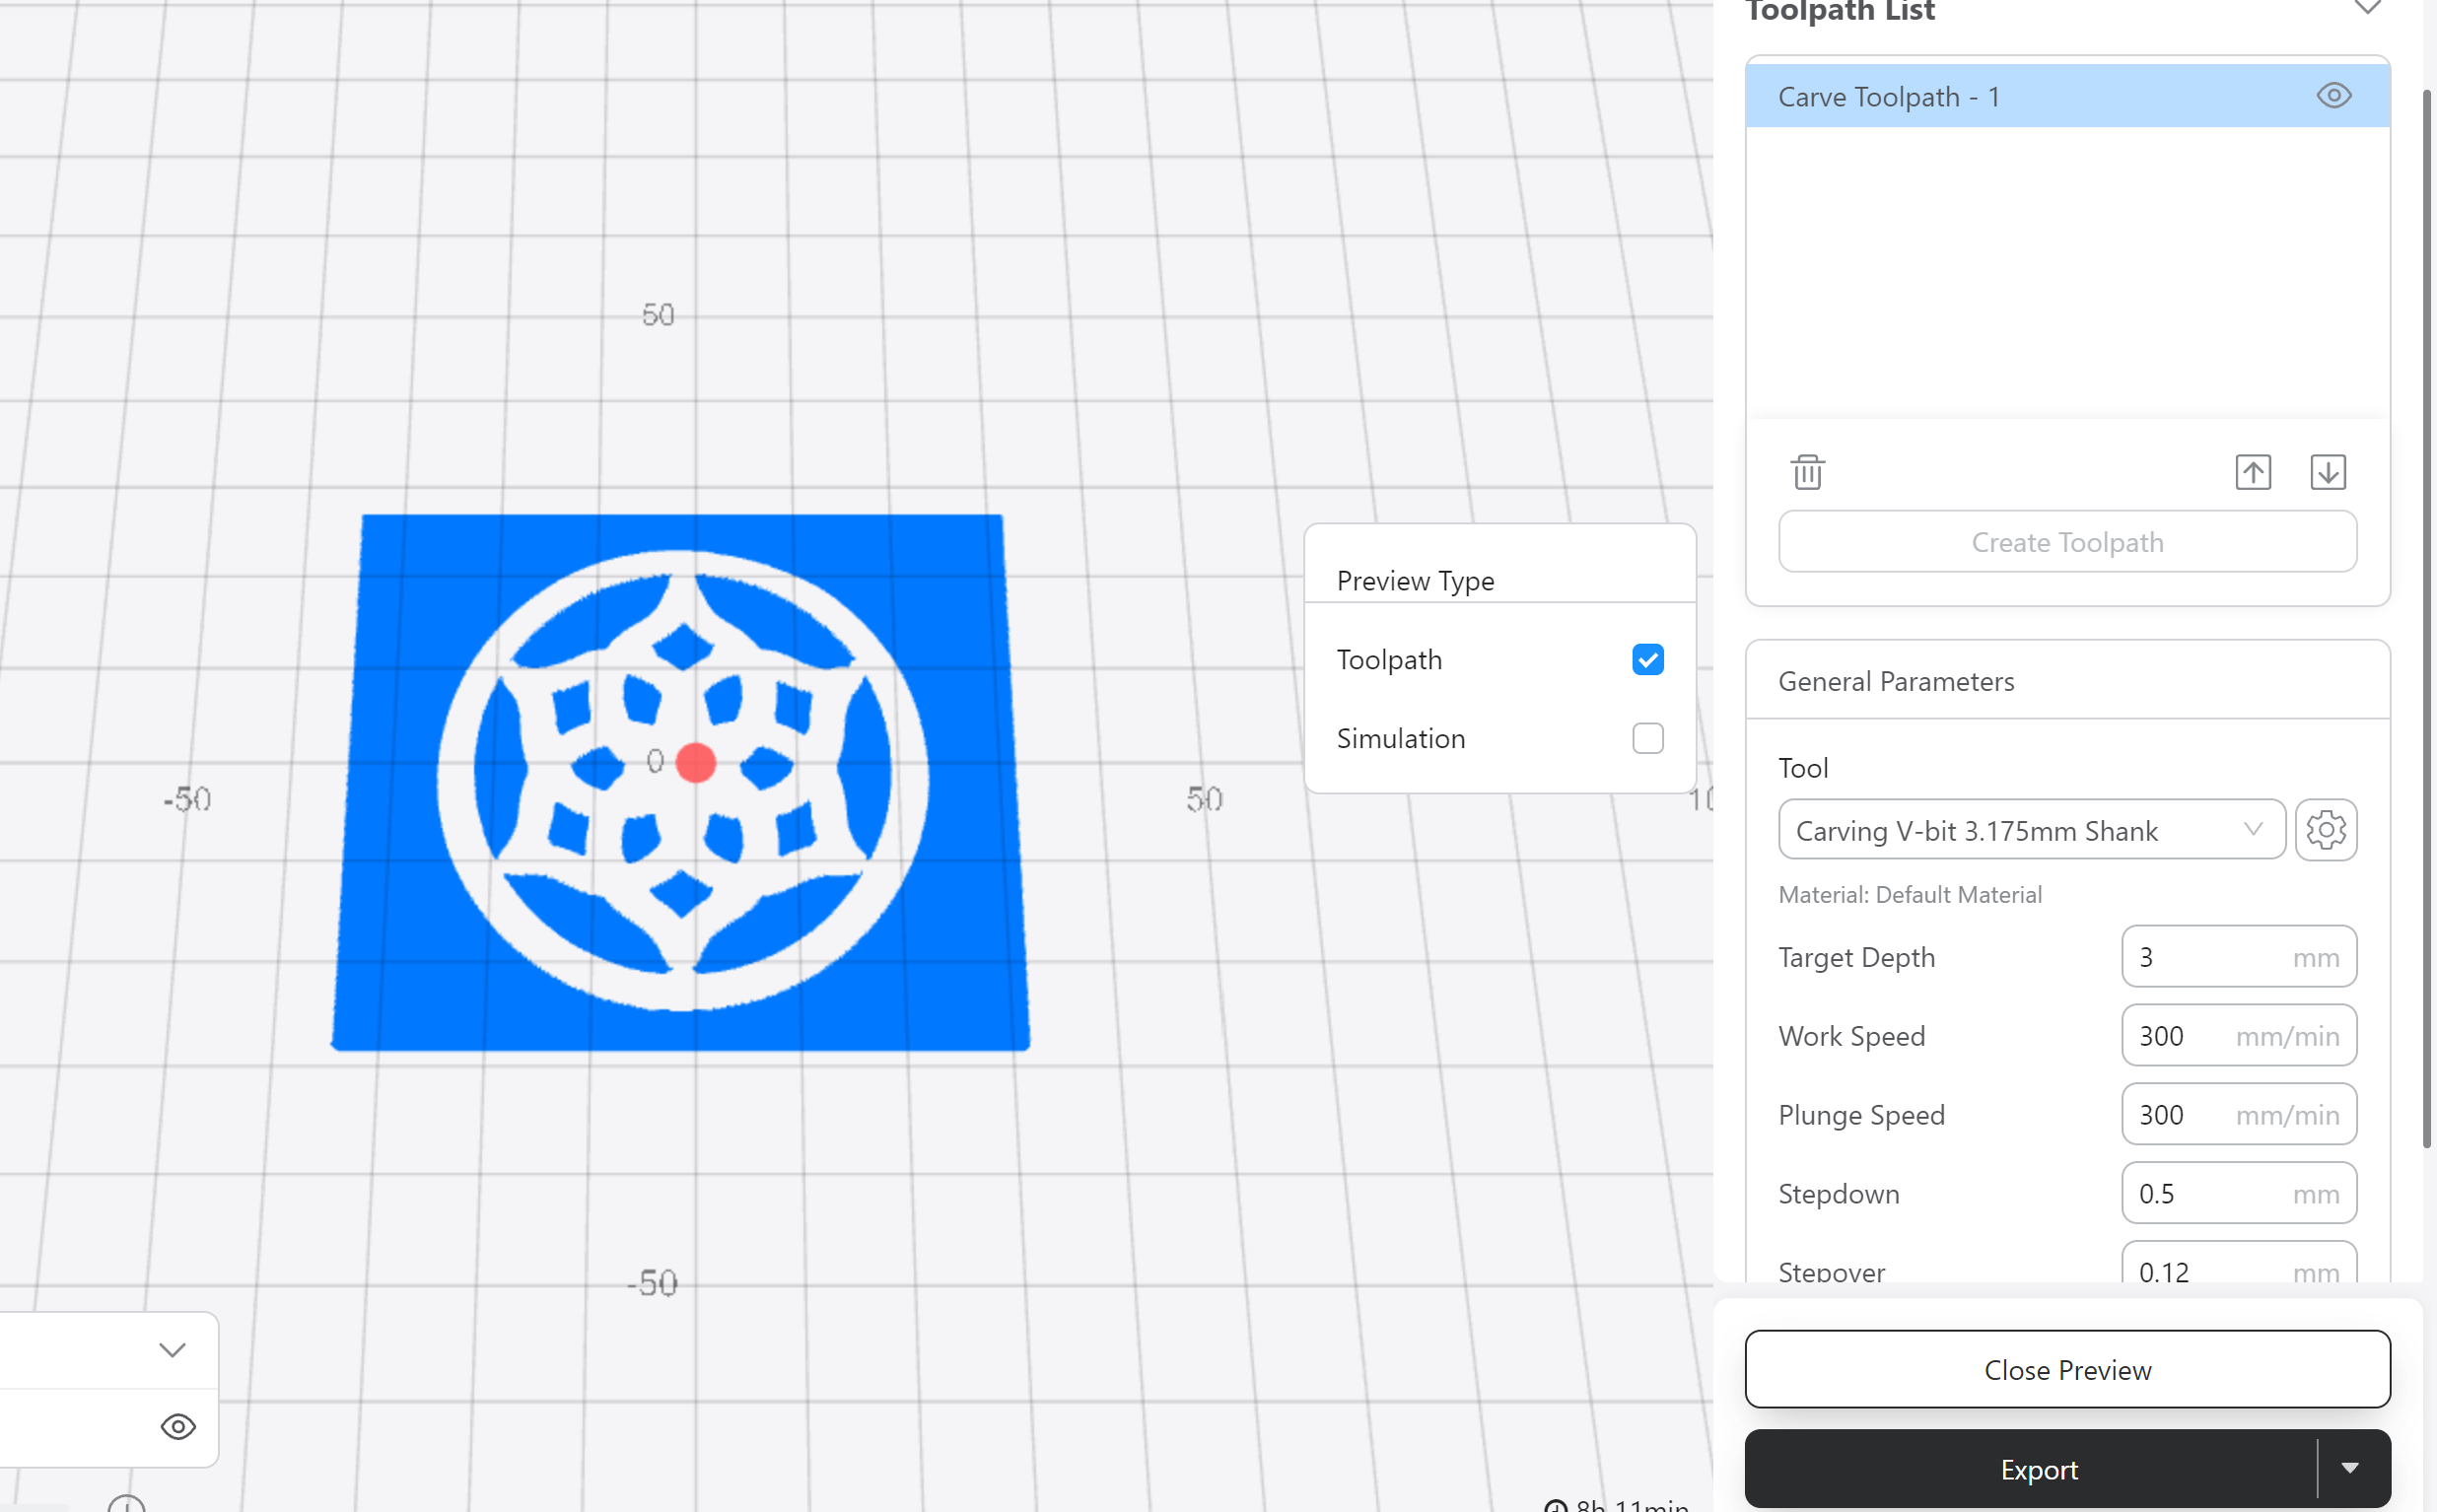
- Select Relief mode and check Invert so the logo cuts as raised geometry.
- Set toolpaths and assign the Ø 1.5 mm tool.
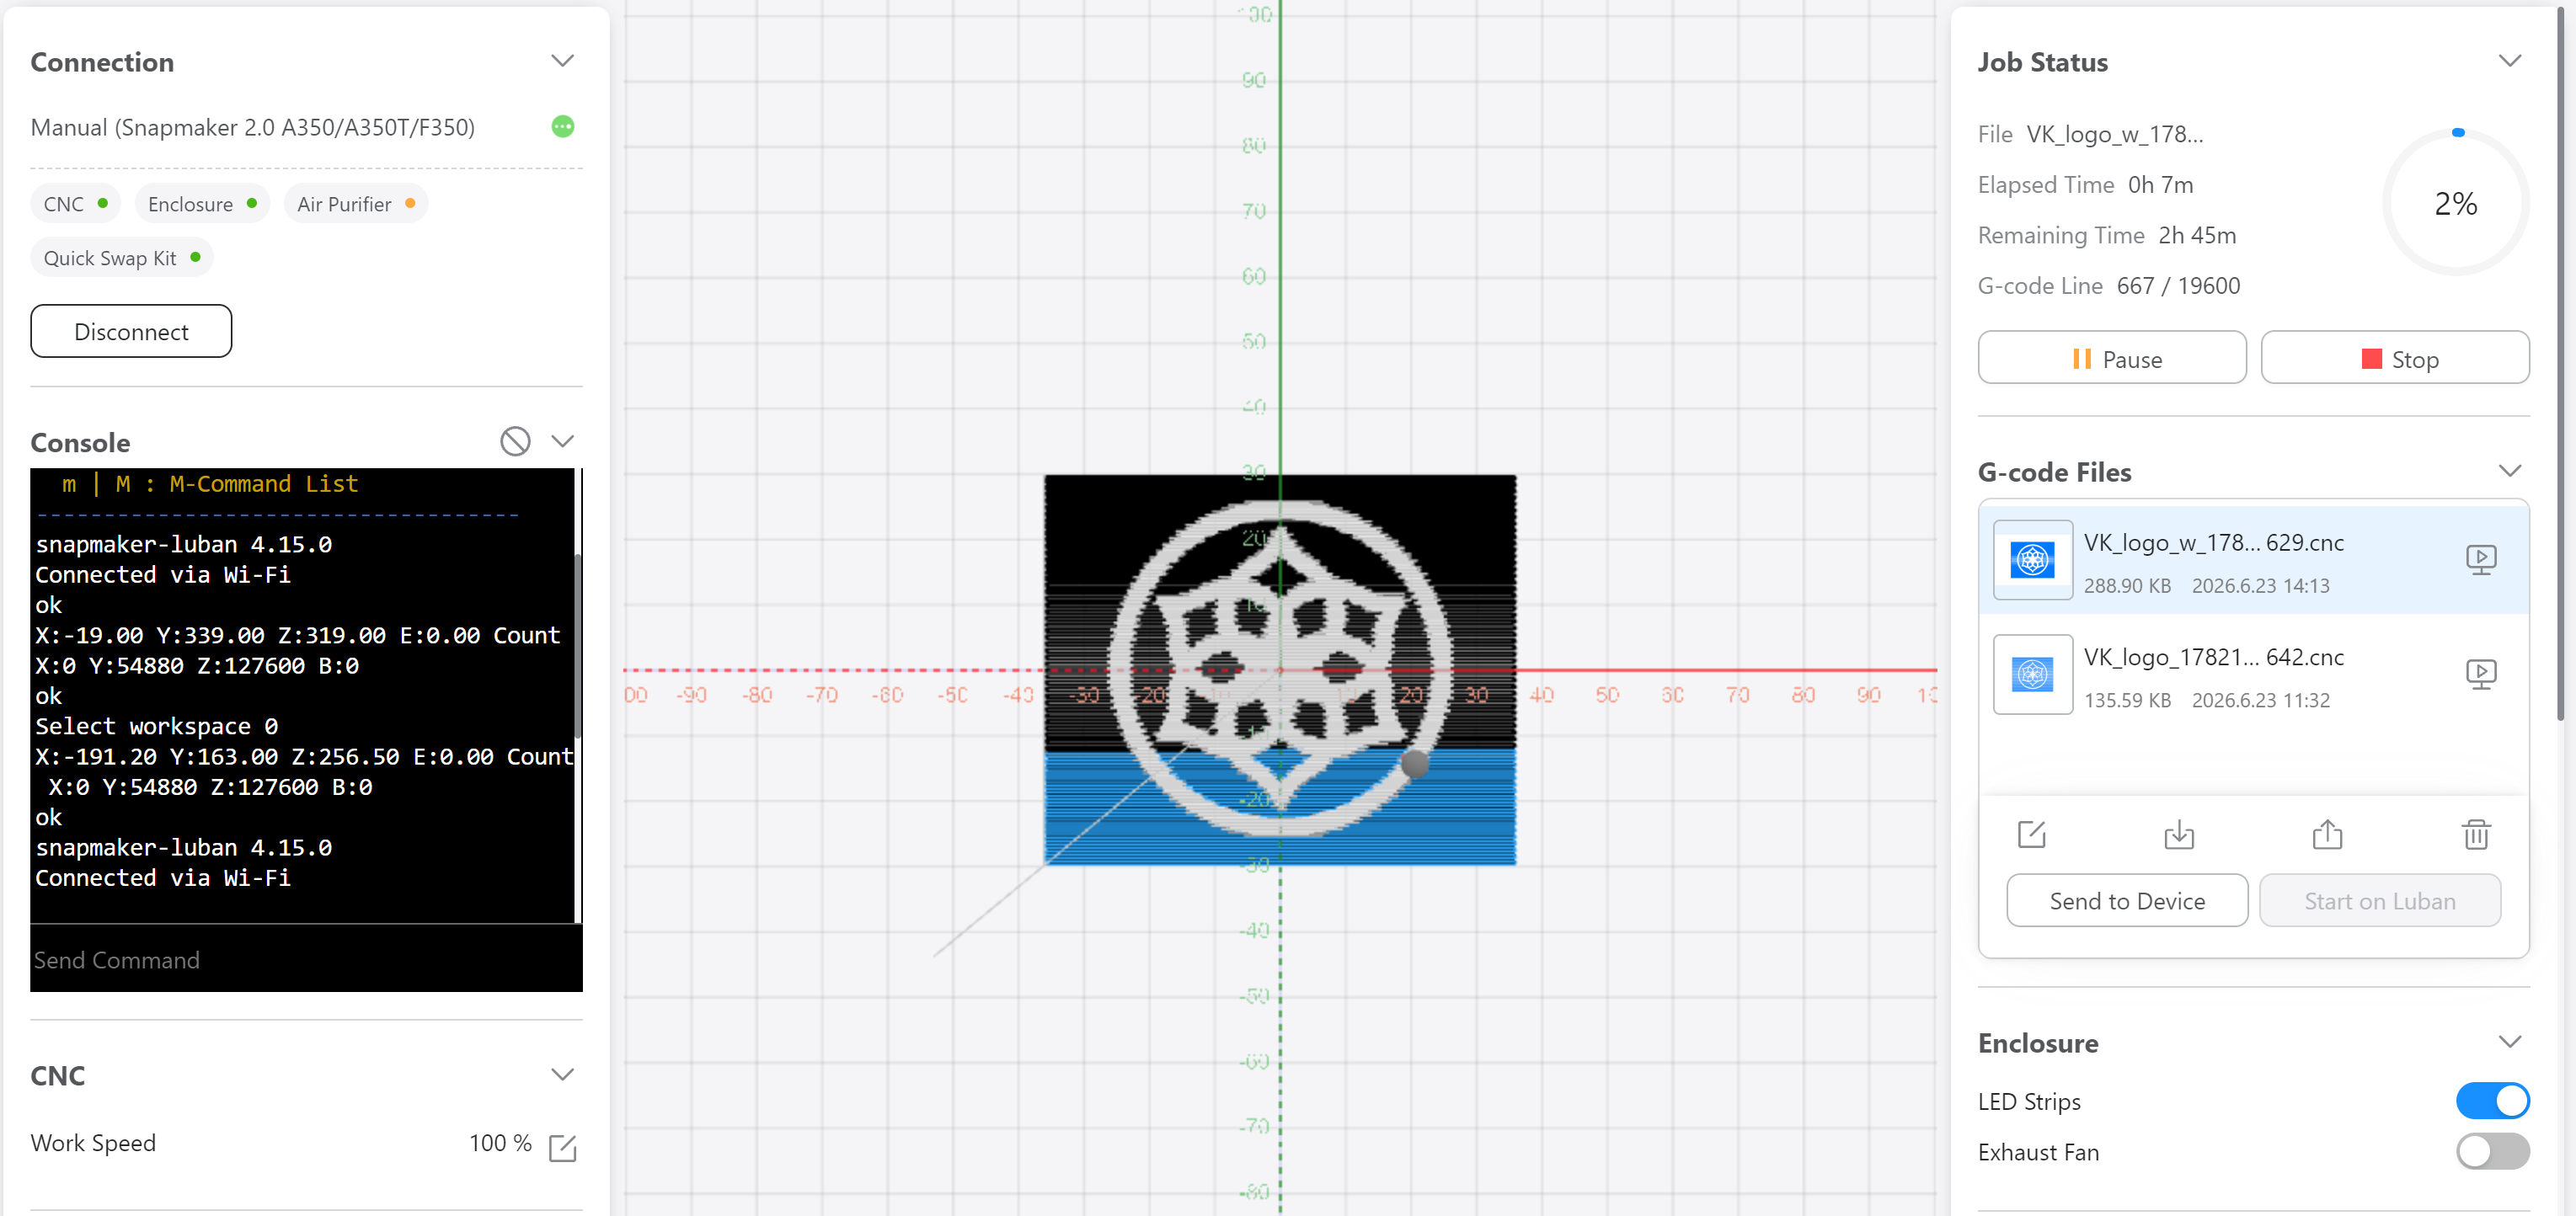
- Generate G-code, set work zero on the machine, and run the job.
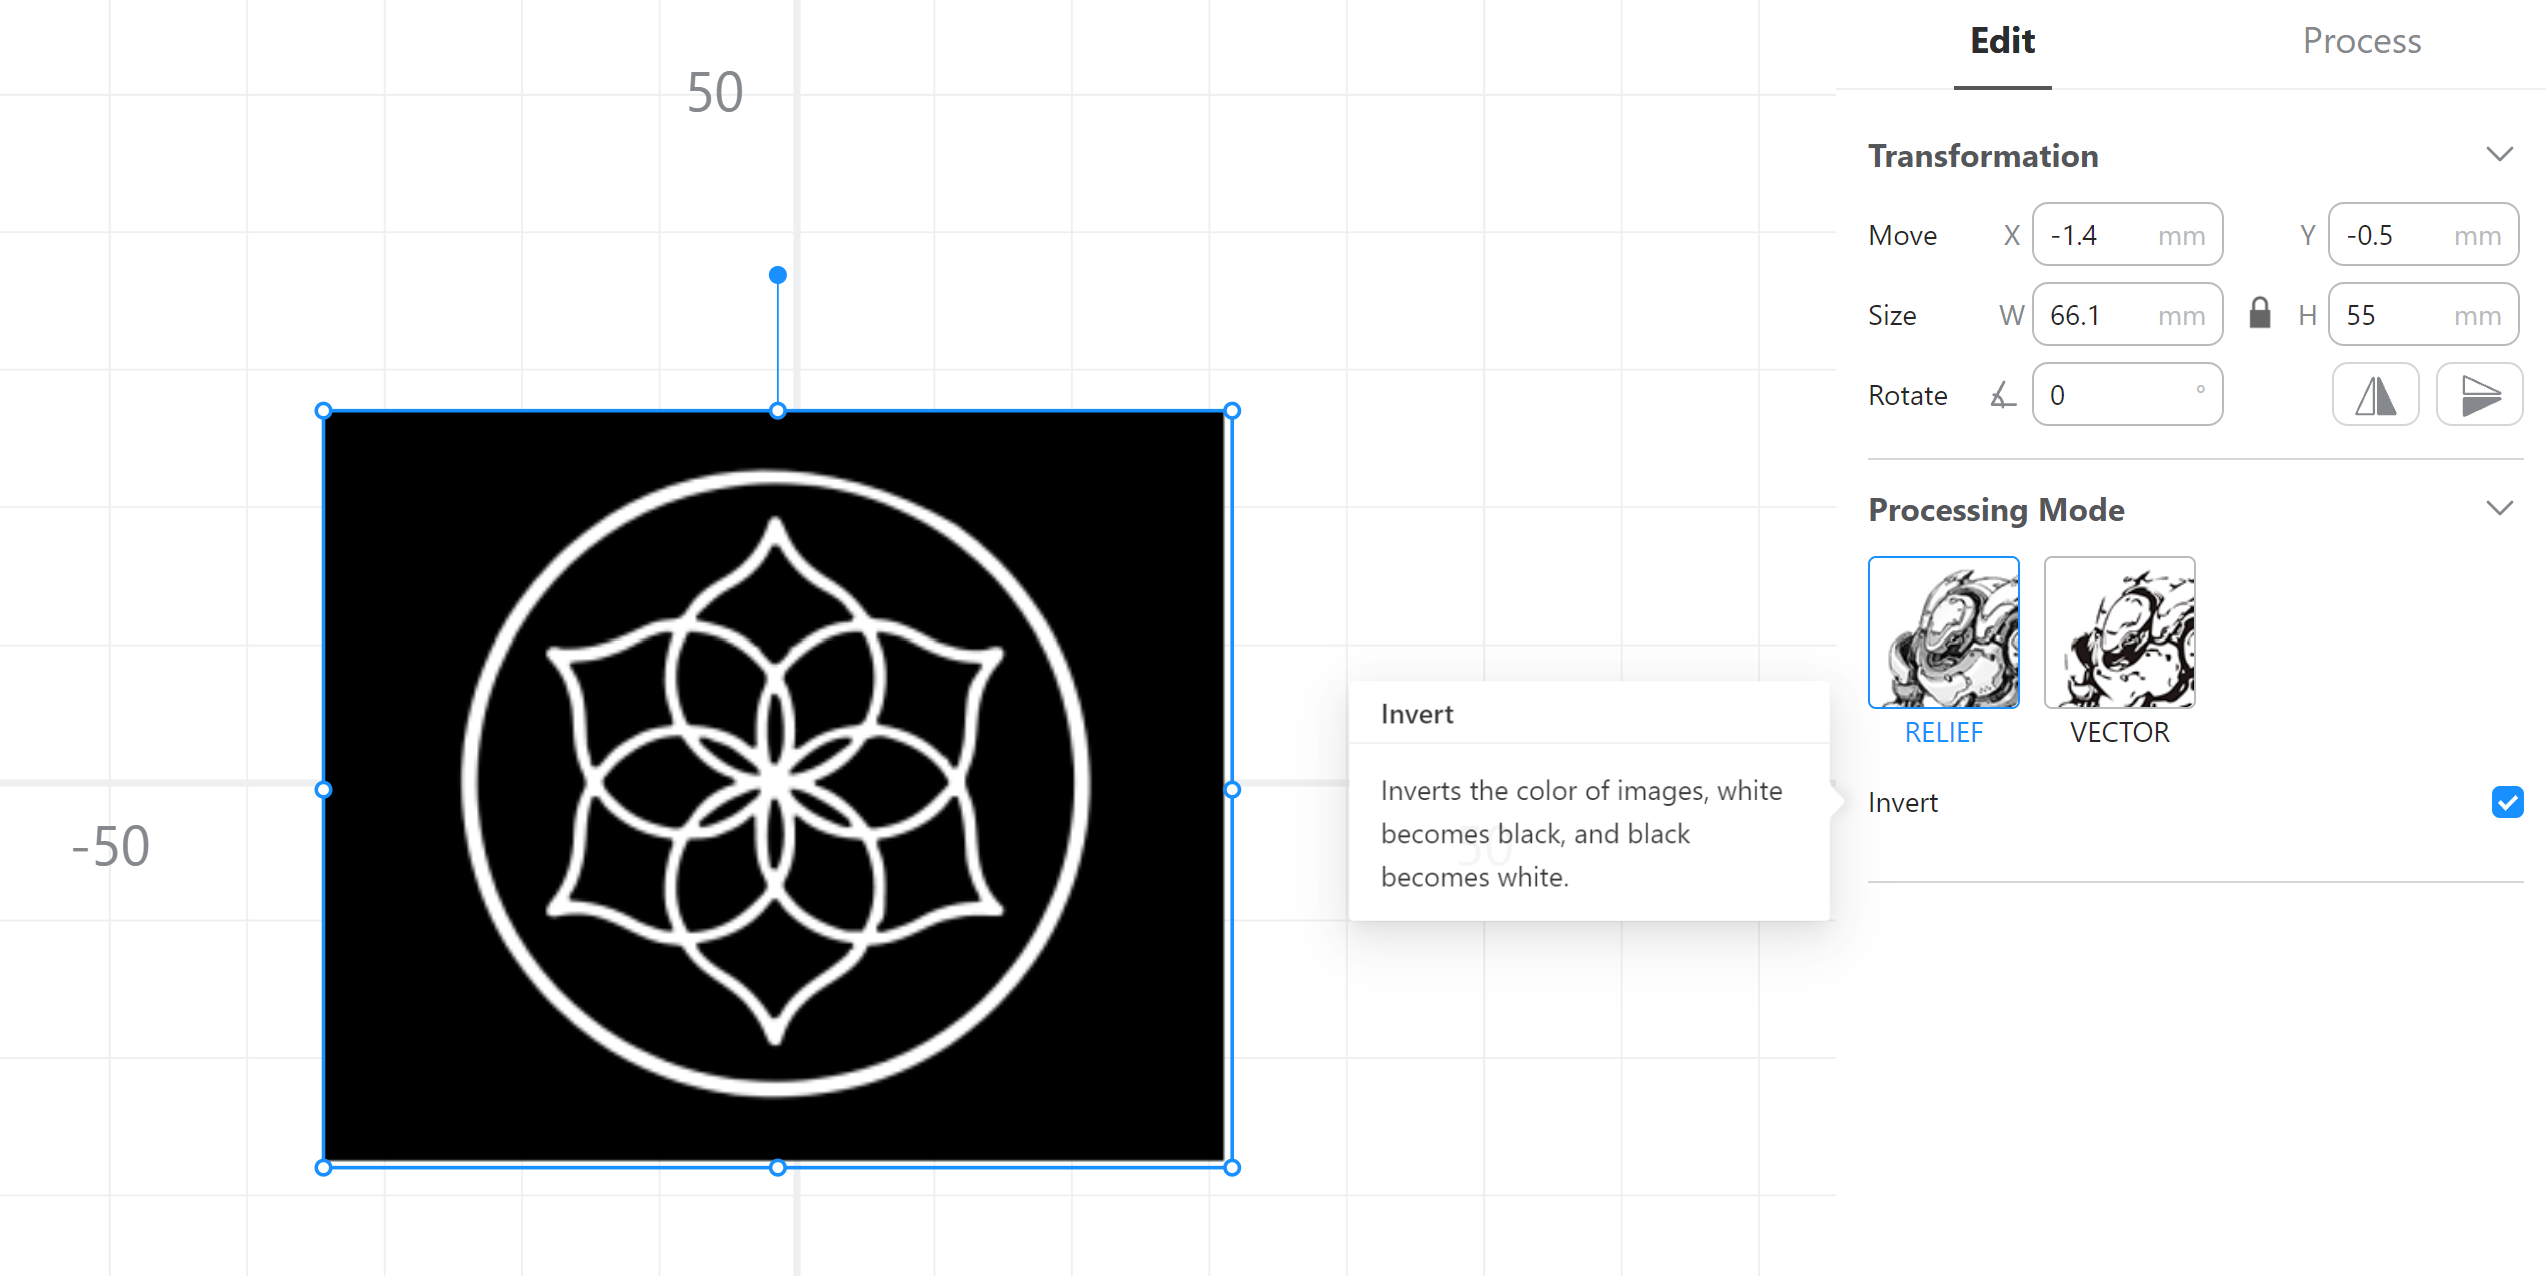
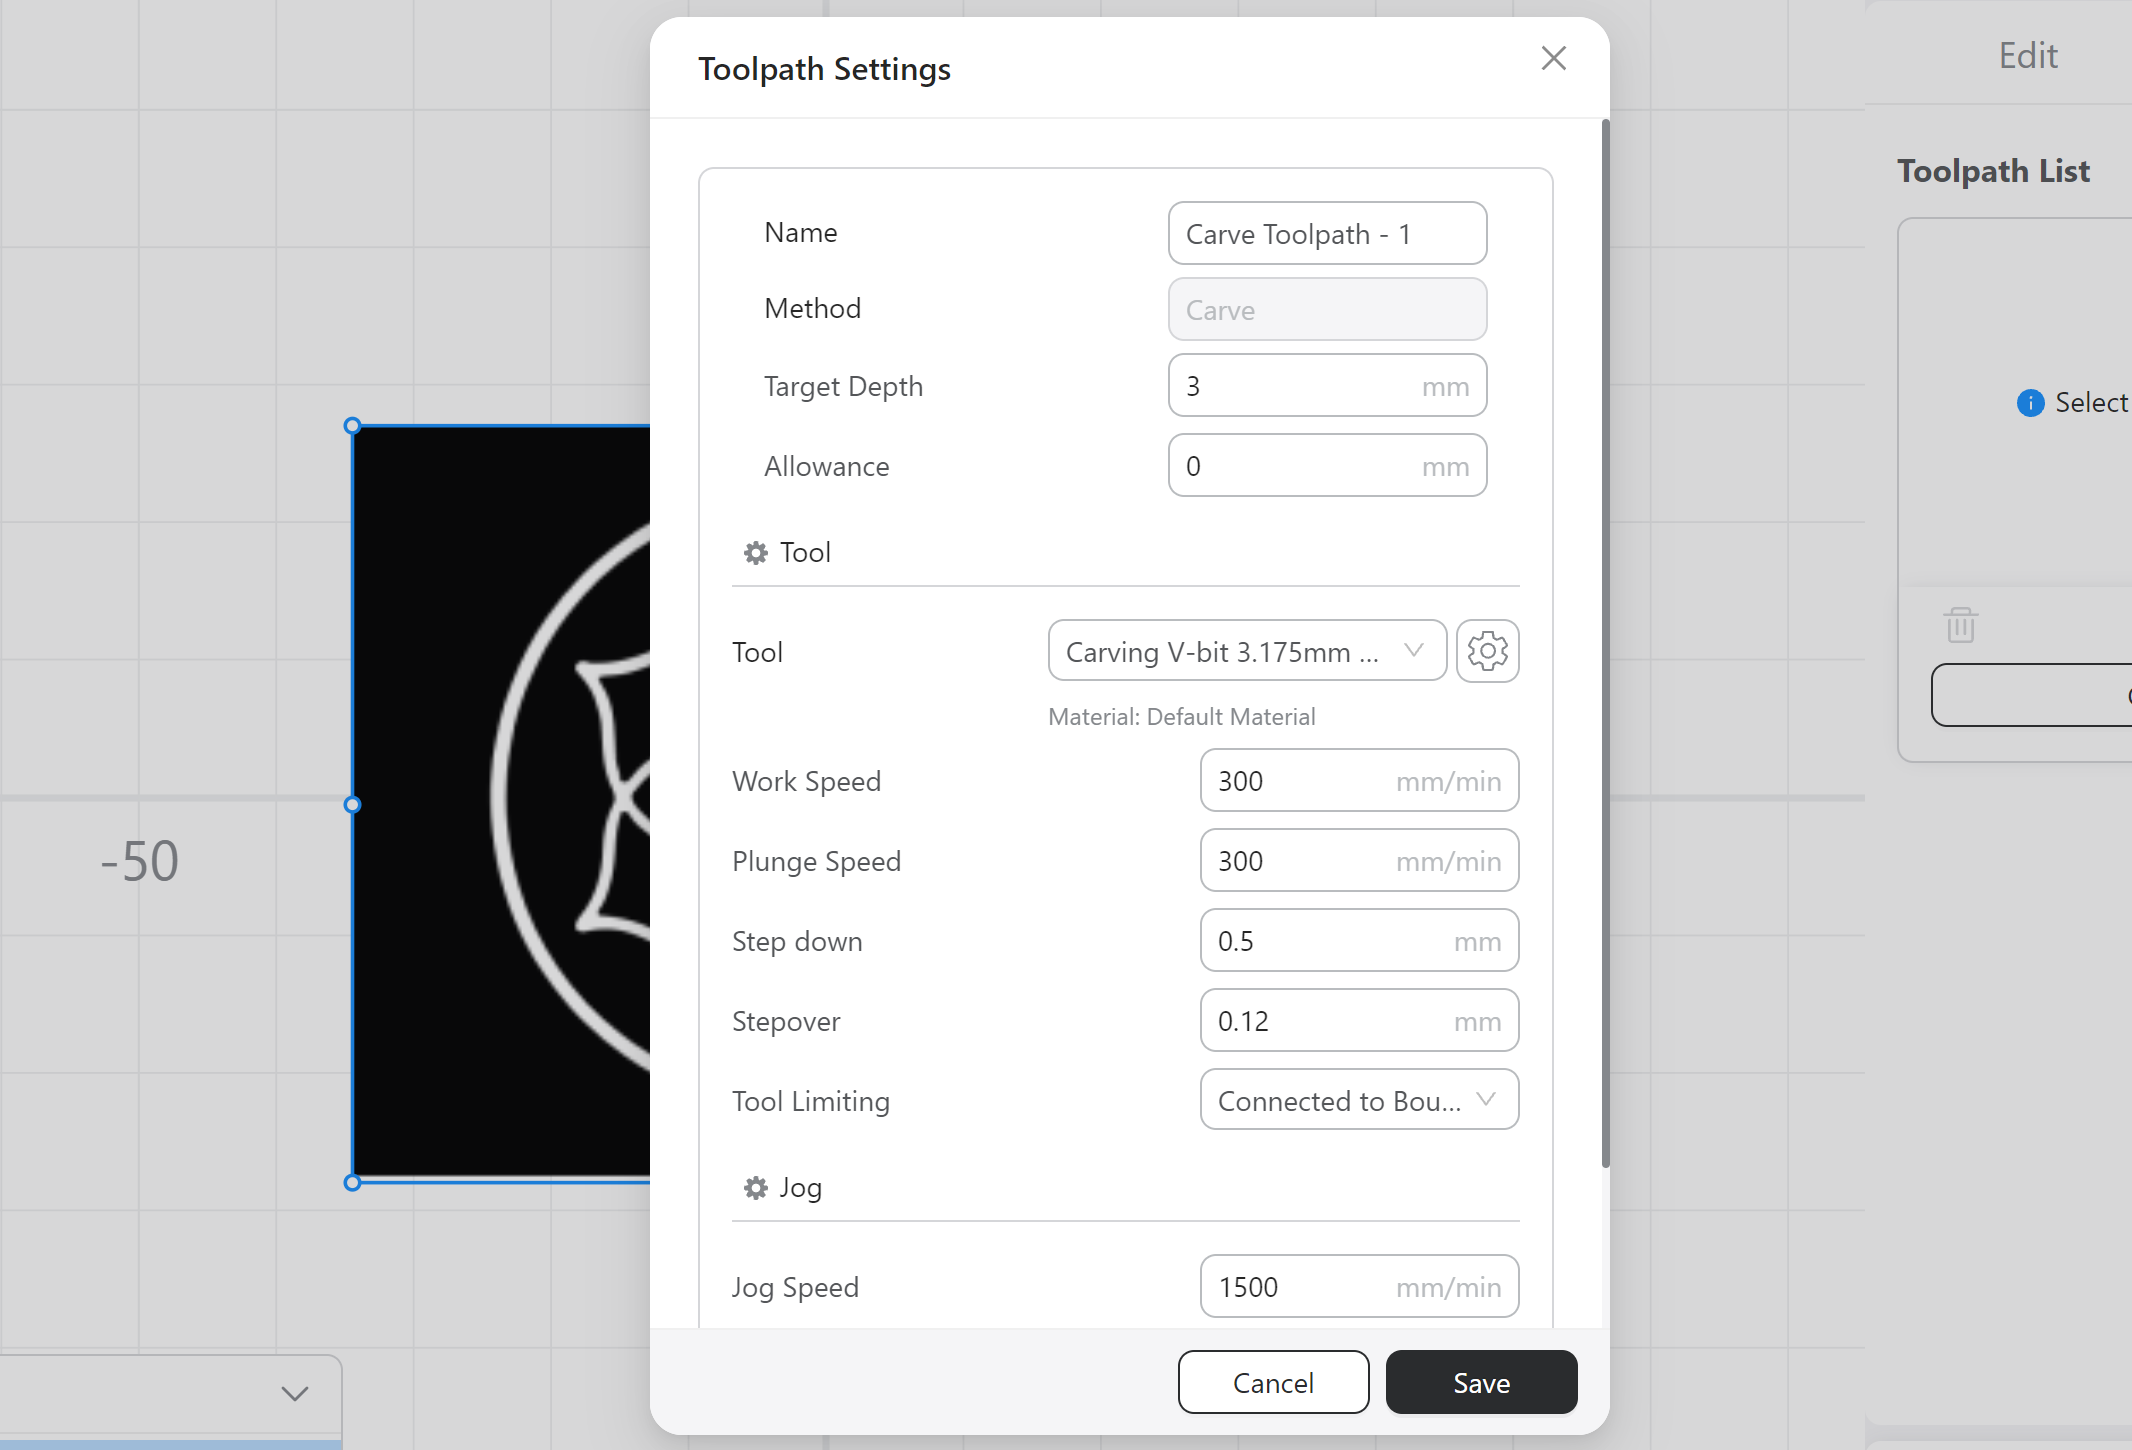
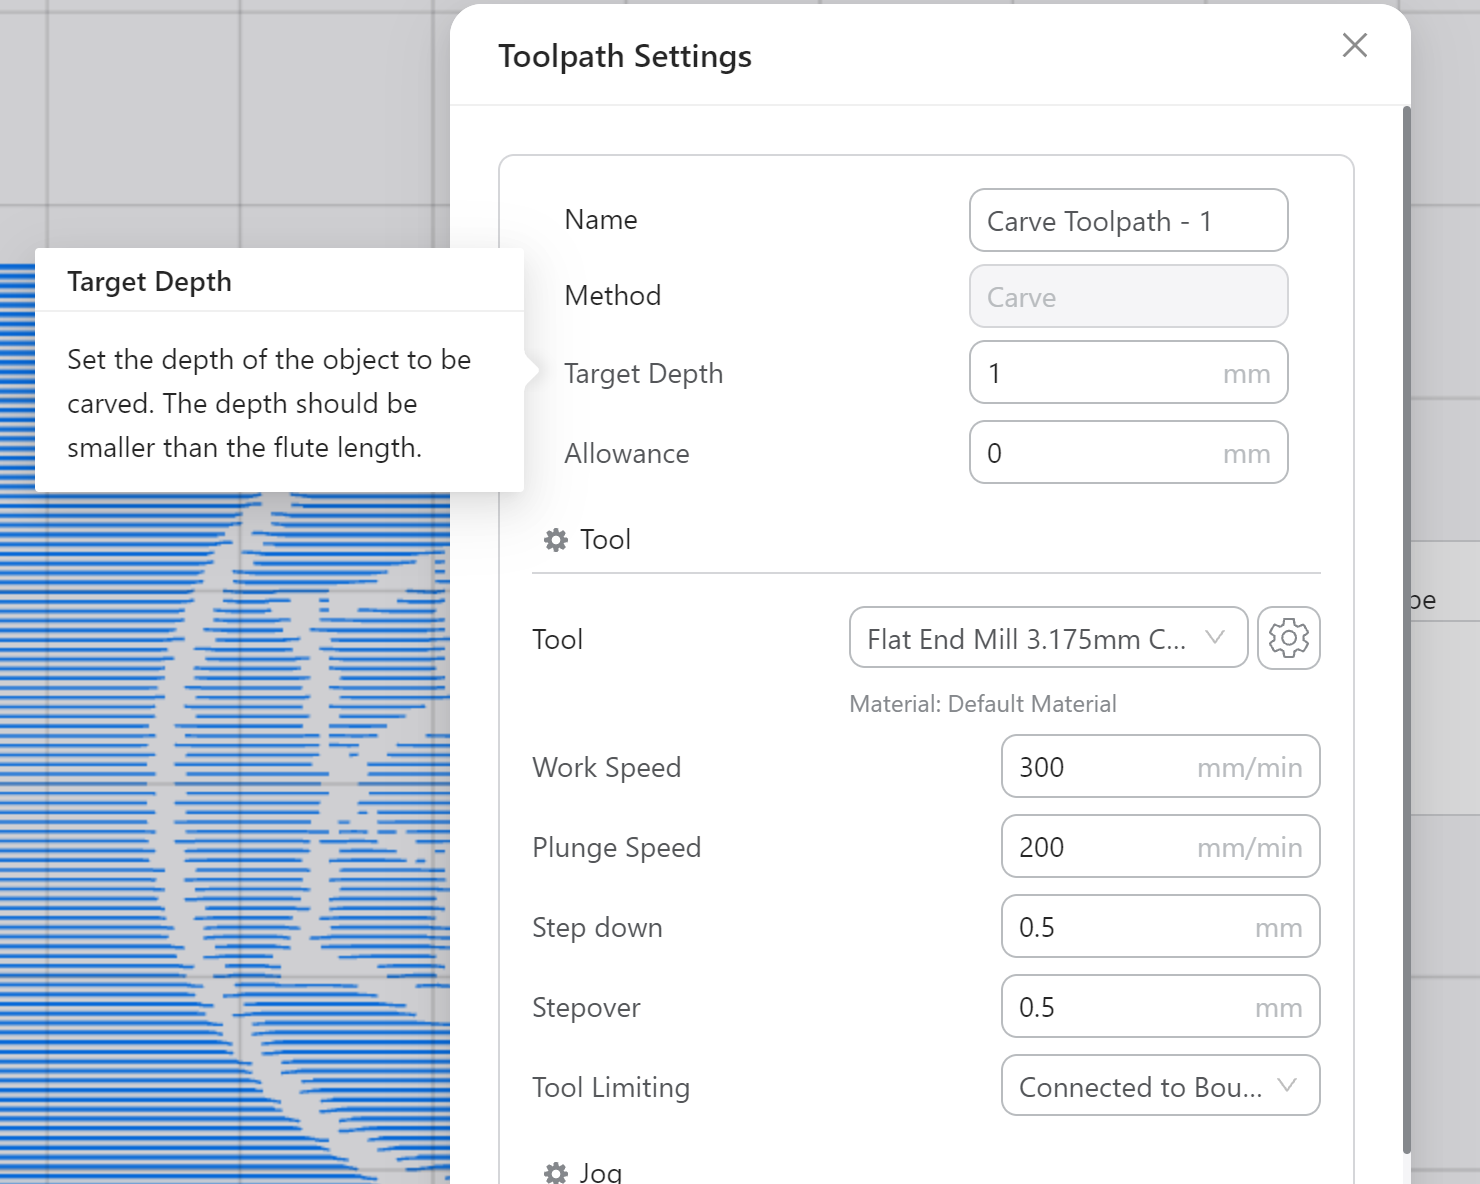
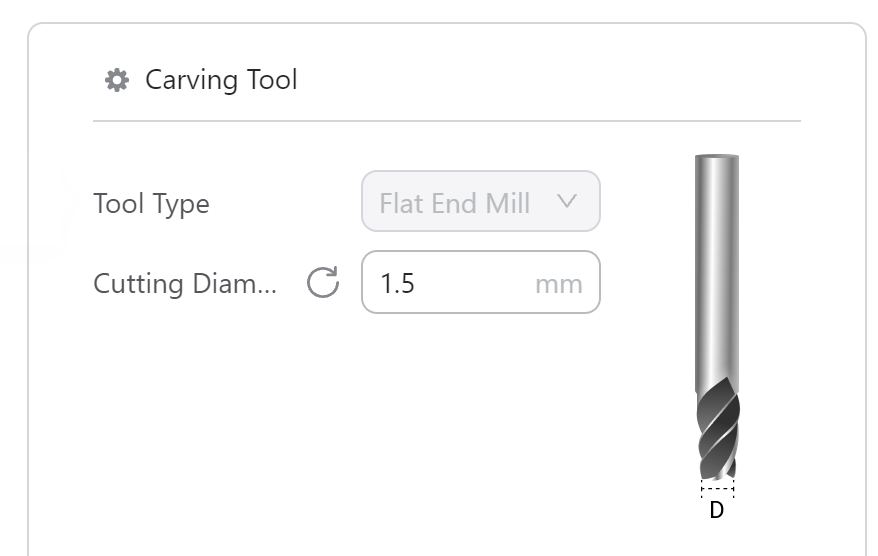
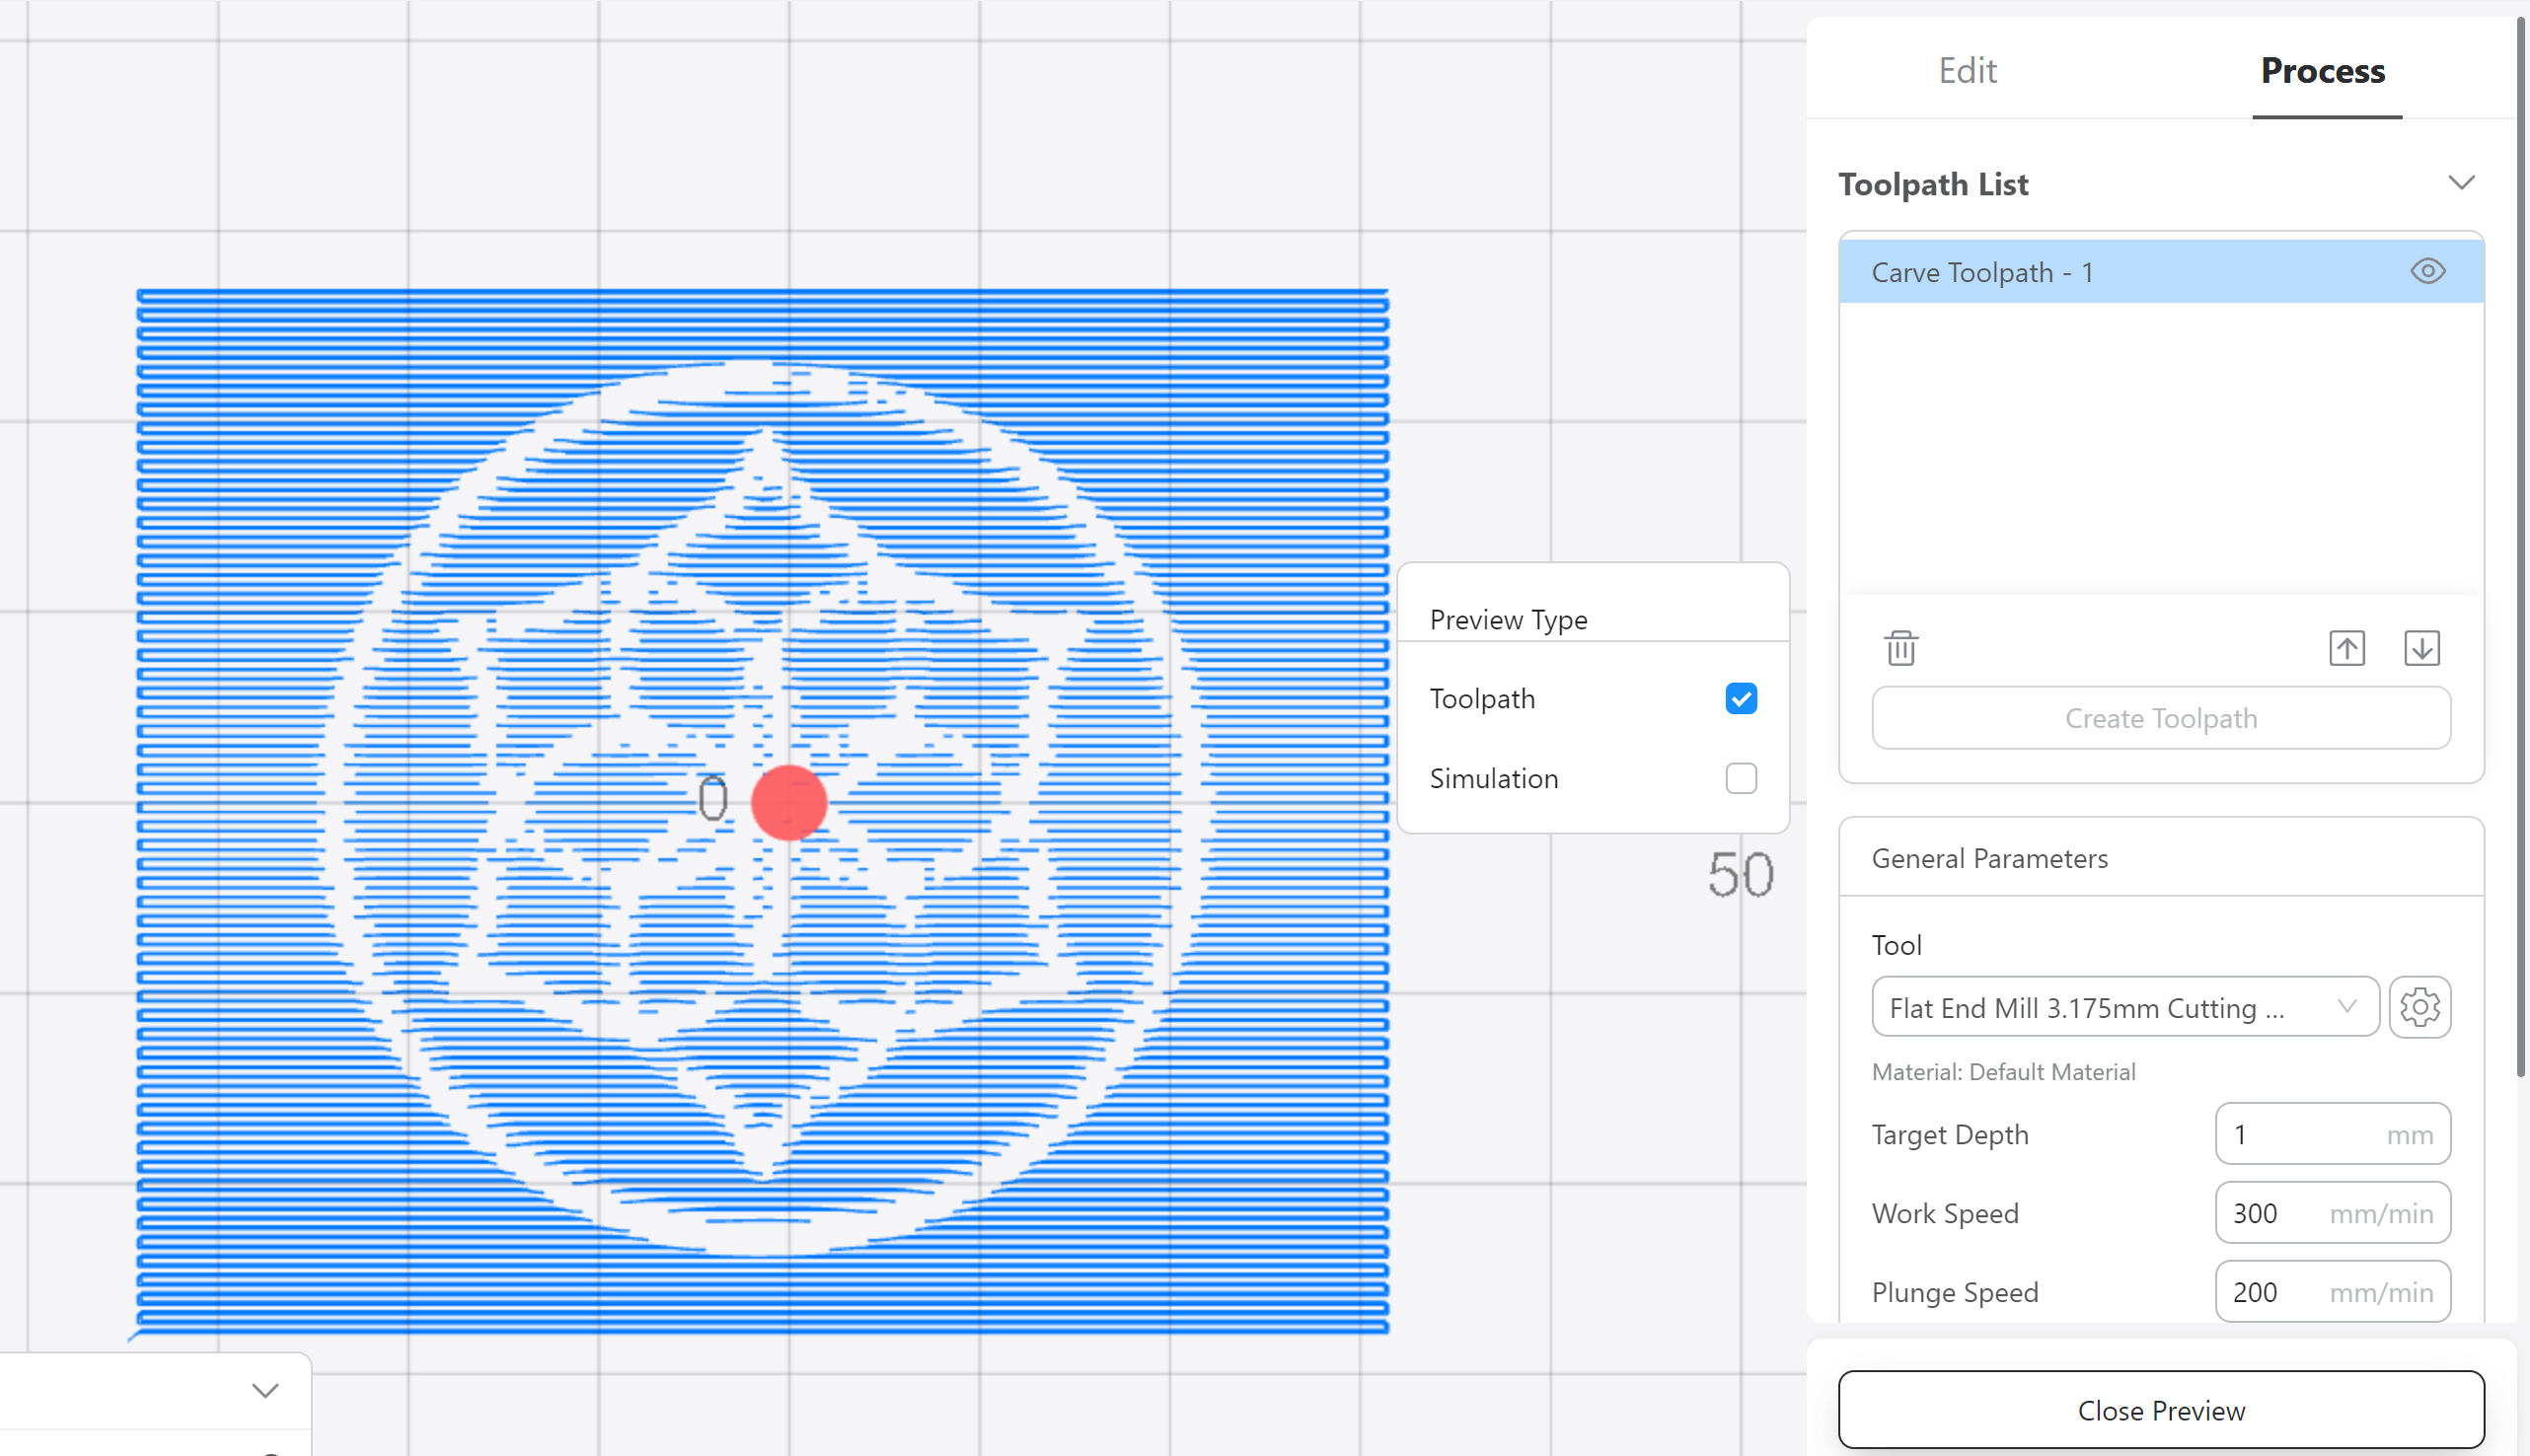
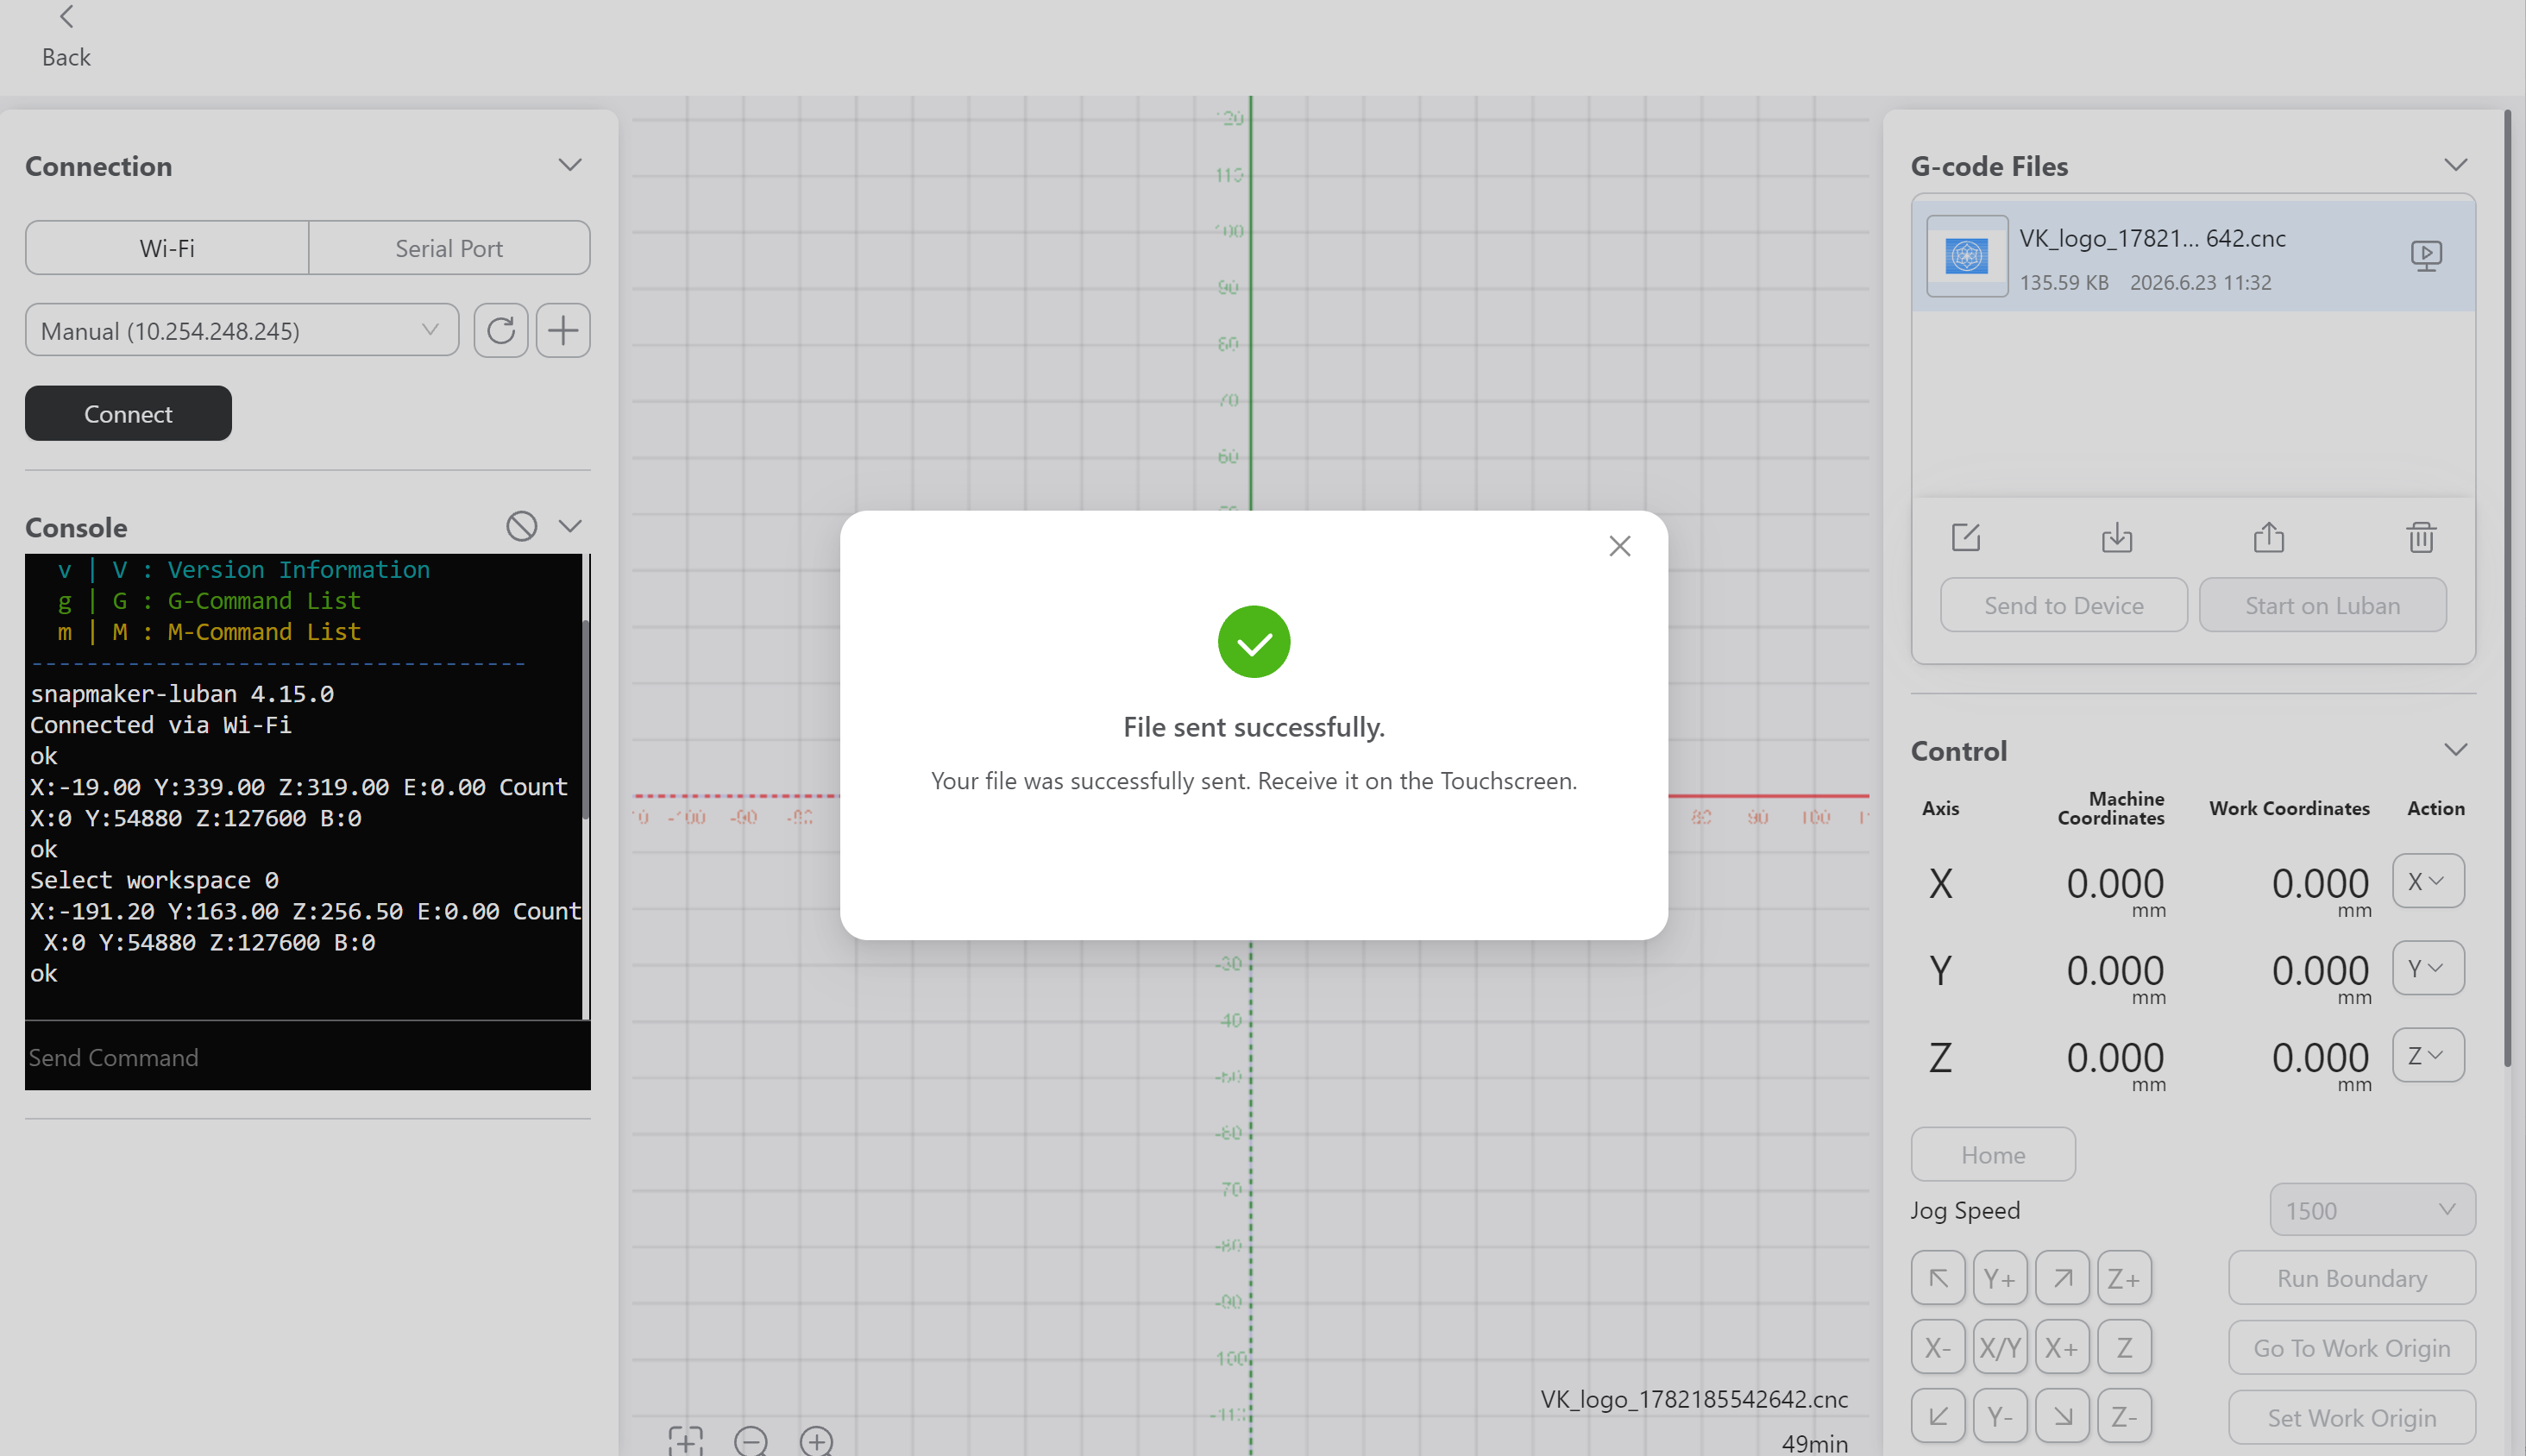
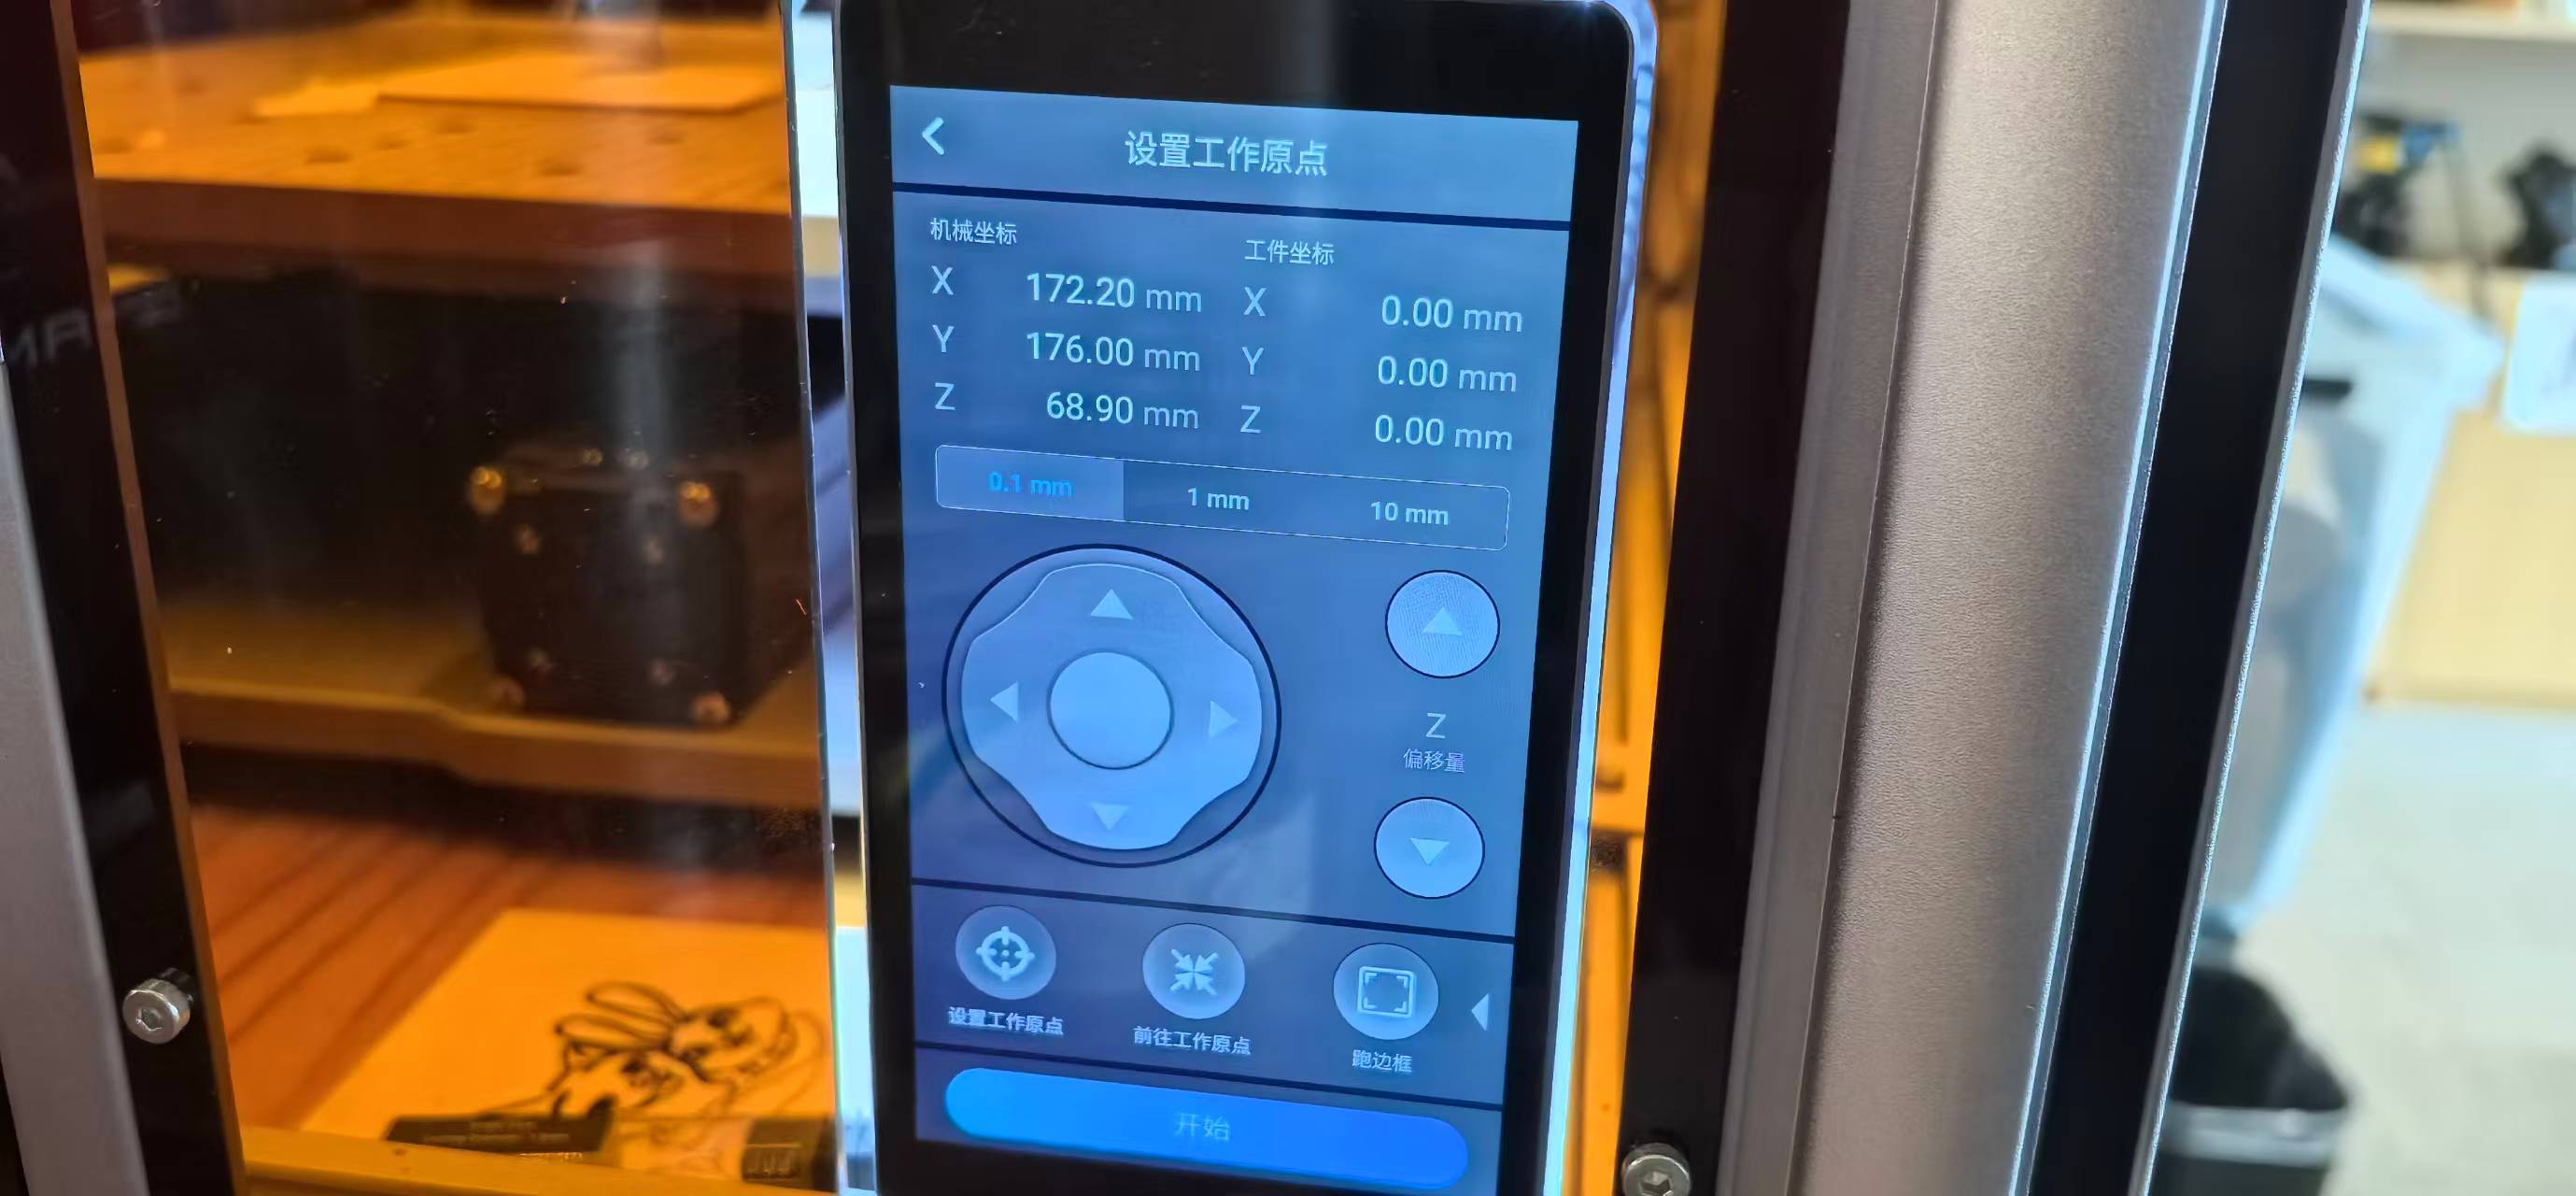
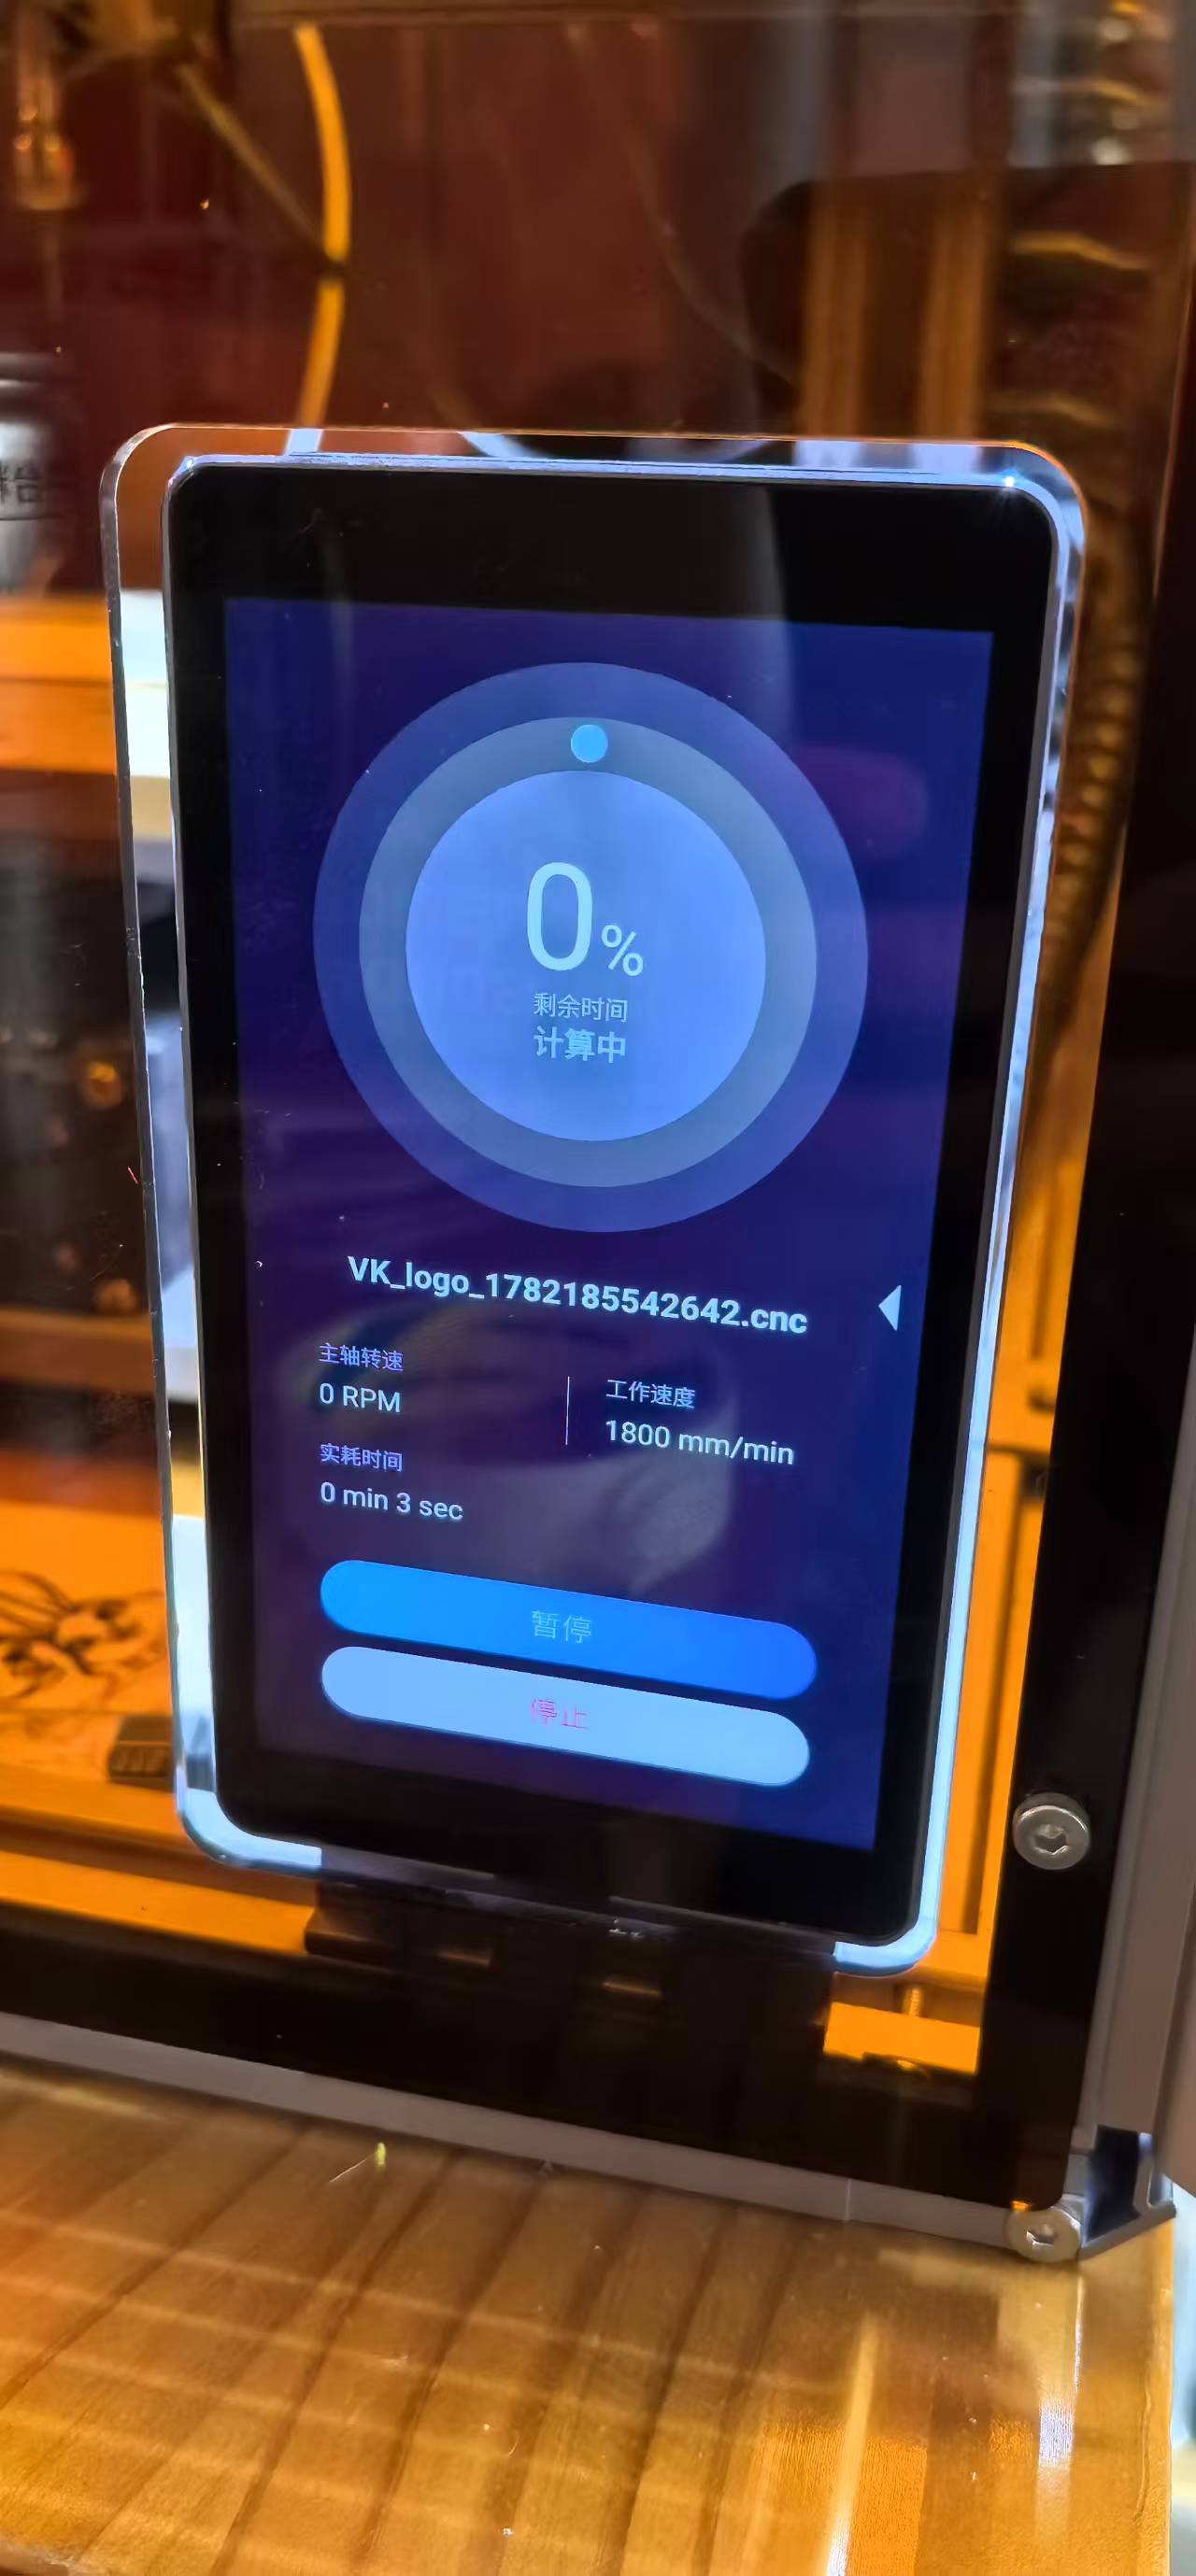
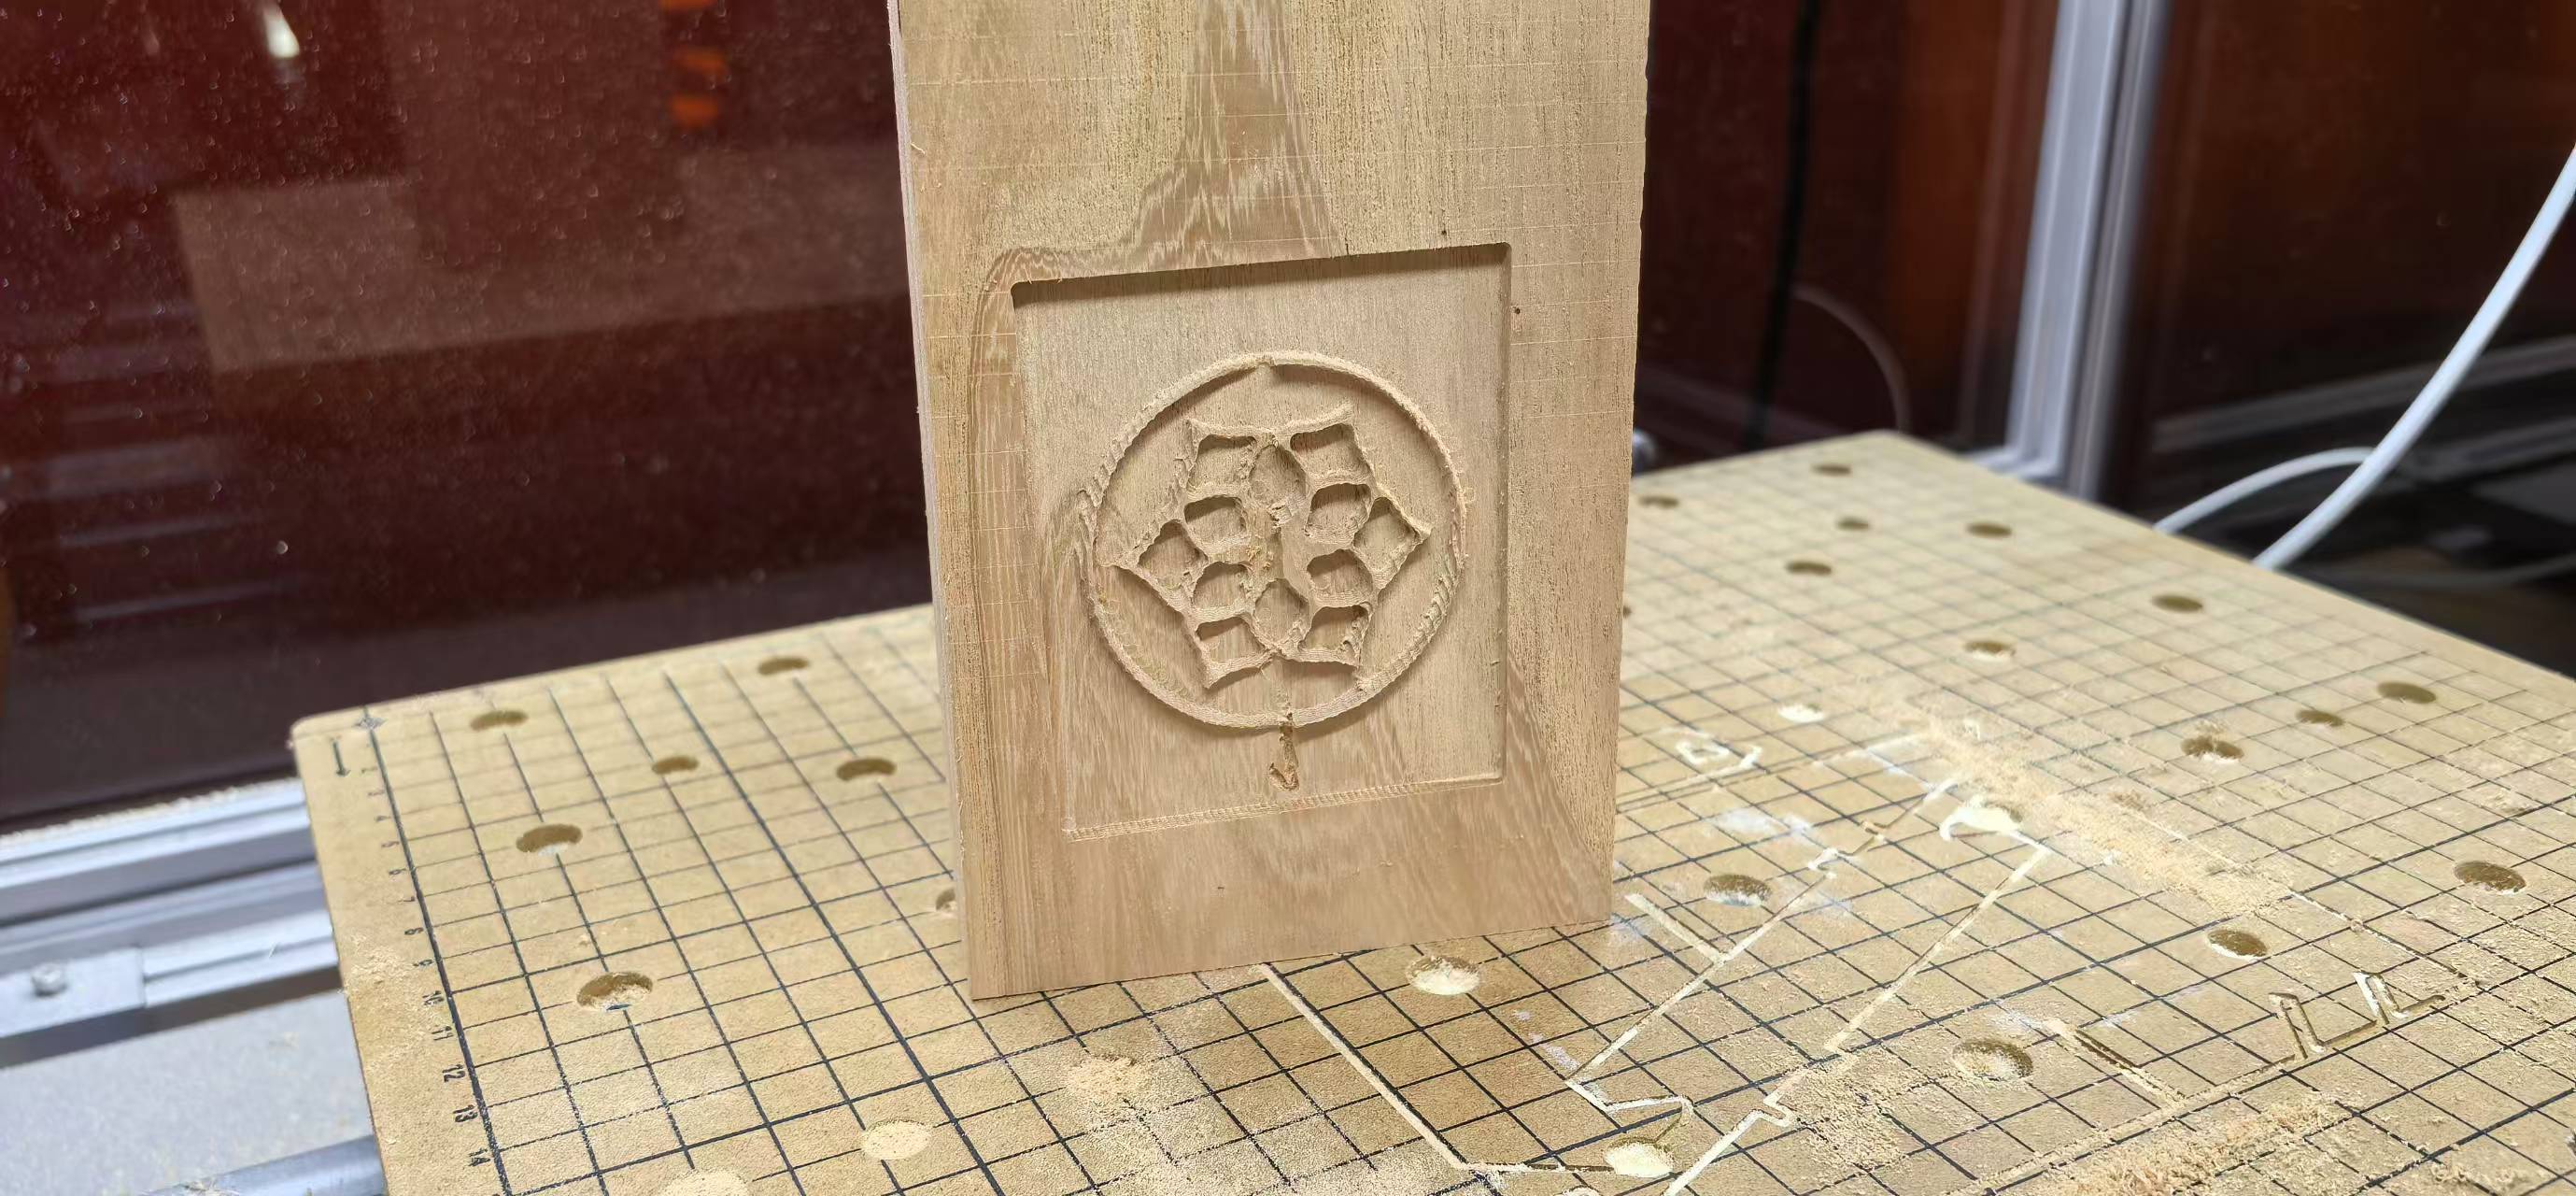
The result of the CNC testing.
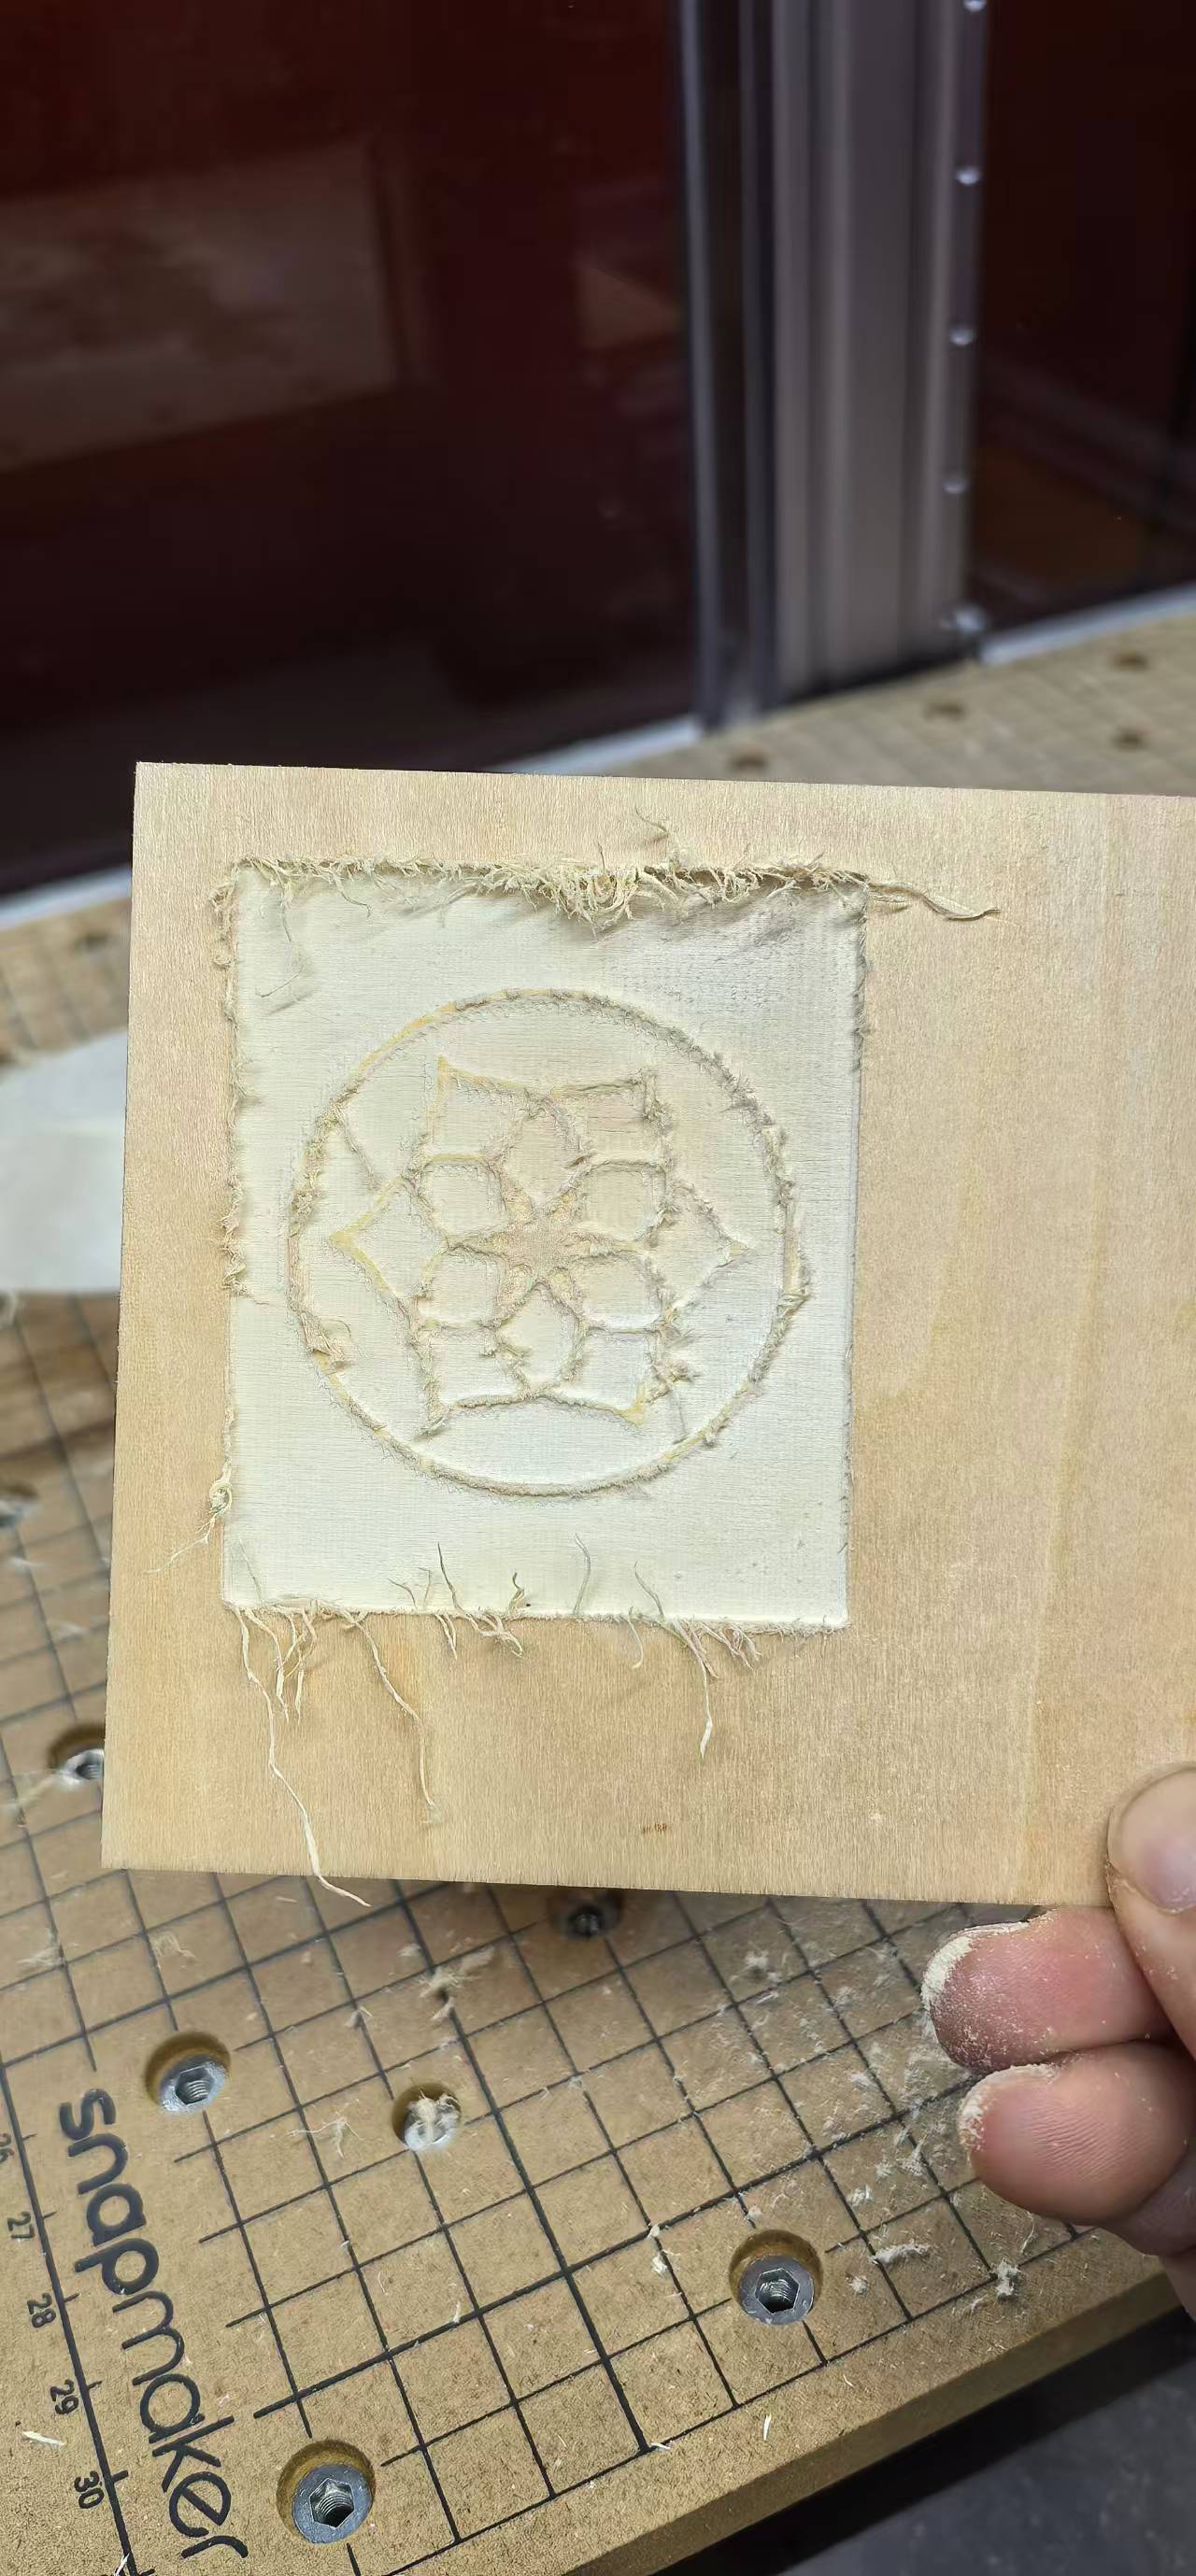
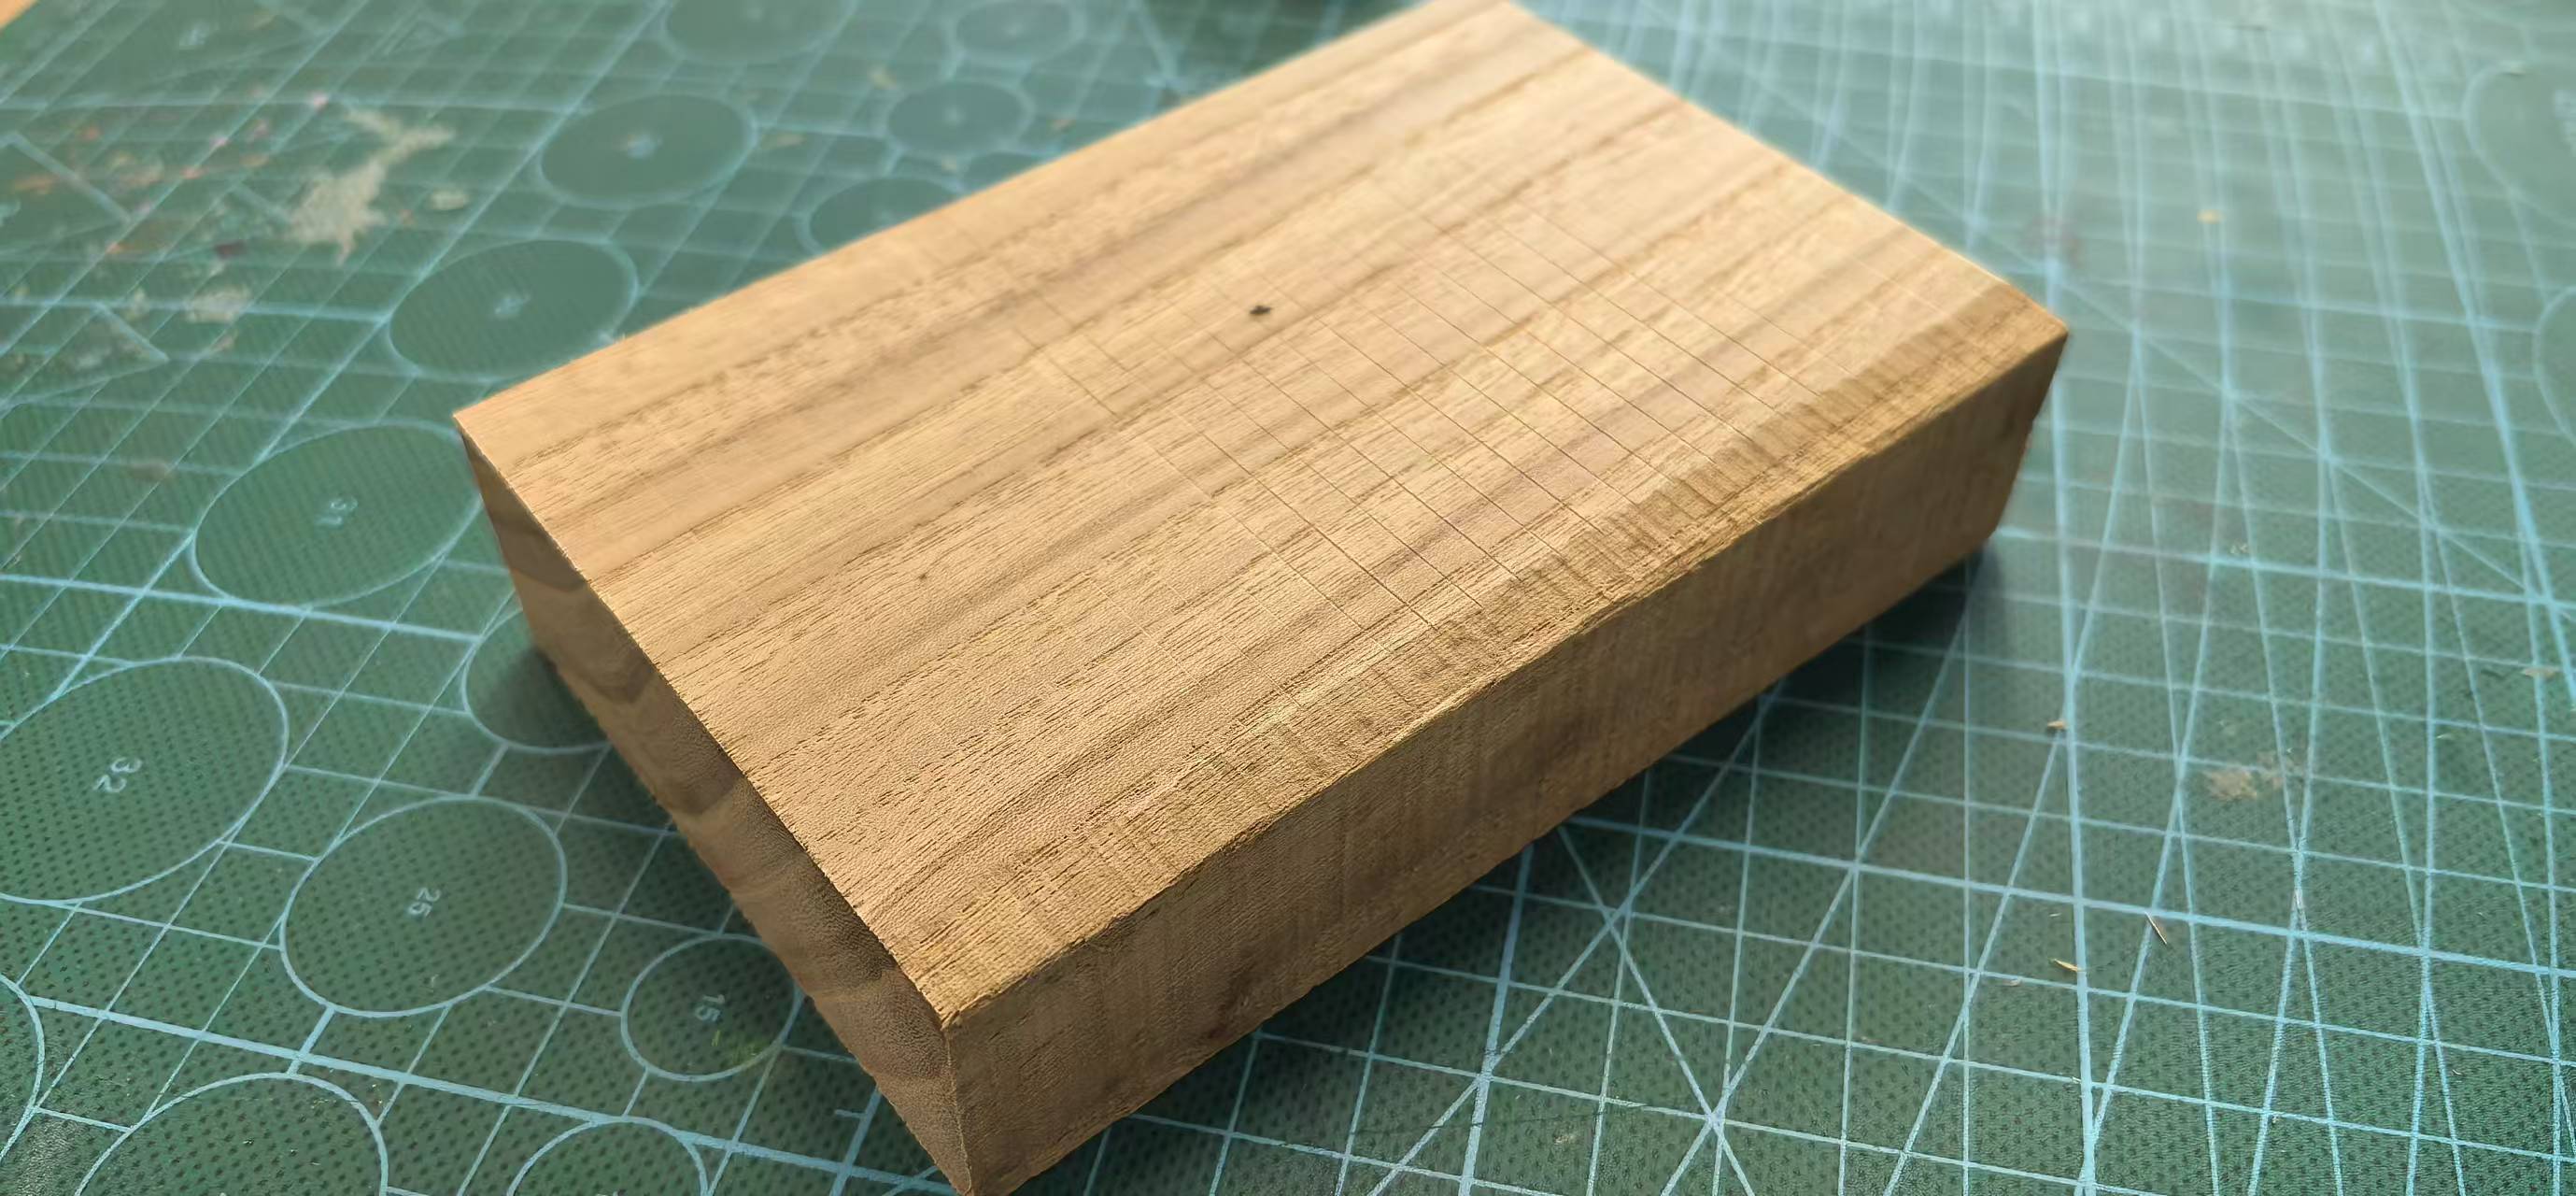
The wood board was too soft, and the line weight was too thin, so the logo was not clear. I modified the artwork to make the line weight thicker.

Then I re-exported the G-code file and sent it to the CNC machine.
CAM project file:
VK_logo_w_1782195189629.cnc.
The logo made by CNC.
Machining tests and iteration
| Attempt | Stock | Depth | Result |
|---|---|---|---|
| 1 | Soft wood board | 1 mm | Heavy burrs; fine logo lines too thin for clean relief |
| 2 | Soft wood (thickened SVG) | 3 mm | Better line weight after re-drawing thicker strokes in the artwork |
| 3 | Harder wood | 3 mm | Less tearing than soft stock; still not stable enough for silicone molding |
Why I stopped before molding from the CNC master
Wood — even harder species — is too soft and fibrous for a reliable molding master: fibers lift, edges crush under silicone pour pressure, and the surface picks up defects that copy into every cast. To continue this track I would mill from a more dimensionally stable block — e.g. nylon, high-density PP, or machining wax as taught in the Fab syllabus — then follow the same silicone + AB resin workflow as Part A. The Luban relief + invert workflow itself worked; the limitation was stock material, not CAM.
Print Master vs CNC Master — Summary
| Criterion | Part A — 3D print master | Part B — CNC relief (wood) |
|---|---|---|
| Completed cast? | Yes — AB resin from silicone mold | No — stopped at milled master |
| Time to first part | Print + silicone cure + 24 h resin cure | CAM + mill faster than full cast chain, but wood unsuitable |
| Surface on master | Layer lines on vertical walls; acceptable for logo badge | Smoother flats possible; burrs on soft wood at 1 mm depth |
| Best next step | Reprint if geometry changes; mold is reusable | Remill in nylon / HDPE / wax, then mold + cast |
| Fab week links | Week 05 3D printing | Week 07 CNC machining |
Design Files
- VK_logo.svg — vector for Bambu Studio master (Part A)
- VK_logo_w.svg — thickened-line vector for CNC relief (Part B)
- logo_3D.stl — 3D printing file
- VK_logo_w_1782195189629.cnc — Luban CAM project

What I Learned
Process chain: silicone copies every defect from the master — time spent on the positive saves rework on every cast. Material ratios matter: silicone 100:2 and AB resin 30:10 were the recipes I used; stirring AB resin for a full 5 minutes before pour reduced streaks. Efficiency: for one-off parts, 3D printing wins; molding pays off when you need duplicate rigid copies in a non-printable material. CNC for molds: relief from SVG is straightforward in Luban, but the stock material must be stiff enough to survive demolding and silicone pour — wood was a useful cheap test, not a production master.