Appearance
Week 5 - 3D Scanning and printing
Assignments
Group Assignment
- Test the design rules for your 3D printer(s)
Individual Assignment
- Design and 3D print an object (small, few cm3, limited by printer time) that could not be made subtractively 3D scan an object (and optionally print it)
Group Working
My group work is attached here: https://fabacademy.org/2025/labs/unnc/assignments/week5/week05.html
Individual Working
3D Print Design
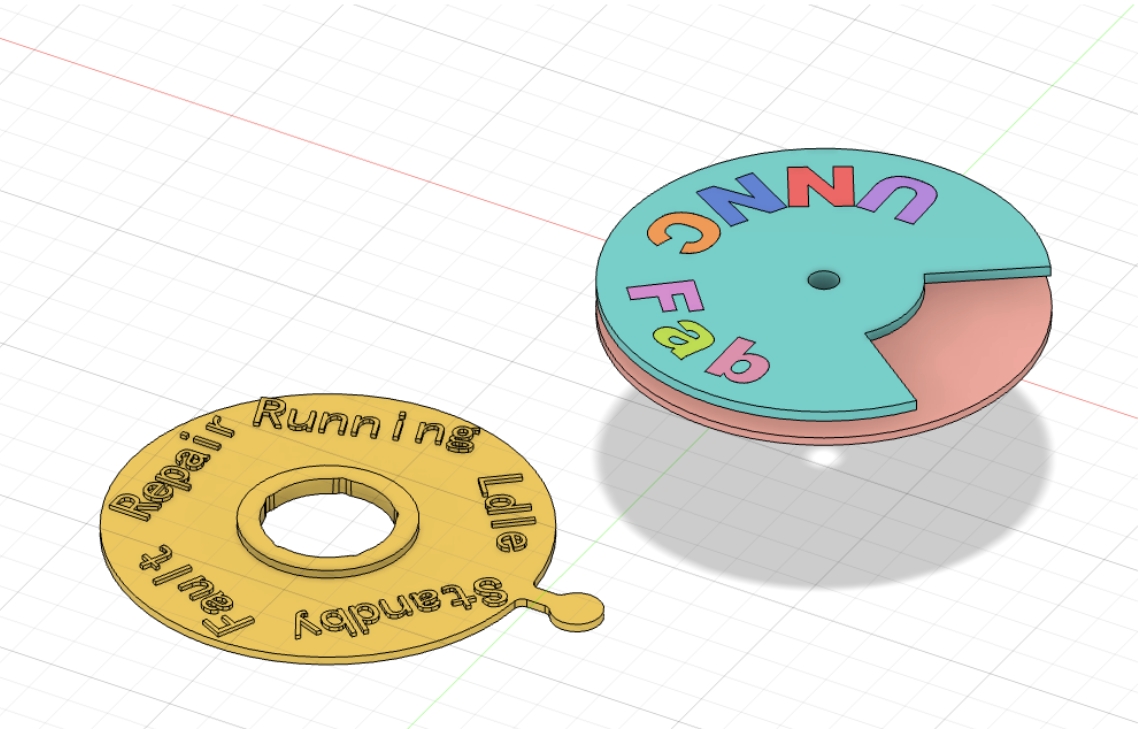
3D Printer Status Indicator
This week, I designed and implemented an innovative 3D printer status indicator that uses intuitive visual cues to display the printer's real-time working status, enabling users to quickly assess print progress from a distance and enhancing overall work efficiency.
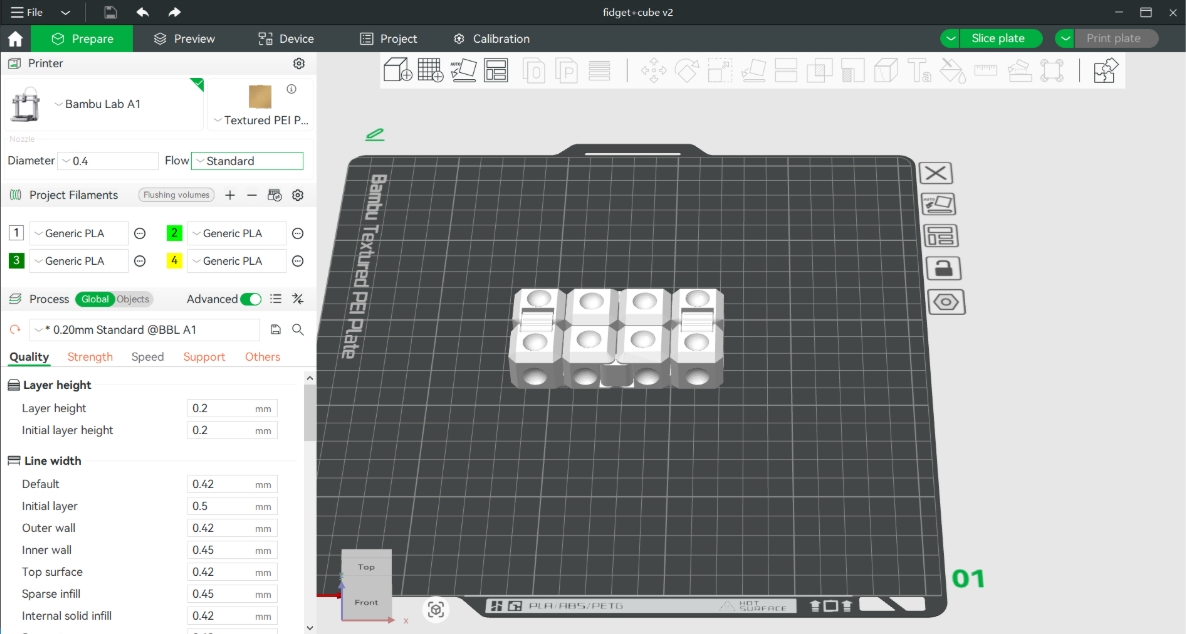
Design to Print Workflow
Complete 3D modeling in Fusion 360 and export the design in STL format
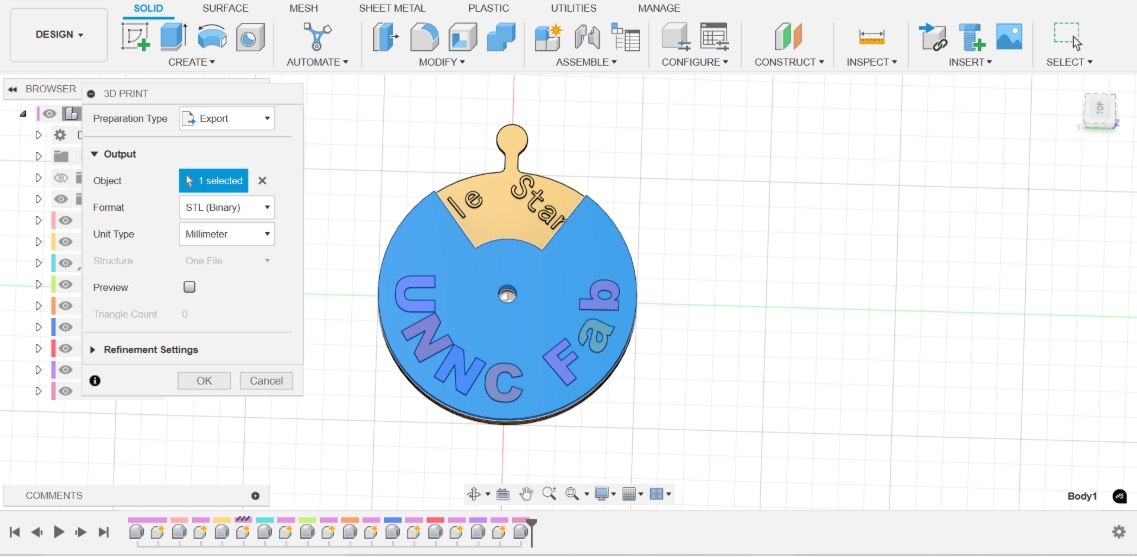
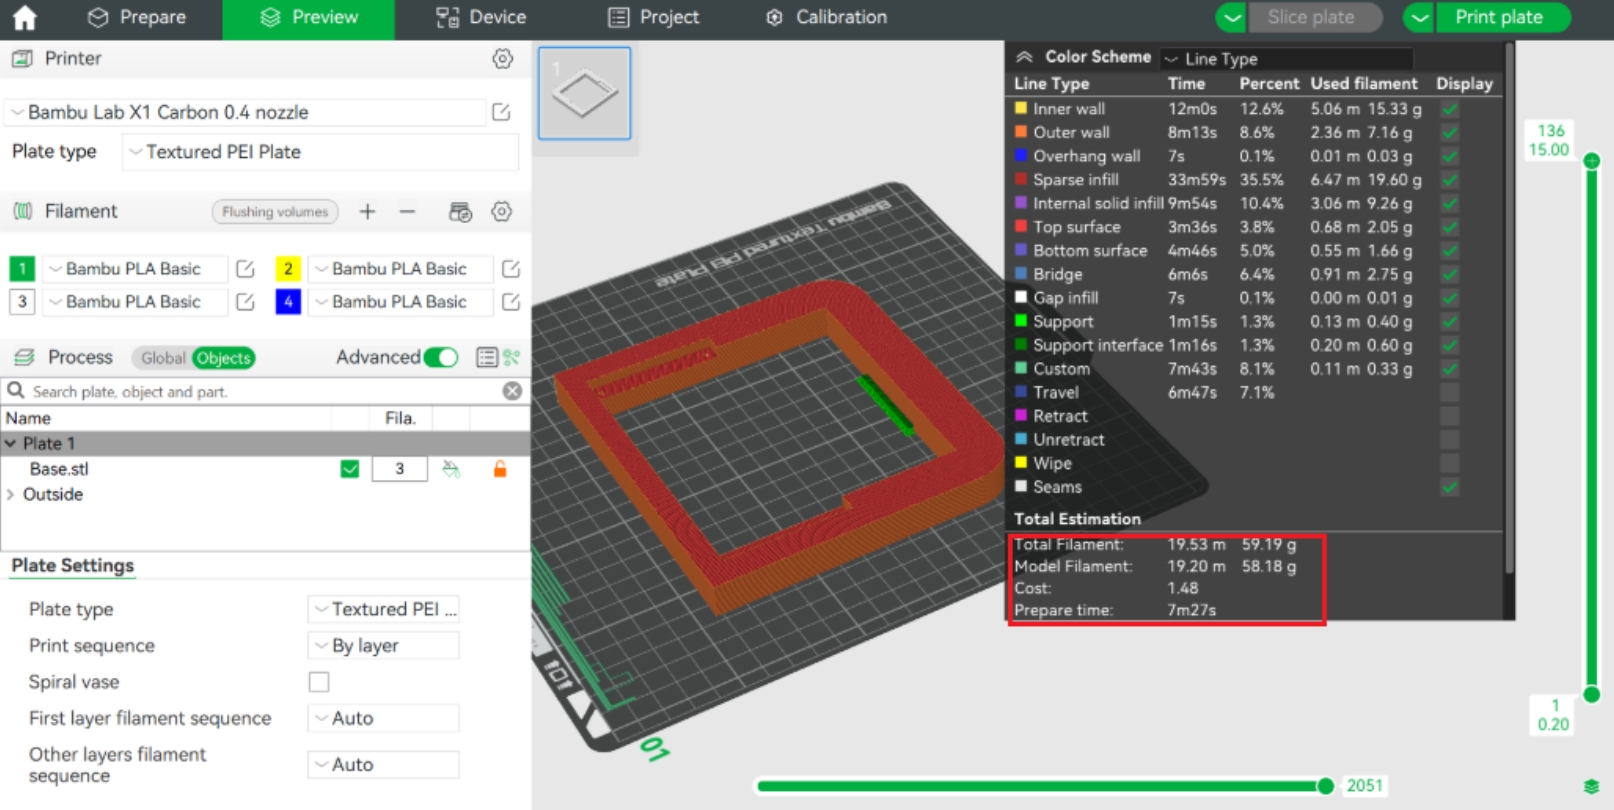
Complete slice settings and parameter optimization in Bambu Studio
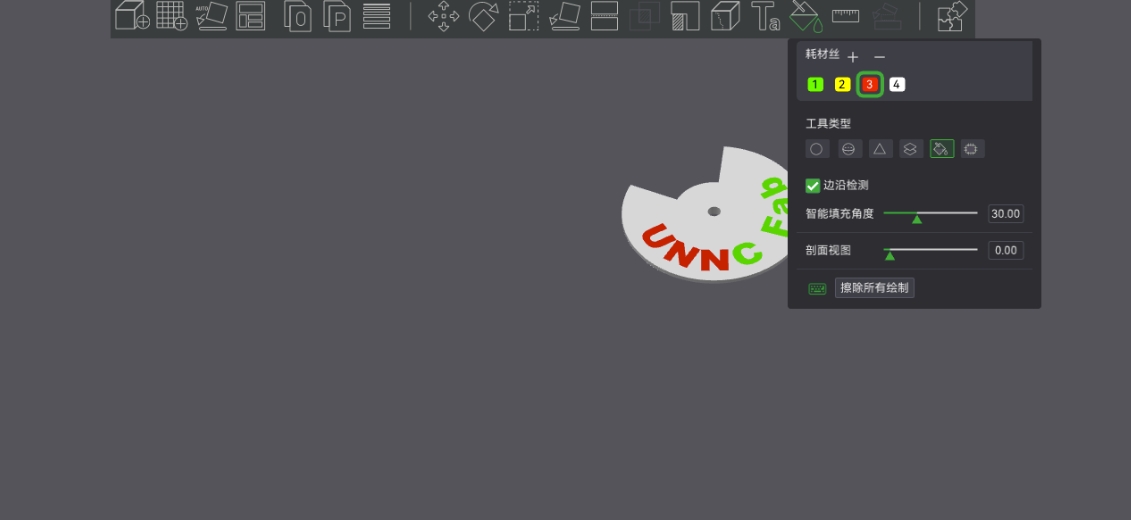
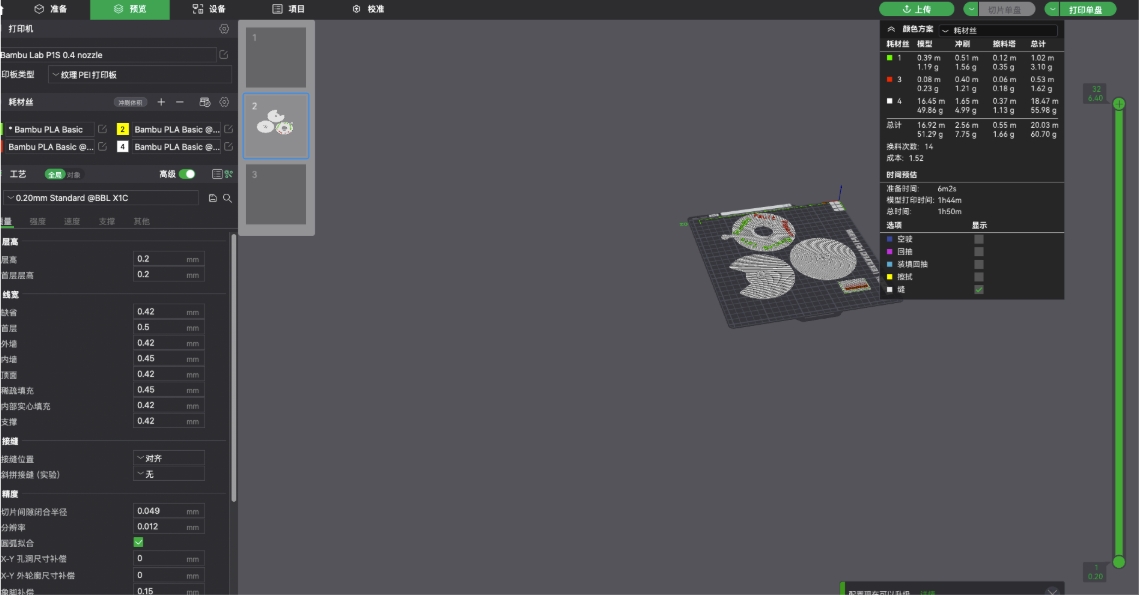
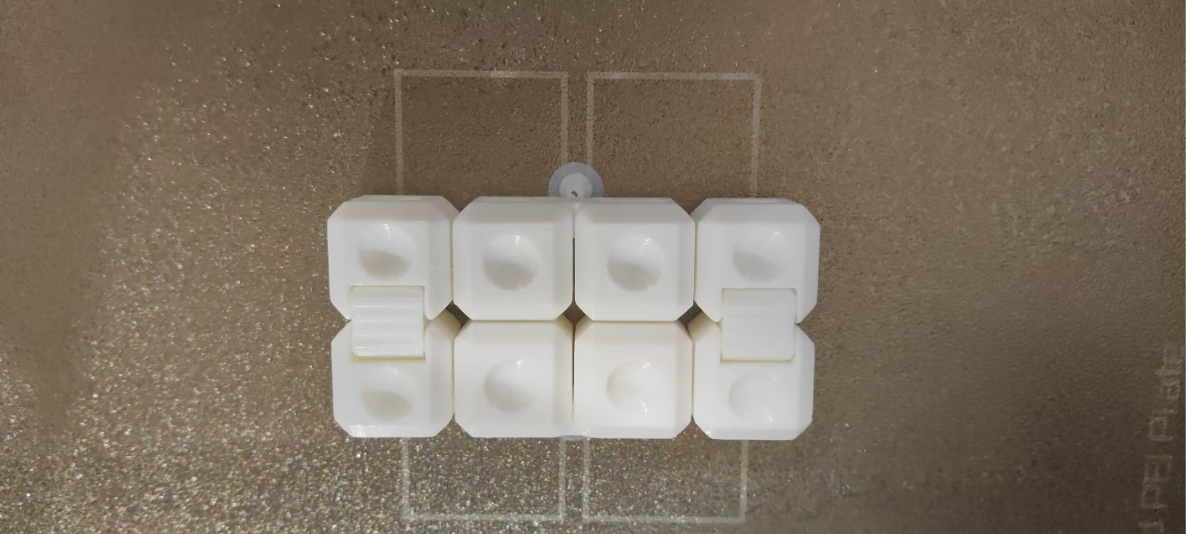
Print Results Display
Week Two Design Implementation
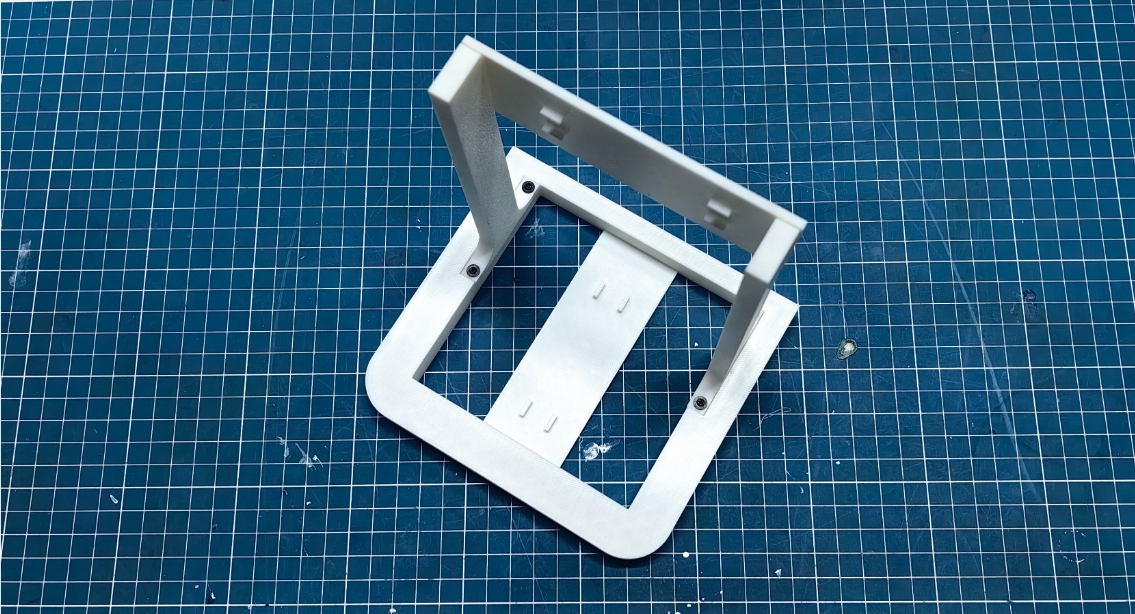
After completing the status indicator, I continued to print the model designed in week two. Following the same workflow, from 3D modeling to slicing to final printing:
Model Slice Preview
Printing Process Recording
Final Product Display
Infinite Cube
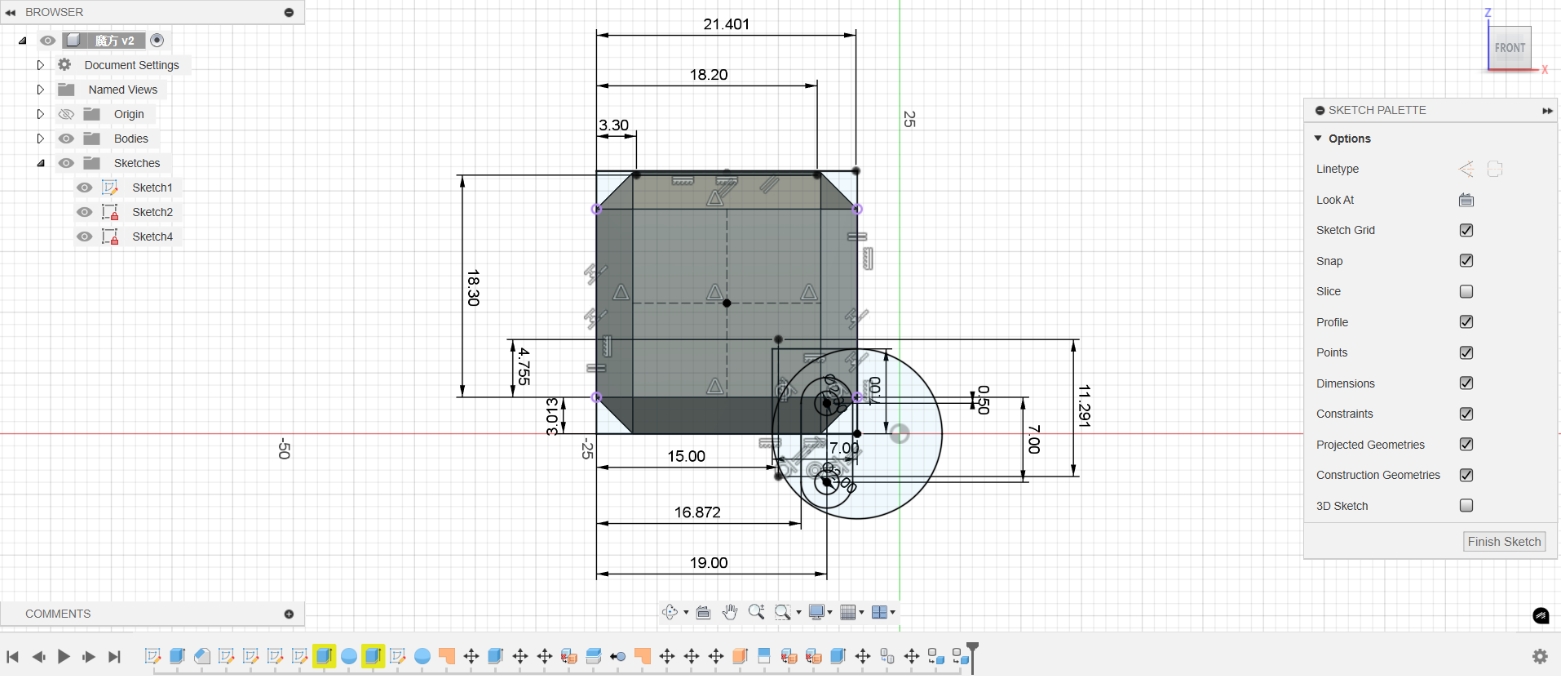
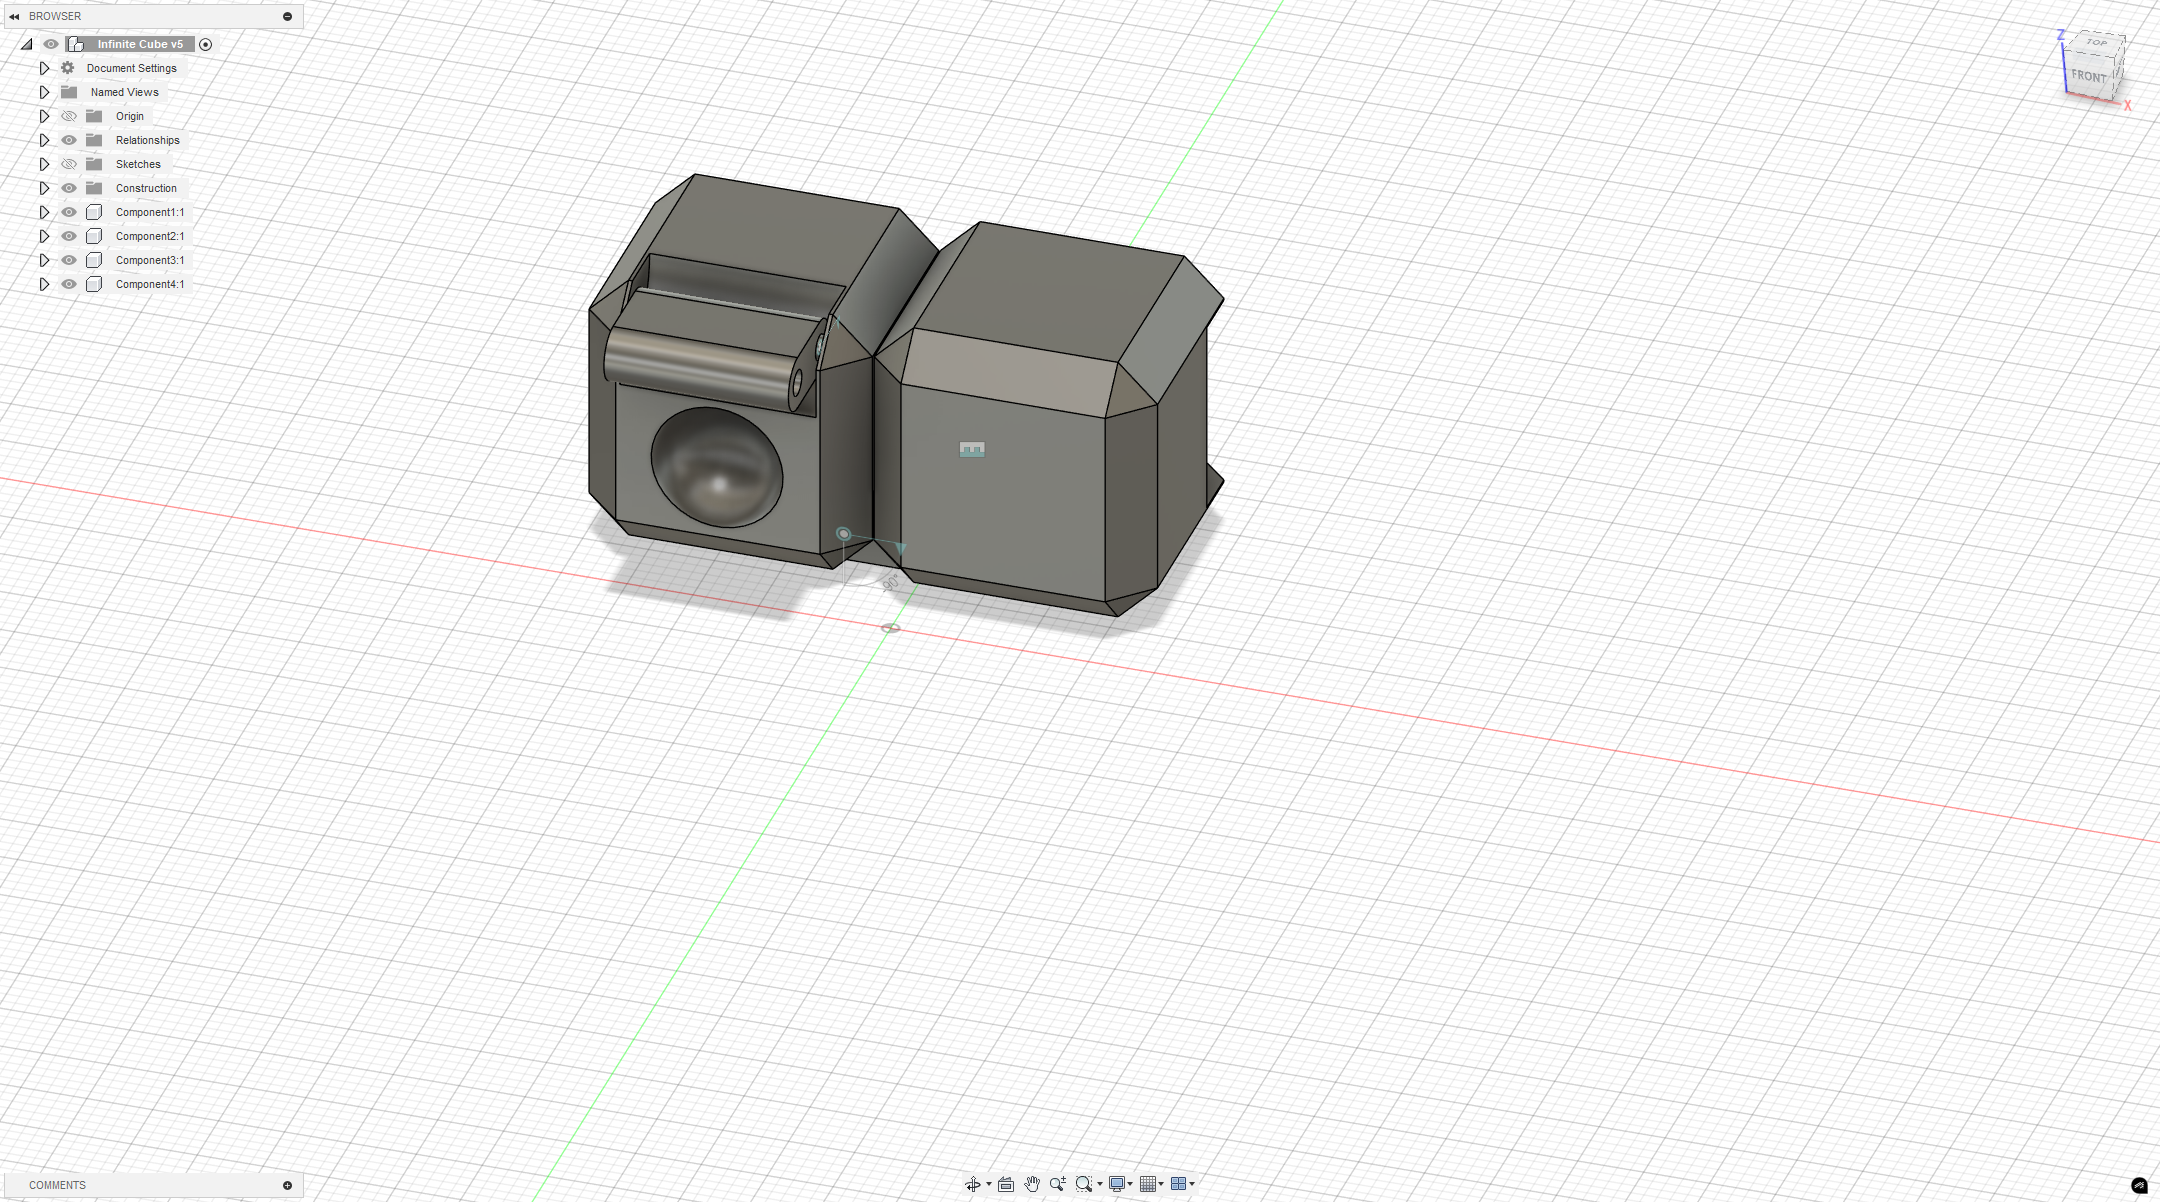
I designed an Infinity Cube model using Fusion 360. Due to the nested and interlocking nature of its internal structure, the model cannot be processed using traditional subtractive manufacturing methods (such as milling or turning) and can only be produced through additive manufacturing (e.g., 3D printing). Below is the detailed design process of the model.
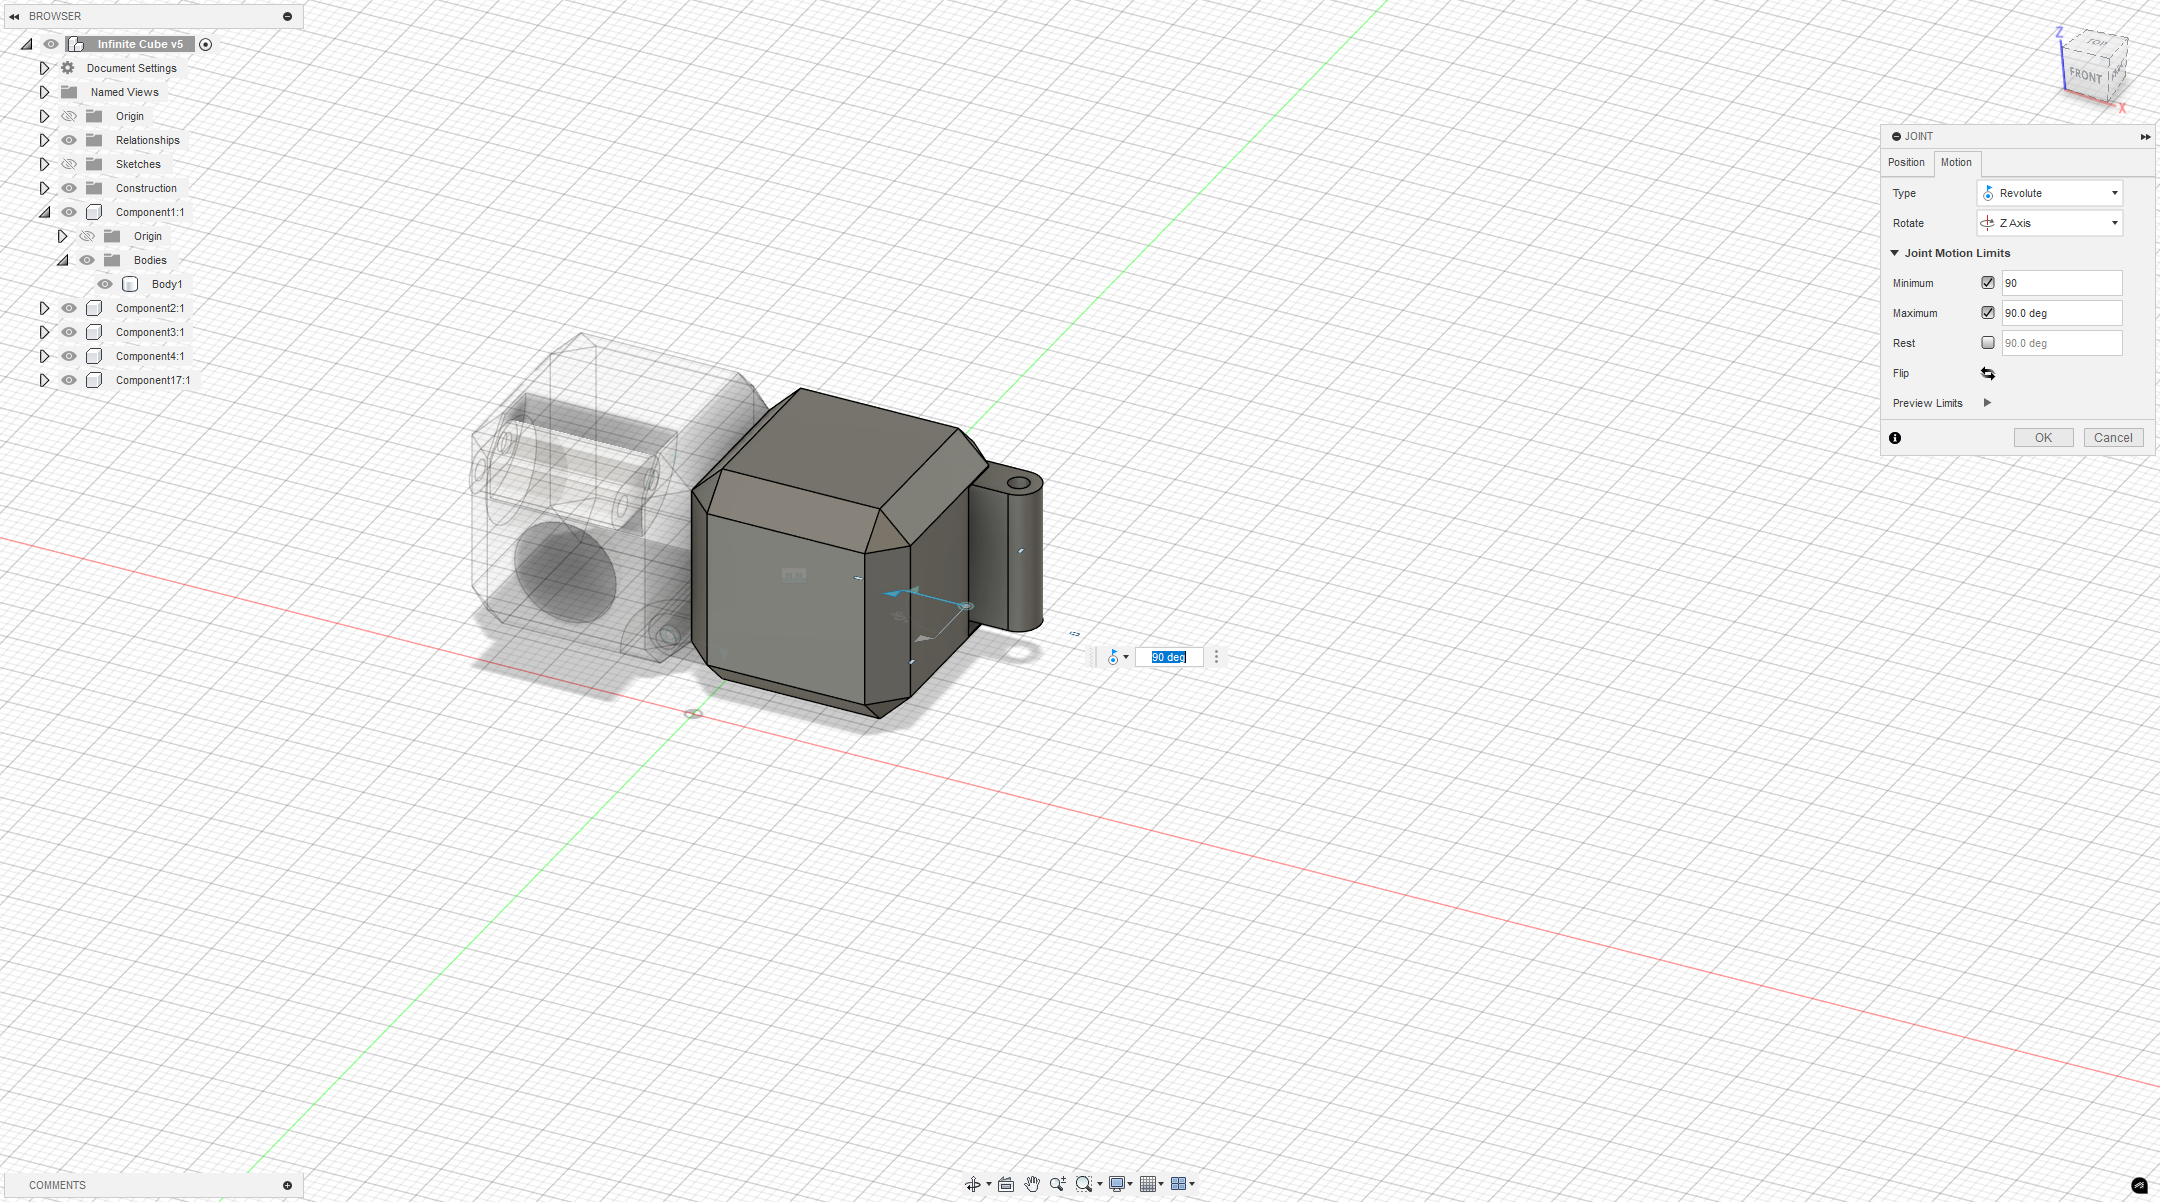
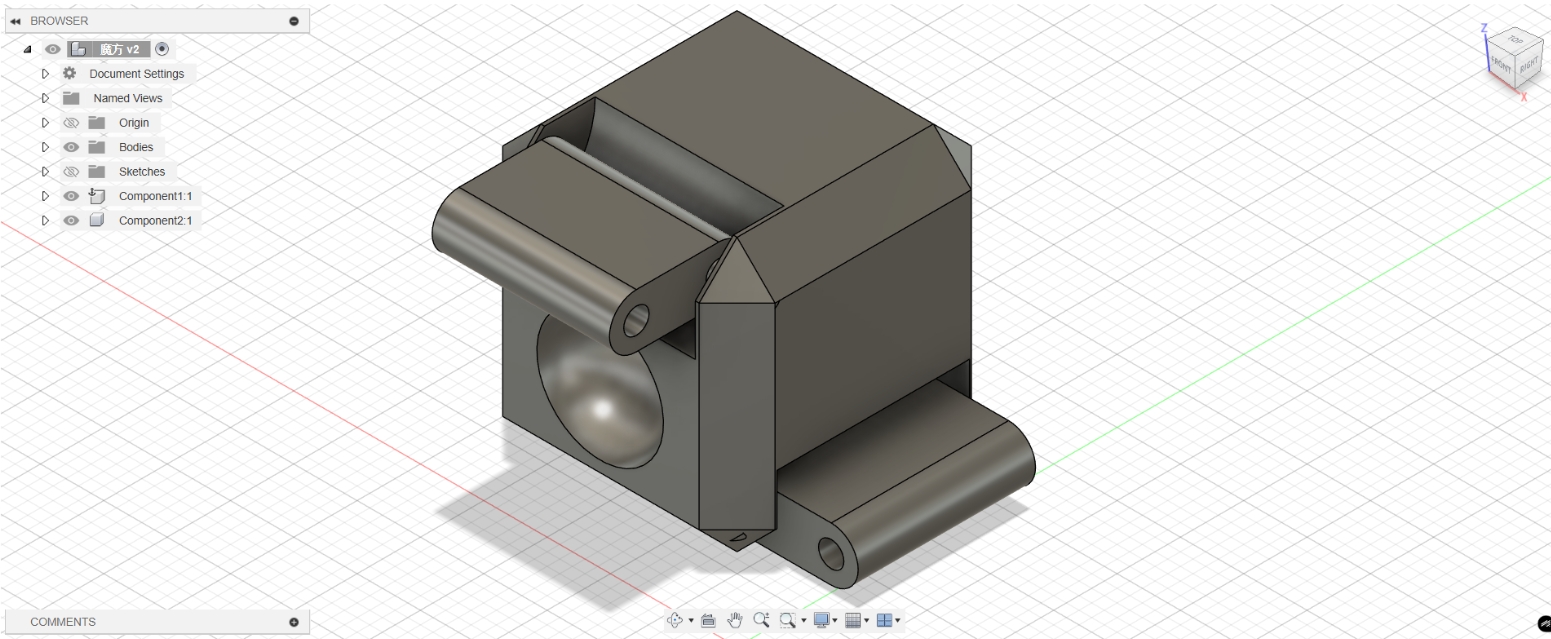 Use the assembly command to assemble the two objects.
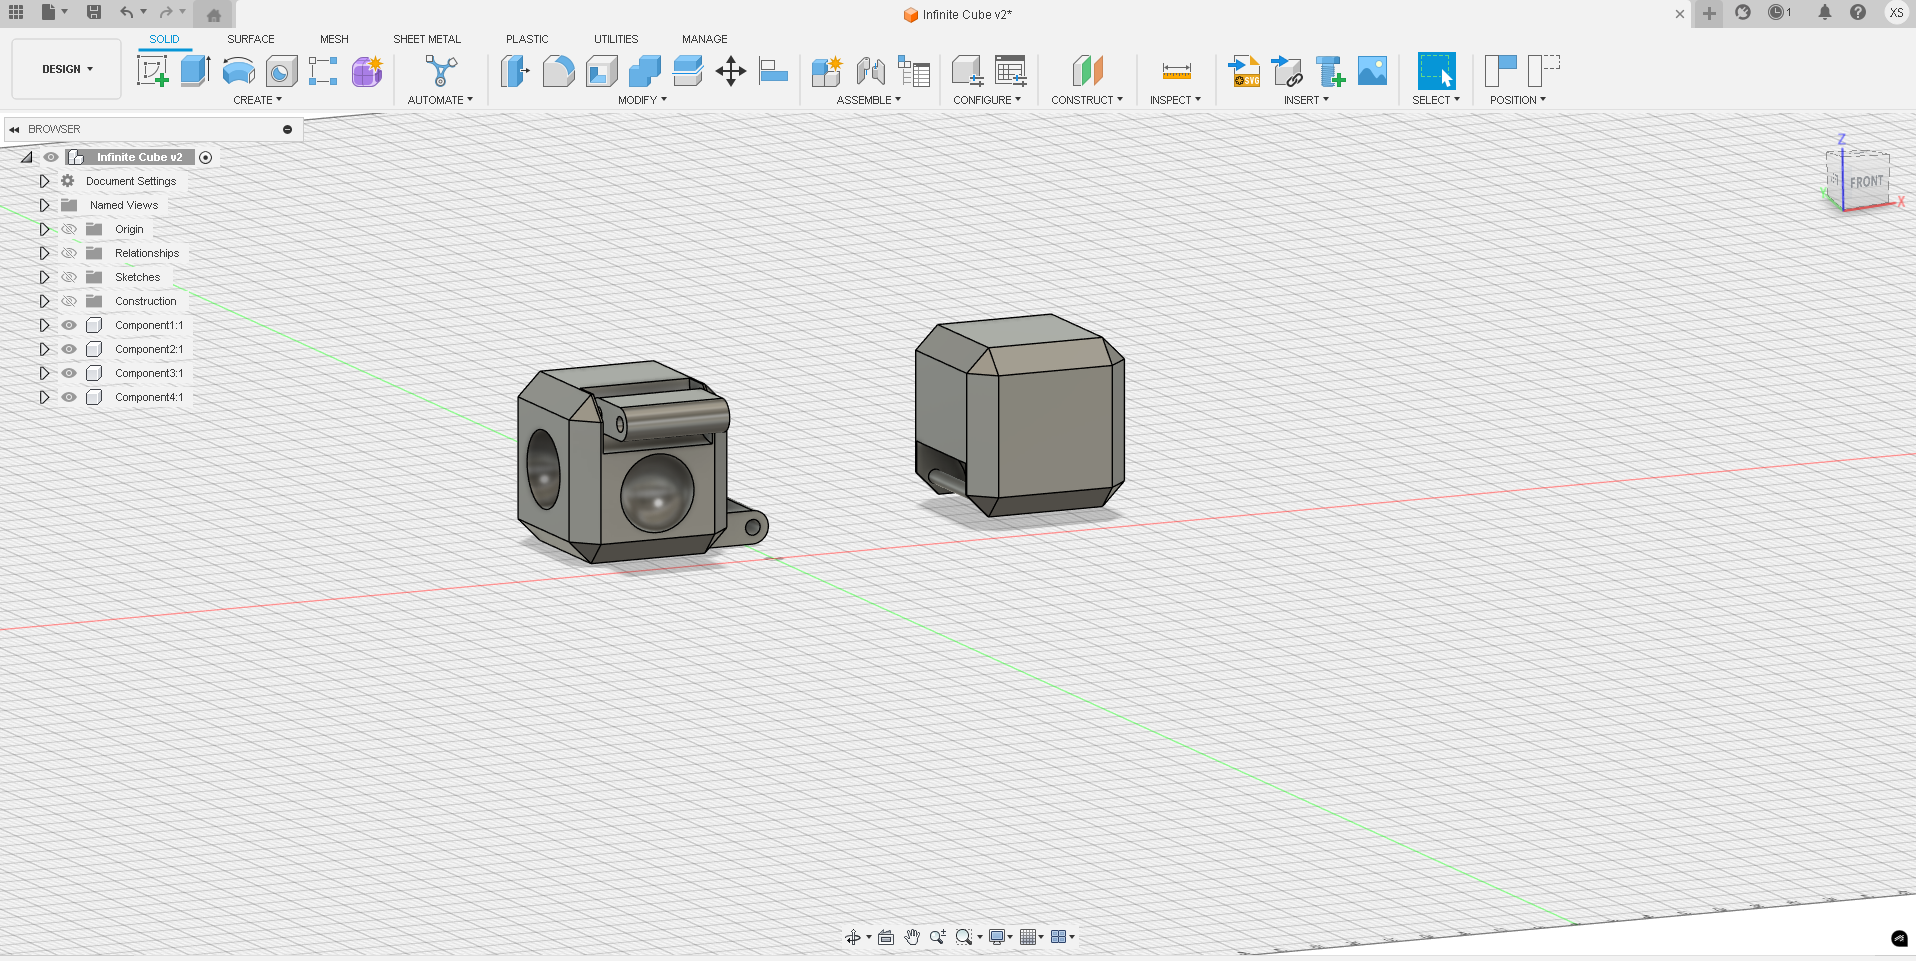
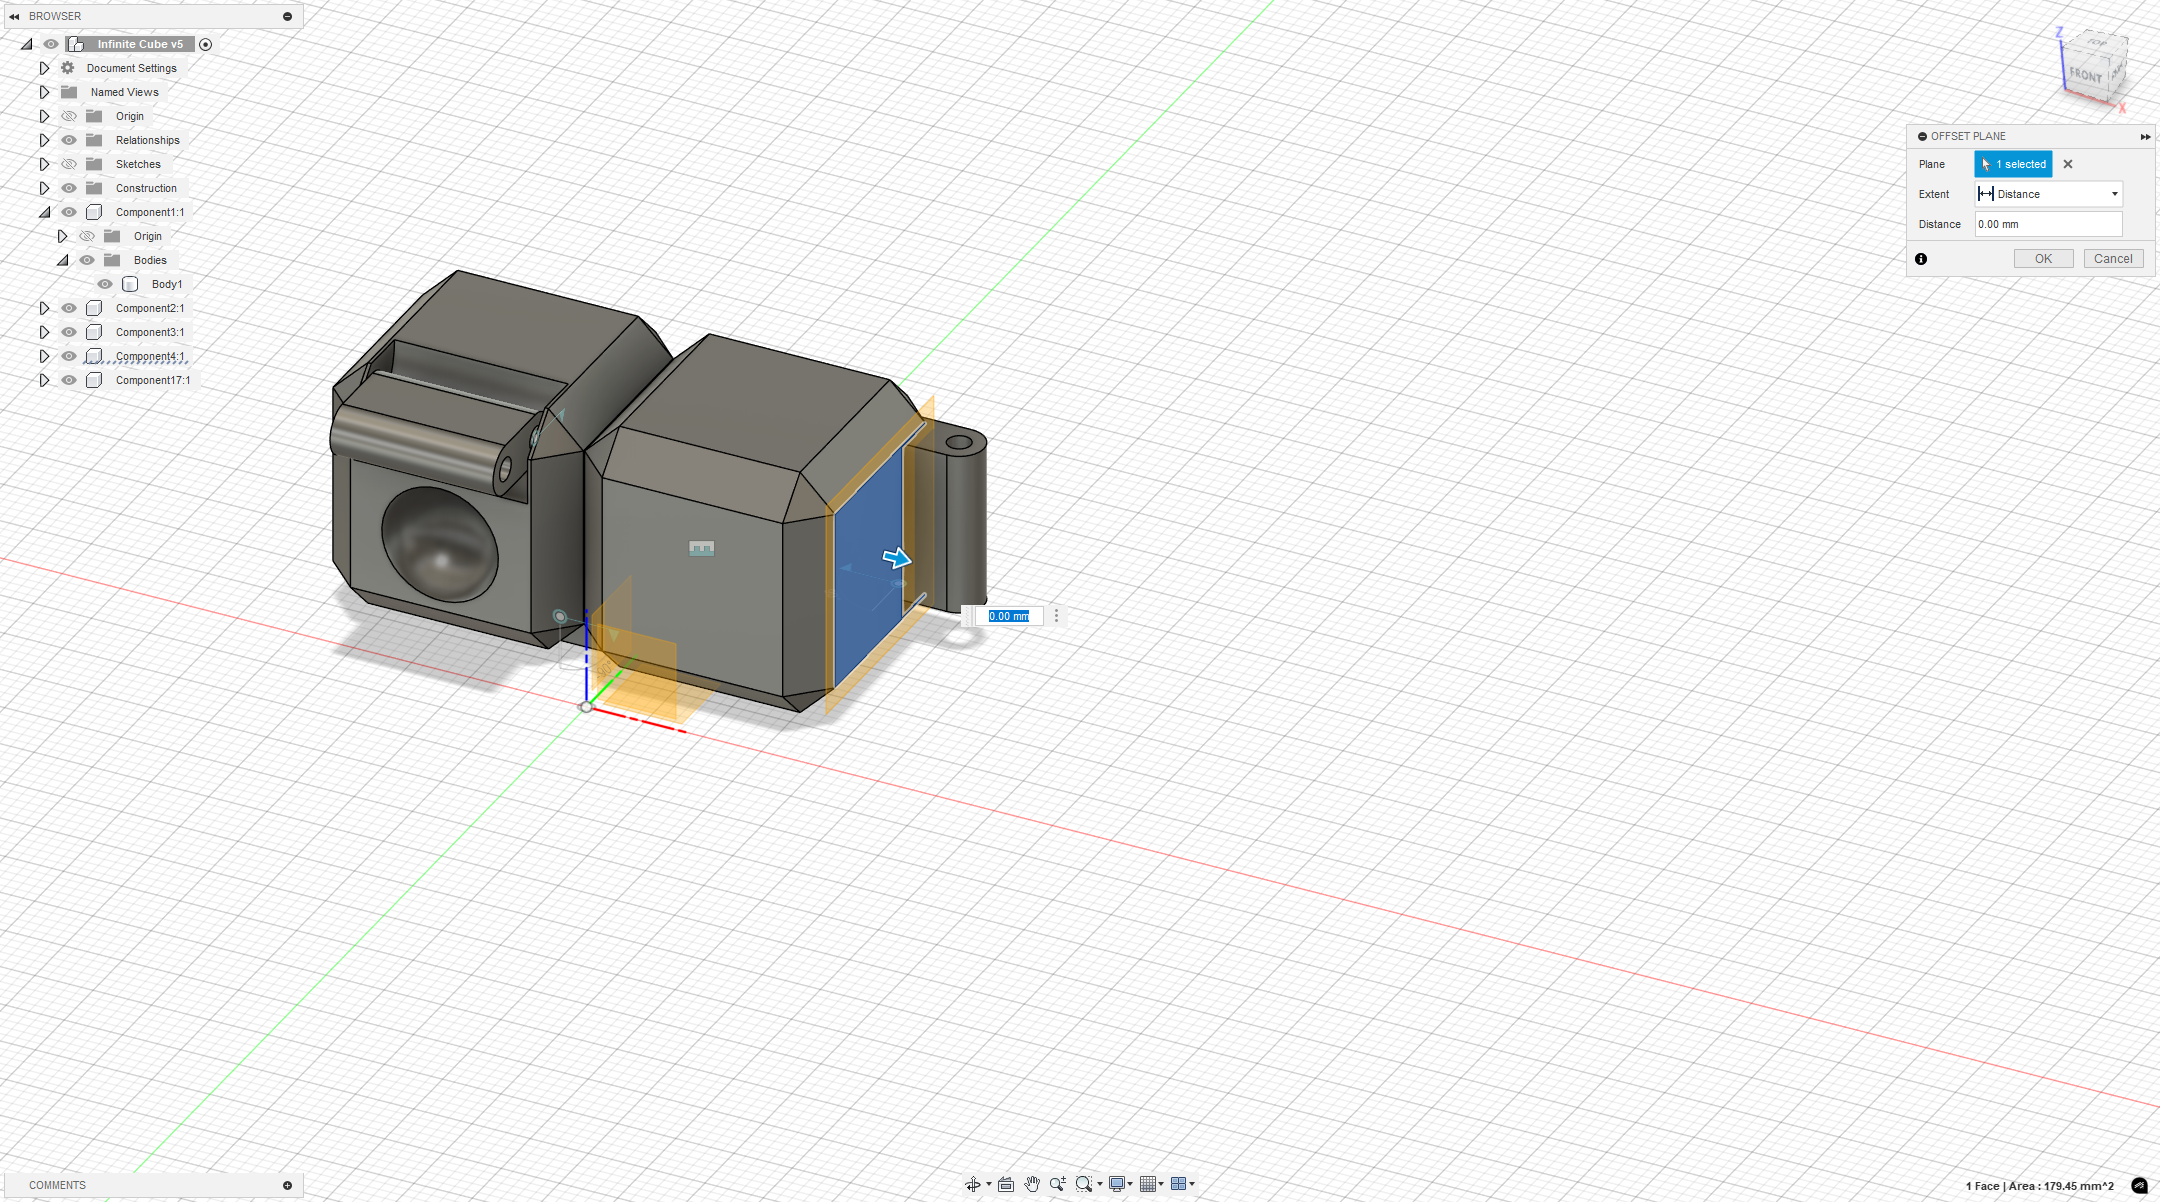
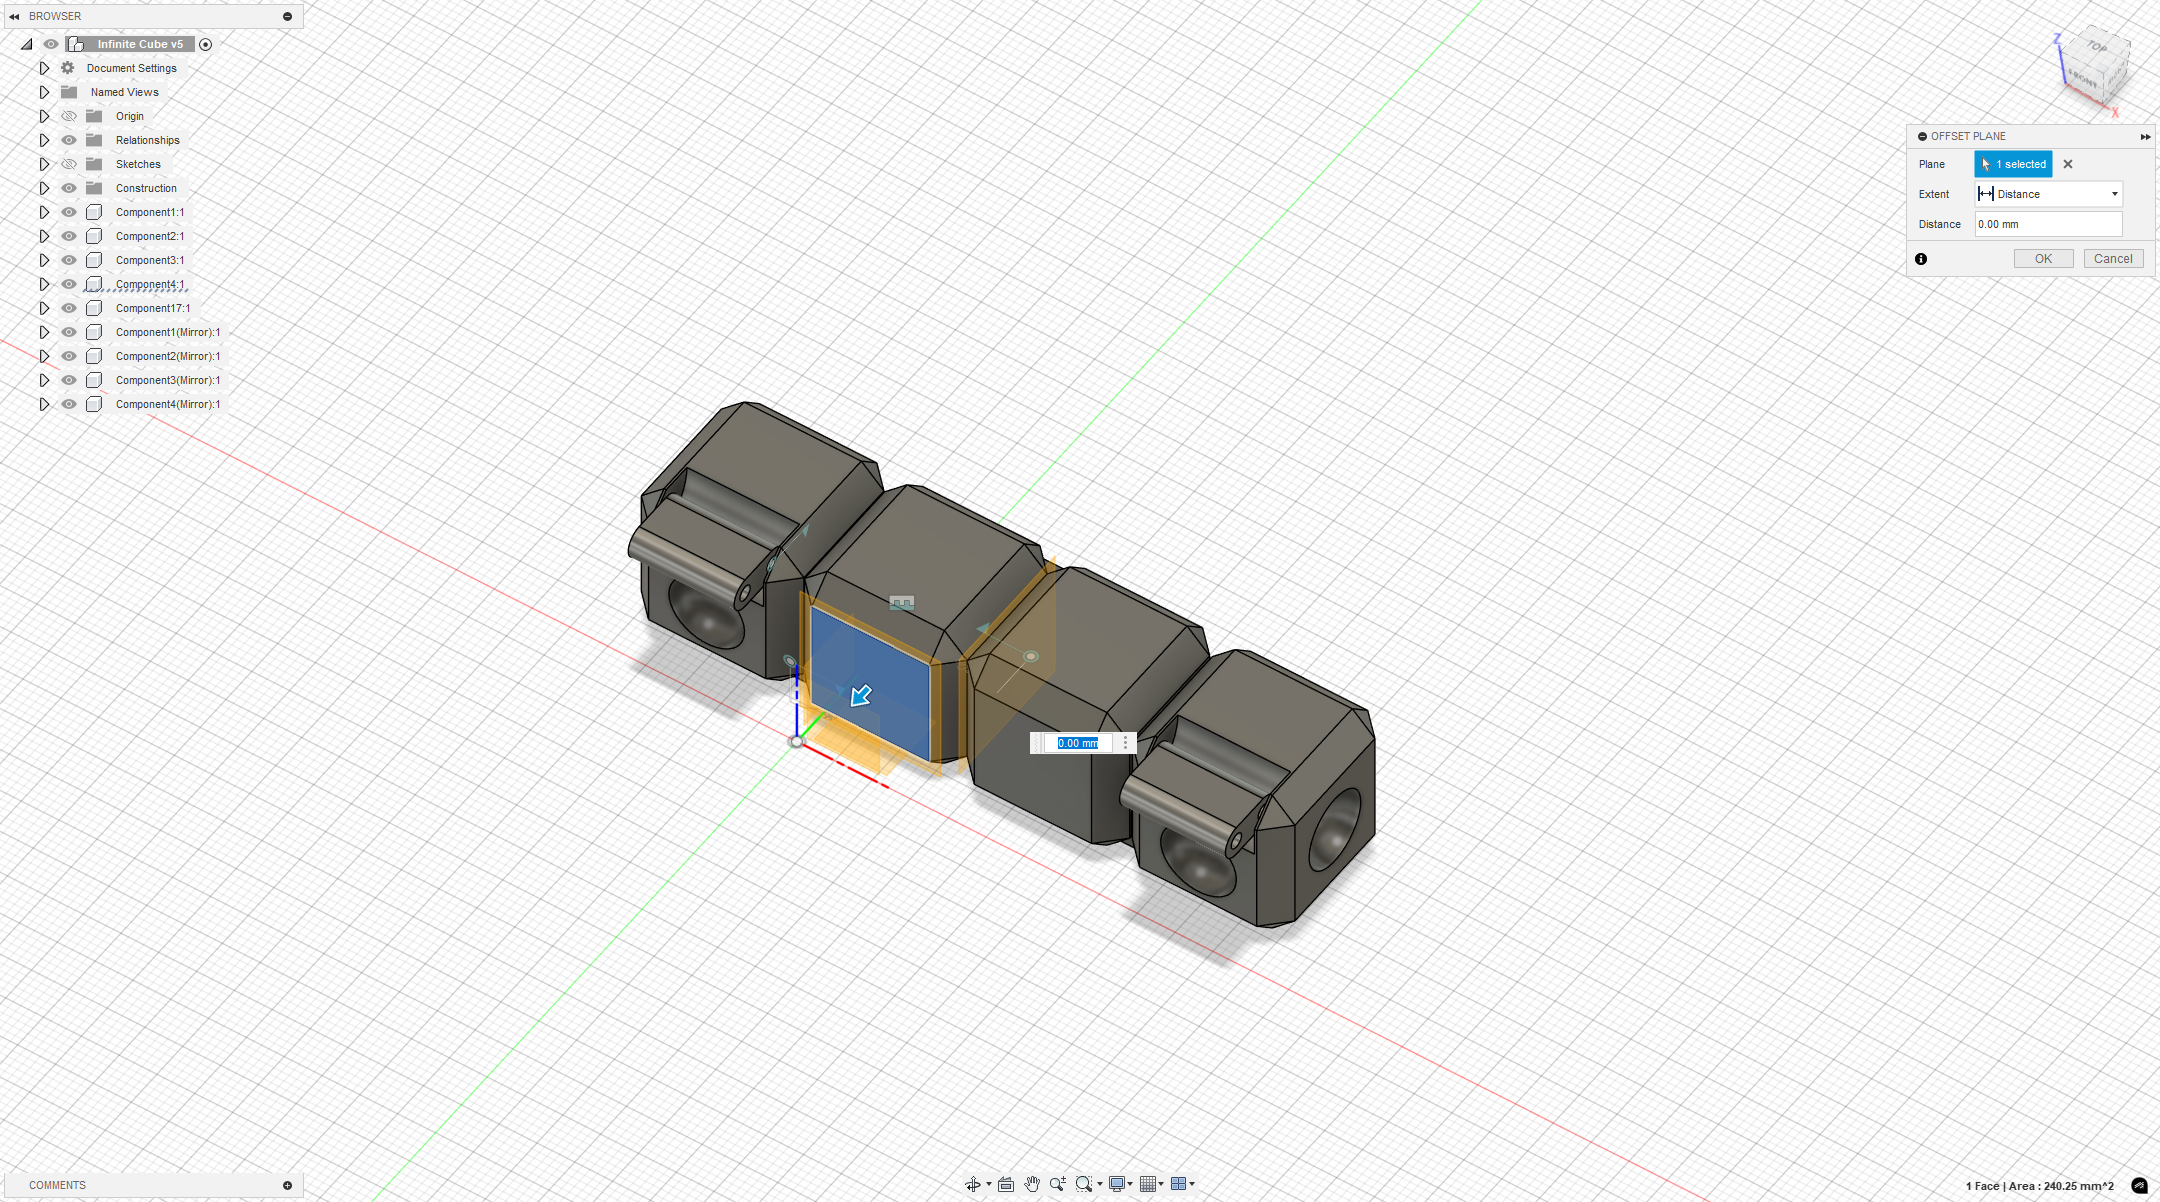
 Create an offset plane.
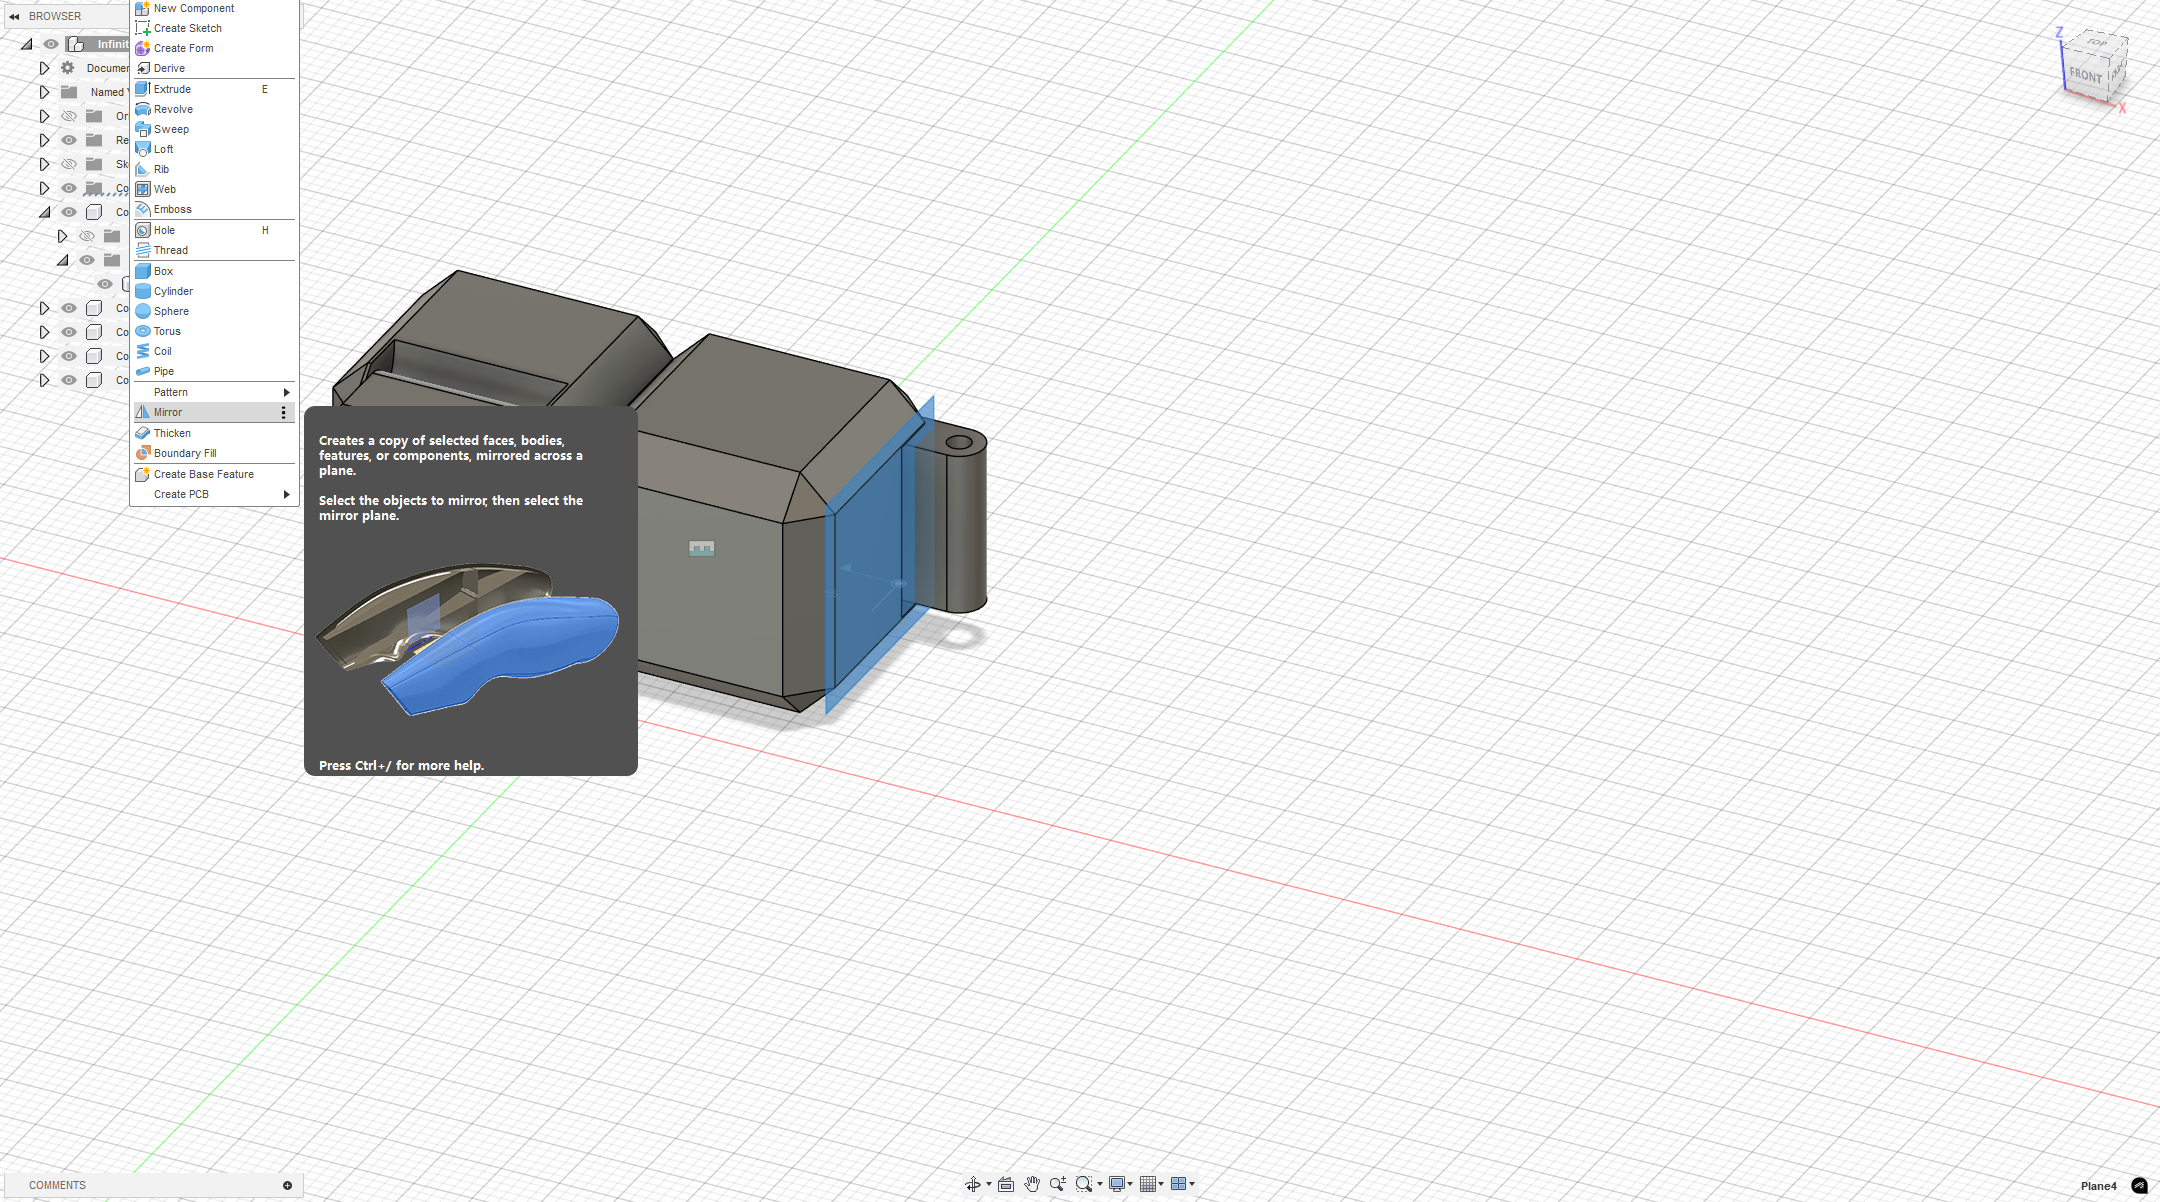
 Use the mirror command.
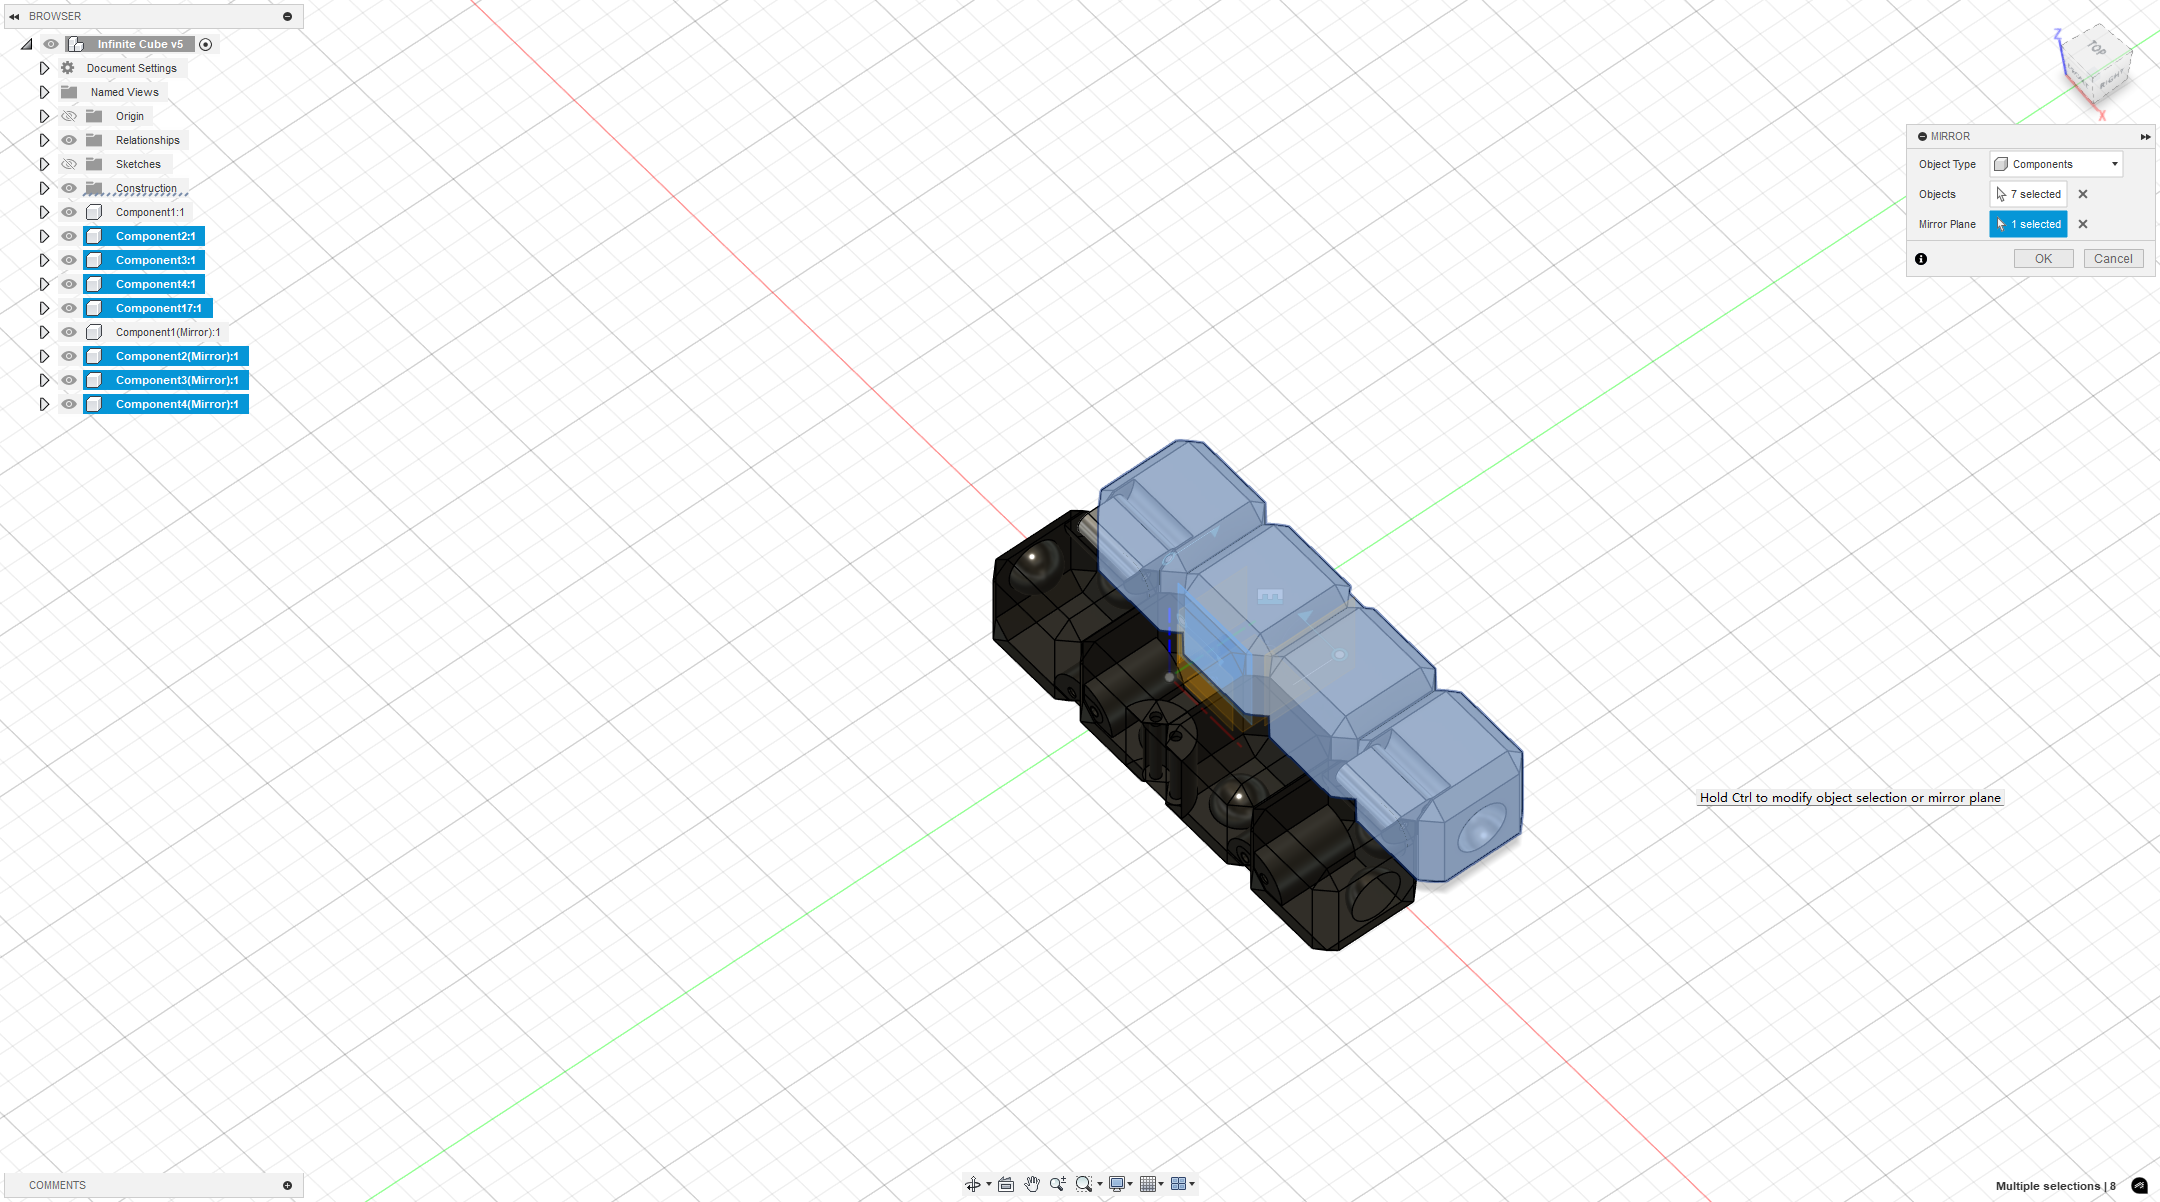
 Repeat the operation: create an offset plane and mirror.
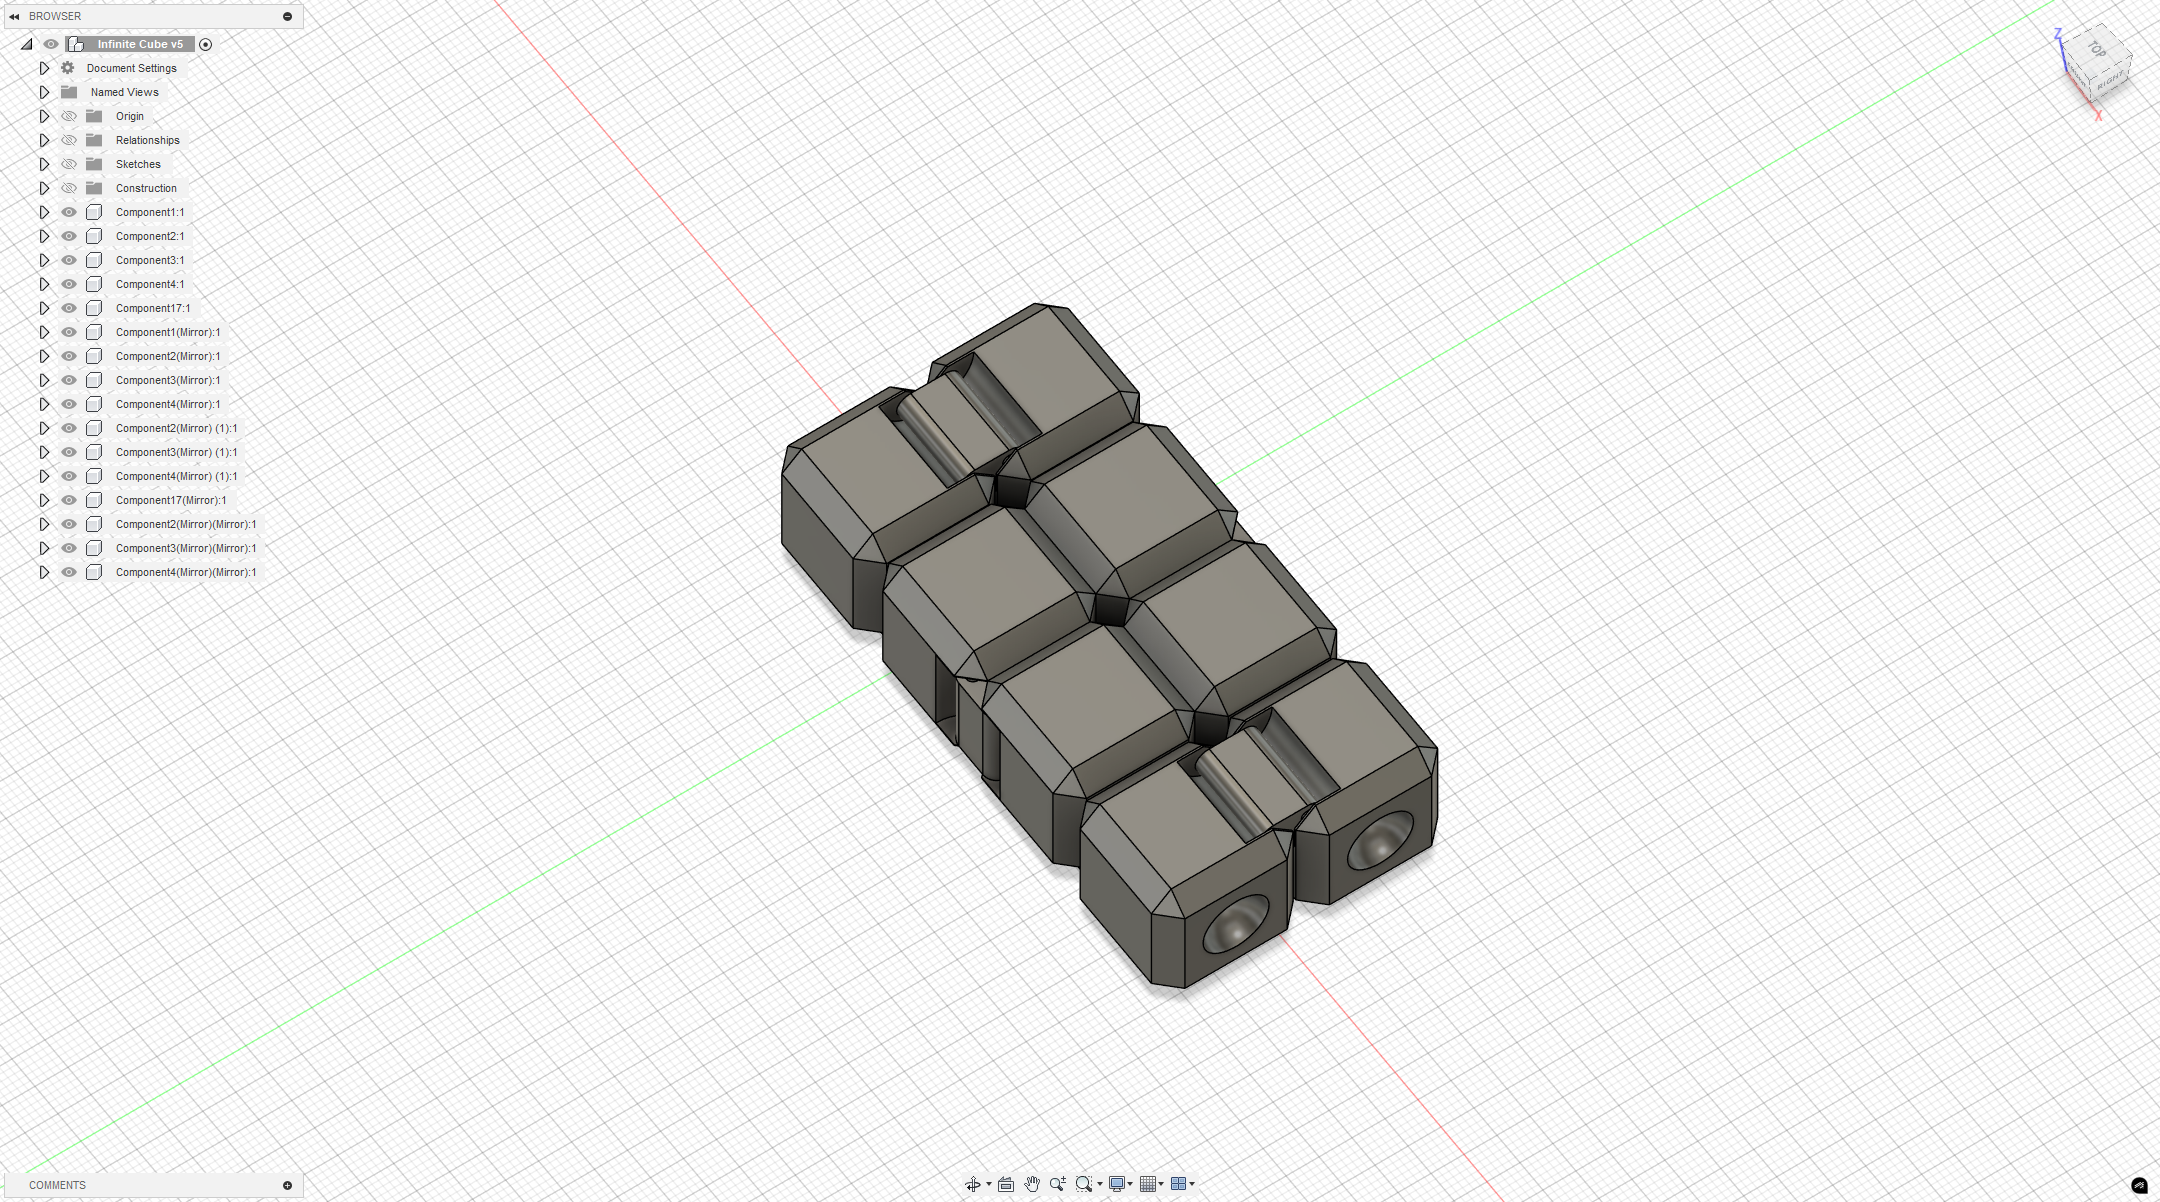
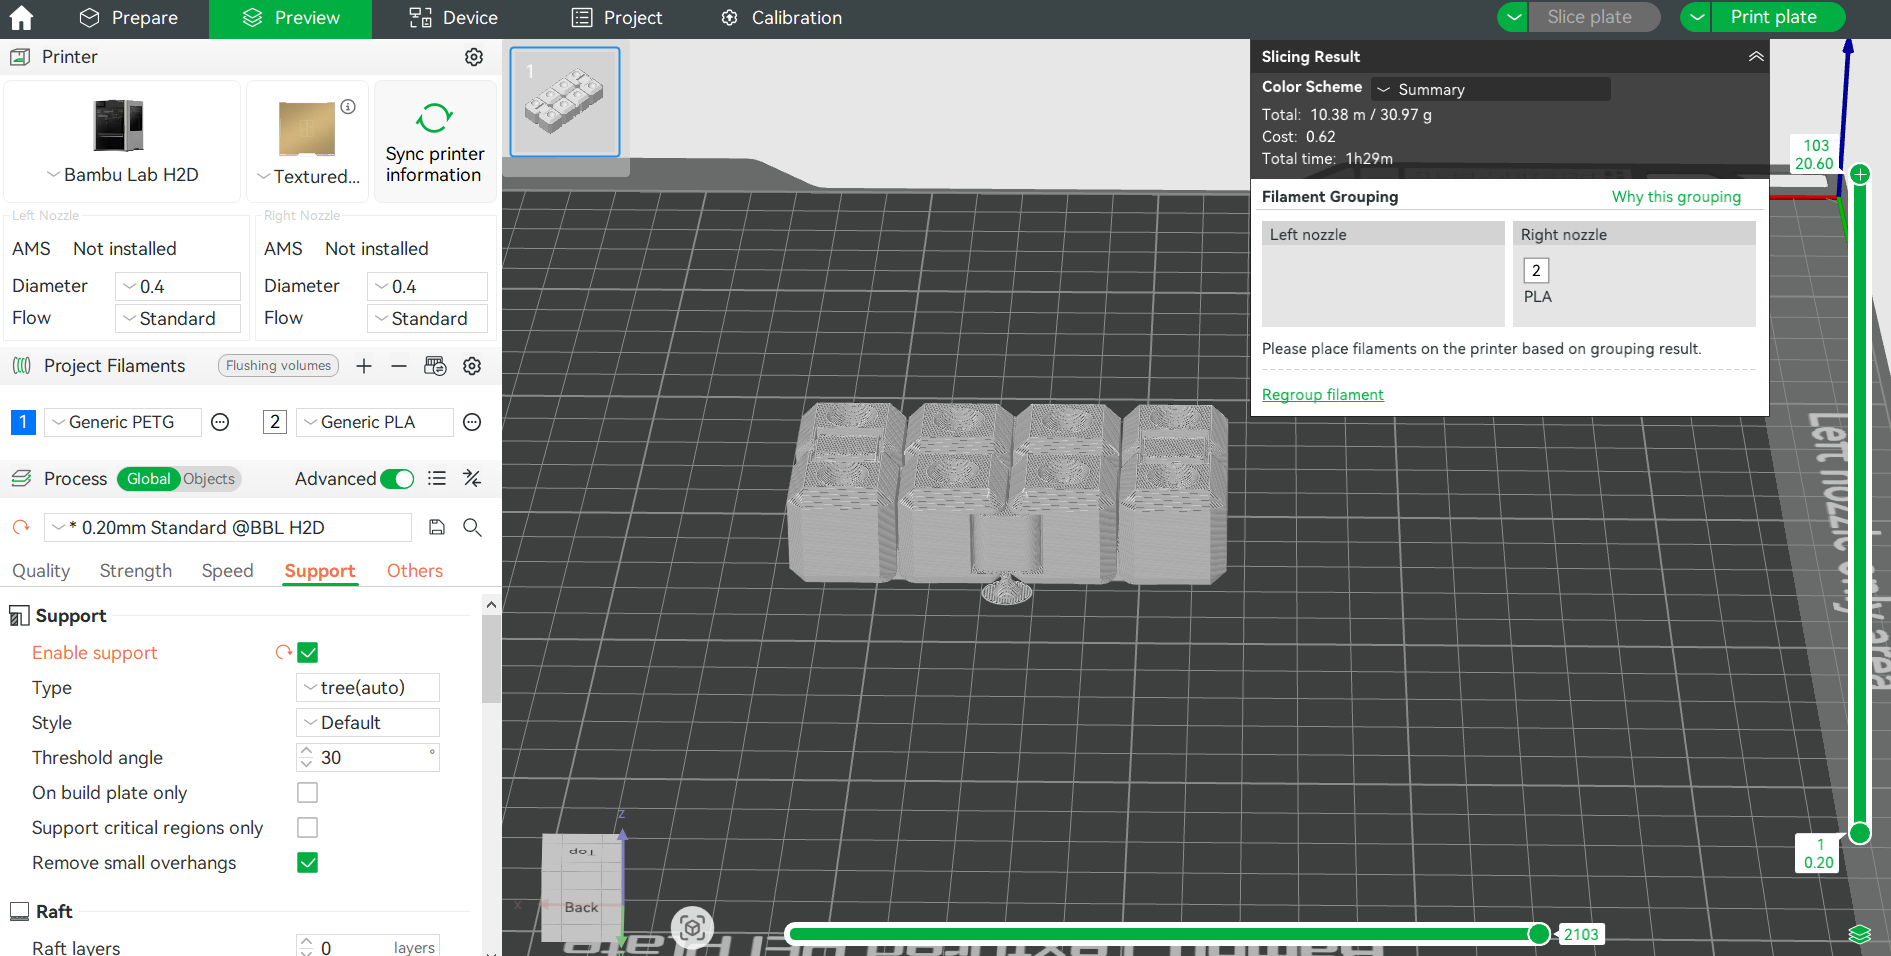
 The final printing effect is as follows:
3D Scanning
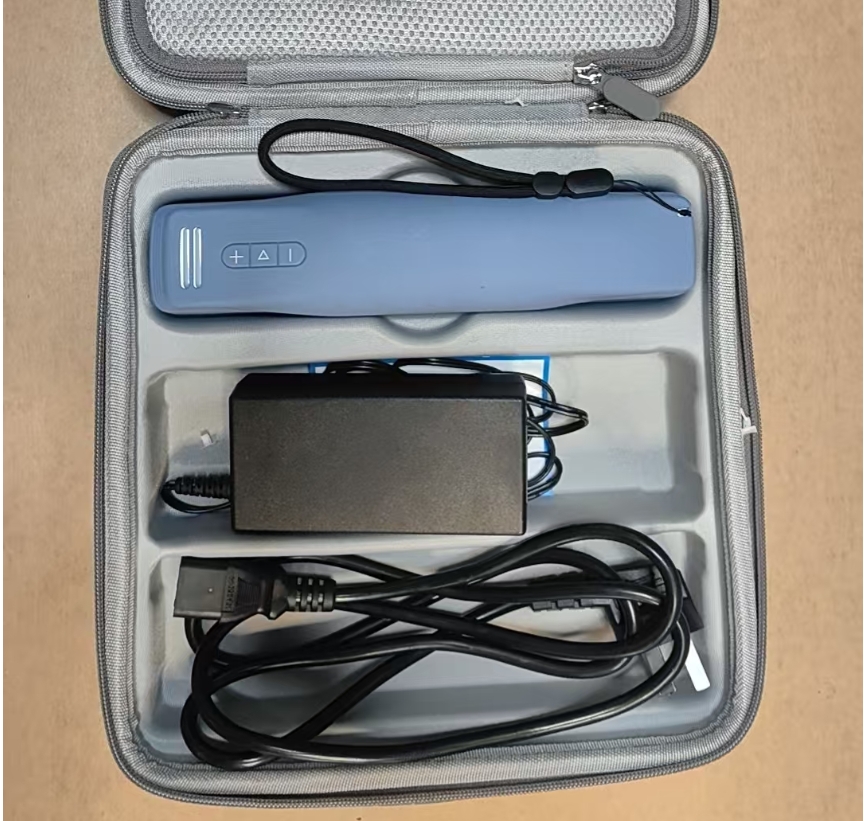
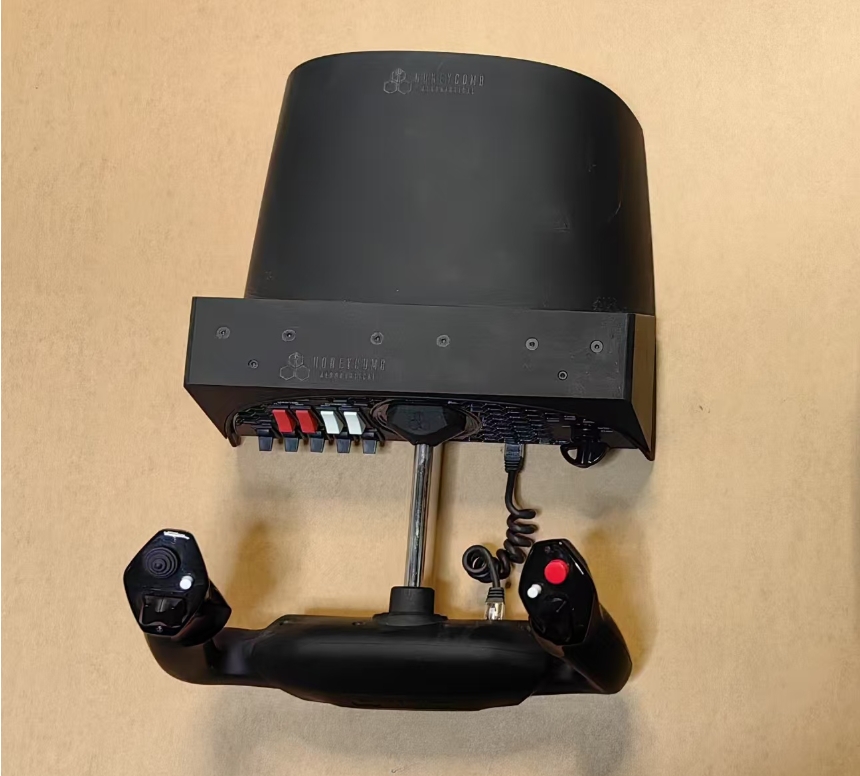
In this practice, I used the SHINING 3D EinStar series handheld 3D scanner. This is a professional-grade structured light 3D scanning device that uses blue light structured light technology to quickly and accurately acquire three-dimensional data of objects. I used this device to 3D scan and print a YOKE joystick.
Operation Process
Software Preparation
Install the EXStar software. After installation, registration of a SHINING 3D account is required to activate the software features. The software interface clearly displays the complete workflow: device calibration, scanning acquisition, data post-processing, and dimensional measurement.

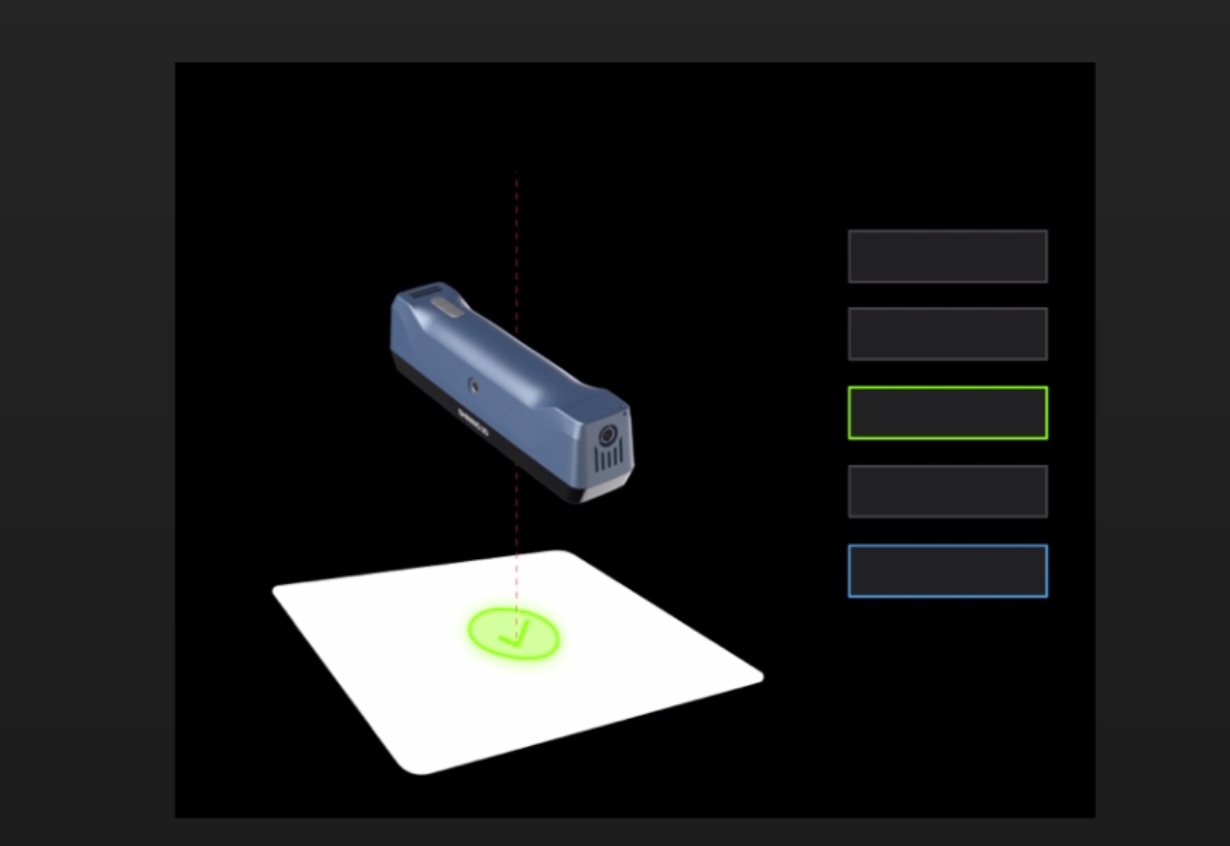
Device Connection and Calibration
After connecting the scanner to the computer, create a new project in the software and complete the device calibration process following the system guidance to ensure scanning accuracy.
Scanning Data Acquisition
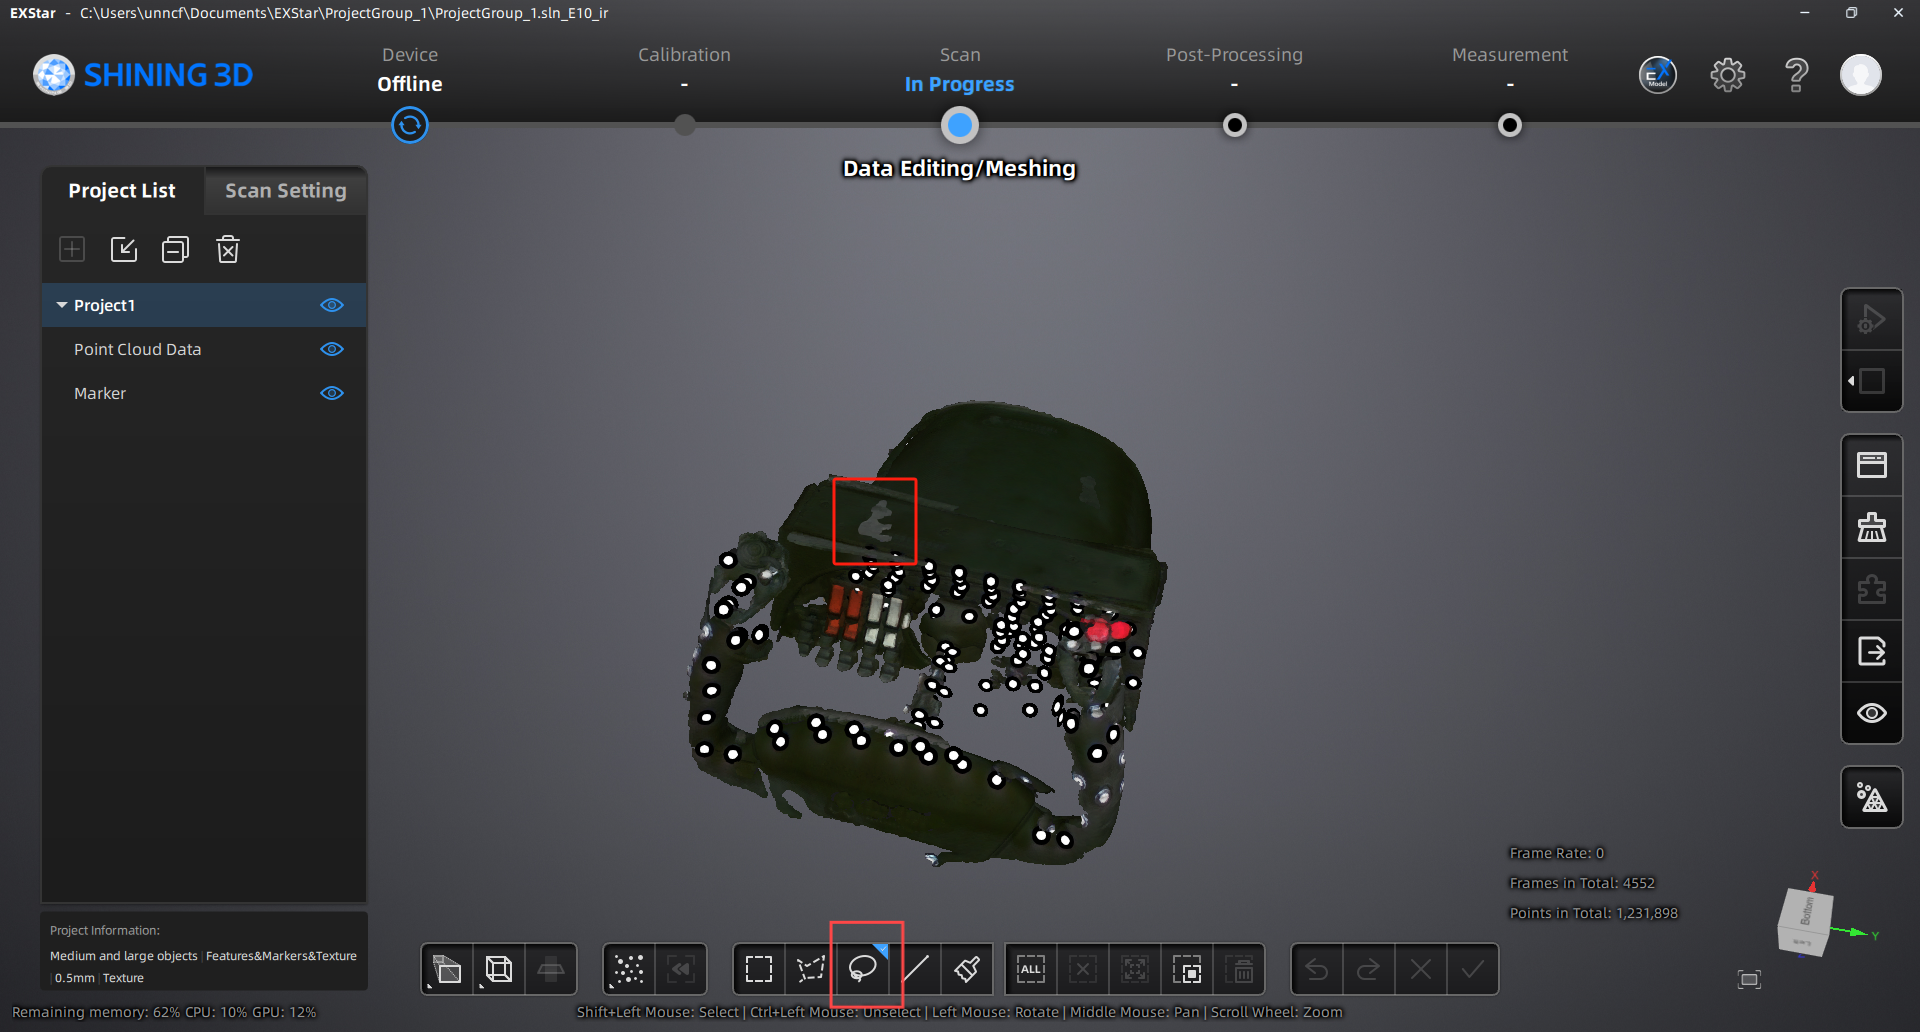
Considering the smooth surface of the YOKE joystick with insufficient feature points, markers were attached at appropriate positions to assist with scan positioning.  During scanning, maintain a distance of 30-50cm between the device and the target object while performing a 360-degree scan to ensure data completeness.
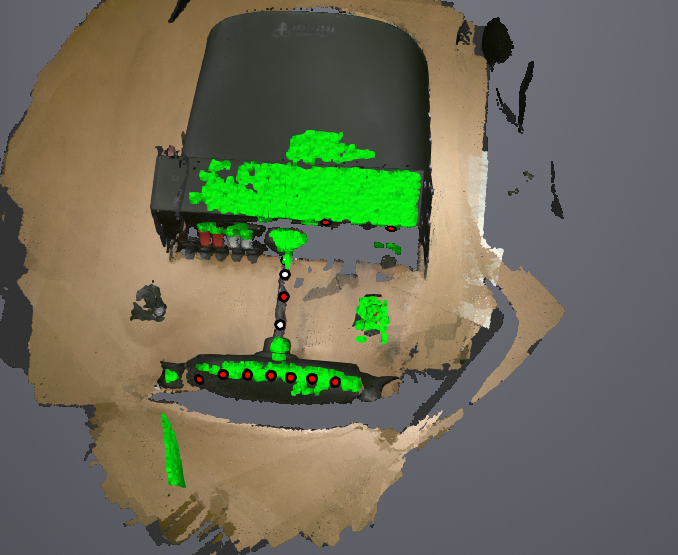
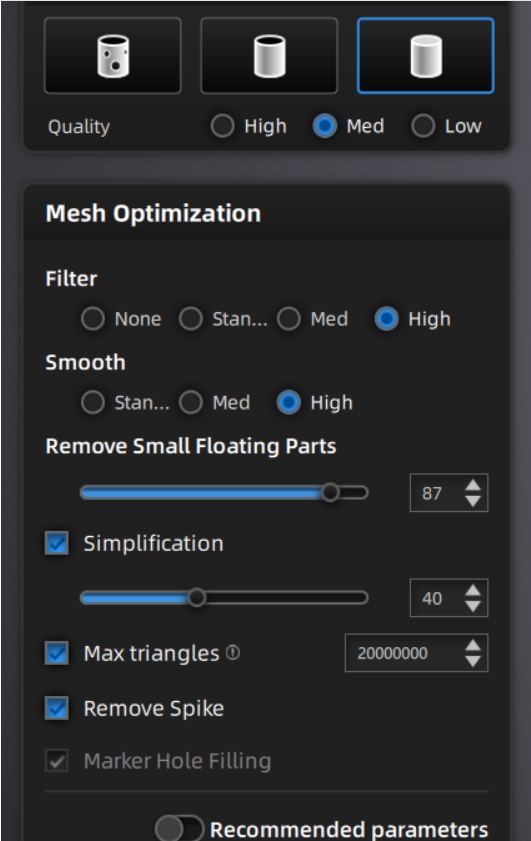
After scanning, use the software's post-processing tools to optimize the model: Use the lasso tool to remove noise and excess data
 After post-processing, complete the final model processing using the wrapping function
 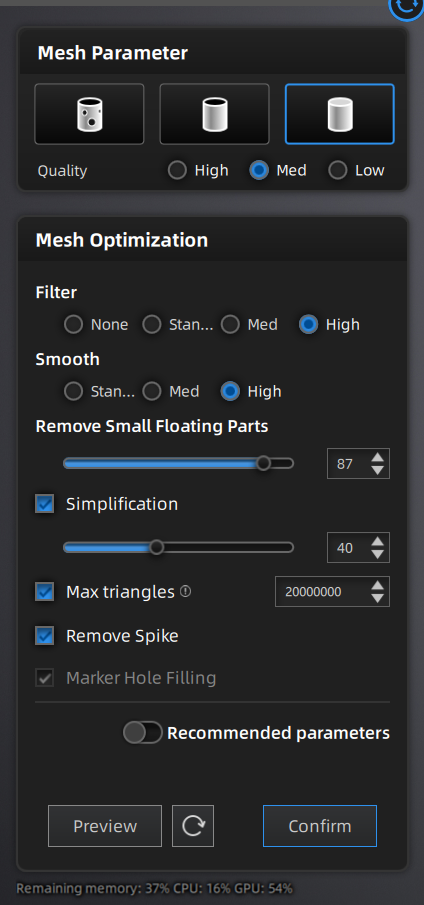 After model processing is complete, click export data and select STL format
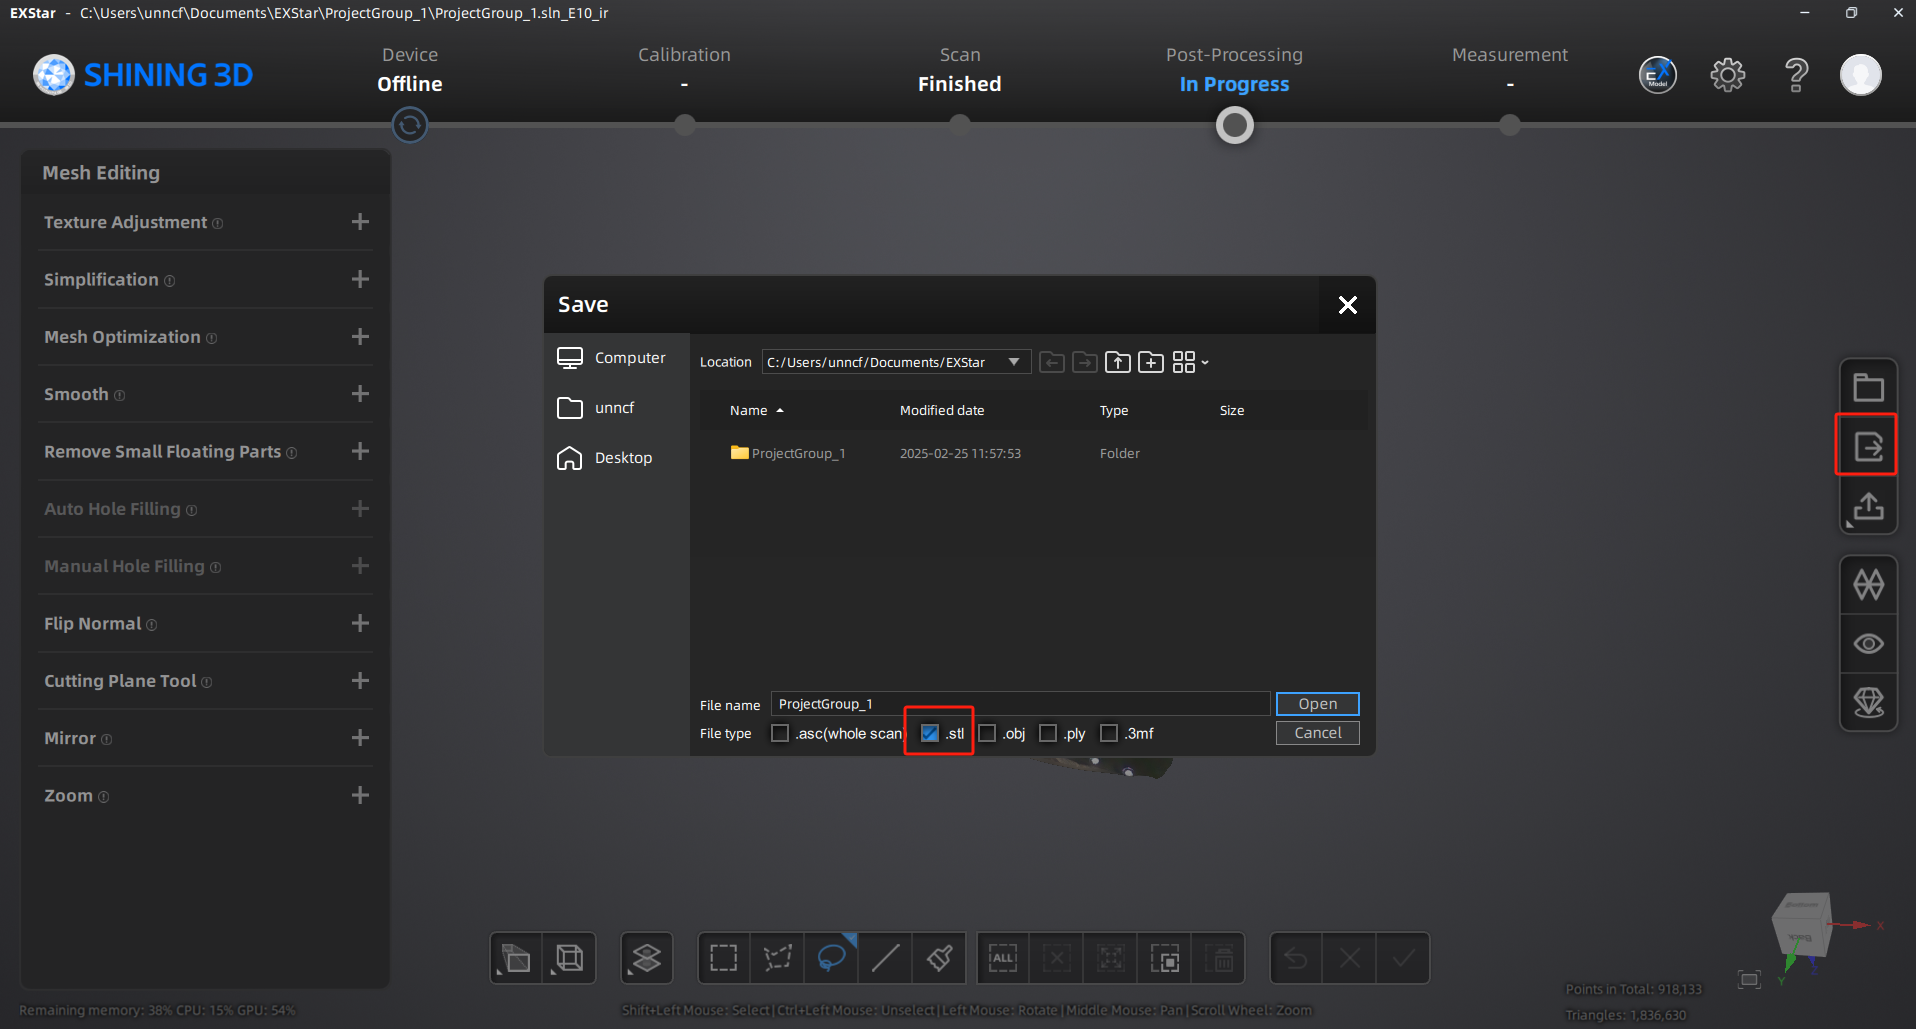
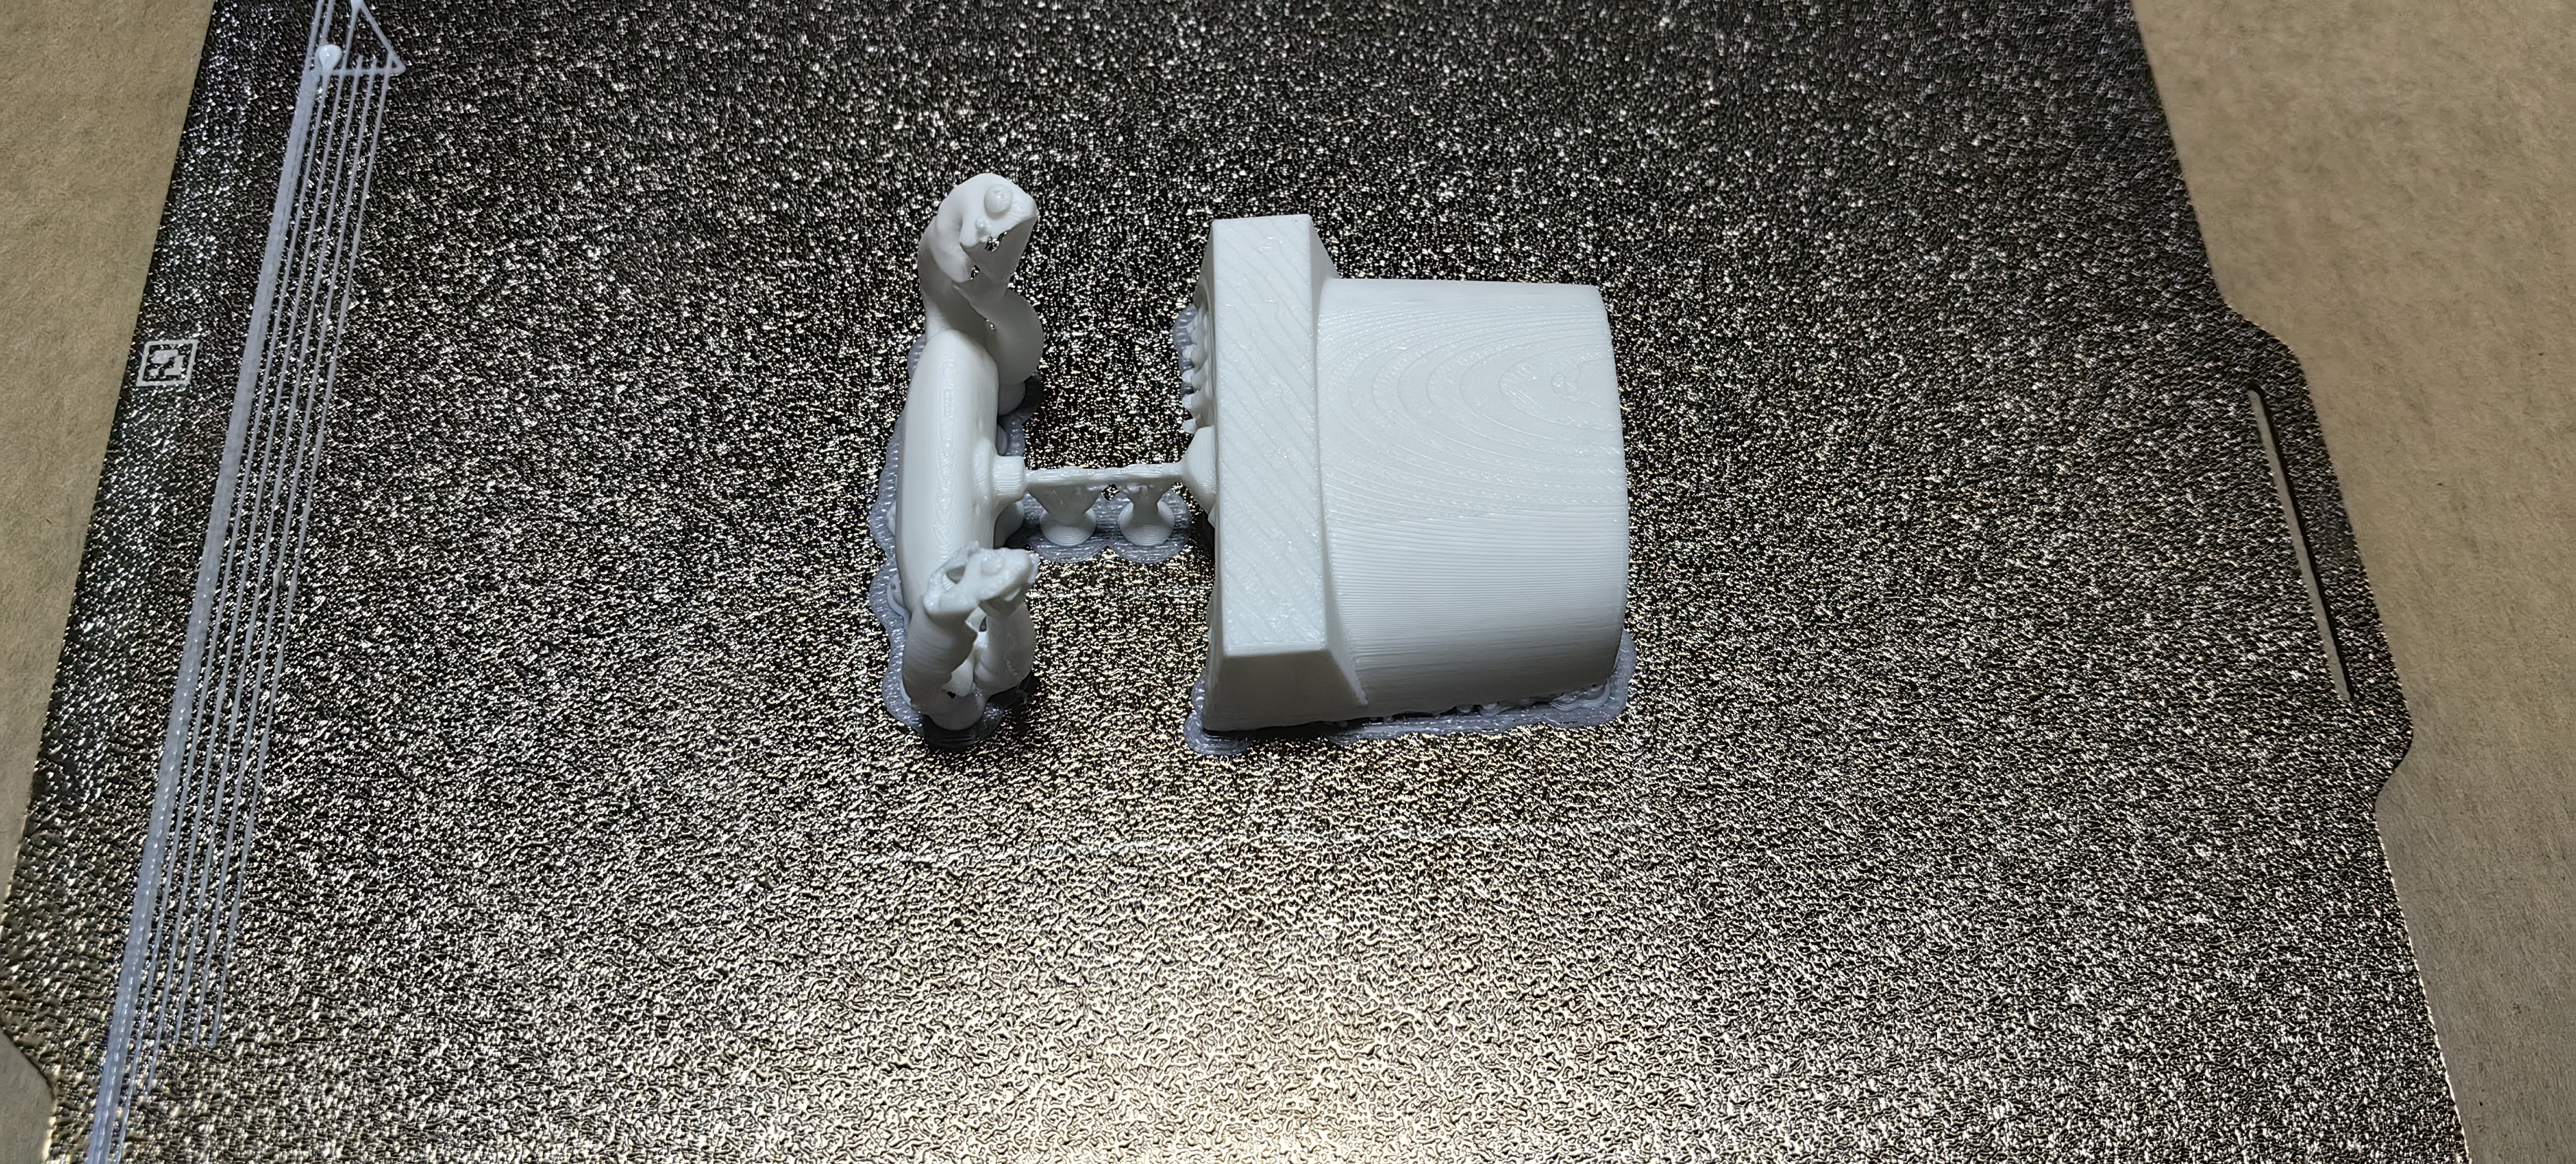
3D Printing 
Reference:
The reference and design files are listed below:
The 3D printer status indicator design file can be found in my repository:https://gitlab.fabcloud.org/academany/fabacademy/2025/labs/unnc/students/xu-sun/-/blob/main/docs/assignments/week5/resource-week5/week5-Indicator.f3d?ref_type=heads
The 3D printer file Laser Engraving Machine can be found in my repository:https://gitlab.fabcloud.org/academany/fabacademy/2025/labs/unnc/students/xu-sun/-/blob/main/docs/assignments/week5/resource-week5/week5-Laser Engraving Machine.3mf?ref_type=heads
The .stl file of the infinite cube can be found in my repository:https://gitlab.fabcloud.org/academany/fabacademy/2025/labs/unnc/students/xu-sun/-/blob/main/docs/assignments/week5/resource-week5/week5-Infinite Cube.3mf?ref_type=heads
The .3mf file of the infinite cube can be found in my repository:https://gitlab.fabcloud.org/academany/fabacademy/2025/labs/unnc/students/xu-sun/-/blob/main/docs/assignments/week5/resource-week5/week5-Infinite Cube v6.f3d?ref_type=heads
The 3D scanner practice file can be found in my repository:https://gitlab.fabcloud.org/academany/fabacademy/2025/labs/unnc/students/xu-sun/-/blob/main/docs/assignments/week5/resource-week5/week5-3Dscaning.3mf?ref_type=heads