Appearance
Week 14 - Molding and casting
Assignments
Group Assignment
- Rreview the safety data sheets for each of your molding and casting materials,then make and compare test casts with each of them compare mold making processes
Individual Assignment
- Design a mold around the process you'll be using,produce it with a smooth surface finish that does not show the production process toolpath,and use it to cast parts
- Extra credit: use more then two mold parts
Group Working
My group work is attached here: https://fabacademy.org/2025/labs/unnc/assignments/week14/week14.html
Individual Working
This week, I experimented with two mold-making methods: one using silicone to create molds, and the other using CNC machining to produce steel molds.
Silicone mold production
Keychain Modeling
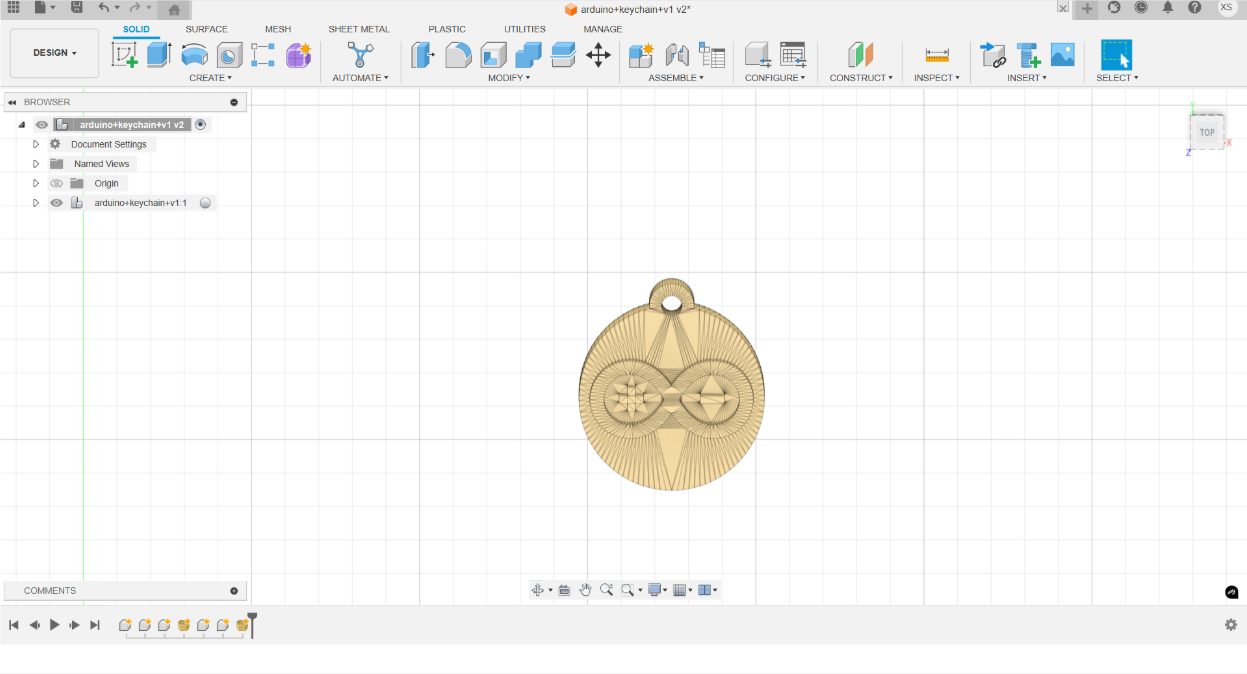
I first completed the 3D modeling of the keychain using Fusion 360. The design features a simple geometric outline, with a reserved hole for attaching a strap.
3D Printing
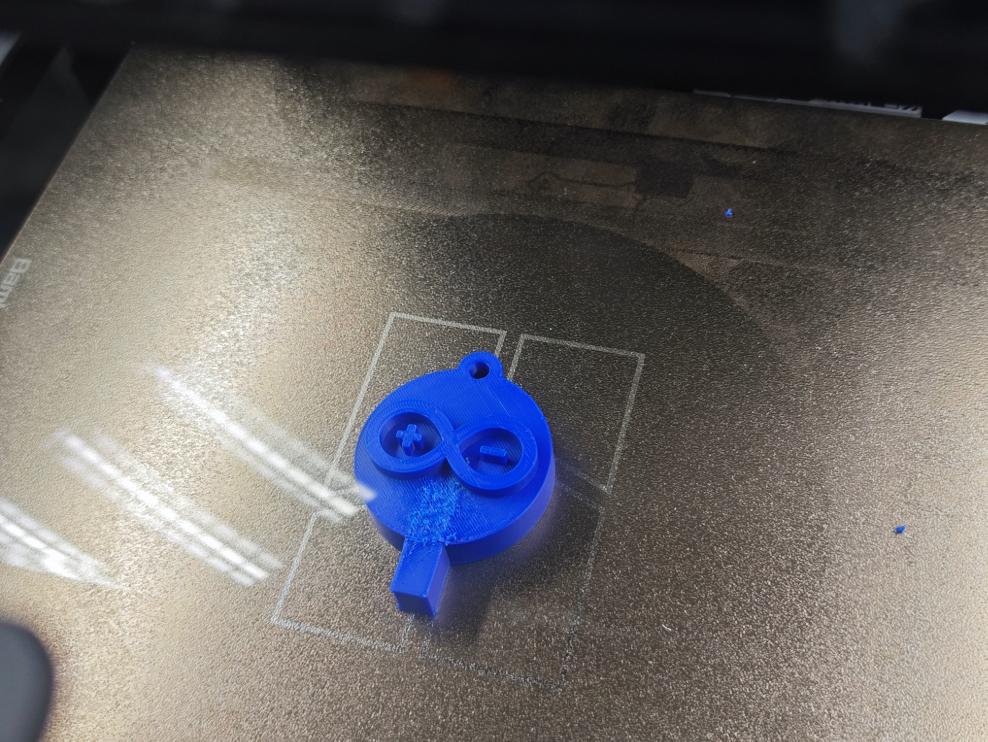
Once the design was finalized, I printed the keychain model using a 3D printer. The resulting object had a good surface finish and clearly defined details. 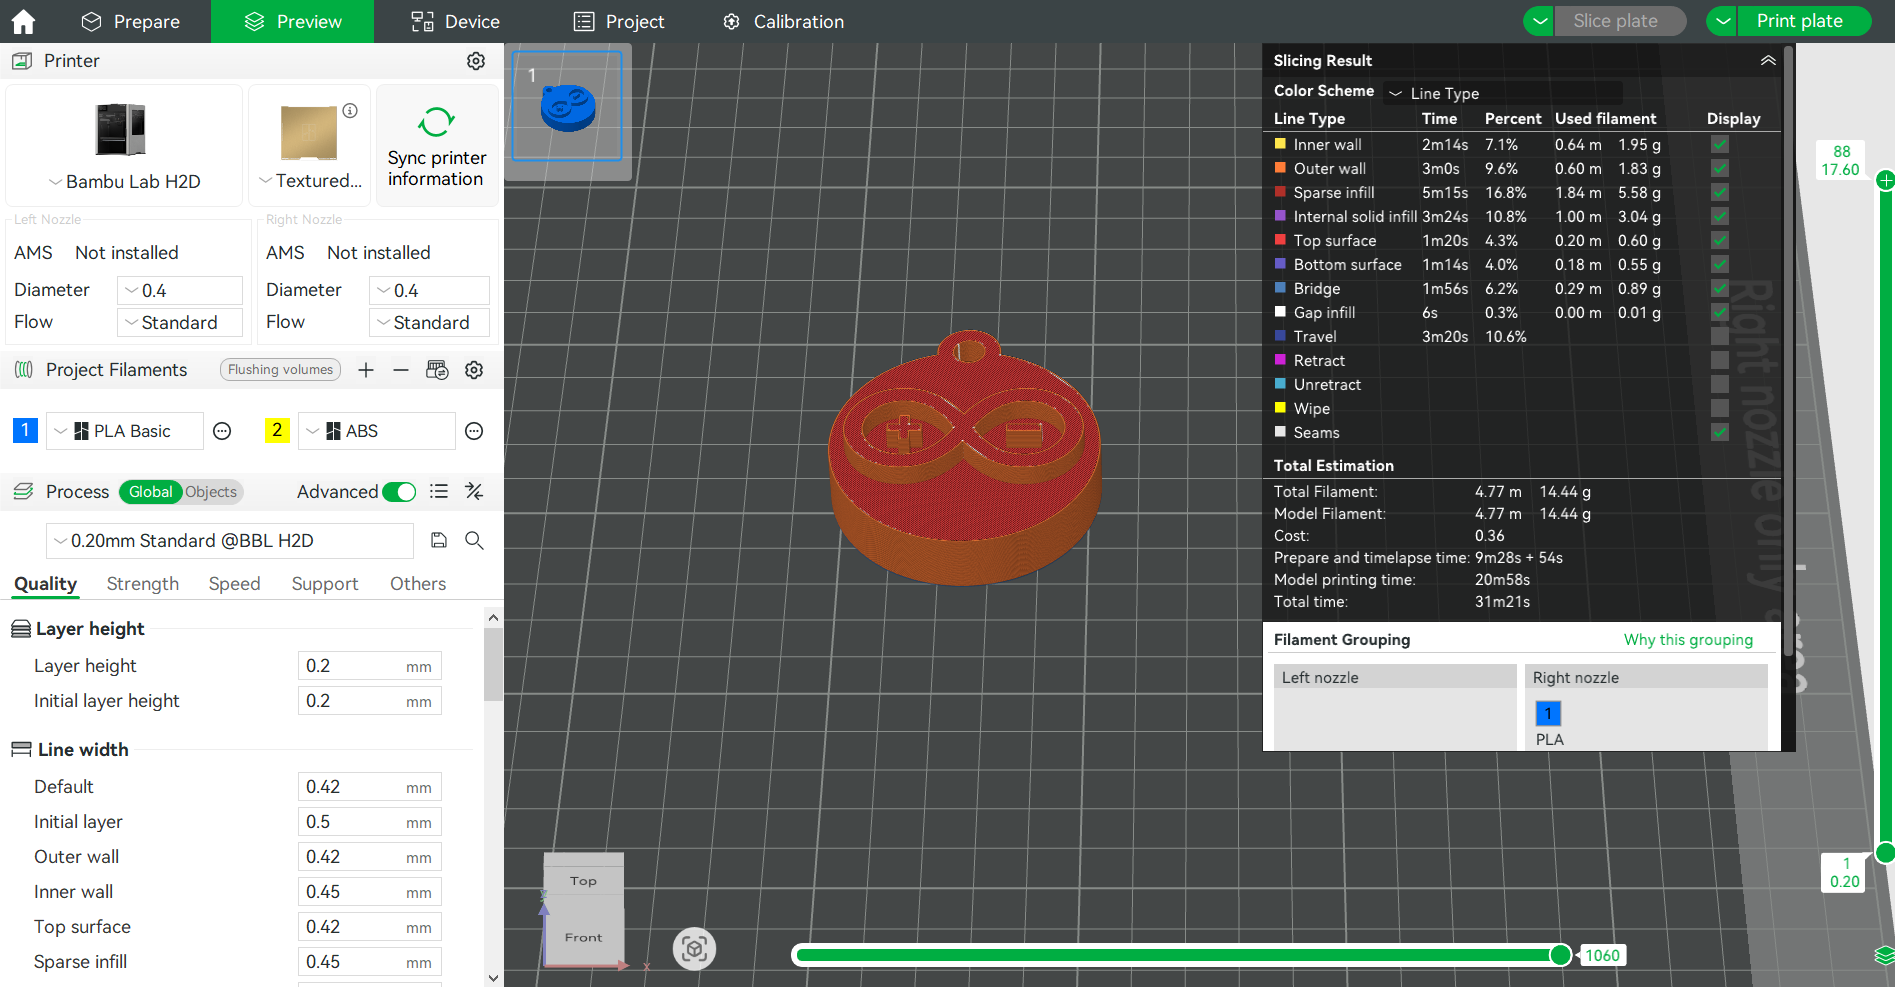

Testing 8015AB
I planned to use 8015AB (a silicone surface treatment agent) to improve surface adhesion before coating or printing.
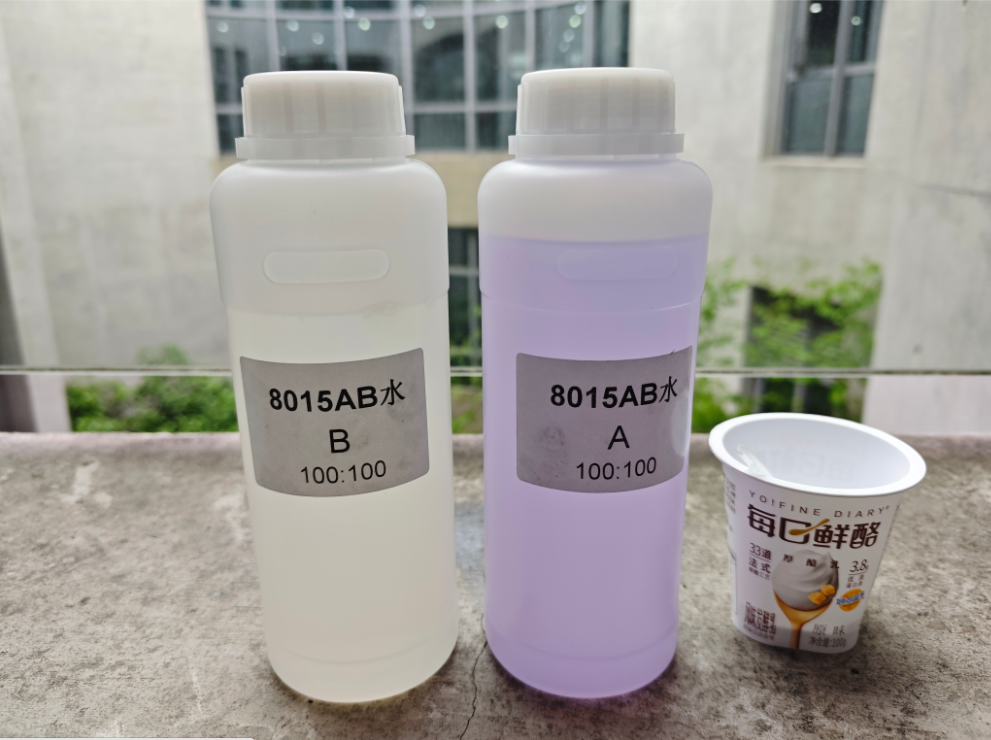
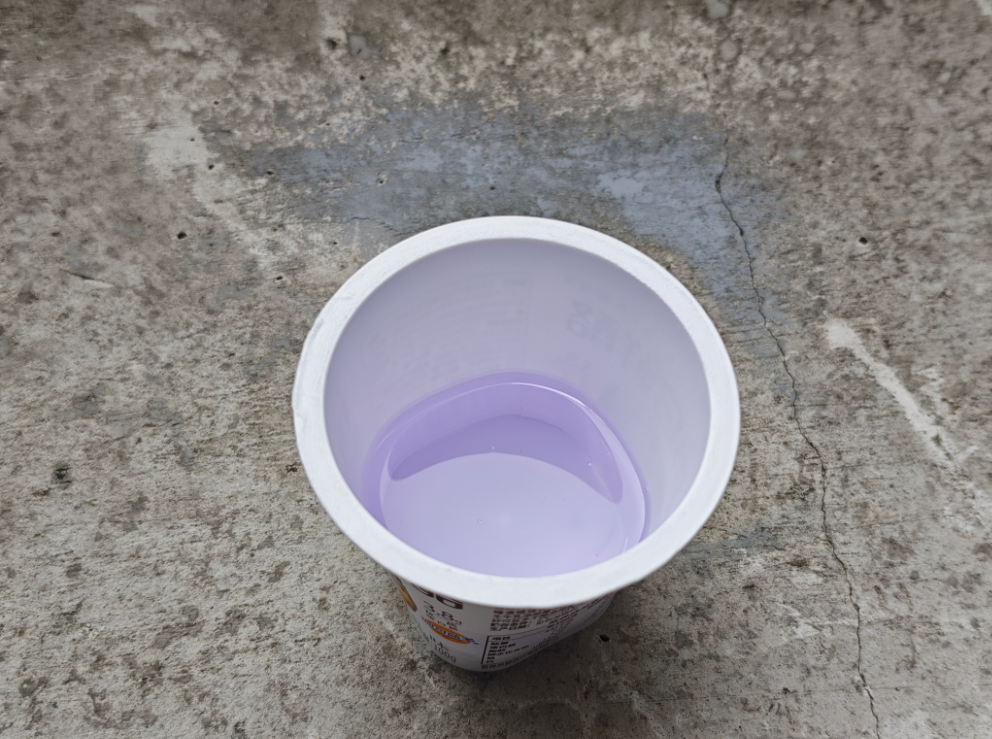
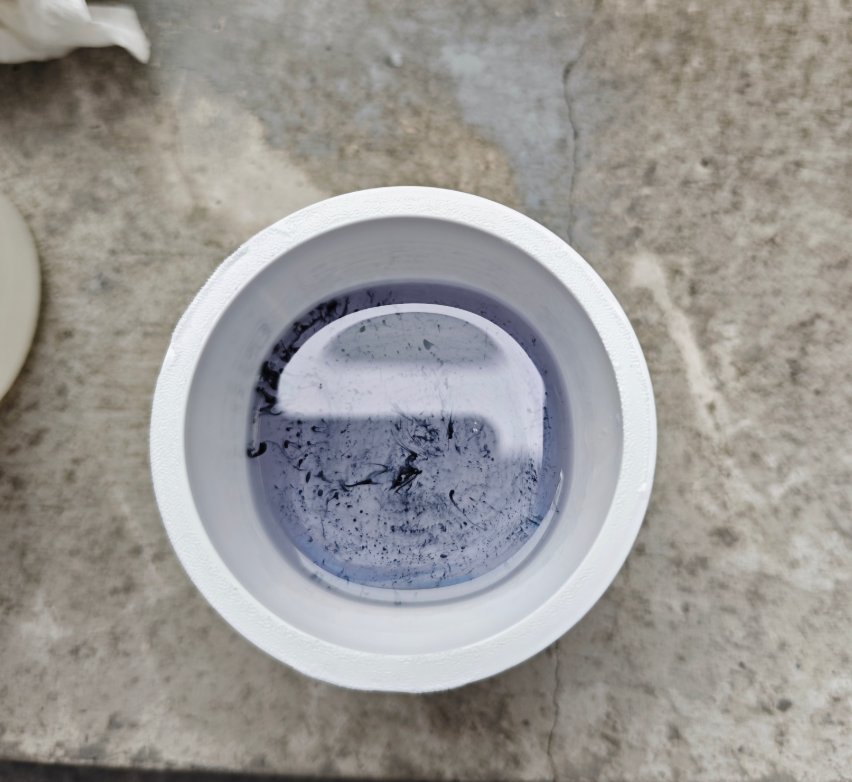
Mixing Test:
- Mixed 8015A and 8015B in a 1:1 ratio.
- Stirred evenly and observed the surface reaction and film-forming properties.
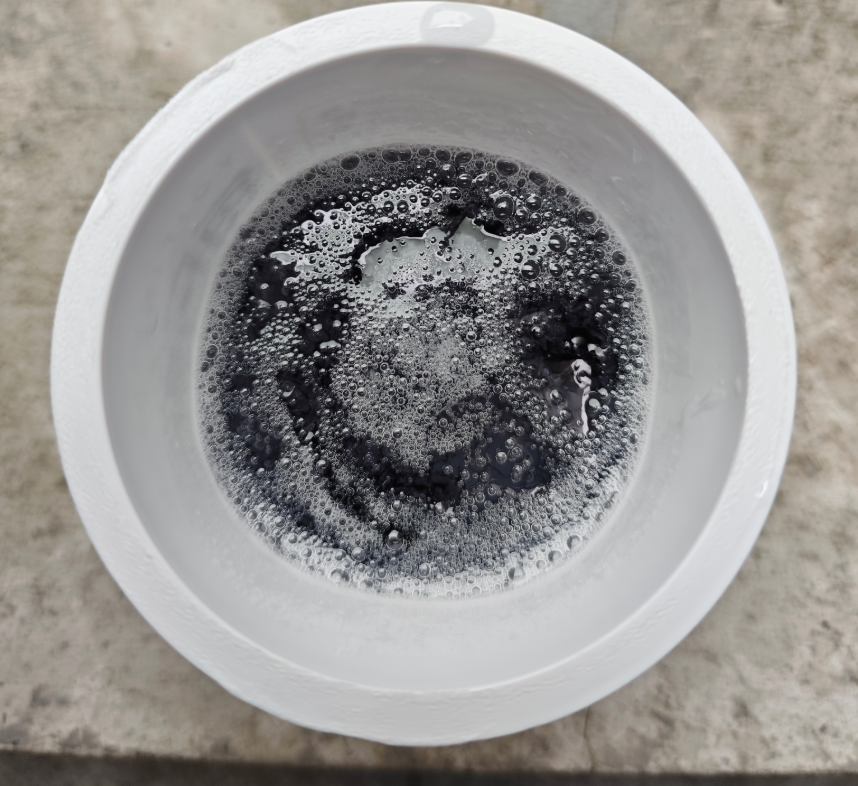
- After the AB resin was fully cured and demolded, a large number of bubbles were present on the surface.
- To improve the final finish and reduce air entrapment, I plan to use a vacuum pump for degassing in future tests.
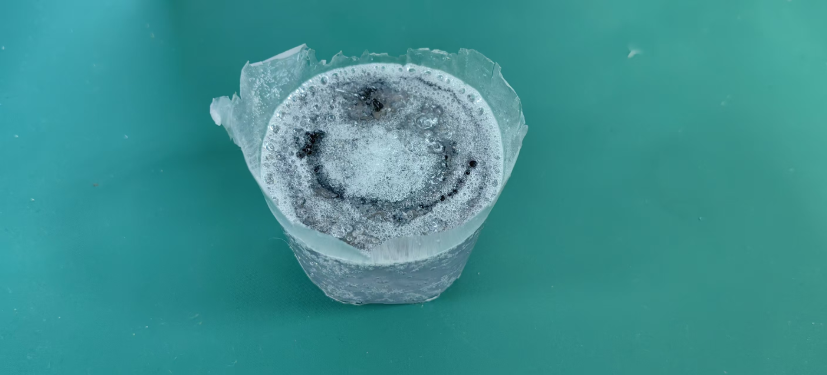
Experiment Issues:
Due to the lack of a precise electronic scale, the mix ratio was inaccurate. As a result, the mixture failed to solidify or form a proper film — the surface remained sticky, indicating a significant deviation from the optimal AB ratio.

Silicone mold making
To further process the keychain, I attempted to make a negative mold using silicone, for replication or casting.
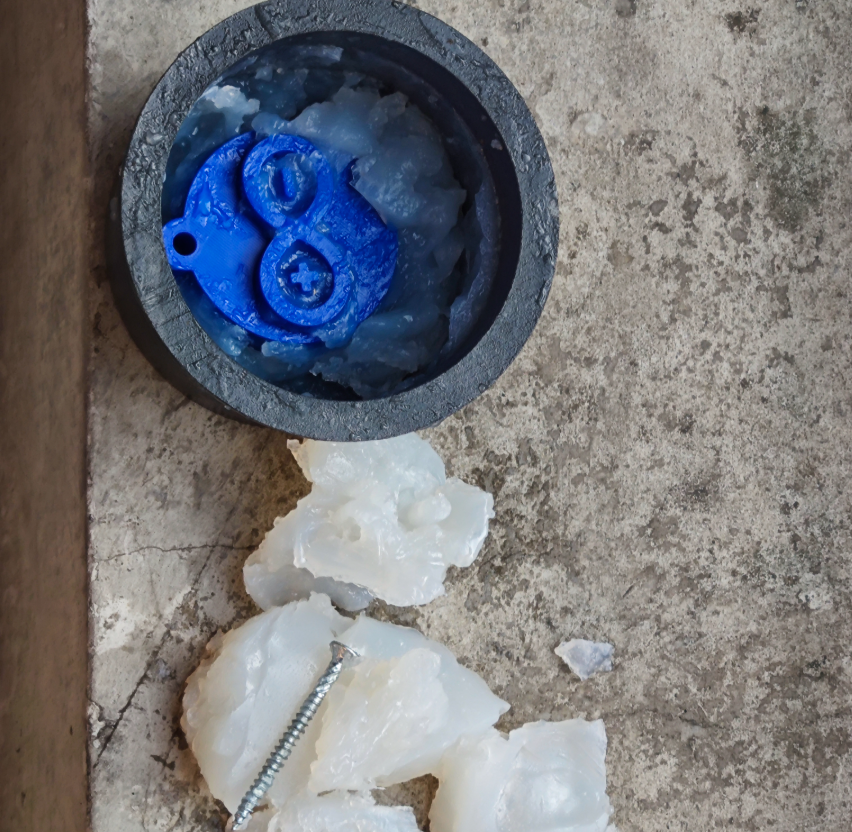
Reflection on failure
- The curing agent was insufficient, resulting in prolonged uncured silicone.
- Severe flow and bubble formation occurred.
- Lessons Learned:
- Always use a measuring cup or electronic scale to ensure accurate proportions.
- Enhance defoaming steps during silicone preparation.
I experimented with a new process that combines 3D printing technology with hot press molding to fabricate a composite material of polycarbonate (PC) and high-temperature carbon fiber.
Metal mold
Material Introduction
Polycarbonate (PC) is a colorless, transparent thermoplastic engineering plastic known for its high impact strength, excellent heat resistance, and good molding processability. Its glass transition temperature is approximately 147°C, with a melting point between 220–230°C, making it suitable for secondary processing via hot press molding.
High-temperature-resistant carbon fiber (24K) is a high-strength carbon fiber bundle with outstanding mechanical properties and heat resistance, widely used in reinforced composite materials.
Experimental Steps:
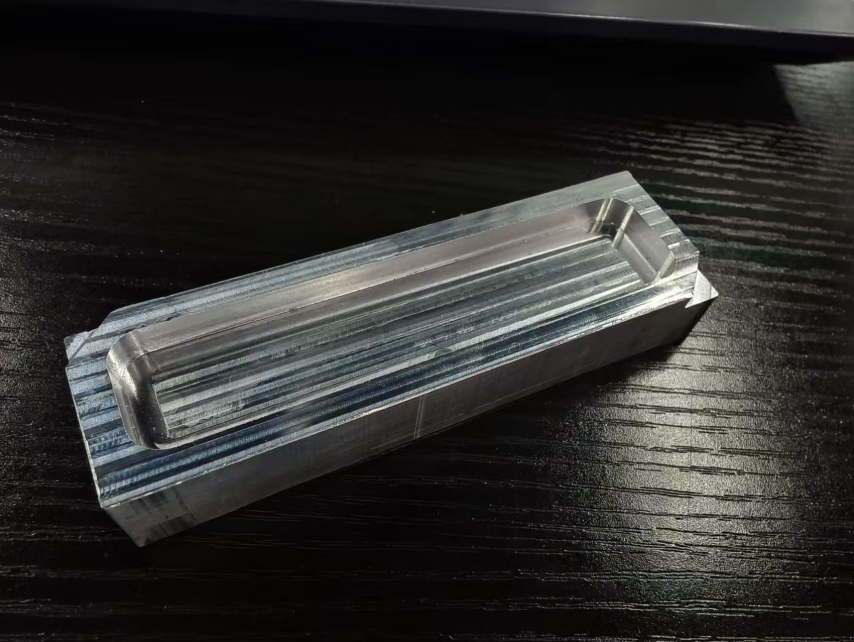
- Mould processing
The processing results are as follows:
- PC Sheet Preparation
First, FDM 3D printing technology was used to print two flat PC sheets.
- Model slicing and uploading:
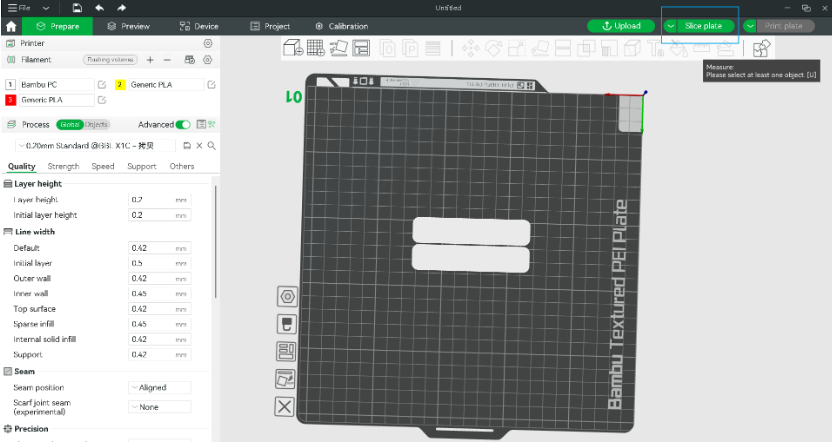
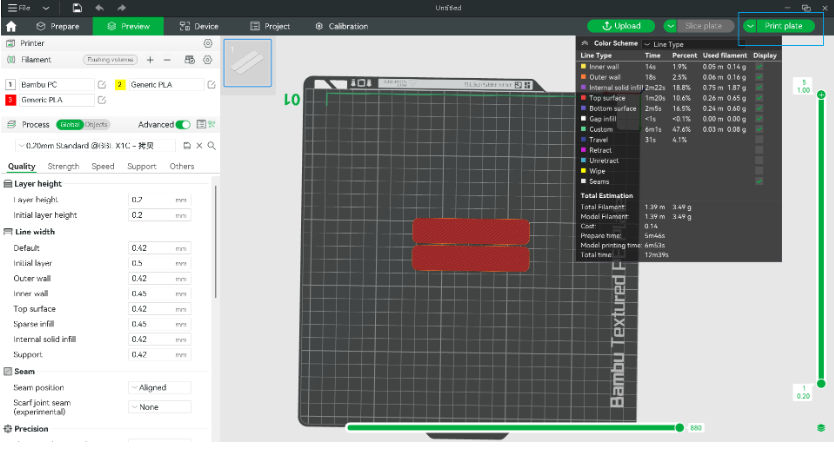
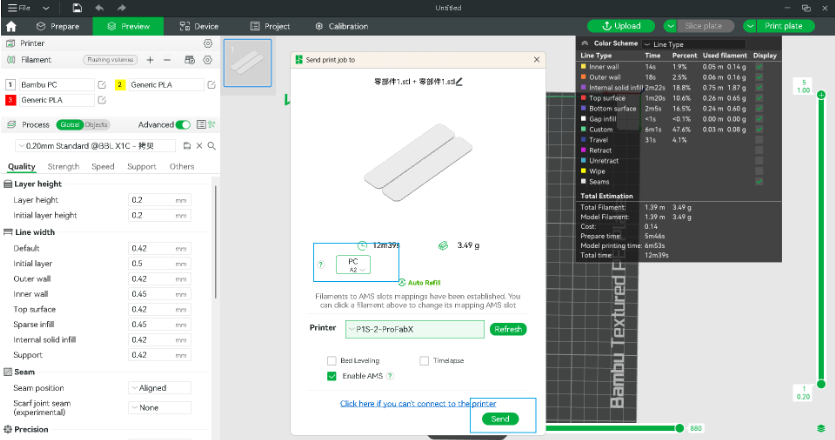
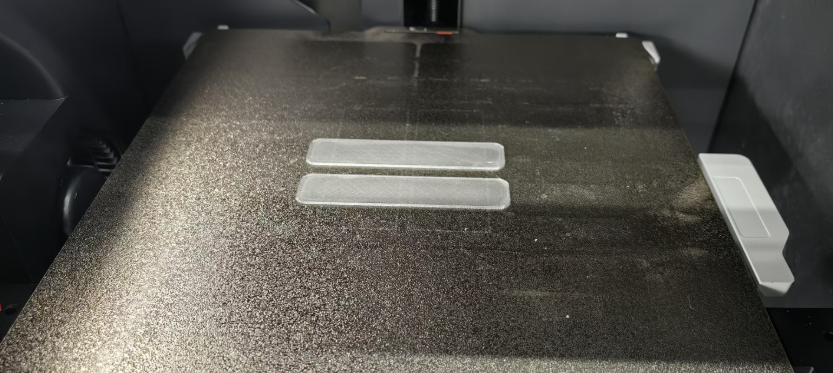
- After printing, uniformly thick and smooth PC sheets were obtained:
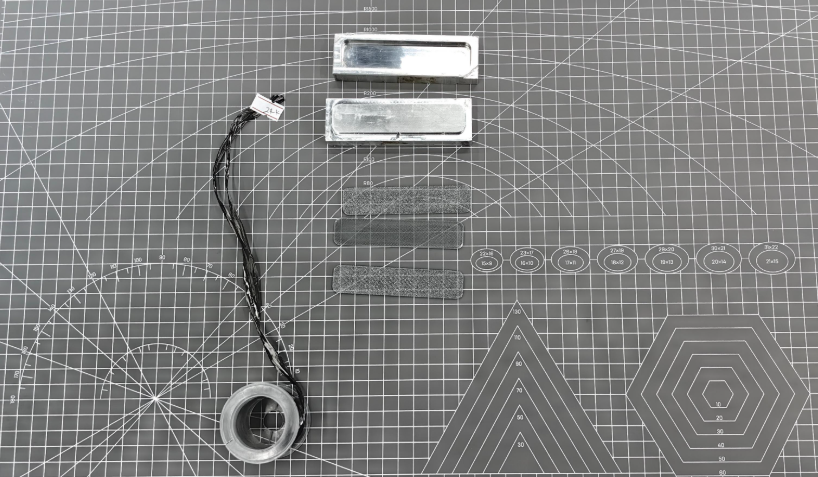
 2. Material Preparation
The required materials included molds, PC sheets, carbon fiber, and clamps:
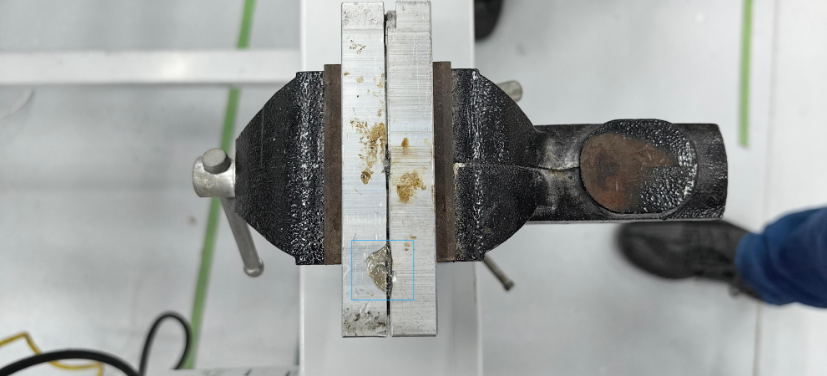
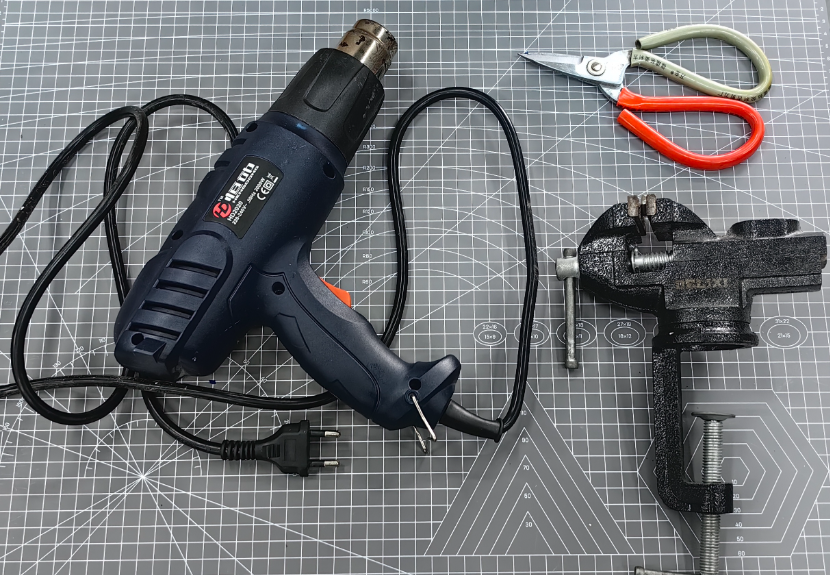 3. Hot Press Molding
The carbon fiber was evenly arranged between the two PC sheets to form a "sandwich structure." The assembly was then placed into the mold and secured with clamps to ensure tight bonding during heating. A heat gun was used to heat the mold for 3–5 minutes, allowing the PC material to fully soften and fuse with the carbon fiber:
- Cooling and Demolding
After heating for 3–5 minutes, molten material was observed overflowing from the mold surface, indicating that the PC had reached a softened state and begun to flow:
- After cooling for a period, the mold was disassembled, revealing the fully formed material:
- Comparison between finished product and PC material after processing:
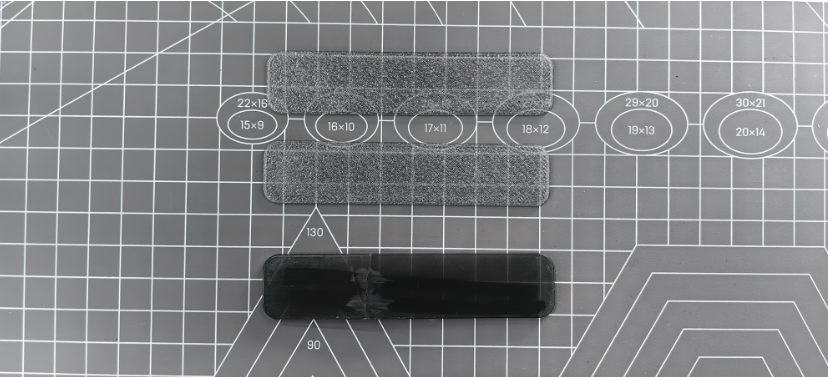 It can be observed that the originally opaque material became transparent after processing, with significantly improved hardness and no internal bubbles.
Reference:
The reference and design files are listed below:
The .3mf file for Keychain Modeling can be found in my repository:https://gitlab.fabcloud.org/academany/fabacademy/2025/labs/unnc/students/xu-sun/-/blob/main/docs/assignments/week14/resource-week14/week14-arduinokeychain.f3d?ref_type=heads
Metal mold's .stp files can be found in my repository:https://gitlab.fabcloud.org/academany/fabacademy/2025/labs/unnc/students/xu-sun/-/blob/main/docs/assignments/week14/resource-week14/mould.stp?ref_type=heads