Appearance
Week 1 - Project Management
Assignments
- Read, sign the student/instructor/lab agreements, and commit to your repos
- Work through a git tutorial
- Build a personal site in the class archive describing you and your final project
Student Agreement
The Fab Academy is responsible for:
- Teaching principles and practices of digital fabrication
- Arranging lectures, recitations, meetings, and events for the class
- Evaluating and providing feedback on student work
- Offering clear standards for completing assignments
- Certifying and archiving student progress
- Supervising class preparation
- Reviewing prospective students, instructors, and labs
- Providing central staff and infrastructure for students, instructors, and labs
- Fund-raising for costs not covered by student tuition
- Managing and reporting on the program's finances, results, and impacts
- Publicizing the program
- Promoting a respectful environment free of harassment and discrimination
- Encourage a diverse, accessible, and equitable community
I am a Fab Academy student, responsible for:
- Attending class lectures and participating in reviews
- Developing and documenting projects assigned to introduce and demonstrate skills
- Allowing the Fab Academy to share my work (with attribution) in the class for purposes compatible with its mission
- Honestly reporting on my work, and appropriately attributing the work of others (both human and machine)
- Working safely
- Leaving workspaces in the same (or better) condition than I found them
- Participating in the upkeep of my lab
- Ensuring that my tuition for local and central class costs is covered
- Following locally applicable health and safety guidance
- Promoting a respectful environment free of harassment and discrimination
Signed by committing this file in my repository:
Xu Sun
Git installation and environment configuration
1. Install Git
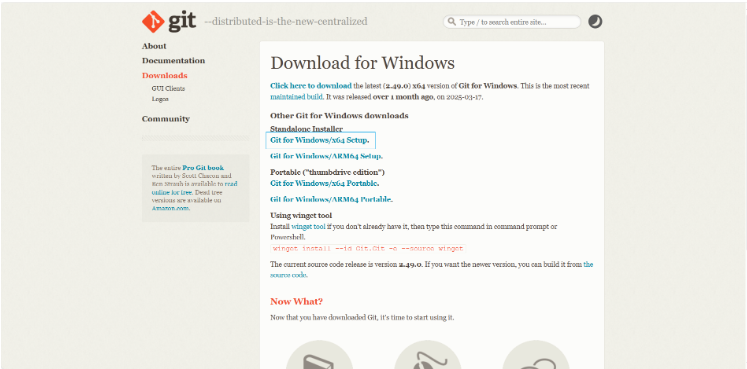
Download and install Git for Windows either from the official Git website or via GitHub. For this guide, the former method is chosen. To begin, visit the official Git website, click on the "Download" button, and select the Windows version.
Select the standalone installer and choose the x64 version.
Once the download is complete, double-click the .exe file to launch the installer. Follow the on-screen prompts to proceed through each step until the installation is finished.
2. Environment configuration
After installation, some configuration is required. Set your username and email address, as Git will associate this information with your commits.
bashgit config --global user.name "xusun" git config --global user.email "xu.sun@nottingham.edu.cn"Run the following command to check whether the configuration is complete:
bashgit config --global --list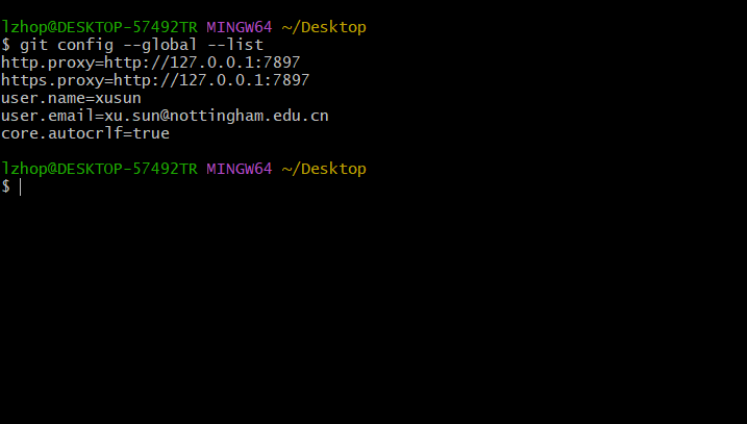
Next, I need to configure SSH keys to establish a secure connection between my computer and the Git server.
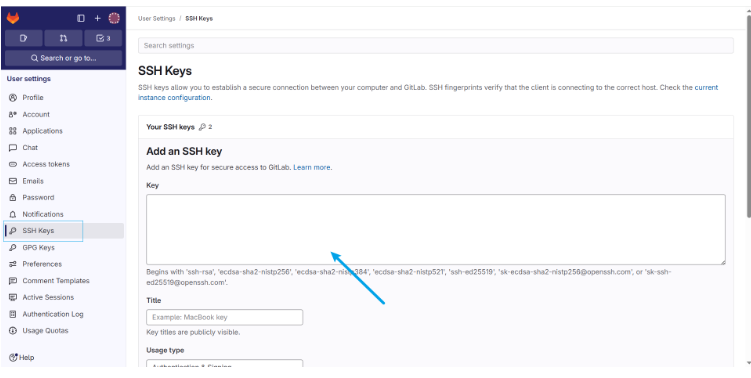
bashssh-keygen -t rsa -C "xu.sun@nottingham.edu.cn"After generating the key, we need to add the public key to the SSH Keys setting of our GitLab account. This not only enhances security, but also makes subsequent code pushes more convenient.
Paste the generated SSH key and save it
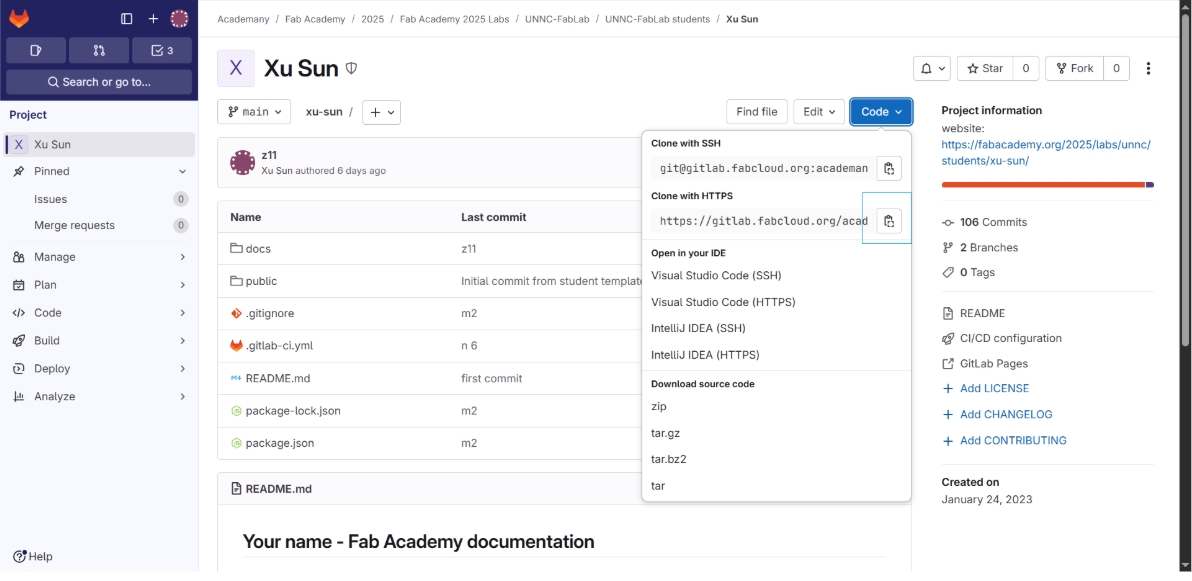
Clone the project to local
 bash
bashgit clone https://gitlab.fabcloud.org/academany/fabacademy/2025/labs/unnc/students/xu-sun.git
Website construction and deployment
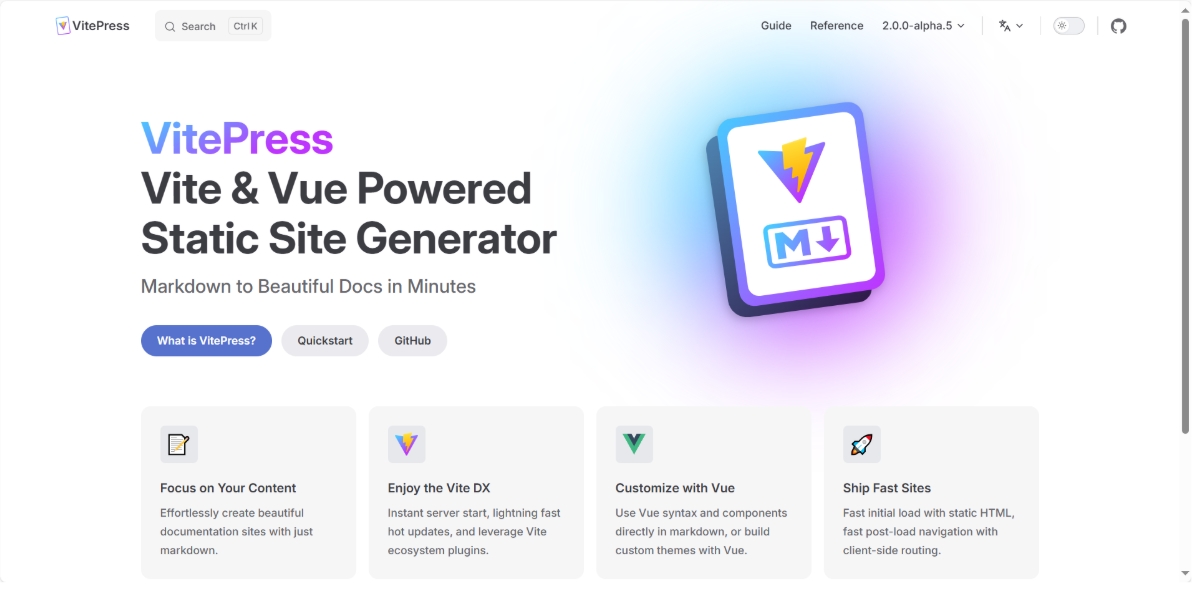
I plan to use VitePress to build my personal website. This is a modern static website generator based on Vue 3 and Vite, with excellent development experience and performance. VitePress is easy to use, has an efficient development process, and is equipped with detailed documentation and tutorials, making it suitable for quickly building high-quality static websites.
1. Website construction
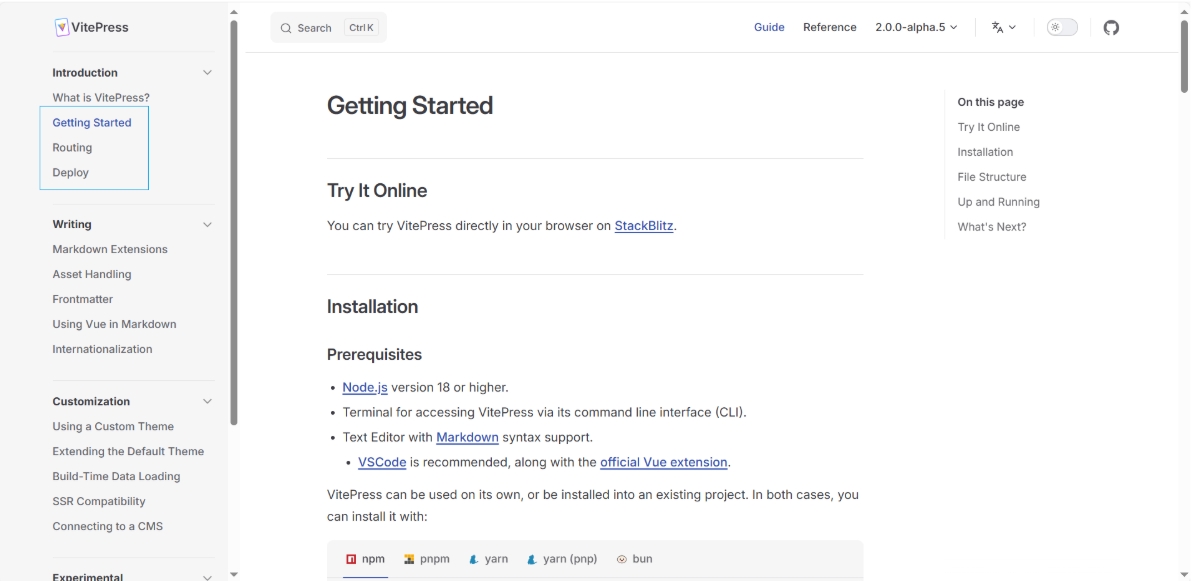
Enter the VitePress official website,After clicking Quick Start, you can see a detailed record of how to use VitePress to build a website and deploy it to GitLab. Next, I will refer to this document to complete the construction and deployment of the website.
Go to the Node.js official website and download Node.js.
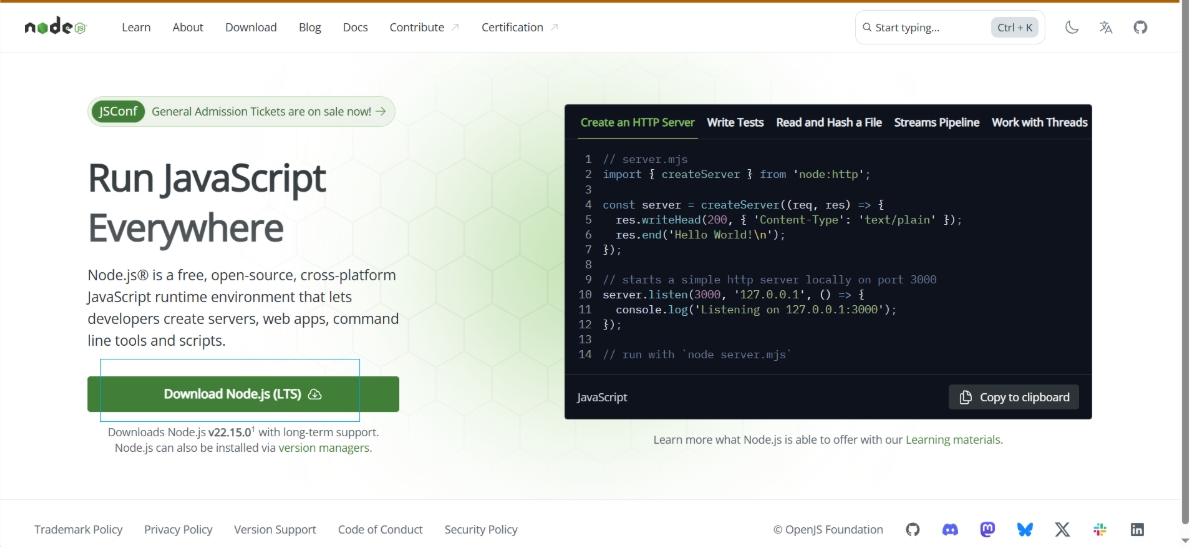
- Follow the prompts and click Next to install

Install VitePress
Use vscode to open the project and execute the following command in the terminal to install VitePress:
bashnpm add -D vitepress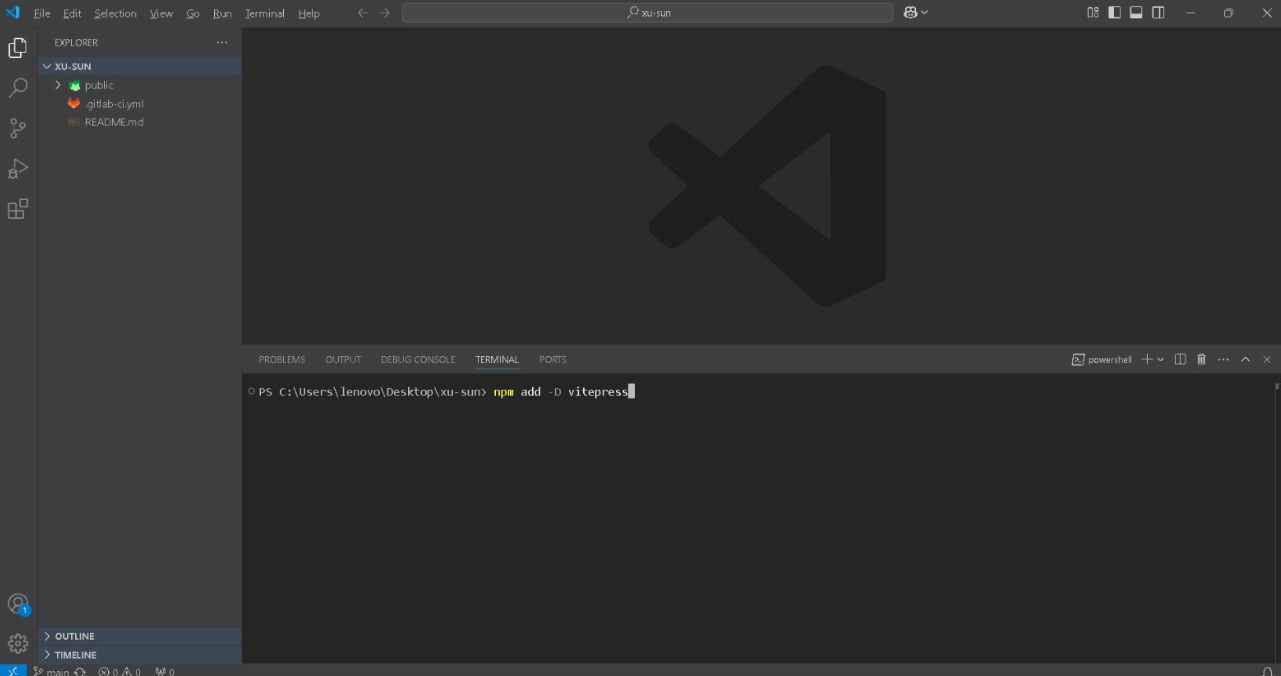
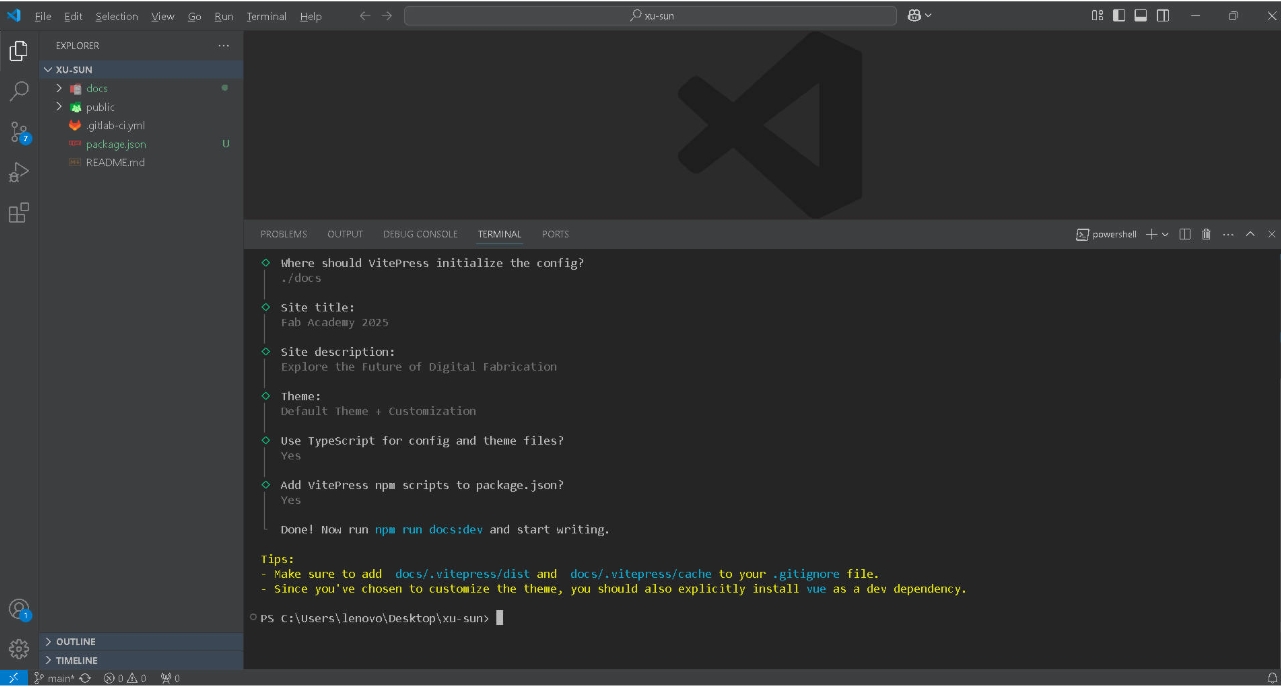
Run the following command to start the wizard and build the project according to the prompts
bashnpx vitepress init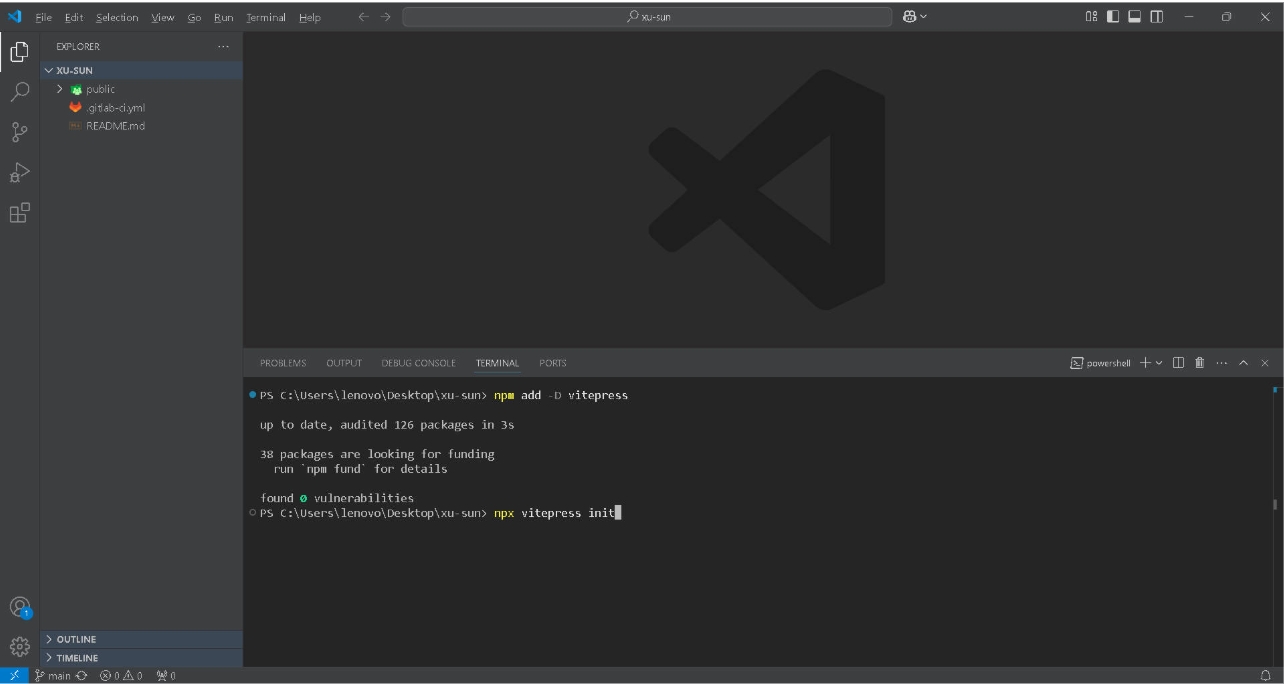
 bash
bash┌ Welcome to VitePress! │ ◇ Where should VitePress initialize the config? │ ./docs │ ◇ Where should VitePress look for your markdown files? │ ./docs │ ◇ Site title: │ My Awesome Project │ ◇ Site description: │ A VitePress Site │ ◇ Theme: │ Default Theme │ ◇ Use TypeScript for config and theme files? │ Yes │ ◇ Add VitePress npm scripts to package.json? │ Yes │ ◇ Add a prefix for VitePress npm scripts? │ Yes │ ◇ Prefix for VitePress npm scripts: │ docs │ └ Done! Now run pnpm run docs:dev and start writing.Run the following command in the terminal, and the terminal will output a link to the local development server. Press and hold the Ctrl key and click the link to preview the website page in the browser.
bashnpm run docs:dev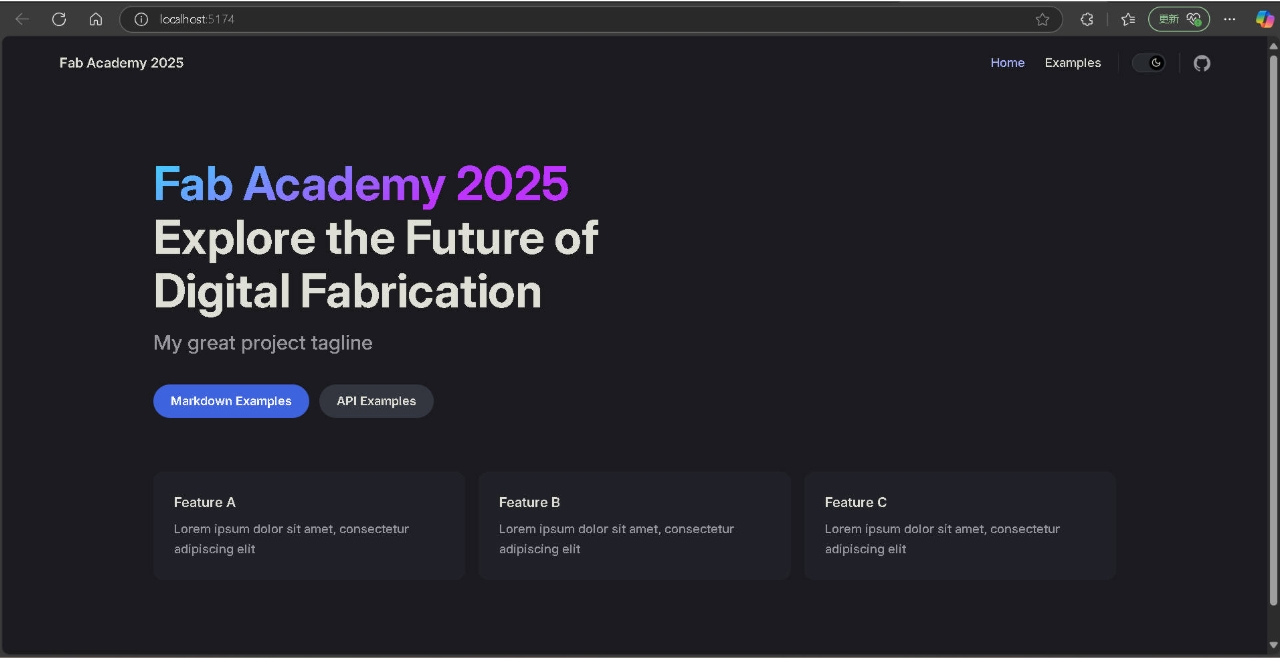
Populate content
In the docs/index.md file, you can set the main title and subtitle of the homepage.
md# https://vitepress.dev/reference/default-theme-home-page layout: home hero: name: "Xu's Fab Academy" text: "Welcome to UNNC Fab" tagline: Explore innovation and make it actions: - theme: brand text: Course Overview link: /assignments/week1/week01 - theme: alt text: Project Gallery link: /projects/projects features: - title: About Me details: Uncover my path of personal growth and the inspiring journey I undertook at Fab Academy. link: /about/aboume - title: Weekly Assignments details: Weekly homework documentation link: /assignments/week1/week01 - title: Final Project details: My final project and development records link: /projects/projects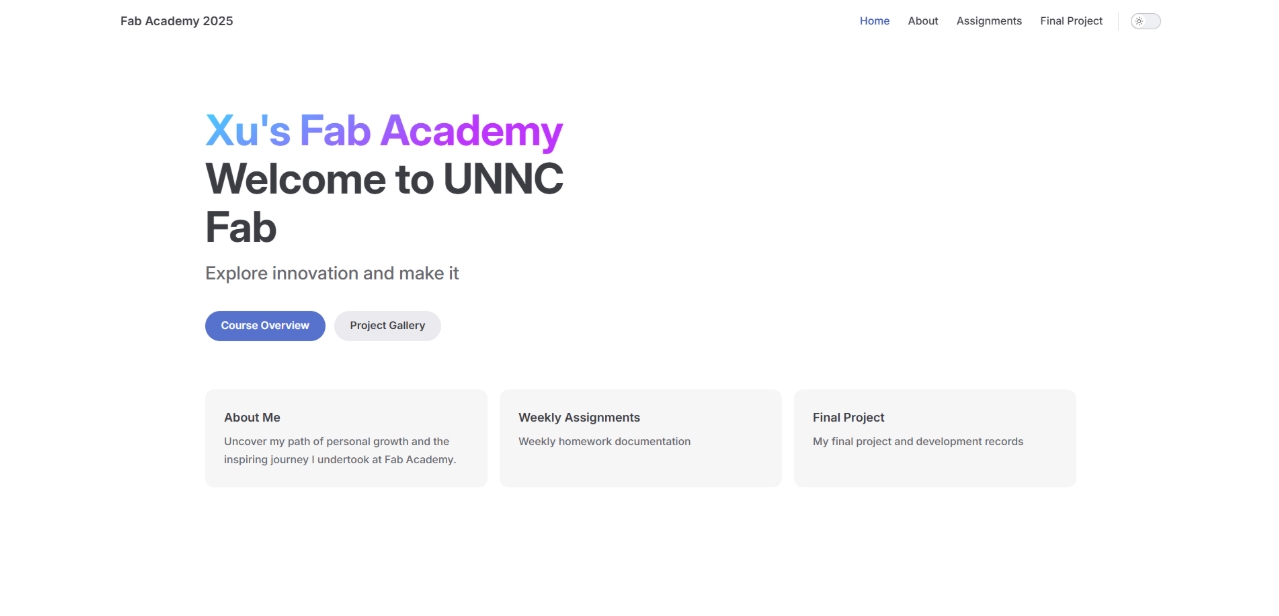
In the docs/.vitepress/config.ts file, you can configure the basic information of the website, including title, description, theme, plugins, navigation bar, sidebar, etc.
tsimport { defineConfig } from 'vitepress' export default defineConfig({ title: "Fab Academy 2025", description: "A VitePress Site", outDir: "../public", base: "/2025/labs/unnc/students/xu-sun/", themeConfig: { nav: [ { text: 'Home', link: '/' }, { text: 'About', link: '/about/aboutme' }, { text: 'Assignments', link: '/assignments/week1/week01' }, { text: 'Final Project', link: '/projects/projects' }, ], sidebar: { '/assignments/': [ { items: [ { text: 'Student Agreement', link: '/student_agreement/student_agreement' }, ] }, { text: 'Assignments', items: [ { text: 'Week 1. Project management', link: '/assignments/week1/week01' }, { text: 'Week 2. Computer Aided design', link: '/assignments/week2/week02' }, { text: 'Week 3. Computer controlled cutting', link: '/assignments/week3/week03' }, { text: 'Week 4. Embedded programming', link: '/assignments/week4/week04' }, { text: 'Week 5. 3D Scanning and printing', link: '/assignments/week5/week05' }, { text: 'Week 6. Electronics design', link: '/assignments/week6/week06' }, { text: 'Week 7. Computer controlled machining', link: '/assignments/week7/week07' }, { text: 'Week 8. Electronics production', link: '/assignments/week8/week08' }, { text: 'Week 9. Input devices', link: '/assignments/week9/week09' }, { text: 'Week 10. Output devices', link: '/assignments/week10/week10' }, { text: 'Week 11. Networking and communications', link: '/assignments/week11/week11' }, { text: 'Week 12. Mechanical design, Machine design', link: '/assignments/week12/week12' }, { text: 'Week 13. Modeling and casting', link: '/assignments/week13/week13' }, { text: 'Week 14. Interface and application programming', link: '/assignments/week14/week14' }, { text: 'Week 15. System Integration', link: '/assignments/week15/week15' }, { text: 'Week 16. Wildcard week', link: '/assignments/week16/week16' }, { text: 'Week 17. Applications and implications', link: '/assignments/week17/week17' }, { text: 'Week 18. Invention, intellectual property and income', link: '/assignments/week18/week18' }, // { text: 'Week 18. Project development', link: '/assignments/week18/week18' } ] } ], }, }, // socialLinks: [ // { icon: 'github', link: 'https://github.com/vuejs/vitepress' } // ] })
2. Deploy to GitLab
- Use Git to commit and push changes,Add files to Git:
bash
git add .    # Add all changes
git commit -m "commit message"    # Commit changes
git push origin new-feature-branch # Push changes to GitLab- Configure the
.gitlab-ci.ymlfile
The .gitlab-ci.yml file is typically used to configure GitLab CI/CD, defining a CI/CD pipeline to automatically build VitePress documentation.
I use node:22 as the runtime environment, cache node_modules/ to reduce repeated dependency installations. Then execute the npm install command to install dependencies and npm run docs:build to generate a static website. GitLab Pages will use public/ as the deployment directory and only execute on the main branch.
yaml
image: node:22
pages:
  cache:
    paths:
      - node_modules/
  script:
    - npm install
    - npm run docs:build
  artifacts:
    paths:
      - public
  only:
    - main
Configure a custom domain To deploy VitePress on GitLab Pages and set the site URL to
https://<username>.gitlab.io/<repository>/, you need to modify the VitePress configuration.In
docs/.vitepress/config.js, add thebaseandoutDiroptions:jsoutDir: "../public", base: "/2025/labs/unnc/students/xu-sun/",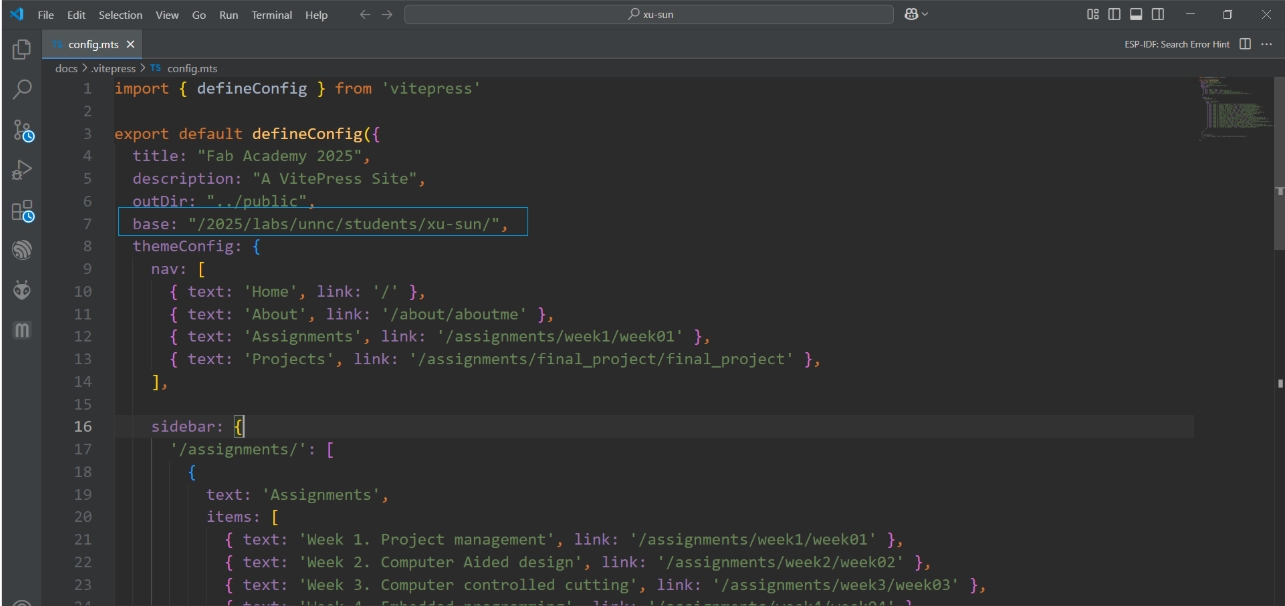
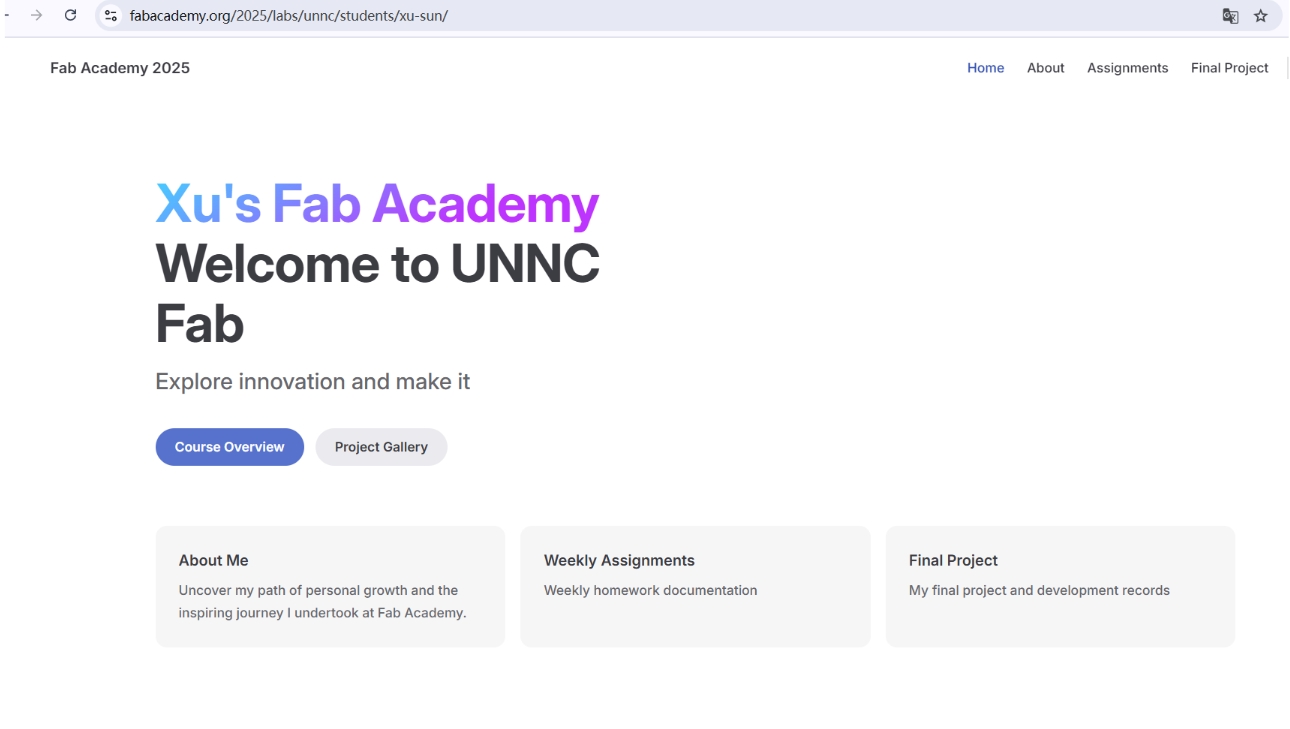
- After successful deployment, you can access my personal website through the following URL:https://fabacademy.org/2025/labs/unnc/students/xu-sun/
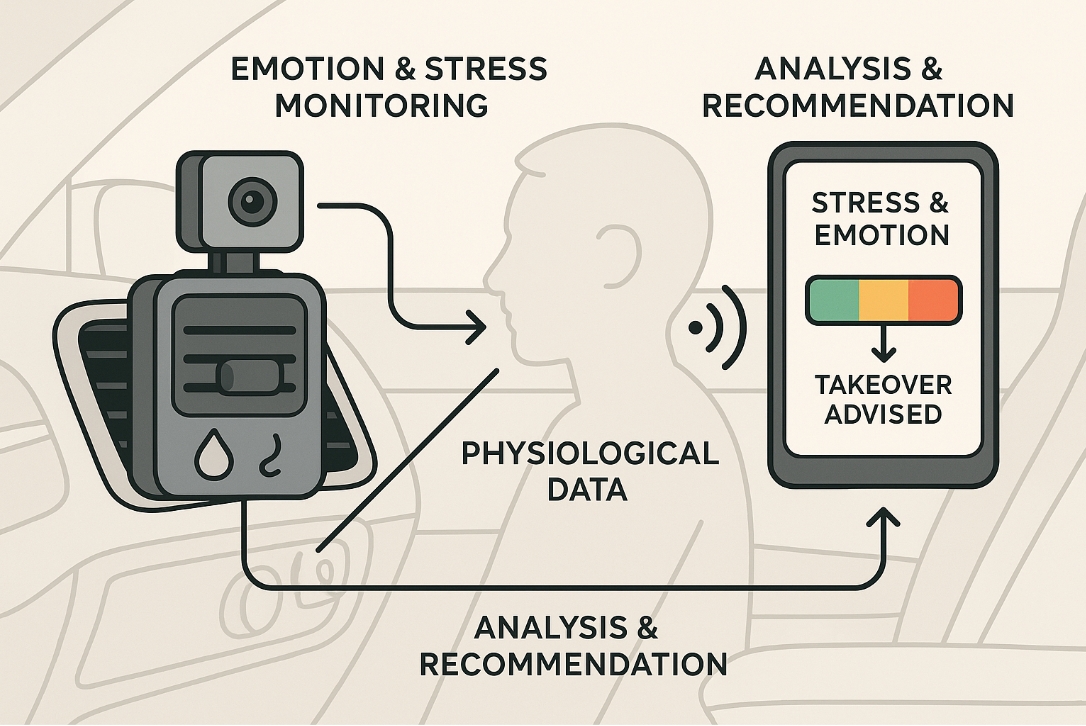
Final Project Ideas
This project focuses on developing a driver monitoring system designed for autonomous vehicles. Its primary objective is to enhance driver safety during vehicle takeover events, mitigating risks caused by excessive fatigue or emotional agitation. The system collects real-time physiological data from the driver, including biomarkers and sensor readings, which are then processed through advanced algorithms to quantitatively analyze emotional and stress states. Based on this analysis, the system generates personalized recommendations for safe takeover. The device wirelessly connects to electronic displays to provide drivers with clear visual feedback on their current state and the suggested takeover strategy, ensuring a seamless and secure transition between autonomous and manual driving modes. The following diagram was generated by ChatGPT.