Appearance
Week 11 - Networking and Communications
Assignments
Group Assignment
- Send a message between two projects
Individual Assignment
- Design, build, and connect wired or wireless node(s) with network or bus addresses and local input &/or output device(s)
Group Working
My group work is attached here: https://fabacademy.org/2025/labs/unnc/assignments/week11/week11.html
Individual Working
Arduino Cloud Platform Configuration
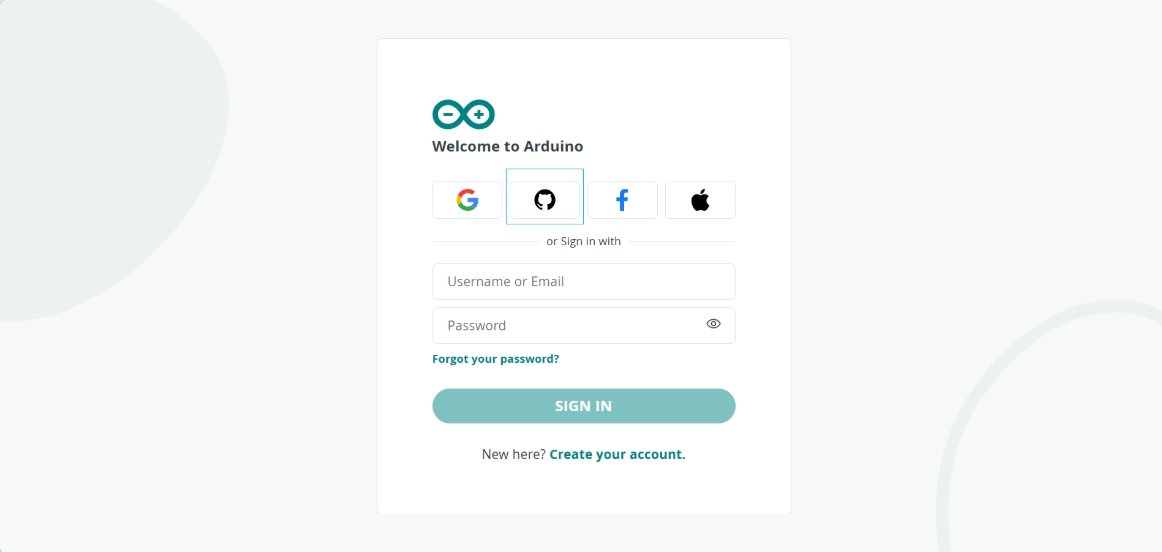
- Account Registration and Login
Visit Arduino Cloud official website and register an account (I chose GitHub OAuth registration)
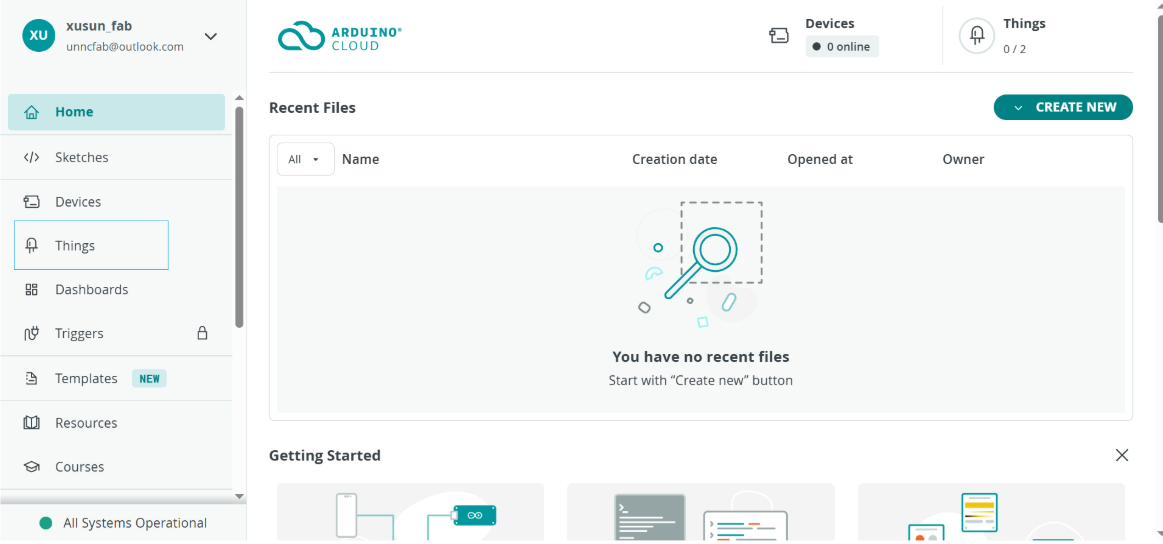
- Device Registration
Go to Devices interface and select "Add Device"

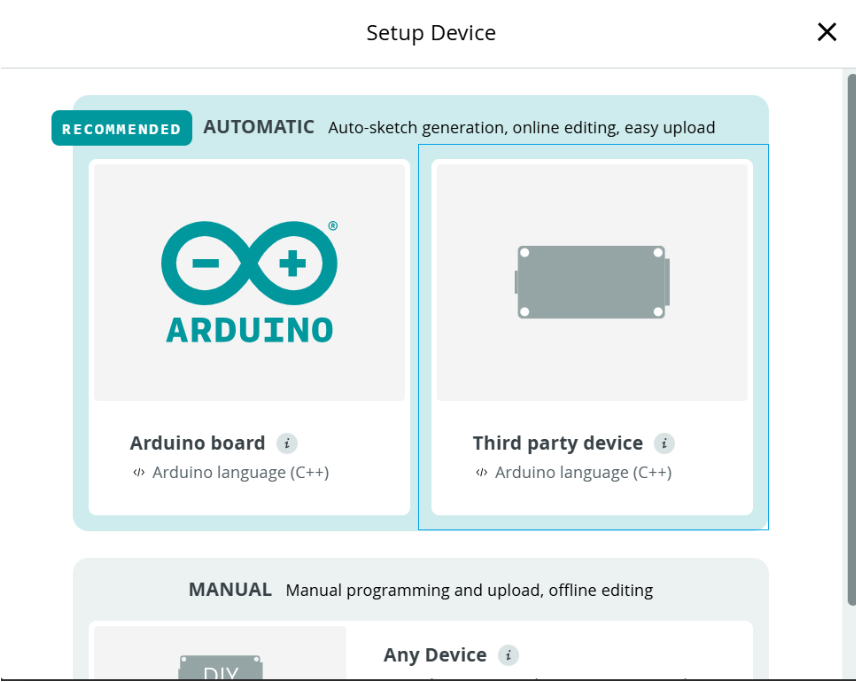
After clicking "Add Device", select the board type (I chose "Third Party Device" for XIAO ESP32 C3)
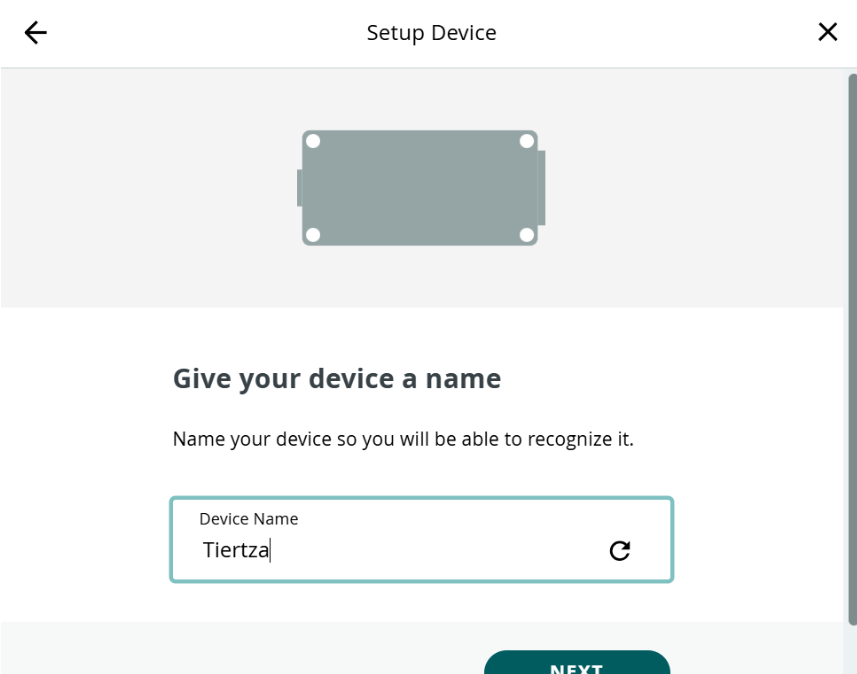
- Select XIAO ESP32 C3
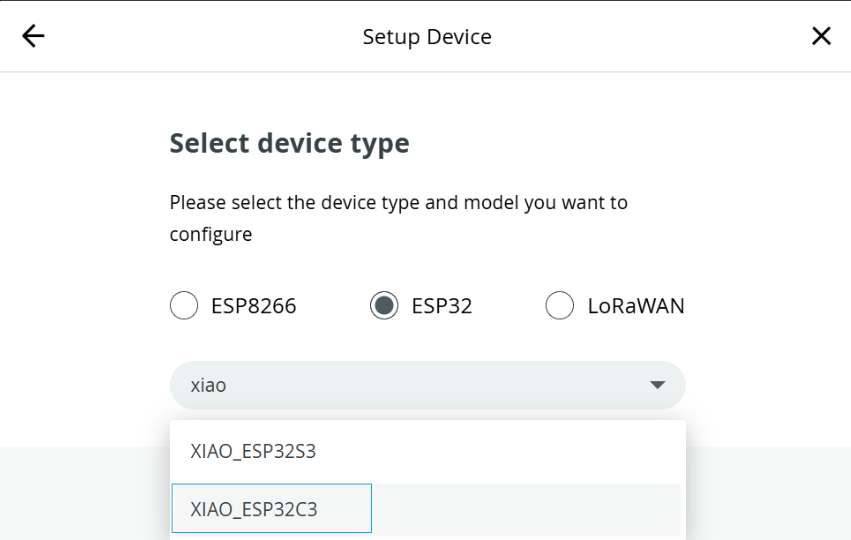
- Configure basic device information, device name: Tiertza
 5. Save the Device ID and Secret Key:

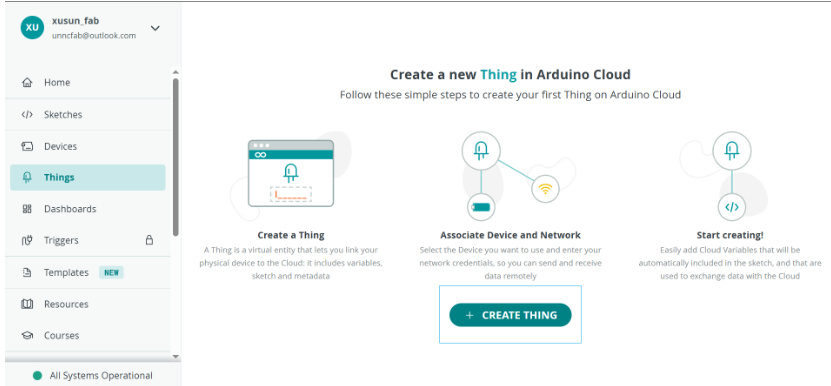
Thing Object Creation
- Go to Thing page
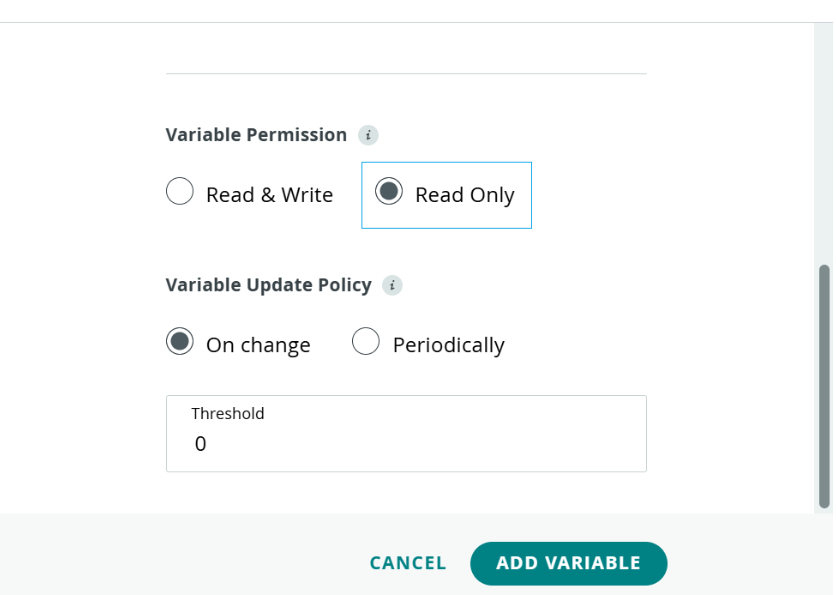
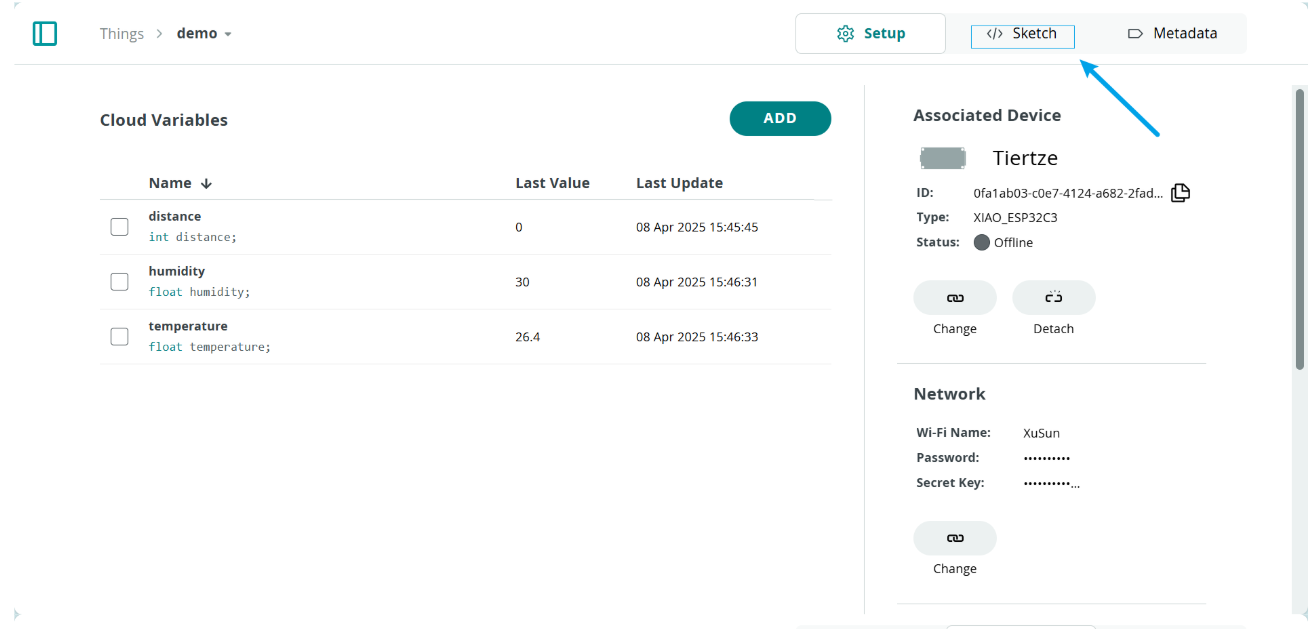
 2. Define Cloud Variables: | Variable | Type | Permission | Description | |-------|------|------|------| | distance | int | Read-only | Ultrasonic distance data (cm) | | temperature | float | Read-only | Ambient temperature (℃) | | humidity | float | Read-only | Ambient humidity (%RH) |
- First create distance variable (read-only)

- Similarly create temperature and humidity variables (float type)
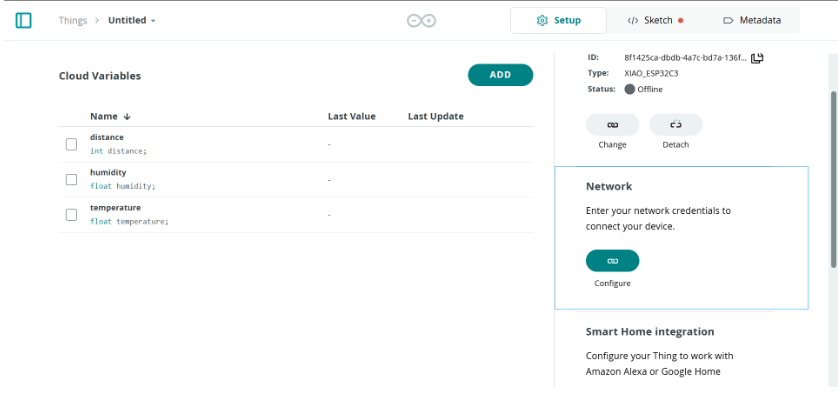
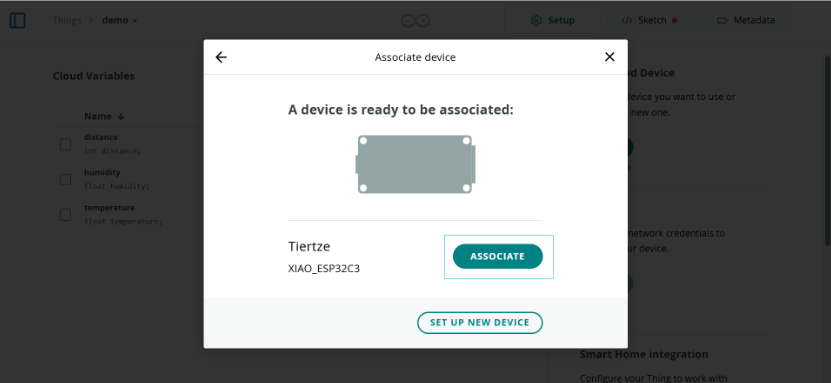
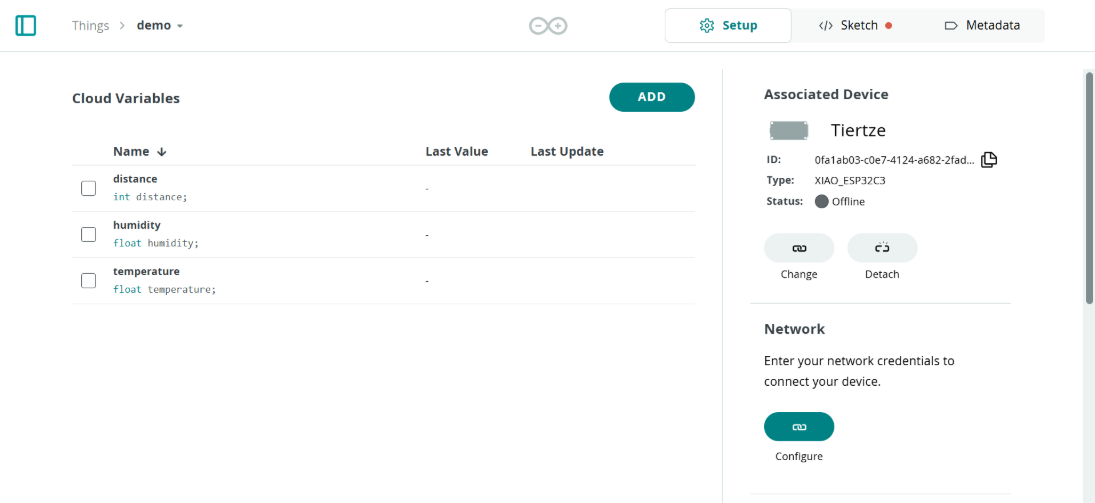
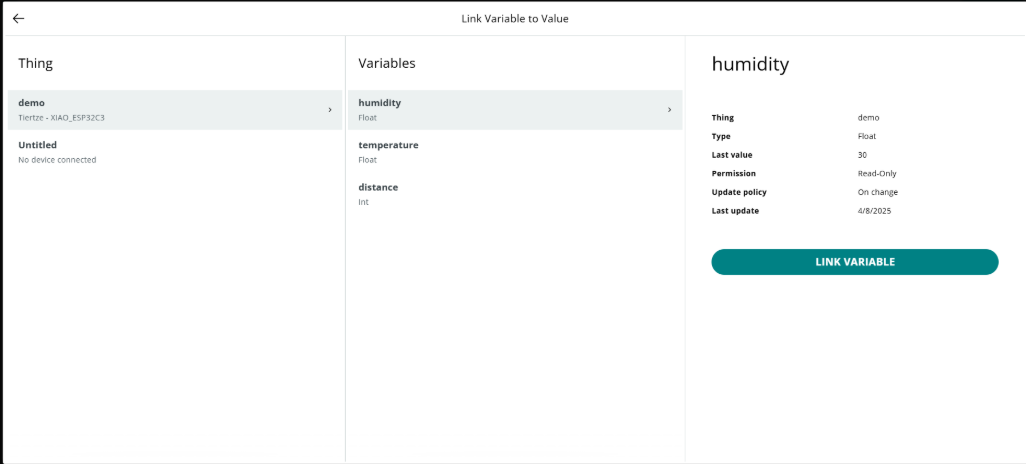
- Variable binding configuration - associate with registered physical device
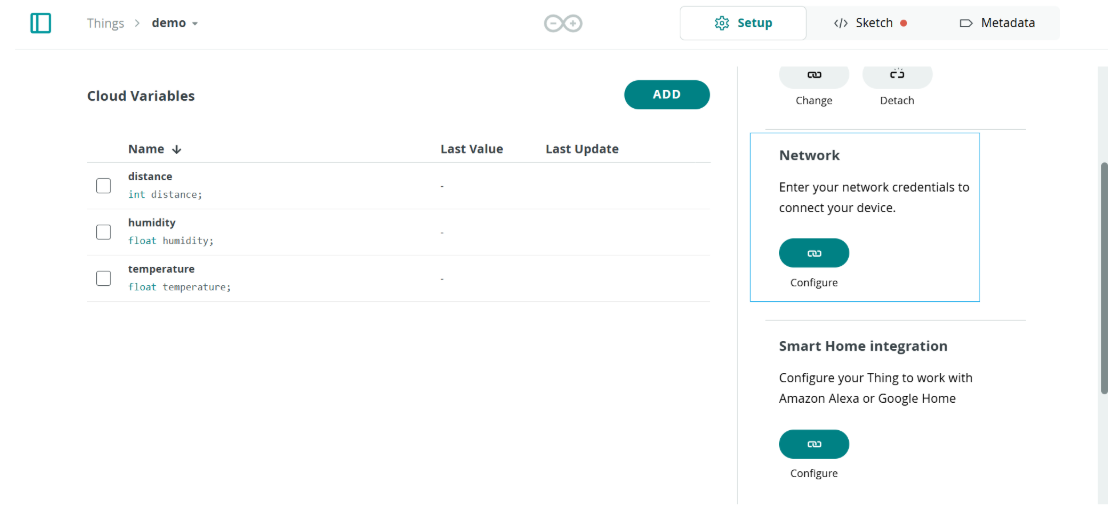
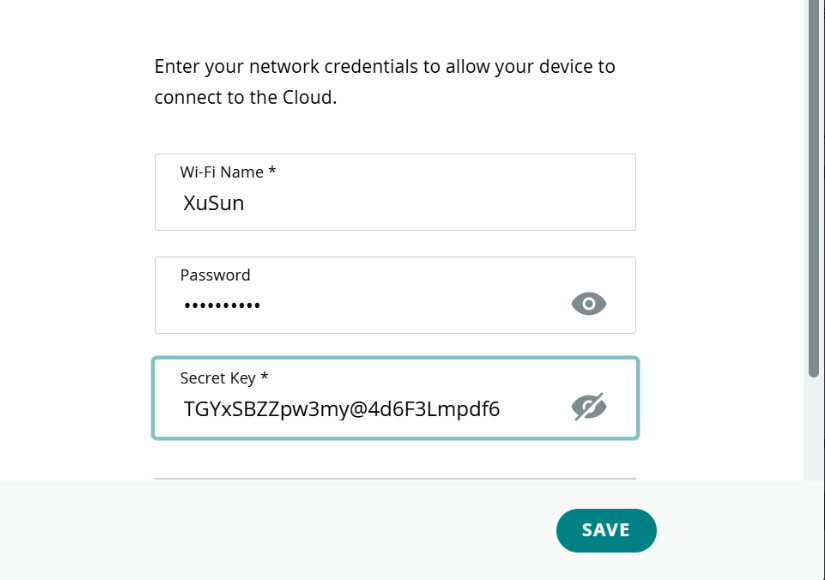
Network Configuration
- Click Network, enter WiFi credentials and device secret key
Development Environment Setup
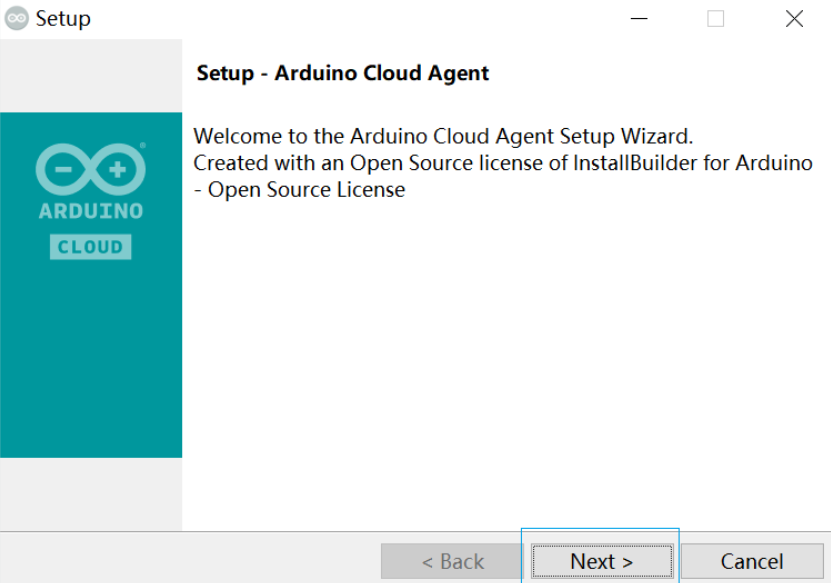
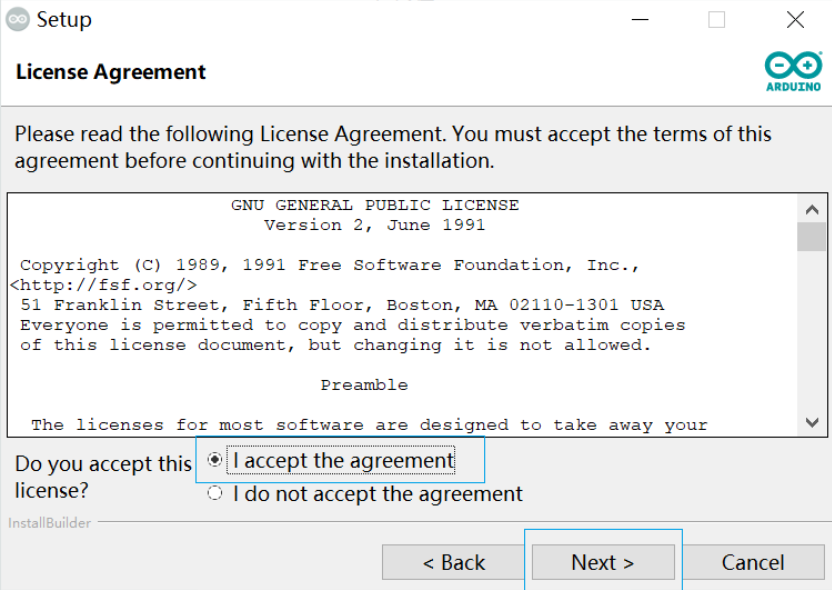
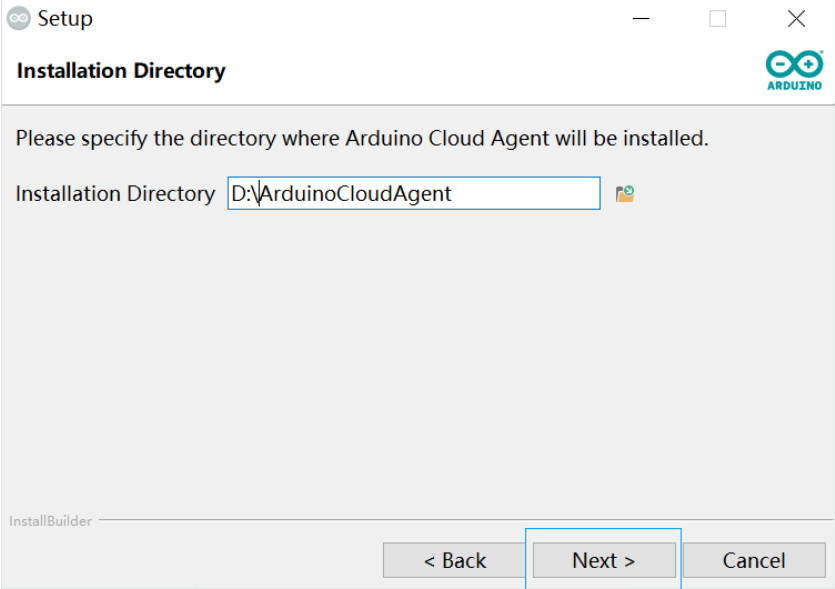
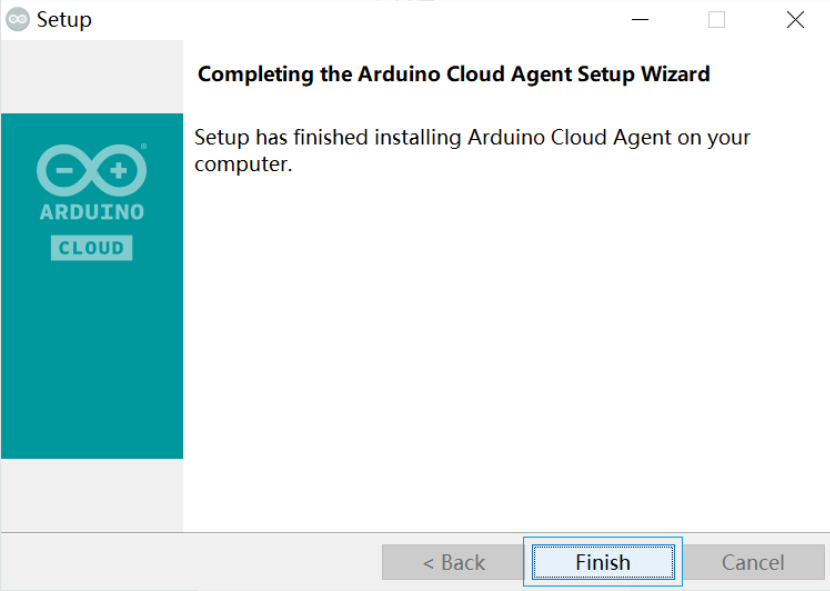
- Install Arduino Cloud Agent
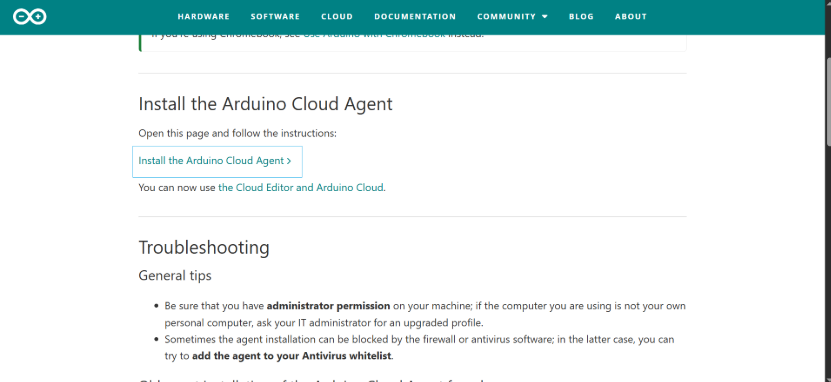
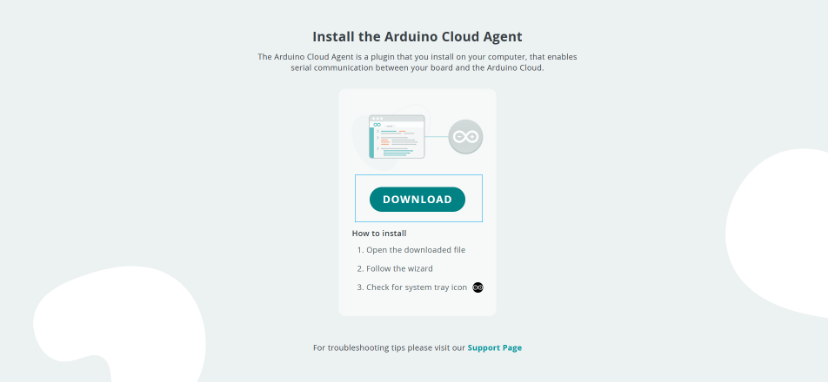
- Follow installation prompts
Code Implementation
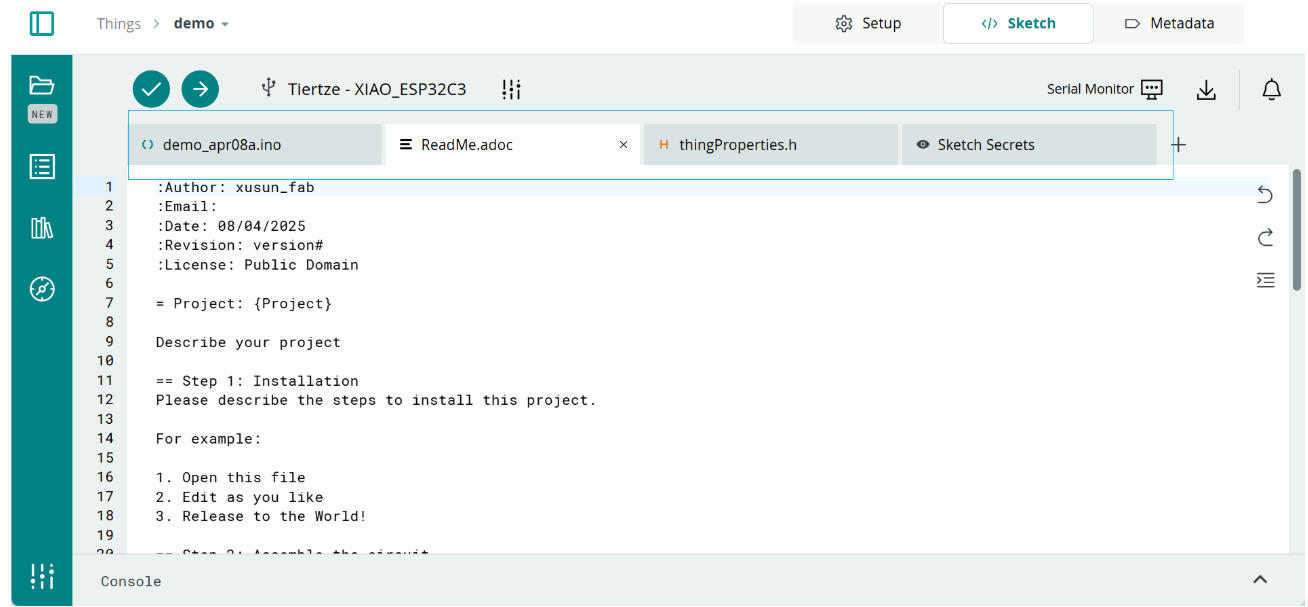
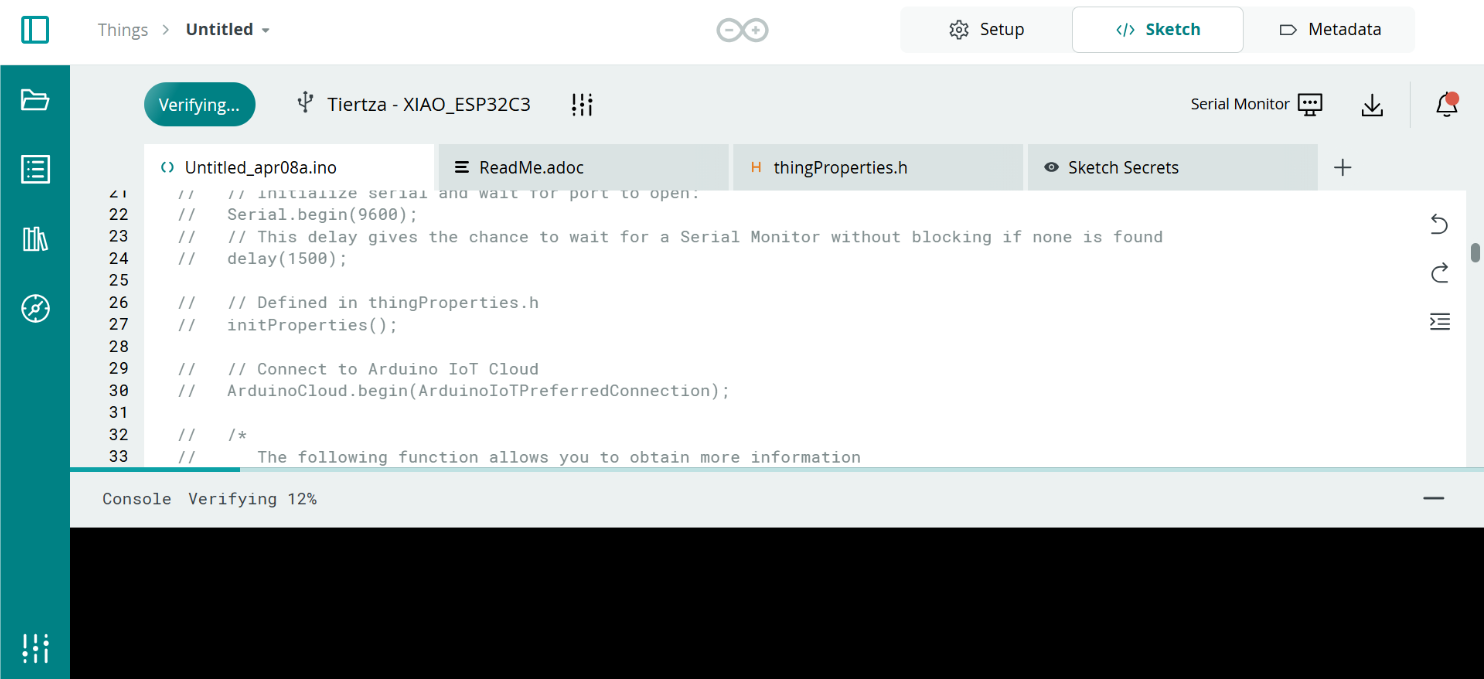
- Enter the Sketch interface, and four files will be automatically generated
 2. Below is a brief introduction to the functionality of each file:
- thingProperties.h
- Declare variables and initialize cloud properties
- Contains variables created in Arduino Cloud including their types and sync modes (Read/Write)
cpp// Code generated by Arduino IoT Cloud, DO NOT EDIT. #include <ArduinoIoTCloud.h> #include <Arduino_ConnectionHandler.h> const char DEVICE_LOGIN_NAME[] = "0fa1ab03-c0e7-4124-a682-2fadb81c765a"; const char SSID[] = SECRET_SSID; // Network SSID (name) const char PASS[] = SECRET_OPTIONAL_PASS; // Network password (use for WPA, or use as key for WEP) const char DEVICE_KEY[] = SECRET_DEVICE_KEY; // Secret device password float humidity; float temperature; int distance; void initProperties(){ ArduinoCloud.setBoardId(DEVICE_LOGIN_NAME); ArduinoCloud.setSecretDeviceKey(DEVICE_KEY); ArduinoCloud.addProperty(humidity, READ, ON_CHANGE, NULL); ArduinoCloud.addProperty(temperature, READ, ON_CHANGE, NULL); ArduinoCloud.addProperty(distance, READ, ON_CHANGE, NULL); } WiFiConnectionHandler ArduinoIoTPreferredConnection(SSID, PASS); - demo_apr08a.ino
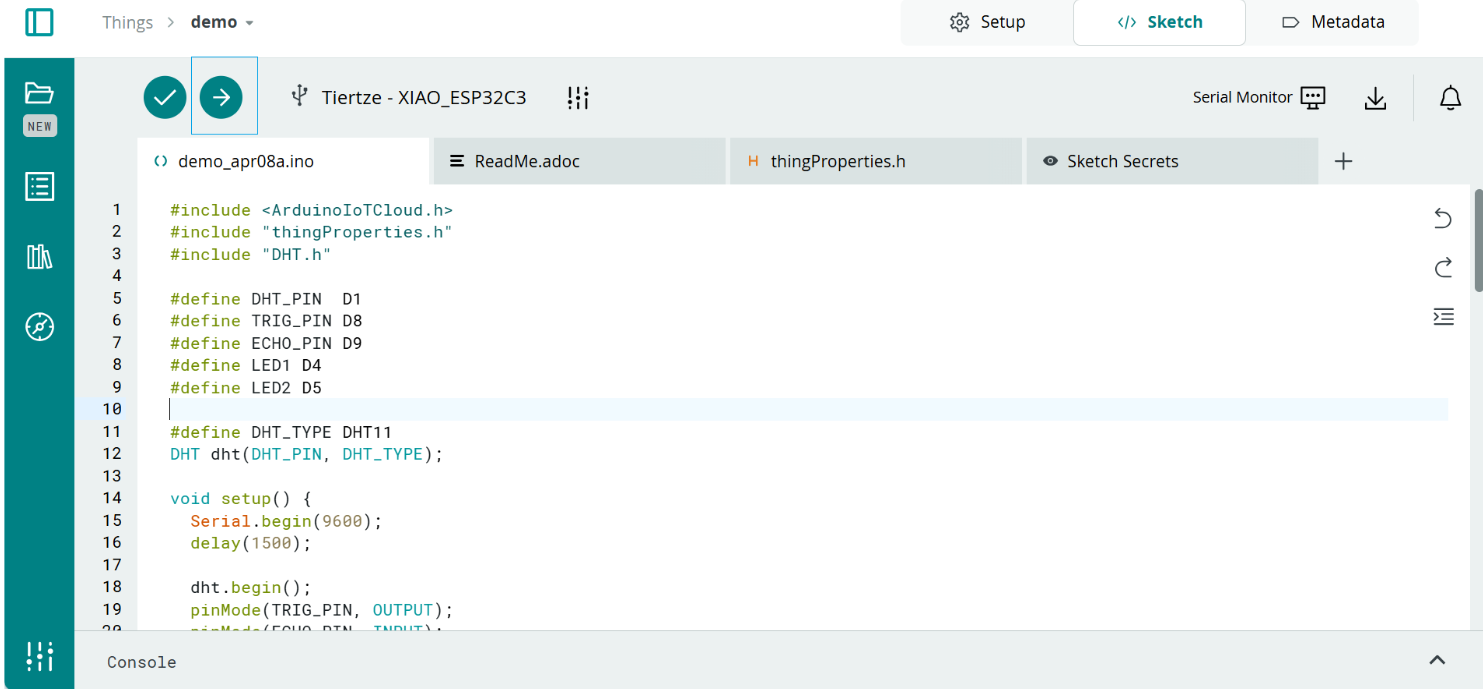
- Main program file for control logic
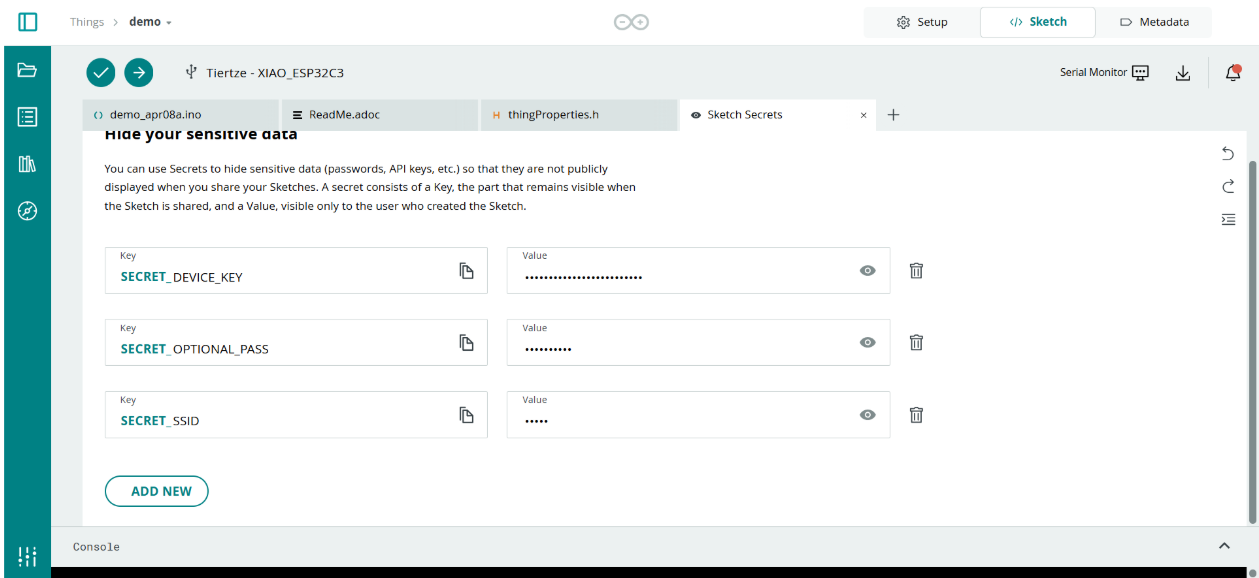
cpp#include <ArduinoIoTCloud.h> #include "thingProperties.h" #include "DHT.h" #define DHT_PIN D1 #define TRIG_PIN D8 #define ECHO_PIN D9 #define LED1 D4 #define LED2 D5 #define DHT_TYPE DHT11 DHT dht(DHT_PIN, DHT_TYPE); void setup() { Serial.begin(9600); delay(1500); dht.begin(); pinMode(TRIG_PIN, OUTPUT); pinMode(ECHO_PIN, INPUT); initProperties(); ArduinoCloud.begin(ArduinoIoTPreferredConnection); setDebugMessageLevel(2); ArduinoCloud.printDebugInfo(); } void loop() { ArduinoCloud.update(); long dist = getDistance(); distance = (int)dist; if (distance < 200 && distance > 0) { digitalWrite(LED1, HIGH); digitalWrite(LED2, LOW); } else { digitalWrite(LED1, LOW); digitalWrite(LED2, HIGH); } temperature = dht.readTemperature(); humidity = dht.readHumidity(); delay(1000); } long getDistance() { digitalWrite(TRIG_PIN, LOW); delayMicroseconds(2); digitalWrite(TRIG_PIN, HIGH); delayMicroseconds(10); digitalWrite(TRIG_PIN, LOW); long duration = pulseIn(ECHO_PIN, HIGH, 30000); return (duration * 0.034) / 2; } - Sketch Secrets
- Stores WiFi and device credential information (SSID, password, Device ID and Secret)
- README Document
- This ReadMe.adoc file serves as project documentation, covering installation, circuit assembly, code upload, and component list. It is written in AsciiDoc format, making it suitable for Arduino hardware projects.
txt:Author: xusun_fab :Email: :Date: 08/04/2025 :Revision: version# :License: Public Domain = Project: {Project} Describe your project == Step 1: Installation Please describe the steps to install this project. For example: 1. Open this file 2. Edit as you like 3. Release to the World! == Step 2: Assemble the circuit Assemble the circuit following the diagram layout.png attached to the sketch == Step 3: Load the code Upload the code contained in this sketch on to your board === Folder structure .... sketch123 => Arduino sketch folder ├── sketch123.ino => main Arduino file ├── schematics.png => (optional) an image of the required schematics ├── layout.png => (optional) an image of the layout └── ReadMe.adoc => this file .... === License This project is released under a {License} License. === Contributing To contribute to this project please contact: === BOM Add the bill of the materials you need for this project. |=== | ID | Part name | Part number | Quantity | R1 | 10k Resistor | 1234-abcd | 10 | L1 | Red LED | 2345-asdf | 5 | A1 | Arduino Zero | ABX00066 | 1 |=== === Help This document is written in the _AsciiDoc_ format, a markup language to describe documents. If you need help you can search the http://www.methods.co.nz/asciidoc[AsciiDoc homepage] or consult the http://powerman.name/doc/asciidoc[AsciiDoc cheatsheet]
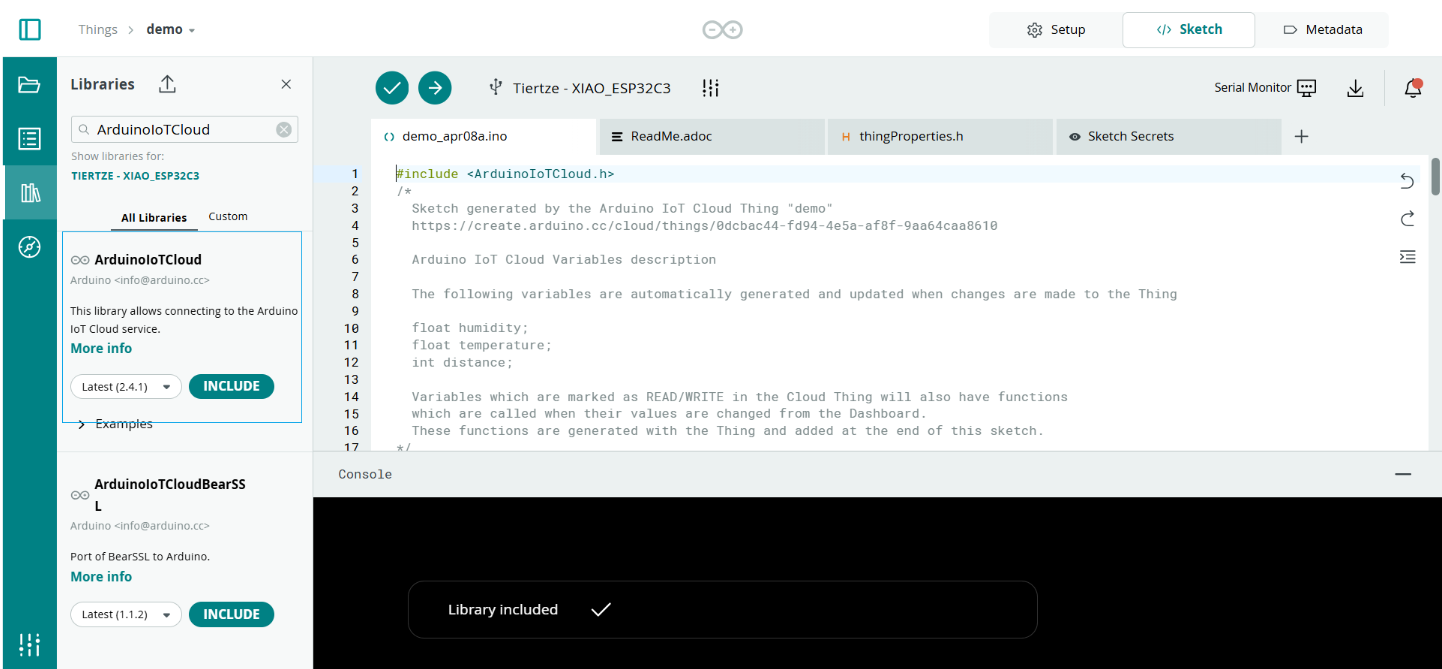
- Add necessary library dependencies:
- ArduinoIoTCloud (v1.x)
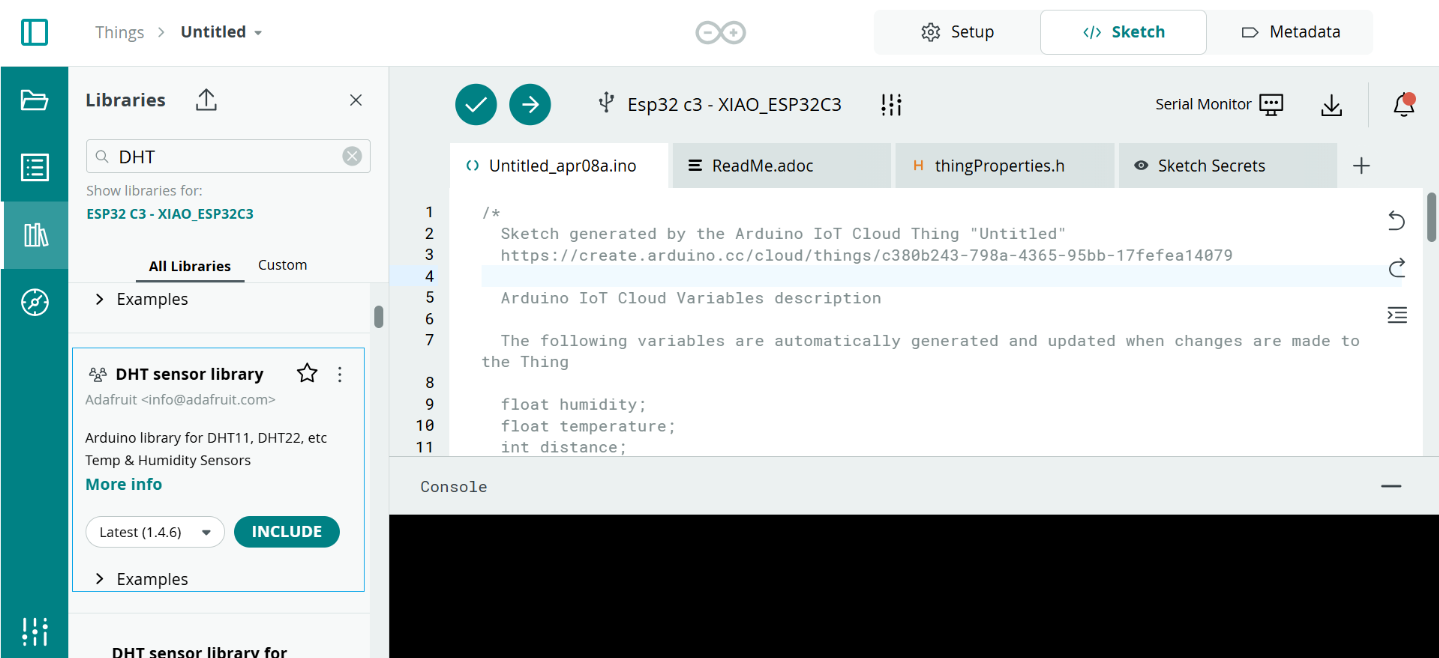
- DHT sensor library
- After completing the code editing, there are two ways to upload it to the development board:
- Upload via the web interface, but this method is prone to upload failures
- Upload completed

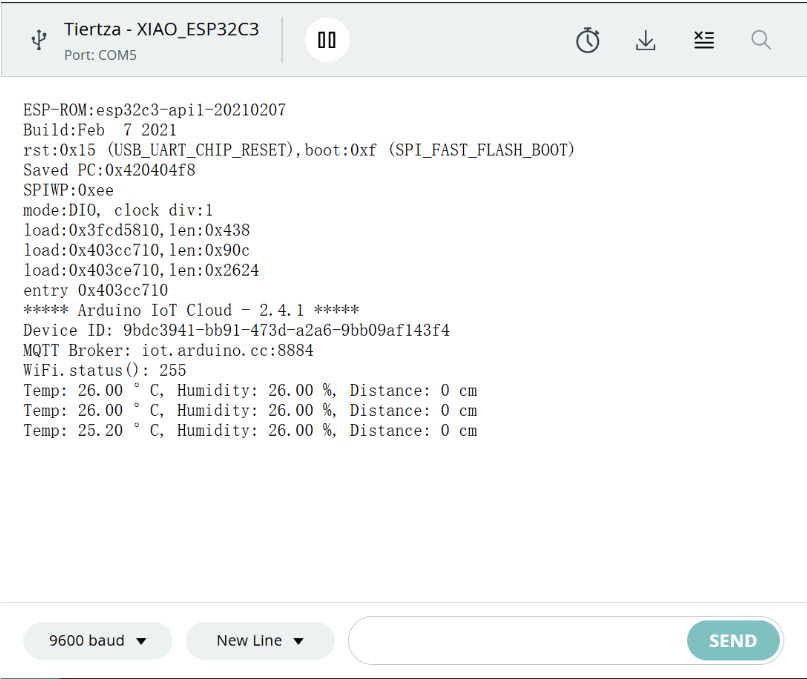
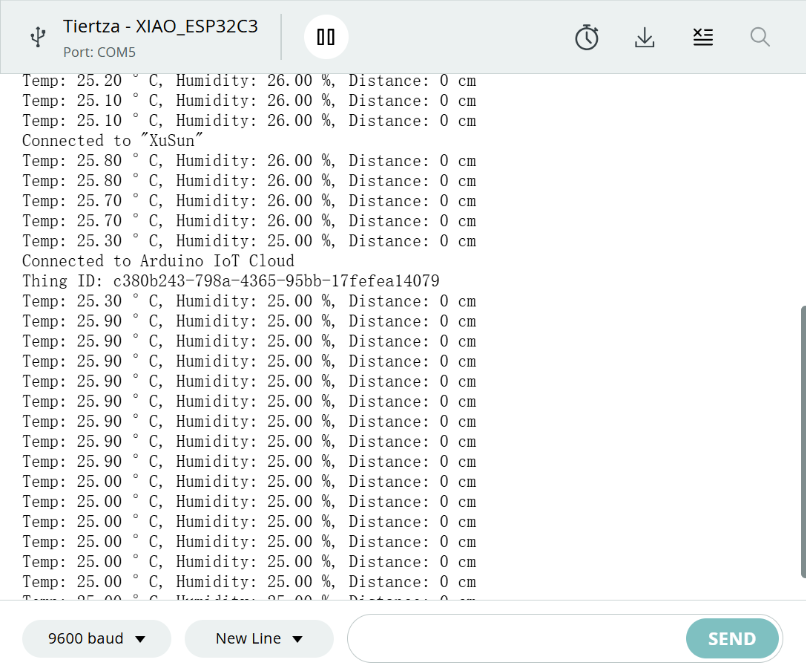
- Open serial monitor to view connection status
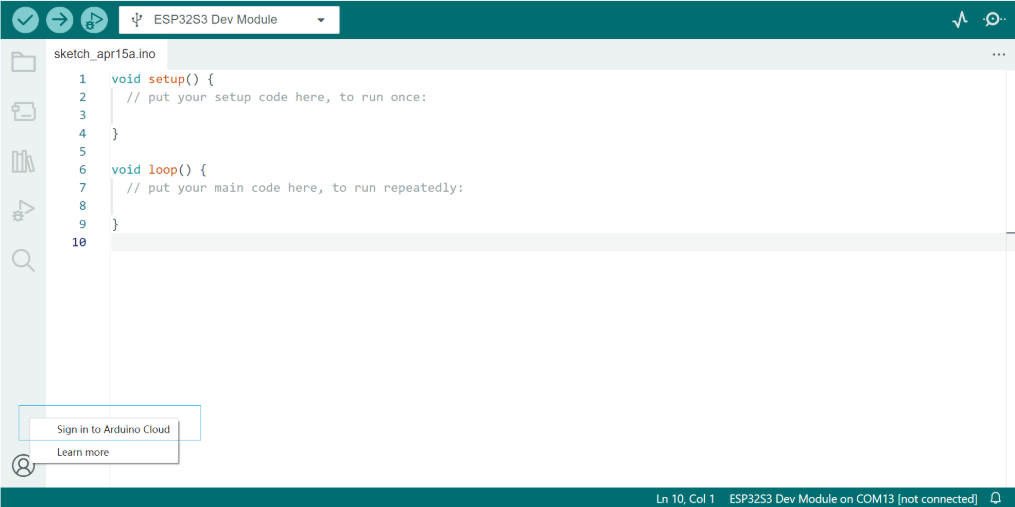
- Upload code via Arduino IDE: log in to cloud account and pull cloud code
- Open Arduino IDE and log in to cloud account
- Pull cloud code:
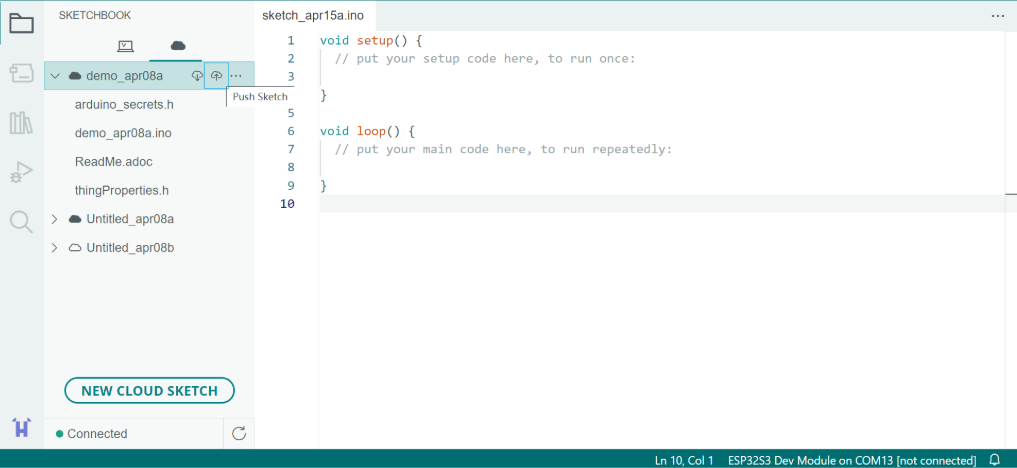
- It can be edited locally and uploaded to the development board. Locally written code can also be pushed to the cloud for storage.

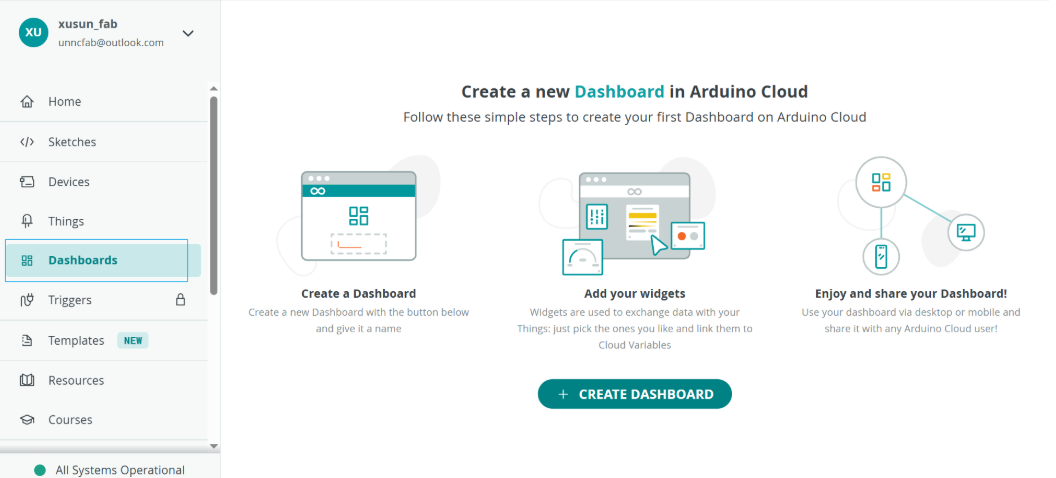
Data Visualization
- Create Dashboard monitoring panel
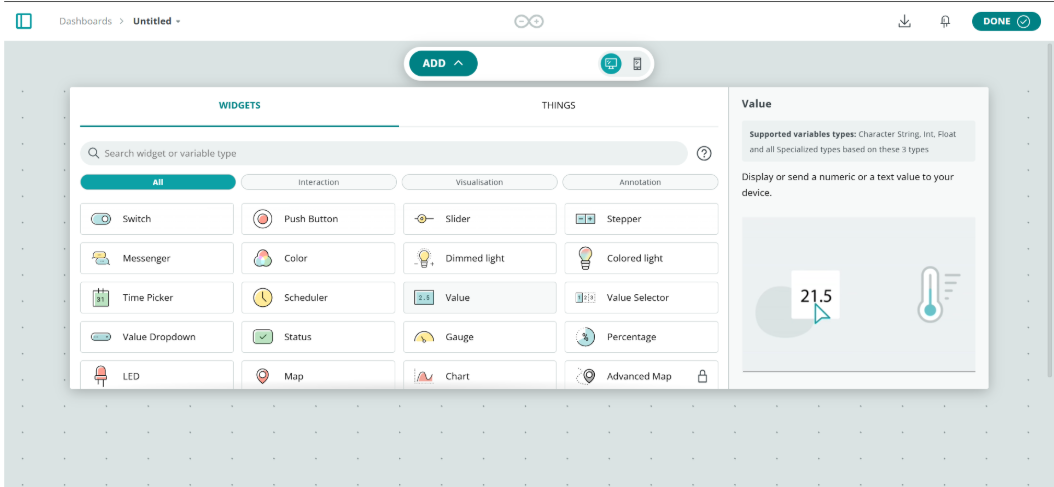
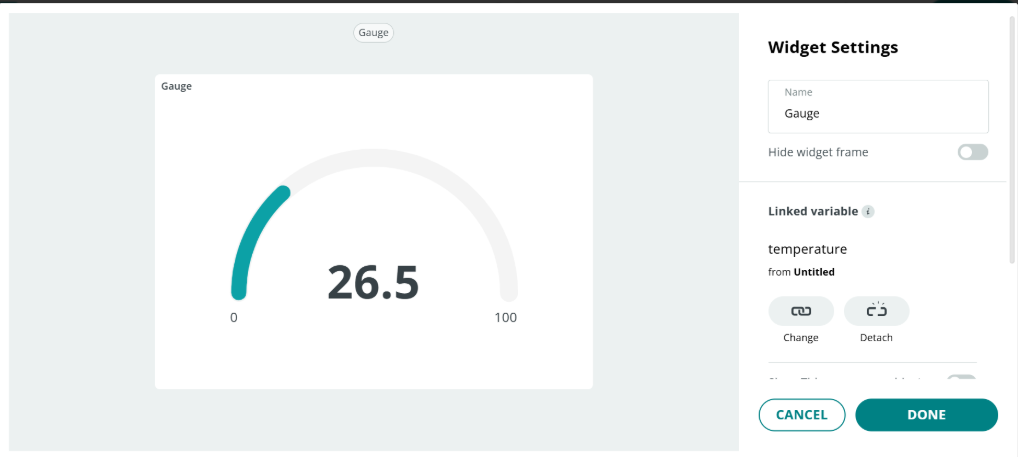
 2. Add Widget components
- Value display: Real-time temperature
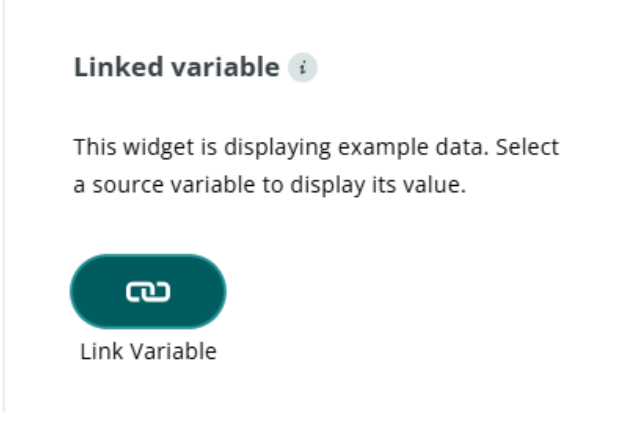
- Link variables
Reference:
The reference and design files are listed below:
The .ino file for network communication can be found in my repository:https://gitlab.fabcloud.org/academany/fabacademy/2025/labs/unnc/students/xu-sun/-/blob/main/docs/assignments/week11/resource-week11/week11-NetworkDemo.ino?ref_type=heads