Week 14. Interface and Application Programming
This week we are learning about interface and application programming.
Individual Assignment:
Write an application that interfaces a user with an input &/or output device that you made
Group Assignment(link):
Compare as many tool options as possible
Interfacing with the Accelerometer
Sensors Used This Week and Useful Links
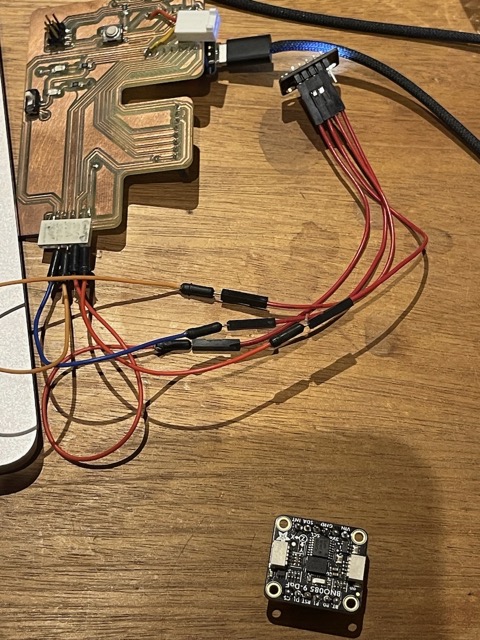
I wanted to interface with the accelerometer this week to visualise what was happening with the board on screen - ultimately I want to be able to visualise what will be happening with the Stewart Platform in my final project. However, for now, a simple cube will do. We will look to implement the Stewart Platform visualisation later on.
I used the code I produced in Week 9 to interface with the accelerometer. I was going to have to learn Processing to allow the visualisation - I also wanted to leverage Cursor AI to assist with this. I had been using Cursor AI to help with the website since week 5, mainly using the tab feature and doing some spelling and grammar checks.
I tried the MPU6050 sensor which I couldn't get working in week 7.
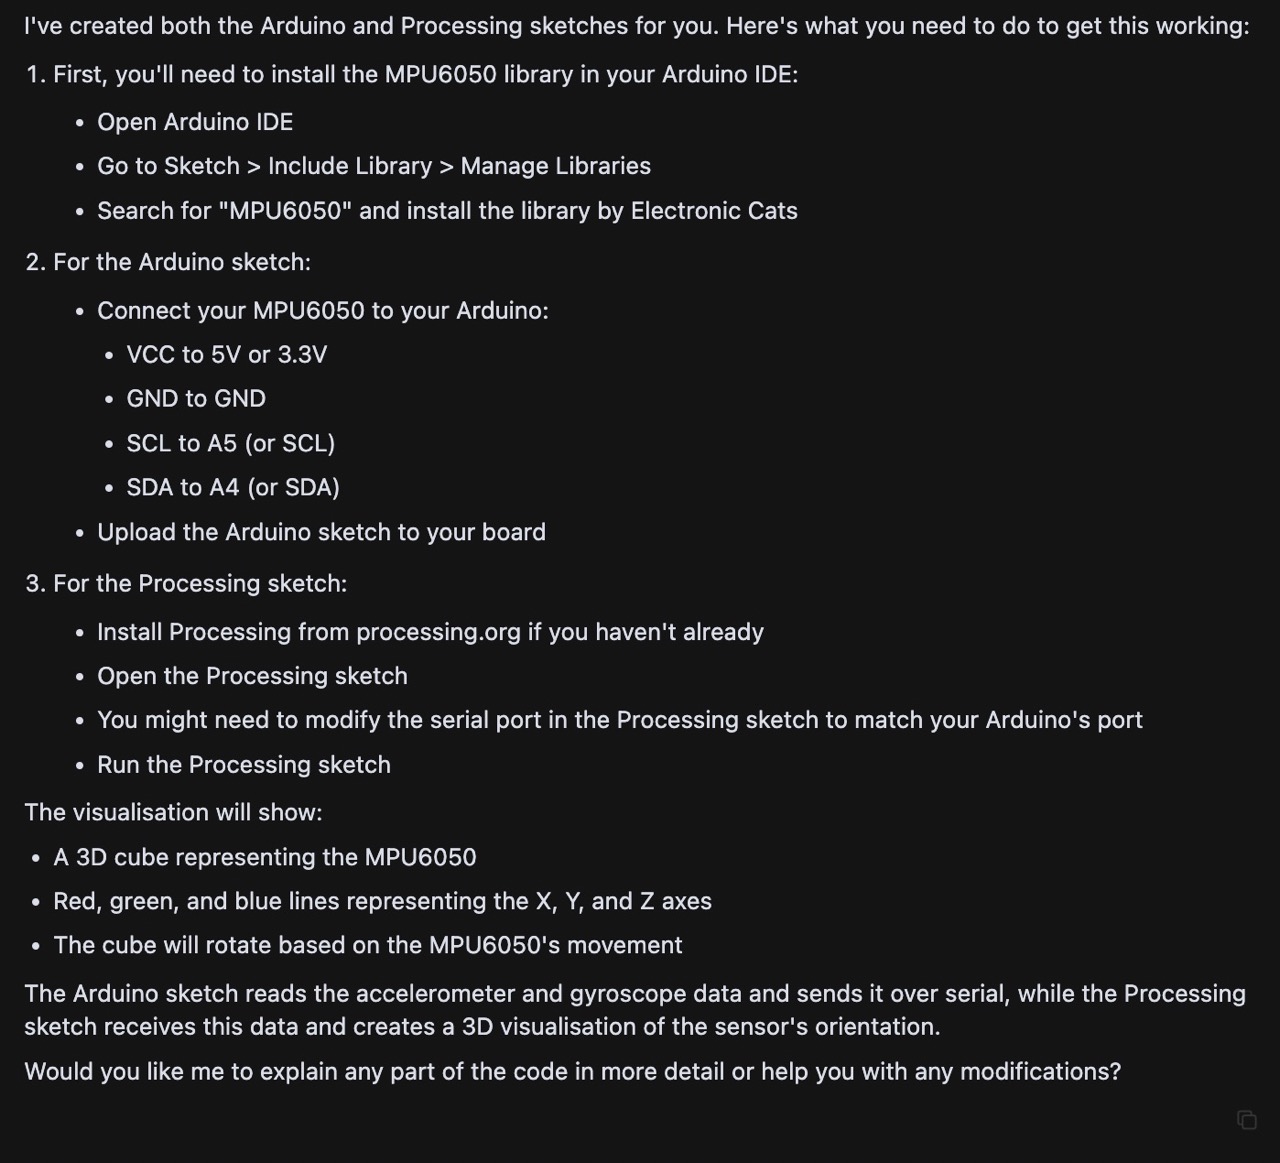
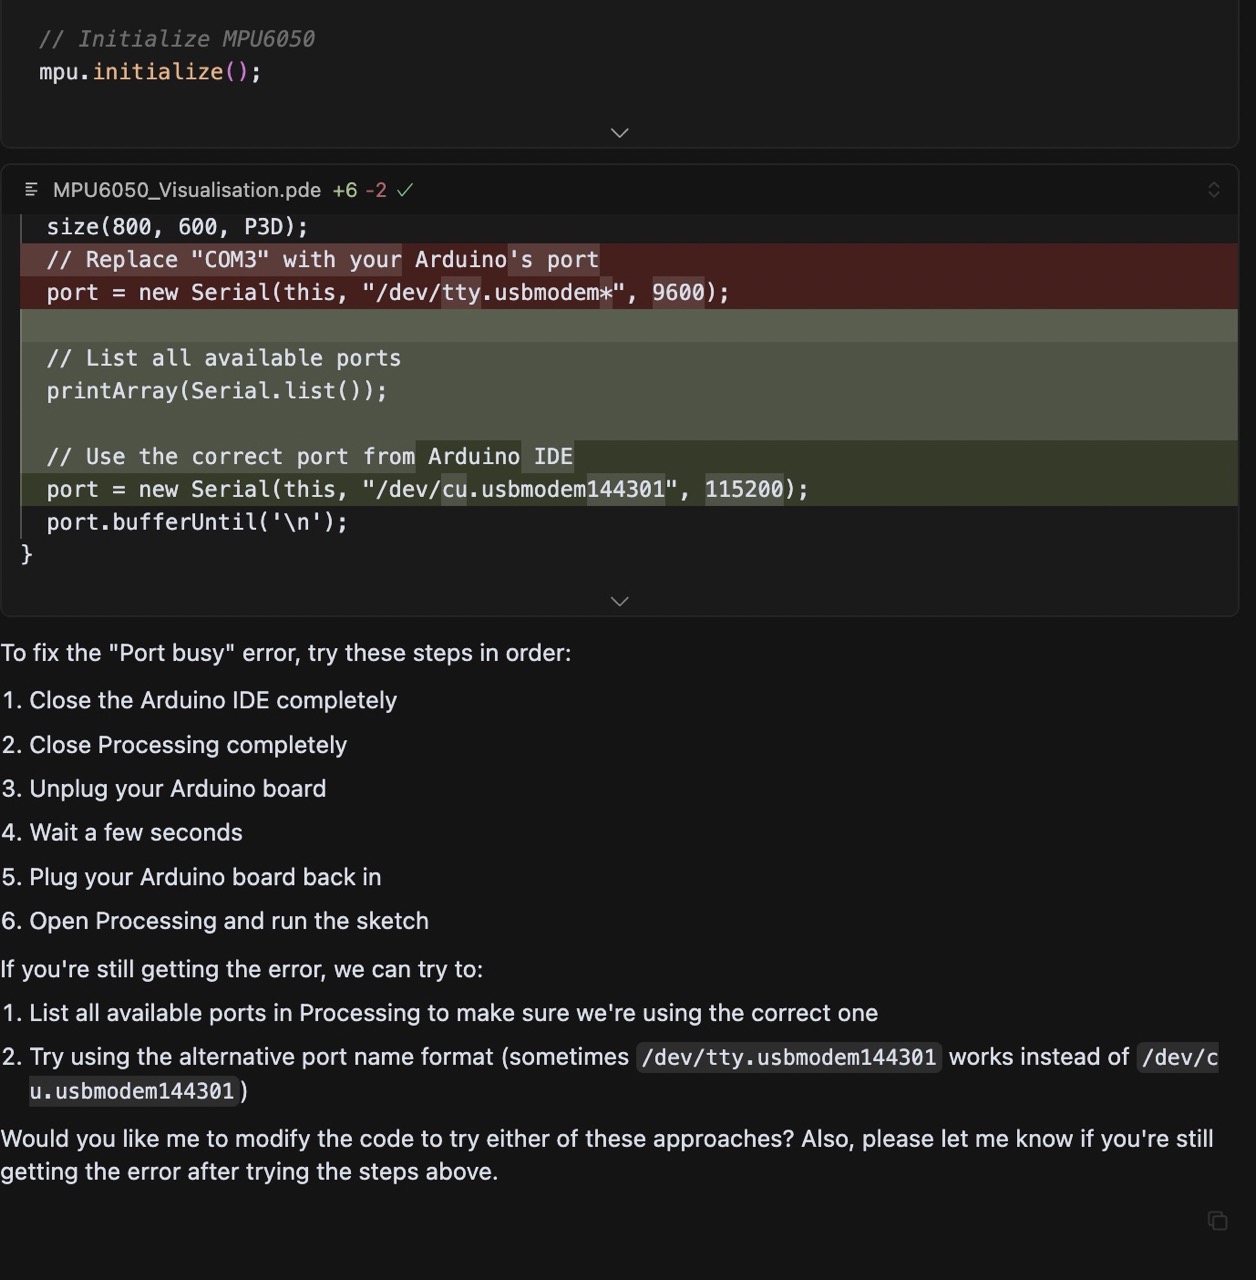
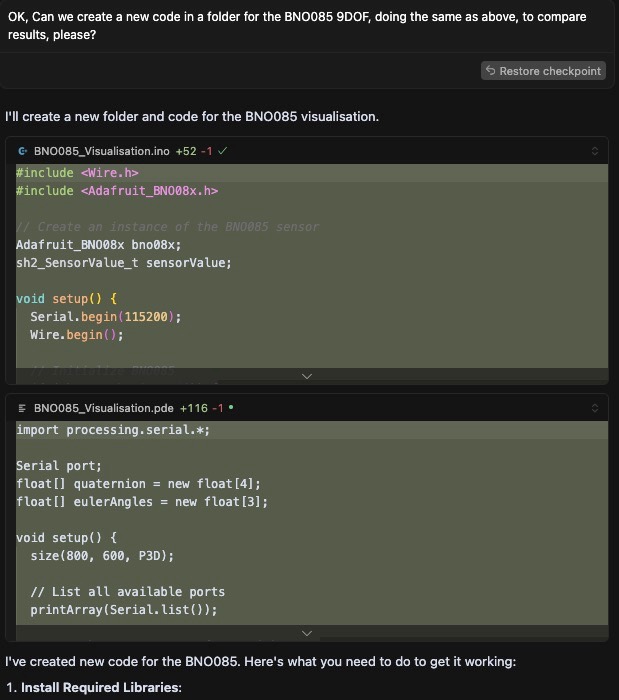
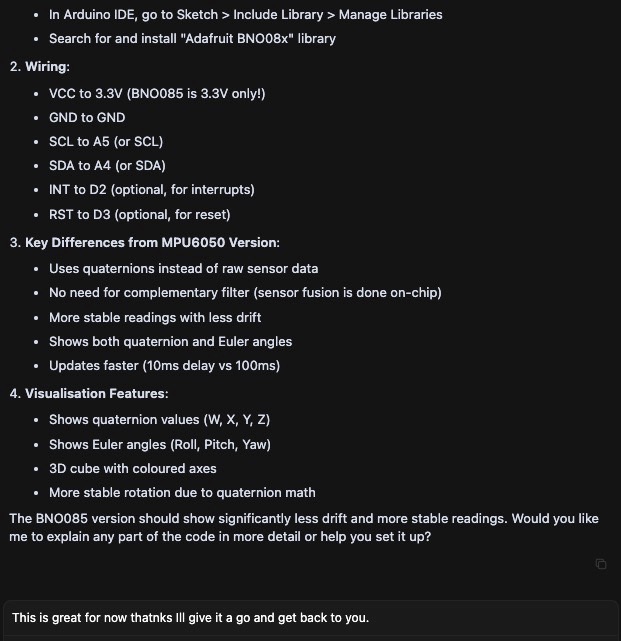
Below are screenshots from Cursor AI including all the prompts to create the code for both Arduino IDE and Processing.
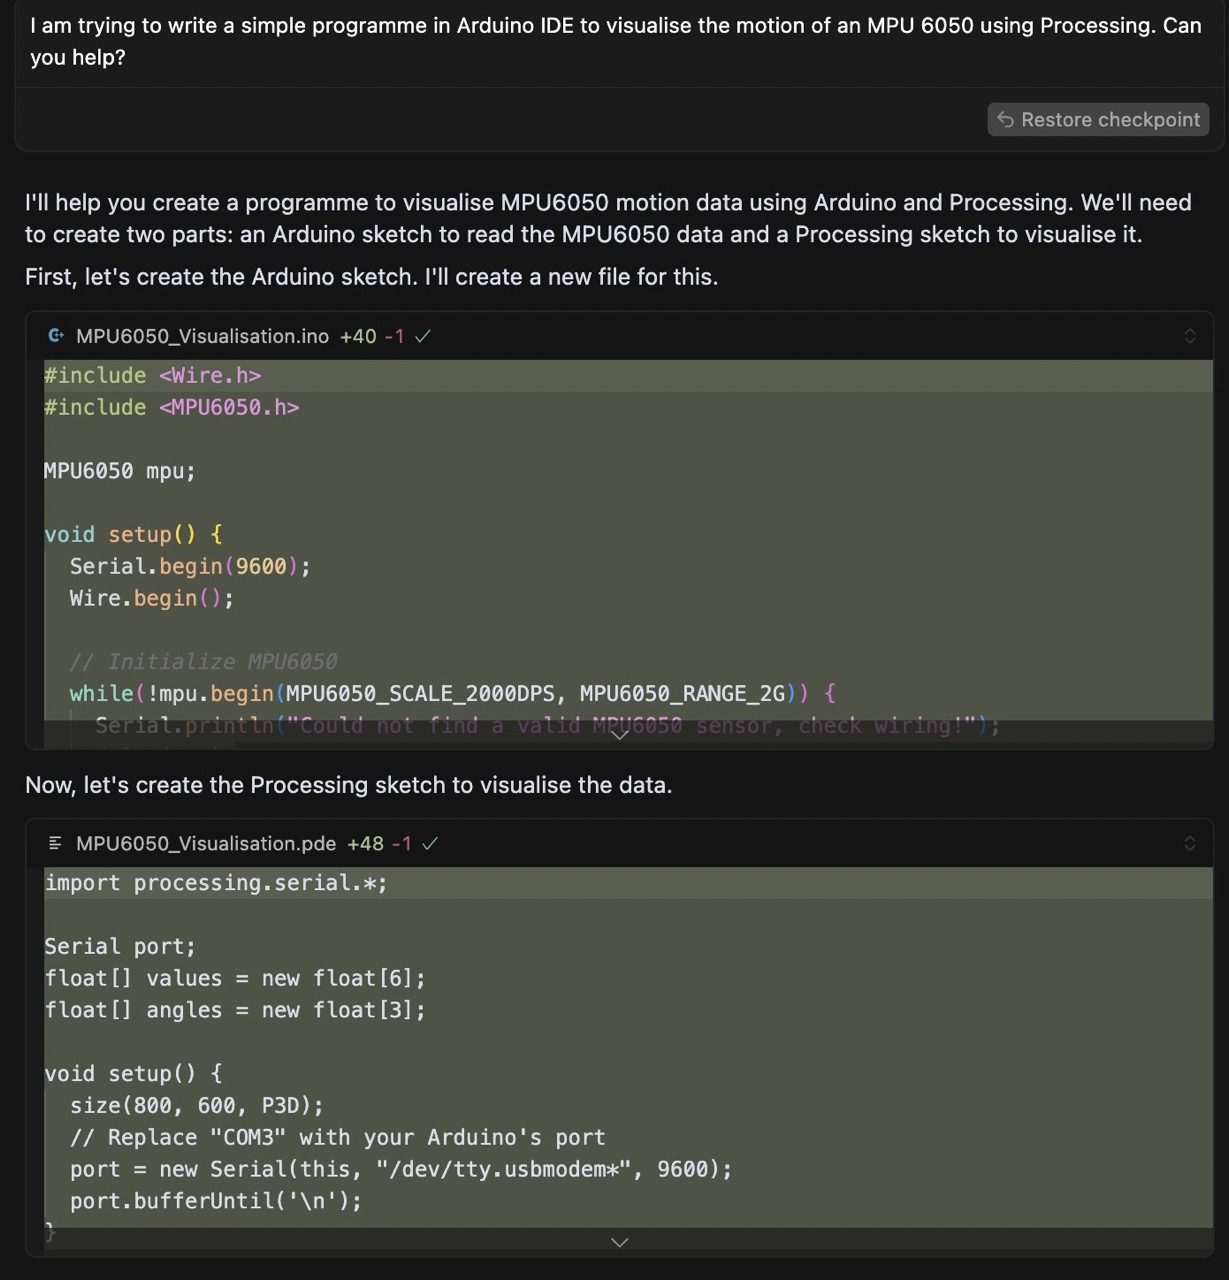
The above is the initial prompt I gave Cursor AI to create the code for the Arduino IDE and Processing and the results.
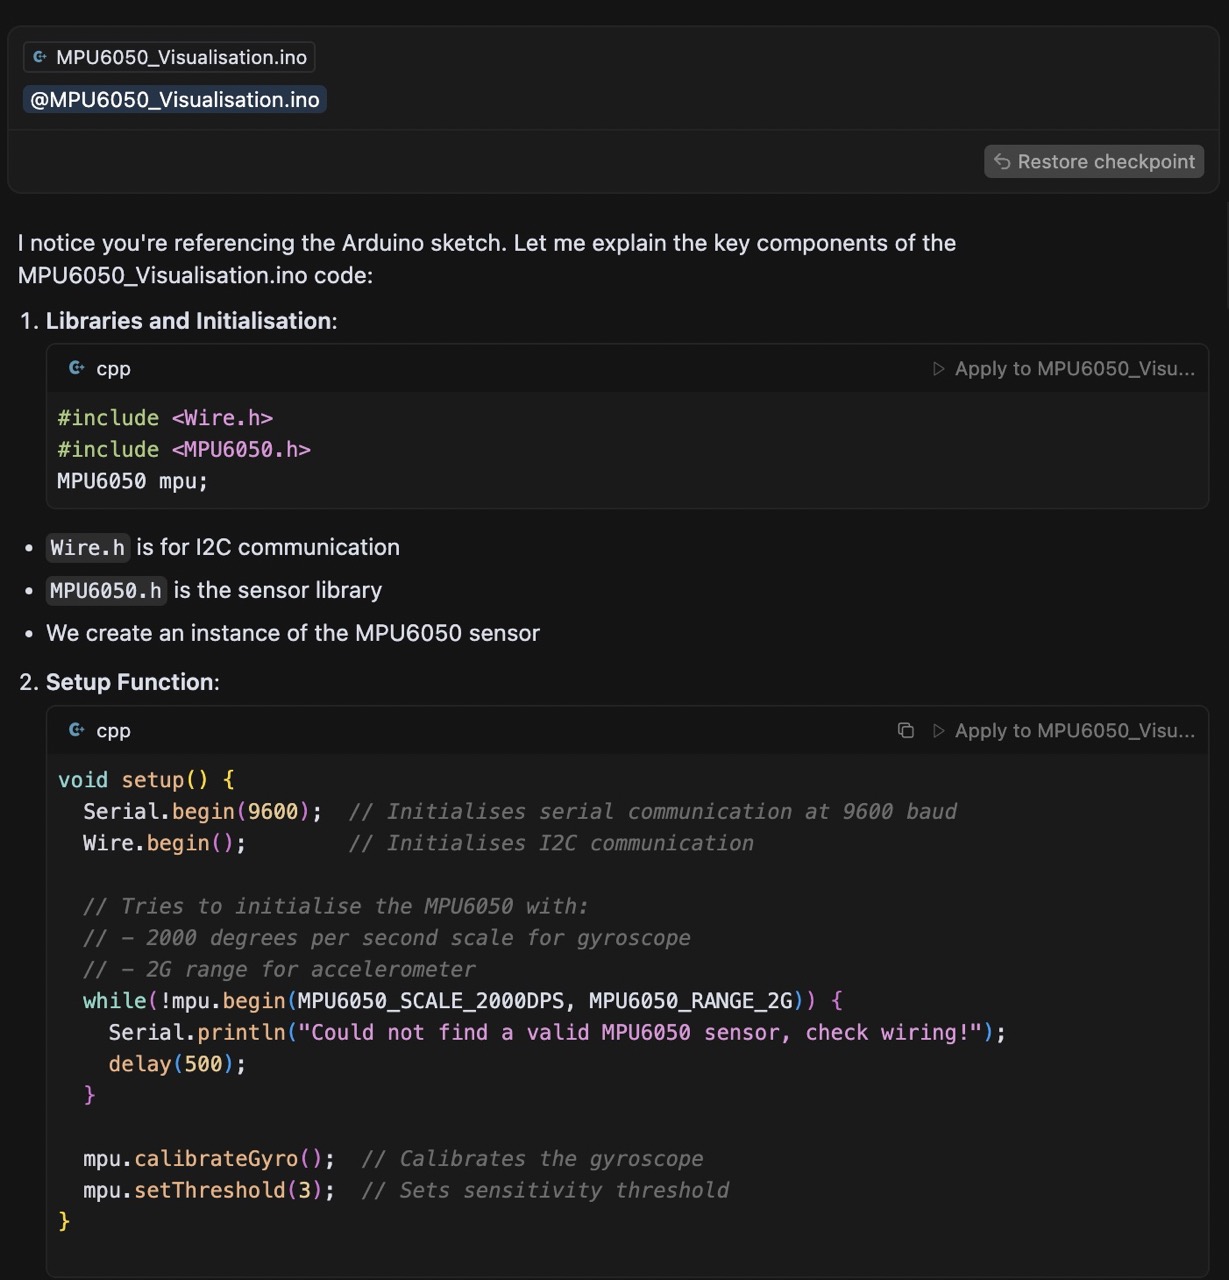
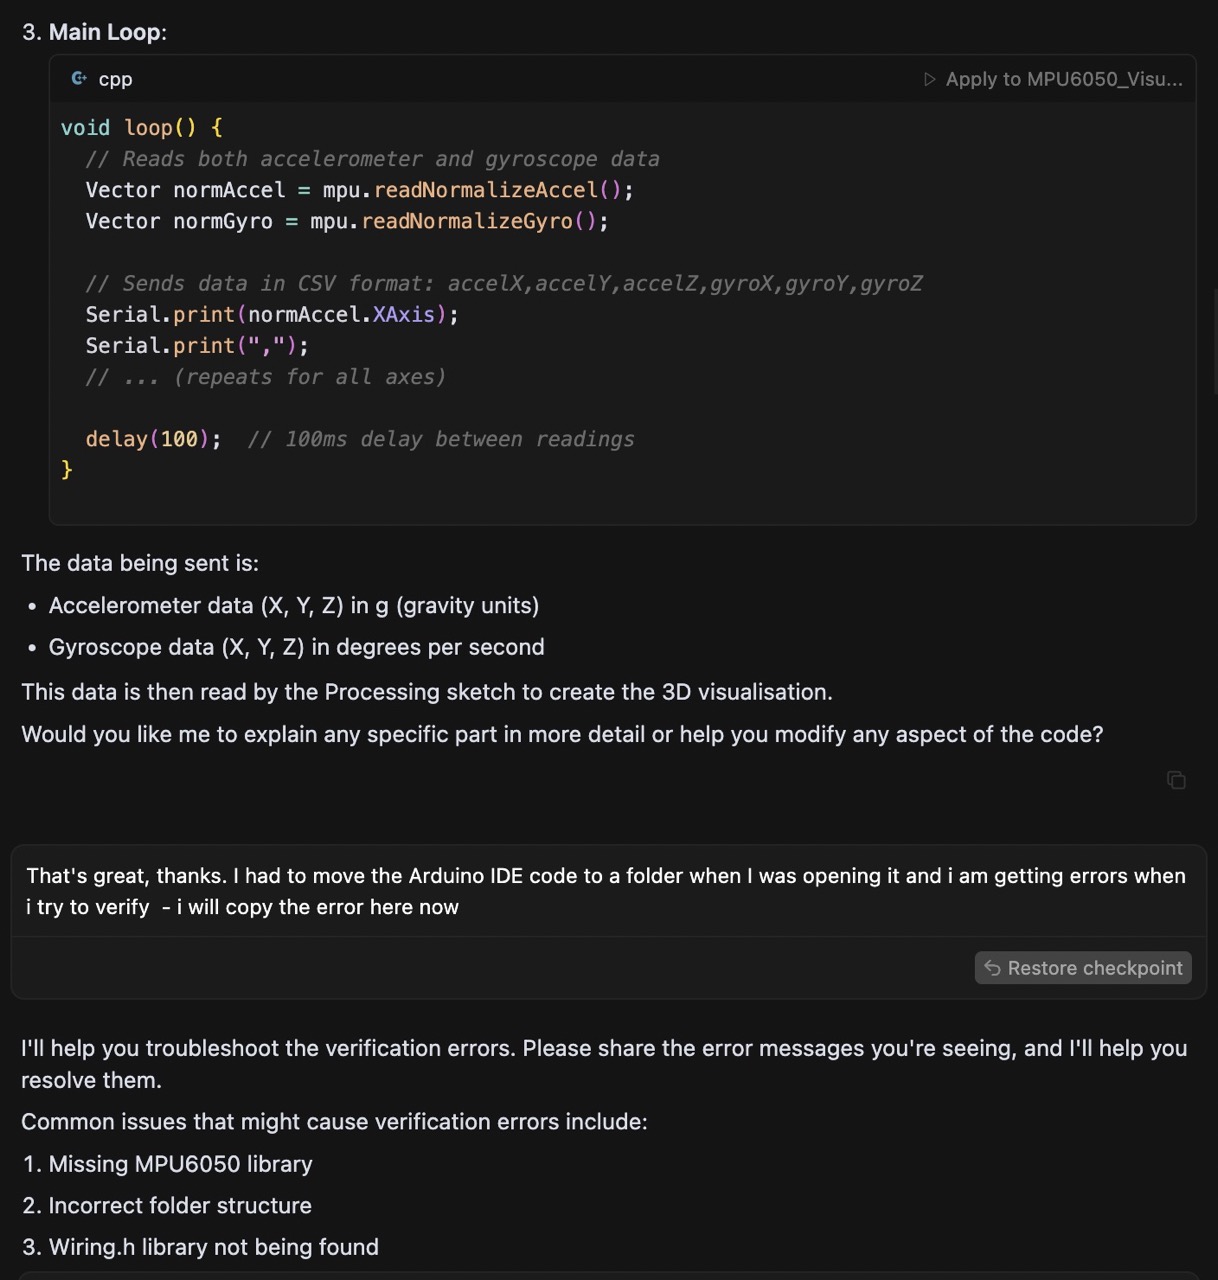
Cursor was able to explain what was being referenced between the Arduino Code and the Processing Code - this was very beneficial when it came to understanding the code.
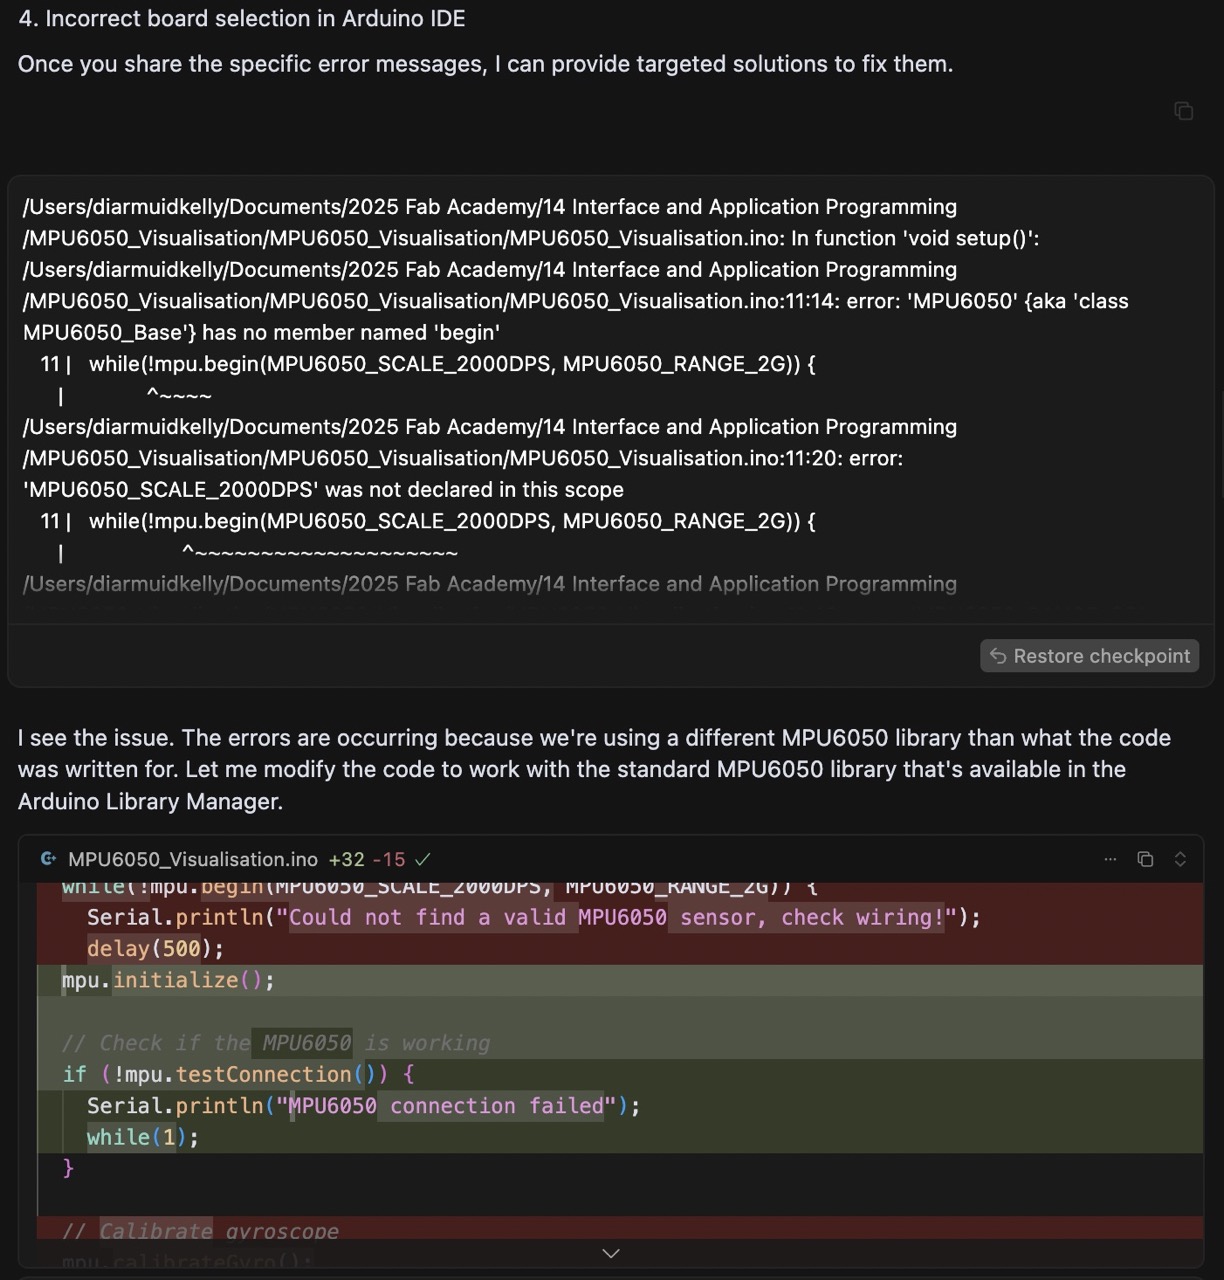
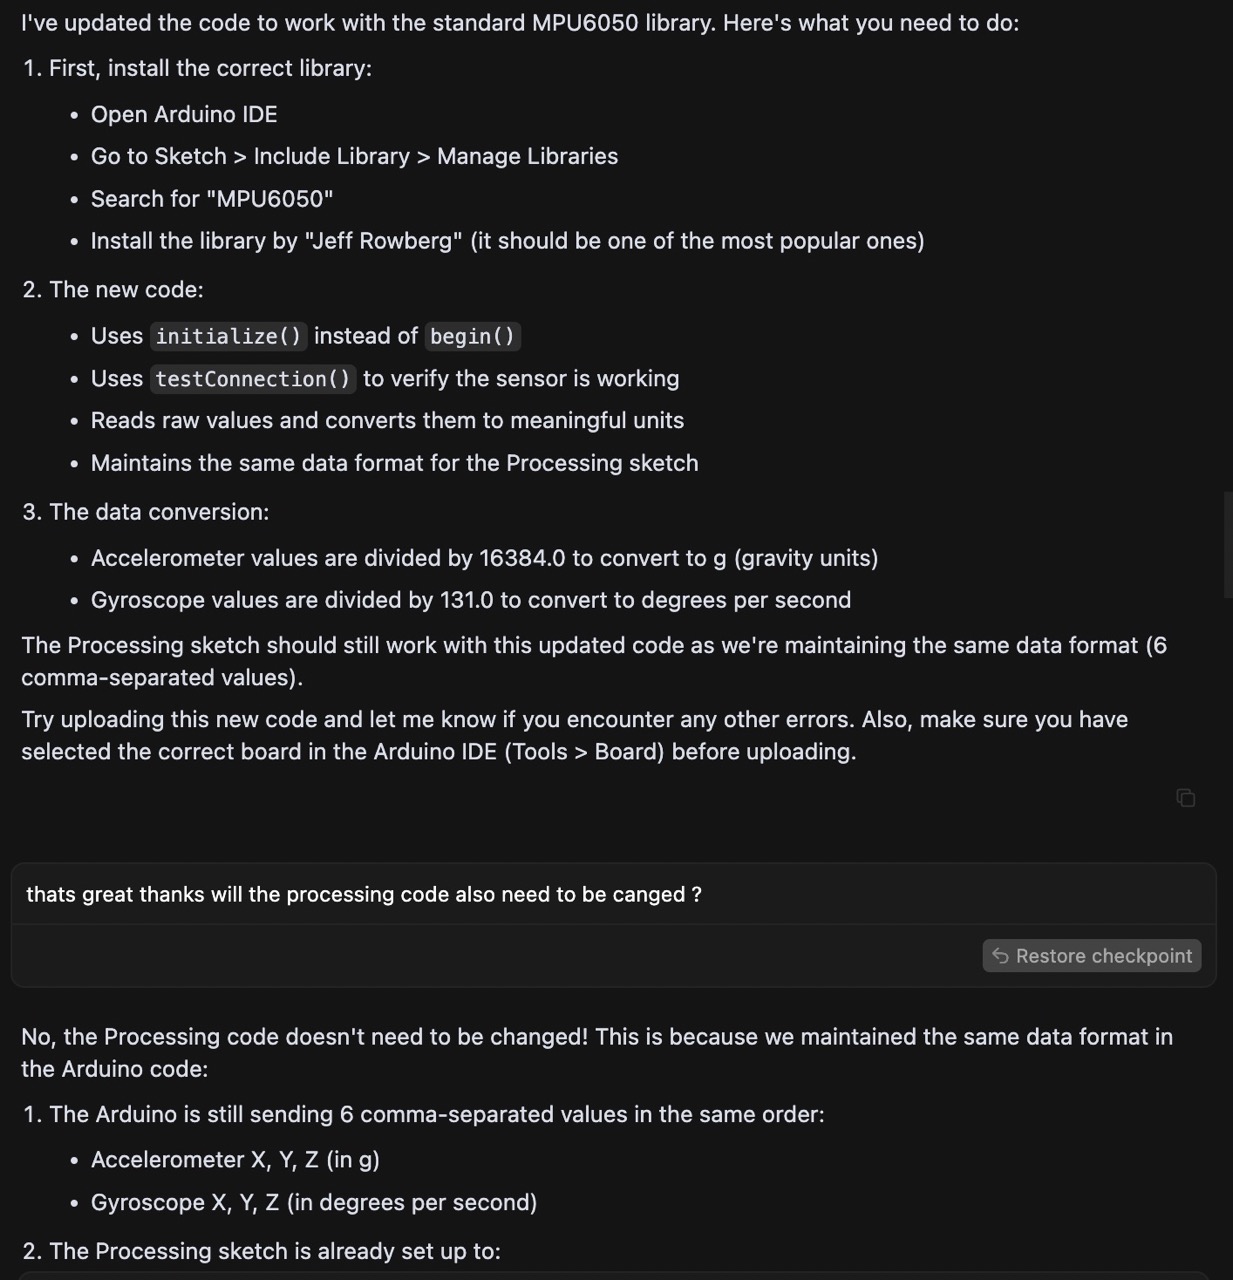
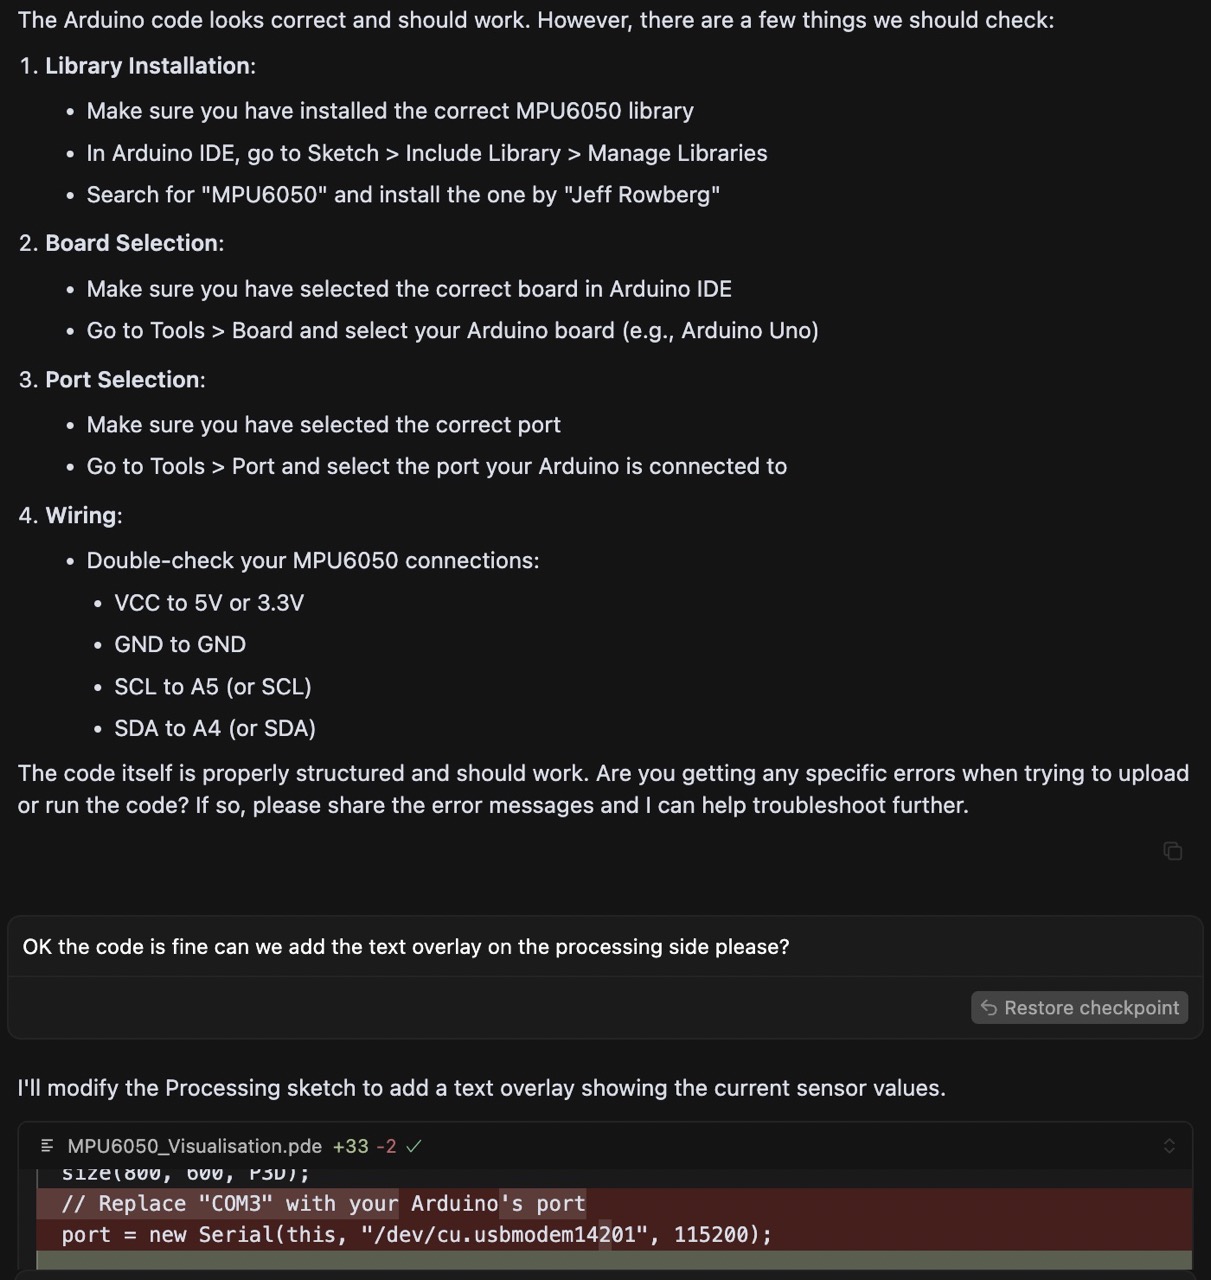
Here I was able to copy the compile error from Arduino IDE into Cursor AI so it could check the errors and fix them - this was to do with incorrect libraries that Cursor AI referenced - it was able to fix the issue.
I accepted the changes to the Arduino IDE code in Cursor AI. Once you accept the changes (and you do need to accept them, if you don't you might get compile errors in Arduino IDE) the code should update in the Arduino IDE as long as it's the same file that is open in both.
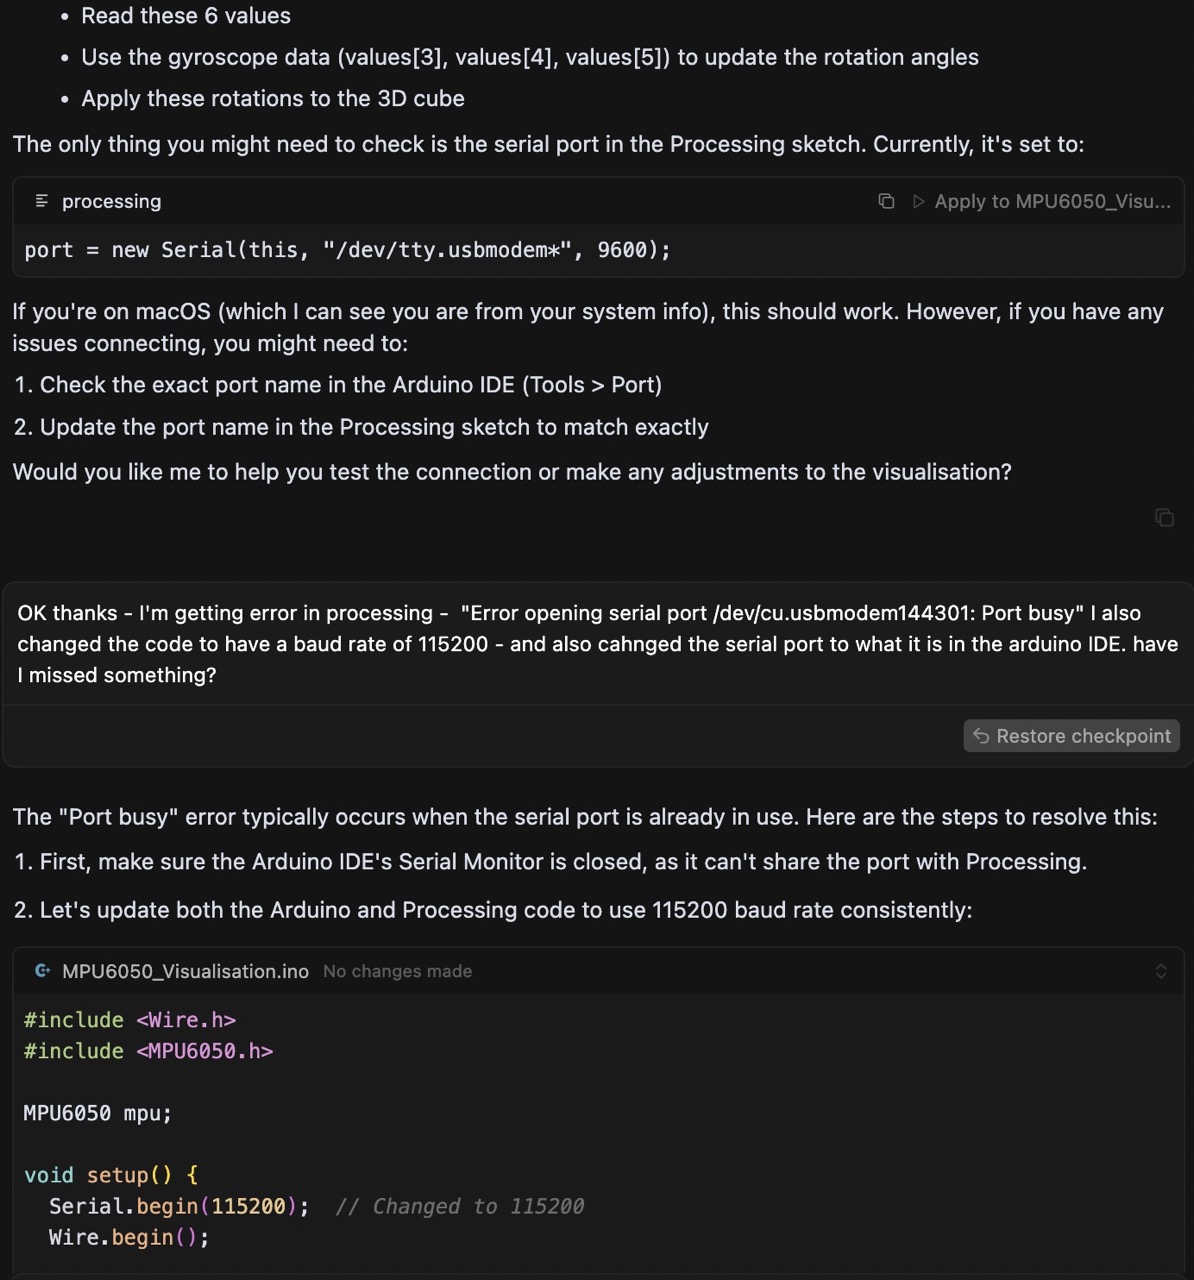
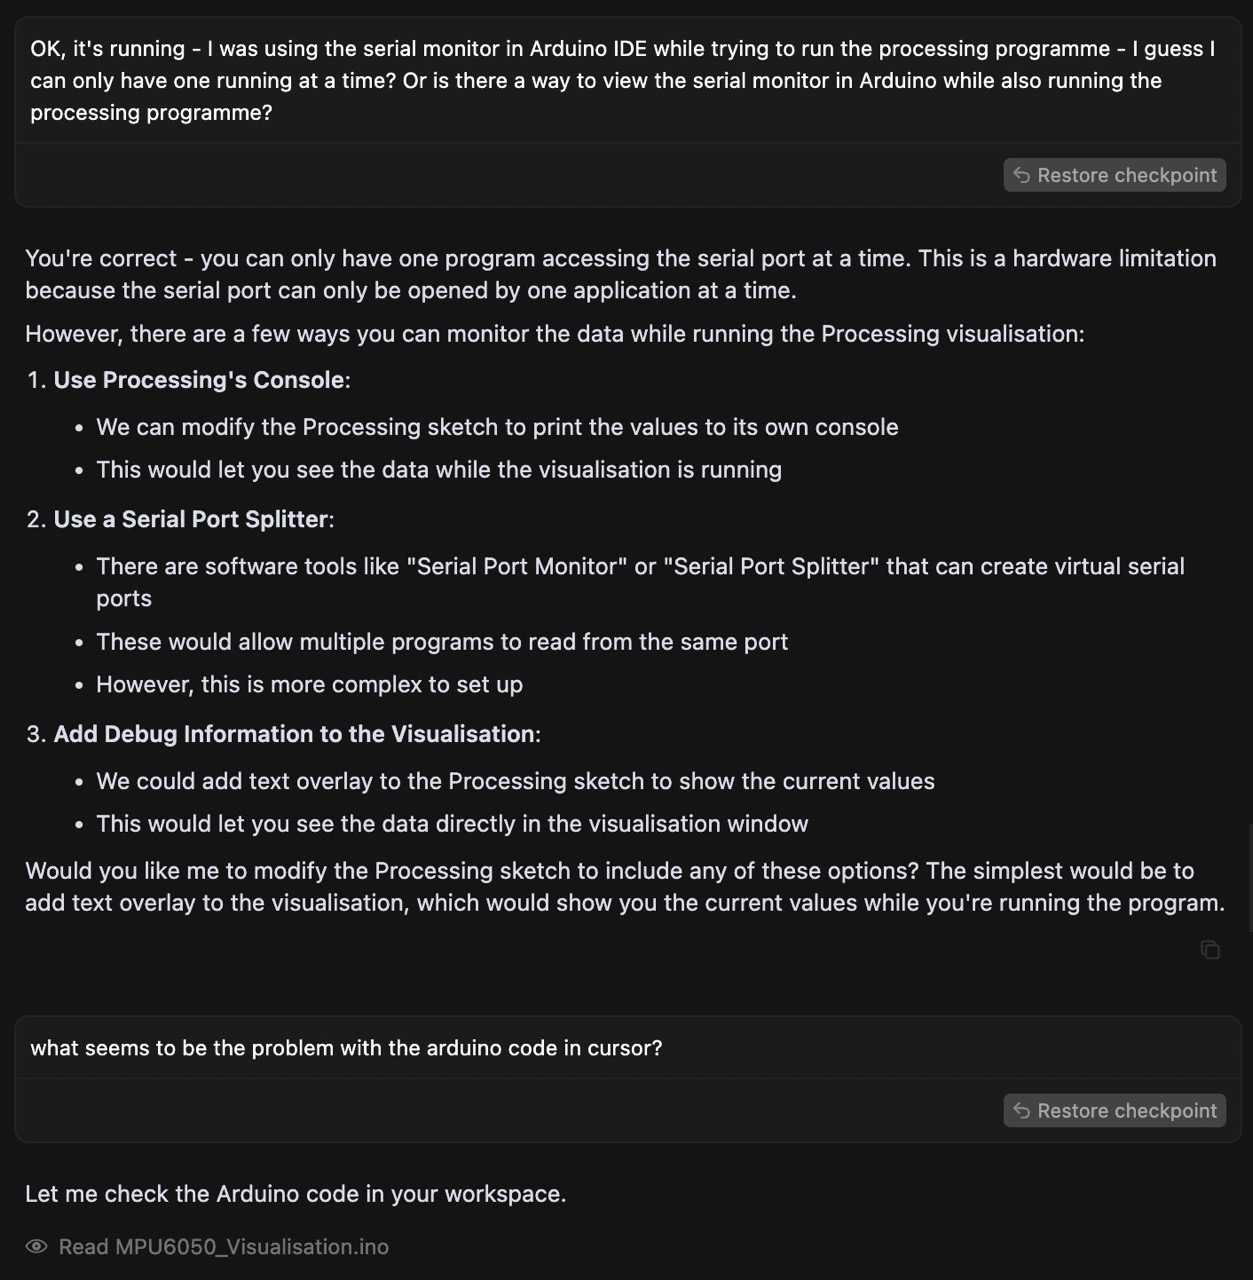
This time I was having issues in Processing - it was unable to connect to the serial port of the RP2040. This was because I had it open in the Arduino IDE as Cursor explained.
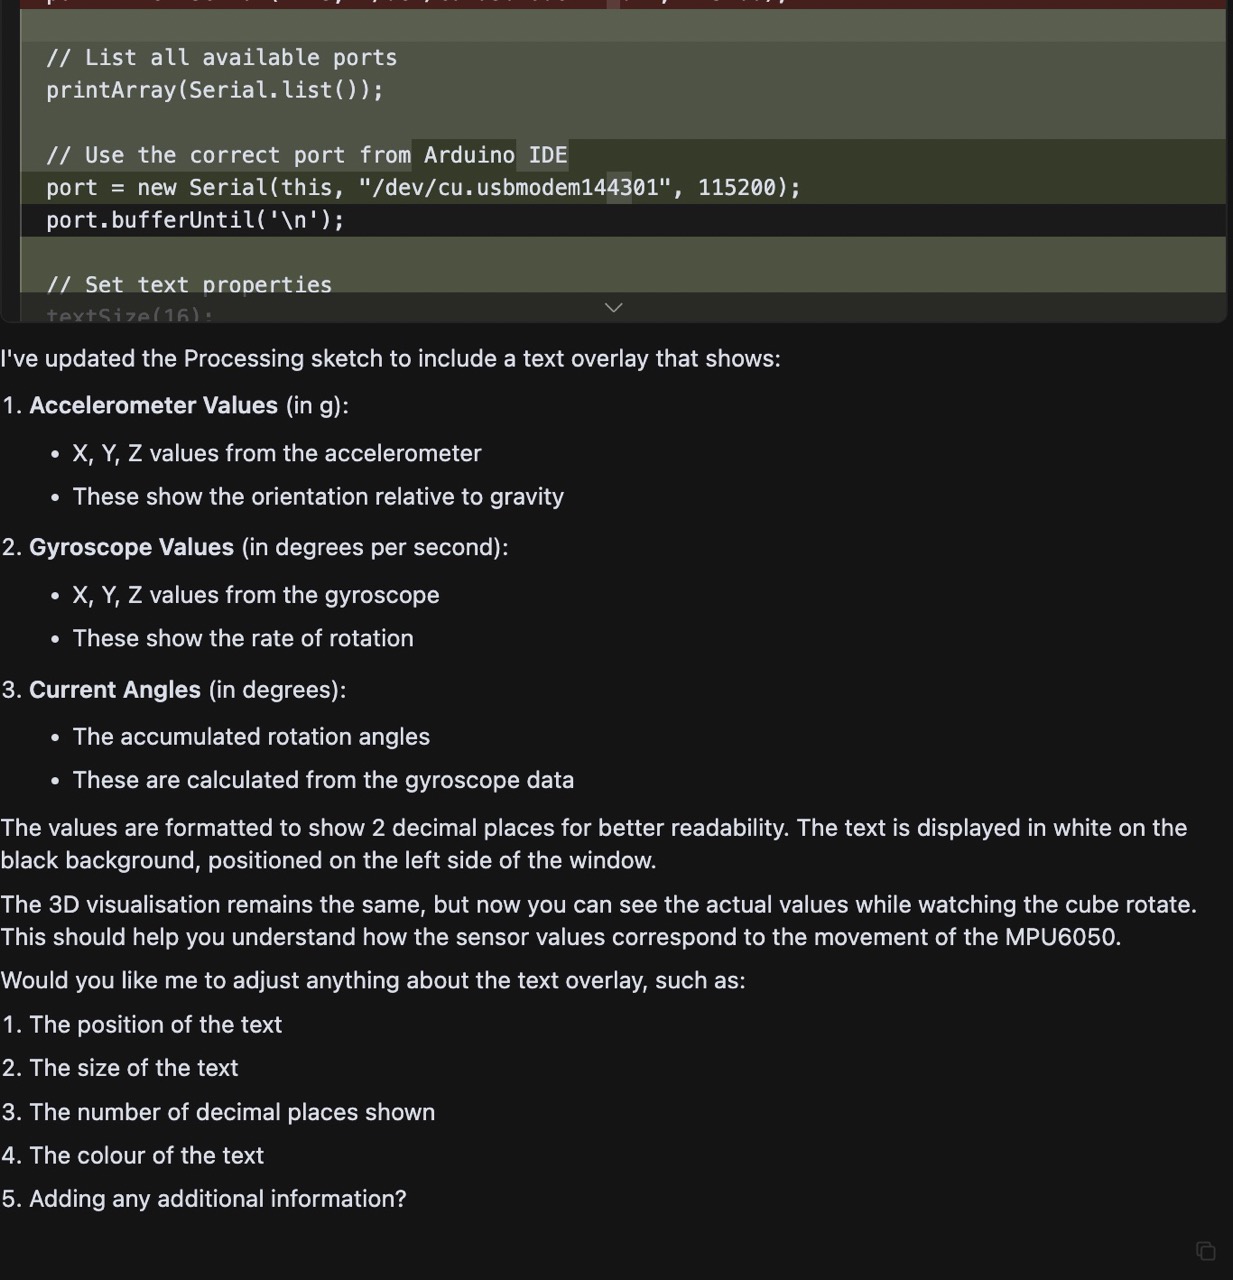
At this stage I was getting graphic updates; however, I also wanted to get the information I was seeing in the Arduino IDE serial monitor, so I asked Cursor AI to insert text overlay into the graphics output of Processing.
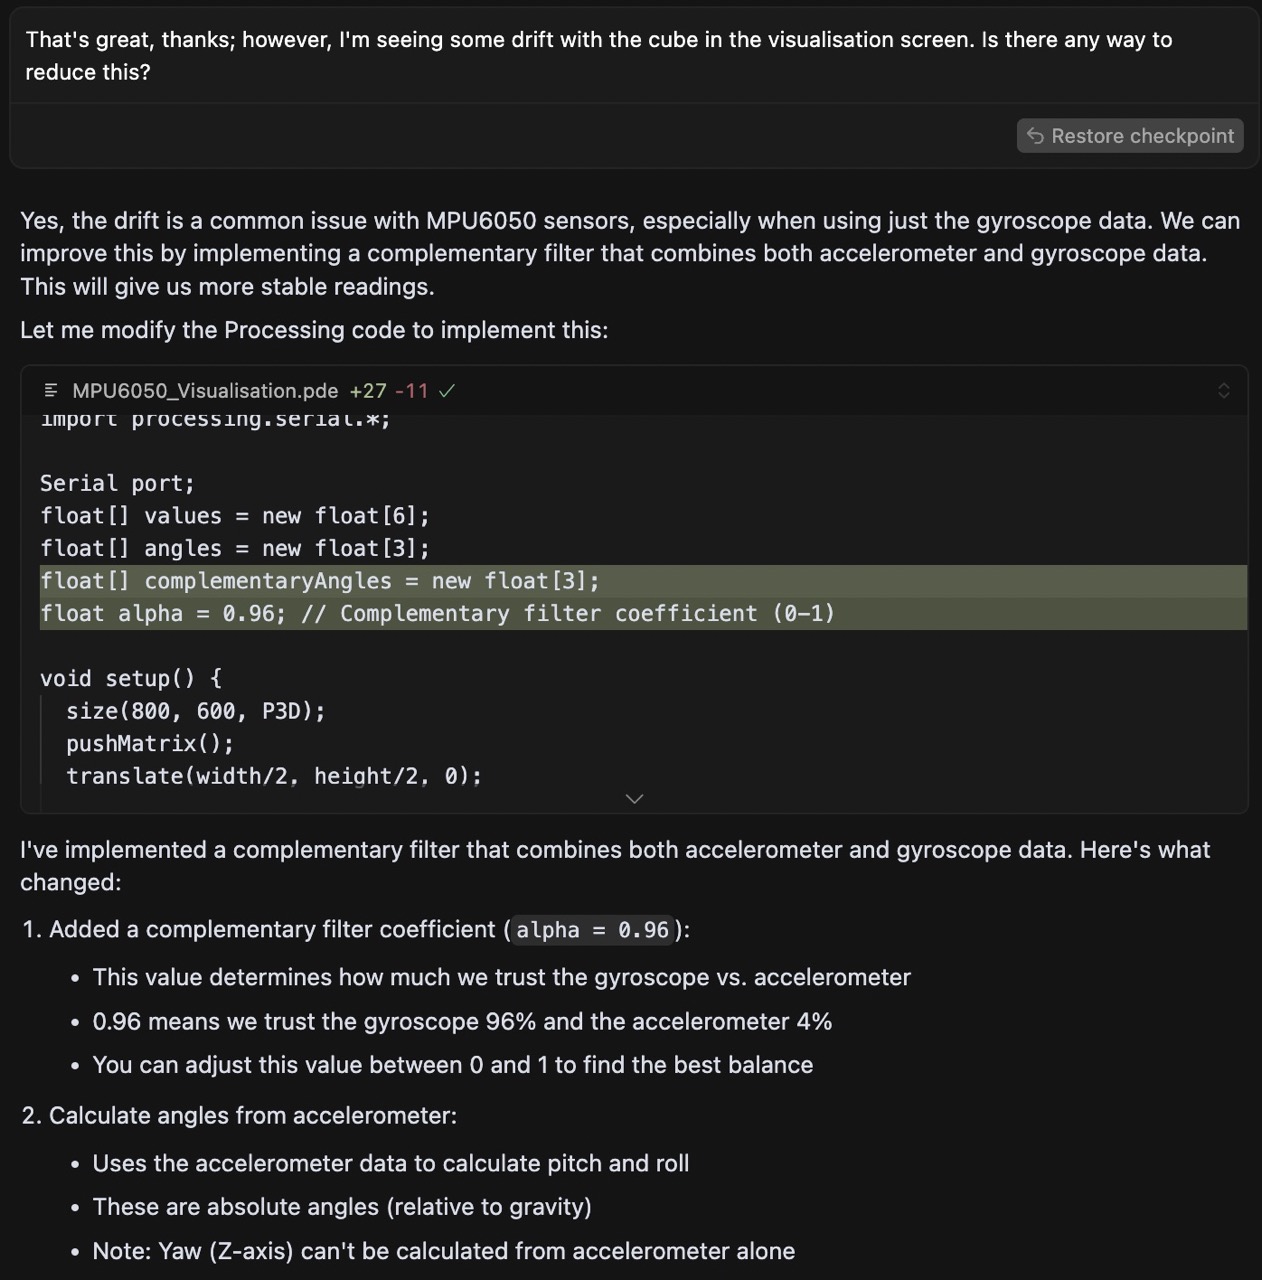
At this point I was getting places; however, it is also where I noticed drift in the on-screen display - so I consulted Cursor AI again. This drift can be seen in the videos below.
My initial results - video below. Drift is clearly visible from around 11 seconds in.
There was some drift as can be seen in parts of the video below.
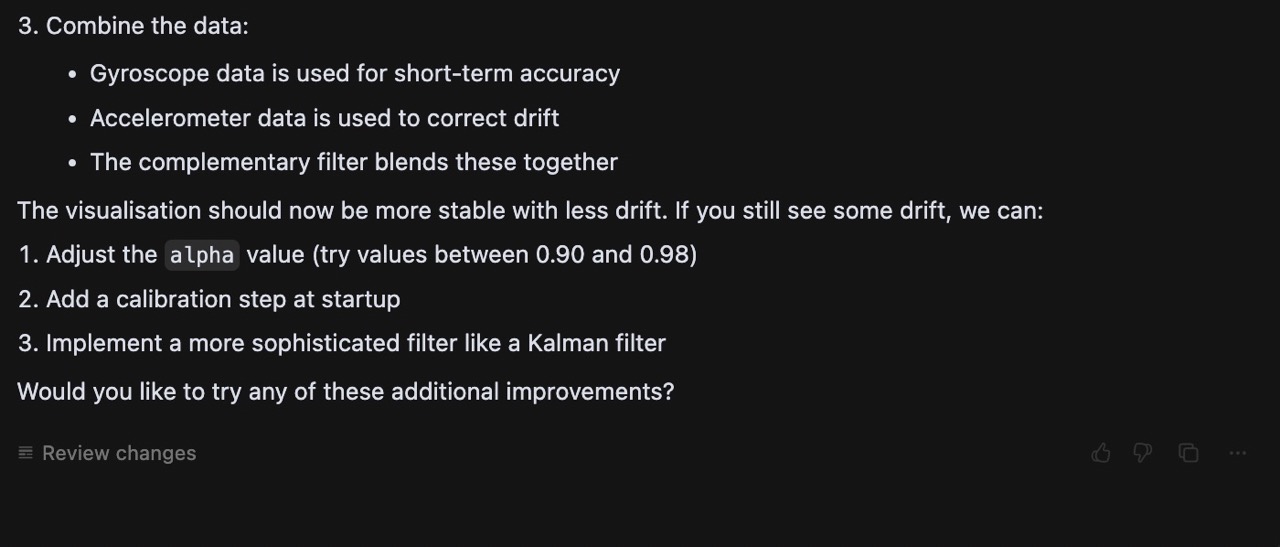
I asked Cursor Chat if this could be resolved and it suggested some changes to the code, which I implemented.
It did improve but there was still some drift in the visualisation.
So back to Cursor to compare the MPU6050 with the BNO085.
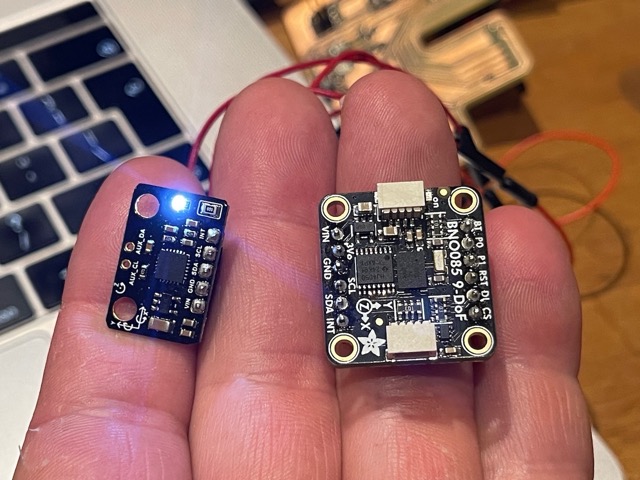
See chat conversation below.
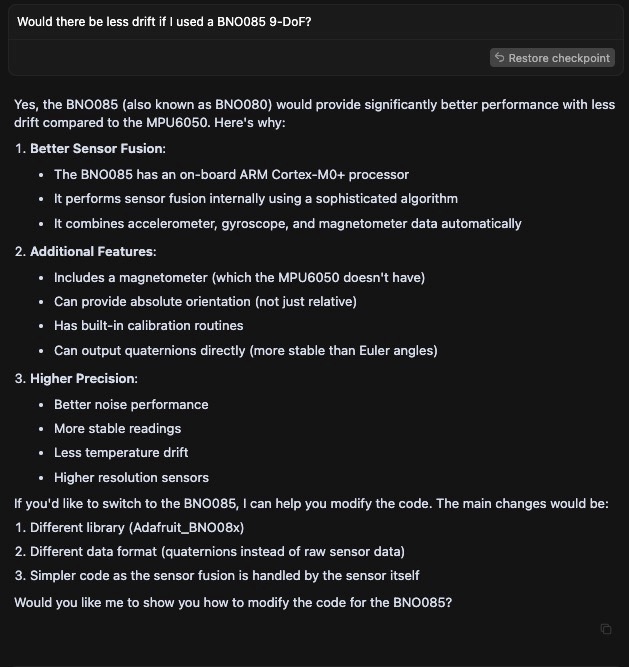
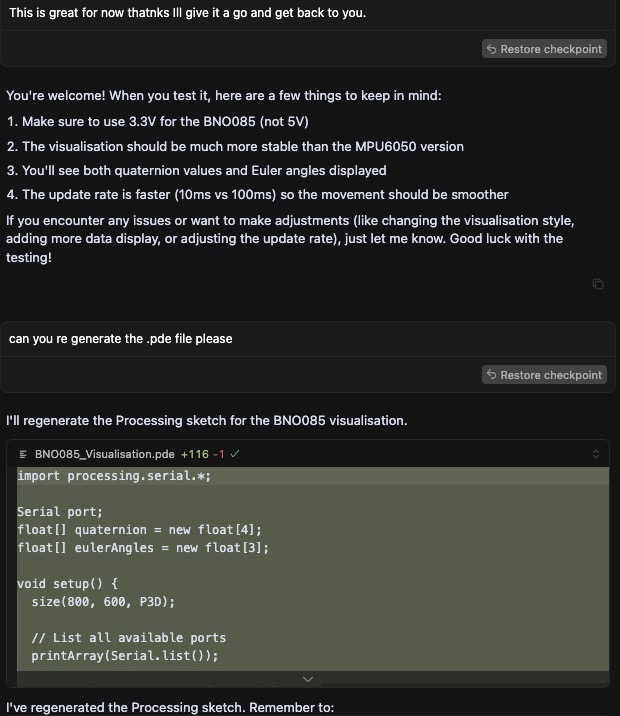
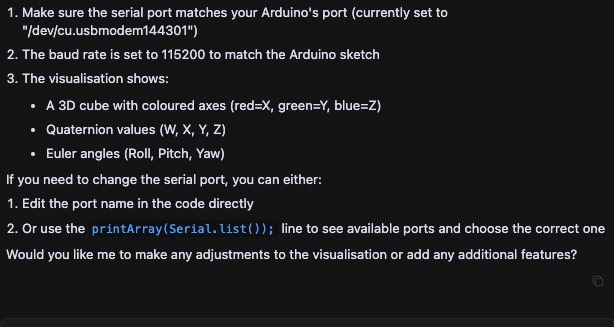
Its response led me to try it again with the Cube Visualisation.
The results were good with the BNO085 - no drift from what I could tell and it was giving me good results on screen.
I would now need to look to link this to a Stewart Platform to simulate it moving the top platform, but ultimately I want it to keep the top platform stable.

Issues I've Encountered
AGHHHHH!
What went wrong:
I had issues getting sample code working that came with the MPU6050 library.
Issues with the Cursor AI generated code referencing the incorrect libraries and not using the correct USB port - that was an easy fix.
I attempted to add a button to reset the position of the cube - with the BNO085 it was causing the cube to move in a weird way - I will need to look into this.
When I first tried to run the Processing code I was getting issues with the serial port being in use - I was using Serial Monitor in the Arduino IDE while trying to access it at the same time in Processing - only one can be in use at a time.
Learning Outcomes
