Week 12. Mechanical Design & Machine Design
Let's build something and make it work!

Group Assignment
- Design a machine that includes mechanism + actuation + automation + application
- Build the mechanical parts and operate it manually
- Document the group project and your individual contribution
- Actuate and automate your machine
- Document the group project and your individual contribution
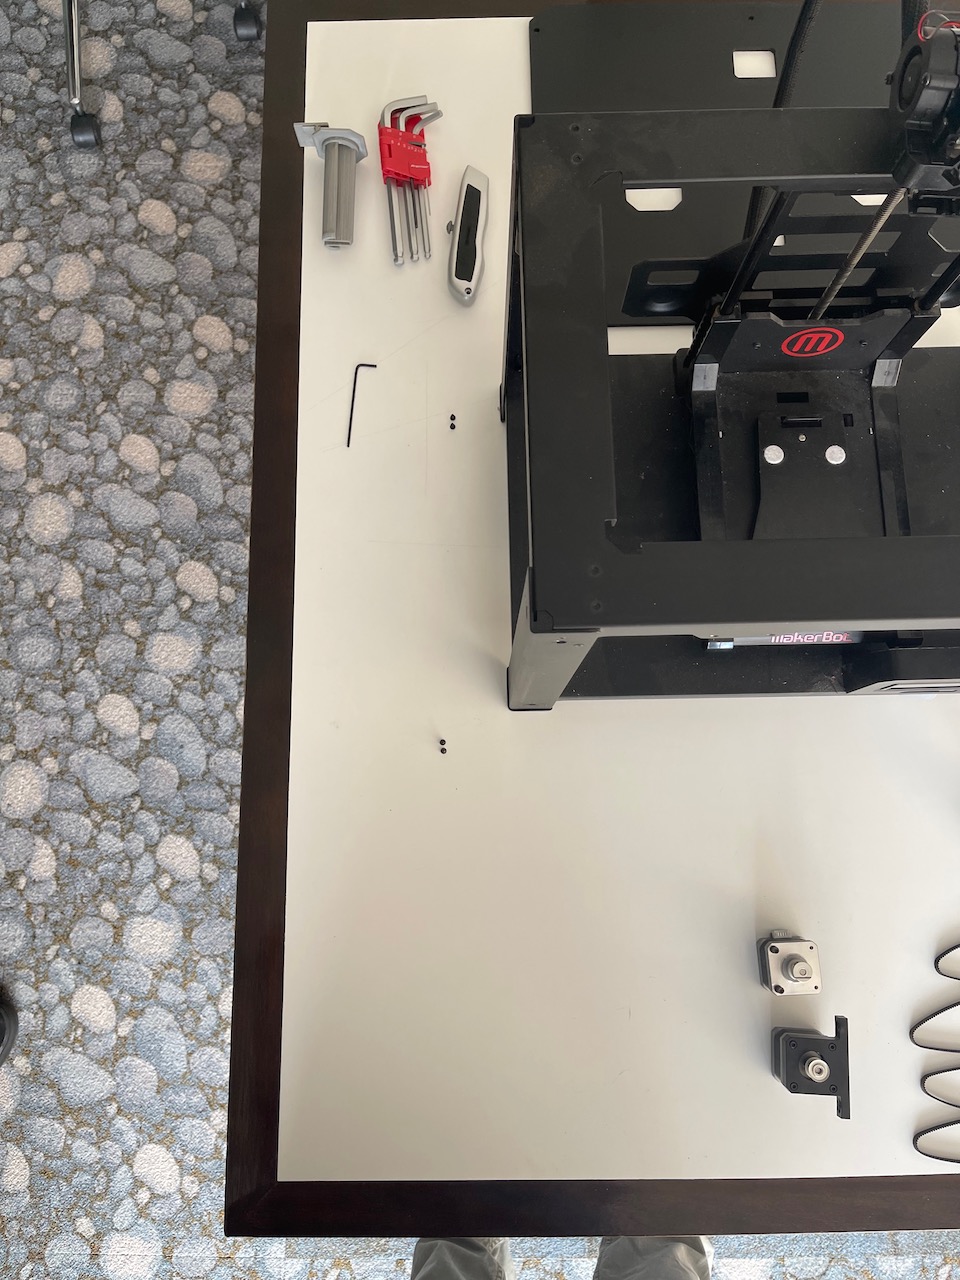
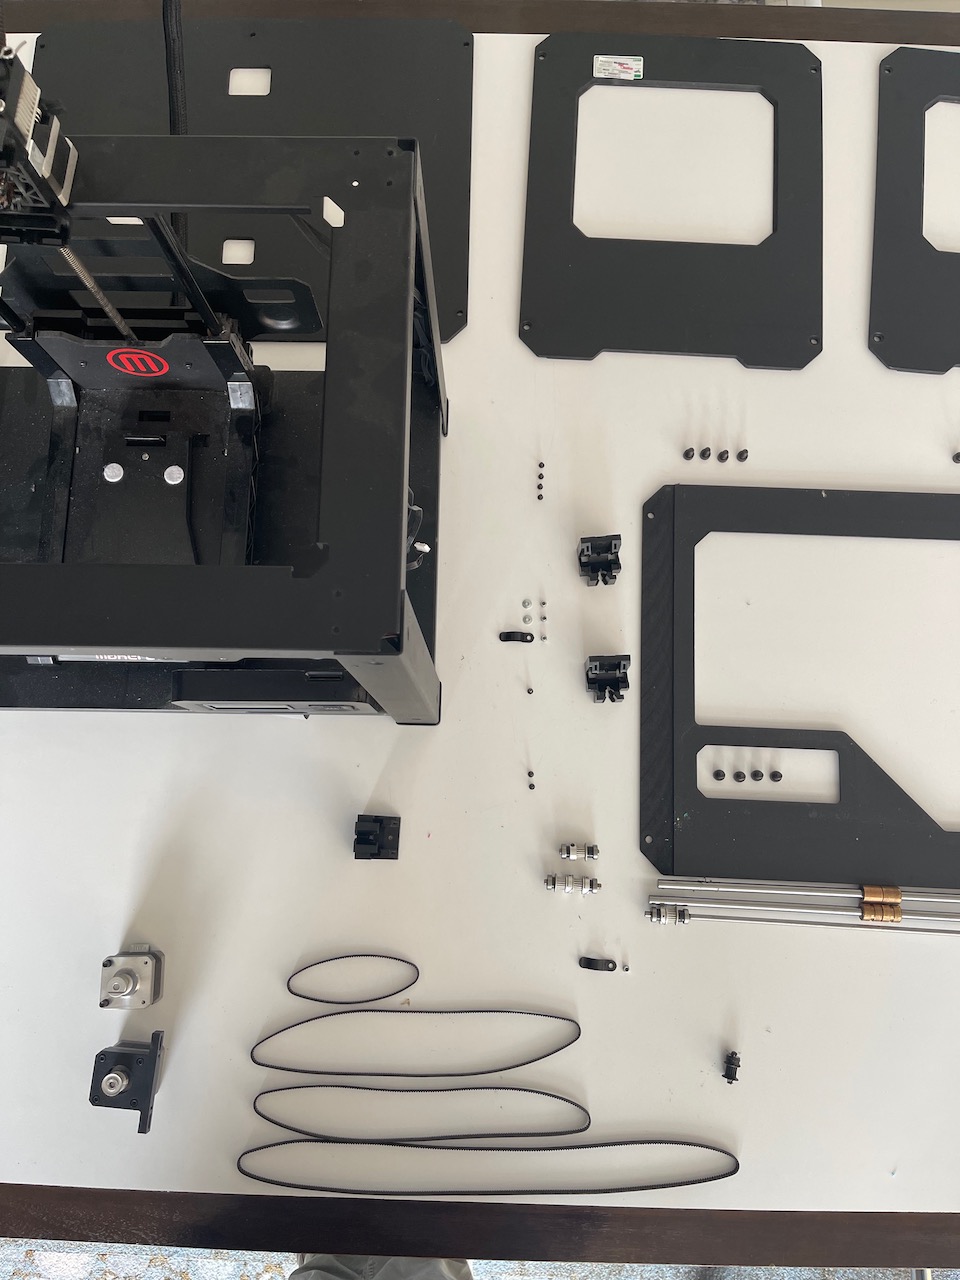
Donor Machine
We had an old MakerBot Replicator 2 that we were going to use as a donor printer and salvage what parts we could from it.
Belt Size Test
Some test parts to check the belt fit - we are wrapping the belt around the corner - we need to get the dimension correct - take one was too small.
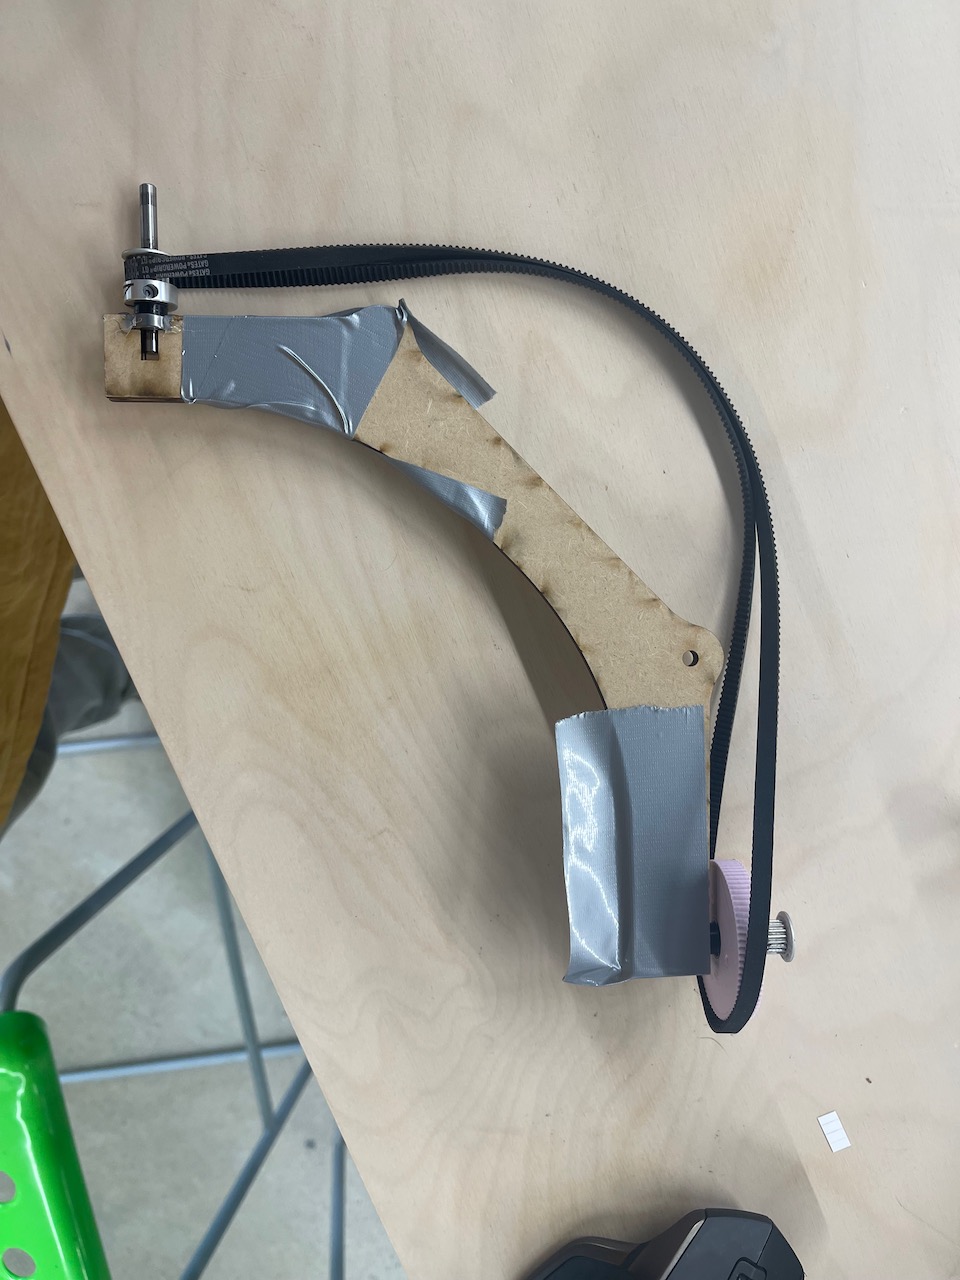
Take two was better - we also were considering how to tension the belt.
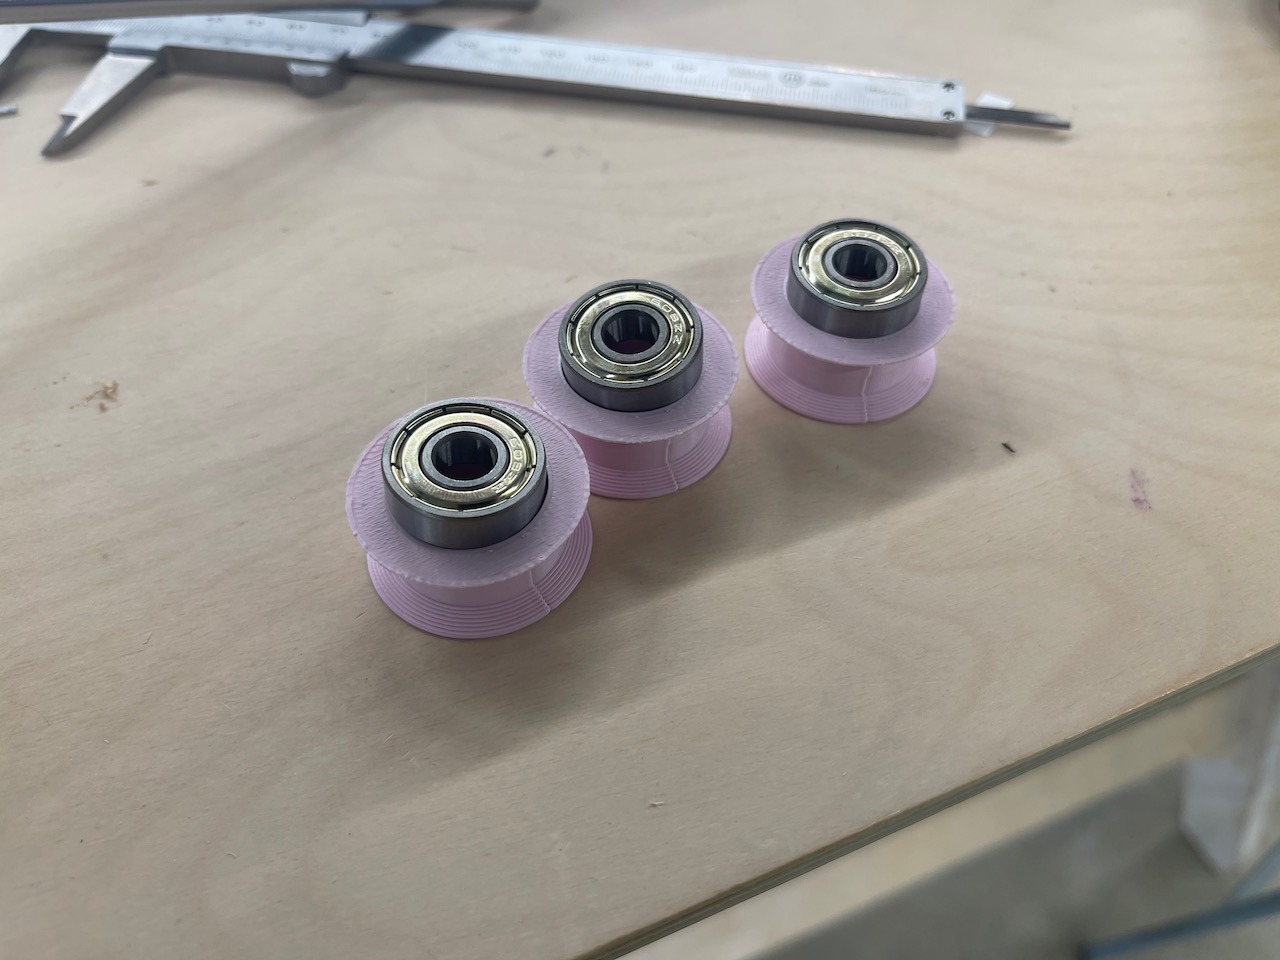
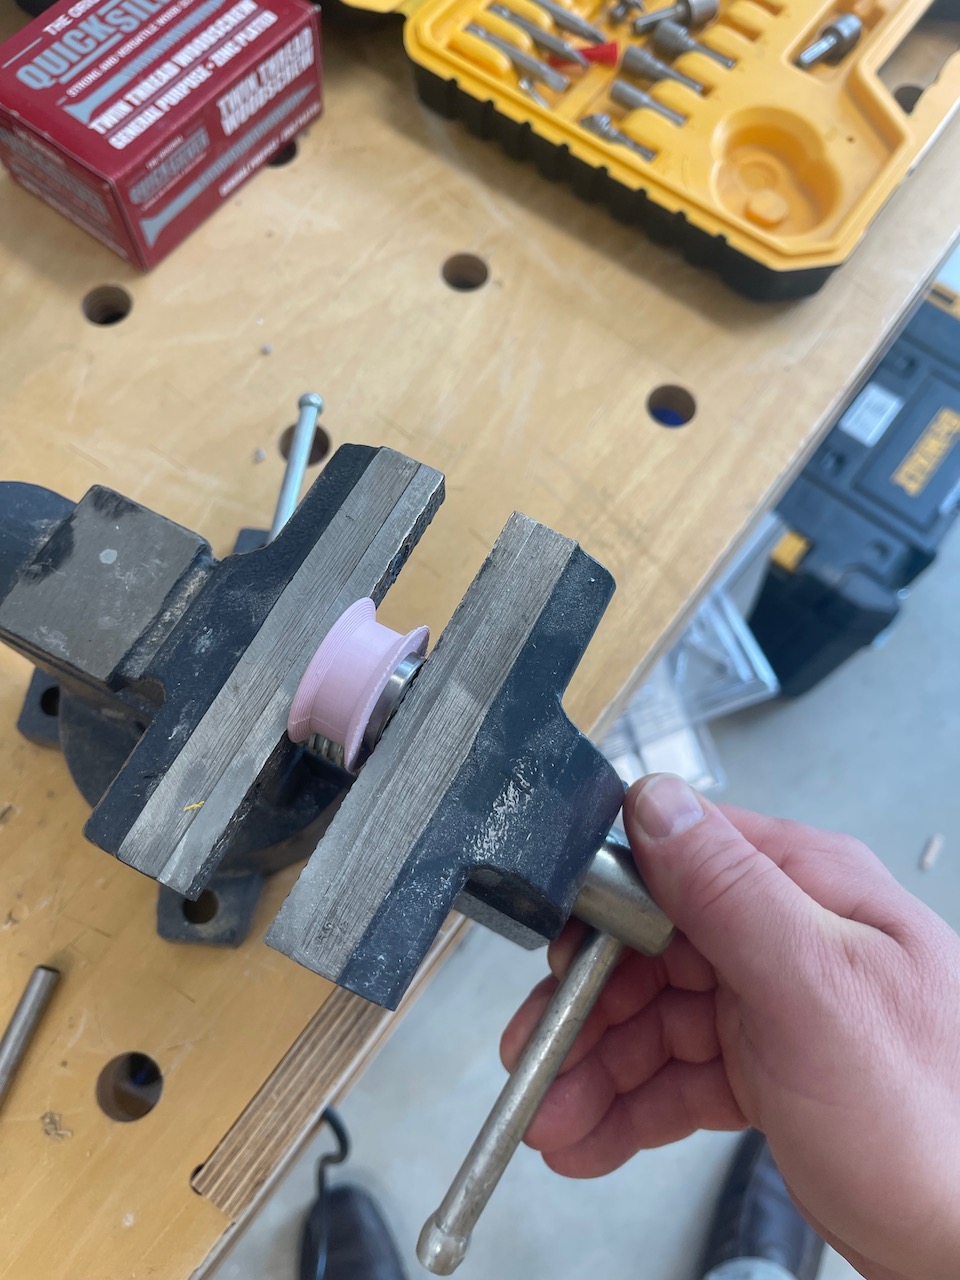
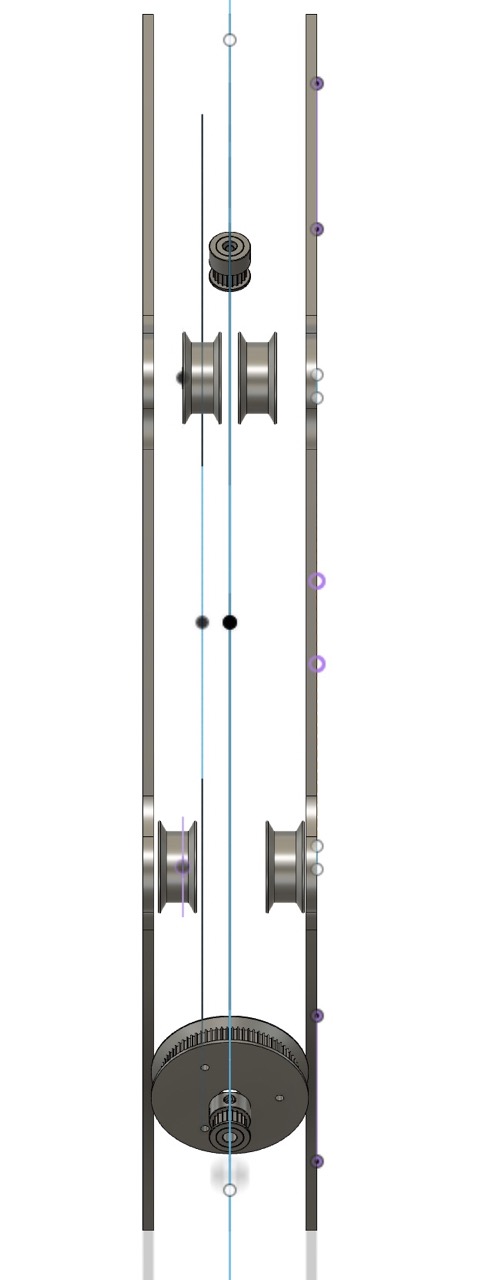
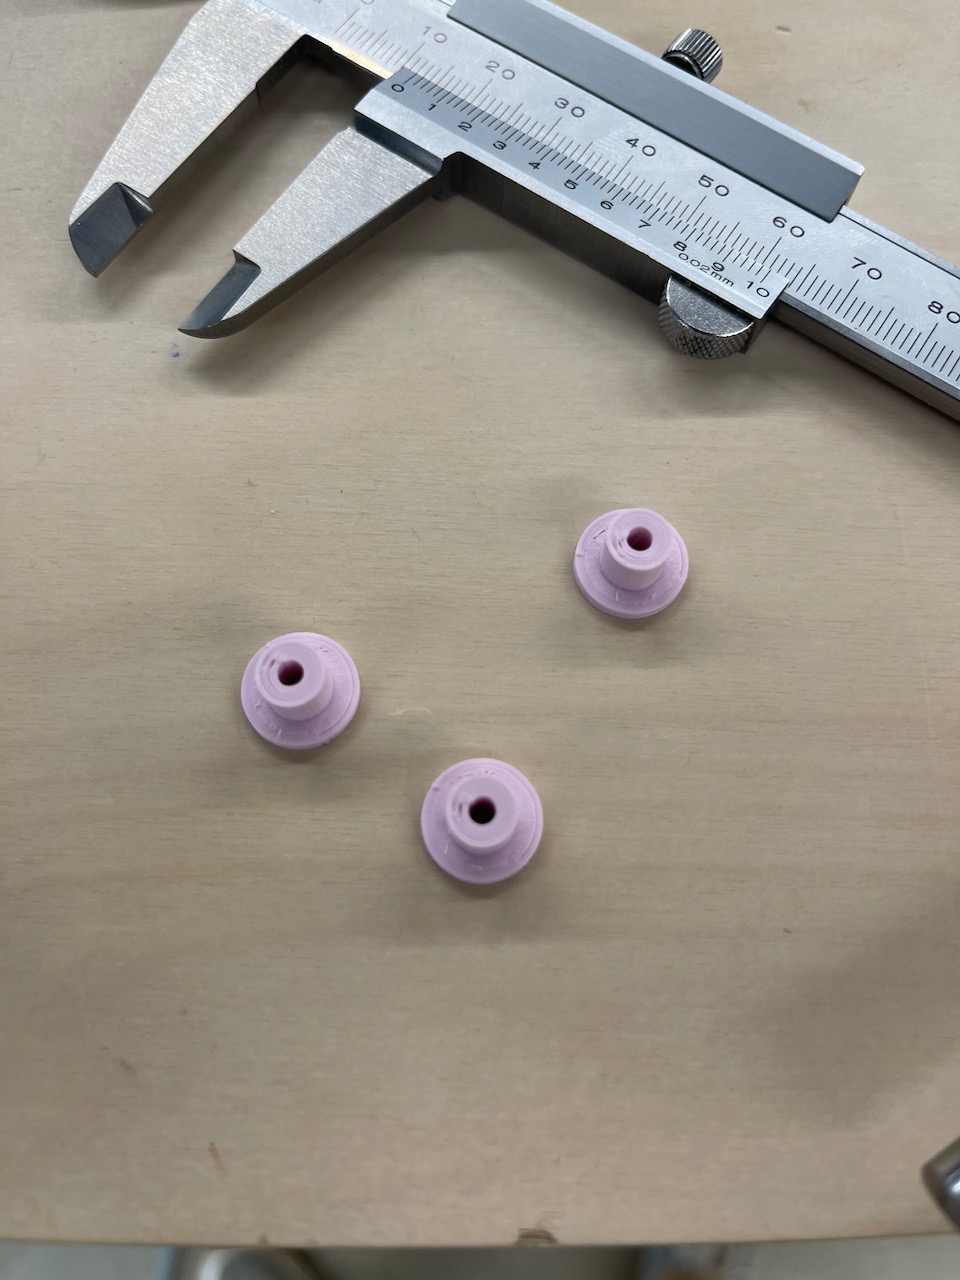
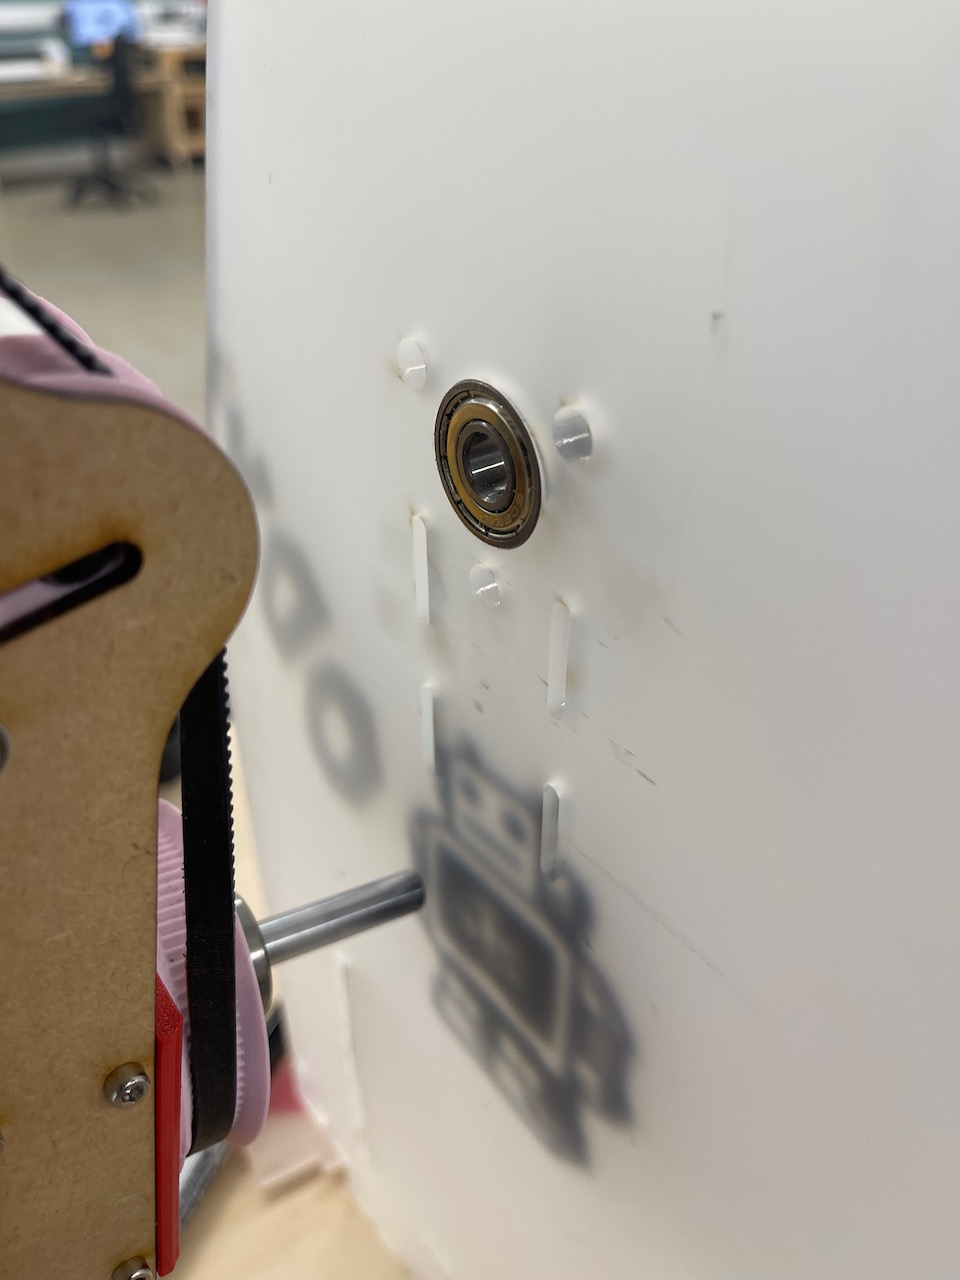
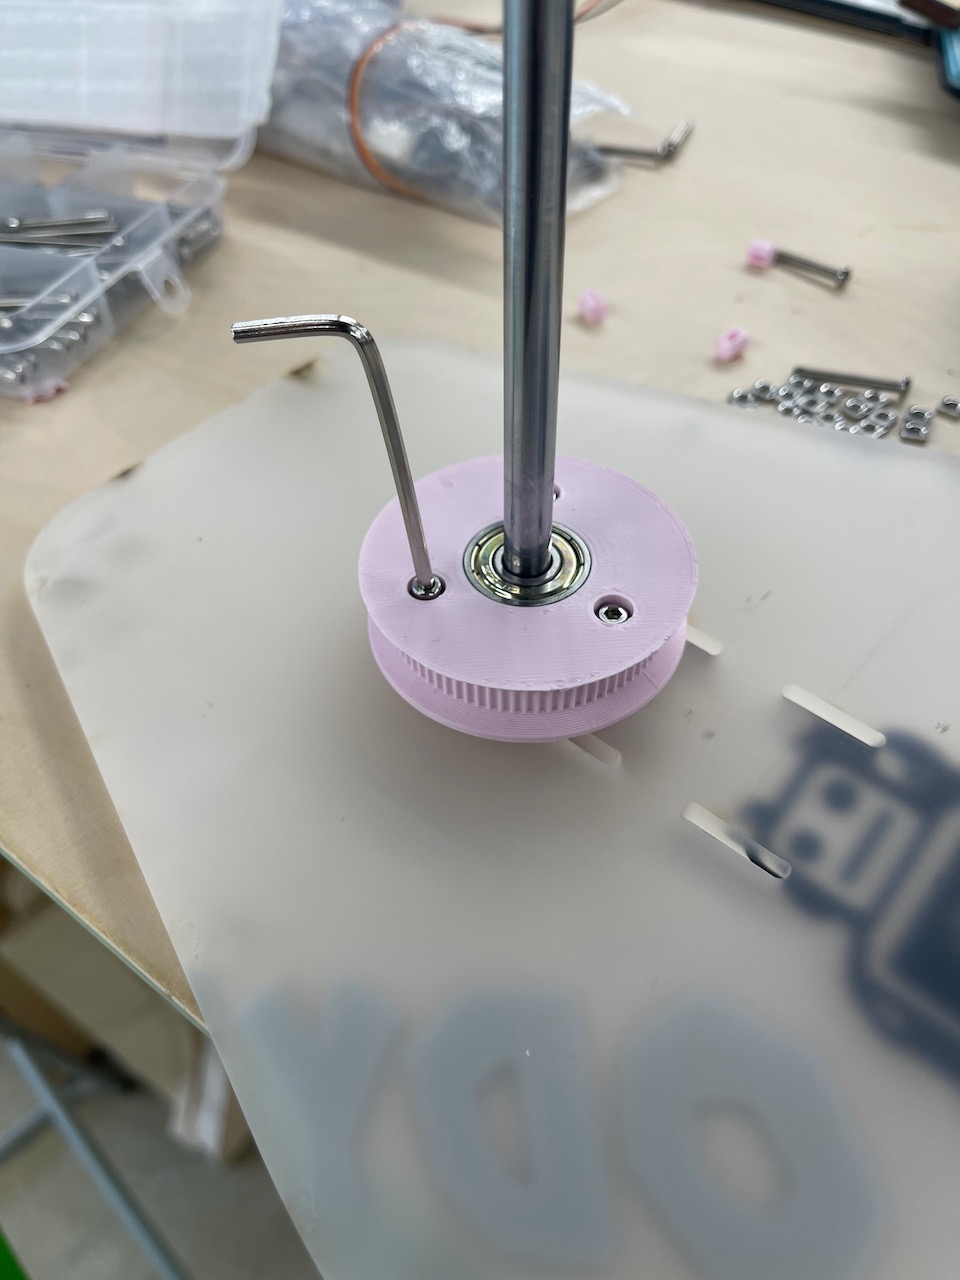
Skateboard bearings for the belt guide wheels - these are press fit undersized by approximately 0.1mm. We used the bench vice to fit the bearings.
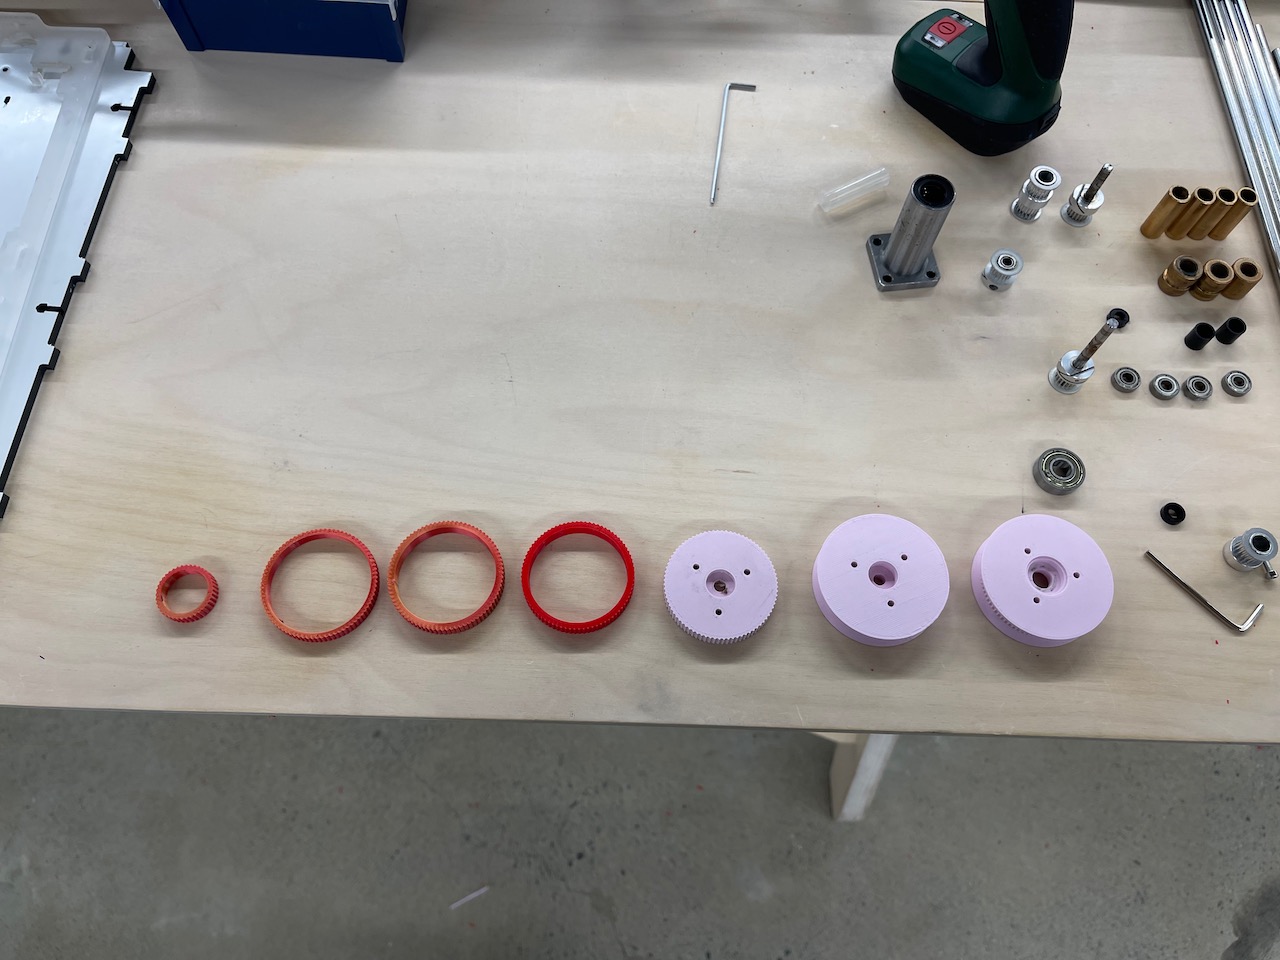
Belt gear size iterations - this was to fine tune the tooth size and pitch in CAD to make sure we had good engagement with the belt.
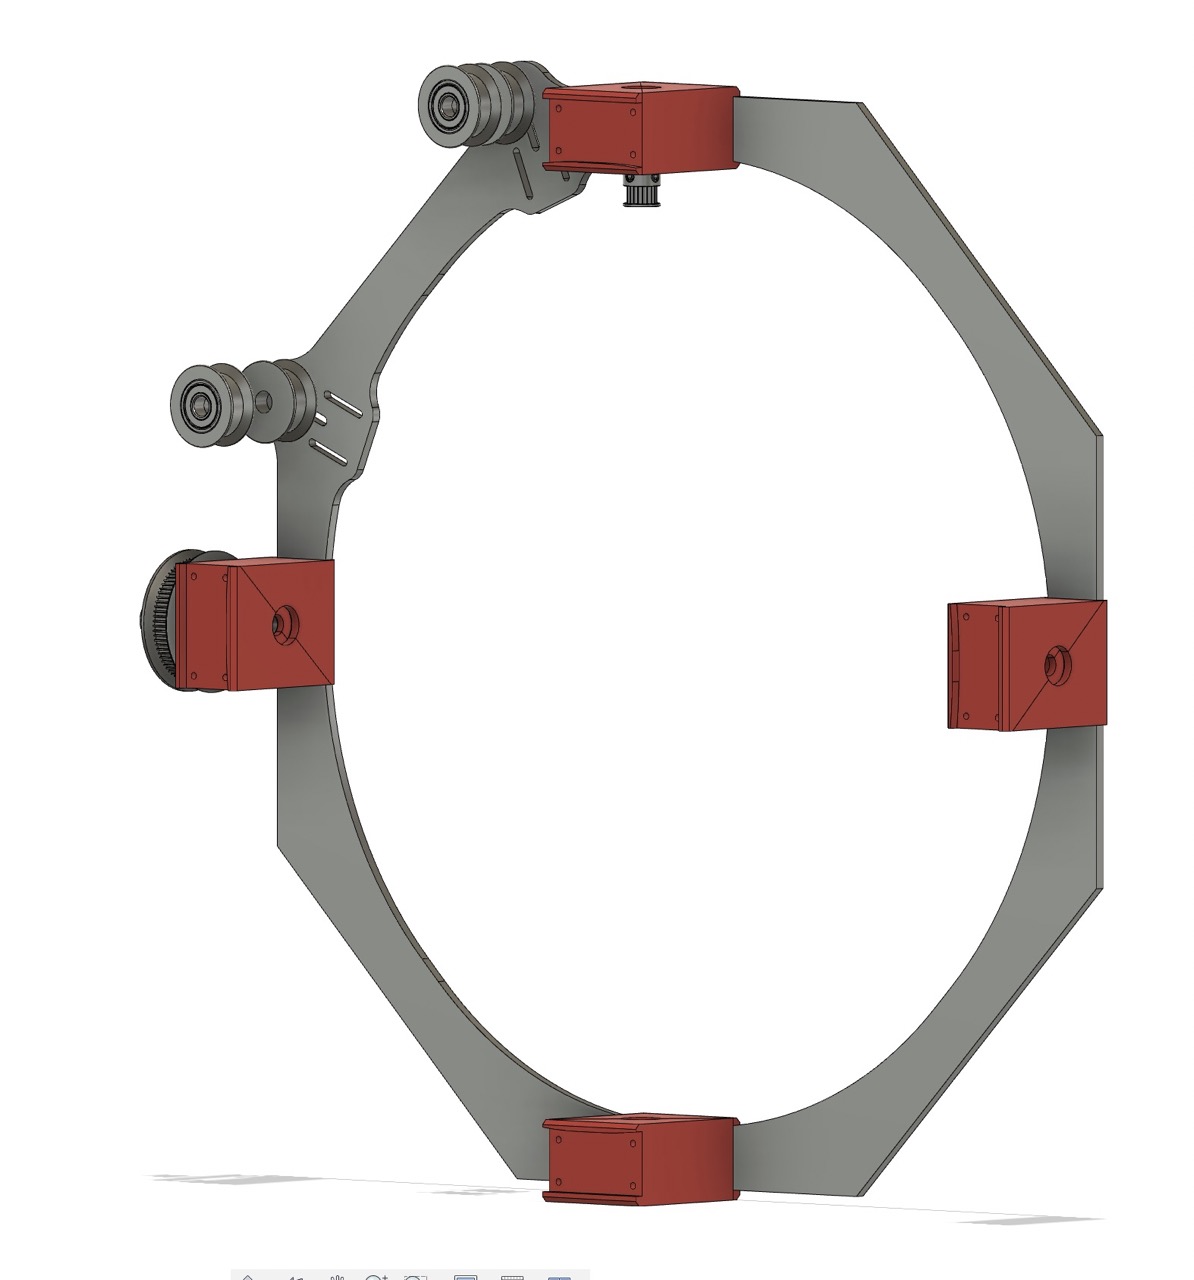
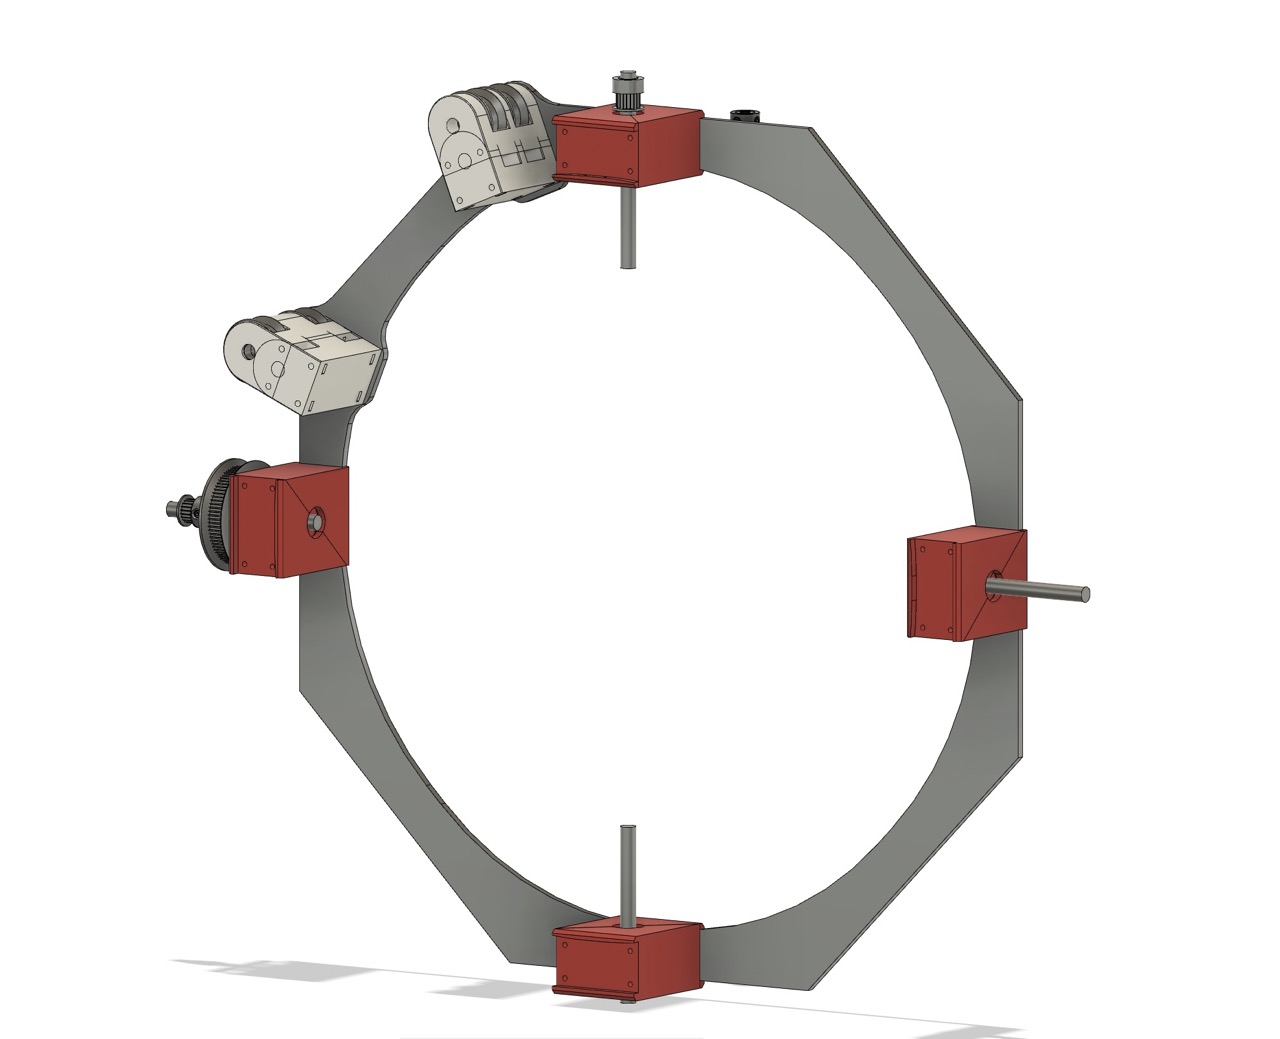
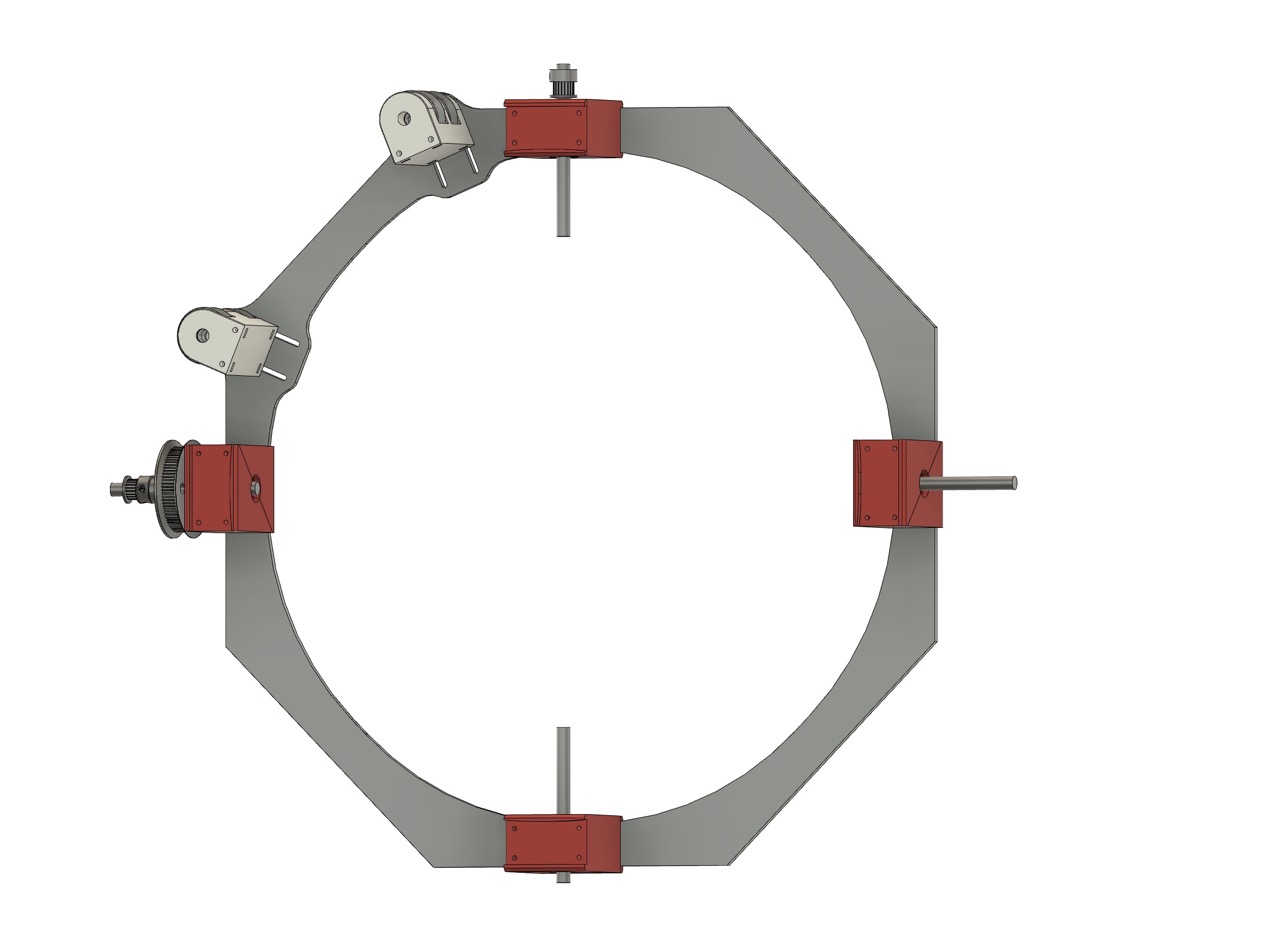
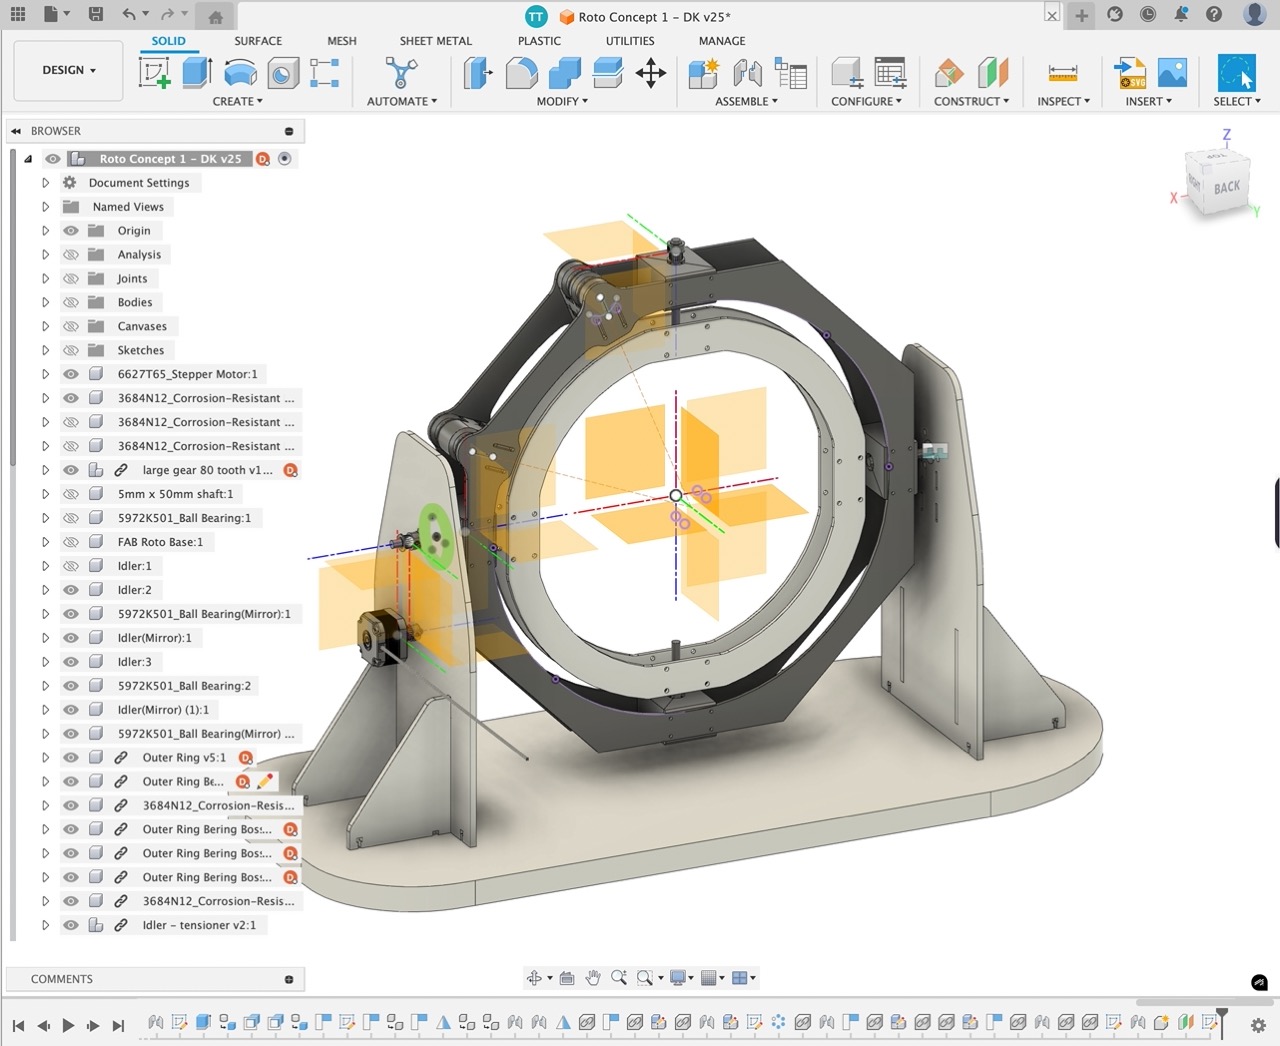
Mechanical Design
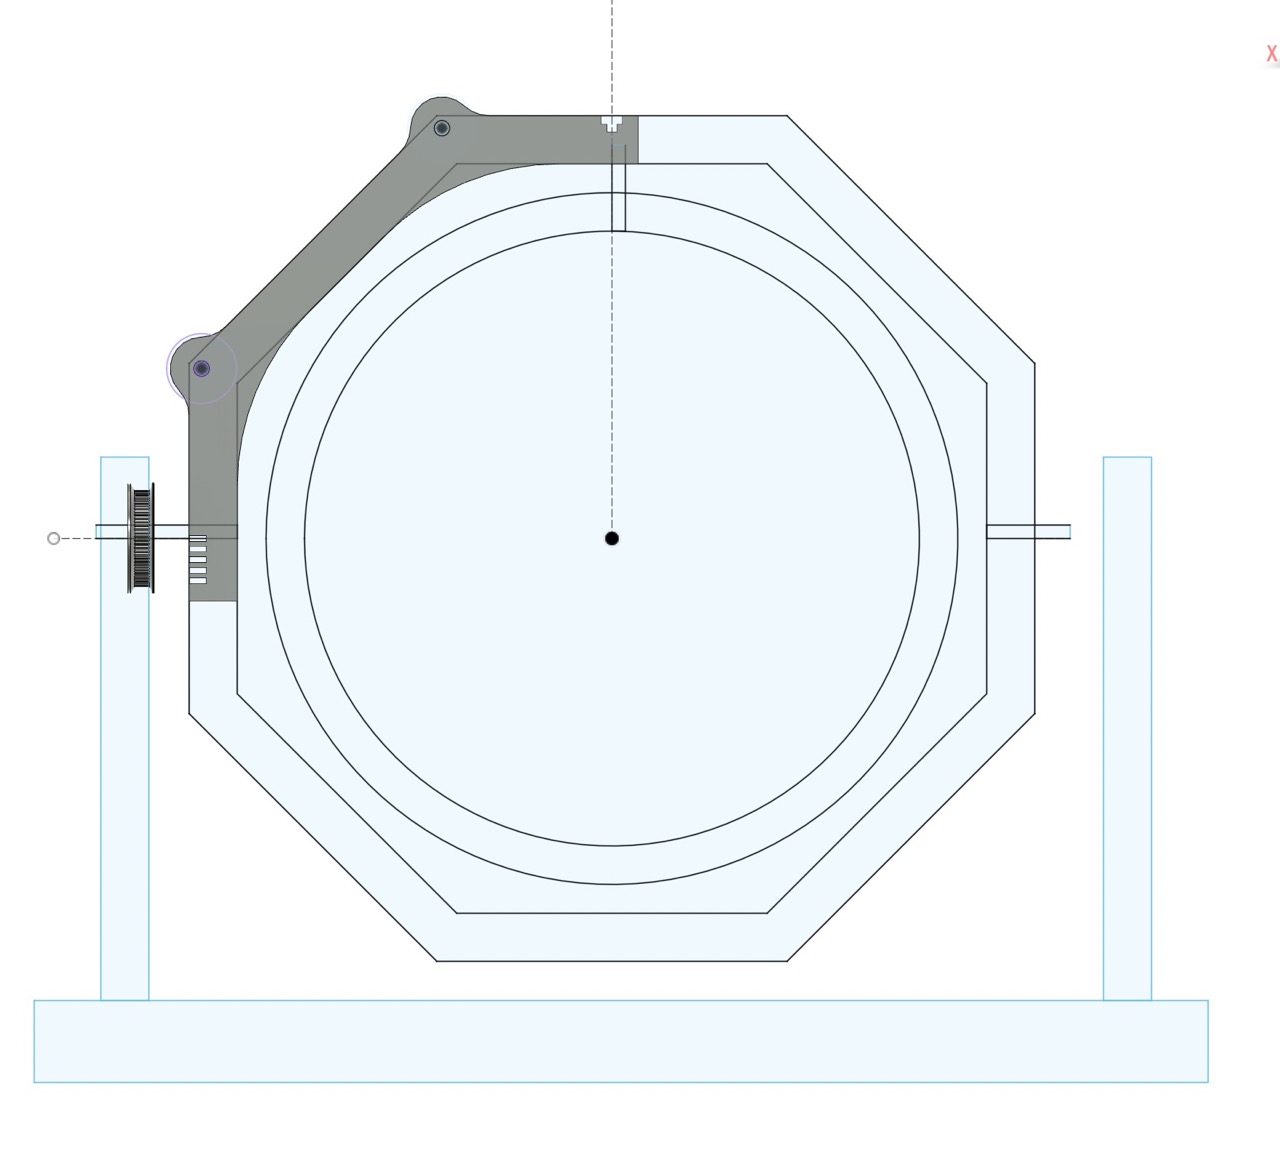
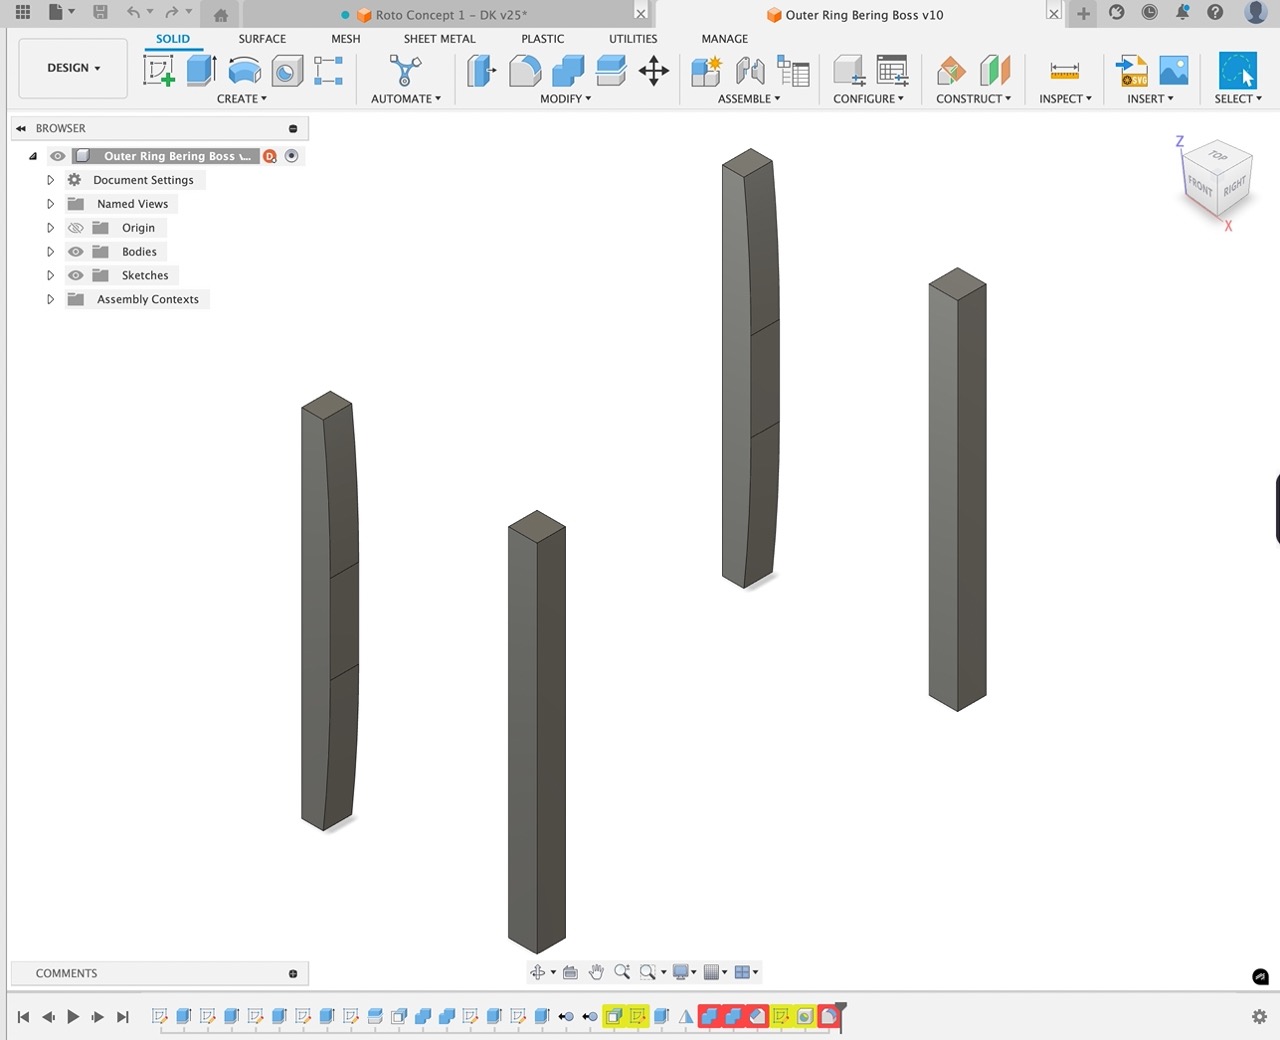
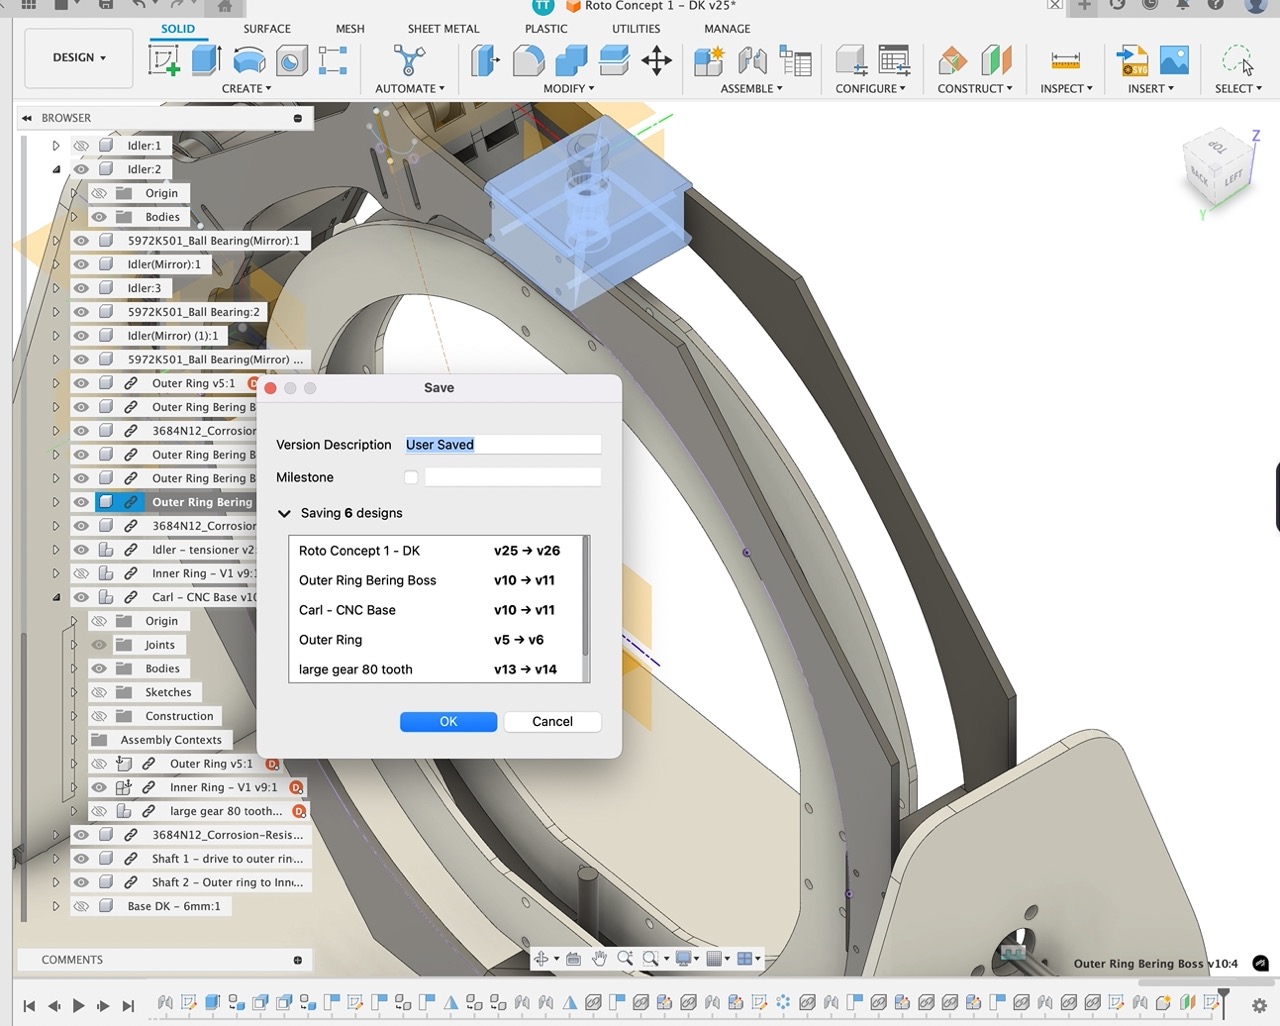
I was tasked with the mechanical design of the roto-casting machine in CAD. We used Autodesk Fusion - however, this was sub-divided into manageable parts between myself and Carl after a discussion on the 16th of April.
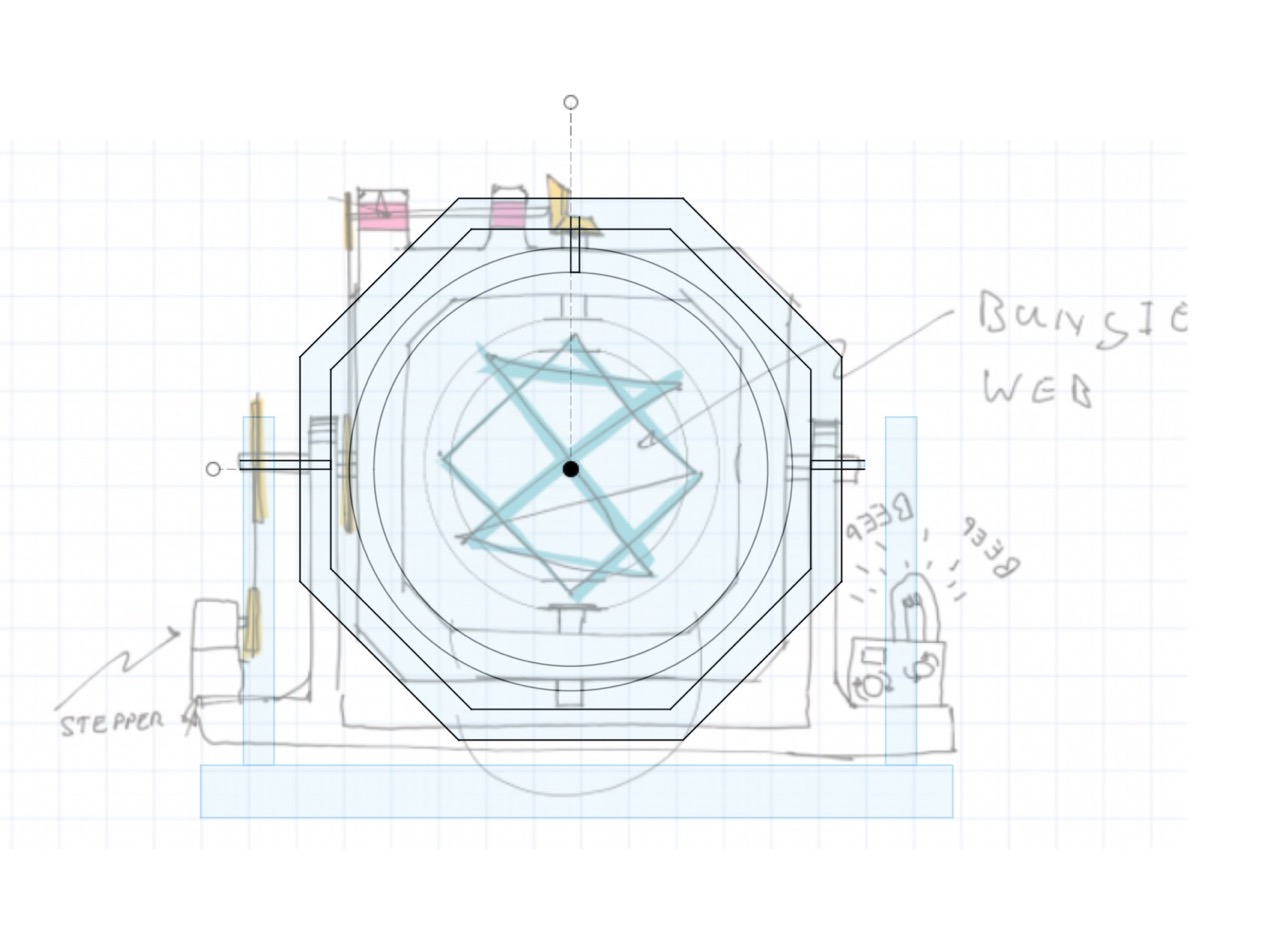
I took Carl's sketch into Fusion and modelled the parts based on this concept.
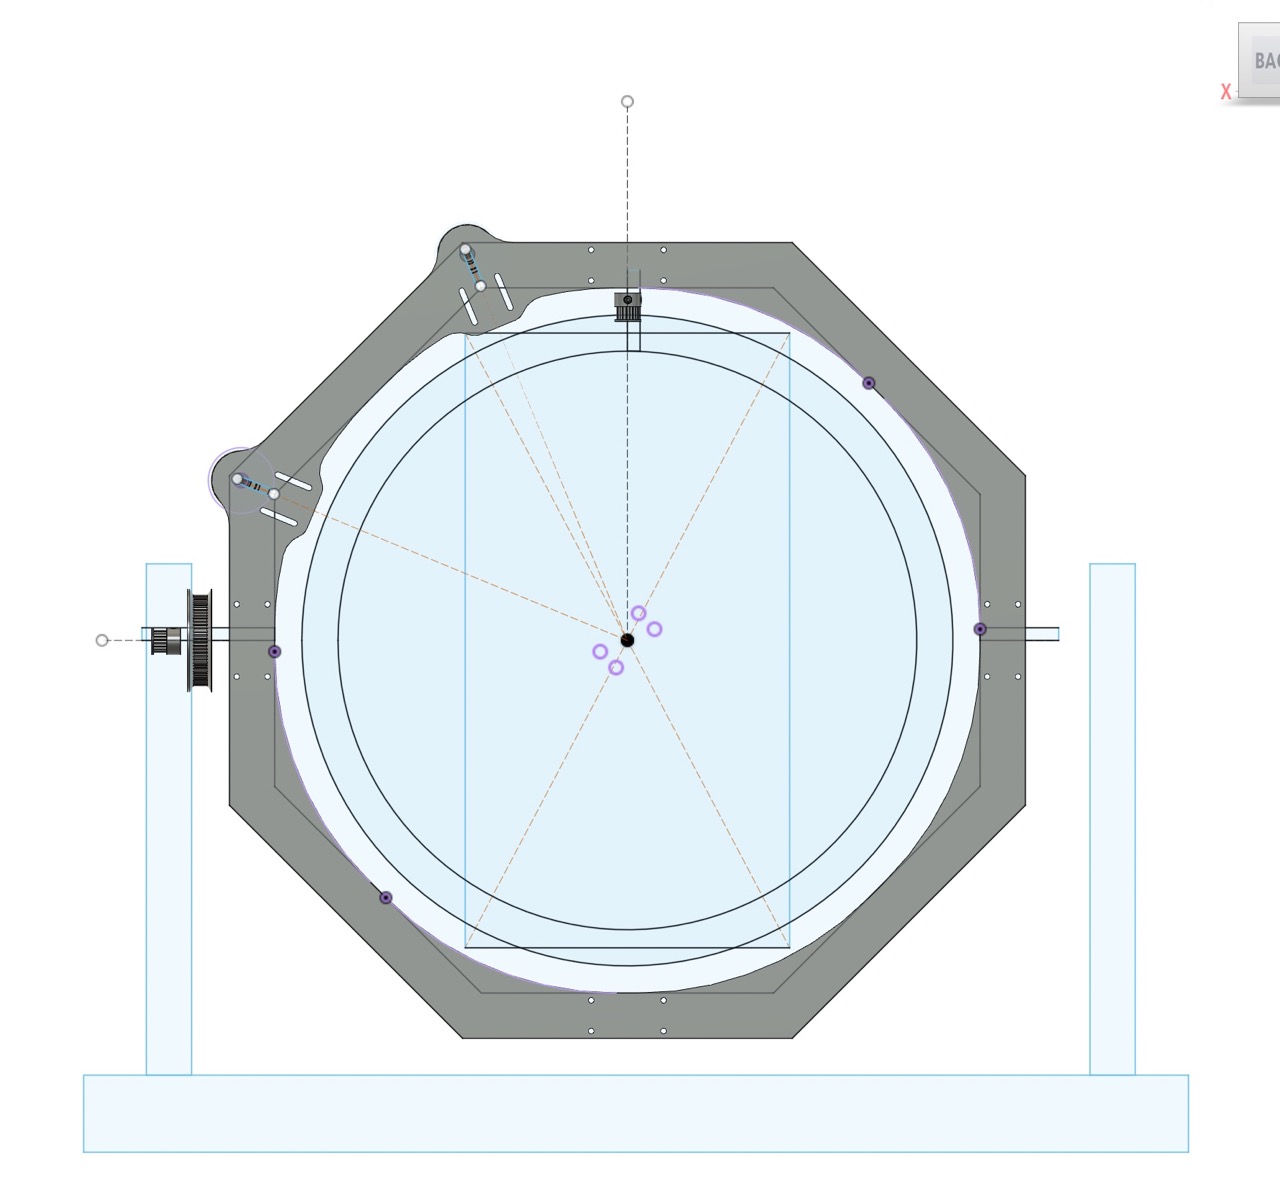
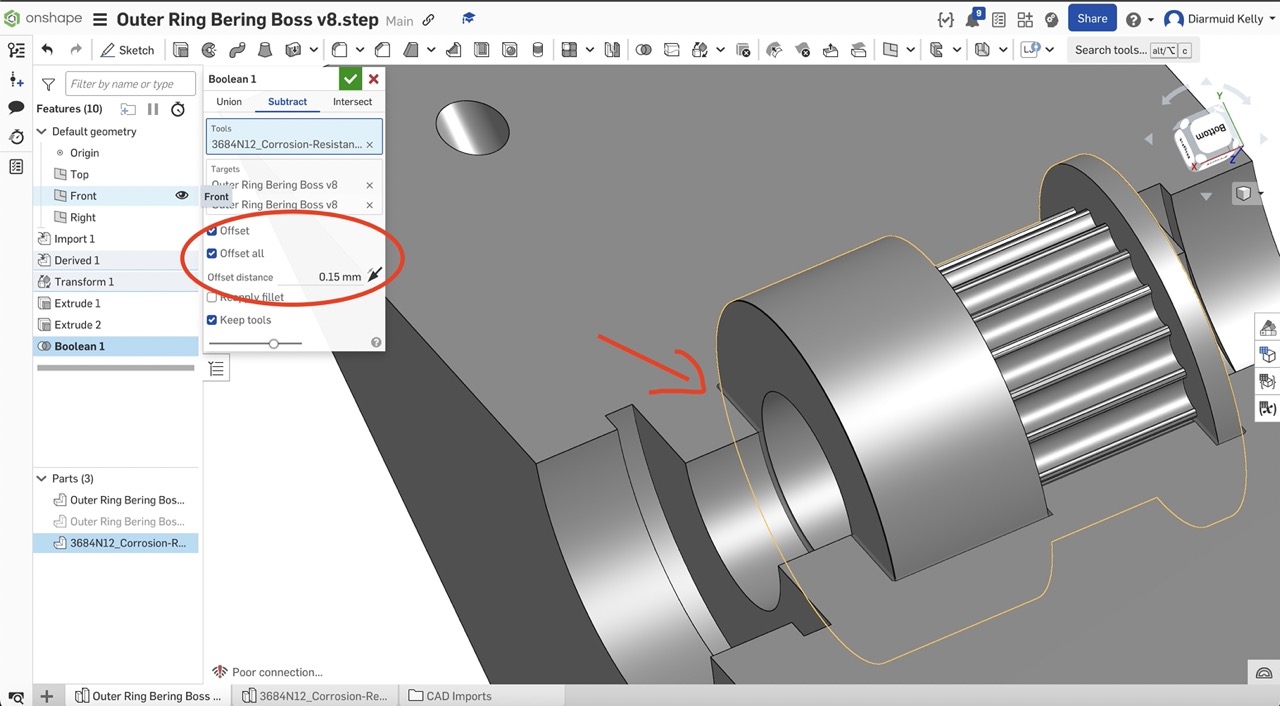
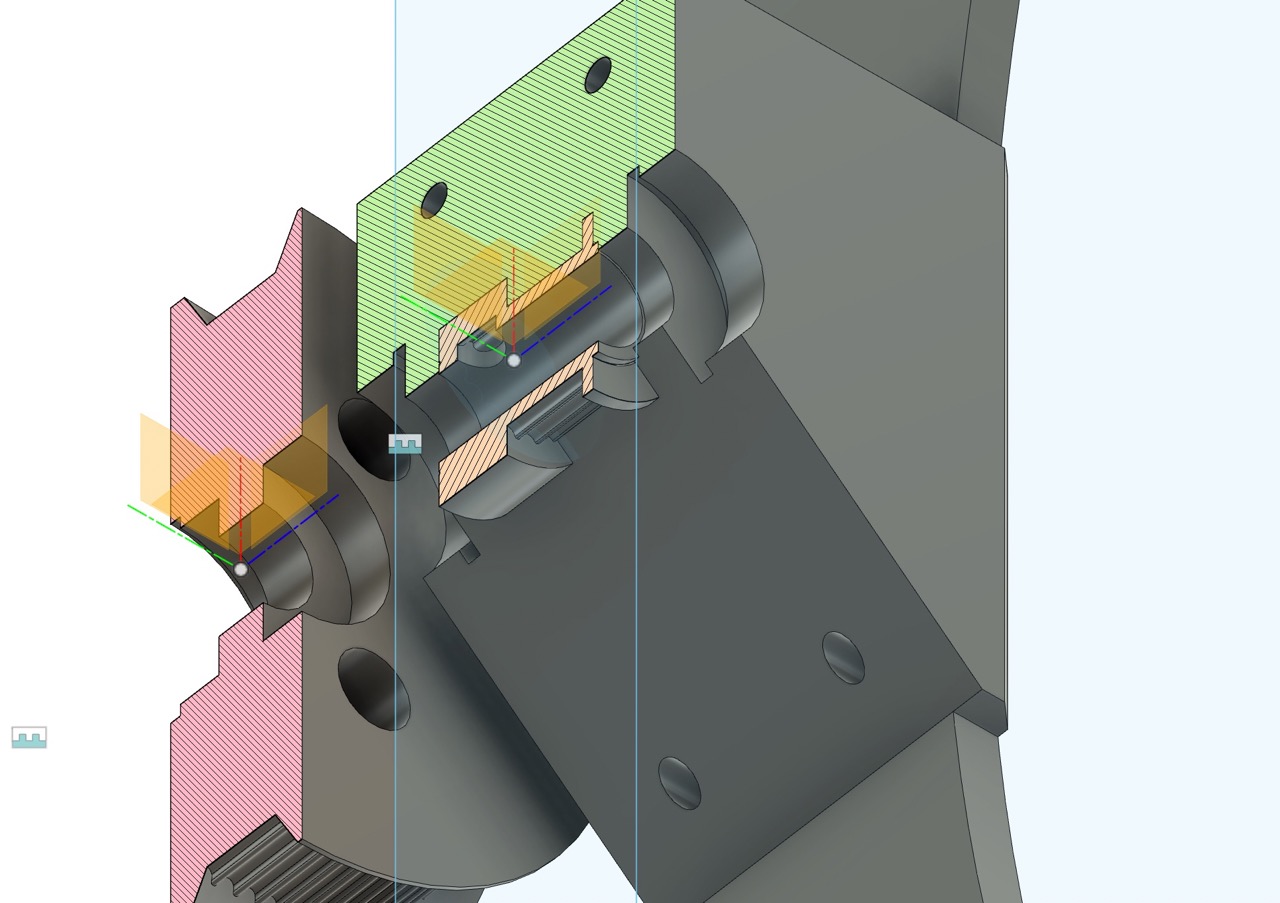
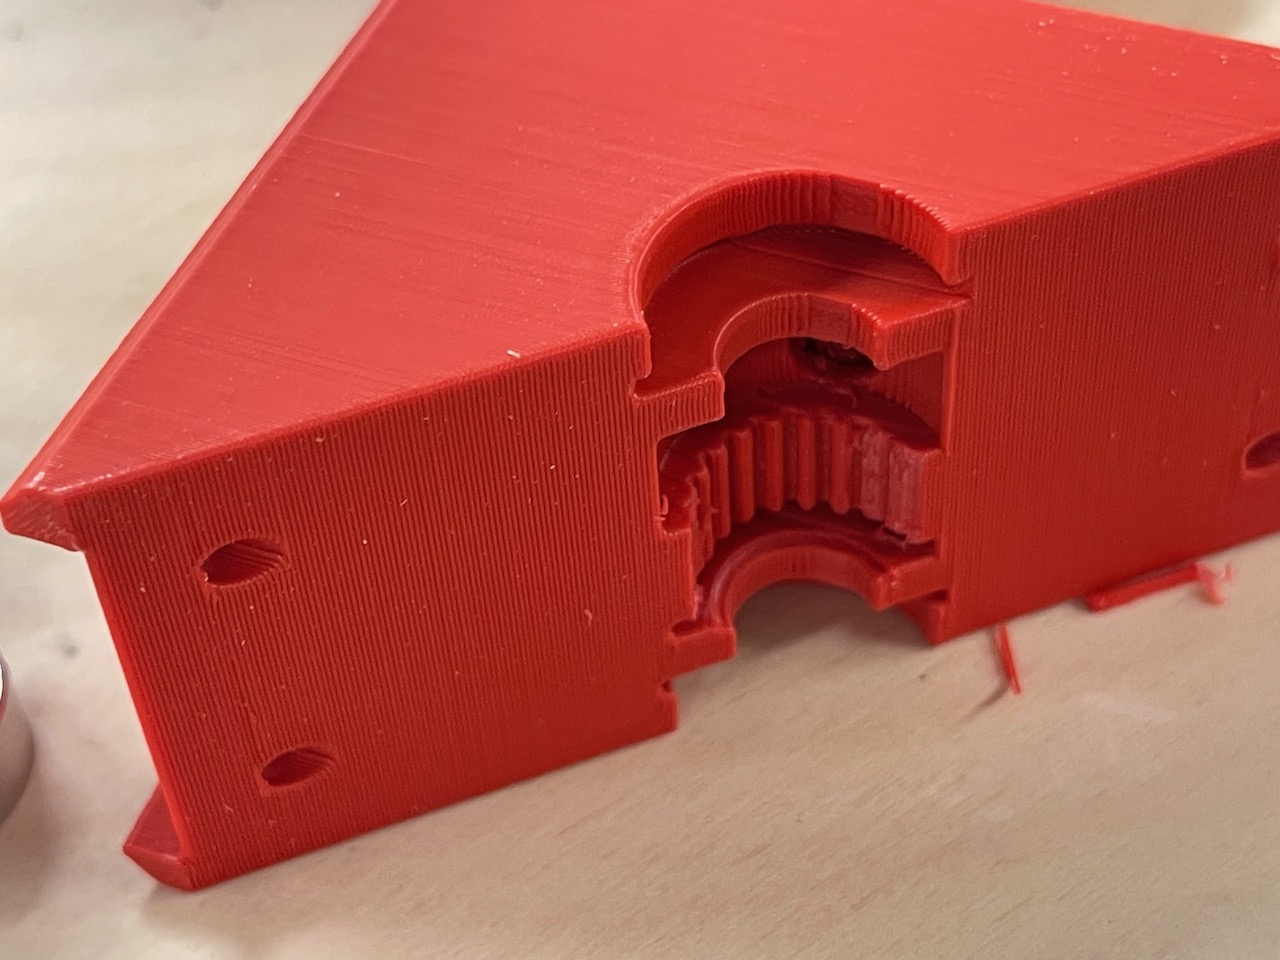
Below is a screenshot from Onshape - I used it to add tolerance to the printed part that encapsulates the belt gear. We can offset the surface by 0.15mm.
I imported the parts from Fusion to do this - as far as I'm aware, Fusion doesn't have a feature that can offset all faces when performing combine like Onshape can with the boolean feature.


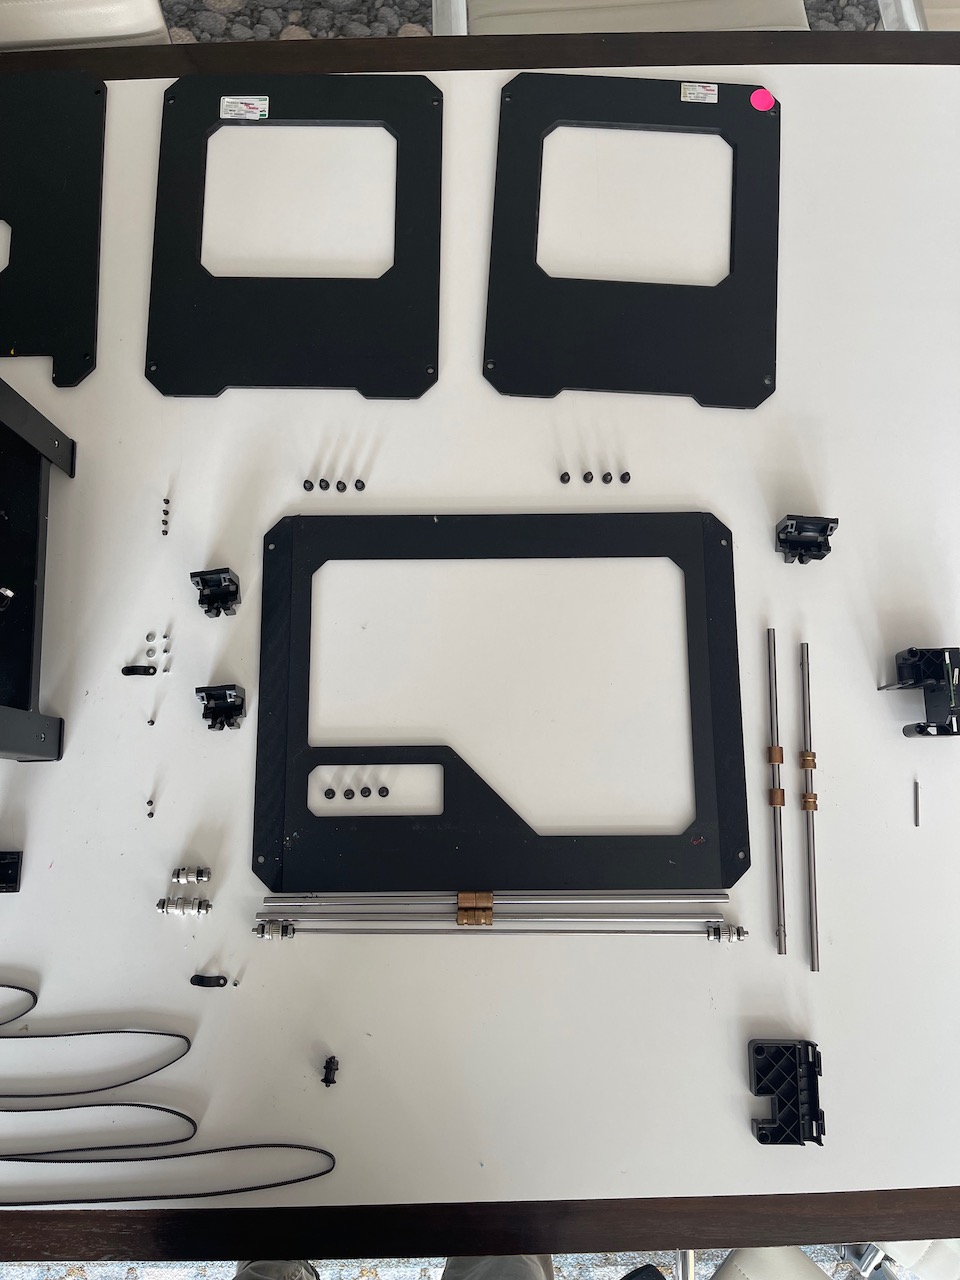
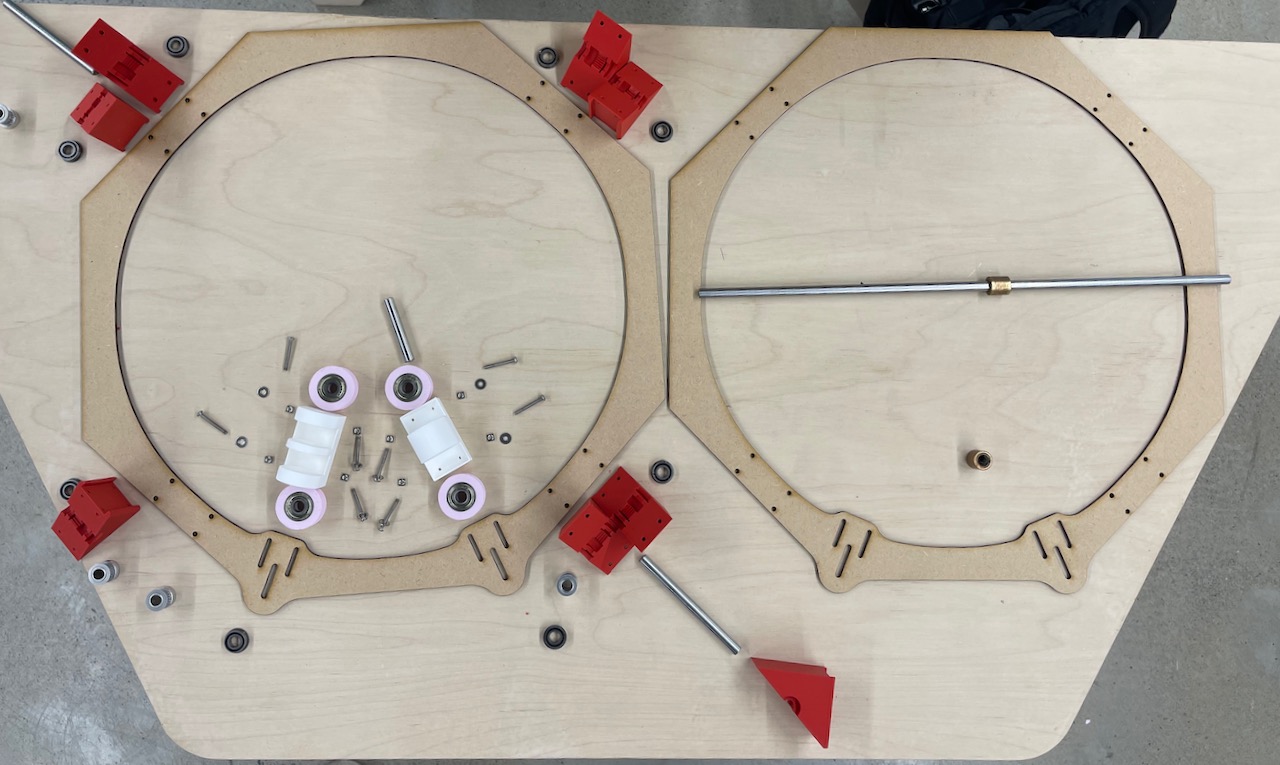
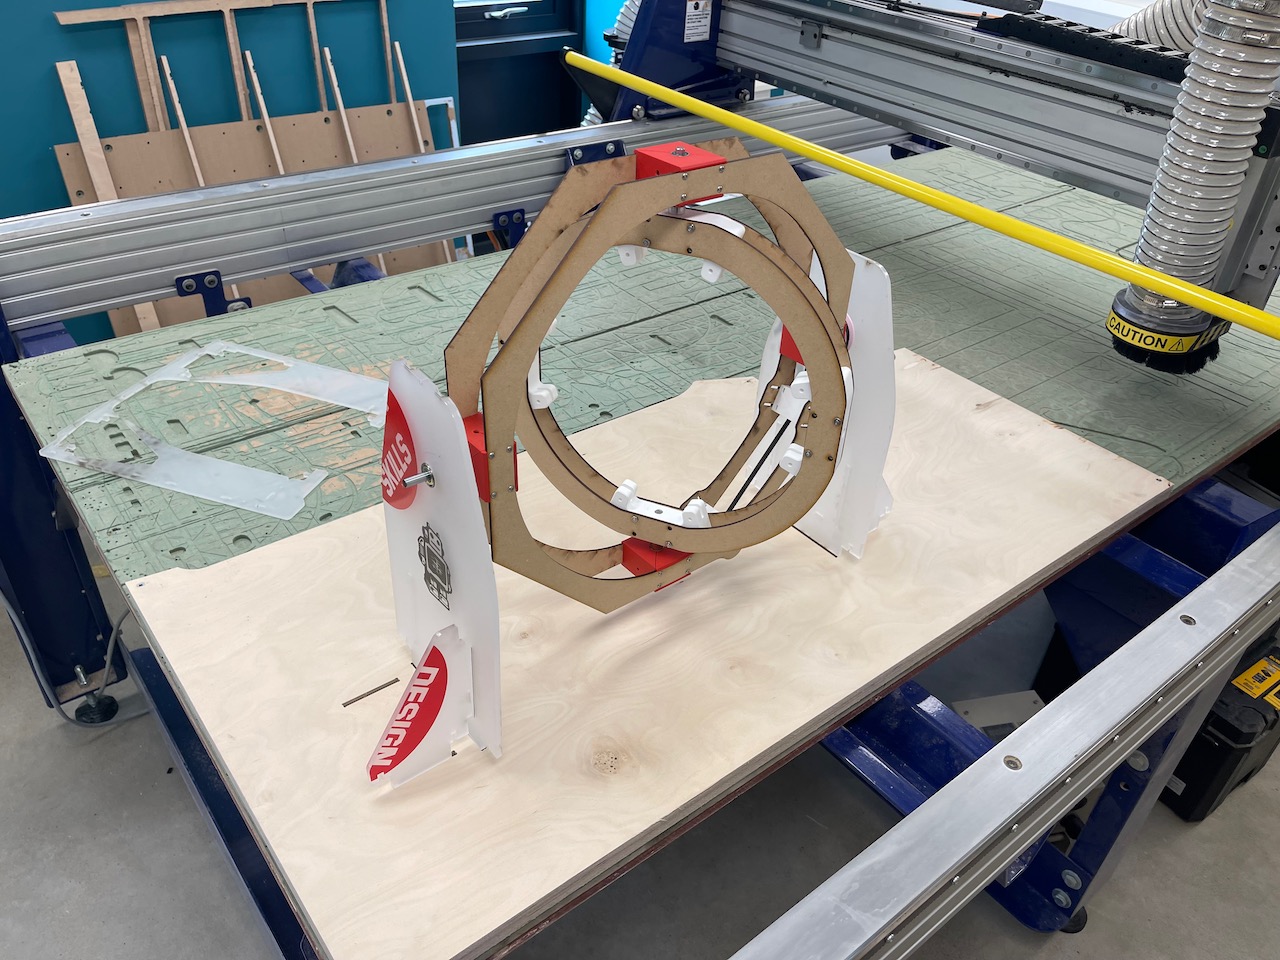
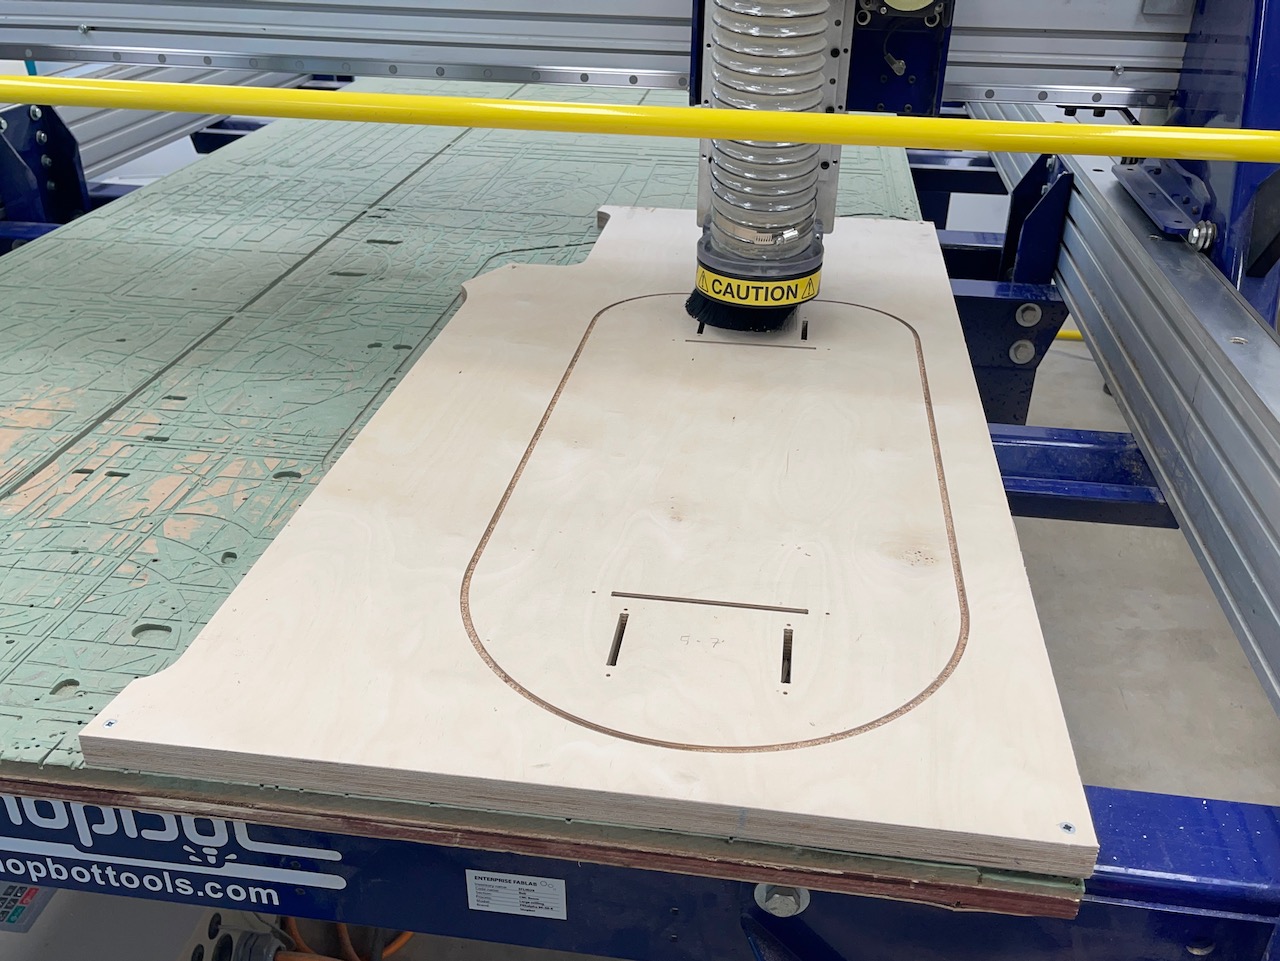
Printed and laser-cut parts ready for assembly.
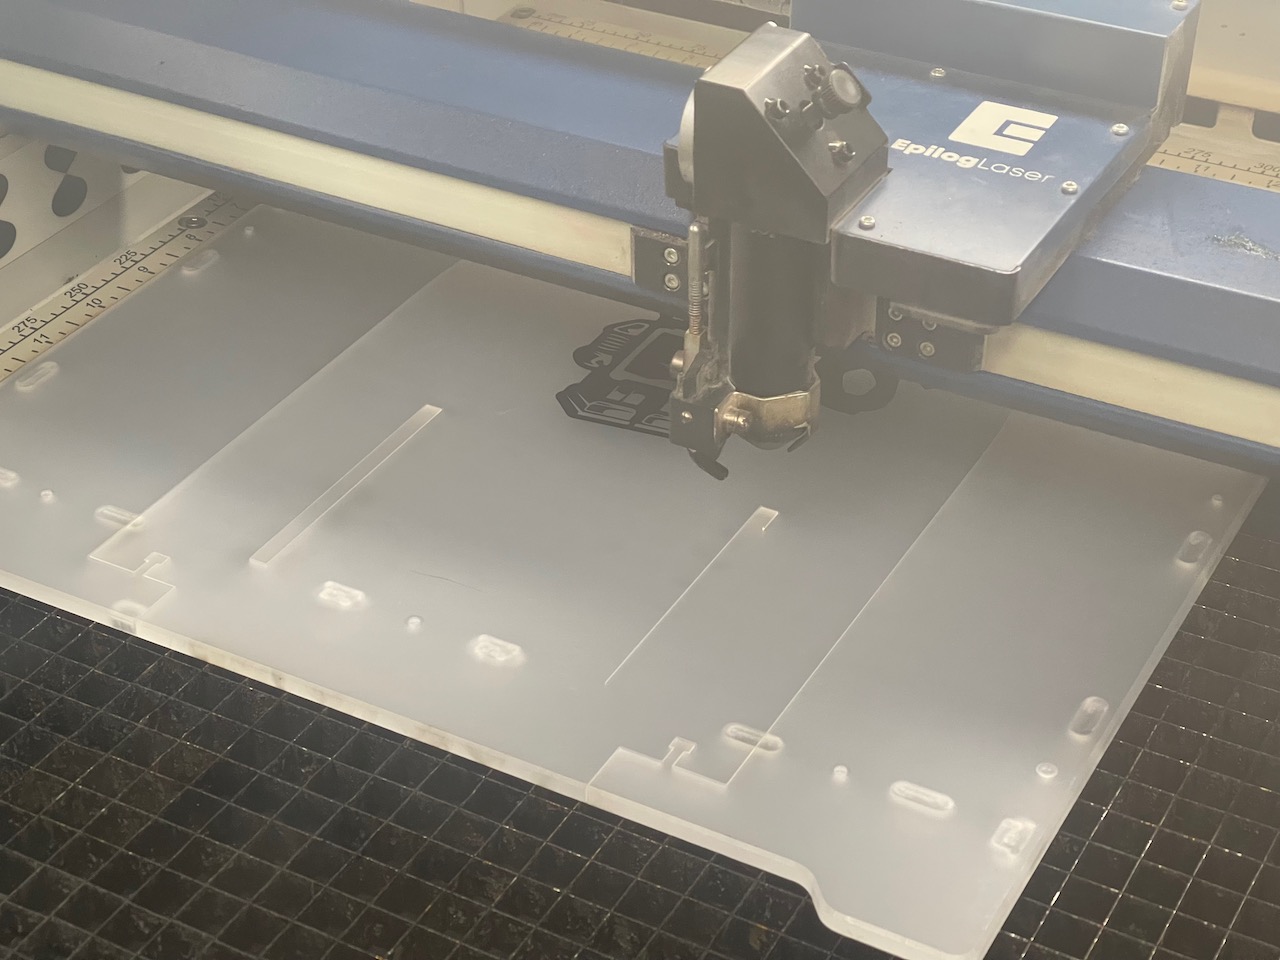
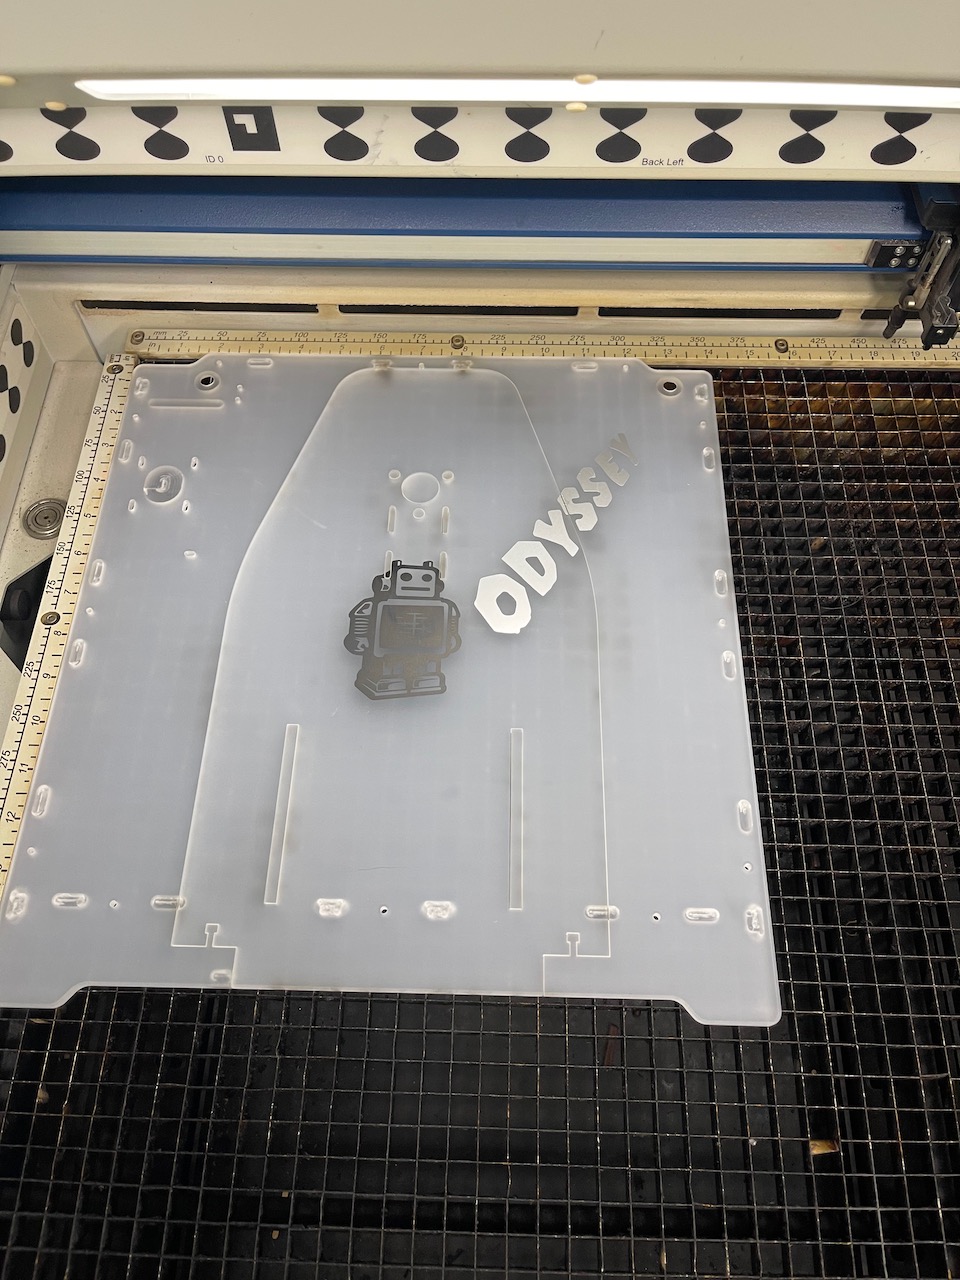
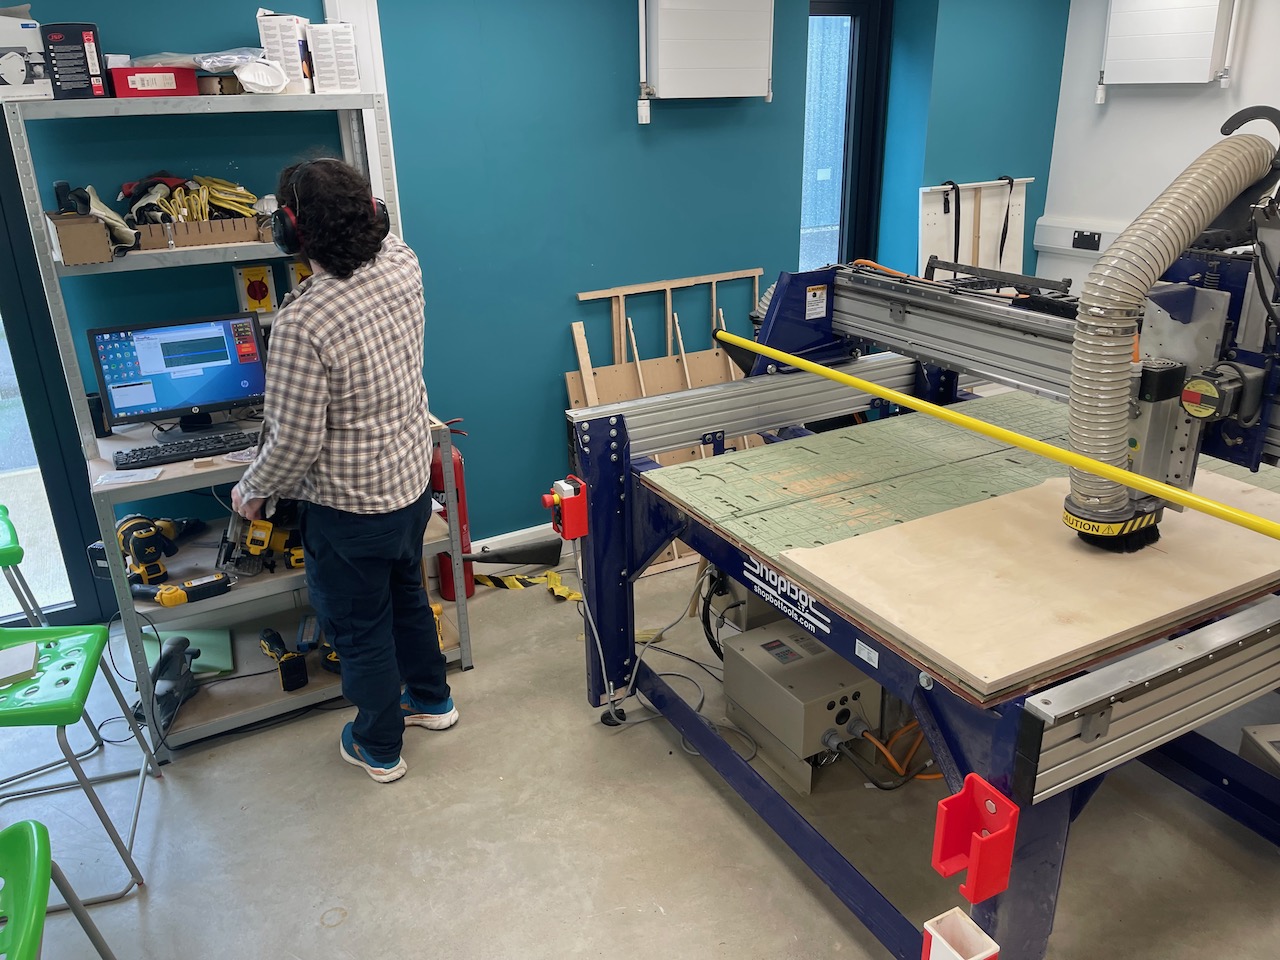
I laser-cut the parts using 3mm hardboard - see time-lapse video below.
Printed parts and laser-cut parts ready for assembly.
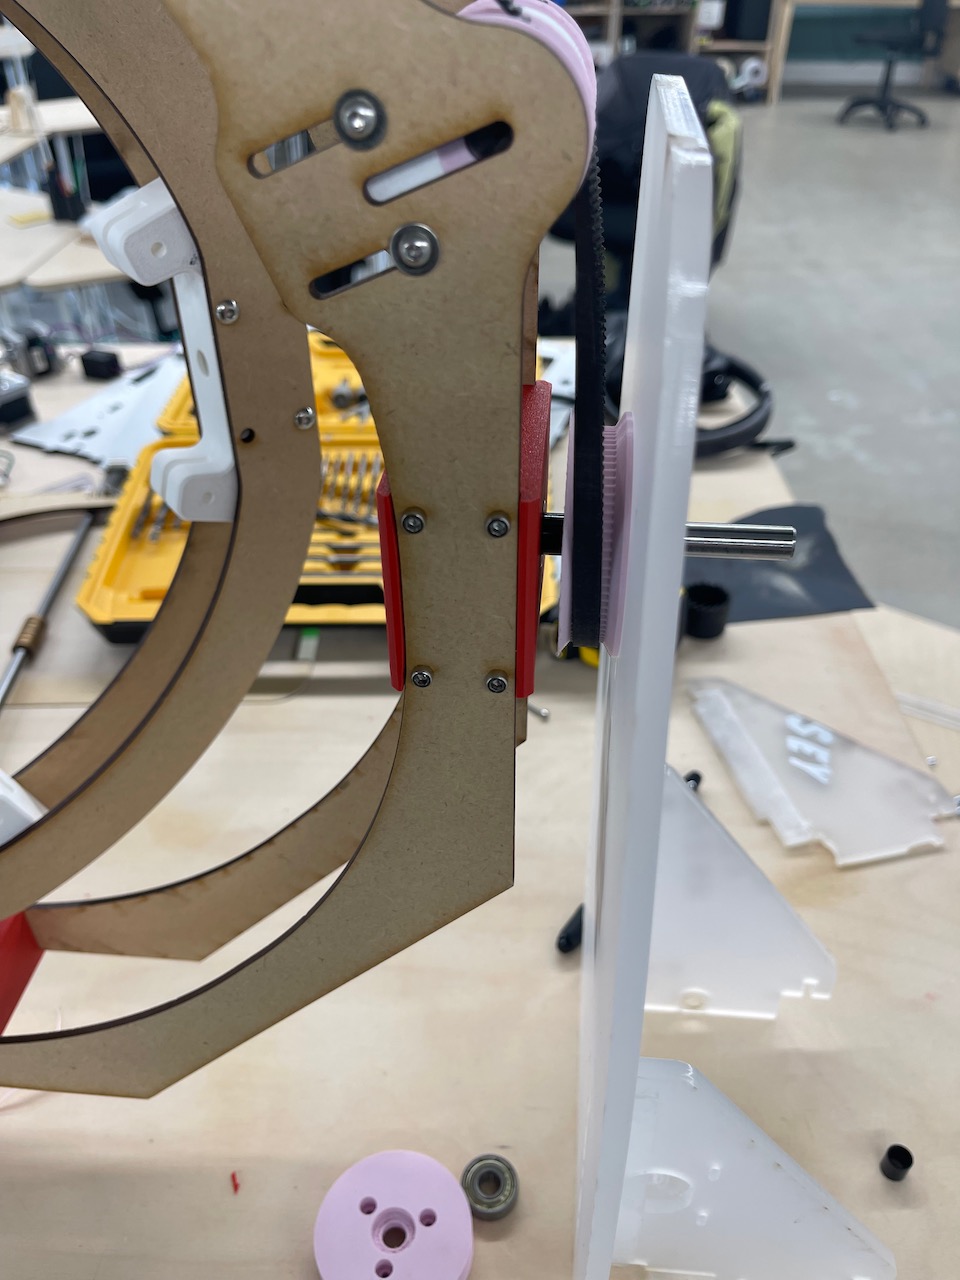
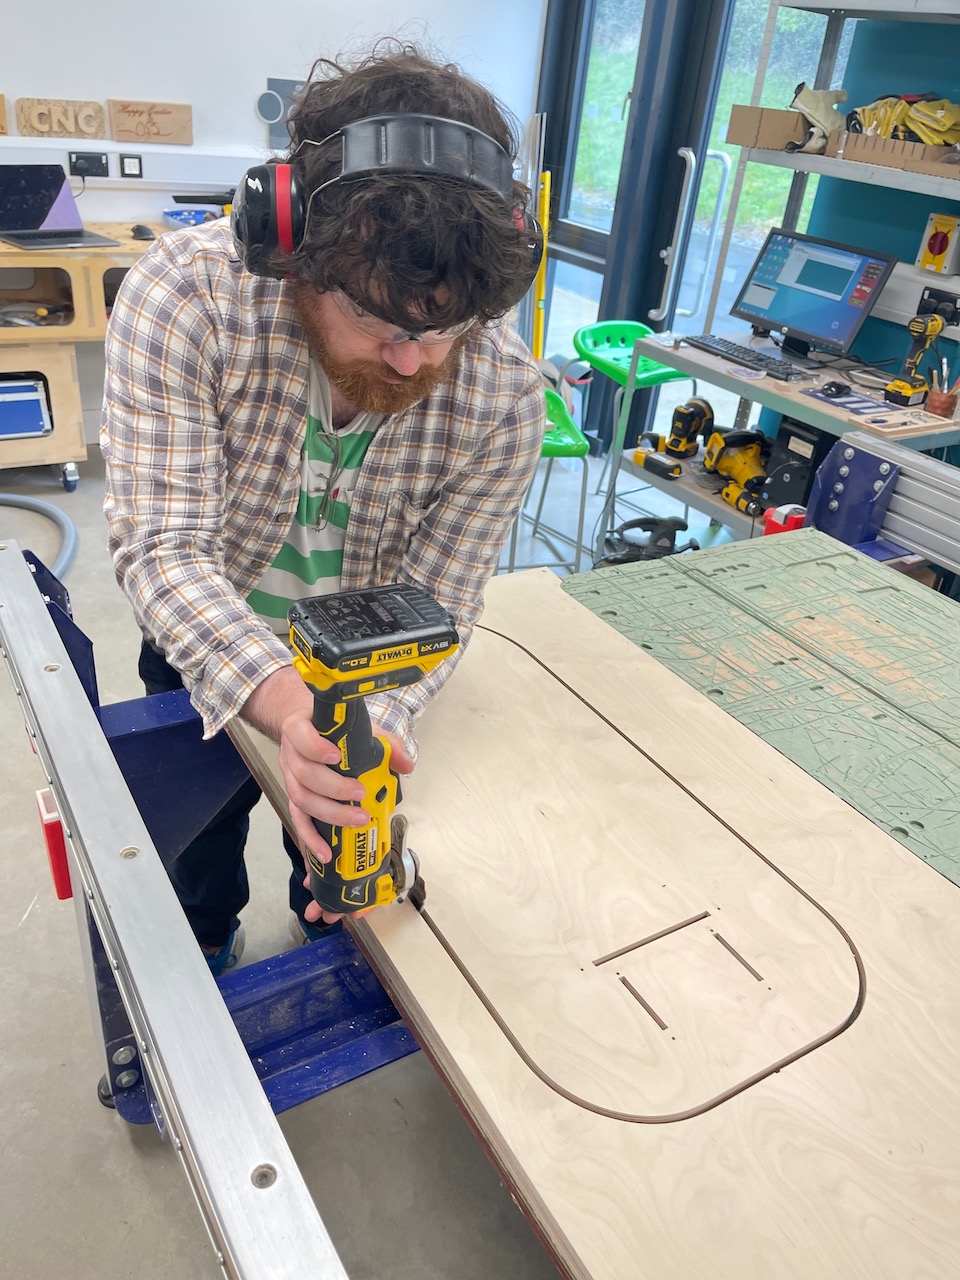
Some holes need to be drilled for the Allen key to tighten the belt onto the steel rod - easy fix, need to update the CAD!
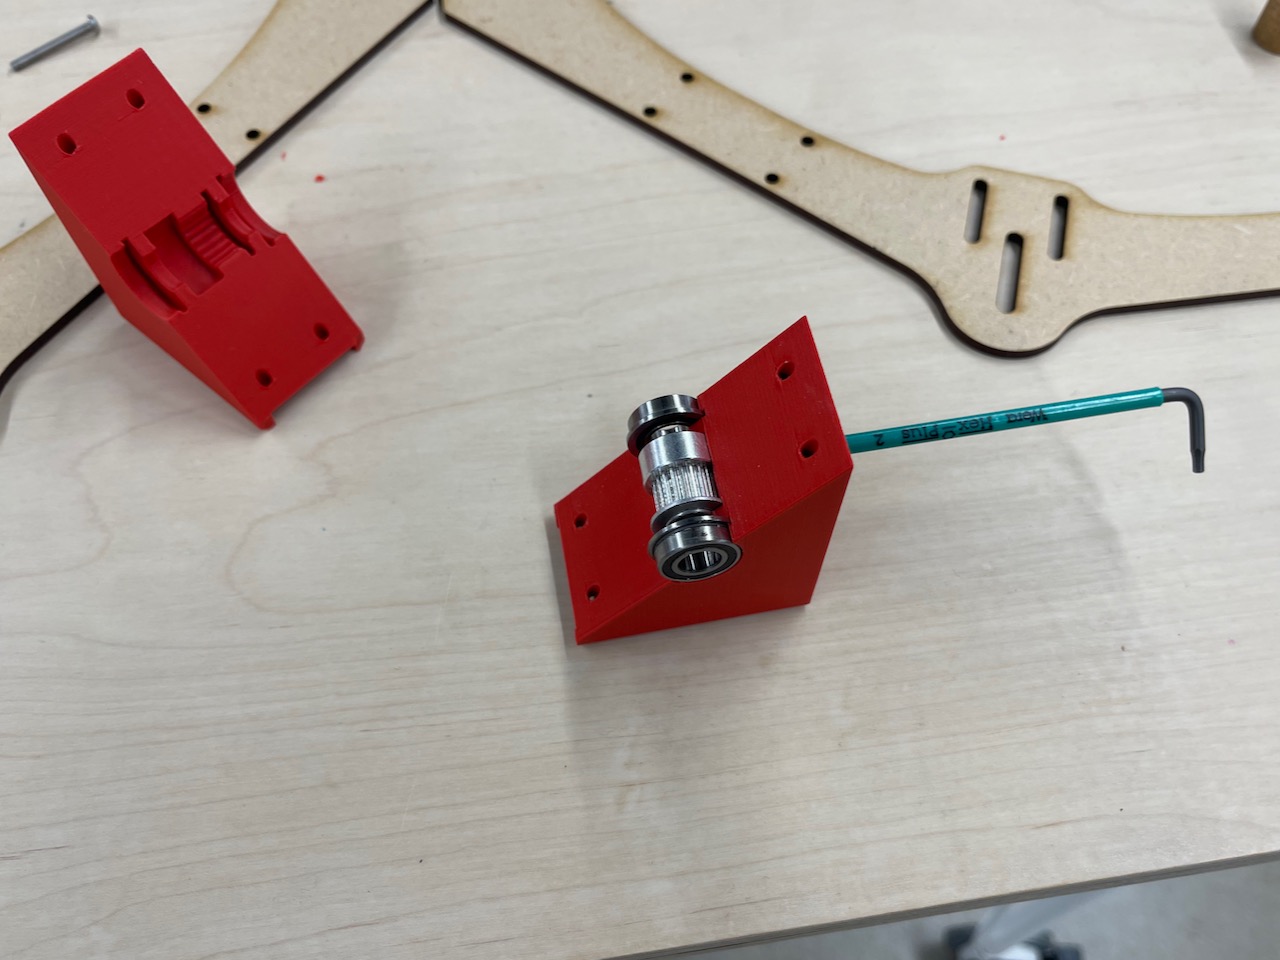
Also had to cut off the first tooth to get the belt gear to fit.

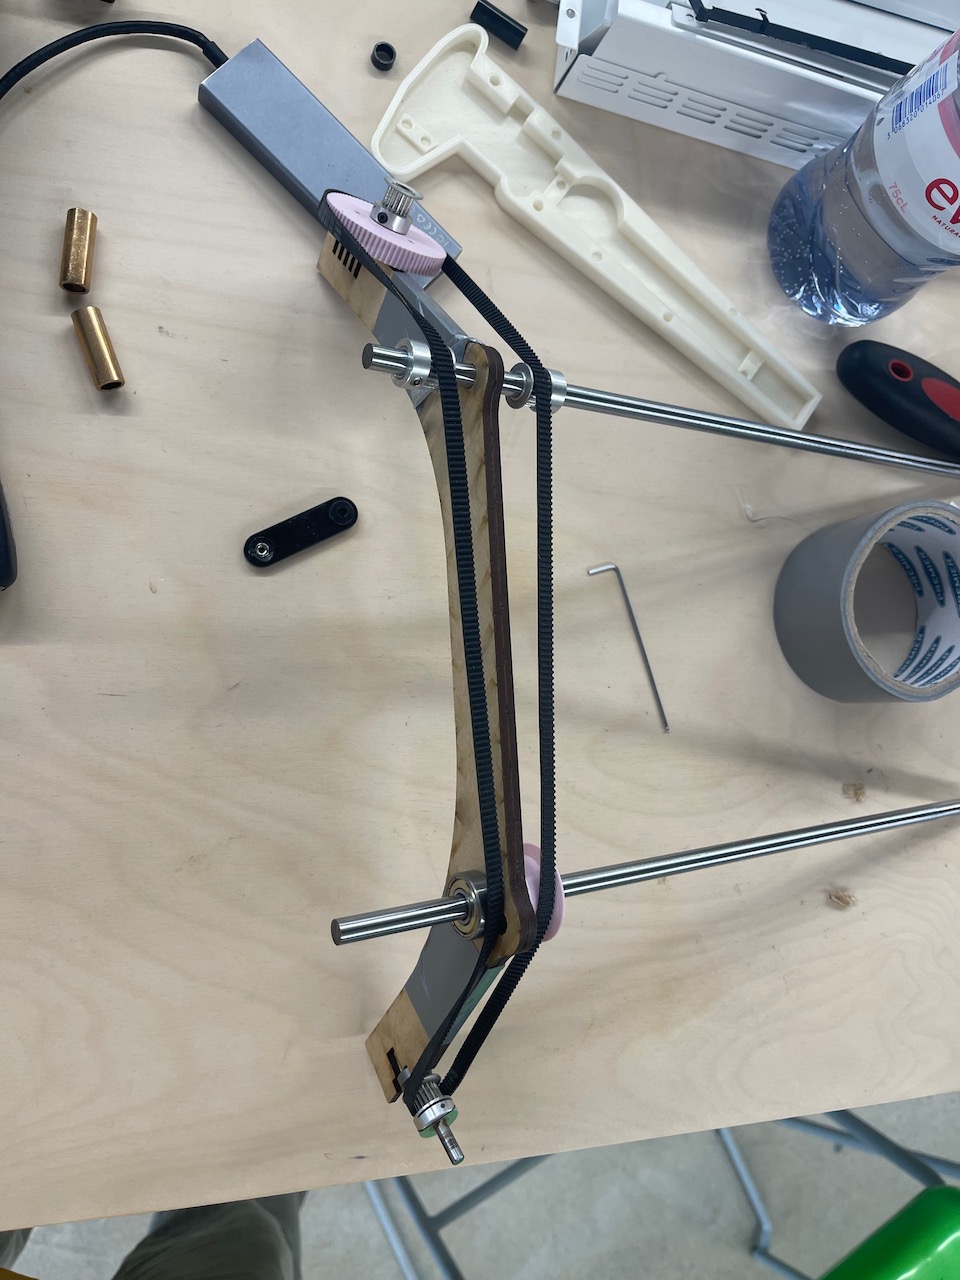
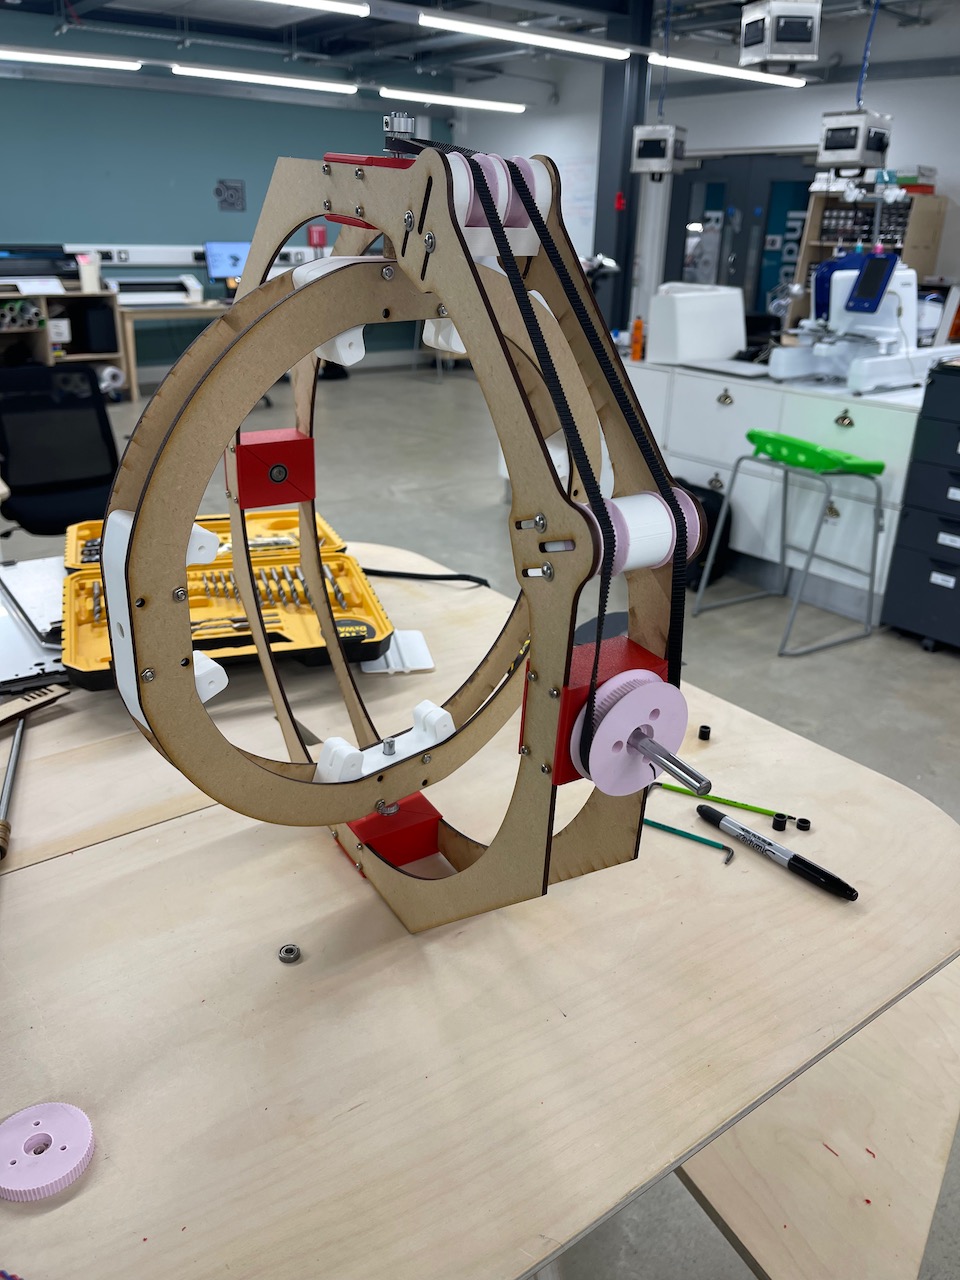
Assembly time...

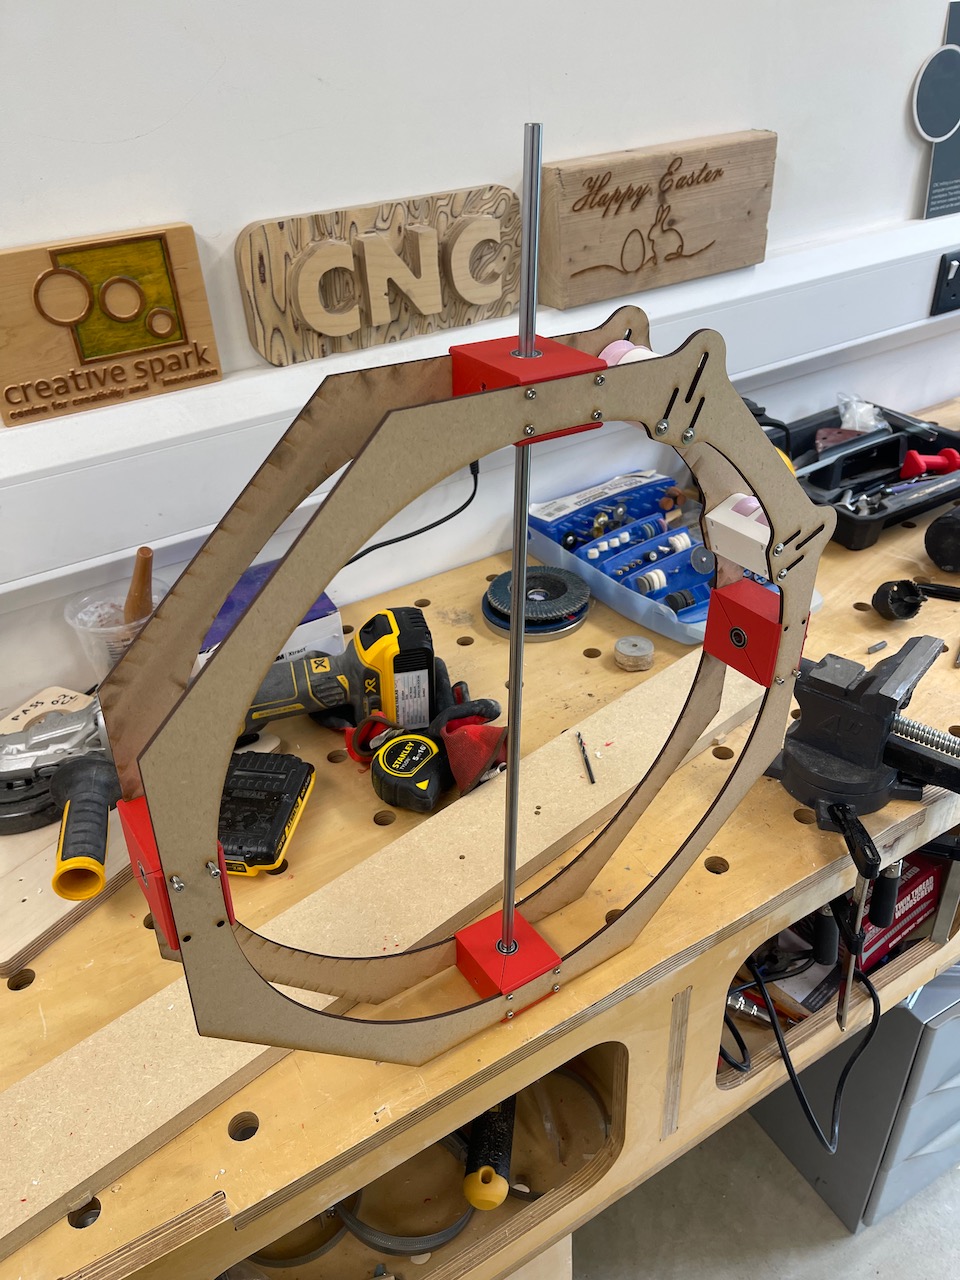
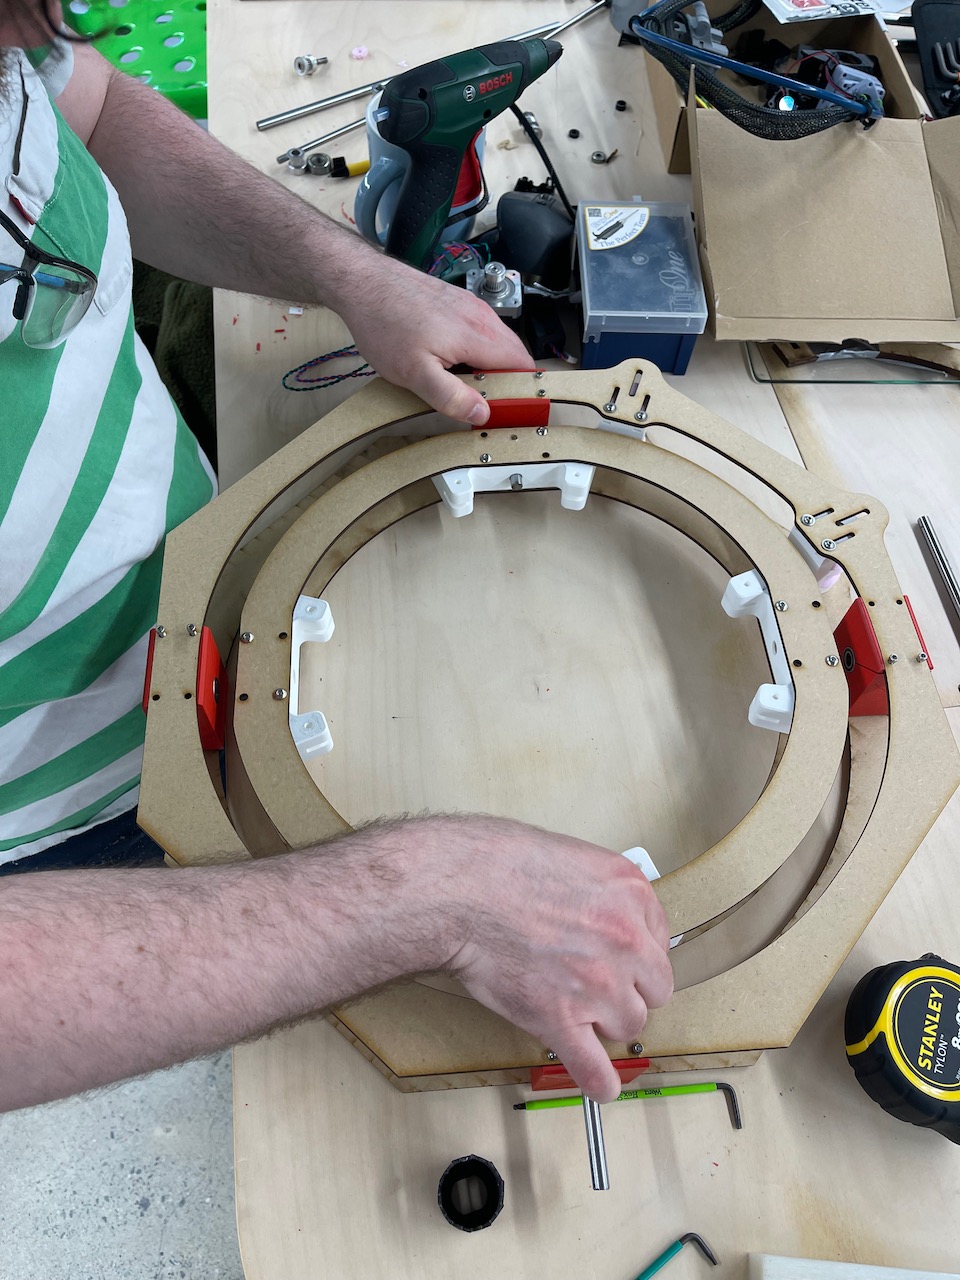
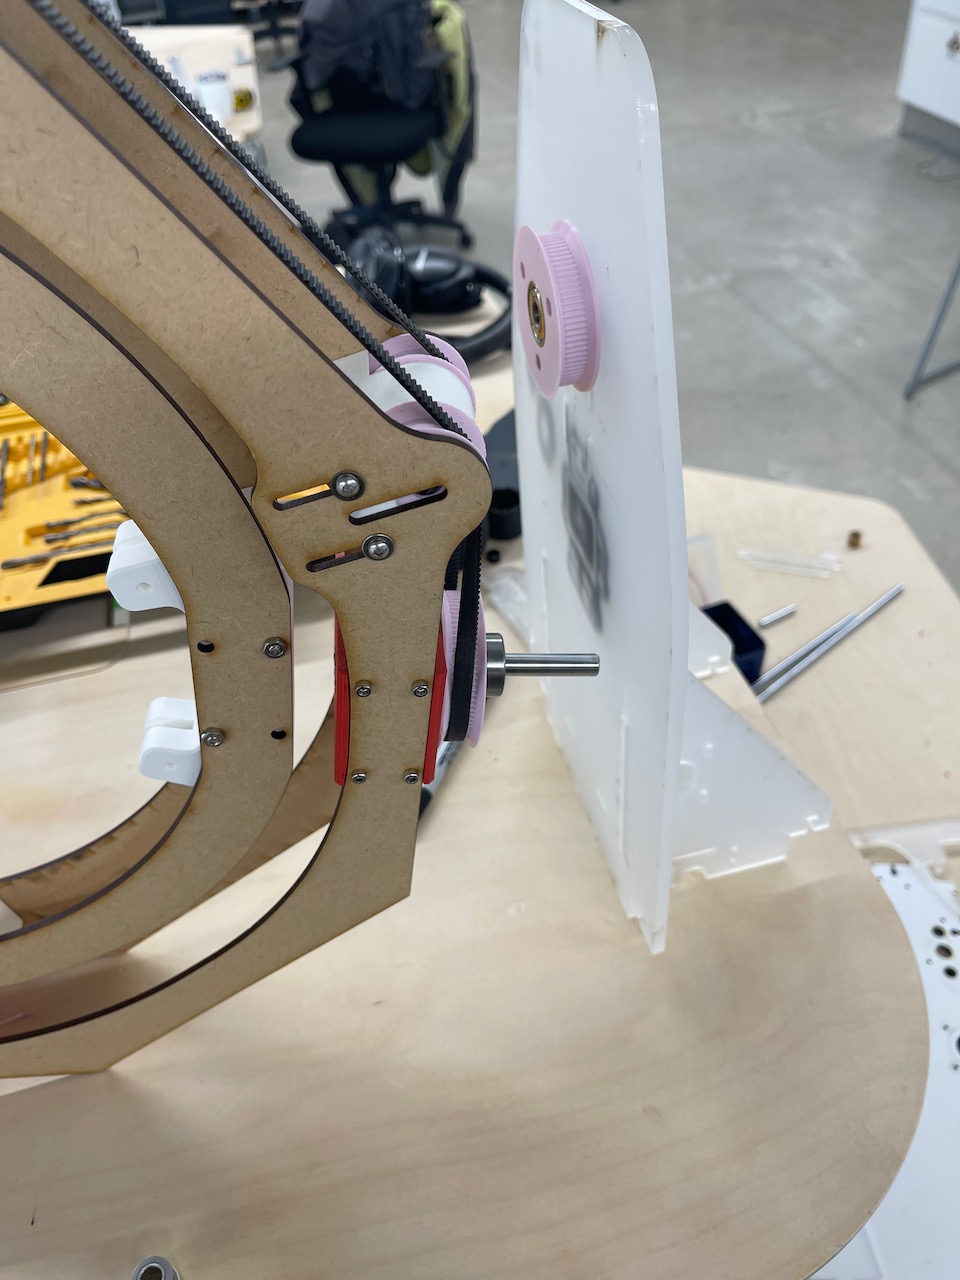
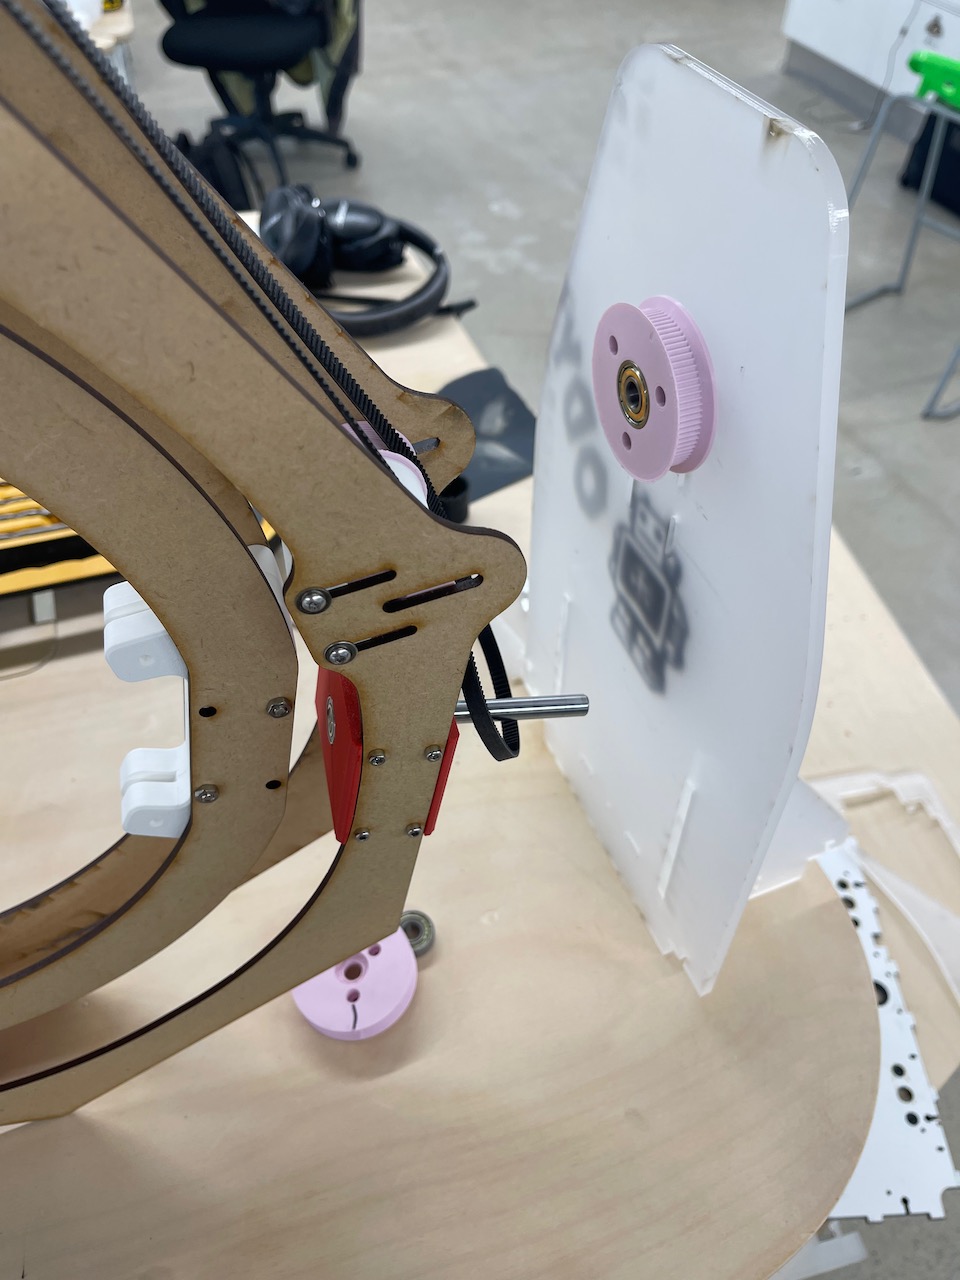
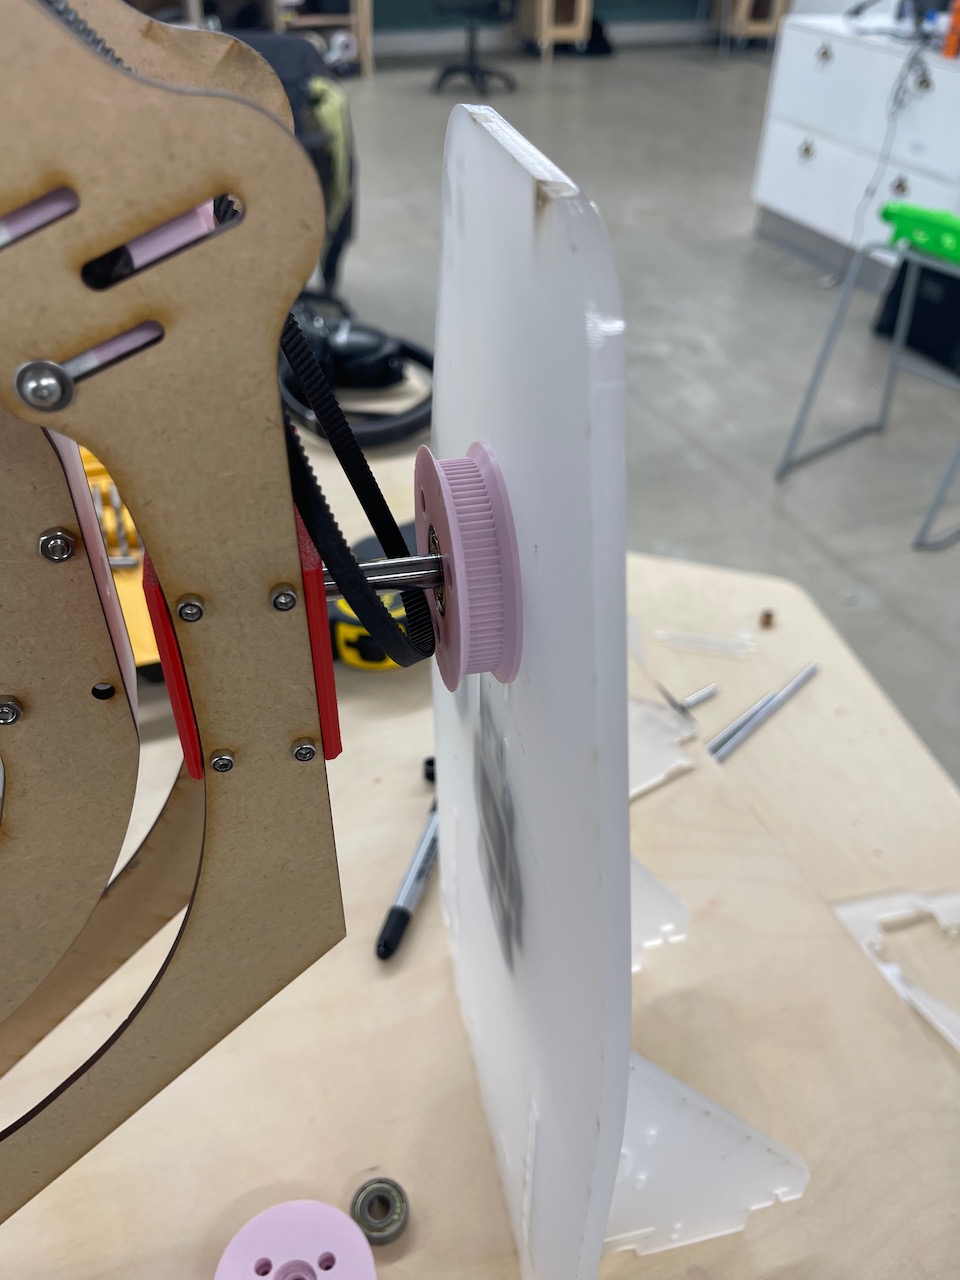
They fit... and spin... whoop!
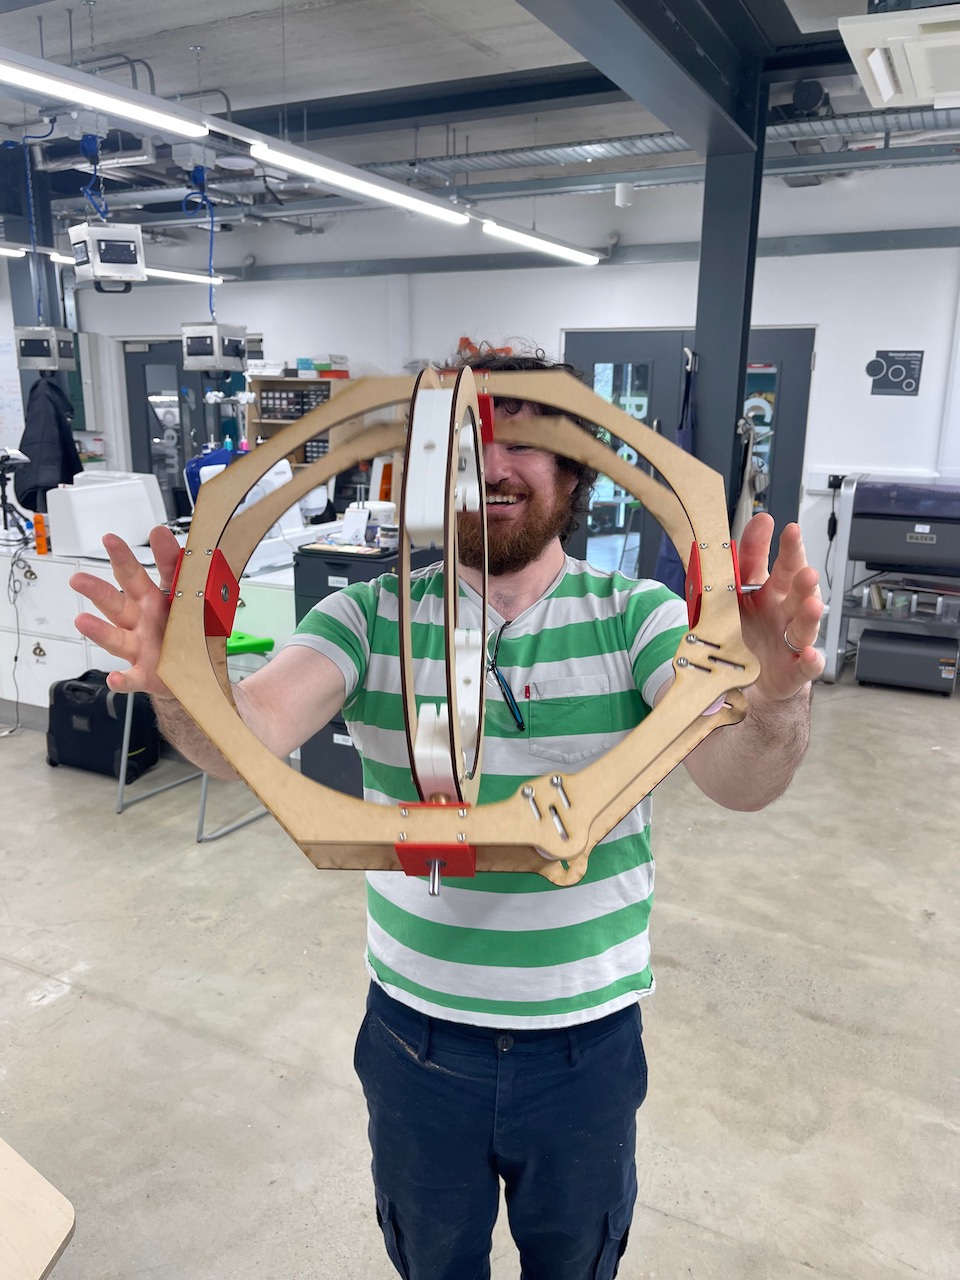
And the belt fits... tensioners work... and it's driving the inner frame at a ratio of 1:4... just as we wanted!
More laser cutting and base making...


Issues I've Encountered
AGHHHHH!
What went wrong:
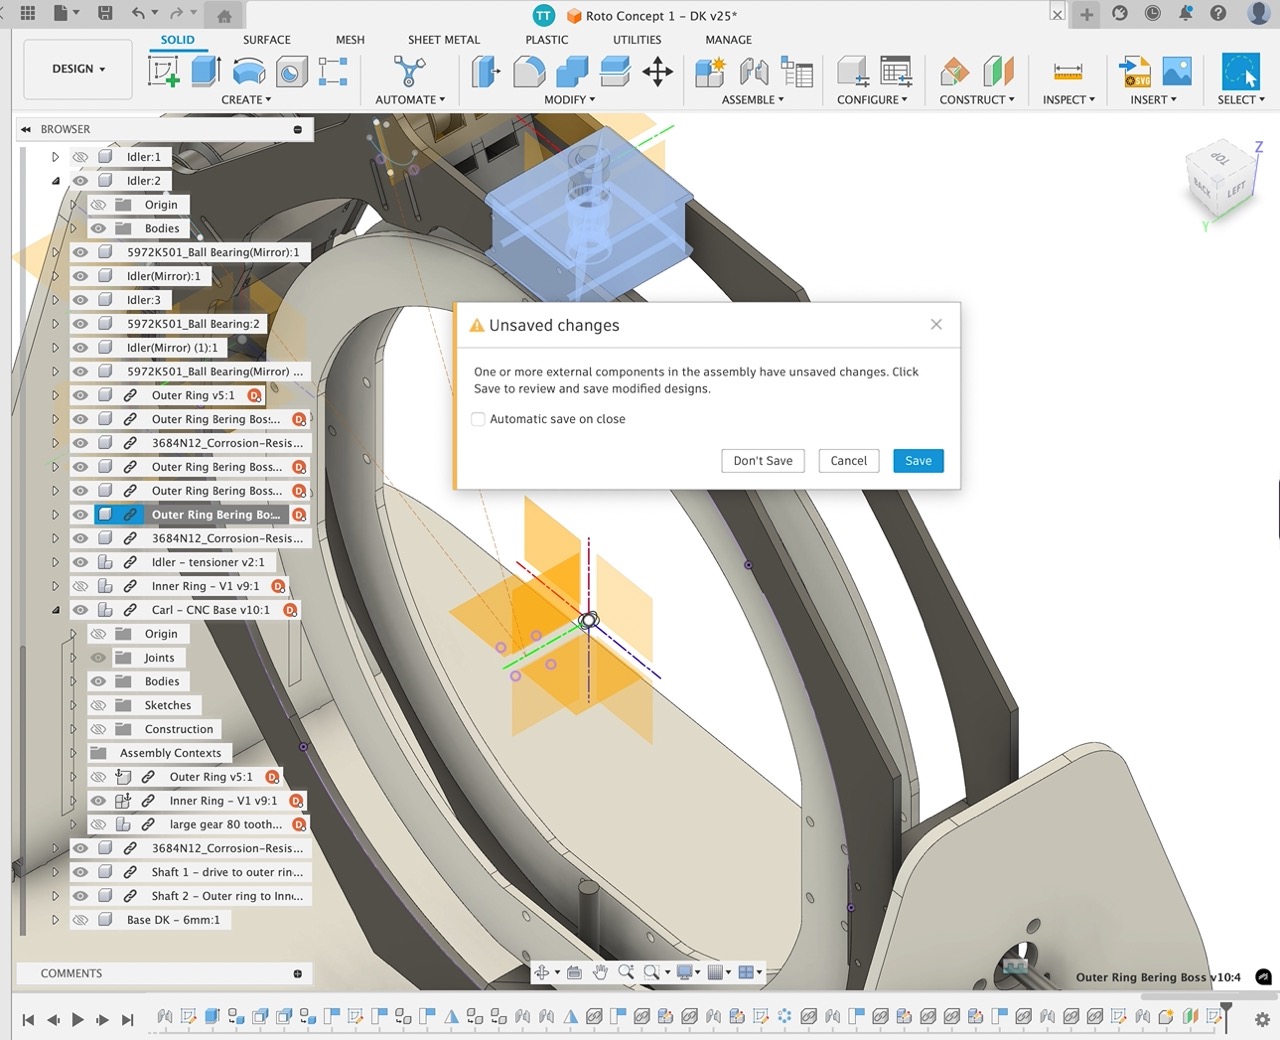
At one point, some of the components that Carl had designed disappeared from the Autodesk Fusion file - this was due to a modification I had made to a component I had downloaded from McMaster-Carr. This change caused the referenced parts to fail to regenerate. I was able to troubleshoot the bodies that were removed in the timeline - after undoing this change, the parts reconstructed without issue.
Learning Outcomes
Through this week's mechanical design and machine building project, I developed proficiency in CAD software (Autodesk Fusion and Onshape) for creating complex assemblies and implementing proper tolerances. I gained practical experience in machine building through belt tensioning systems and press-fit bearings, while enhancing my problem-solving skills by troubleshooting CAD issues and iterating through multiple design versions. The project also improved my collaboration skills through effective team working and communication with the team on design modifications.
Digital Files
Digital files can be found on the group assignment page.
Week 12 digital files