Week 1. Project Managment
How to organise my life for the next 5 months!!
Assignment
Read, sign the student/instructor/lab agreements
Commit to your repos
Work through a git tutorial
Build a personal site in the class archive
Describe you and your final project
Useful Links
Editing the Website
To start editing the website, I tried out GitLab, familiarised myself with the user interface (UI), and made some small edits to my website—mainly adding my name to the sections and committing them to the repository or repo.
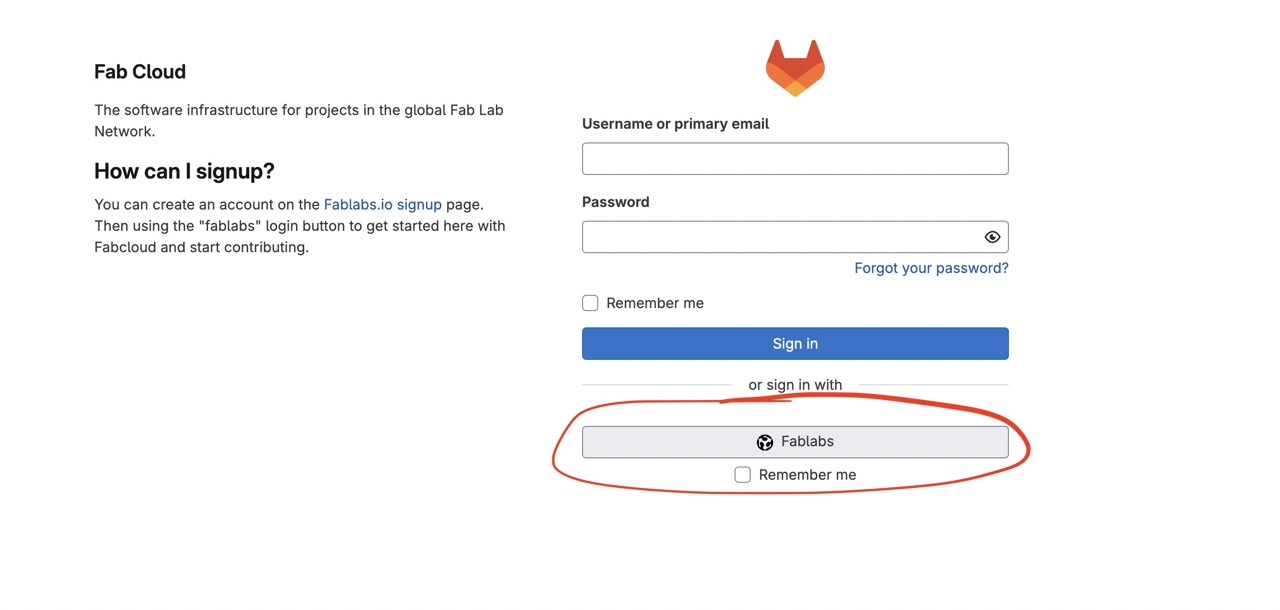
To log in, go to FabAcademy Gitlab login and sign in with the FabLabs button - see image below
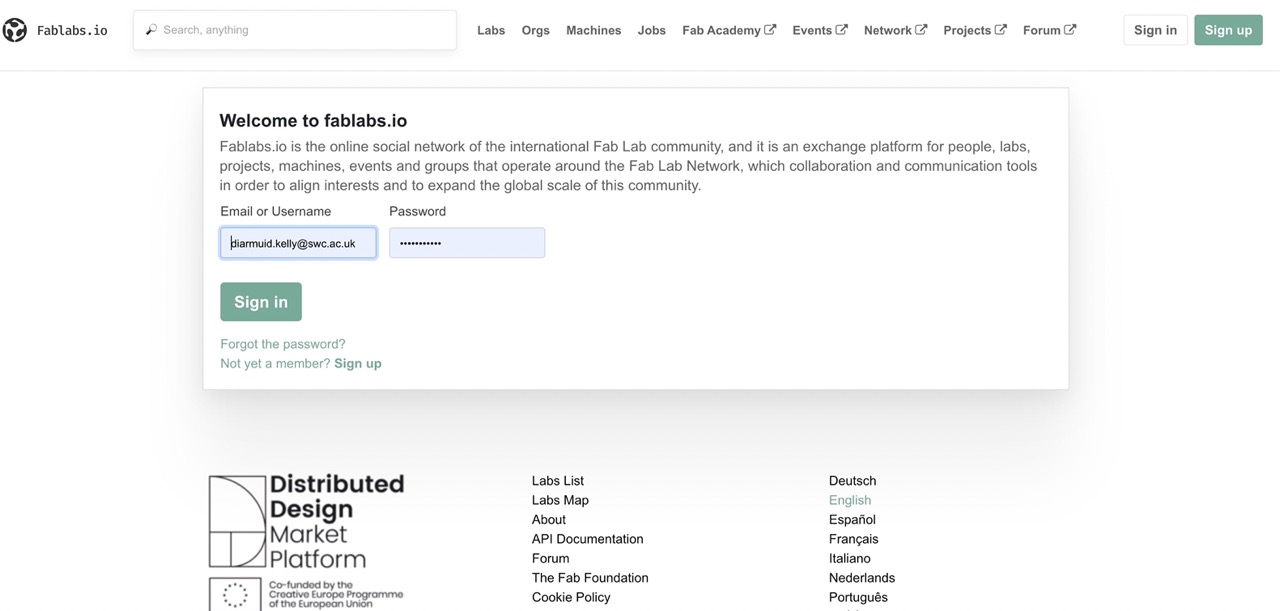
This takes you to the Fablabs.io login page - see image below. Enter your details and click Sign in
Once logged in, you will be redirected to the Gitlab dashboard - see image below
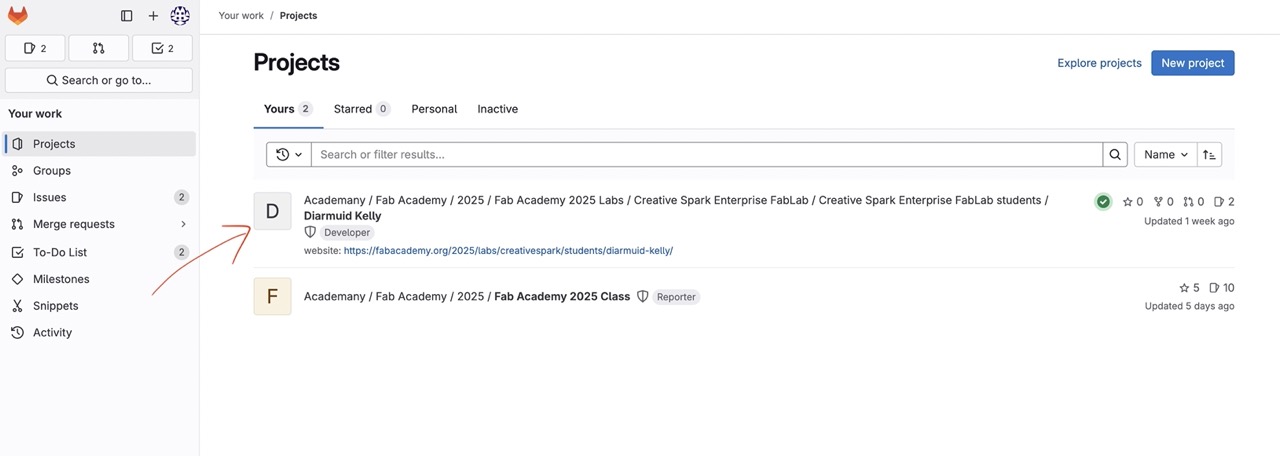
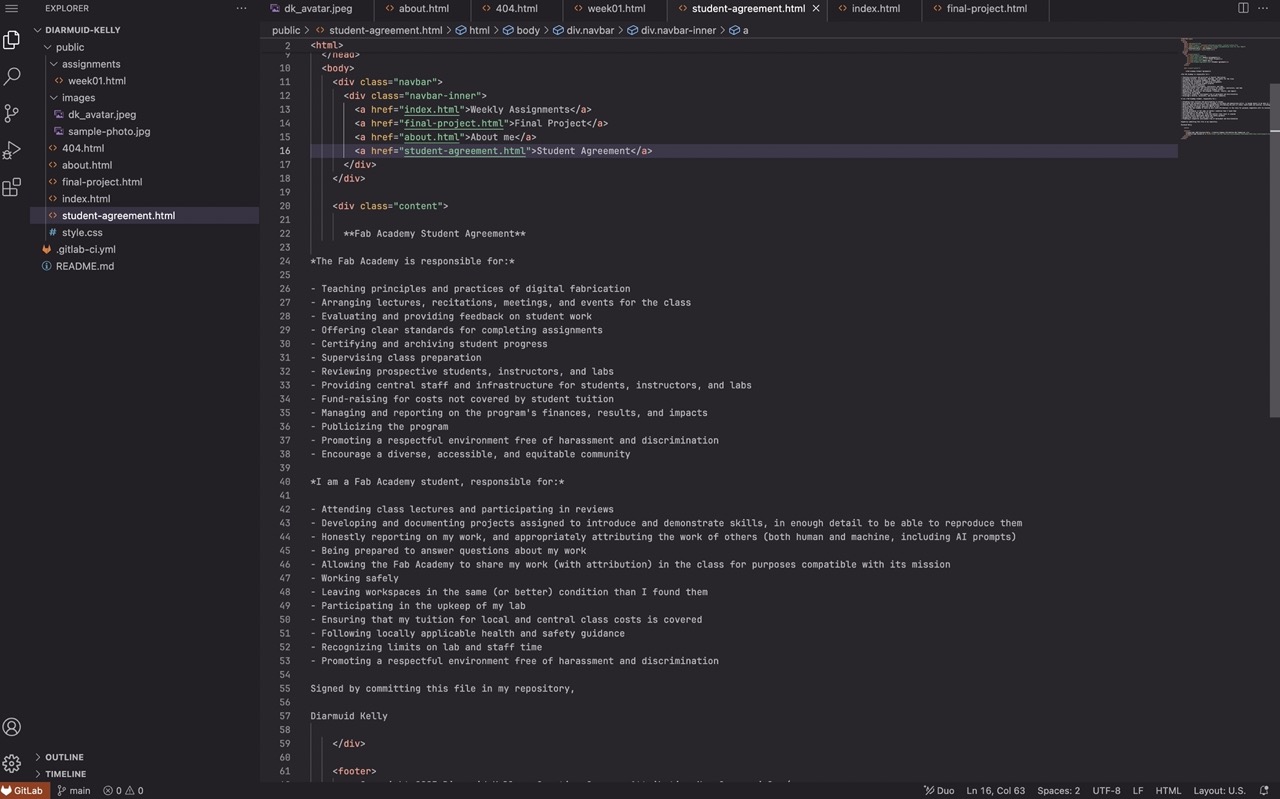
The arrow indicates the repo where my website is hosted, and this is where I will be making changes during this course. To begin with, I click in here and select a page. In this case, my Student Agreement page.
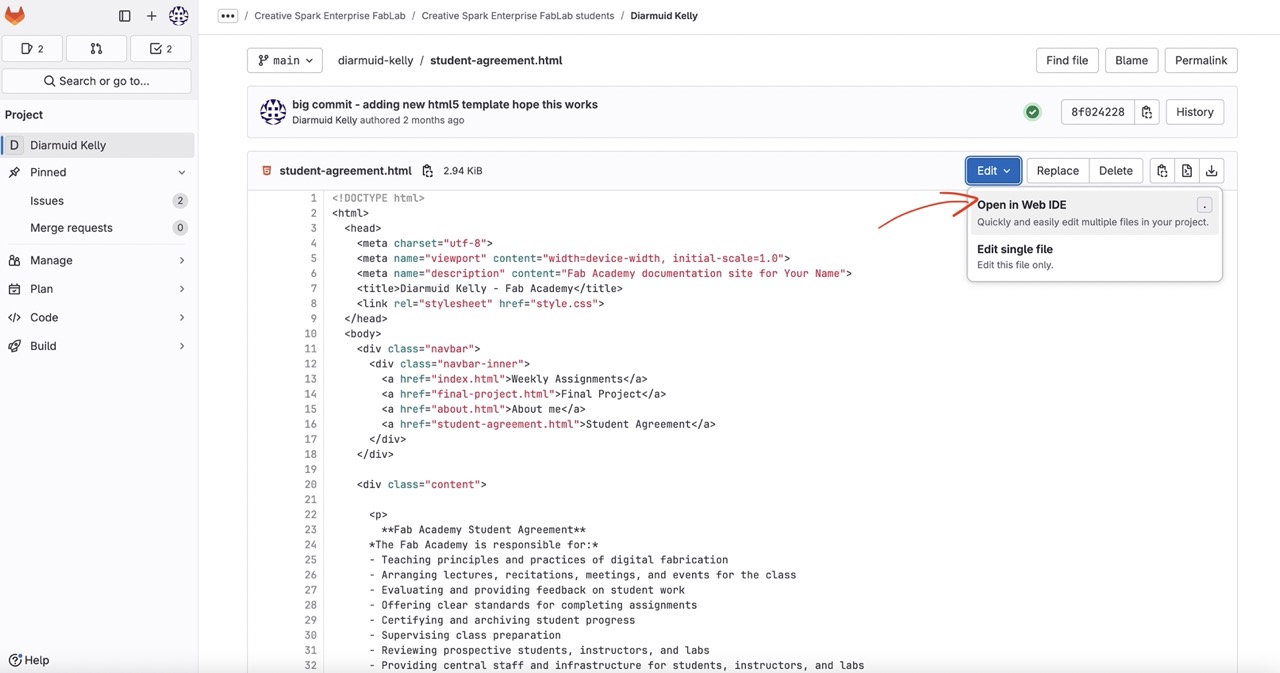
Click on edit in the top right corner to edit the page and select open in Web IDE.
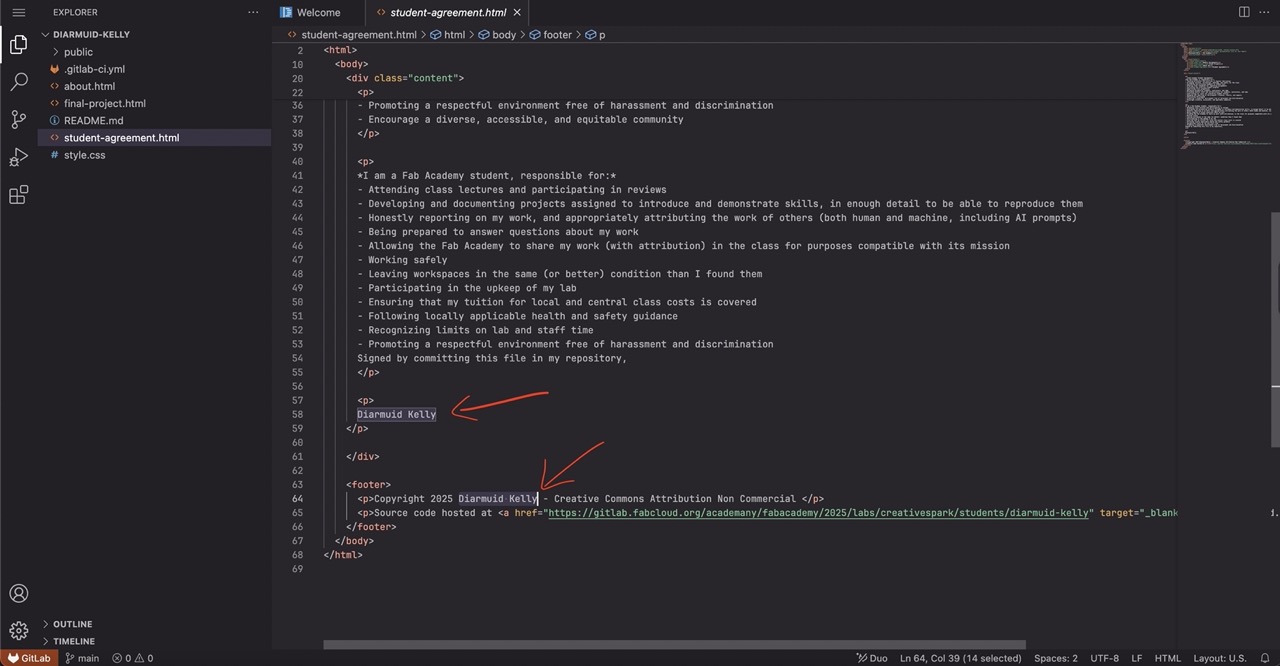
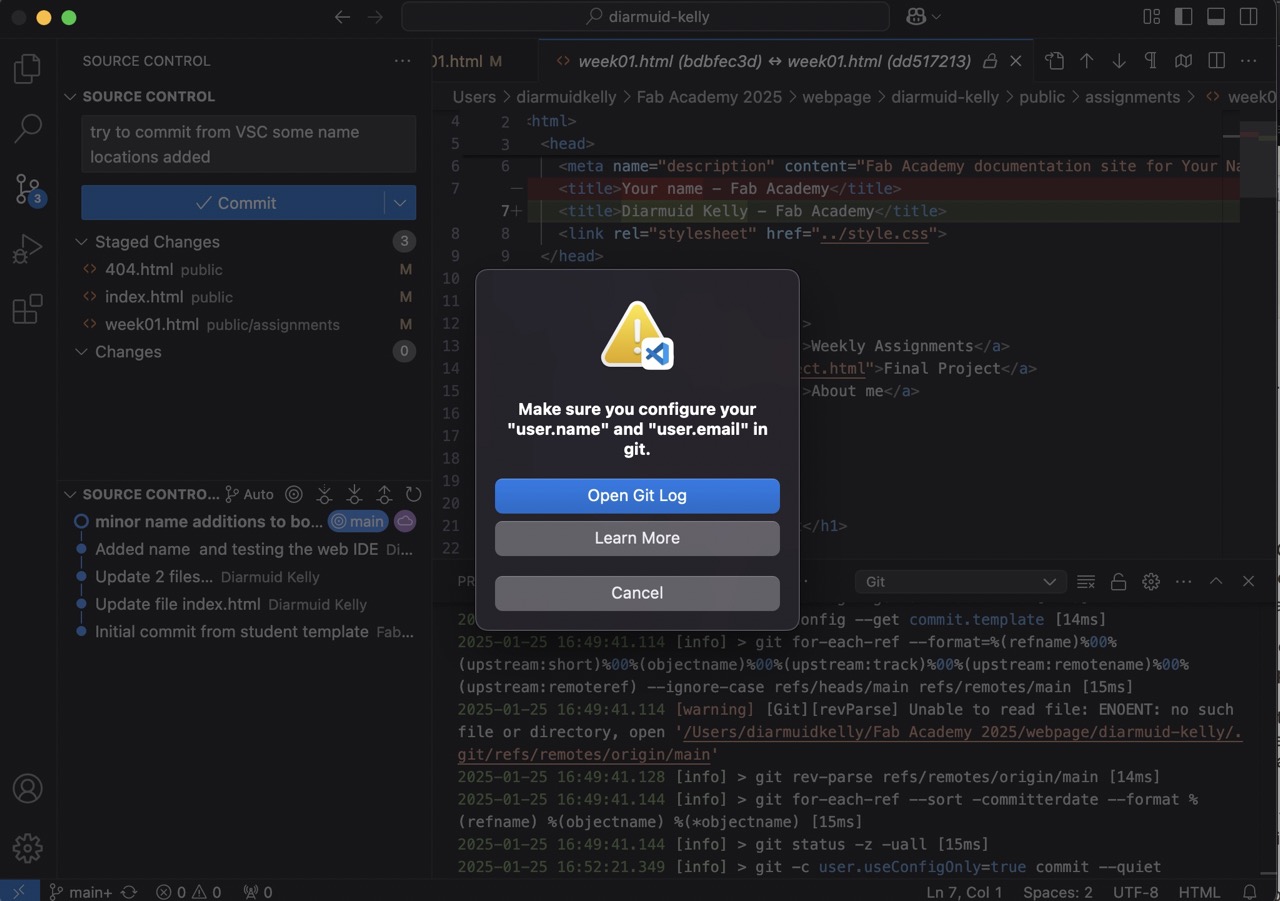
Once changes are made - in this case, I just added my name - we need to commit the changes to the repo.
Click the icon in the left in the menu bar indicated in the image below.
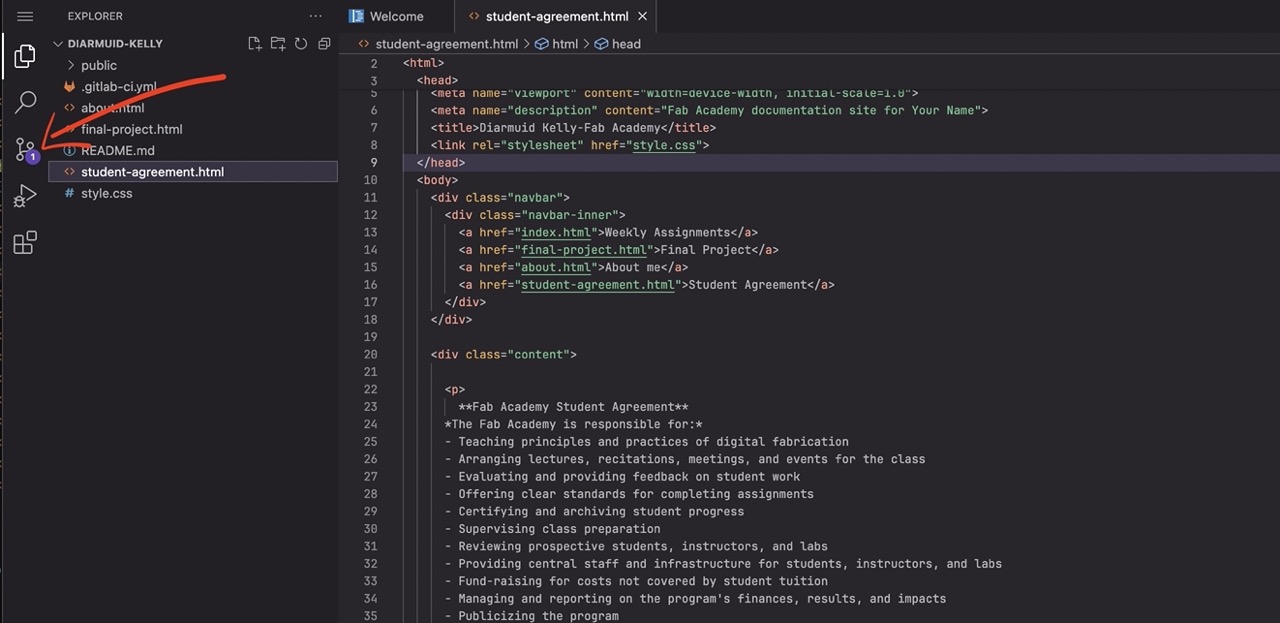
This will open a new dialogue in the browser to the left that shows any changes to files in the repo.
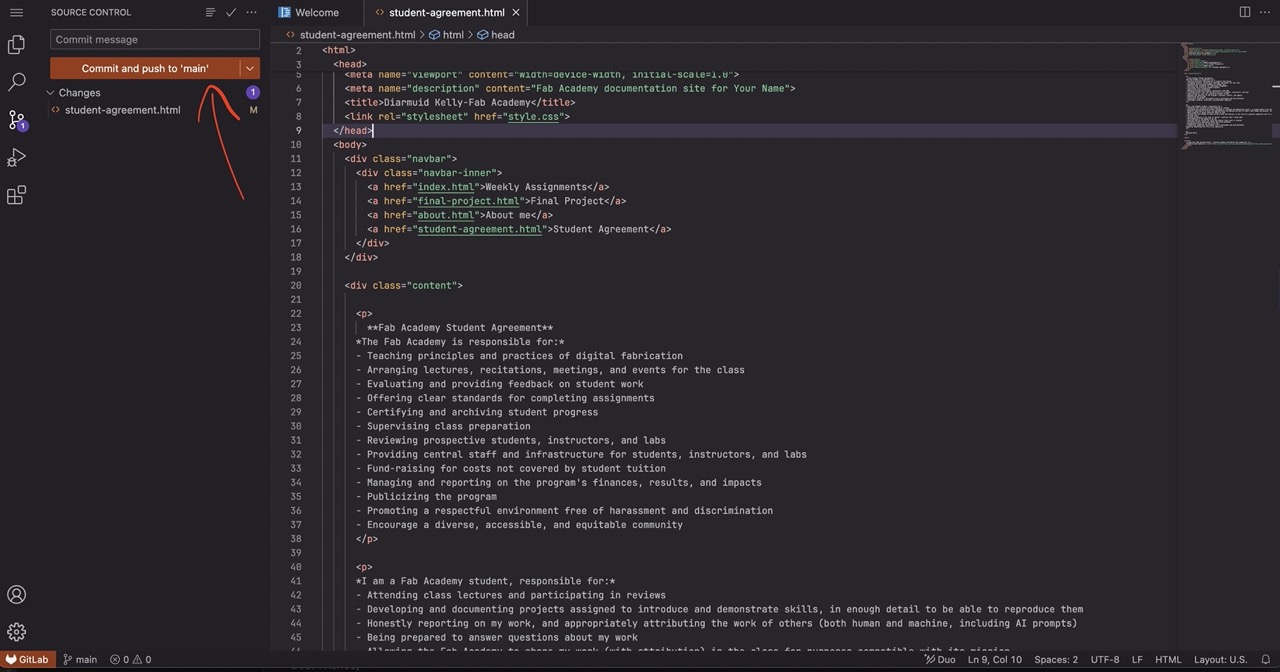
We can click Commit and Push to 'main'. Make sure you click this and not the drop-down to the right which will create a new branch and commit - we don't want to do that!!
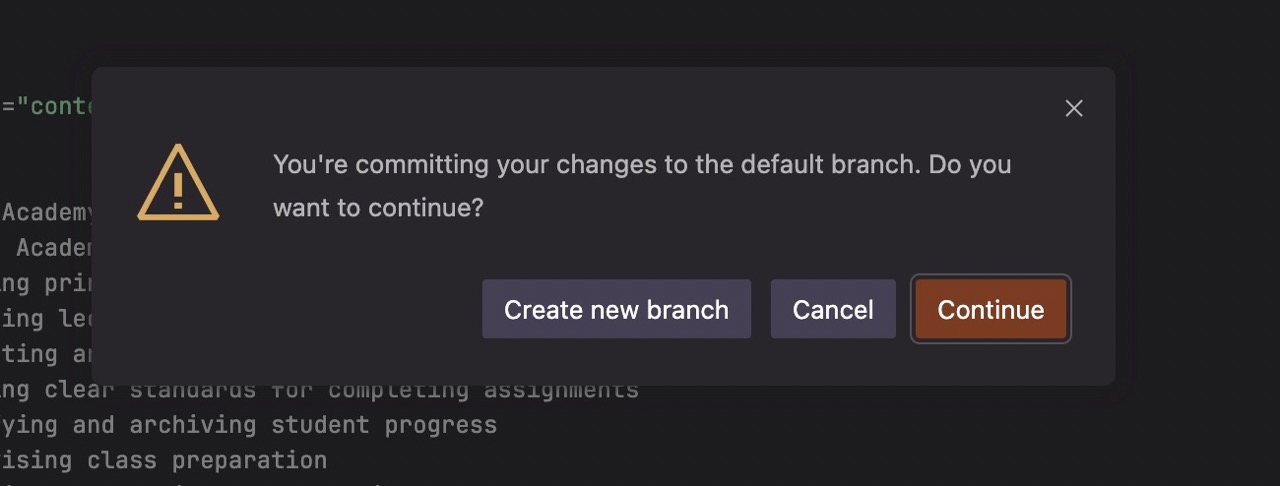
The above dialogue will pop up - just click continue to commit changes to the main branch. The webpage will now update with the changes.
We have now made our first changes to our repo using the Web IDE - this is limited. It's fine for making small changes; however, if we want more powerful control, we really need to use GIT on our computer and something like VS Code. Below, I go through the procedure to get it up and running.
I worked through this >> git tutorial linked here
Check if Git is installed. I was using an Intel Mac running Mac OS 12.7.6, and this would cause issues with some later installs. Type the code below into terminal to check if it's installed
git -v 
I didn't do this!! Mistakenly, I opened the terminal on my Mac and went straight to installing Homebrew, which seemed to install fine. However, when I tried to install Git, the process seemed to start but either crashed or ran very slowly, displaying a series of errors (unfortunately, I forgot to take screenshots). I then quit the terminal window, stopping whatever was running at the time. After restarting the terminal and entering the command above, I saw that Git version 2.37.1 was installed.
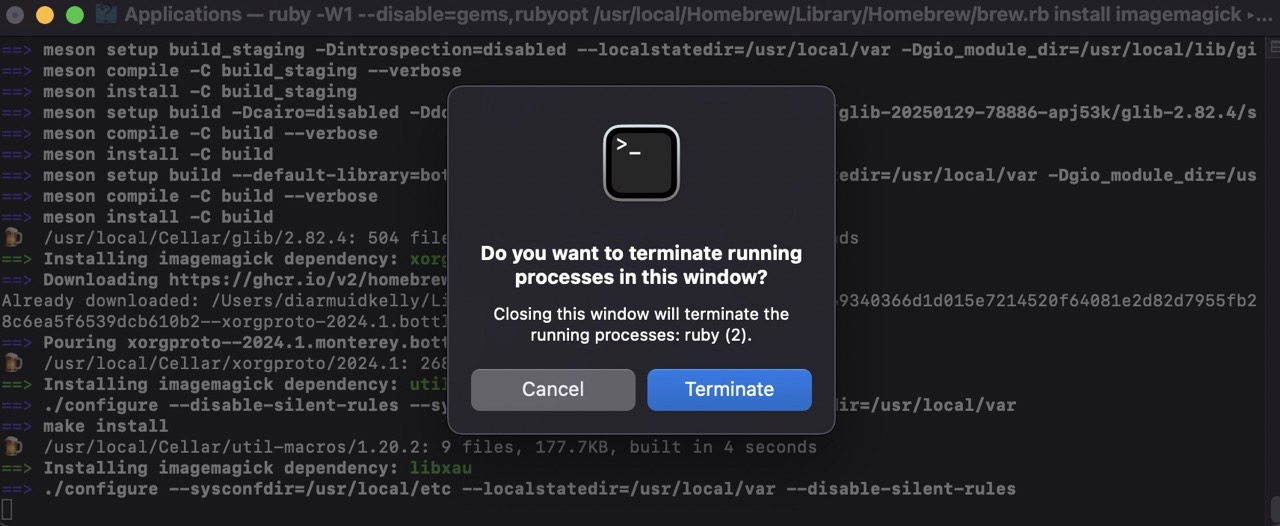
This is a screenshot of me having to cancel the install of imagemagick when using homebrew on my mac. I later found that MacPorts was a better option than homebrew for my version of Mac OS
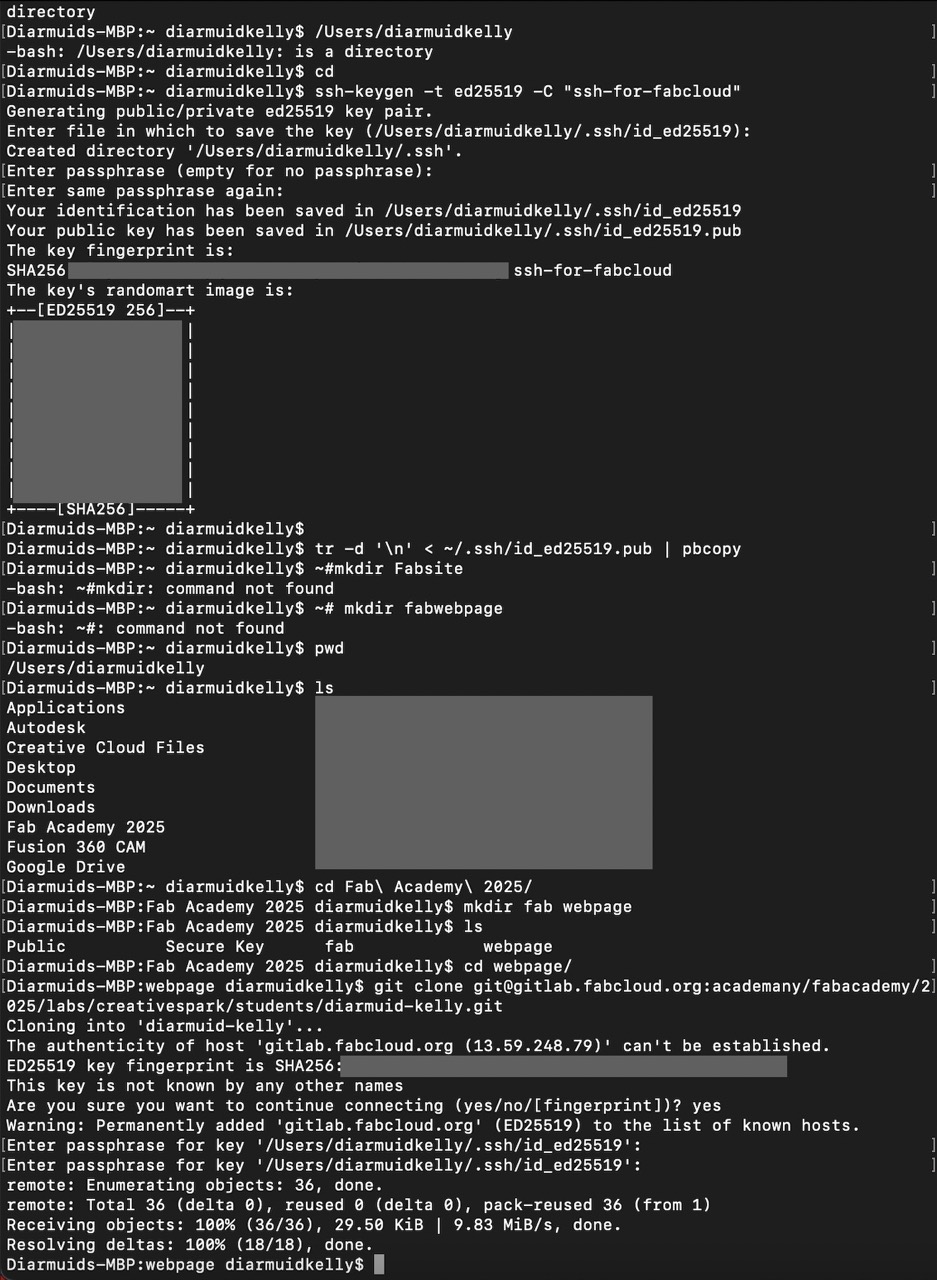
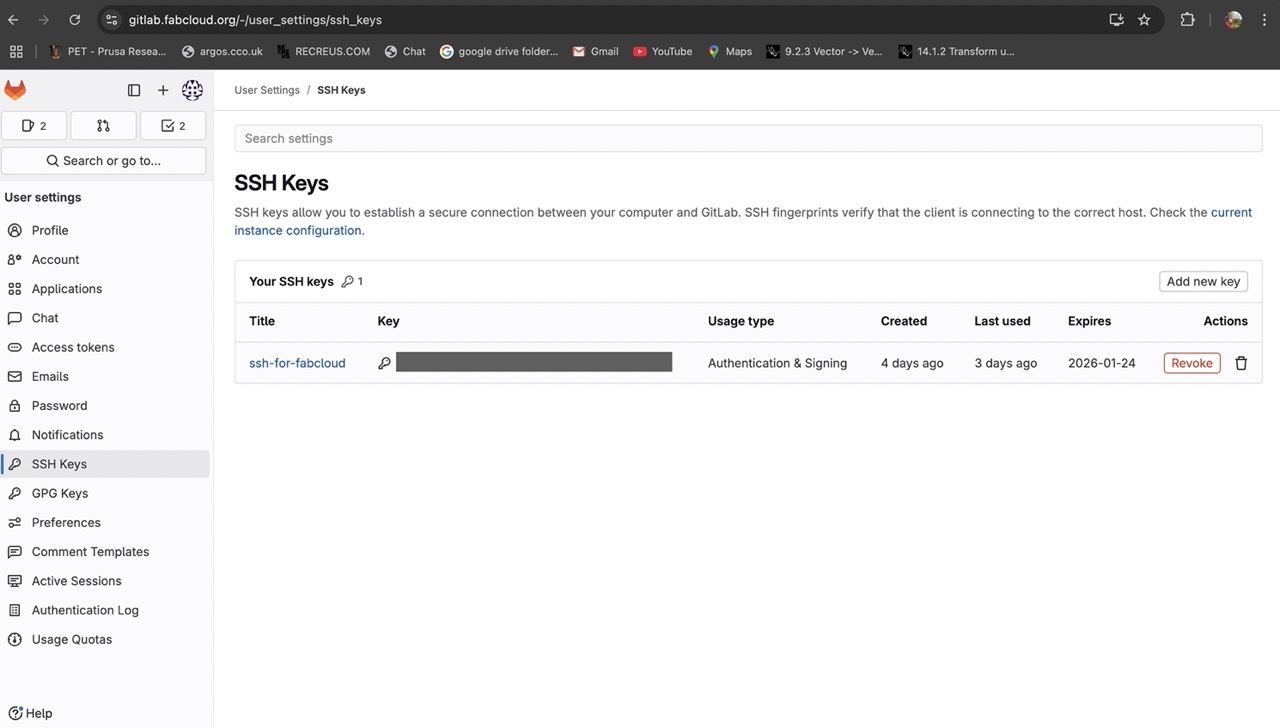
Creating an SSH Key I successfully created an SSH key using the terminal and copied it into my account on the GitLab website.
I downloaded Visual Studio Code to use it for editing the website.

Once downloaded, I opened terminal, downloaded, navigated to the repo and opened the website folder in VS Code. I had to set my user.name and user.email in git.

Steps to upload to git lab using terminal
git status Check status - run a pull command if necessary. This might be needed if editing on another computer or on the web IDE. If working on larger projects, this would be necessary.
git add . The previous command will prepare files to be added to the repository; the step below stages them to be added.
git commit -m "add comment here about changes you are made" The changes are now staged ready to go online - we now need to push the changes using the following command
git push Changes should now be pushed to the website. This could take a few minutes. It's now time to check all changes got pushed through to the website.
My Final Project Ideas
Lightsaber
Enhance my current lightsaber design, which currently uses a low-cost LED torch and telescopic light beam. The goal is to develop a custom electronic board with colour-changing LEDs and sound effects. Additionally, I plan to create a custom CAD design that allows for personalised names, images, or logos to be embossed into the model.
Hexapod/Stewart Platform
Develop a hexapod platform, starting with a small-scale version using servos, with the long-term goal of creating a larger-scale version capable of supporting a driving simulator or flight simulator rig. The estimated load capacity for the full-scale version is 150kg–250kg.
360° (Small-Scale) Display
Design a system to display global weather maps or an interactive Earth map on a spherical surface. Potential approaches include:
* Projection mapping using two, three, or four projectors
* Multiple hexagonal displays arranged in a spherical pattern
* Wedge-shaped screens forming a sphere, onto which any content could be projected
Technology Van: Solar Panels & Battery Module?
Upgrade the technology van's power system by installing double-stacked solar panels on the roof. When the van is stationary, one panel will lower and act as an awning, effectively doubling power generation when energy demand is highest.
This system will support equipment such as 3D printers, 3D scanners, and computer monitors, with load requirements yet to be estimated. Additionally, a new leisure battery system will be specified, along with a battery management system to ensure longevity.
Key considerations:
* Mounting mechanism for the double-stacked solar panels and how they transition into the awning position
* Leisure battery capacity and expected power load
* Battery management system to optimise charging cycles and prevent depletion when the van is not in use
* System stability and durability for long-term use
Learning Outcomes
I now know how to use the terminal on my Mac and some of the commands to navigate my computer system in the terminal. Before this, I had no experience with HTML, but I now have a reasonable understanding of it and can navigate and edit a webpage. I have also started an attempt to document my activities as I go along. It isn't easy to get into the swing of this, so not every step has been recorded. We also learned about image and video compression using ImageMagick.