Molding & Casting
This week assignment is about moding and casting. The goal of this assignment is to explore various molding and casting materials, examining their properties, mixing ratios, and setting times. Afterward, a mold design is created, and the mold is fabricated using either a 3D printer or a milling machine.observe the finishing in both process. also I learn about the machining.....
Molding
Molding is a manufacturing technique that involves shaping liquid or malleable raw materials by pouring them into a rigid structure known as a mold or matrix. This mold is often created based on a pattern or model of the intended final product. The mold, which is a hollow block, is filled with a liquid or soft material such as plastic, metal, glass, or ceramic. As the material solidifies or sets within the mold, it takes on the shape of the mold. A mold is essentially the counterpart to a cast. In the commonly used bi-valve molding method, two molds are utilized, each forming one half of the object.Resource Link
Types of molding
Casting
Blow molding
Extrusion molding
Injection molding
Casting
Casting is a production method where a liquid material is poured into a mold that has a hollow cavity shaped to the desired form, and then the material is left to harden. The solidified part is also known as a casting, which is ejected or broken out of the mold to complete the process.
Casting materials typically include metals or substances that solidify over time after combining two or more components. Some common examples of such materials are epoxy, concrete, plaster, and clay.Casting is commonly employed to create intricate shapes that would be challenging or too costly to produce using alternative techniques. For more information Read More
During this assignment first we had review of class with mr suhas then our first task is to study safety datasheet for molding and casting material.
Group Assignment
Be sure to review the safety data sheets for all the materials you are using for molding and casting.
Next, I created and compared test casts for each designs.
compare printing vs machining molds
Types of Molding and Casting material
In our fab lab different material is available so we decided to read datasheet for that material...
Instamold
I read the instruction from box of instamold that Instamold is used for temporary mold making compound. It mixes easily with water. The proportion of instamold for instamold : water is if we take 1:1 then mold strength is strong and it takes 2-3 minuts to set, if we take 1:2 then mold strength is average and it takes 5-8 minutes to set and for 1:3 mold strength is weak and it takes 10-12 minutes to set.
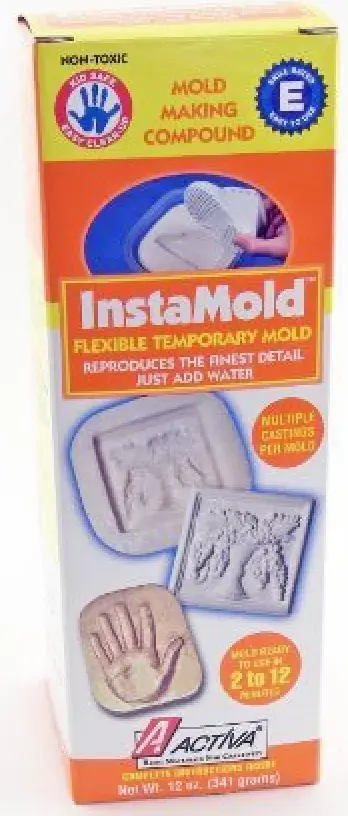
Then refer google for datasheet study...
Properties of Instamold
It is safe for body casting.
It can be cast using various pourable, self-setting materials such as plaster, wax, resin, or soap, provided they are below 300 degrees Fahrenheit.
Made of natural materials
Safety
Direct contact can cause mechanical irritation of eyes.So It is very important to use handglows, goggles, and mask during handling of instamold. For more Refer Datasheet
We studied the different material and safety For more information, please see the Group assignment Click here
Individual Assignment
Design a mold around the process which we will be using, produce it with a smooth surface finish.
Use it to cast parts.
After reviewing the datasheet, we selected machinable wax from our lab, which had an irregular shape. To begin, we crushed the machinable wax into smaller pieces.
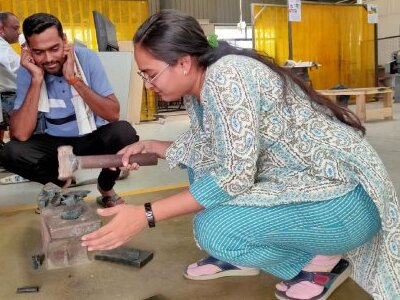
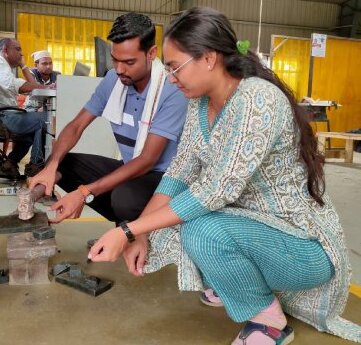
Next, measure the weight of all the machinable wax.
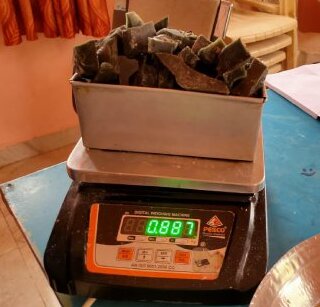
We then split it into two equal portions and placed them in the oven to bake.
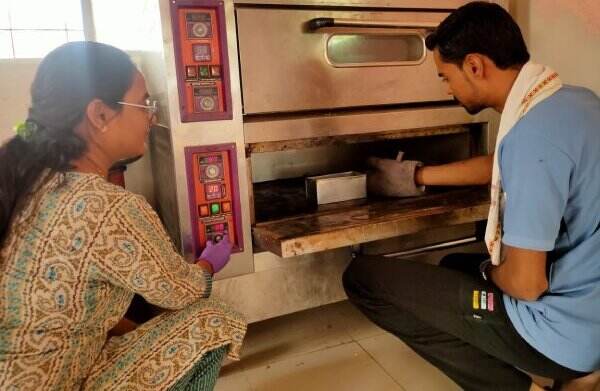
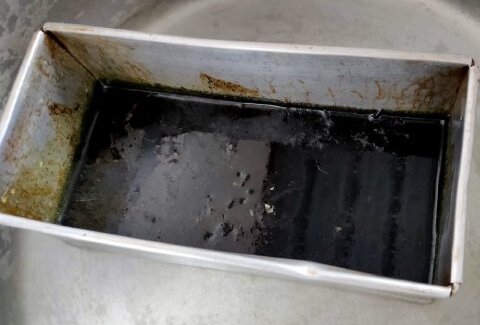
After melting we keep it in cold water to set
Then I started designing mold in solid work I first designed golf.
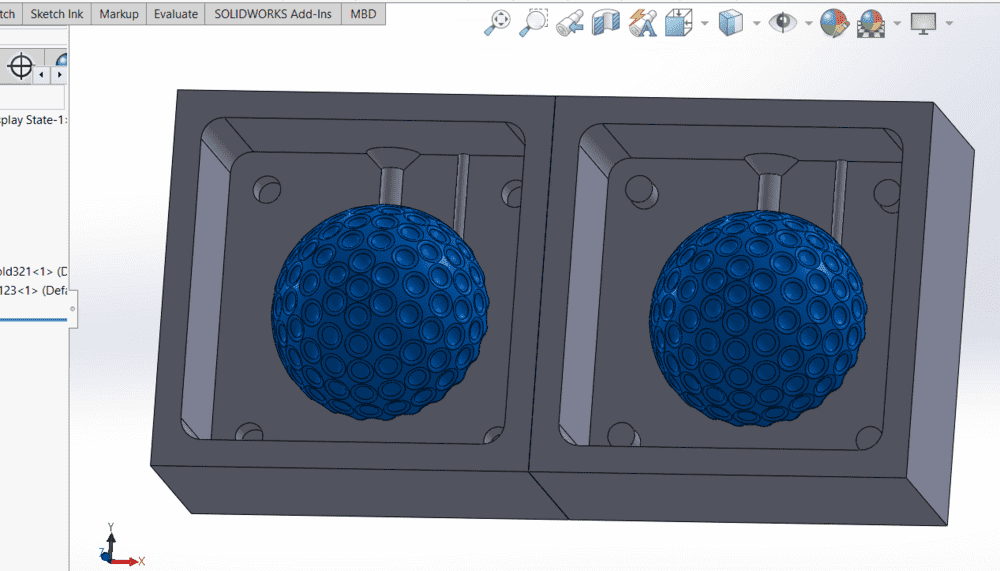
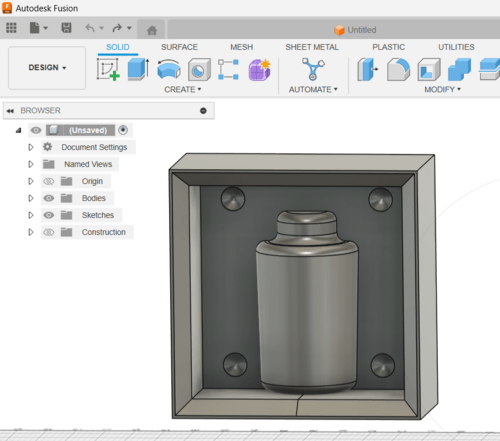
I faced a problem while designing a mold. Initially, I designed a mold for a golf club, but it was too large and didn't fit the material I was using for milling. So, I redesigned a smaller mold for a bottle.
Mold Design
I have designed mold in fusion 360.
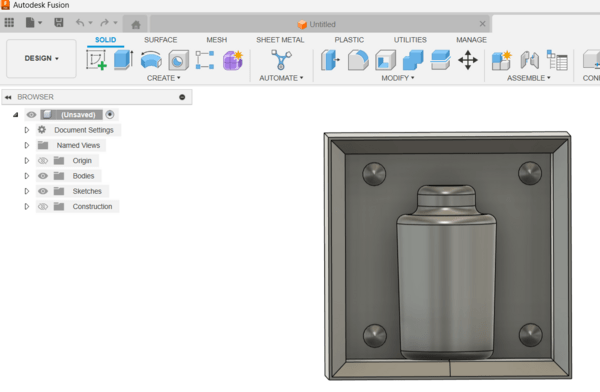
Mold Machining Process
SRM-20 Machining Process for making Mold
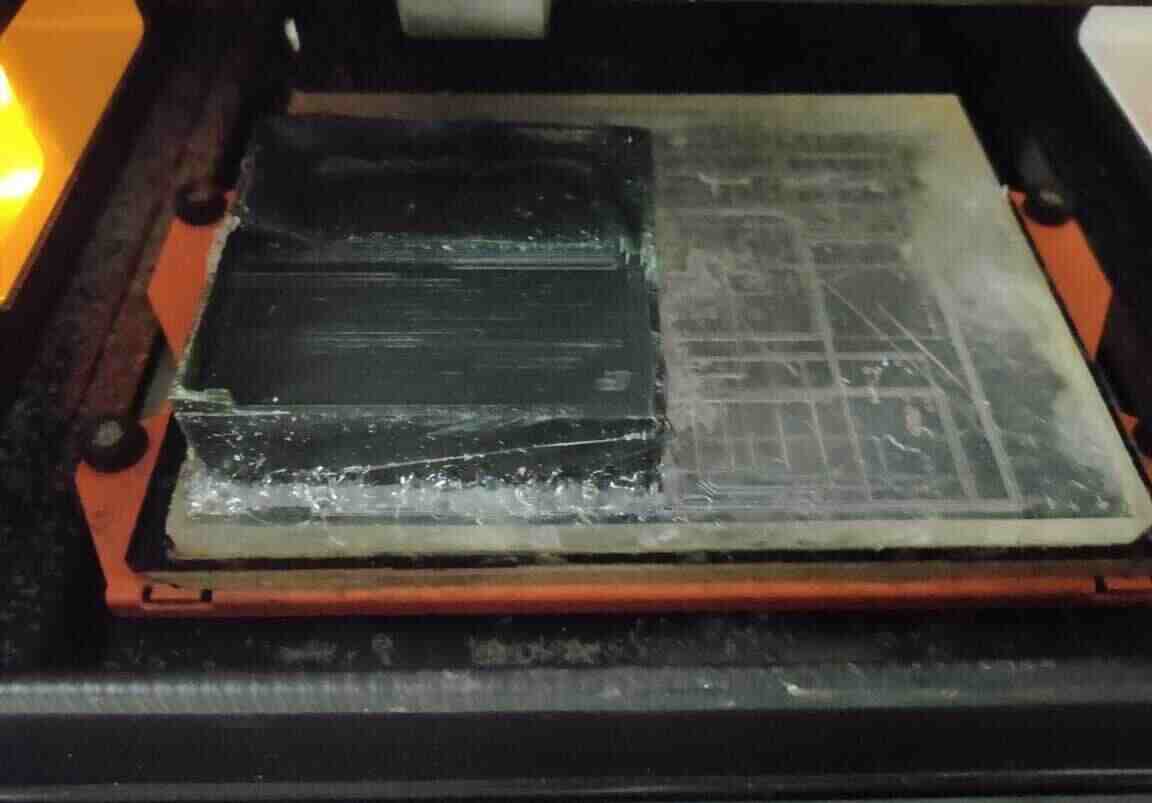
After cleaning machine First I fixed the machinable wax block on the bed of the SRM-20 Machine.
Generate the Tool Path
For SRM-20 we required png or svg file format. Before giving the file for milling to SRM-20 we have to generate the tool path first. To generate the tool path We have the software Modela Player4 in our fablab.It is the integrated design software used for milling to support SRM-20 milling machine.
For milling and creating a negative mold, I followed these steps to generate the tool path.
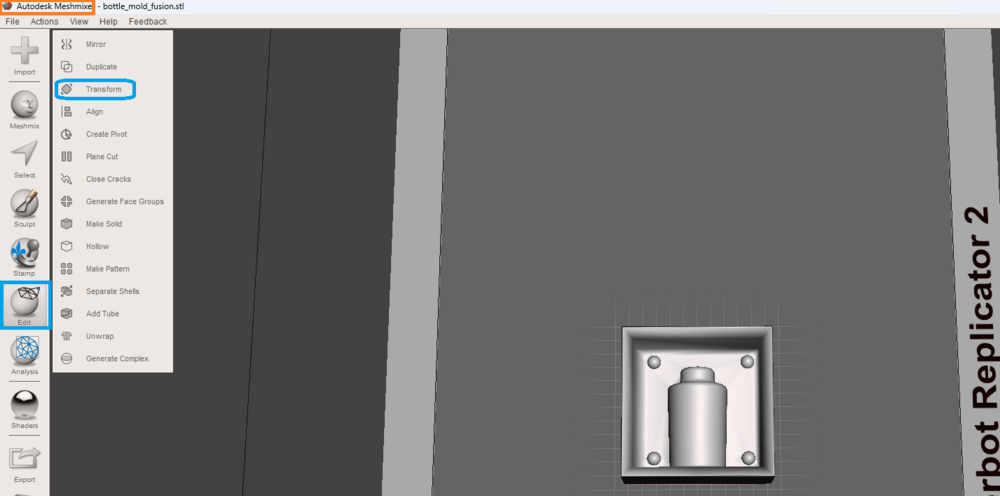
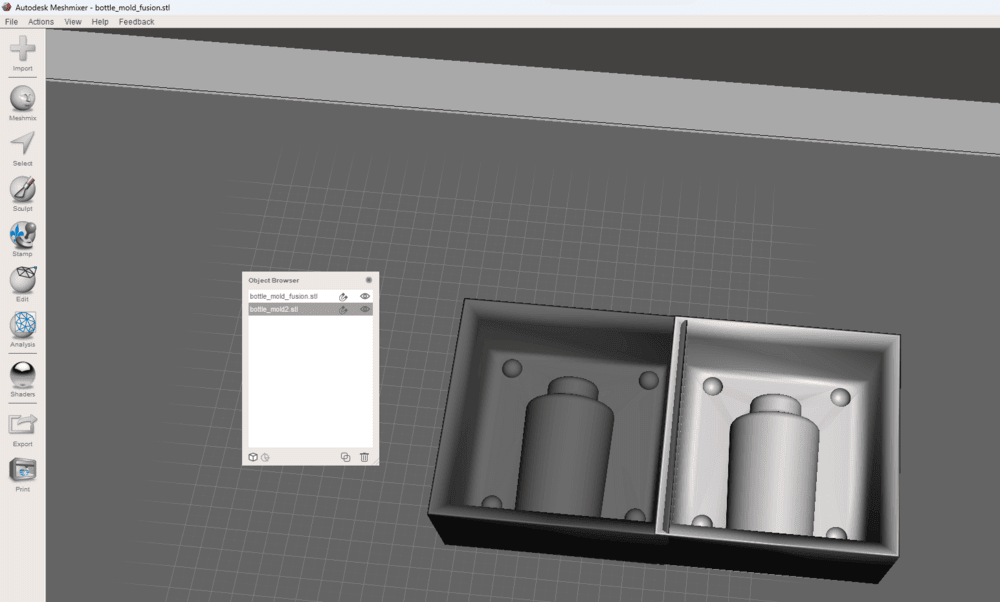
1. First merge the two designs of mold in autodesk meshmixer.
2. Open the Modela Player4 software.
After opening the Modela Player 4 software, we need to select the model for which we will perform the milling. Here we required .stl file format.
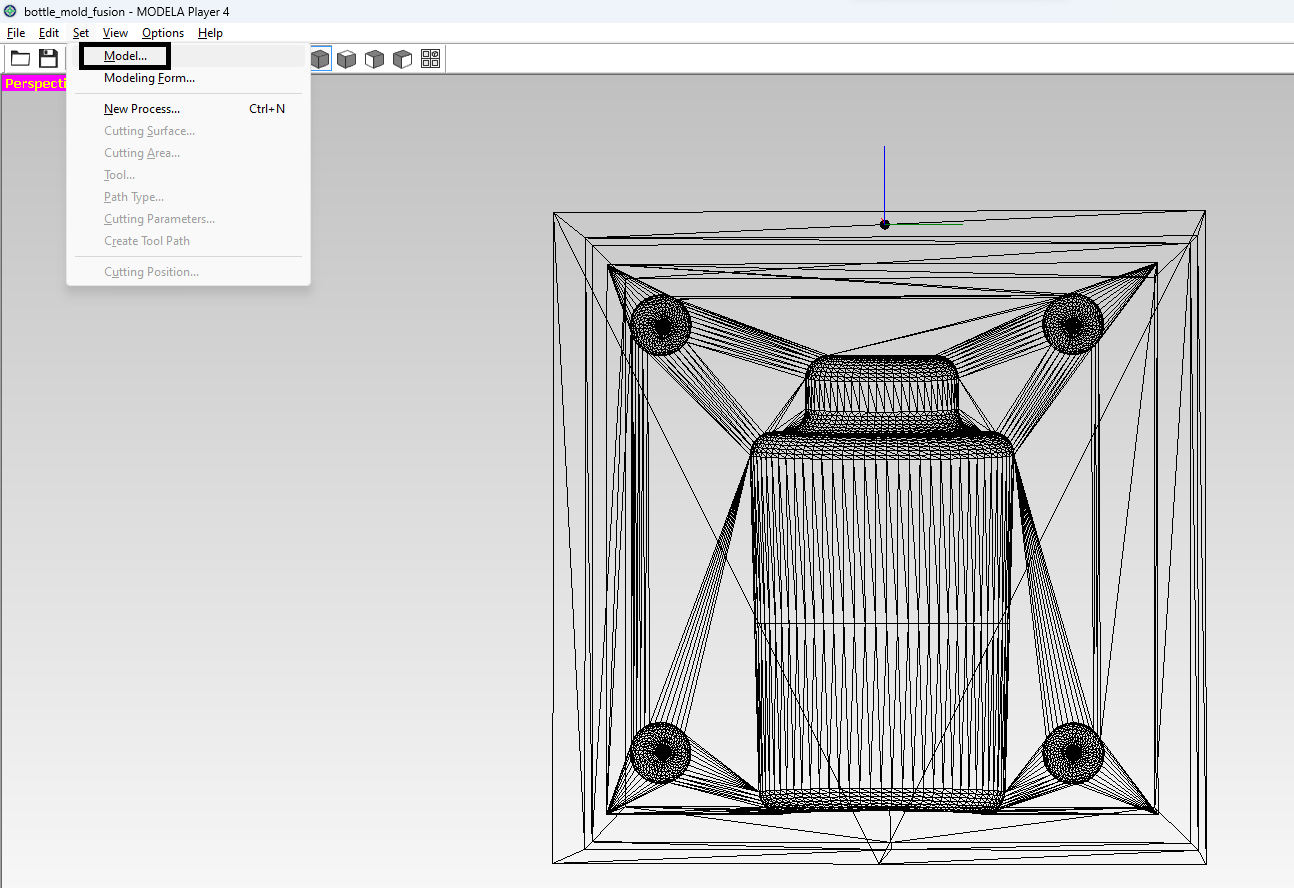
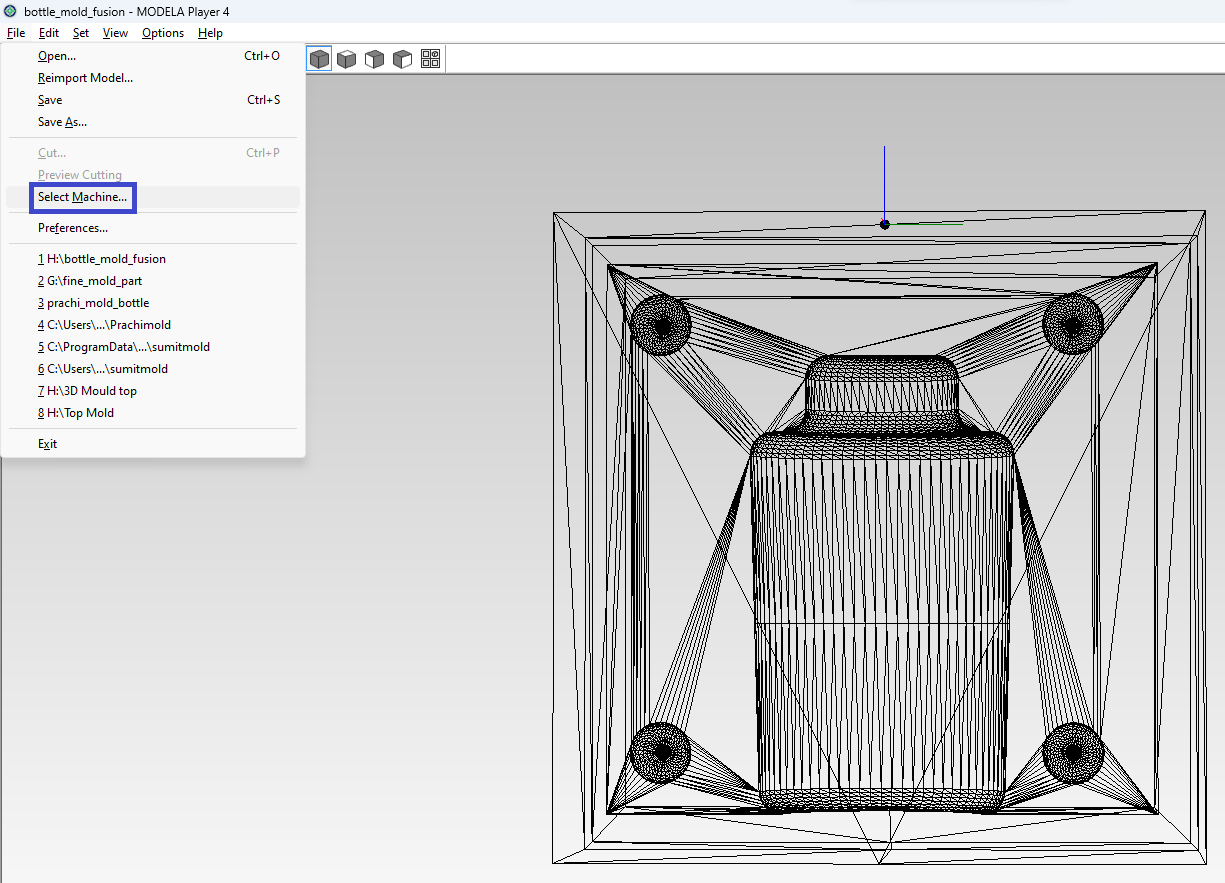
Navigate to Toolbar > Files > Select Machine to choose the machine type.
I chose the SRM-20 machine and adjusted the other parameters accordingly.
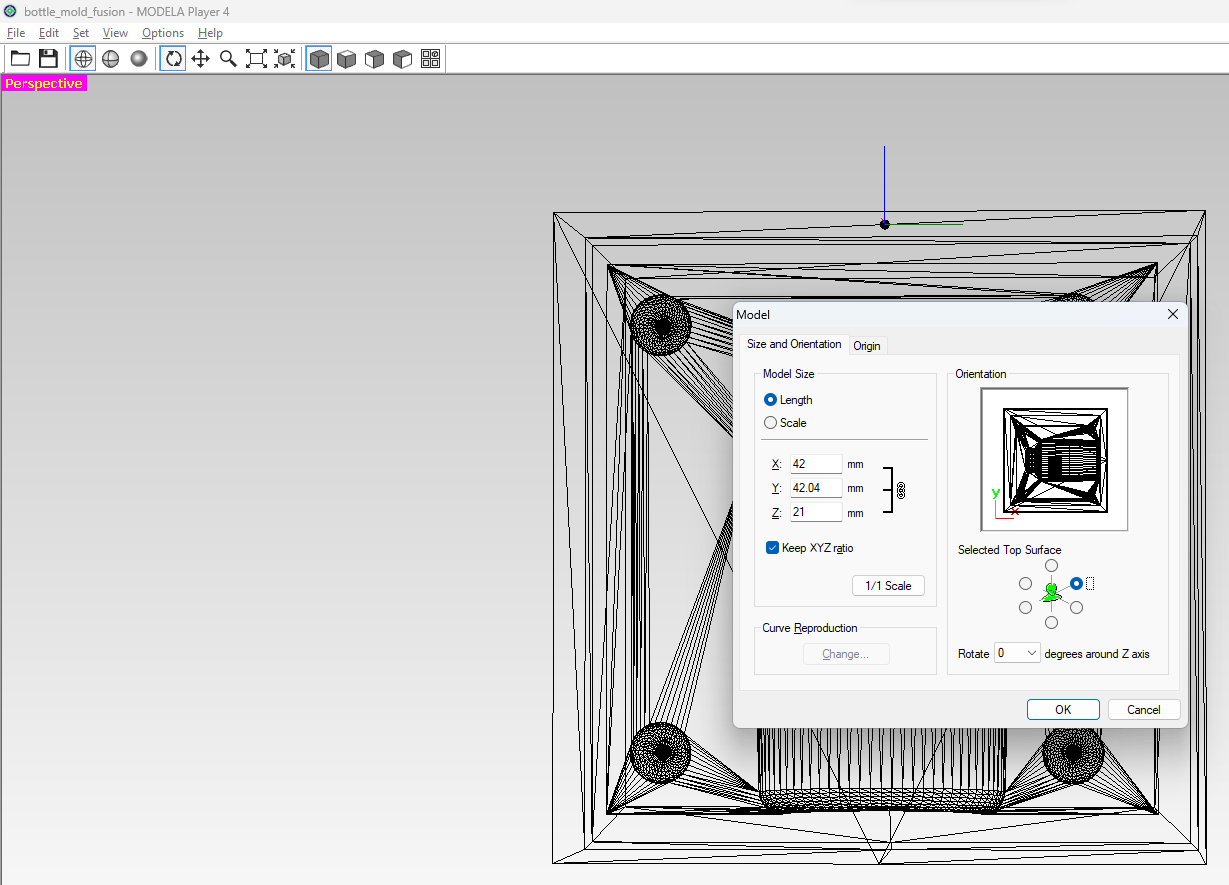
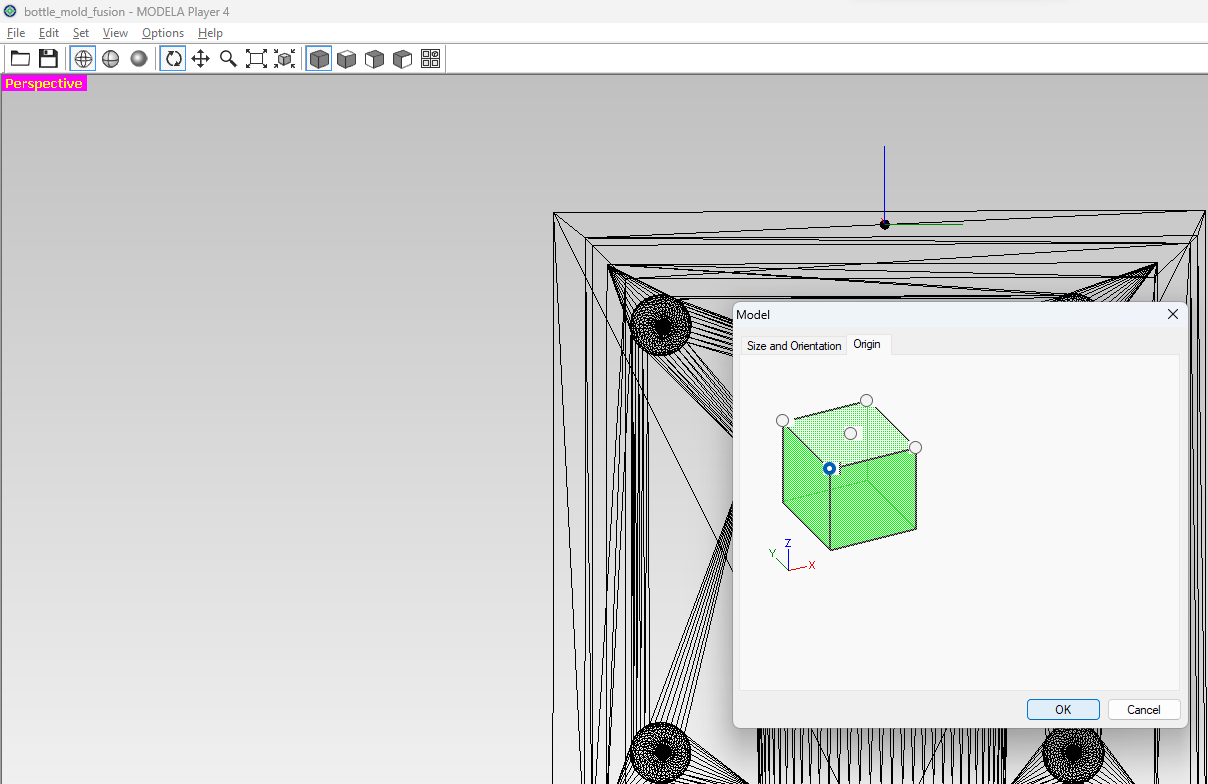
Set Model Size and orientation, origin
Selected model size in which i dont change any parameter and then orientation as top surface according to my design. and here also I selected origin from origin tab
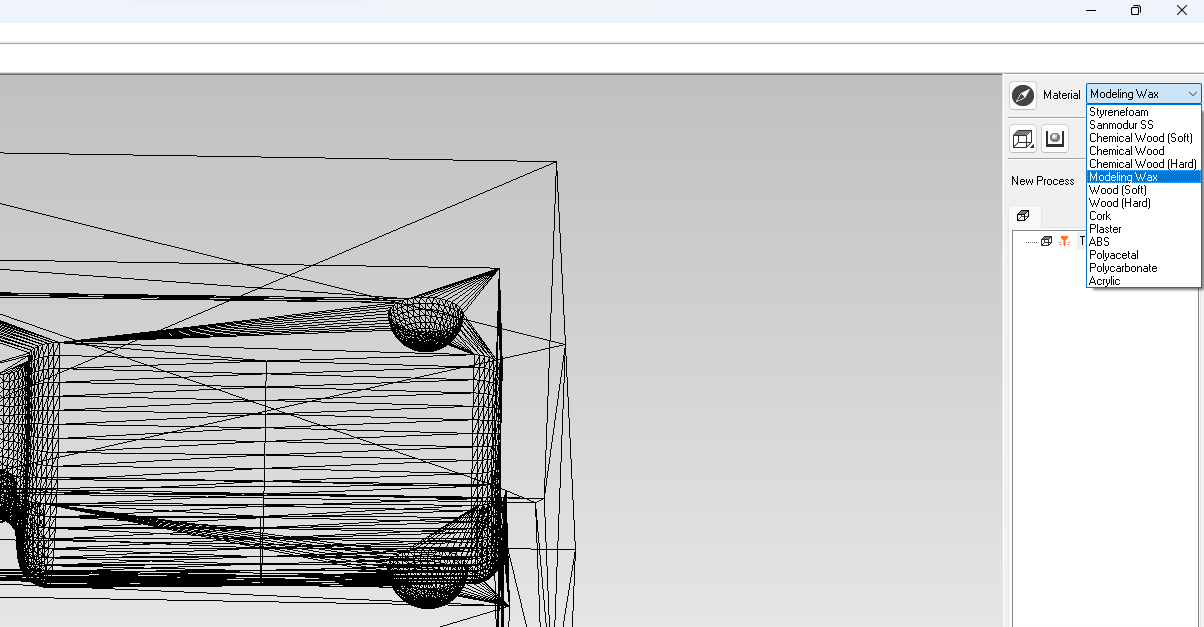
Select the material
For making mold I used machinable wax as above.
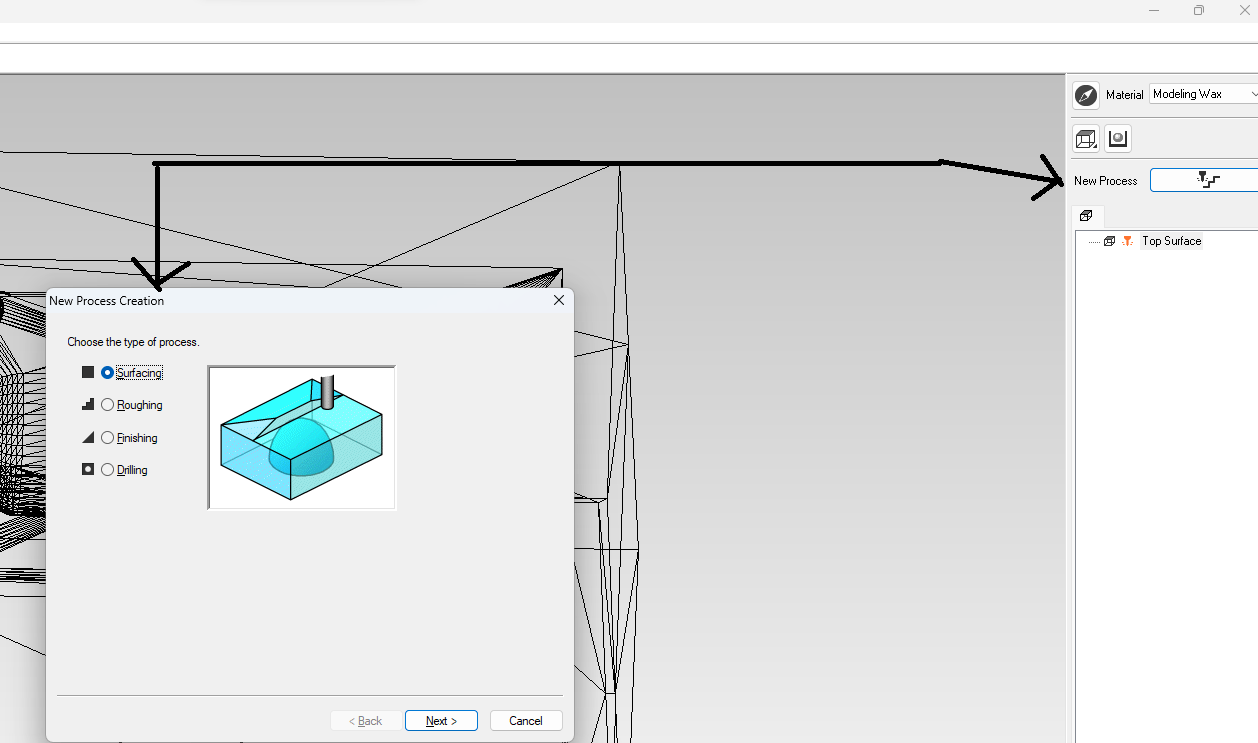
We need to make the surface uniform. To do this, go to the "New Process." A new pop-up window will appear where we need to select "Surfacing" and then click "Next.
Choose Cutting Surface side
Next, we need to choose the cutting surface side. By default, it is set to the top (z+). I'm not changing this setting and will proceed to the next step.

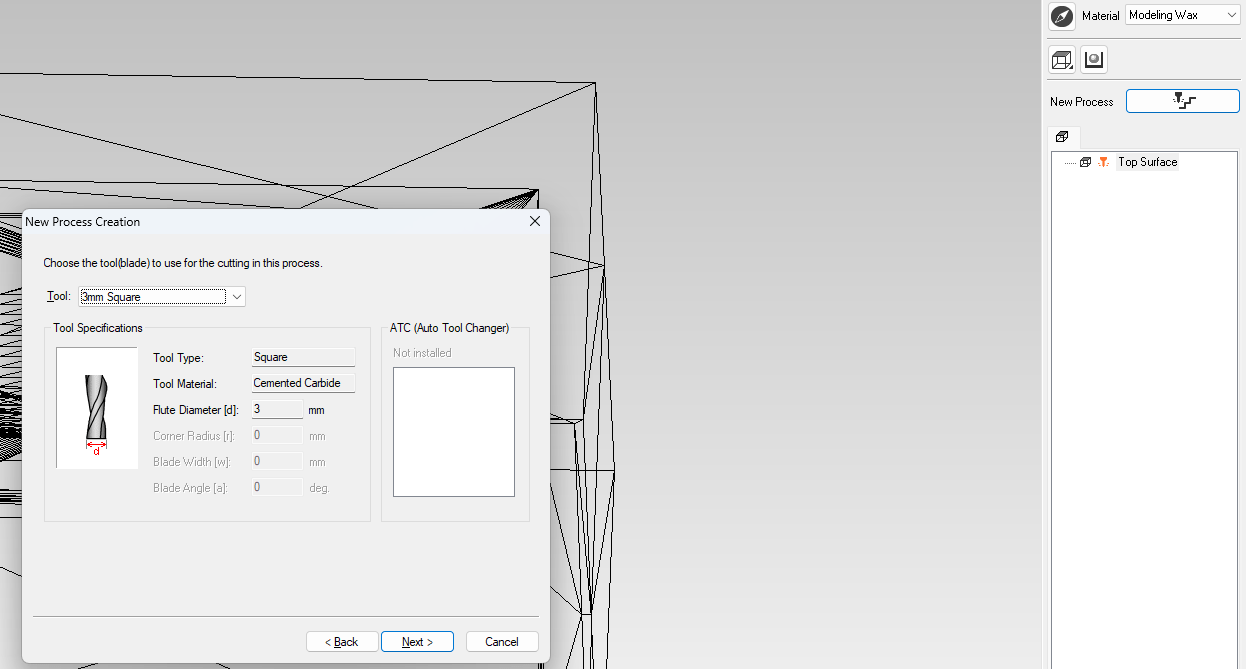
Select tool for surfacing
I selected tool 3mm suare
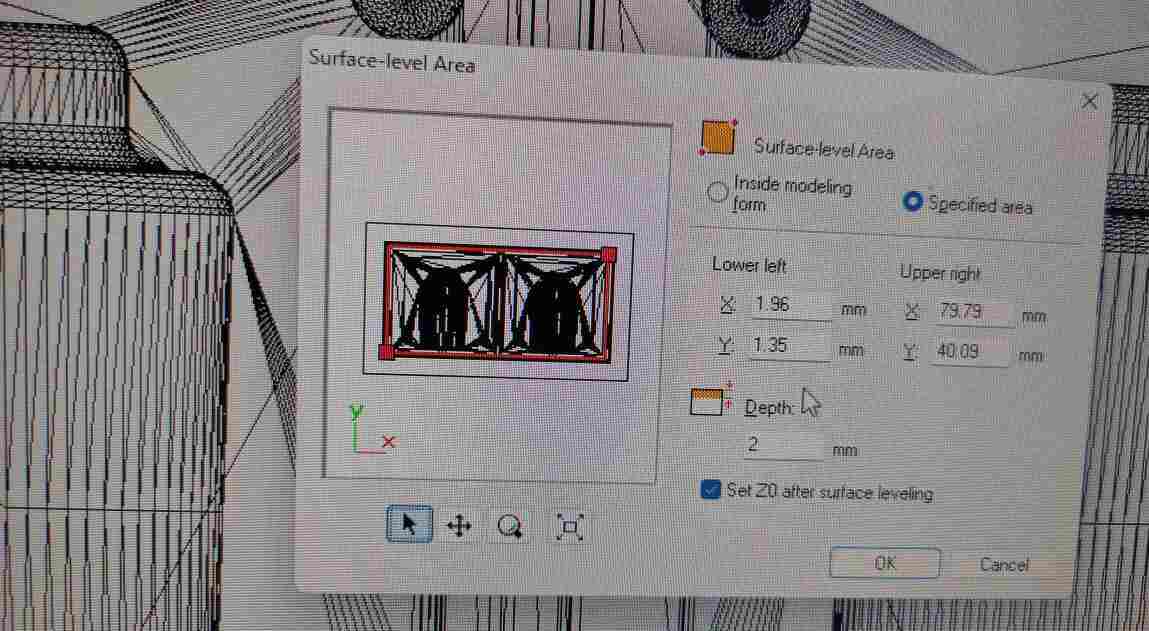
Set Surface level area
Here I selected the depth size of 2mm for surfacing.
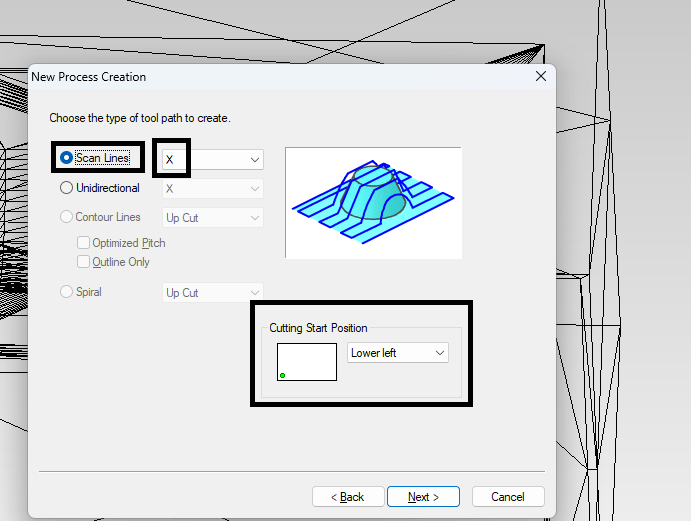
Select scanning line pattern.
I selected the bilateral line along x axis and Set the cutting start point at the lower left.
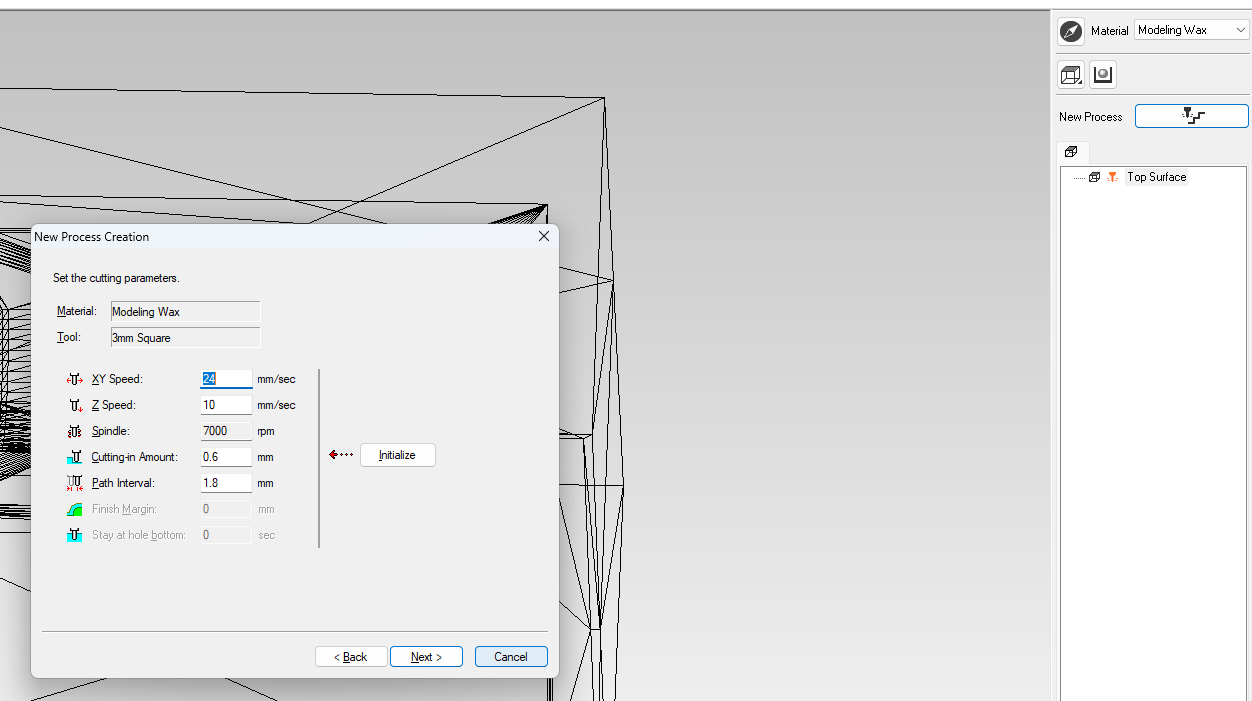
Set the cutting parameter.
Cutting tool is ⅛ inch flat Endmill
Surfacing
This process generating the tool path for surfacing.

This is all about the tool path generation. Once the milling process is finished, the negative mold is prepared and ready for use.
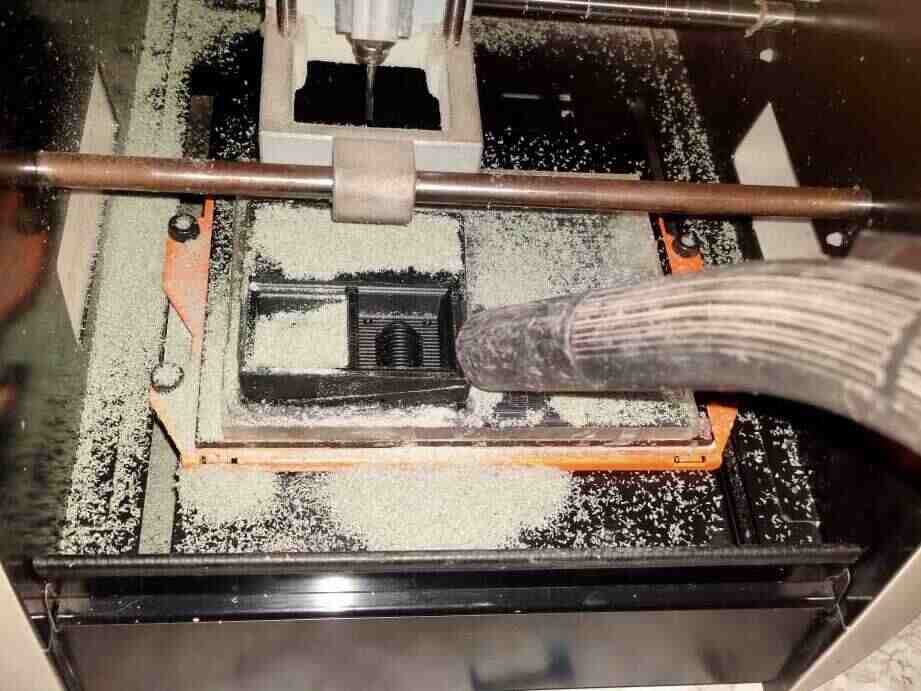
Then I cleanned the unwanted wax removed from milling process and keep it as it is reusable.
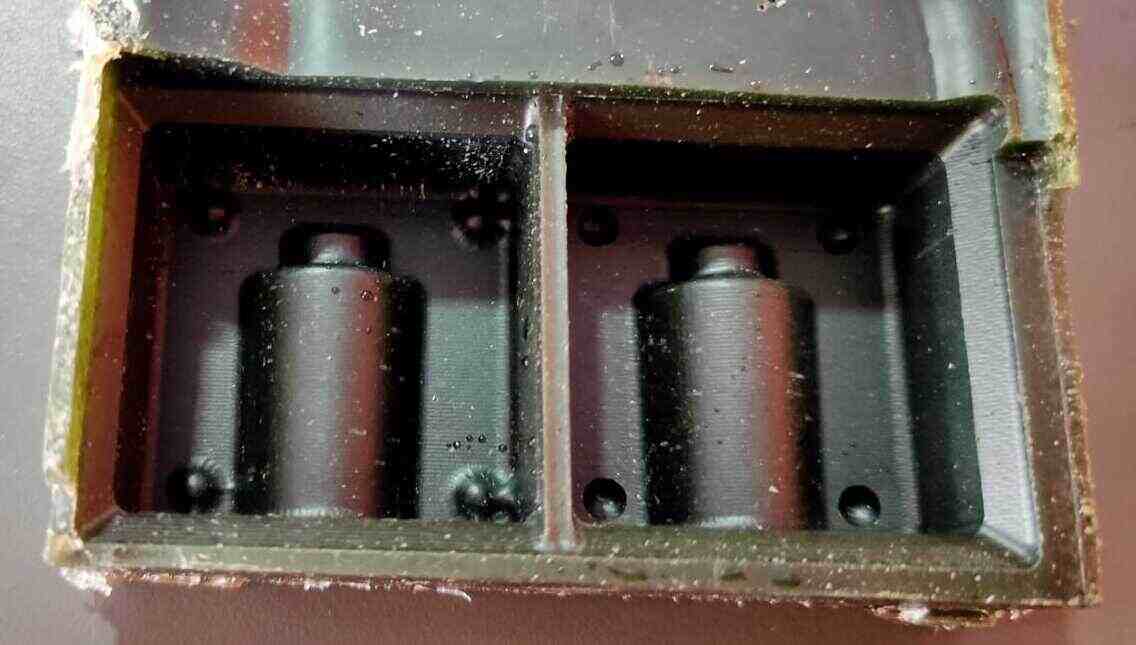
I have also 3d printed same.After that the next step is to make negative mold.
Negative Mold
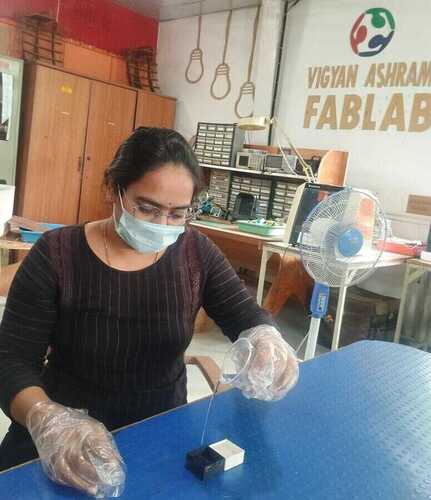
1. Volume Measurement
The initial step in creating a negative mold is to measure the volume.

2. Calculation for silicon required for making Negative Mold
Density Of Silicon = 1.07 gm/ml
Calculated water volume = 30 ml
So,
The weight Of Silicon Required For Making Negative Mold =
Volume * Density
= 30 * 1.07
= 32.1 gm
3. Weight Measurement
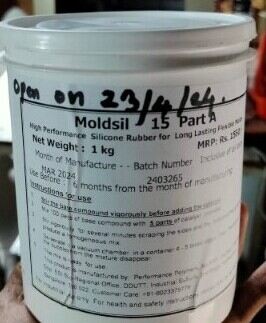
To create a negative mold, we need to pour the mold-making material into our mold. I used Moldsil-15 Plus Silicone as the mold material. MOLDSIL-15 PLUS Silicone is composed of two components, Part A and Part B, which are combined in a ratio of 100:5
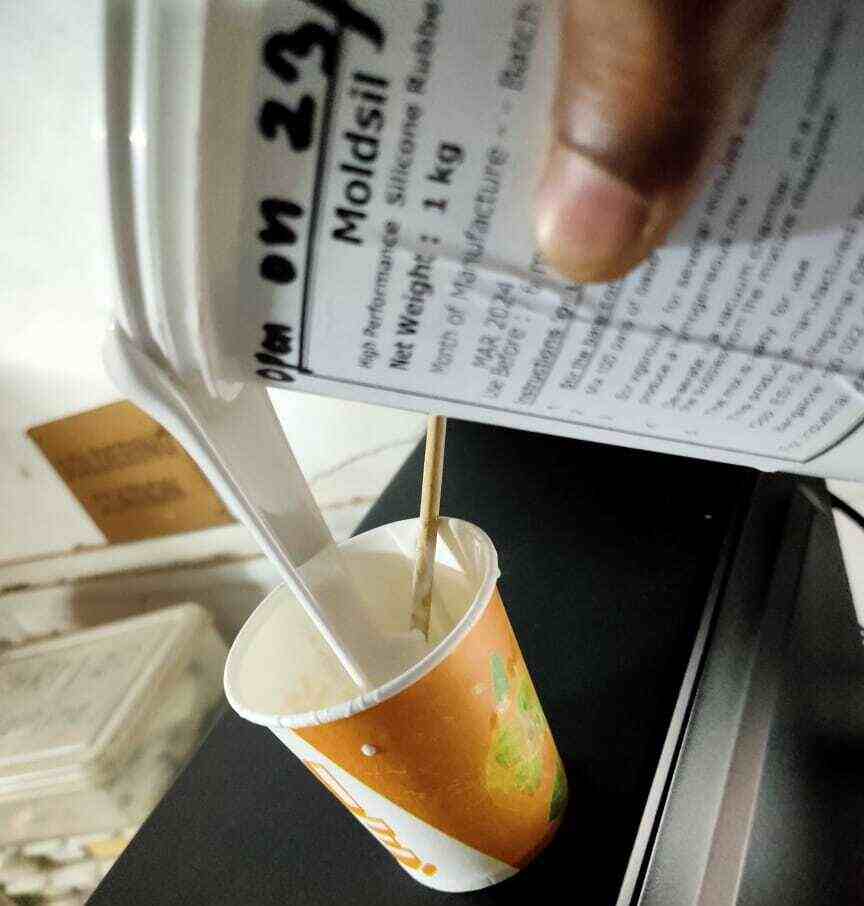
When preparing the silicone, utilize a suitable mixer and be mindful to avoid creating bubbles. Mix the material in a single direction and use a scraper to remove any residue along the bowl's edges to reduce the introduction of air bubbles.
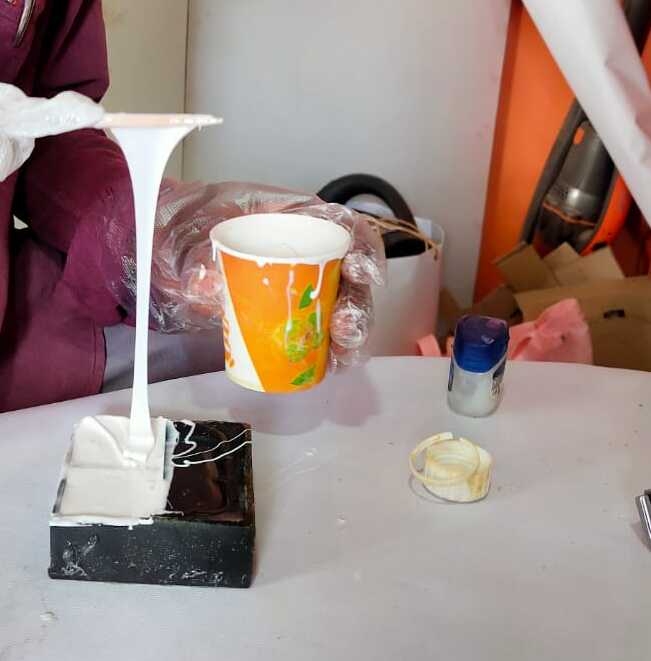
After mixing, pour the substance into the negative mold and gently tap it to ensure it fills all corners and completely covers the surface. Then, let it dry.
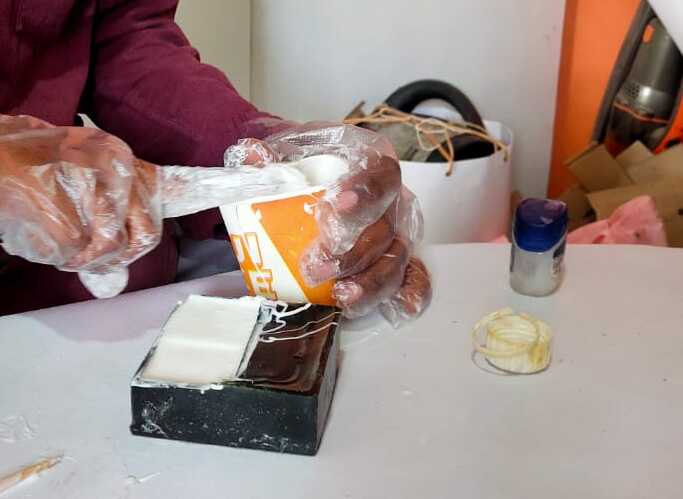
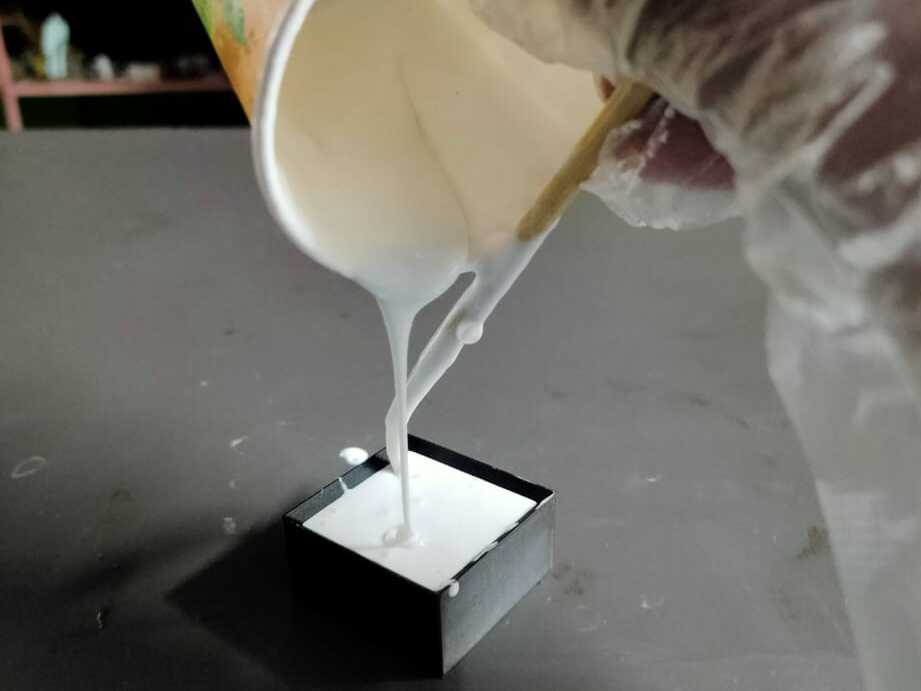
Casting
To create the cast, begin by following the same procedure as previously. First, measure the volume of the negative mold, which is the silicone mold formed once the Moldsil-15 has fully cured.
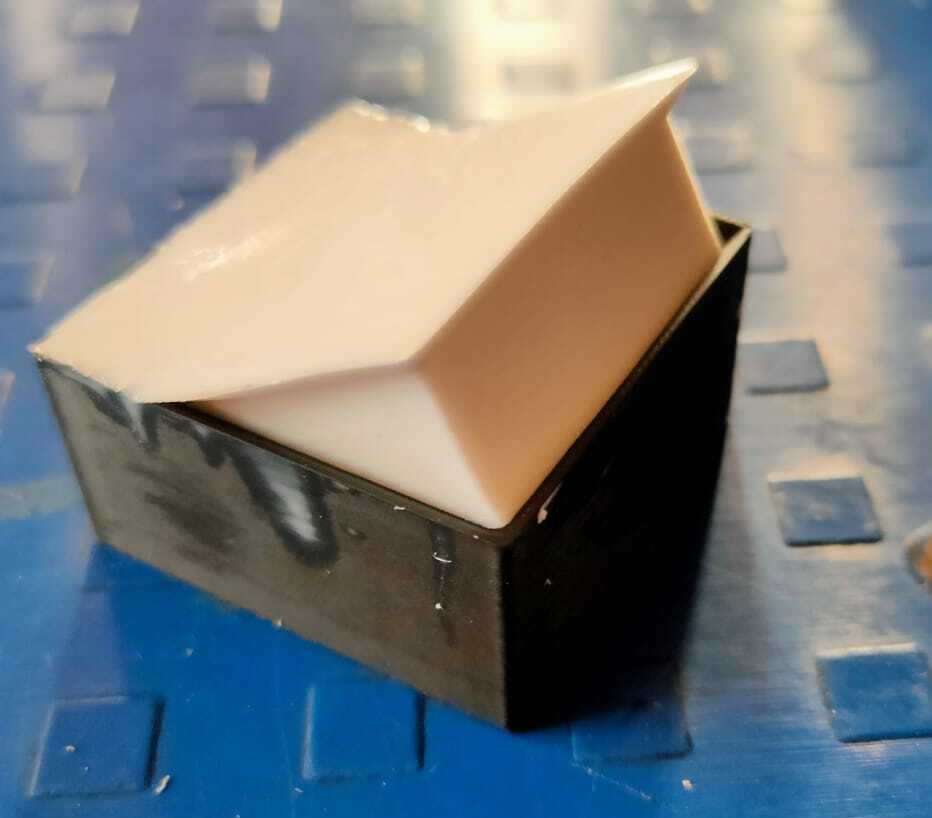
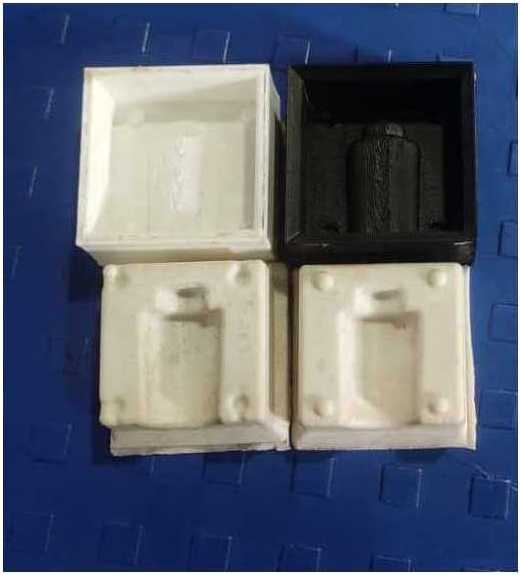
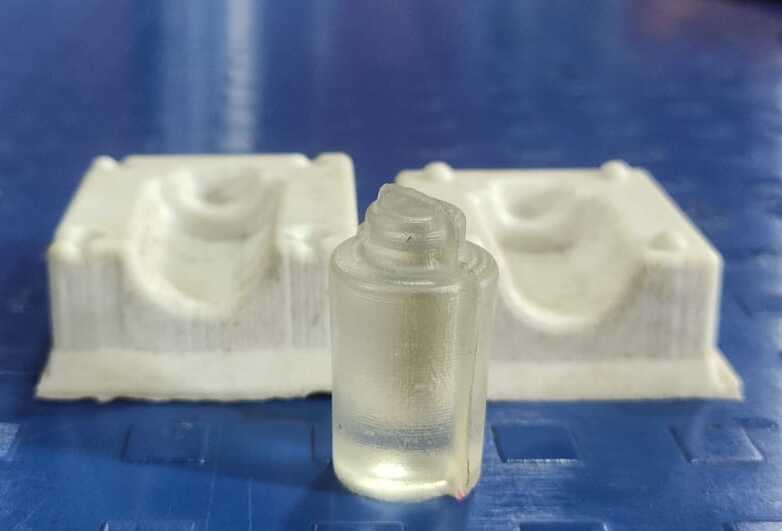
I mixed epoxy with a hardener in a 2:1 weight ratio, which means I combined 2 parts of epoxy with 1 part of hardener. After mixing the components well, I poured the solution into the positive mold and allowed it to cure overnight, resulting in my finished object.
Problem Faced
I faced a problem while designing a mold. Initially, I designed a mold for a golf club, but it was too large and didn't fit the material I was using for milling. So, I created a new, smaller mold for a bottle.
Key Learning
Through this assignment, I gained a comprehensive understanding of the molding and casting process, along with its design elements. I also learned how to use a PCB milling machine to create molds. Initially, I designed a large mold, which required a long time to 3D print and more machinable wax for milling. To address this, I created a smaller mold design, allowing me to learn the importance of considering time and material resources. This experience highlighted the need to optimize designs rather than strictly adhering to exact dimensions.