Mechanical Design, Machine Design
This is a machine design week. so we have to make machine and actuate it. So our task is to learn about the different mechanisms. Then we discussed different ideas to make machine and done brainstorming. We discussed different ideas like mehendi machine, coffee machine, and seed bowing machine. We study different mechanisms and finally we decided to make seed bowing machine we gave the name Seed Crafter to our machine. As we have group of only two members so we are involved in all mechanism,design, and electronics part.
Seed Crafter Machine
Group Assignment
Design, actuate and automate your machine.
Selection of mechanism
3D print and leser cut parts.
Assembly and operate it manually
Electronics, used grbl software for automate machine
Document group assignment.
Find my group assignment link
Click HereIndividual Assignment
Document Individual Contribution.
First we discussed and brainstorm different ideas then we decided to make seed crafter machine for bowing seeds. In our agriculture department we bowing seeds in tray manually. This process is time consuming so we deciced to make machine which automatically bow the seeds in each cups in tray.
Heroshot For Seed Crafter Machine
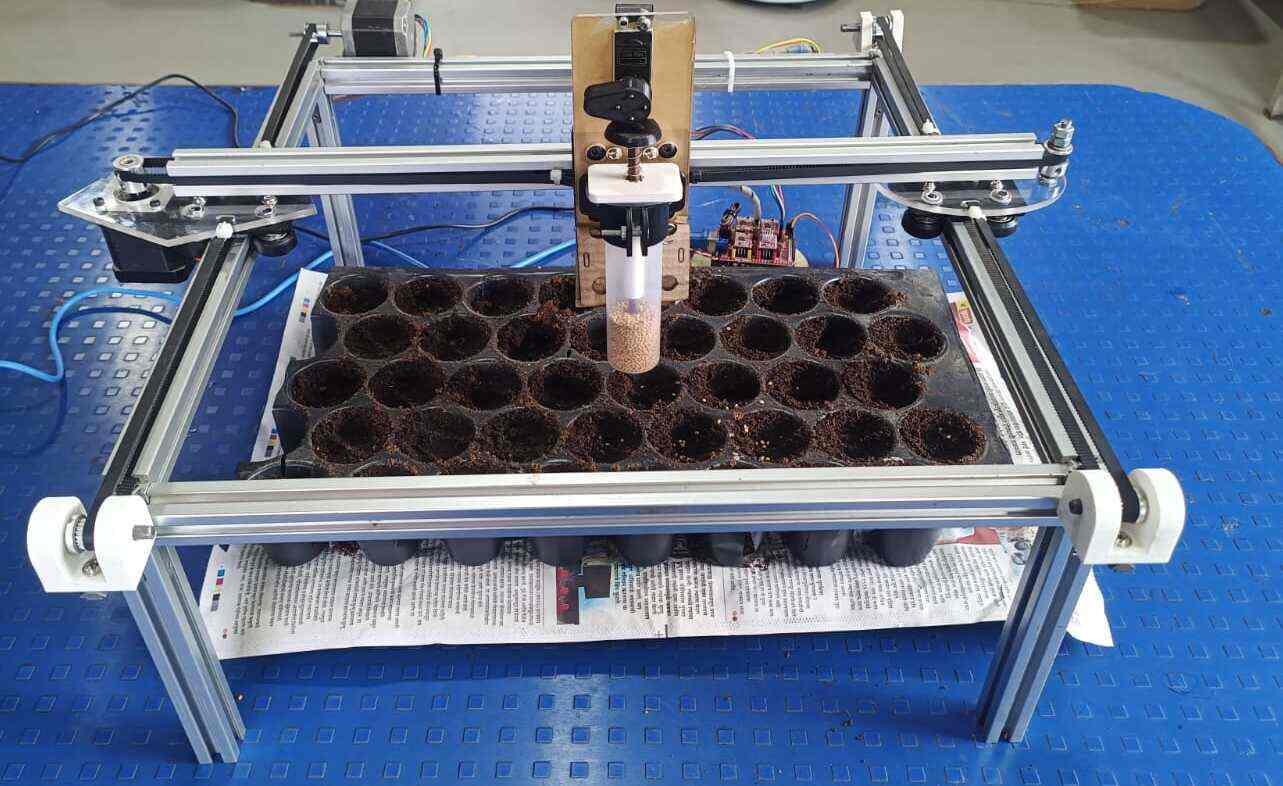
Seed Crafter Machine Hero Video
Cad Modelling
First we design the base of the project called gantry which is 400 X 400 X 200 of dimentsion of aluminium extrusion channels. we used extrusion V slots for assembly of Aluminium extrusion channel.also we assembled bearing wheels, Aluminium pulley and timing belts for movement in X , Y , and Z directions. For automation we used electronics components like Ardino UNO board, CNC shield, Motor driver, Nema 17 Stepper Motor. Read more about the frameworks from our group assignment link Click Here
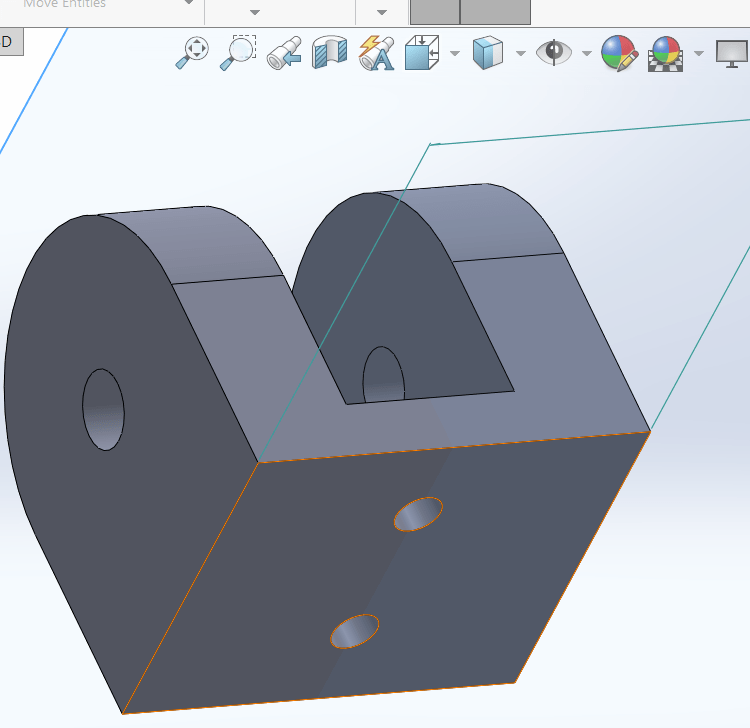
Design for Pully Holder
For holding pully we required Pully Holder. So first I started with designing Pully Holder. We required two pulleys of same dimensions.
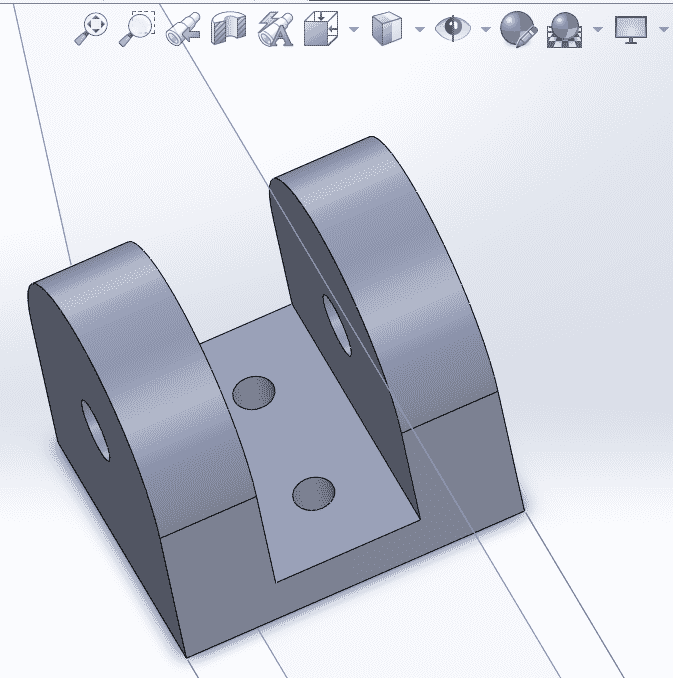
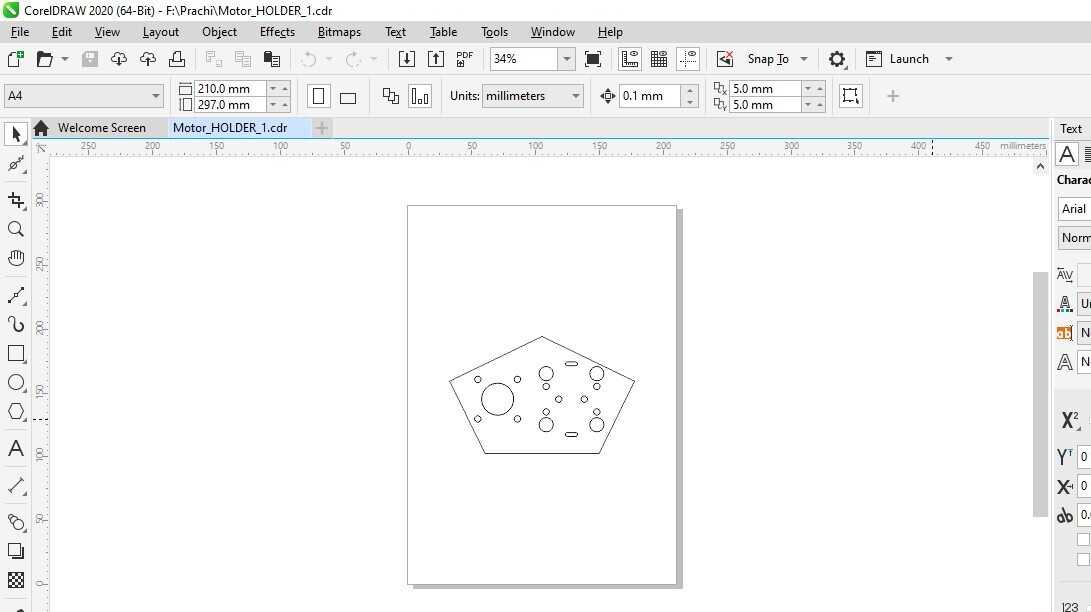
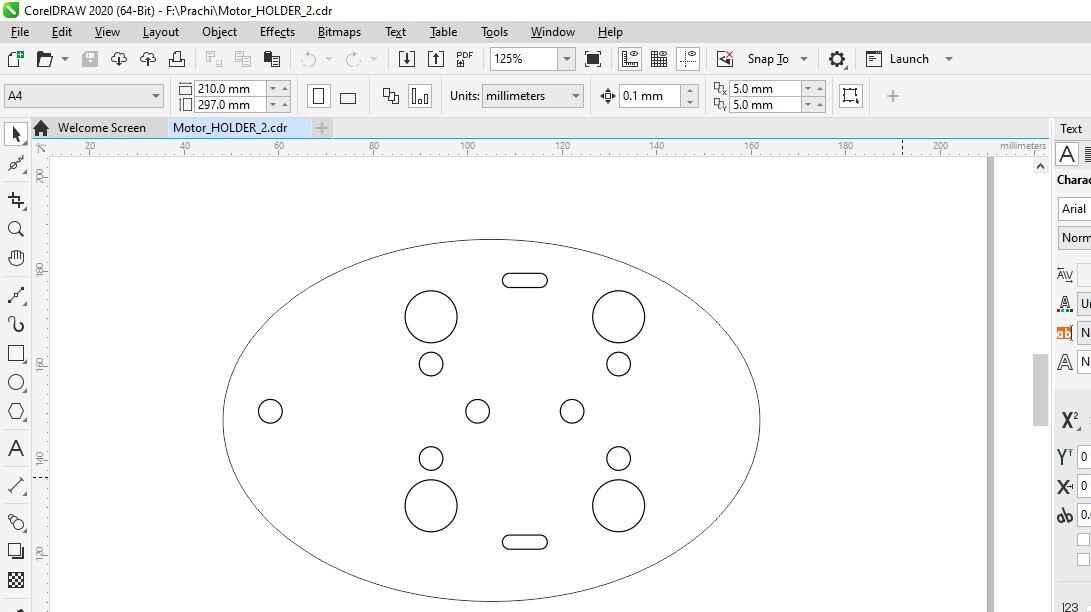
Design Motor Holder Plates
Then we designed the plates for motor holding in CorelDraw.
End Effector Design
Then we come to the main part of this machine. The important task is to design the end effector. The effector should drop two to three seeds one by one in different cups. So we selected the cam and follower mechanism for end effector.
End effector part is very important and we struggle during designing this part because we want to drop only one seed at a time. we studied some mechanism from google.
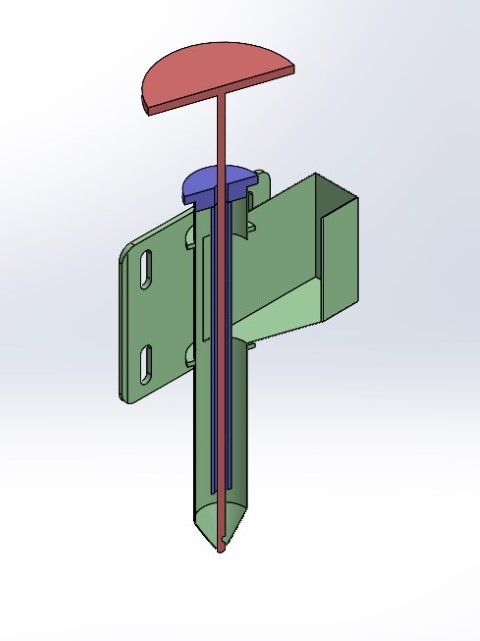
First I tried to design as above like hopper is attched for seeds.
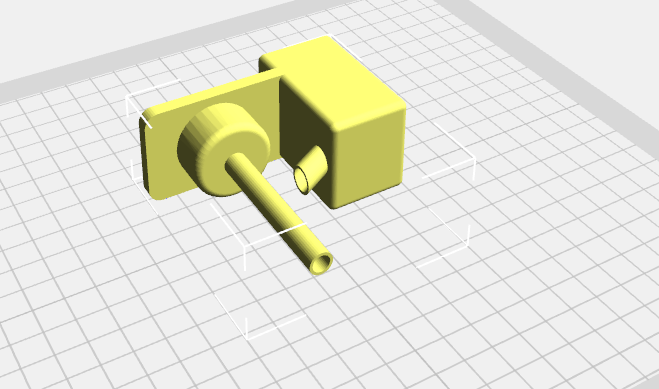
But this mechanism not worked so, we decided to use Cam And Follower mechanism.
Sketch
We first final this design for end effector part.
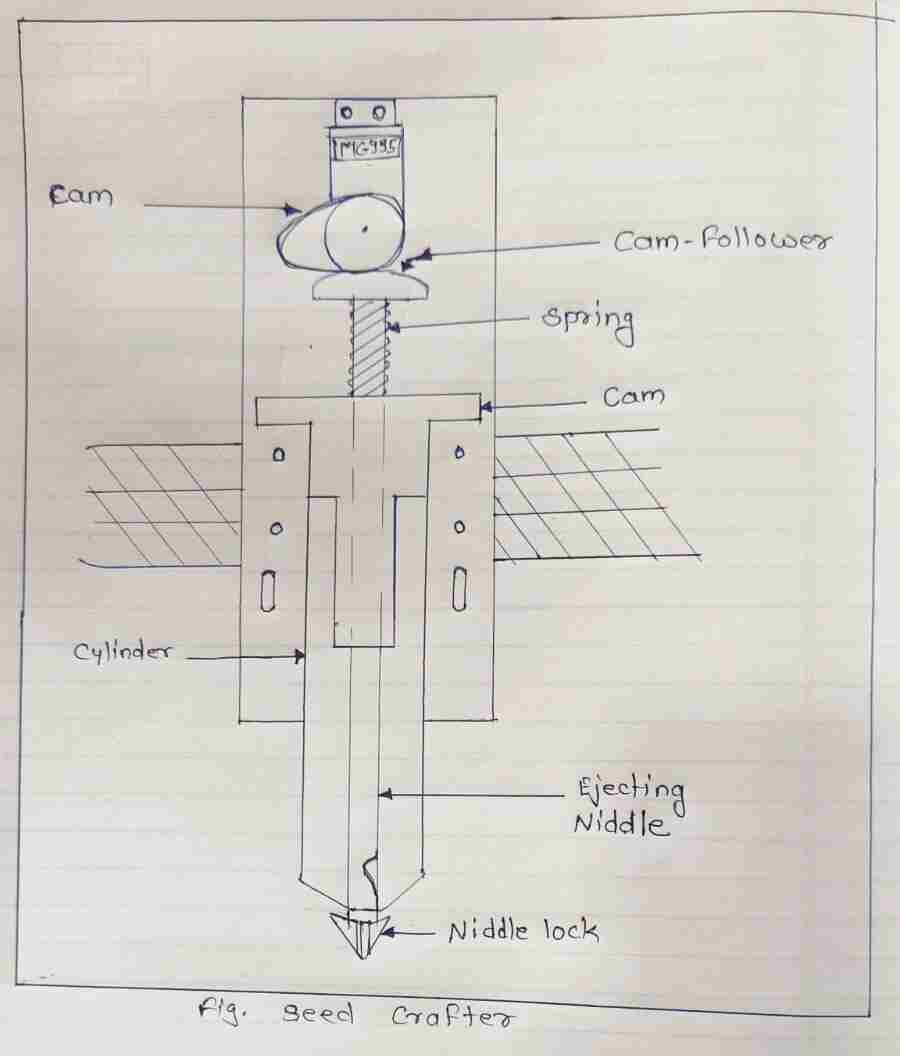
Cam Design
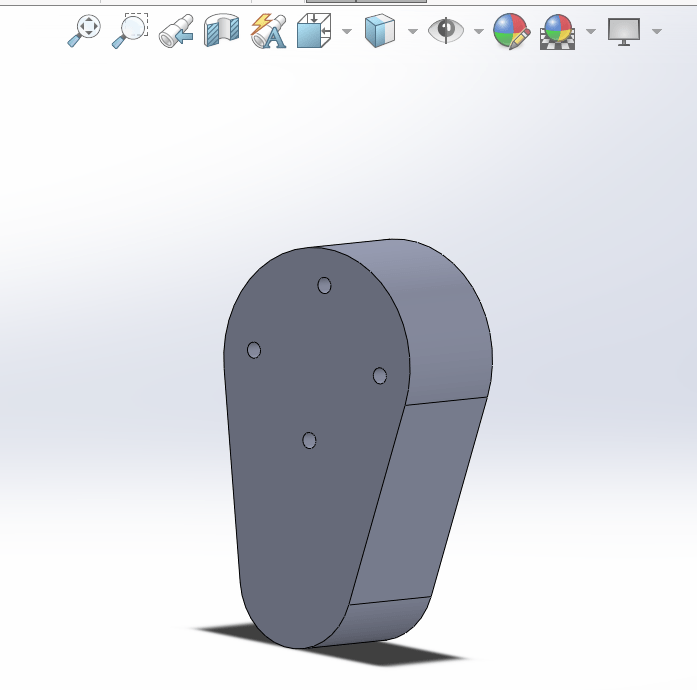
Then we designed the cylinder Cap
Cylinder Cap Design
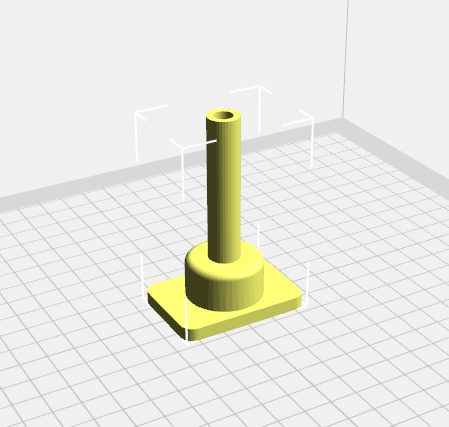
End Effector Design
After that challenging part is to design the part which should drop the grains from cylinder we names it as End Effector.
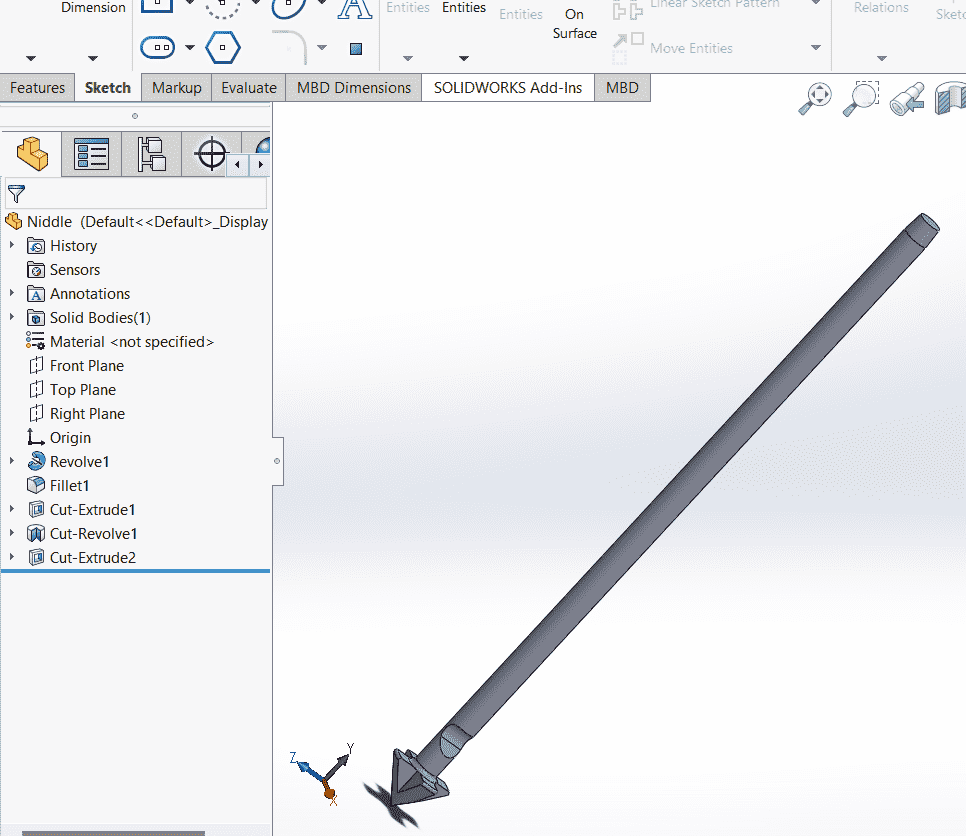
End Effector Cap Design
Now it is important to have cap properly fits to the End Effector. So next I designed the End Effector cap.
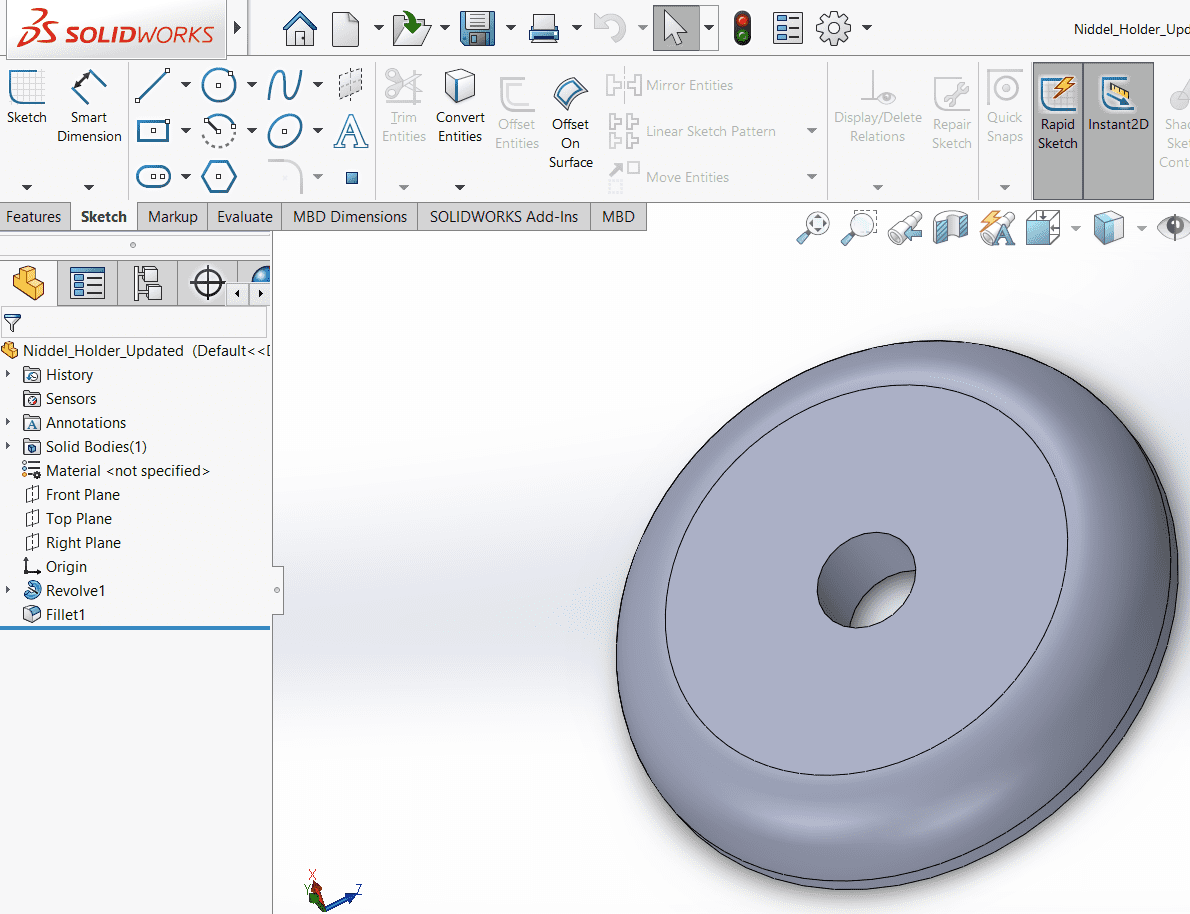
Clamp Design
For fixing our end effector to the chassis we required clamp. So Designed the clamp.
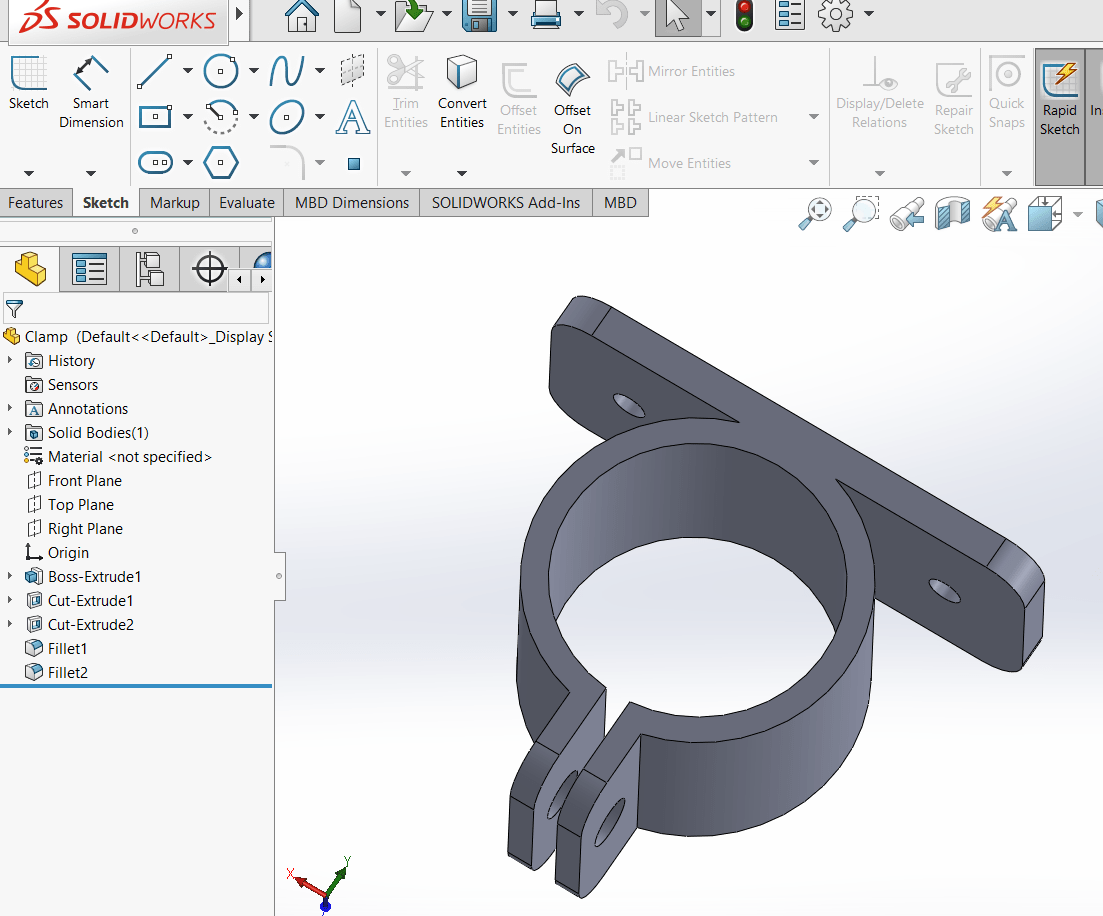
Fabrication
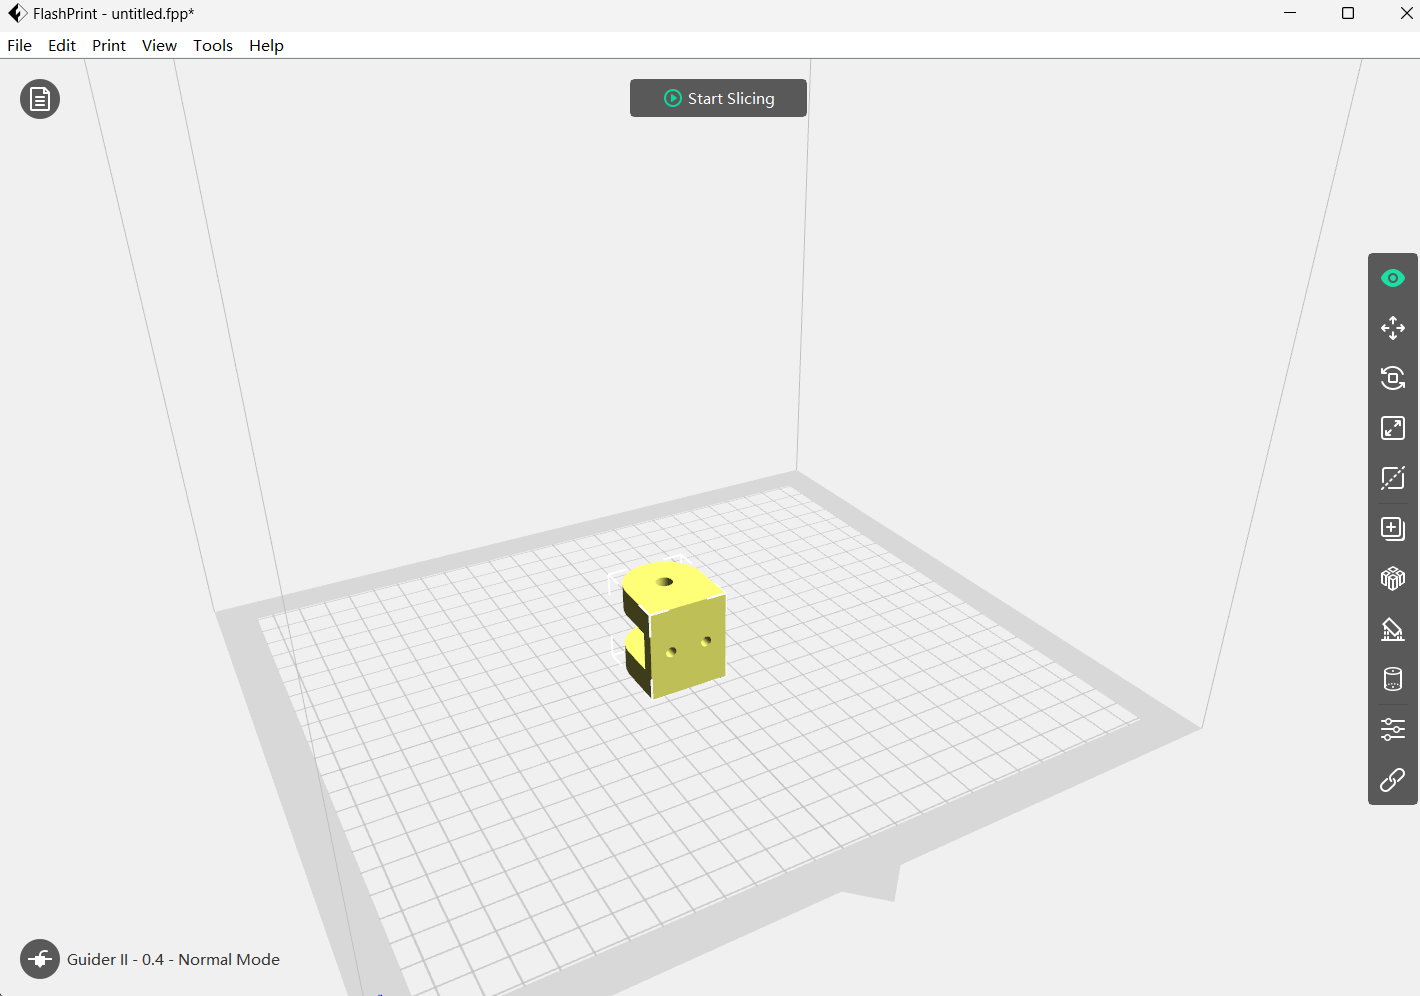
3D Printing
Pulley holder
First I started with 3D printing the Pully Holder. We required same 2 pulley holder.
Cylinder Cap
Then I 3d Print Cylinder Cap

Cylinder Cap
End Effector
Then I 3D printed end effector part we named it as End Effector.
End Effector
During the 3D printing of End Effector we have much struggle because as the part is broken for two times as its diameter is small.Finally at third time its done.
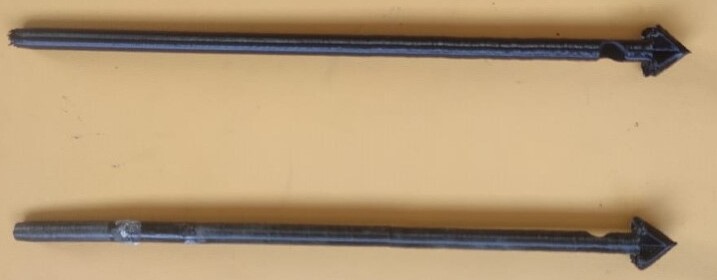
And its done
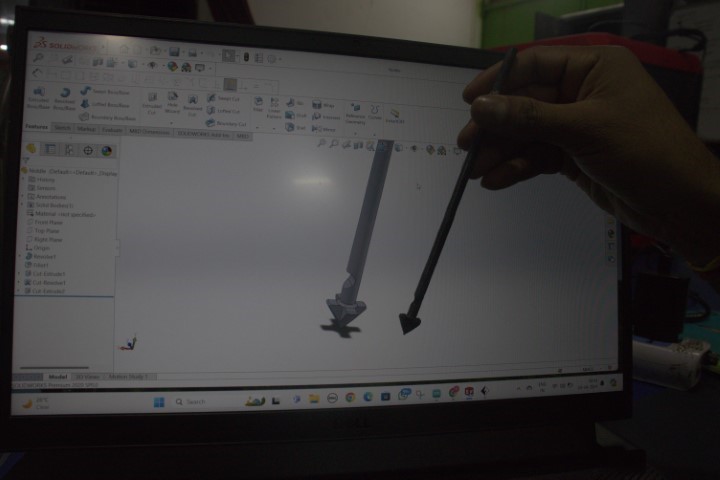
Laser cutting
We required part for motor holding so we designed and leser cut this part by using acrylic material.
laser cutting
Assembly
After design, 3D printing, Leser cutting we have to assemble these all parts.
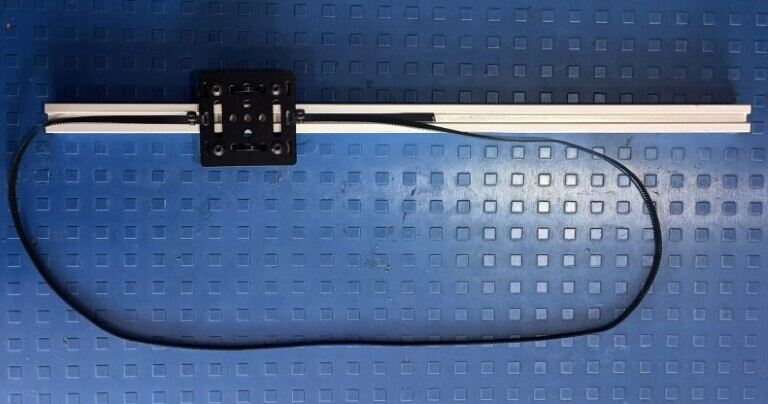
First we assembled pulley holder with pully and fixed it into aluminium extrusion channel with extrusion V slots joints.
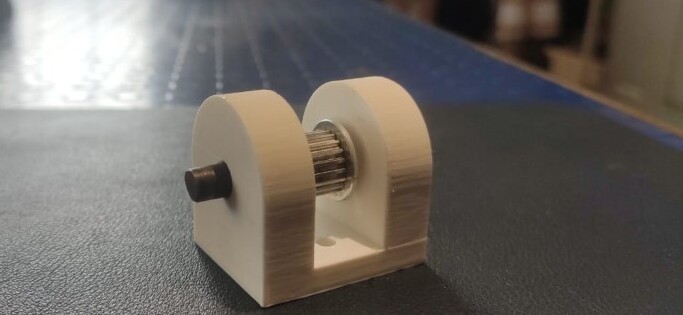
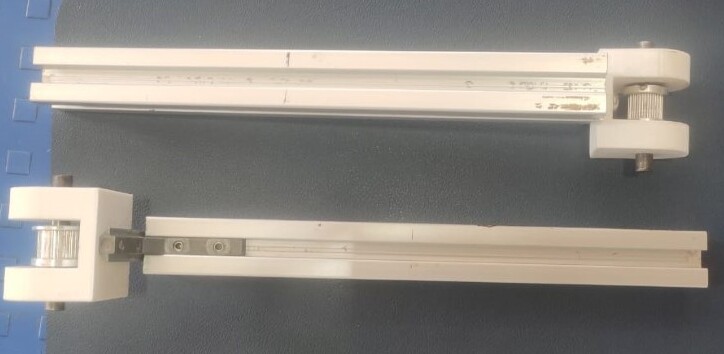
We have done leser cutting and we got the motor holder plates. So we first join the plate with the V slot gantry plate with the help of Nut & screw.
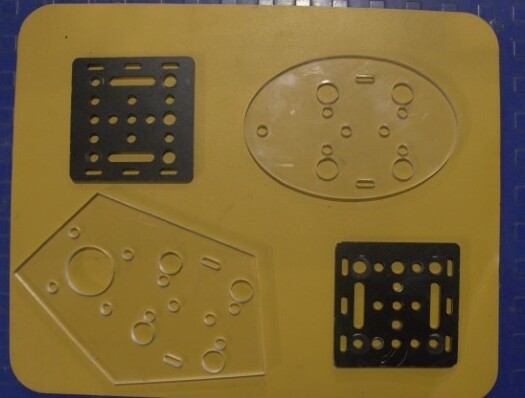
laser cutting
Timing Belt fitting with pully on aluminium extrusion channel.
All chassis assembly with fitting electronics part such as nema17 motor, servo motor, end effector.
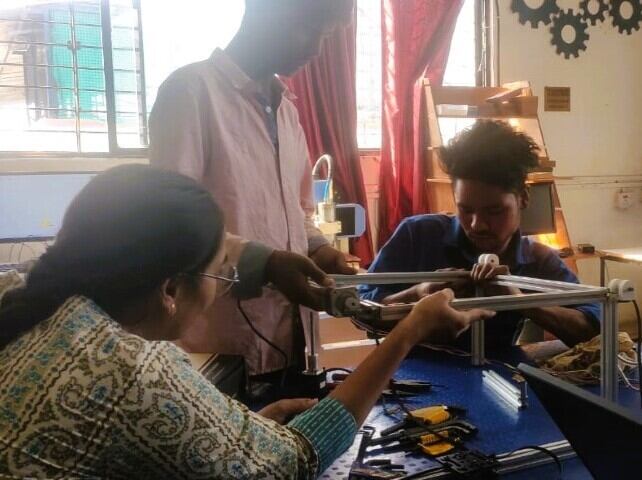
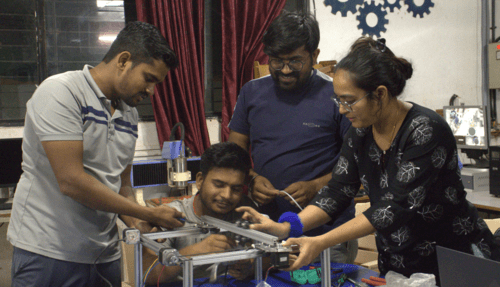
End effector Testing & Assembly
manual Operation
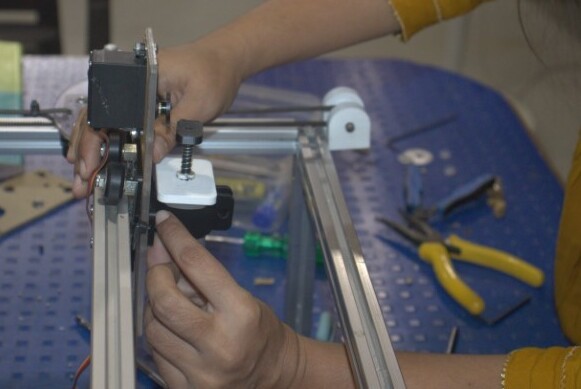
In this way we have assembled the above parts, fixed the pulley with timing belts, motor and motor driver, connected the CNC shield, Nema17 Stepper Motor for automation.
Manual Testing
After completing all assembly we test it by manually.
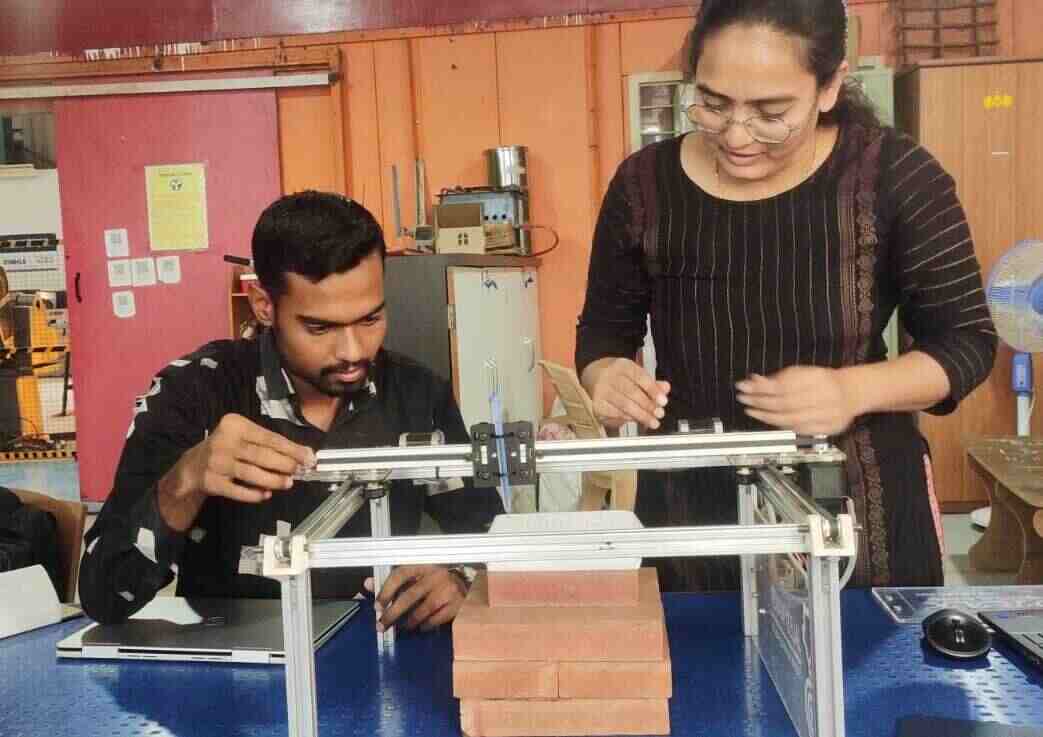
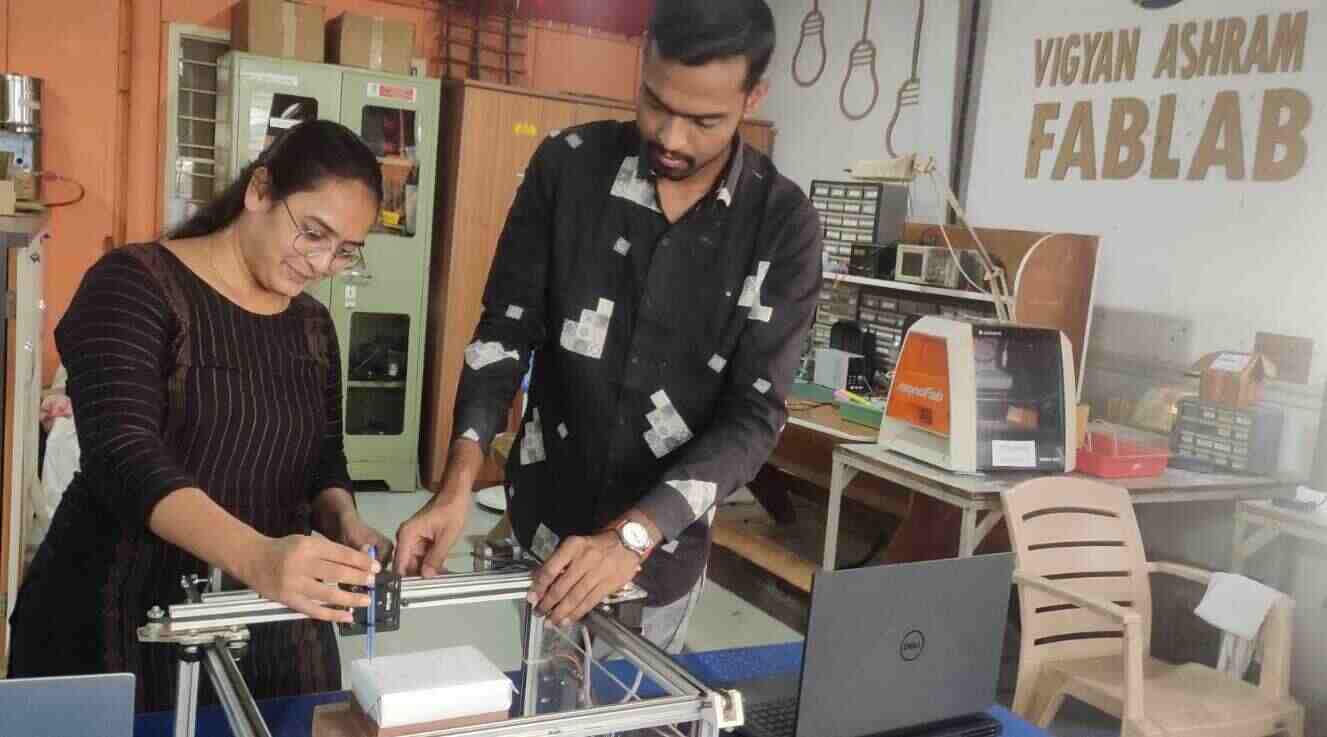
manual Operation
First we design our frame and check it manually.Then we take trial by doing manual operation by using pen for checking the momvement in X, Y, Z directions.
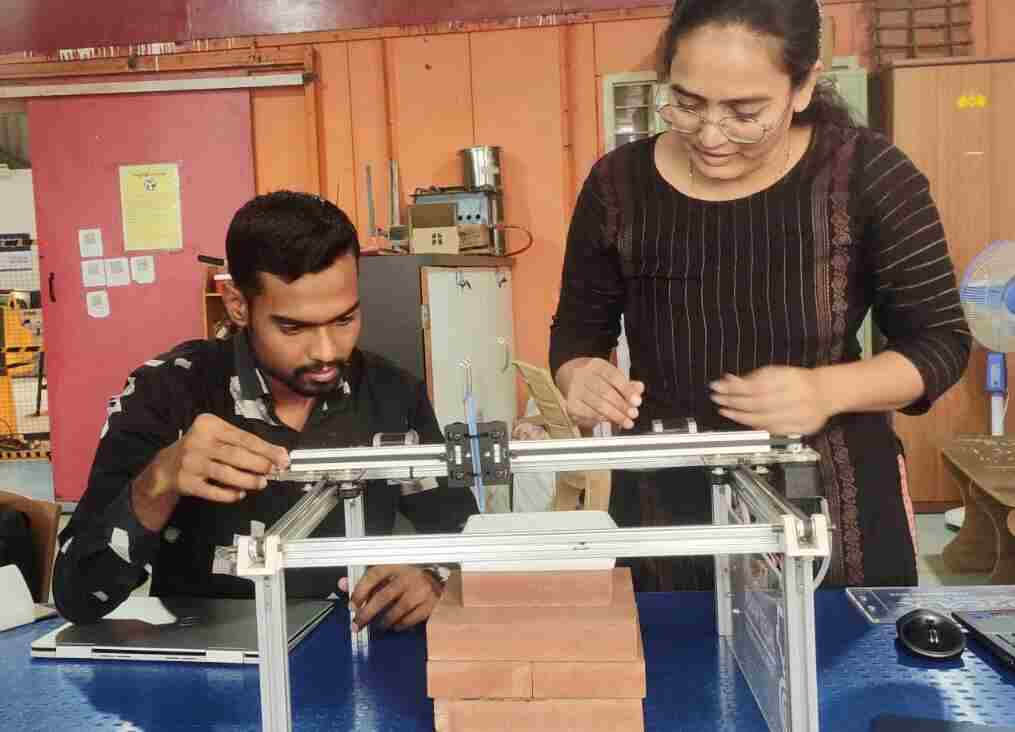
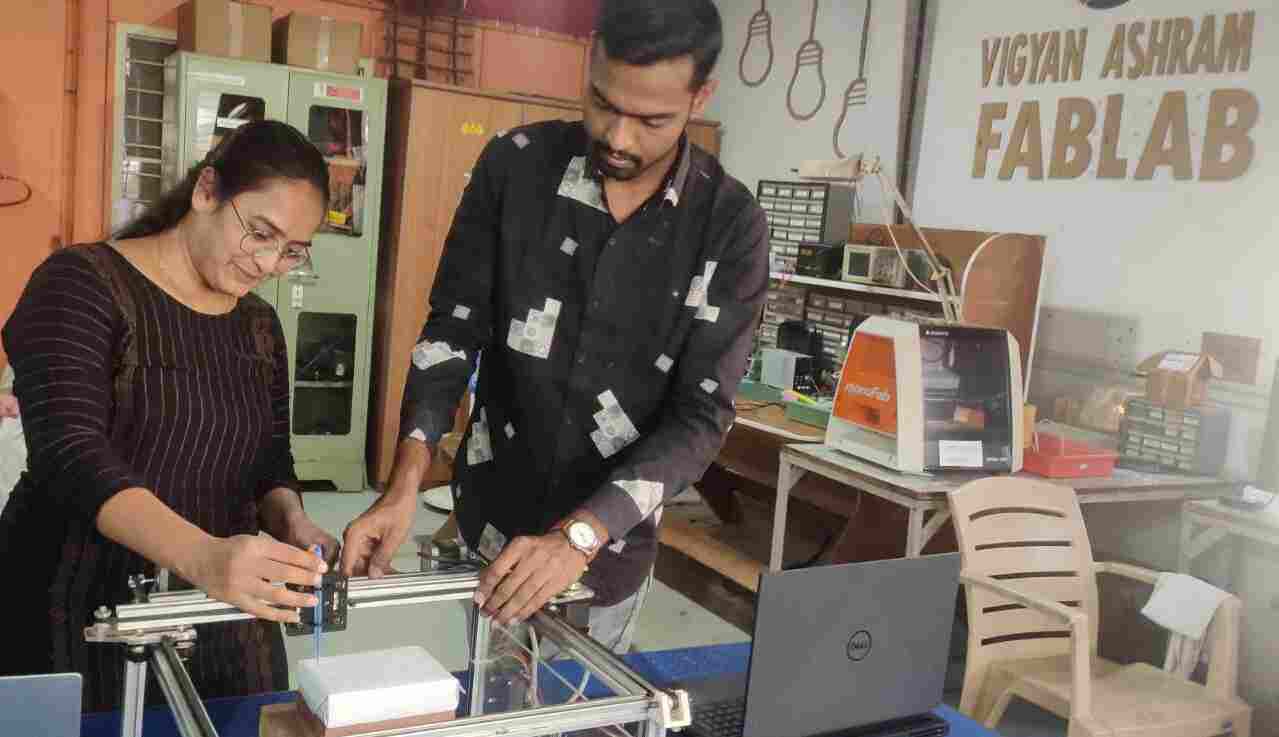
After manually operating the system and confirming its movement was functioning properly, we proceeded to verify the electronic connections and conduct tests. We utilized GRBL, an open-source software, for motion control. For more details, please refer to the information available in our group link. Please Find Group Link Here
Possible Improvements
For this project for improvements, we can use aluminum alloy or stainless steel for the end effector to ensure strength and durability. Additionally, we can fix wheels at the ends of the machine's legs to allow for easier movement, preventing the system from being disturbed by manual handling.
Key Learning..
During this assignment, I gained in-depth knowledge about designing parts and assembling both mechanical and electronic components. I faced several challenges while designing the end effector, especially because of its small diameter, which caused it to break three times during 3D printing. However, I successfully completed it in the end.