3D Scanning & Printing
This assignment is all about what I learned from 3D scanning & printing. I’ll explain the different types of manufacturing—additive & subtractive. I’ll also talk about designing objects for 3D printing, the materials we use, plus the methods involved in this really cool process. Oh, and I’ll share how I got to use both a 3D printer & scanner!
3D Printing:
So, 3D printing is often called additive manufacturing. It’s a fun way to create things in three dimensions using a digital
design. In this process, we build objects layer by layer. Think of it like stacking thin slices to make a complete item! We
can use materials like plastic, metal, or resin.
Types of 3D printers, such as:
1. Stereolithography (SLA)
2. Selective Laser Sintering (SLS)
3. Fused Deposition Modeling (FDM)
At our fab lab at Vigyan Ashram, we have two FDM printers:
1. Fracktal Works
2. Flash Forge
I learned about Fused Deposition Modeling (FDM) from my teachers & while browsing Google and the Formlabs website.
Fused Deposition Modeling (FDM):
FDM is actually the most popular way to print in 3D! People sometimes call it fused filament fabrication (FFF). These printers melt plastic filaments like ABS (Acrylonitrile Butadiene Styrene) or PLA (Polylactic Acid). The melted plastic goes through a hot nozzle. Layer by layer, it builds up the object until it's just perfect!
3D Printing Material:
Now let’s talk about materials for FDM printing! ABS & PLA are the most common ones you will find out there. Some advanced
FDM printers can even work with special materials that are heat-resistant or can handle impacts & chemicals better. For my
assignment this week, I used ABS.
To learn more about the materials used in 3D printing, I referred to this resource: [Resource Used]
MATERIAL: ABS (acrylonitrile butadiene styrene)
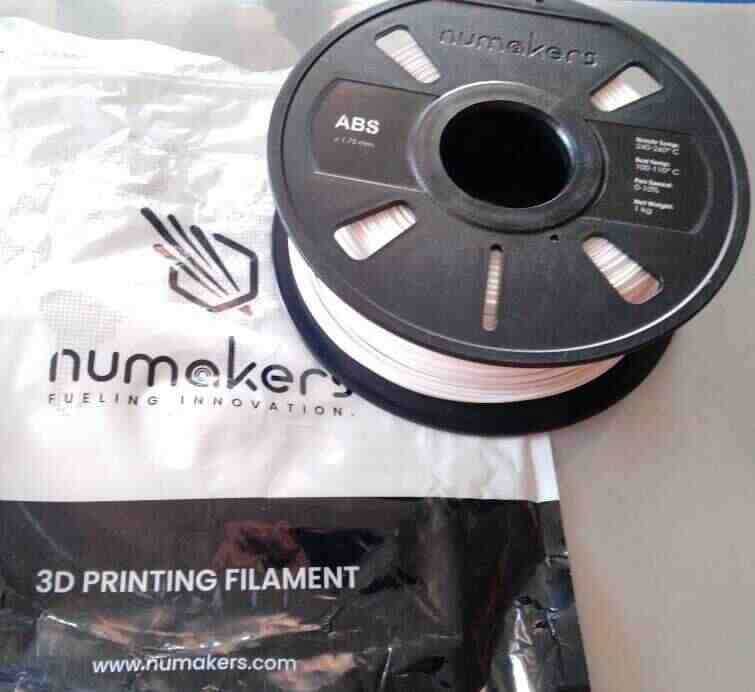
FEATURES:
Tough and durable
Heat and impact resistant
Requires a heated bed to print
Requires ventilation
MATERIAL: PLA (polylactic acid)
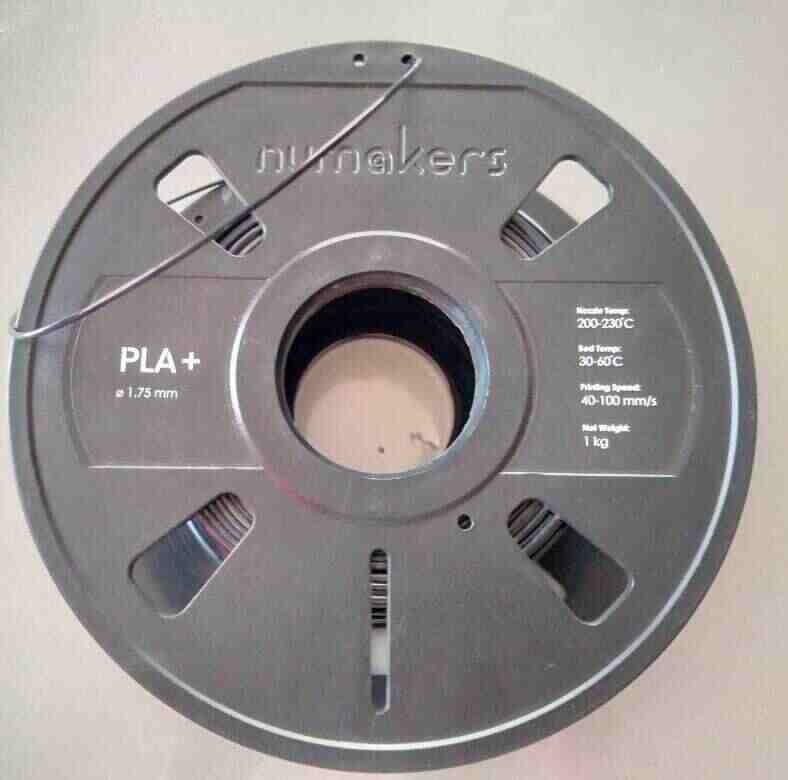
FEATURES:
The easiest FDM materials to print
Rigid, strong, but brittle
Less resistant to heat and chemicals
Biodegradable
Odorless
Group Assignment
This week, our group focused on a project about 3D Scanning and Printing. In basic terms, we explored two primary methods of creating
objects with technology: one involves building up layers (additive manufacturing), and the other involves removing material from a
solid block (subtractive manufacturing).
We also studied different methods and materials used in 3D printing, and we took a close look at the specific 3D printer available
in our Fab lab.
I recorded our group's 3D printing process by detailing the materials and tools utilized and describing the steps we took to set up the
printer for our project by generating a special code called G code. Finally, we summarized the important
guidelines to follow when designing objects for our particular 3D printer.
Please find my groupr assignment link click here
Individual Assignment
Additive and subtractive manufacturing
Additive manufacturing, commonly known as 3D printing, involves building an object layer by layer by adding material in a
controlled process. Subtractive manufacturing, as implied by its name, involves the removal of material to create a final
product.
Subtractive manufacturing, instead of adding material, works by removing parts of a material through processes like cutting or
machining. This can be done manually or, more frequently, using a method called Computer Numerical Control (CNC) machining.
I referred to resources to learn about additive and subtractive manufacturing. [Resorce link:]
Difference between additive and subtractive manufacturing
| Additive Manufacturing | Subtractive Manufacturing |
|---|---|
| Involves adding layers of material to create an object | Removes material from an object |
| The processes involve techniques such as 3D printing, direct digital manufacturing, rapid prototyping, and additive or layered fabrication. | The process can be done through manual removal, traditional machining, or CNC machining. |
| Utilizes computers and specialized 3D printing technology to design and produce products or prototypes. | Incorporates computers and robotics to support traditional machining operations such as turning, drilling, or milling. | Intricate and hollow objects can easily be built up in layers | Milling undercuts and intricate shapes can be difficult |
| Ideal for smaller objects or components, particularly those made of plastic. | Ideal for producing large items and components, particularly in metal. |
| Depending on the size of the object, 3D printing can be a slow process | Relatively fast process |
| Software is available to directly link the design to a 3D printer, so a machine operator isn't necessary | A CNC machinist is required to operate the mill or machine and oversee the production. However, new automated software means that programming machine-executable code is no longer needed |
| Overall, 3D printing is a fairly cheap process | Generally, more expensive than additive manufacturing |
This week, I completed an individual assignment where I designed and printed a 3D model, as well as conducted a scanning process. I documented the steps I took to complete the Scanning & 3D printing process in detail.In the course of this assignment, I received guidance on 3D printing and scanning from my local instructor, Dipali.
3D Printer
Why 3D Printer
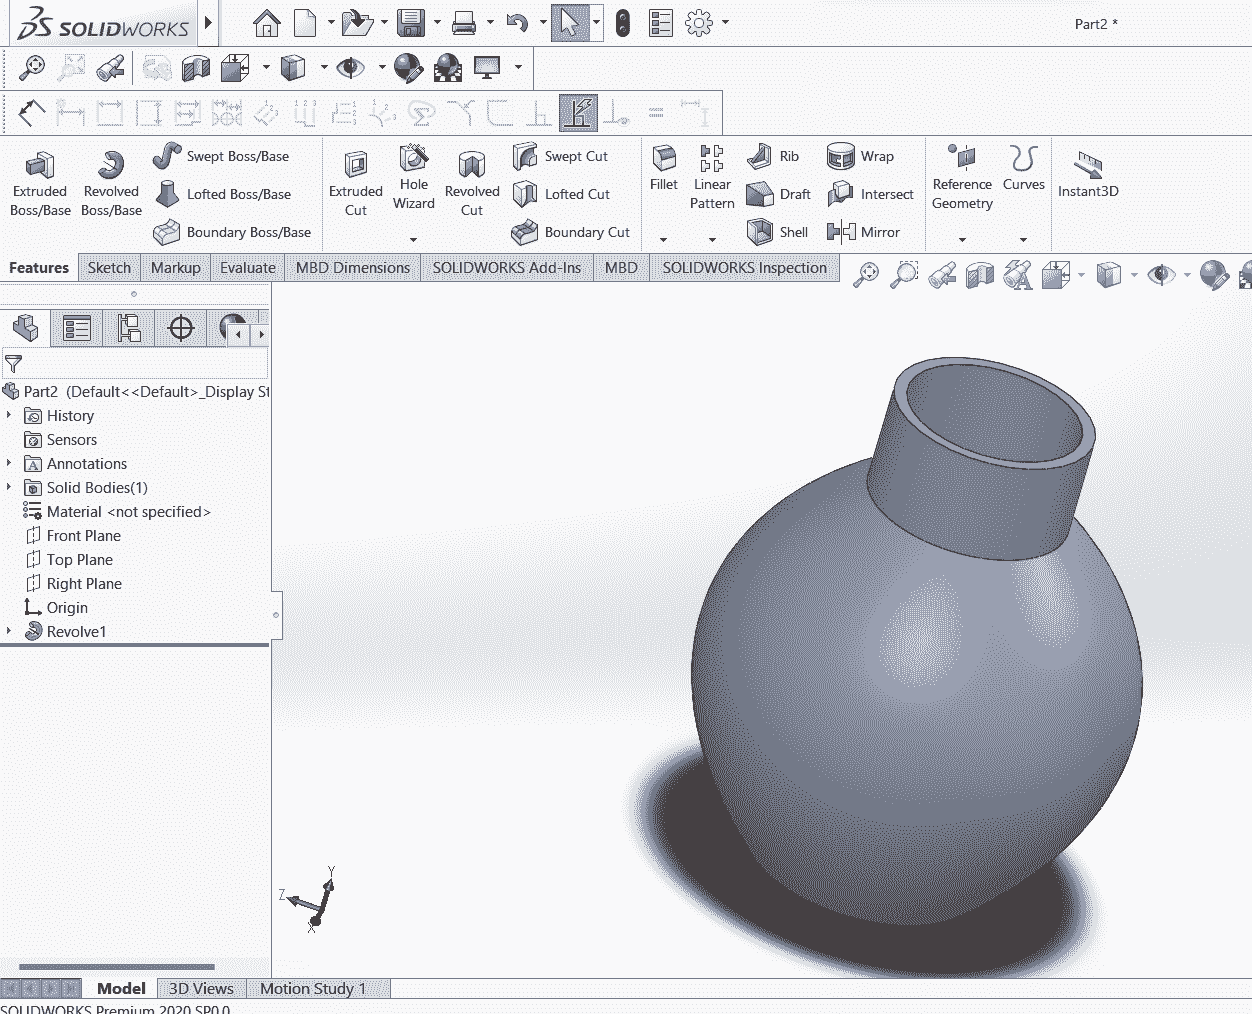
Due to the curved shape of my design for the flowerpot, it is not feasible to manufacture it using other processes, as its complexity is high. Therefore, I choosed for additive manufacturing using a 3D printer
I have created a simple design in solidworks then I Save that design of small flowerpot and download that file in stl file format and saved in pendrive. Then I moved towards the printing process.
My design for 3D print
3D printer requires the G-code file for printing object.So I have the task to convert the stl file into G- code by slicing. Steps for slicing are documented below.
Now, Open Flashpoint software to convert your STL file into G-Code format
Selected the load file option to choose my .stl file for slicing into G-code
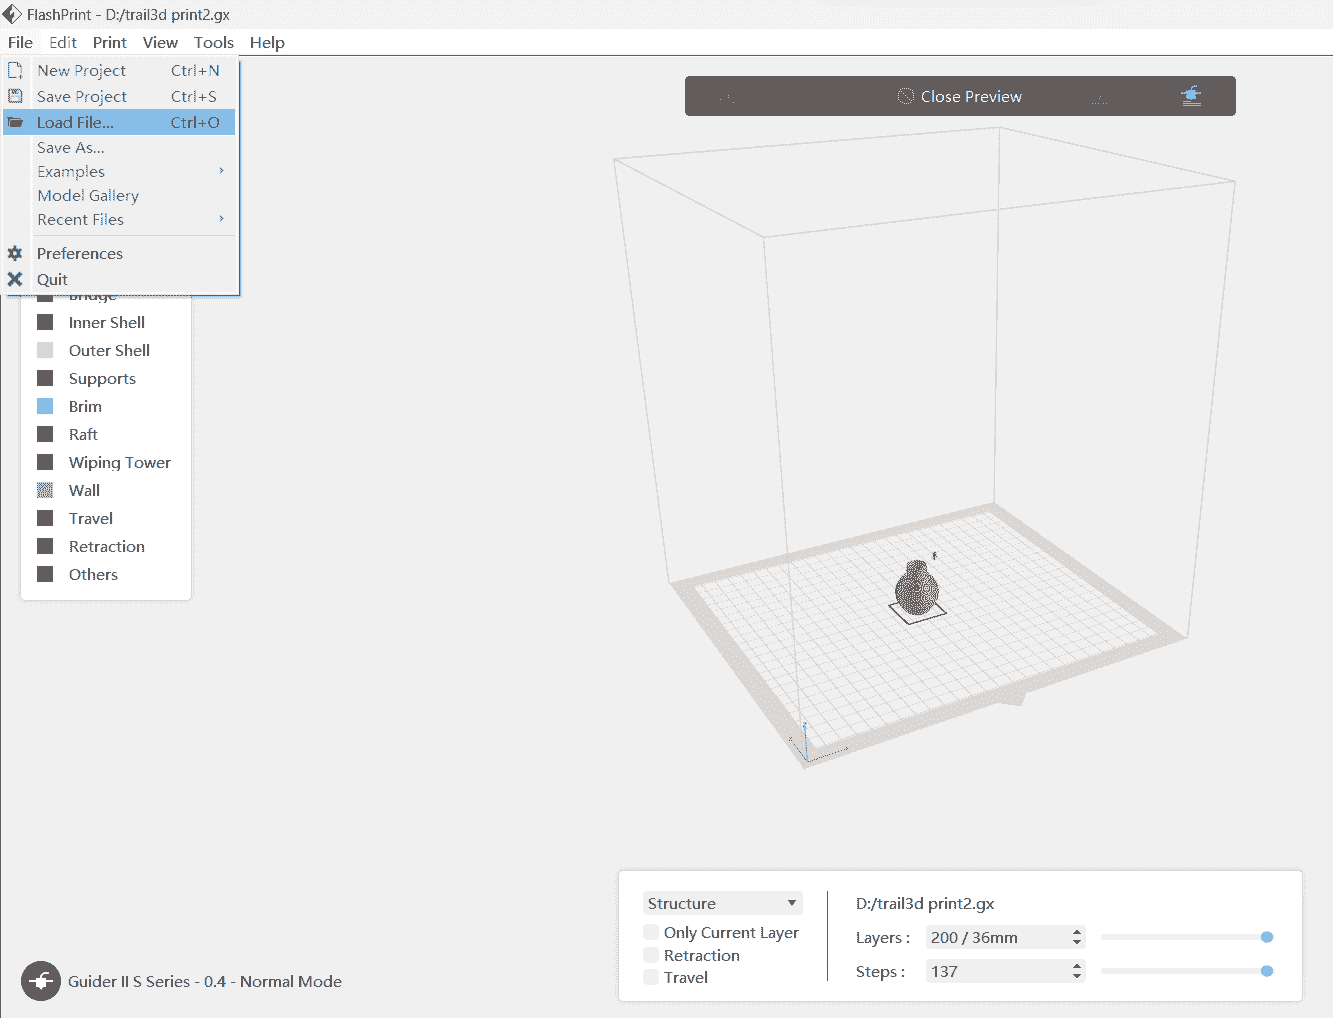
After successfully loading our file, we can adjust our file views by clicking on the view option
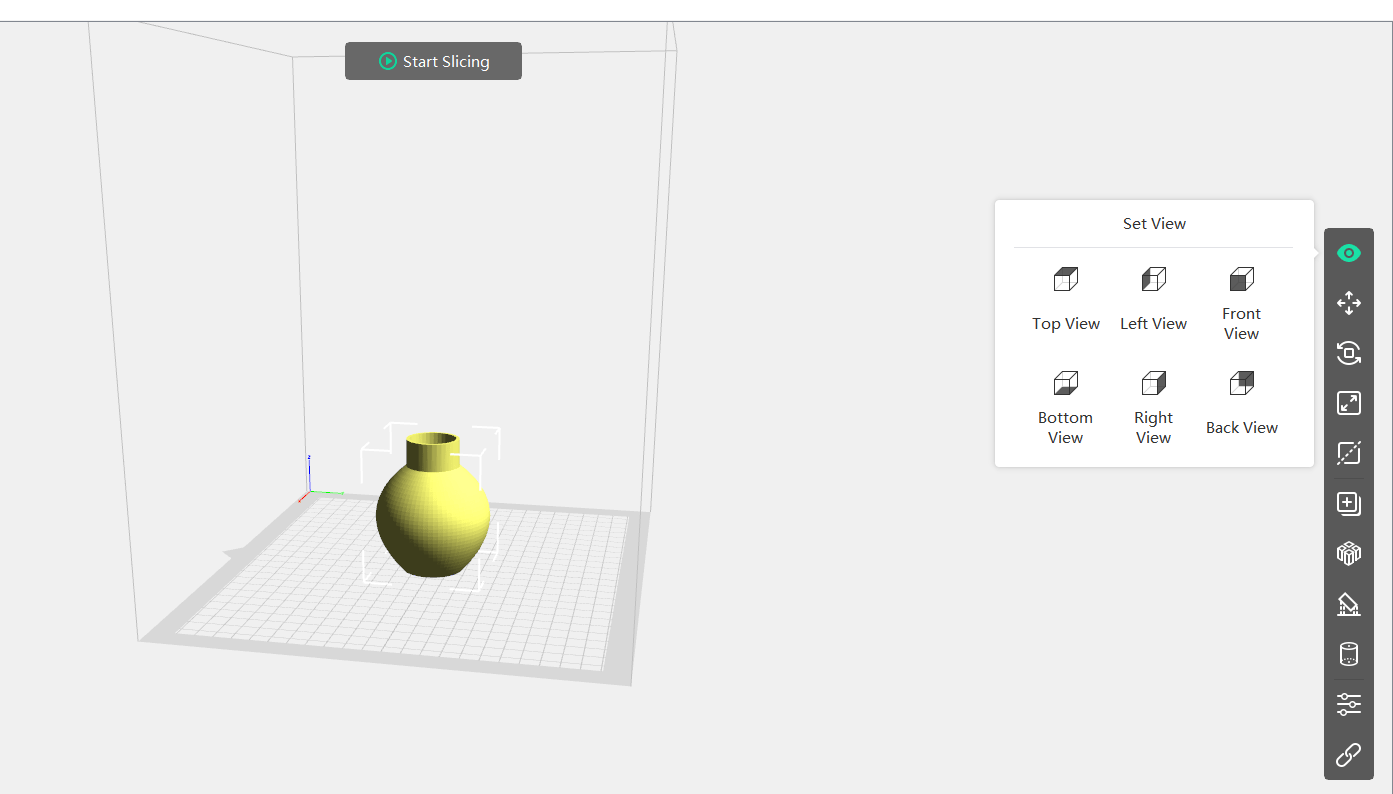
I have explored different features in flashprint software like...
Move: You can move your model by using X, Y, and axis.
Rotate:If you want to change the direction of your model, then by using the rotate option, you can fix your model at a specific rotation.
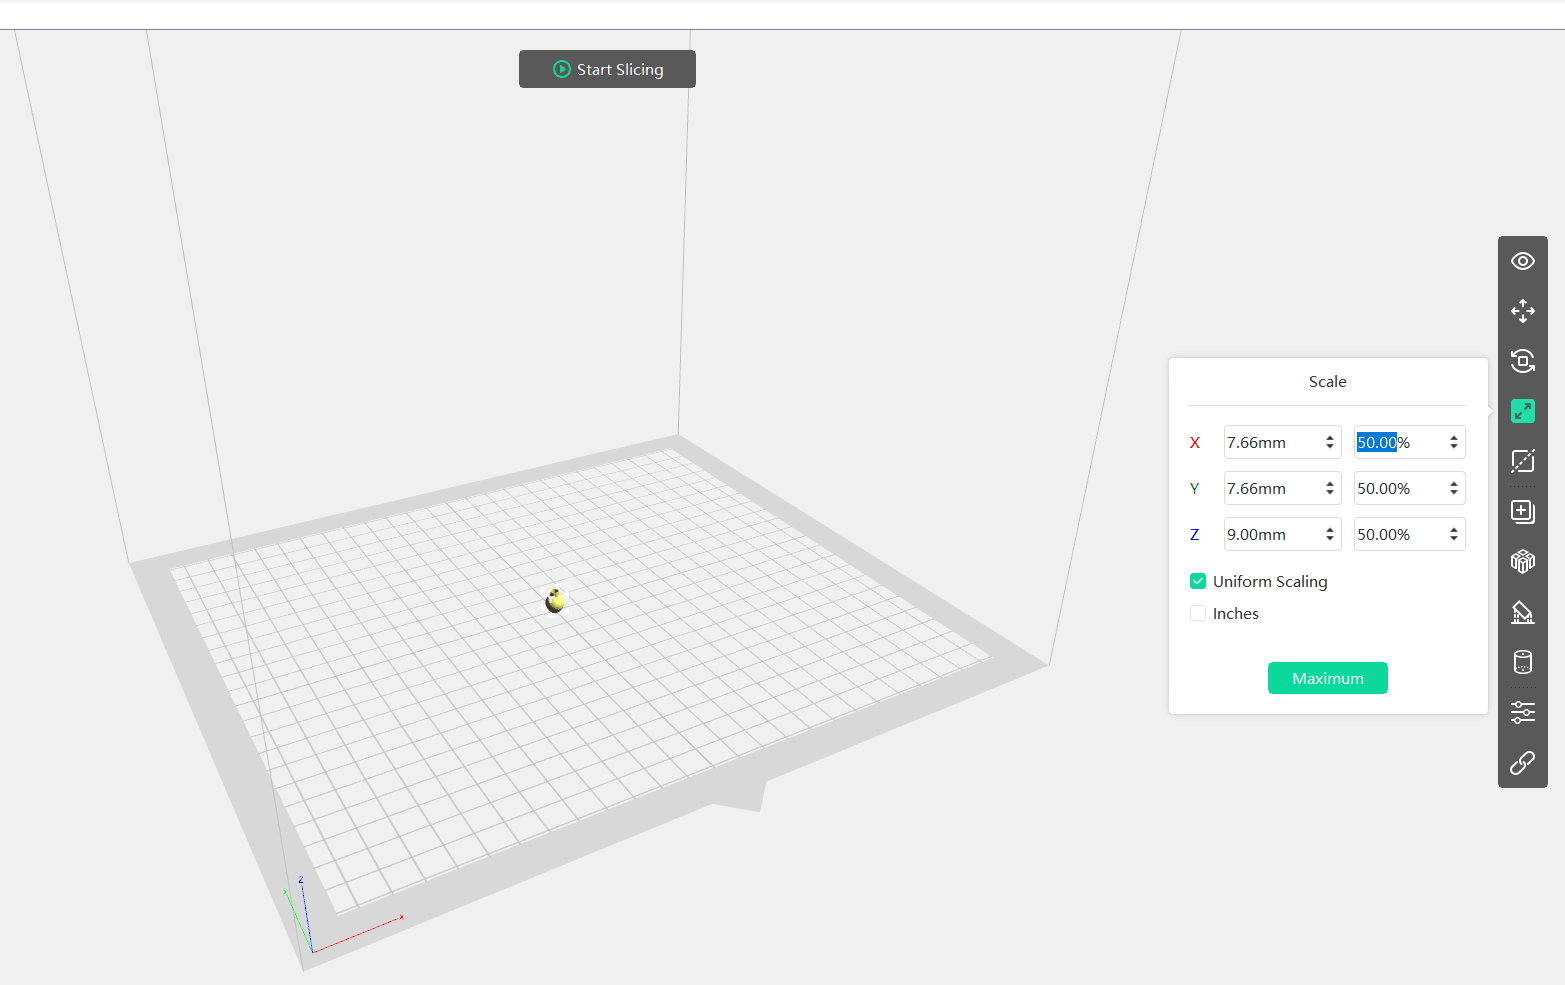
Scale: You can increase or decrease the size of a 3D model by using the scale option.
Cut: You can use the cut option in an existing selected model to print multiple parts.
Duplicate: You can duplicate an existing model by using the duplicate option.
Arrange: You can arrange your multiple models by giving them customized space by using the arrange space option...
Slicing
After all I have done slicing and by saving configuration I got G-code file format for my 3d printer.
Choose Printer & Material for Printing
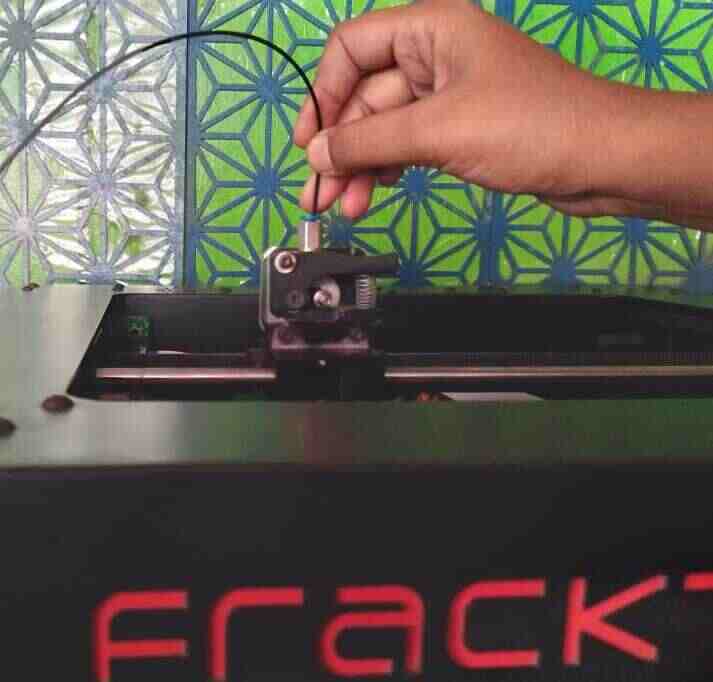
I started by using a 3D printer Fracktal for the first time. First I decided to choose PLA material to print my object and ready with G-code file and uploaded it to printer.
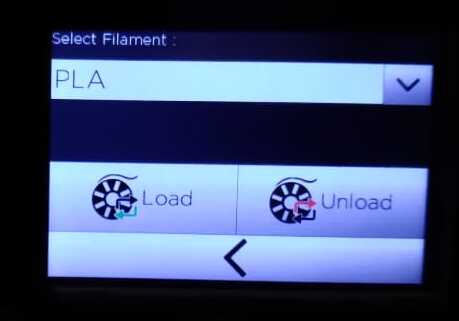
Click Extrude.

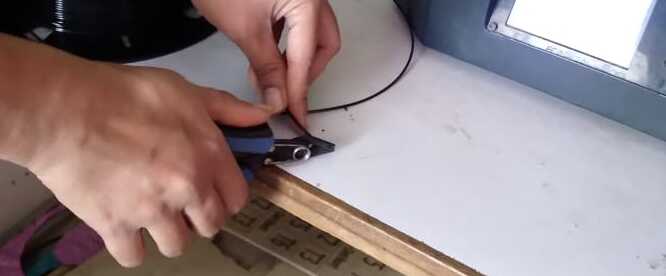
Cut the PLA wire in 45 degree and then pull this wire into extruder
Load the PLA material.
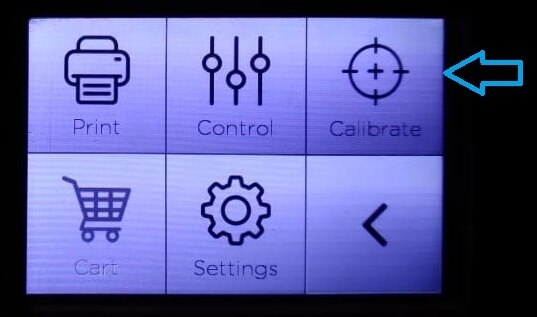
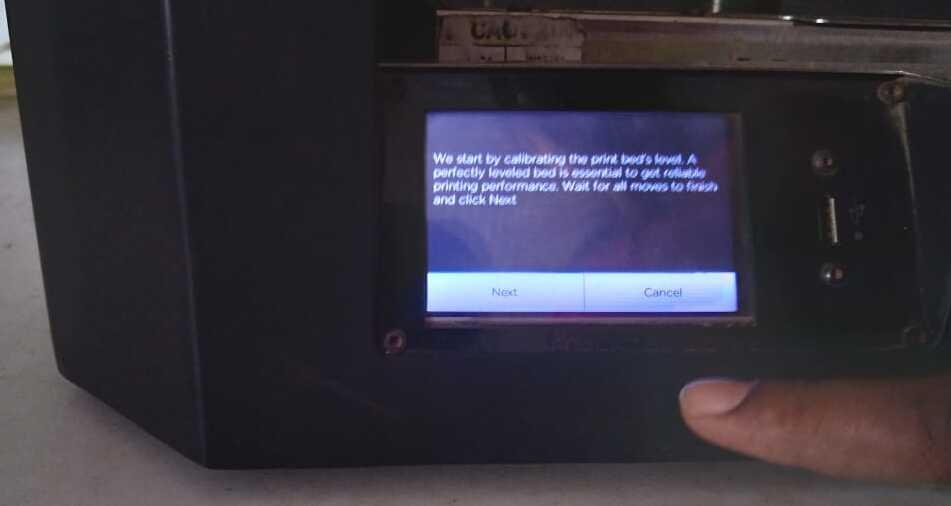
Then Calibrate the printer to prepare for printing.
The extruders and the printing base need to be calibrated for improve the accuracy of printing. It is important step.
Click yes for this notification
Then I start for printing but there was an issue with the machine. The temperature settings kept increasing on their own, causing a material to be waste so I stopped this machine and shift to the another machine in my lab.
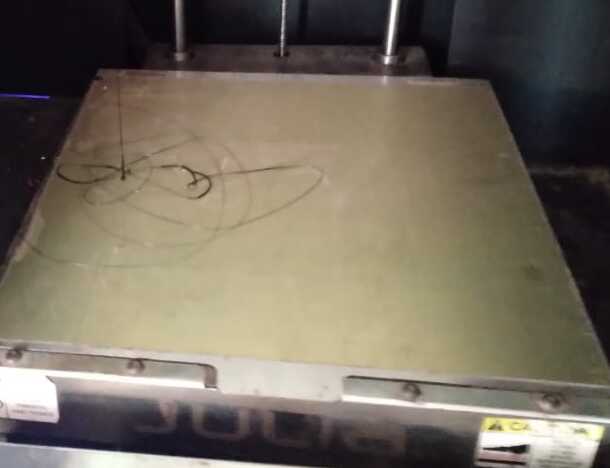
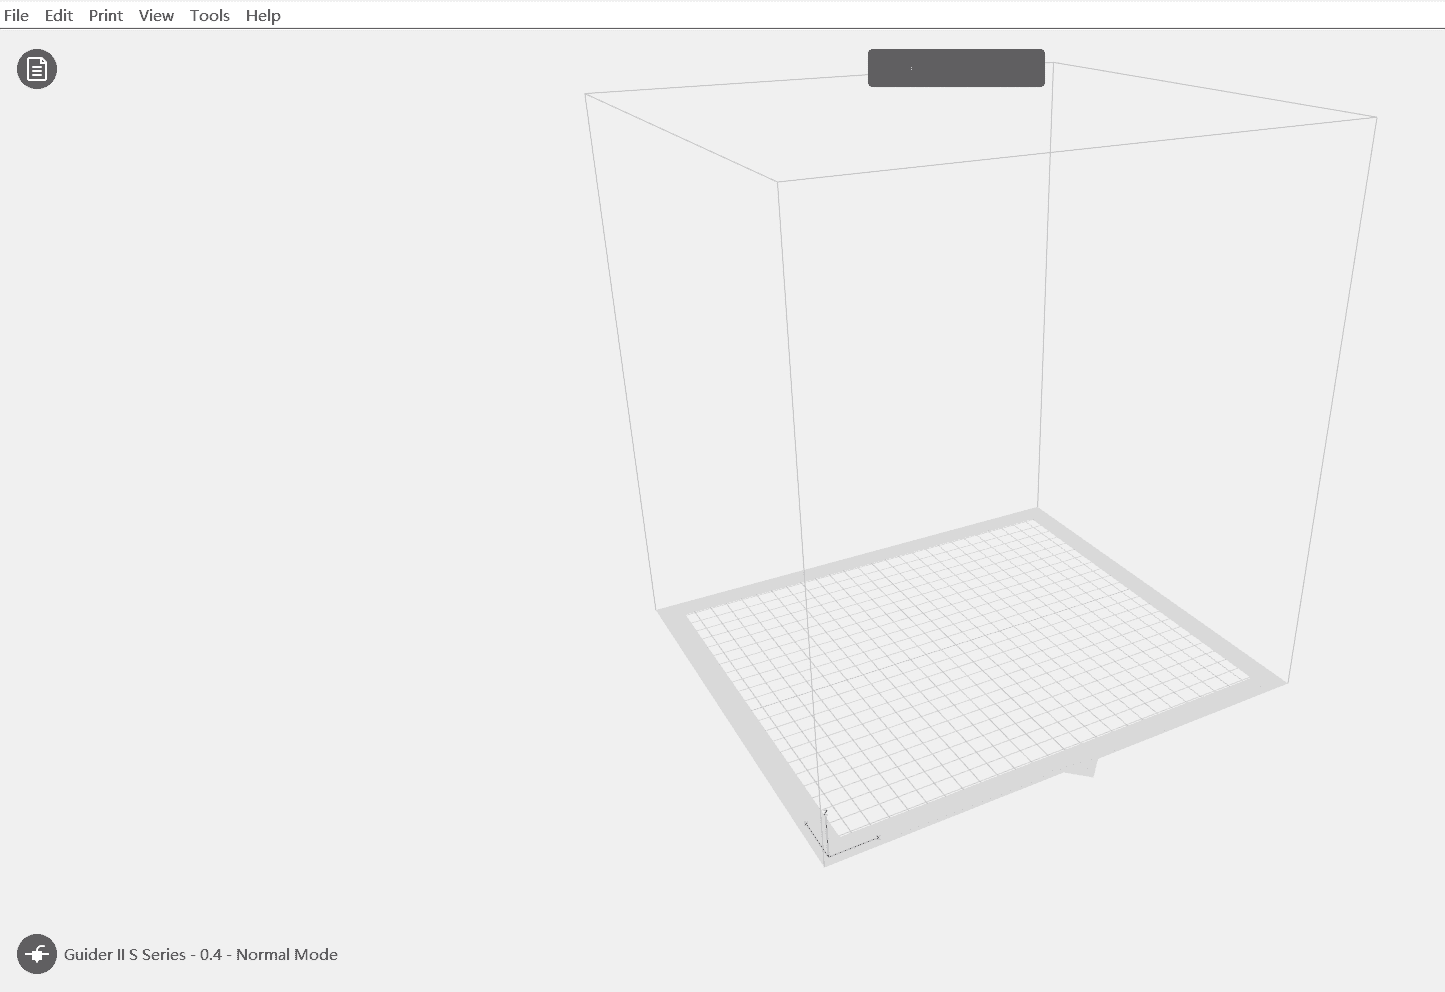
So, I stopped the job and switched to another machine, the Flashforge Guider II S

Then After switched on the machine first i have level the bed by doing calibration. Selected the material set the temperature and selected the file to be print. Then print the object.
This is my final object I made in 3d Printer
.jpg)
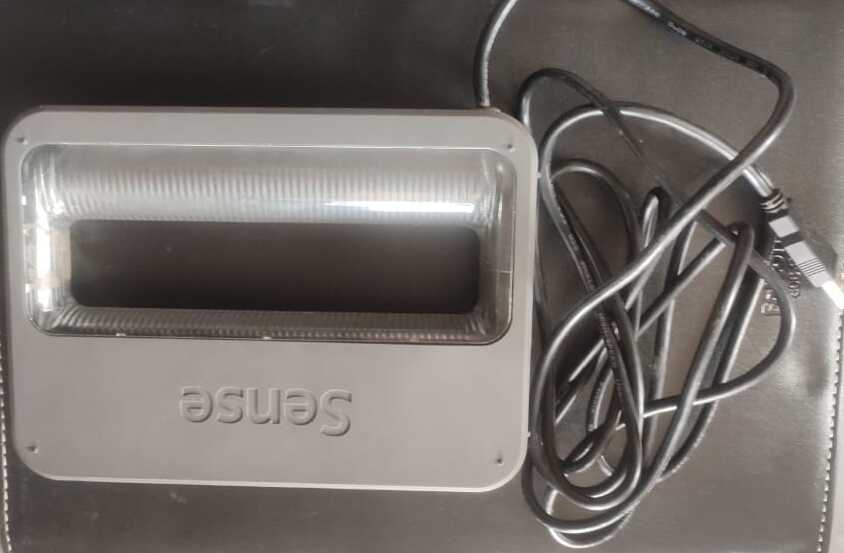
Scanning
In our lab we have sense scanner. Steps for scanning are documented below.
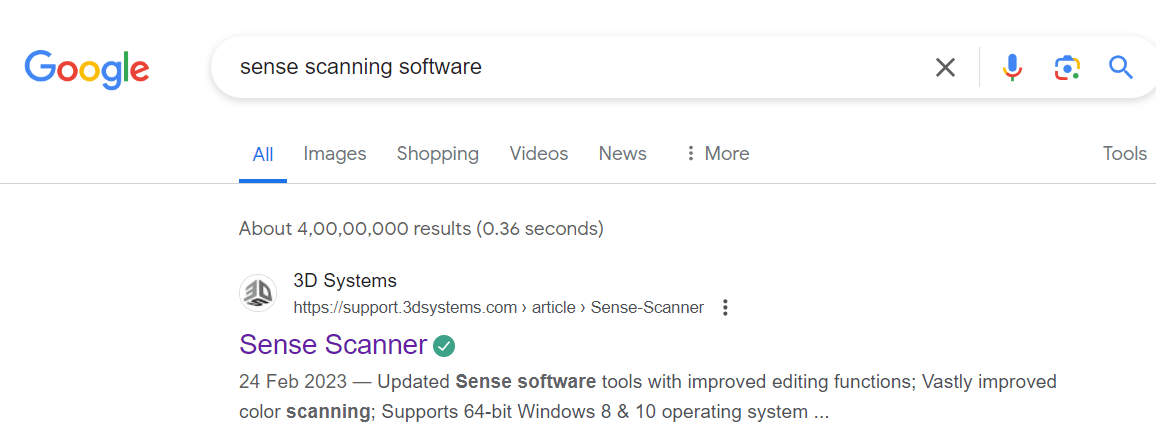
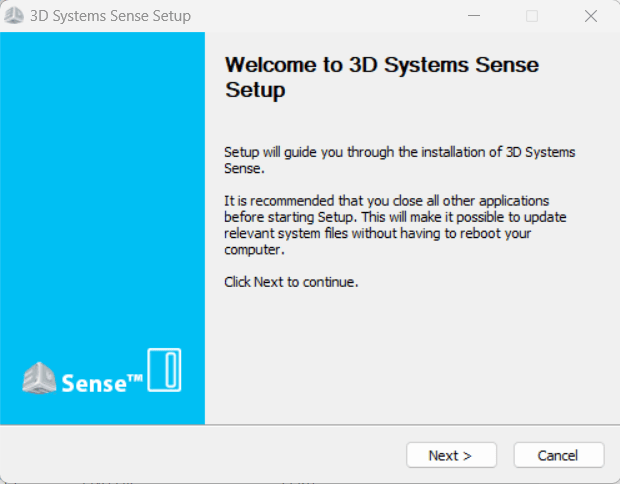
Step 1: Search Sense Scanner
Step 2: I installed the sense software for first generation.
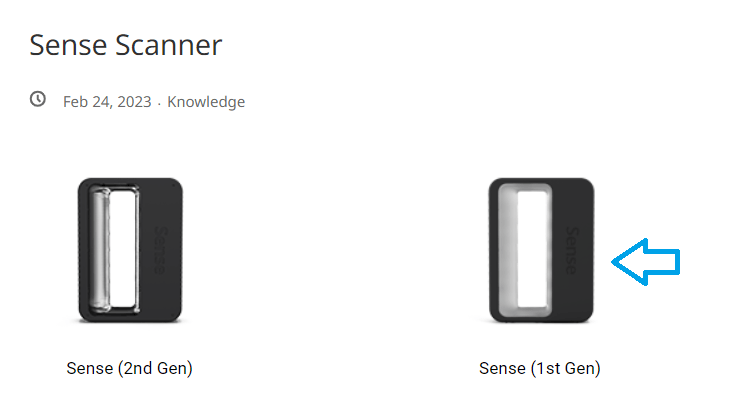
Step 3: Then installed sense.
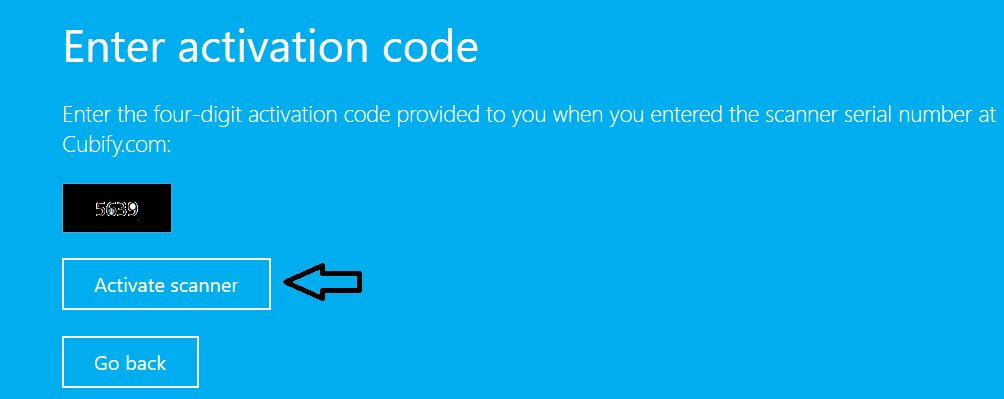
Step 4: Click activate scanner and enter code.
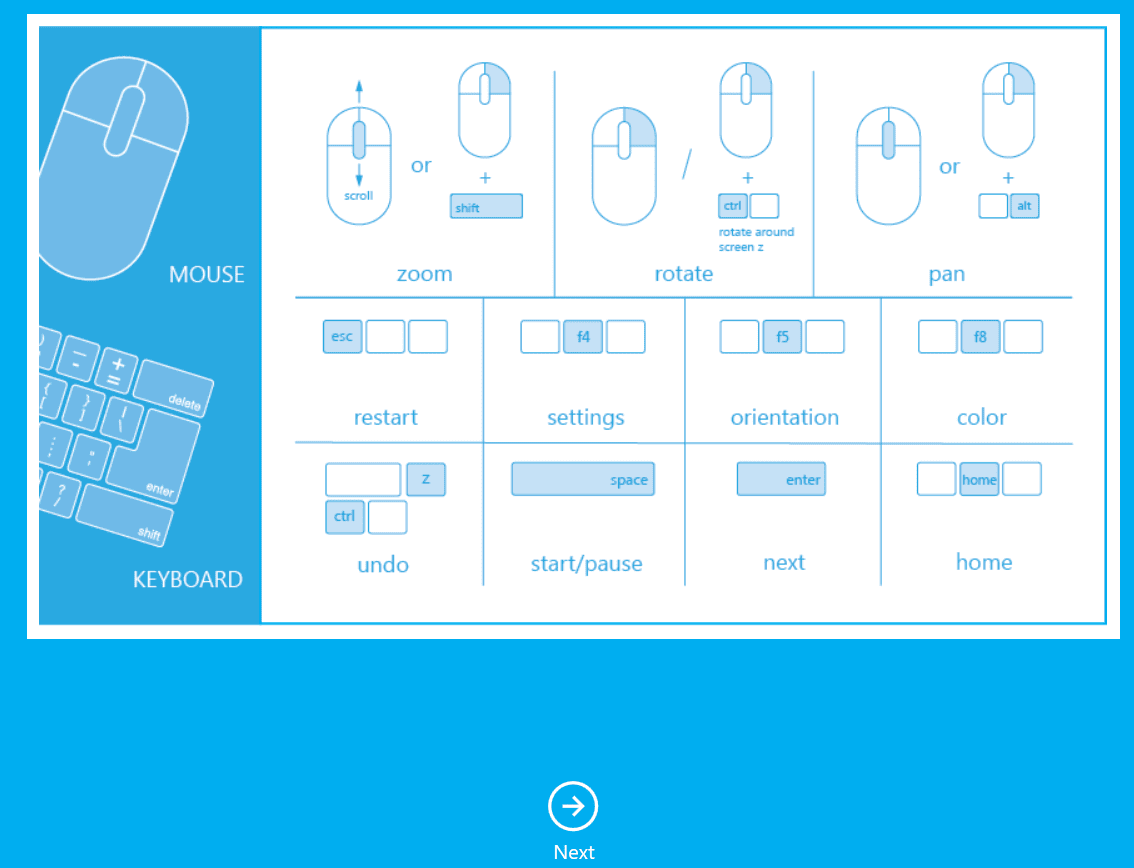
Step 5: Then you get guidance interface for movements for scanning for mouse and keyboard.
Step 6: Then select Person Or Object for scanning.
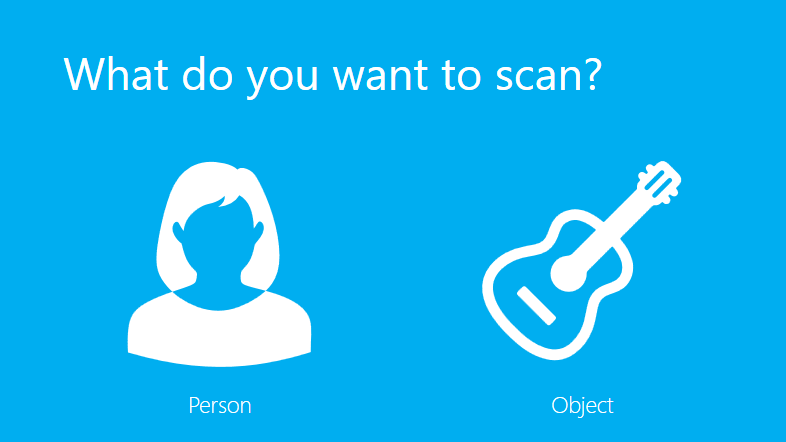
First I selected the human and scanning result is below.

Then I selected the object. In that we have been again ask for the object size.
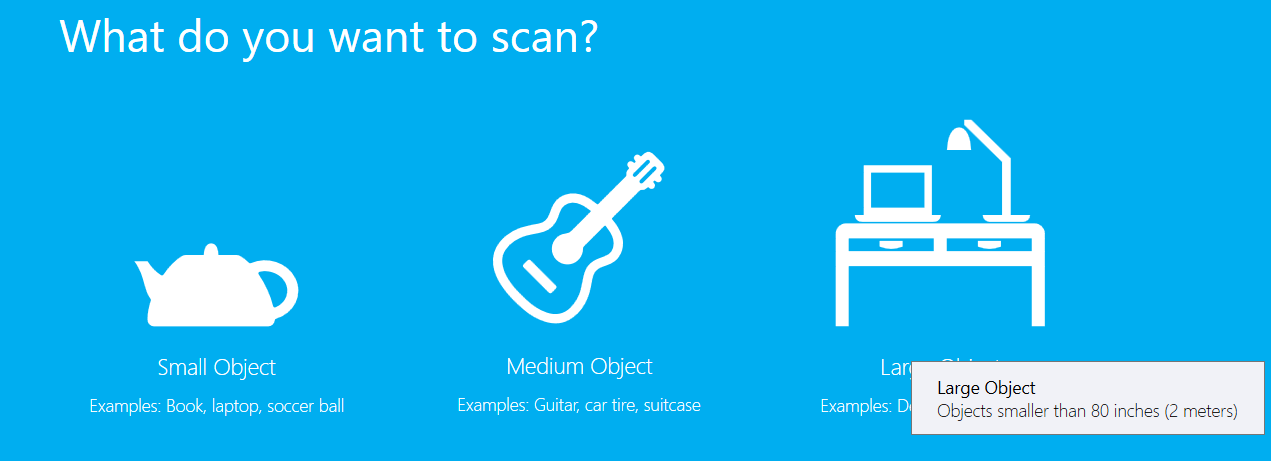
Then I selected for small object. There we can edit scan like crop, Erase and solidify.
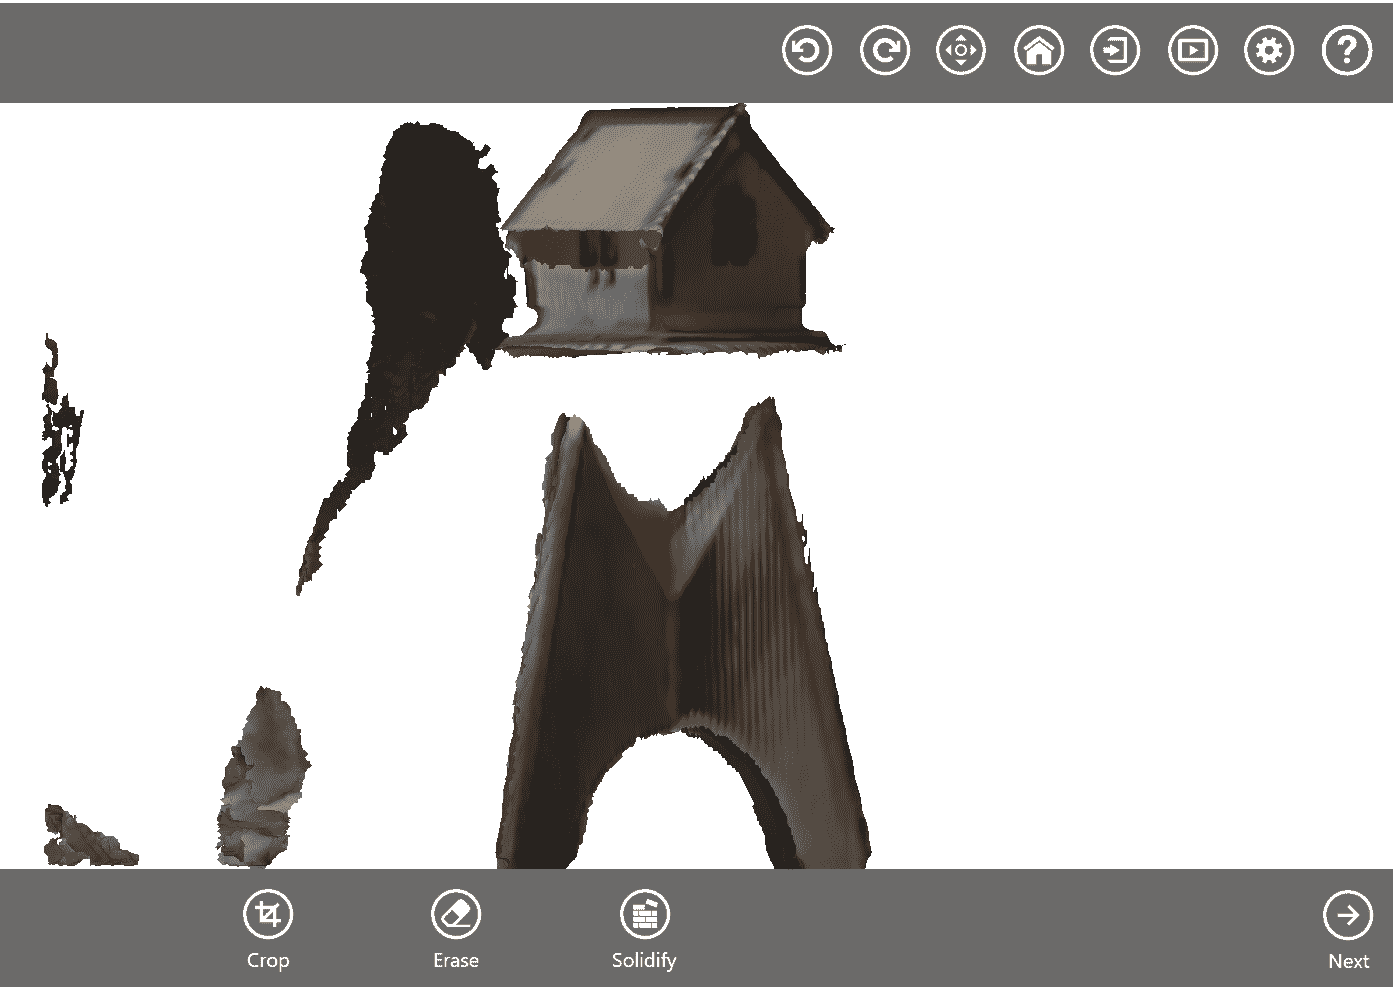
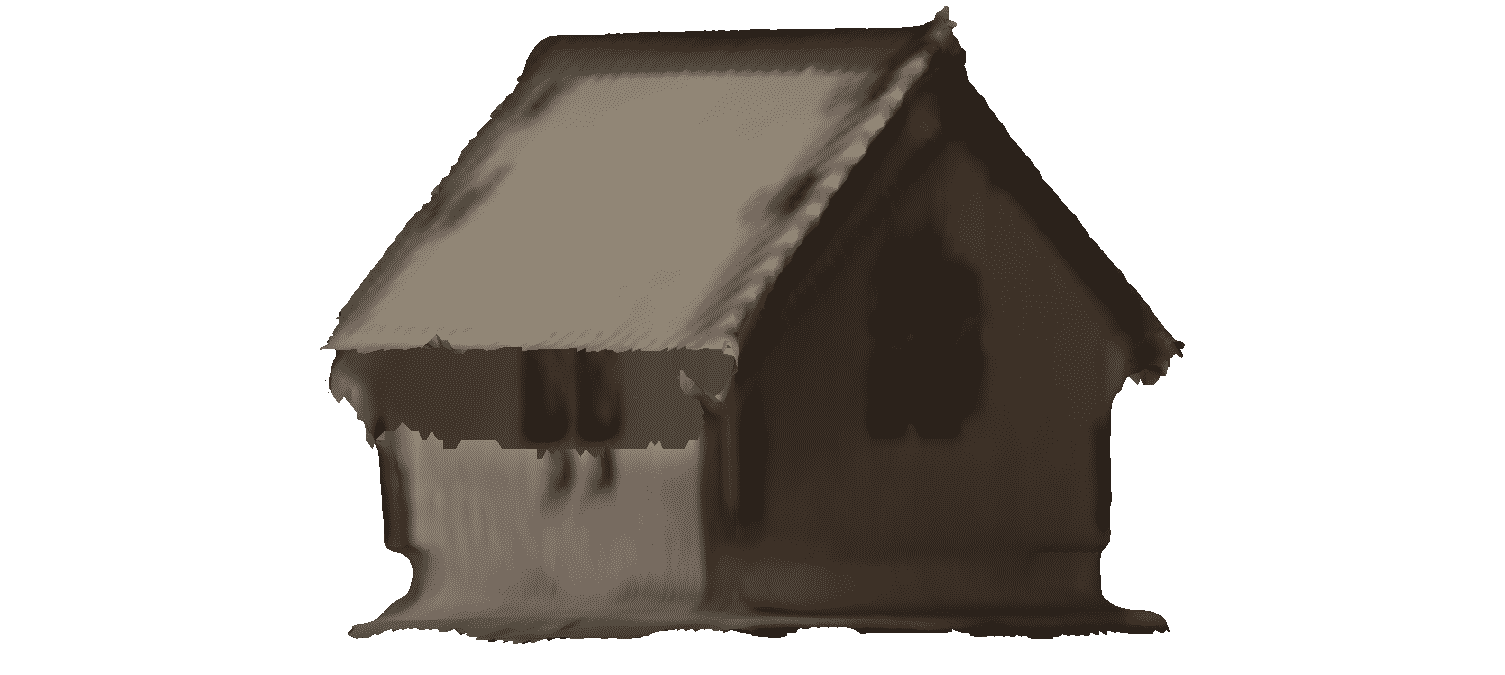
Here is the output of house in my lab which created on laser scan.
Key Learning..
In this assignment I am learn about the additive and subtractive manufacturing.
Can able to operate 3D printer and scaner.
Also aware about file format stl, G-code and how to do Slicing.