Wildcard Week
Individual Assignment
This week, we need to design and create something using a digital process that hasn't been covered in previous assignments. We'll document the requirements that our project fulfills and include all the details needed for someone else to replicate it.
At Vigyan Ashram, we have a sewing lab equipped with embroidery machines, so I chose to explore and learn about embroidery machines for the wildcard week.
What is Embroidary?
Embroidery is a craft that involves embellishing fabric or other materials with thread using a needle. In our sewing lab, we use the Usha Janome Memory Craft 200E machine.I detailed about the machine specification from "JANOME" website. Resource Link
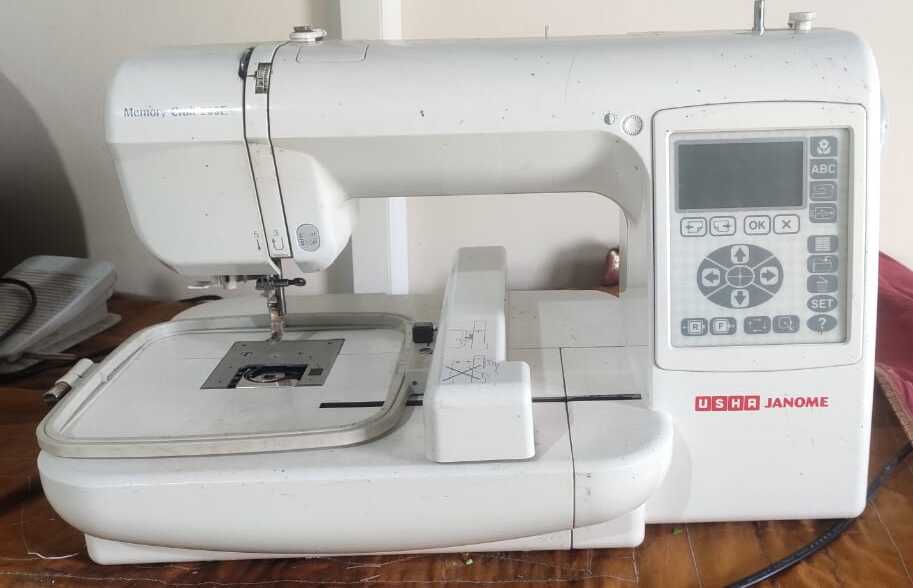
The Memory Craft 200E is a computerized embroidery machine that supports designs up to 140 x 140 millimeters. It offers various font sizes for monogram creation and includes a USB port for importing custom designs. The machine comes with Digitizer Junior V5 software, enabling users to edit and create their own designs. Featuring 73 built-in designs and a bright LCD screen, it provides a great tool for enhancing creativity.
I obtained the information below from a website, and you can access the full details using the following link.
Reference Link
Features Of Machine
73 built-in designs
Design transfer via USB port
On screen editing functions include enlarge/reduce, rotate, turnover
3 alphabet fonts for lettering
Embroidery sewing speed up to 650spm
Top loading full rotary hook bobbin
Backlit LCD touchscreen
Maximum embroidery size: 5” x 5”
Built in needle threader
Product Specification
| Specification | Details |
|---|---|
| Automatic Grade | Automatic |
| Max Speed for Flat Stitch | 500-1000 spm |
| No. Of Heads | Single Head |
| Automation Grade | Automatic |
| Max Speed for Chain Stitch | 500-750 rpm |
| Brand | Usha |
| Model Number | Memory Craft 200E |
| Model | Memory Craft 200E |
This machine have inbuilt design and we can own design and then give it to machine for embroidary work.
Design in CorelDraw Software
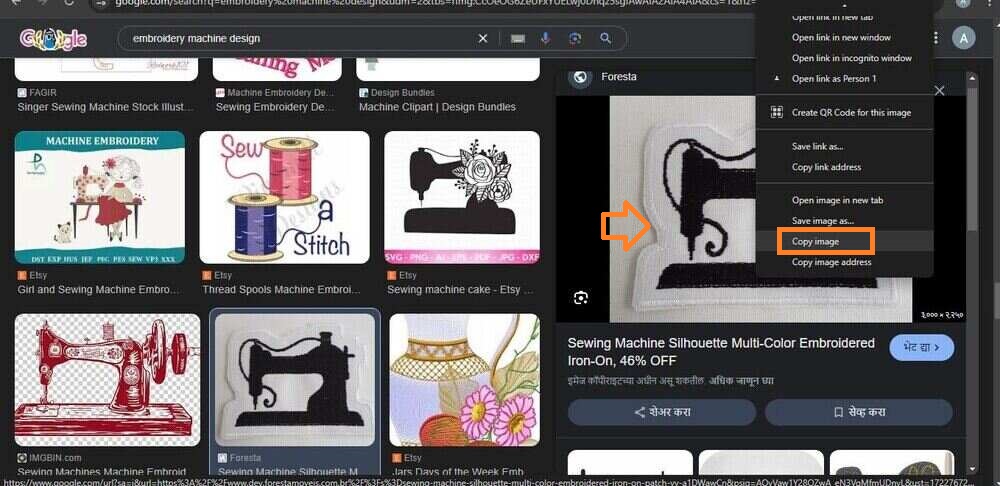
For this design, I used CorelDraw. I began by creating the design in CorelDraw and then found an image on Google,
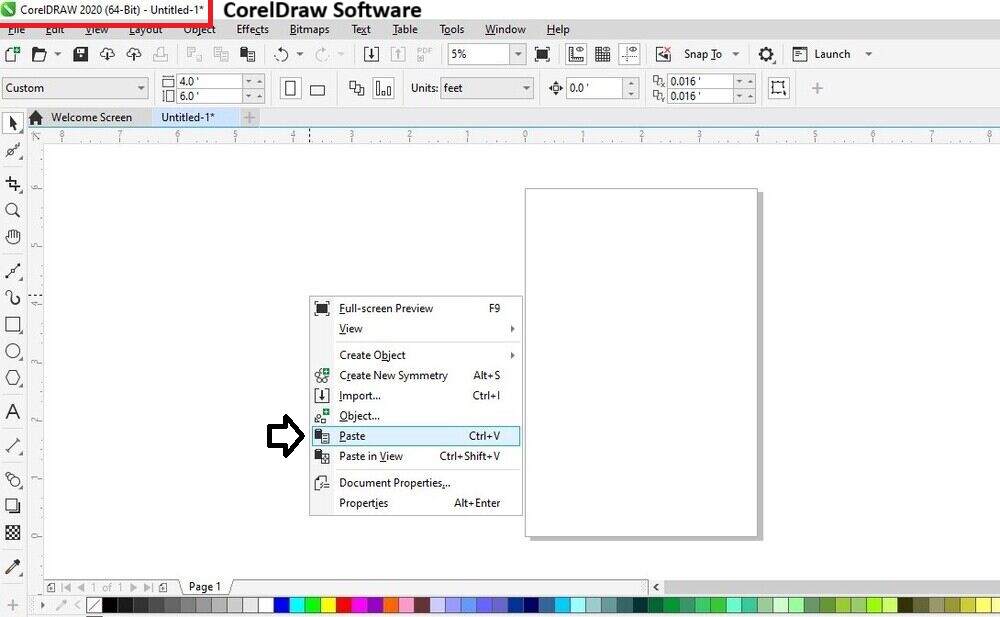
which I copied and pasted into the software.
For detailed instructions on how to use the software, please refer to the link from my previous website.Click Here
I utilized the Pen tool in CorelDraw to modify and adjust a bitmap image, enabling accurate tracing and the generation of smooth curves and lines over the pixelated image.
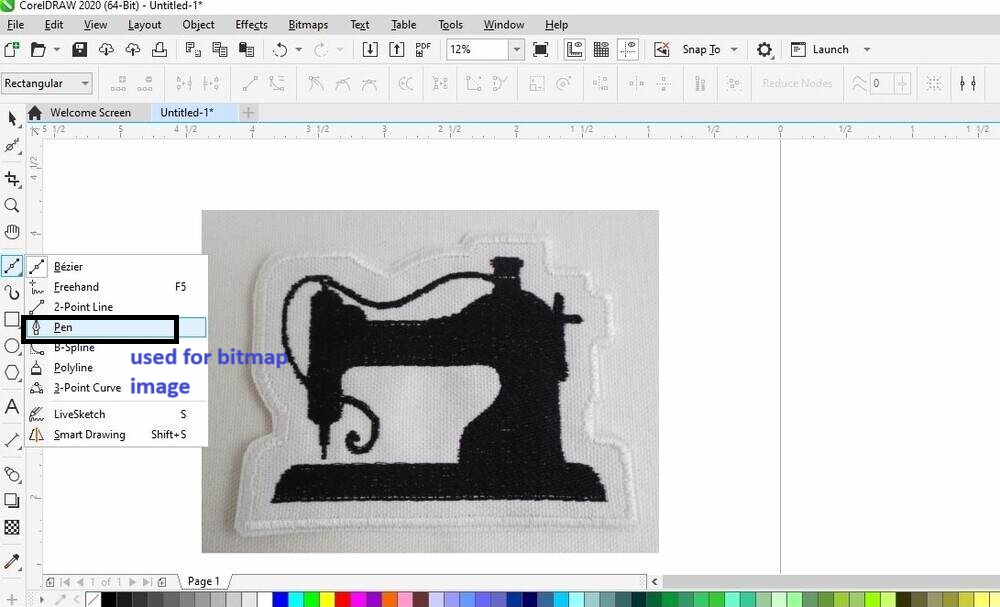
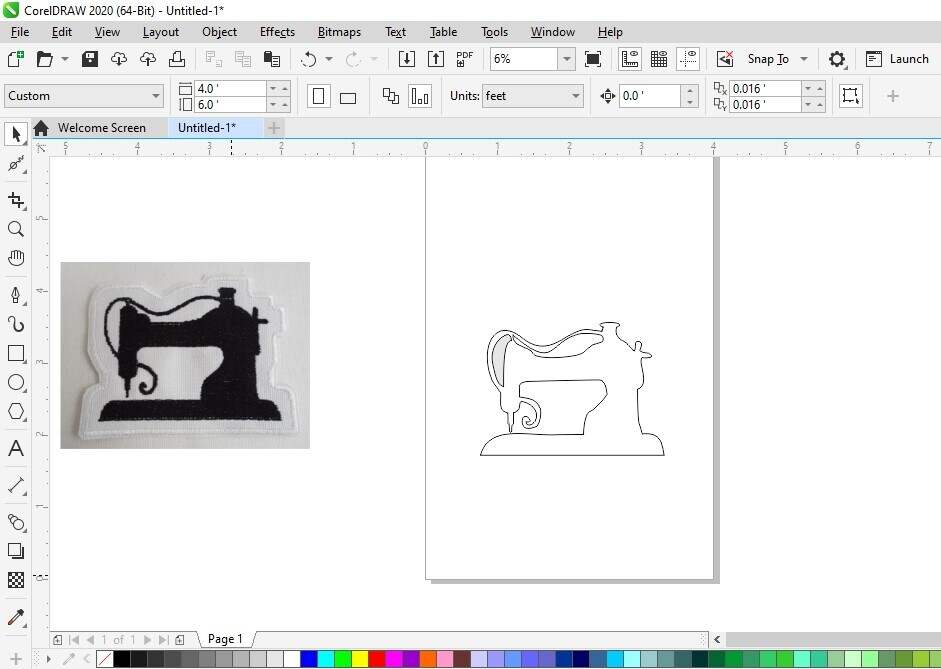
I designed an outline of a sewing machine in CorelDraw by carefully tracing the image with the Pen tool. This technique enabled me to produce smooth curves and precise lines, significantly improving the overall quality of the design.
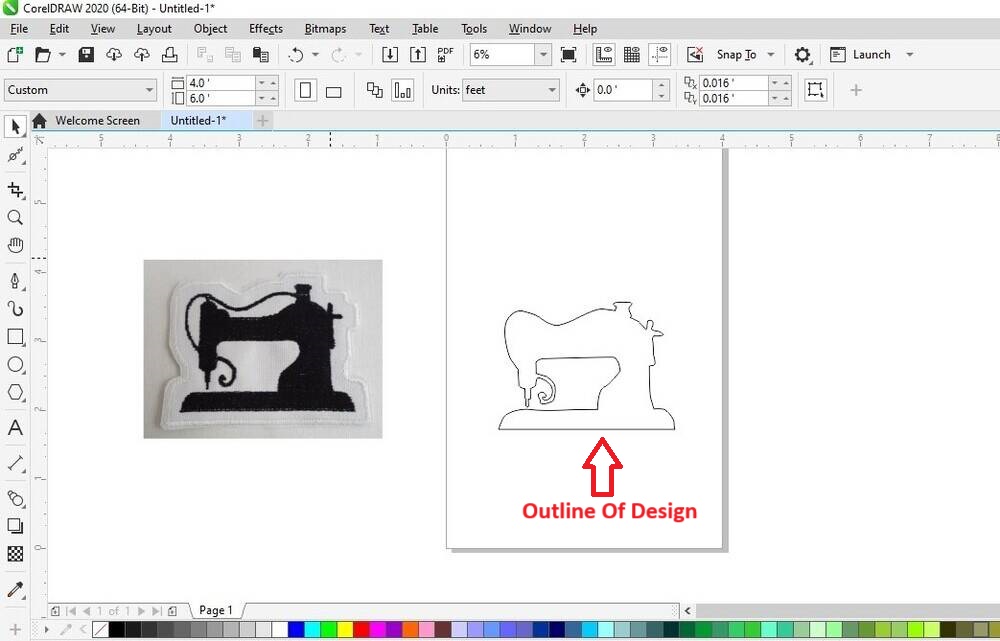
Final Image look like...
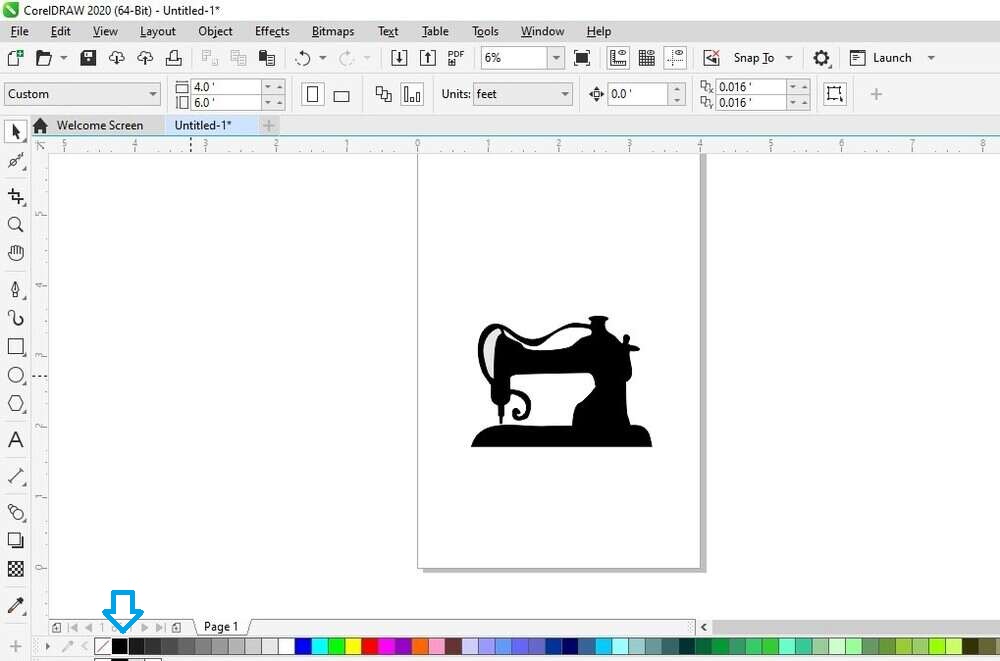
Next, I applied black paint to the interior and saved the file in JPG format.
Digitizer Junior V5 Software
To finish the embroidery project I created in CorelDRAW, I utilized the embroidery machine available in the sewing lab at Vigyan Ashram. This machine is equipped with its own software, Digitizer Junior V5. Within this program, it’s necessary to adjust the settings and convert the JPG file to the JEF format. The following steps provide the detail, starting with opening the software.
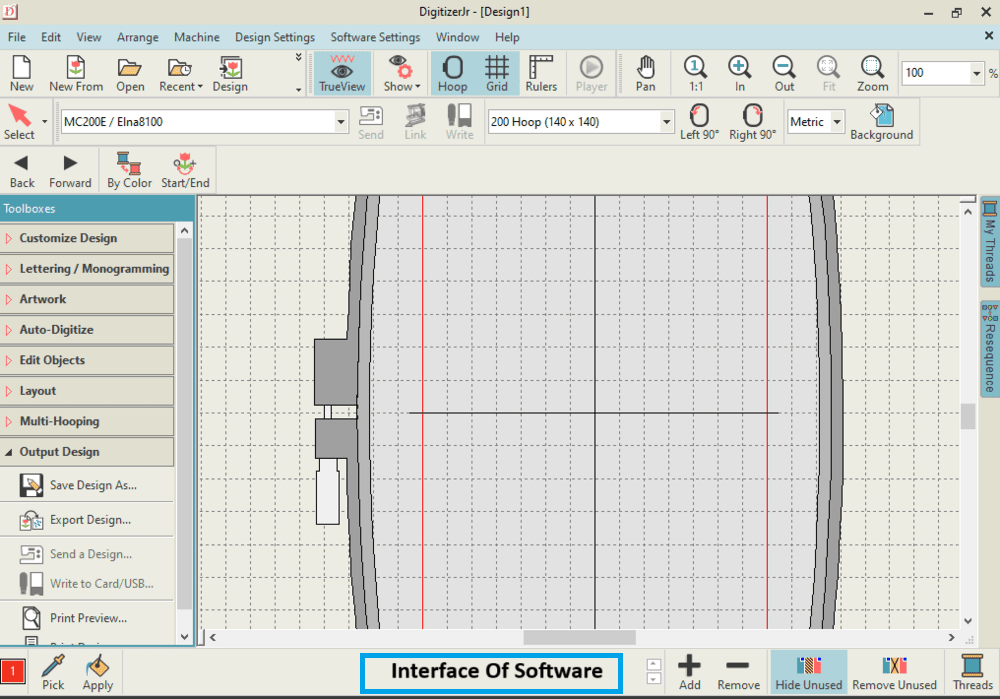
When the software interface is opened, it looks like this.
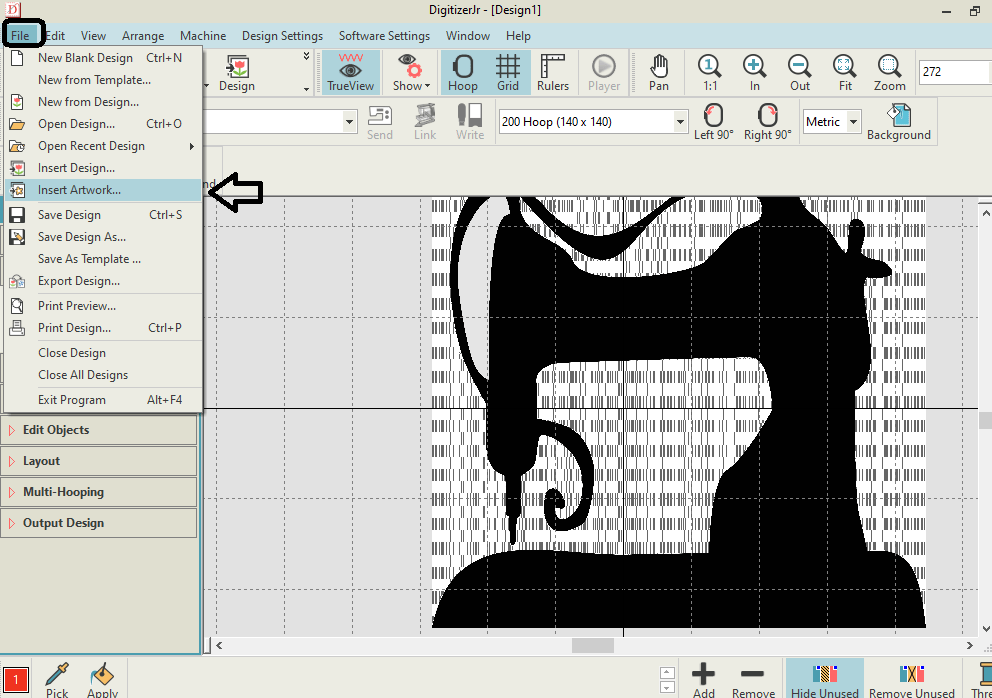
To insert the design file from my drive, navigate to the File menu, then select Insert Artwork.
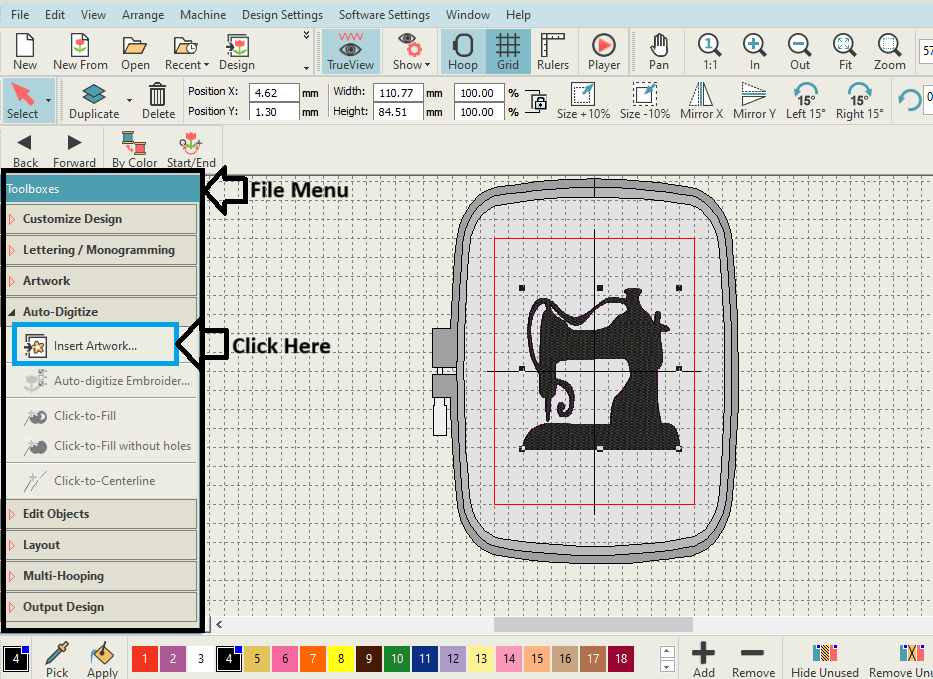
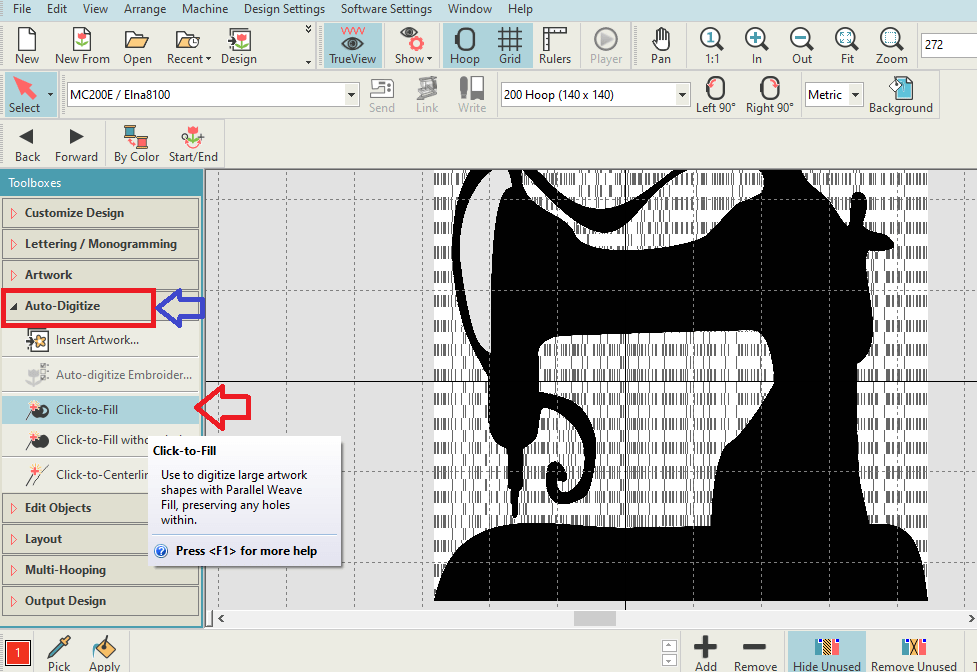
Next, navigate to the Toolboxes, choose Auto-Digitize, and then select Click-to-Fill.
Next, choose the colors from the design that will determine the thread colors needed for the embroidery. Initially, I used just one color but I needed to select at least two colors, I decided to use two. After making color selections, click the OK button.
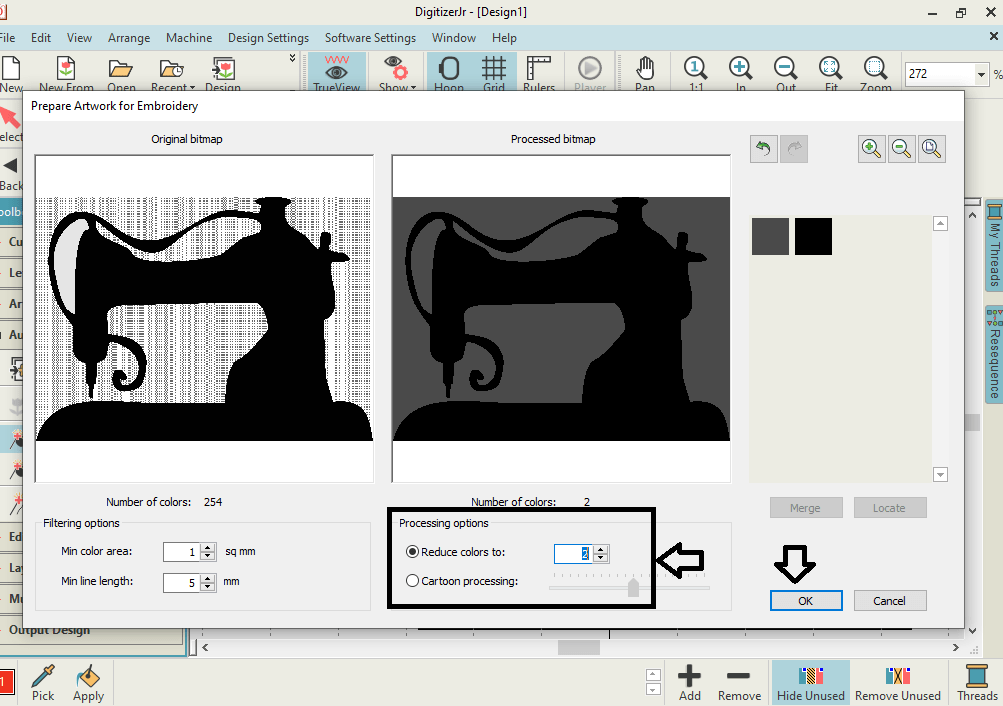
After I get design like in below image.
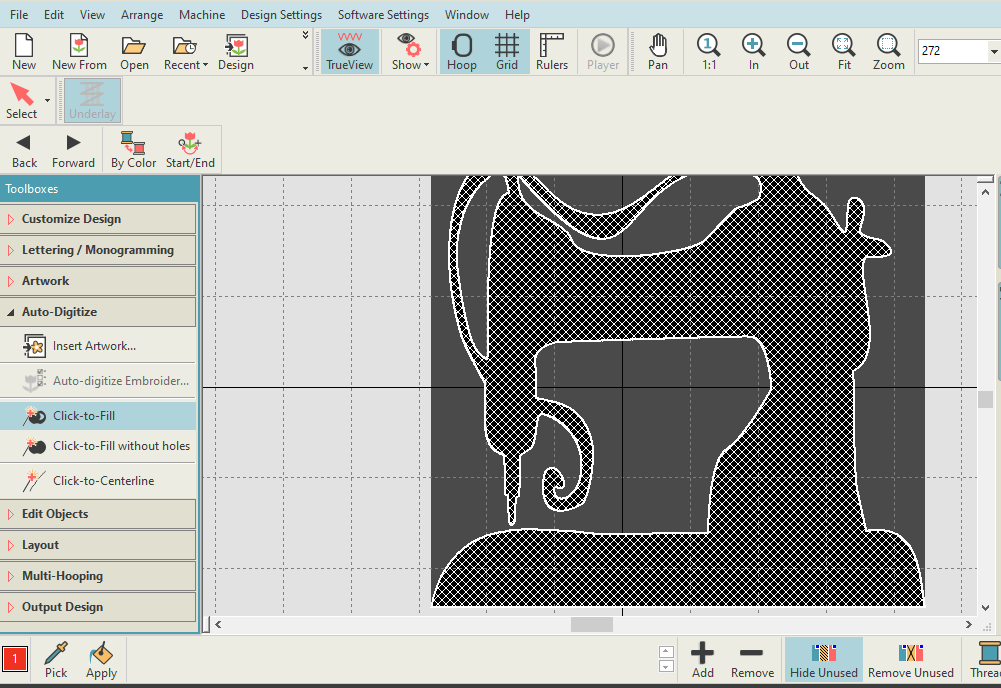
Utilize the pick tool to examine the design. The area you select will either be filled with black or remain unfilled, with the outline of the image clearly defined. I dedicated extra time to this step due to some software malfunctions. After many attempts, I managed to perfect the design as below.
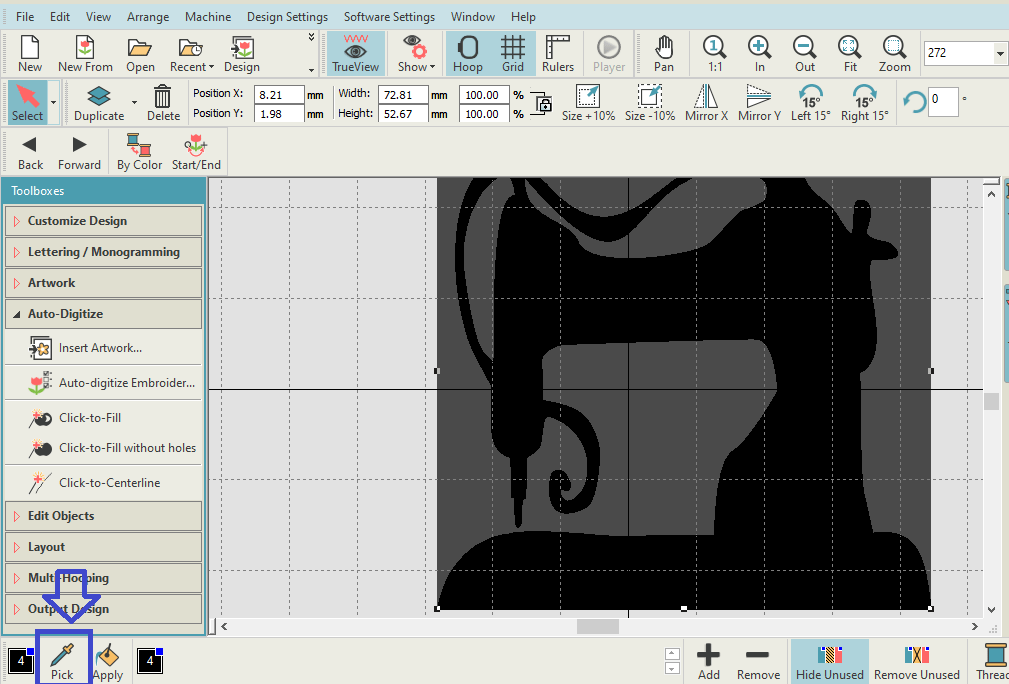
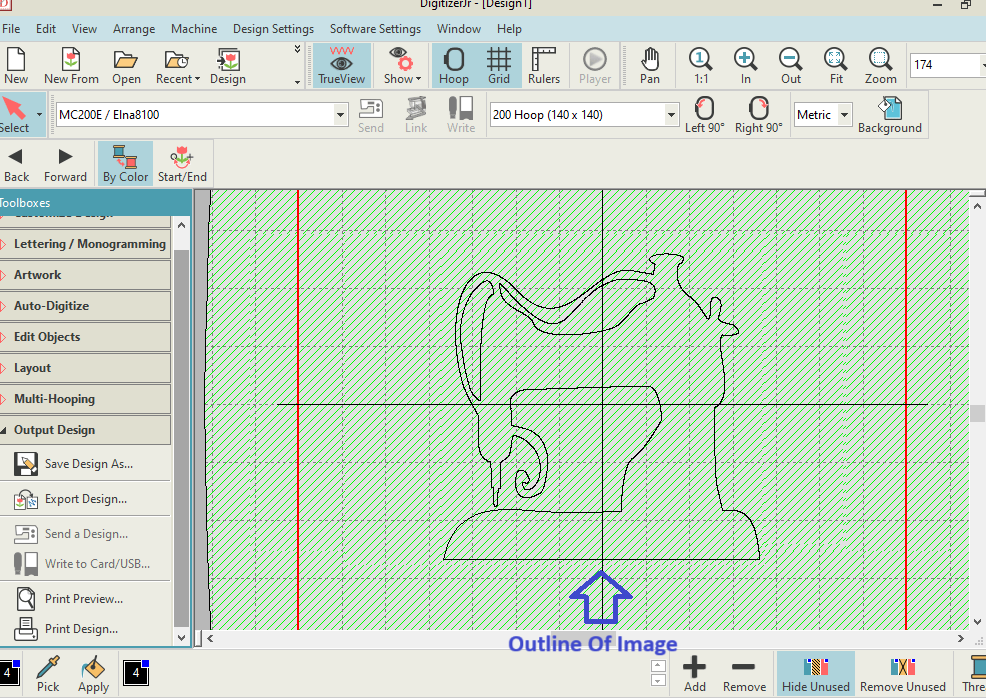
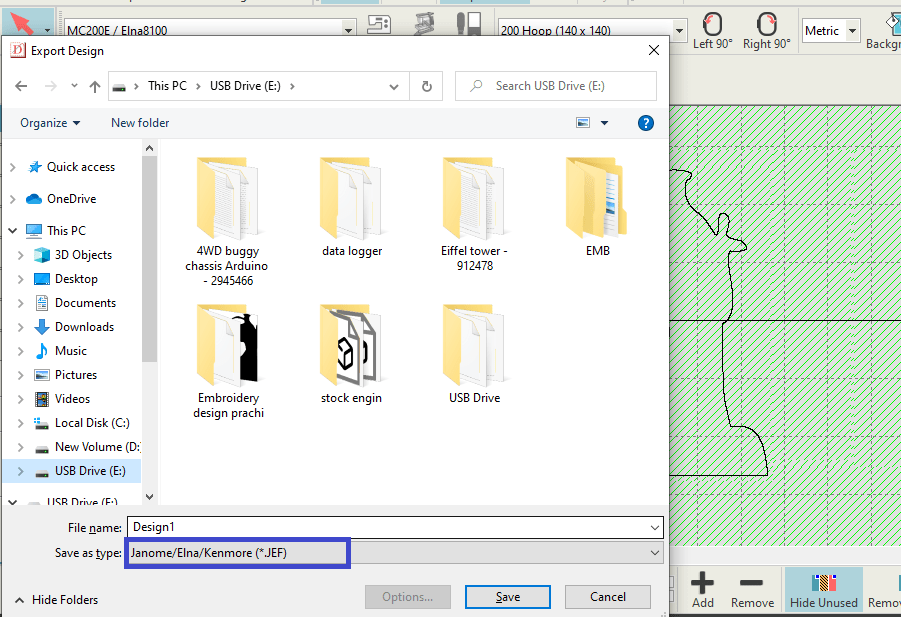
Now Save the file in *JEF format.
Machining Process
Before starting the machining process, it’s important to have the fabric and canvas properly placed in the hoop.The process as below which I followed.
First, I take the fabric I want to embroider and place the canvas underneath it for better stitching results.
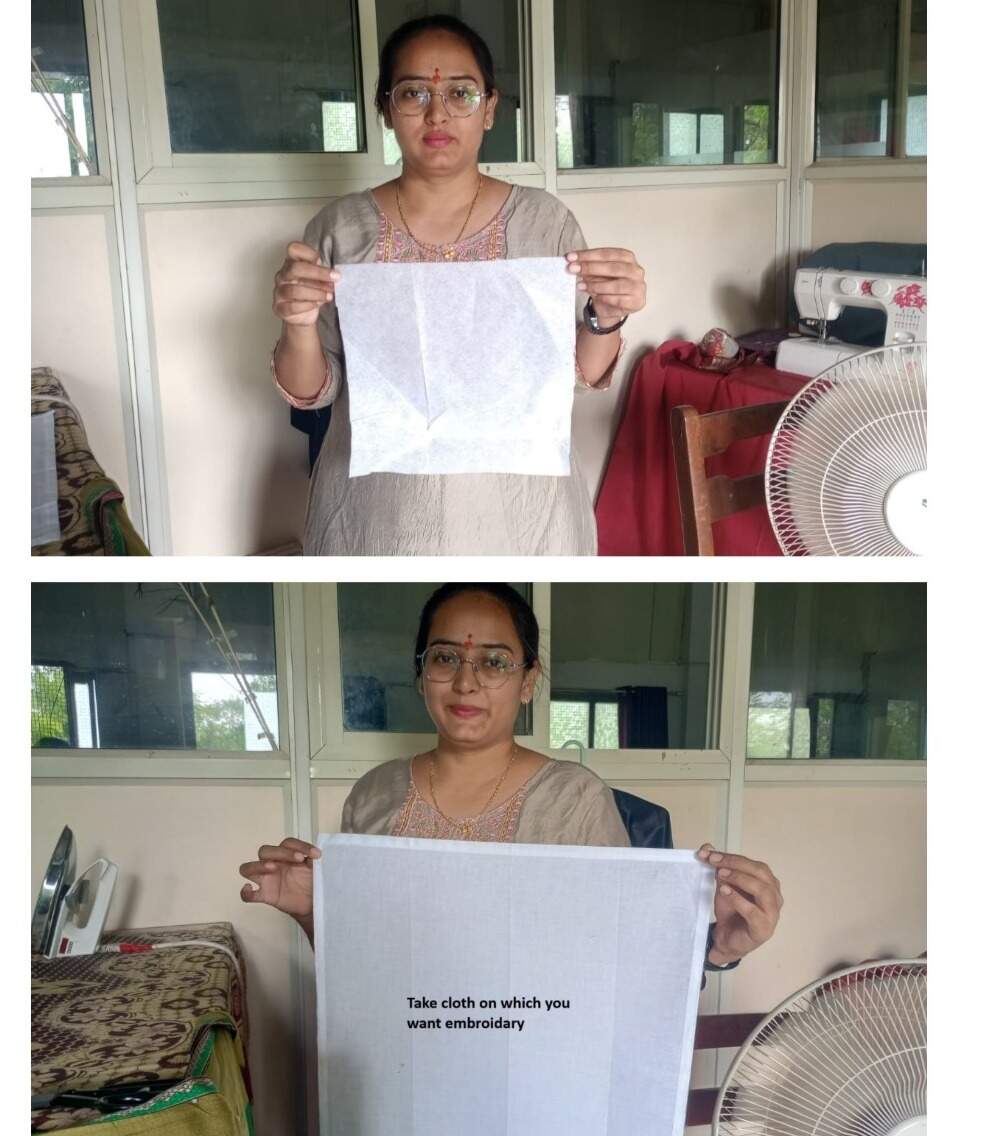
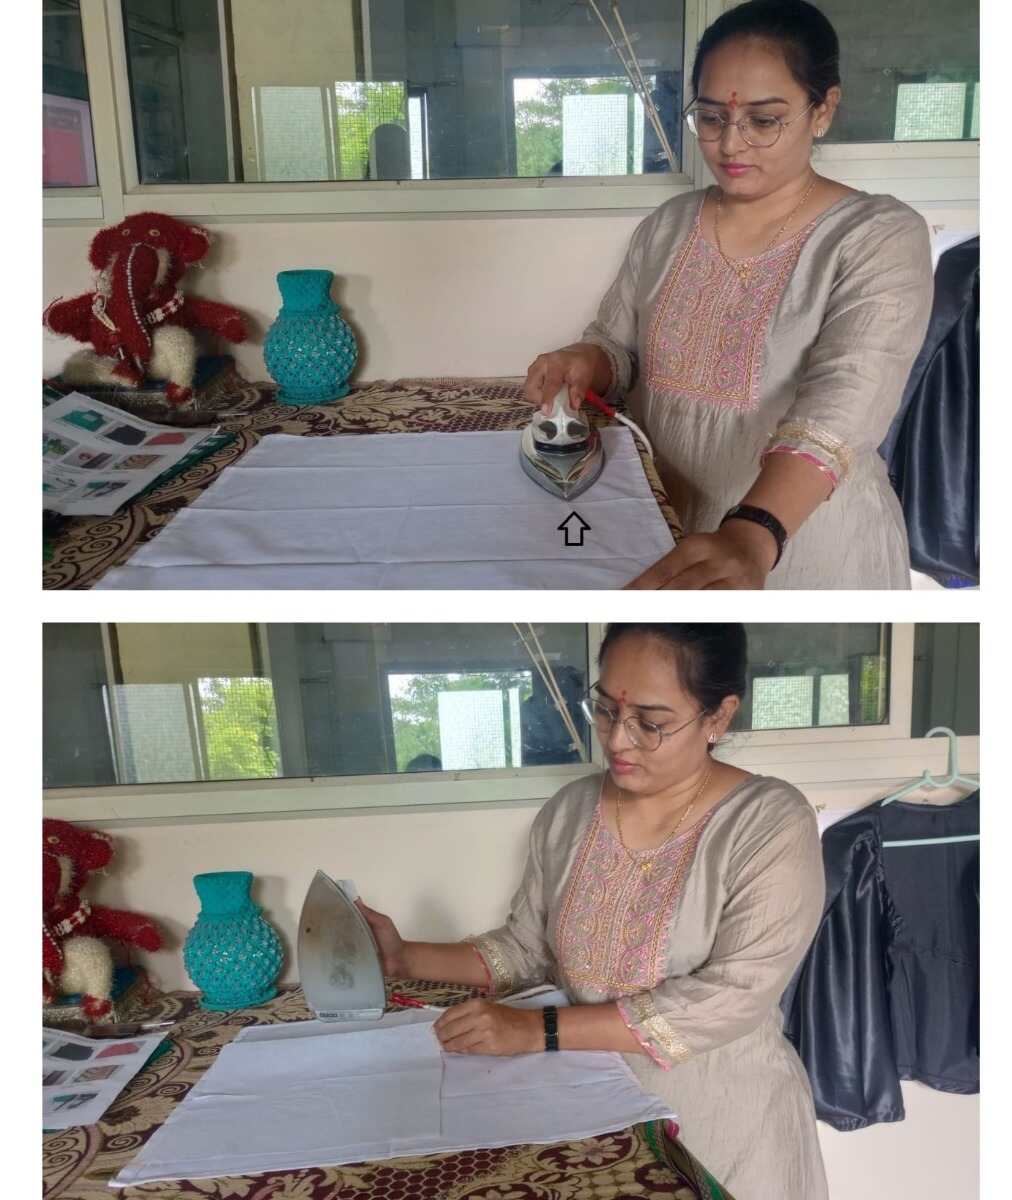
First, I iron the fabric and canvas. To do this, I place the canvas on the fabric where I want the embroidery to go. I make sure the side of the fabric where the embroidery will be is facing down, with the canvas on top. Then, I carefully iron them together.
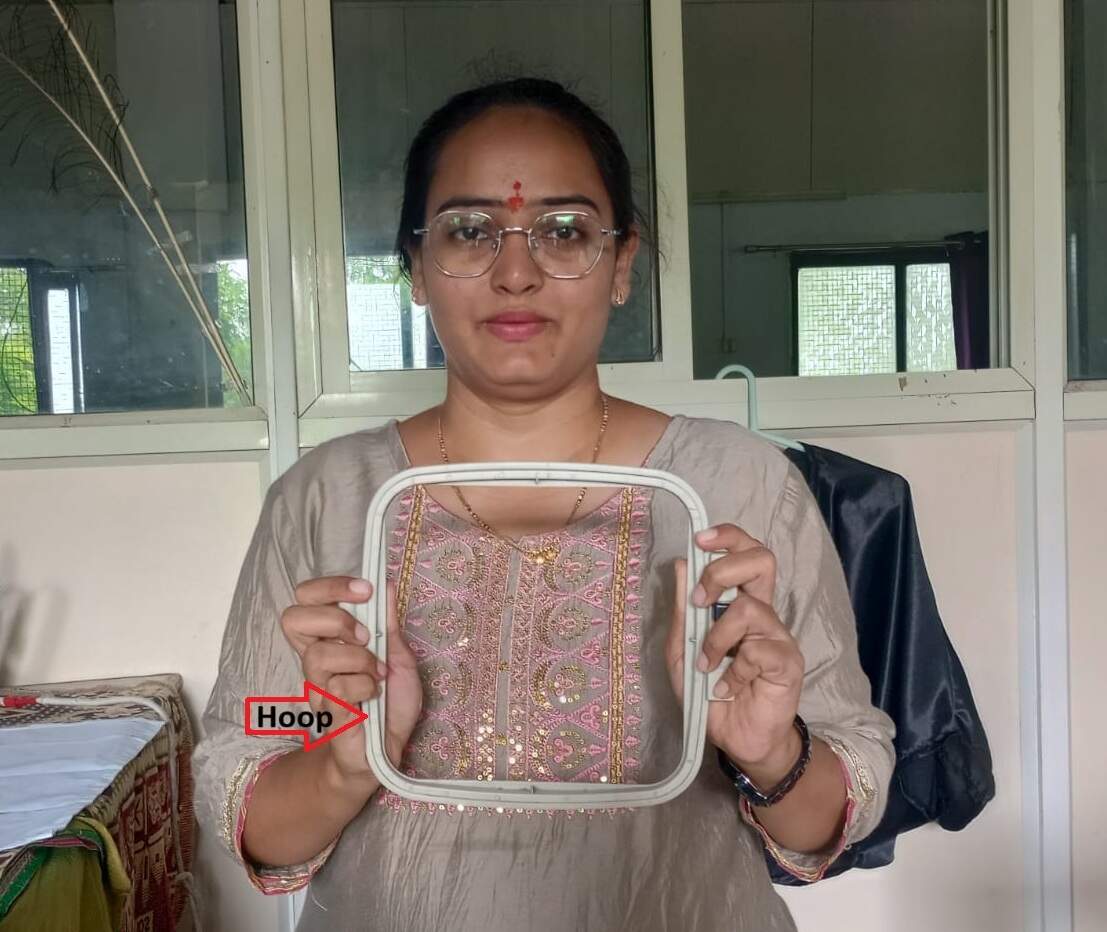
I separated the embroidery machine's hoop into two sections. The hoop size I used is 140 x 140.
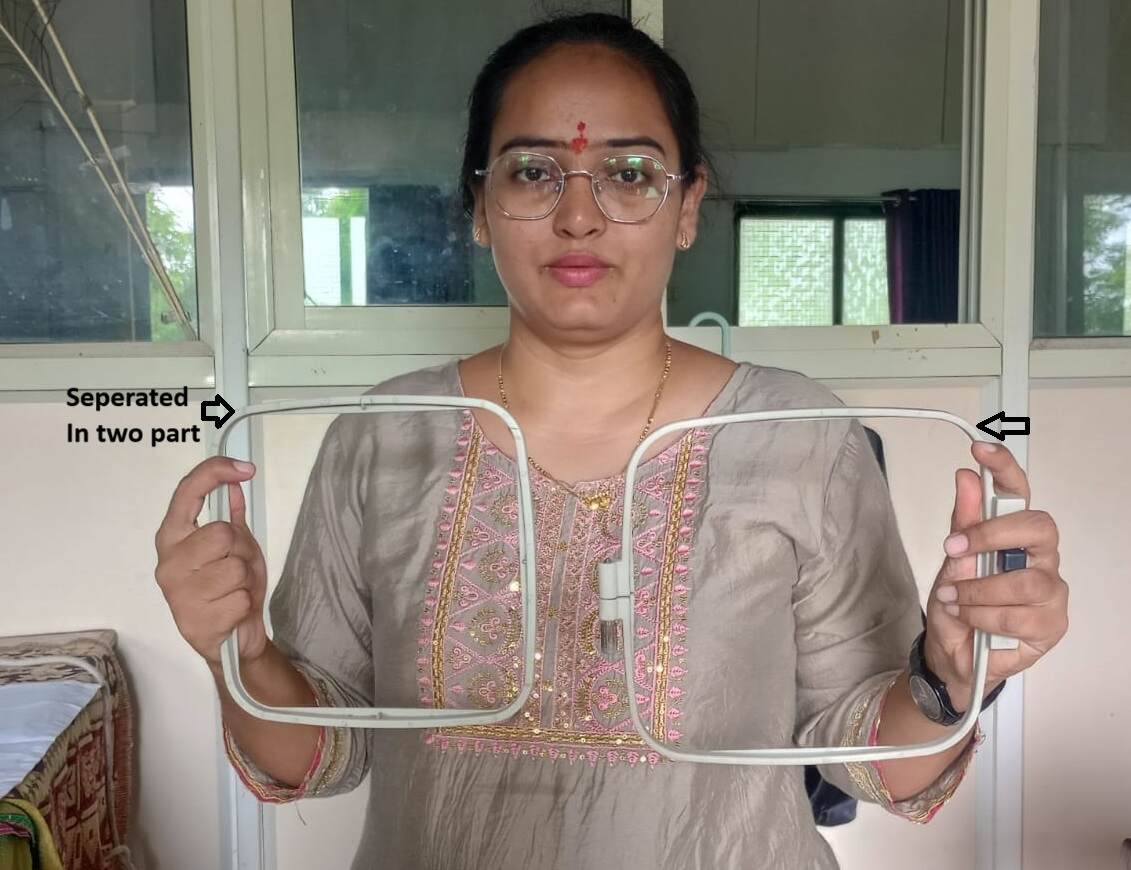
Then place the side below as shown in below image.
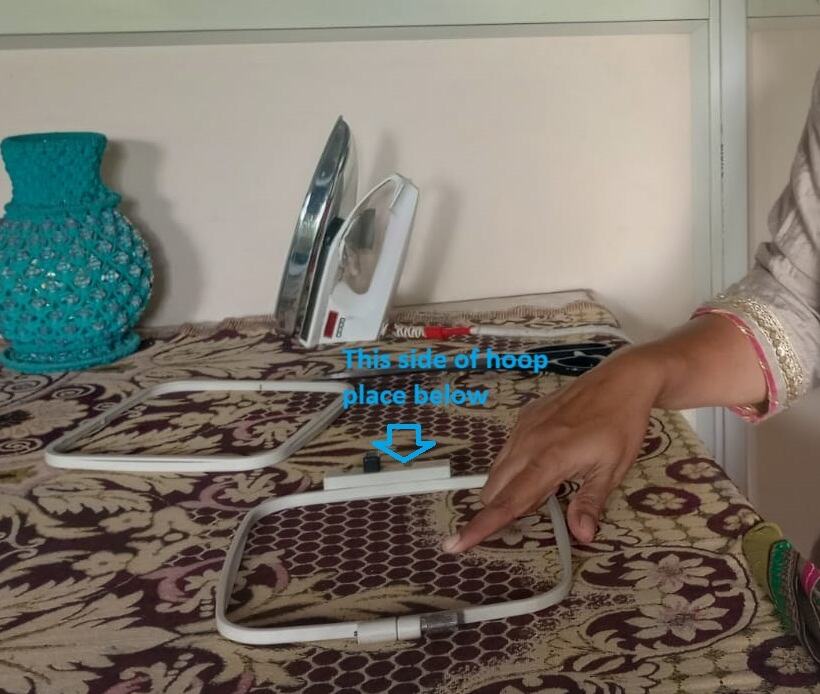
Place the fabric on the hoop as shown, with the canvas side positioned on the hoop and the fabric on top. Make sure to align the design properly from where it will be printed.
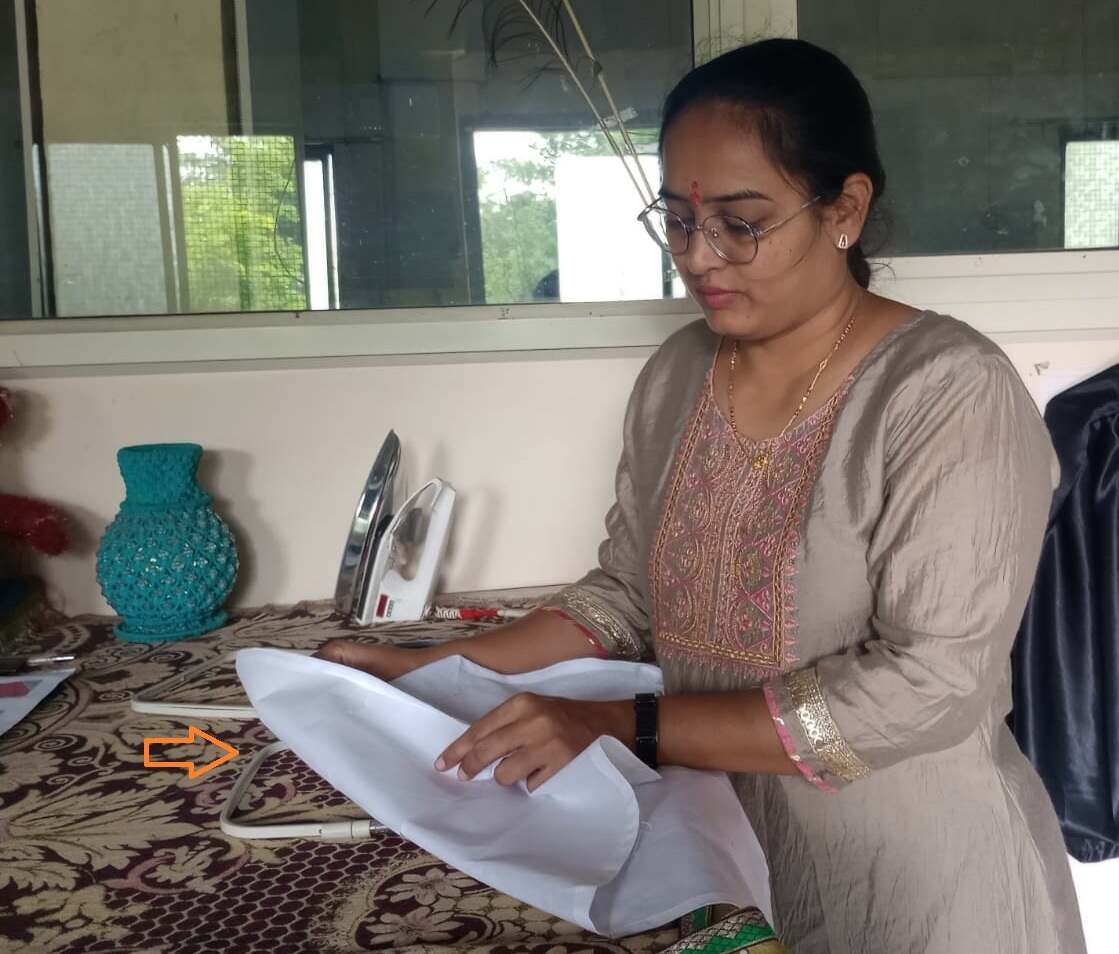
Next, I position the other part of the hoop onto the fabric and press down to secure it in place.
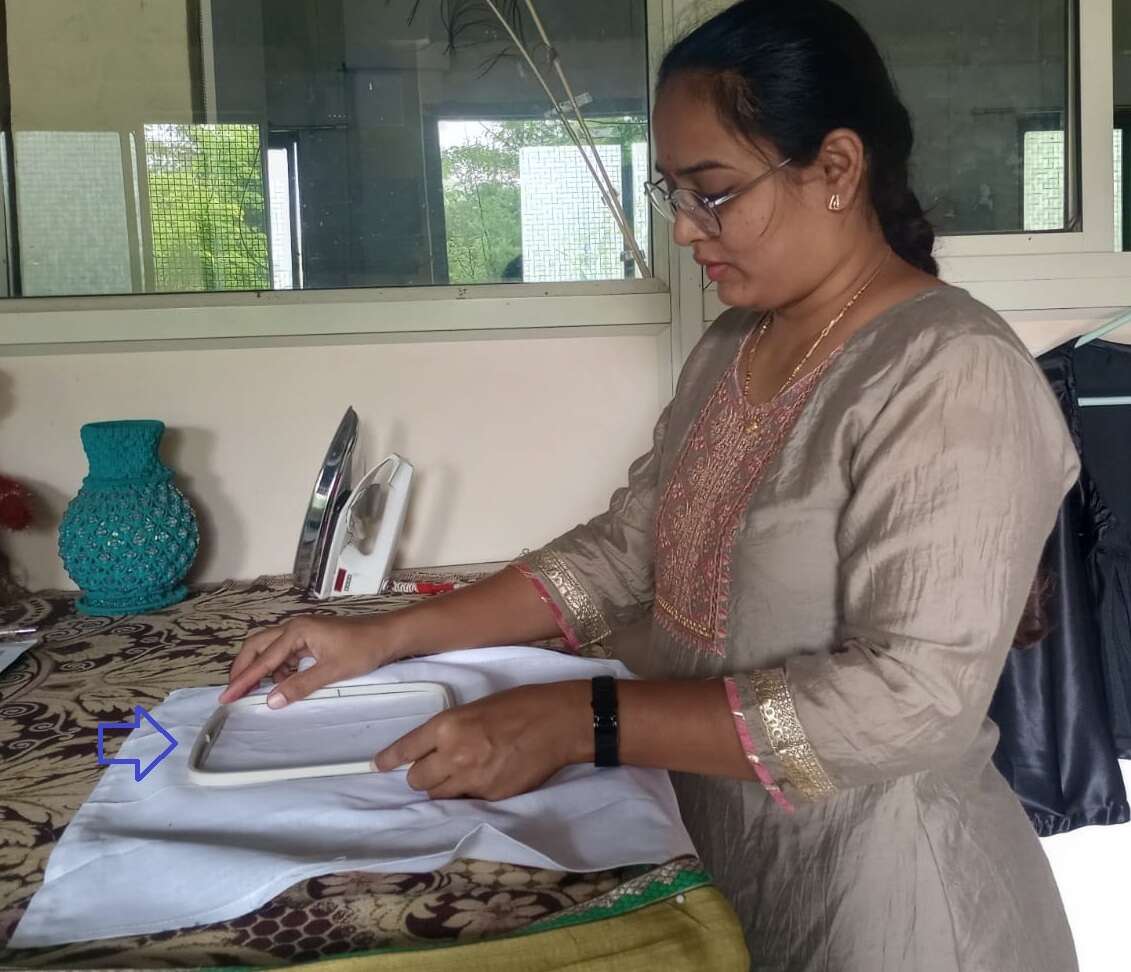
Now, move on to the machining process. First, remove the bobbin cover and pull out the bobbin to fill it
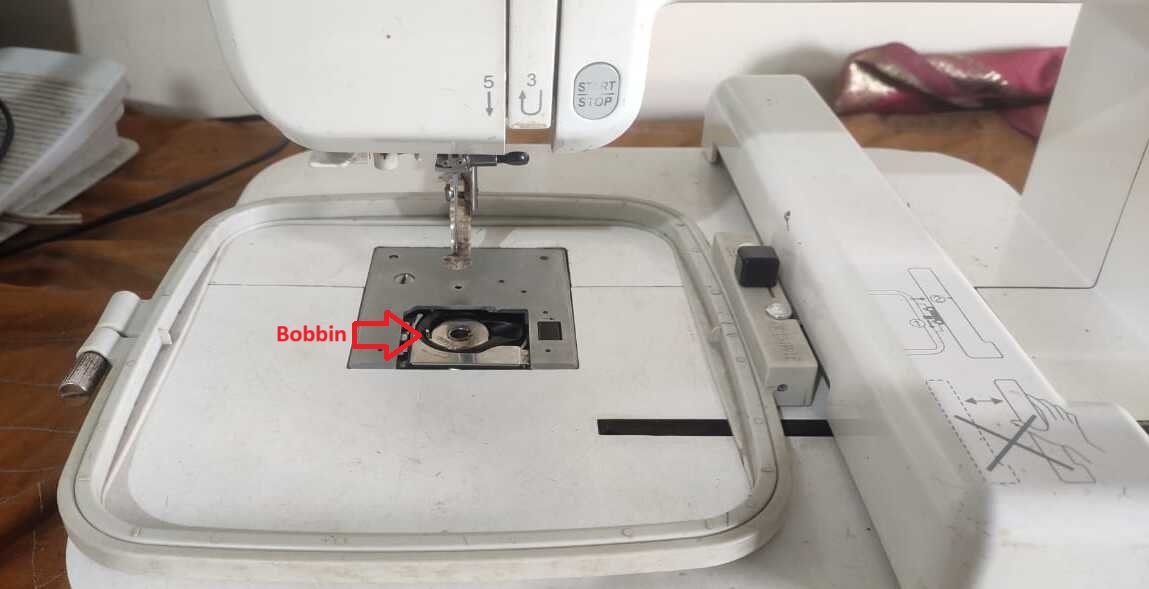
Use sewing machine to fill the bobbin with green color thread.
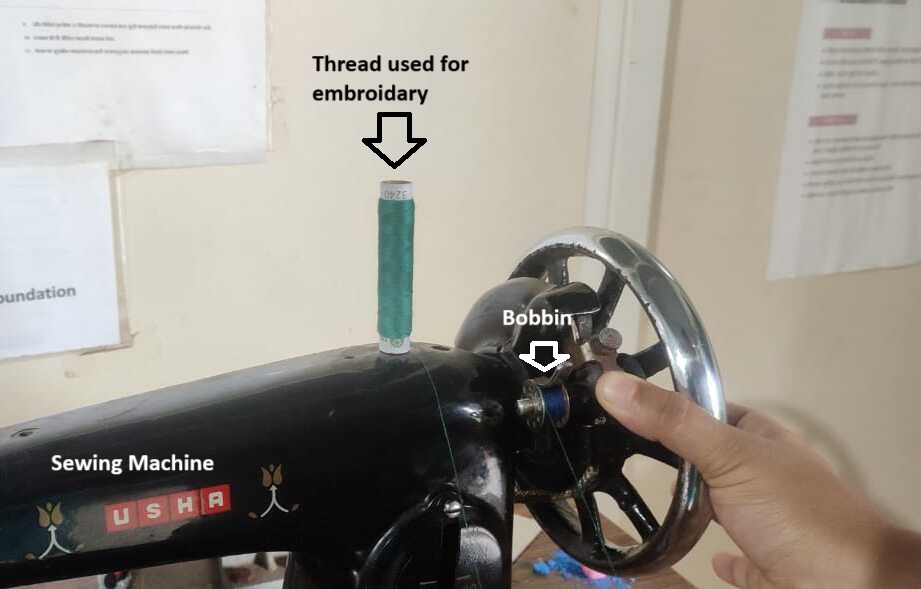
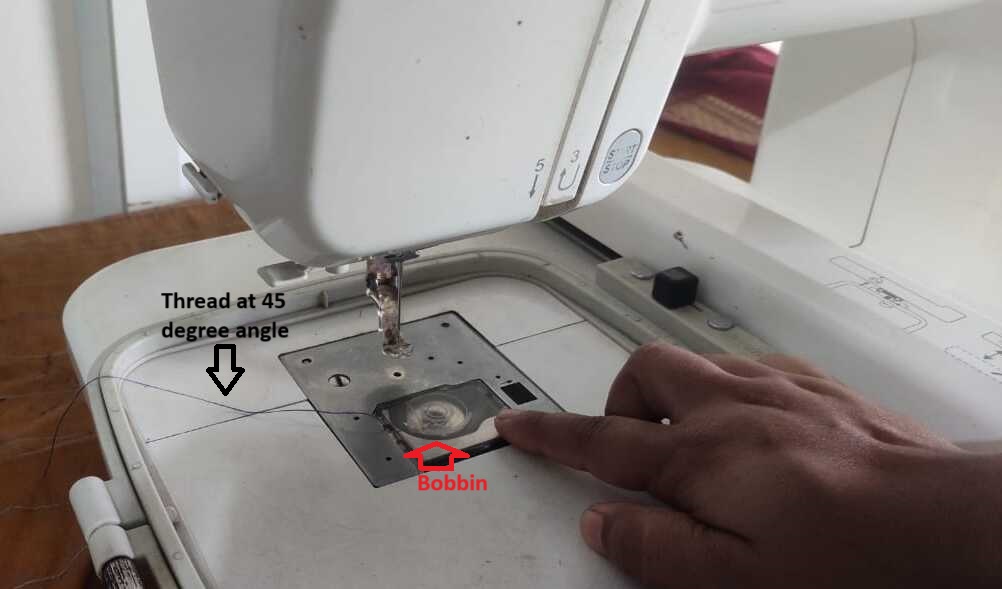
After winding the bobbin with the required embroidery thread, place it in the embroidery machine. Keep the thread at a 45-degree angle outwards, then secure the bobbin cover.
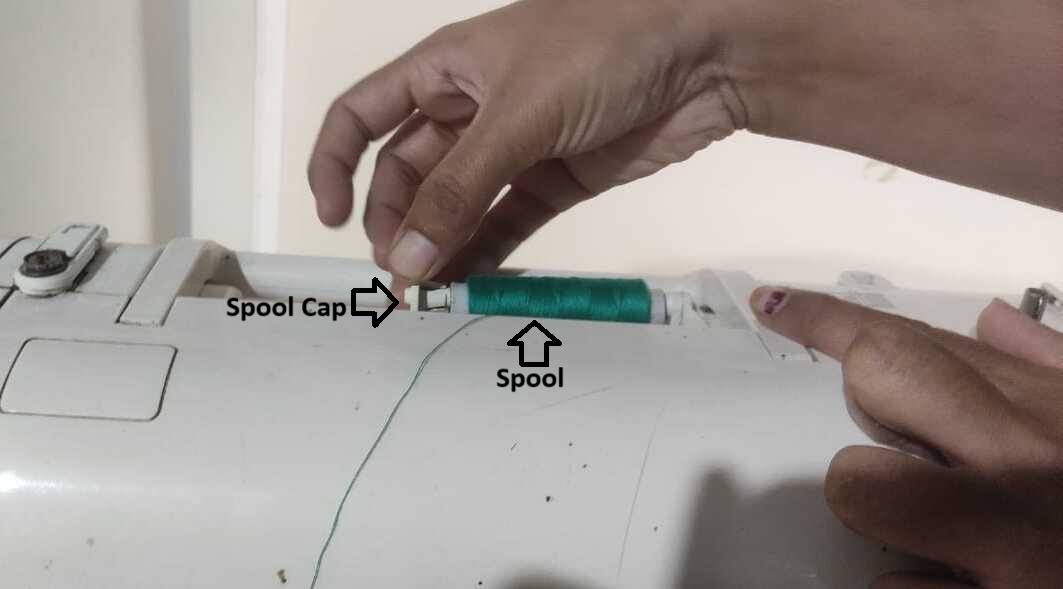
I used a green spool of thread for my embroidery work and attached it with a spool cap on the embroidery machine.
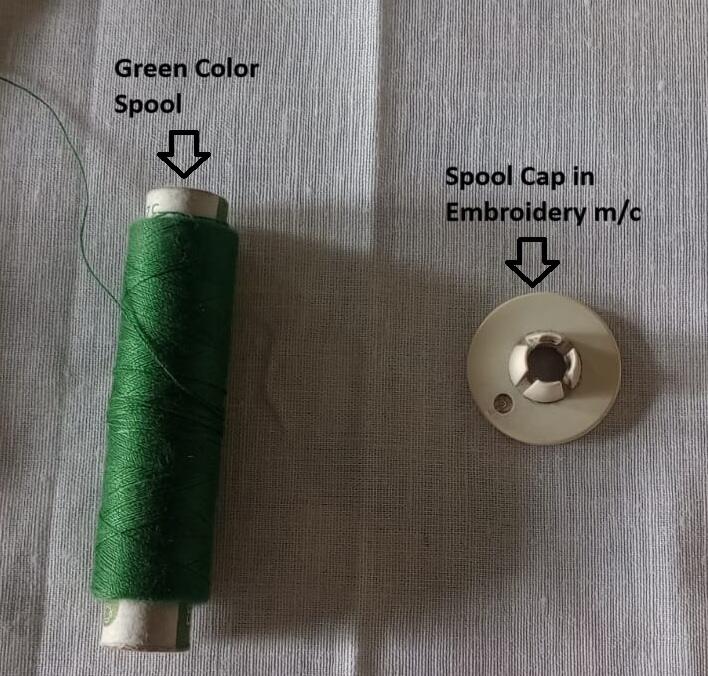
Place the spool on the top side of the machine and fixed it with spool cap and insert the thread into the needle.
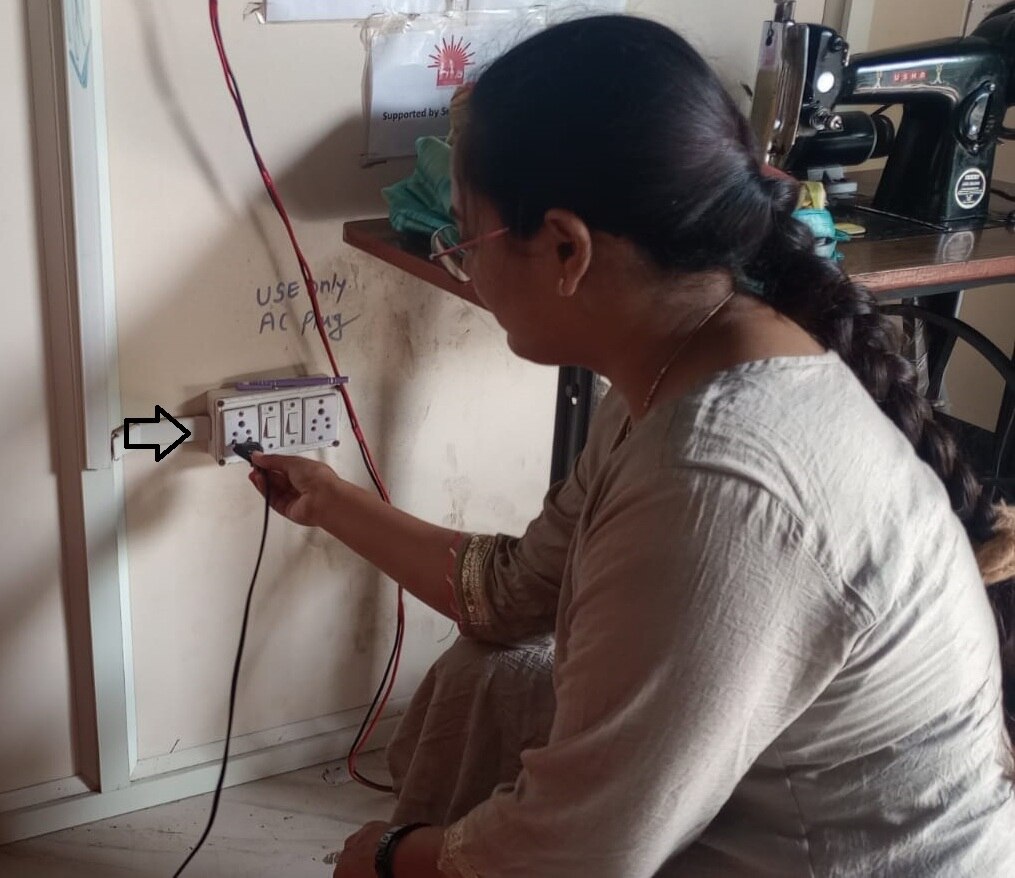
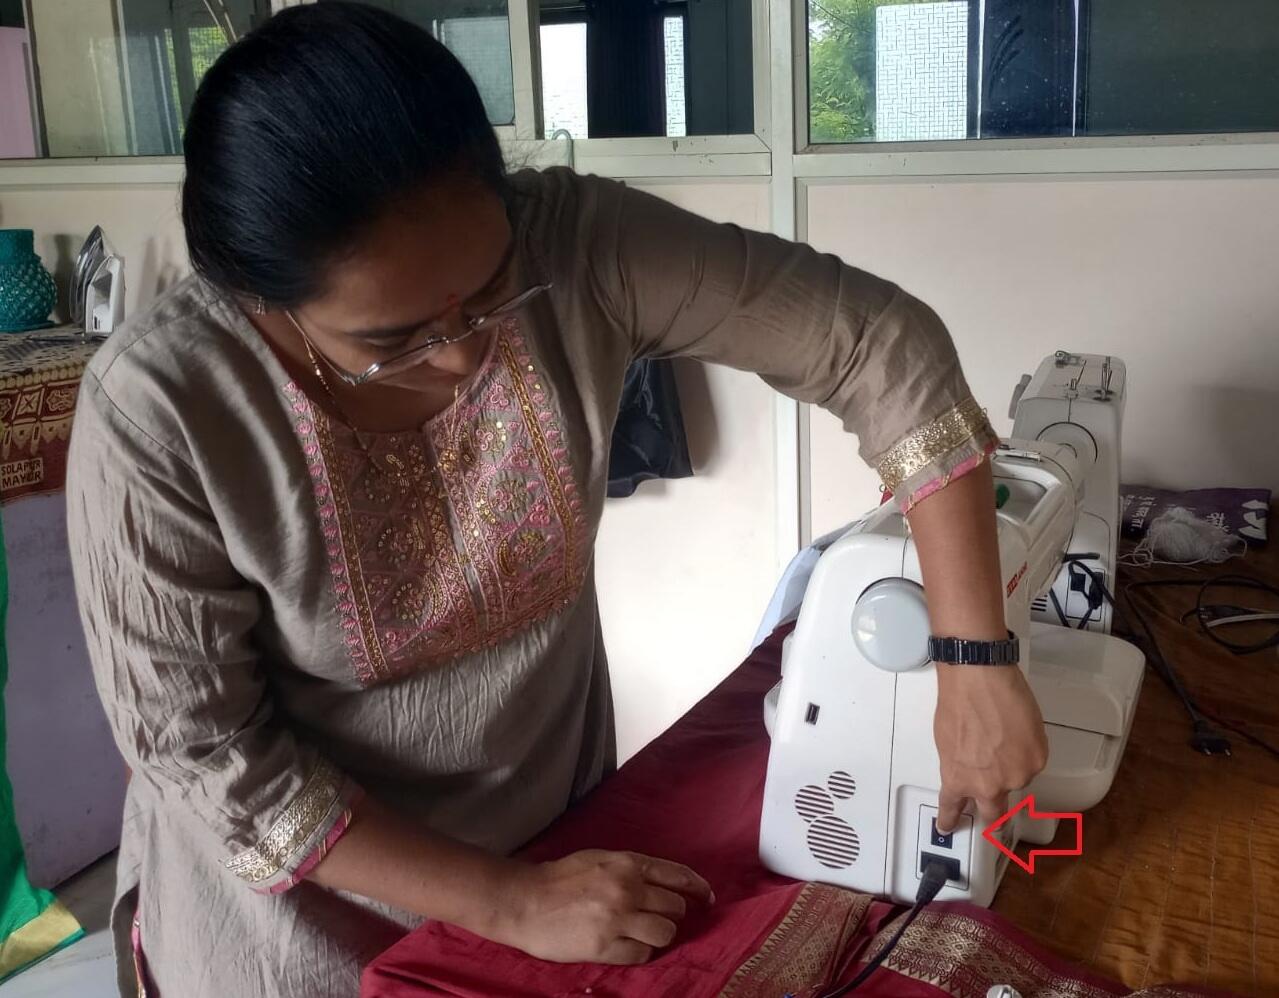
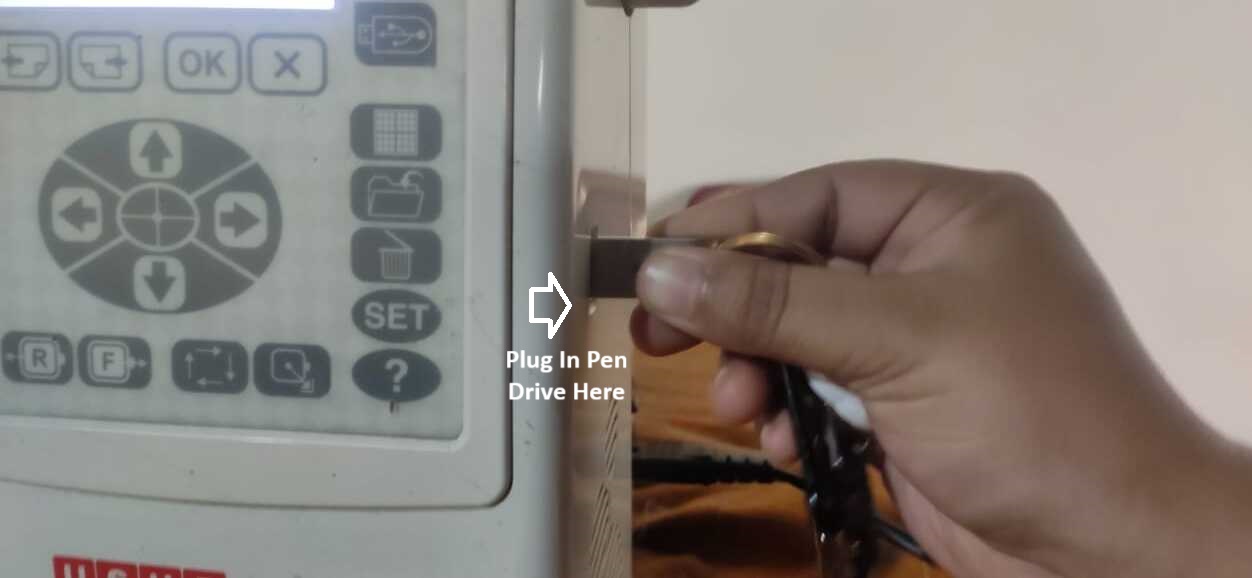
Then, plug in the machine to power it on and connect the USB drive to the embroidery machine.
Then, insert the hoop into the machine.
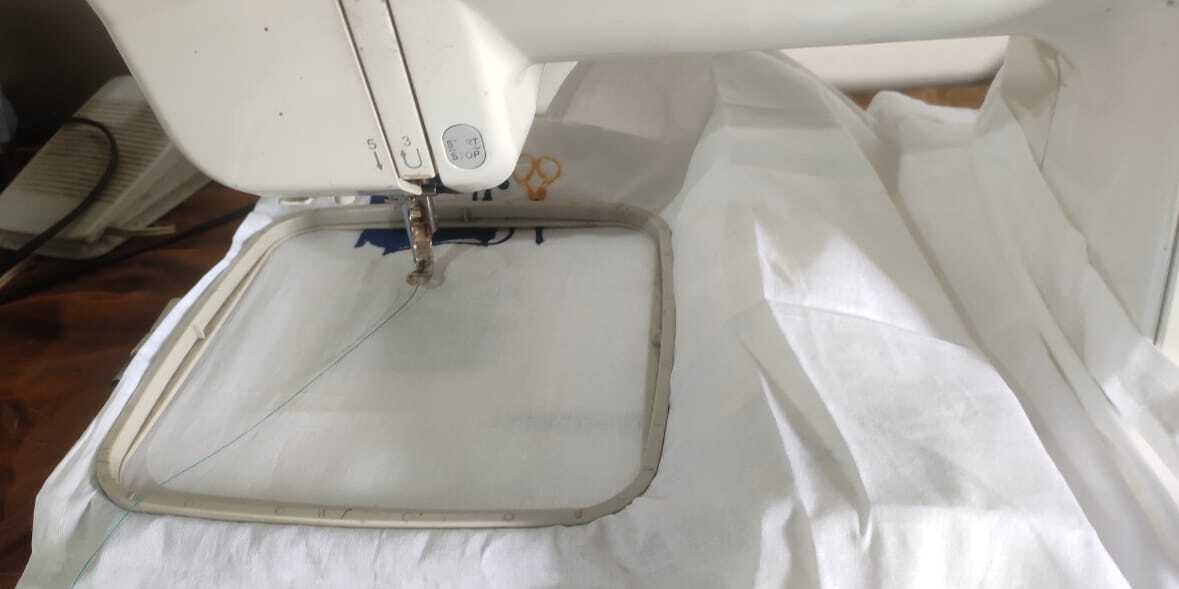
Select the design. Here, we can see the built-in embroidery designs that we can use. However, I have a different design, so select it as shown in the video below.
When the presser foot is raised, the embroidery machine displays an error message: "Raise Presser Foot".
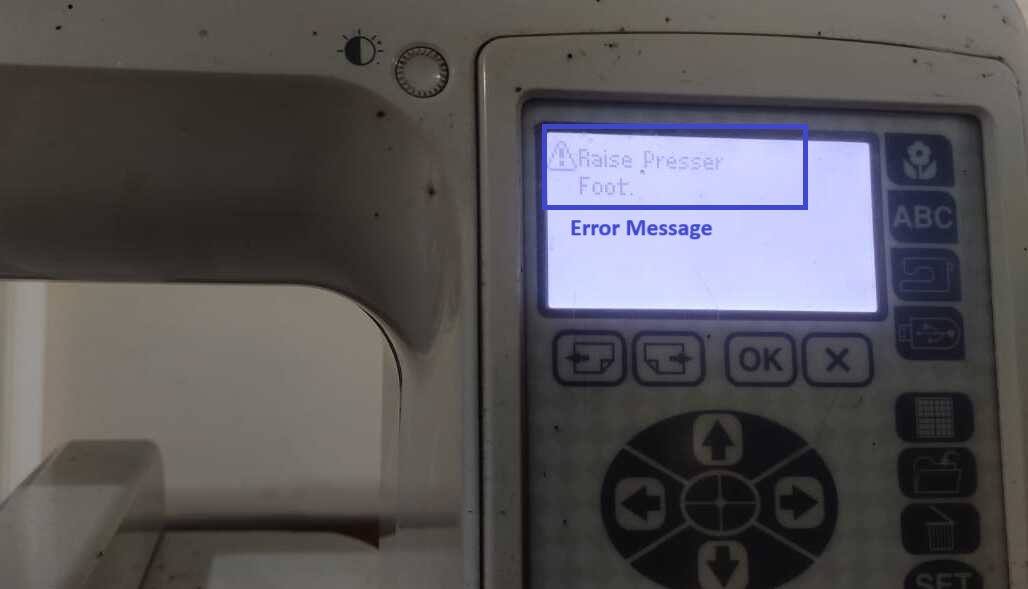
So, lower the presser foot to start the machining process.
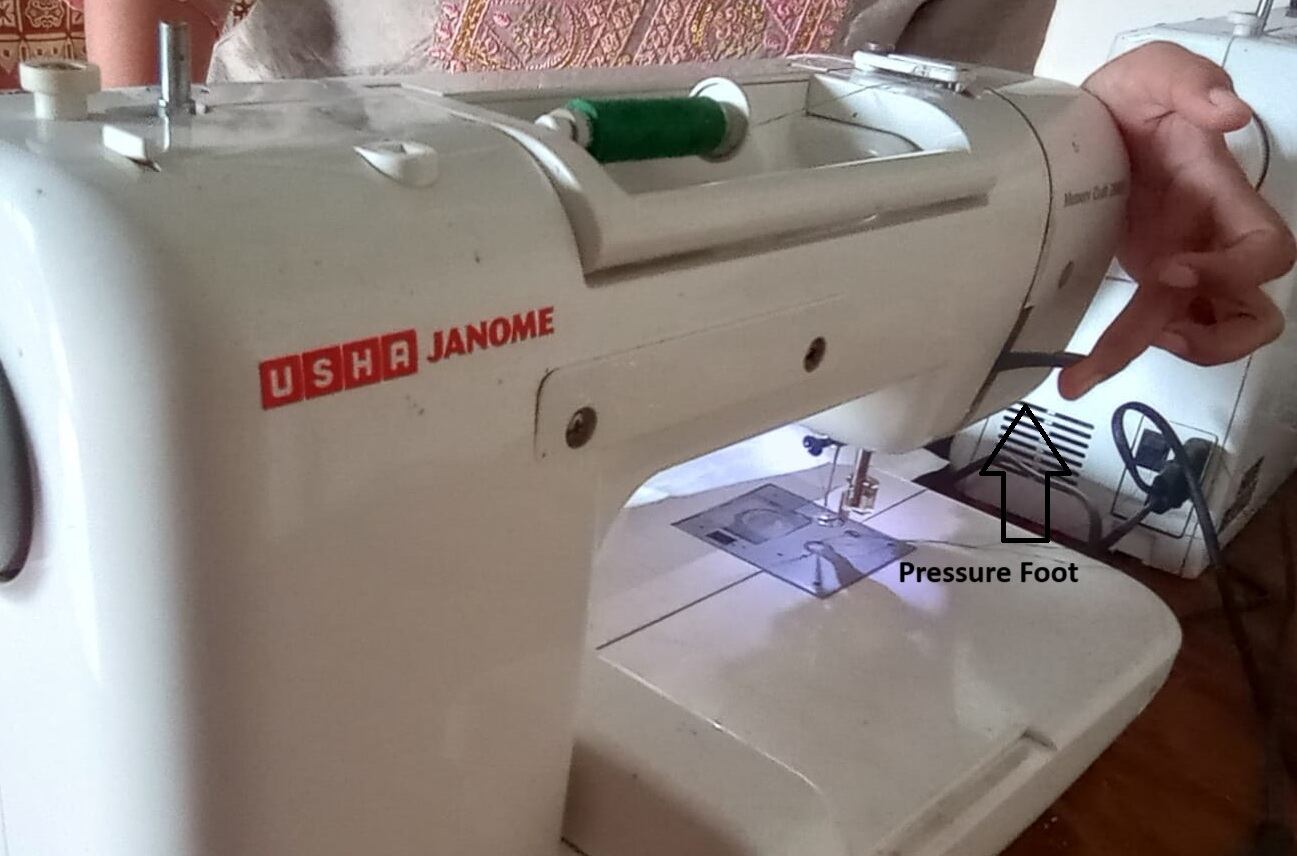
Machining in progress
And the Embroidery is completed.
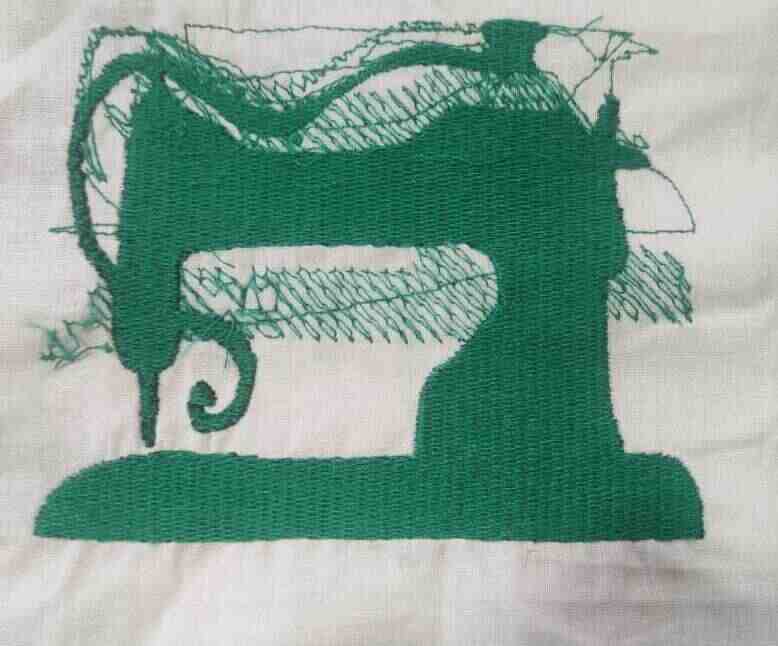
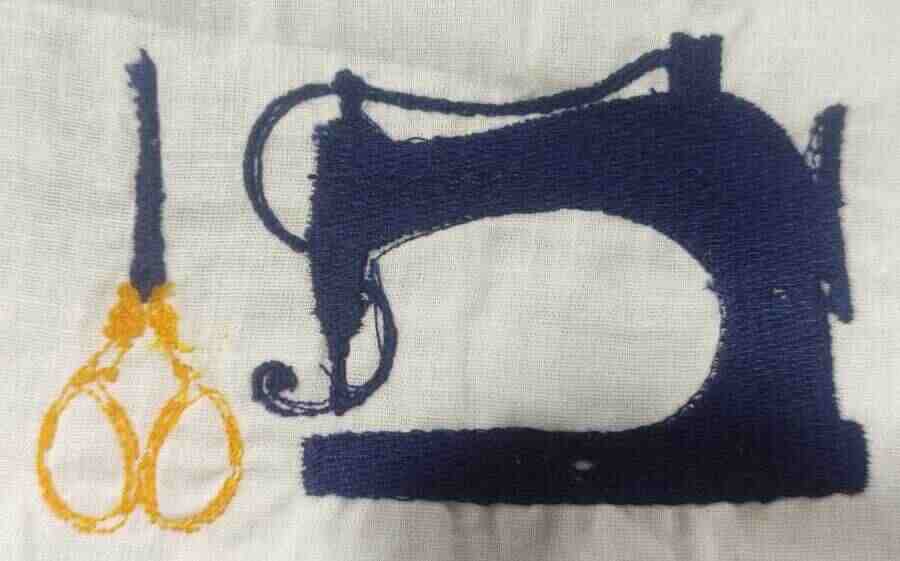
I also tried the same embroidery design on the machine, but with smaller dimensions and scissor...
Problem Faced
During this assignment, I faced problems with the design software, as it was running very slowly. During the machine process, the thread broke, so I had to stop the machine twice. I re-threaded the needle and started the process again.
Keylearning
This assignment is very interesting because I learned about embroidery work. First, I designed in CorelDRAW, then saved the file as a JPG. After that, I used Junior Designer software to make all the necessary settings, saved it as a JEF file, and transferred it to the embroidery machine for the embroidery work