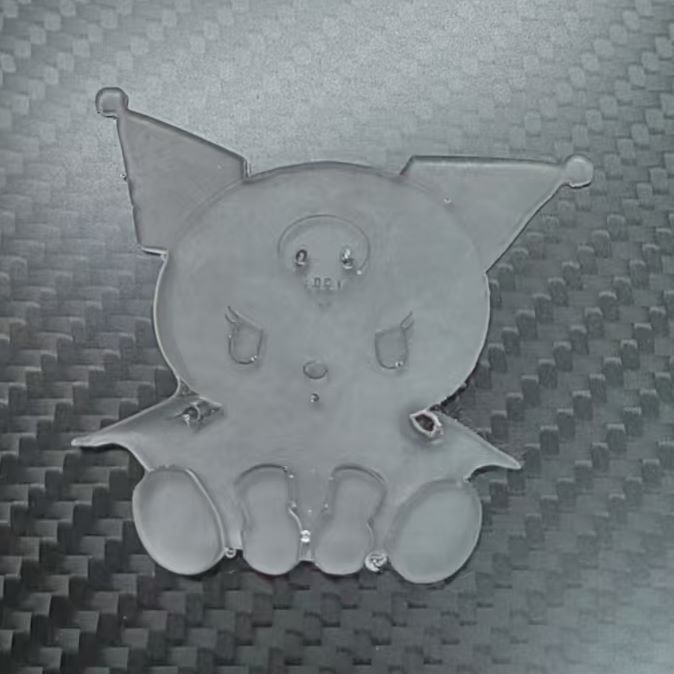
Week12-Moulding and Casting
Group assignment:
- Review the safety data sheets for each of your molding and casting materials
- Make and compare test casts with each of them
- Compare printing vs milling molds
Individual assignment:
- Design a mold around the process you’ll be using, produce it with a smooth surface finish, and use it to cast parts.
Checklist
- Linked to the group assignment page and reflected on your individual page what you have learned
- Reviewed the safety data sheets for each of your molding and casting materials, then made and compared test casts with each of them
- Documented how you designed and created your 3D mold, including machine settings
- Shown how you safely made your mold and cast the parts
- Described problems and how you fixed them
- Included your design files and ‘hero shot of the mold and the final object
Group assignment
What did I learn?
This week, I learned about the properties and applications of three materials: food-grade silicone, epoxy resin, and plaster. Food-grade silicone is non-toxic, elastic, and suitable for food-contact molds, but it has a long curing time and lacks fine surface detail. Epoxy resin has high transparency and is ideal for making detailed molds, but it has a strong odor and a long curing time. Plaster cures quickly and is cost-effective, making it suitable for rapid prototyping, but it is prone to cracking and not suitable for molds with complex details. Through this study, I gained a deeper understanding of the strengths and weaknesses of each material and can now choose the appropriate one based on specific needs.
Individual assignment
This week, I will use LCD 3D printing to create molds.
I used Fusion 360 to design the molds.
This is my modeling process
The machine I used is the ELEGOO Saturn 2.
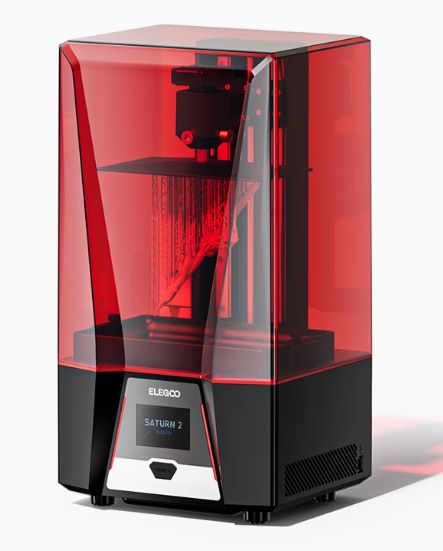

Its specifications are as follows:
- Light source: COB + Fresnel collimating lens
- Dimensions: 218 mm x 123 mm x 250 mm
- Printing speed: 70 mm/h
- Data transfer: USB
- Touchscreen: 3.5 inches
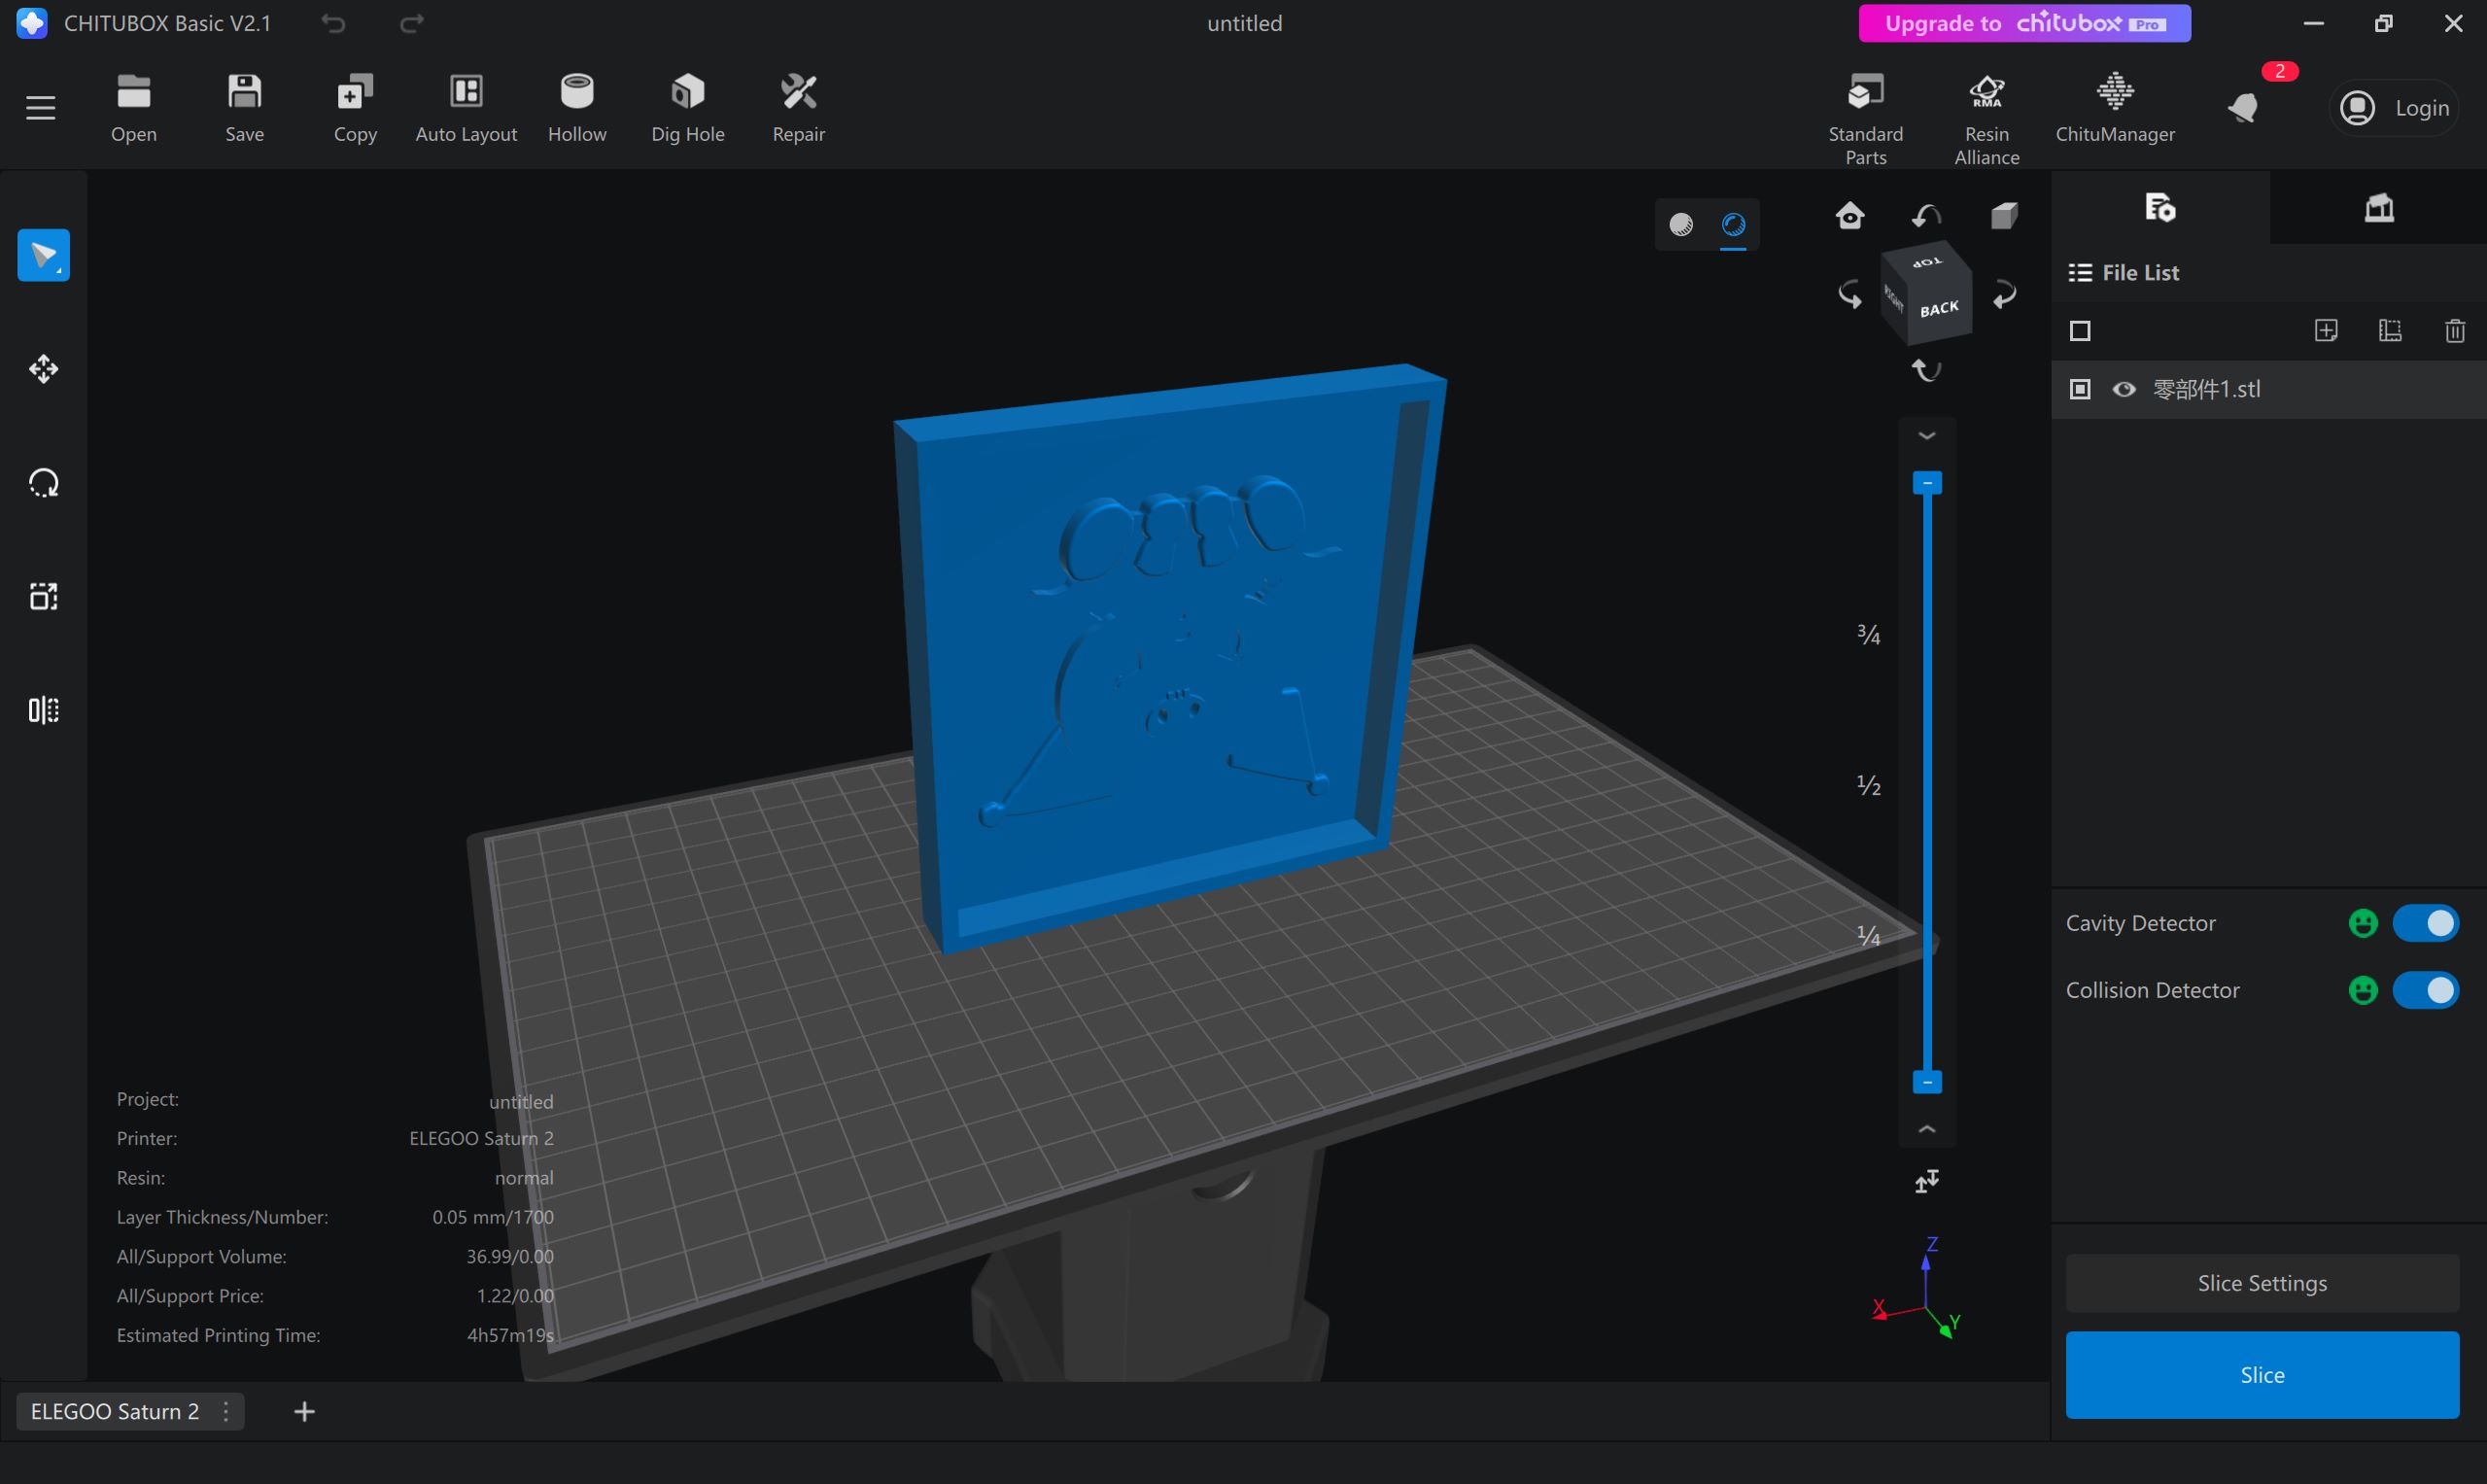
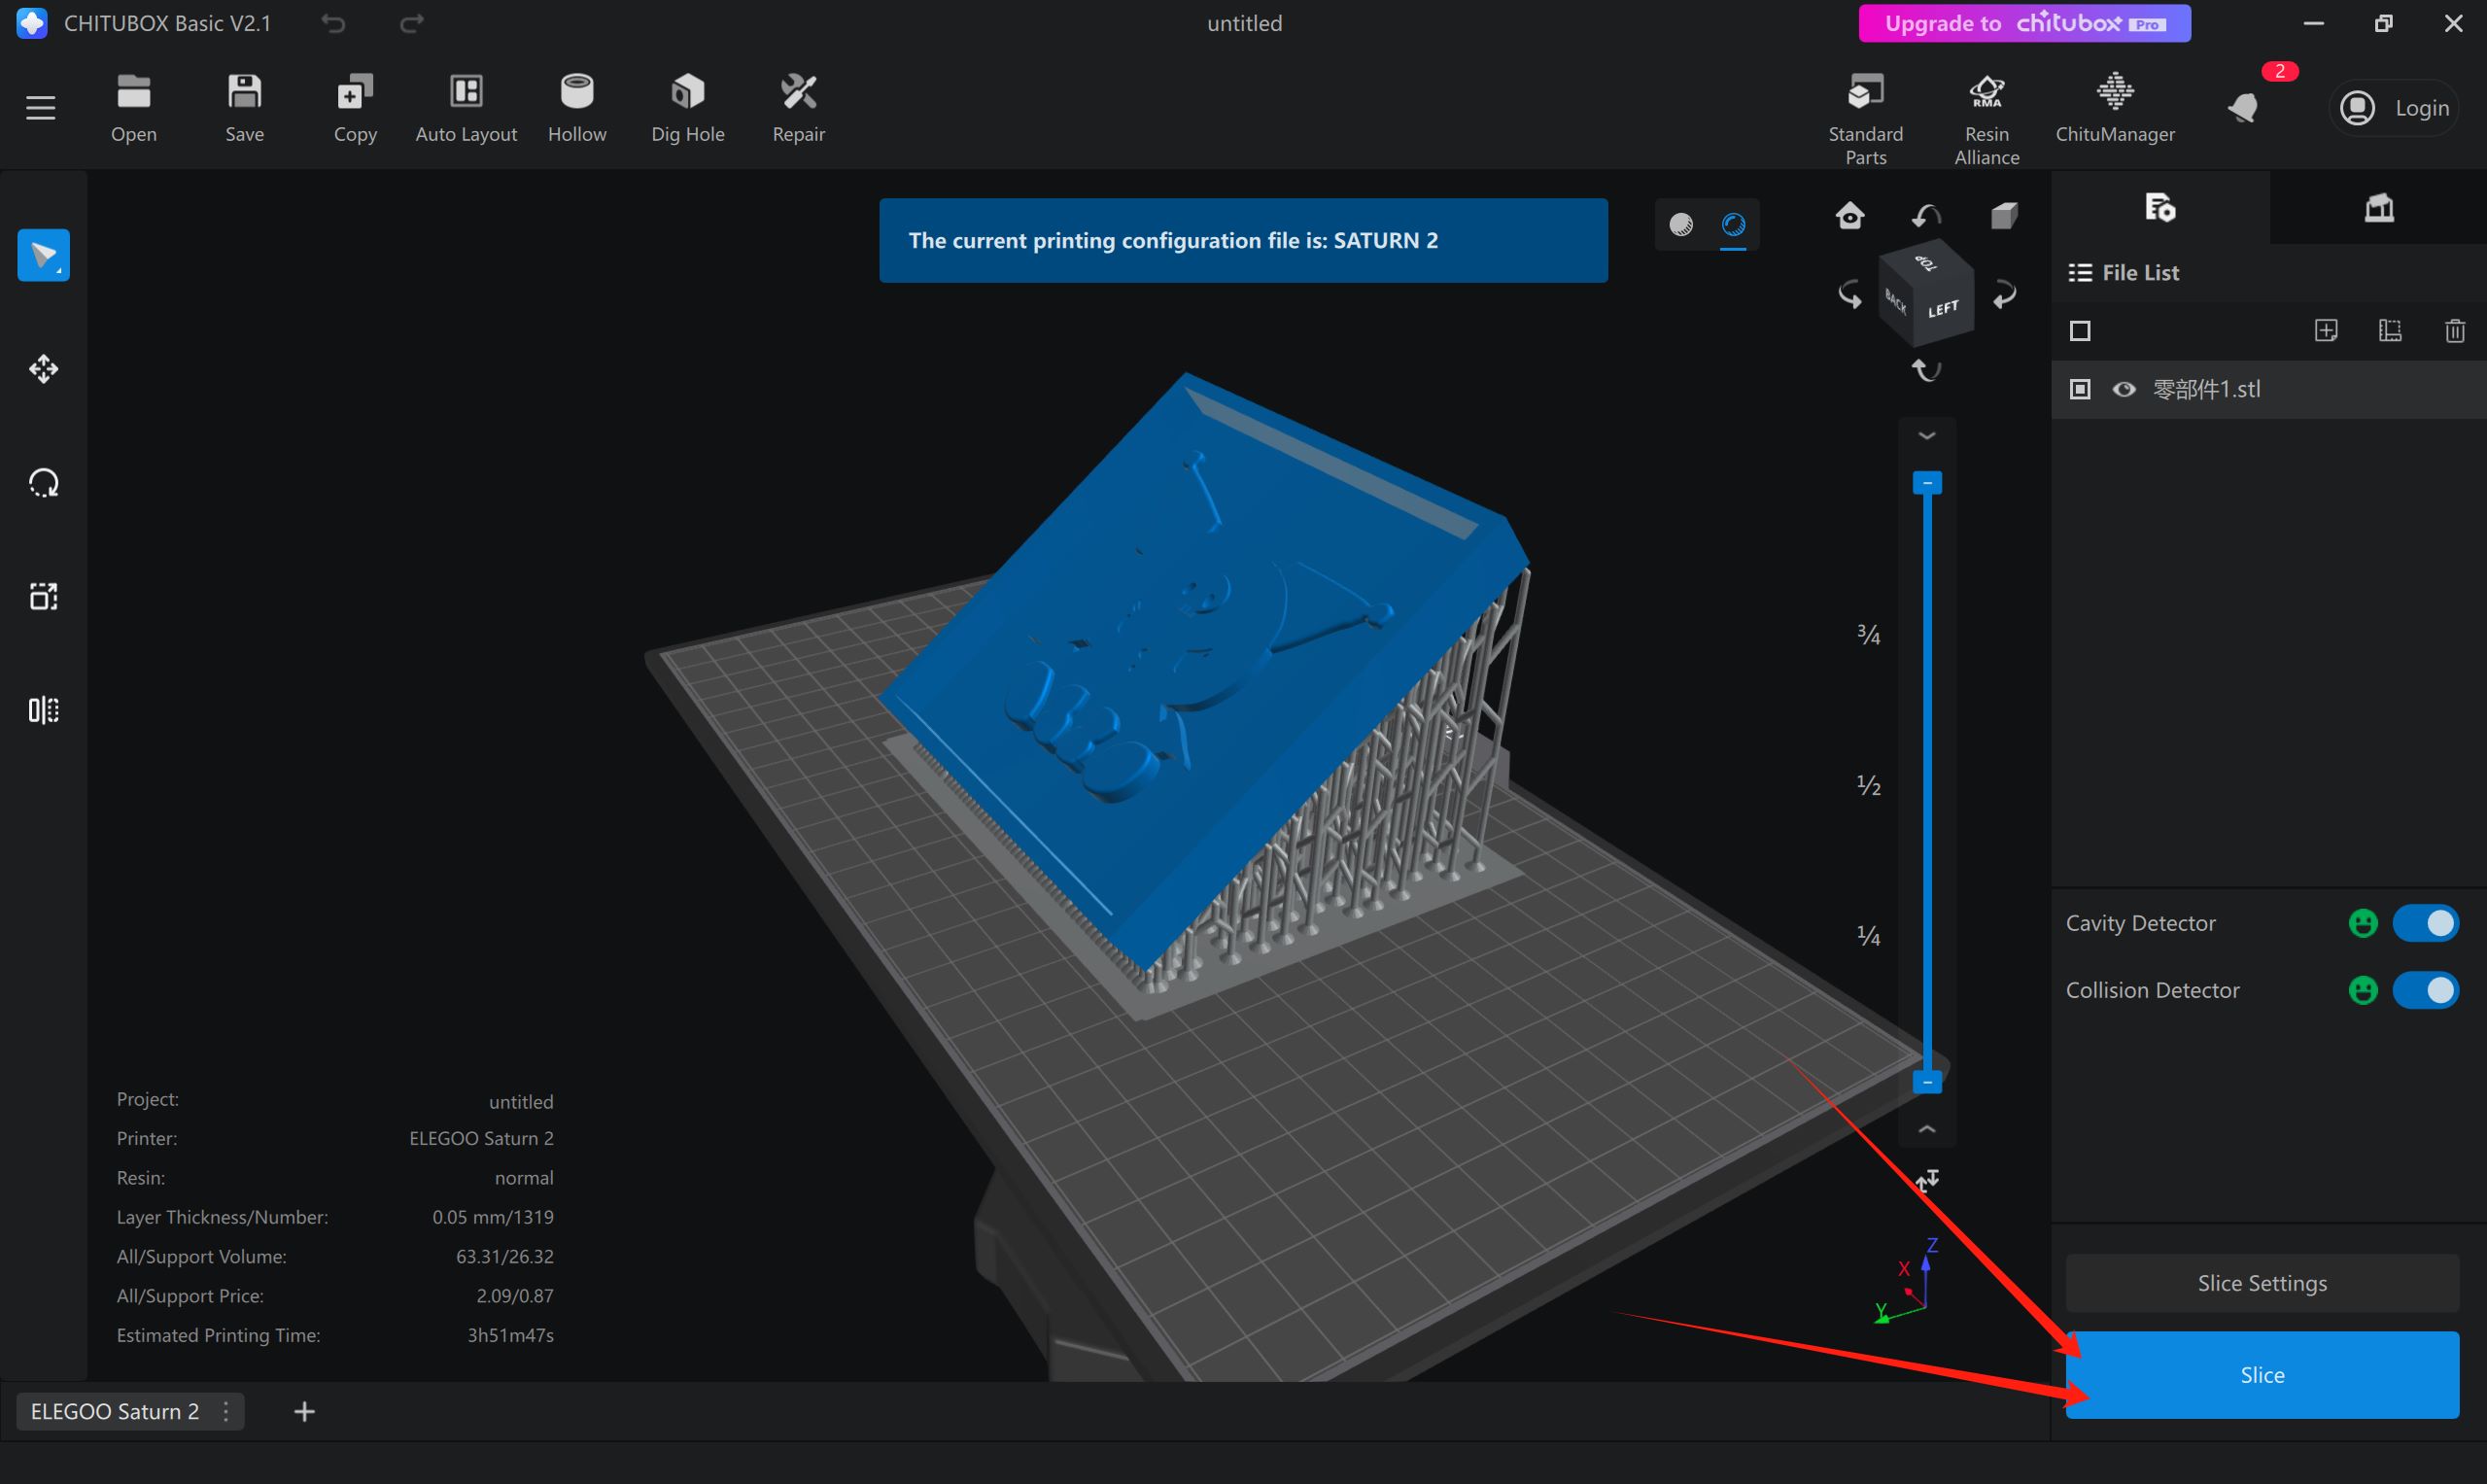
First, I imported the STL file into the slicing software.
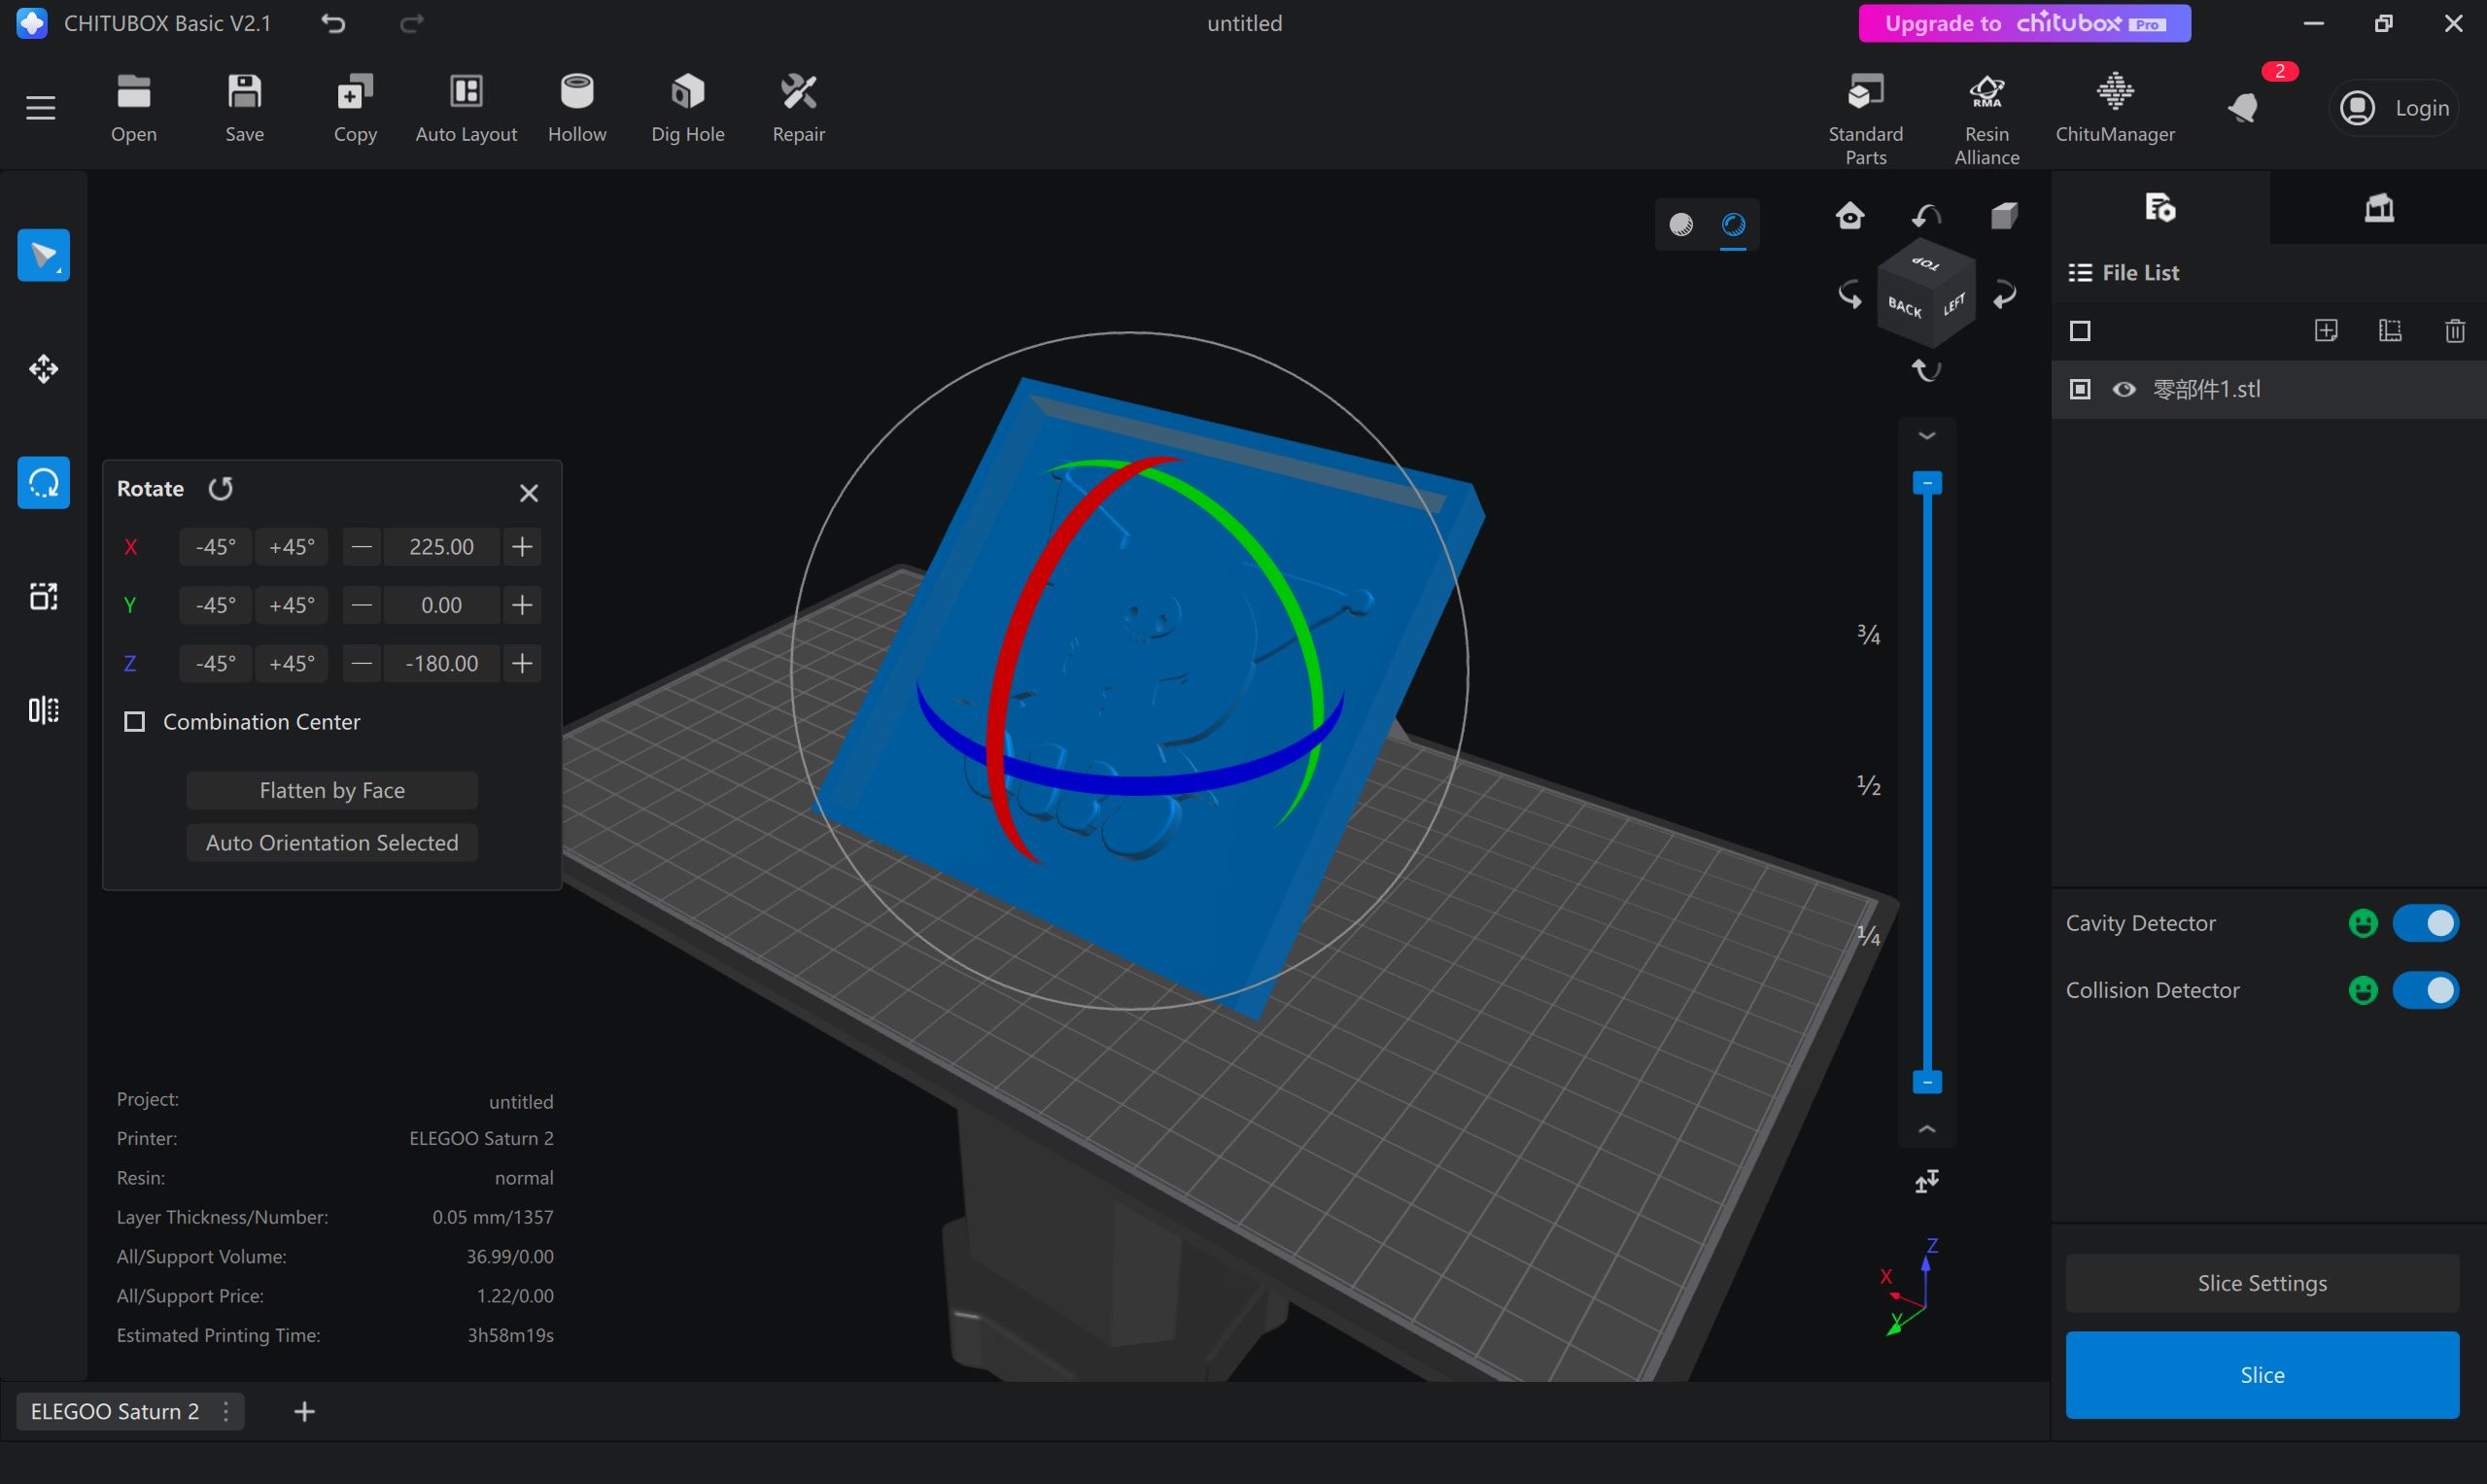
Then I rotated it 45 degrees because LCD printers usually require diagonal printing.
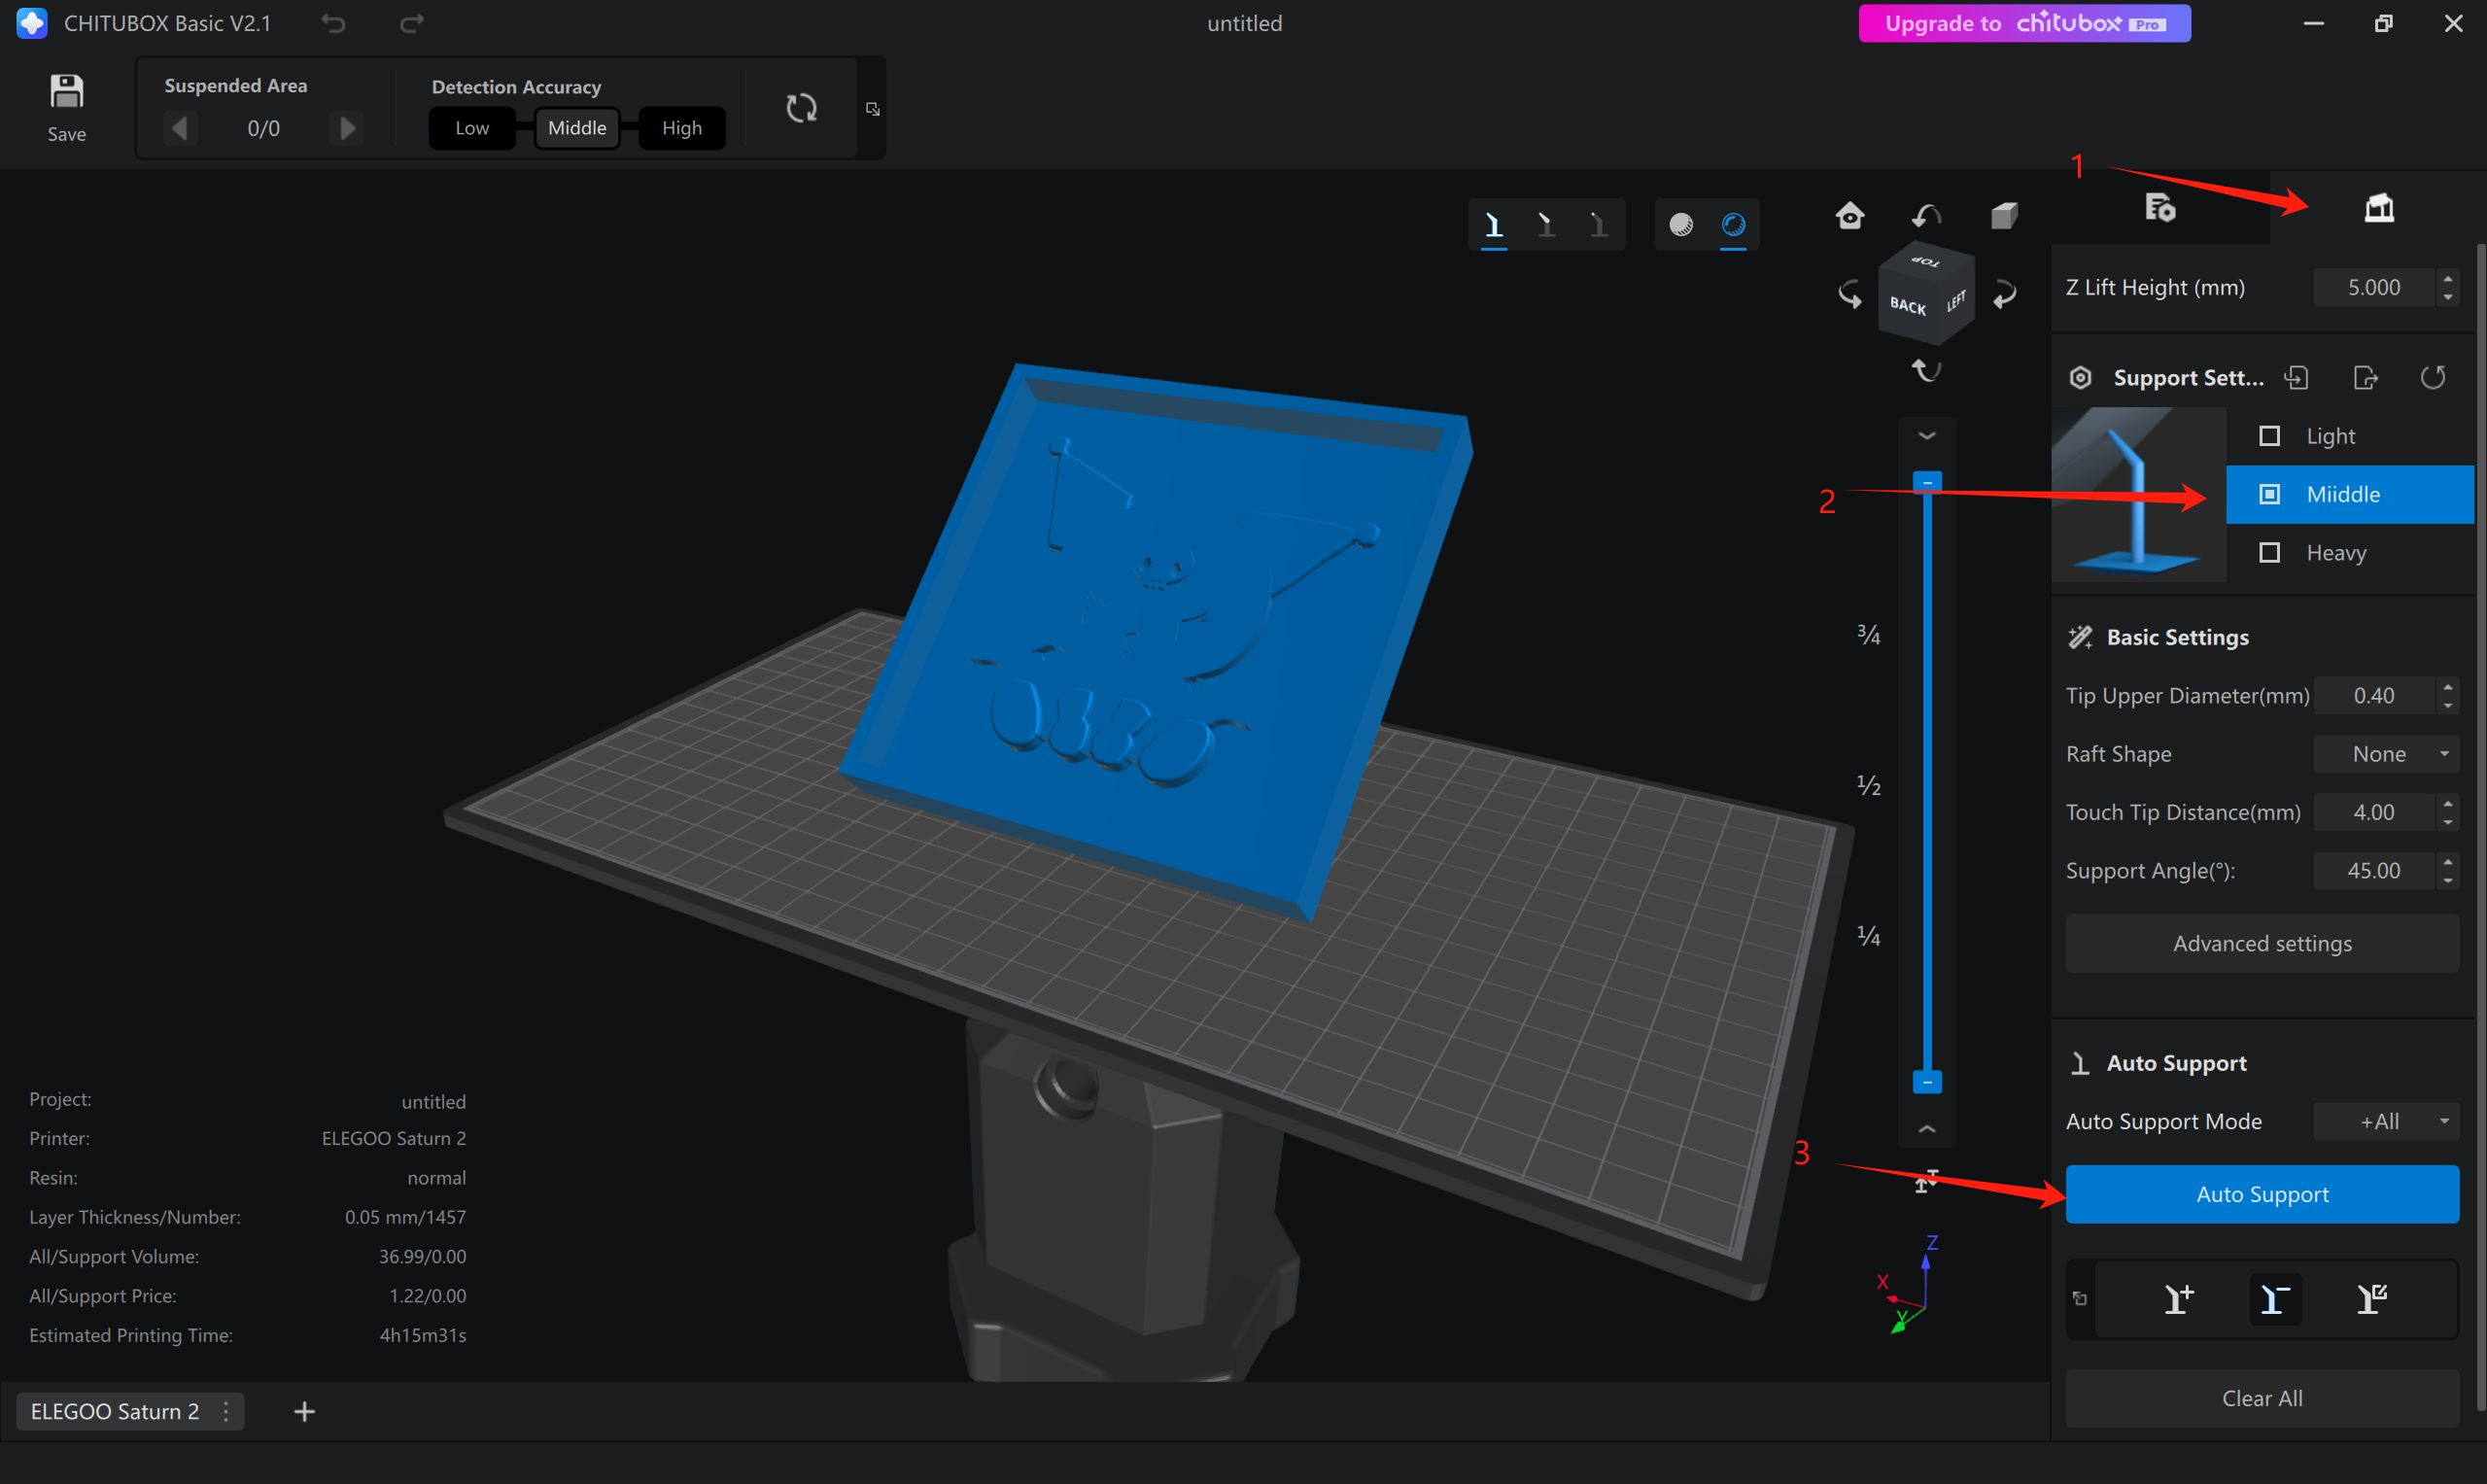
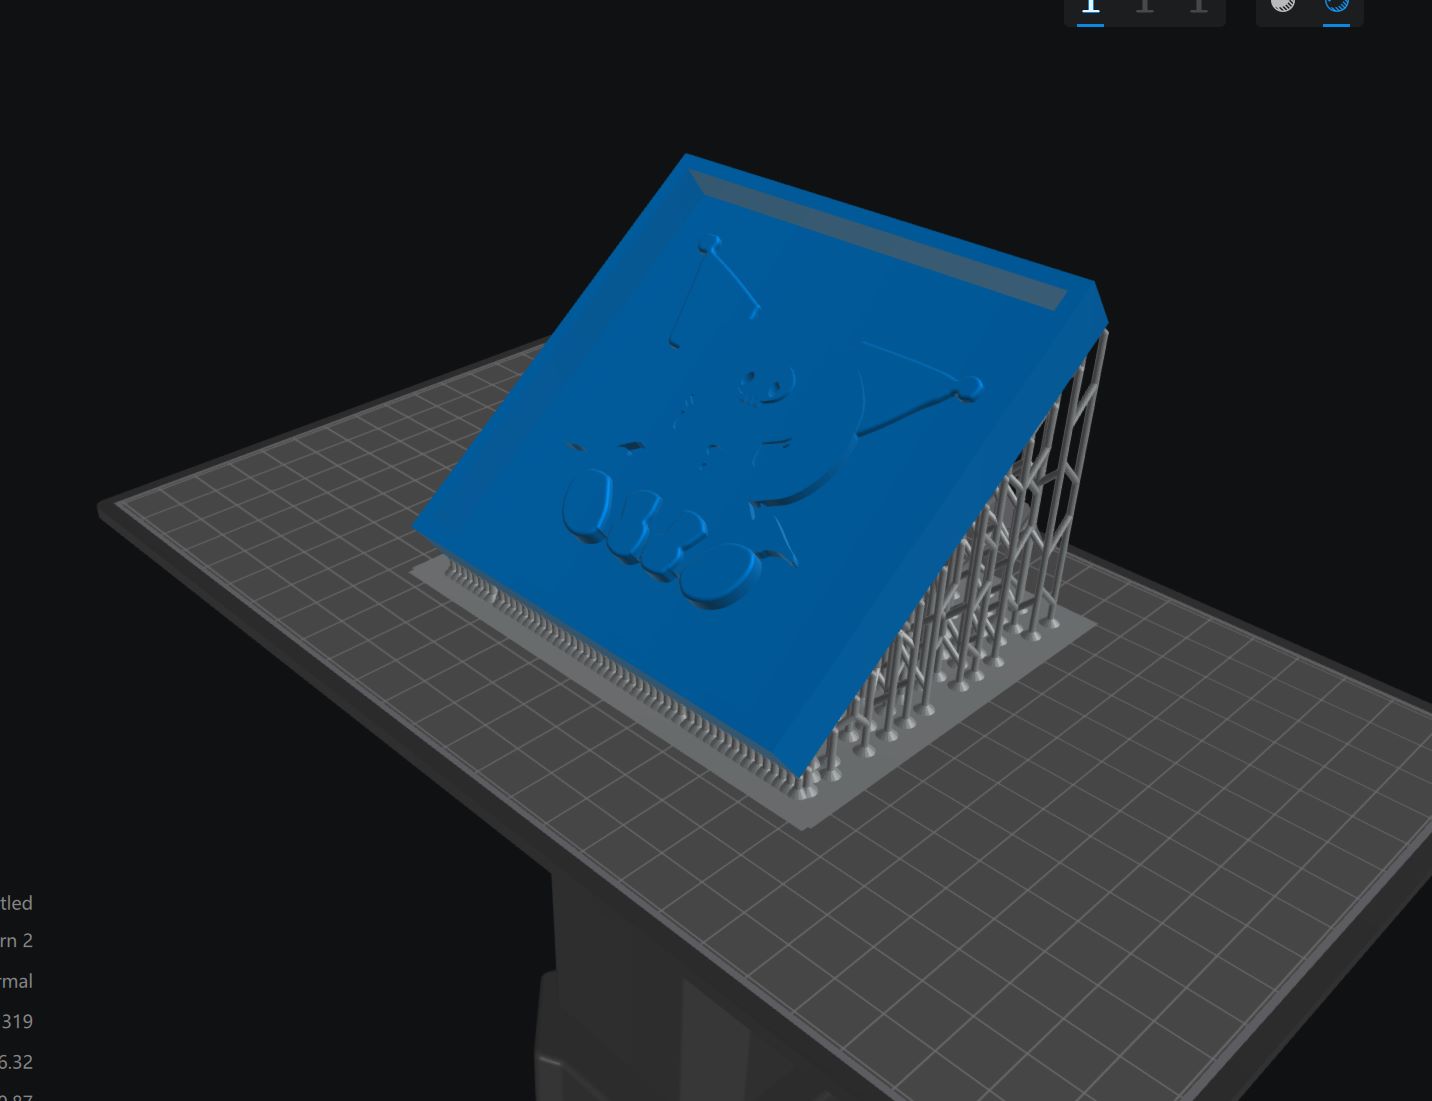
After adding the supports, slice and export the file.
I saved the file to a USB drive, plugged it into the machine, and then started printing.
The printing is complete.
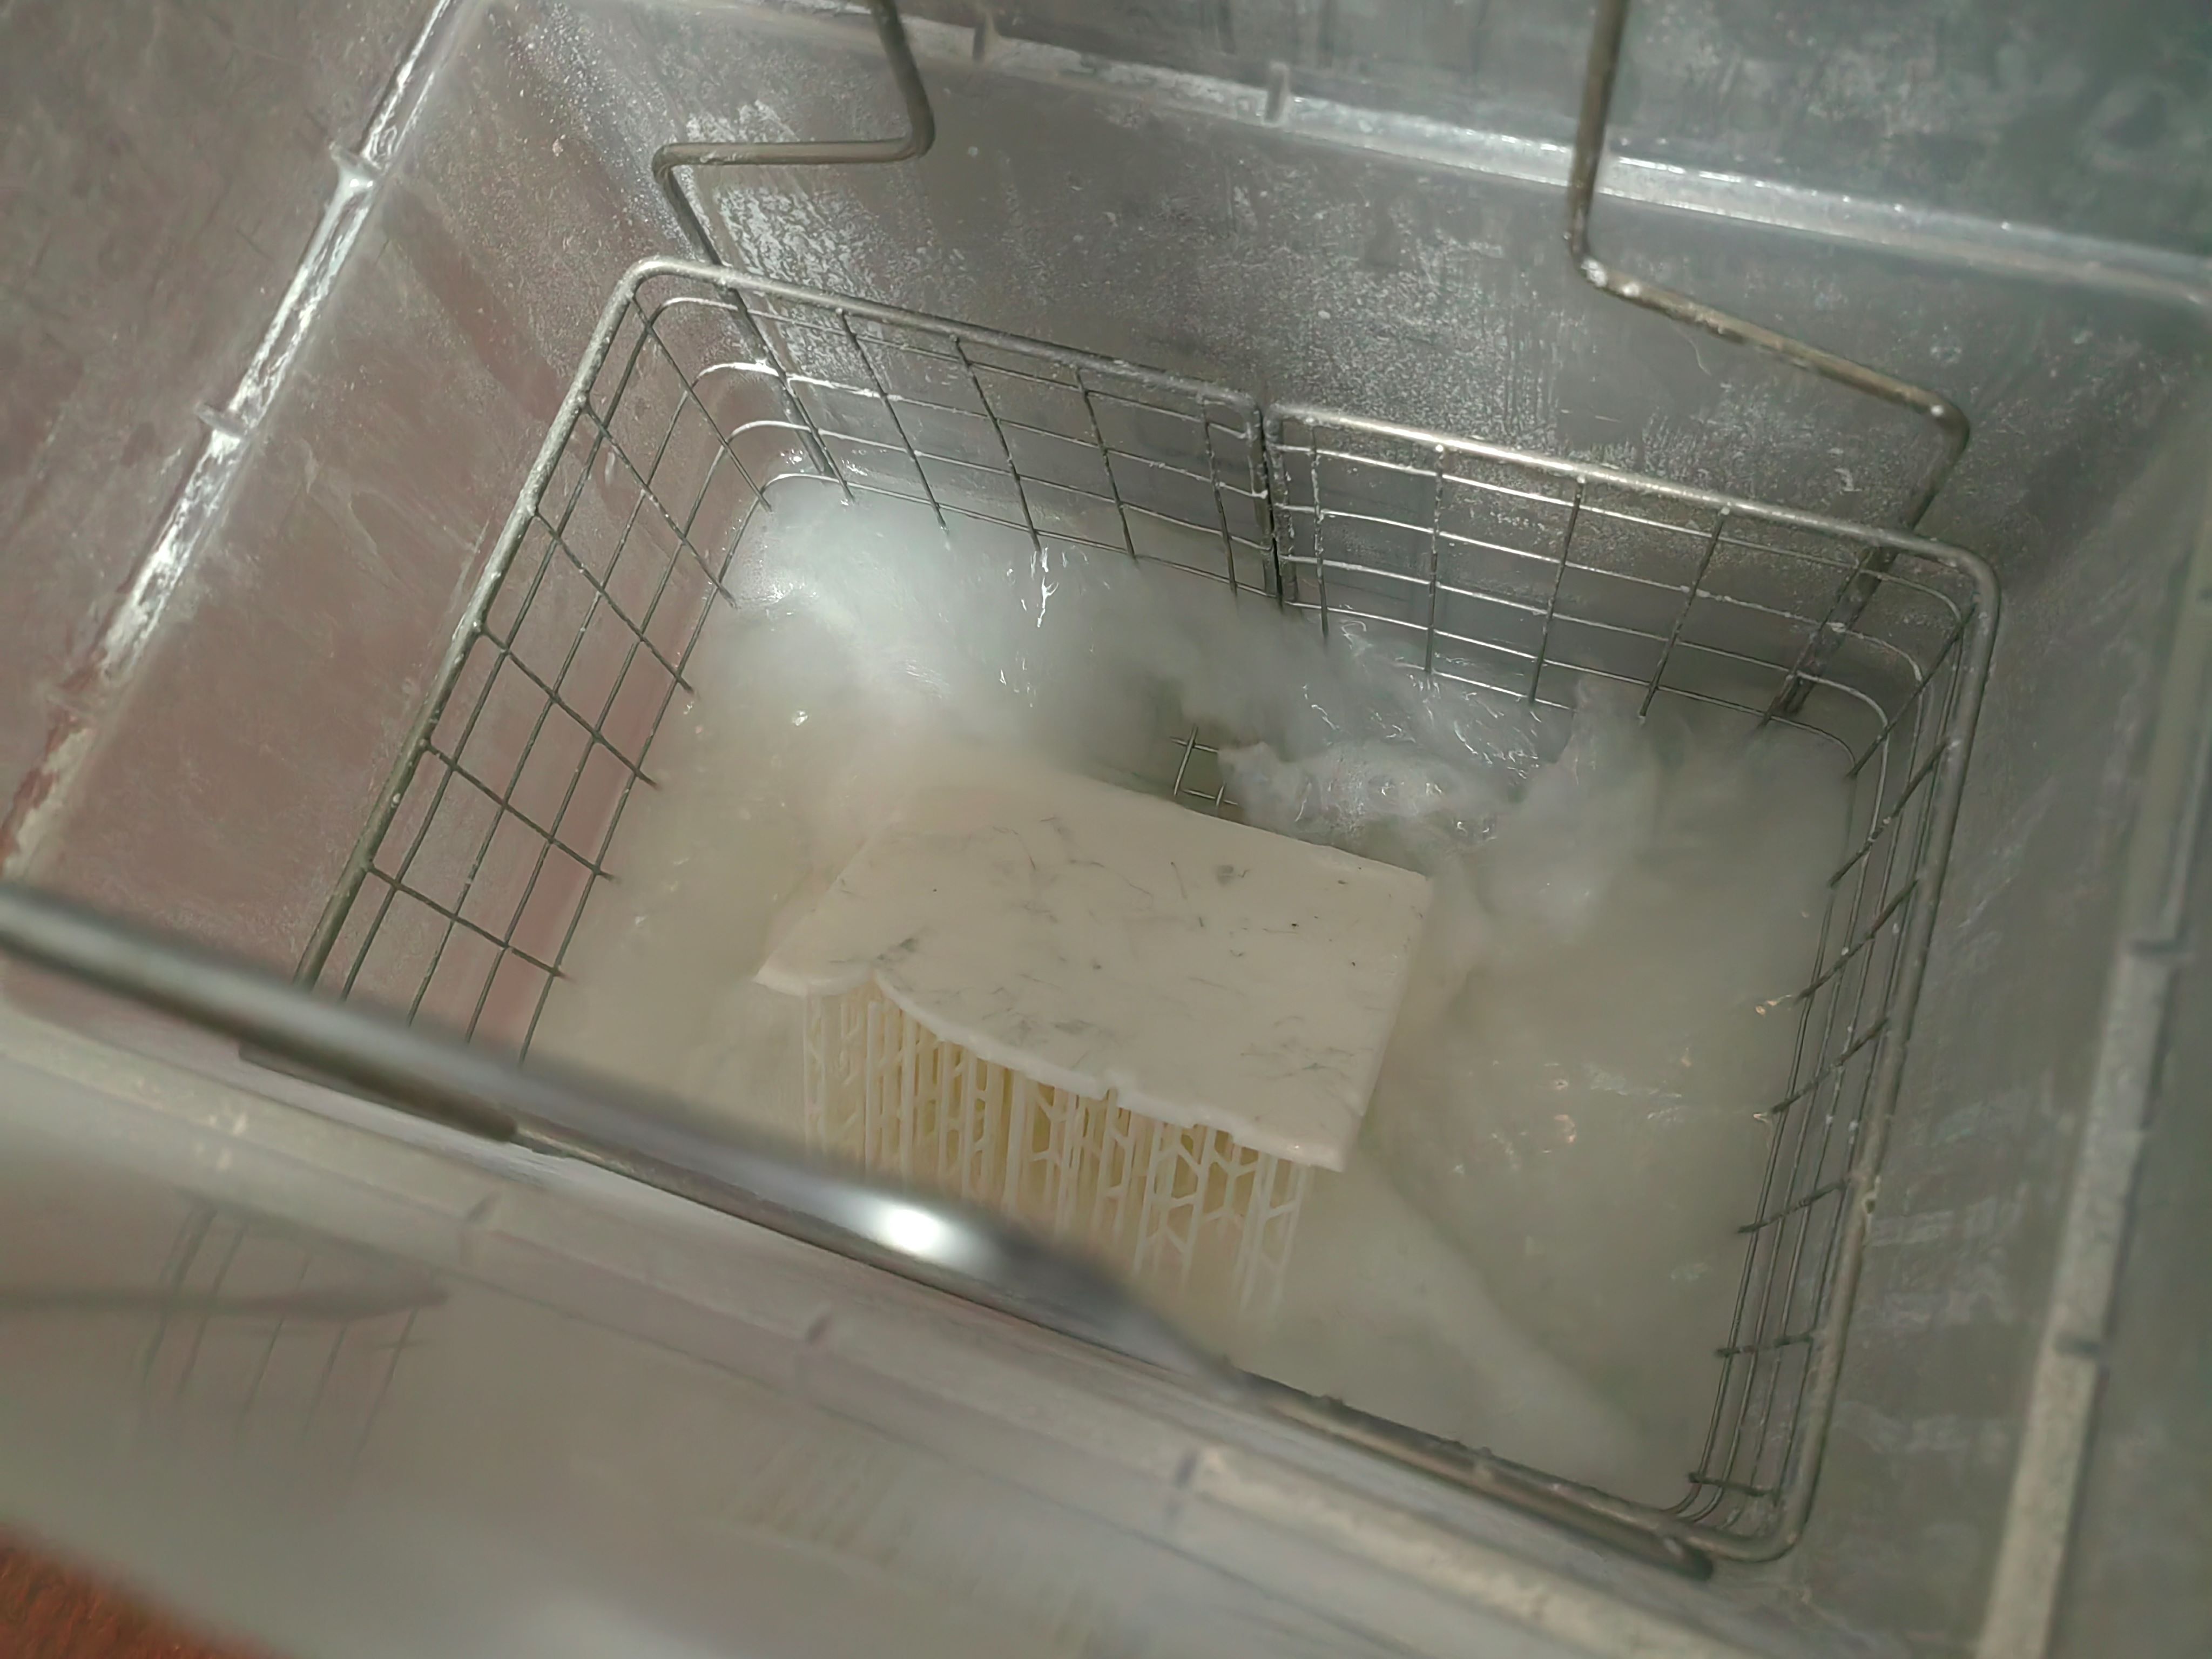
After taking out the printed piece, I placed it into the cleaning machine, which was filled with 99.9% anhydrous ethanol. This can effectively clean the resin off the surface of the printed piece.
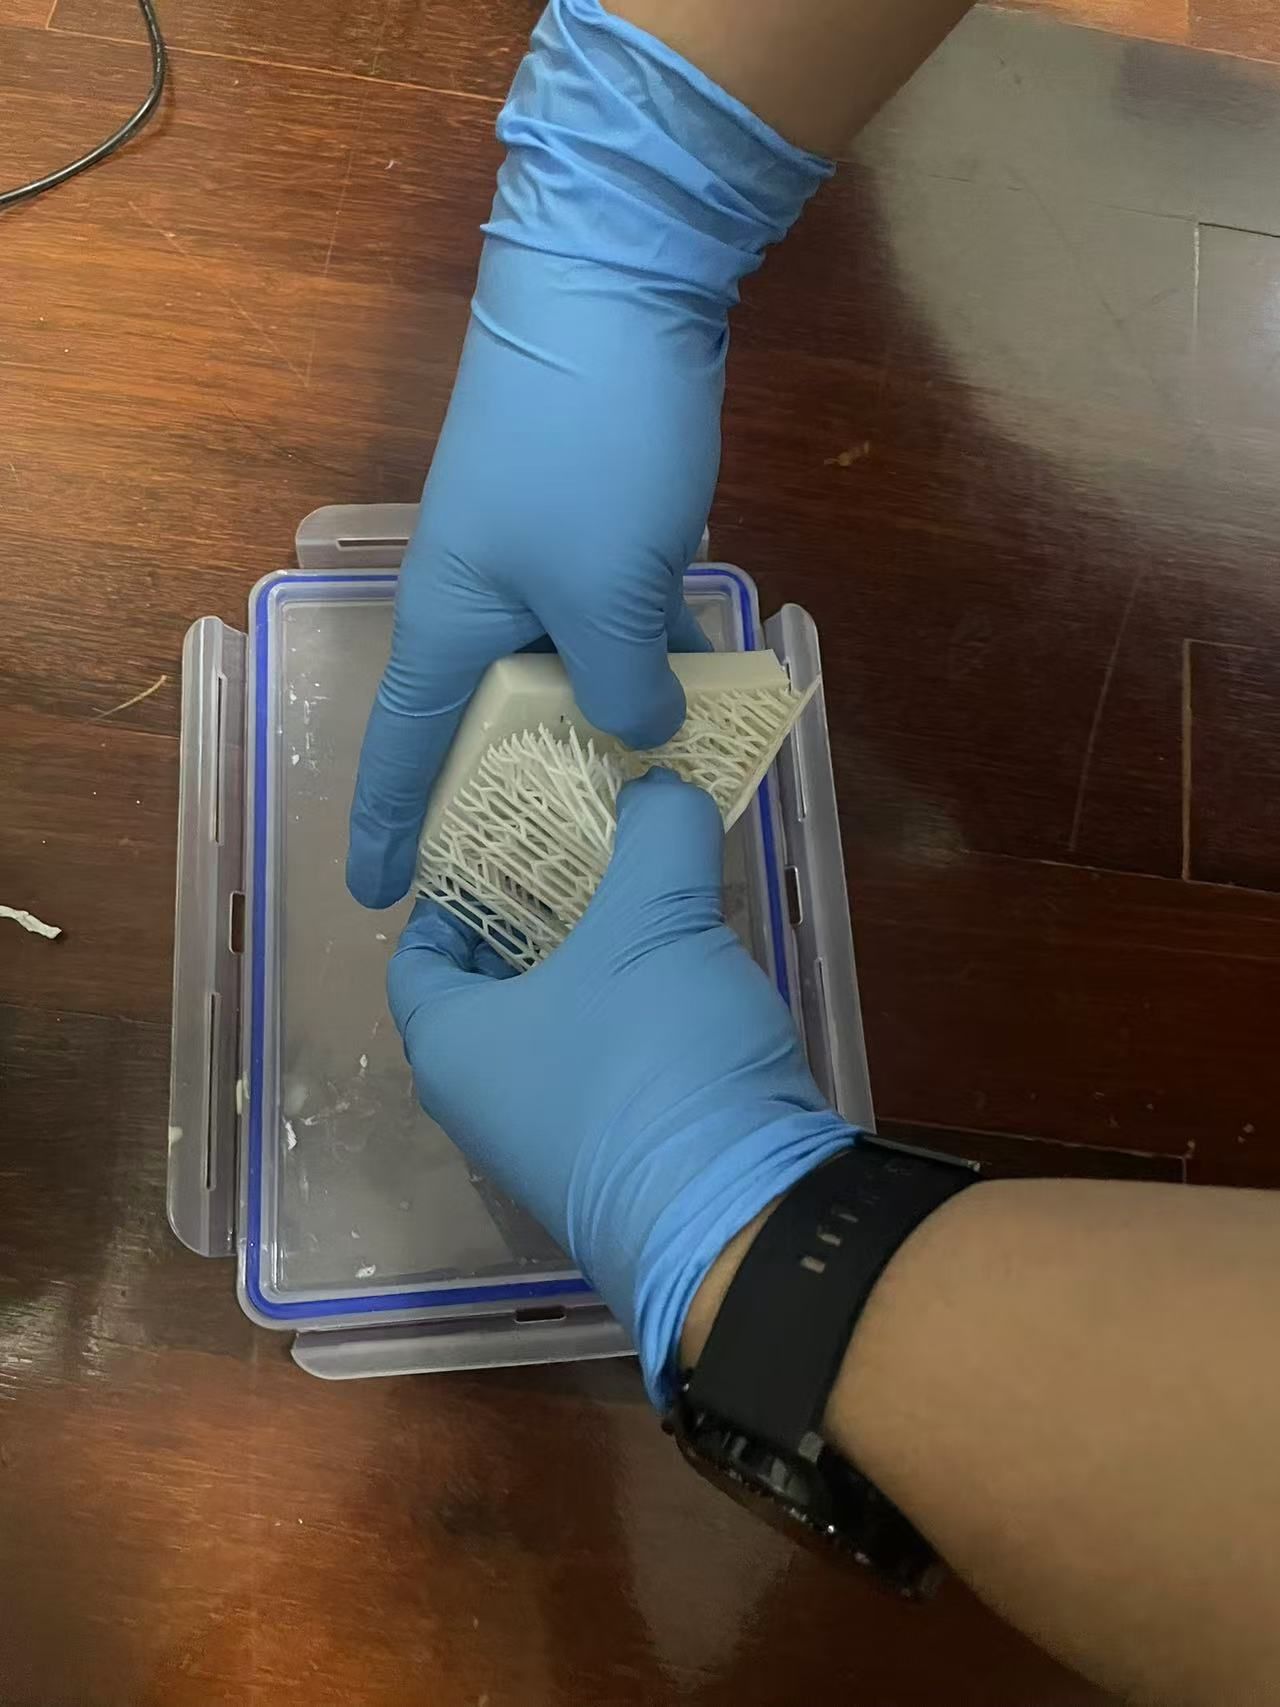
Remove the supports.
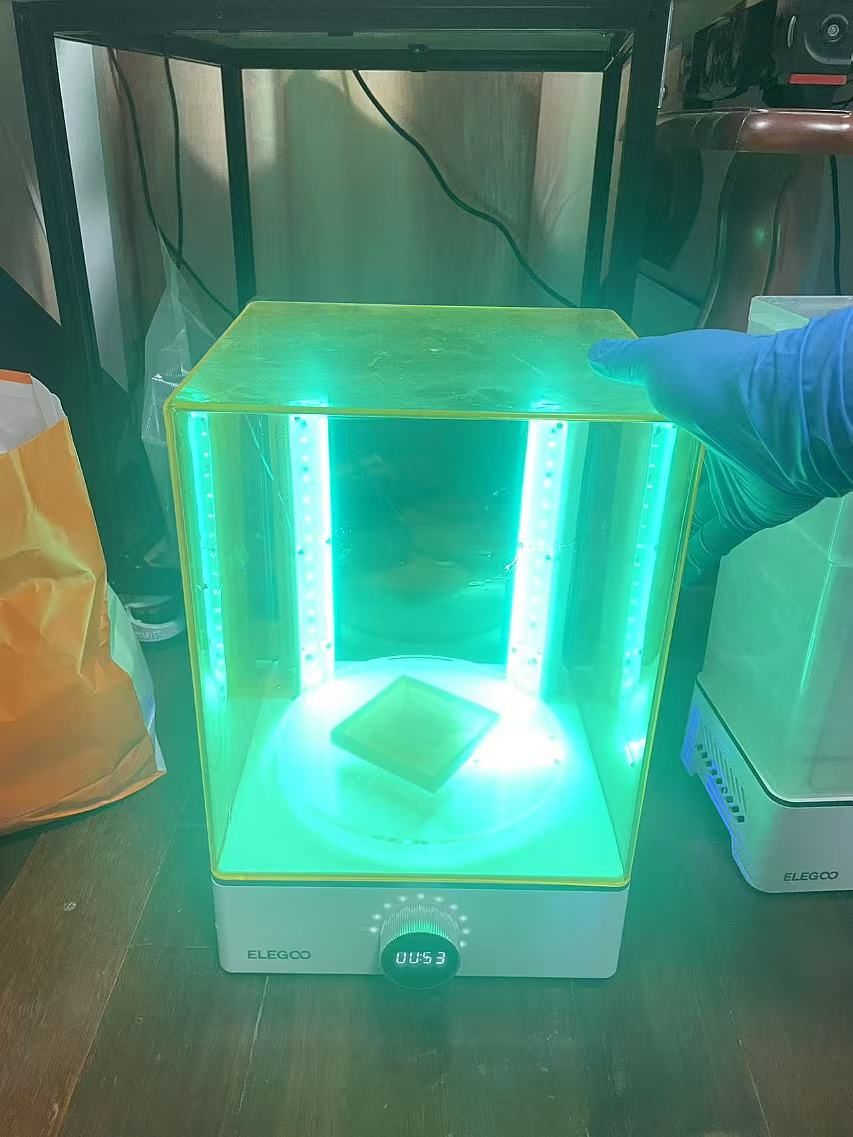
Place the printed piece into the secondary curing machine; this step is to enhance the strength of the photopolymer model, and the duration is approximately 1 minute.
Take silicone A and B, and mix them in a 1:1 ratio.
After mixing evenly, pour it into the mold and wait 8 hours for it to solidify.
Uh-oh, it didn’t solidify. I reported this issue to the seller, who explained that food-grade silicone is not compatible with resin molds—they react with each other, preventing solidification. The seller recommended another type of silicone that uses a curing agent, with a mixing ratio of 100:3.
After mixing according to the ratio, I poured the silicone into the mold again.
This time, it dried completely in about 10 minutes. I’m starting to really like this industrial silicone!
Take out the clear resin, mix it in a 3:1 ratio, and pour it into the silicone mold.
sorce file:
kuluomi
