Final Project
Because of my job, my girlfriend and I don’t often get to see each other. So, I’d like to create a small device that can help strengthen our relationship. Here are the current features:
- Display the current date in real time on the screen.
- Show an animated sun on the screen, since sunlight can brighten one’s mood.
- When I tap the screen to show I miss her, her device will display a capybara, as that’s her favorite animal. If she taps her screen, my device will also show a capybara.
Final Result
Who has done what beforehand?
I haven’t found anyone who seems to have done a project like this while browsing. My inspiration came from a TikTok video, which featured a bracelet that vibrates when tapped, but it requires a constant Bluetooth connection. I think that’s unreliable. For the design, I took some inspiration from a project by Peng Zhi Hui, which is a transparent little TV that can be found on GitHub. I really like it! However, my colleagues say that what I made looks more like a camera, haha, oh well!
Hero Shots
Research
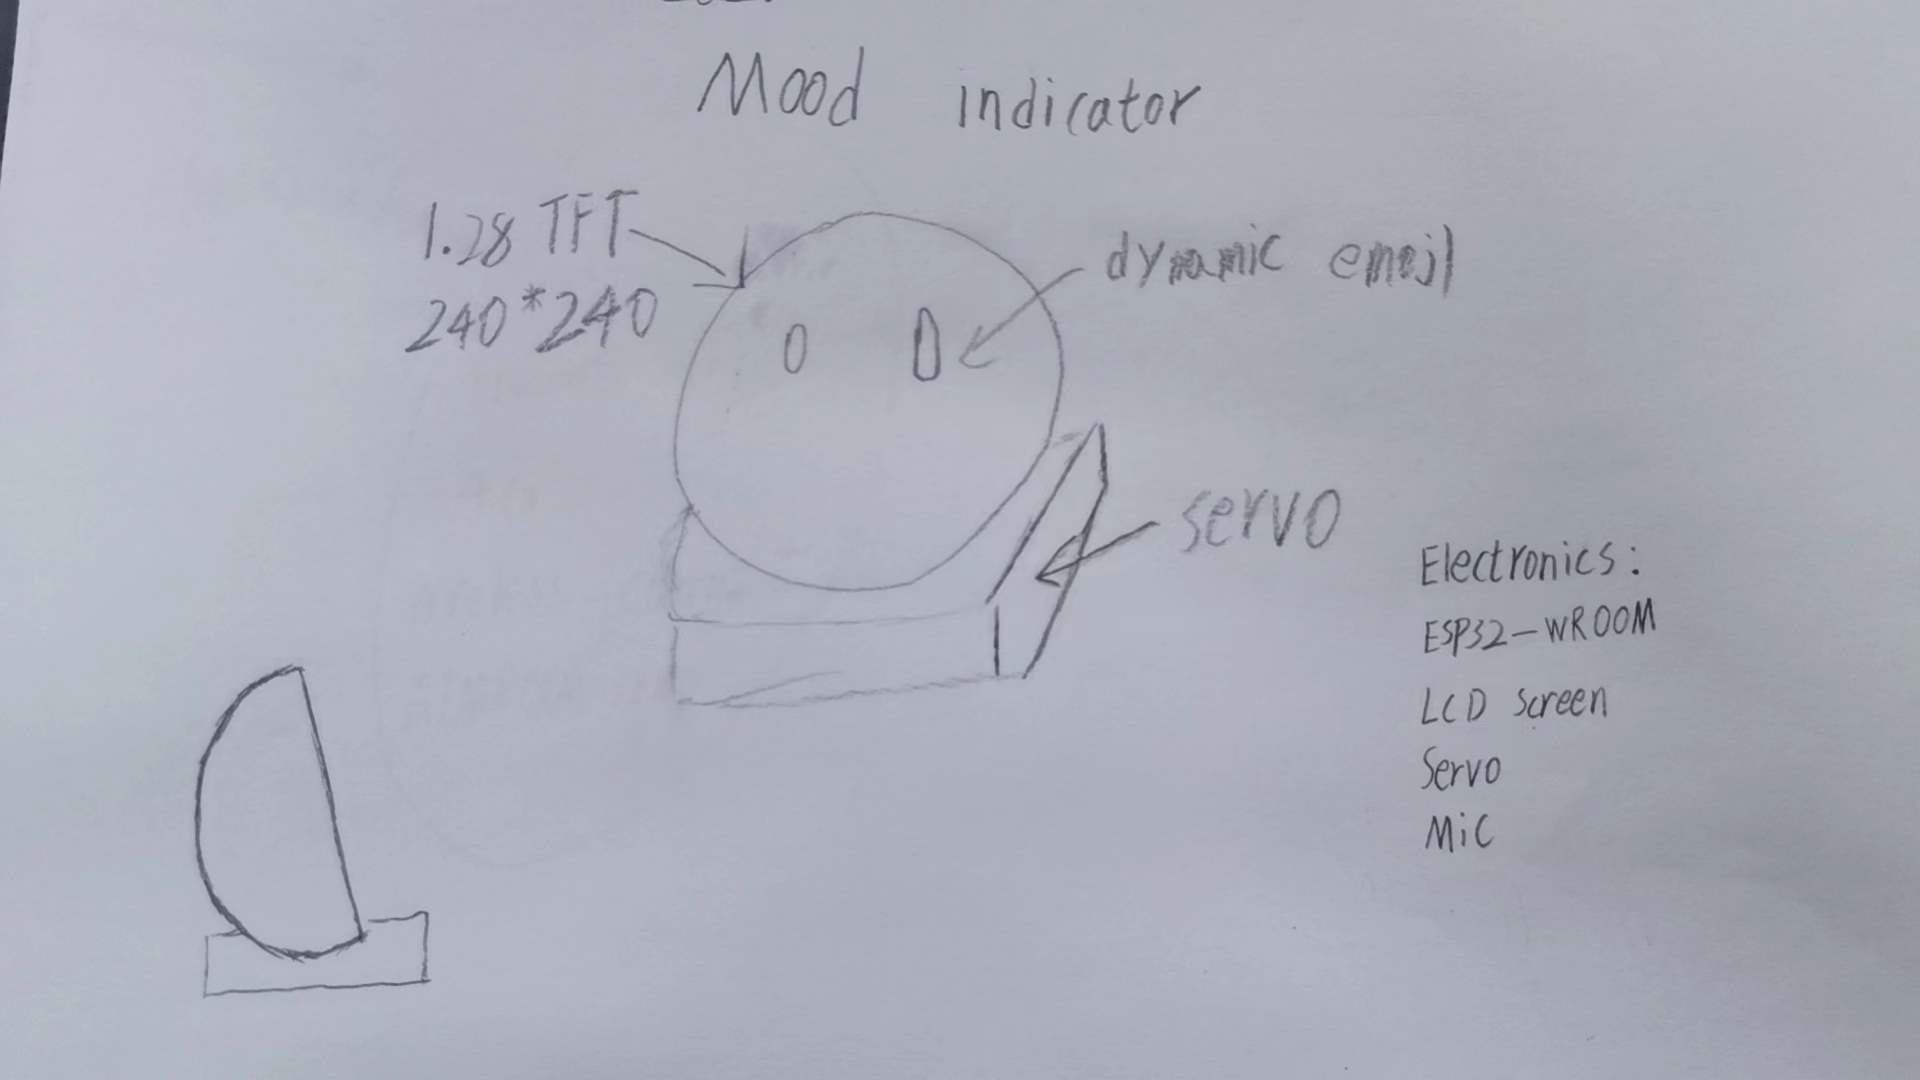
Mood indicator

 My final project is a mood indicator. It consists of a circular screen with a servo motor underneath. Normally, it displays dynamic emojis. Since my girlfriend and I are in a long-distance relationship, coupled with my busy work schedule, I want to use this device to better understand her emotions and foster more interaction between us.
Functionality:
- if she is angry, she can press a button, and the emoji on my end will change to an angry expression.
- time display
3D Model
For the modeling part, I started by modeling the screen section.
Since I am using a Seeed screen, I contacted customer service to request the screen’s STEP file to help me draw more precisely. Unfortunately, customer service informed me that they don’t have it. As a result, I had to adjust the angle manually. The screen and the middle core part were bonded using 411 glue.

 For the base below, I added screw holes for the Type-C port and a switch.
3D Printing
Due to the model’s design, automatic supports would look very messy. This time, I opted for manual supports.
Here are some parameters I printed.
- failment:PLA
- Nozzle temperature: 220°C
- bed temperature: 60°C
- Layer height: 0.2mm
pringting…
[Files]
PCB Design and Production
In EDA, I enlarged the pads to ensure better wiring when soldering the SeeedXiao onto the PCB. Additionally, I left hole placements for the battery charging module, Type-C port, and switch on the PCB.
Programming
-
I connected two ESP32 devices to the same local network. For details, refer to Week 13.
-
Use image2cpp to split the GIF into 60 frames and upload them to the screen.


-
Insert a photo of a capybara.
- Add time.
- Click each other’s screens to make the other display an image.
2D Design and laser Cutting
In 2D design, I used the text function in Laermaker to cut out the letters “FAB” on orange cardstock and attached them to the back of my device. In the future, I plan to use acrylic to make the base of my device, allowing the chips to be exposed.


BOM
| Product | Qty | Amount |
|---|---|---|
| ESP32S3 | 2 | 50 |
| XIAO round display | 2 | 200 |
| Lithium battery charge and discharge module | 2 | 6 |
| Switch | 2 | 1 |
| Type-C connector | 2 | 3 |
| PETG filament 1KG | 1 | 23 |
| Colored cardstock | 1 | 0.1 |
sorce file


