Week05-3D Scanning and Printing
Group assignment:
- Test the design rules for your 3D printer(s)
- Document your work on the group work page and reflect on your individual page what you learned about characteristics of your printer(s)
Individual assignment:
- Design and 3D print an object (small, few cm3, limited by printer time) that could not be easily made subtractively
- 3D scan an object (and optionally print it)
- Linked to the group assignment page
- Explained what you learned from testing the 3D printers
- Documented how you designed and 3D printed your object and explained why it could not be easily made subtractively
- Documented how you scanned an object
- Included your original design files for 3D printing
- Included your hero shots
1. Group assignment:
This is the link to the group assignment.🥳
Group Assignment
What did I learn?
During the process of testing 3D printing, I understood the importance of flow rate, temperature, and retraction parameters for print quality. Not everything can be 3D printed, either.
2. Individual assignment: I divided the task into two parts:
- Designs
- 3D scan
2.1 Design
I use Fusion 360 for designing.
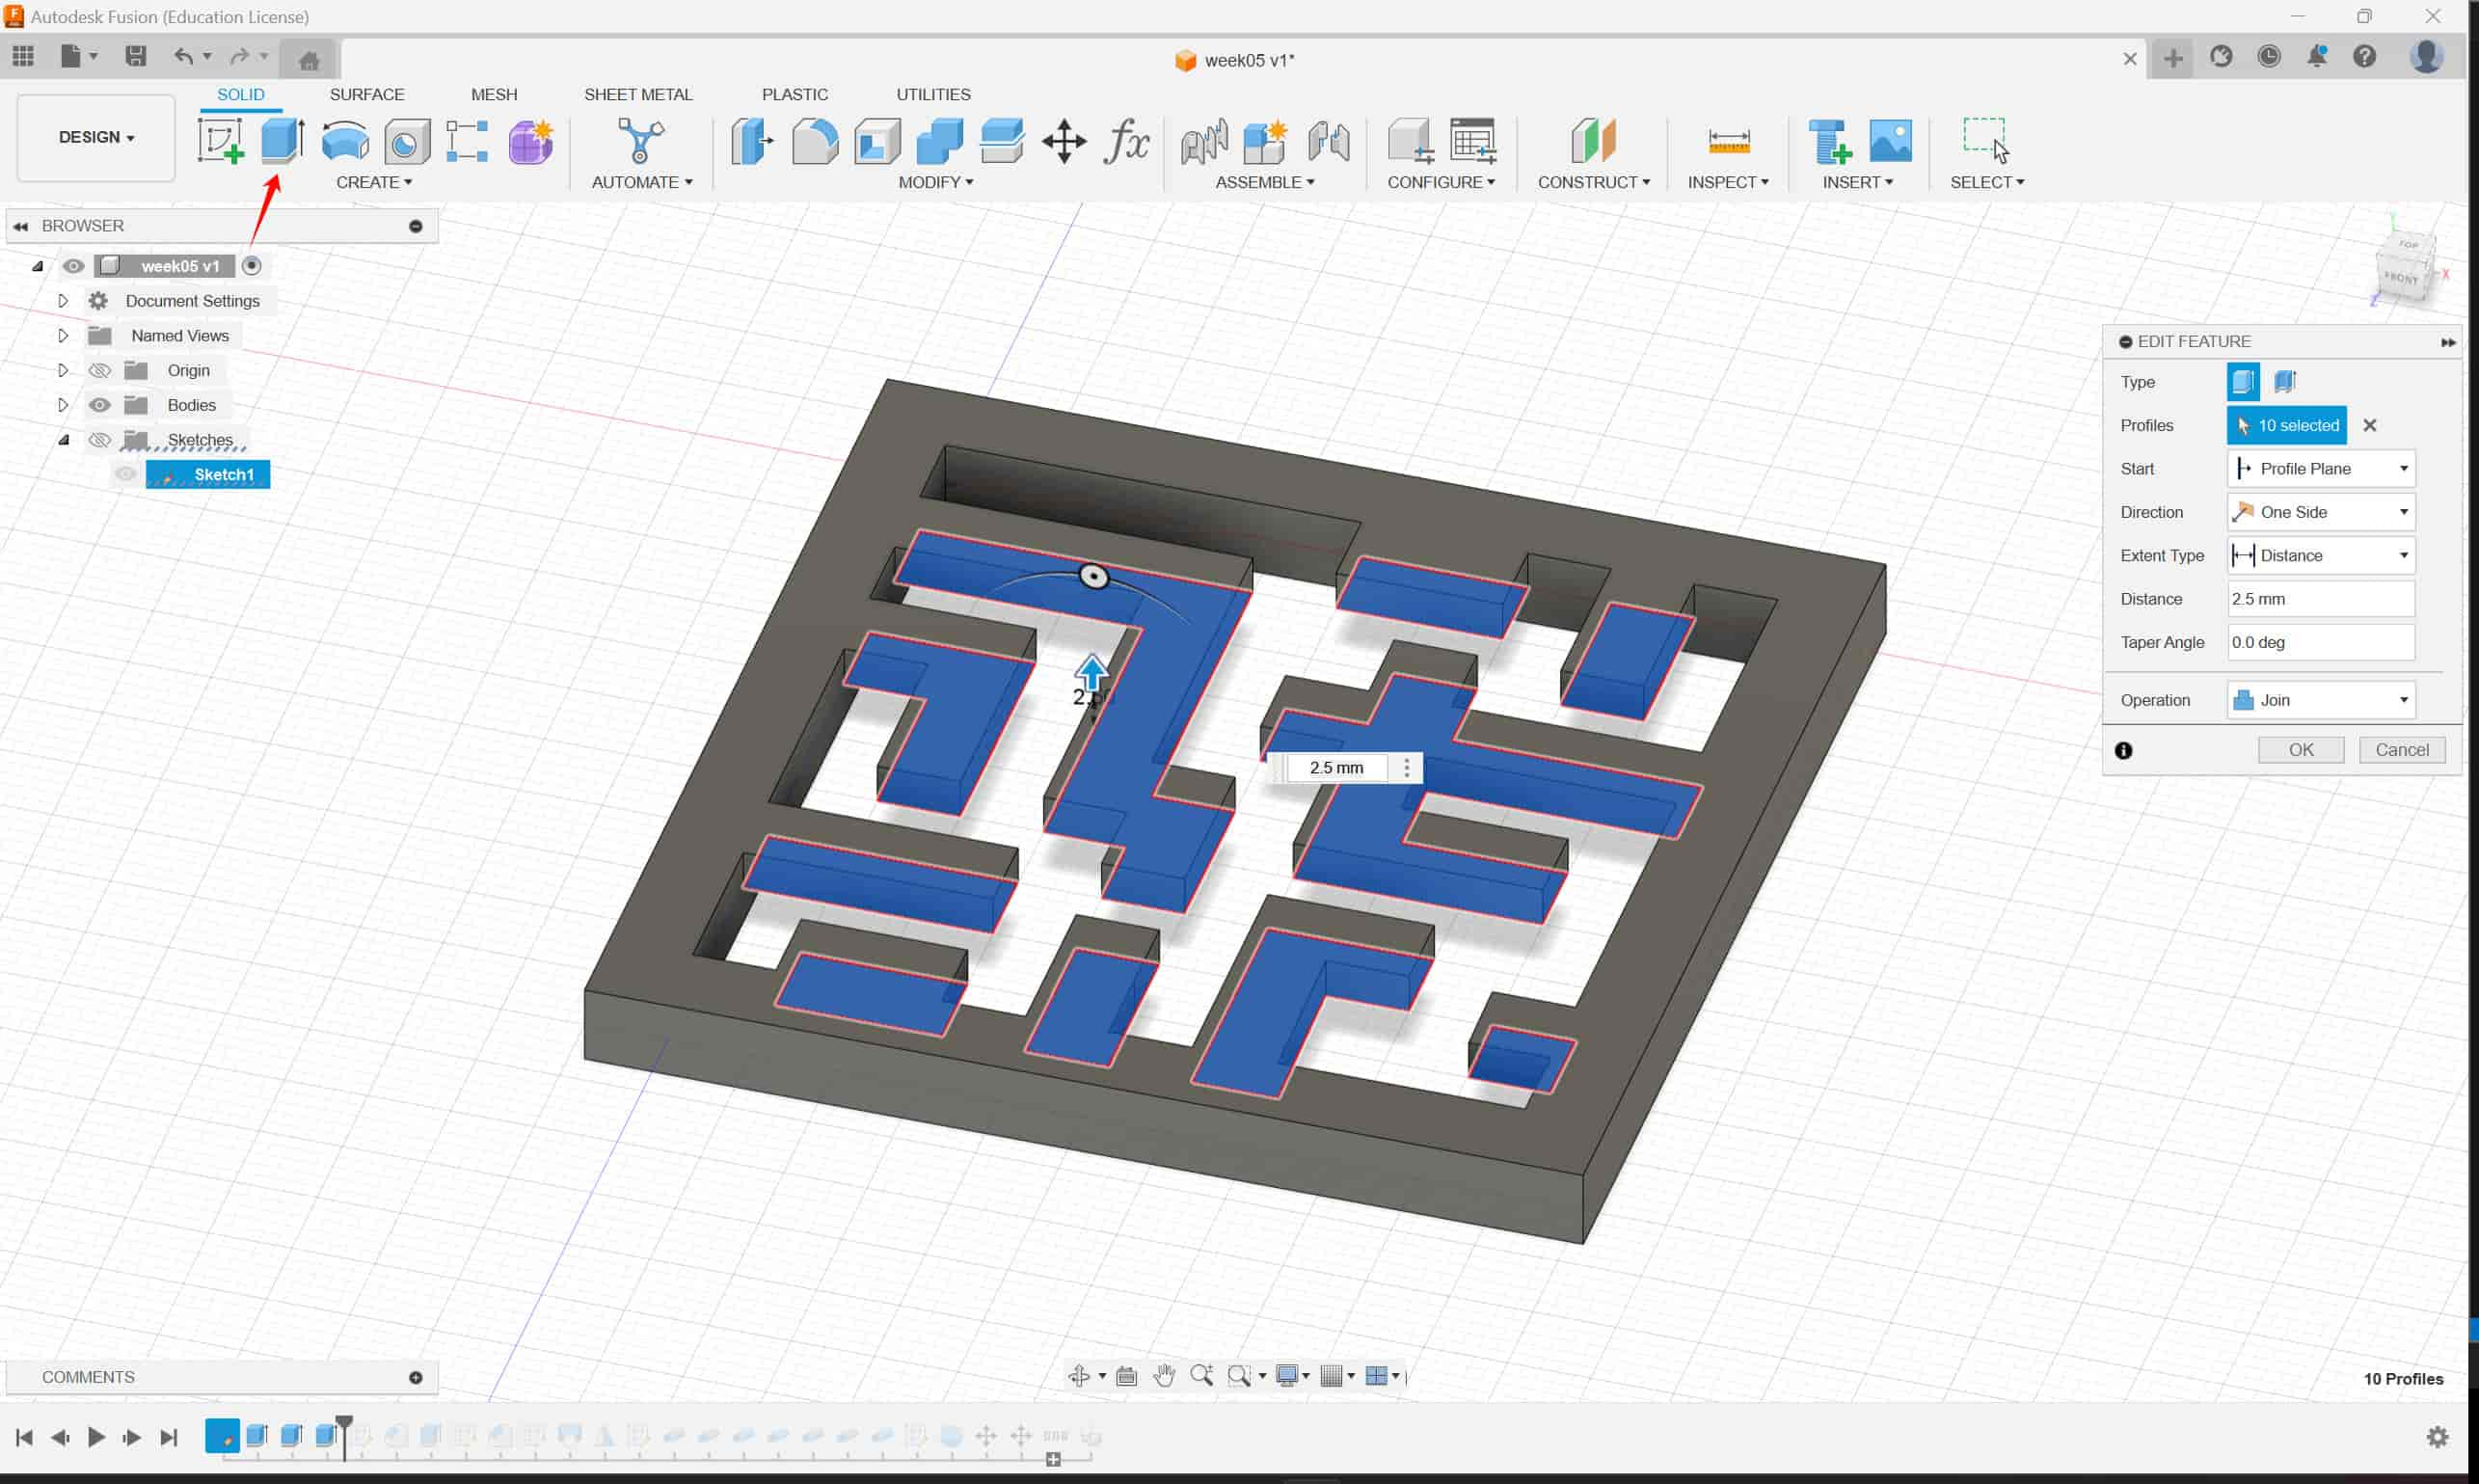
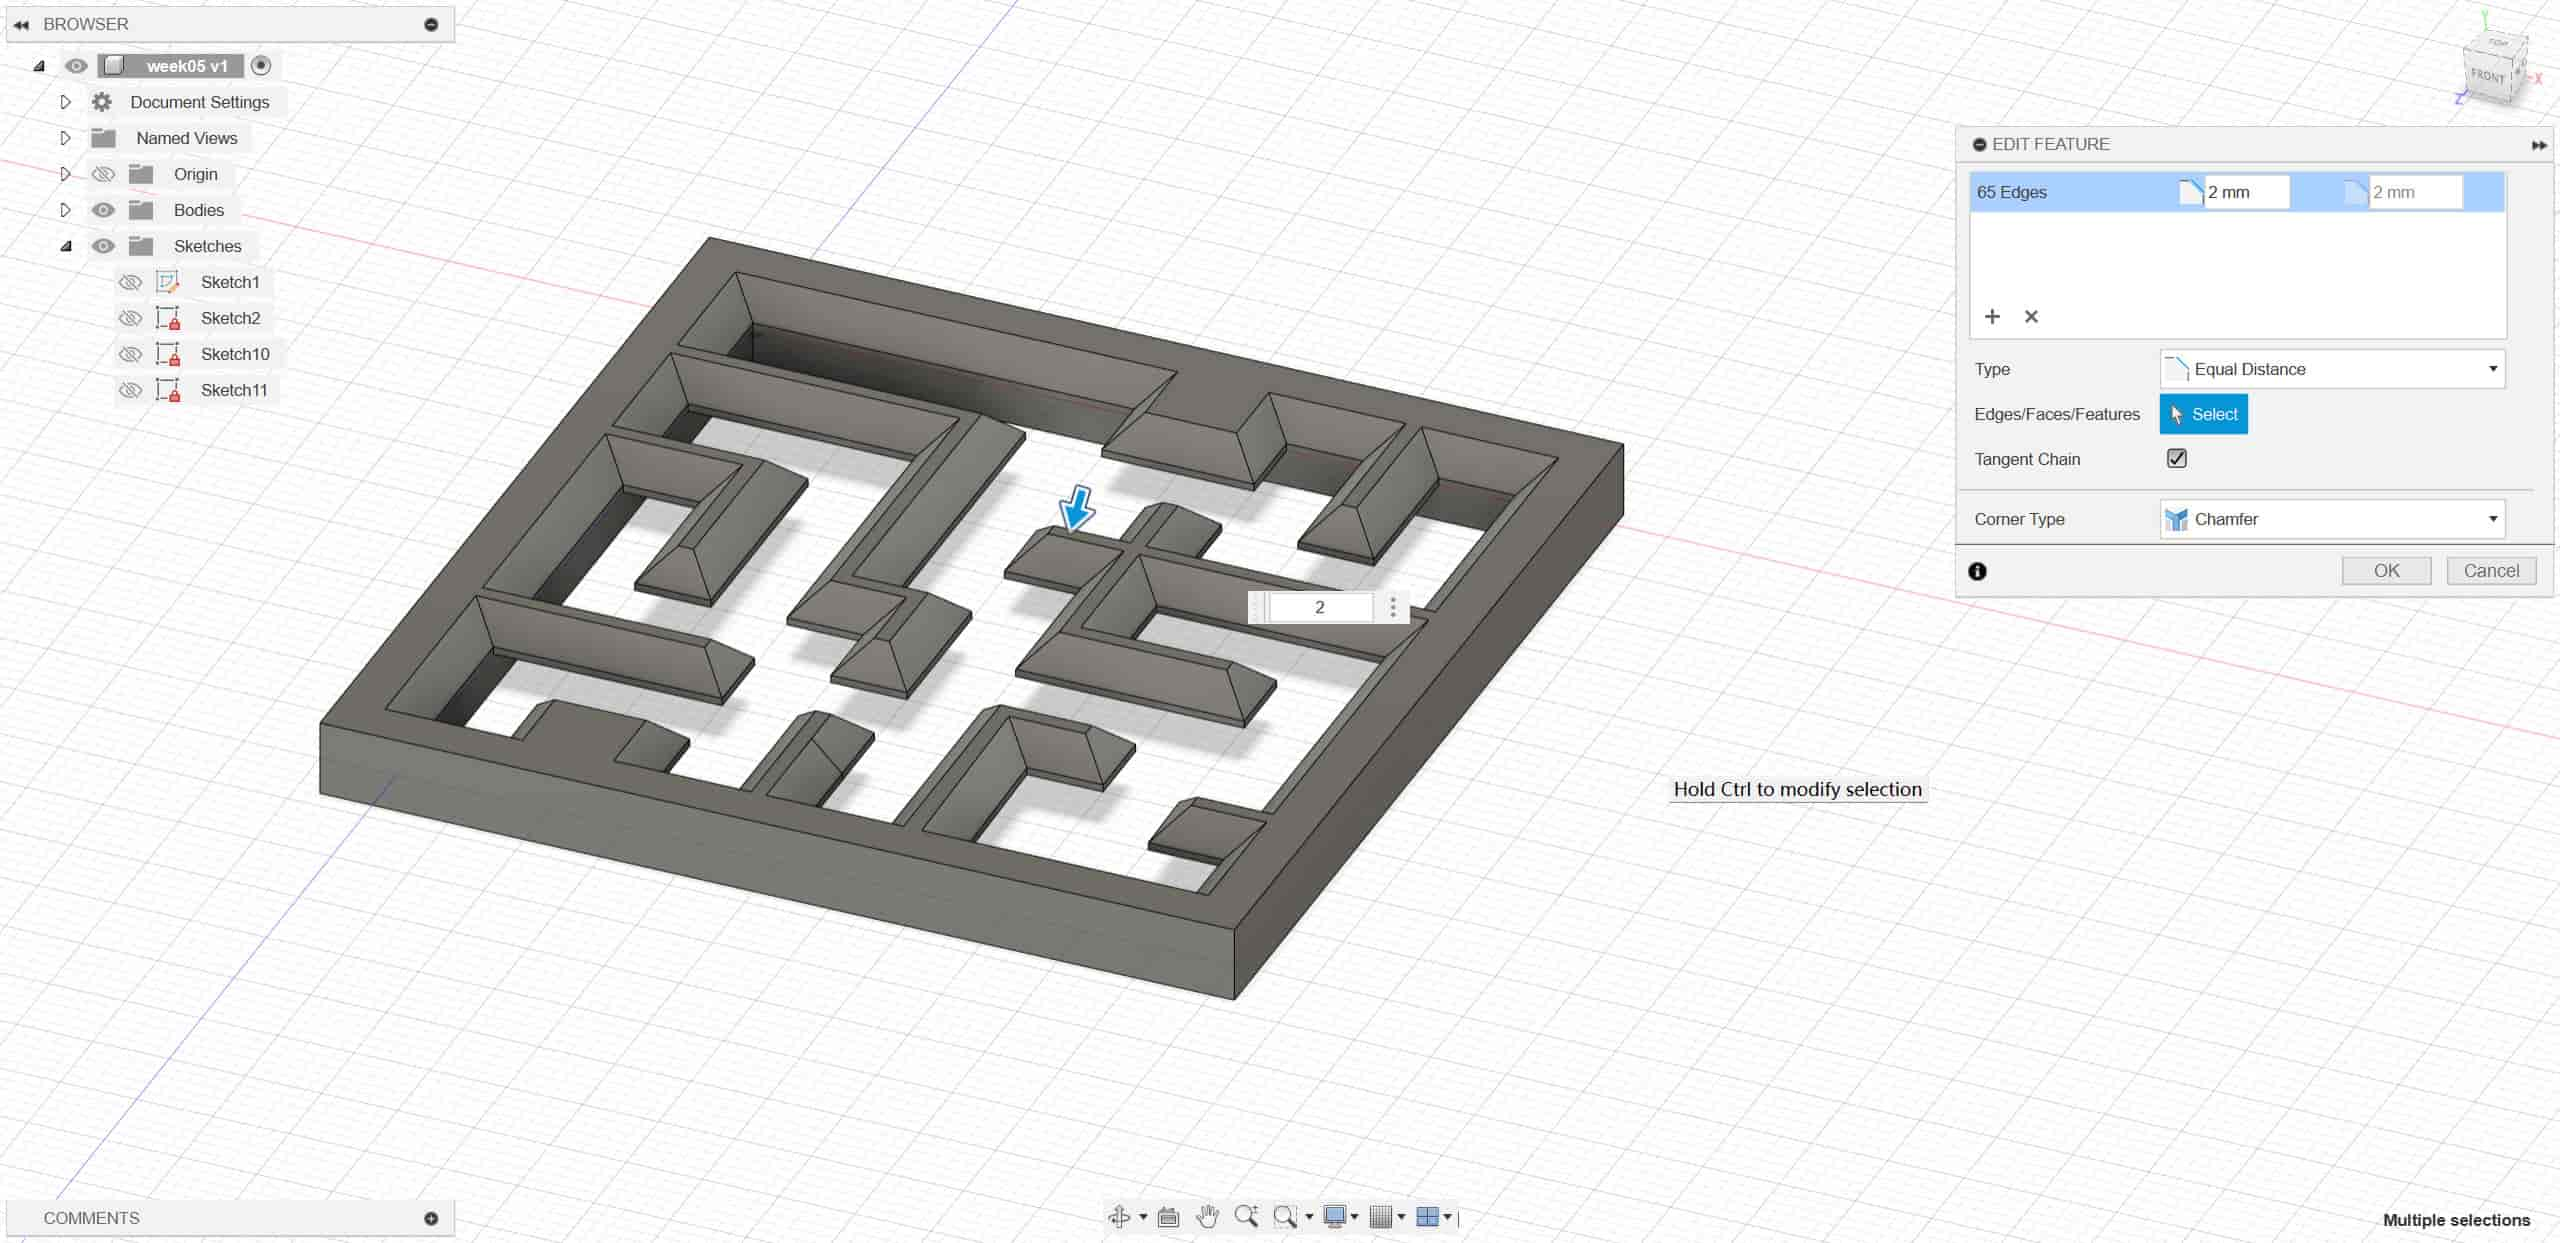
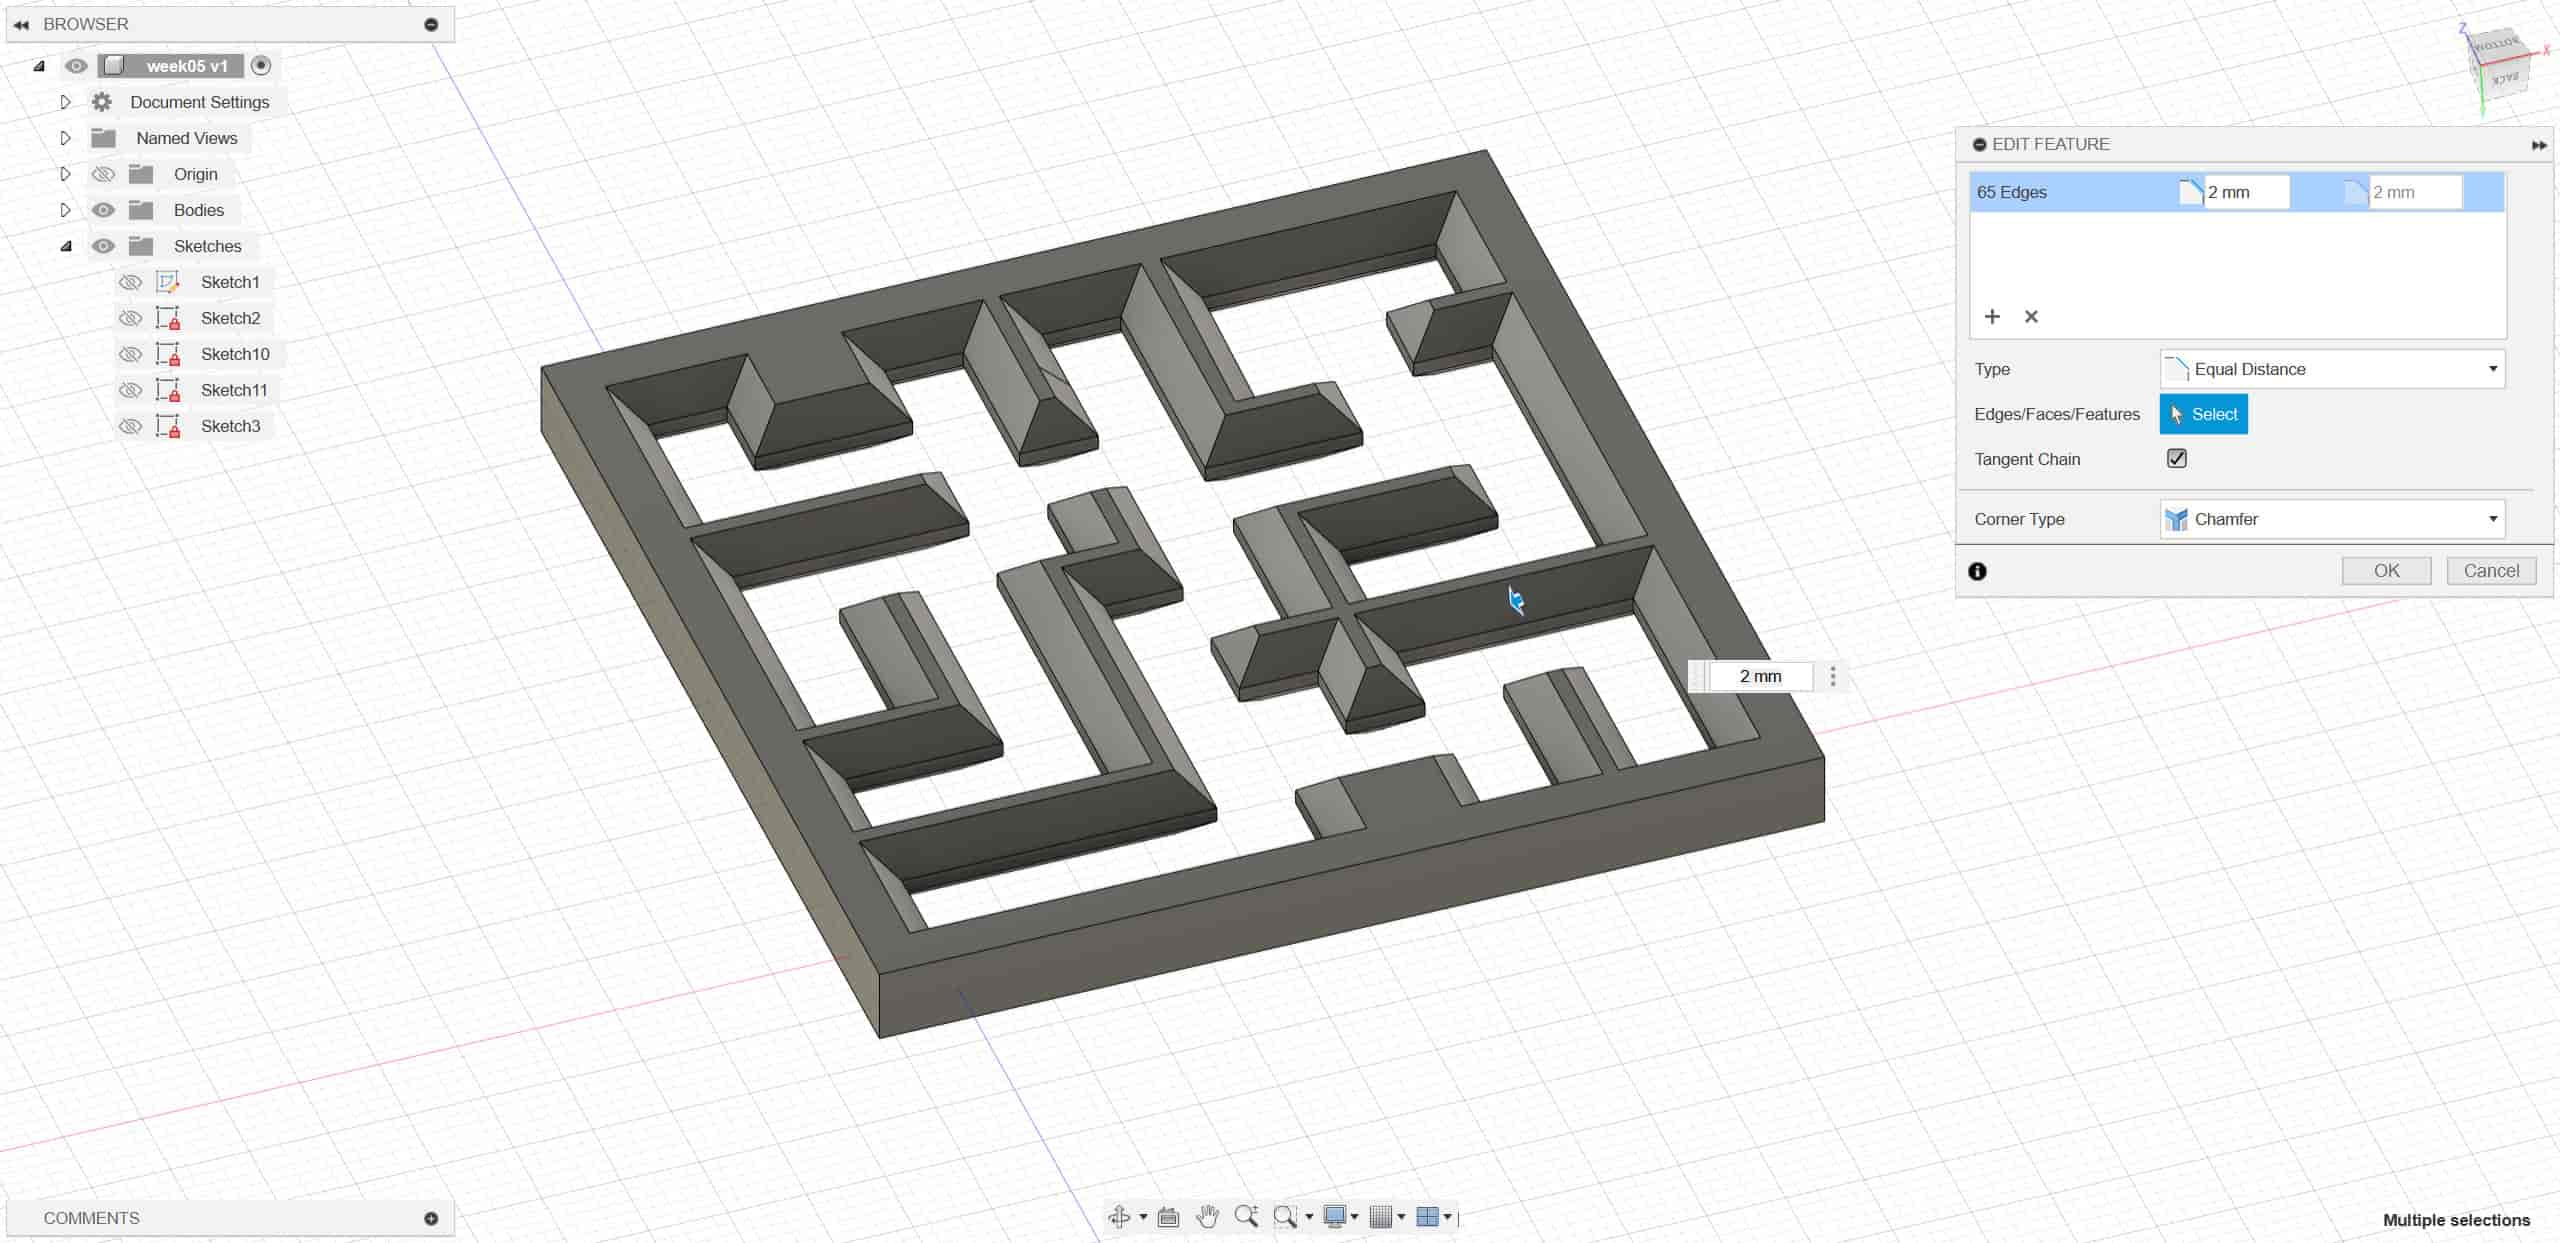
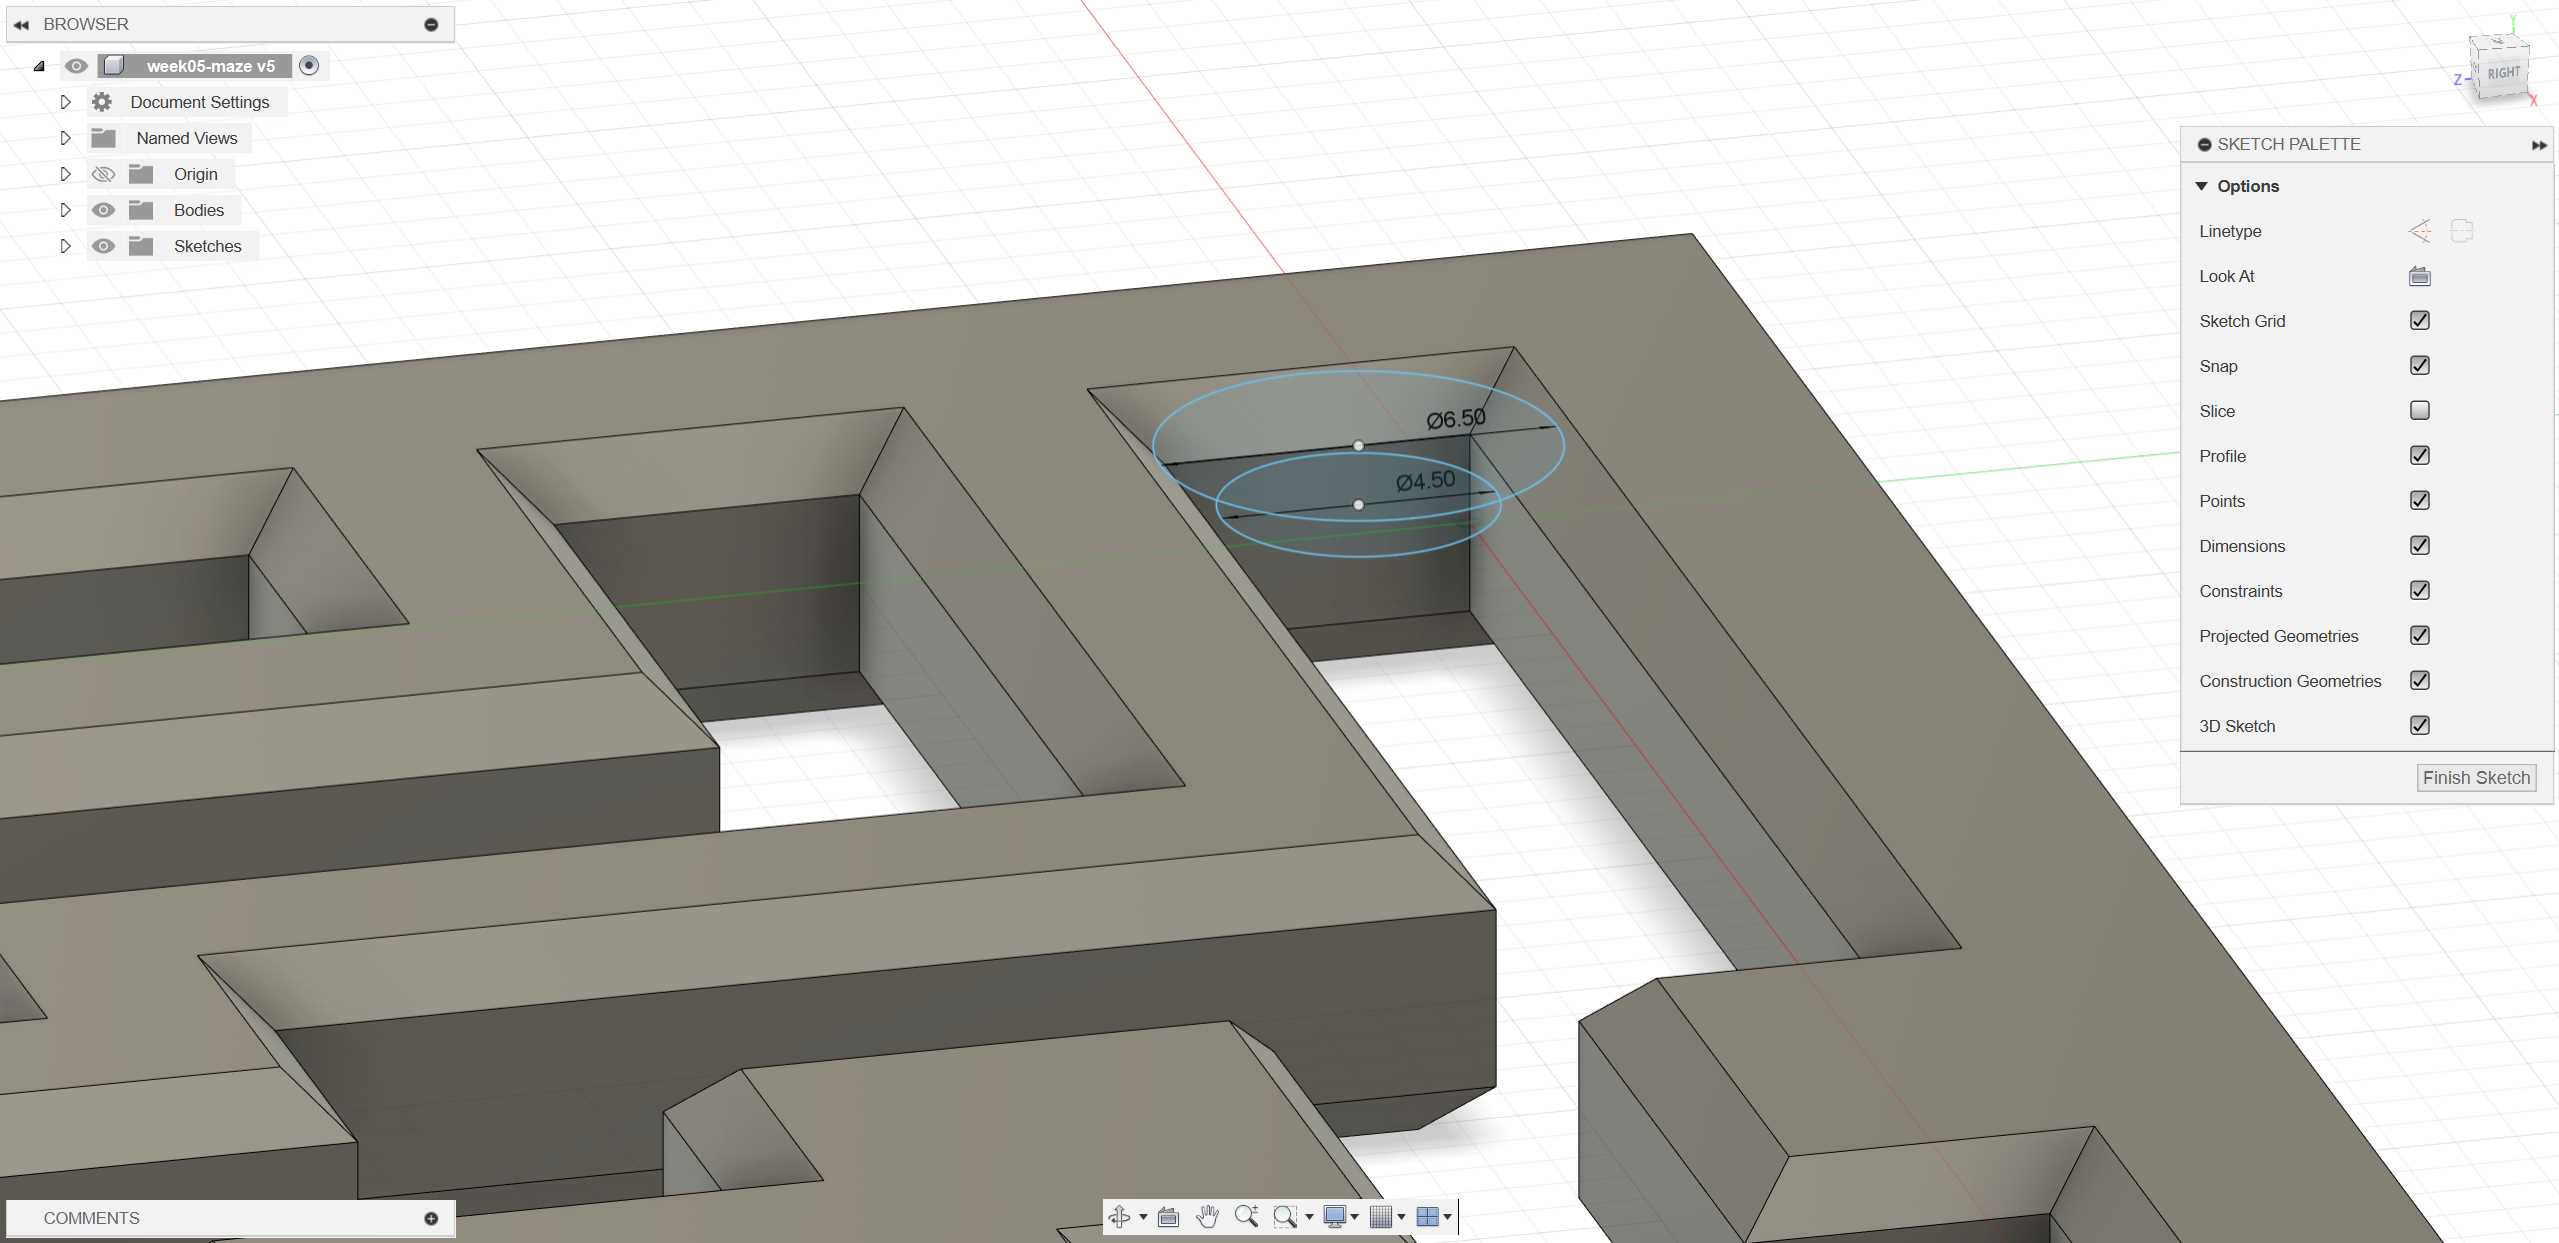
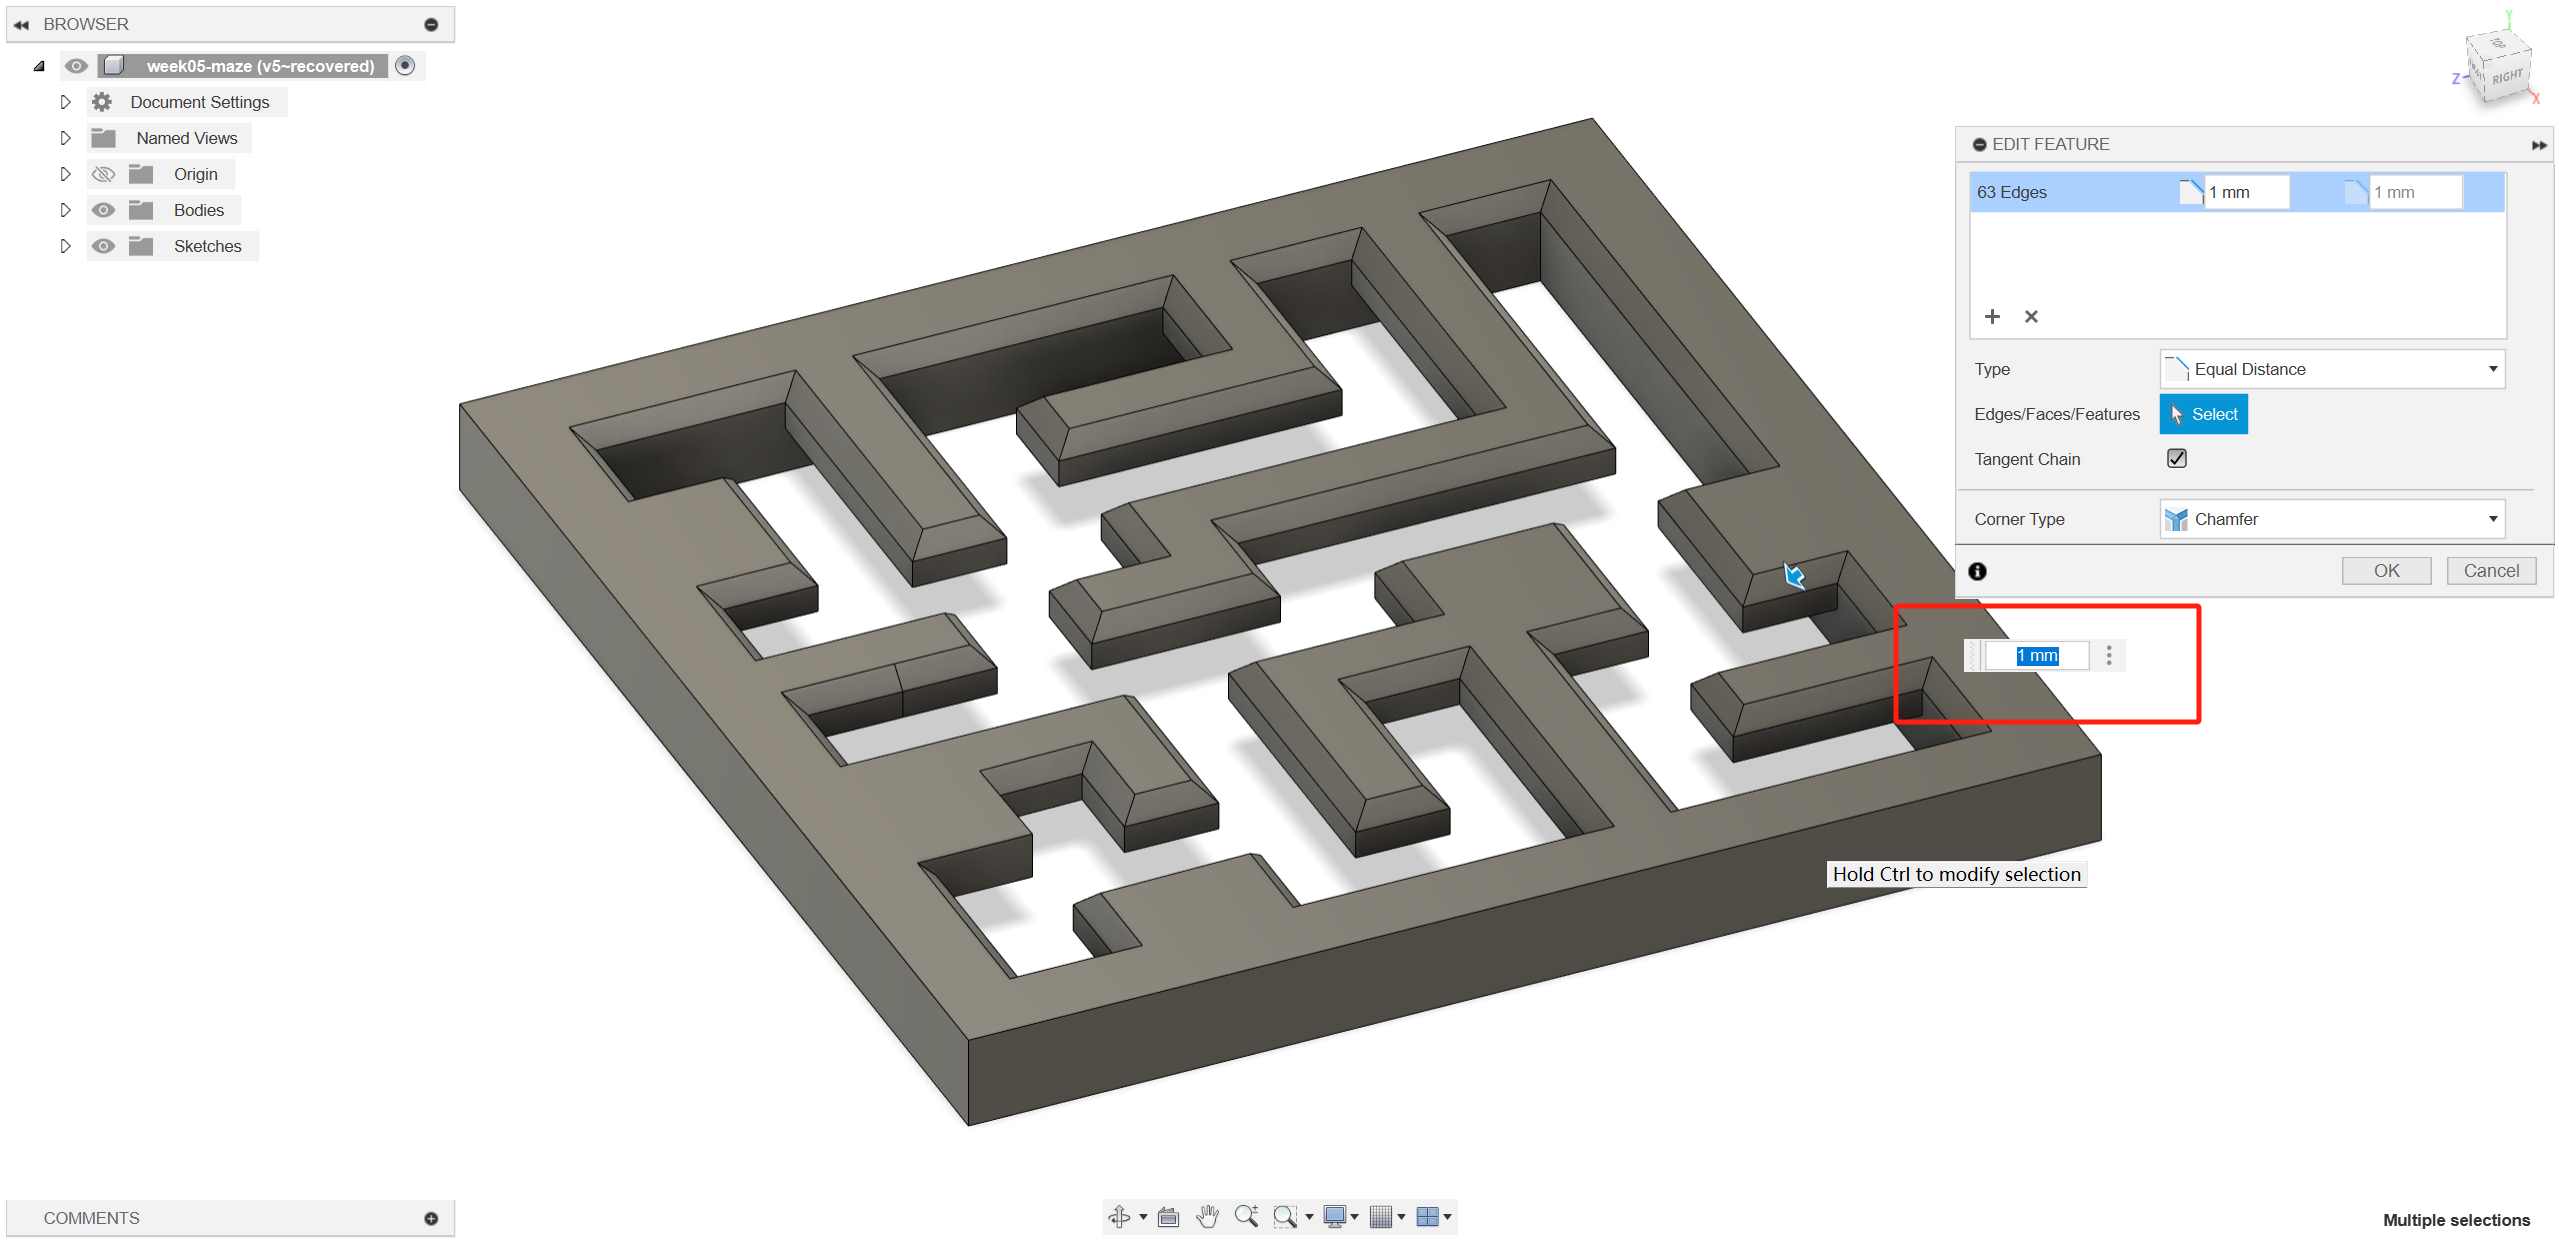
2.1.1 maze
This is a very small maze. It is printed in one piece using 3D printing technology. The small cylinders can be pulled out by hand without falling out. This is something that additive manufacturing can achieve, but subtractive manufacturing cannot.
I used the line command for drawing.
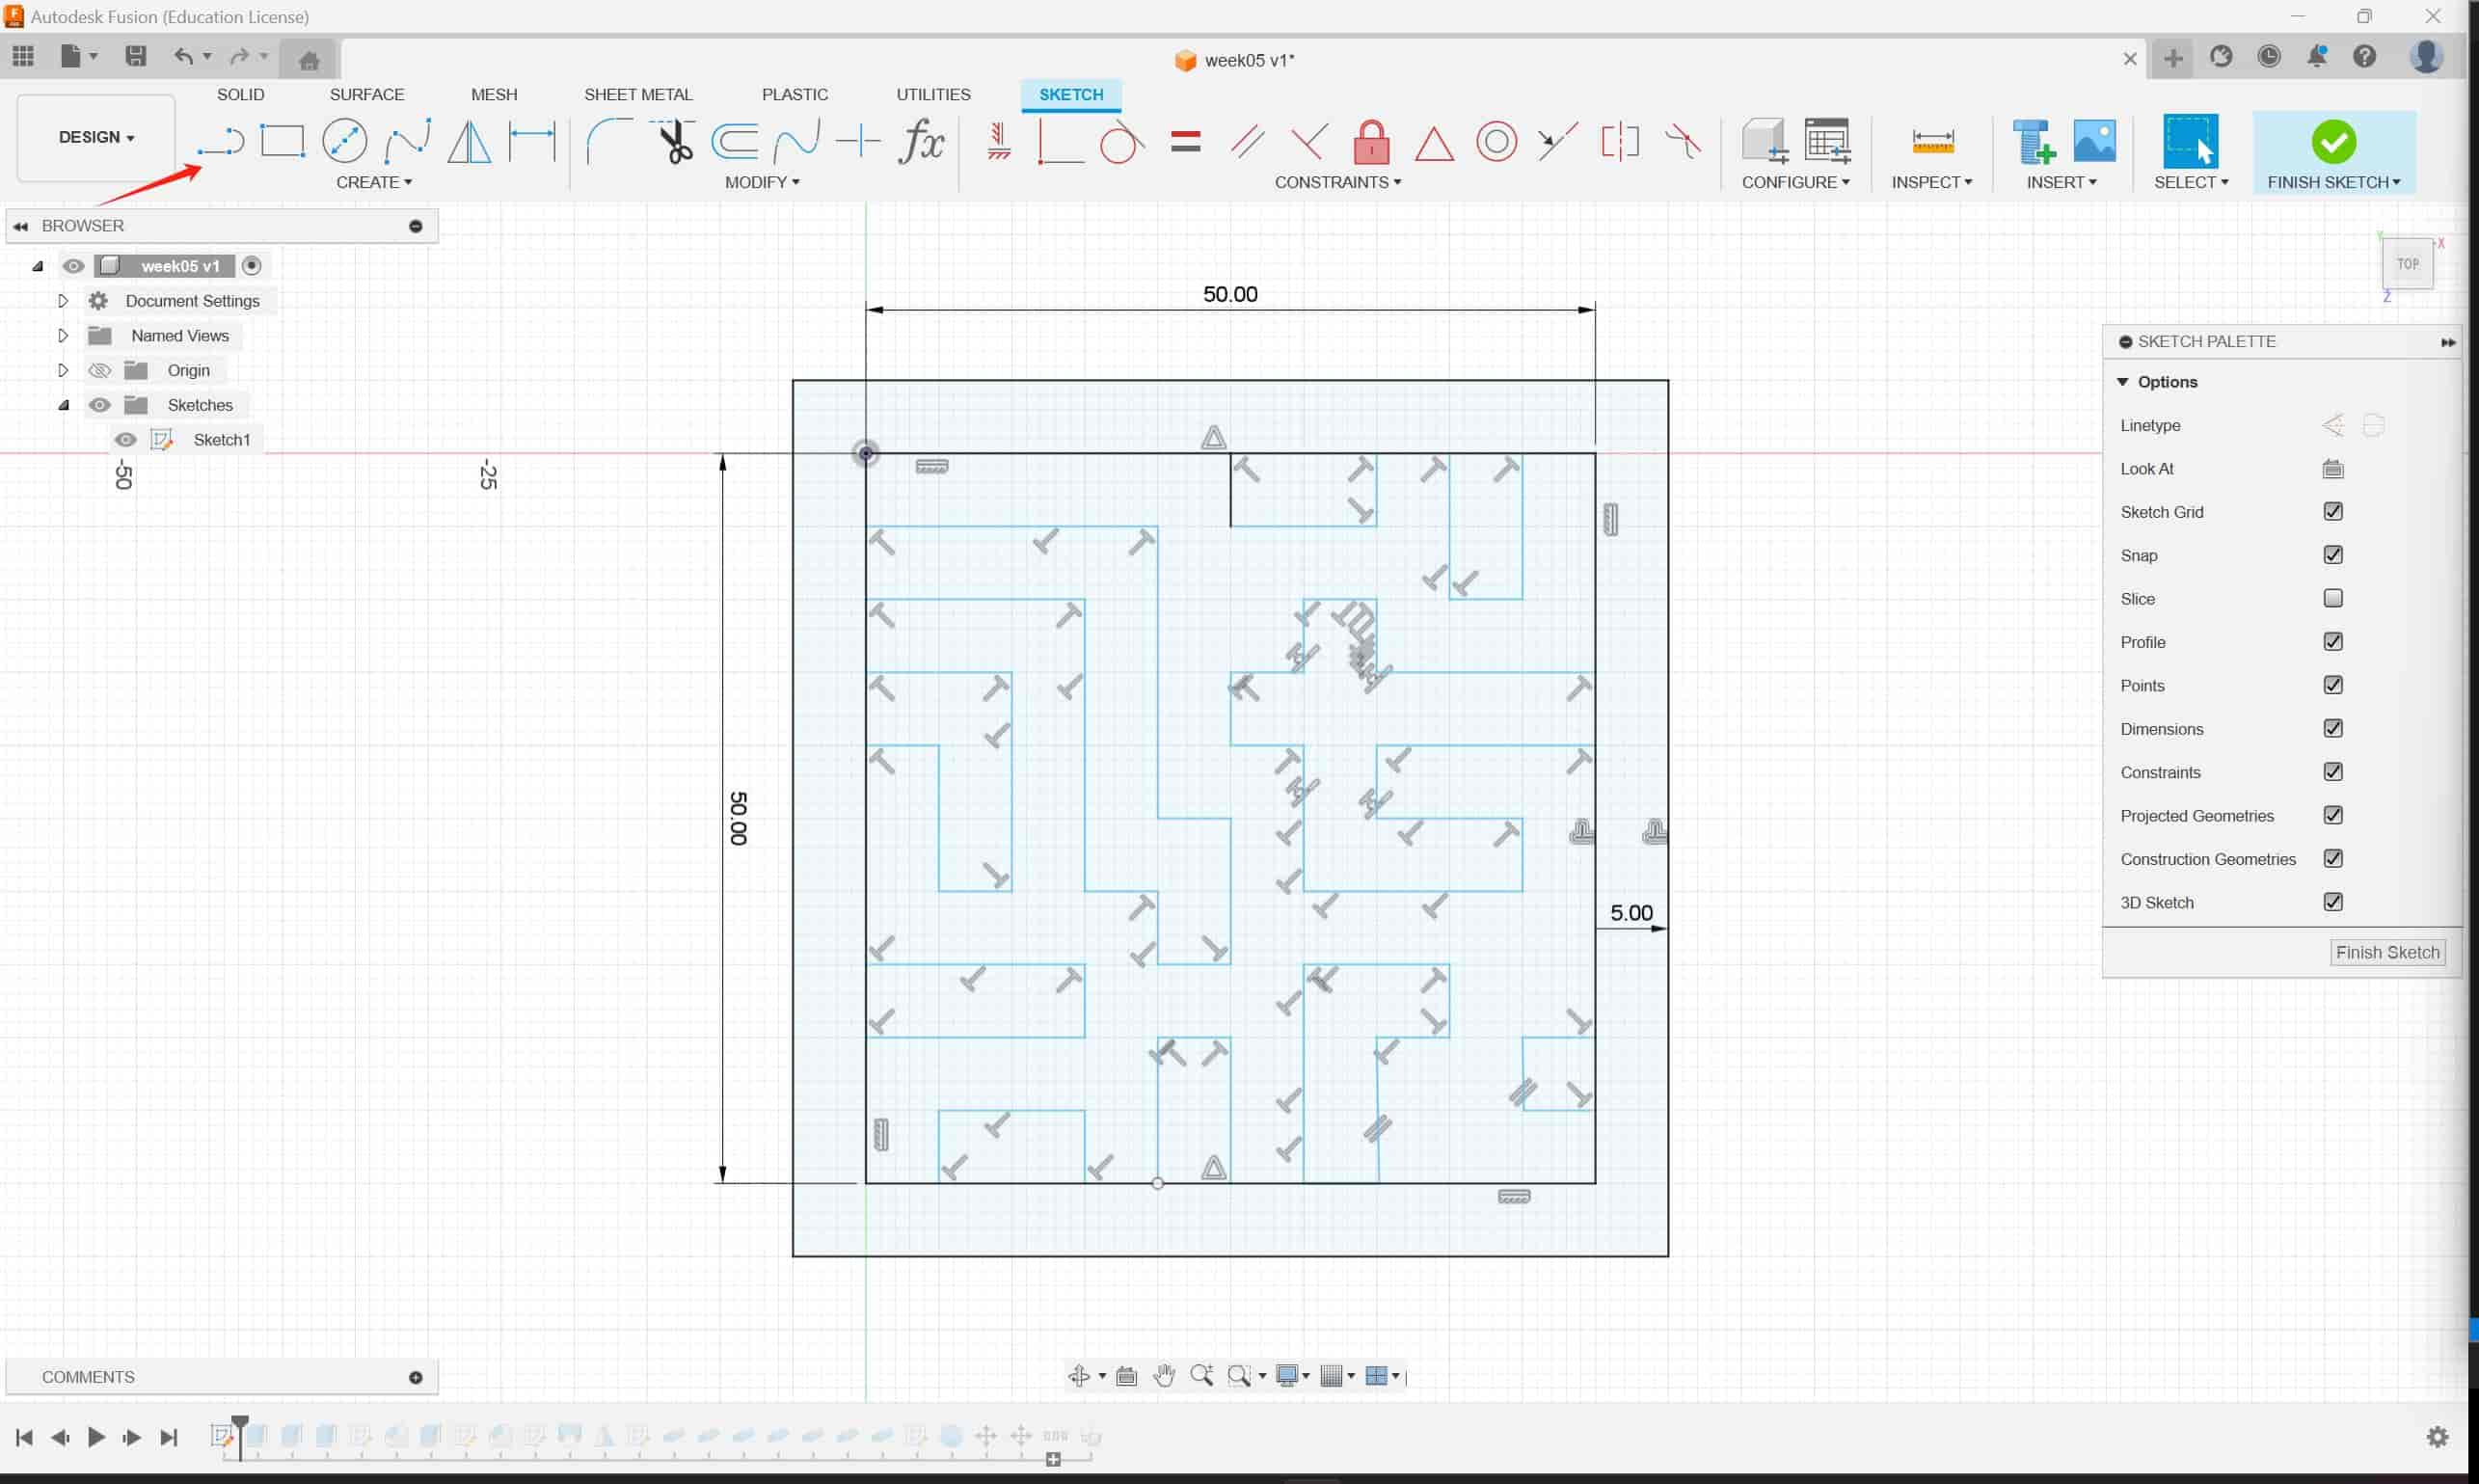
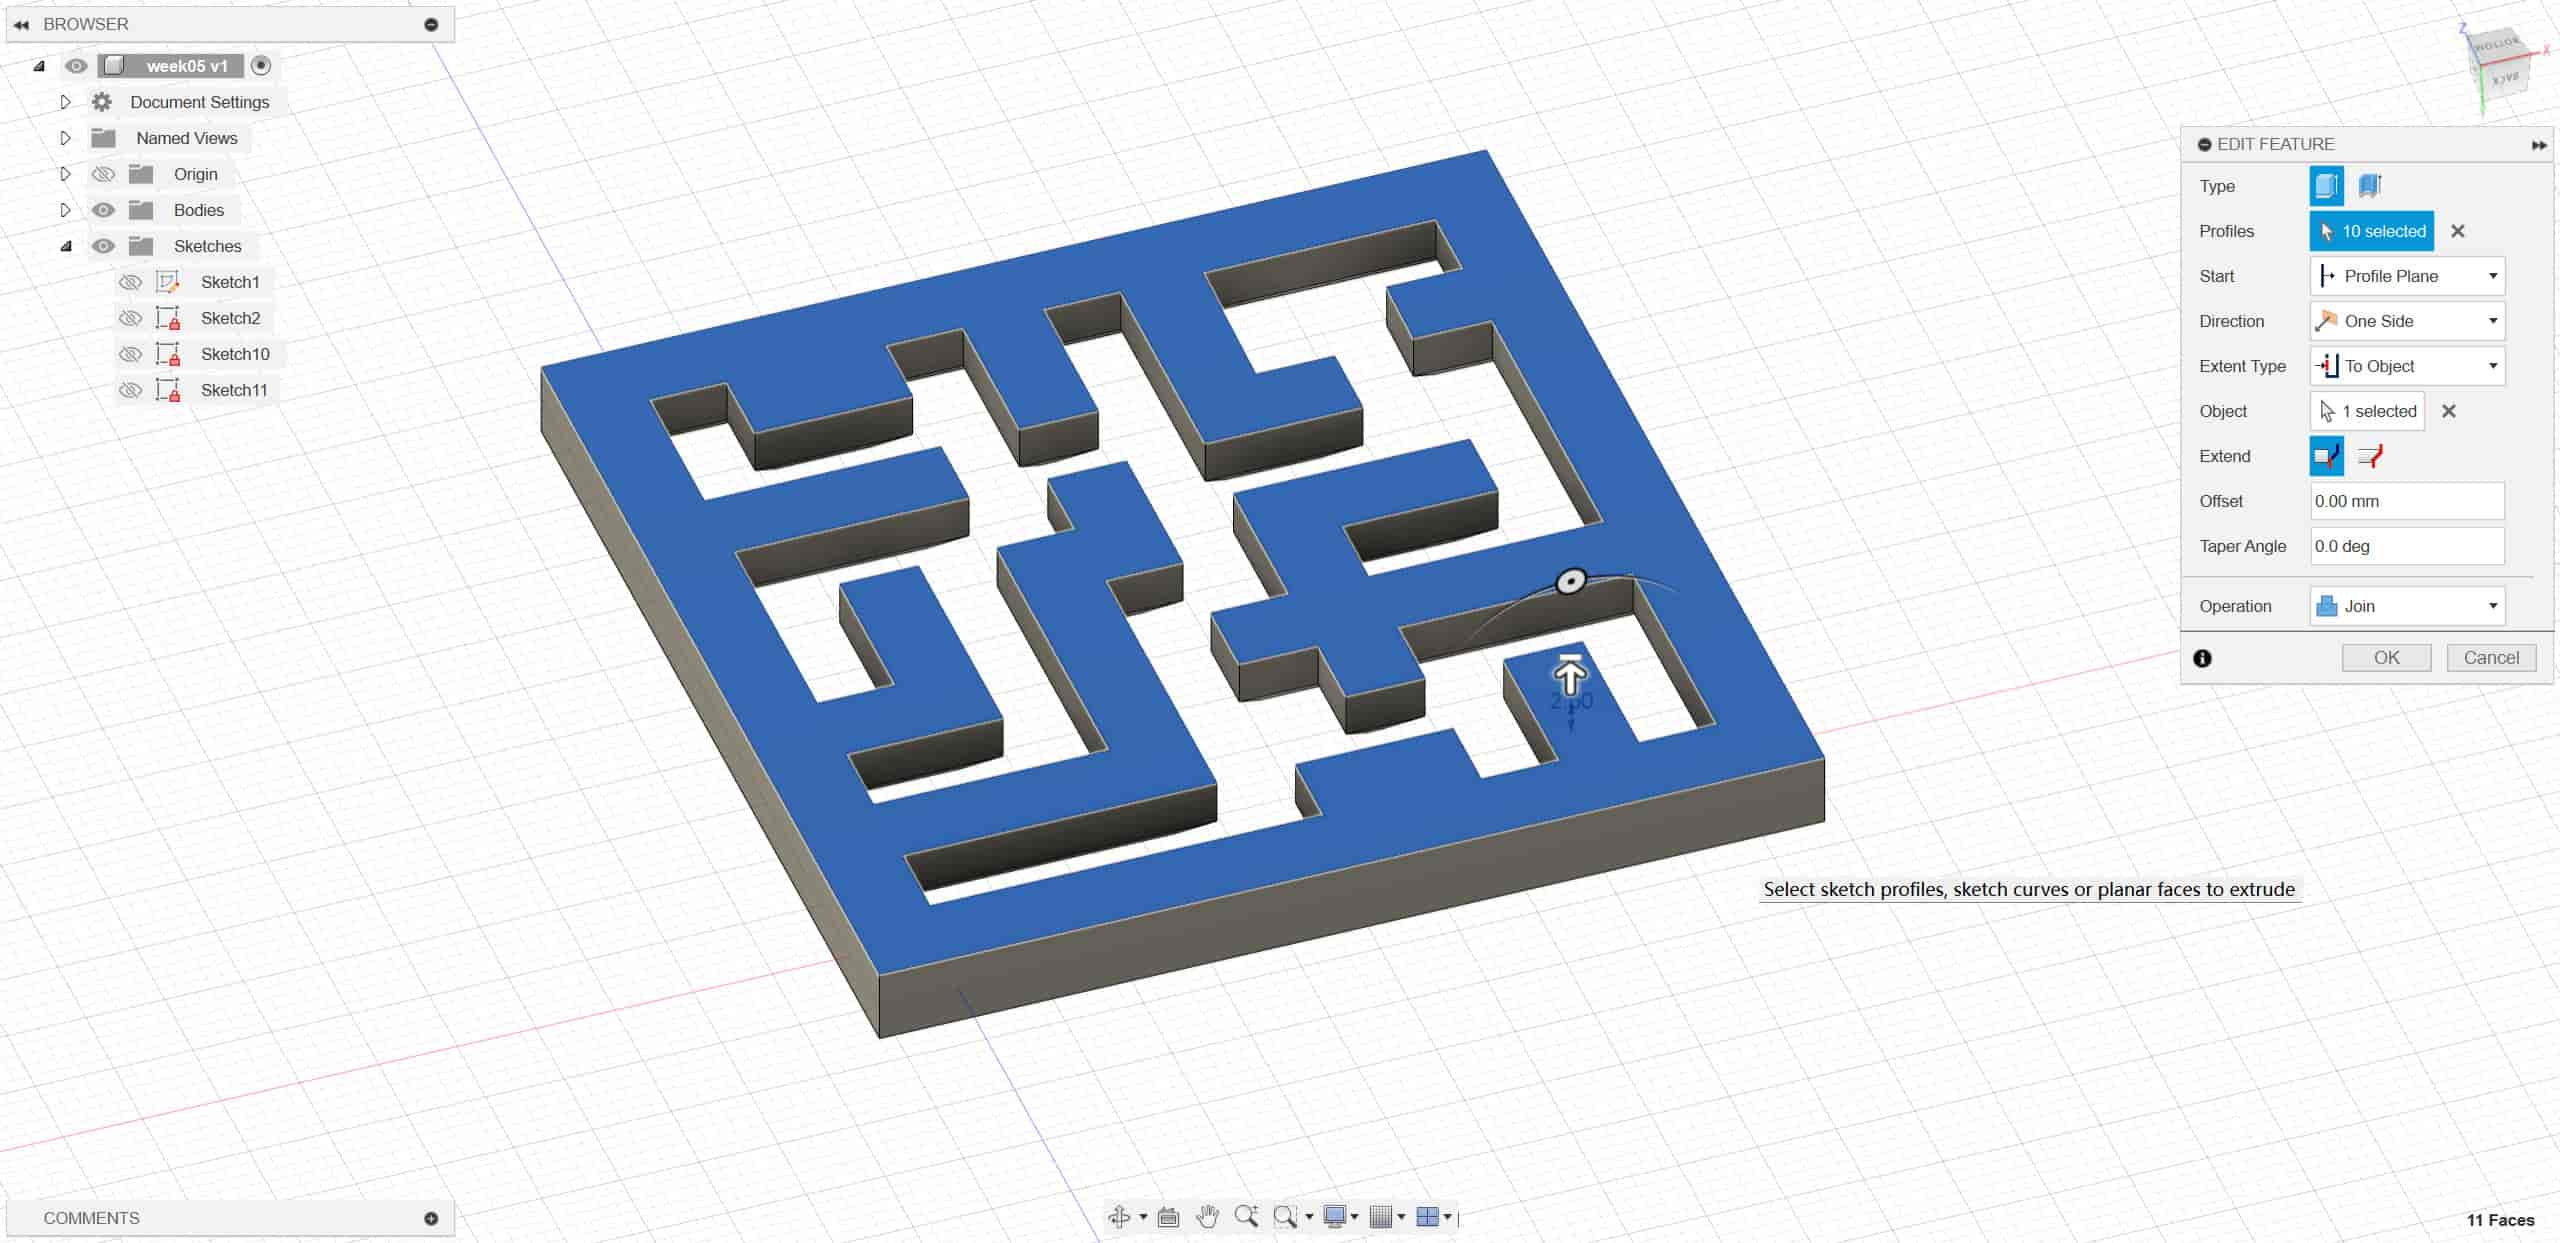
I used the extrude command to extrude the border first.
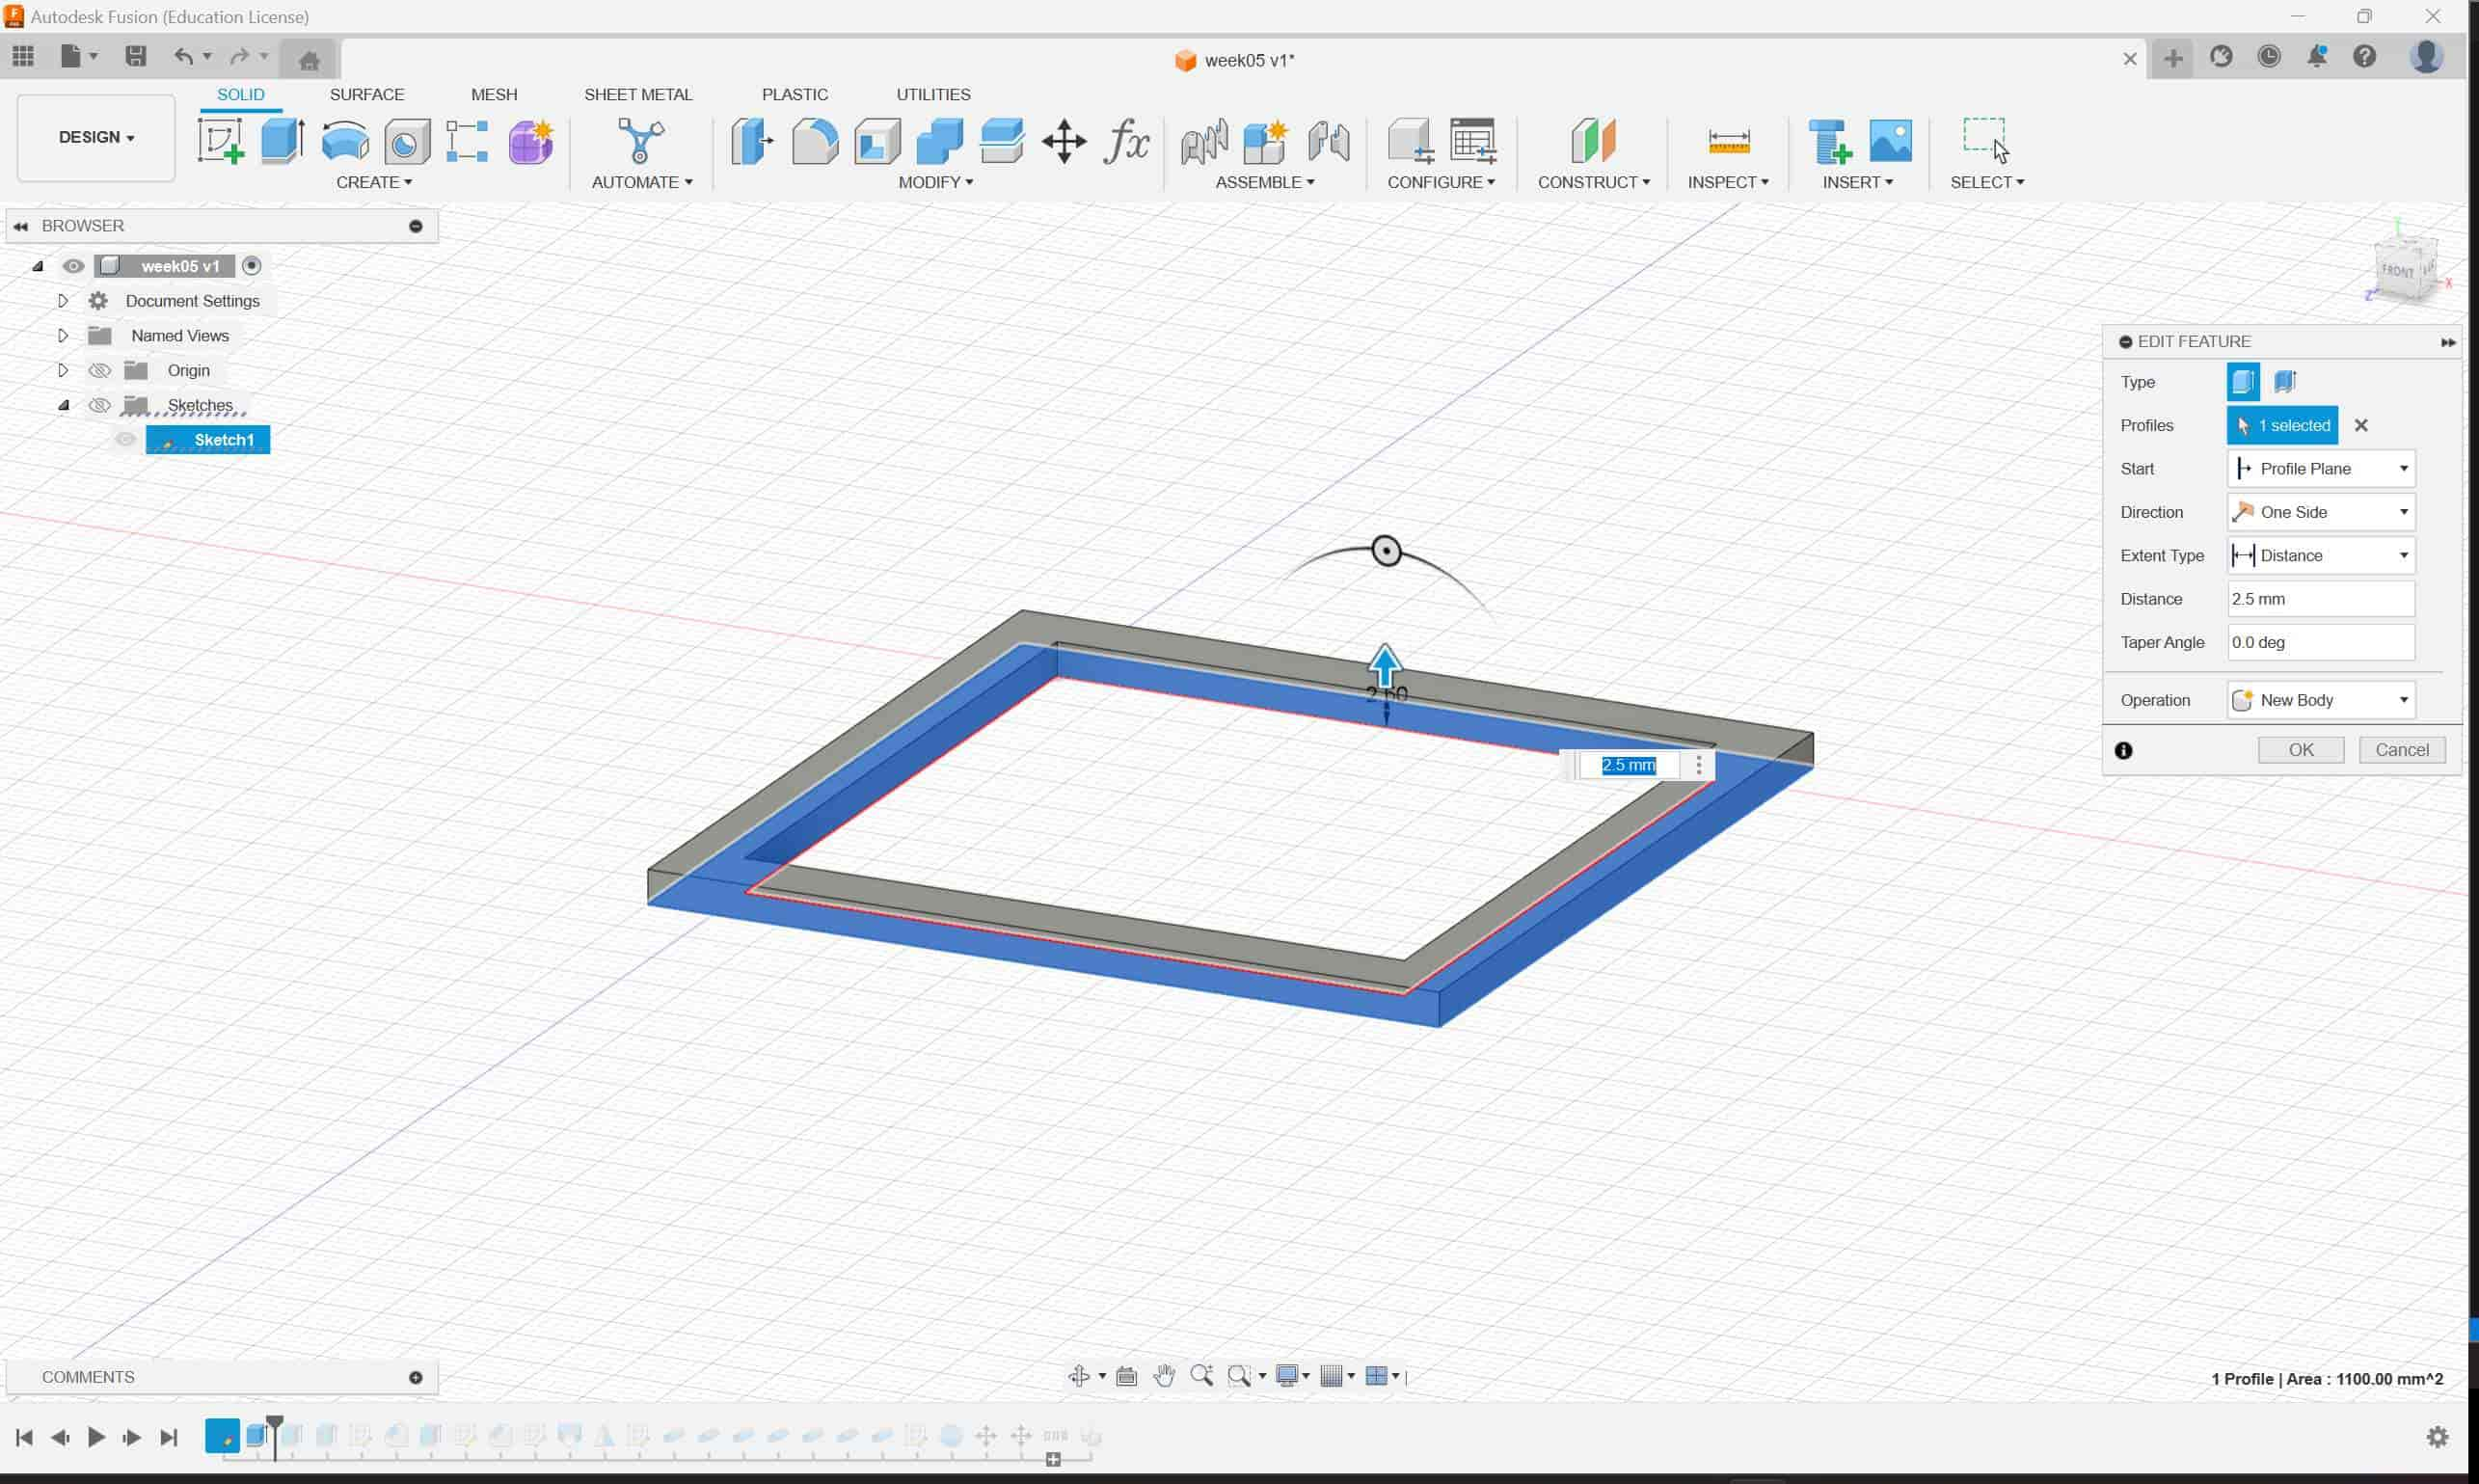
I selected the middle maze for extrusion.
Right-click > Select sketch > Project
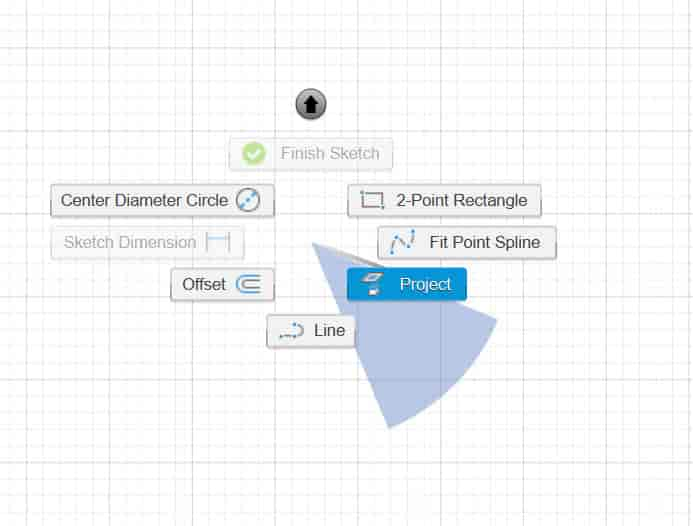
Select the middle part for projection.

Select the middle part by dragging a box around it, then choose the Fillet command.
Use the Extrude command to extrude the other half.
Project and then apply a fillet.
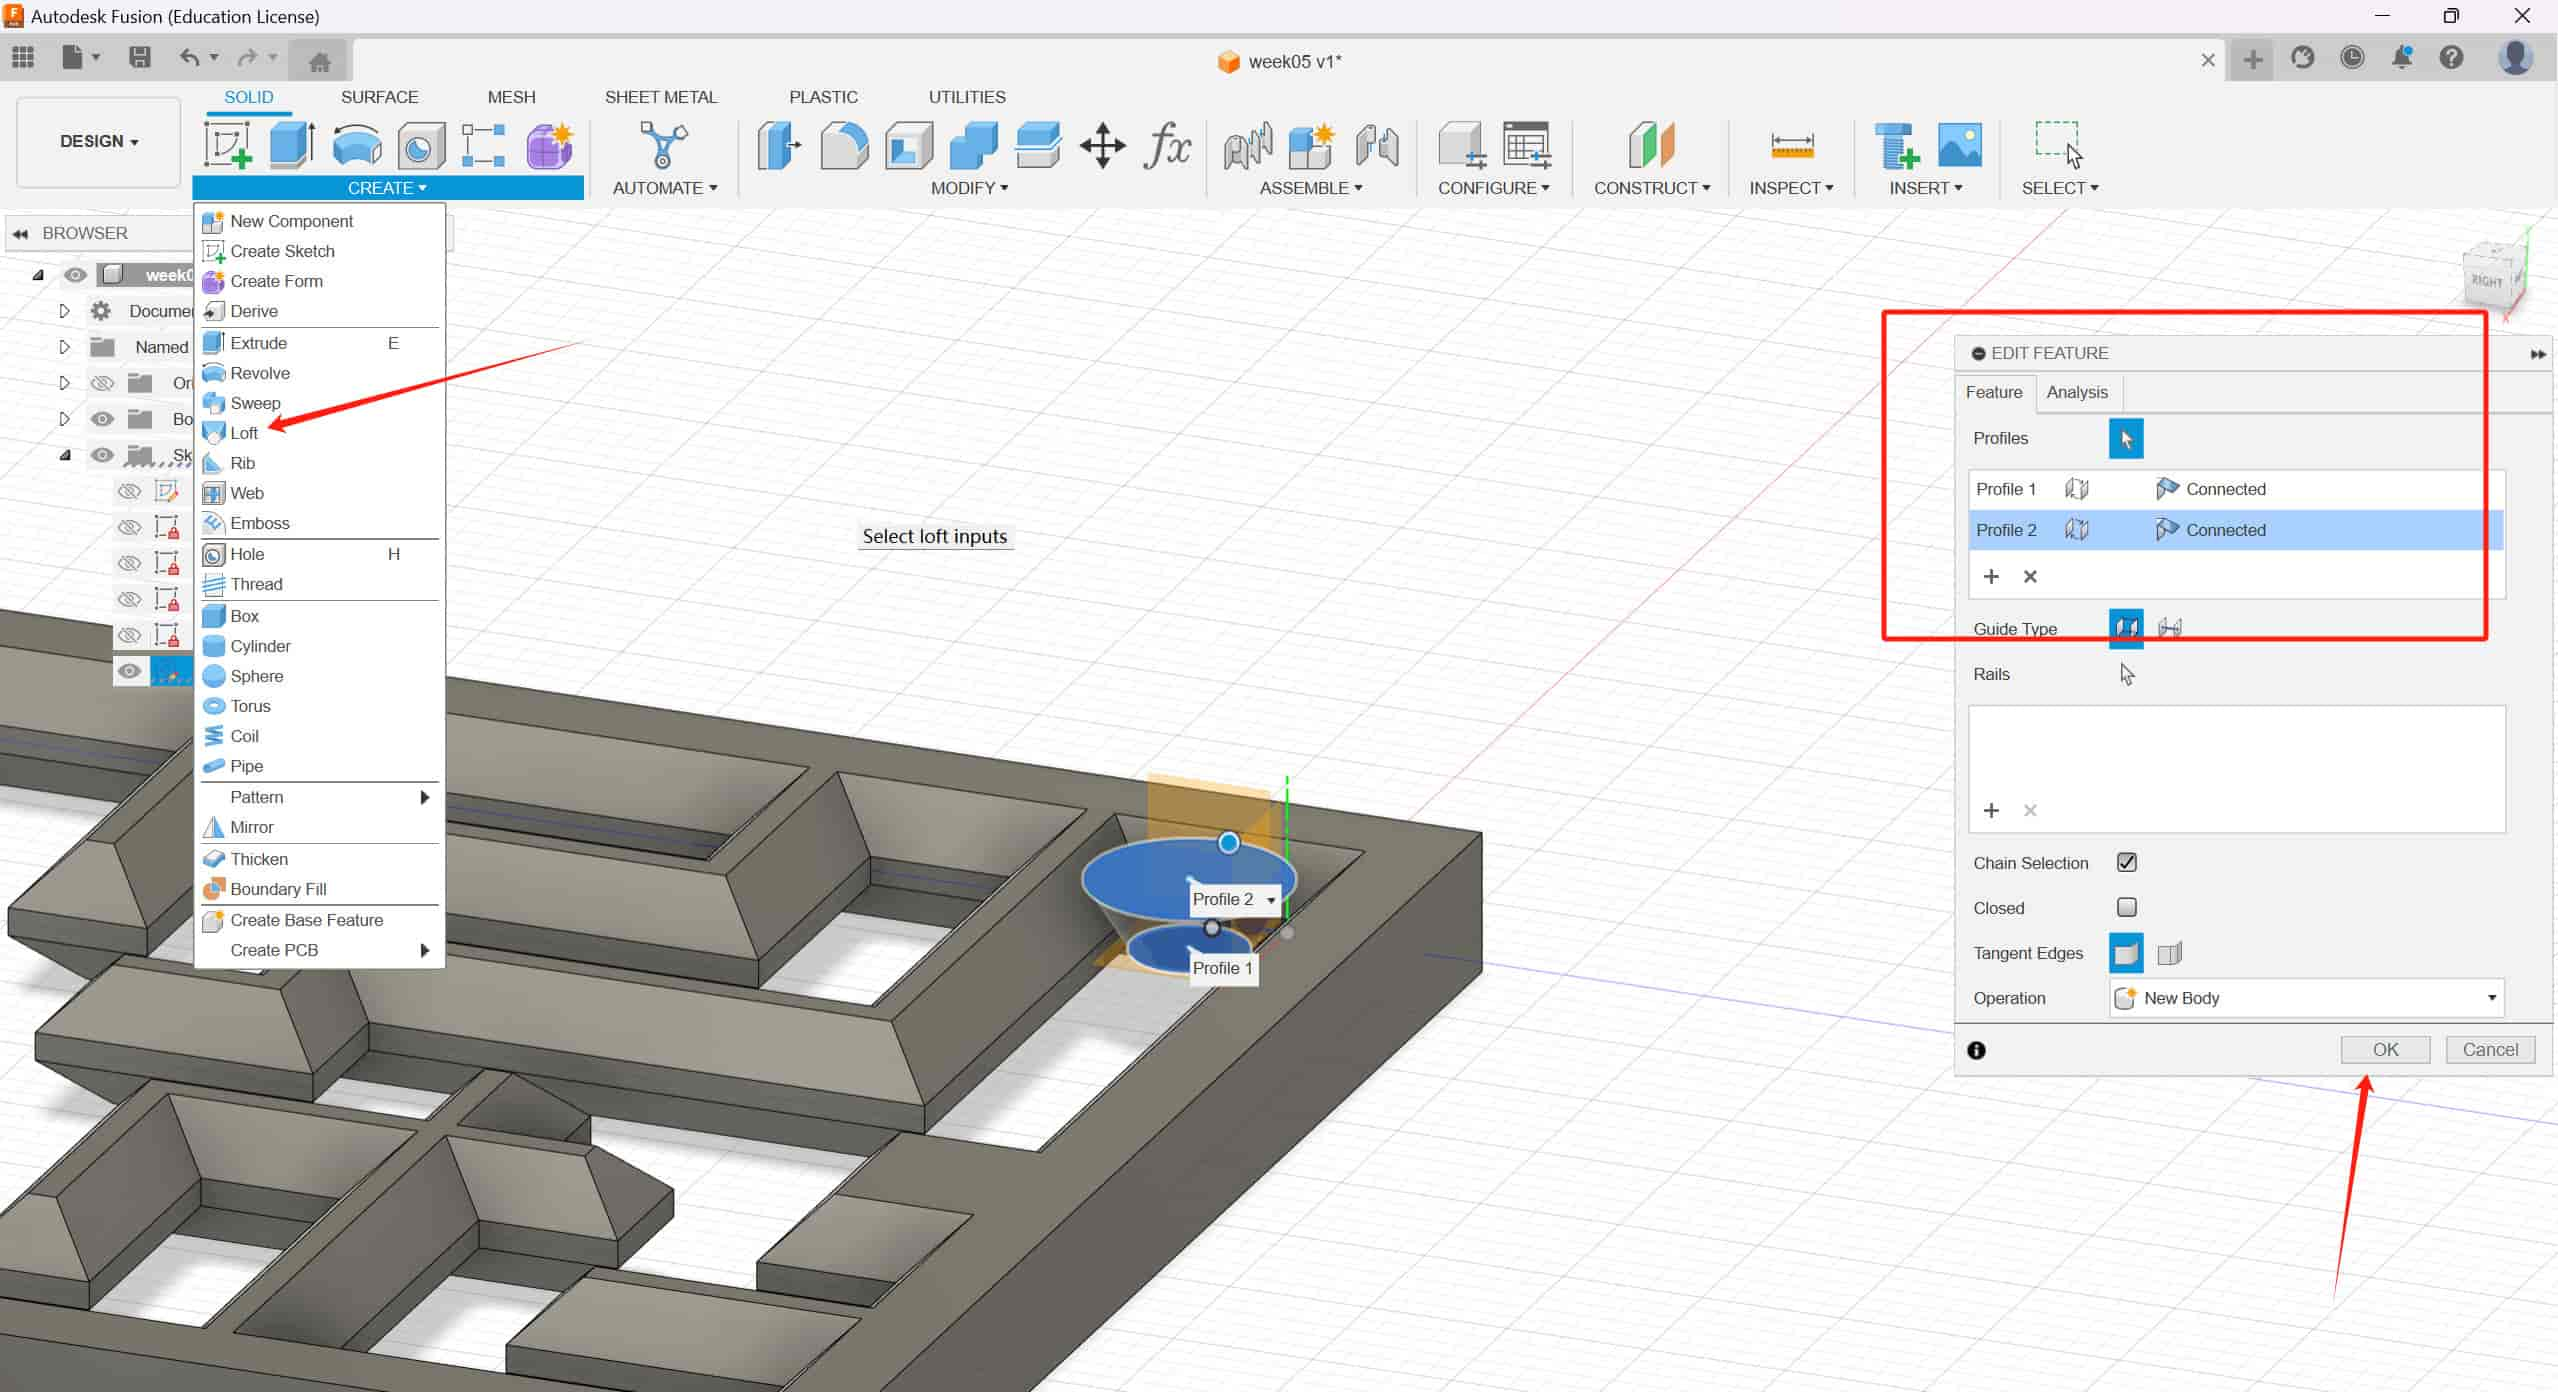
Sketch two circles.
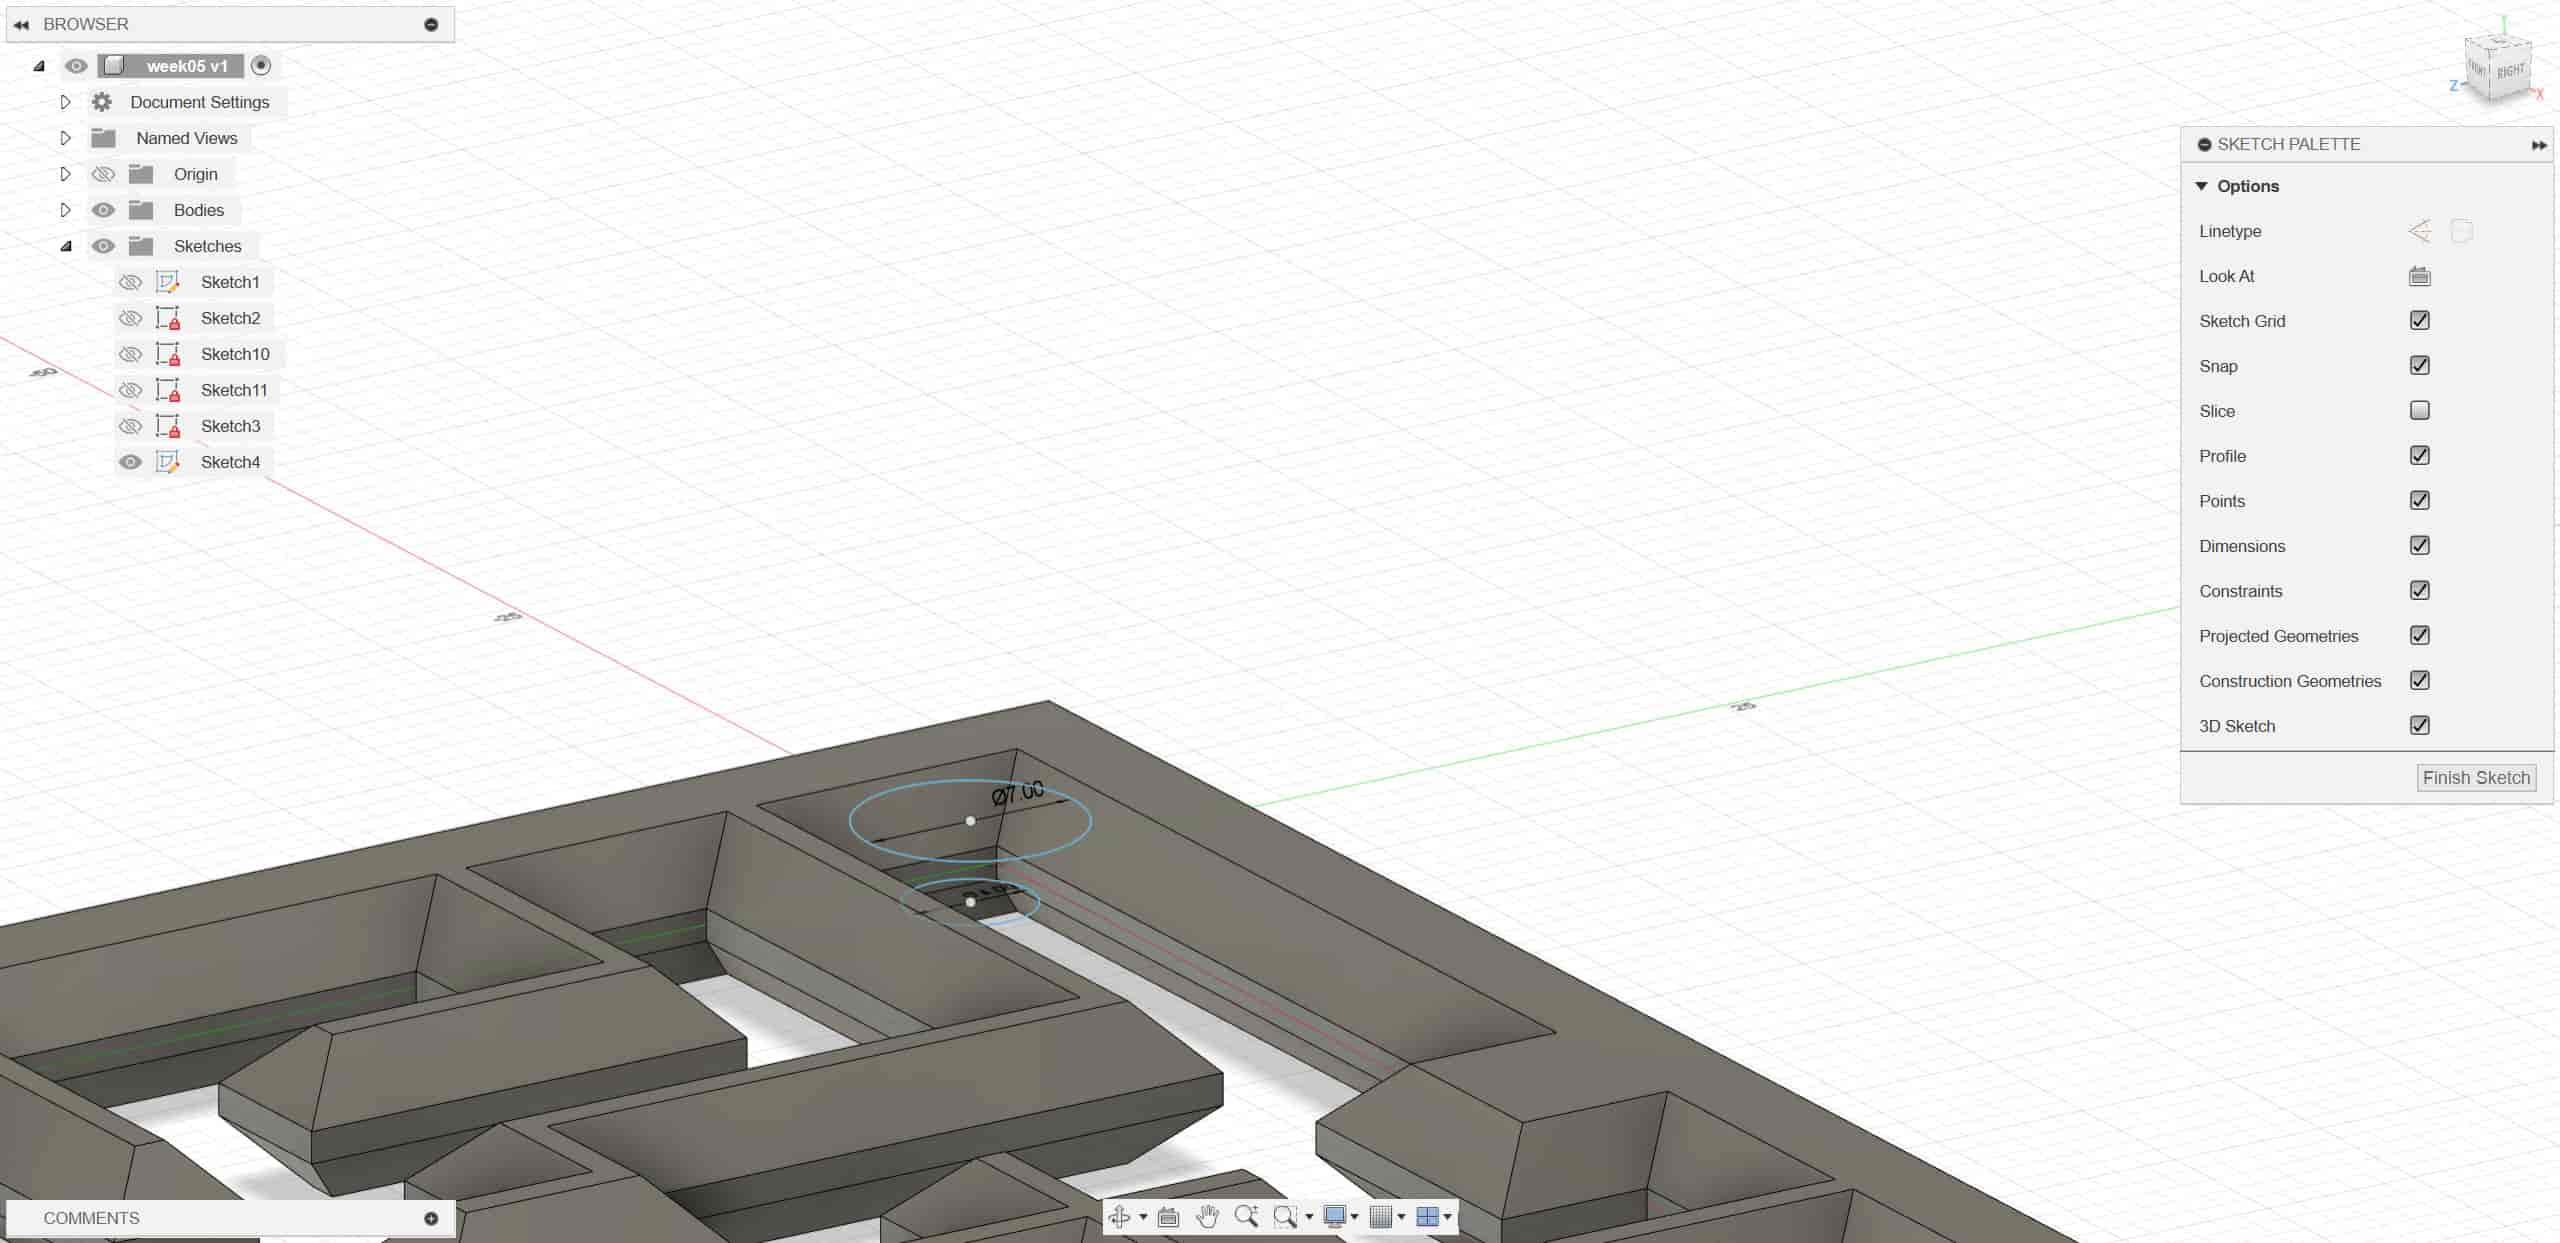
Use the loft command to connect the two circles.
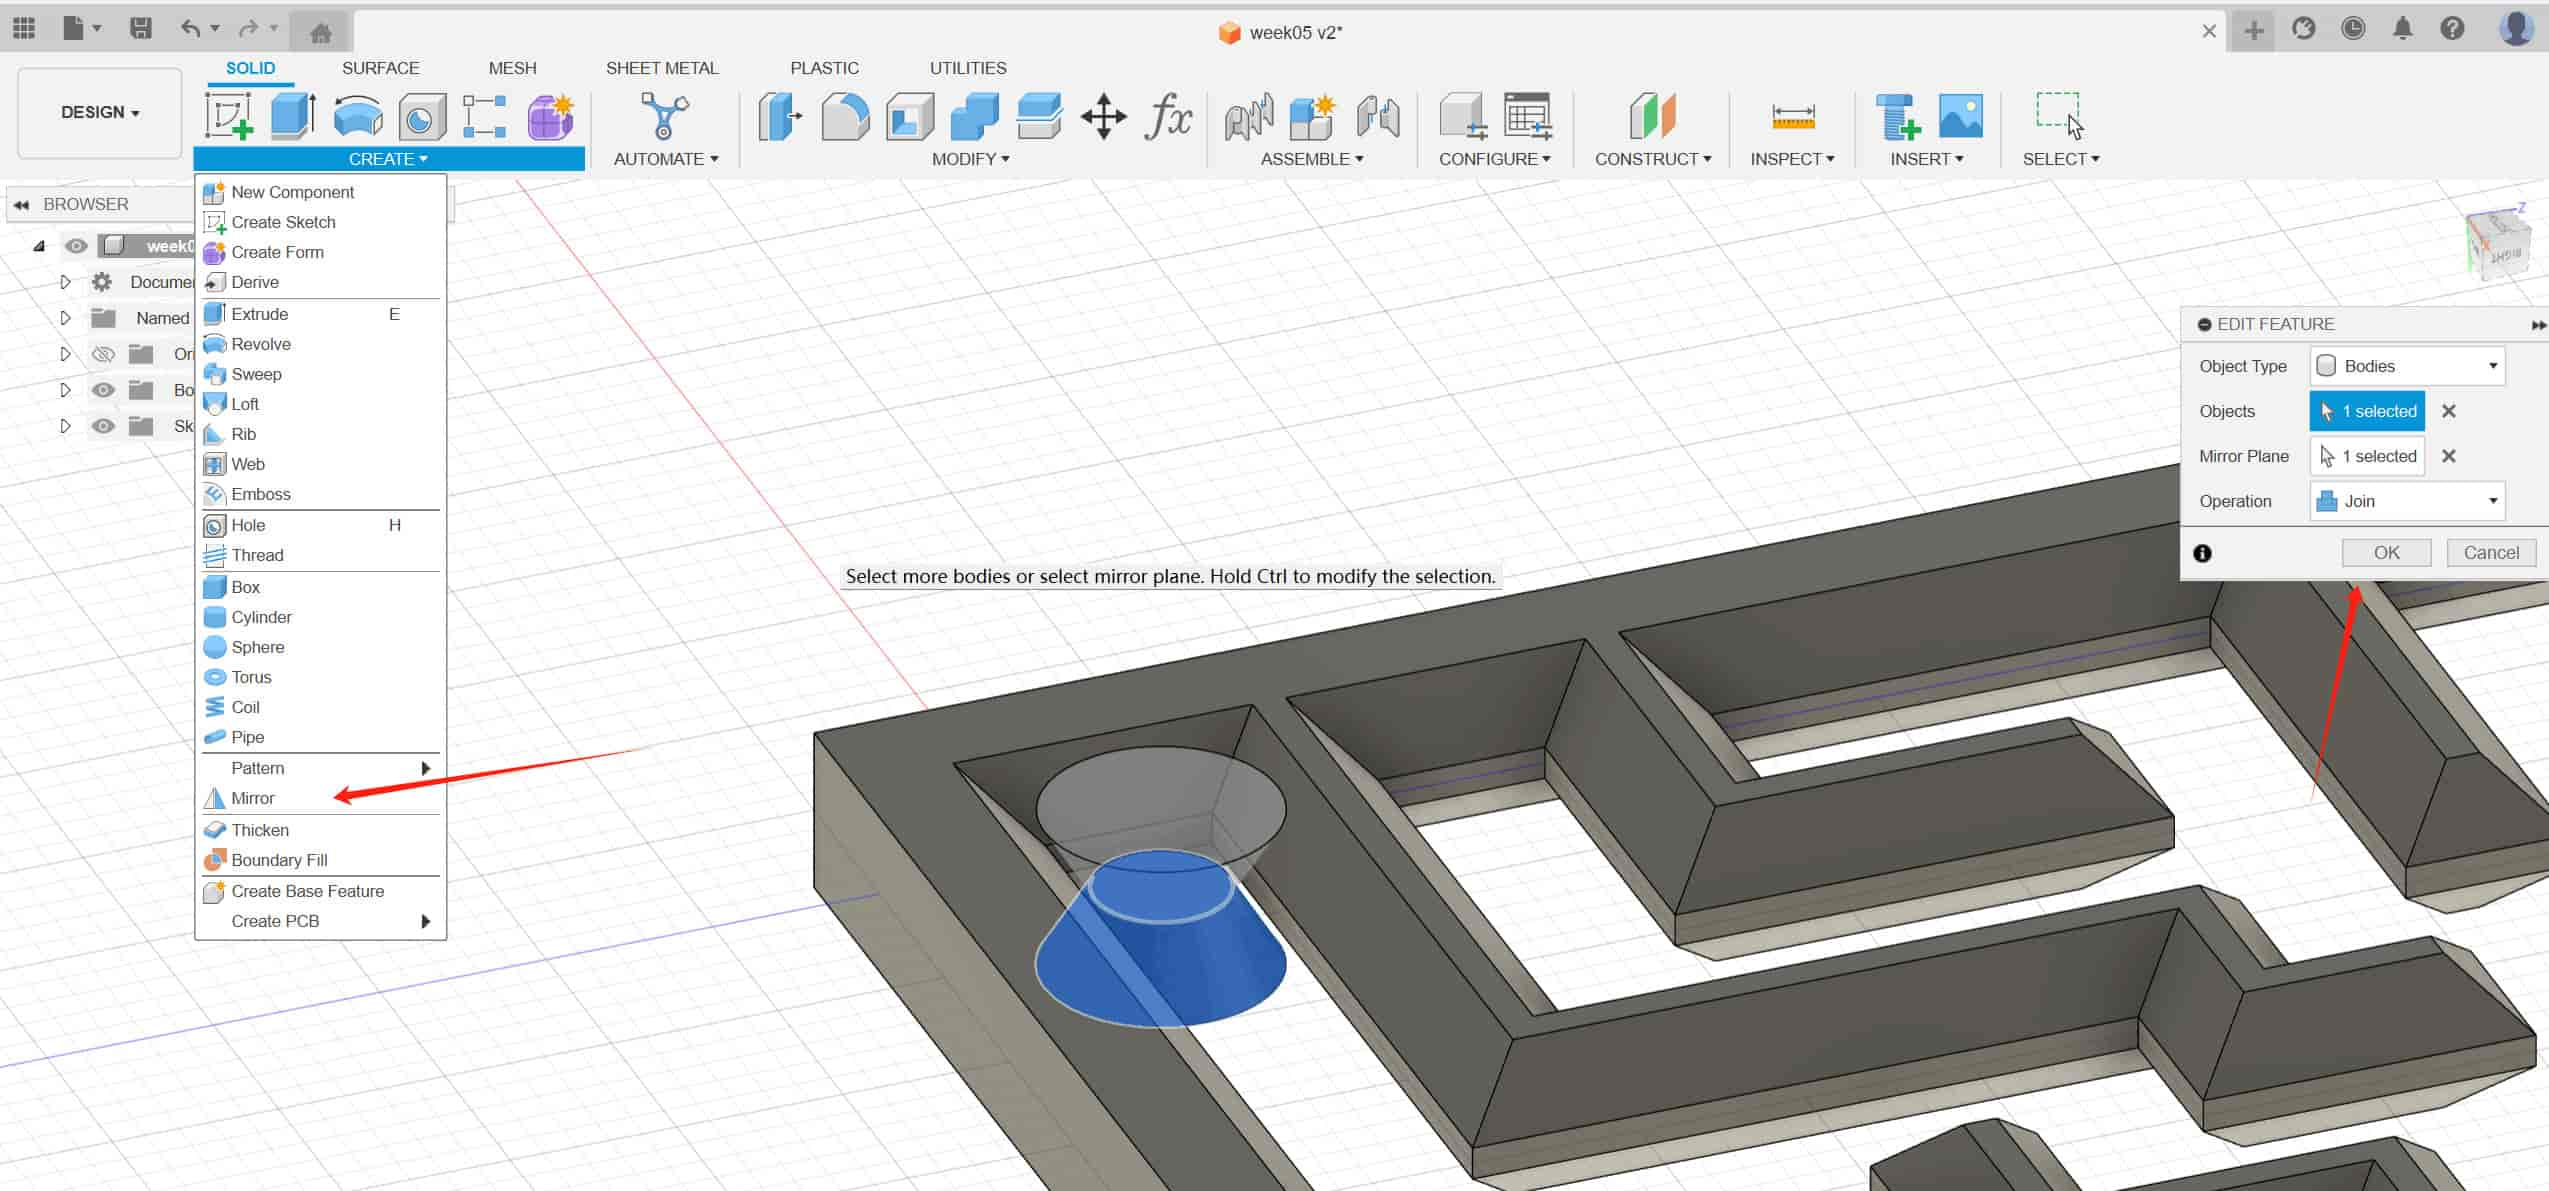
I modeled the other half using the mirror command.
Correction The first print failed because the base area was too small. So, I changed the chamfer angle and the angle of the central cylinder.
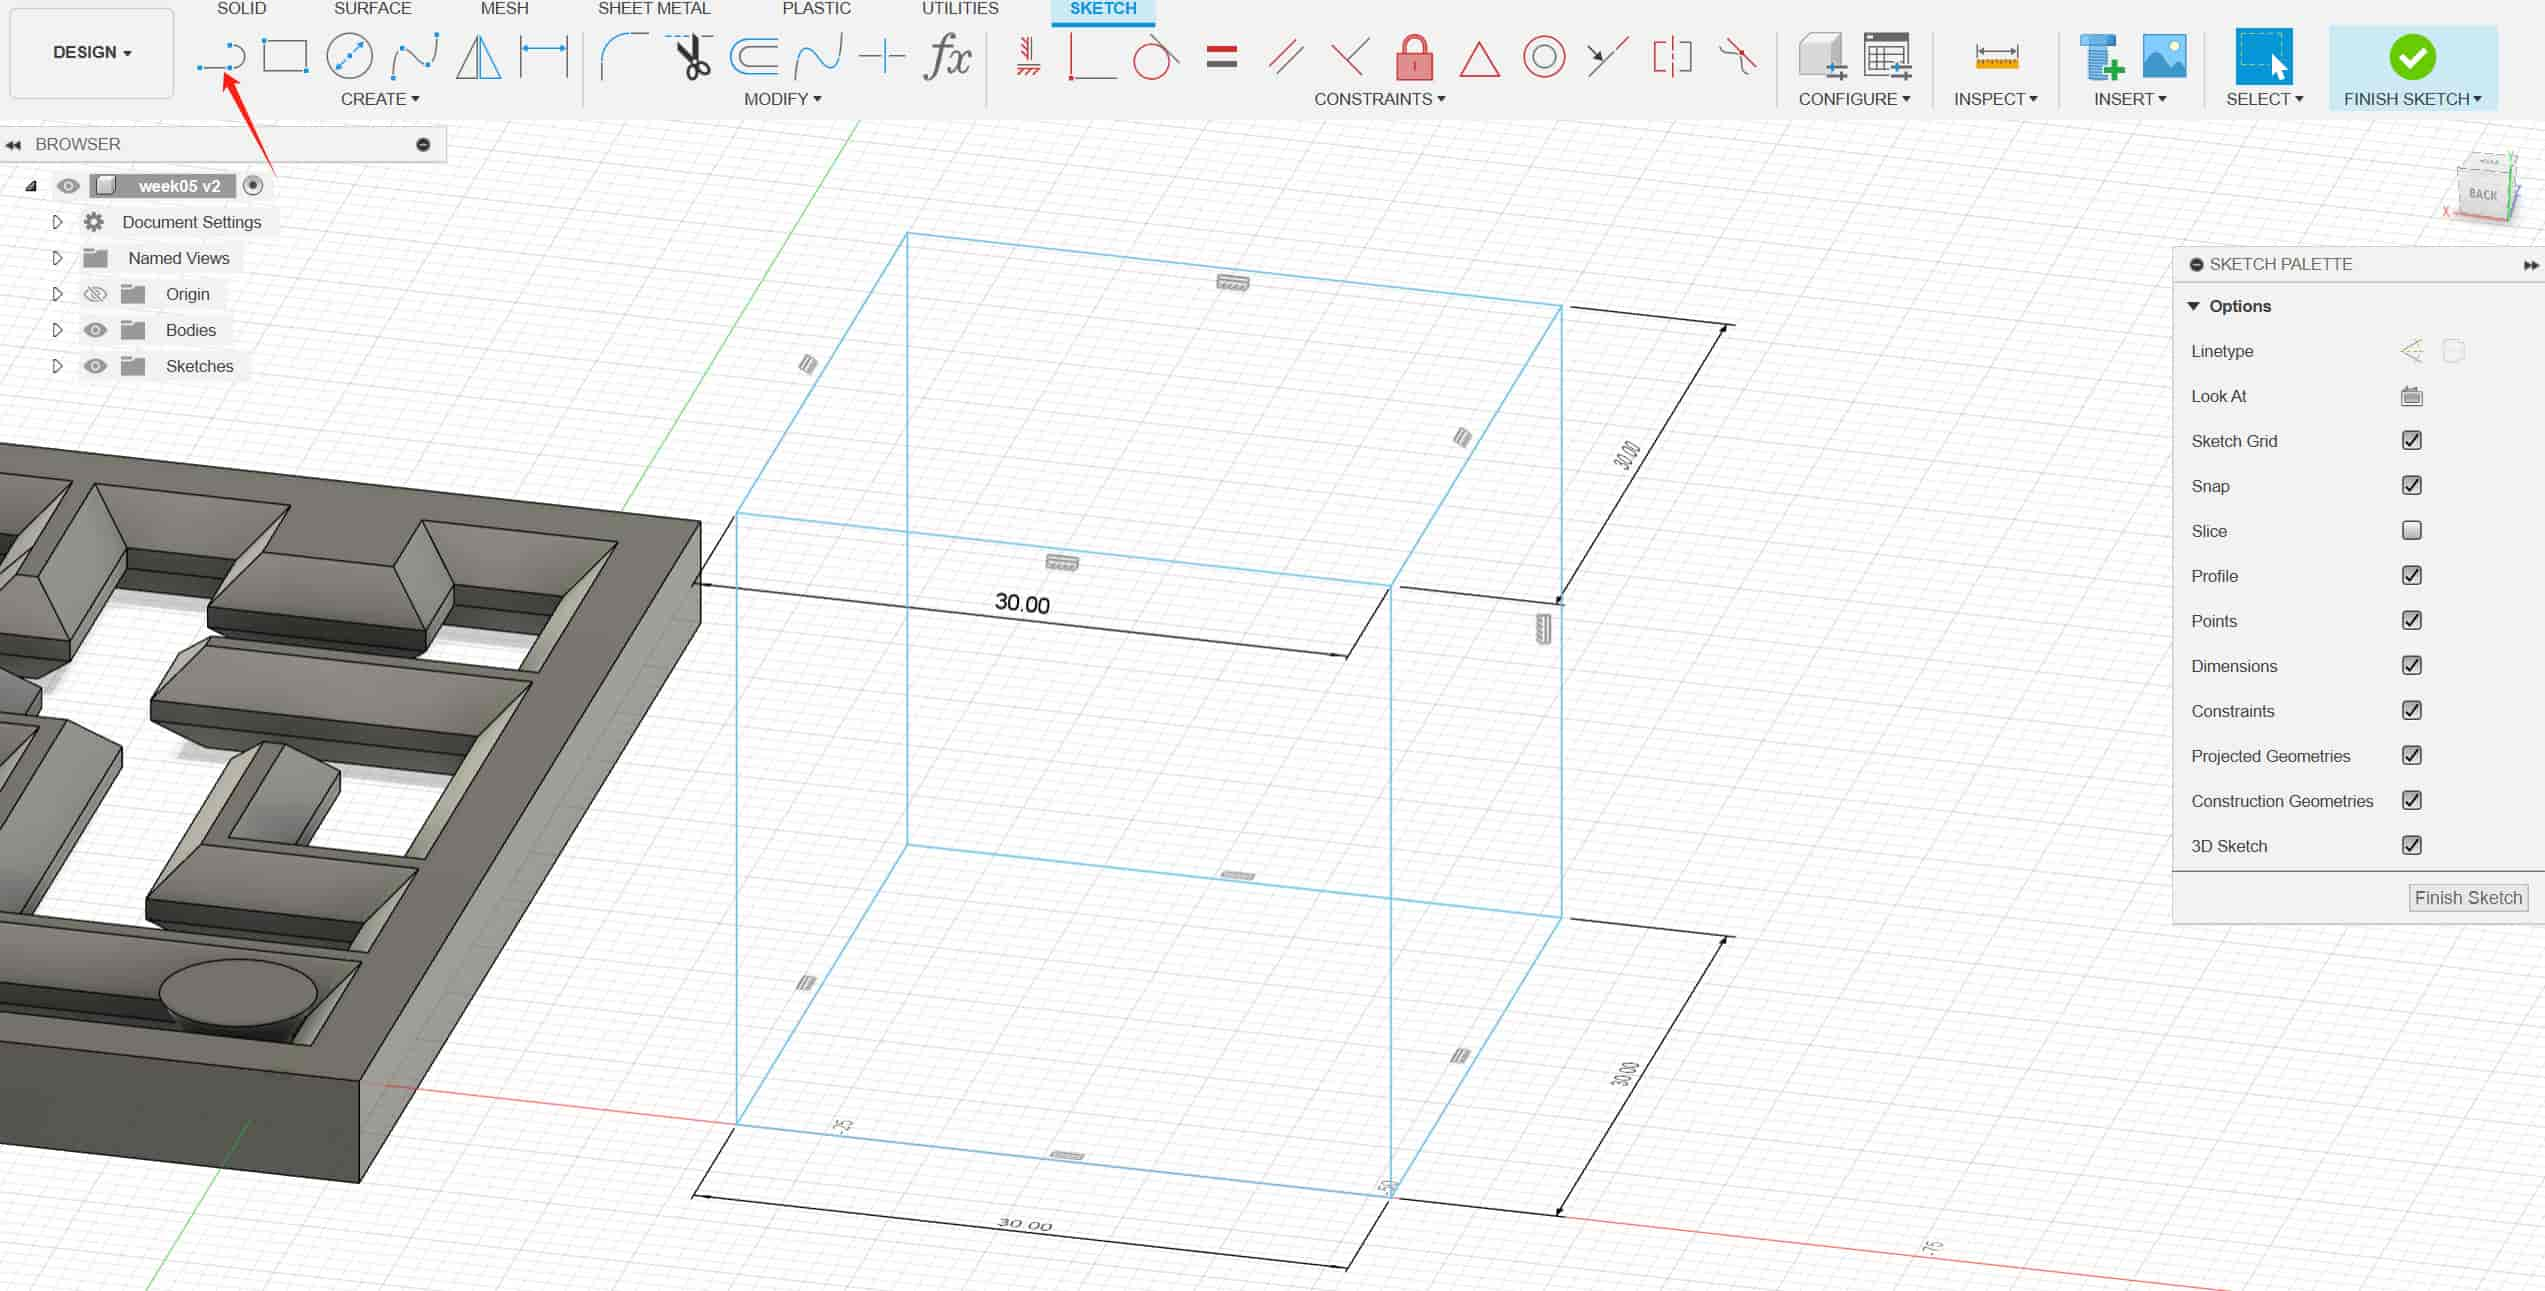
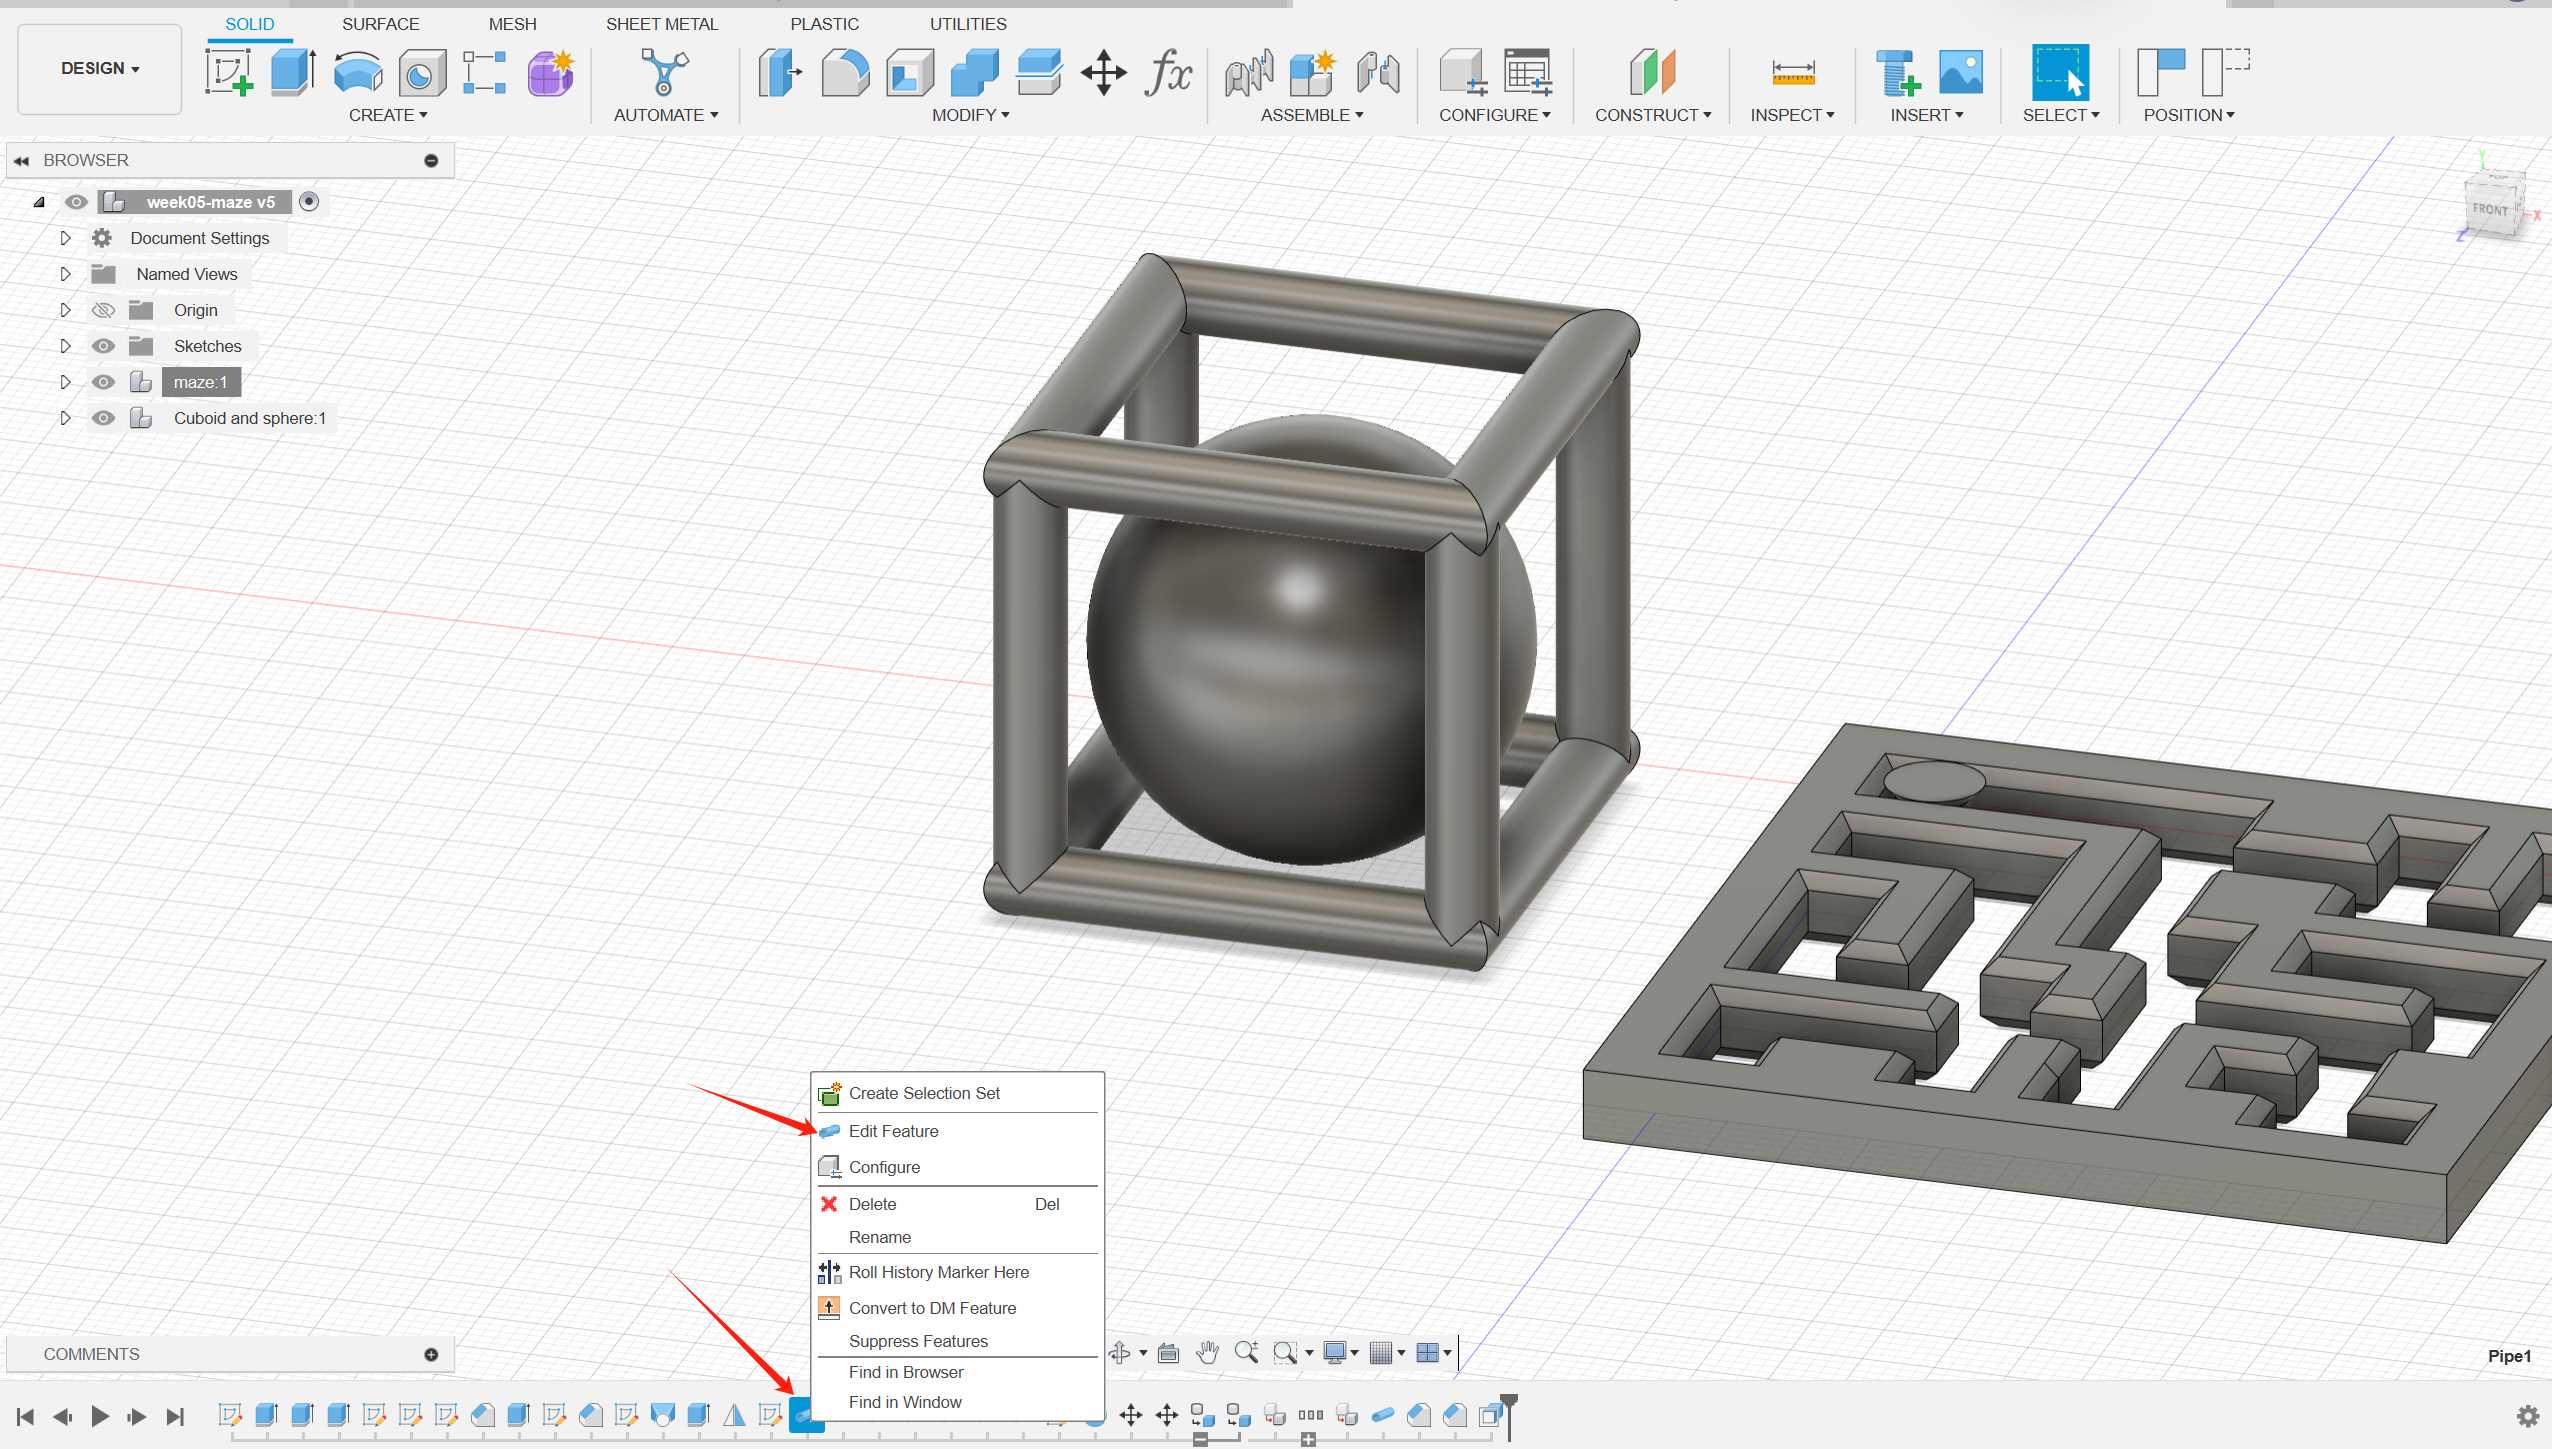
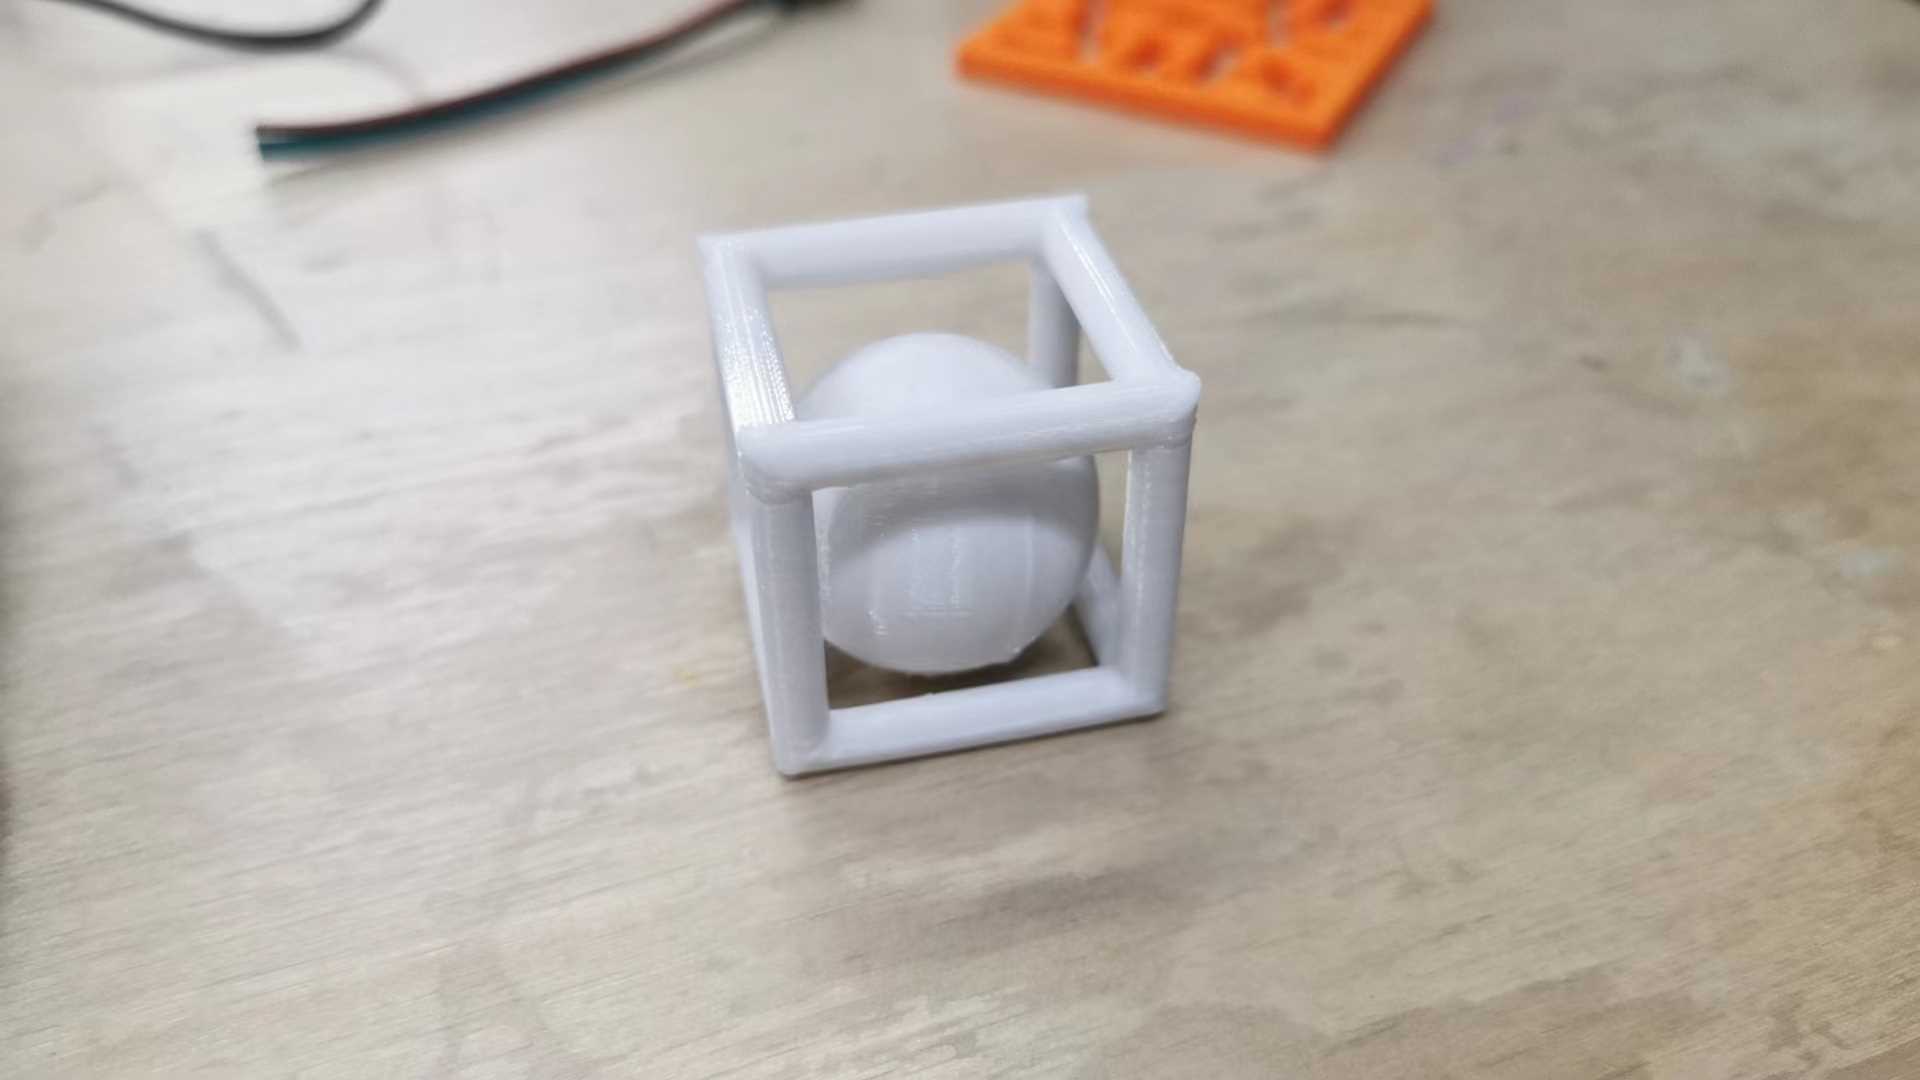
2.1.2 Cuboid and sphere.
First, use the “line” command to draw a cuboid.
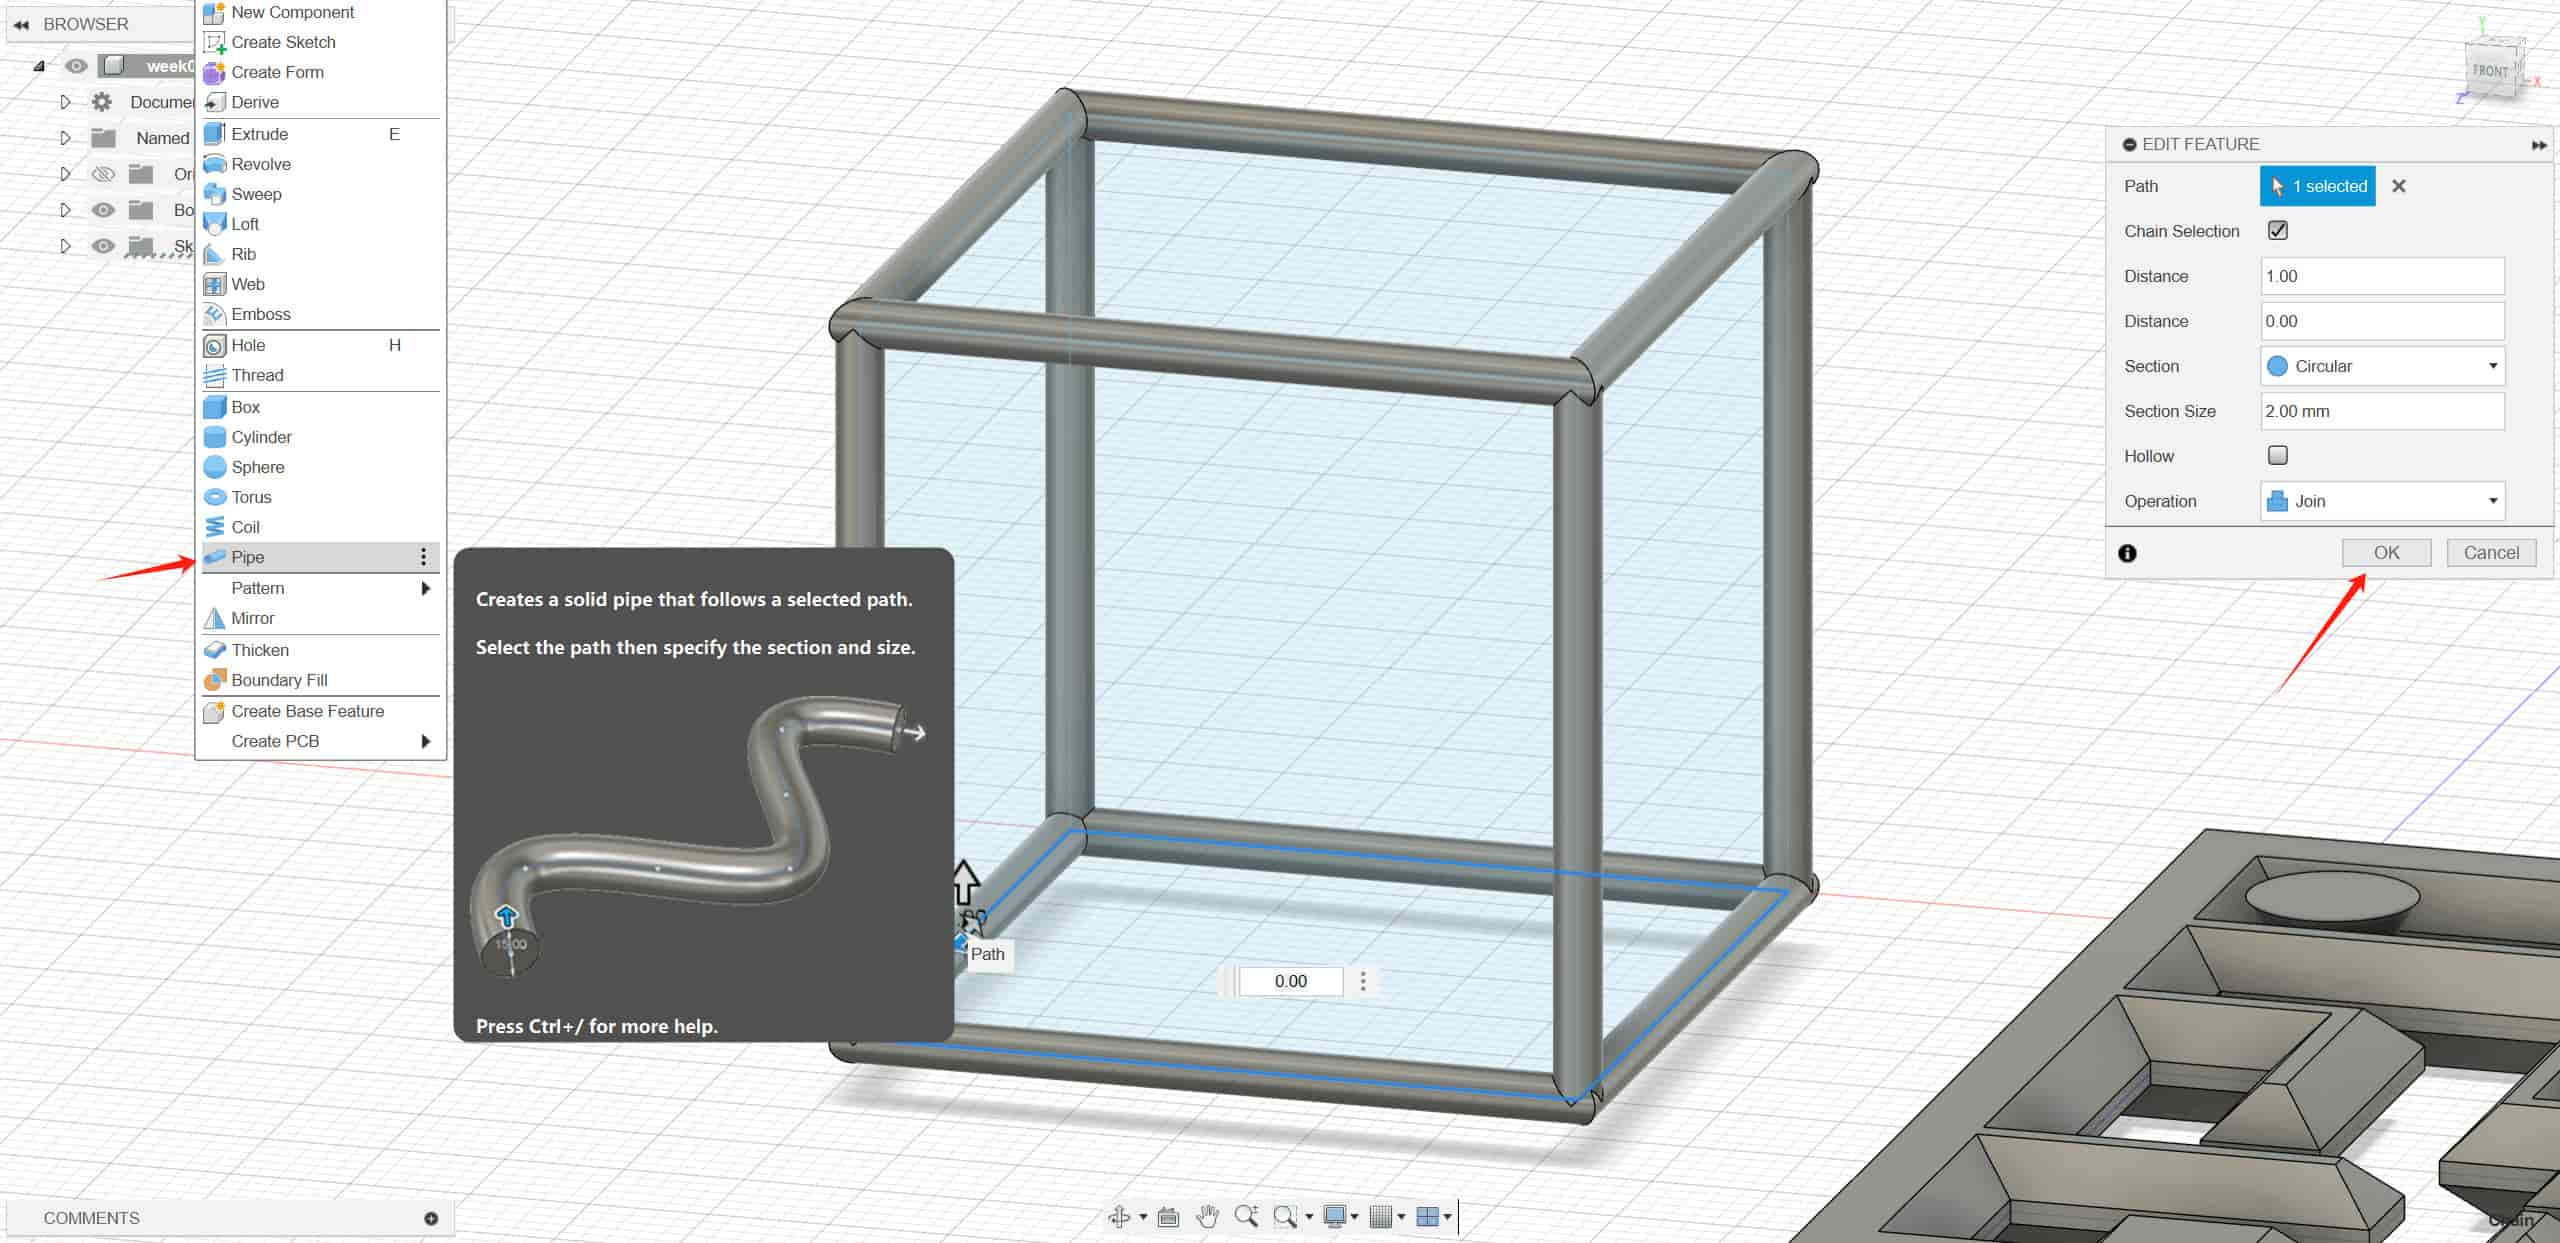
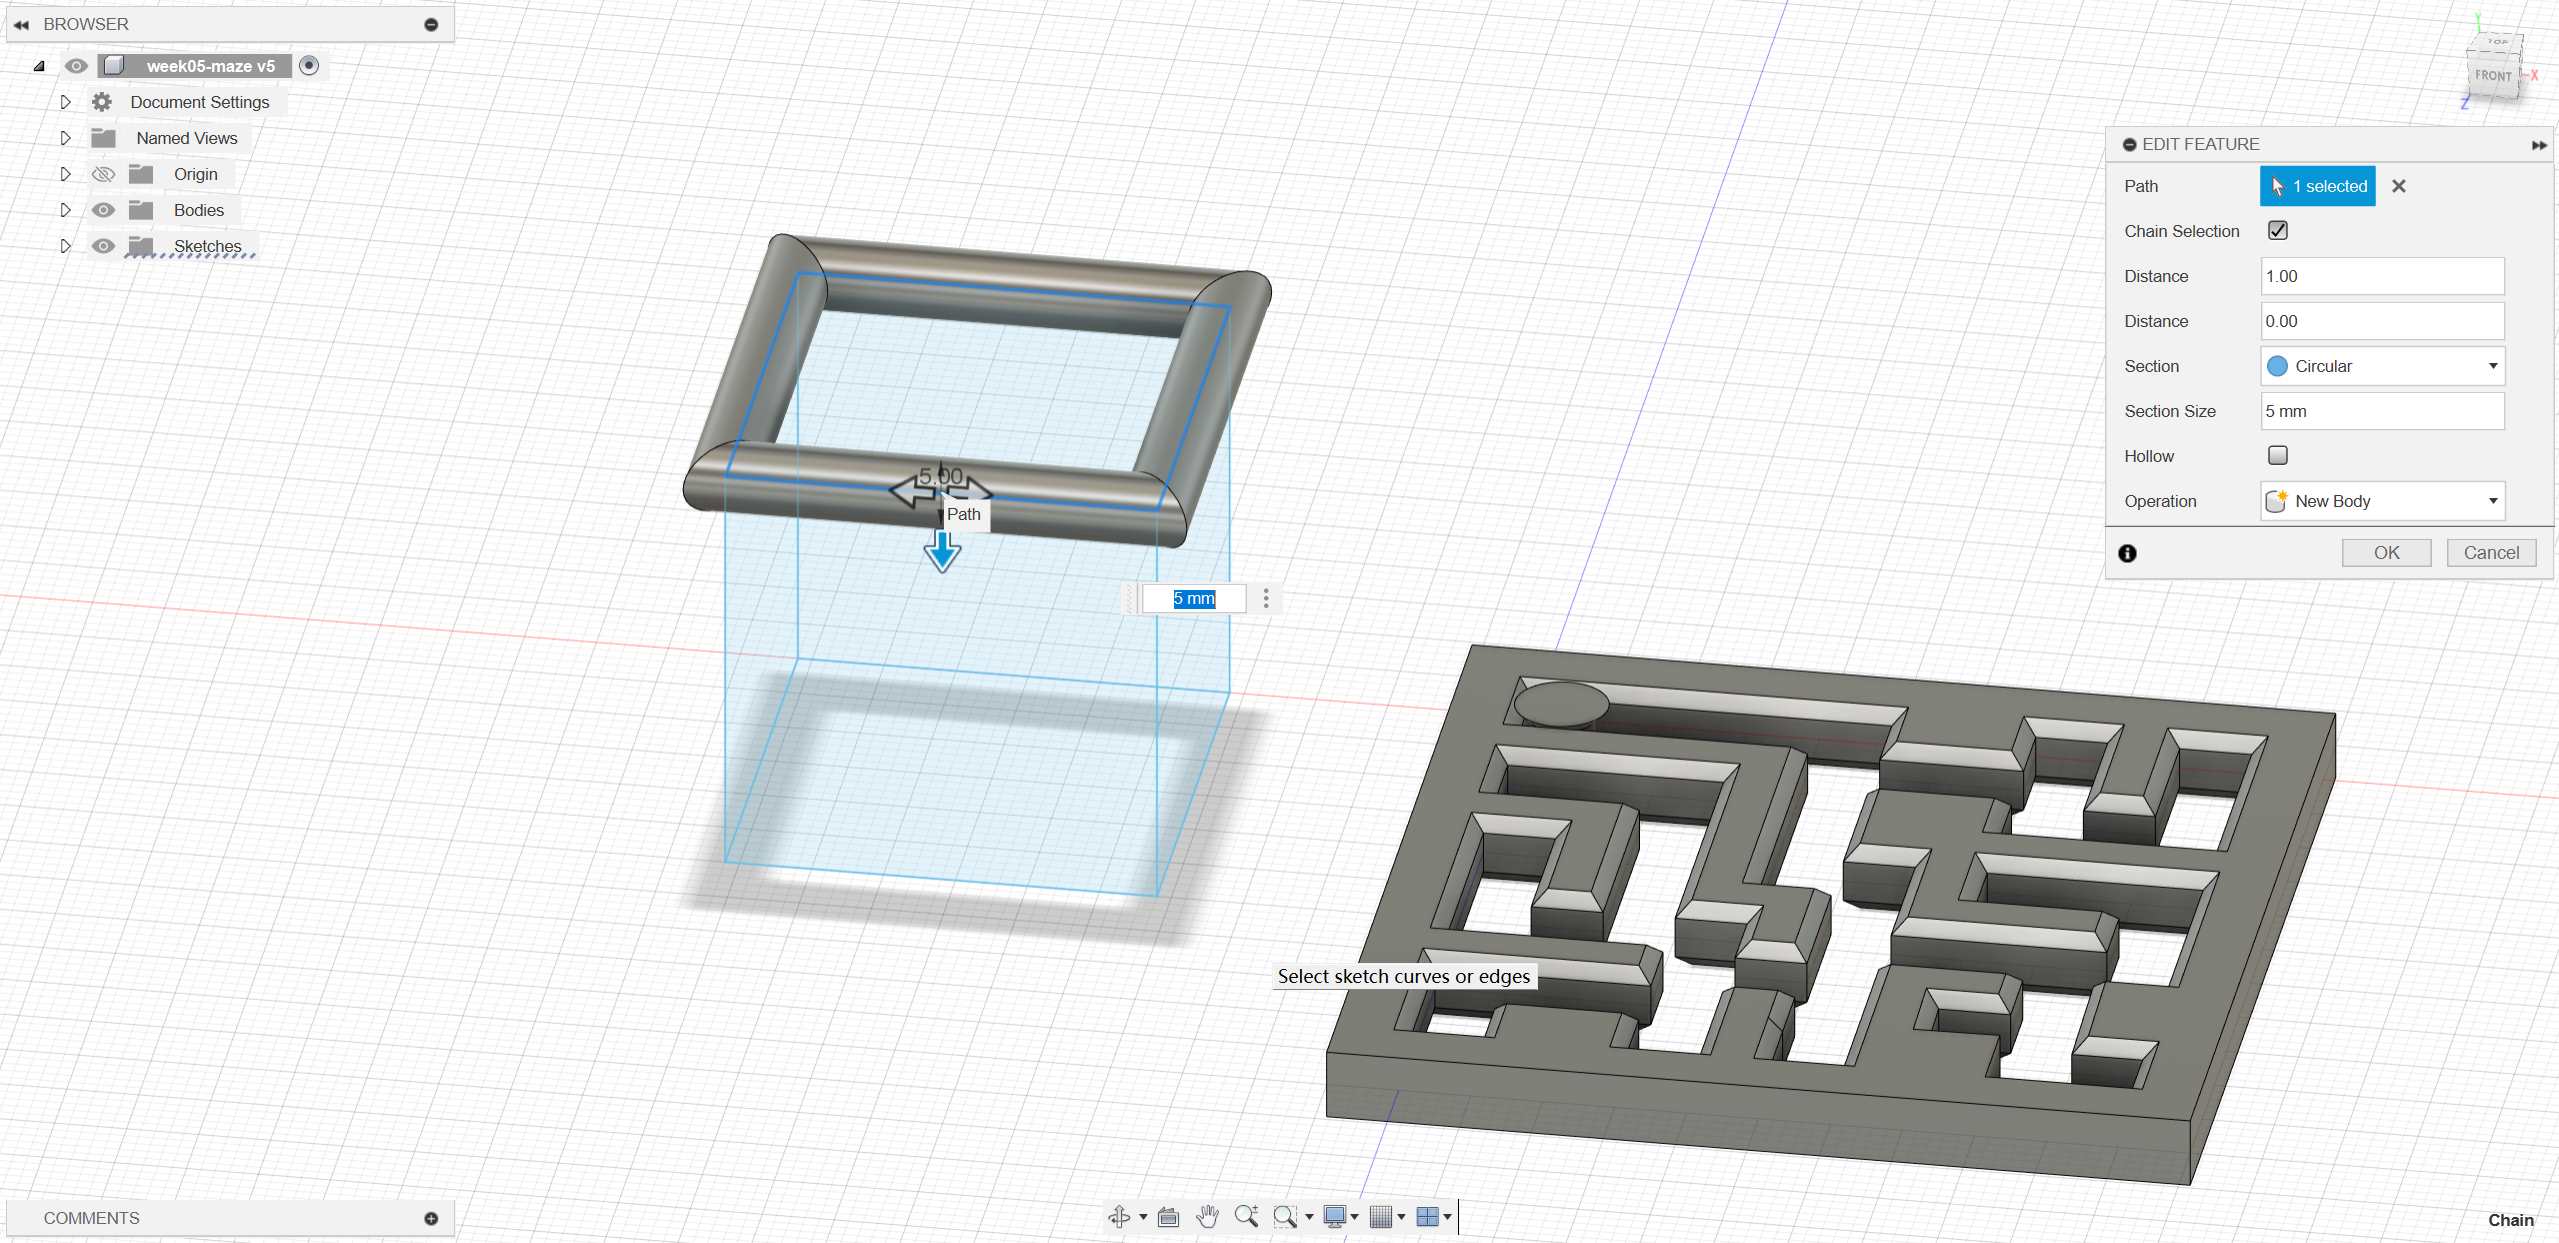
Select the “pipe” command to create the framework.
Use the “sphere” command to draw a sphere.
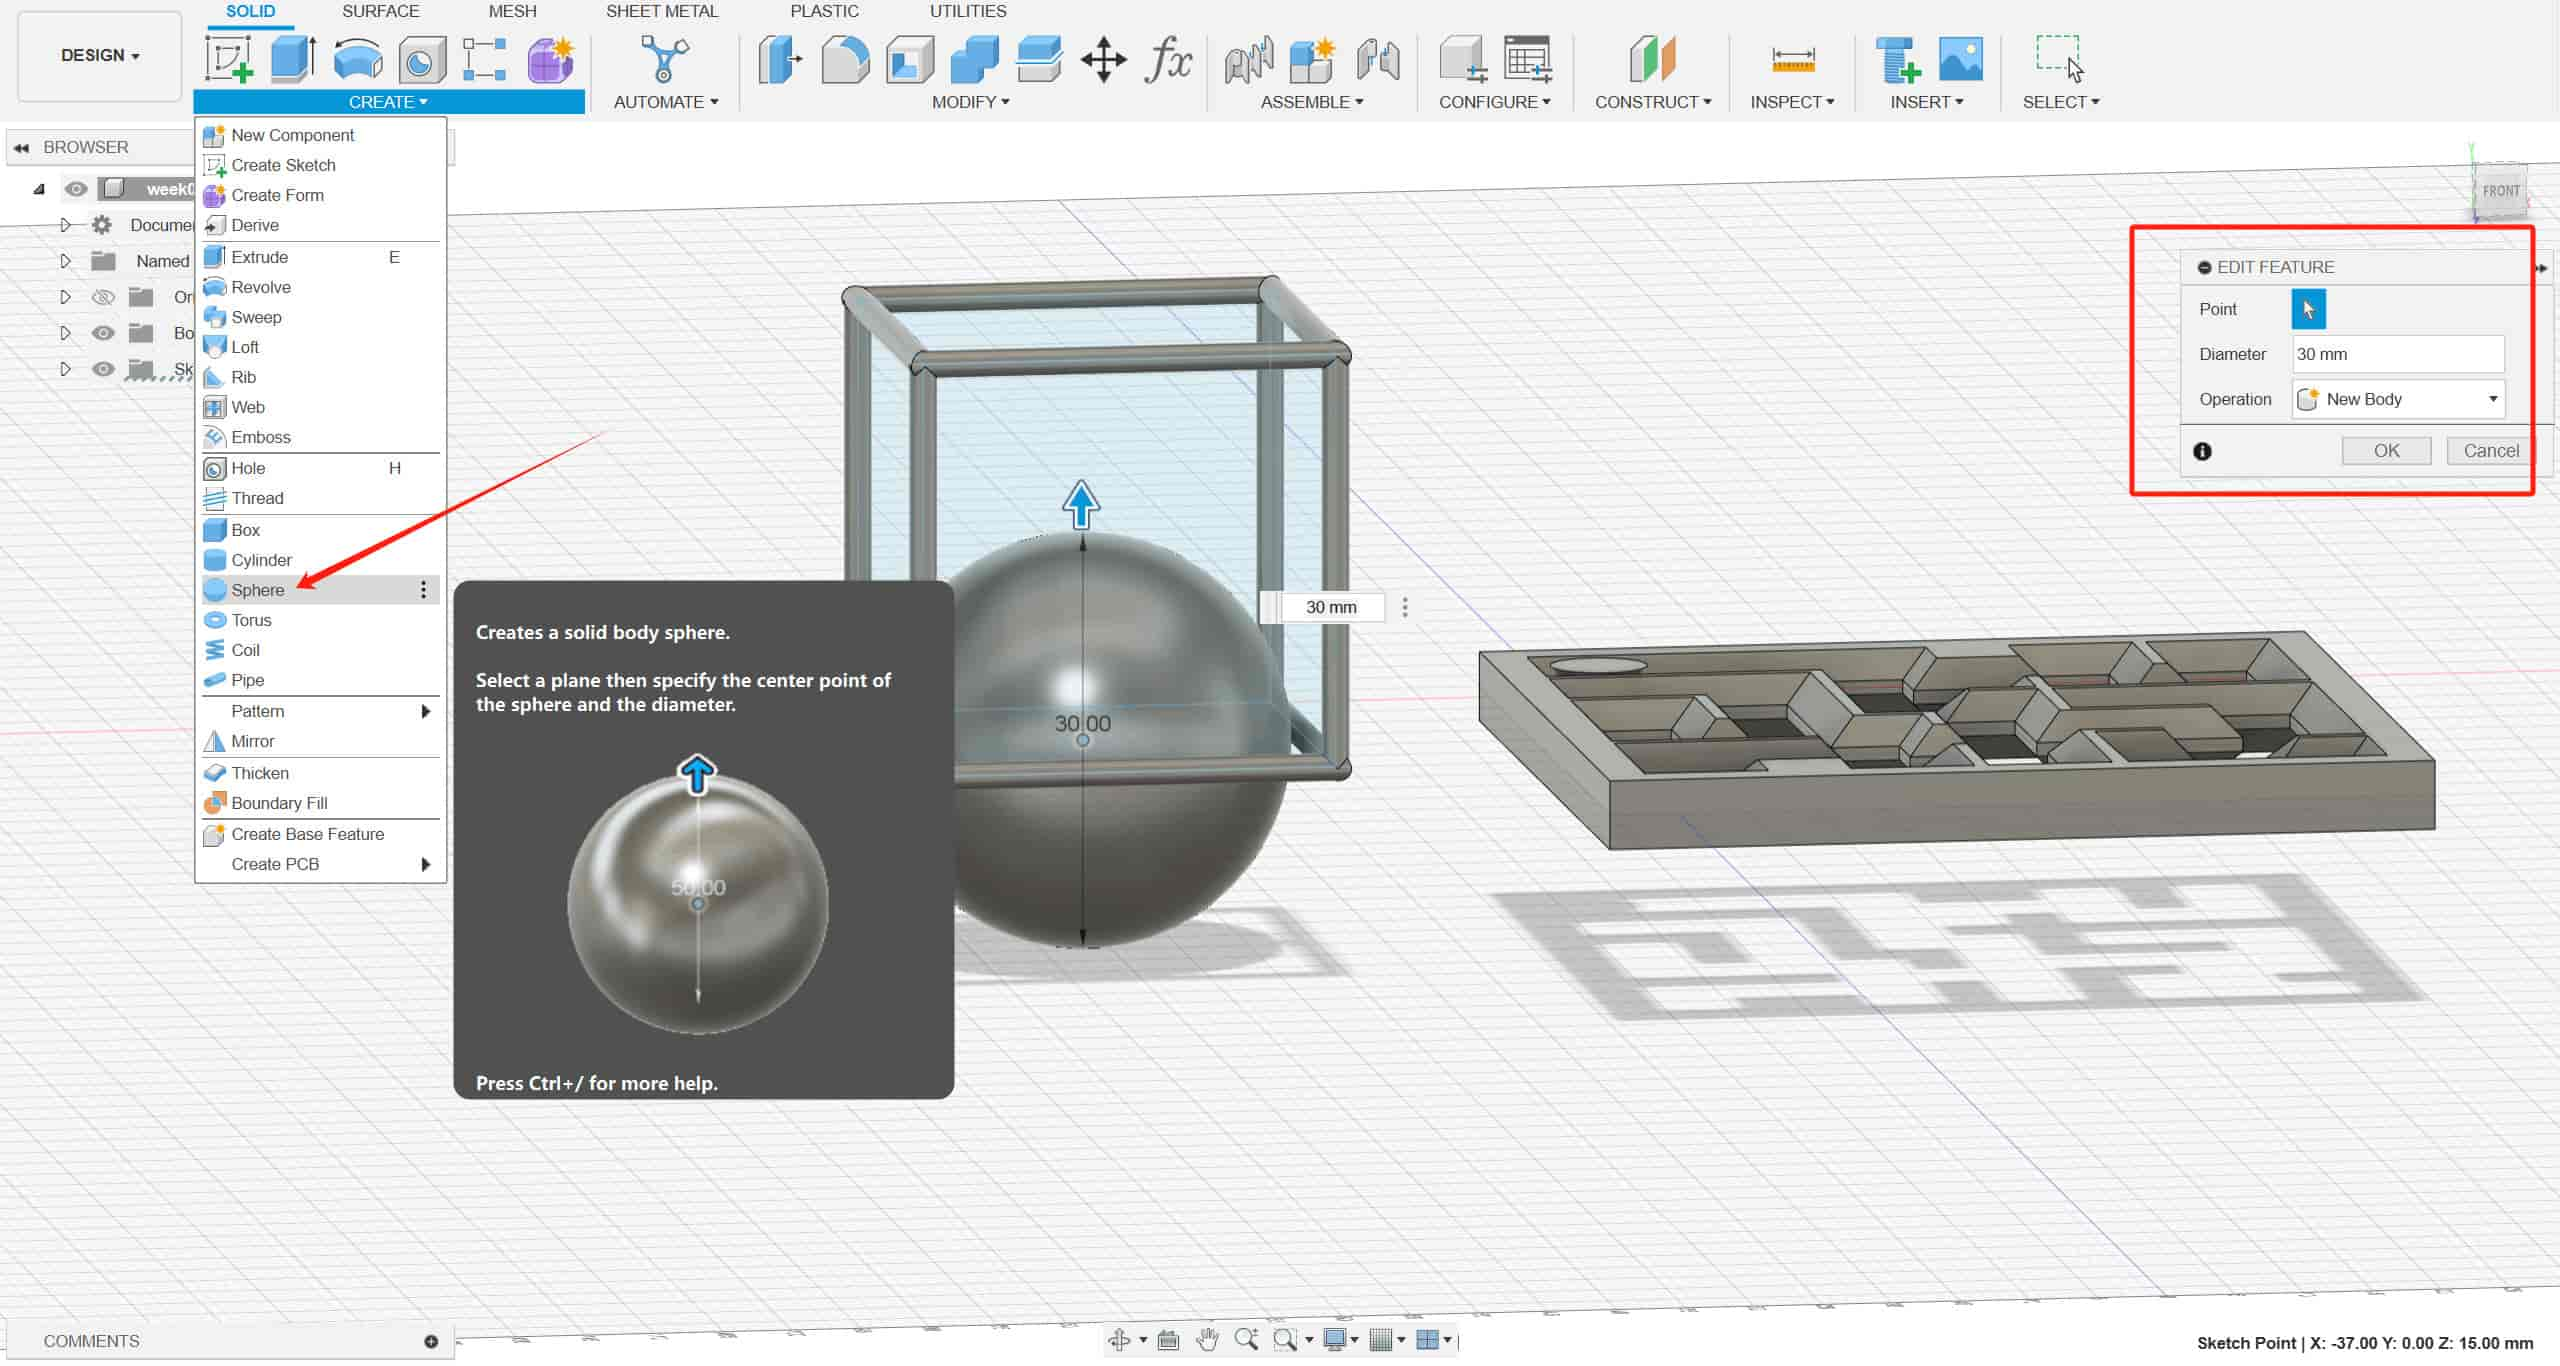
Use the “move” command to move the sphere and place it inside the cube frame.
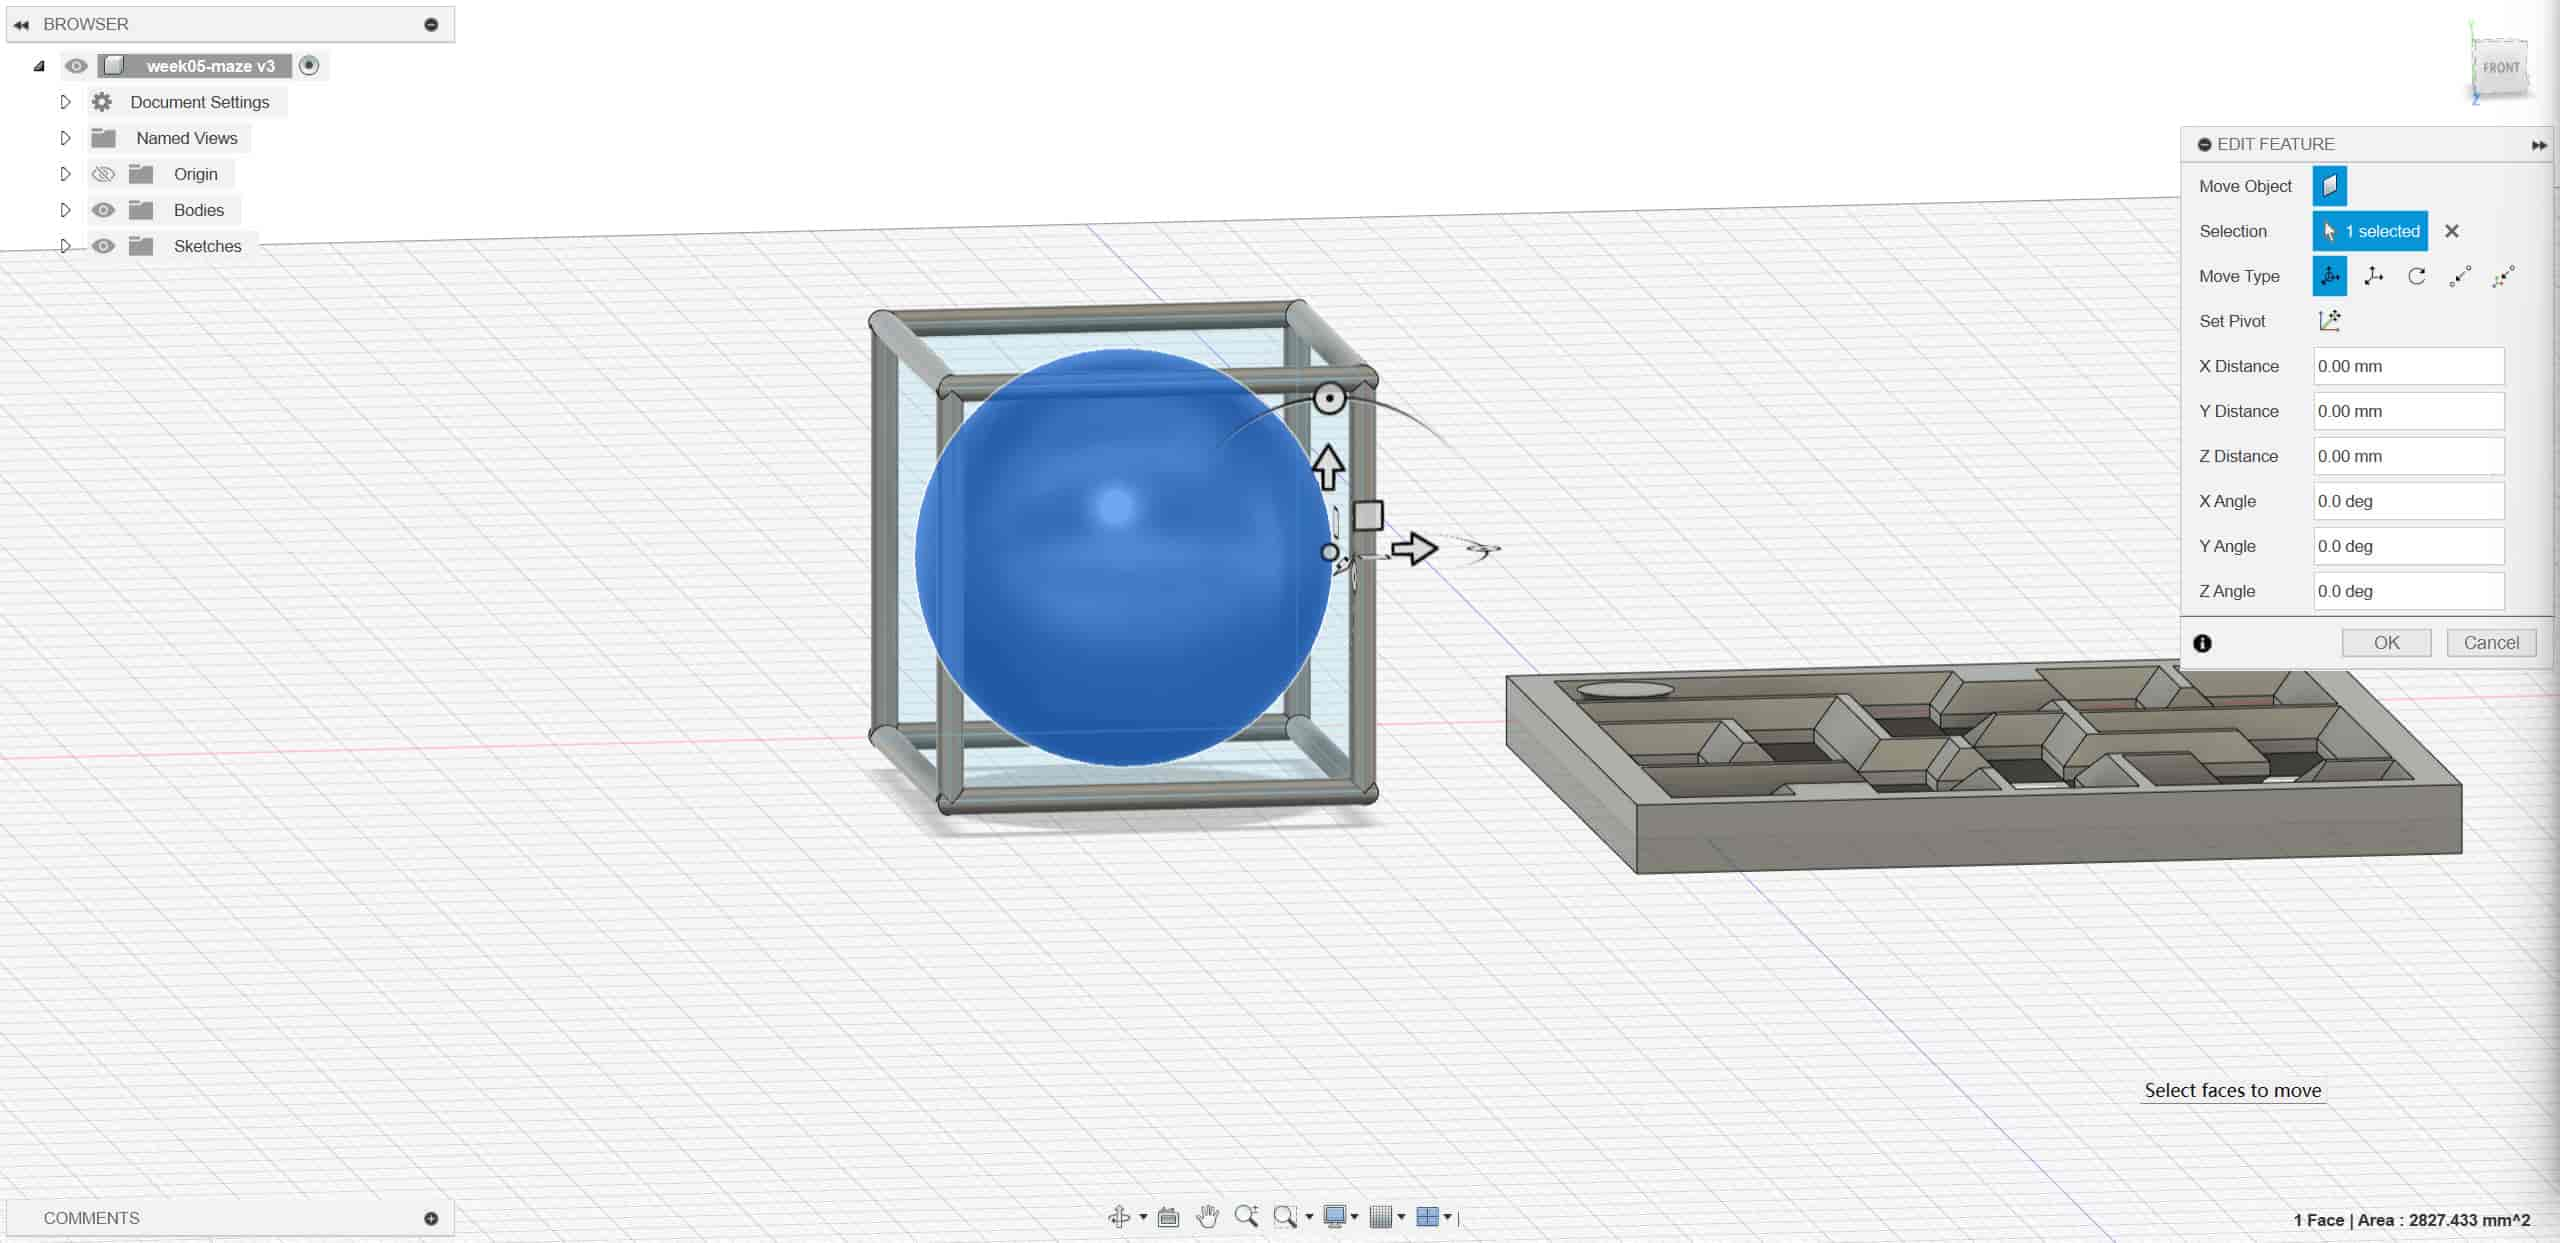
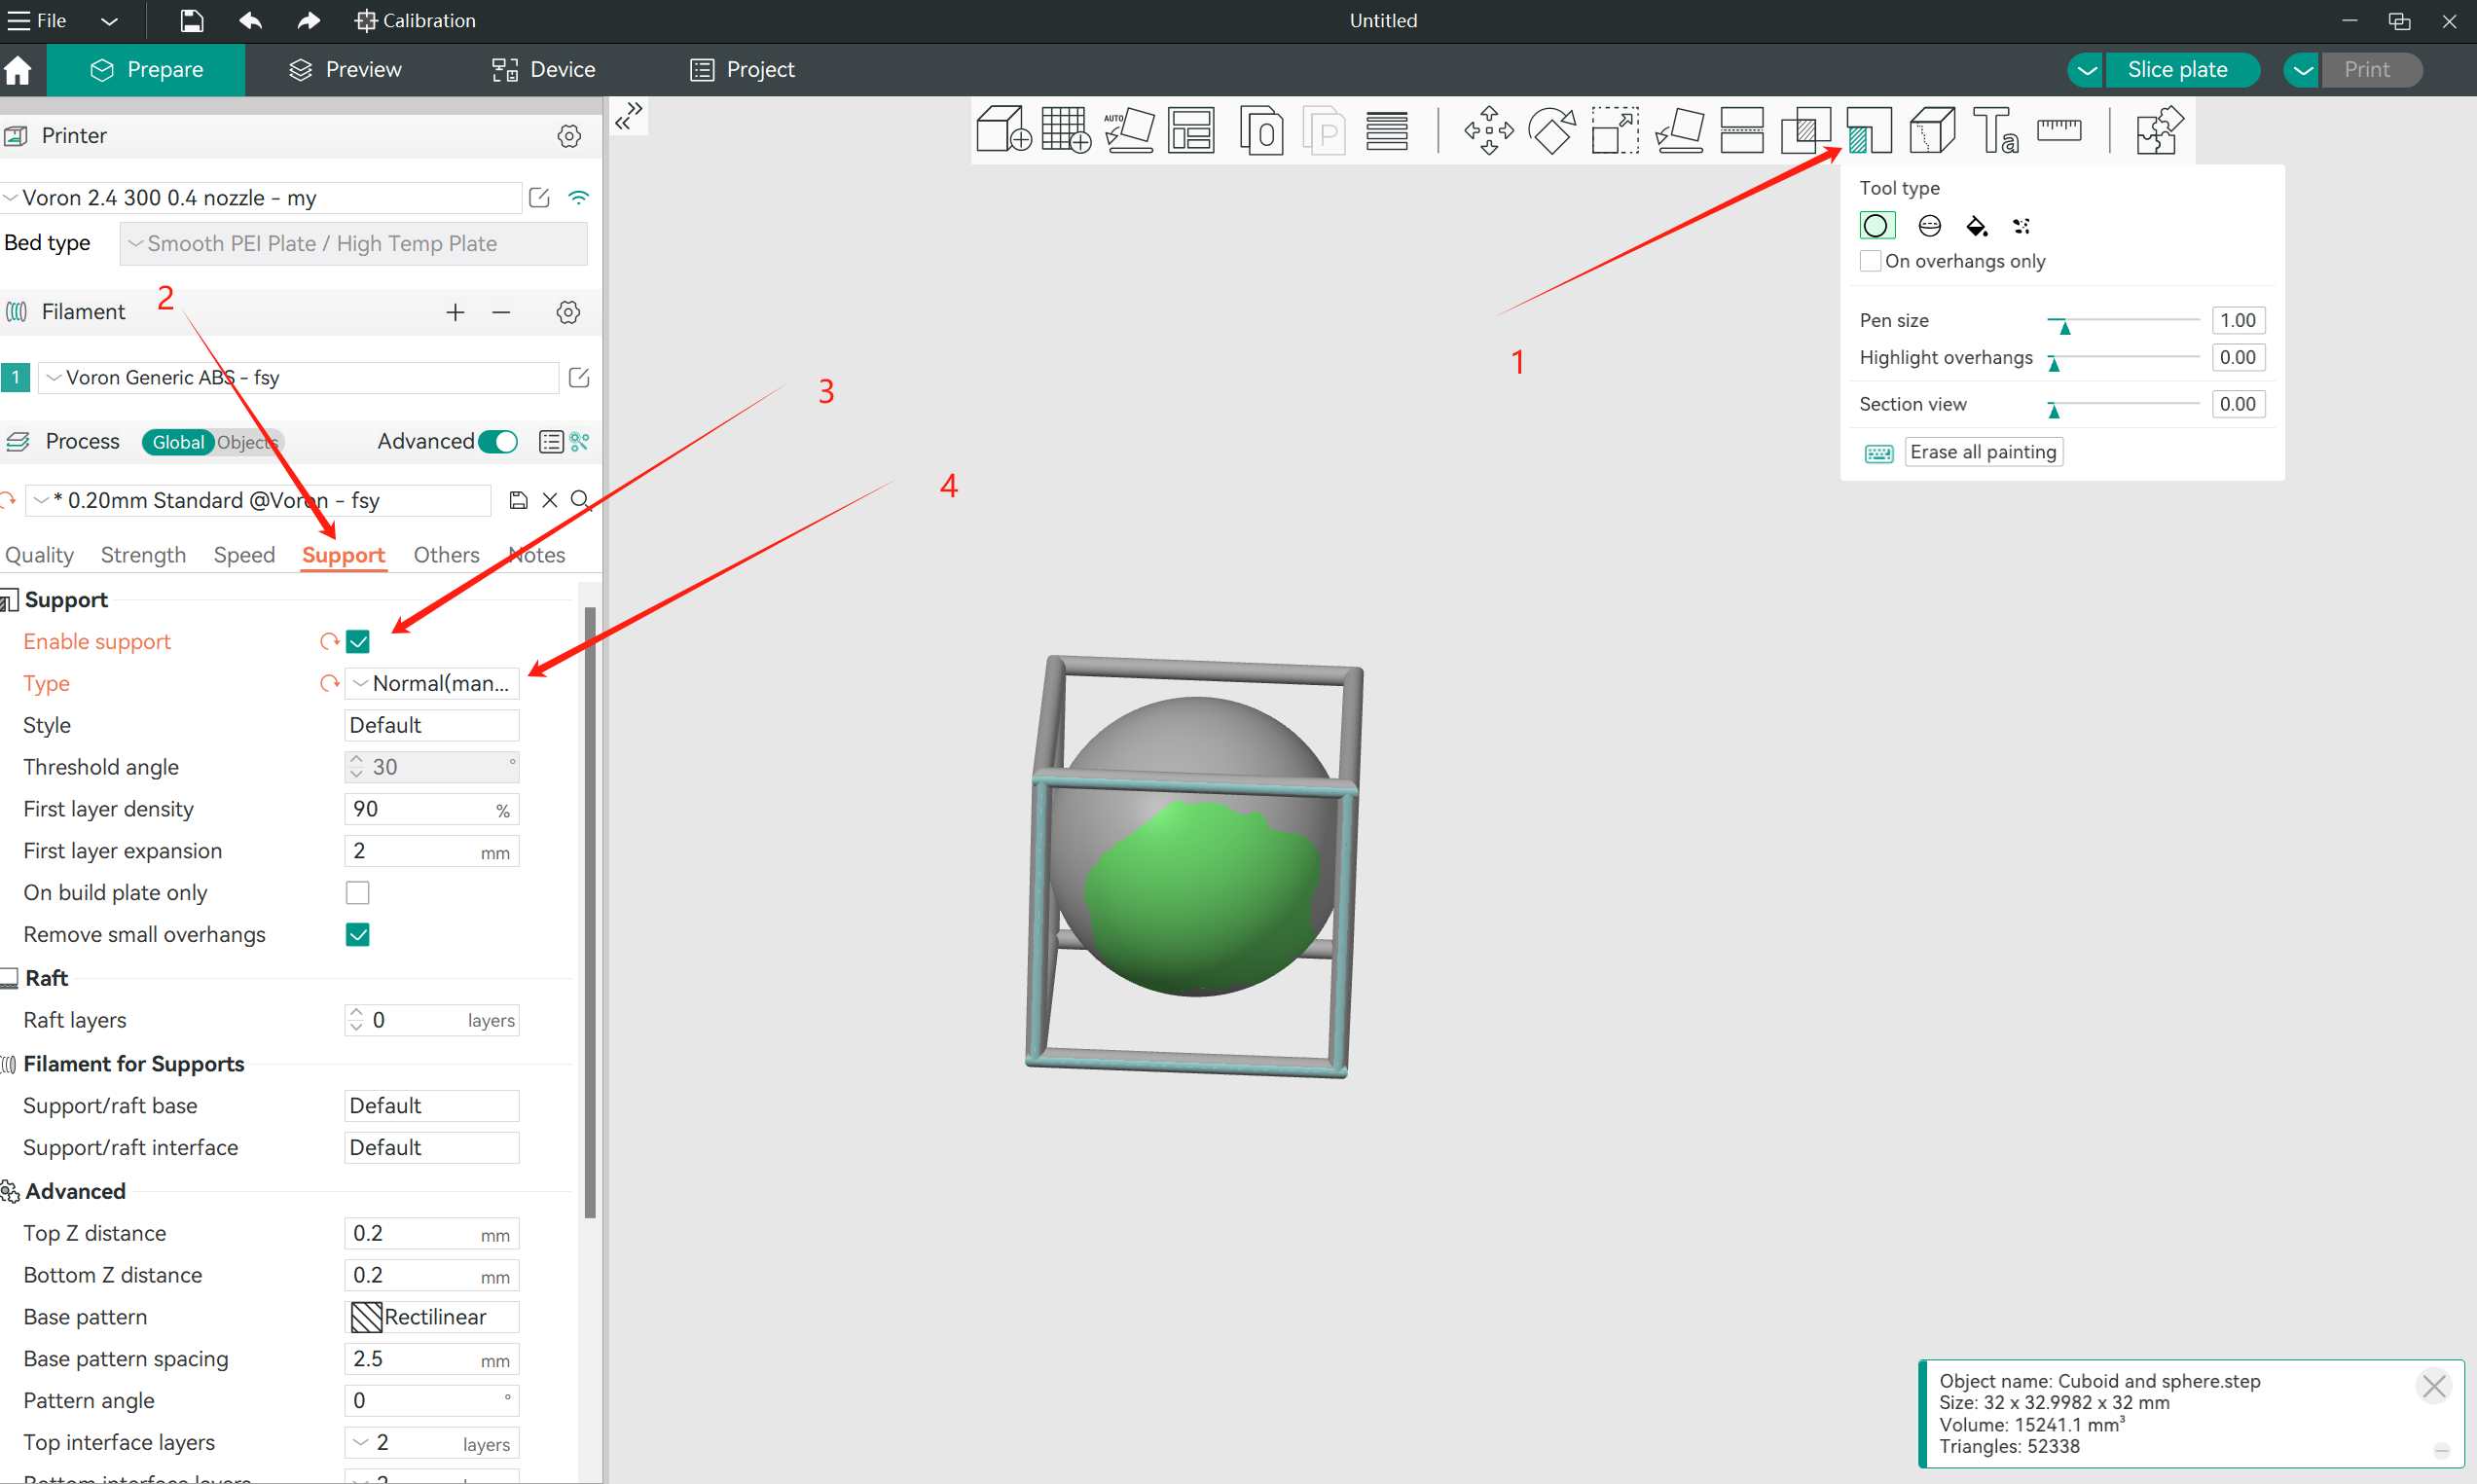
Correction Because the supports in the previous design were too thin and prone to breaking, I modified the diameter of the framework.
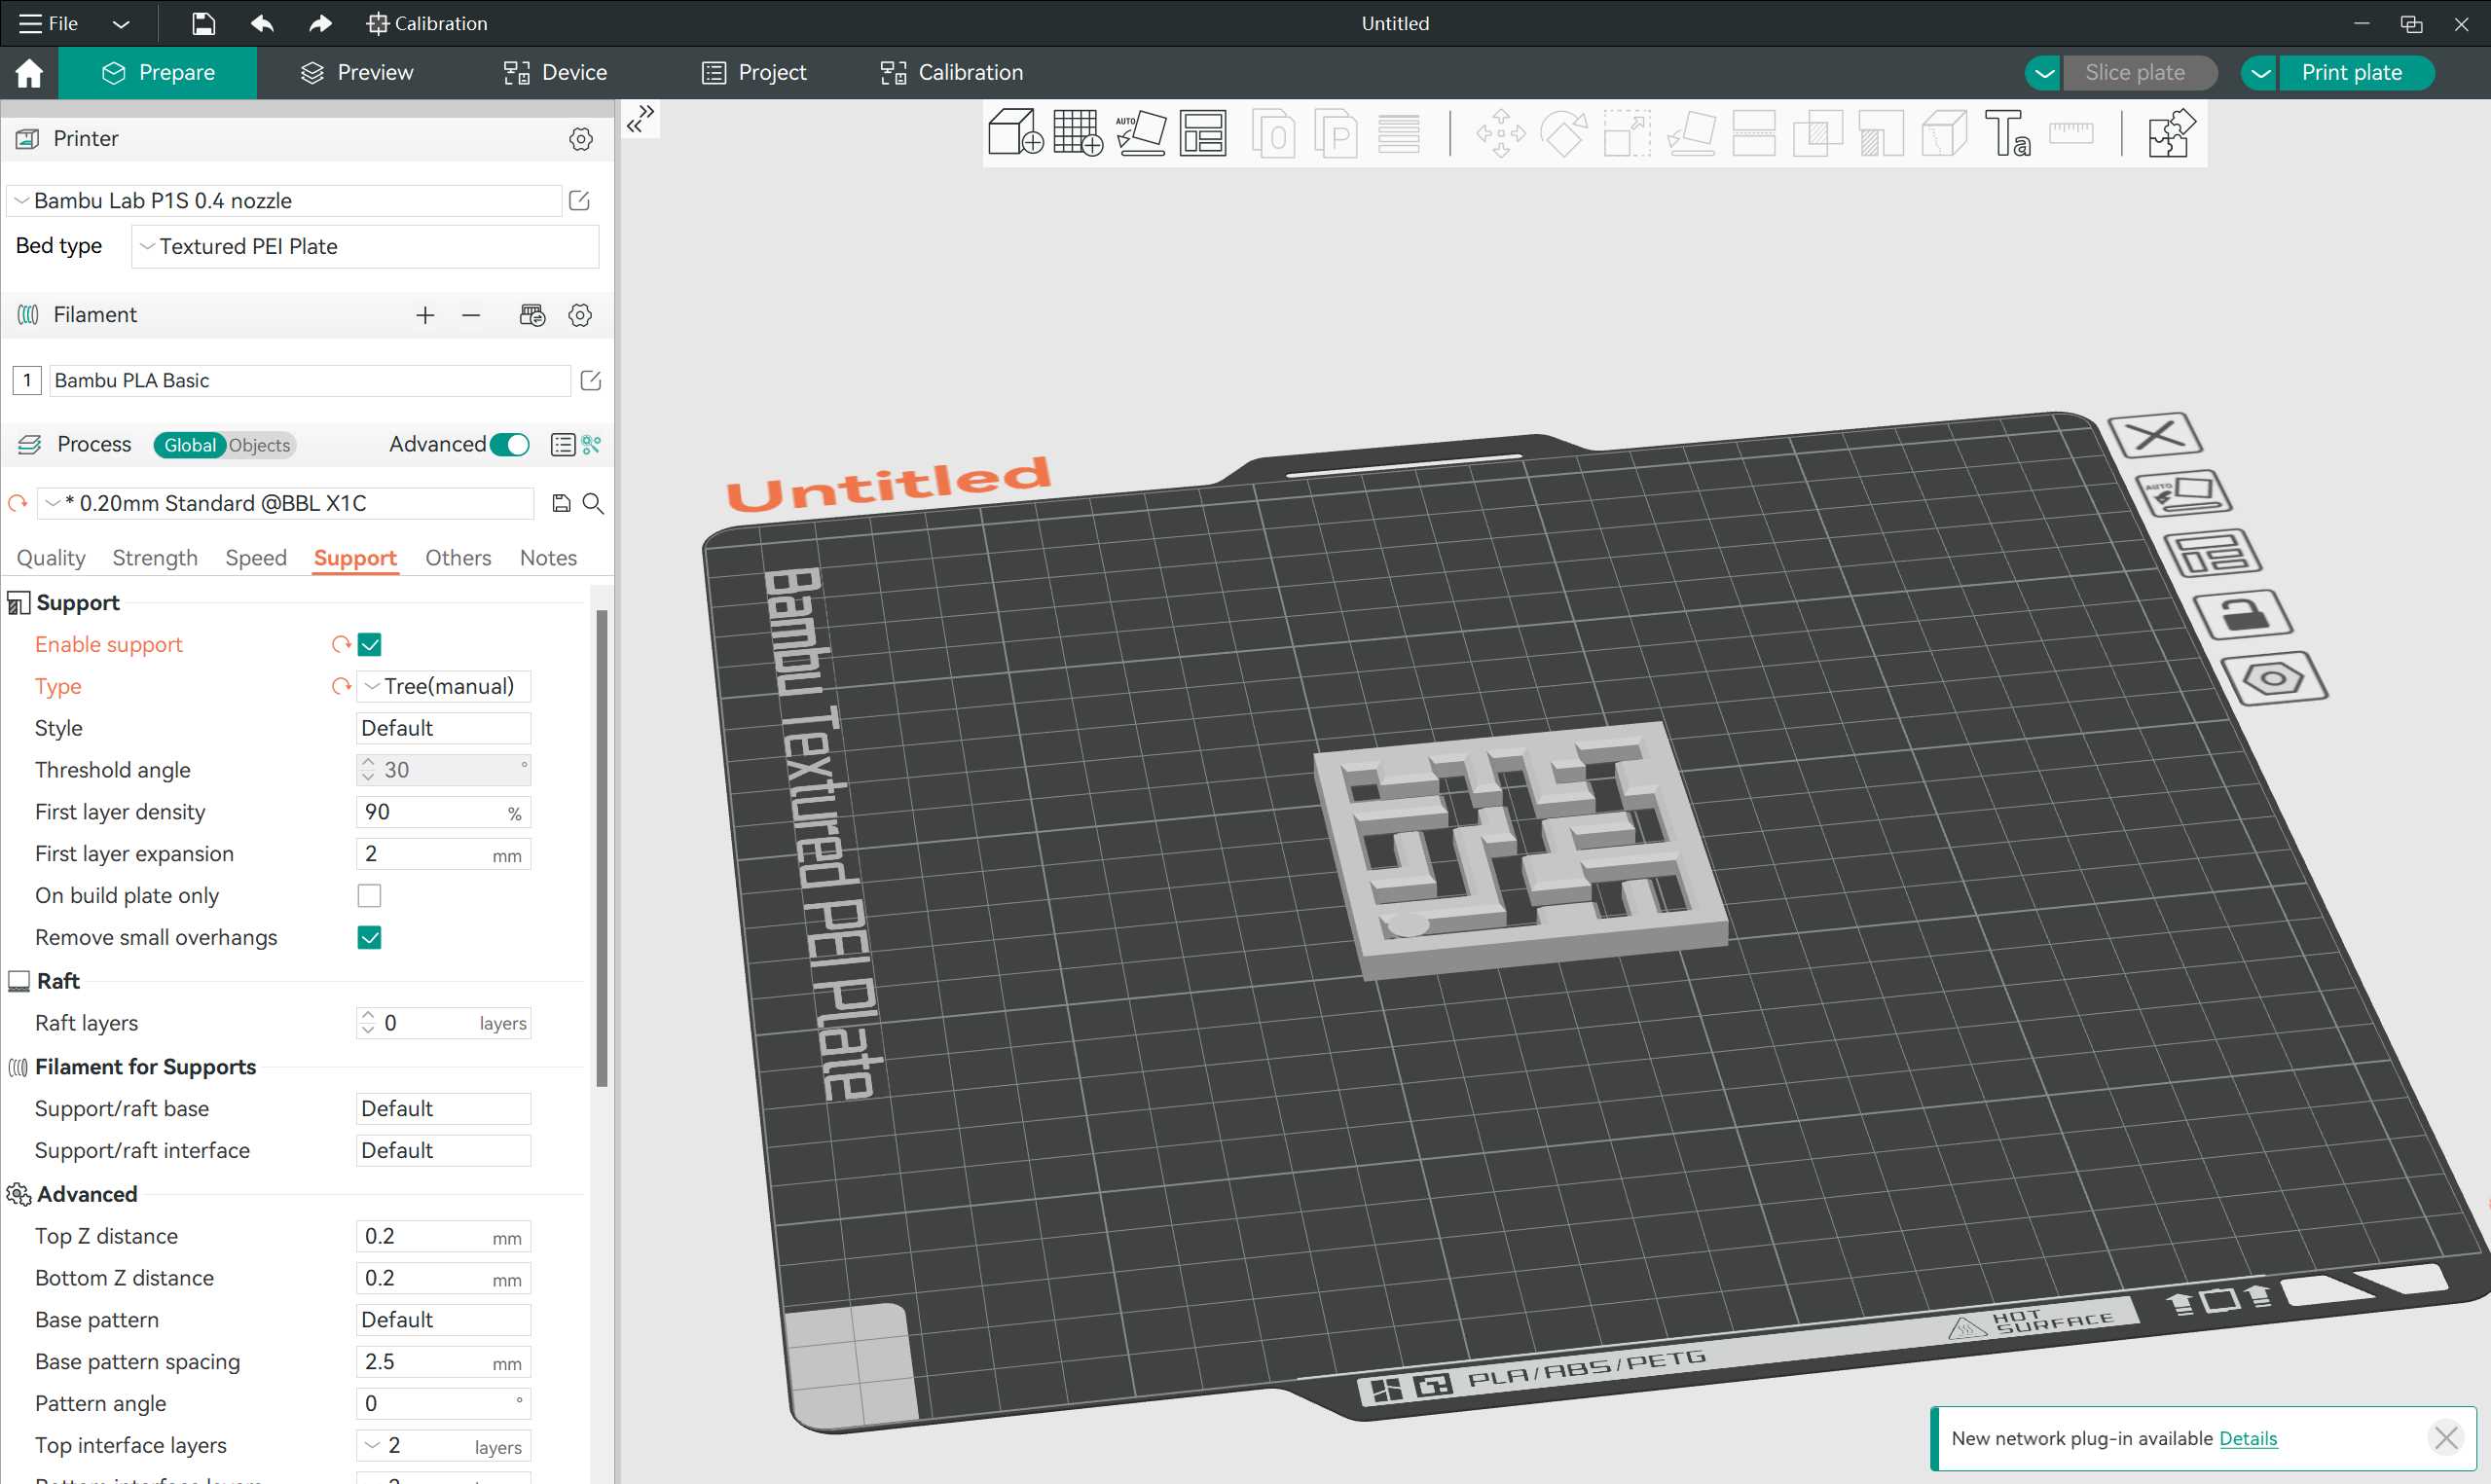
2.2 PRINT
Printer: Bambu Lab P1S / VORON 2.4
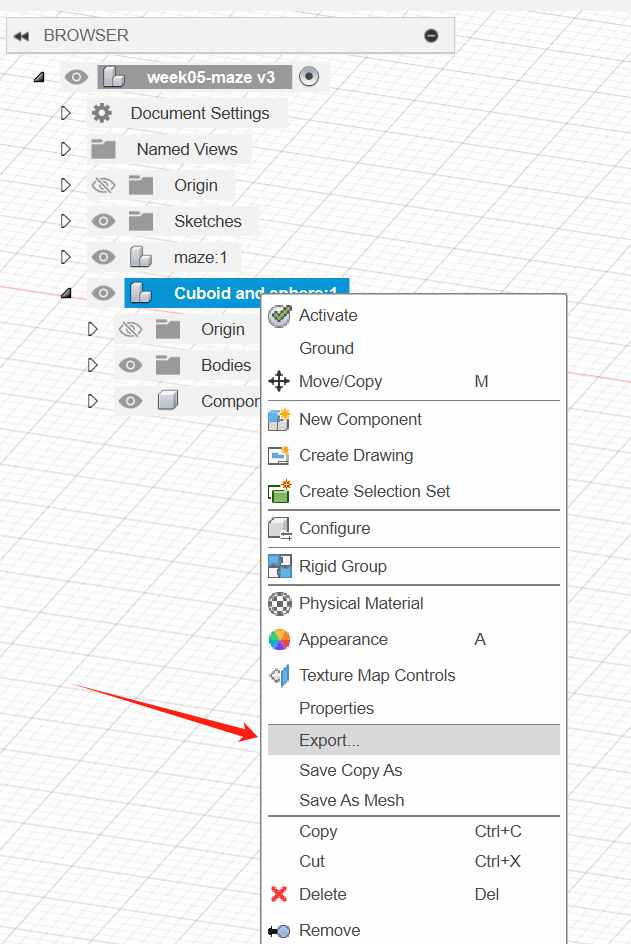
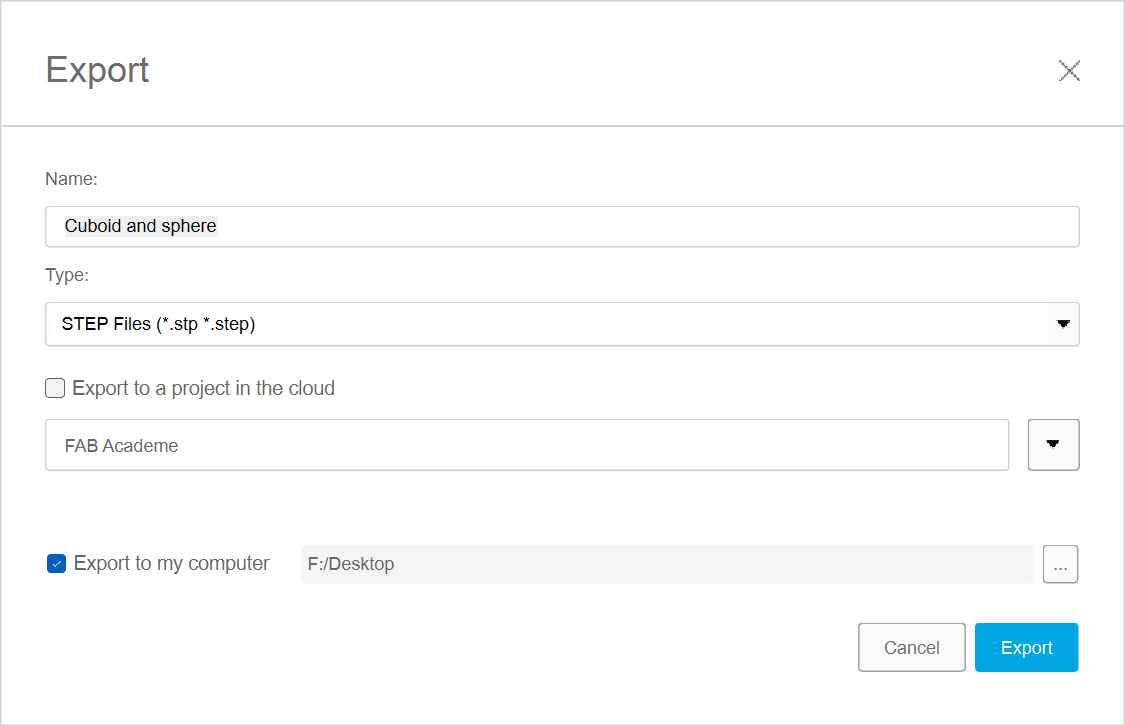
Right-click to export the file.
Open the slicing software.
I am using Orca Slicer here.
This is a modified software based on the Bambu Slicer slicing software. It features the interface of Bambu Slicer along with the algorithms of Prusa and Cura.
Import the file into the slicing software.

After selecting the appropriate parameters, I preview the slicing.
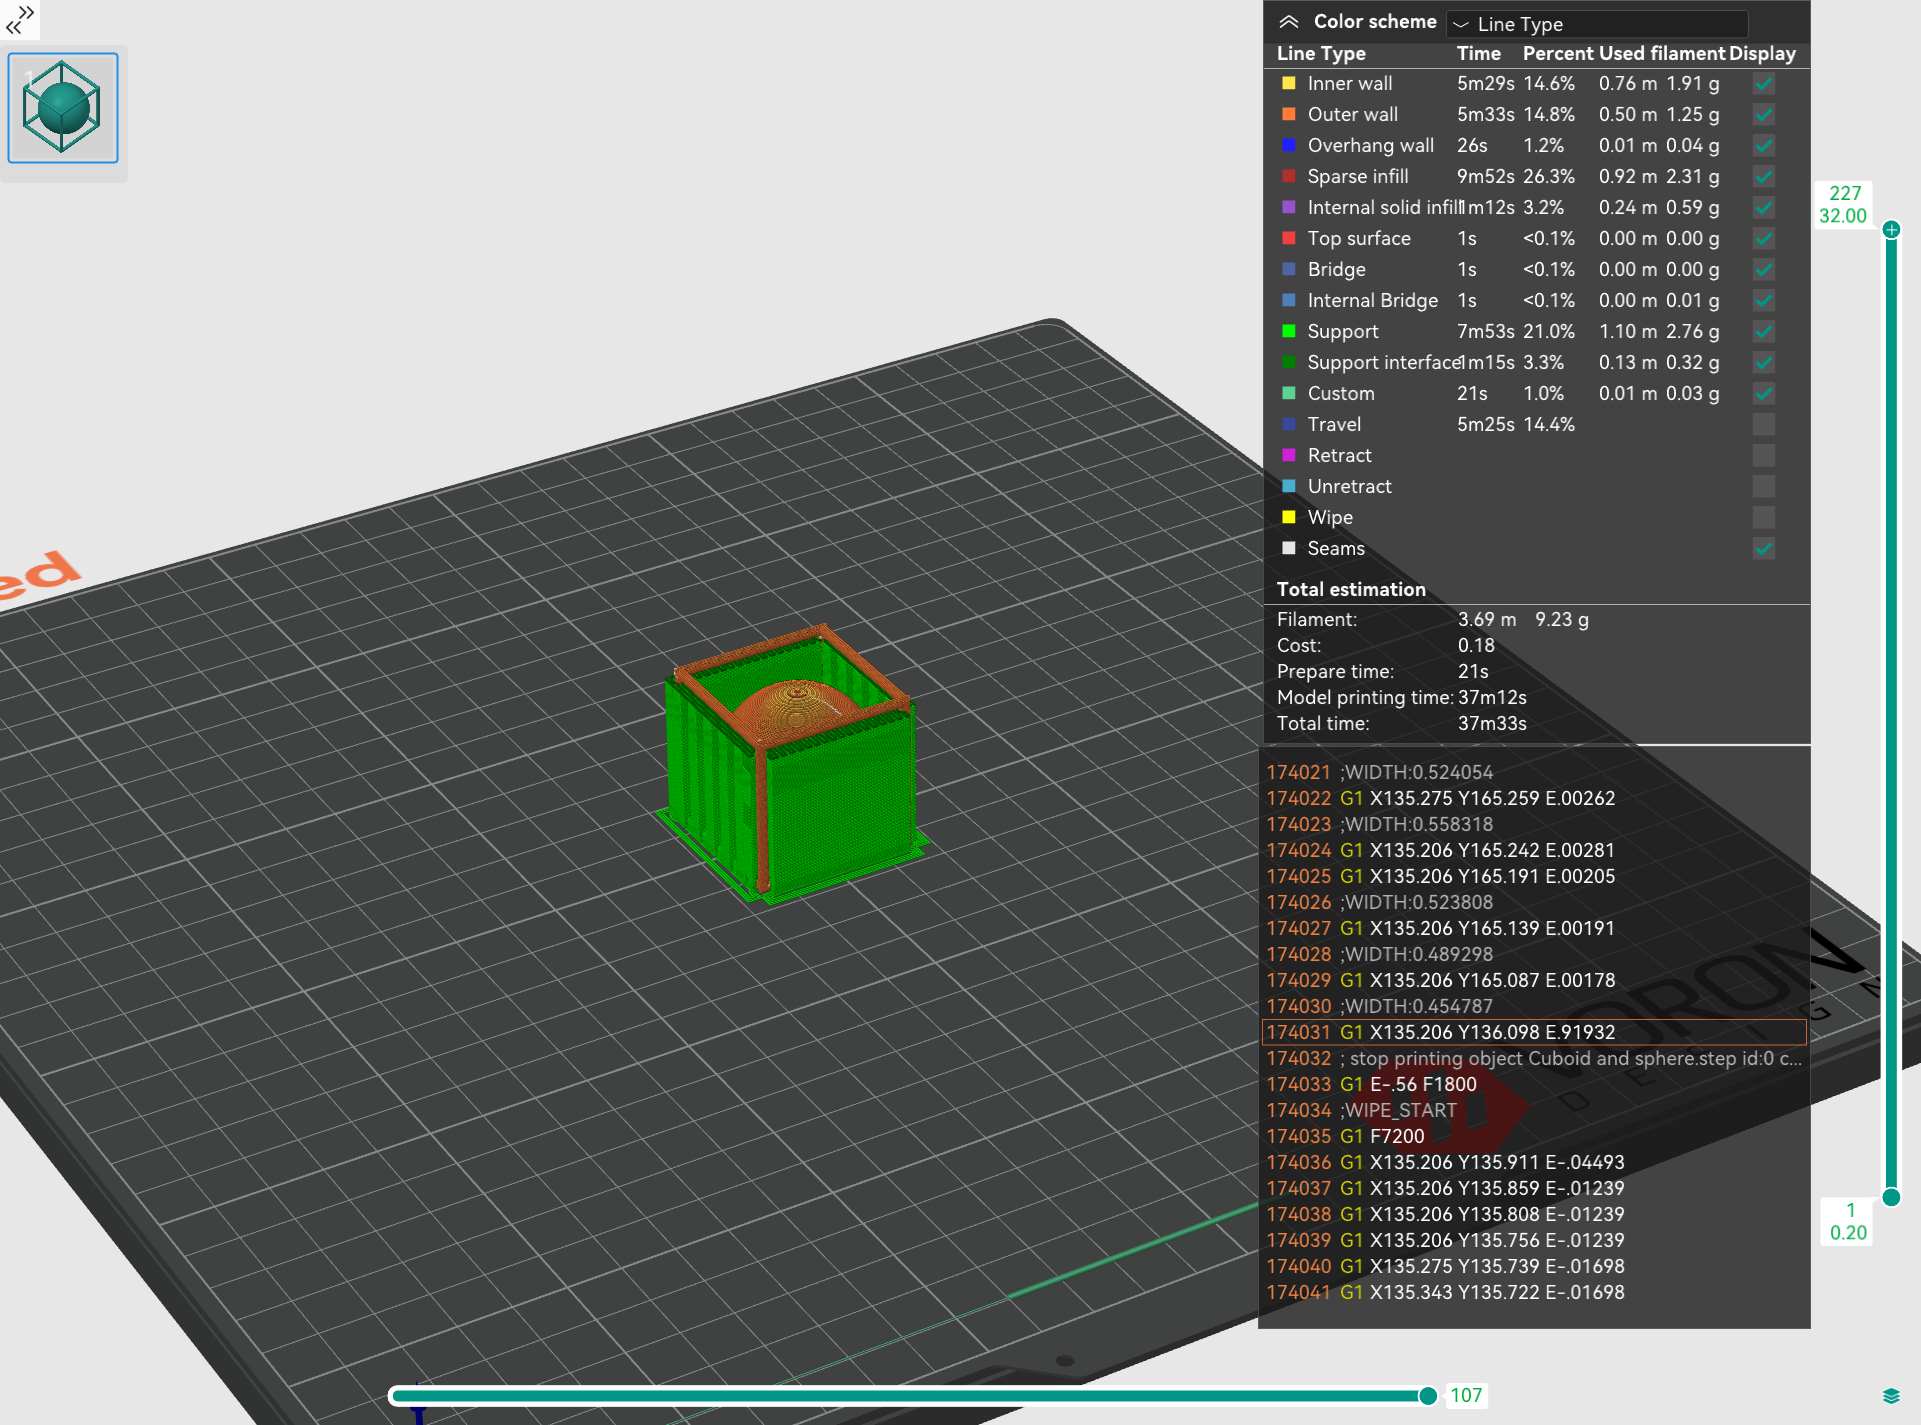
Having too many supports is not good news😭😭😭, so I choose to manually draw the supports.
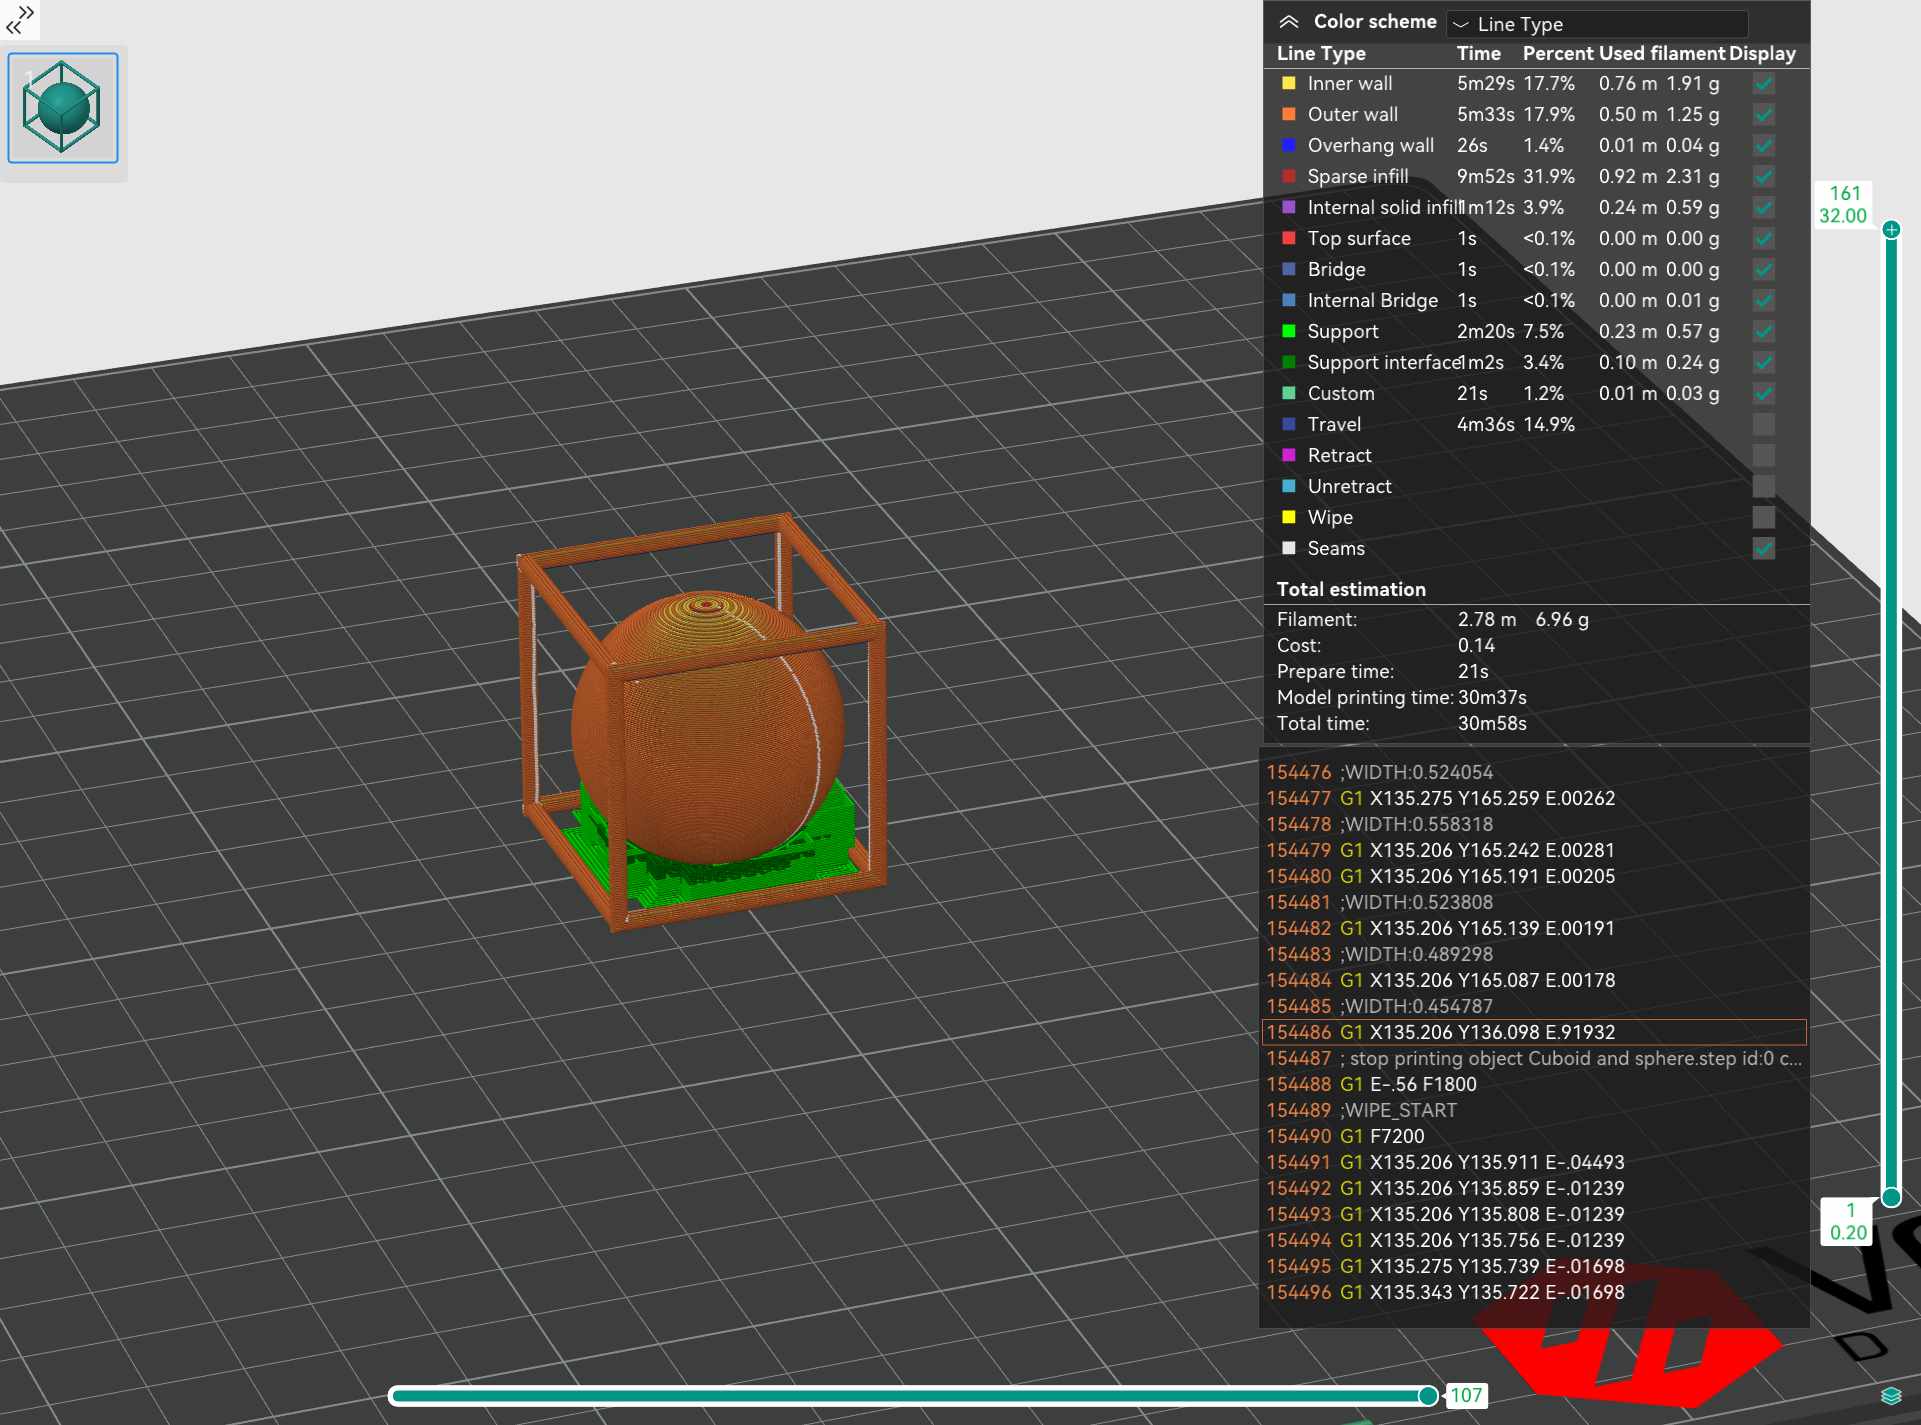
It looks much better now.🥰🥰🥰
Similarly, I imported the maze into the slicing software and proceeded with the slicing.
Correction
Ohhh! It failed😭😭😭. I concluded that the reason was the too small contact area of the design’s base.
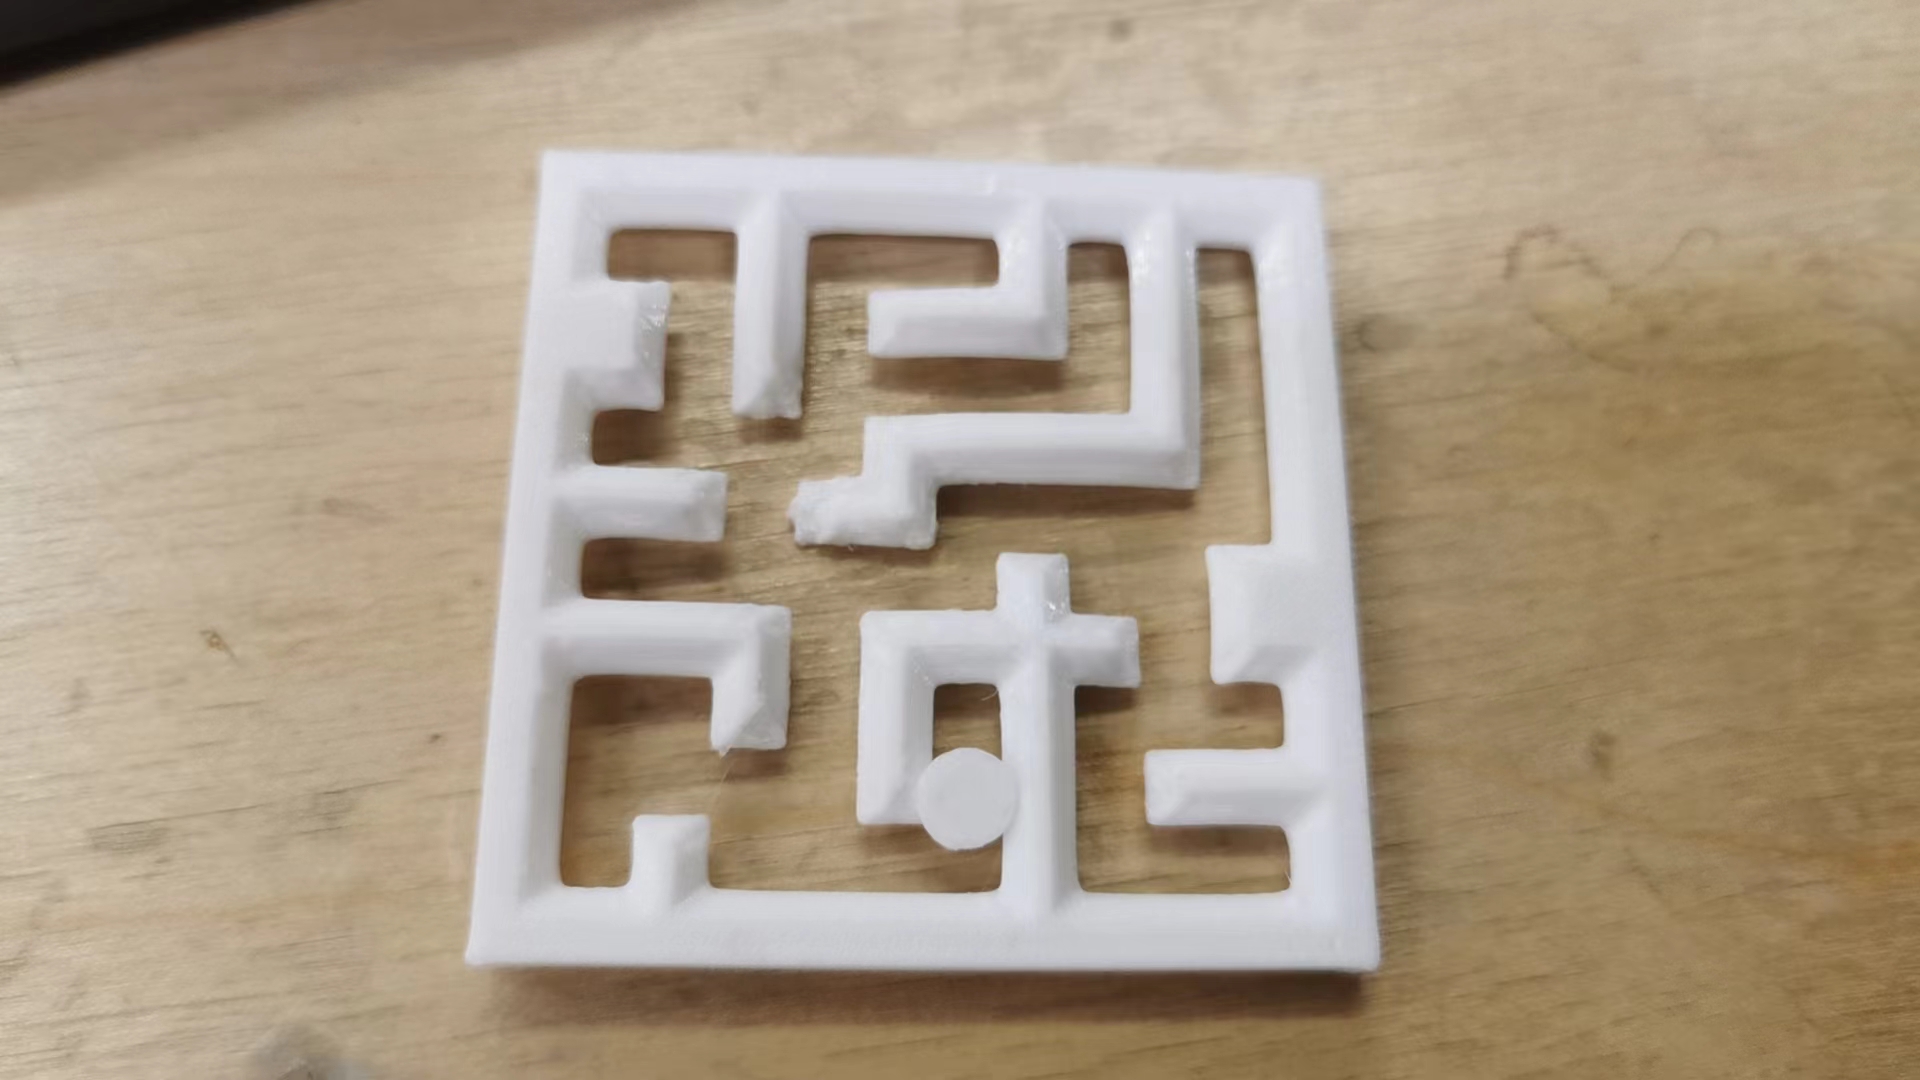
The final outcome:
3. 3D scan
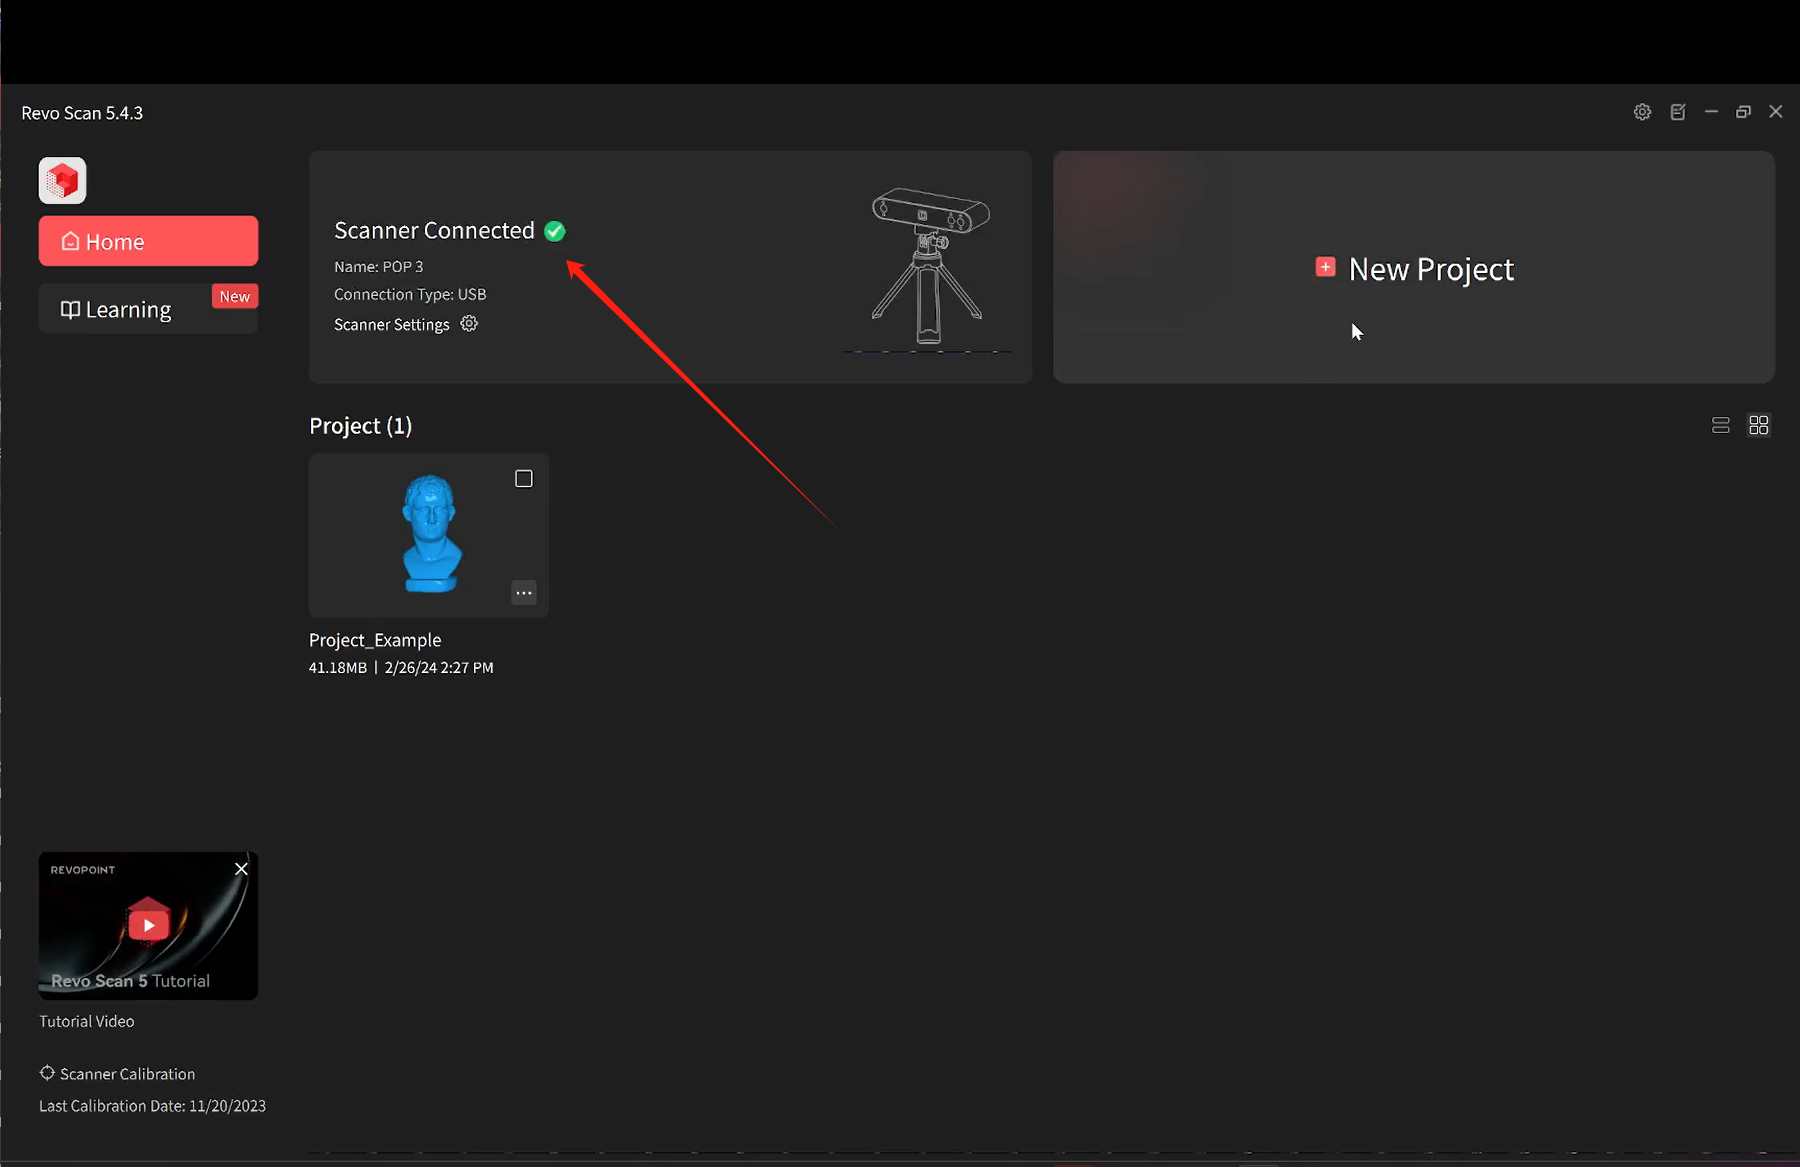
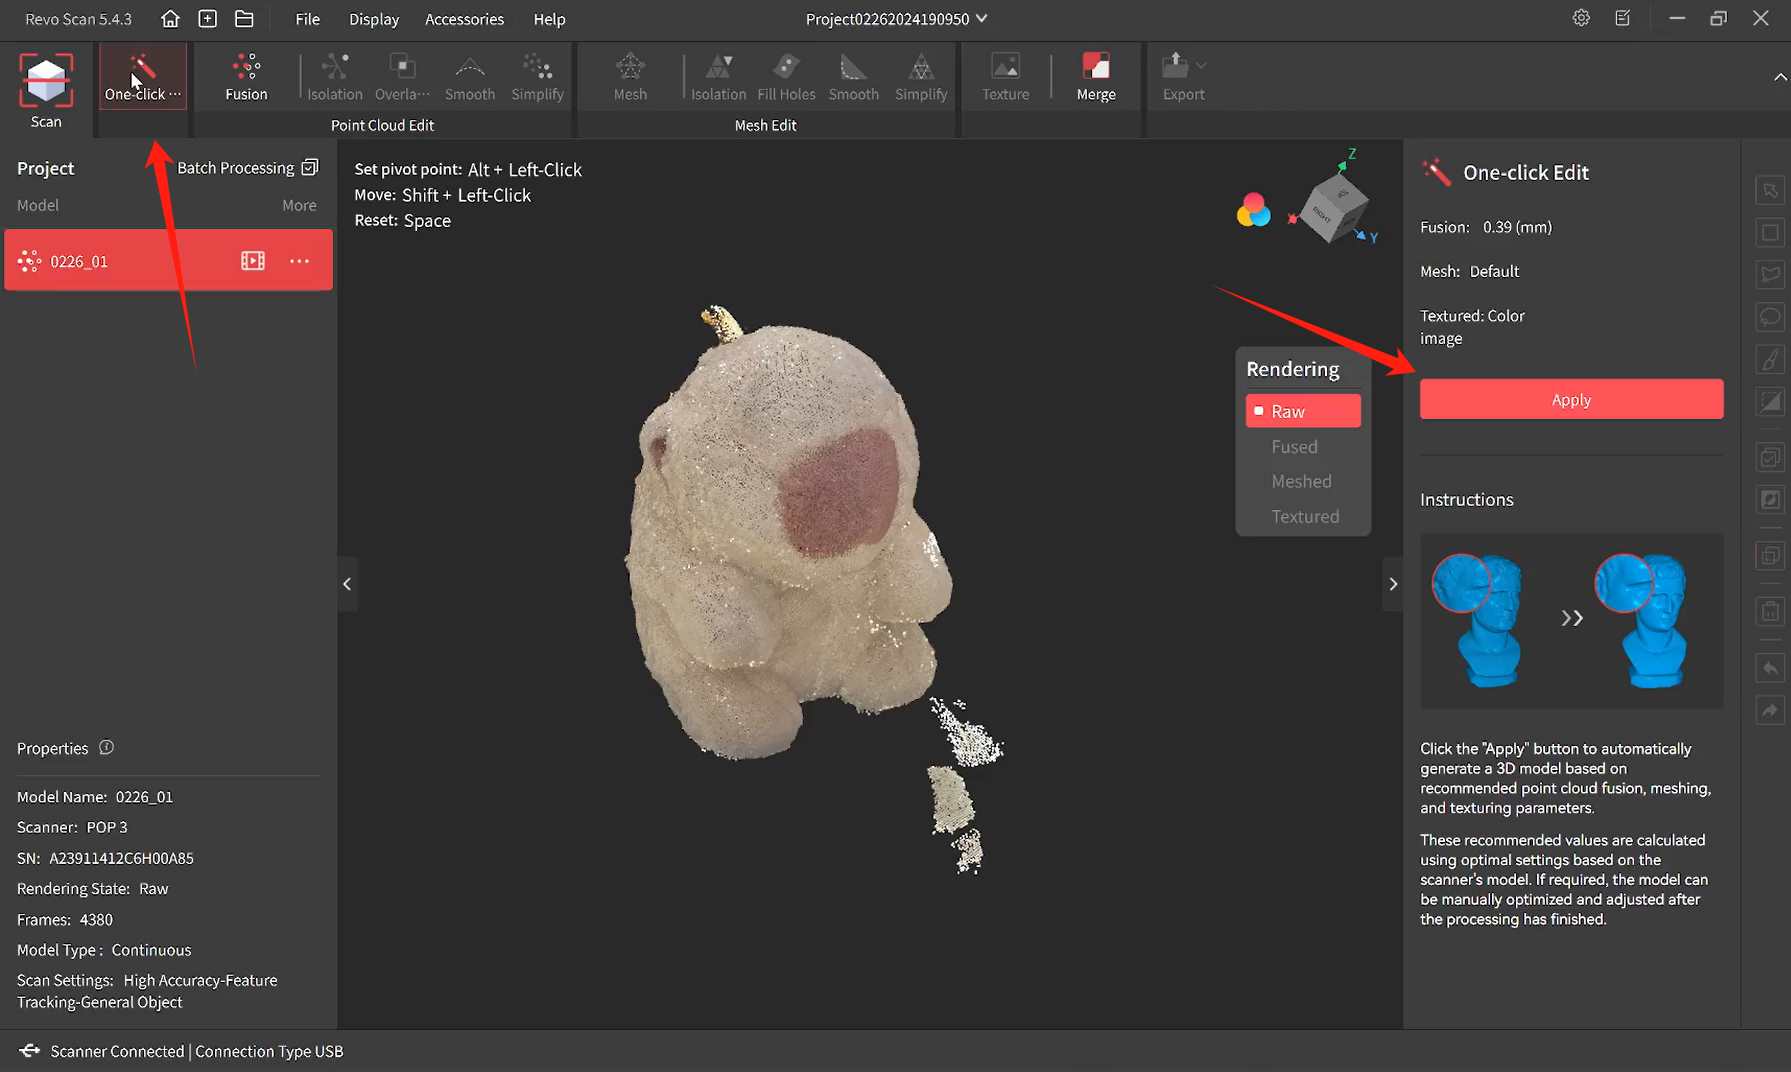
I used Revo Pop3 for the 3D scanning process.
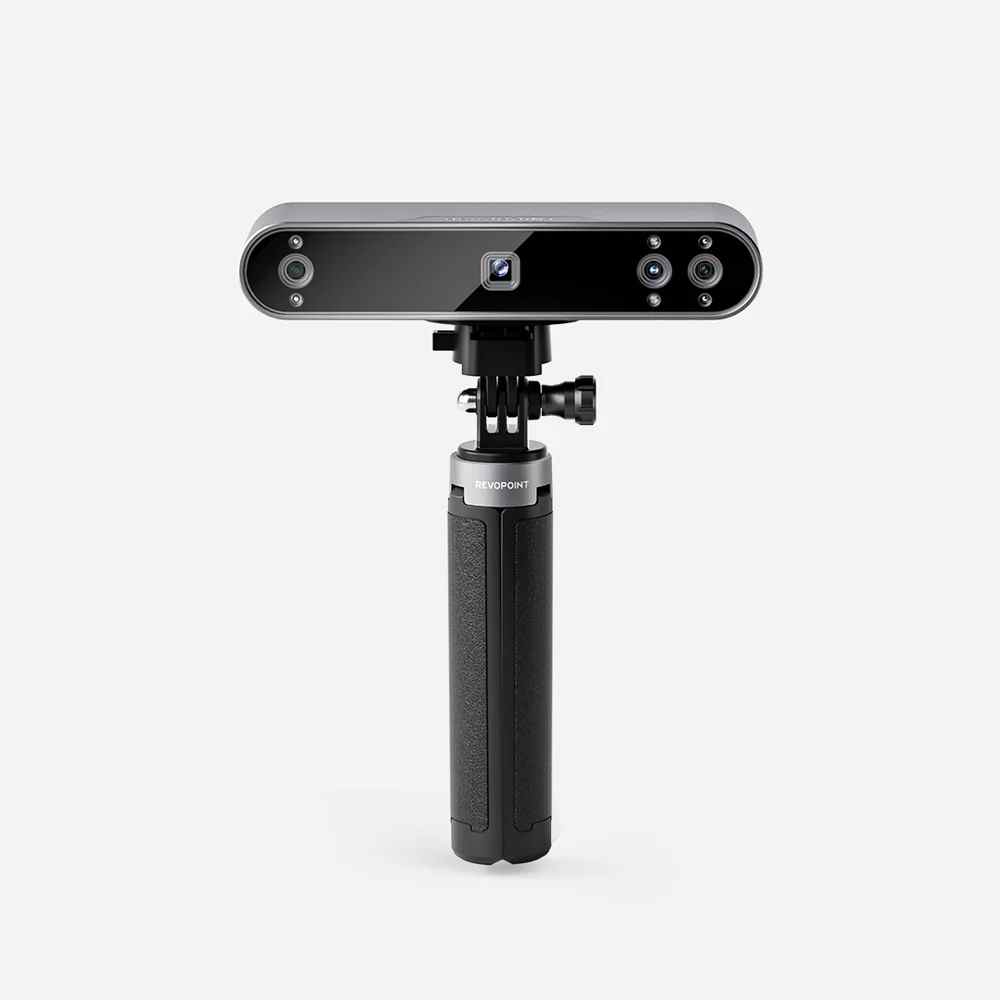
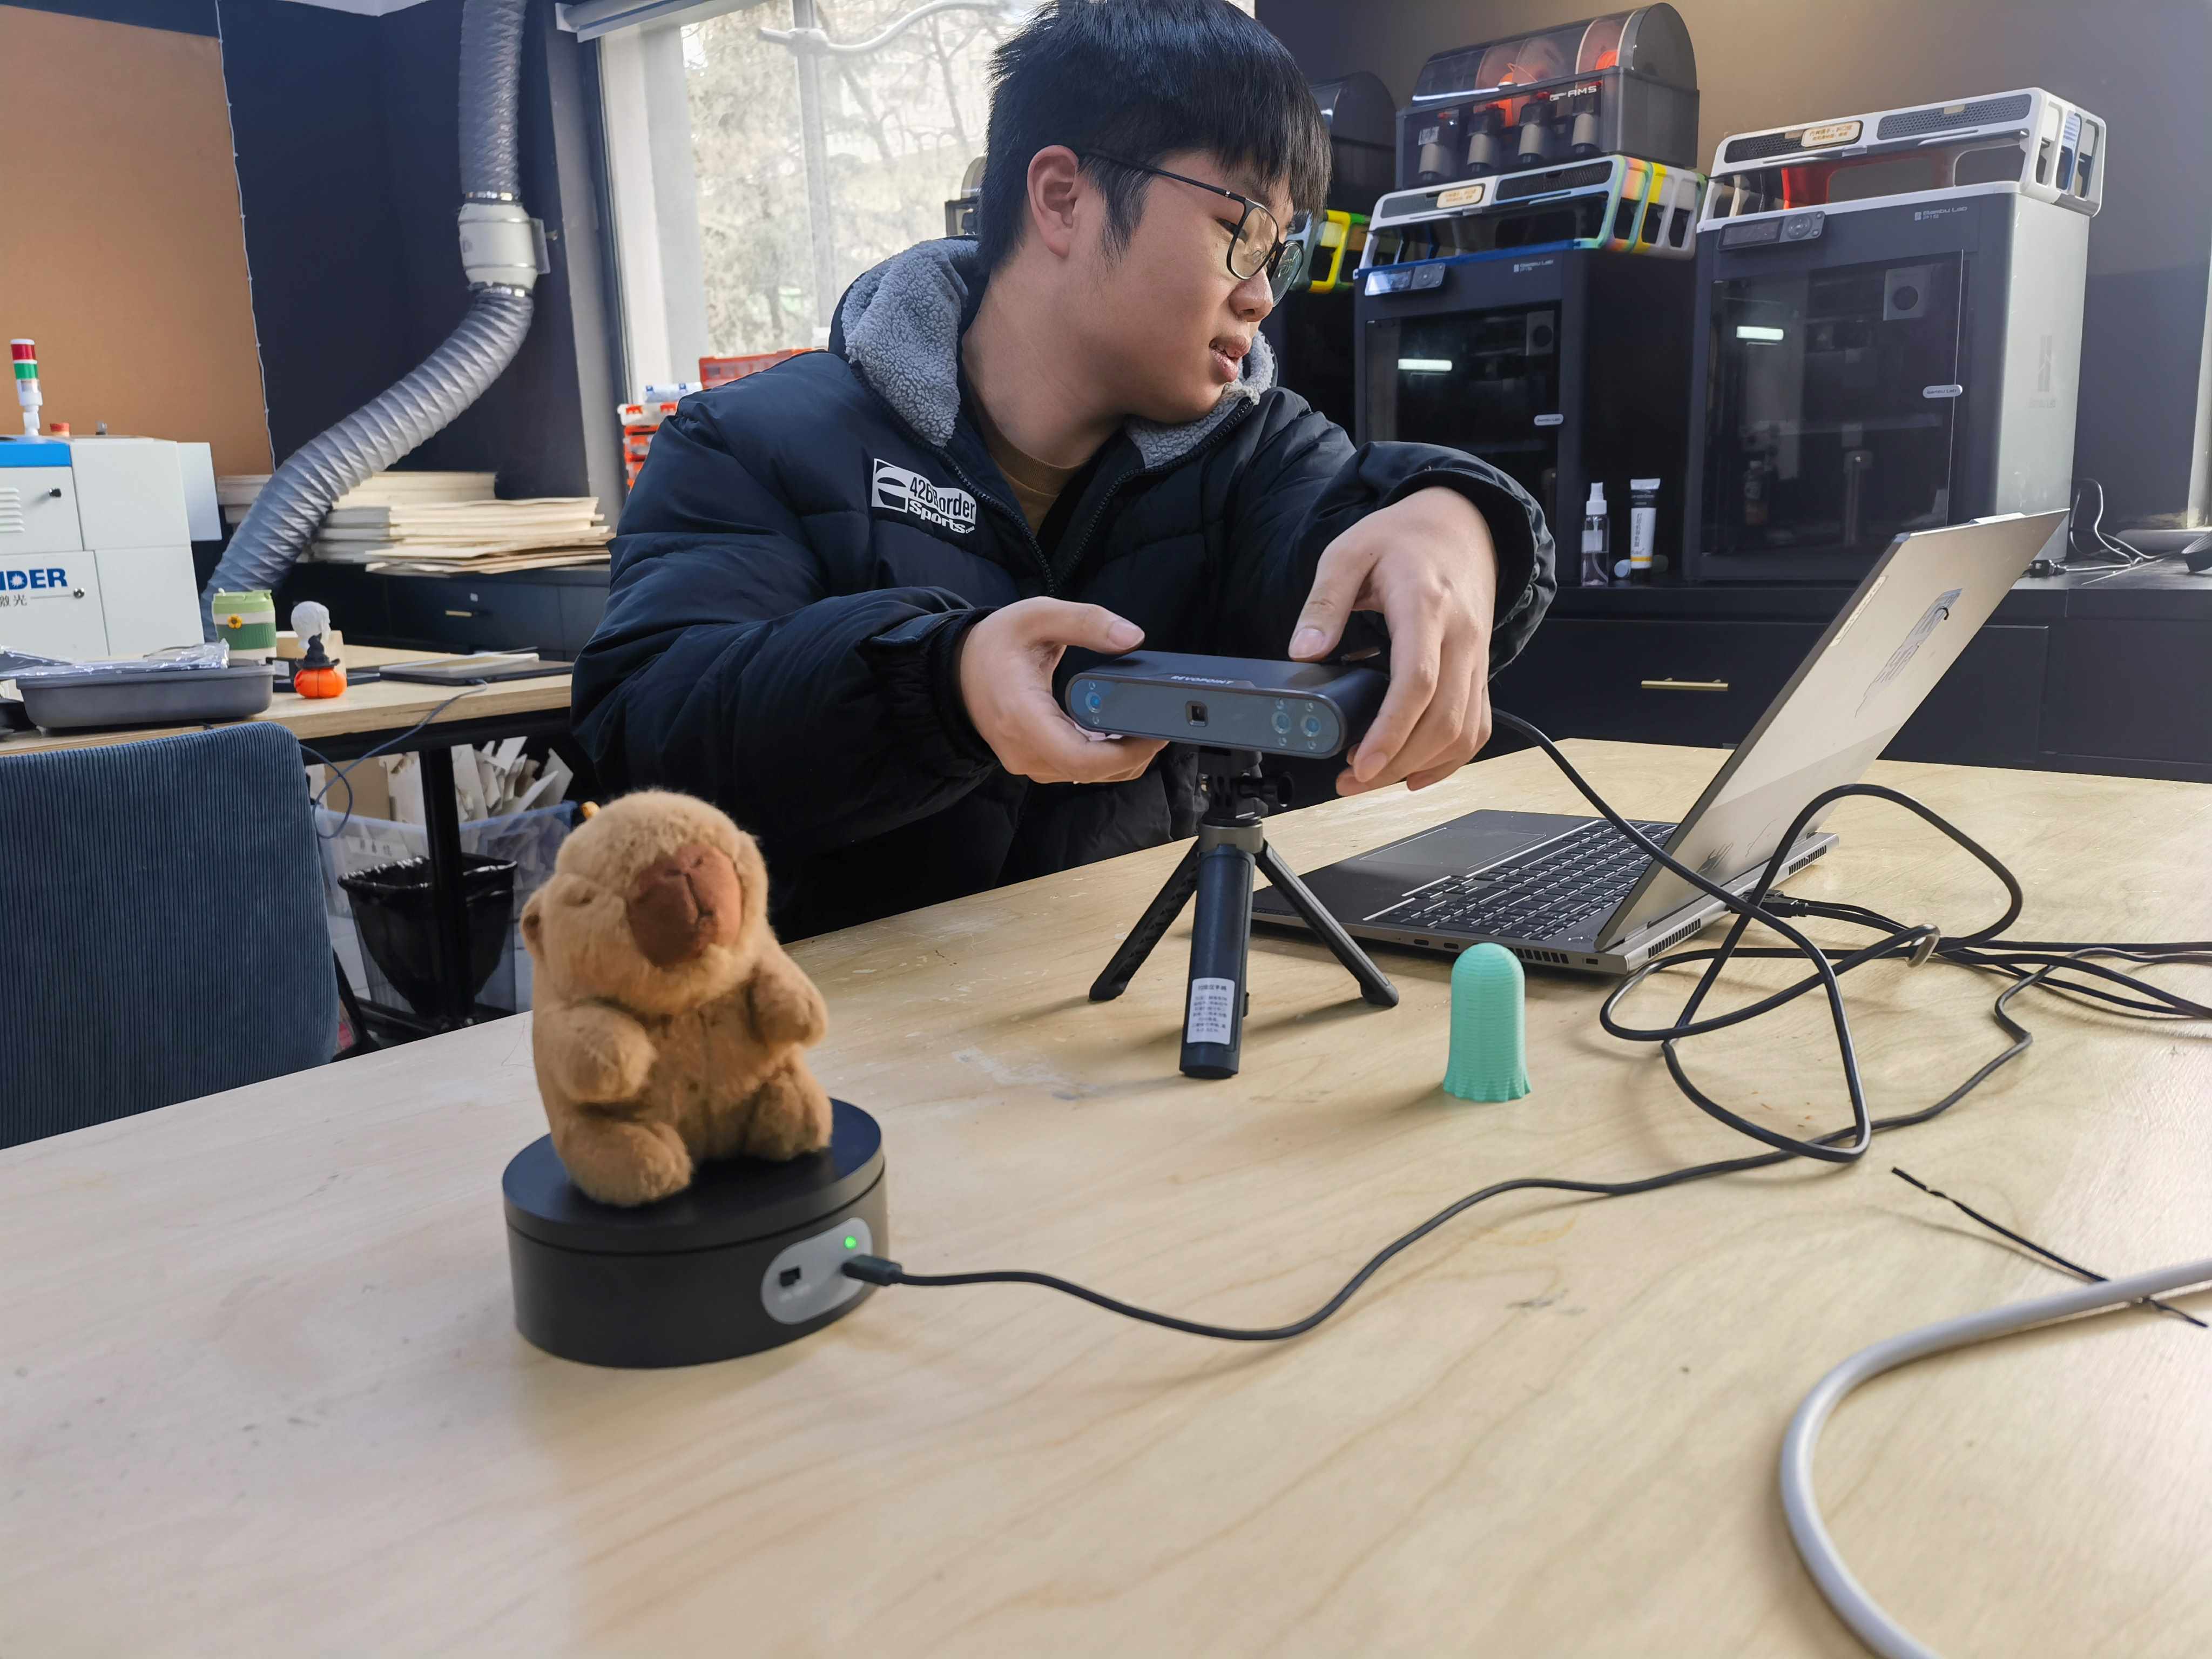
First, I inserted the USB of the scanner into the computer and waited for it to connect.
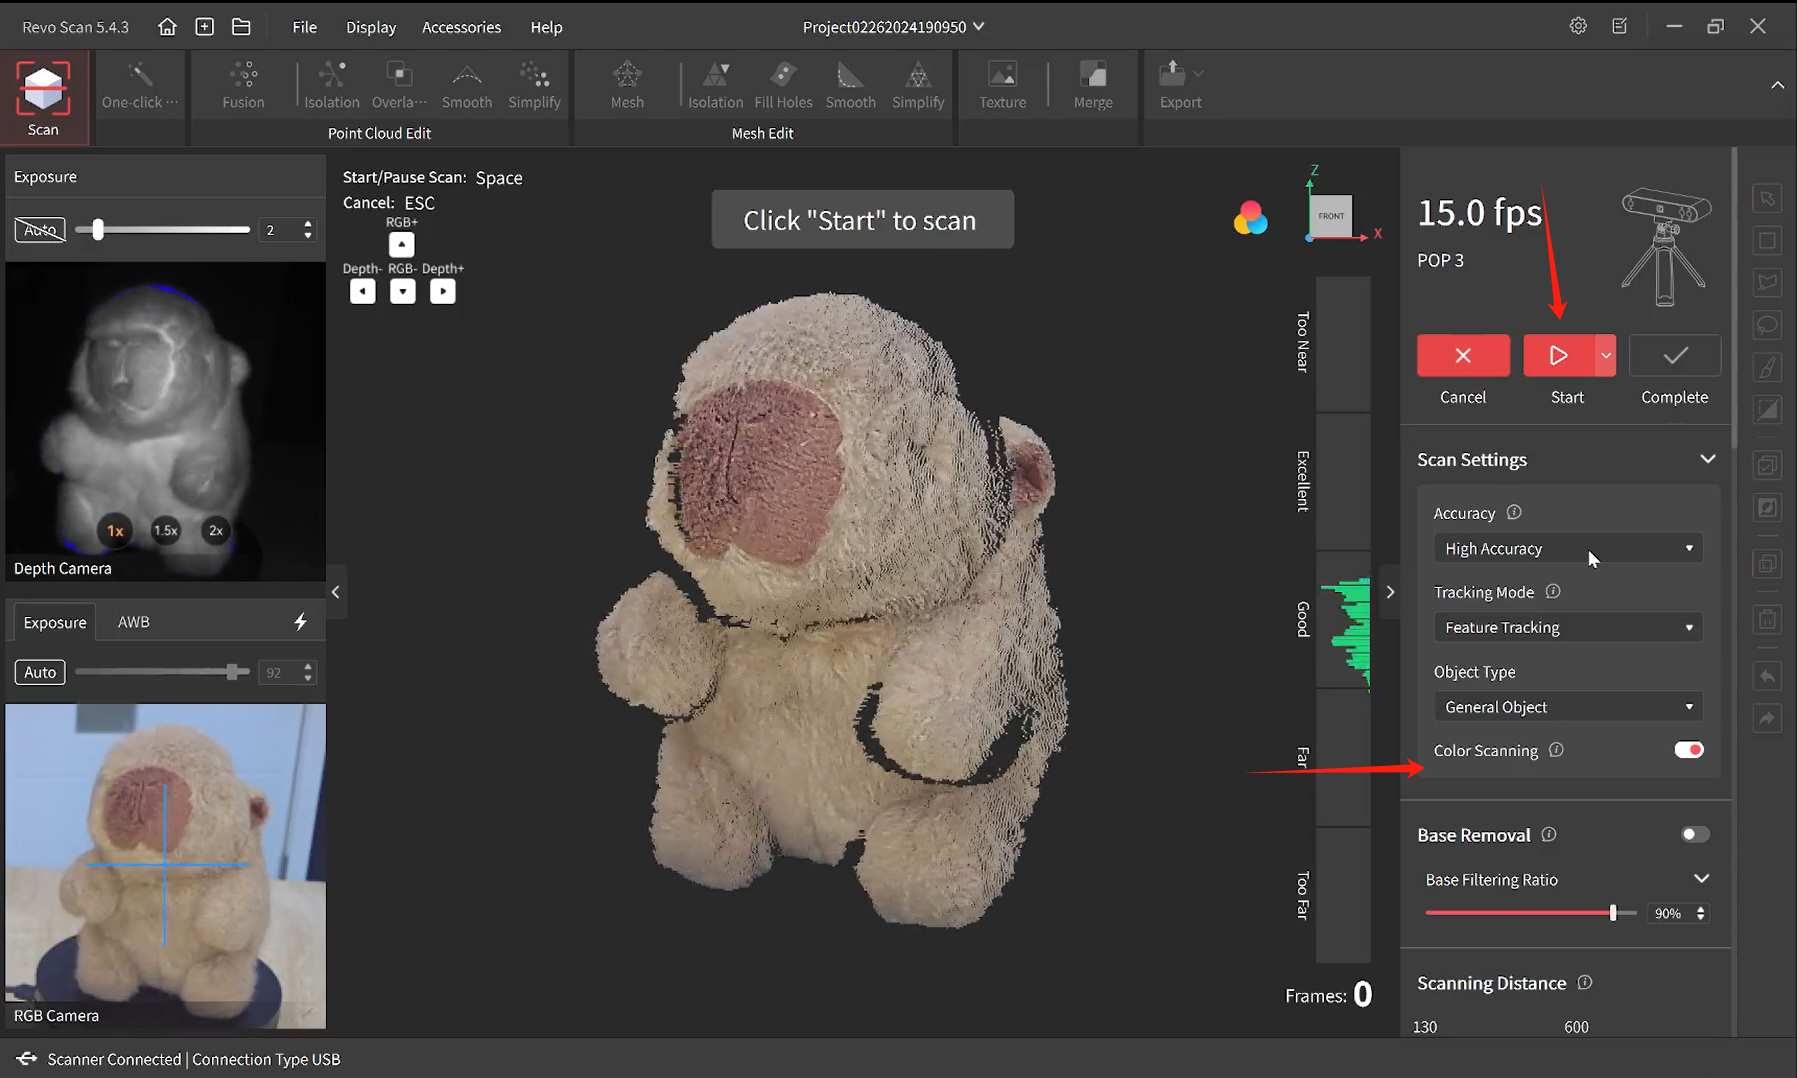
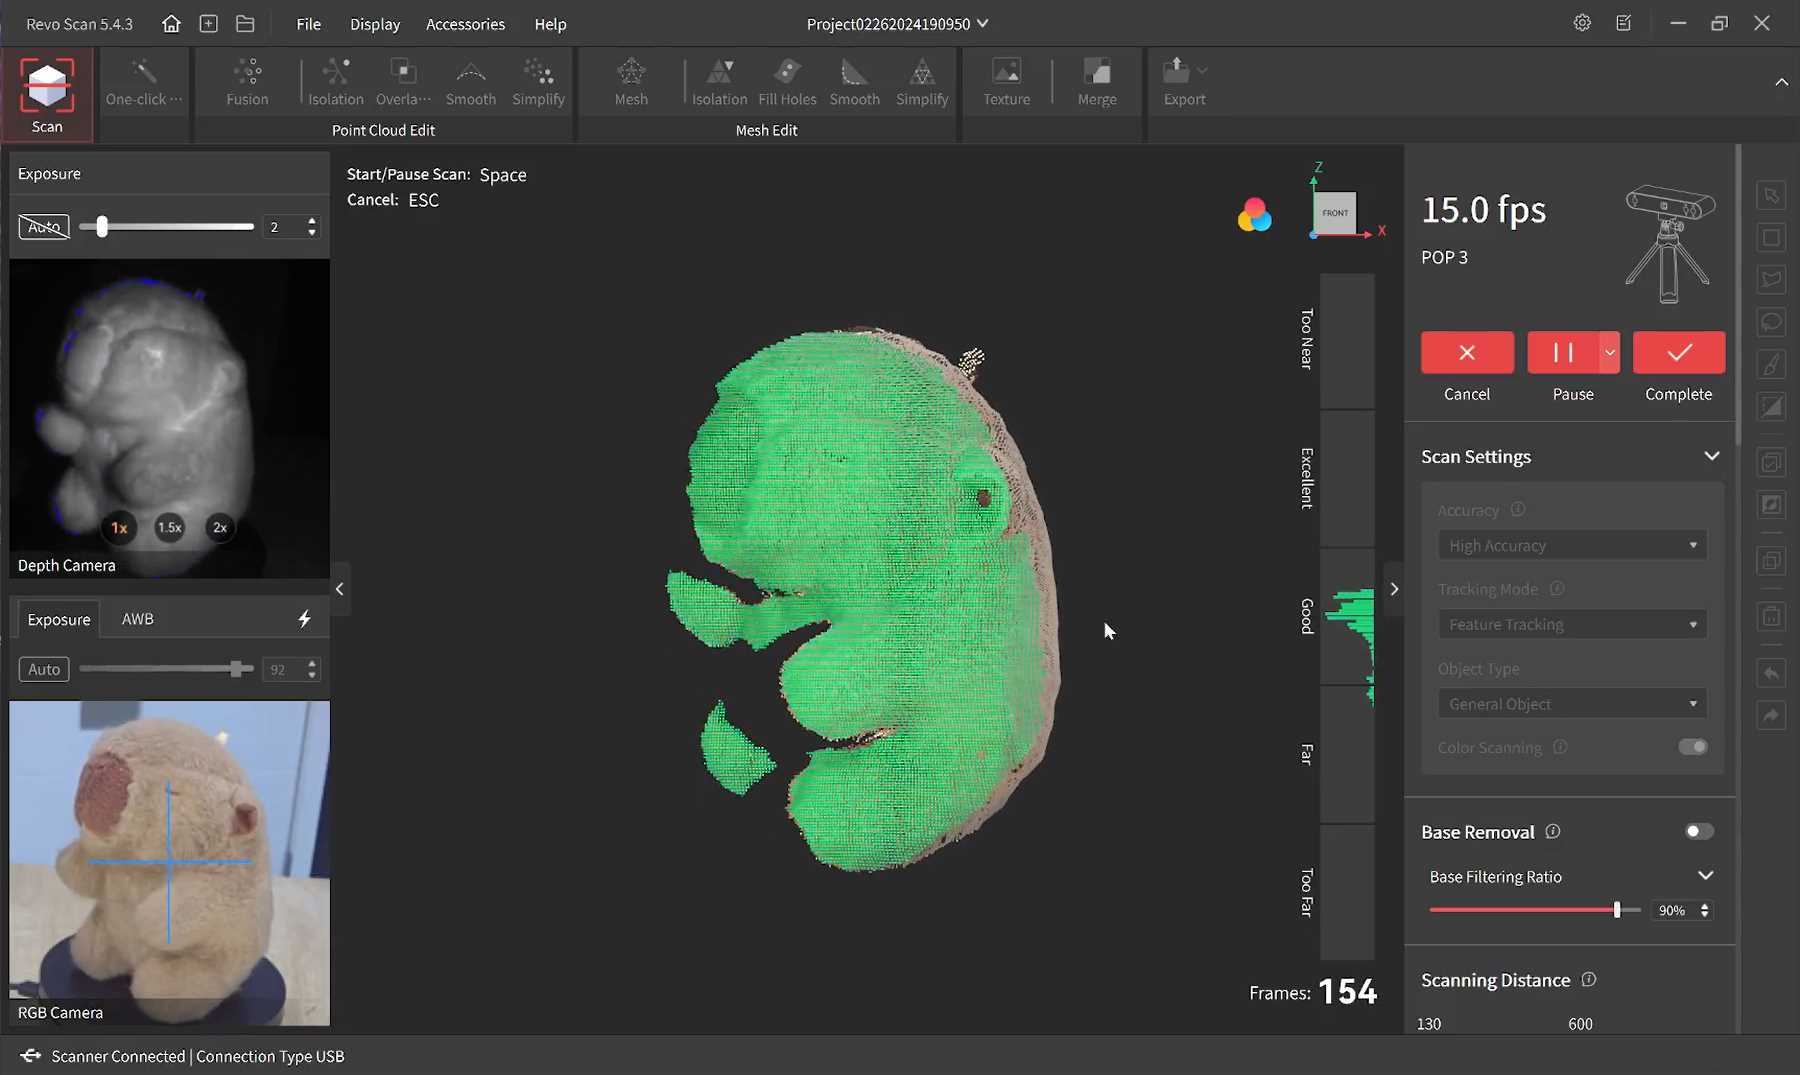
After placing the Capybara on the turntable, I adjusted the position of the camera to ensure it was aligned with the object’s center. I selected the color mode and clicked on start.
That sounds very interesting!😍😍😍
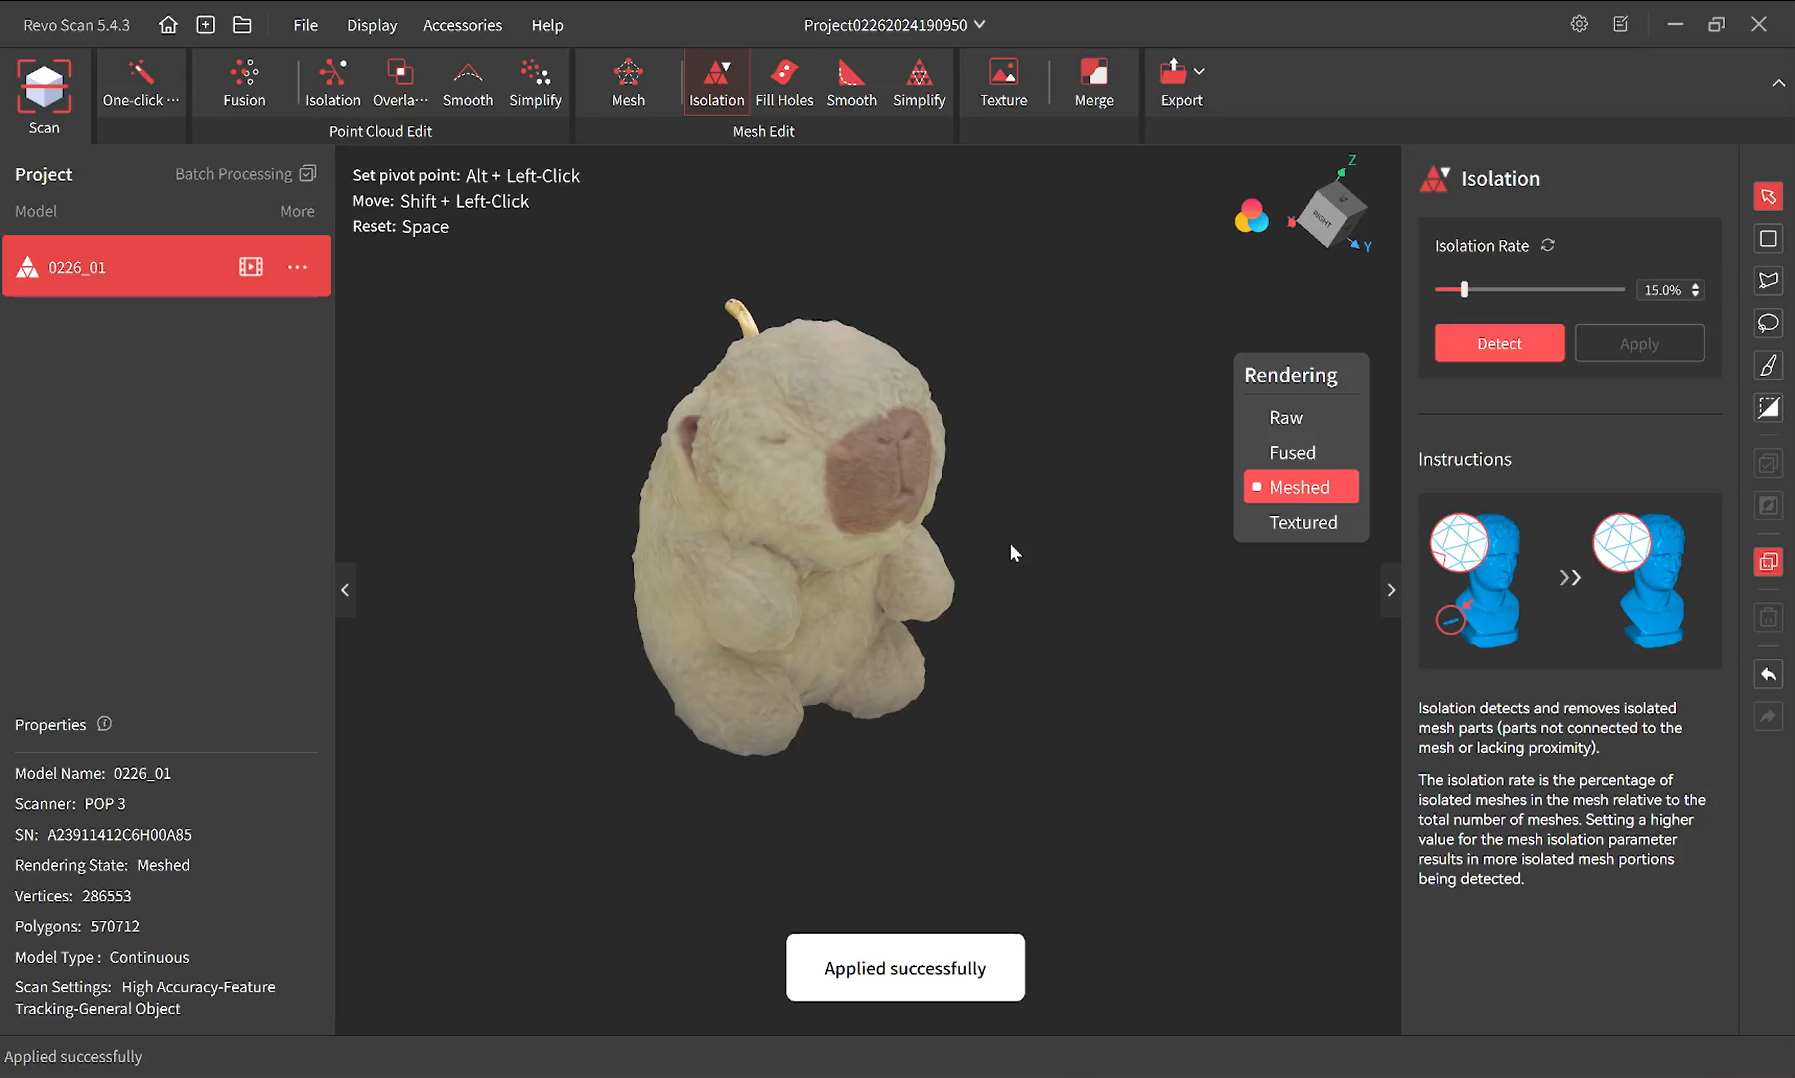
Scanning is complete!🥳 Then, I selected the one-click repair option.
It’s done! Great job!
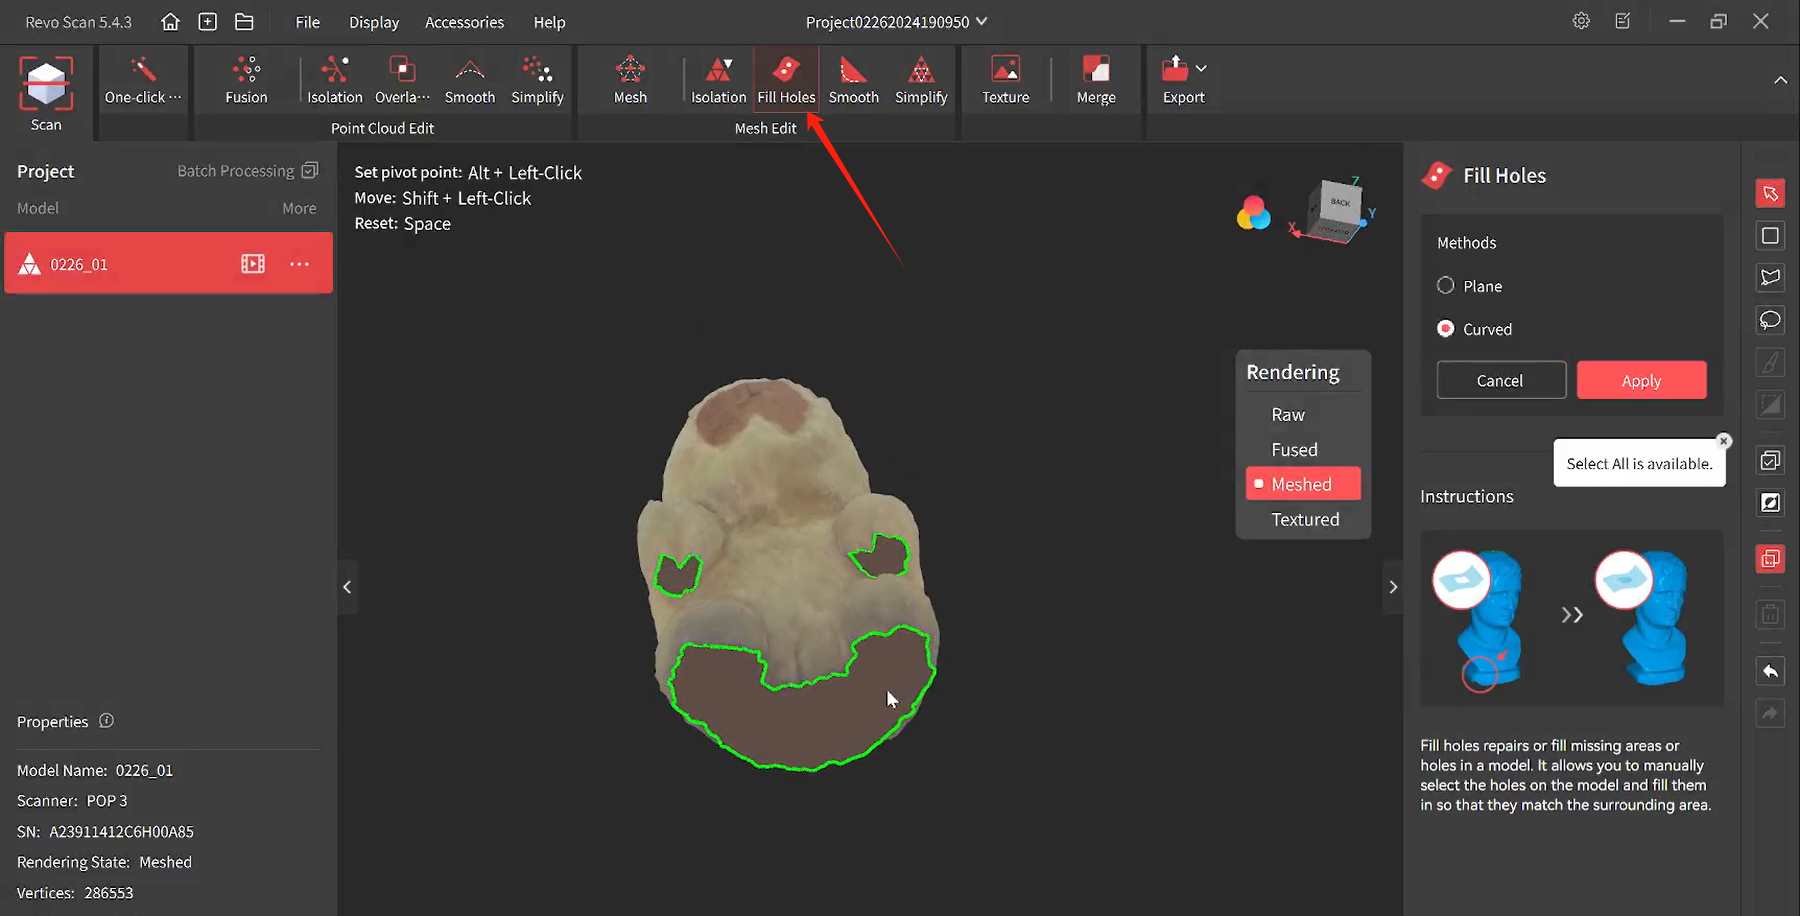
Since the bottom surface wasn’t scanned, I chose to manually fill in the gaps.
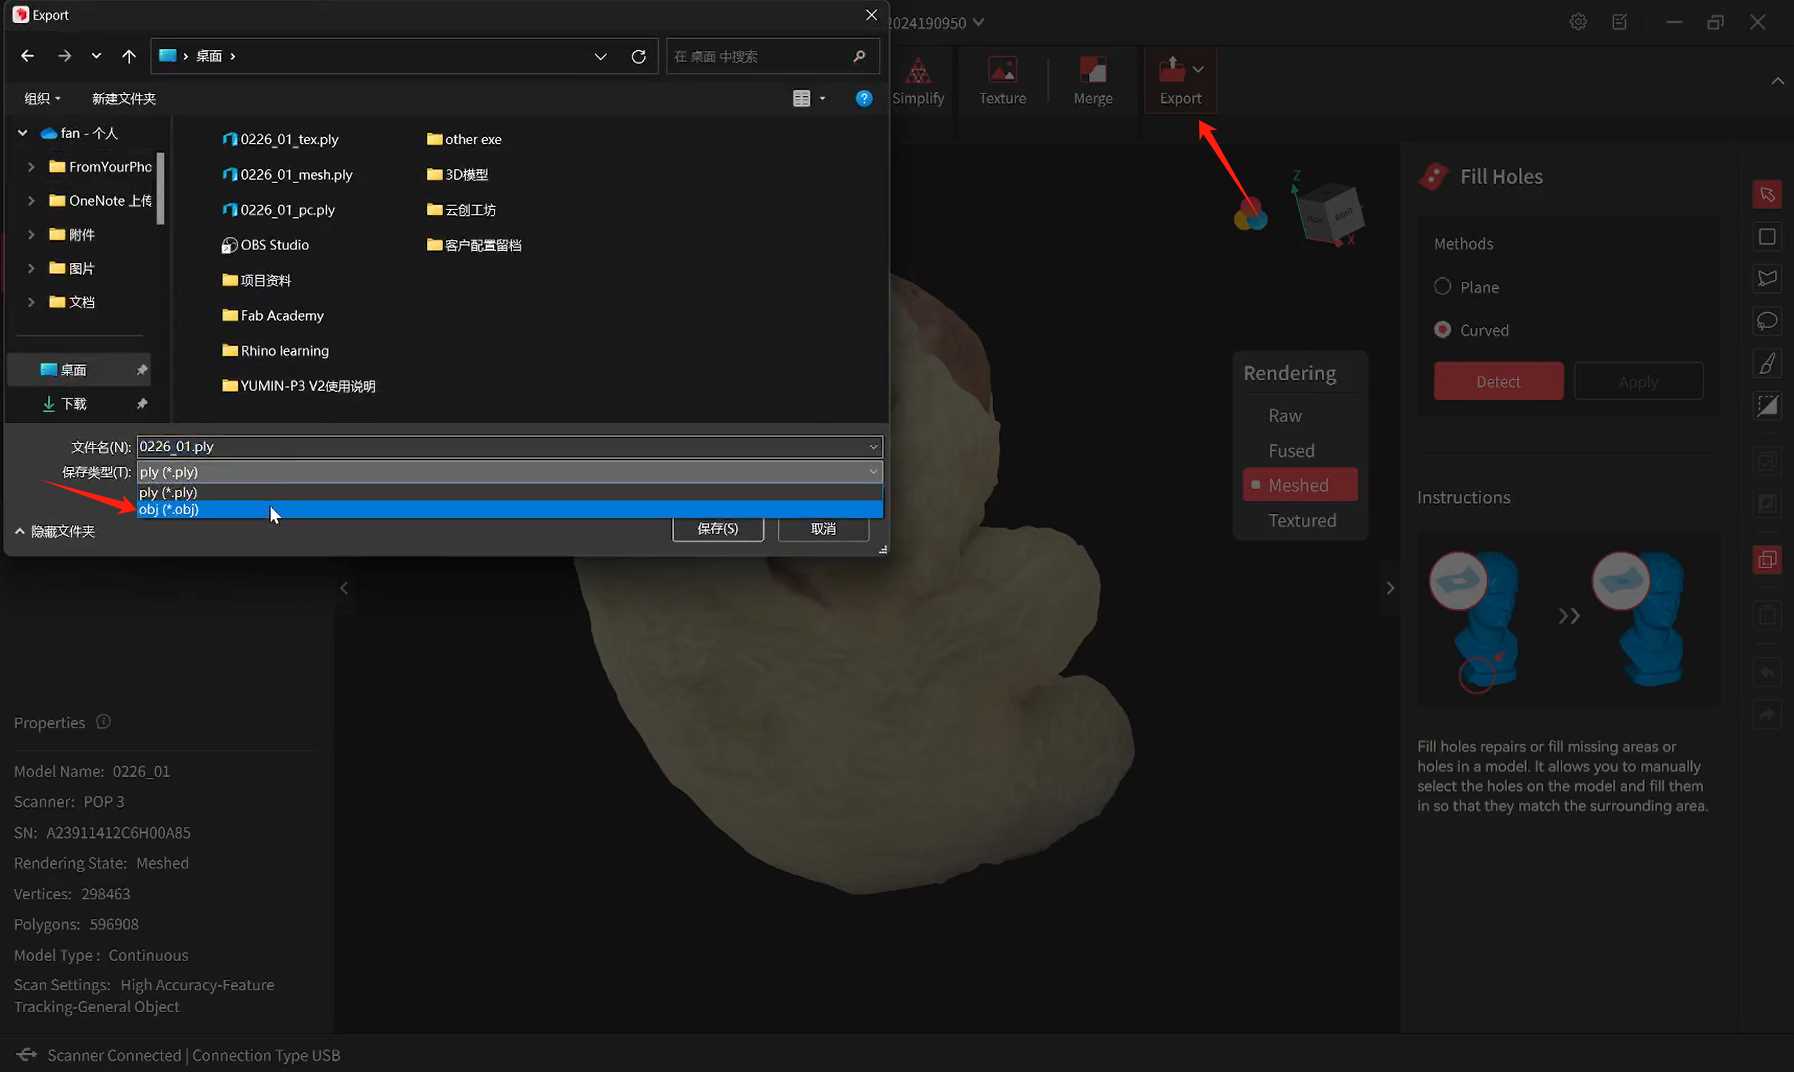
Export the OBJ file.
sorce file