Week03-Computer-Controlled Cutting
The homework this week has two types, individual assignments, and team assignments.
Group assignment:
- Characterize your lasercutter’s focus, power, speed, rate, kerf, joint clearance and types.
- Document your work to the group work page and reflect on your individual page what you learned.
Individual assignment:
- Design, lasercut, and document a parametric construction kit, accounting for the lasercutter kerf, which can be assembled in multiple ways.
- Cut something on the vinyl cutter.
Checklist
- Linked to the group assignment page.
- Explained how you created your parametric design.
- Documented how you made your press-fit construction kit.
- Documented how you made something with the vinyl cutter.
- Included your original design files.
- Included hero shots of your results.
1. Group Assignment
This is the link to the group assignment.🥳
What did I learn?
In this group assignment, I learned for the first time that changing the pattern can alter the curvature of the wooden board. It was very interesting for me.
2. Individual Assignment
2.1 Design a parametric construction kit
2.1.1 Parametric Modeling
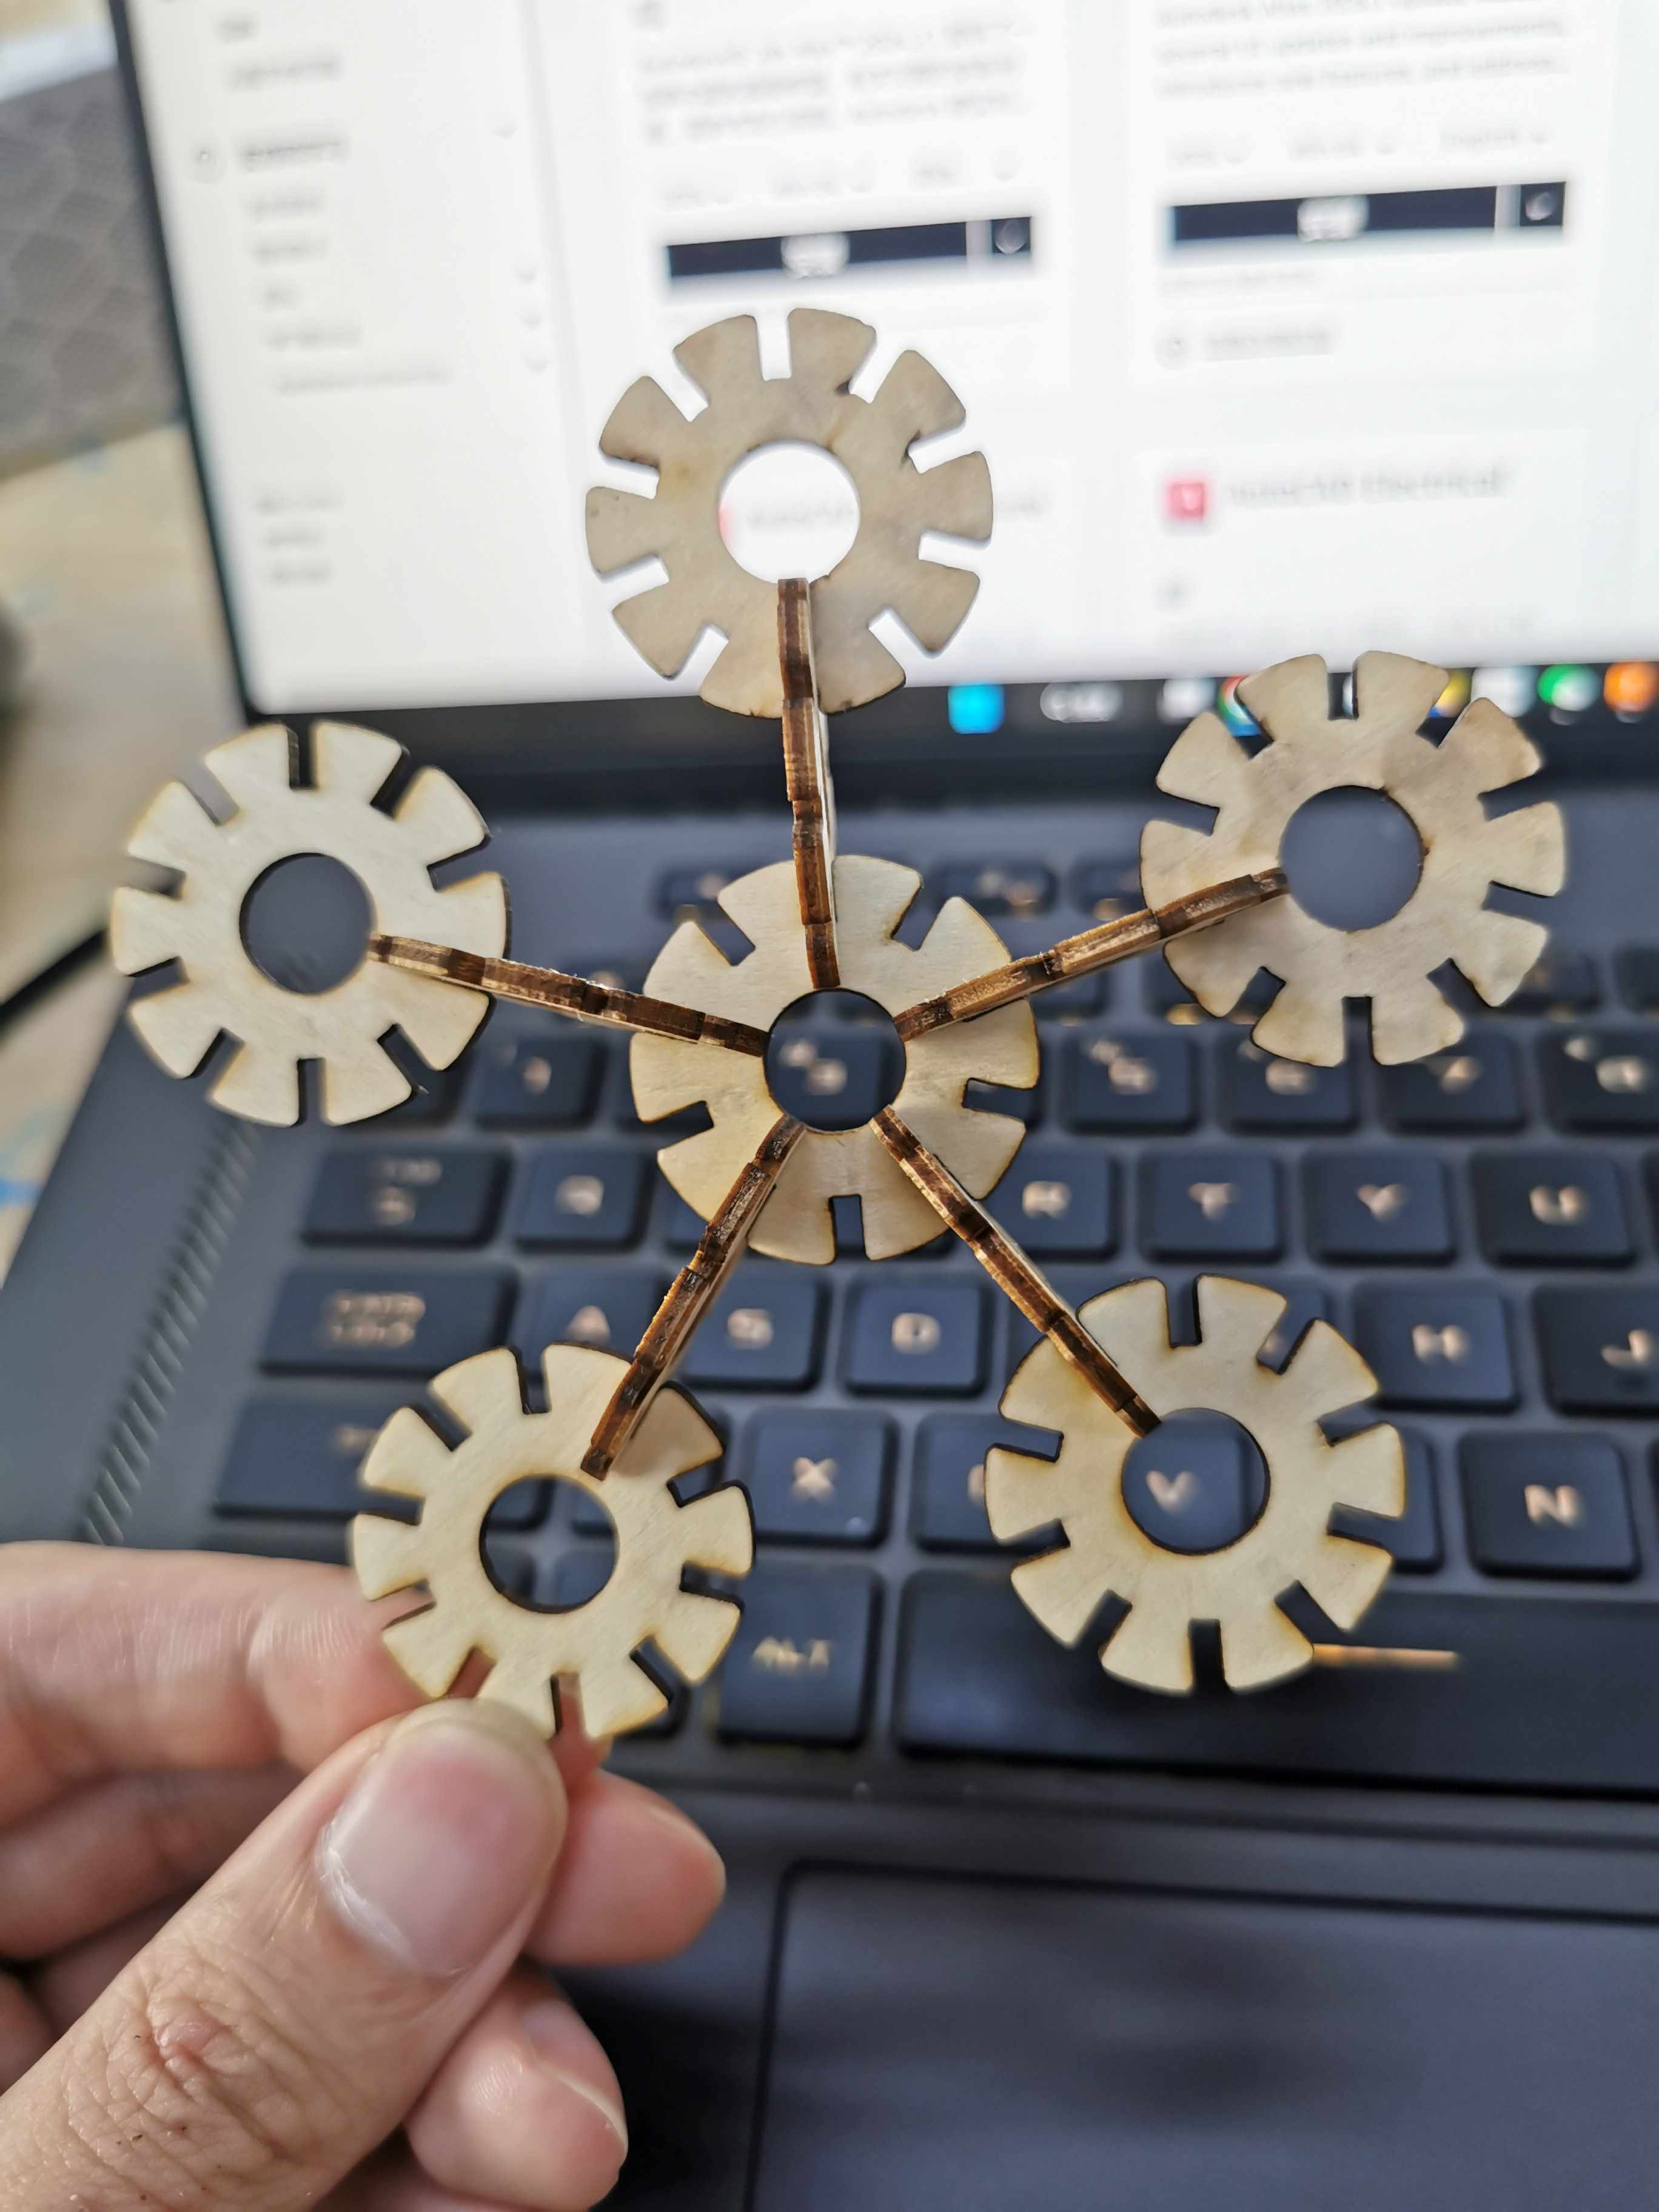
I will use Fusion 360 to design my kit-Snowflake pieces.
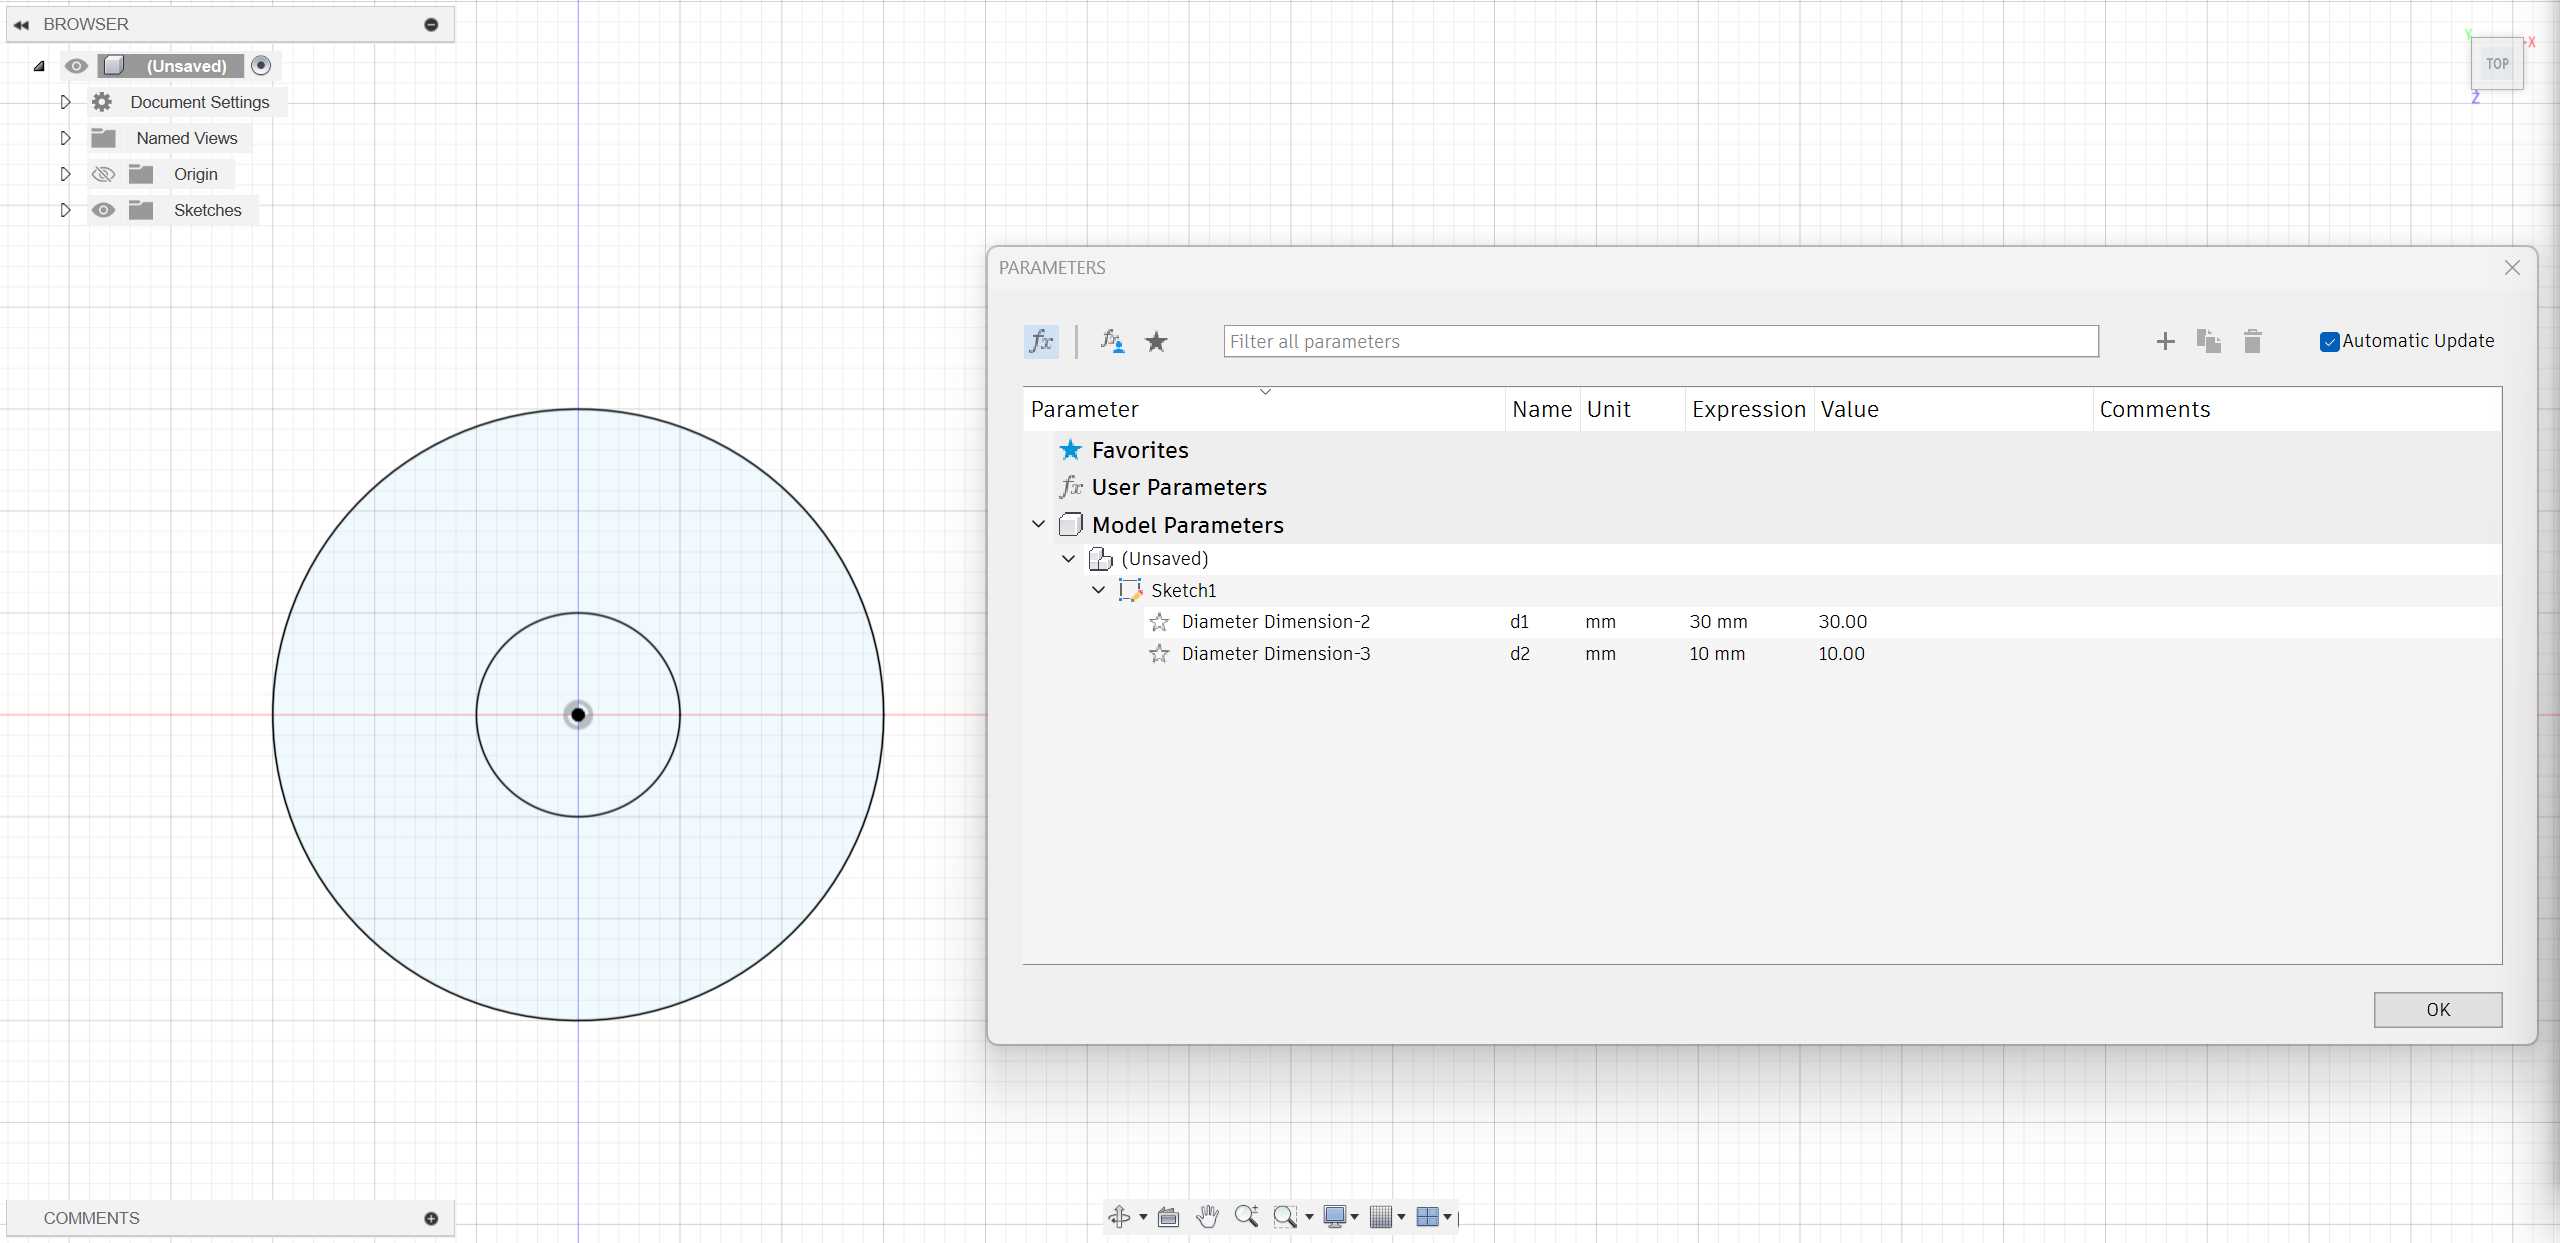
- First, I use parametric modeling to create a hollow circle.
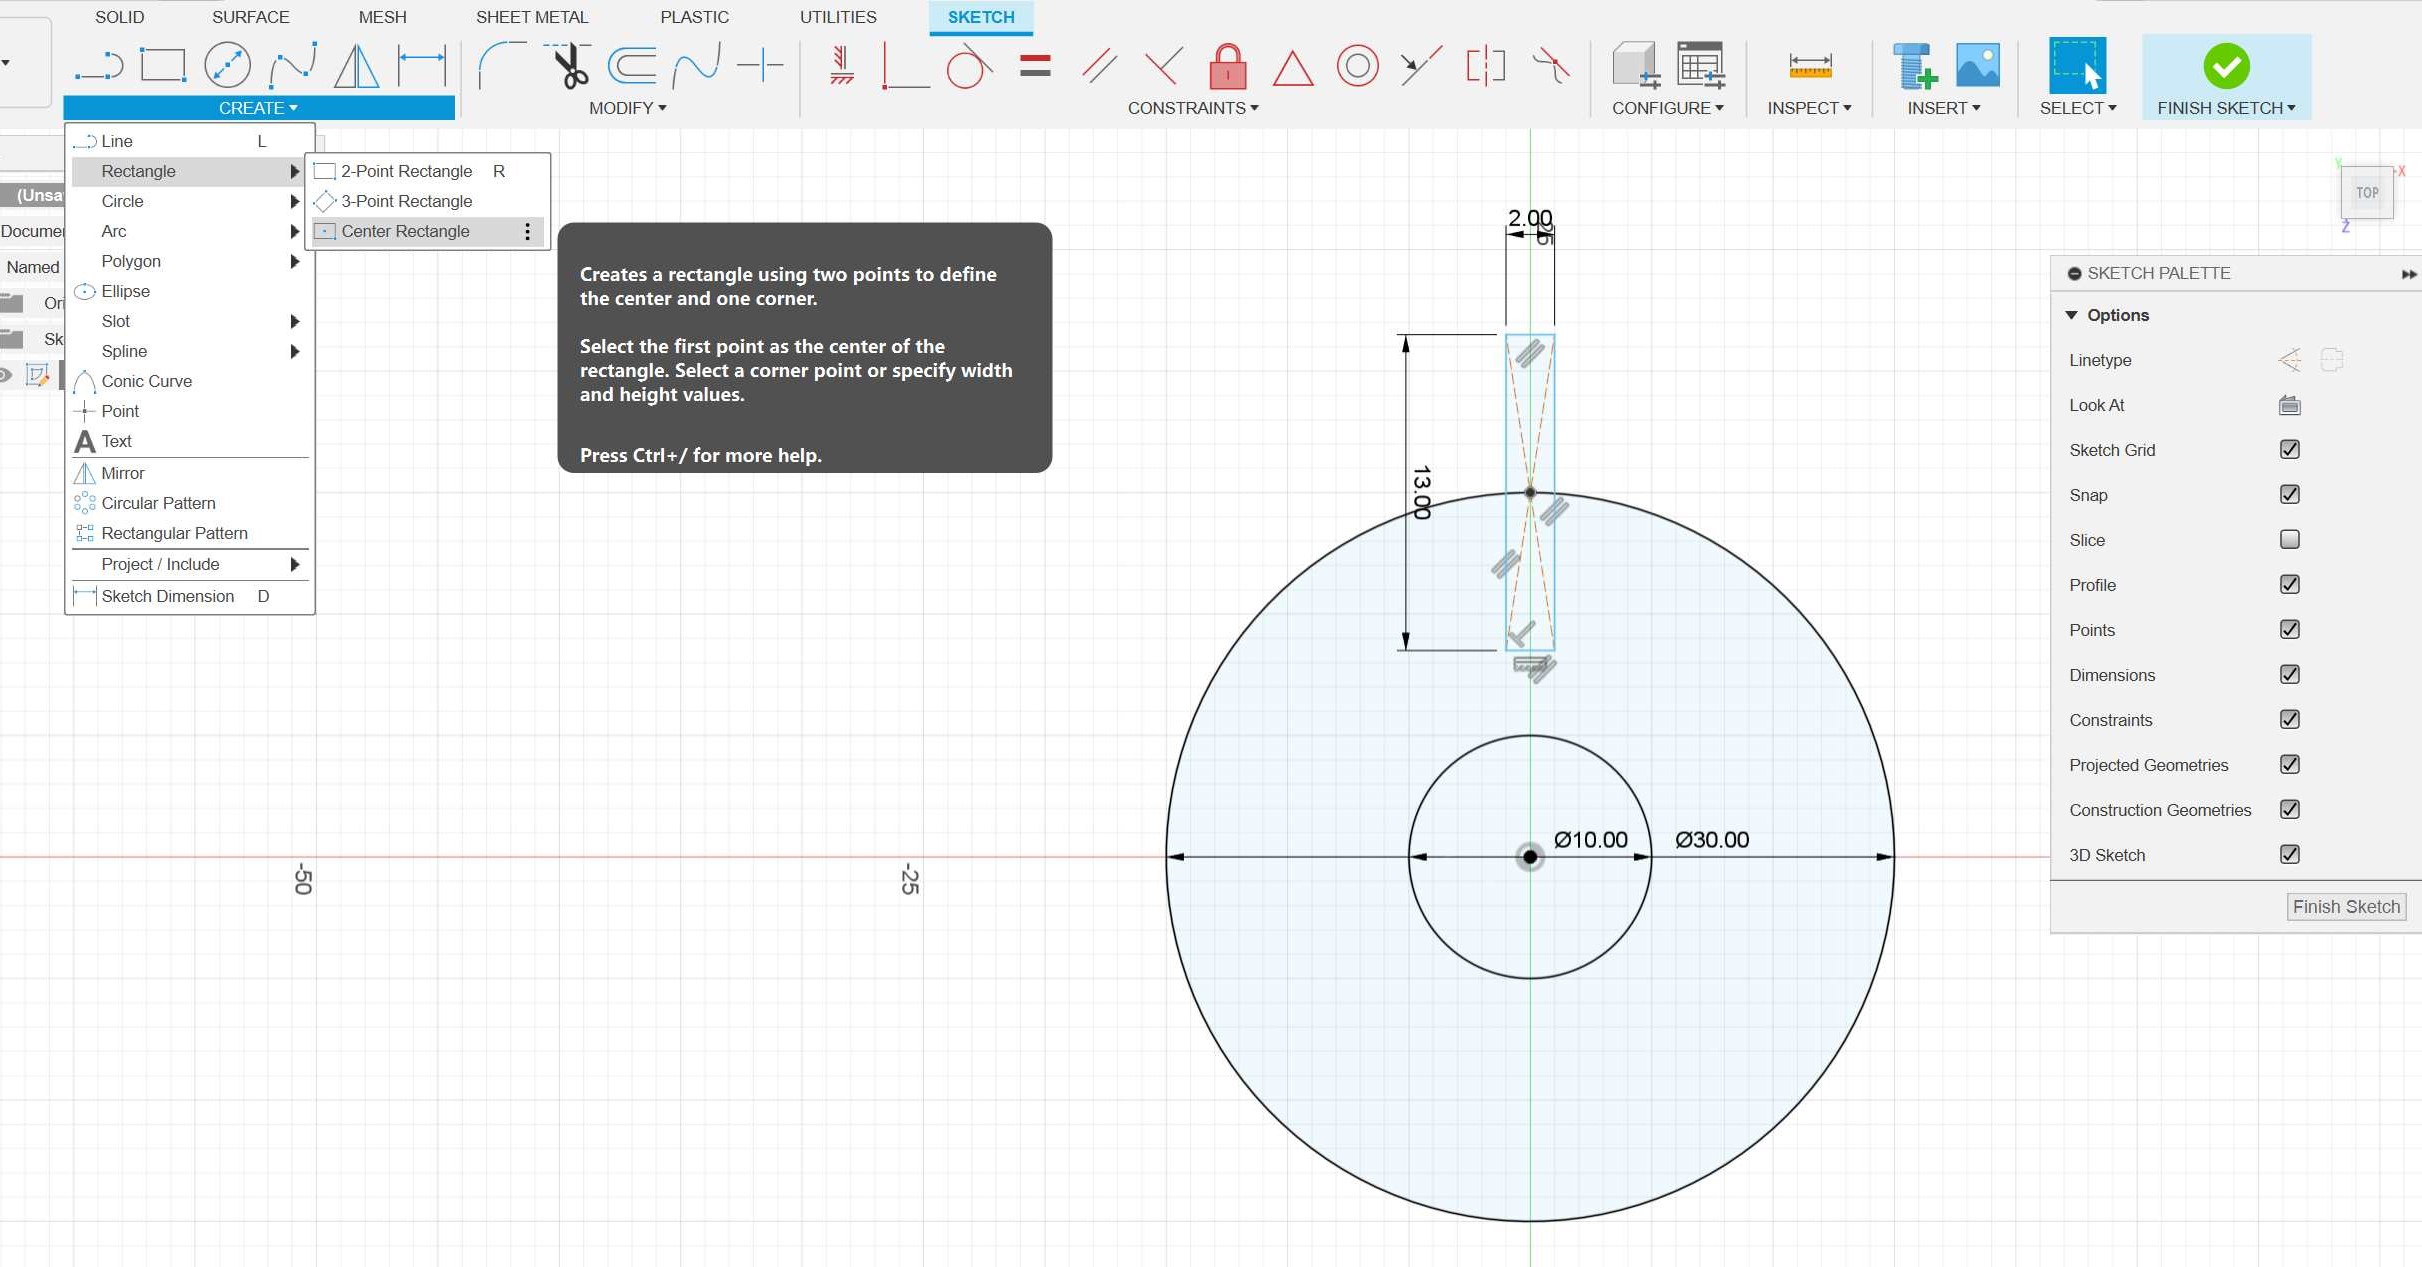
- Next, I used the “Center Rectangle” command to draw a rectangle with dimensions 13 * 2.
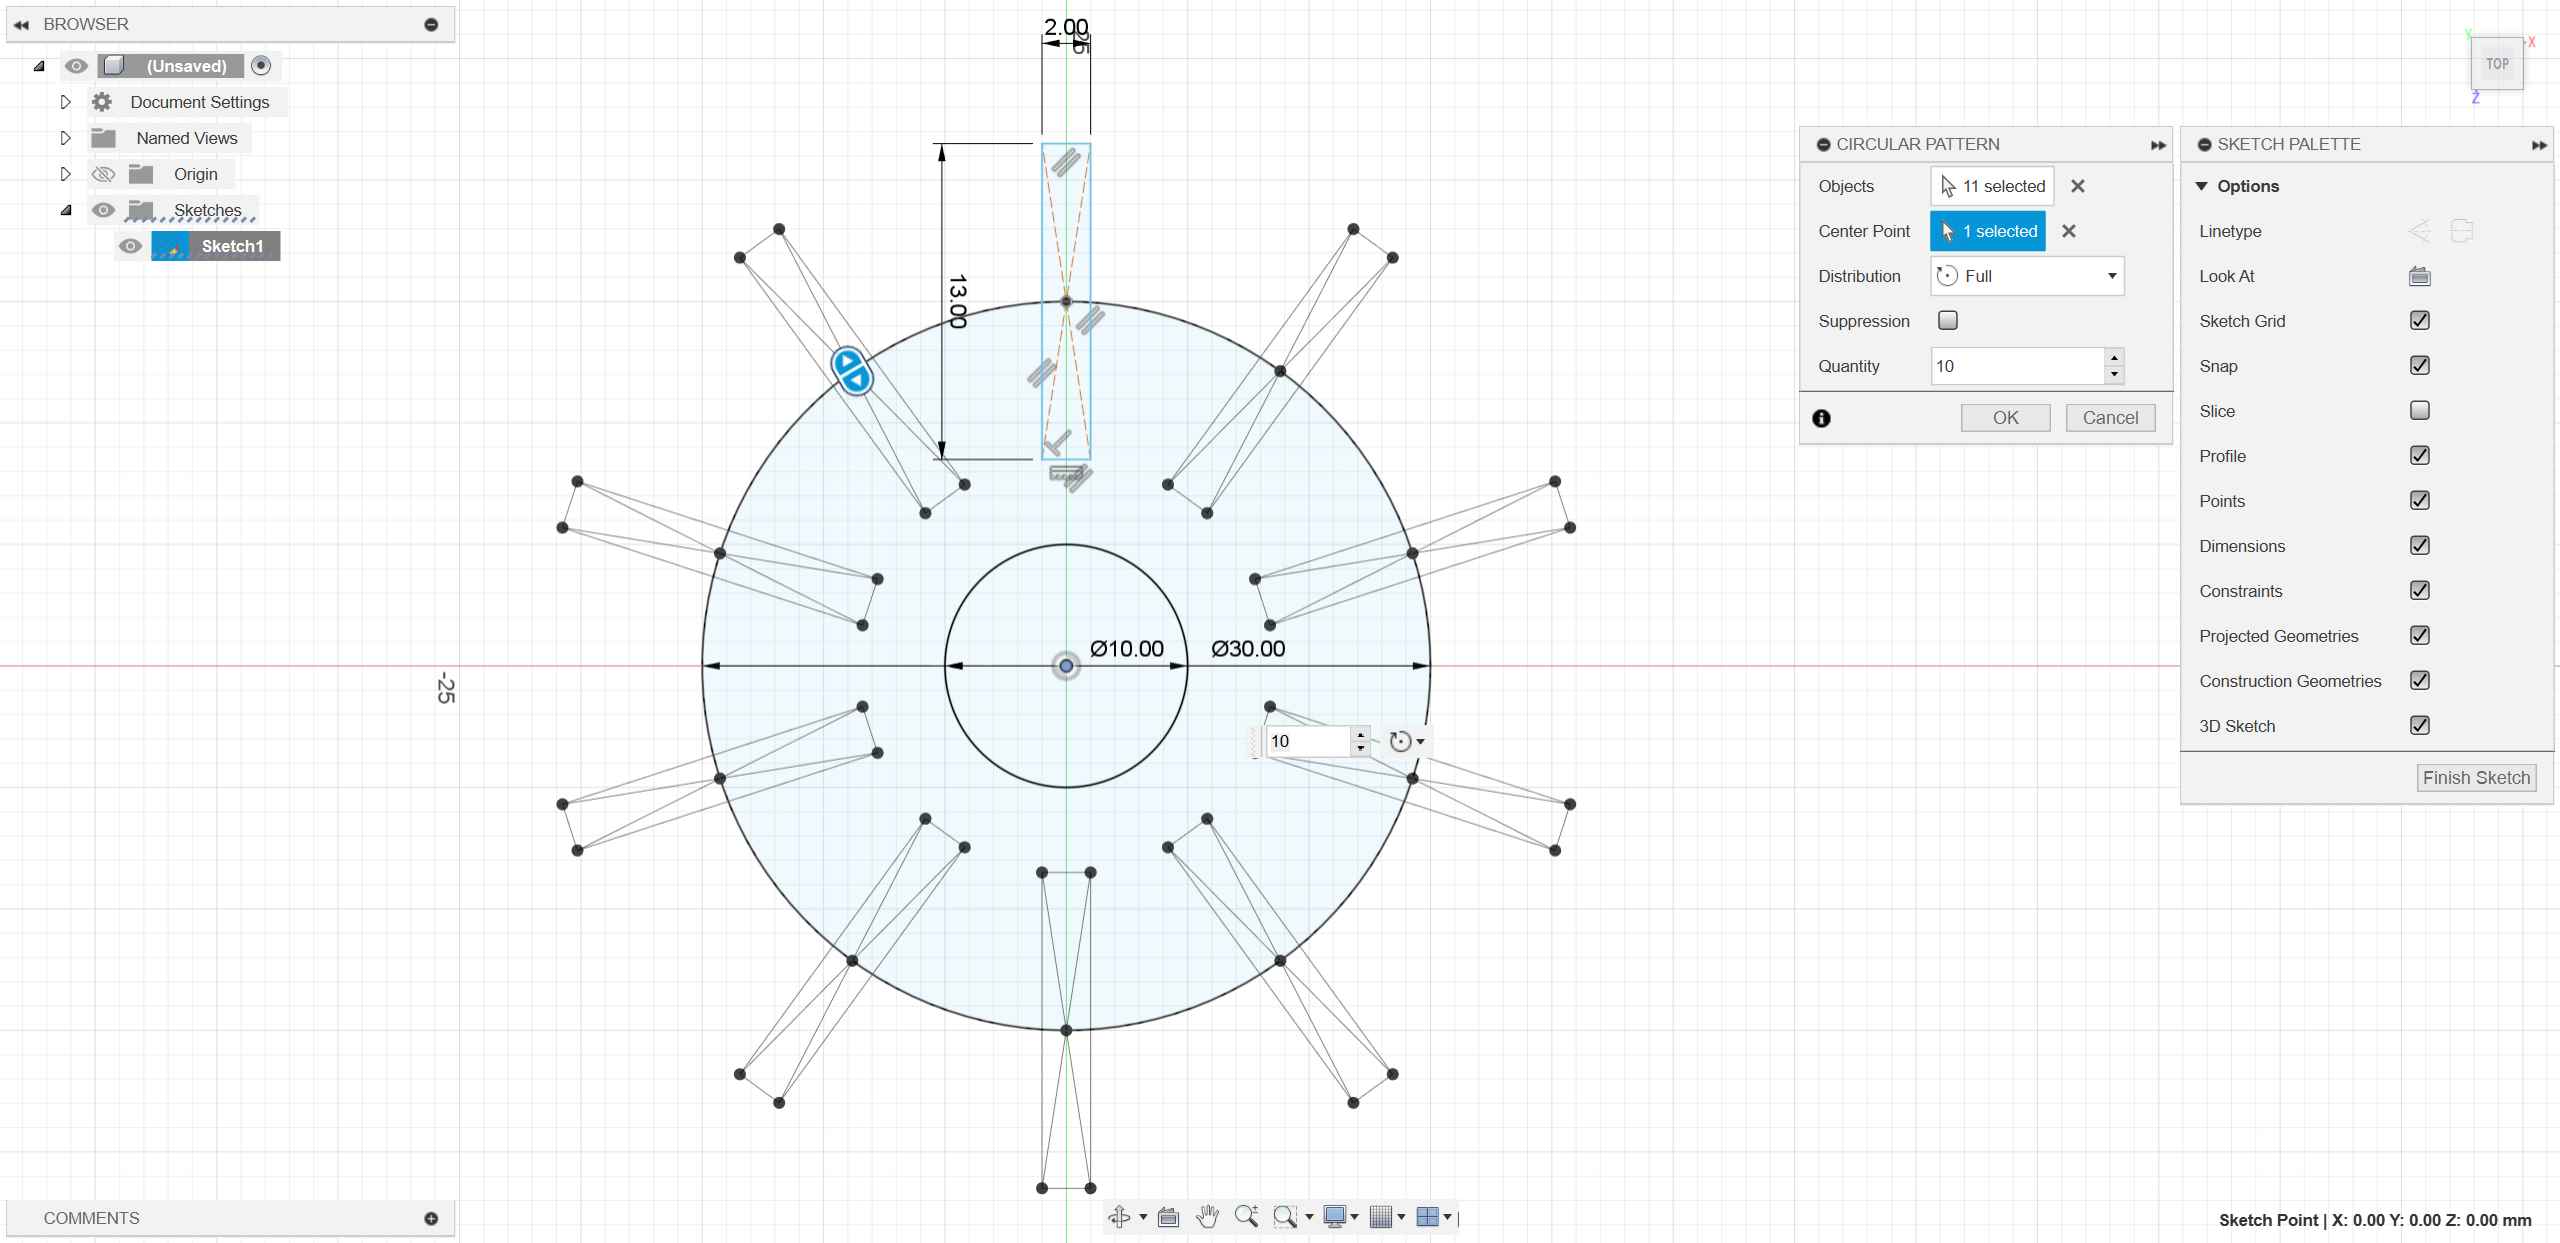
- Thirdly, I used the “Circular Pattern” command to copy 10 rectangles around the center.
- Fourthly, after completing the sketch, I extruded the shapes.
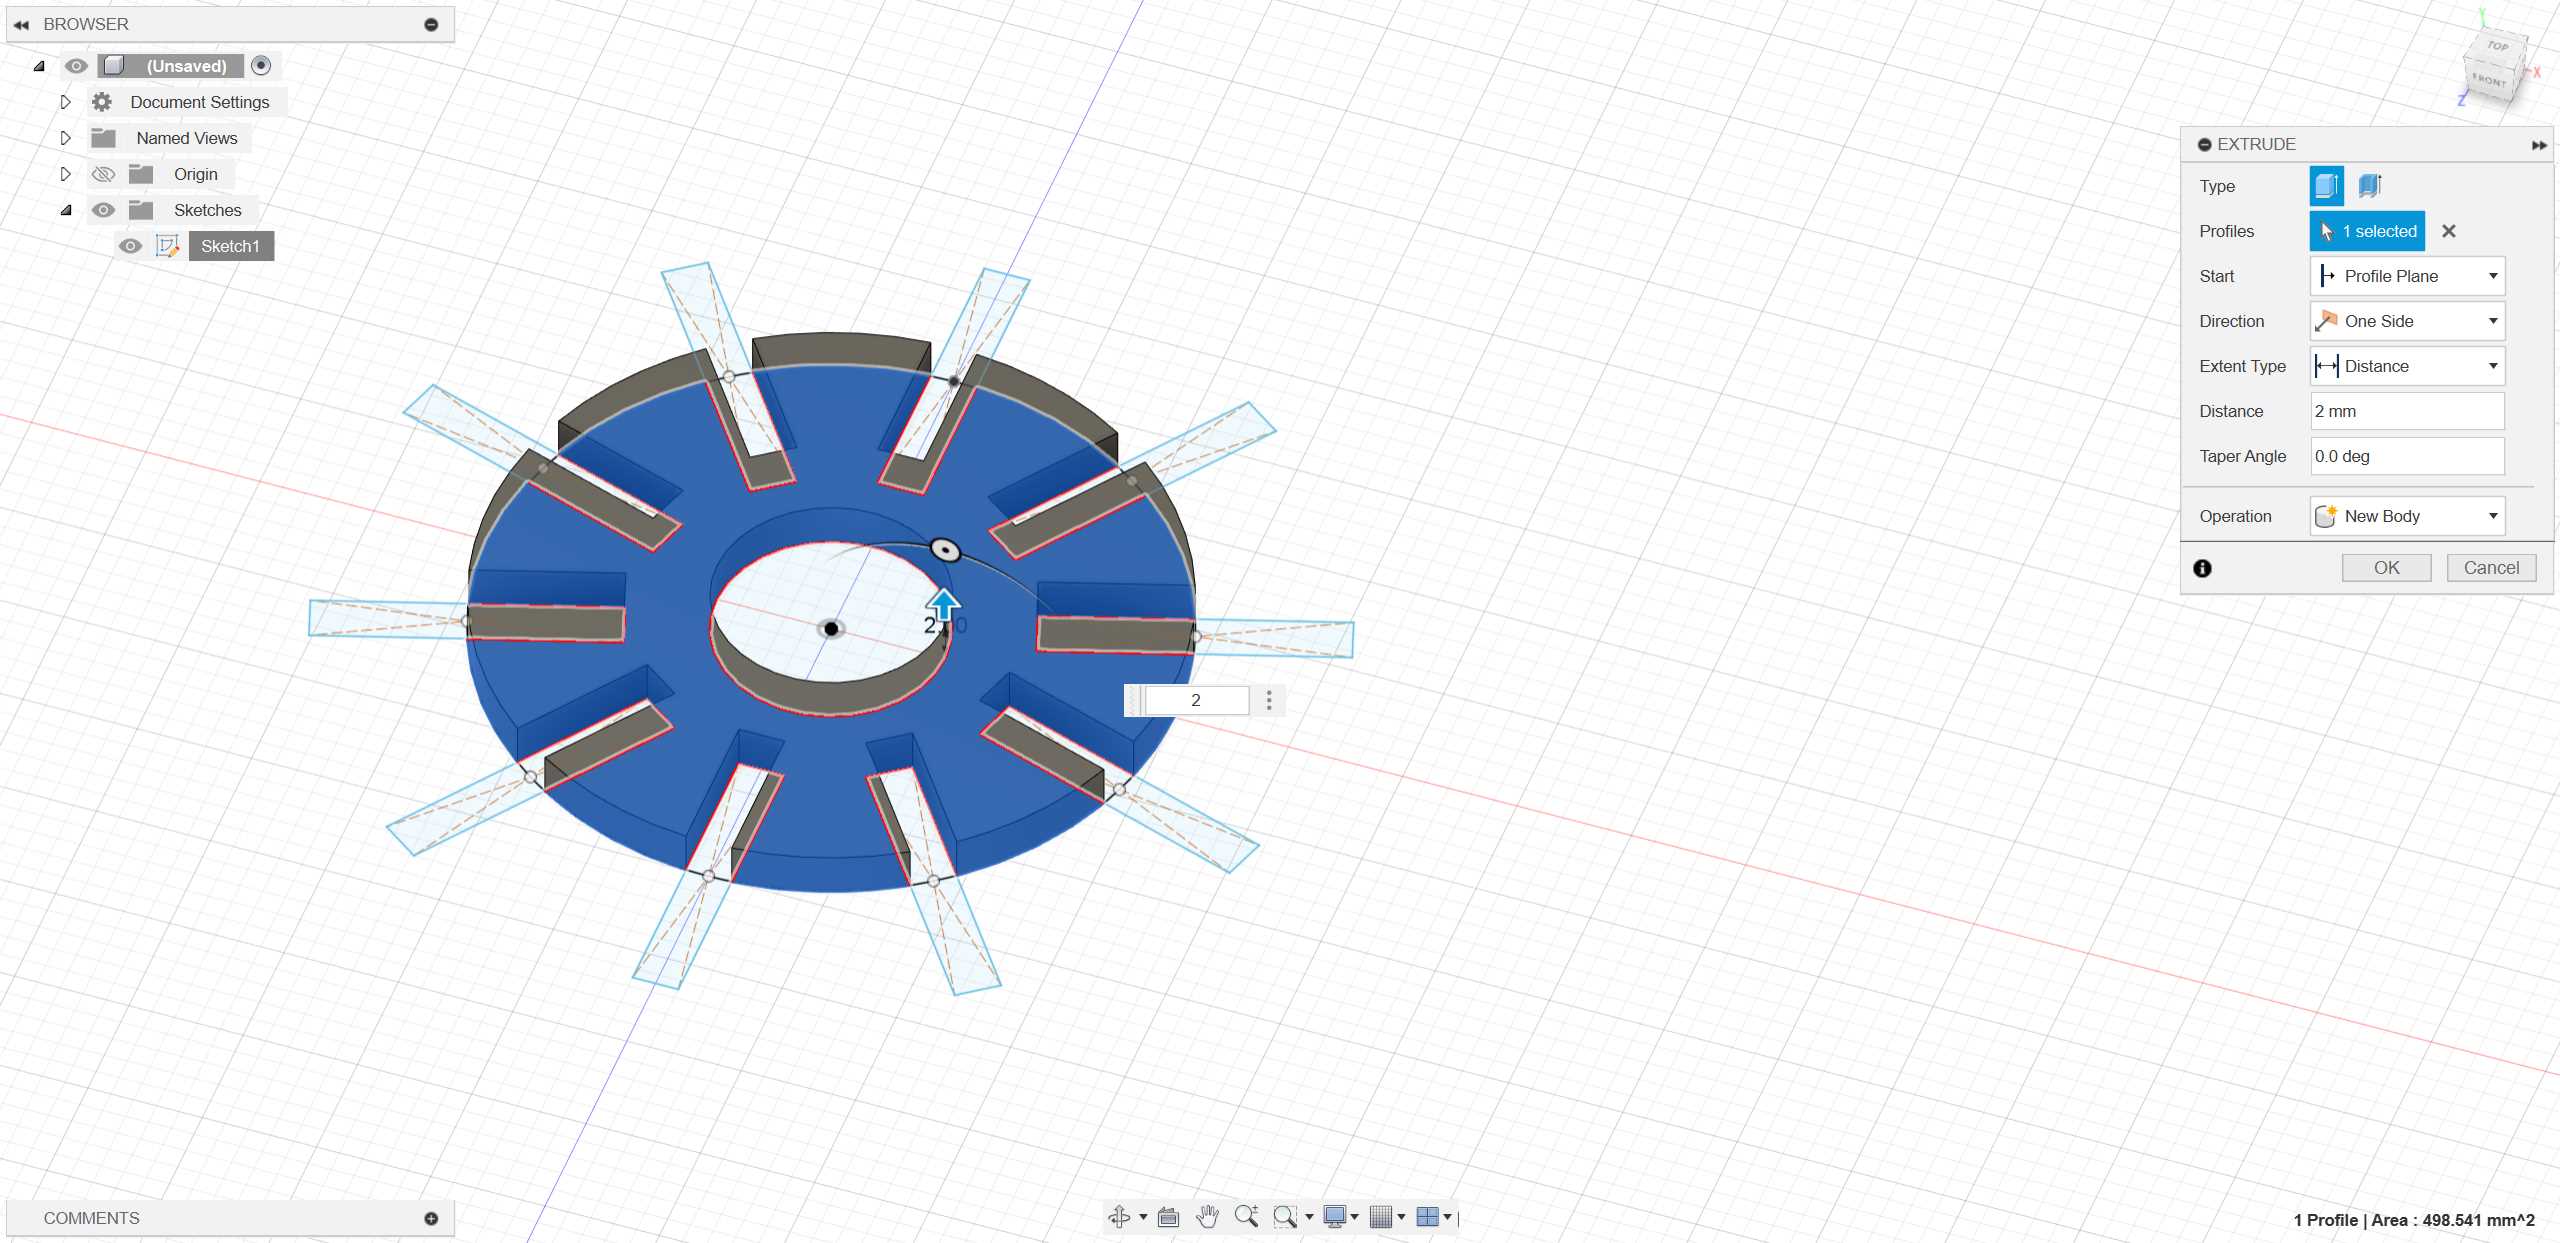
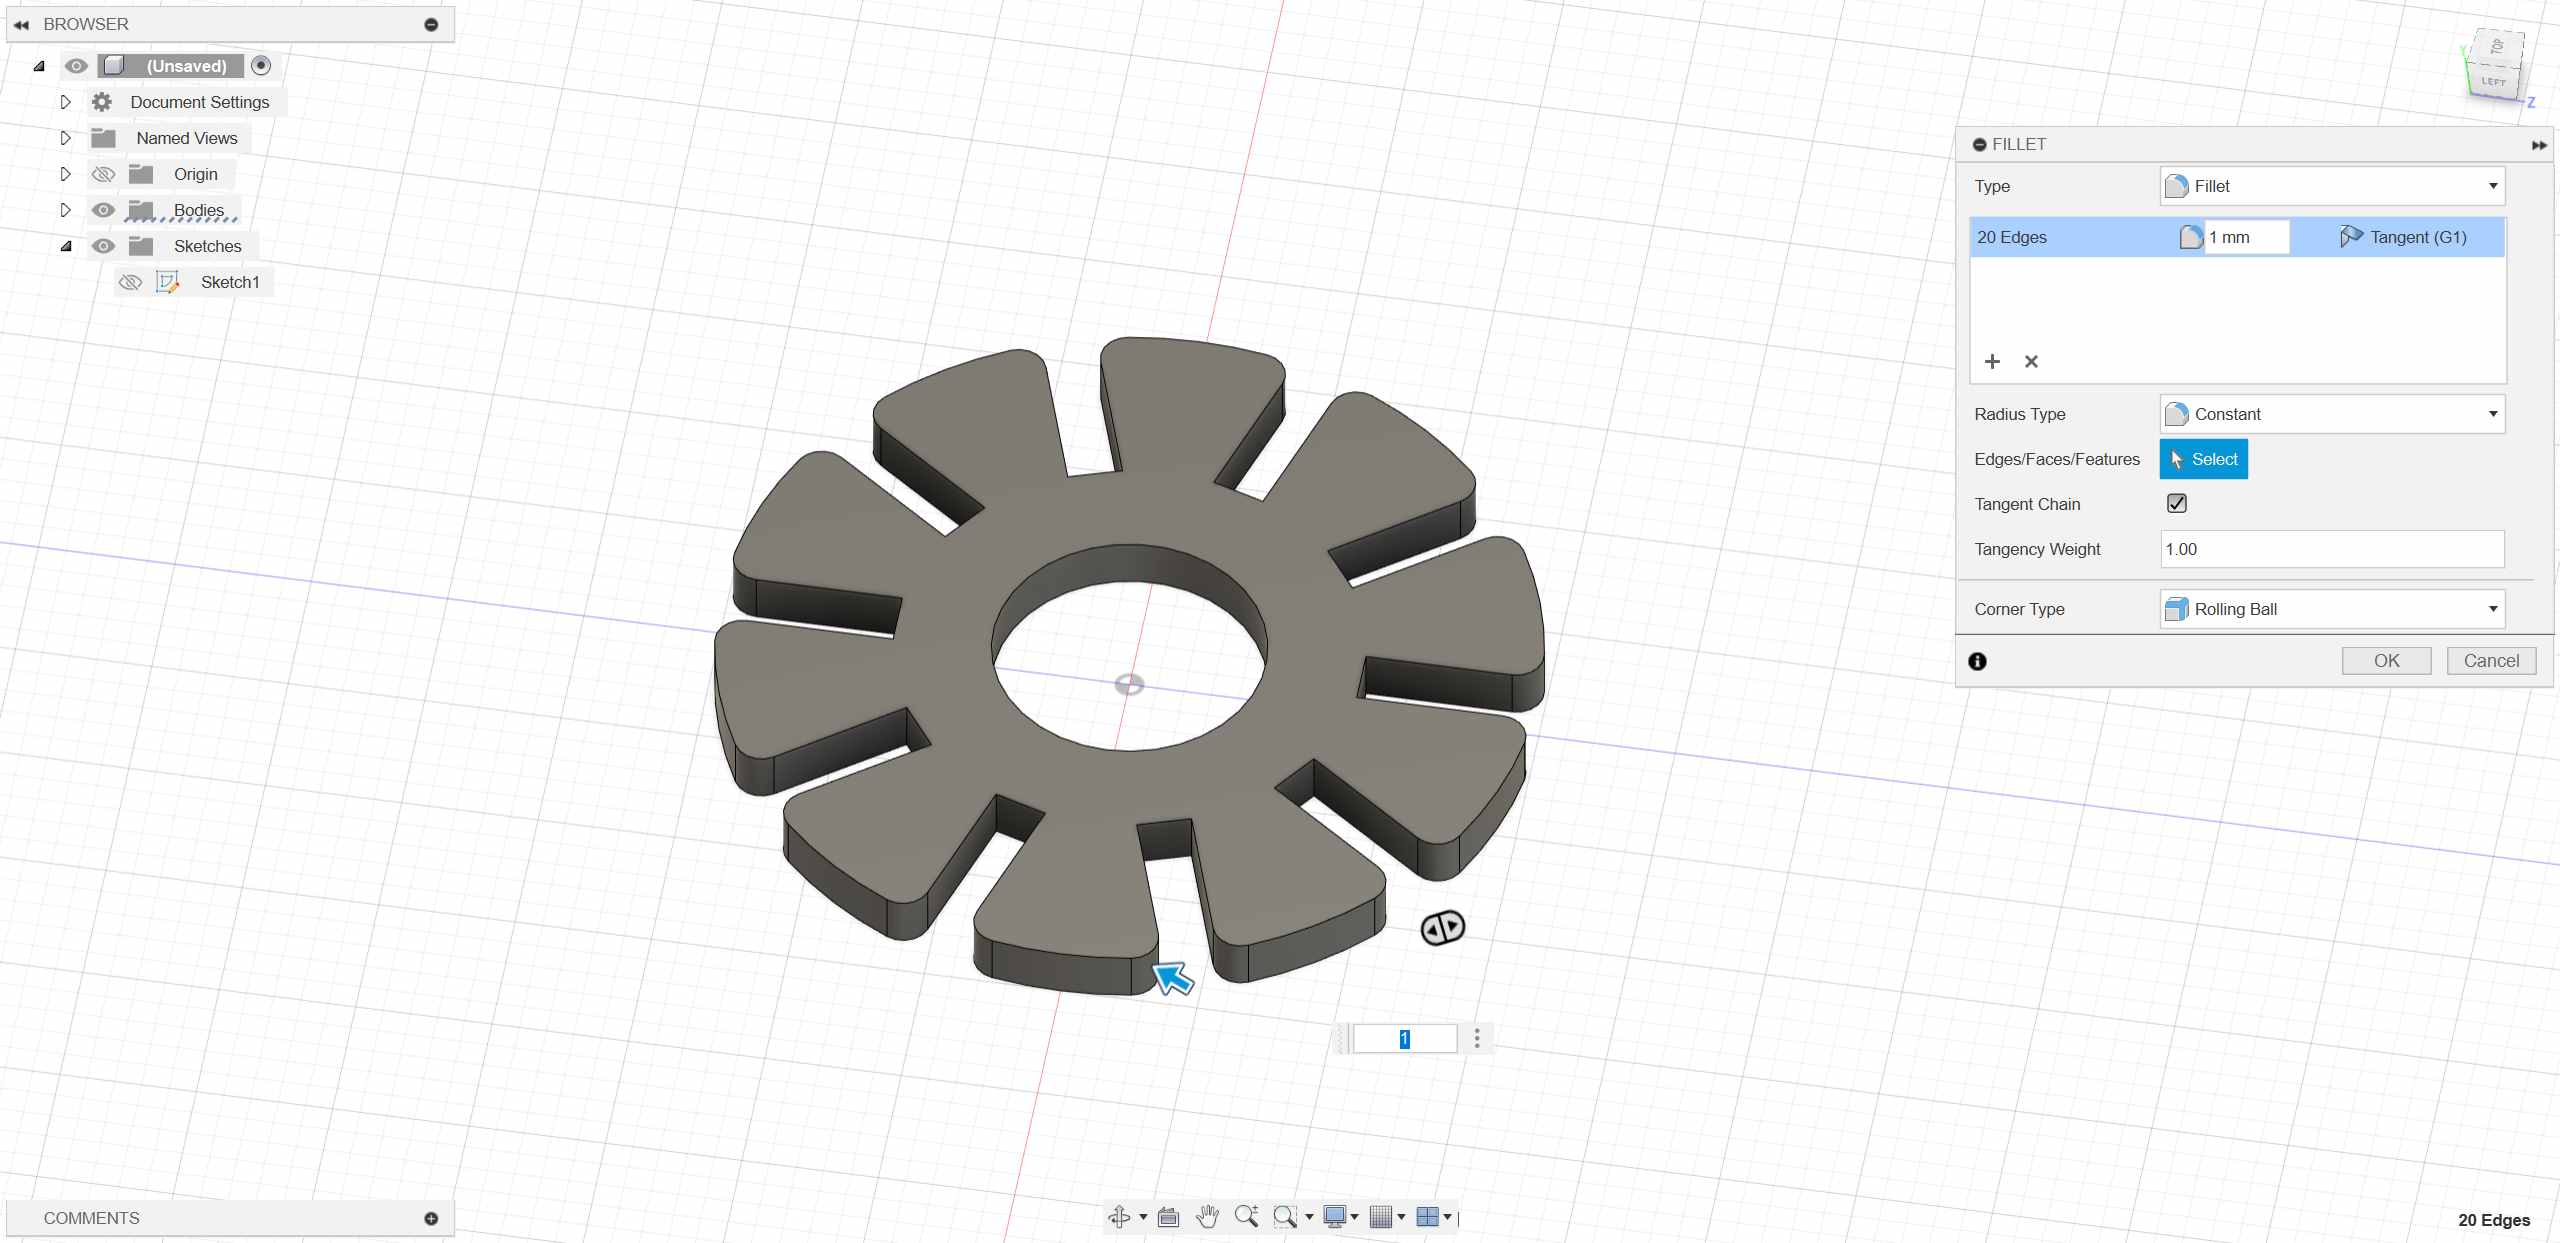
- Finally, to make the snowflake more aesthetically pleasing, I added fillets.💯
In addition, I also created another “snowflake piece” to expand the variety of shapes.
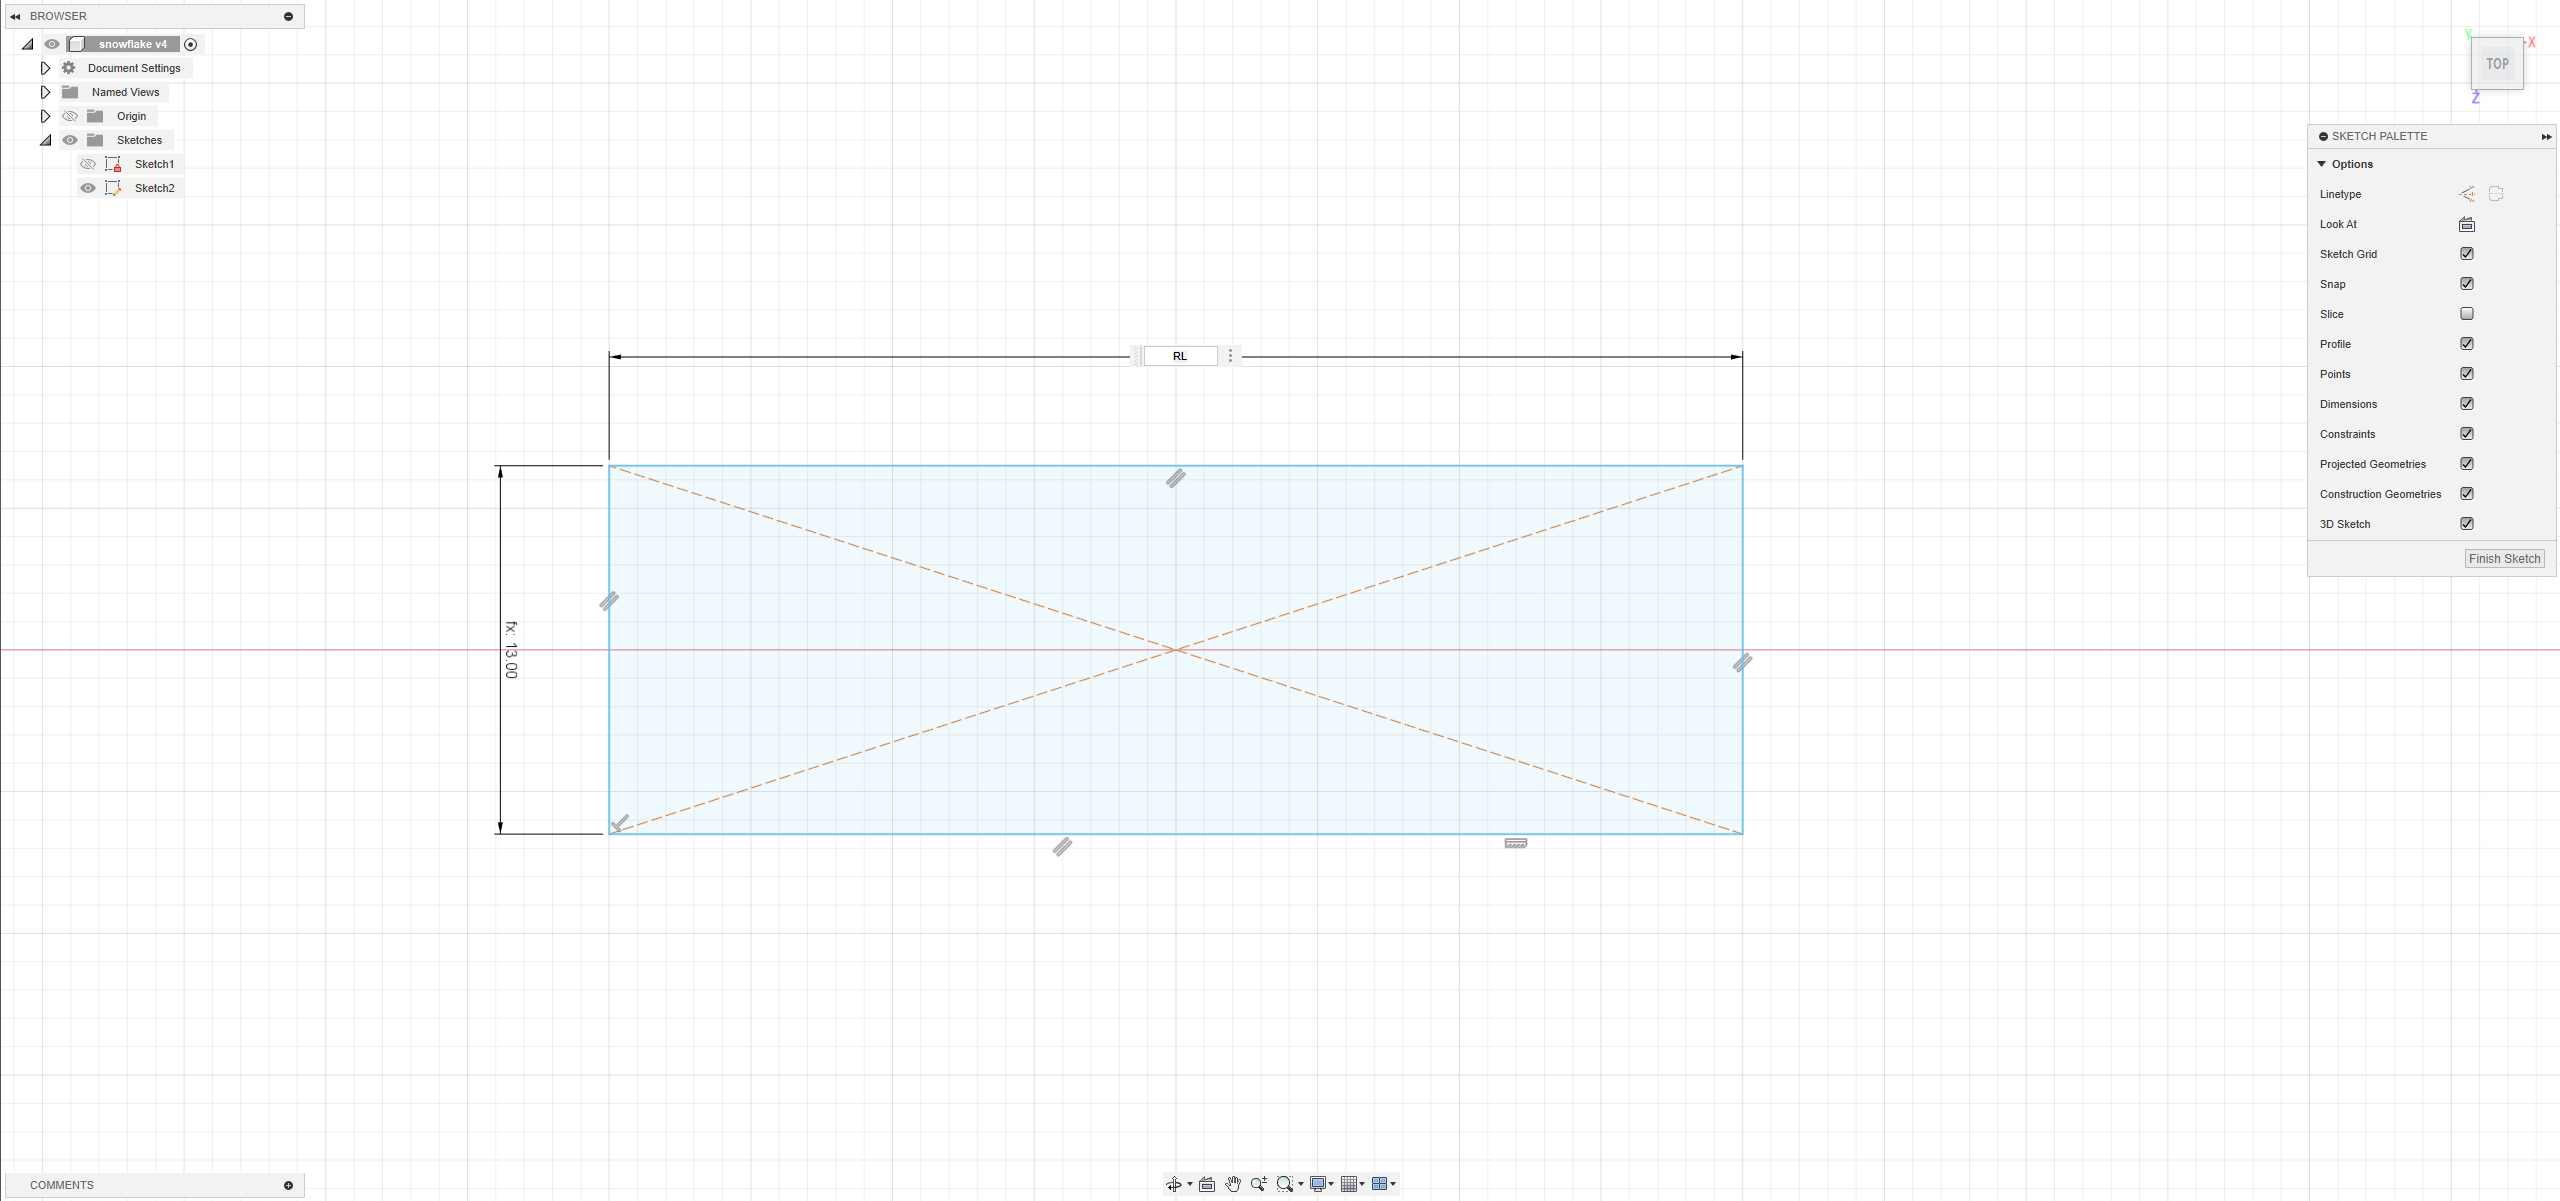
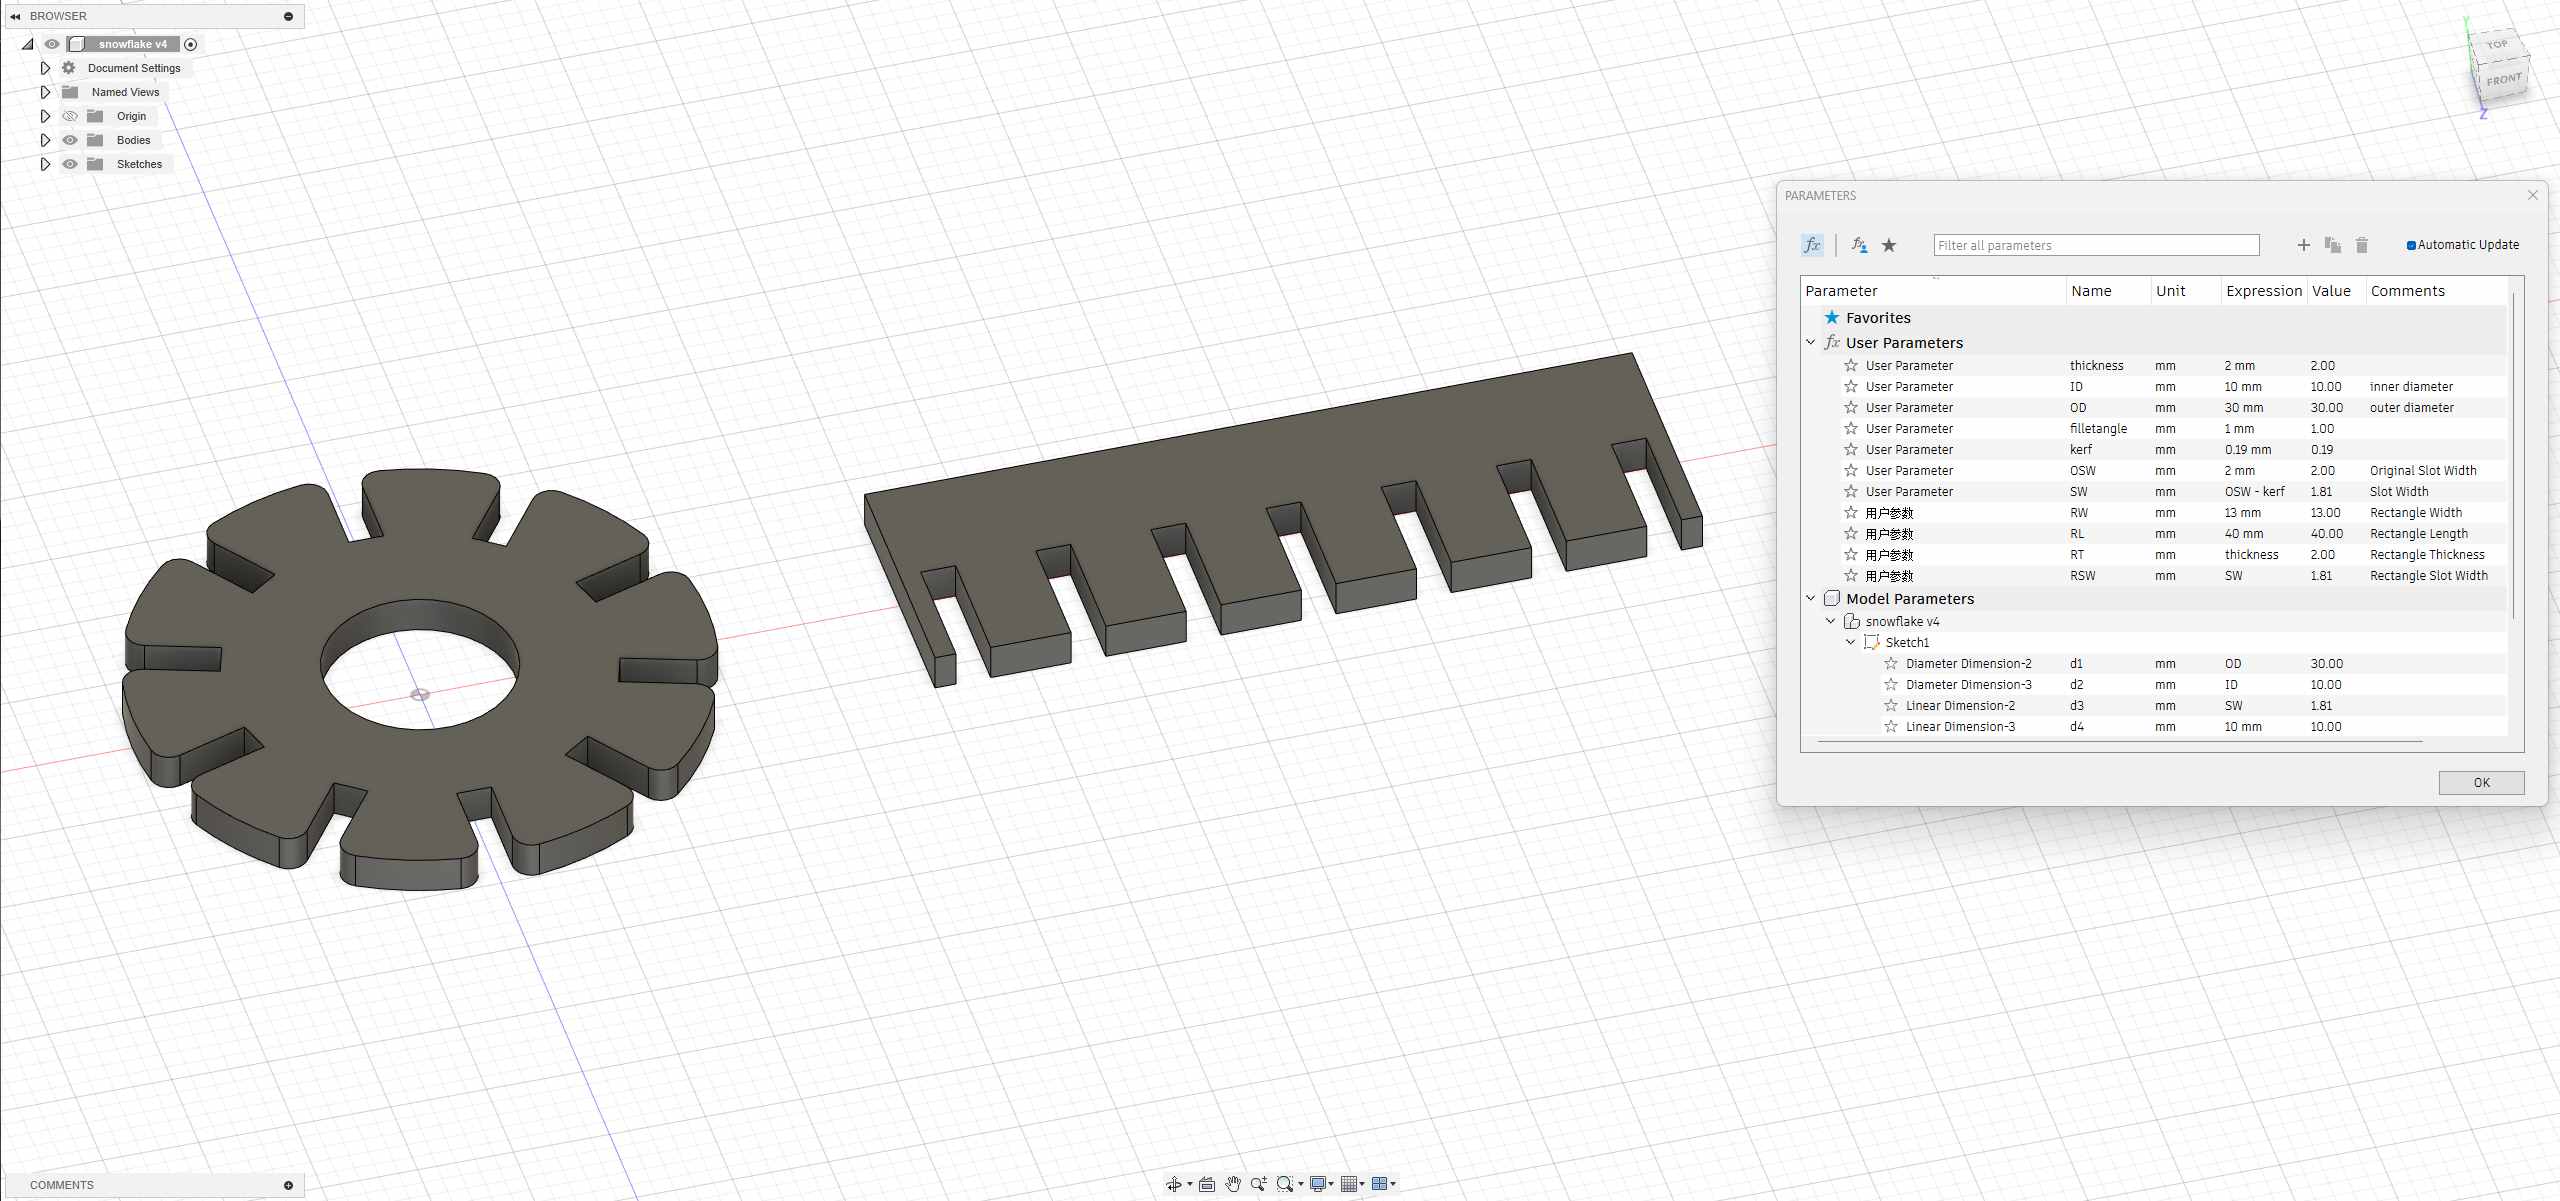
- First, I created a model using “Center Rectangle” and applied parameters.
- Second, I used “Center Rectangle” and “Rectangular Pattern” to create slots. The width of the slots and the slot width of the snowflake piece were set to the same parameter.
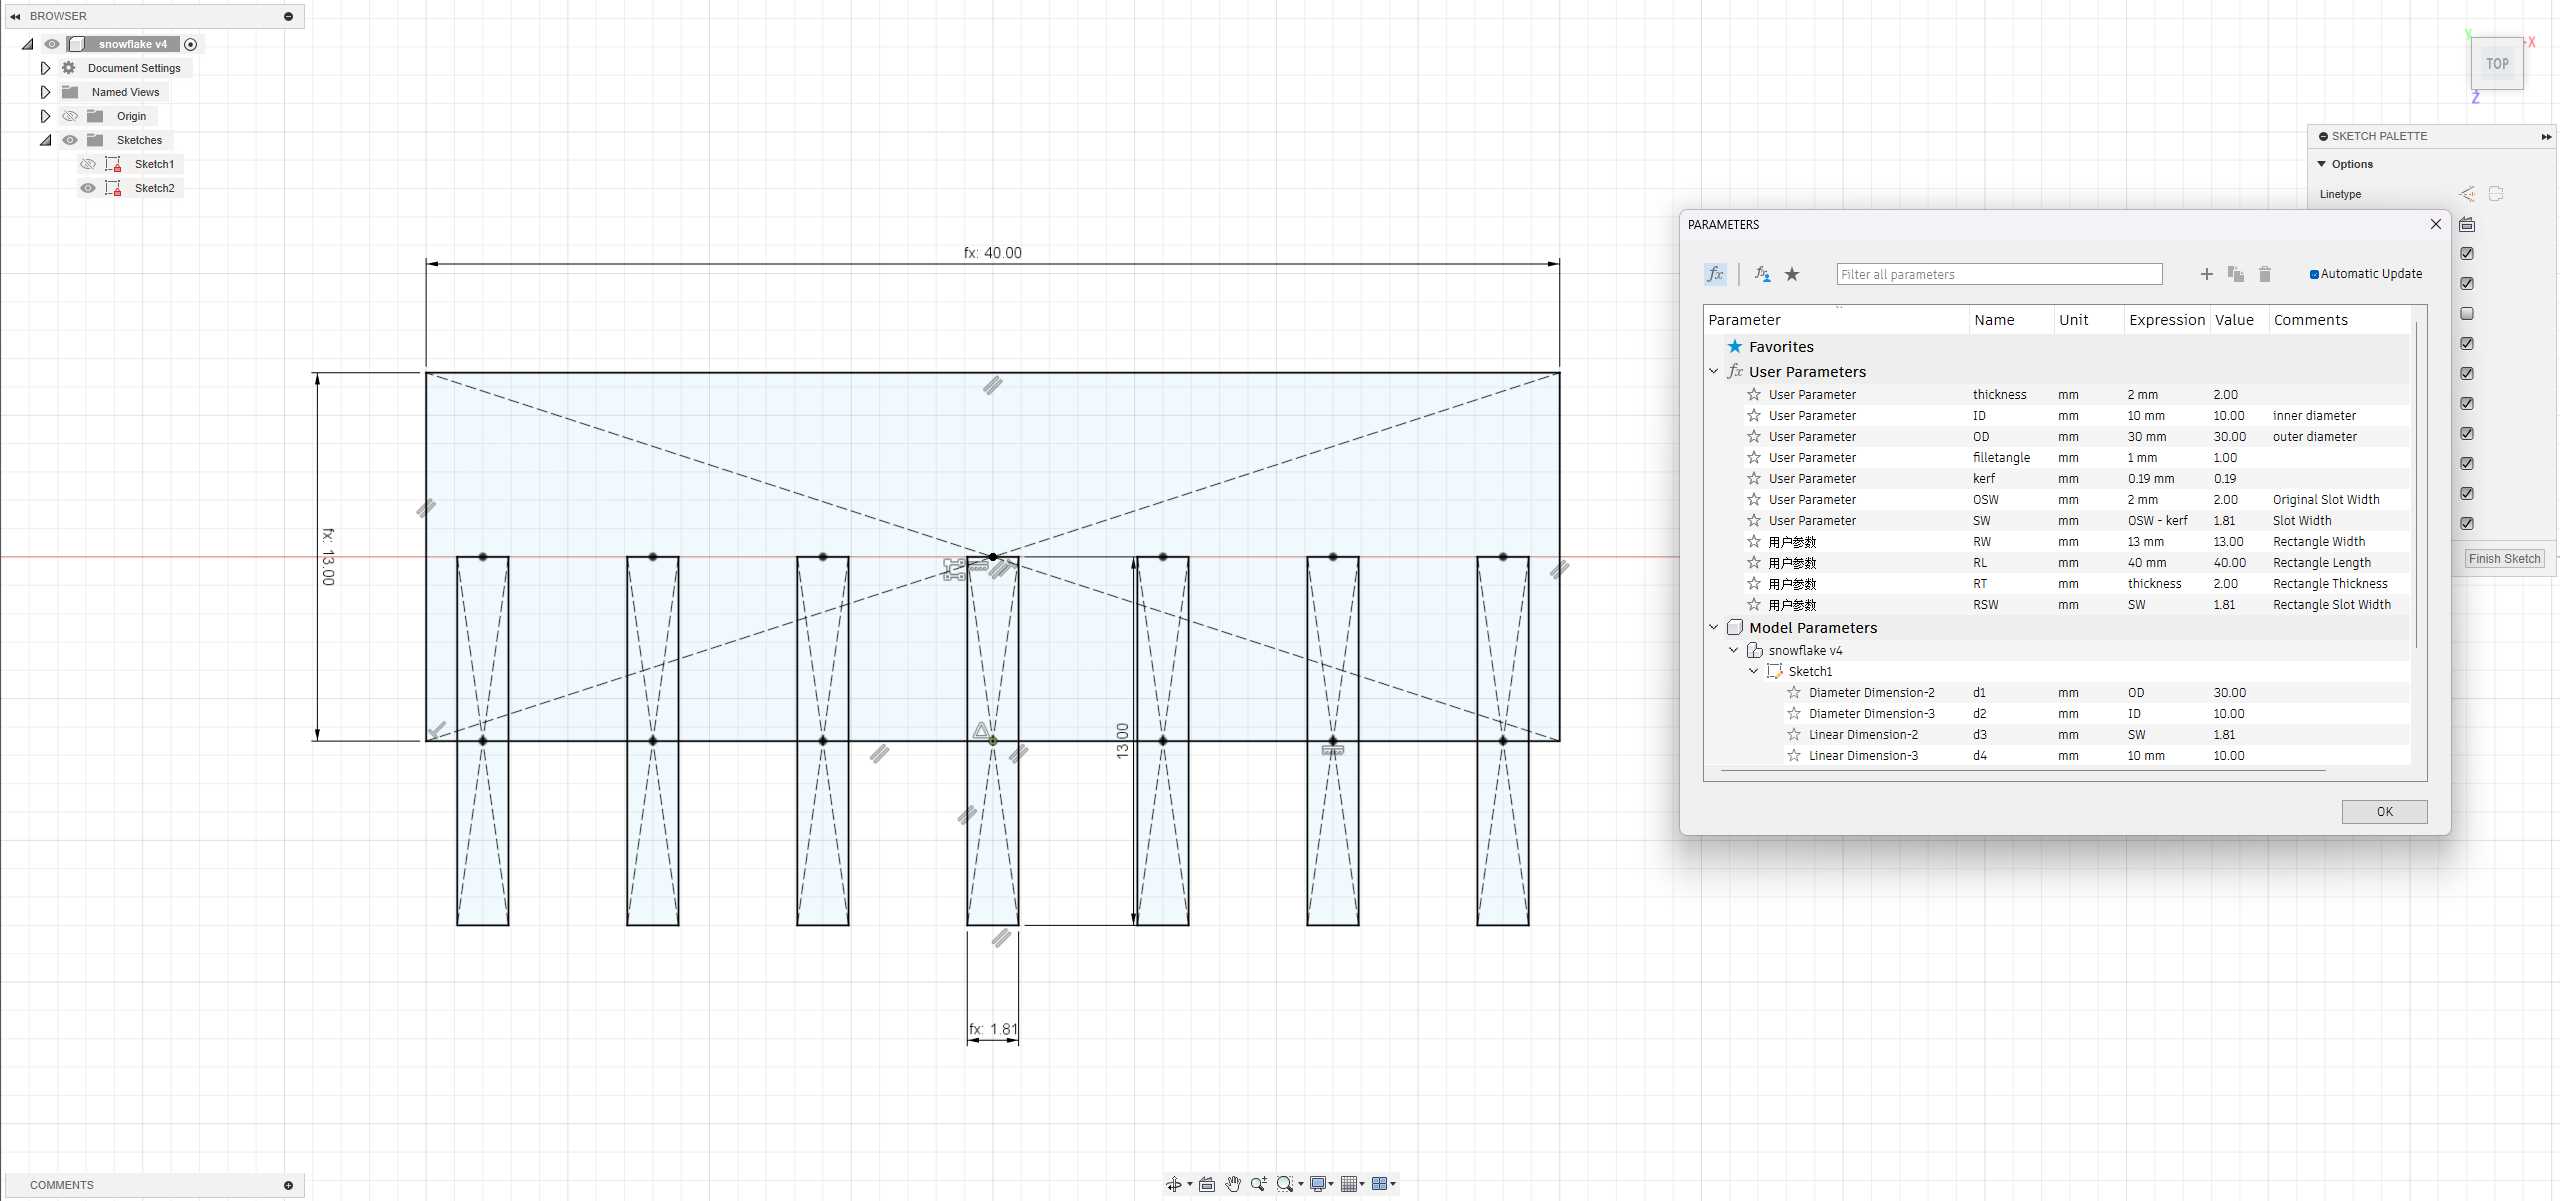
- Parameter zoomed-in view👇👇
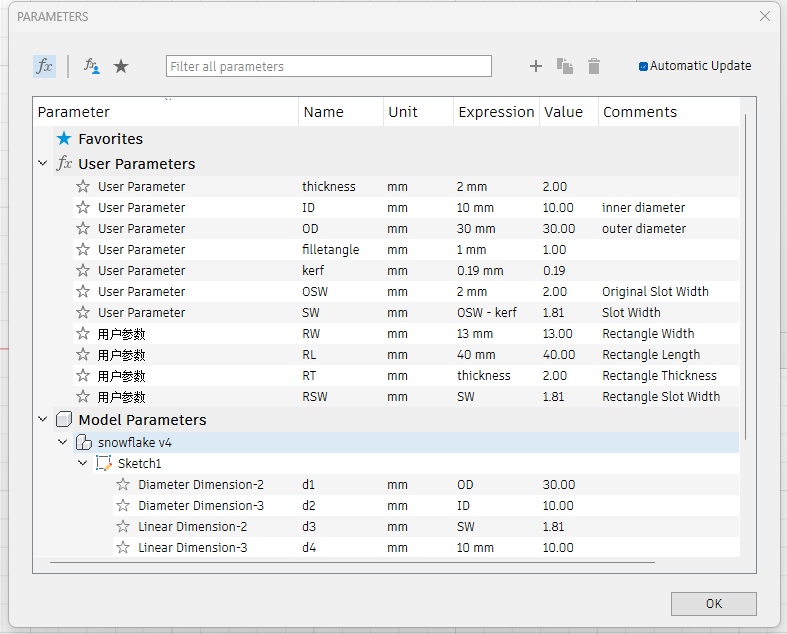
- Finally, I set the thickness of both snowflake pieces to the same parameter. This way, by changing a single parameter, modifications can be applied to both models.
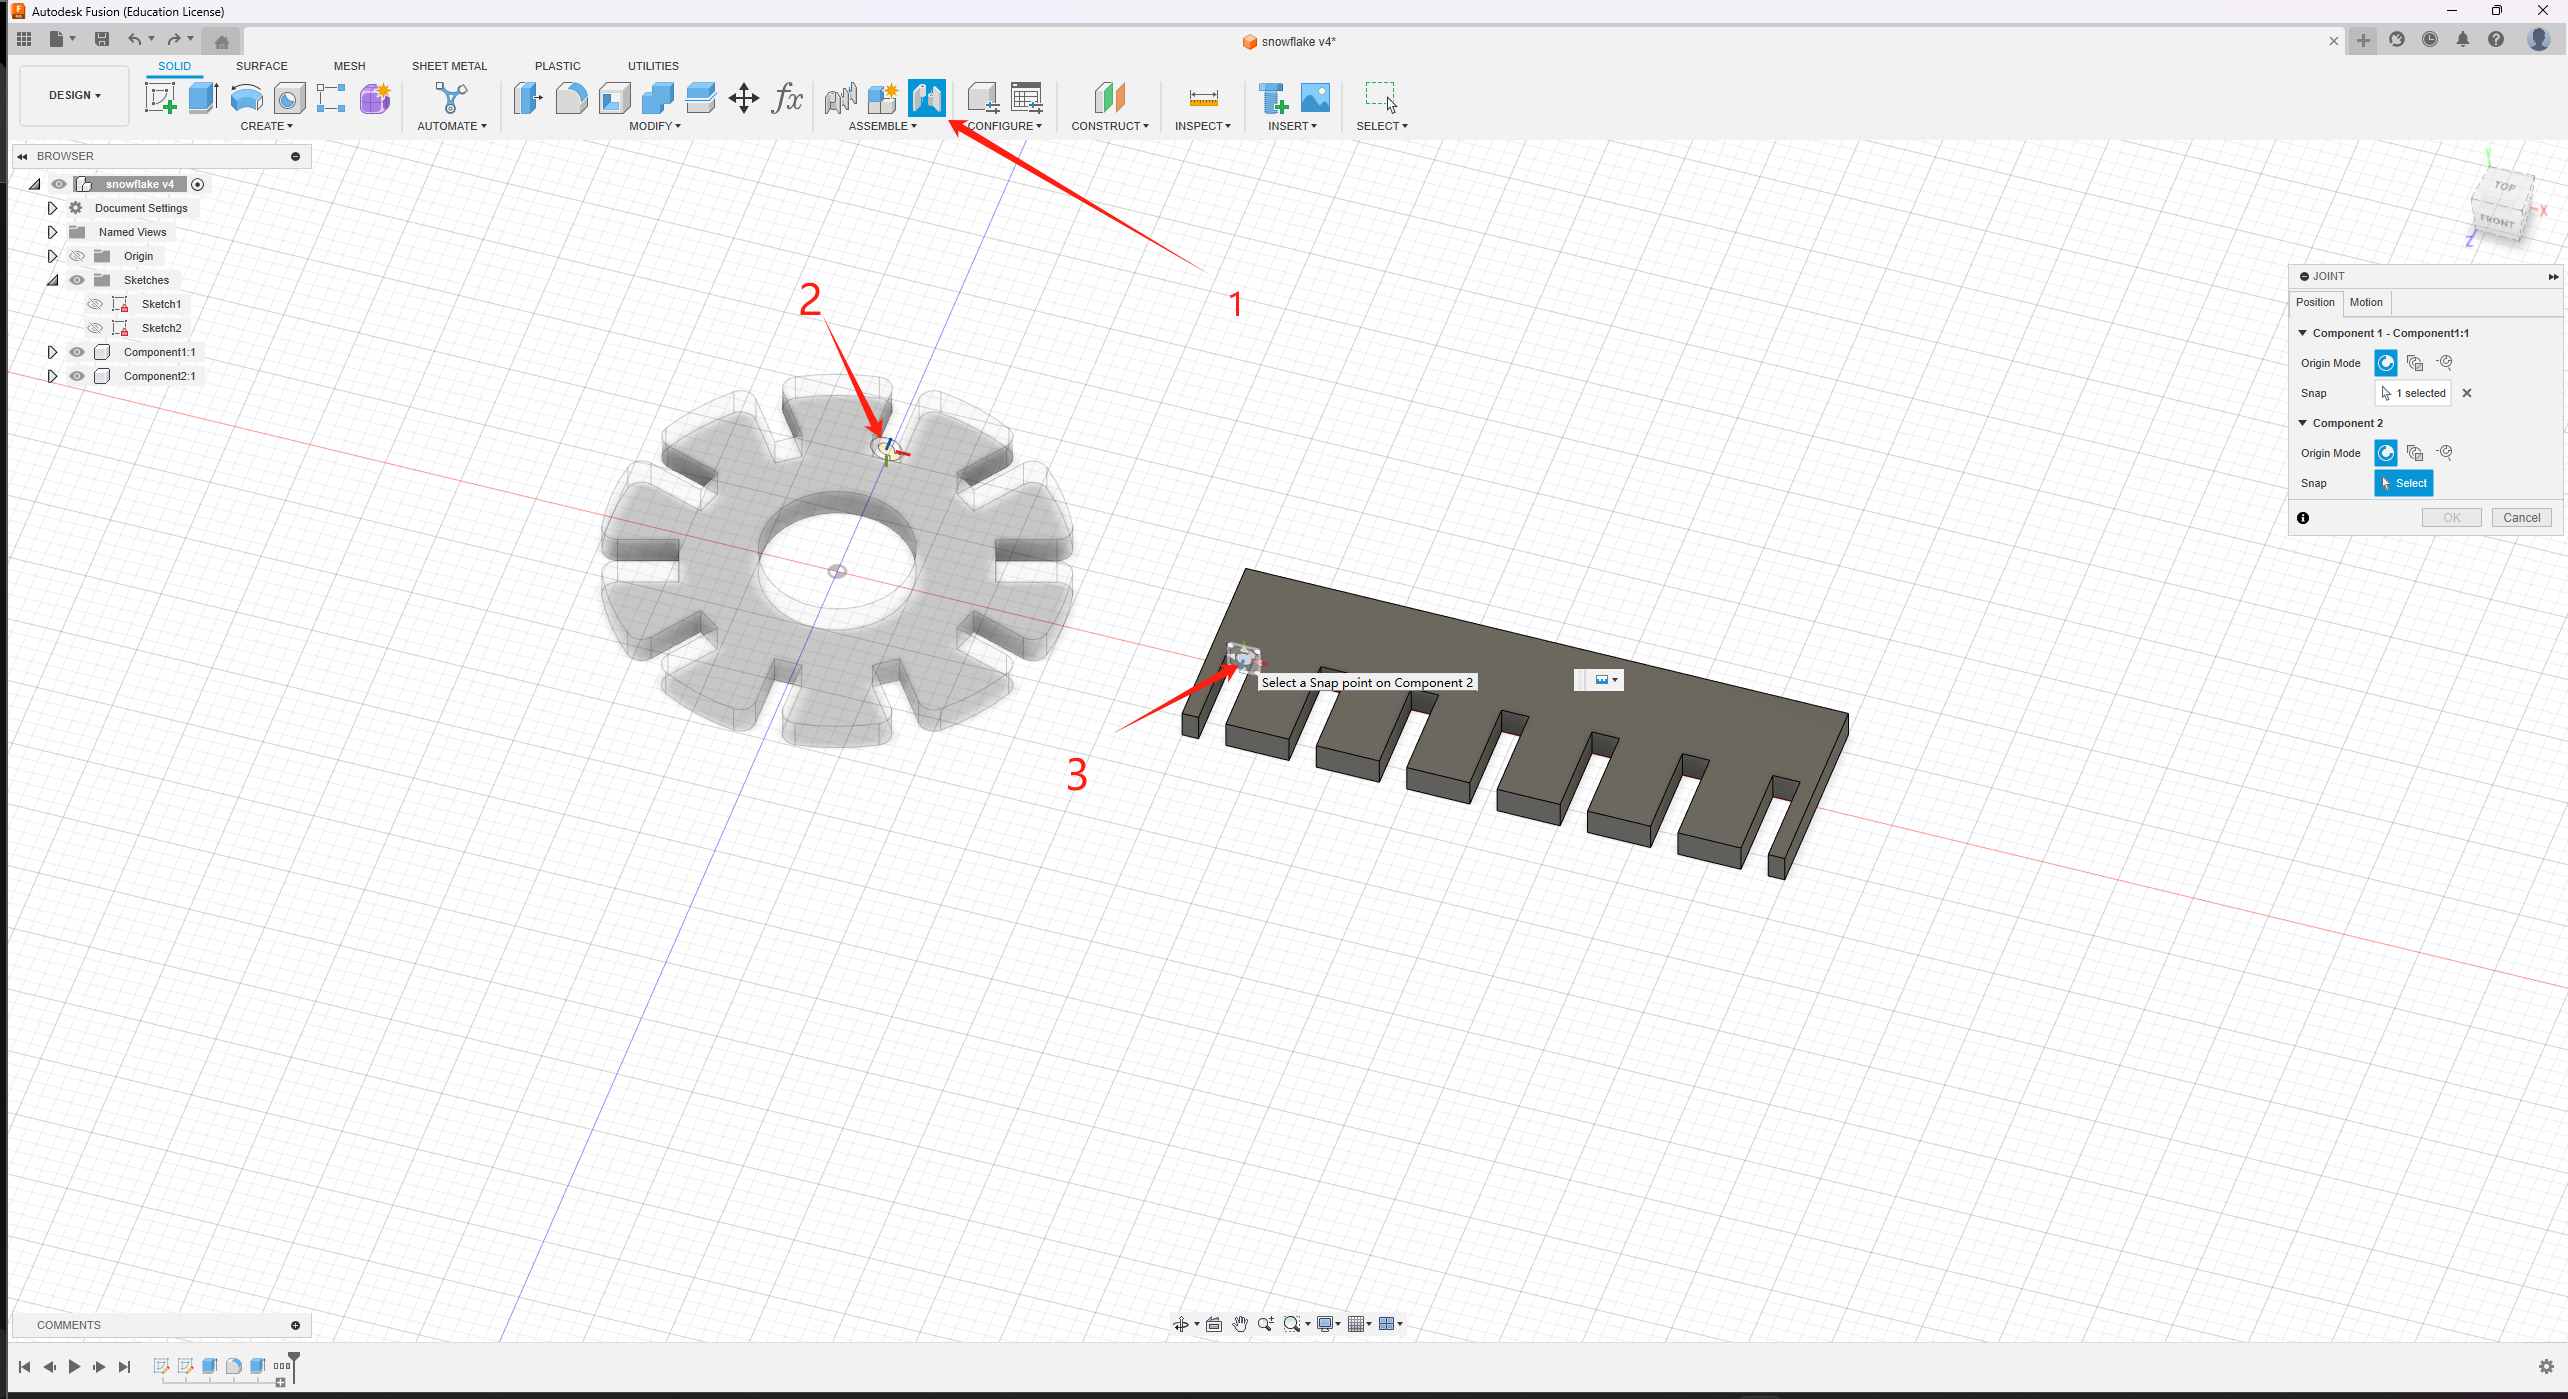
2.1.2 Simulation
- I will use Fusion 360’s “Joint” command for assembly.
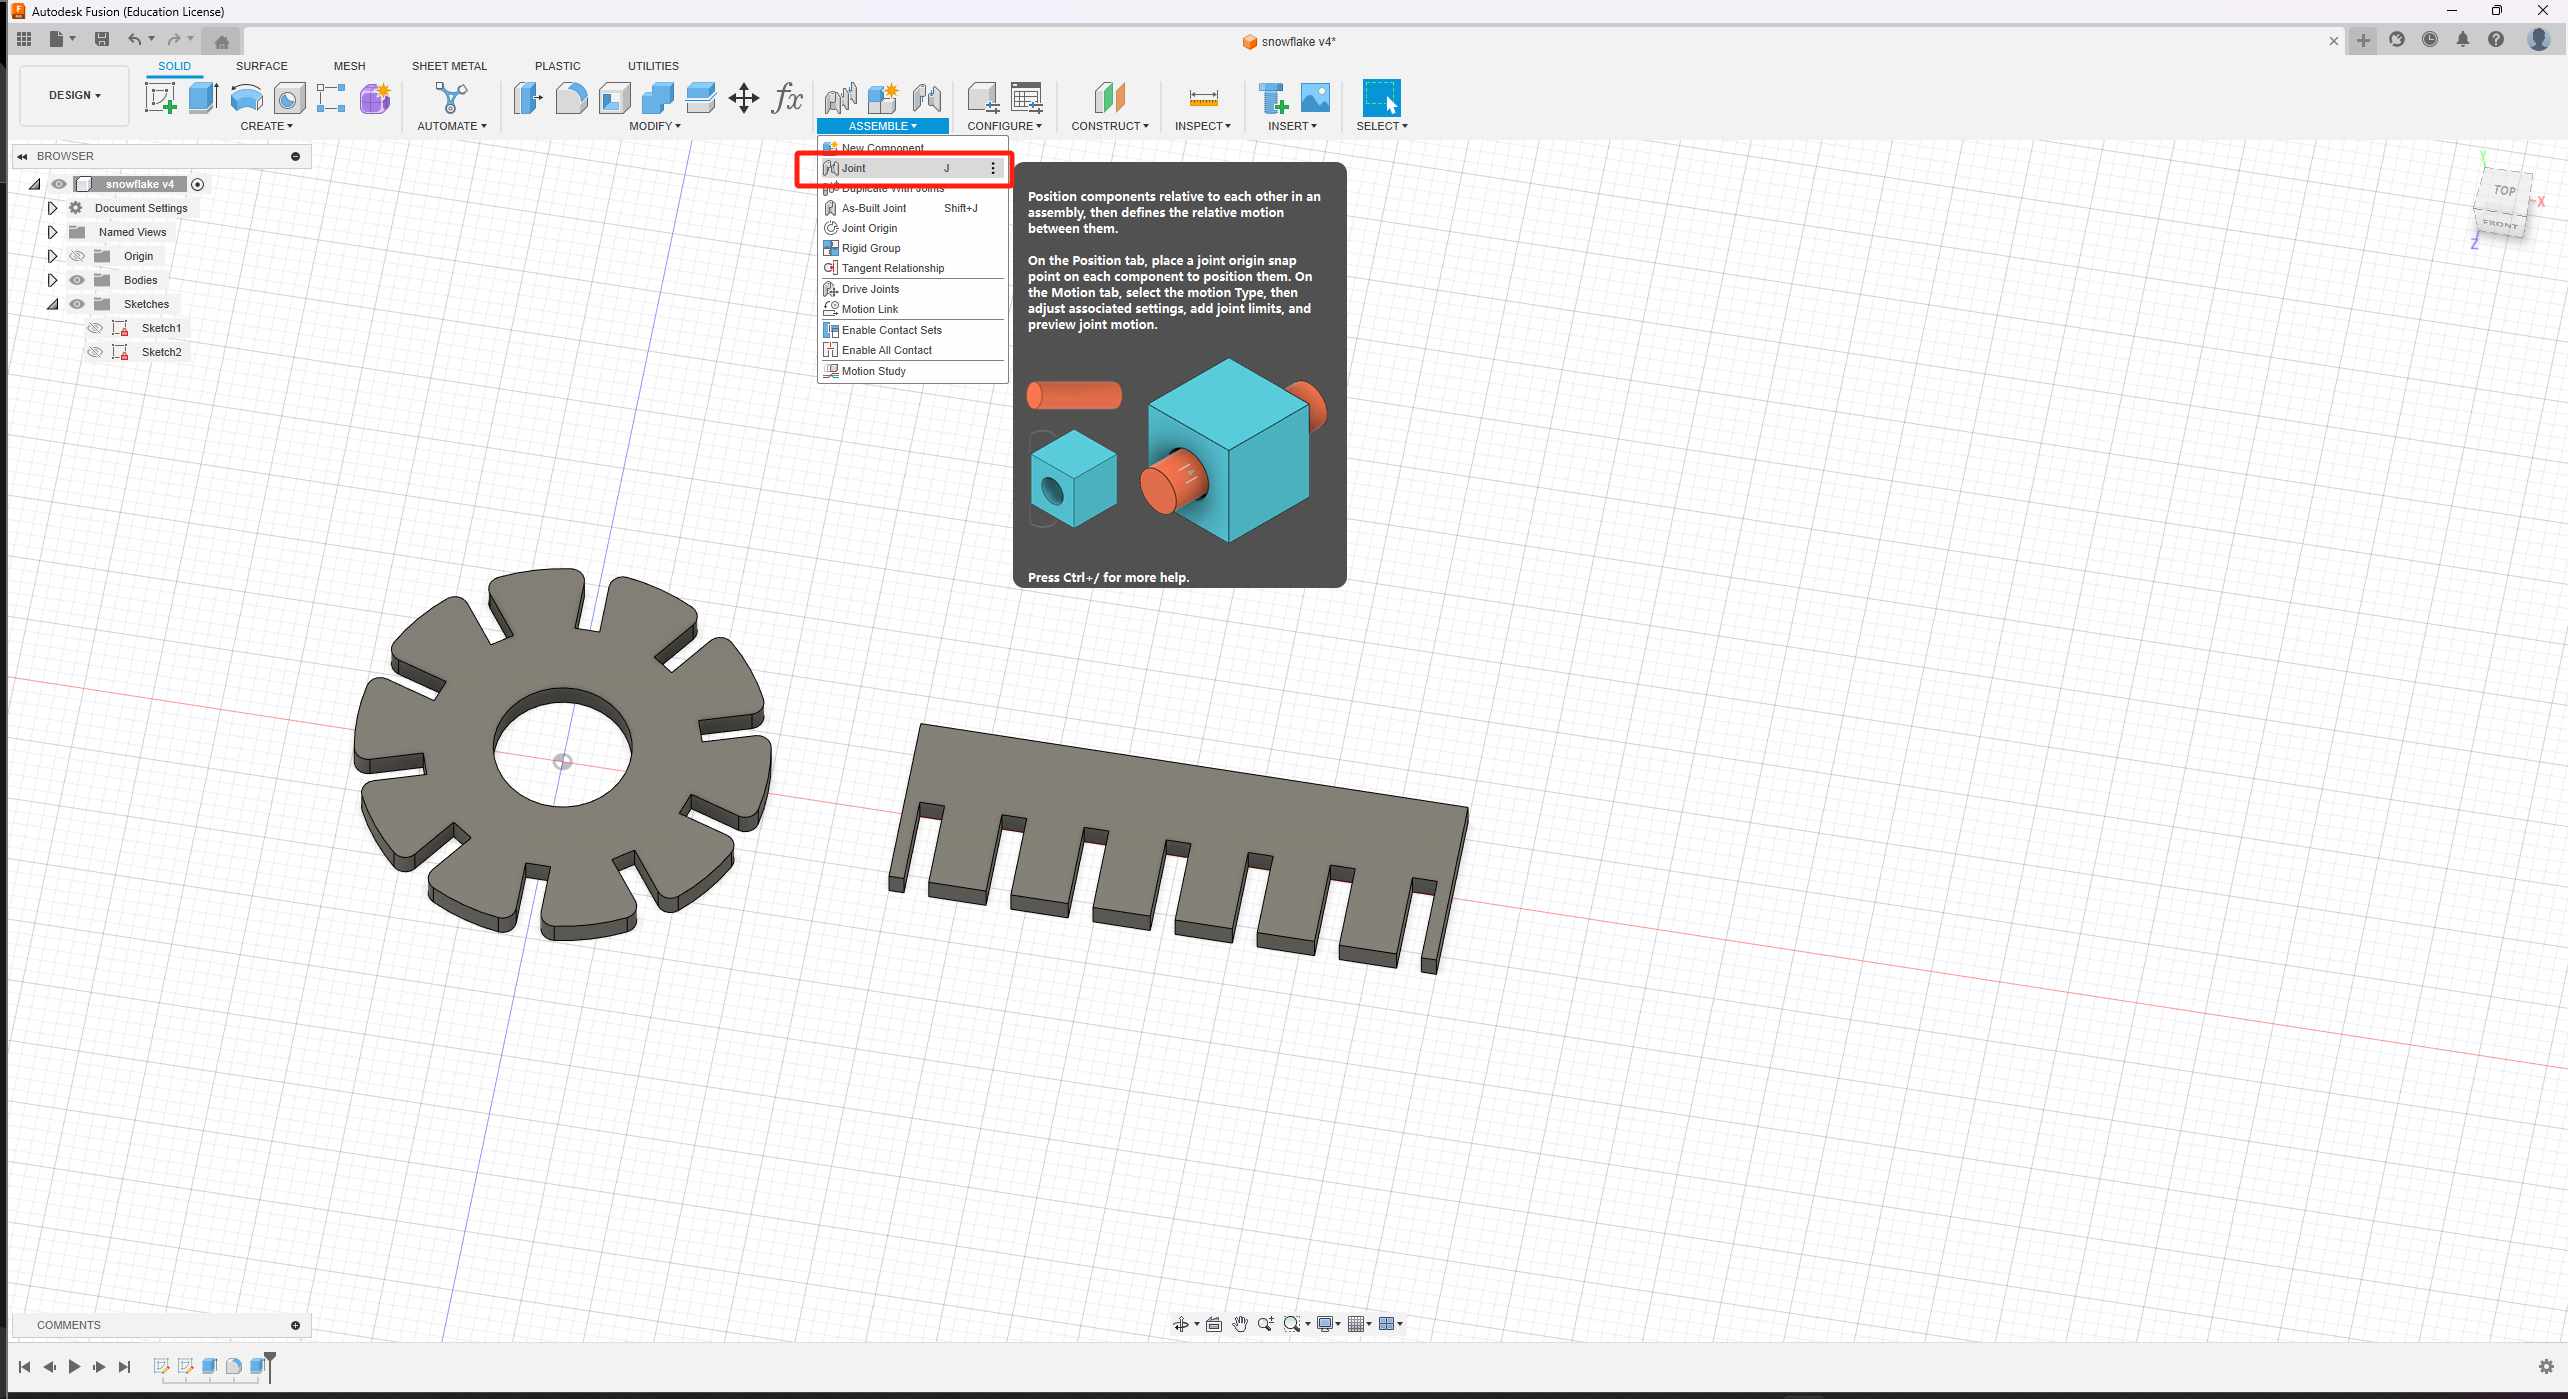
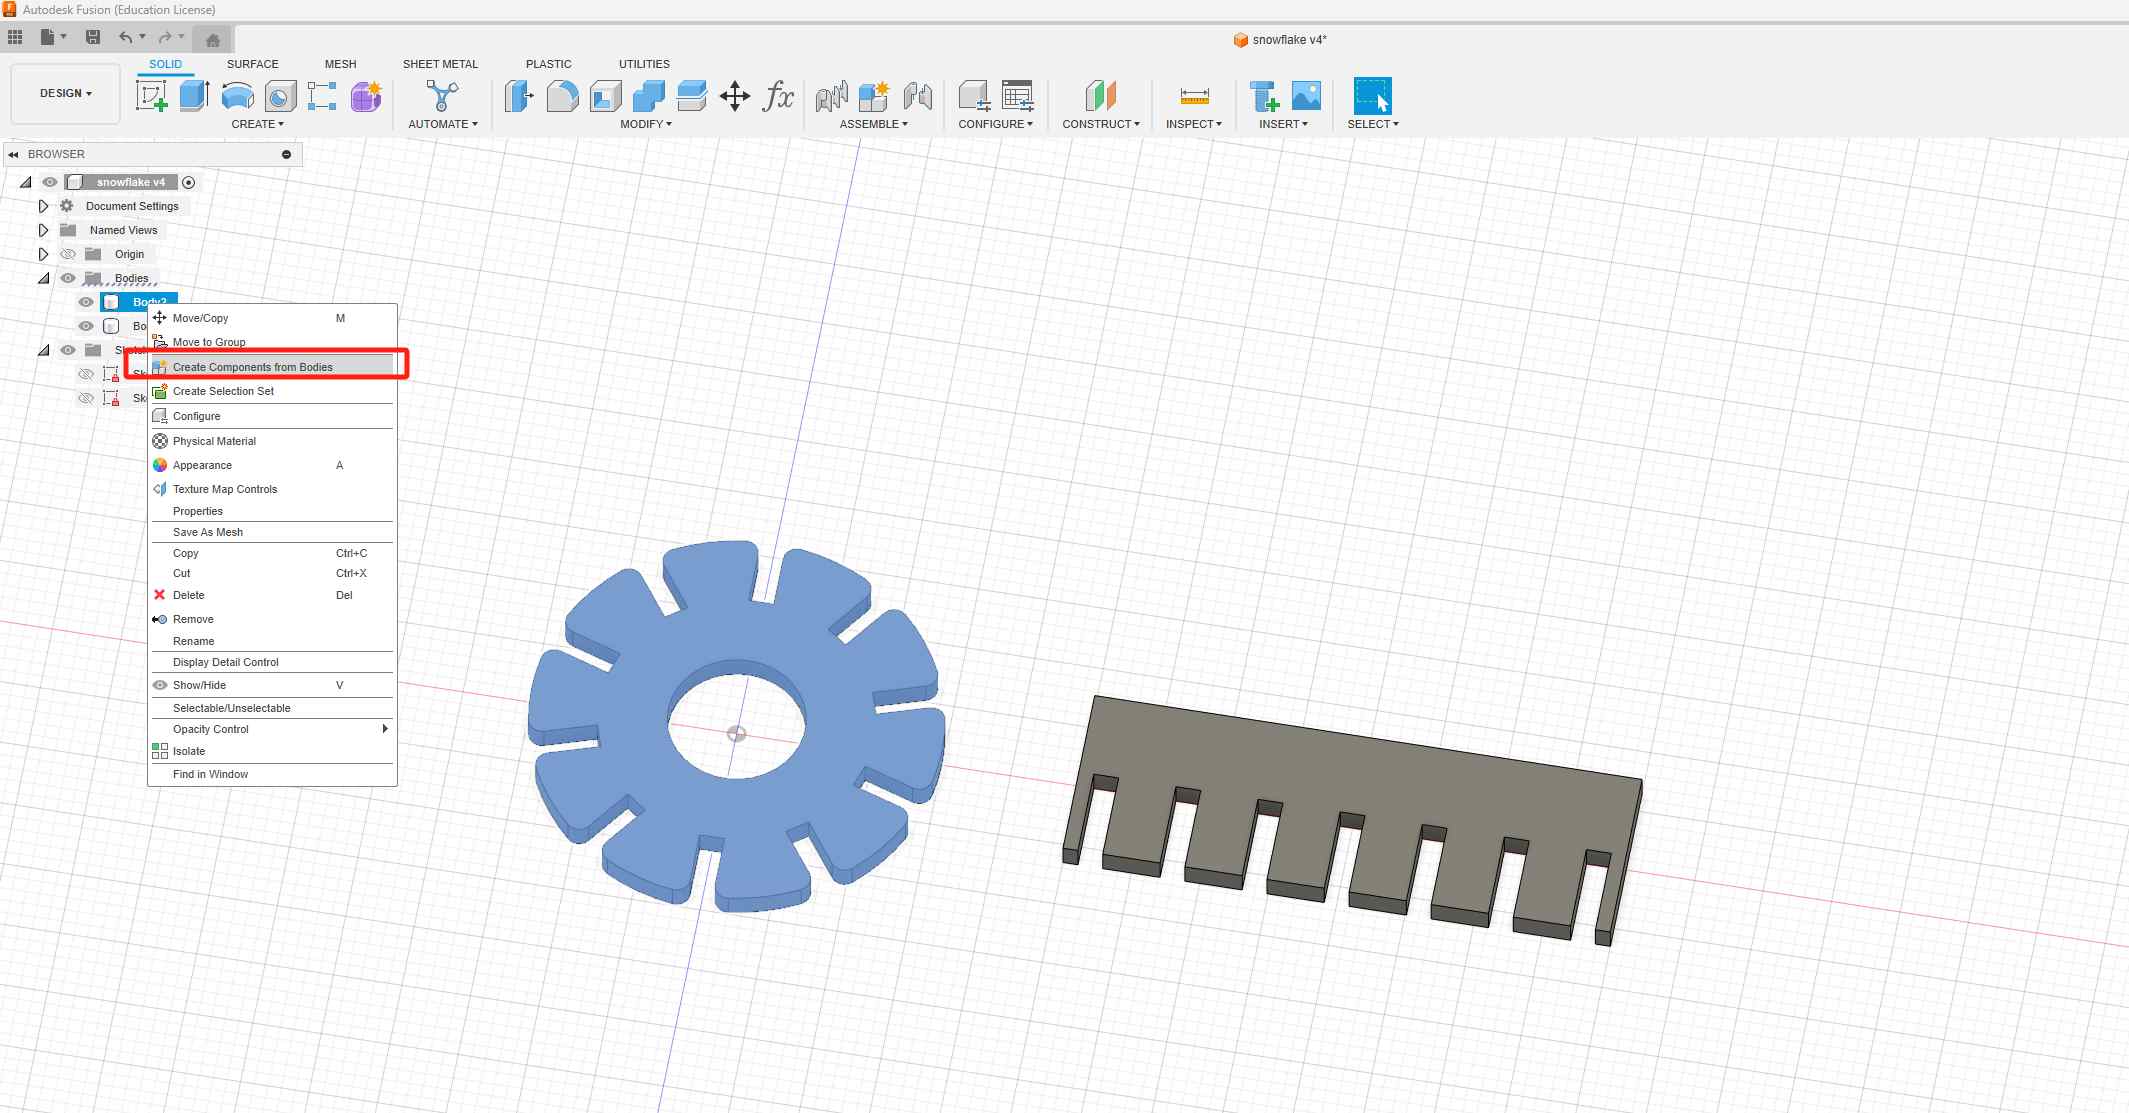
- Before using the “Joint” command, I need to change bodies into components.
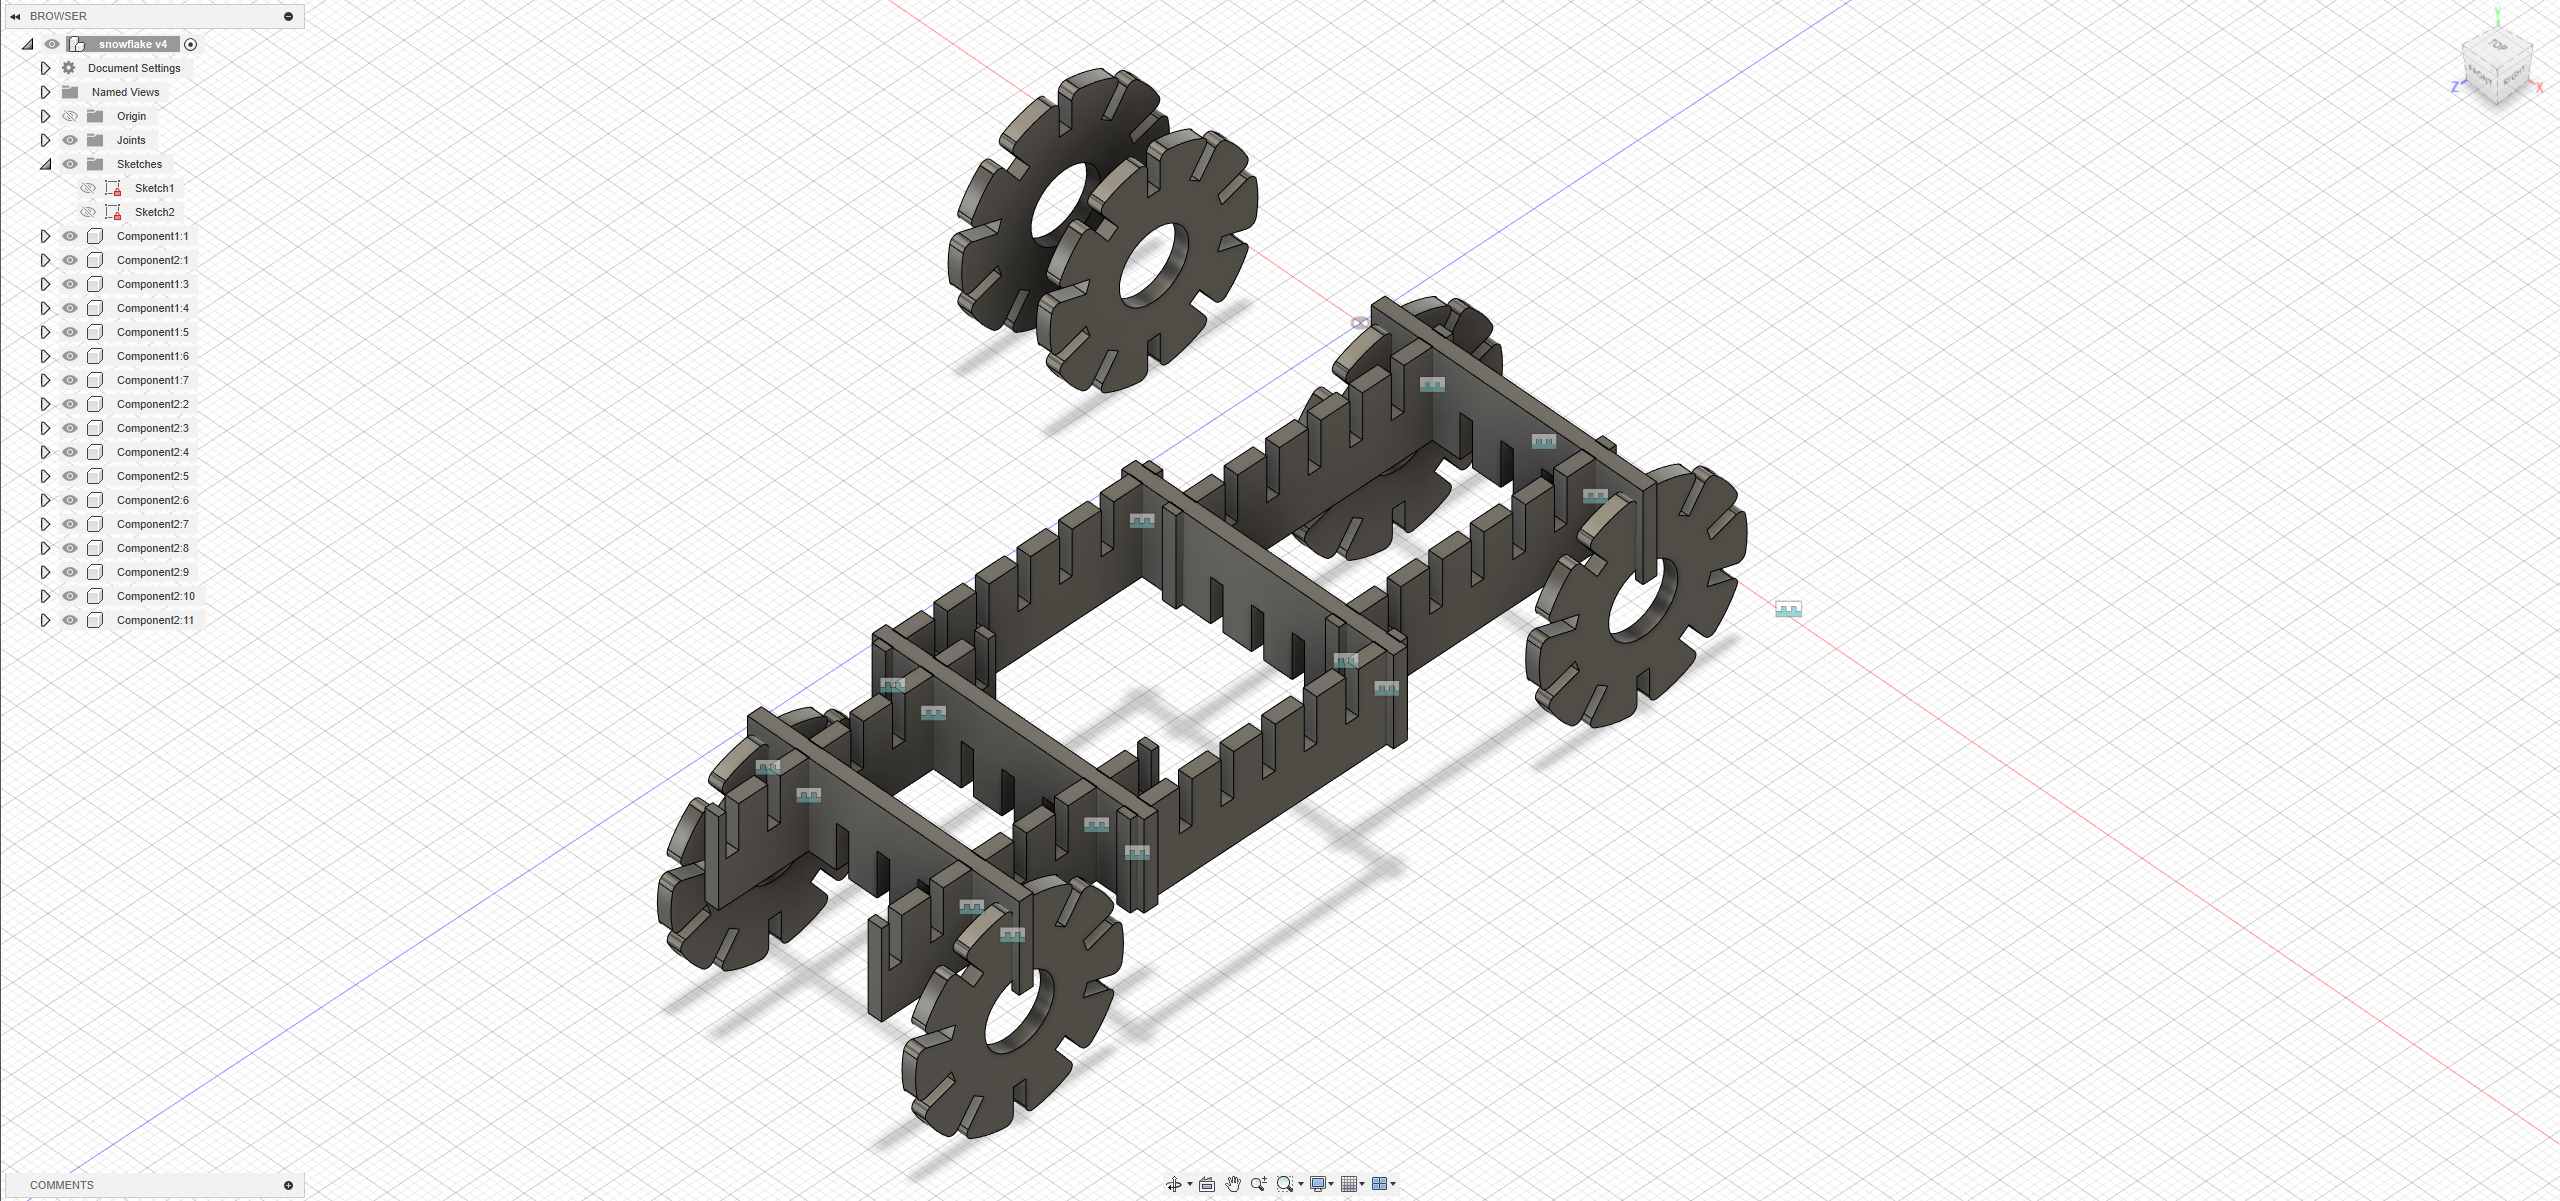
- choose jiont > Select snap points on two models
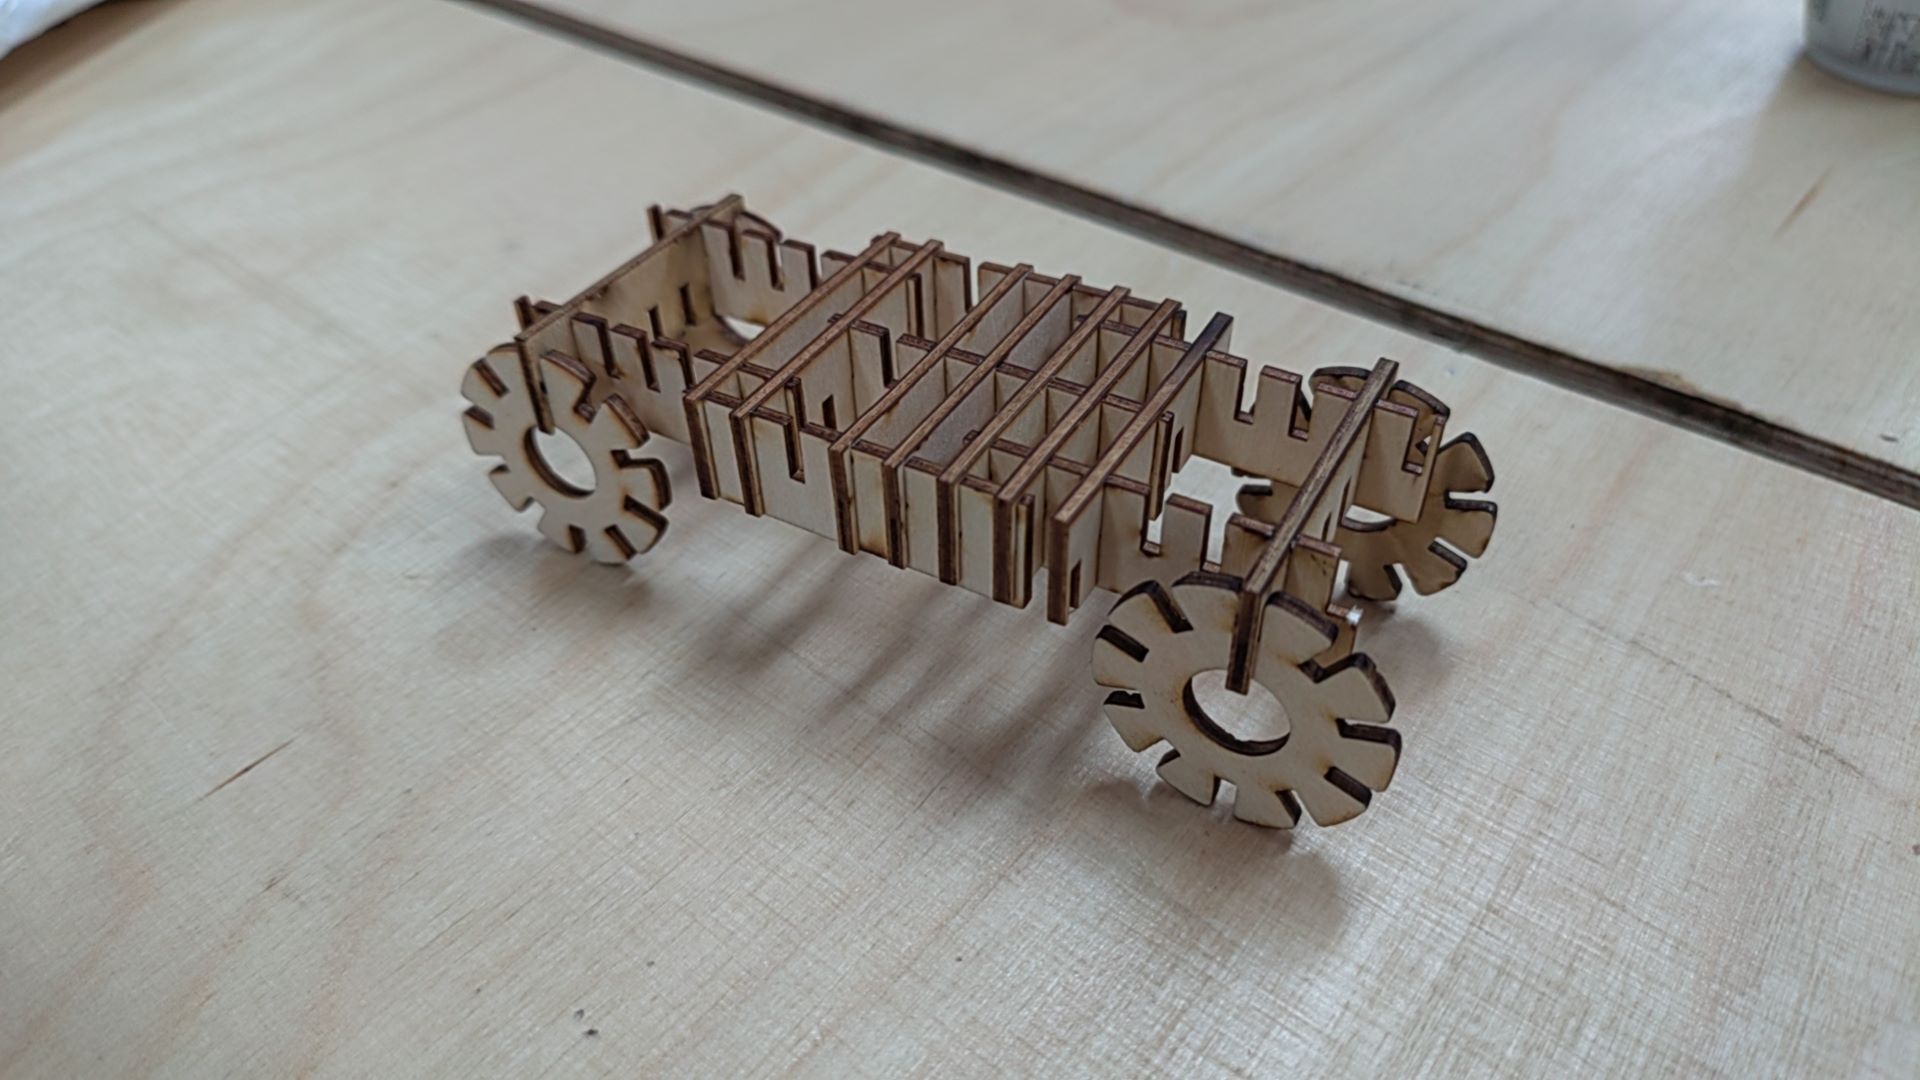
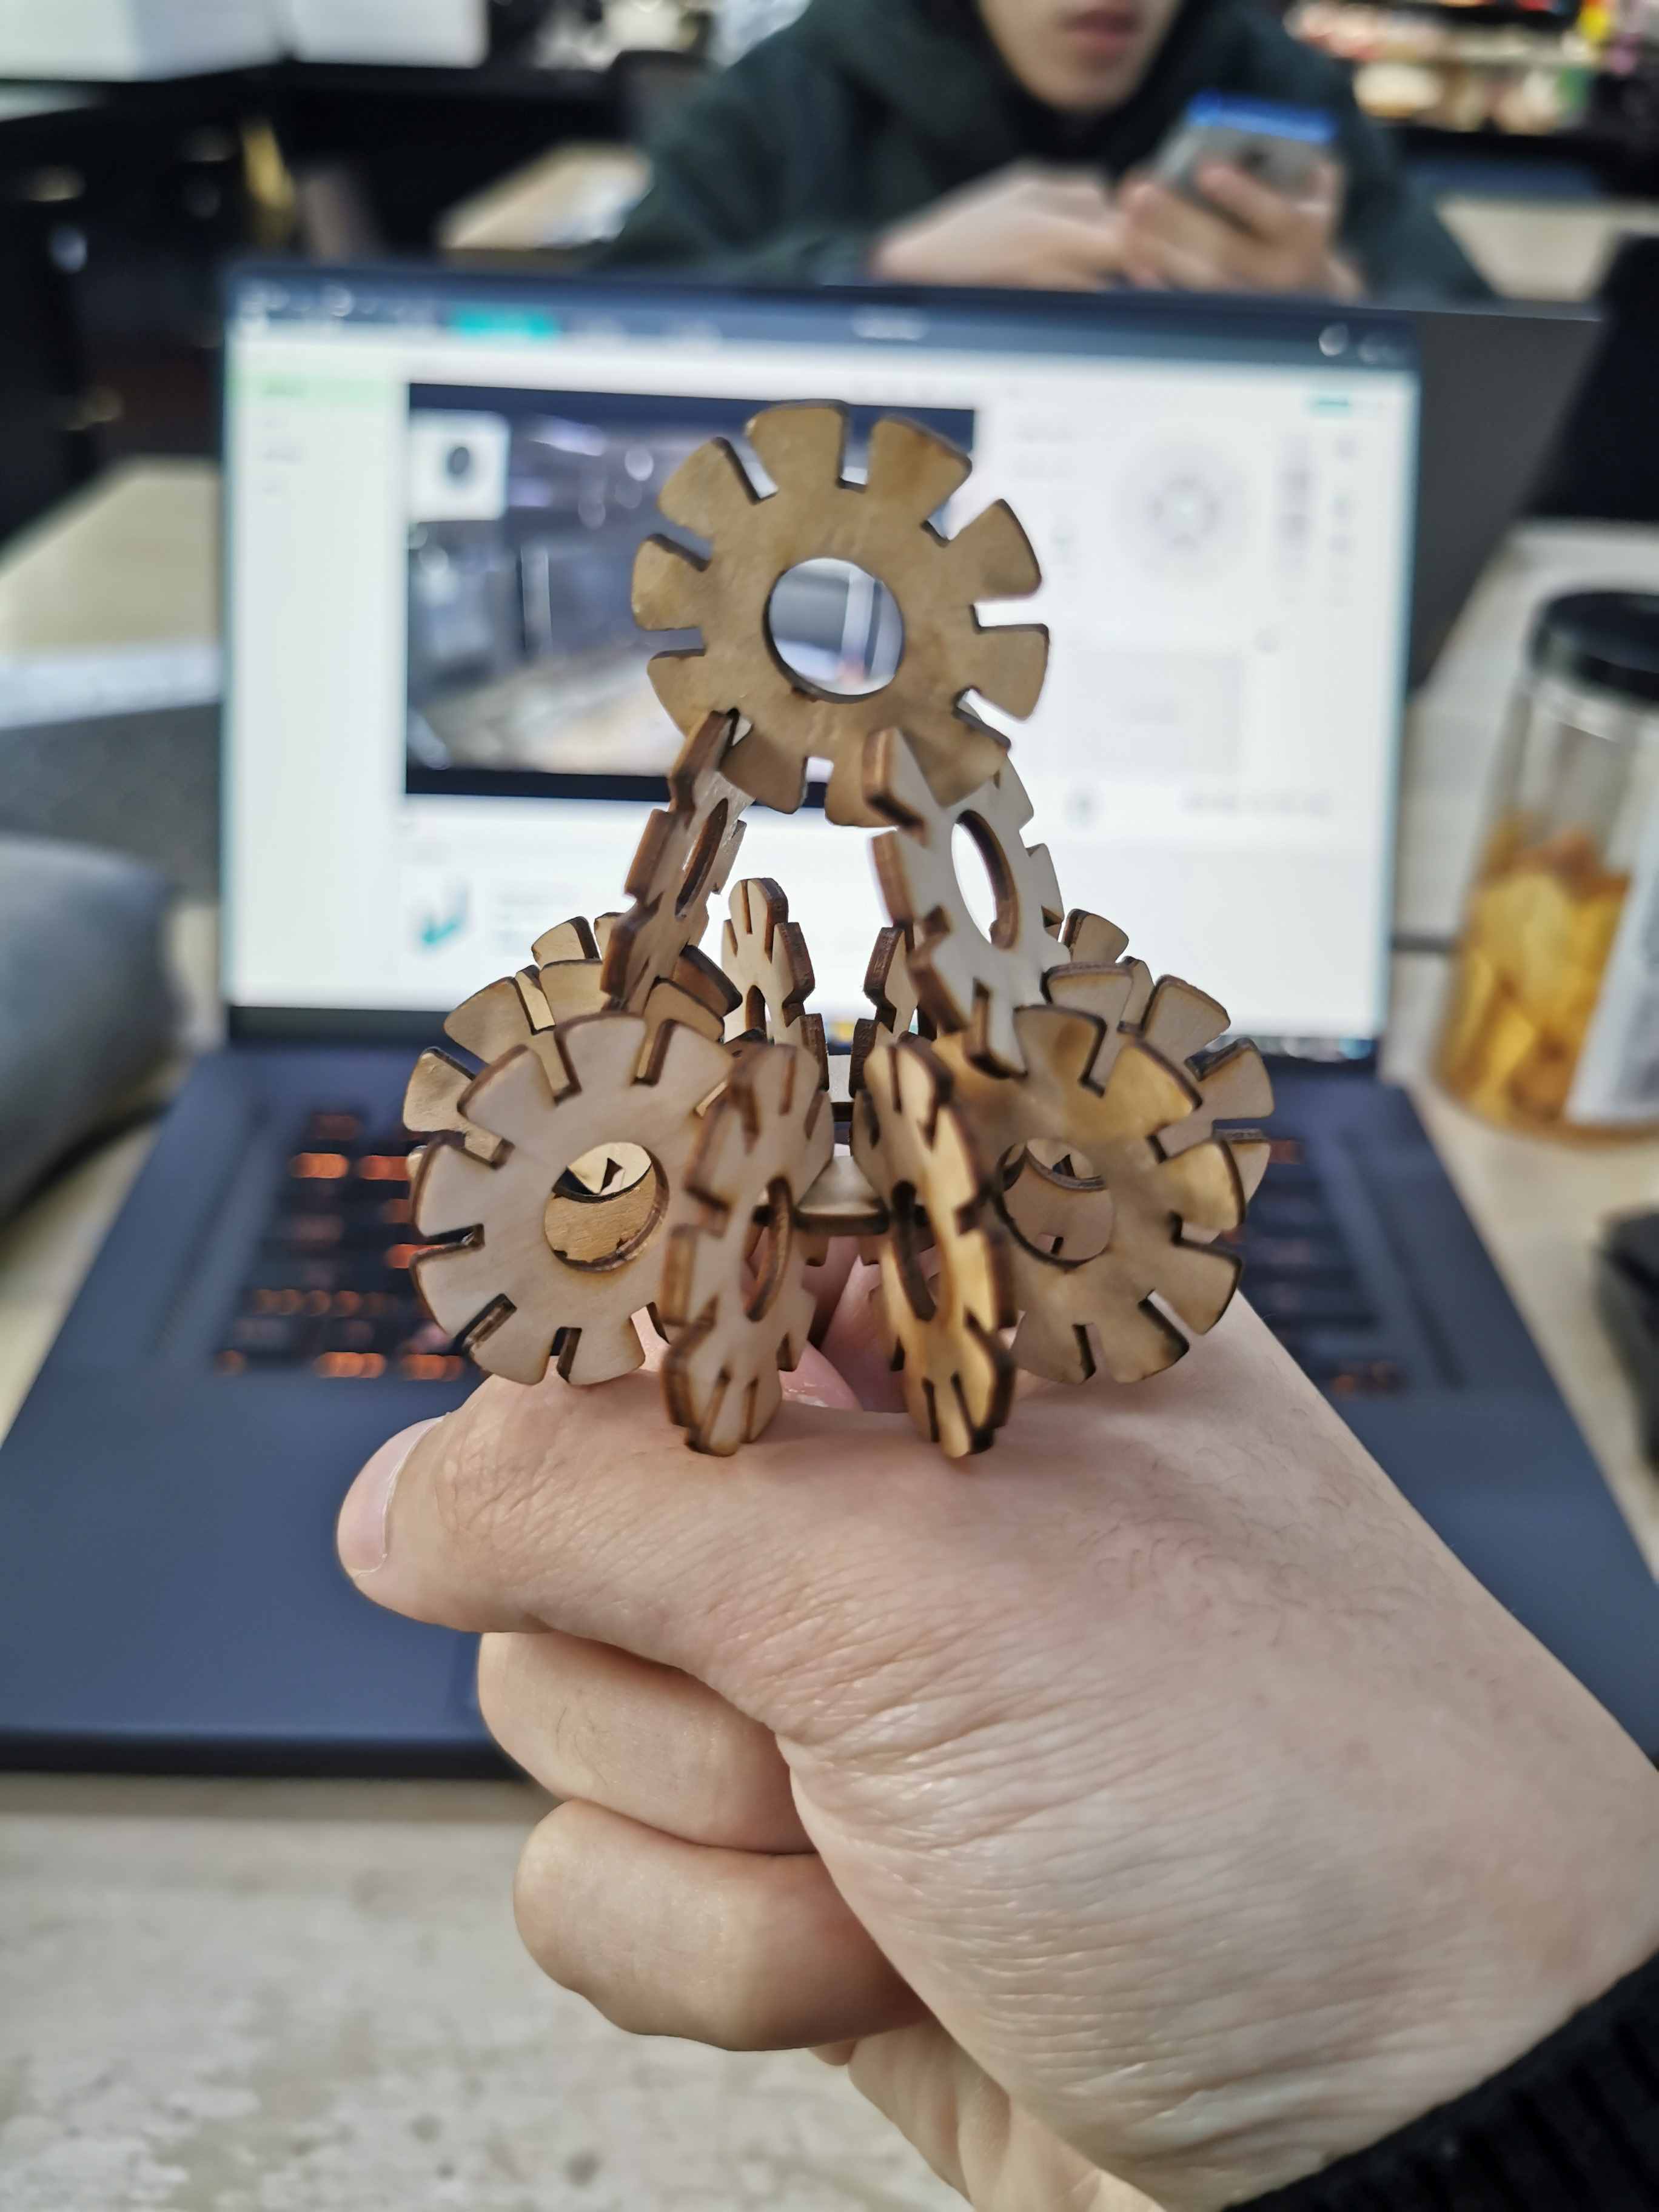
- Finally, I assembled the components into a car.
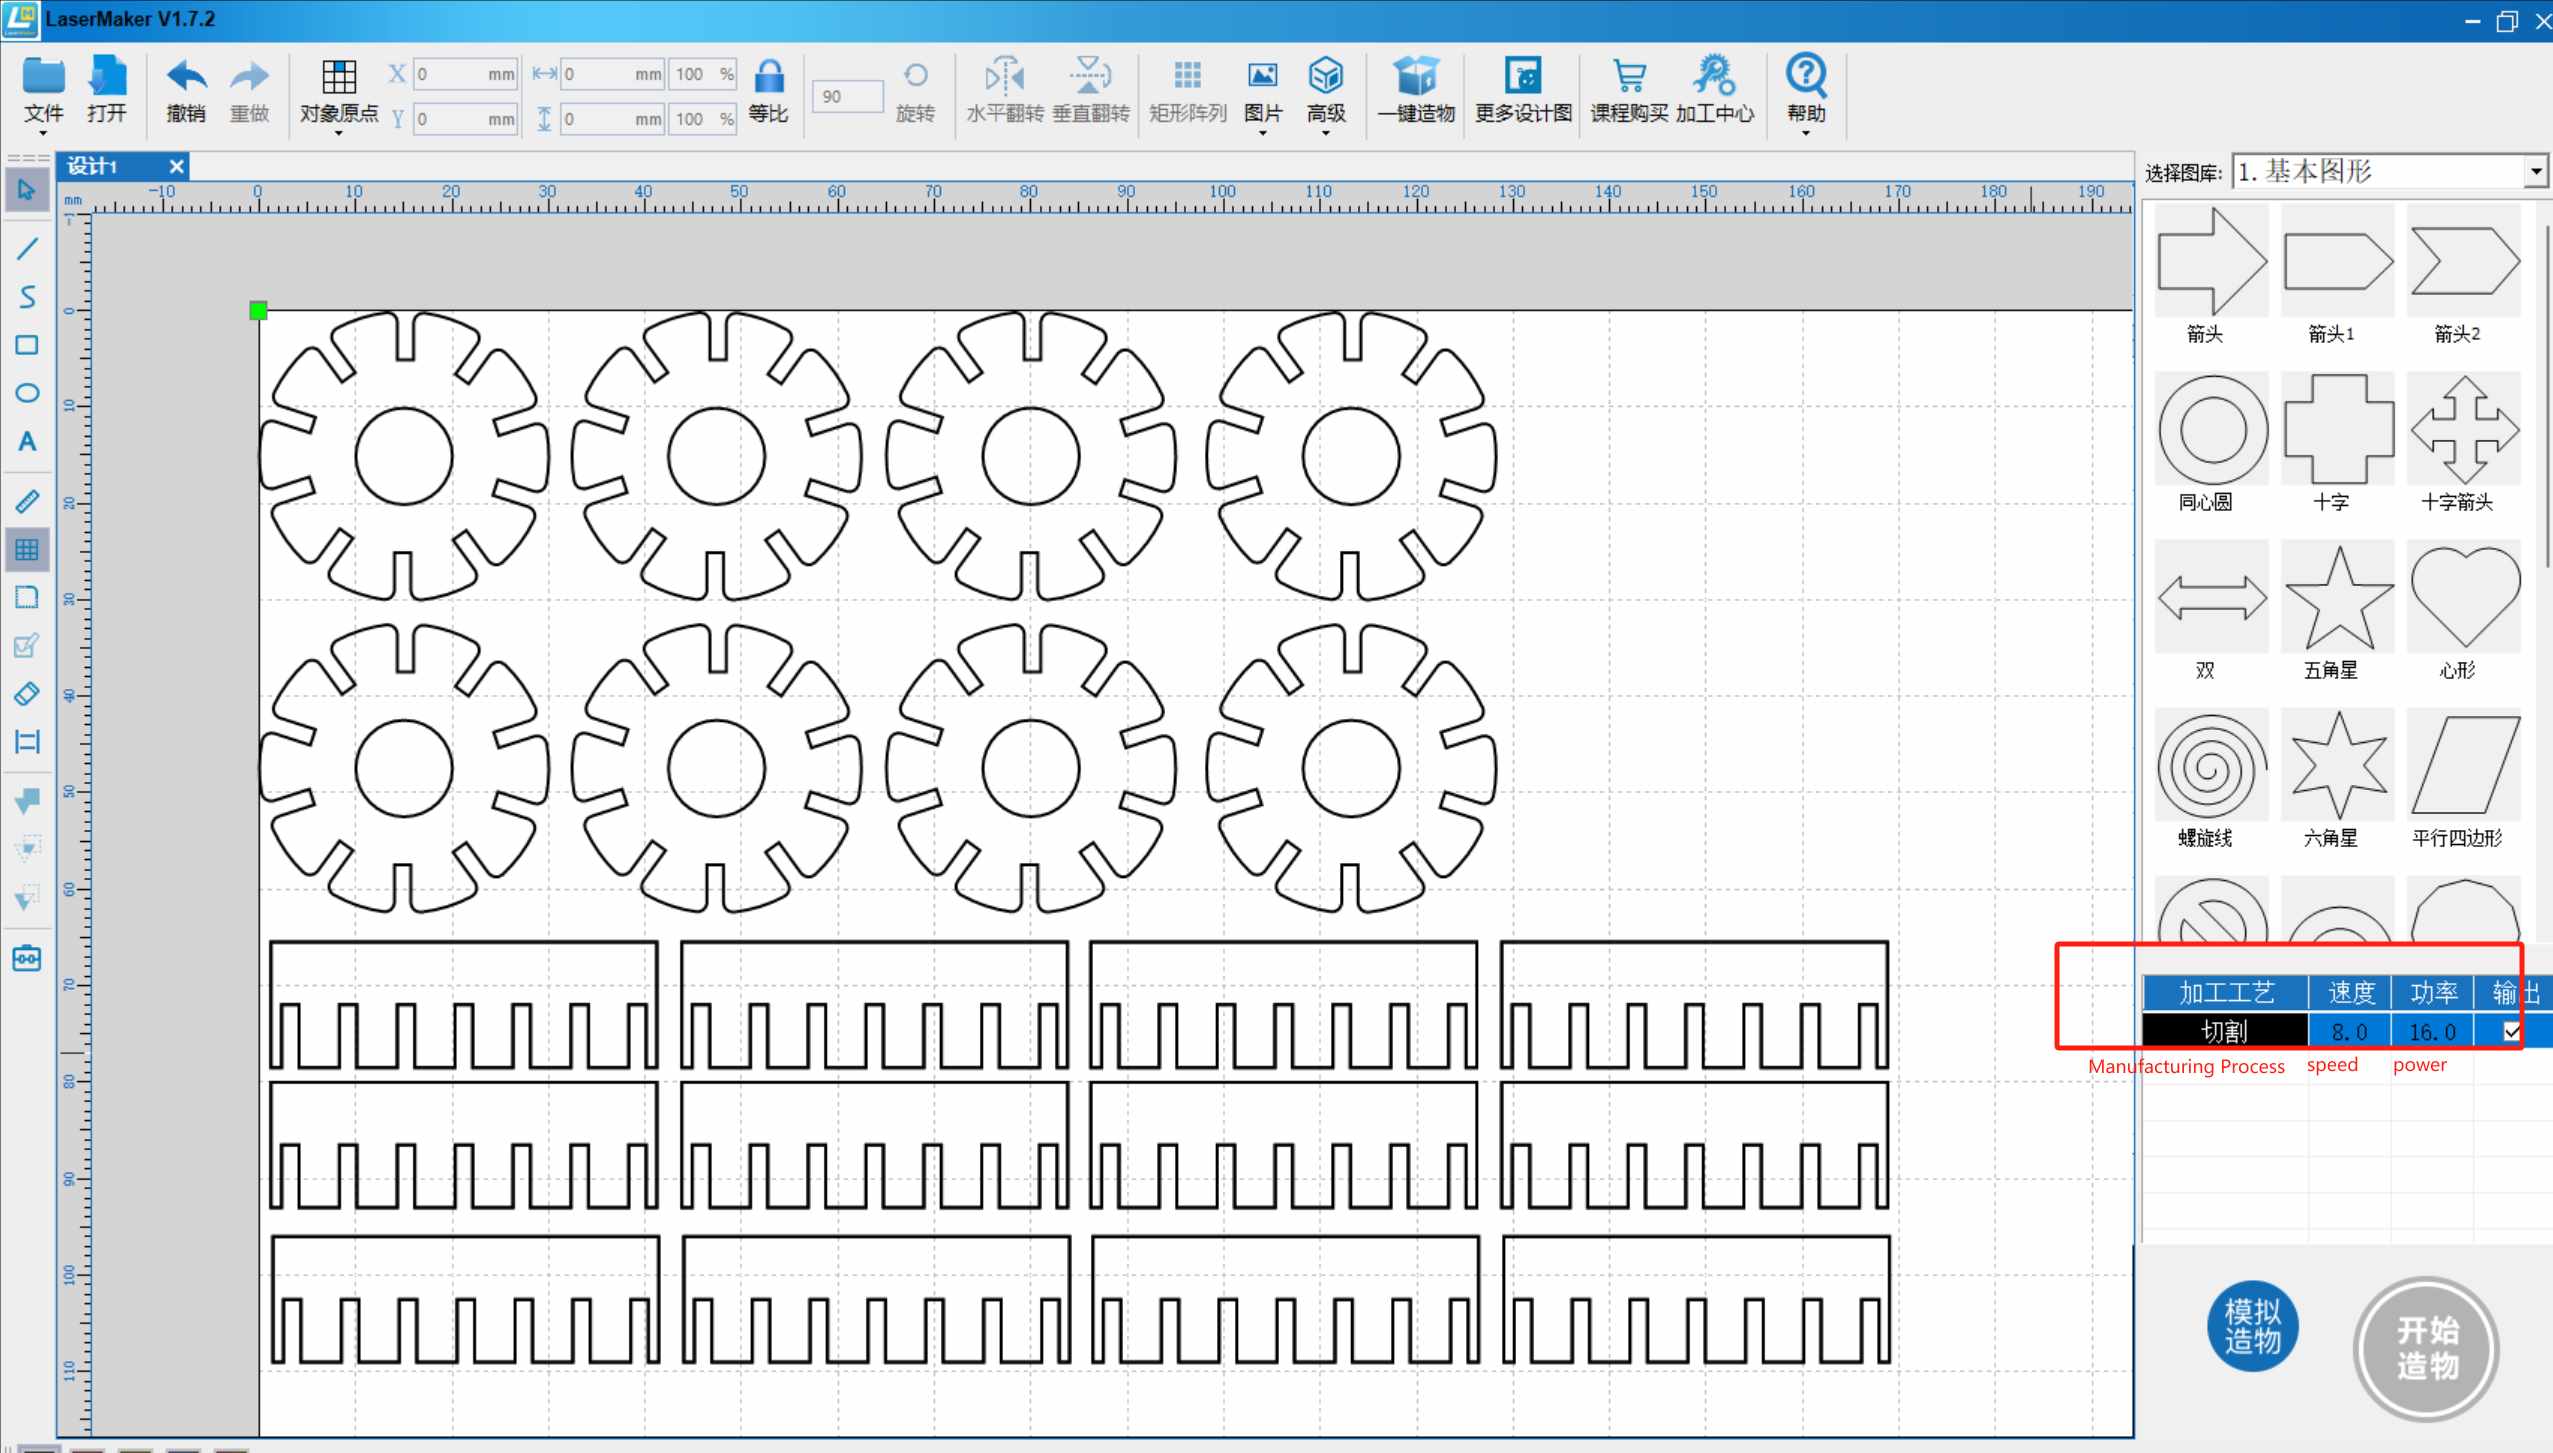
2.2 Laser Cutting
I used a 2mm poplar wood board for cutting with the parameters set at a speed of 8 and power of 16.
- First, import the laser maker software for uploading.
- Cutting using the speed and power determined in the group assignment.
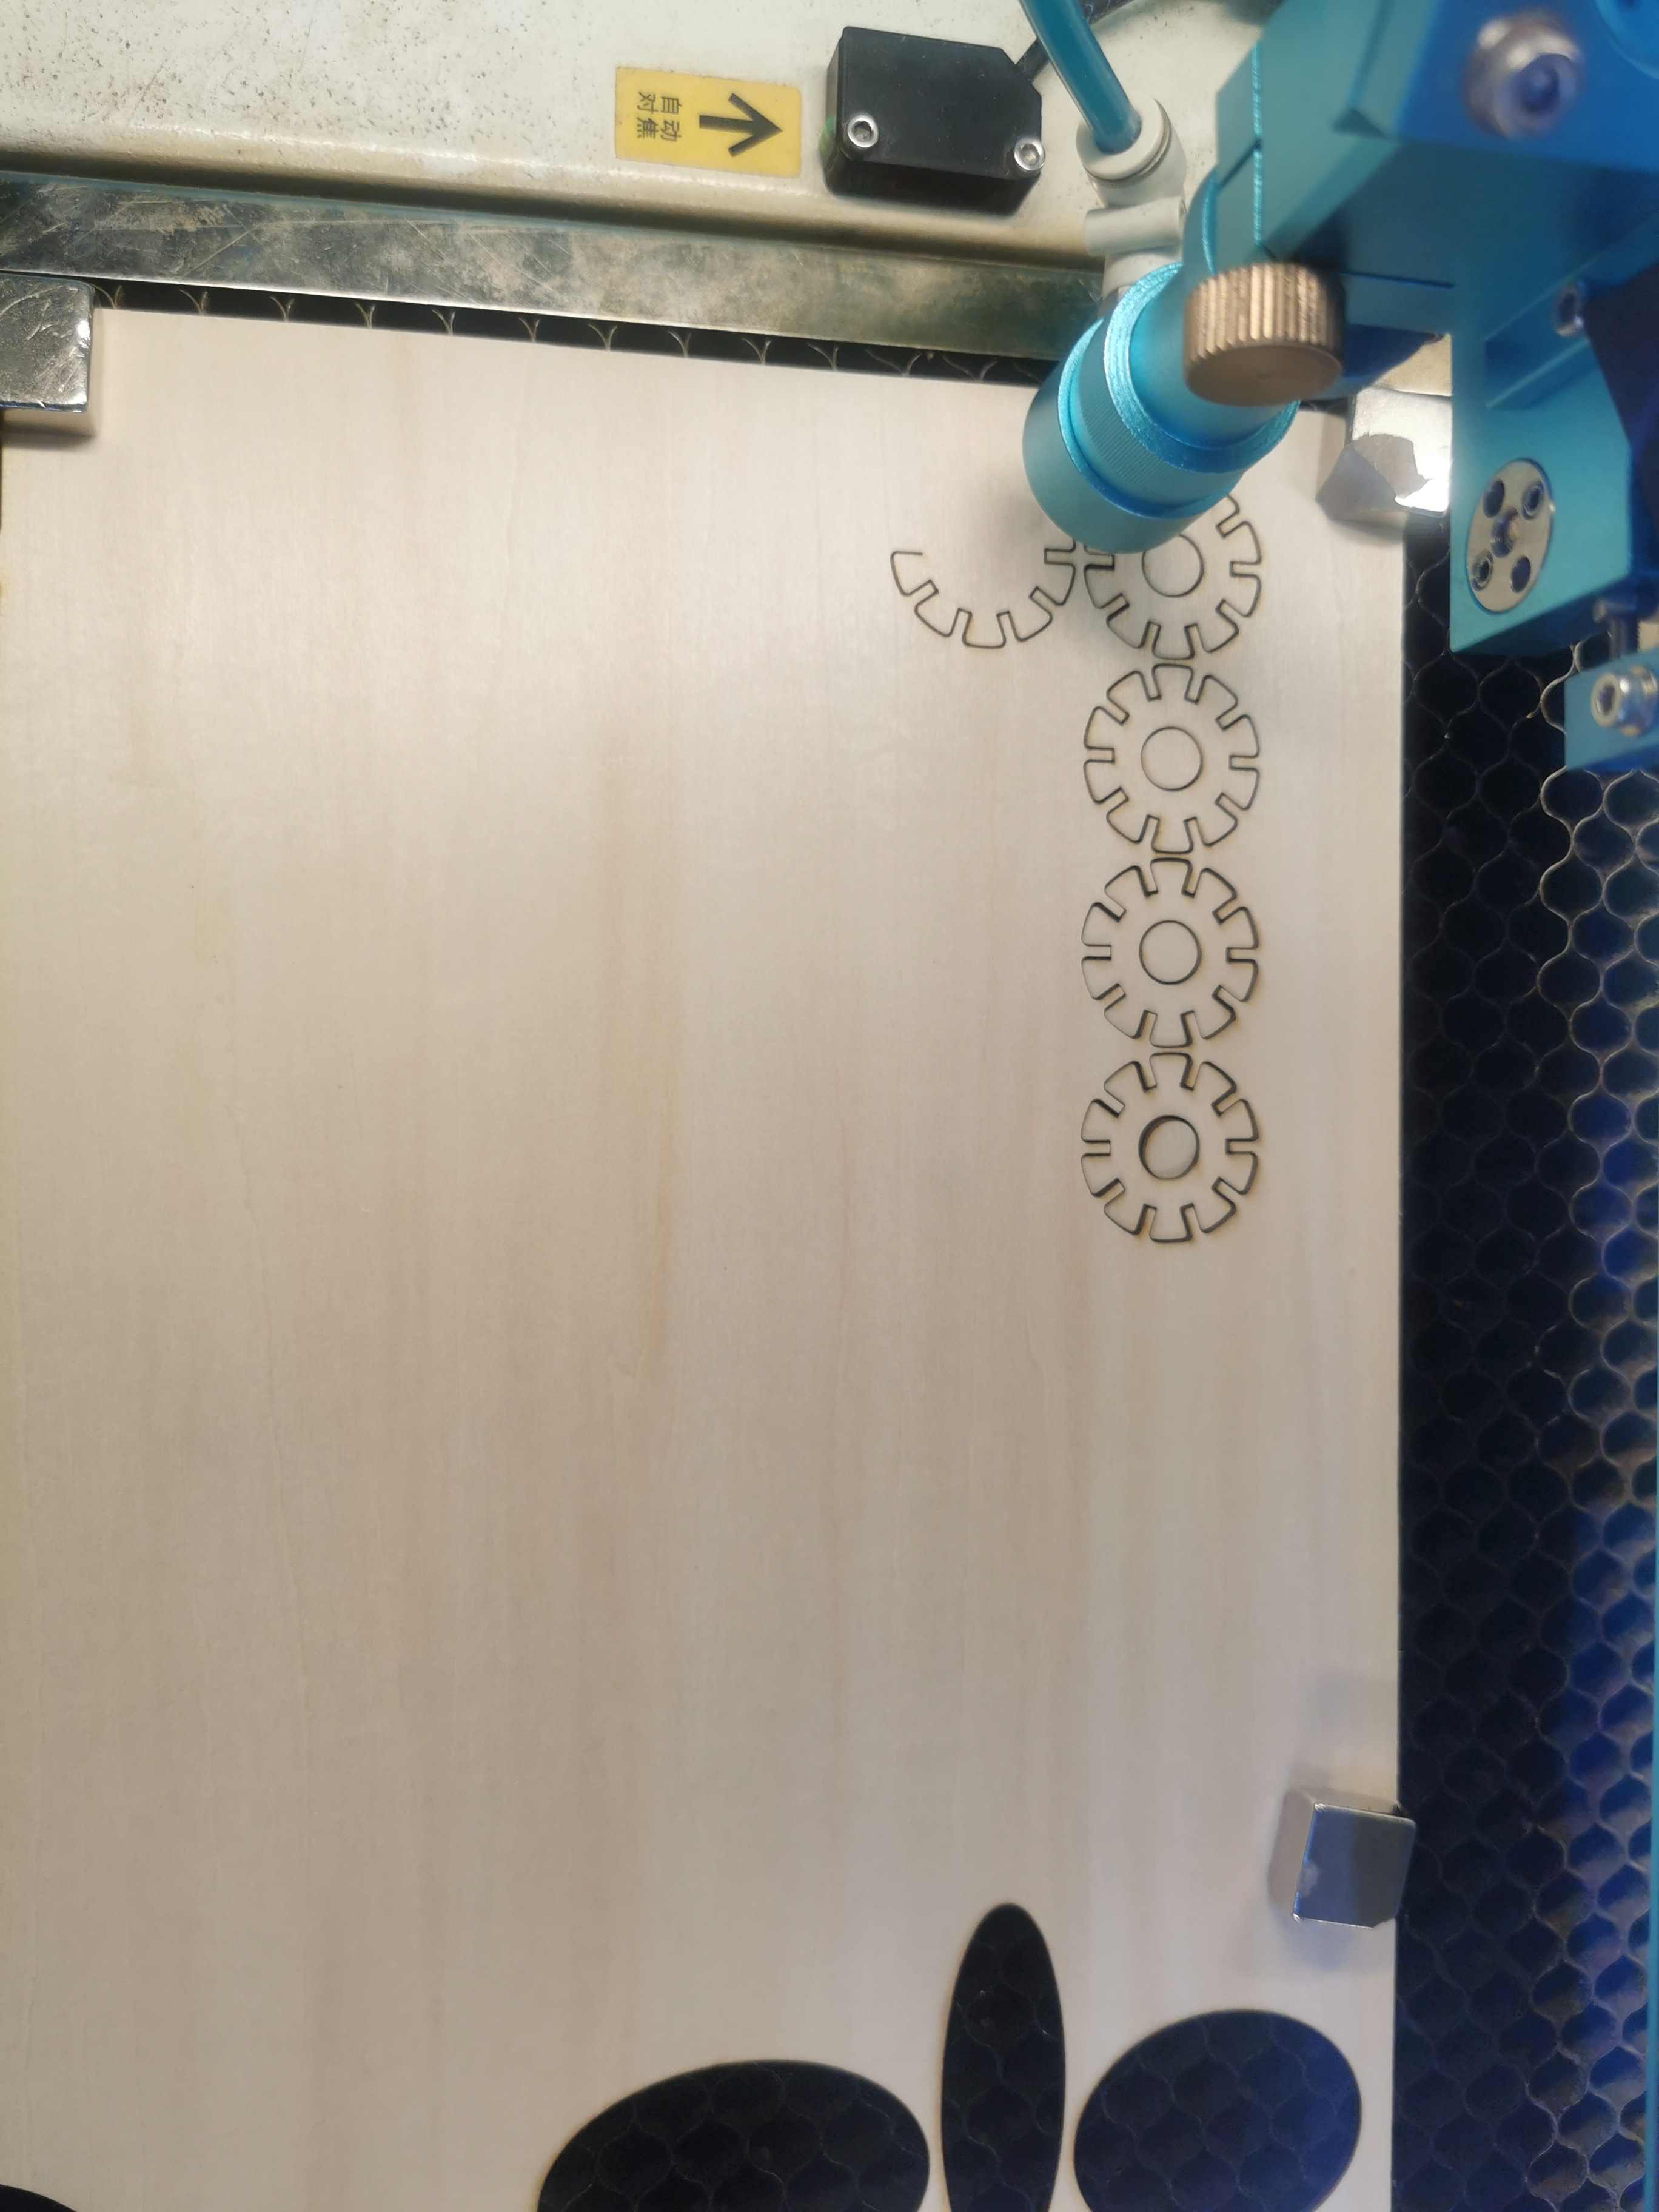
- After selecting the file on the machine, click on the start button.
hero shots of my results
I gave my snowflake to my girlfriend, and she created many interesting things.
snowcar
bicycle

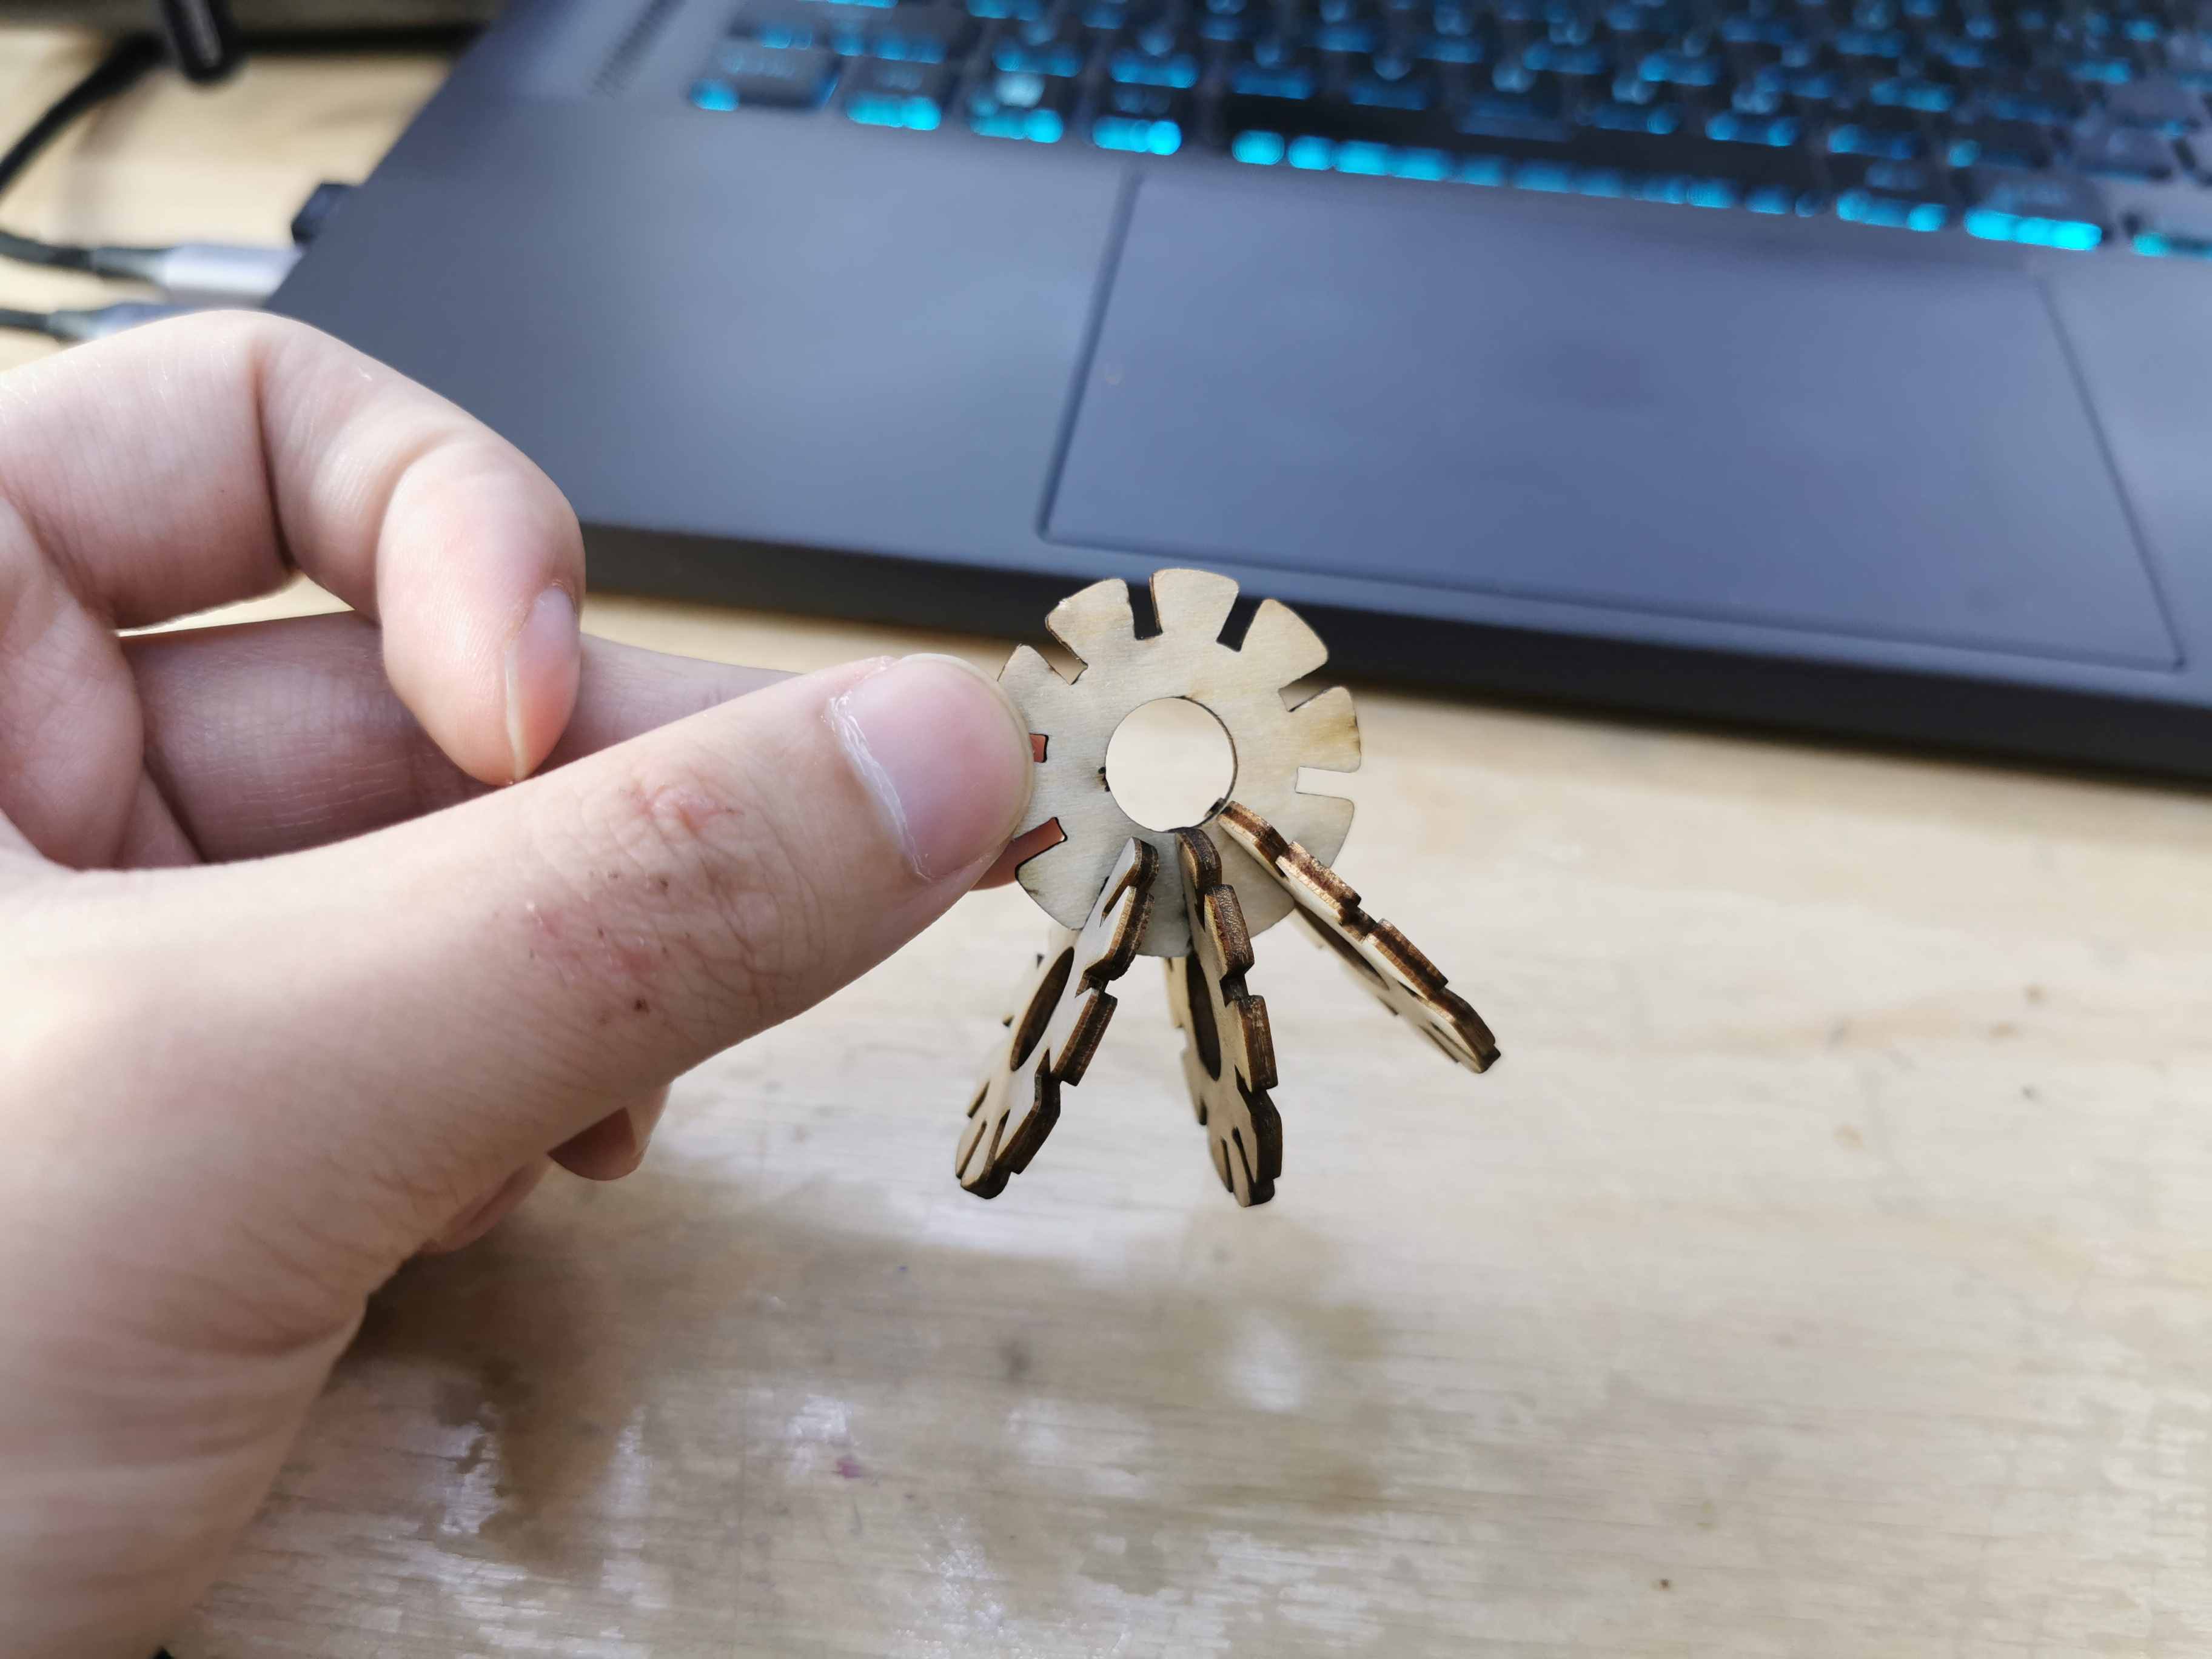
Keychain
Environmental logo
![]()
![]()
Grapes
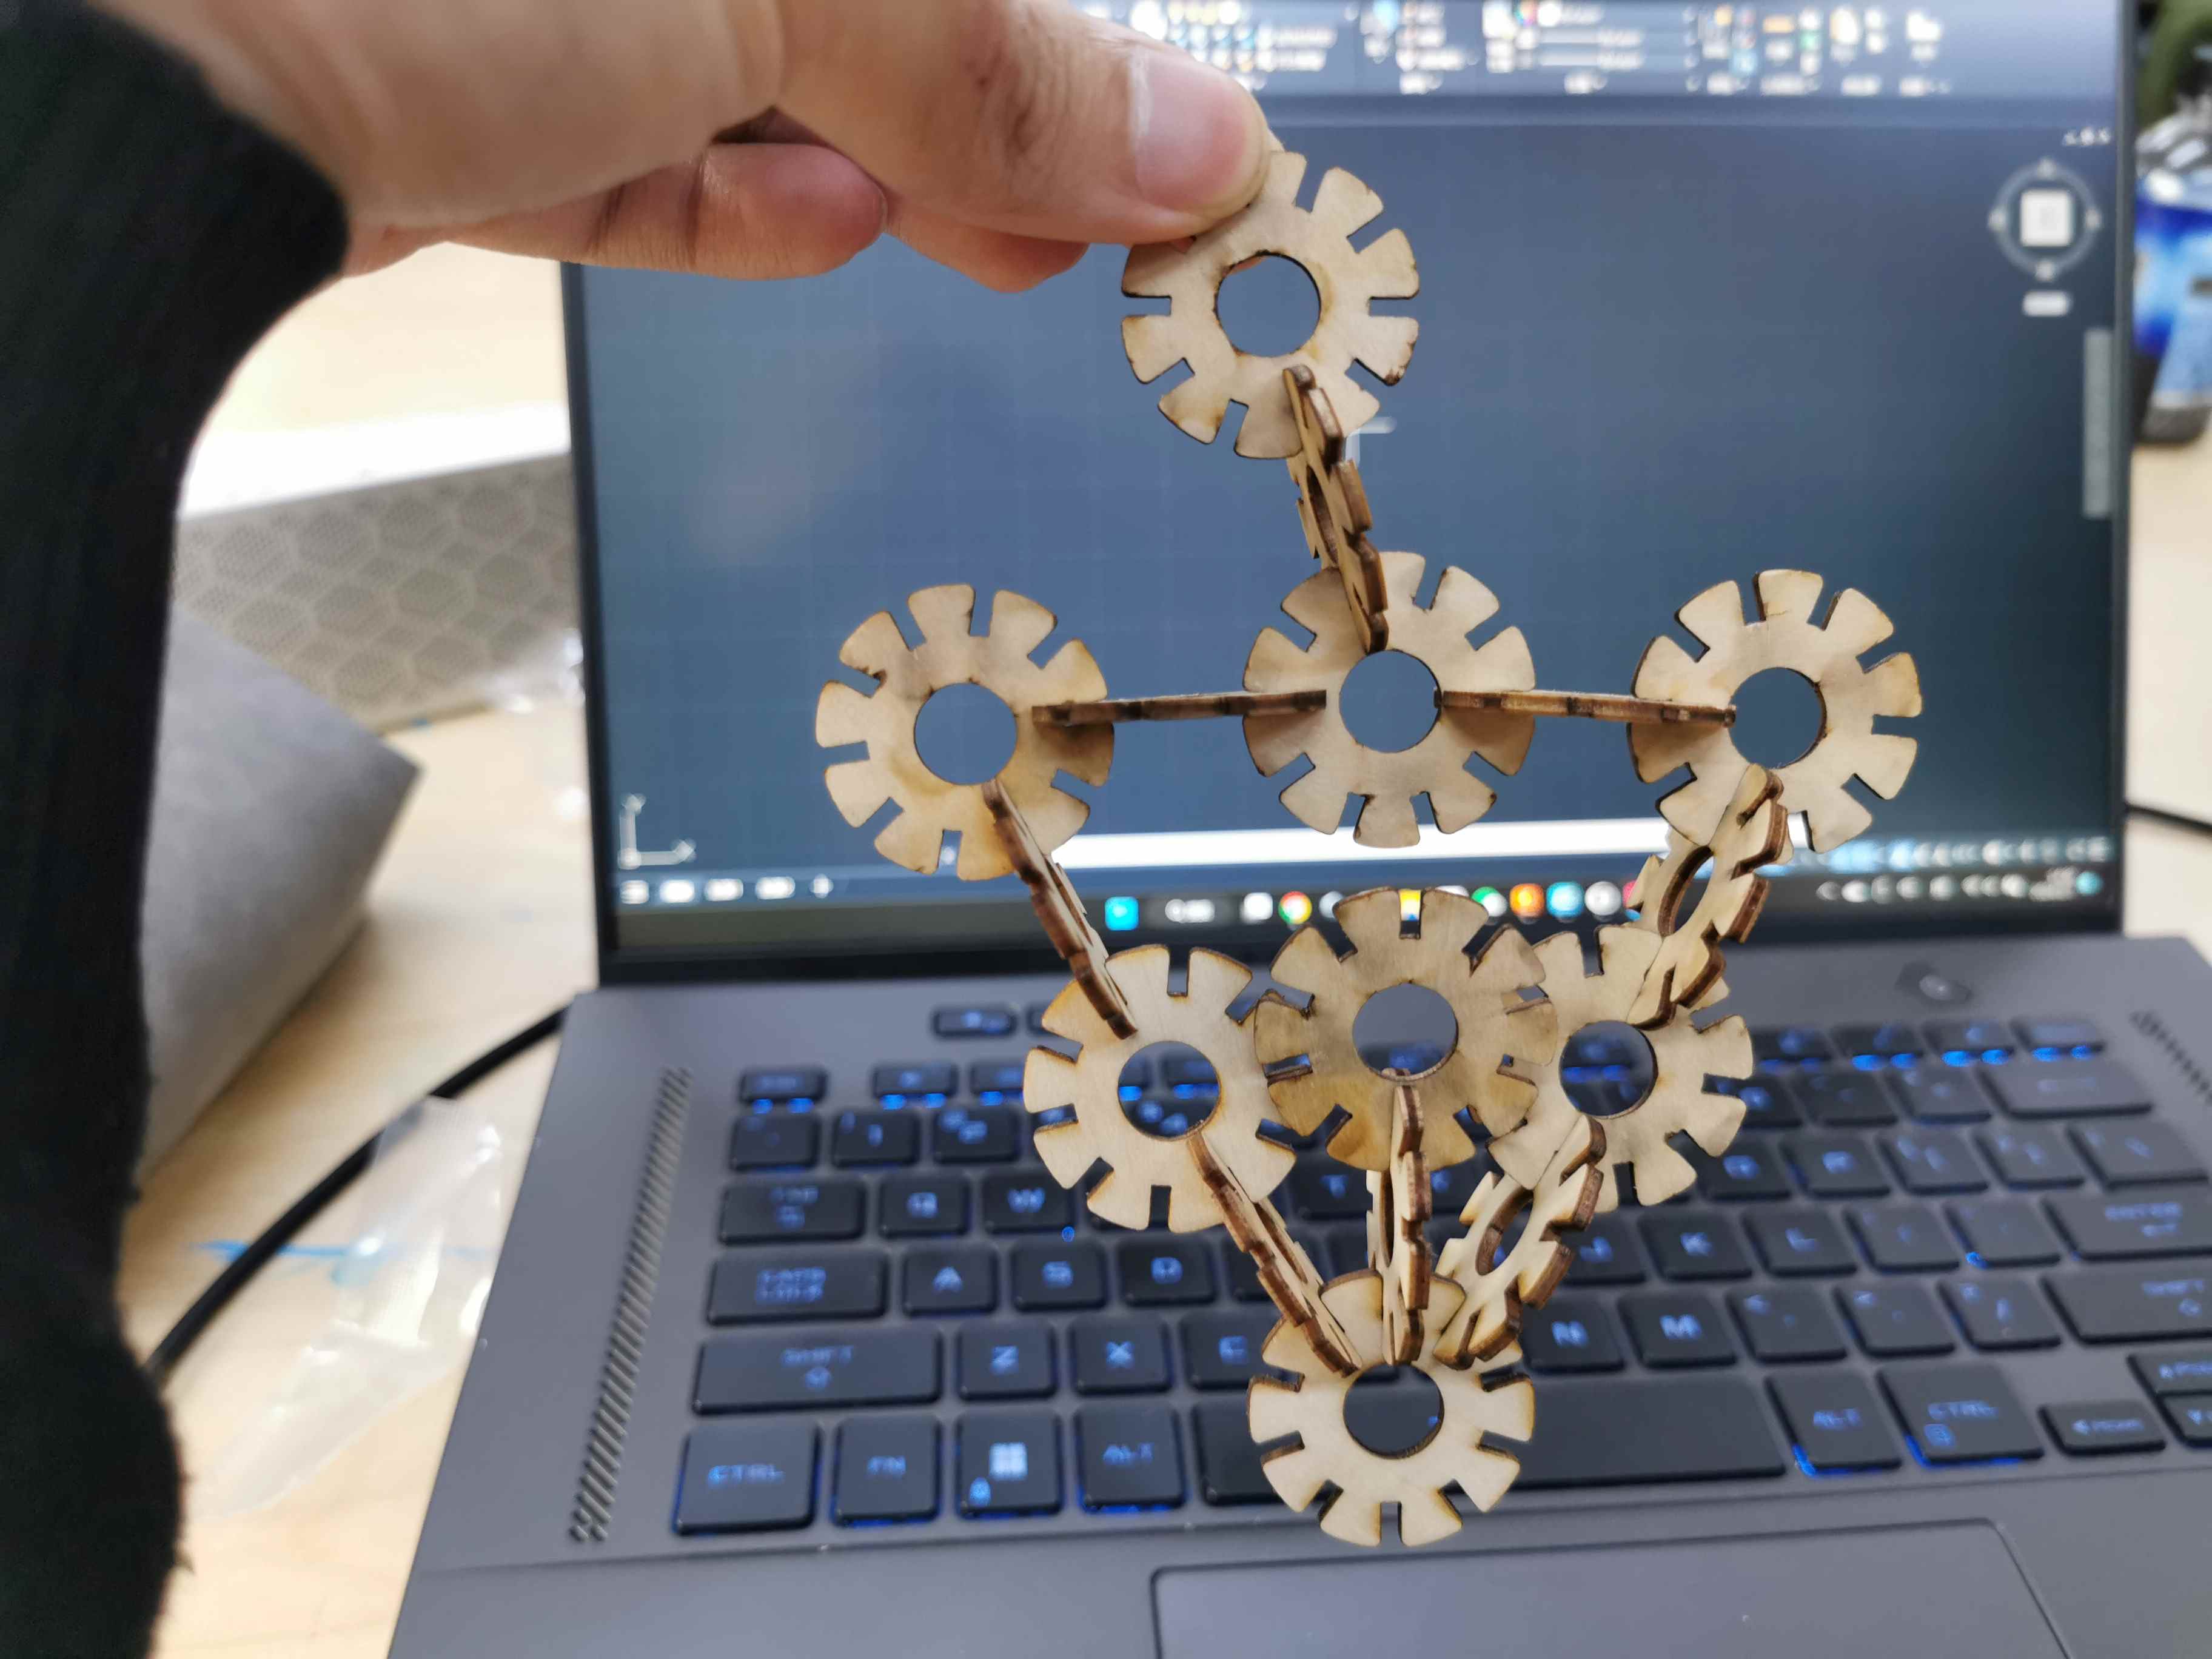
Large snowflake
Ice cream
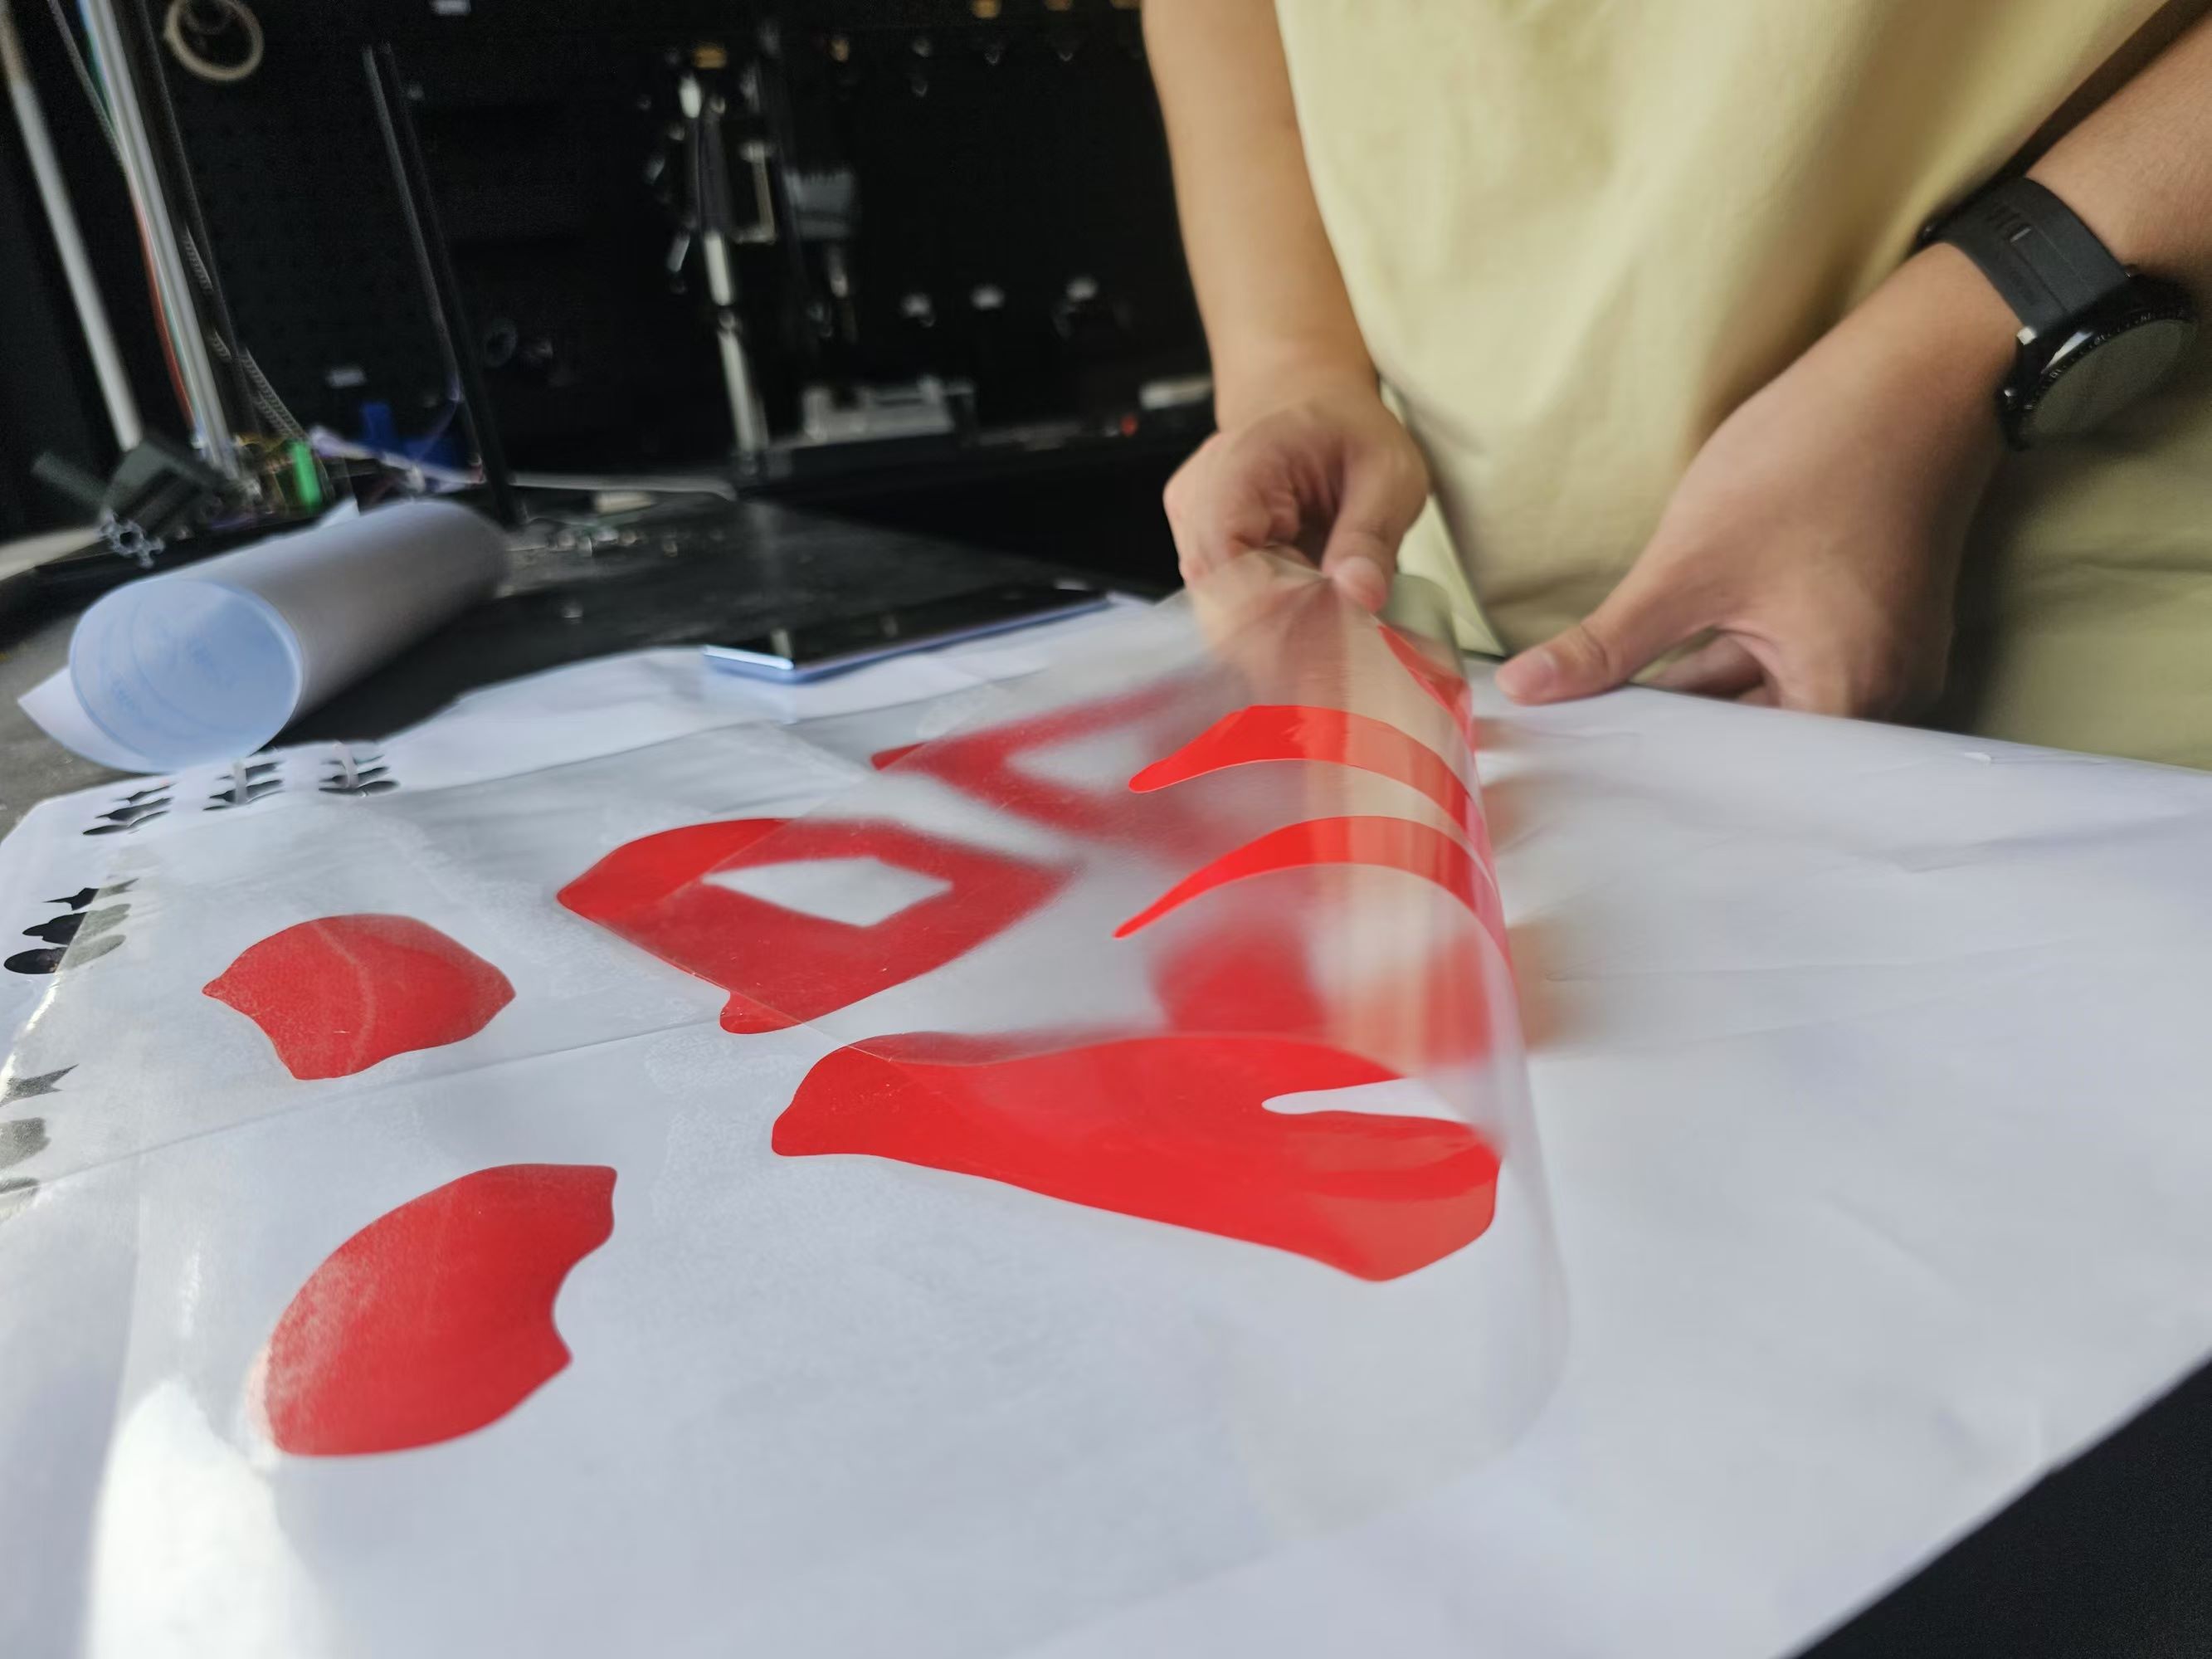
2.3 Vinyl Cut(Individual)
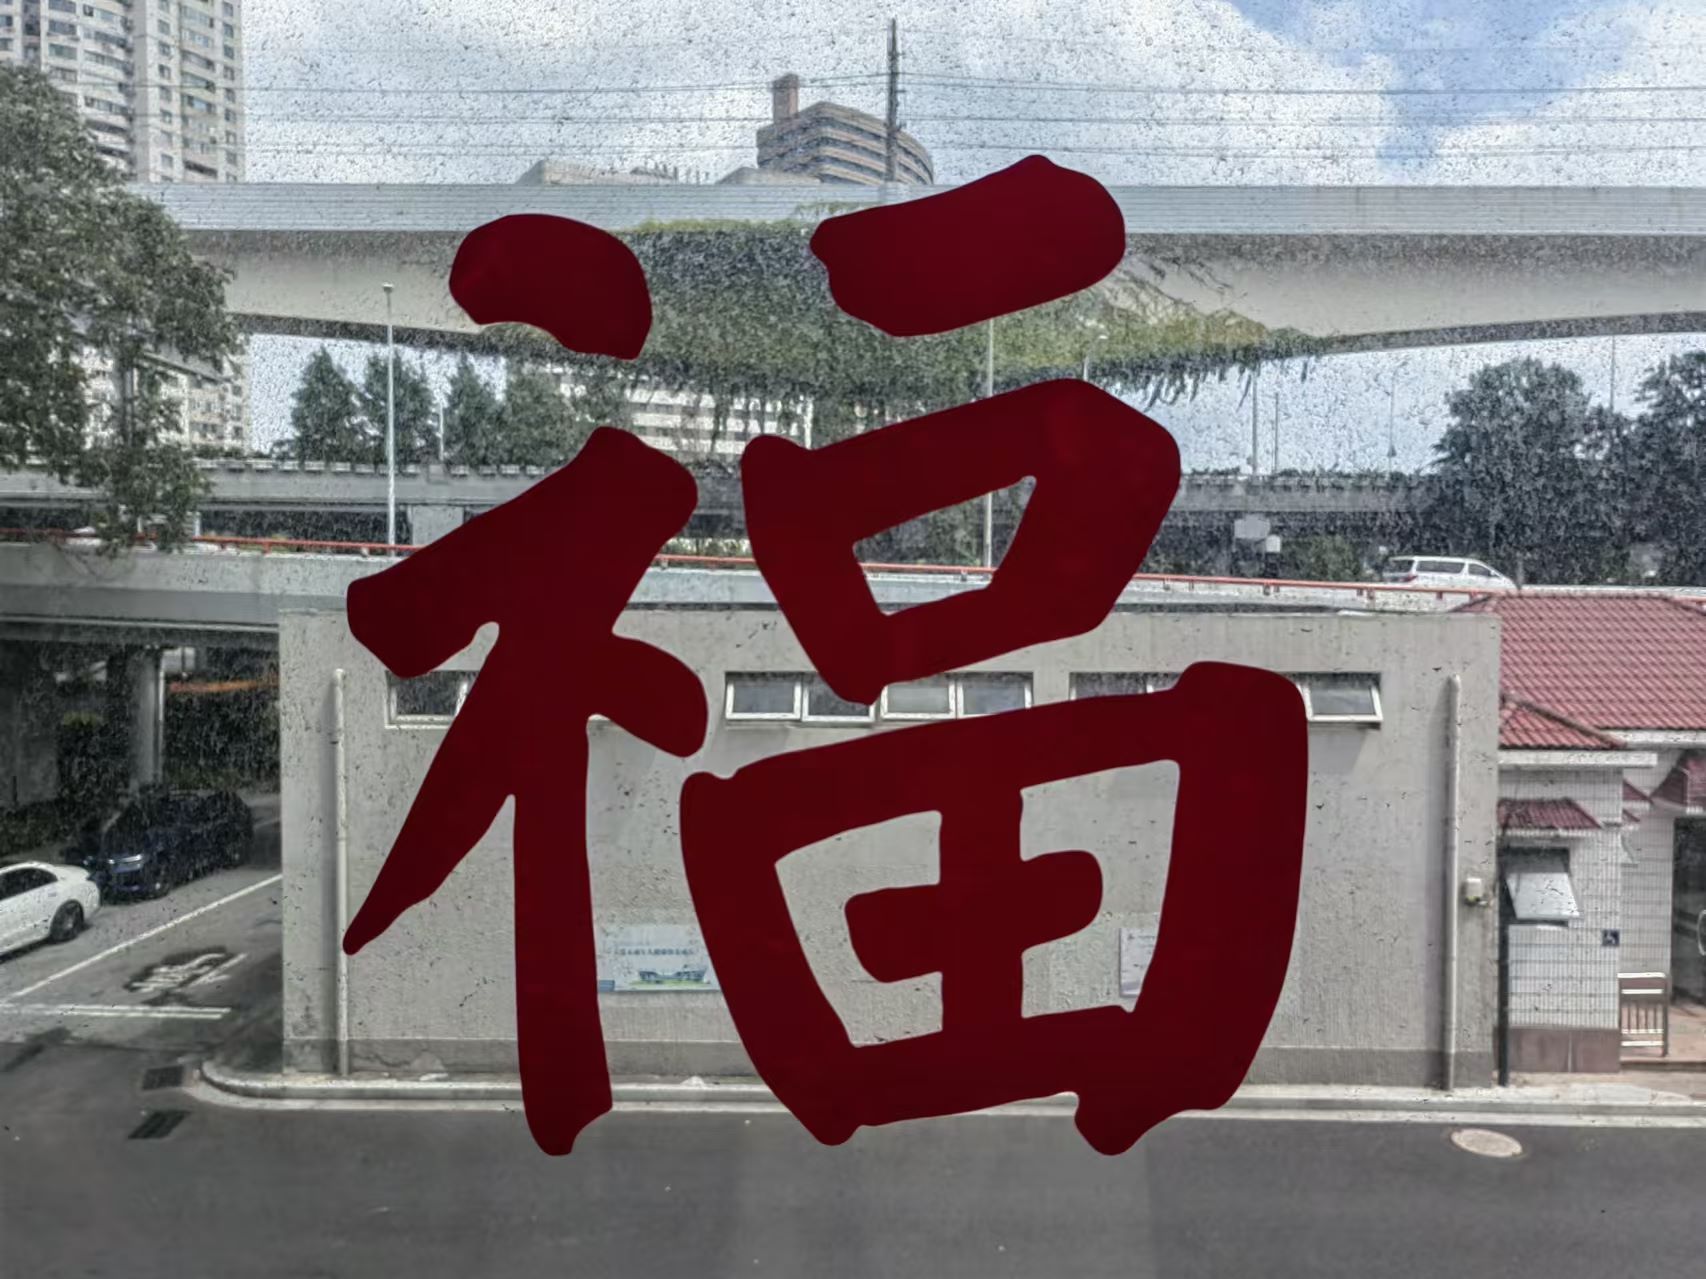
Because it happens to be the Chinese New Year, so I plan to cut out a “福” character. It has very good symbolism in China.
- I used Inkscape to convert my image into a vector graphic.
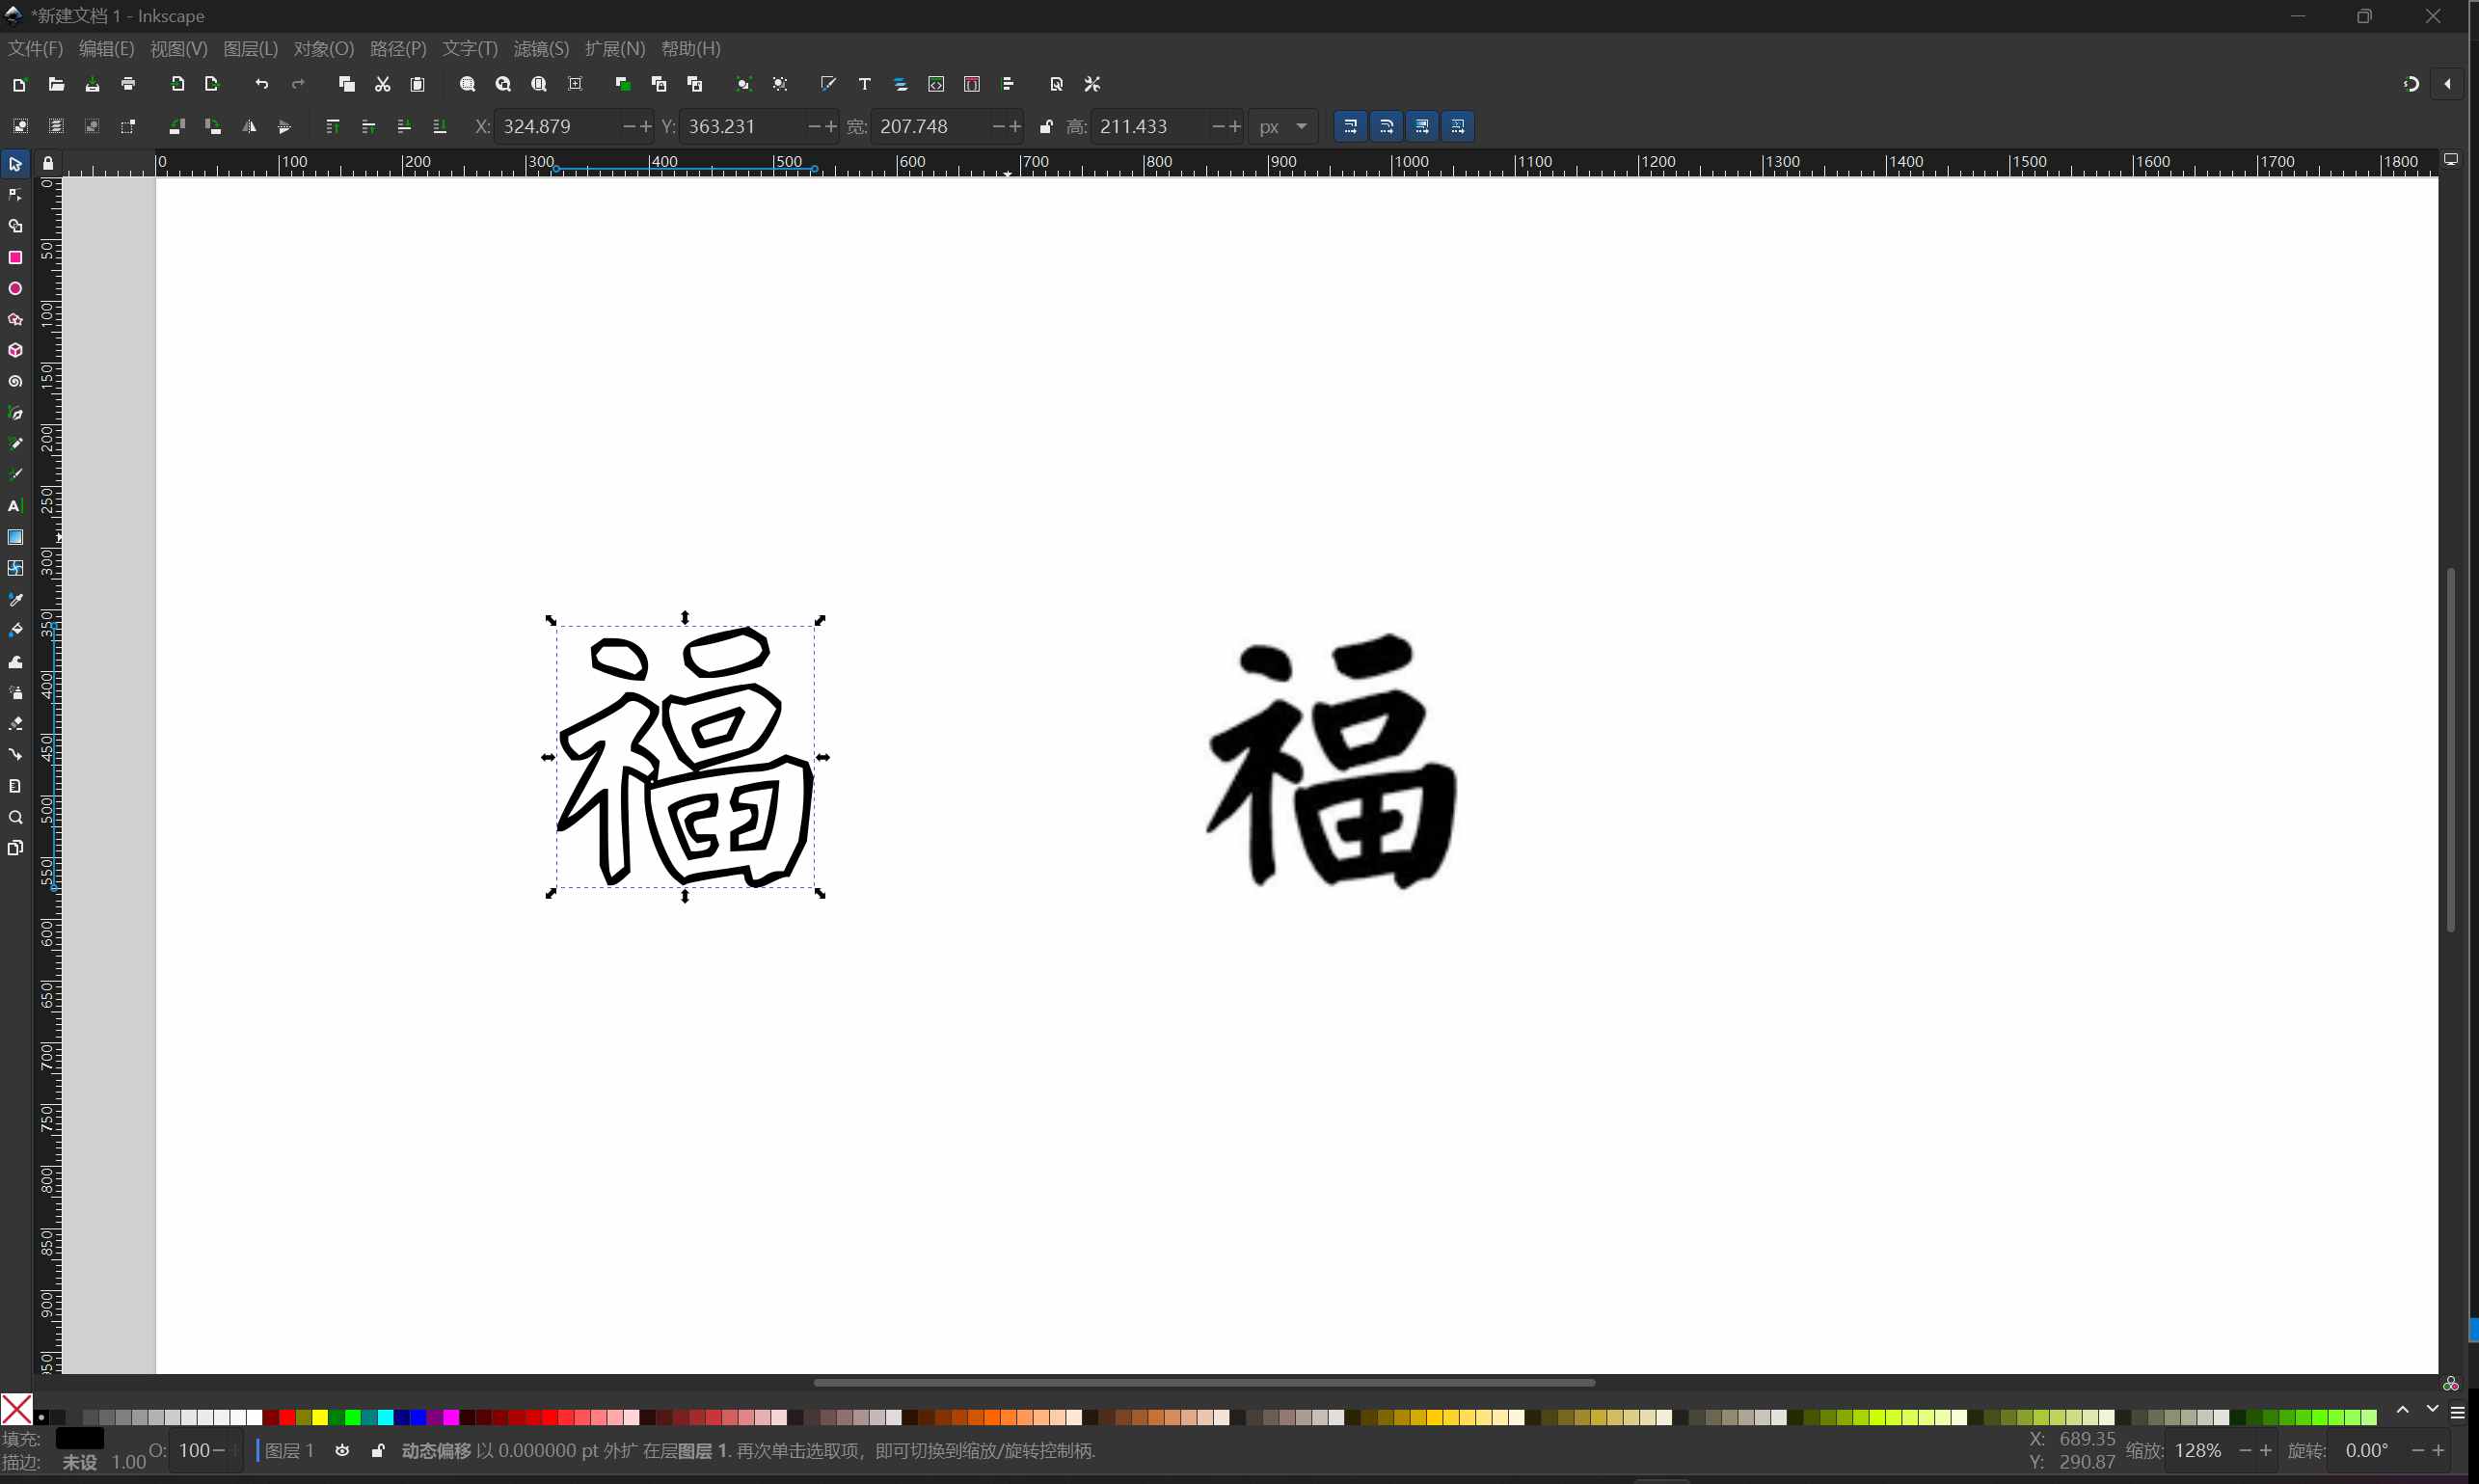
- After exporting the file in DXF format, use the engraving machine for cutting.
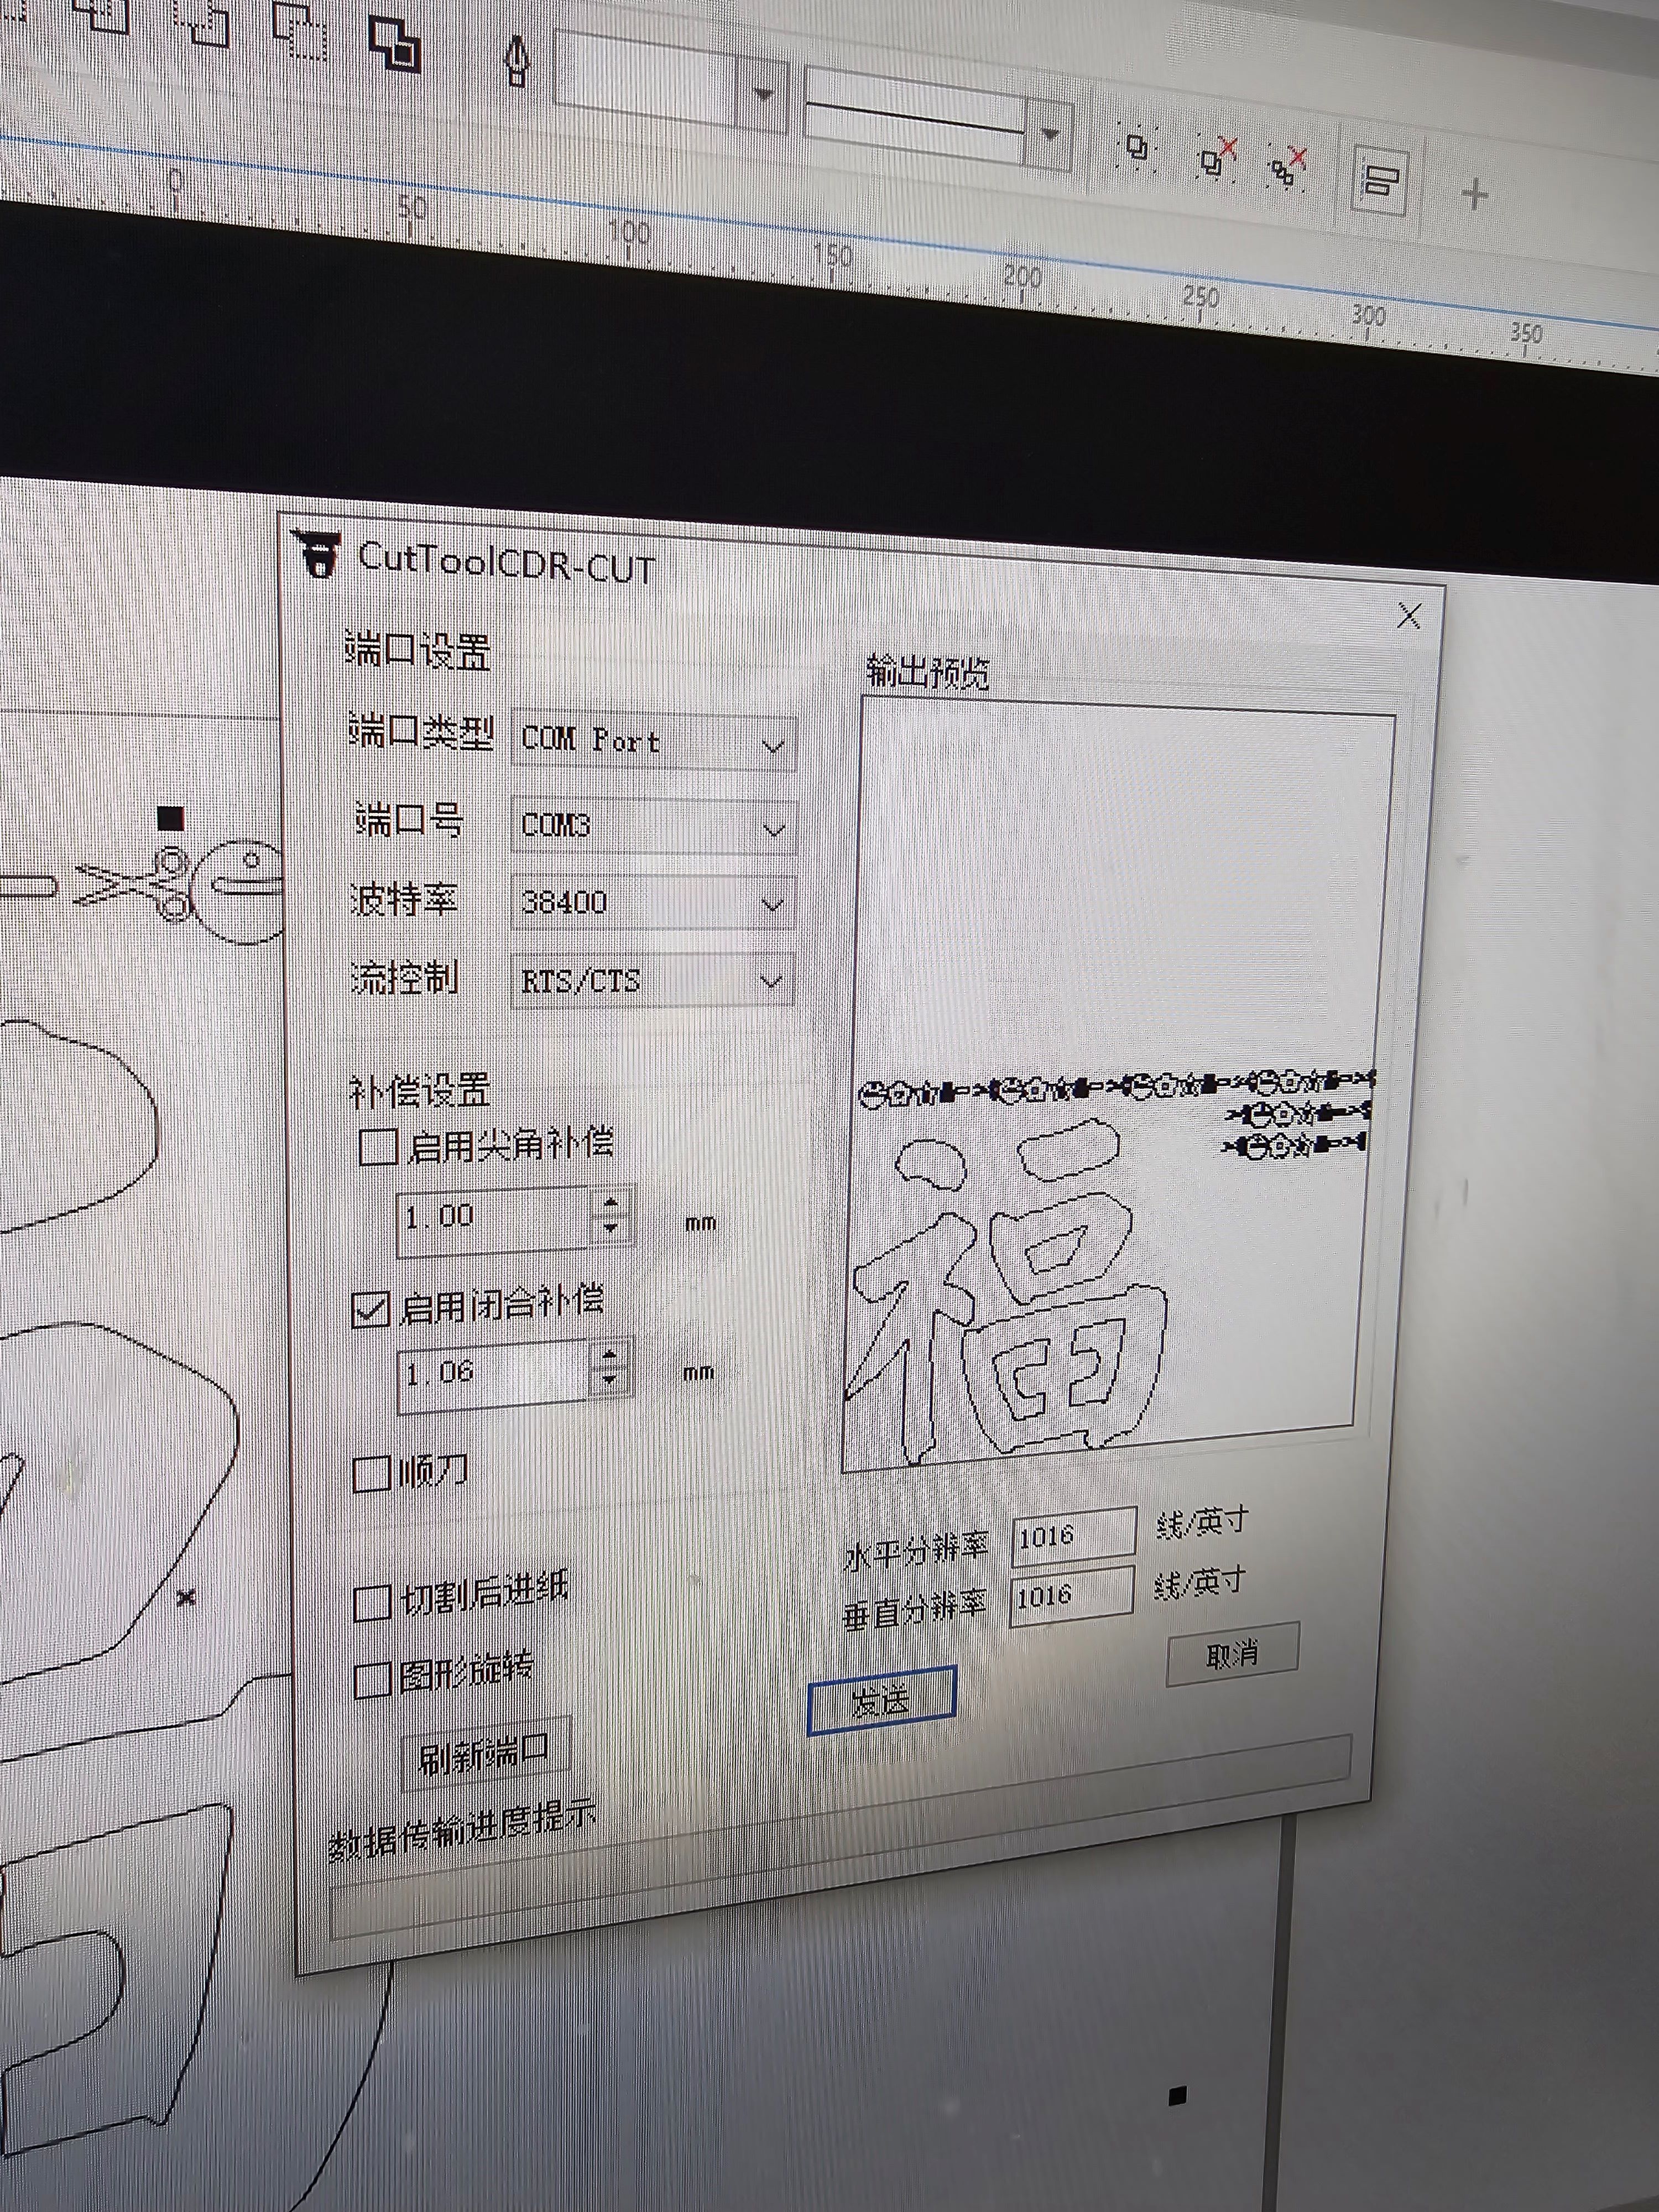
This is my first time using a vinyl cutter, and the machine is MIKA. Open the file in CorelDRAW, adjust the position, and then transfer it to the machine. Speed: 275 mm/s Pressure: 247 g (The “pressure” refers to the force applied by the cutting blade on the material. It affects the cutting depth and effectiveness of the blade during cutting.)
After cutting is complete, remove the unwanted material.
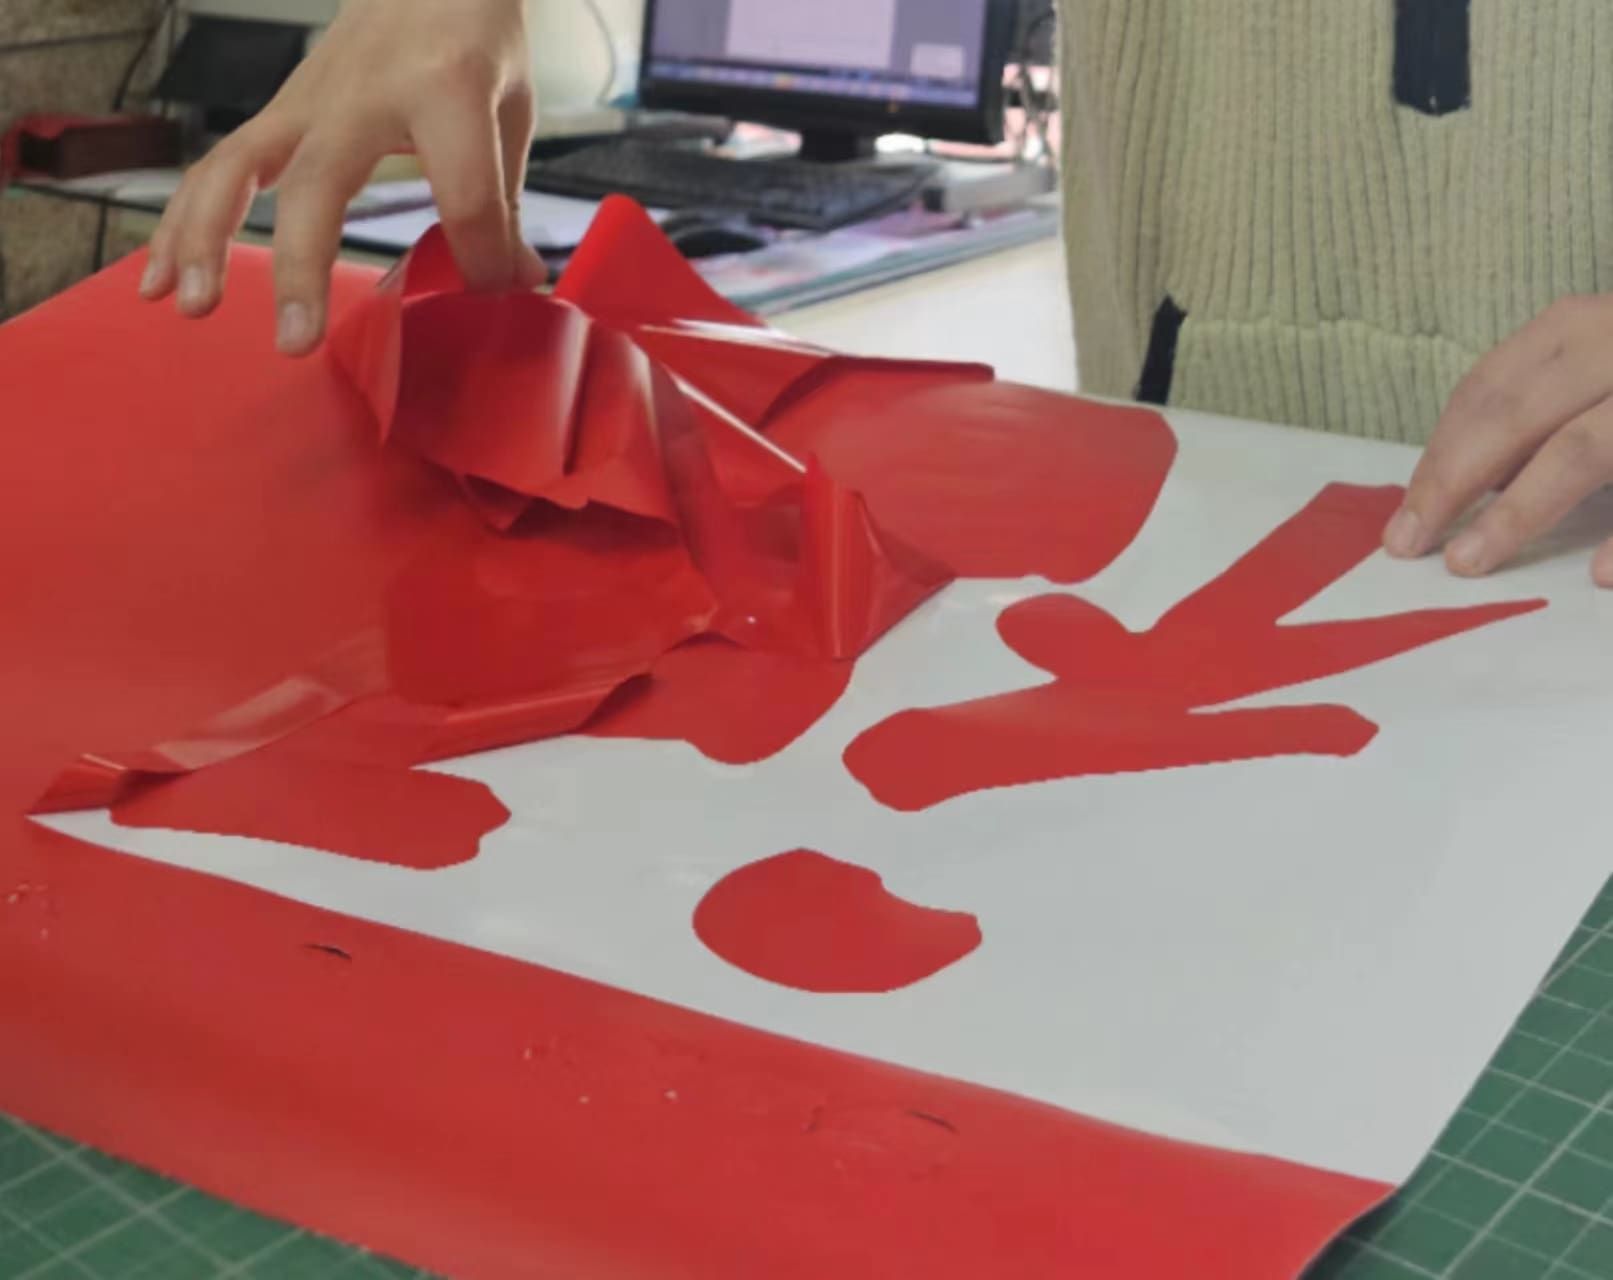
Apply the transfer tape.

 🥳🥳🥳
🥳🥳🥳