Week02-Computer-Aided Design
Checklist
- Modelled experimental objects/part of a possible project in 2D and 3D software
- Shown how you did it with words/images/screenshots
- Included your original design files
This week’s Fab Academy assignment is divided into four parts.
- 2D Design
- 3D Design
- Rendering
- Source files
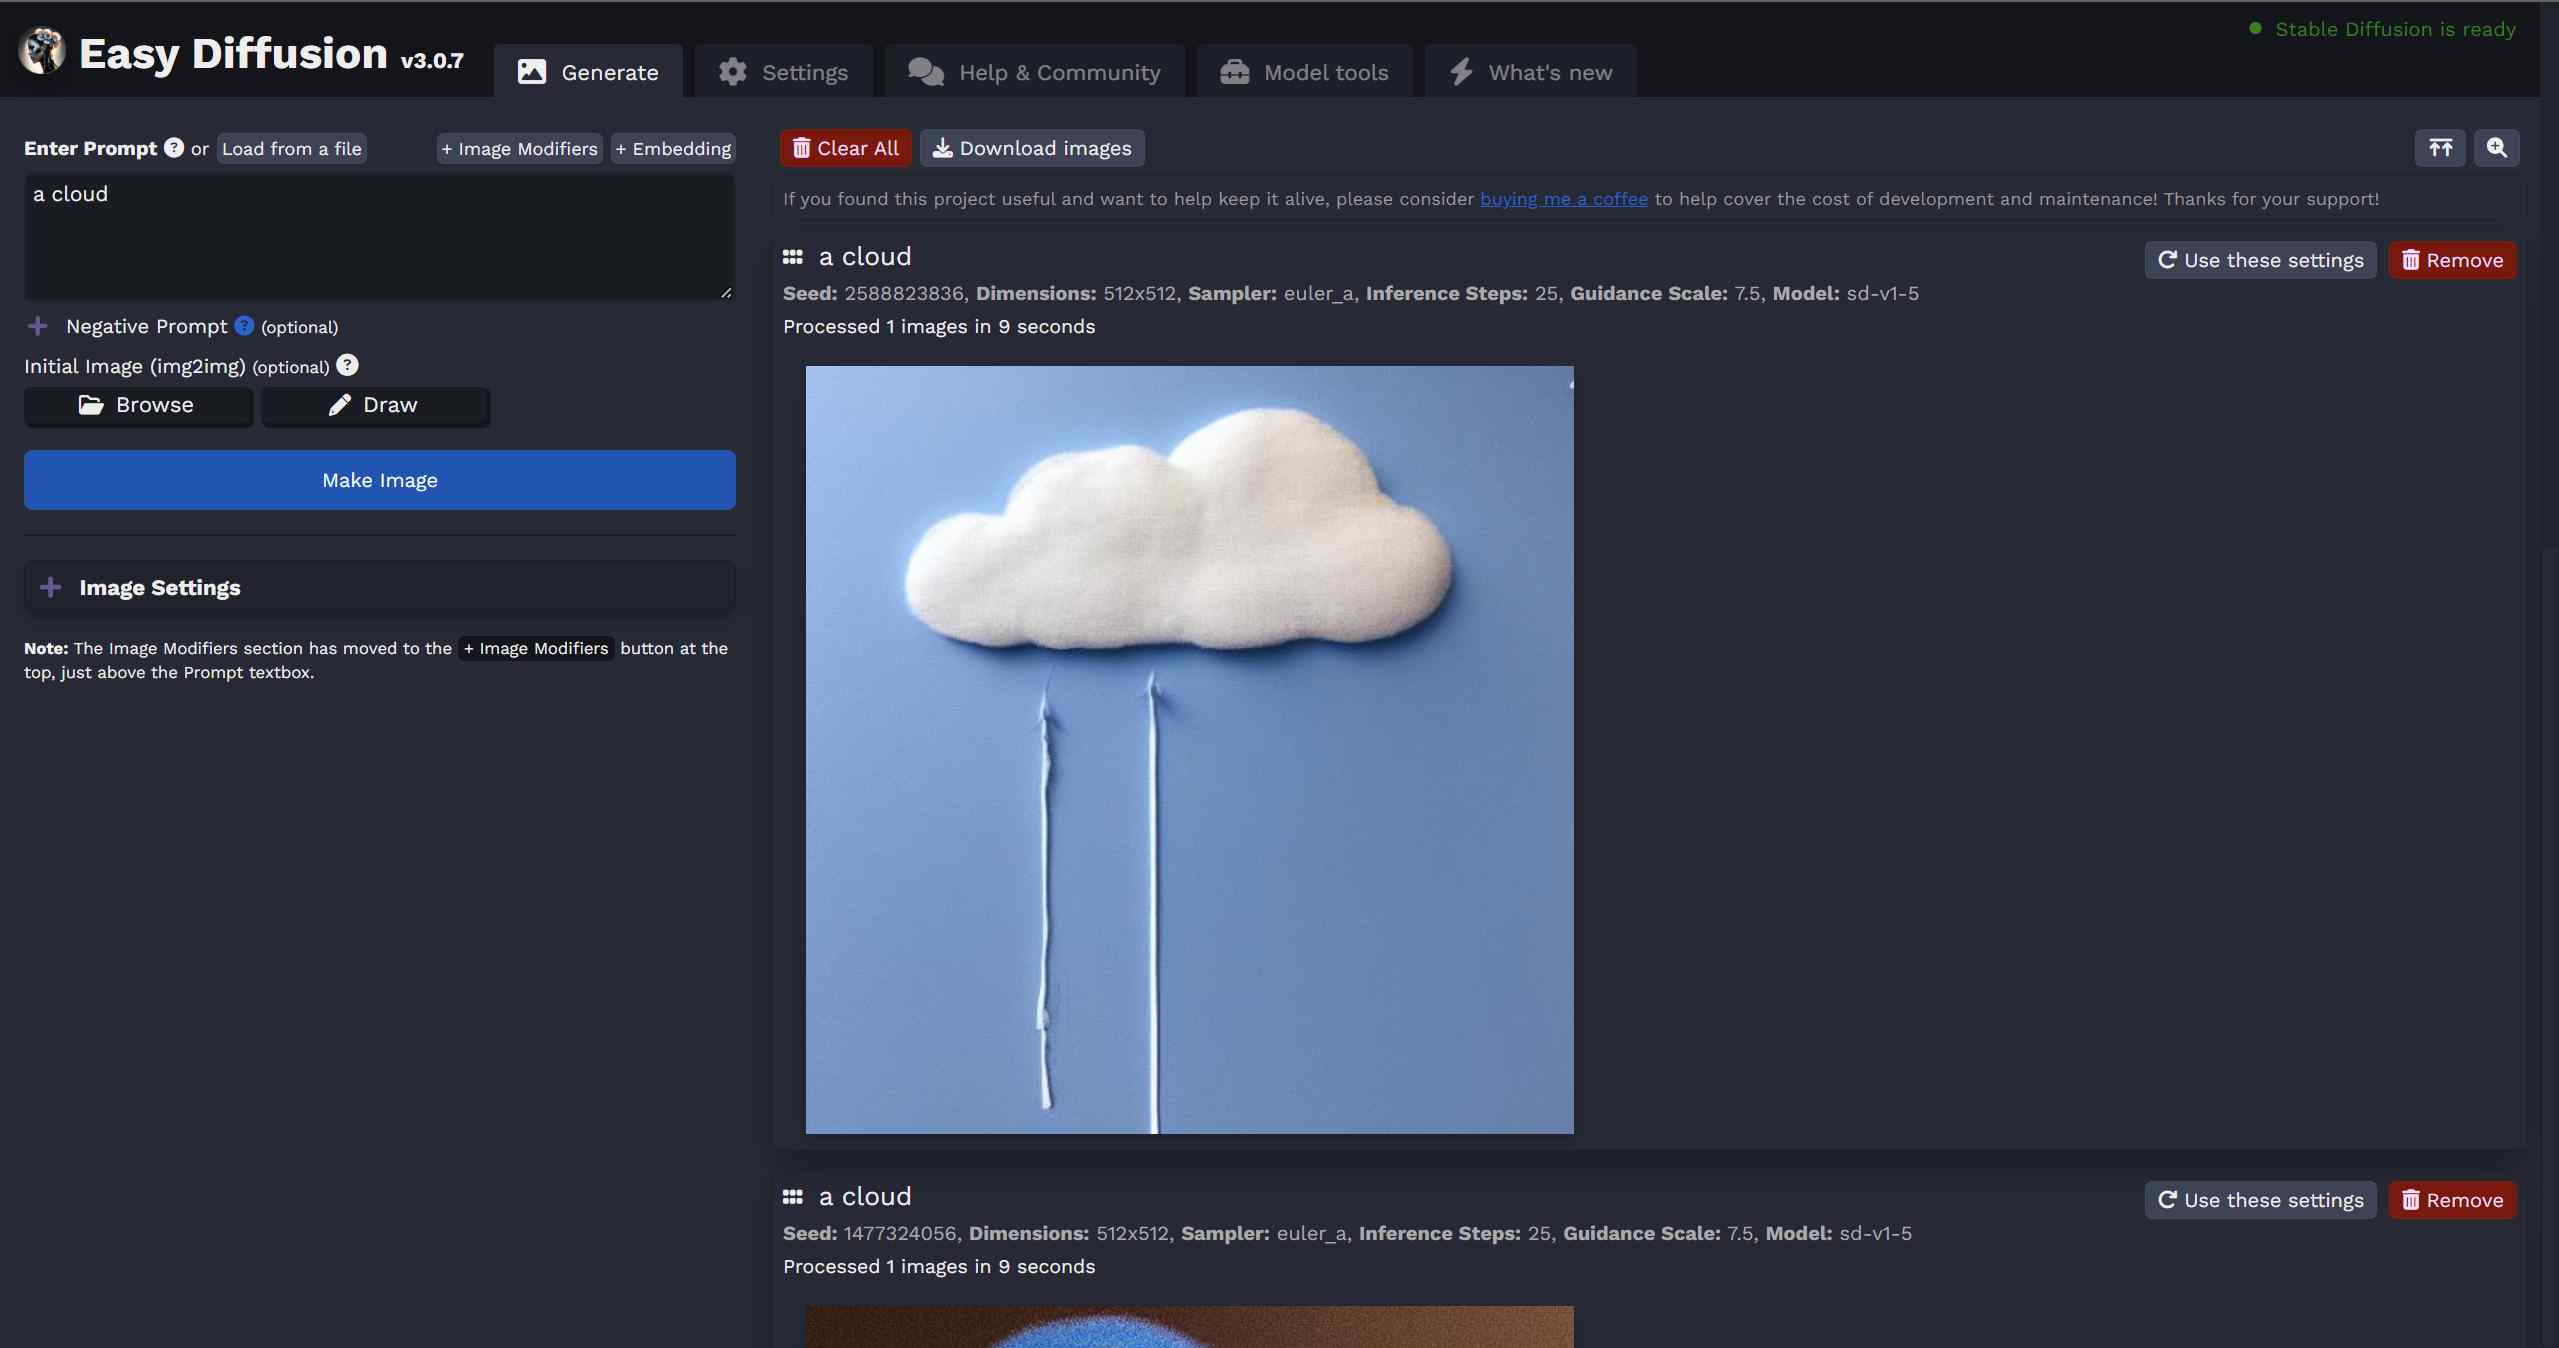
1、 2D Modeling with EasyDiffusion
This is an AI drawing software that I deployed and ran locally. It can create a drawing by simply providing an adjective. (It seems like today AI is not in a great mood; even the cloud is crying.)

2、 2D Modeling with photopea
This is a web-based version of Photoshop, and I will use it for bitmap image drawing. I started by using the Pen tool to draw a cloud.
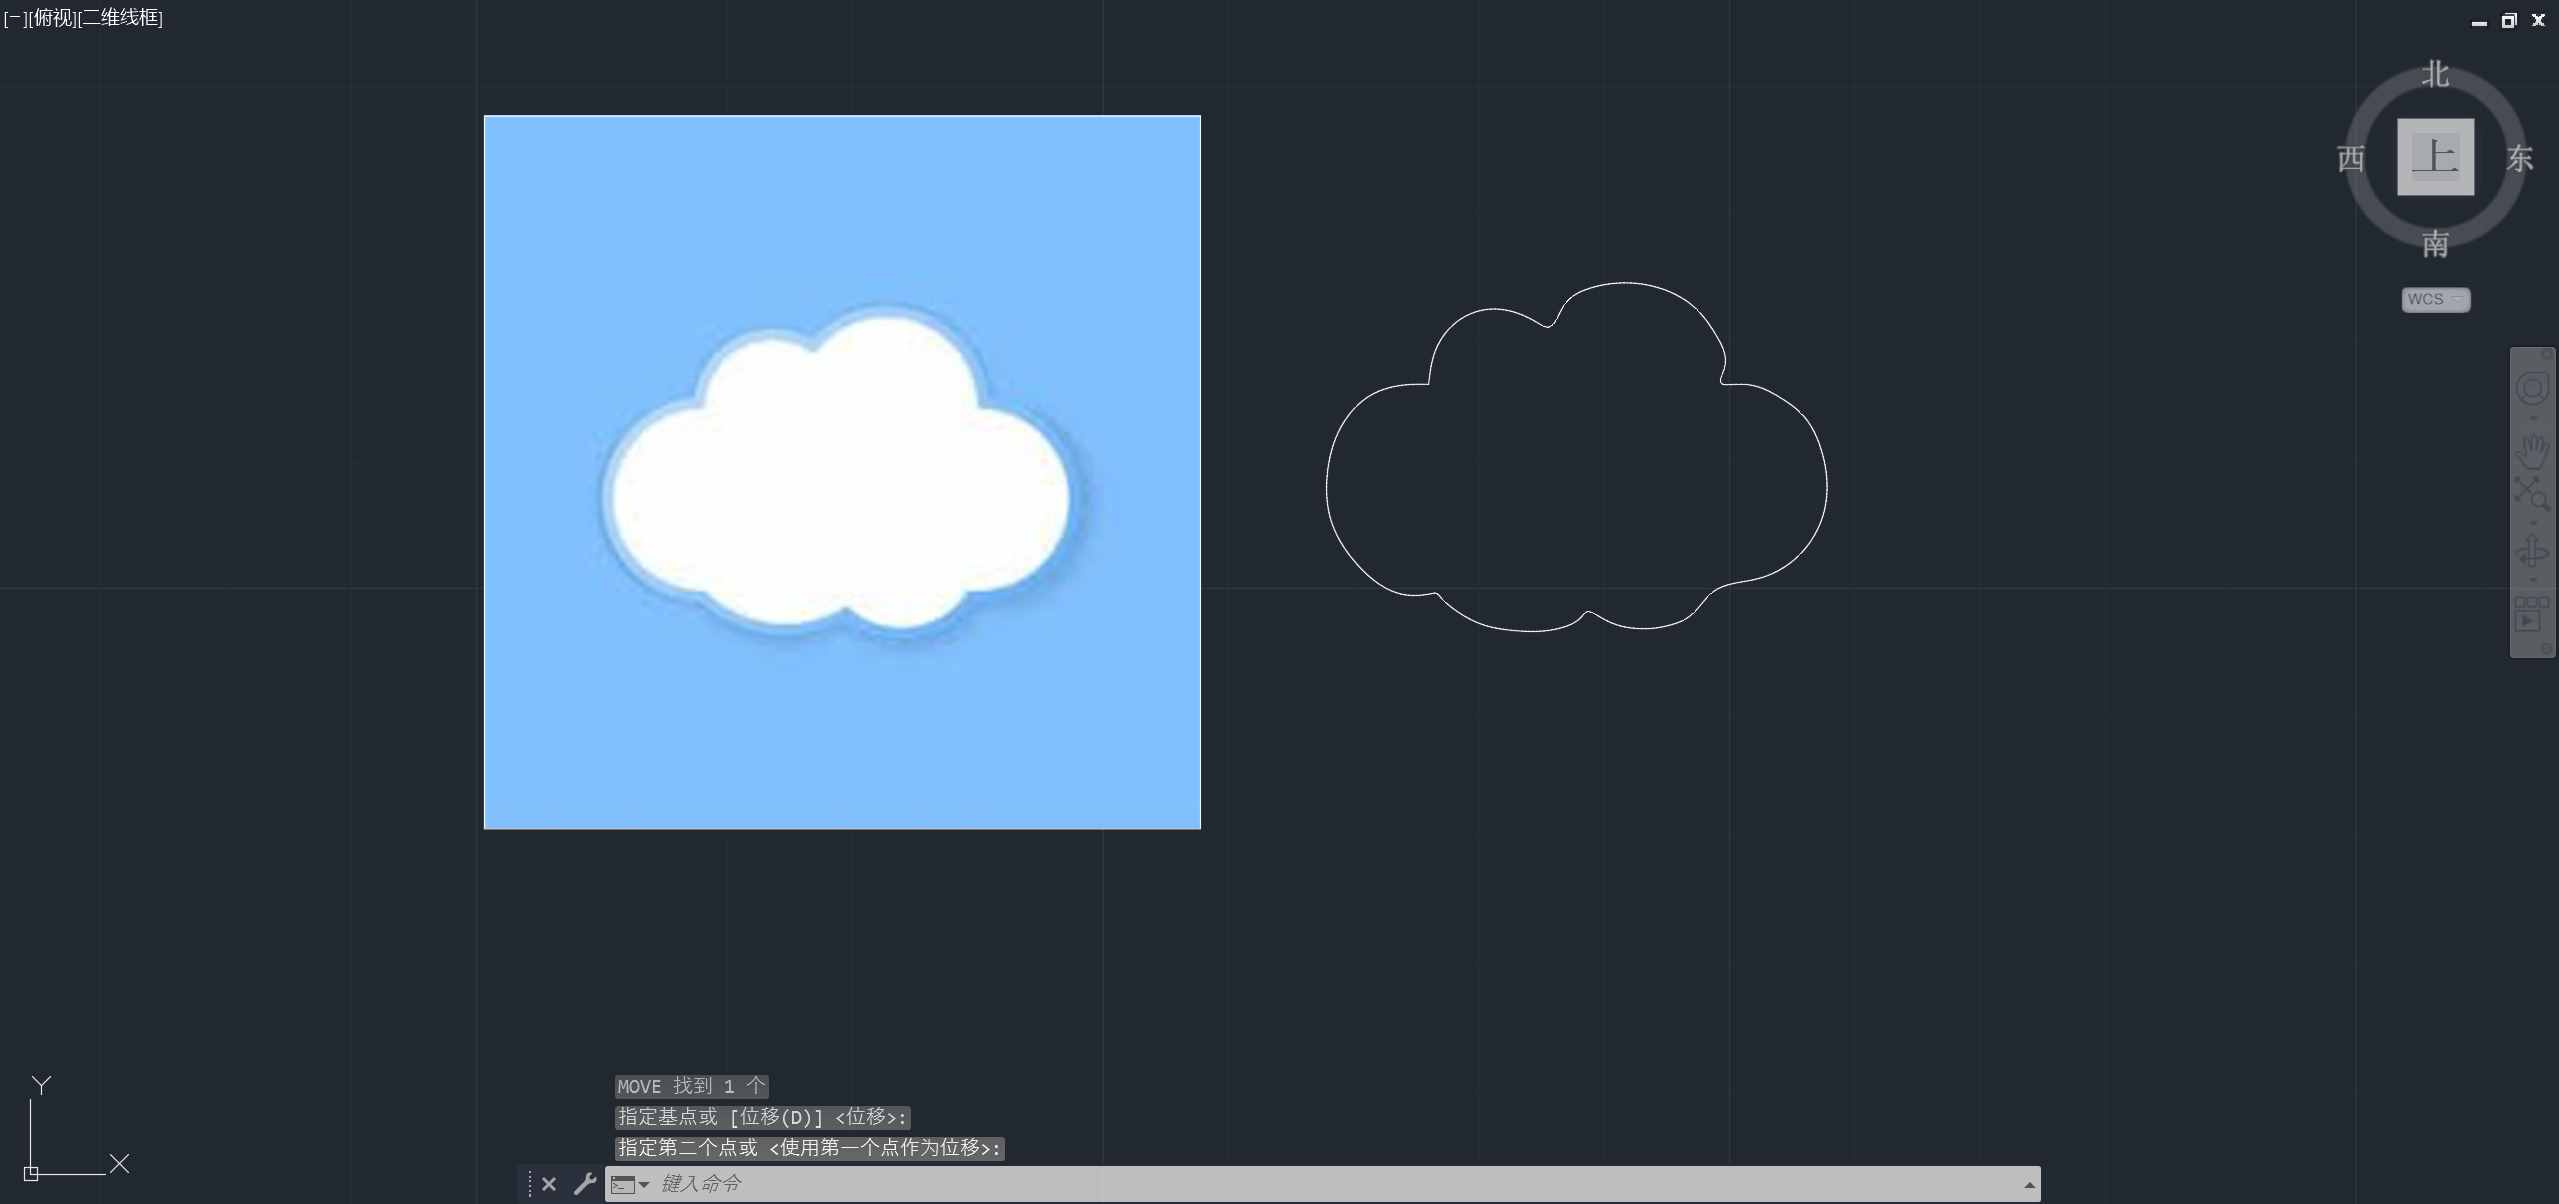
3、2D Modeling with AutoCAD 2024
This is a software by Autodesk, where I used the SPL command to draw a cloud pattern.

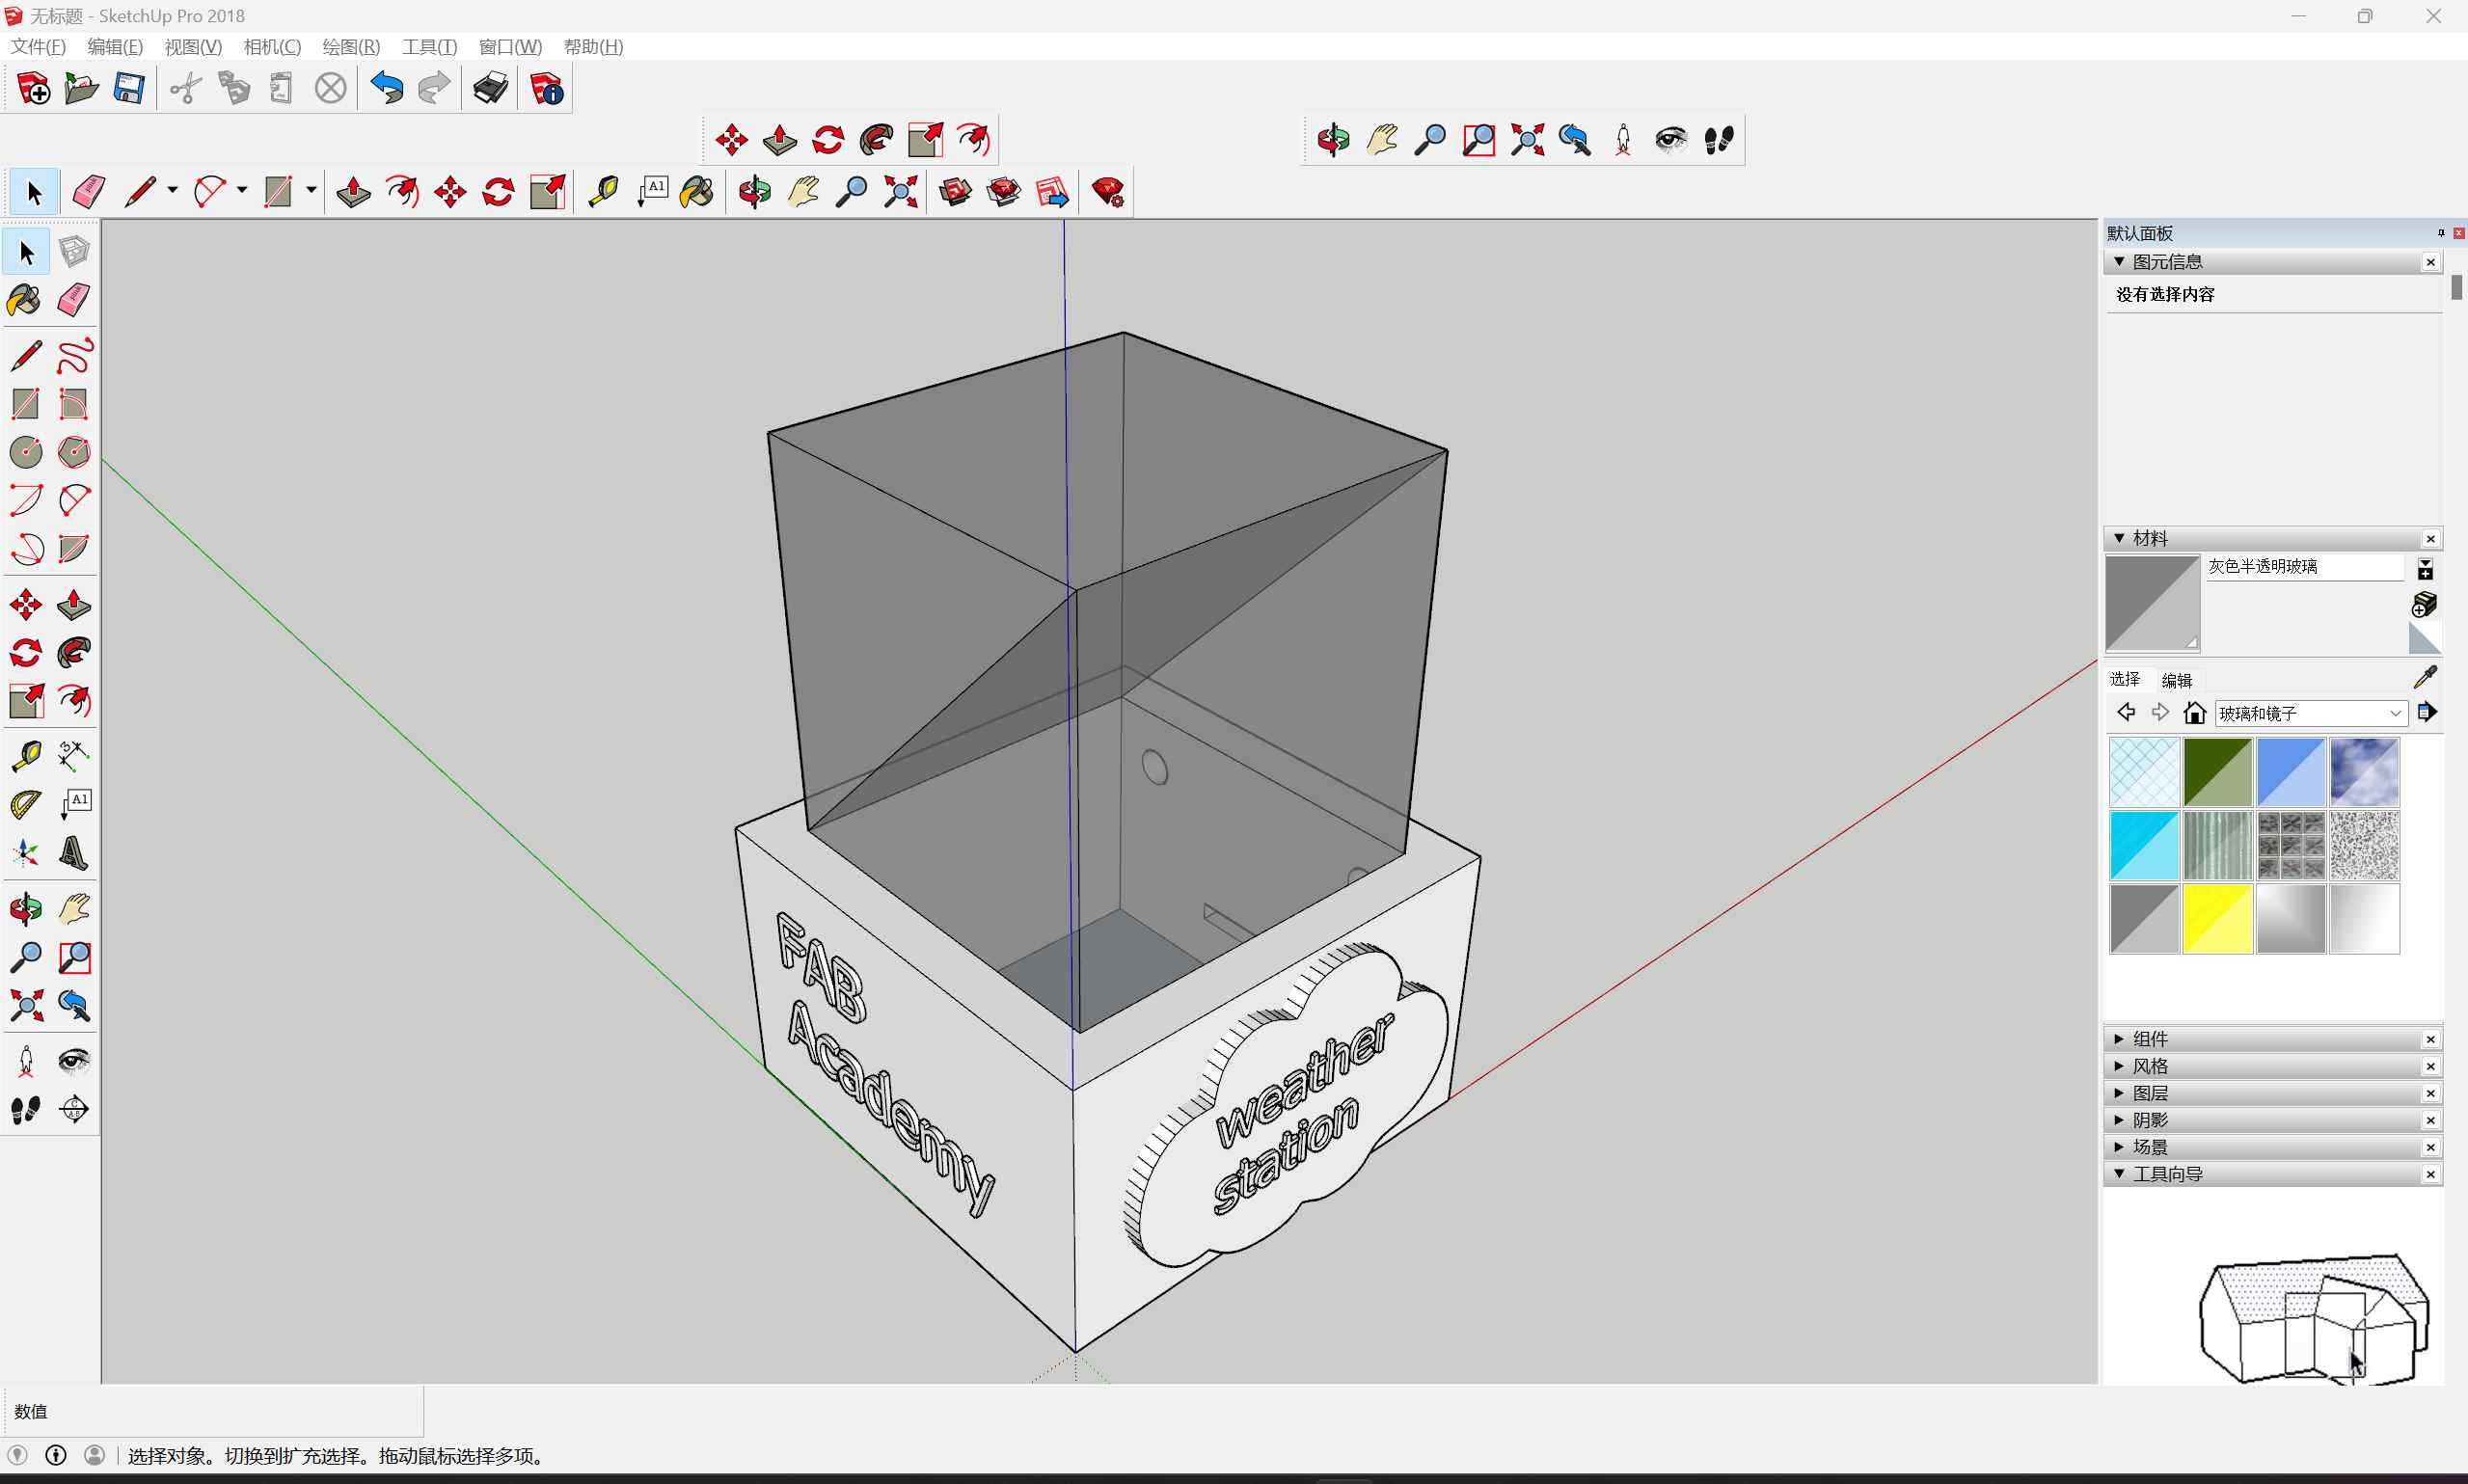
4、 3D Modeling with SketchUp
This is Autodesk software. Since SketchUp can directly import CAD’s DWG format files, I imported the cloud pattern into CAD to create my final project.

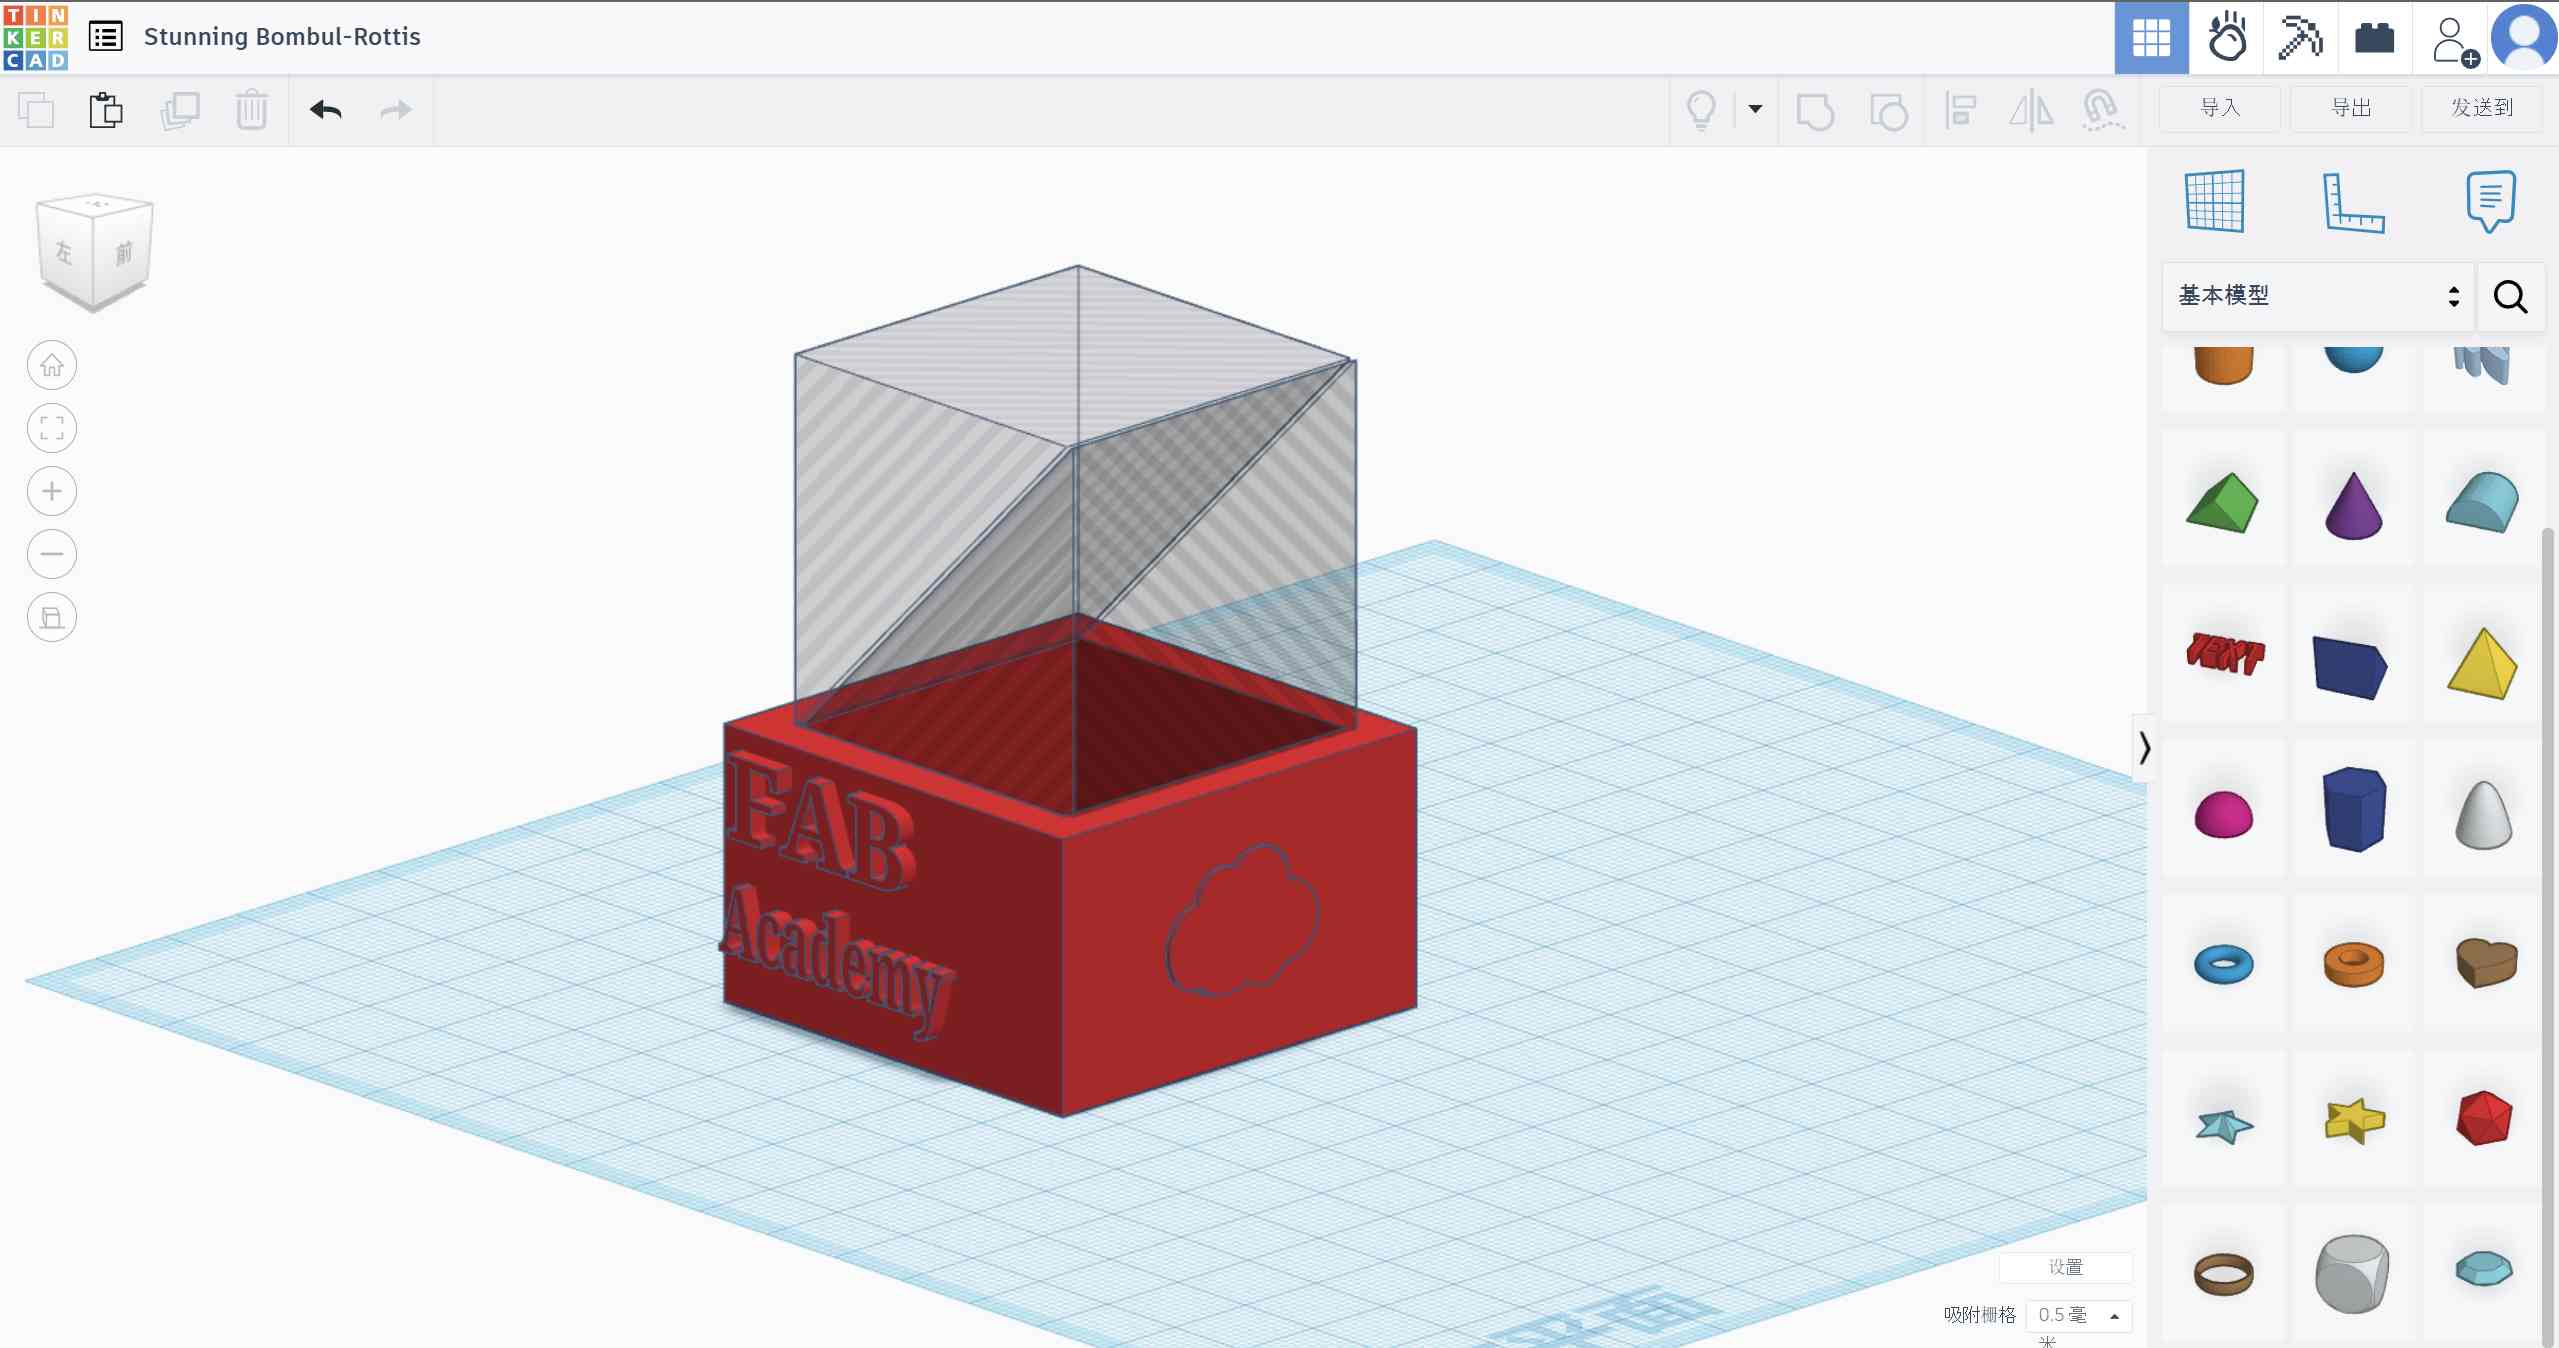
5、3D Modeling with Tinkercad
This is also Autodesk software, but it is free. During the usage, I found it not very user-friendly for me; it seems more suitable for children.

1.3 Process of Modeling my Possible Final Project
1、 2D Modeling with Inkscape
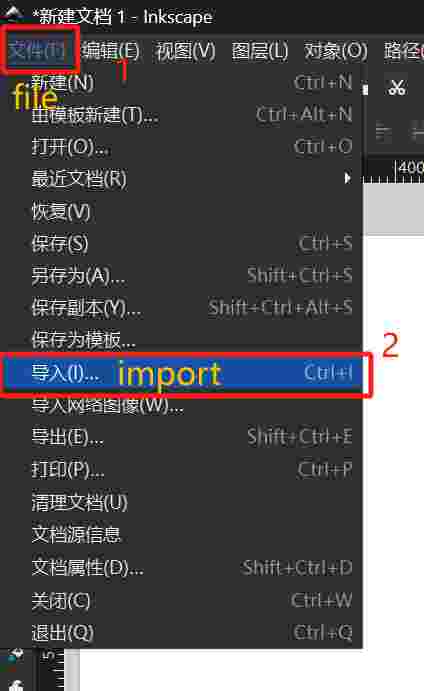
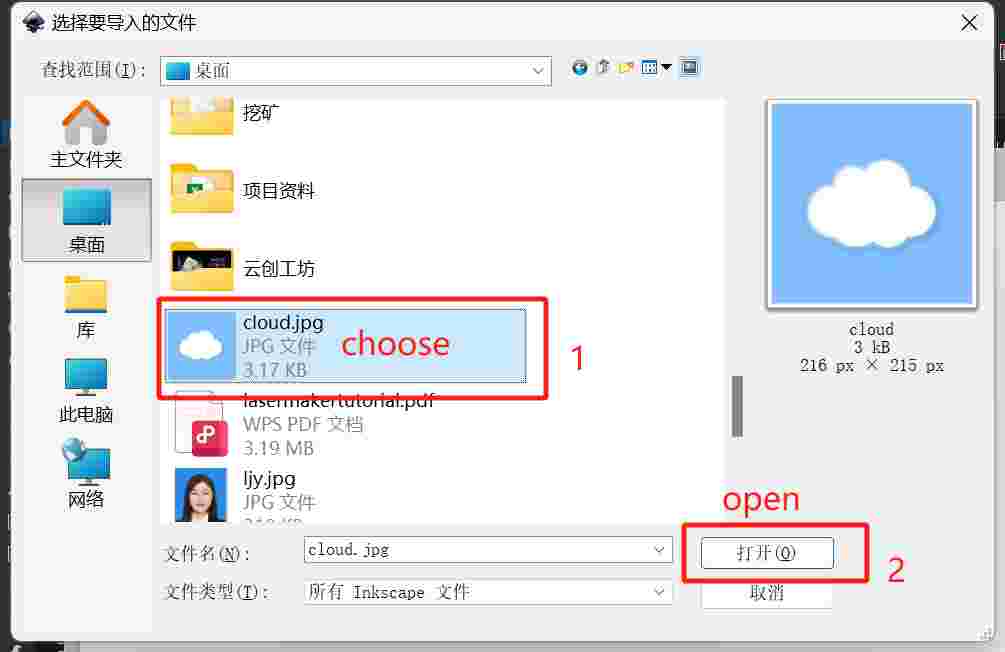
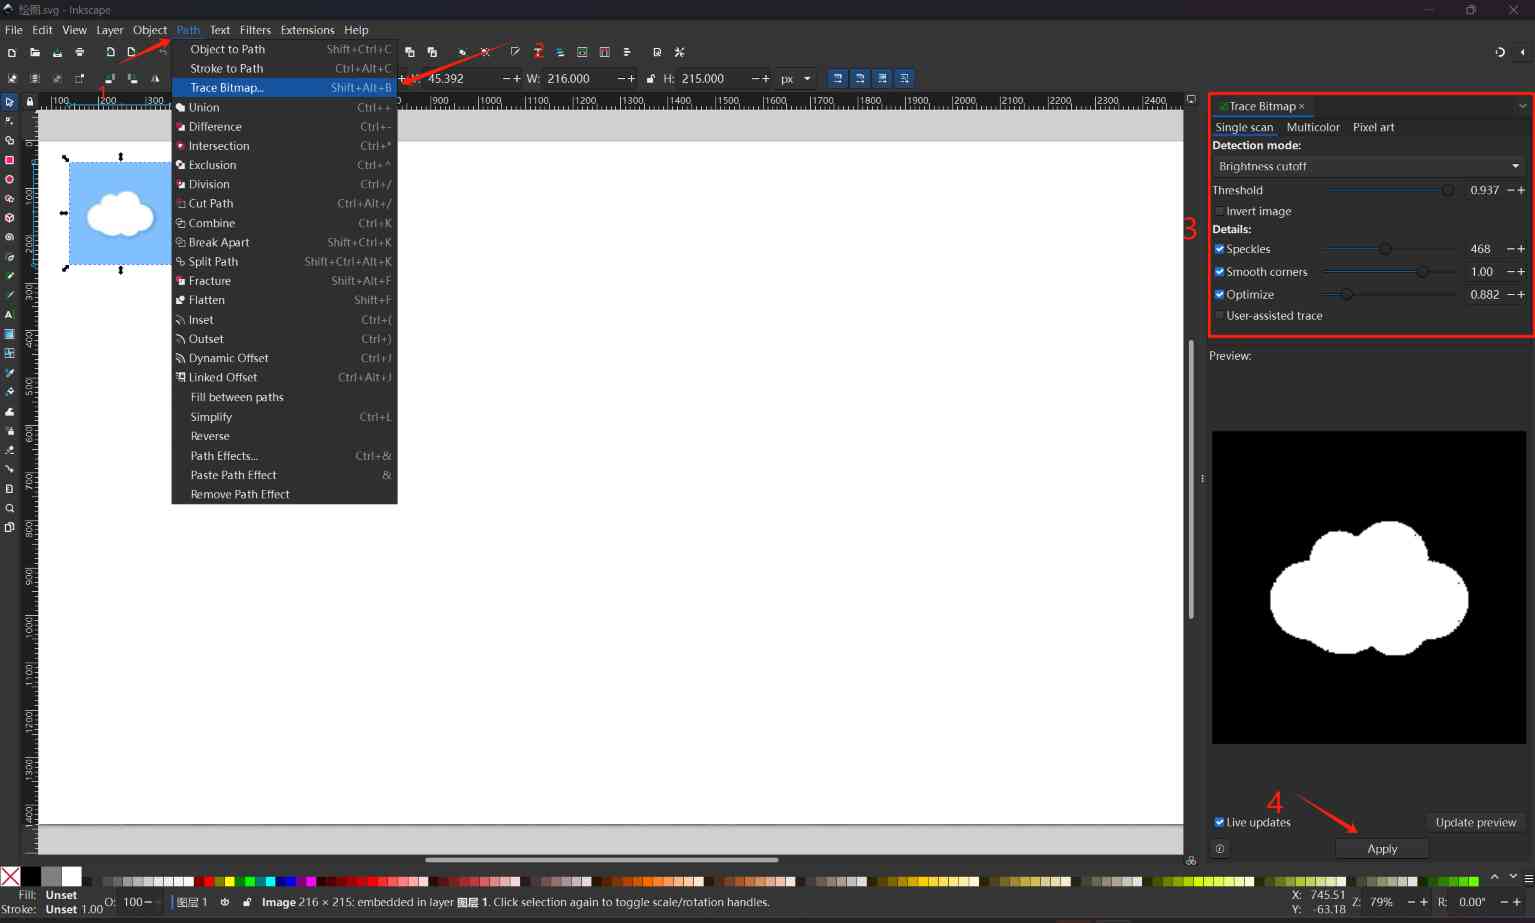
I downloaded a raster graphic from Google and converted it into vector graphics using Inkscape.
Choose file > import > Make, to convert a raster image into a vector image.
 Choose the file you want, then click “Open.”
 Choose Path - Trace Bitmap - Modifying parameters - Apply

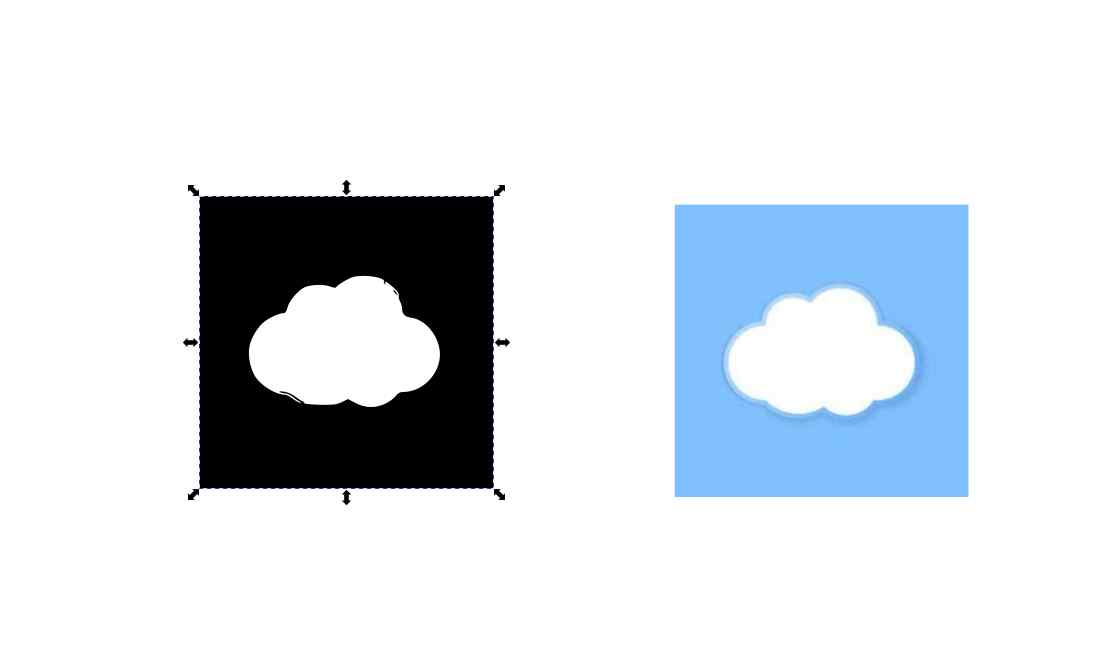

a. Troubleshooting
Set English Environment
The first unexpected problem I encountered was changing my Inkscape Chinese version to English version so that I could communicate with my tutors and classmates at Fab Academy.
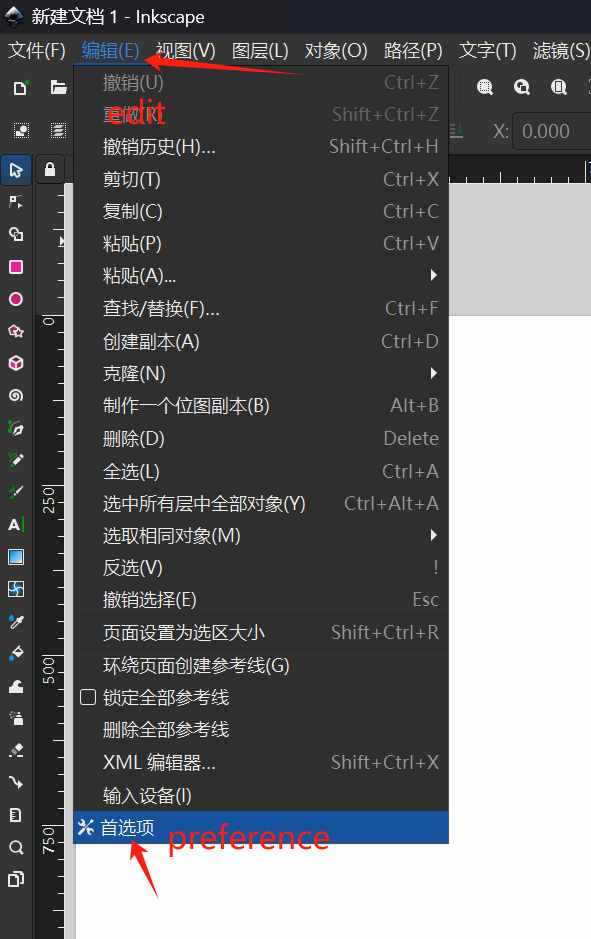

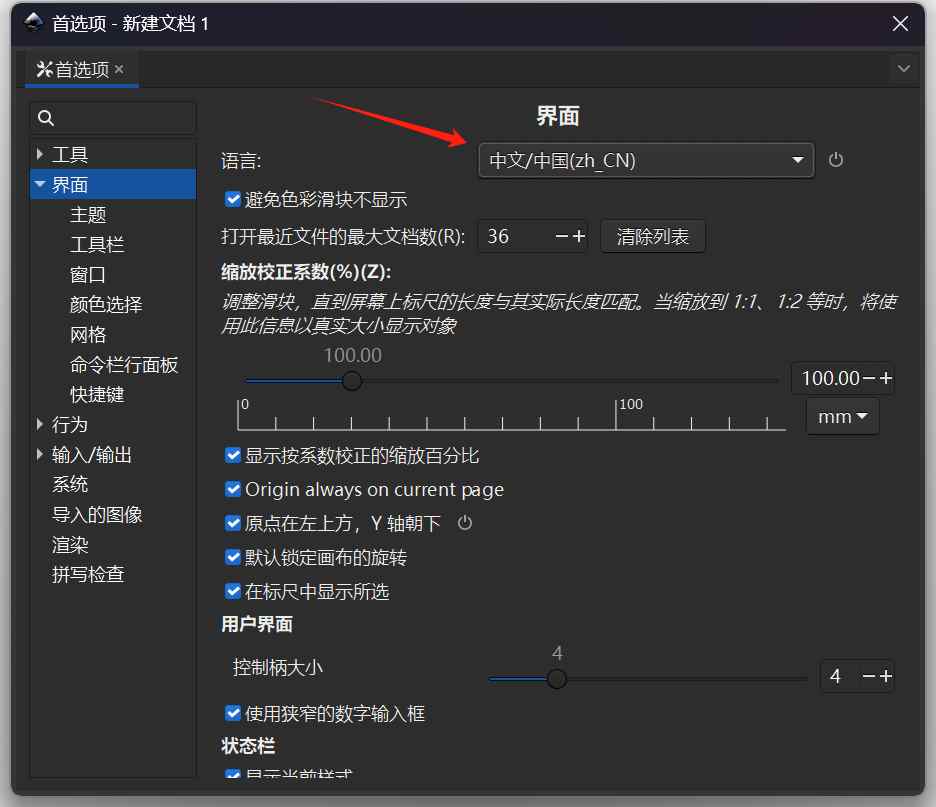

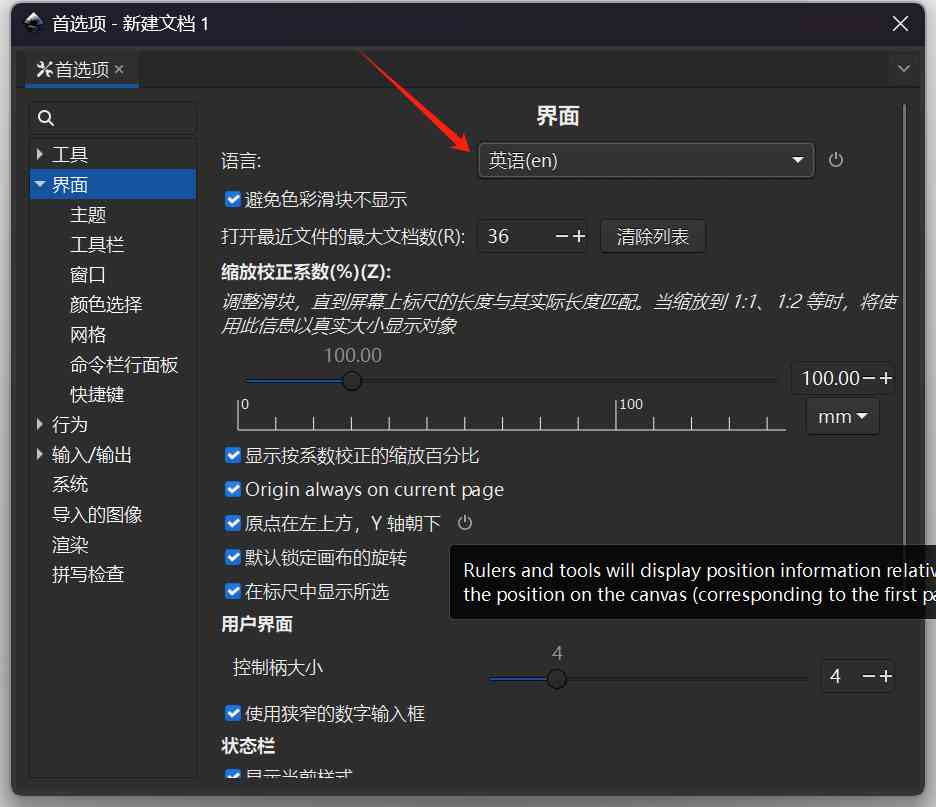
 After the change, restart the software.
2、3D Modeling with Fusion360
a. Import the 2D cloud Drawing
Fusion 360 supports SVG format, so the diagram I just created using Inkscape can be directly imported and used.
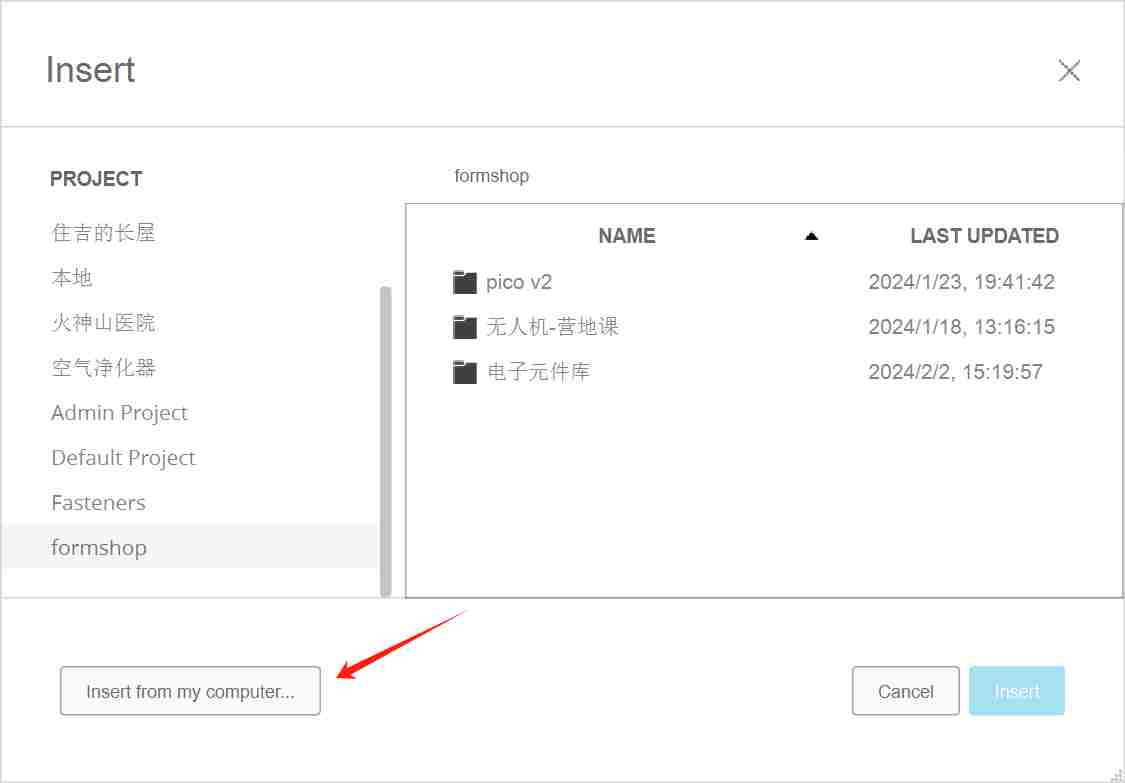
INSERT - Insert SVG
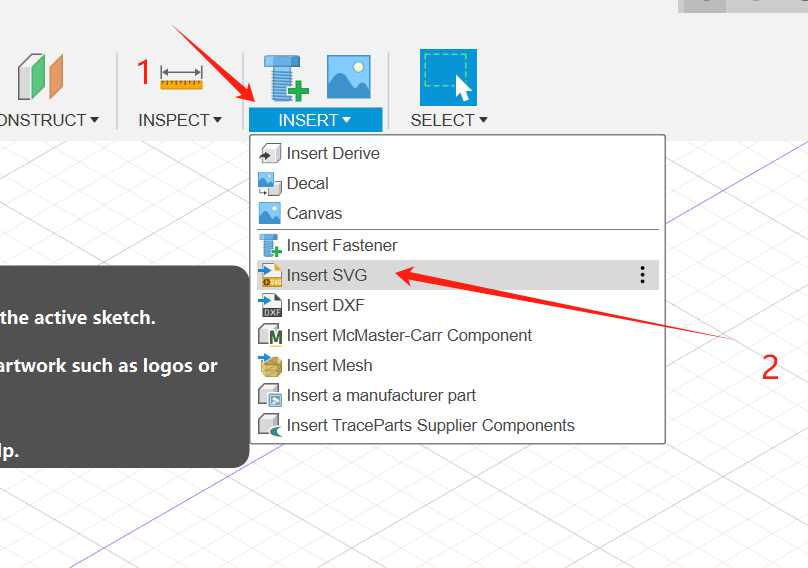
 Insert from my computer…
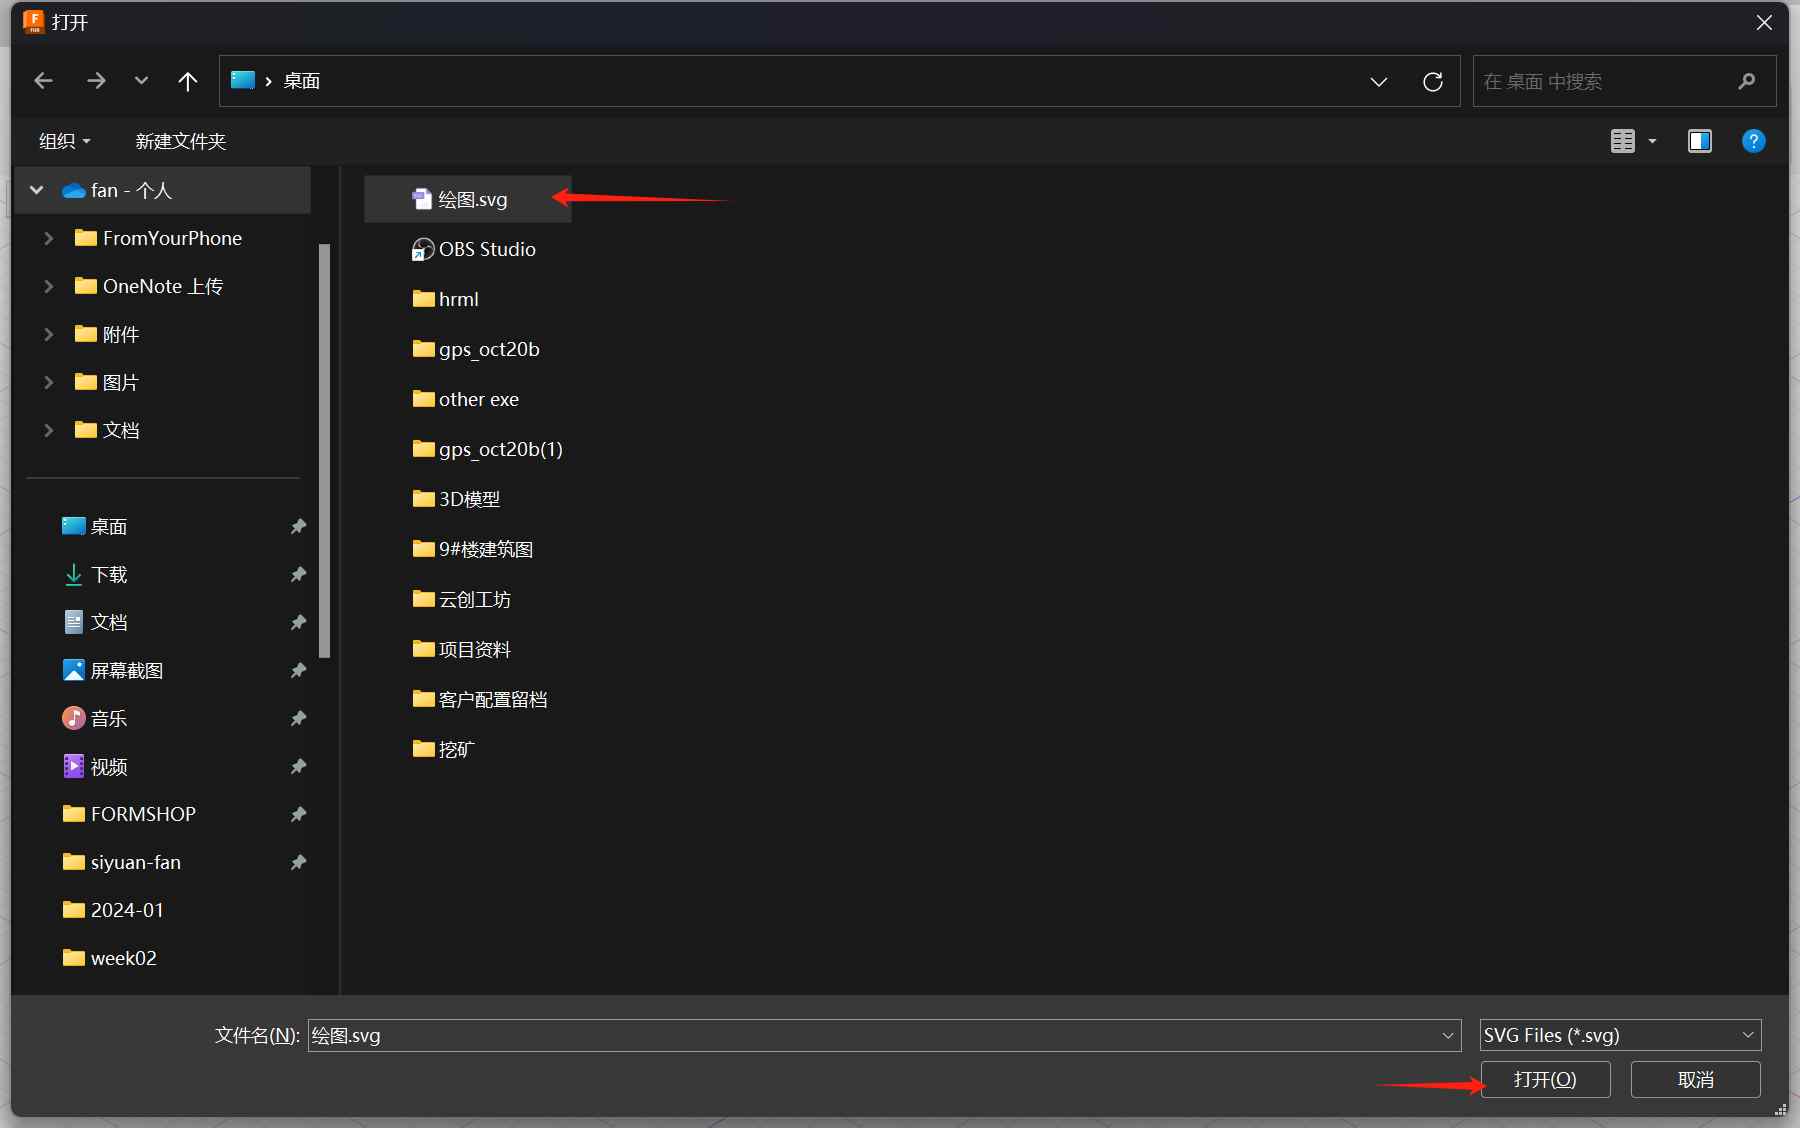
 Select your file and Open
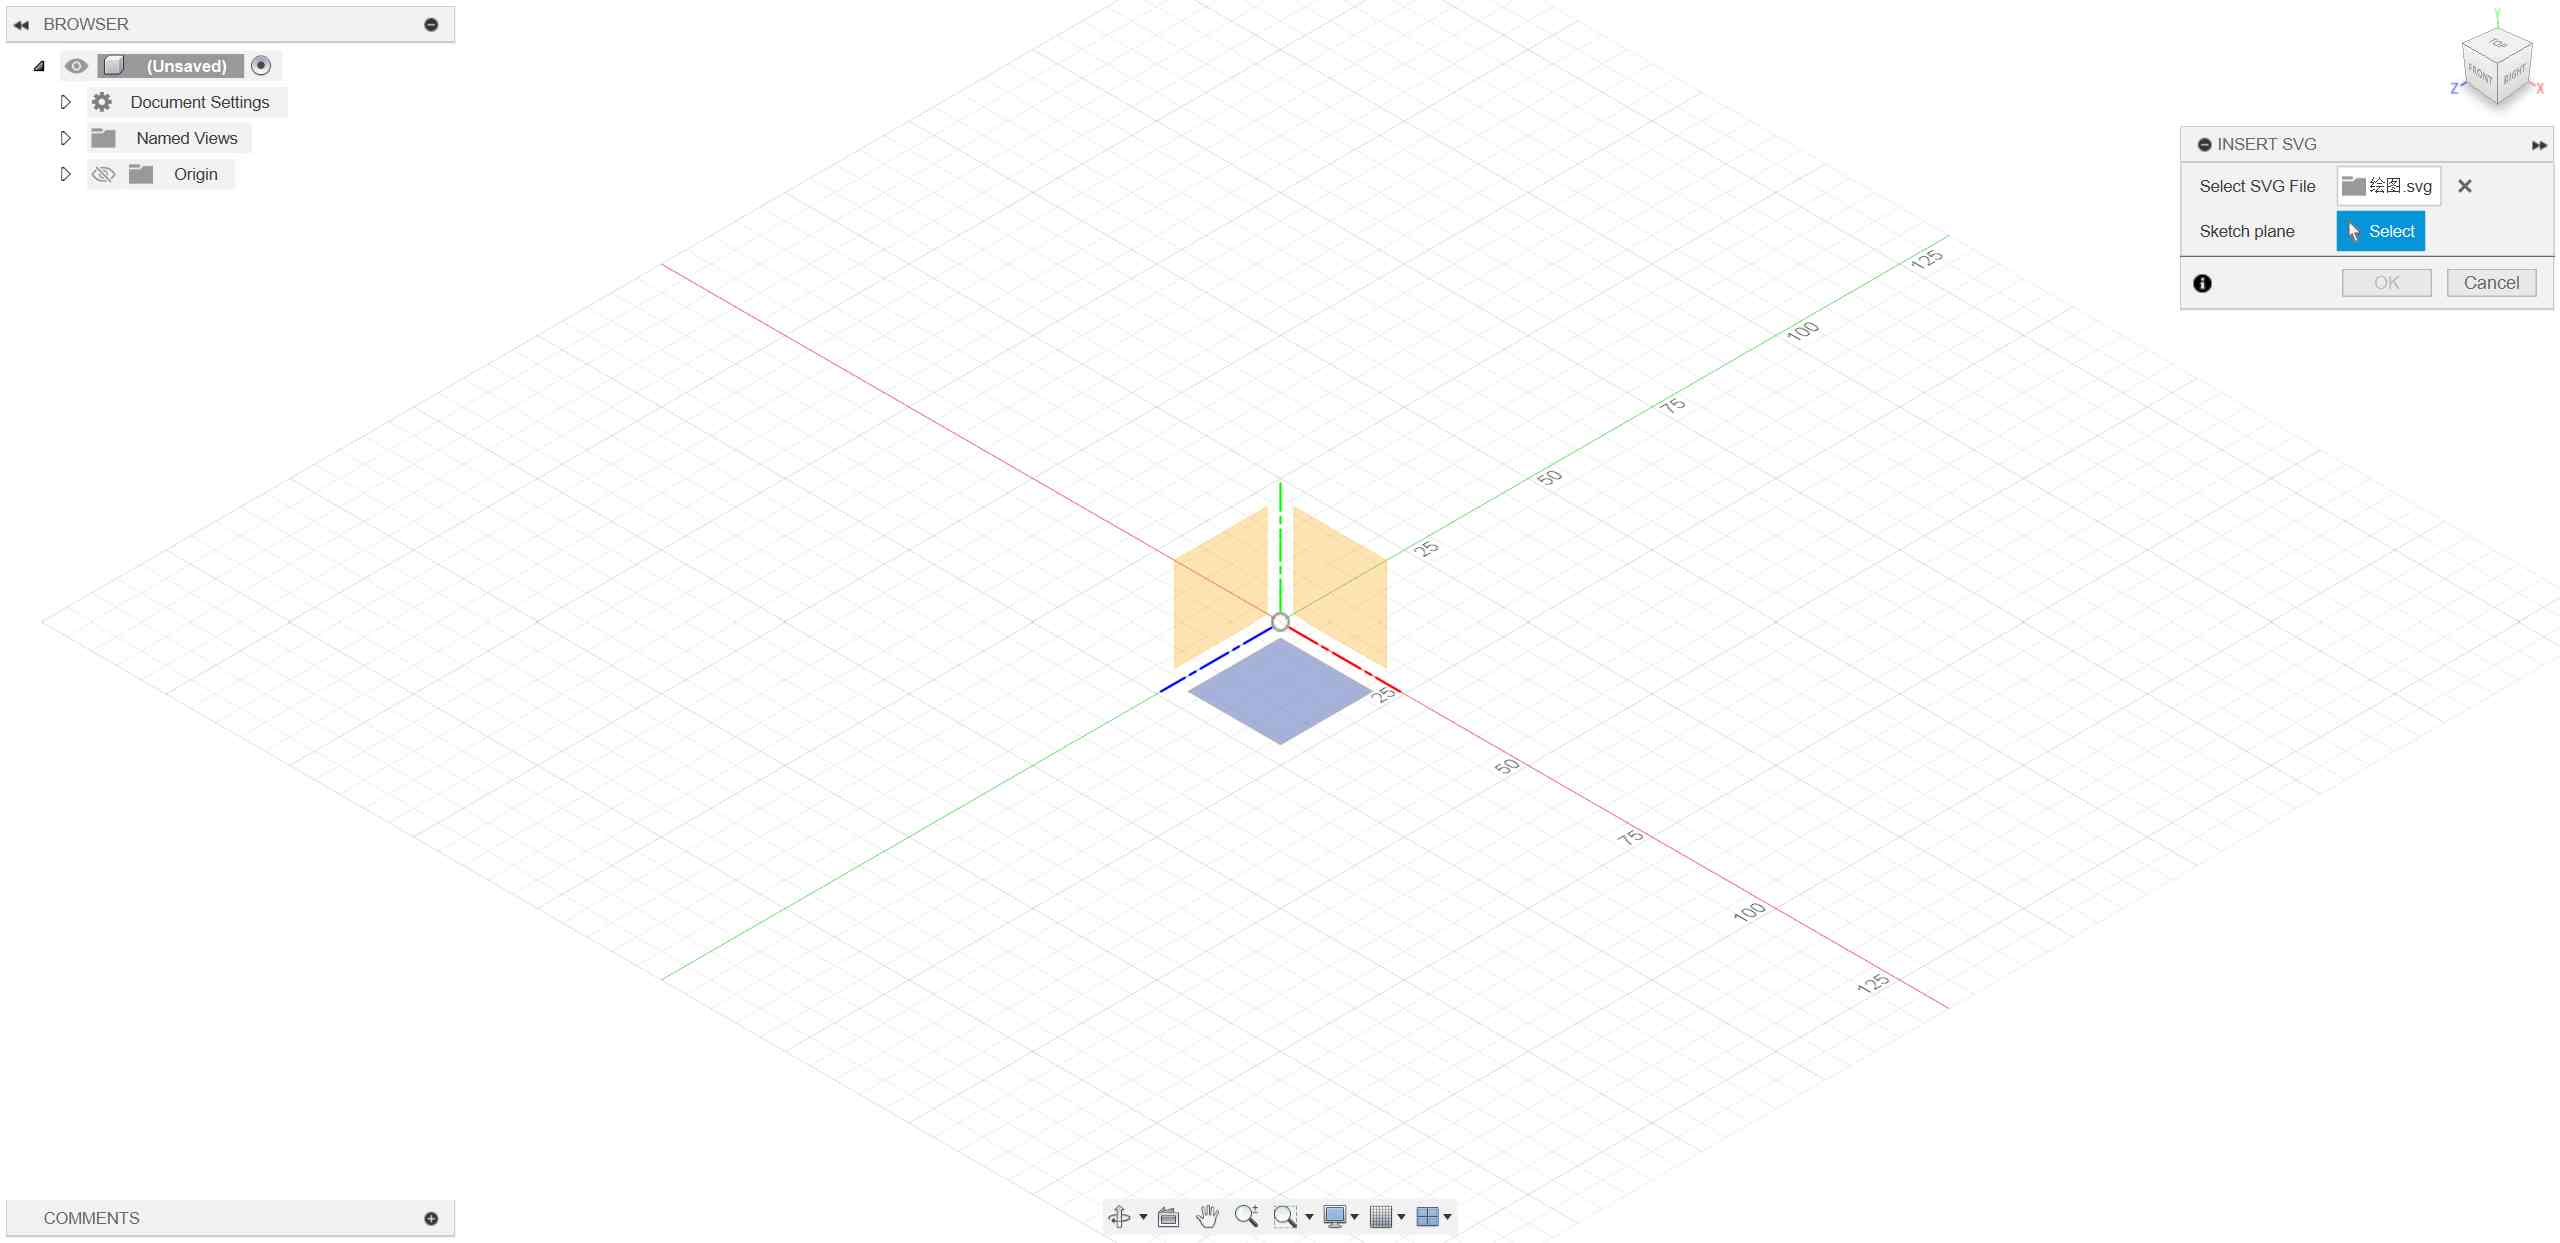
 Choose one of your working surfaces
 Choose OK
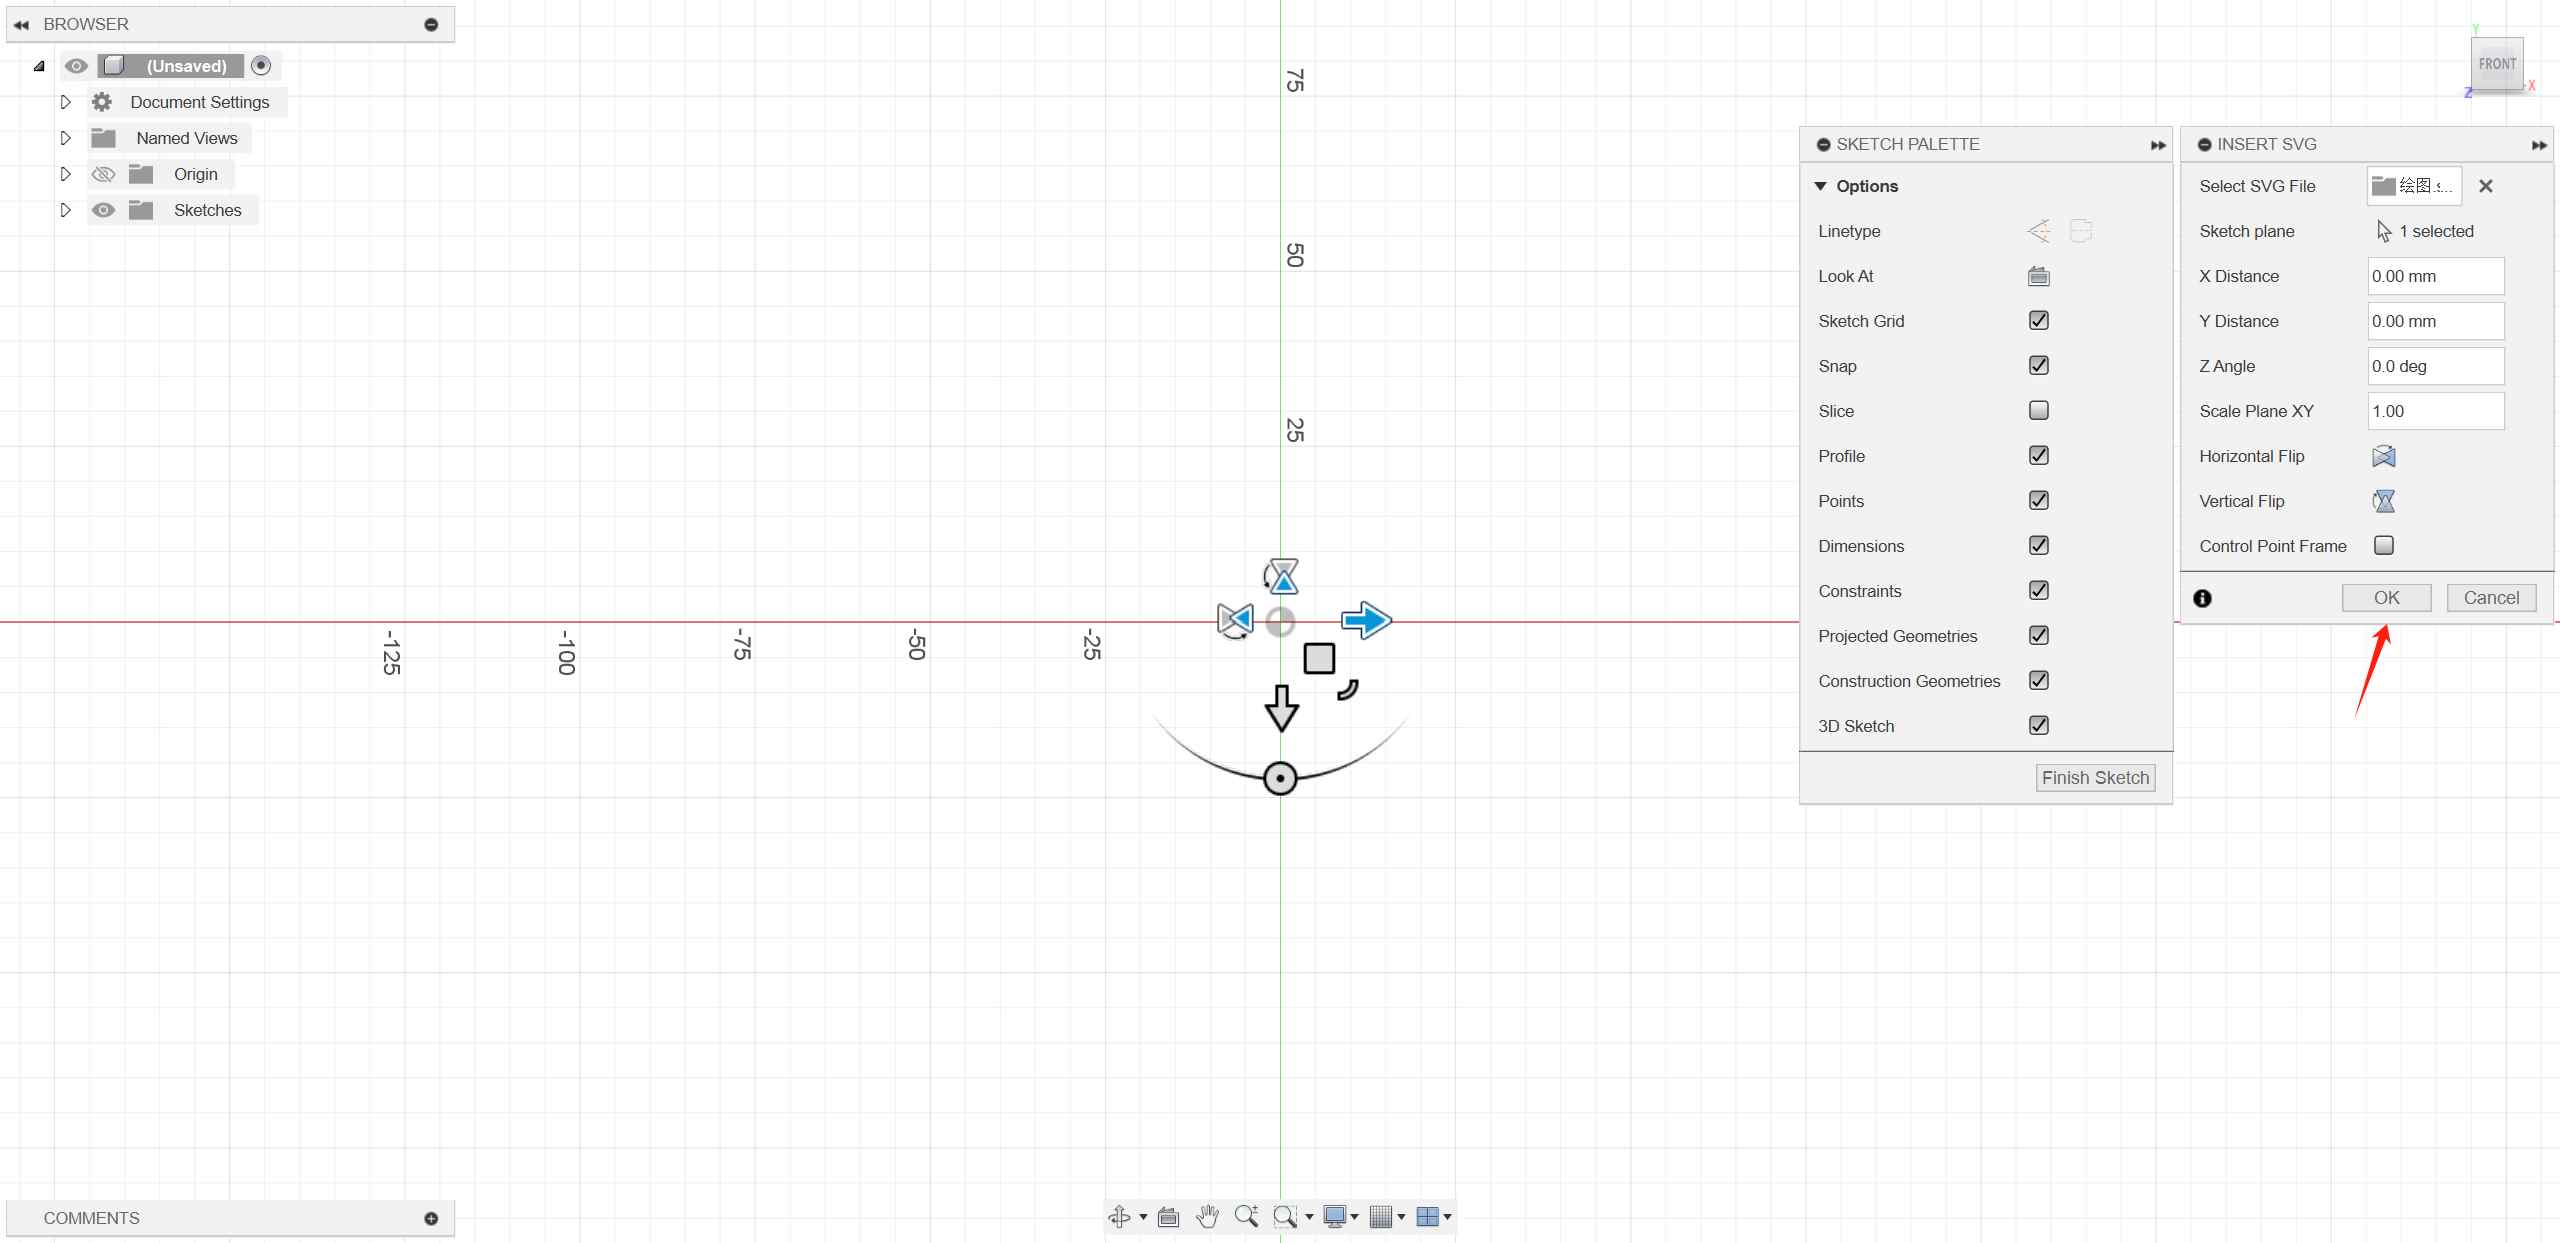
 Finish sketch
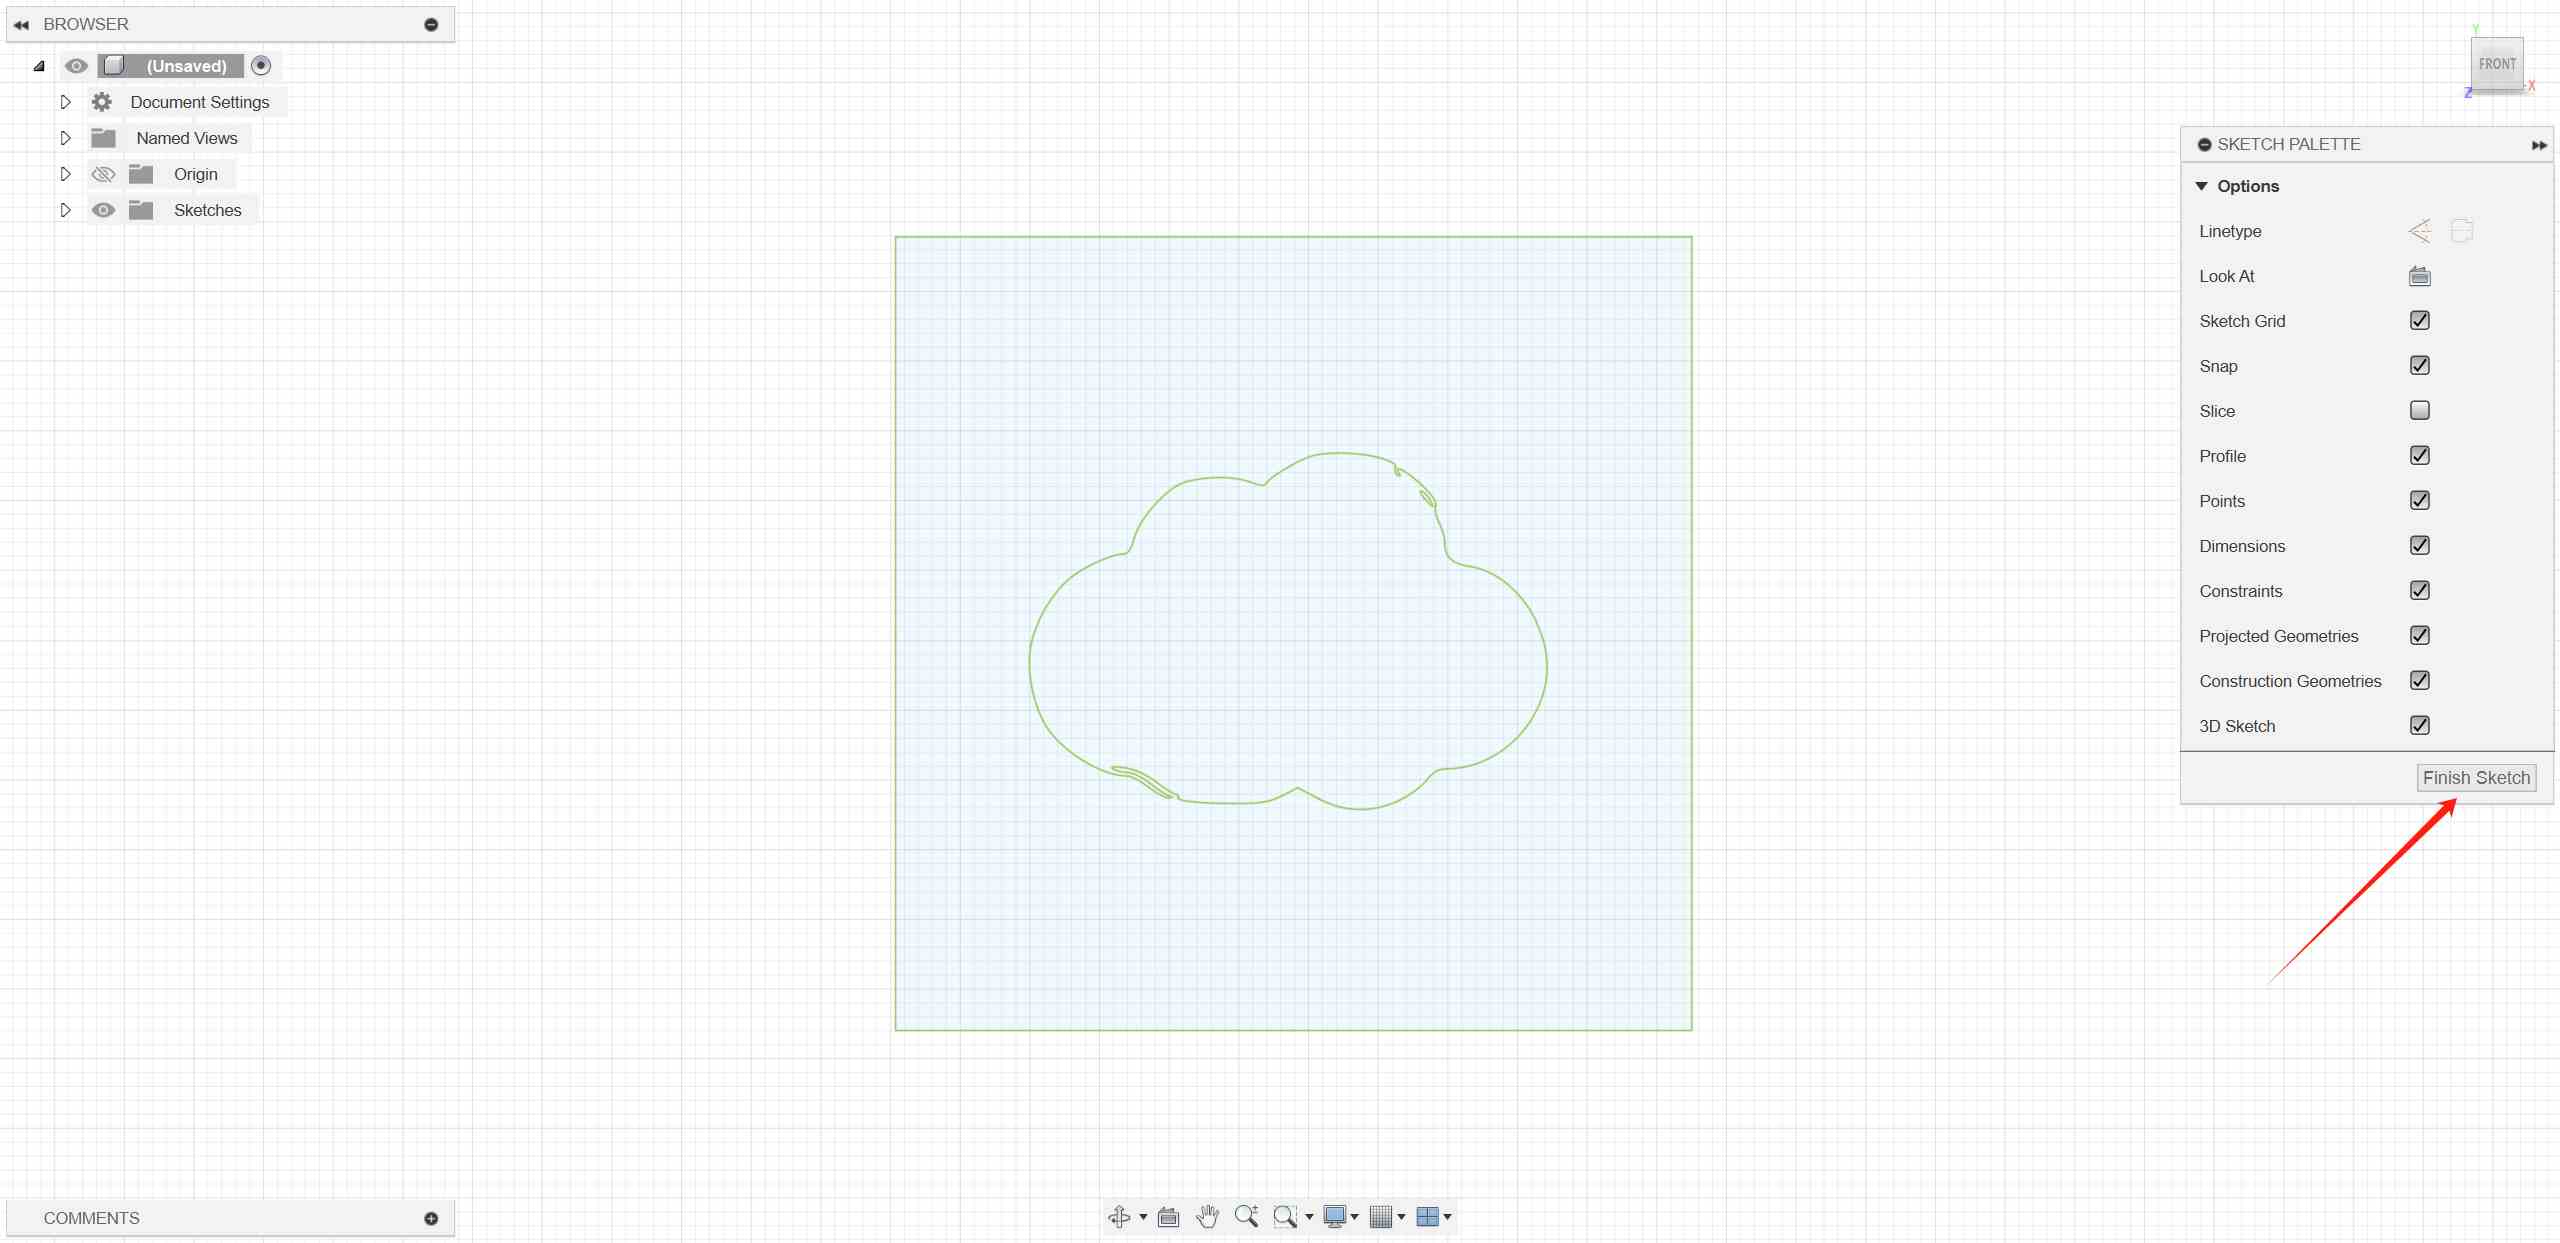
 Use the shortcut key E to Extrude
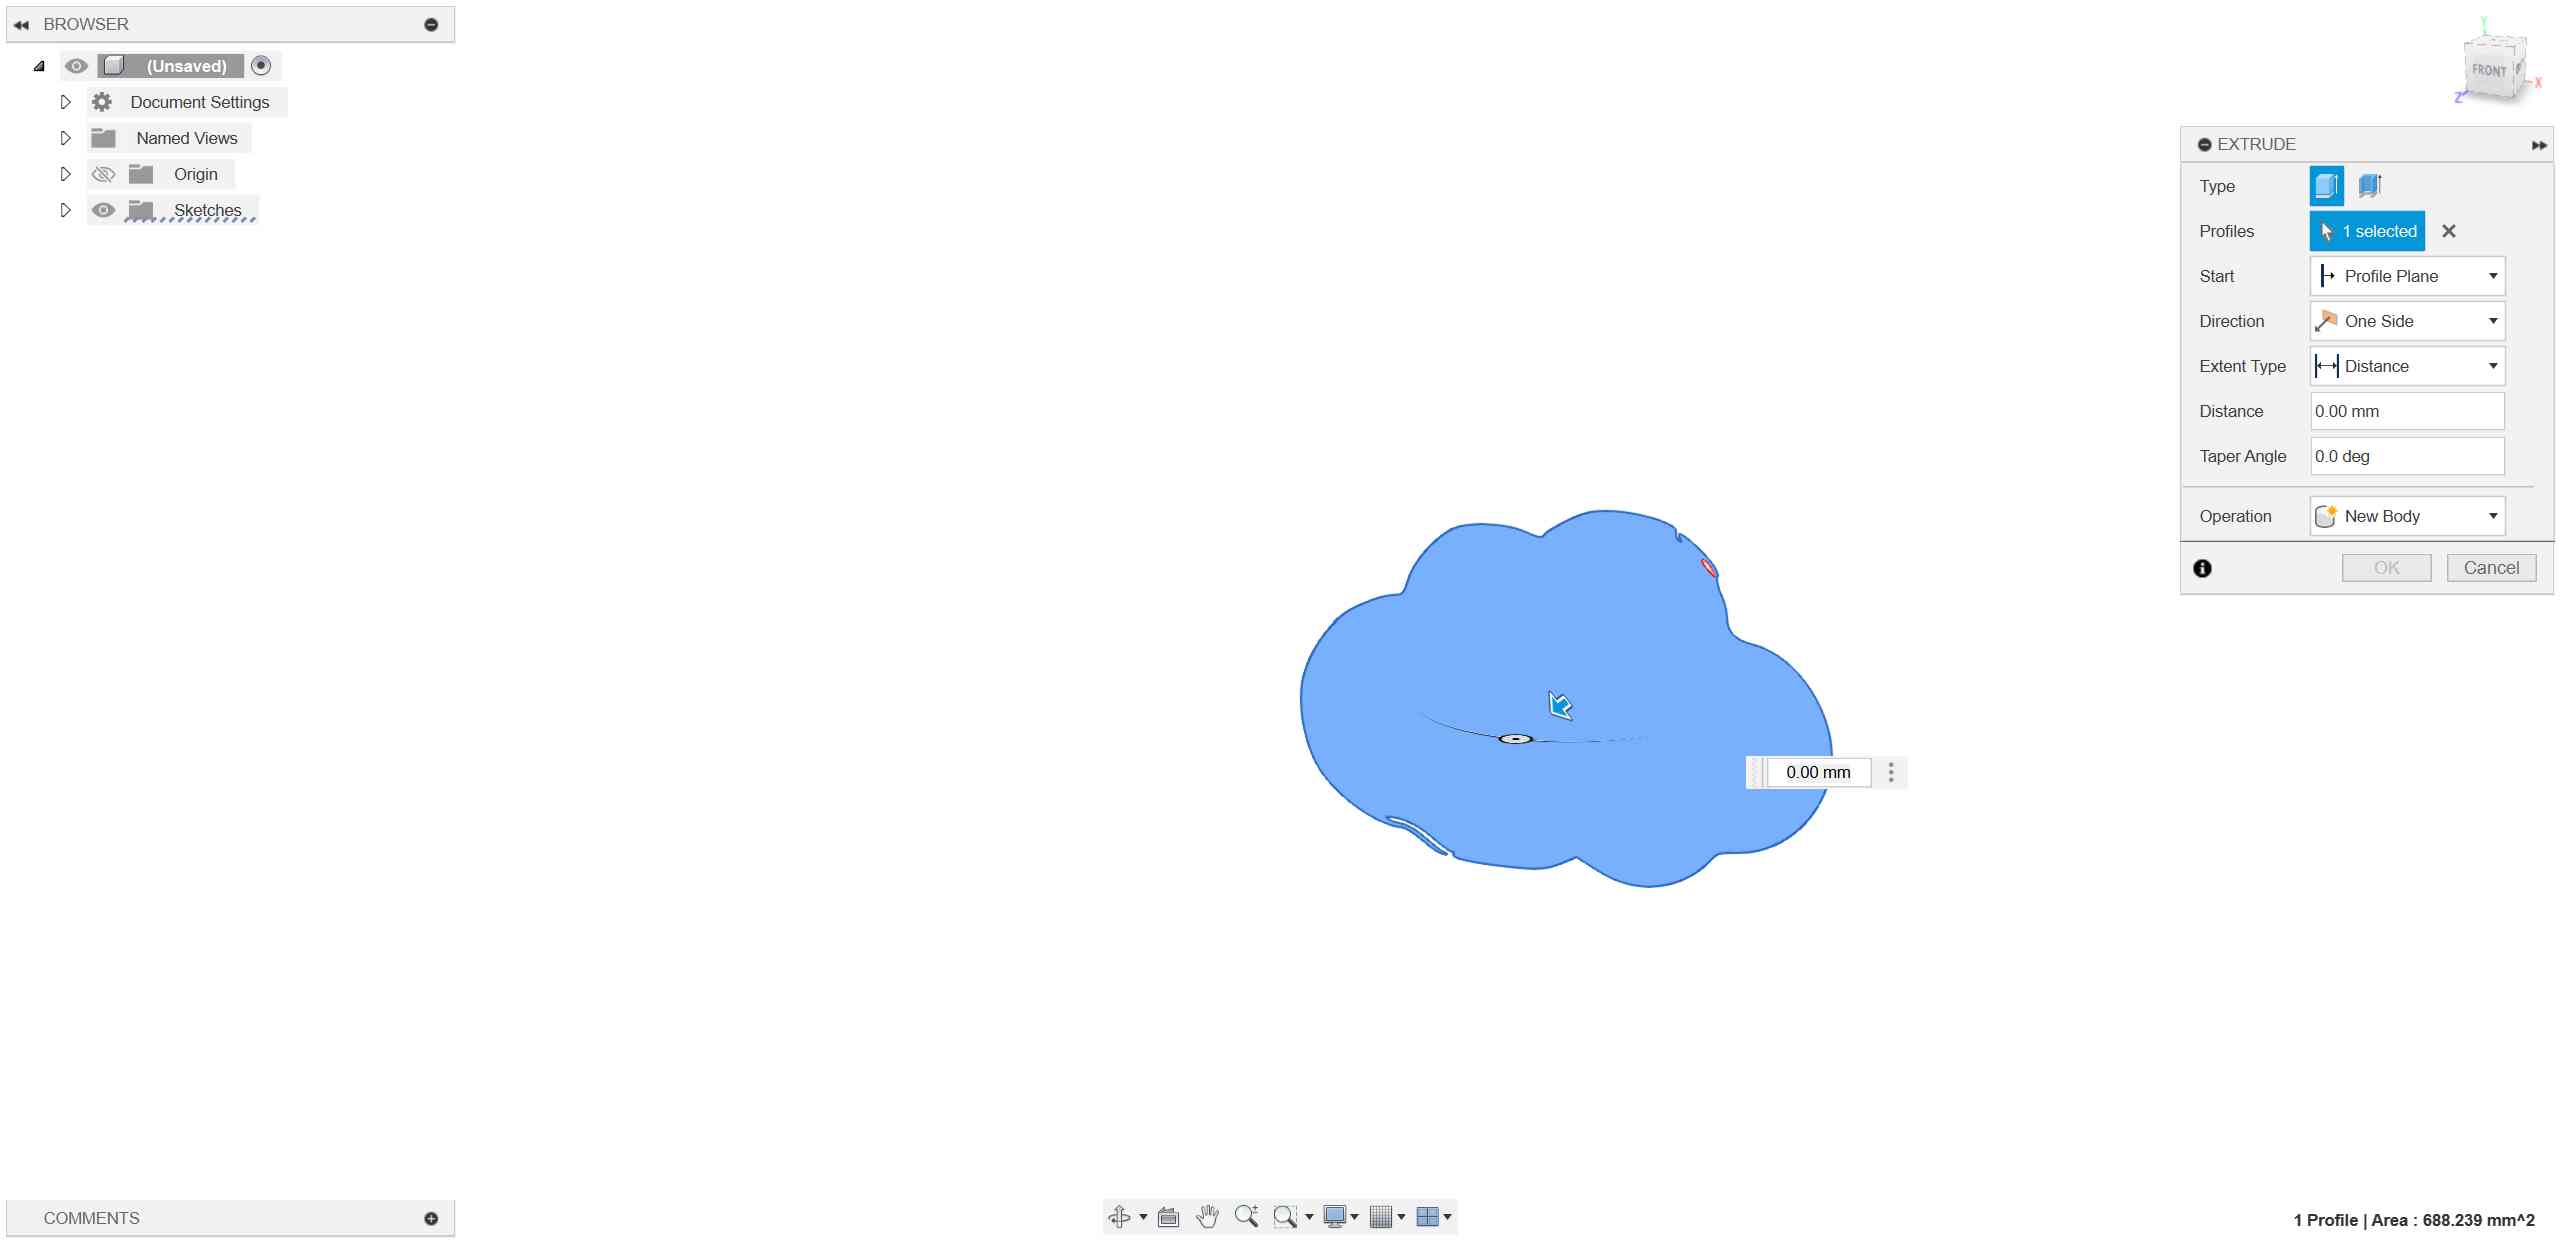
 In the end, I used the Fusion 360 backtracking feature along with OBS to record a video showcasing the modeling process of my final project.
3、 Rendering
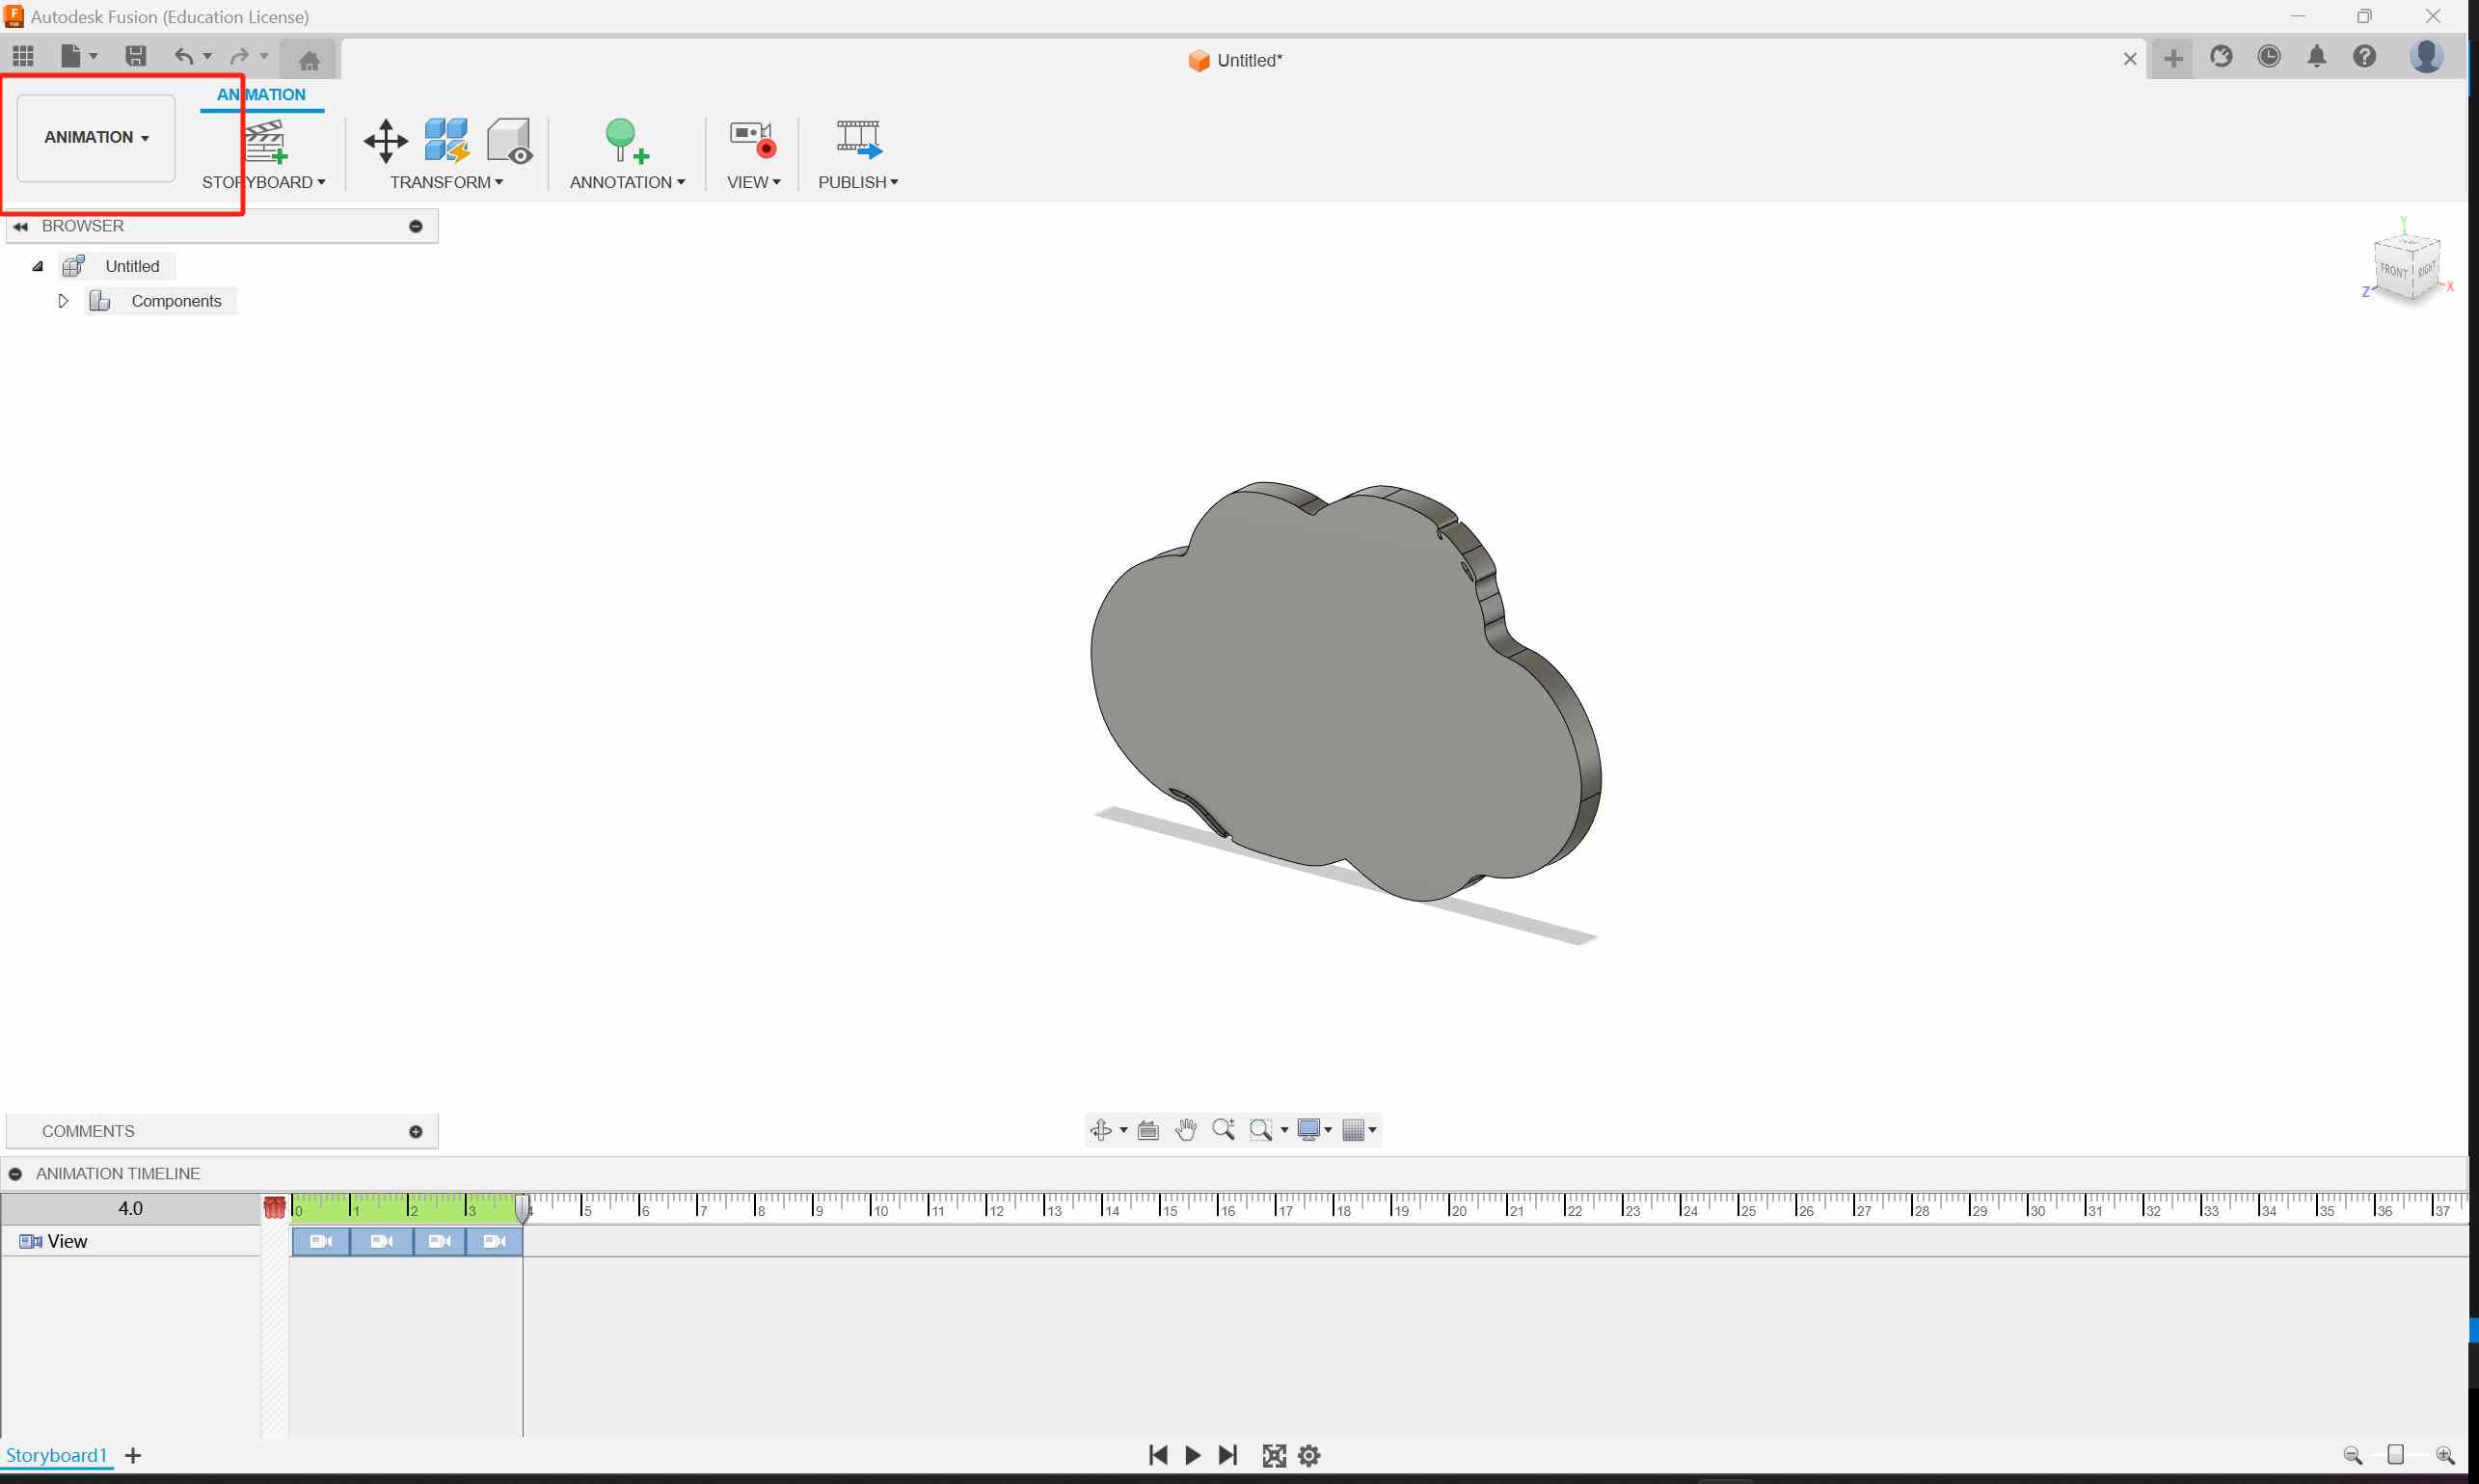
I used the built-in rendering animation feature of Fusion 360, which is more convenient than using screen recording software on the computer and then dragging the model.
Select “ANIMATION” and set the view accordingly.
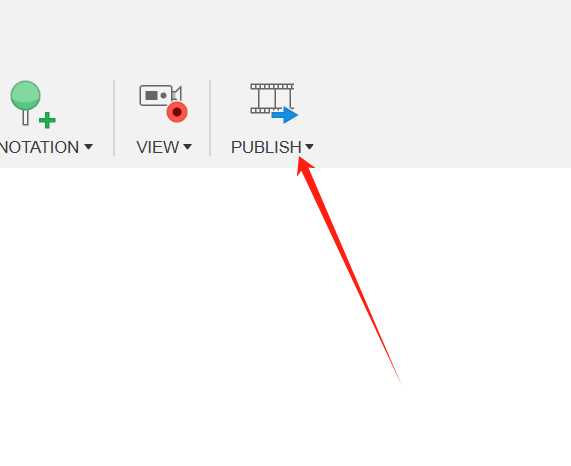
 Select PUBLISH
 Choose the parameters you want.
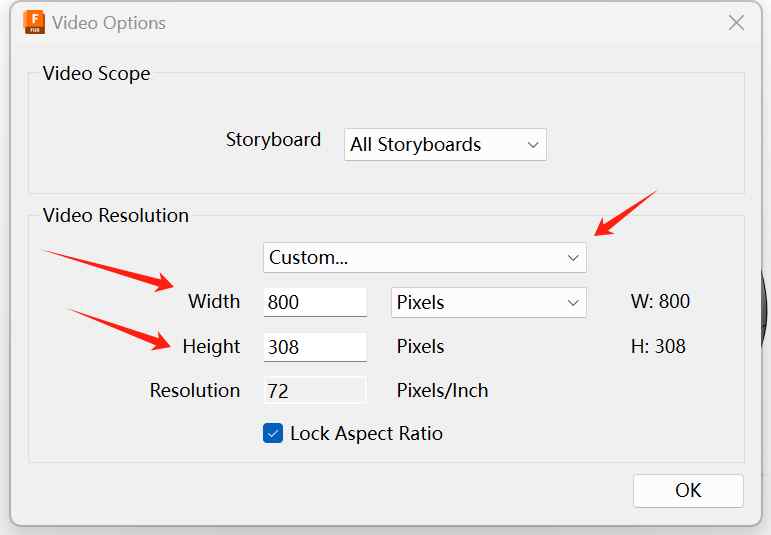
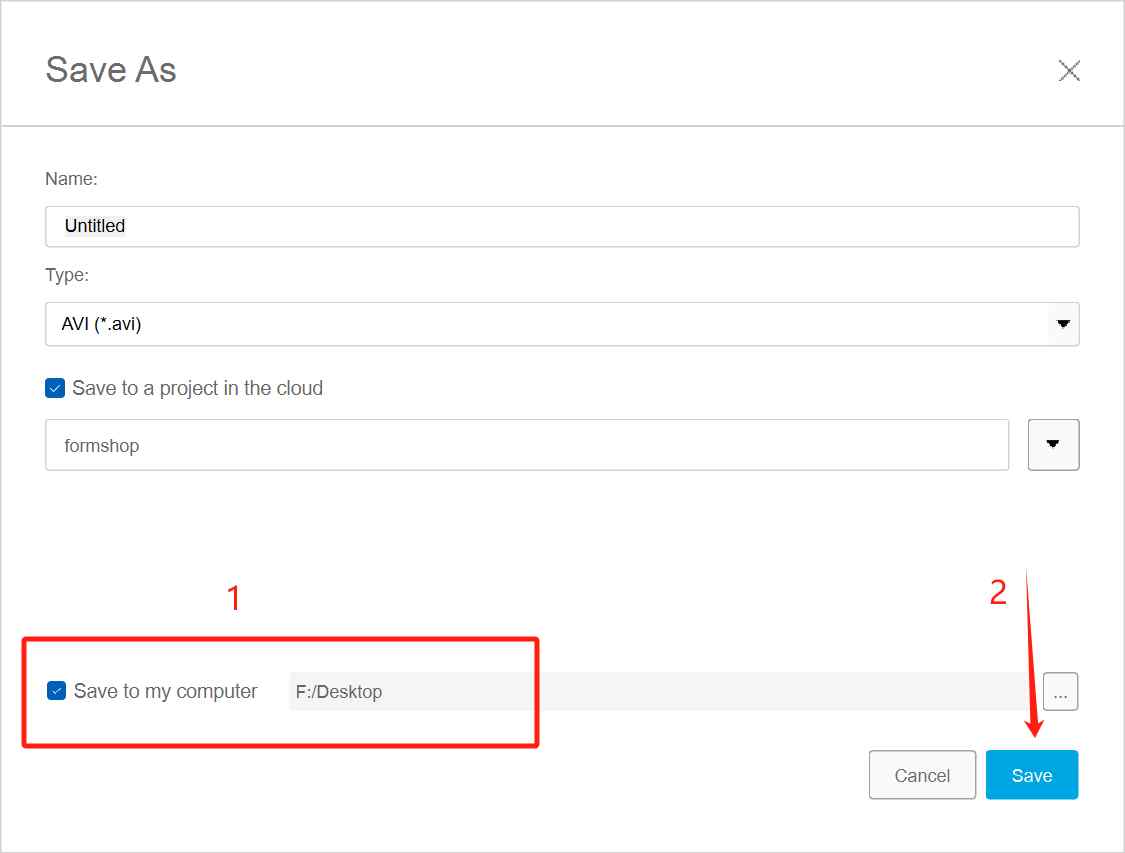
 Select the desired save location and save.
 This is the cloud rendered using Fusion 360.
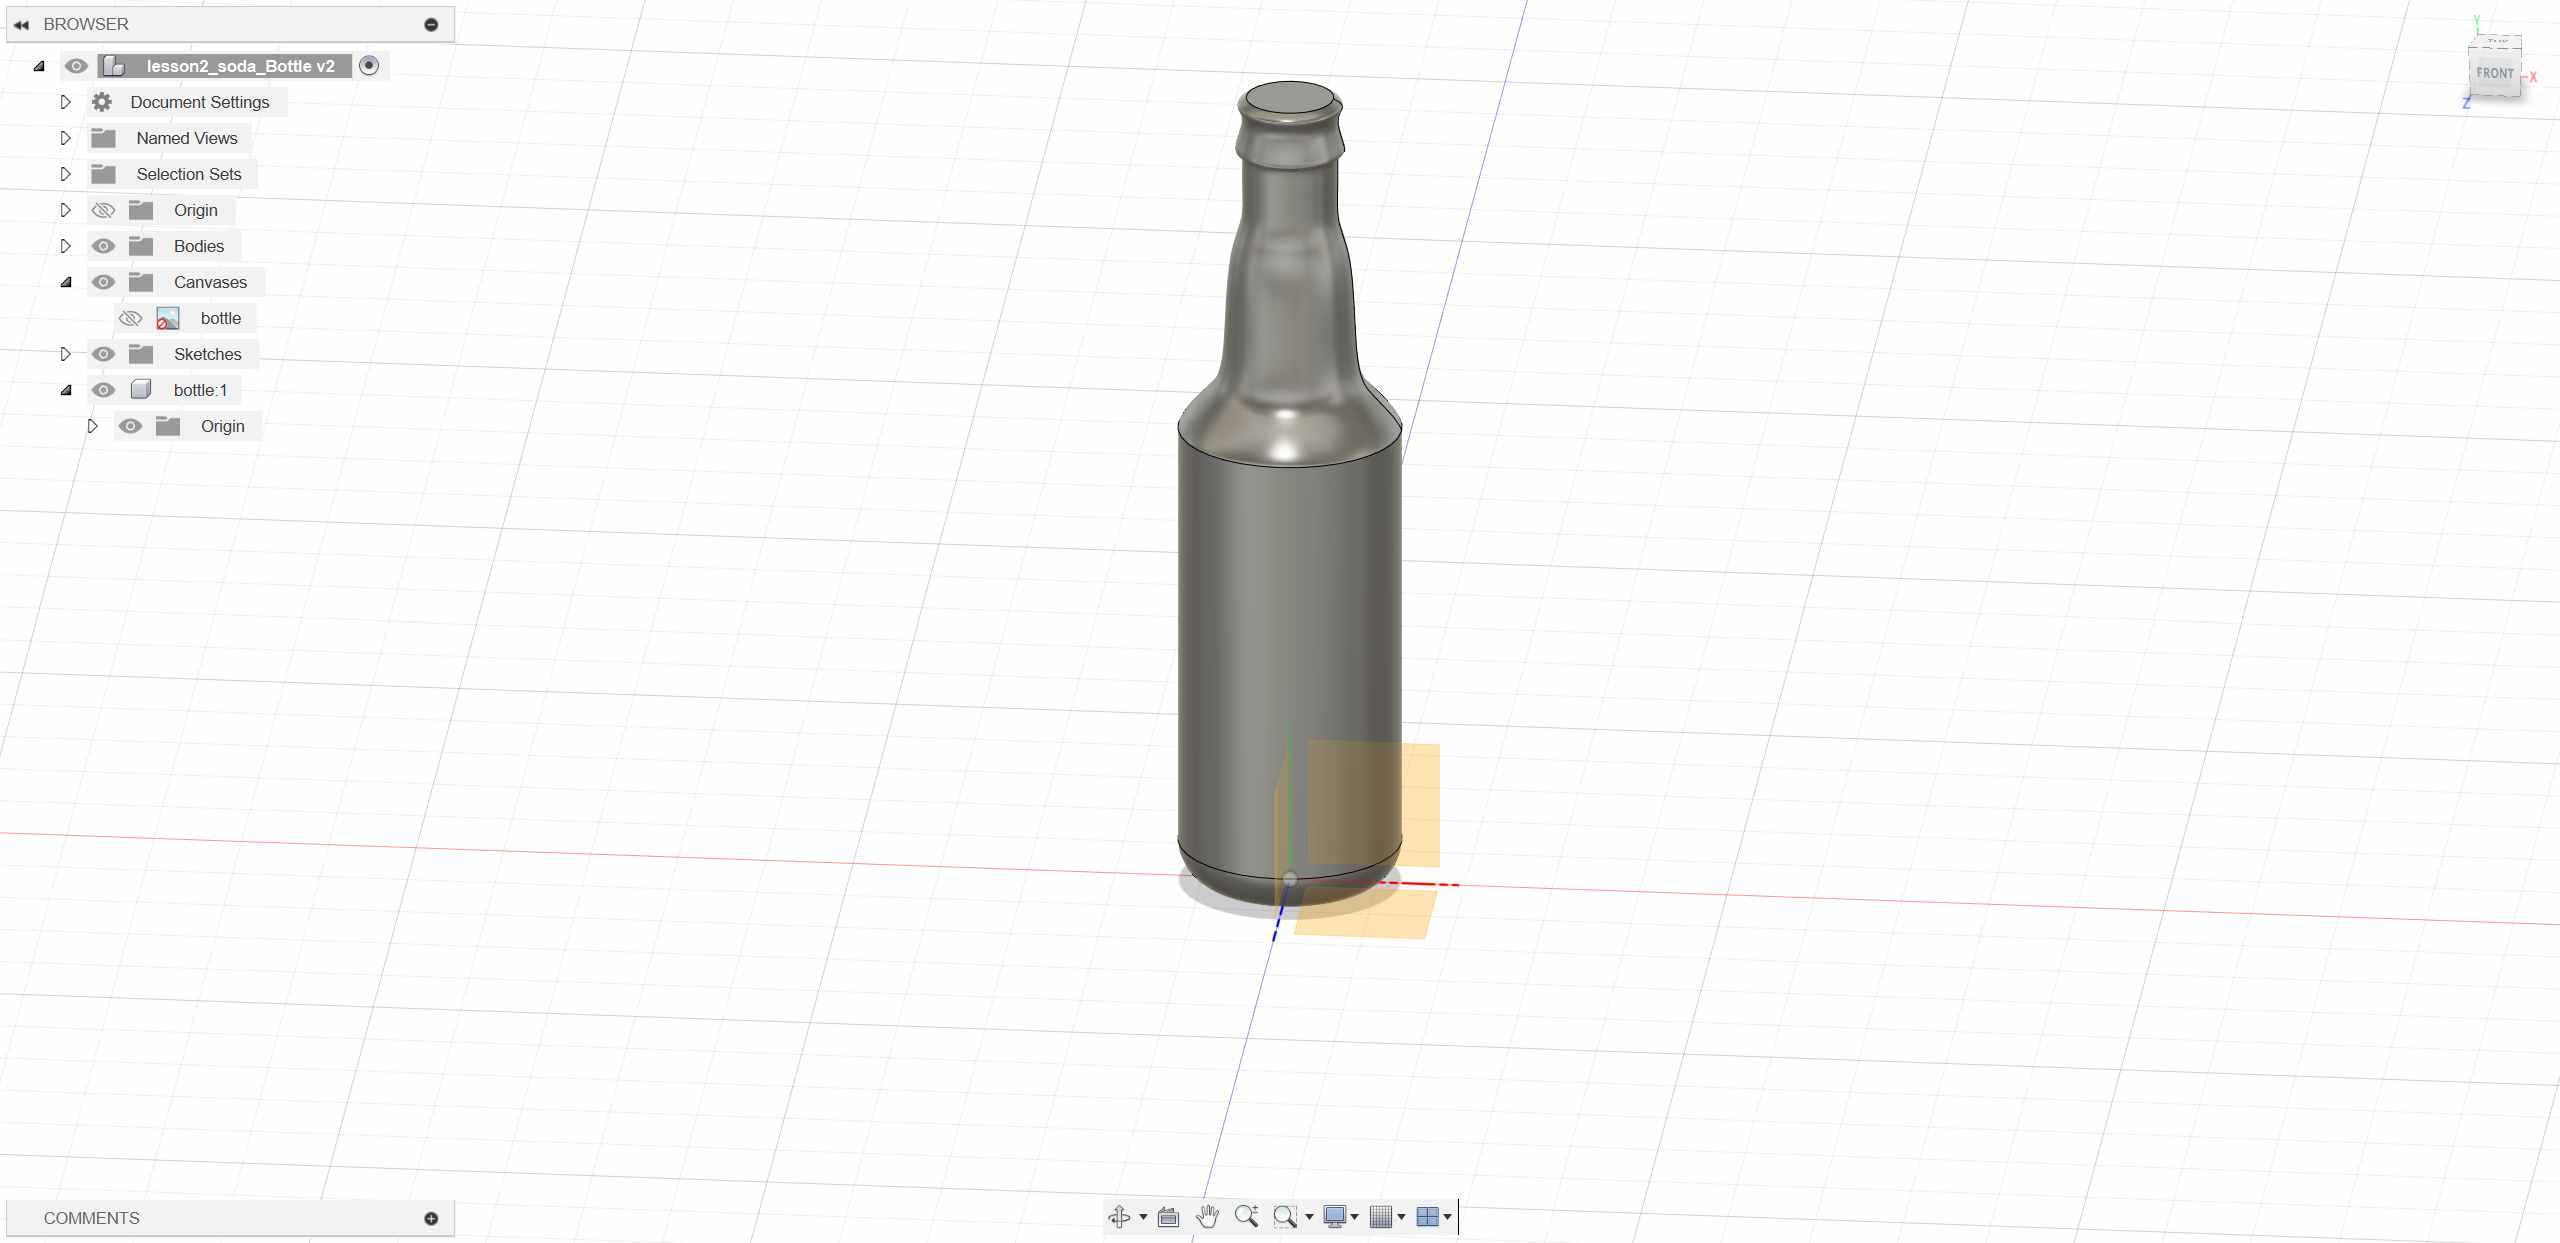
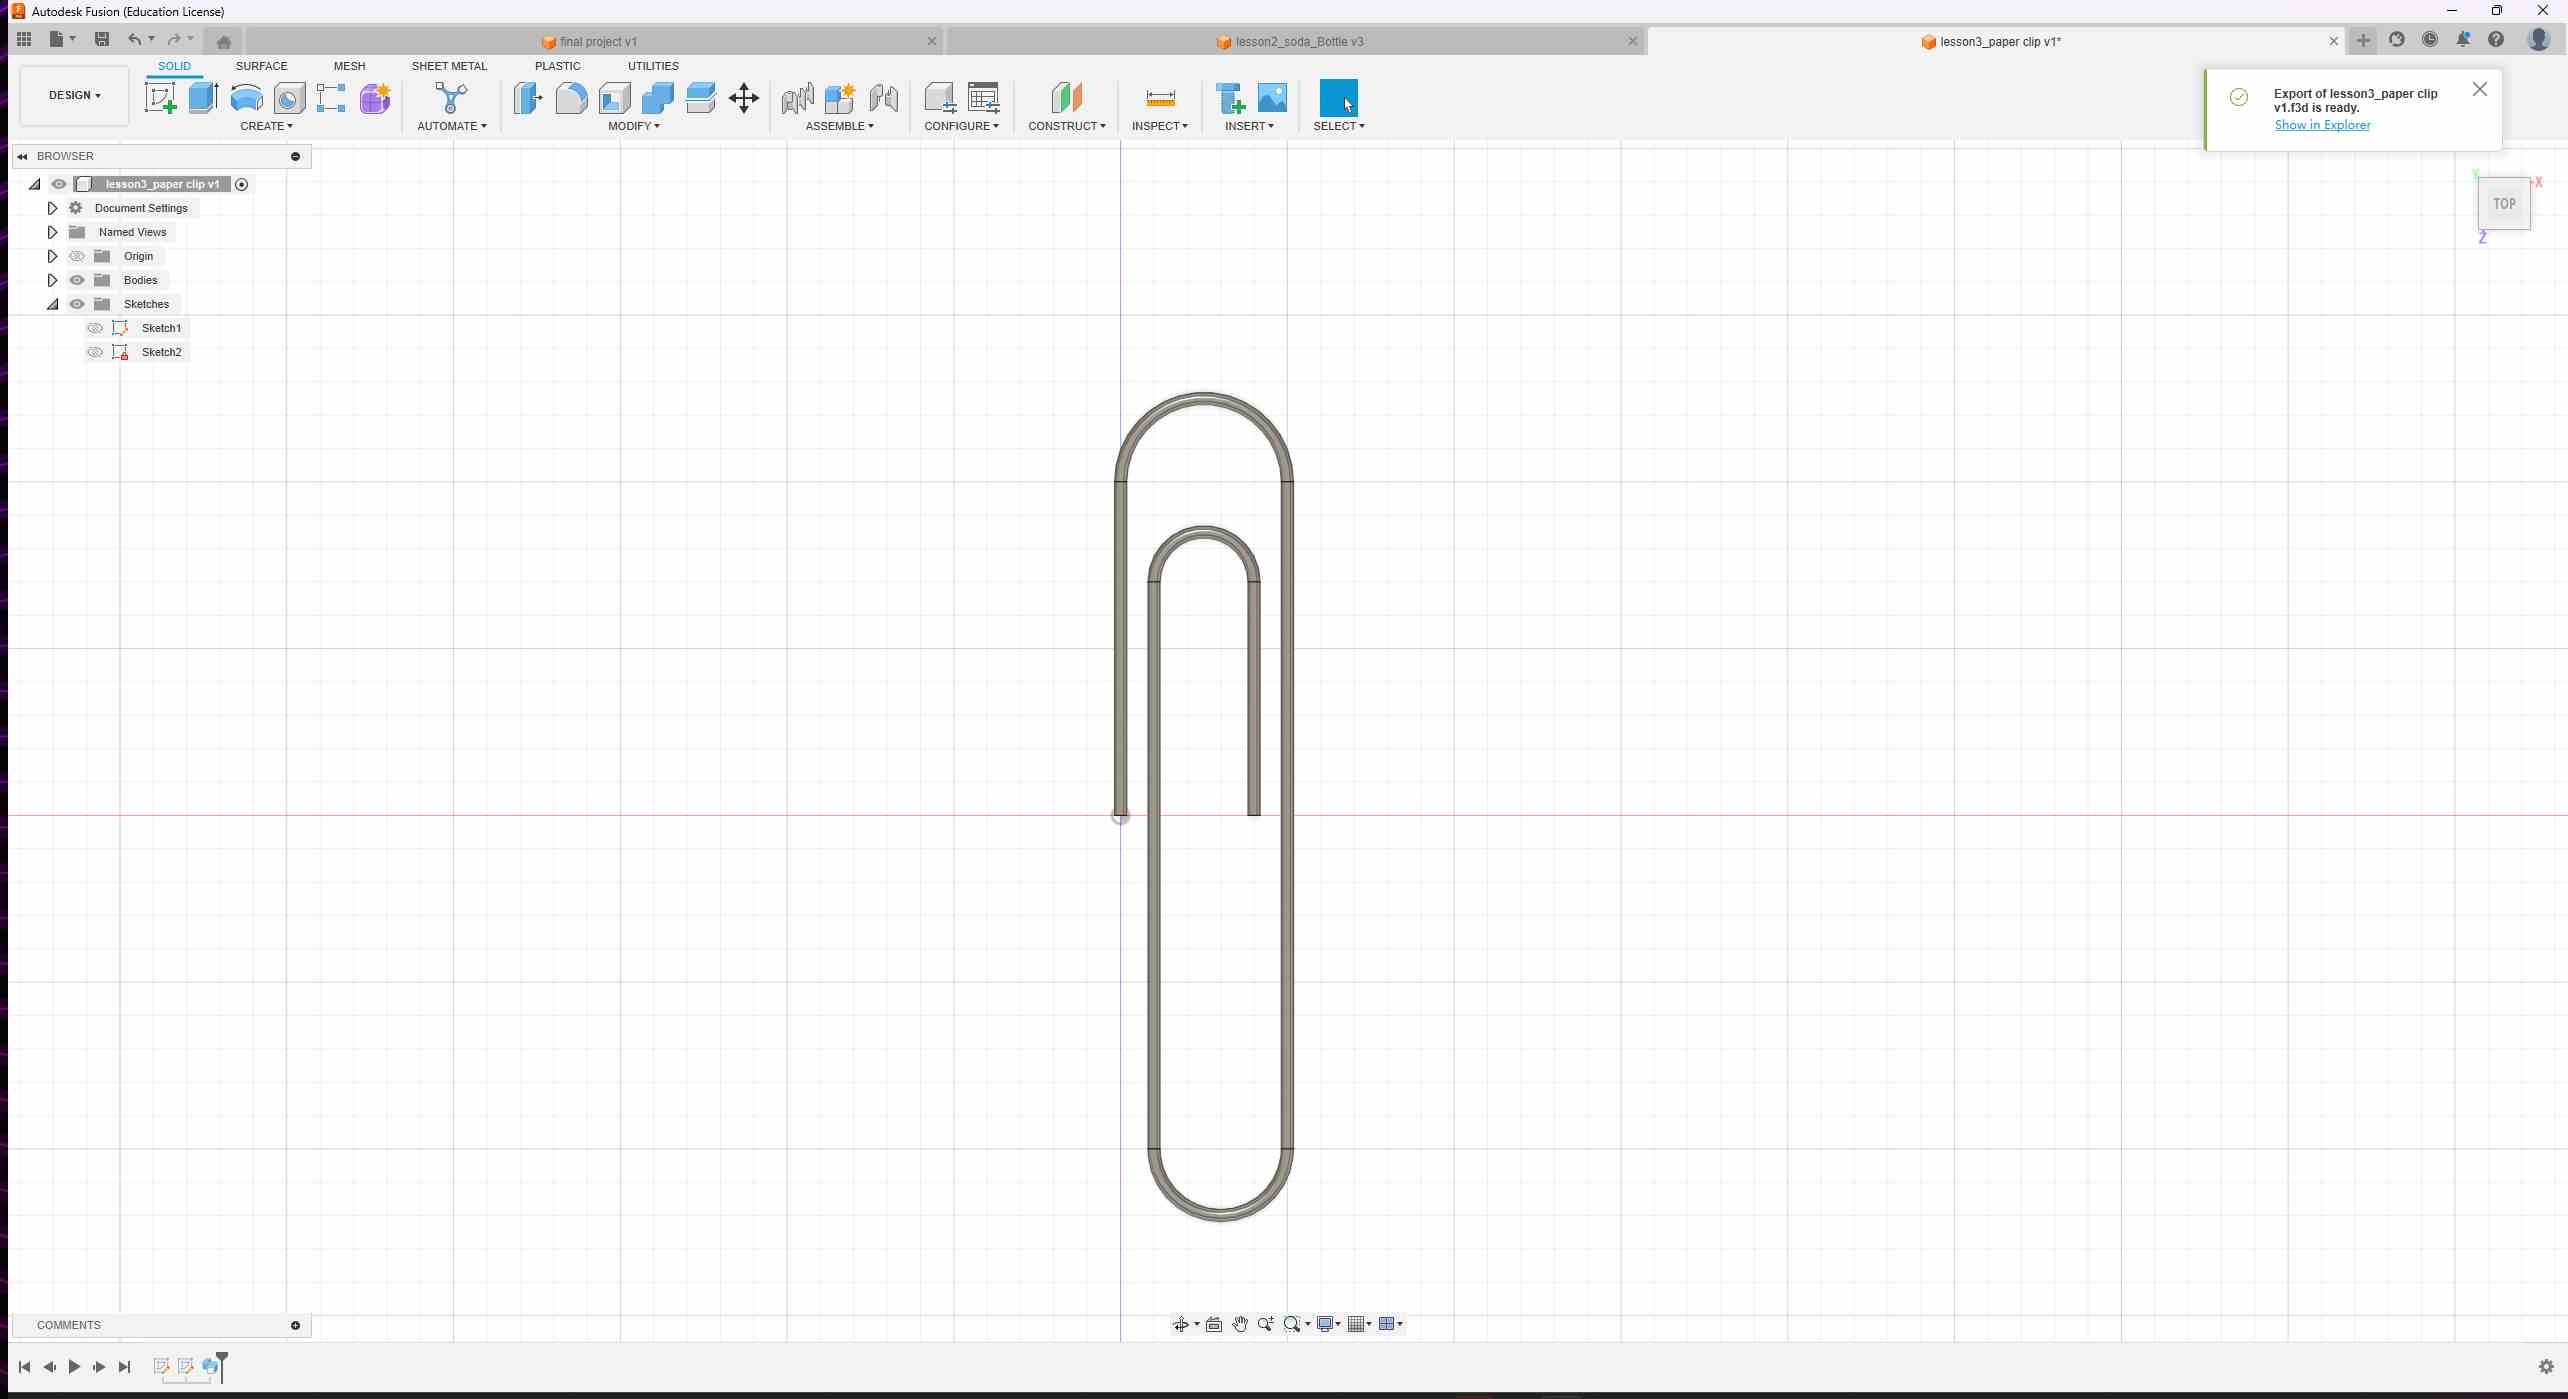
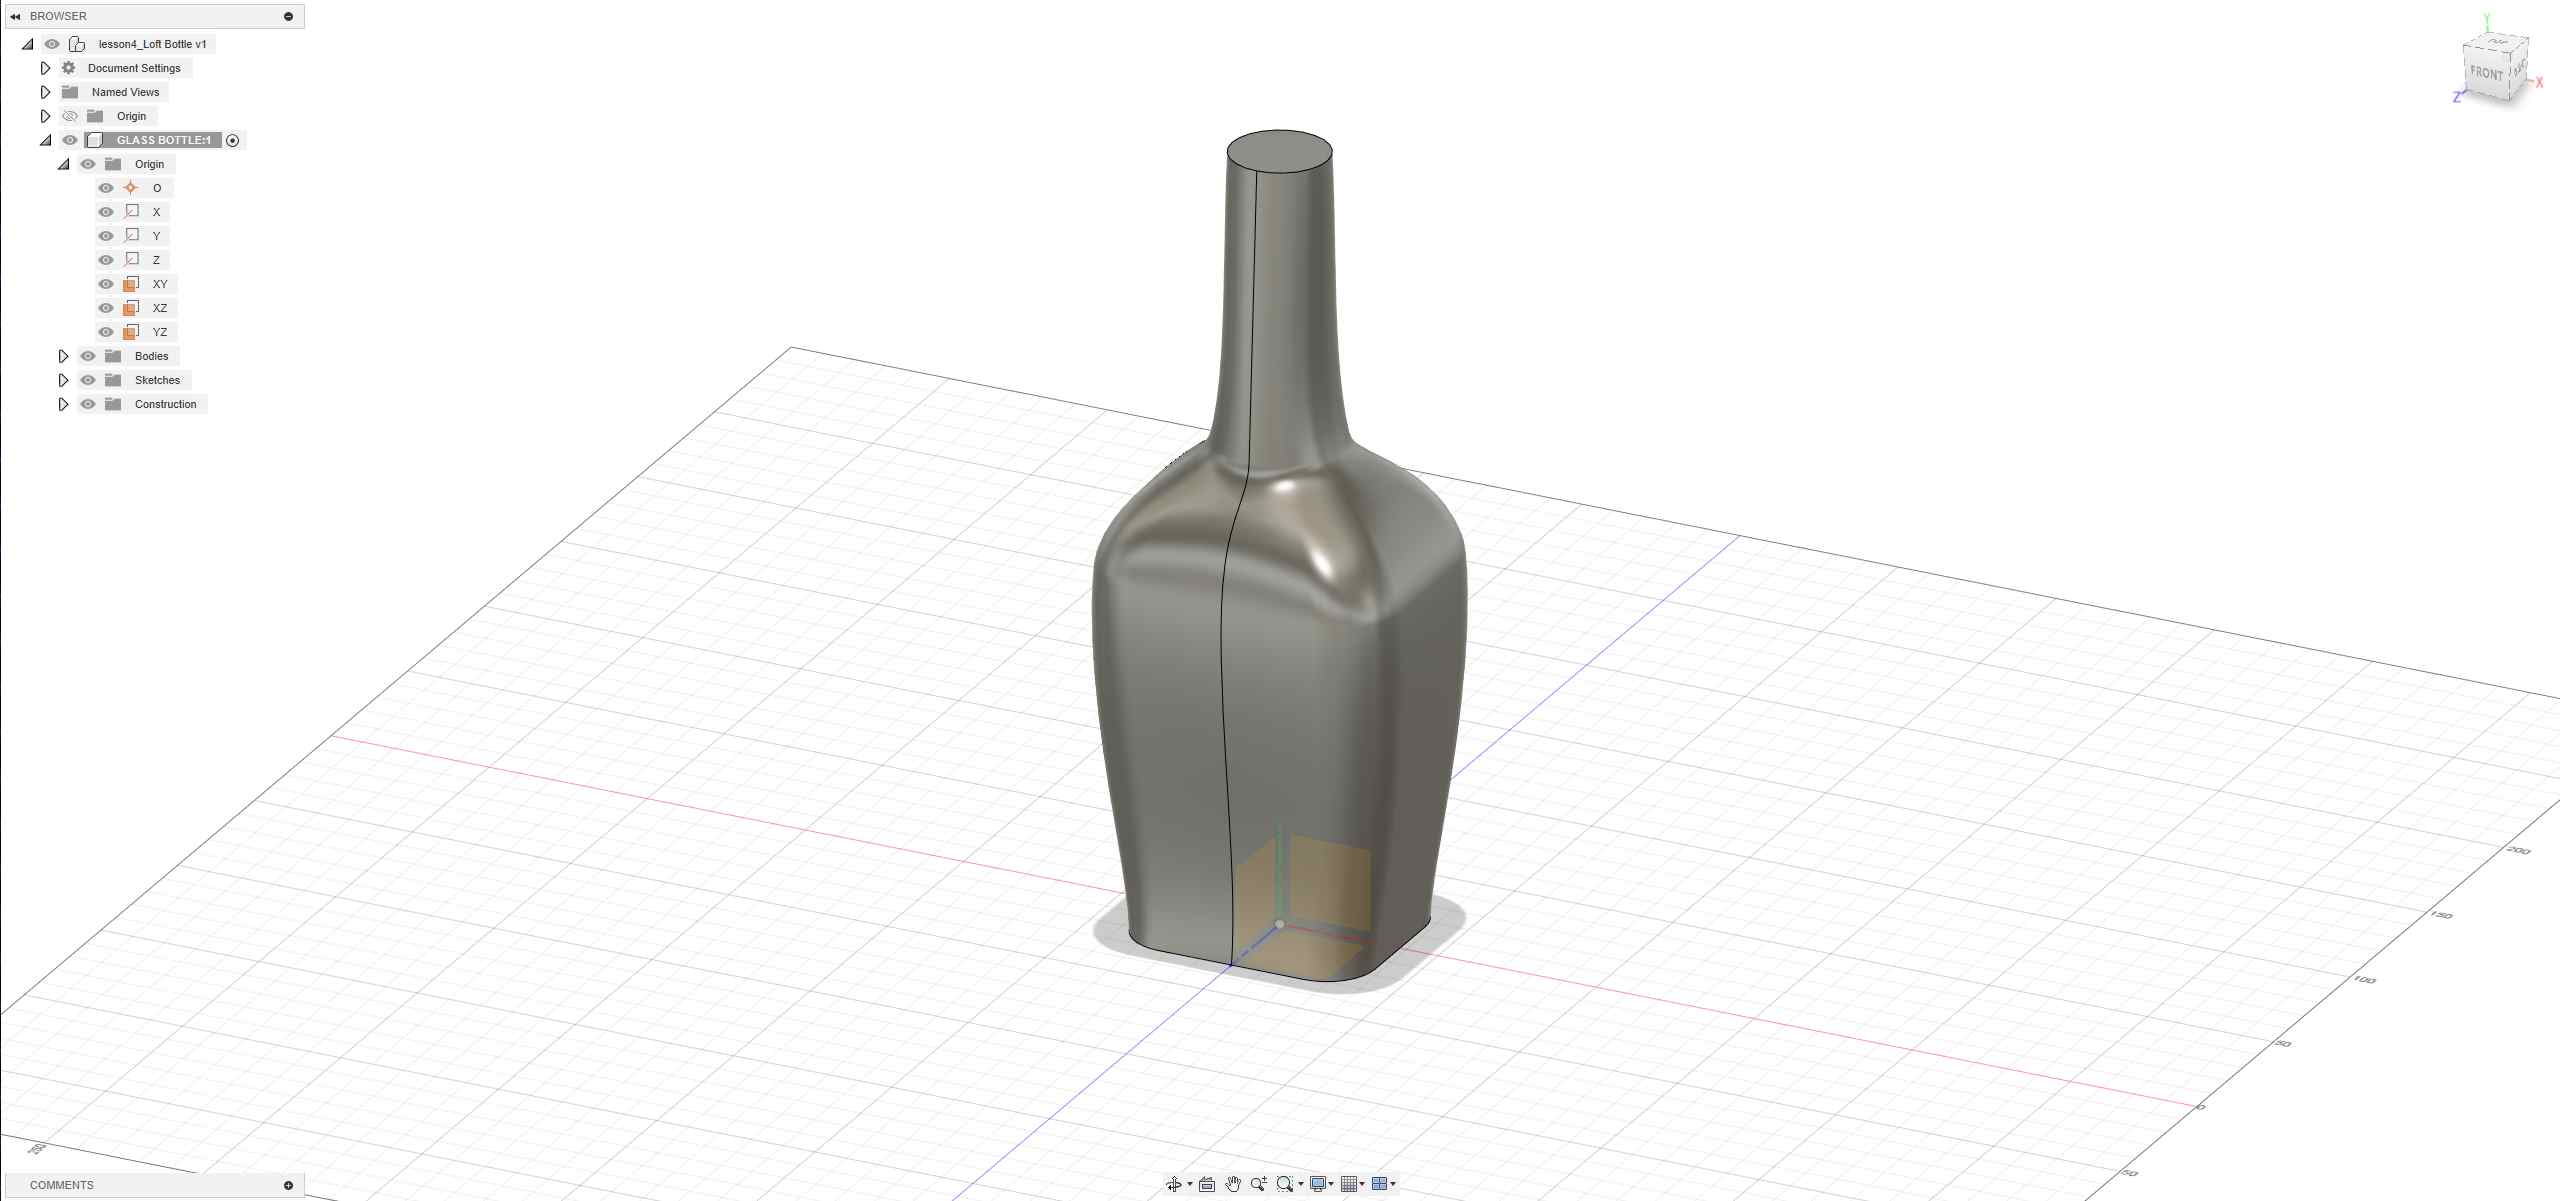
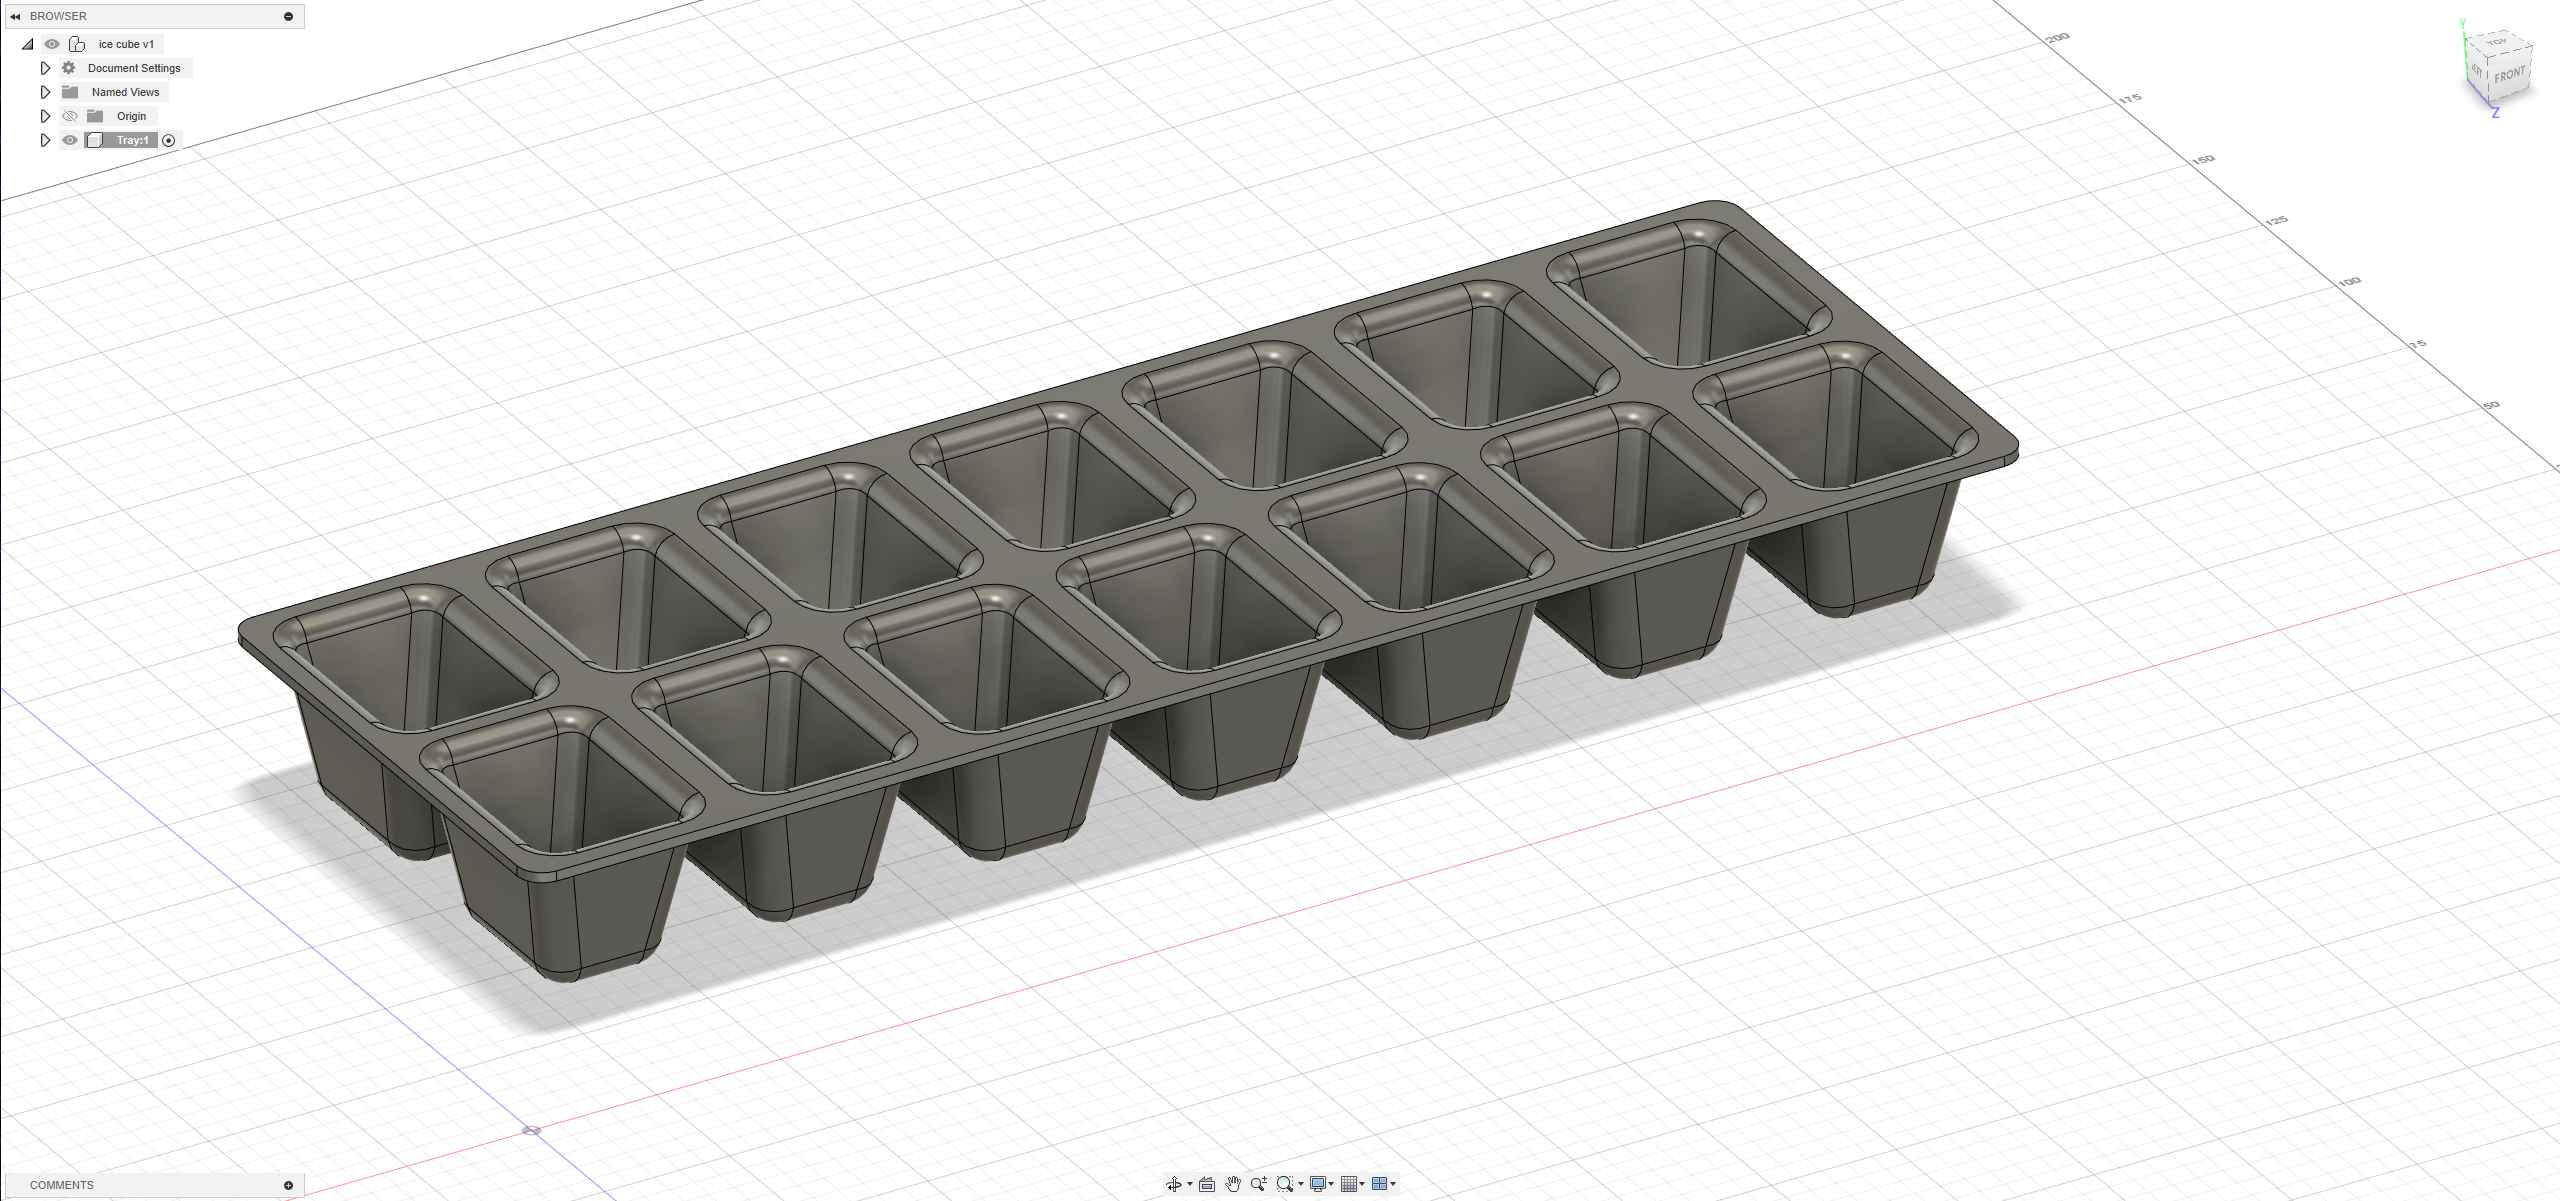
1.4 Systematically Learning Fusion 360
Before this, I had used Fusion 360, but I didn’t learn it systematically. So, I believe I have many shortcomings. This time, I will undertake a systematic learning approach.
1 Soda Bottle
2 Paper Clip
3 LOFT Bottle
4 Ice Cube
Source files:
- cloud.svg
- cloud.svg
- Bottle.f3d
- final project.f3d
- paper clip.f3d
- LOFT bottle.f3d
- ice cube.f3d
- sketchup.skp
- CAD.dwg
Copyright 2024
Source code hosted at fabcloud/fabacademy/2024/siyuan-fan
[Fab Academy Student Agreement](../Fab Academy Student Agreement.md)
s

