Week07-computer-controlled machining
Group assignment:
- Complete your lab’s safety training
- Test runout, alignment, fixturing, speeds, feeds, materials and toolpaths for your machine
- Document your work to the group work page and reflect on your individual page what you learned
Individual project:
- Make (design+mill+assemble) something big
- Linked to the group assignment page
- Documented how you designed your object (something big)
- Documented how you made your CAM-toolpath
- Documented how you made something BIG (setting up the machine, using fixings, testing joints, adjusting feeds and speeds, depth of cut etc.)
- Described problems and how you fixed them
- Included your design files and ‘hero shot’ of your final product
1. Group assignment
This is the link to the group assignment.🥳
Group Assignment
What did I learn?
In this assignment, I learned how to use the ShopBot PRS5 Alpha large-scale CNC machine for cutting operations. First, I created a test file using FreeCAD and generated the toolpaths in VCarve Pro software to ensure cutting accuracy and joint quality. Then, I learned how to set machine parameters such as cutting depth, feed rate, and tool selection, and through hands-on operation, I cut 12mm plywood to test different joint widths and lengths. Ultimately, by adjusting the cutting parameters, we achieved the best joint results.
safety
- Wear appropriate personal protective equipment: Operators should wear suitable personal protective equipment, including safety glasses, earplugs or earmuffs, protective gloves, and appropriate clothing.
- Equipment inspection: Check the status and working conditions of the equipment before each use. Ensure all safety devices and protective guards are in good condition, such as emergency stop buttons and protective covers.
- Safety area: Ensure there are no debris or obstacles around the work area to ensure the safety of operators and other personnel. Maintaining a clean work environment can reduce the risk of accidents.
- Operating procedures: Follow the correct operating procedures and safety standards. Do not violate the guidelines or instructions provided by the equipment manufacturer.
- Materials and tools: Use the correct materials and tools for processing and ensure they are in proper condition. Worn or damaged cutting tools and fixtures may increase the risk of accidents.
- Monitor operations: Stay alert during equipment operation and be vigilant for possible hazards or abnormal situations. Take corrective action promptly and stop the equipment when necessary.
- Regular maintenance: Regularly inspect and maintain CNC equipment, including cleaning, lubrication, and replacement of worn parts. Regular maintenance ensures the stability and safety of the equipment.
- Emergency stop procedure: Ensure all operators know the location of the emergency stop buttons and understand how to use them correctly in case of emergencies.
- Safety records: Record all accidents and safety incidents and conduct investigation and analysis to identify and correct potential safety risks.Wear appropriate personal protective equipment: Operators should wear suitable personal protective equipment, including safety glasses, earplugs or earmuffs, protective gloves, and appropriate clothing.
- Equipment inspection: Check the status and working conditions of the equipment before each use. Ensure all safety devices and protective guards are in good condition, such as emergency stop buttons and protective covers.
CNC Machine
- Model name: SHOPBOT Full Size PRSalpha 96-60w/14"Z axis
- Cutting Platform Size: 5’x8’ cutting area and 8" of vertical travel
- Material Capability: Plywood, MDF, Soft & Hardwood…seemingly every milling material except metal or anything that requires cutting lubrication
- Data Format: gcode
- Gcode (tool path) Generation Software:3D-CAM, VCarve, Fusion360 (we used Vcarve)
- Data Format(2D): svg, dxf, dwg, eps, ai, pdf, skp
- Data Format(3D): stl, obj
Dog Chair Design
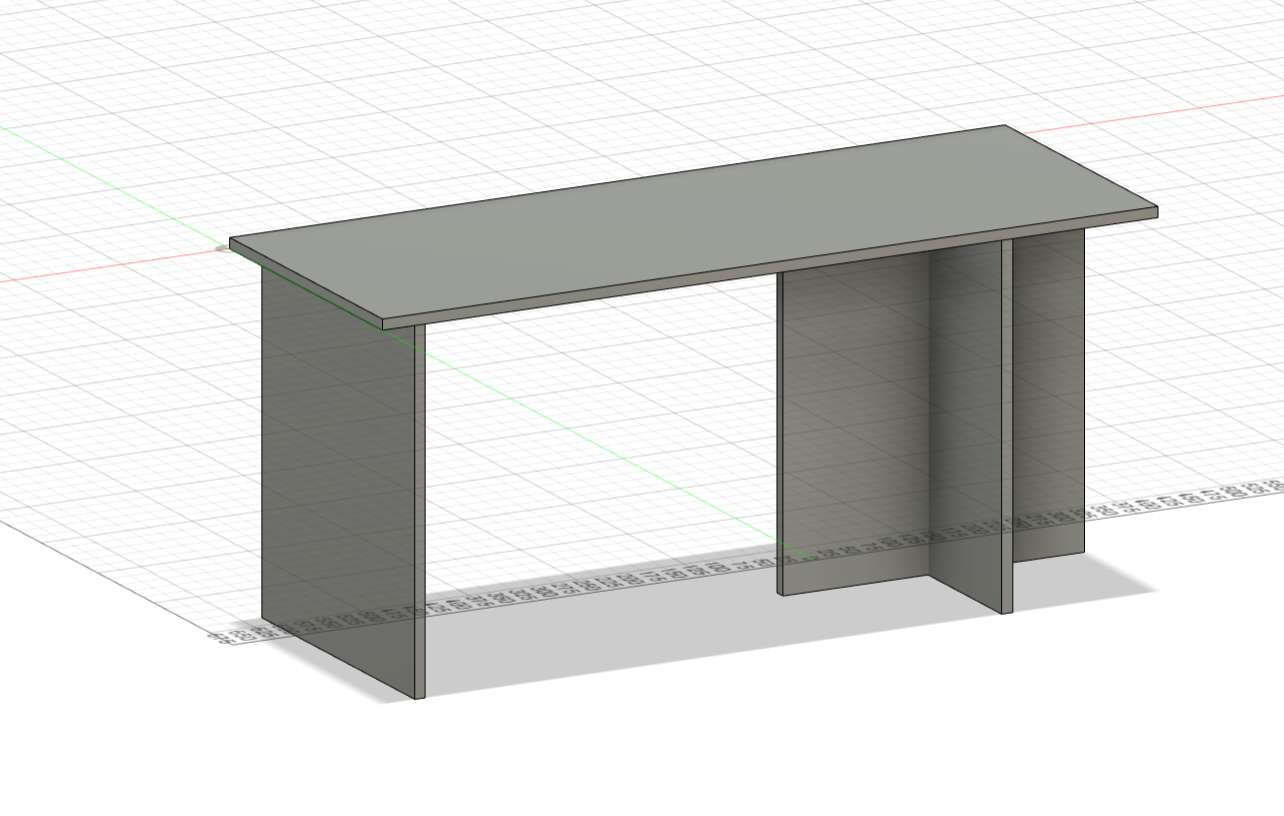
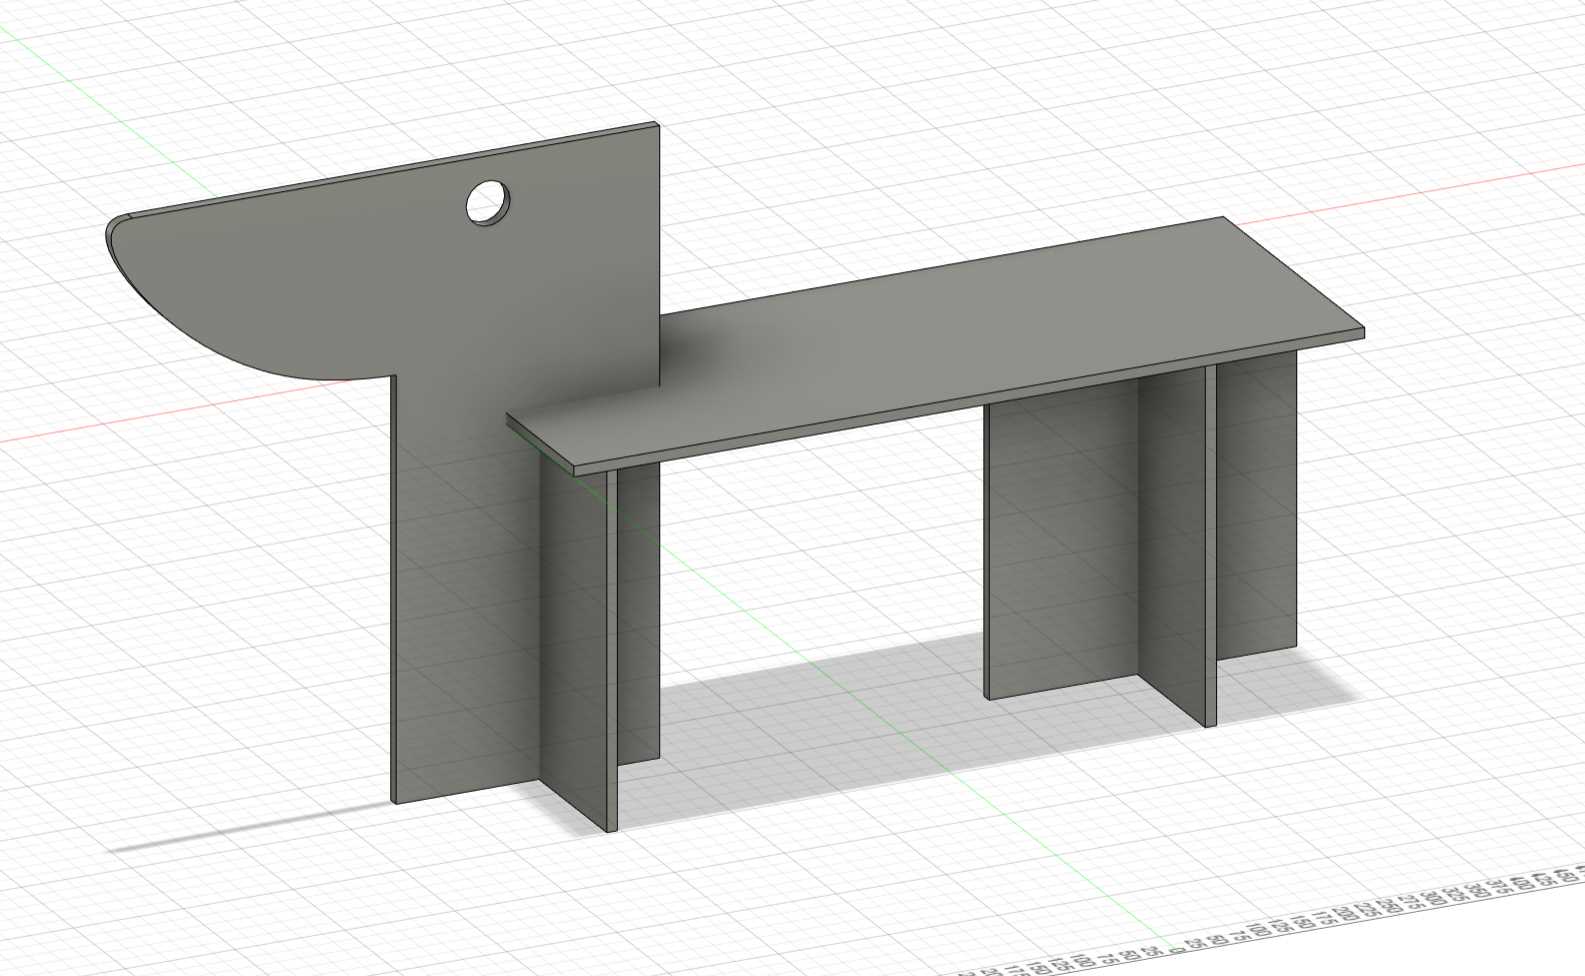
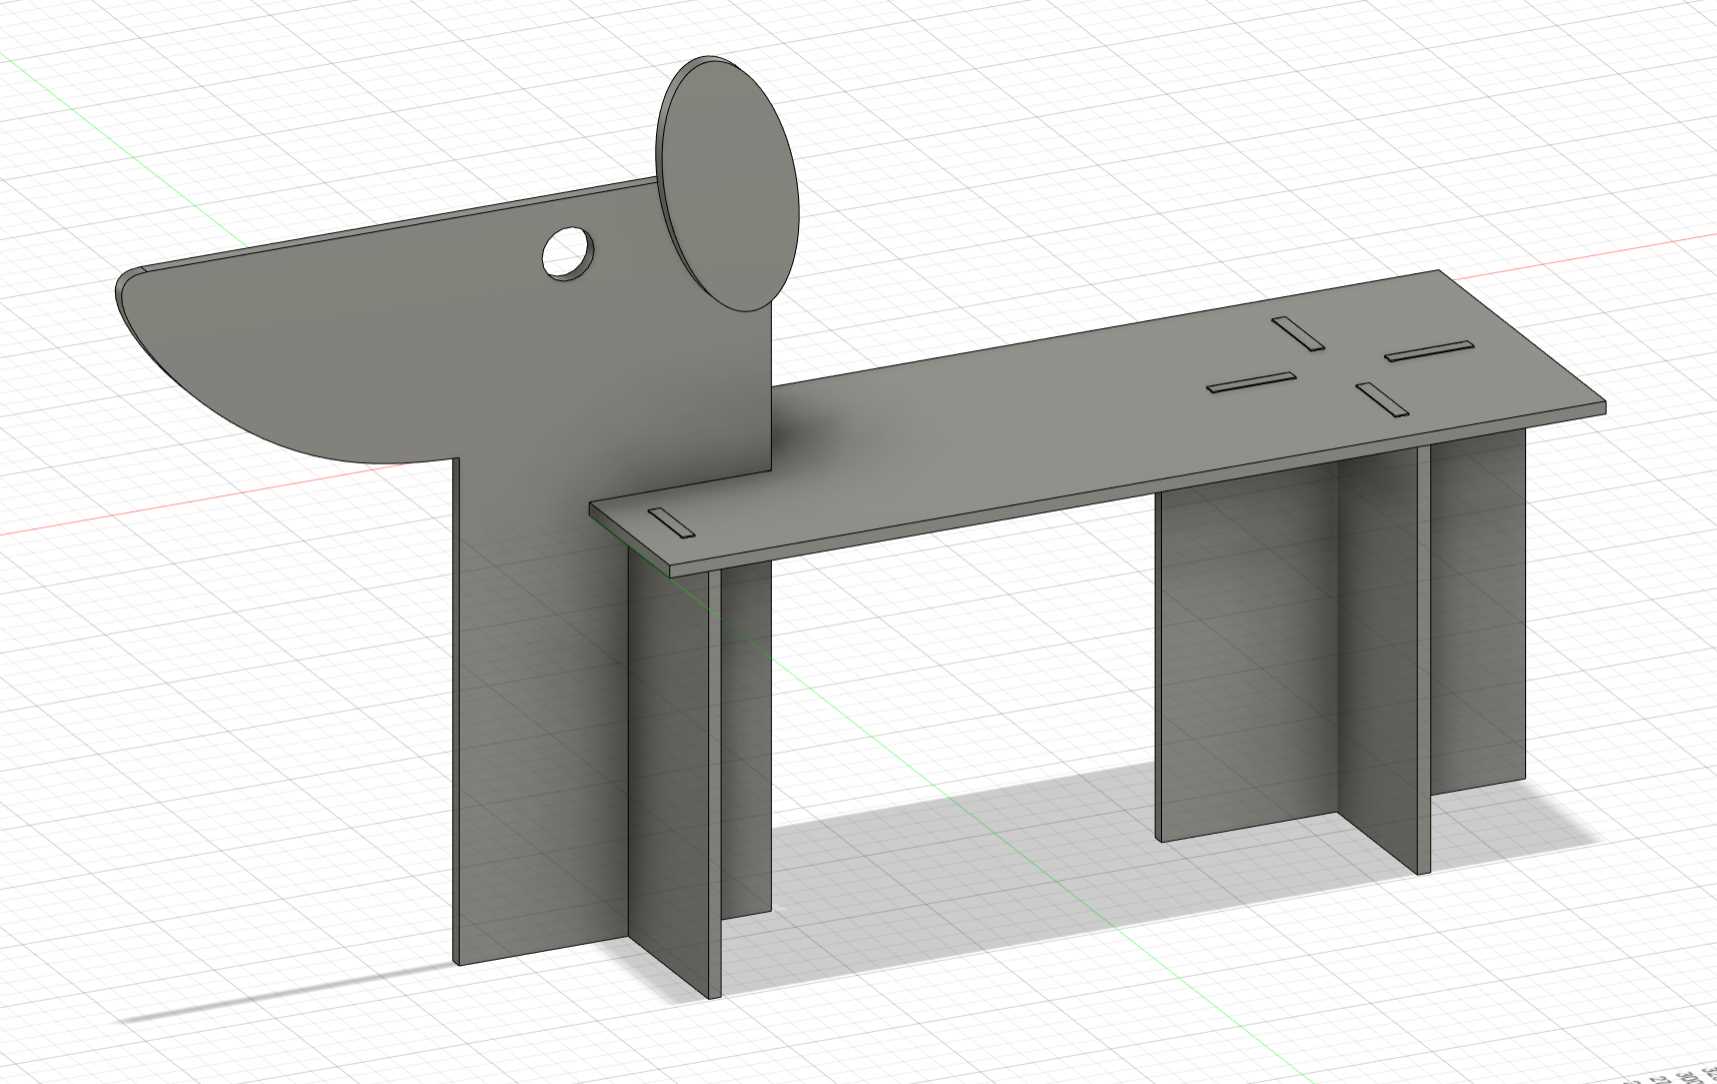
I saw a similar design on a social platform, and my girlfriend really loves dogs. So, I decided to make a dog chair for her.
I will use Fusion 360 to model my dog chair.
I used the rectangle command to create a model of the dog chair.
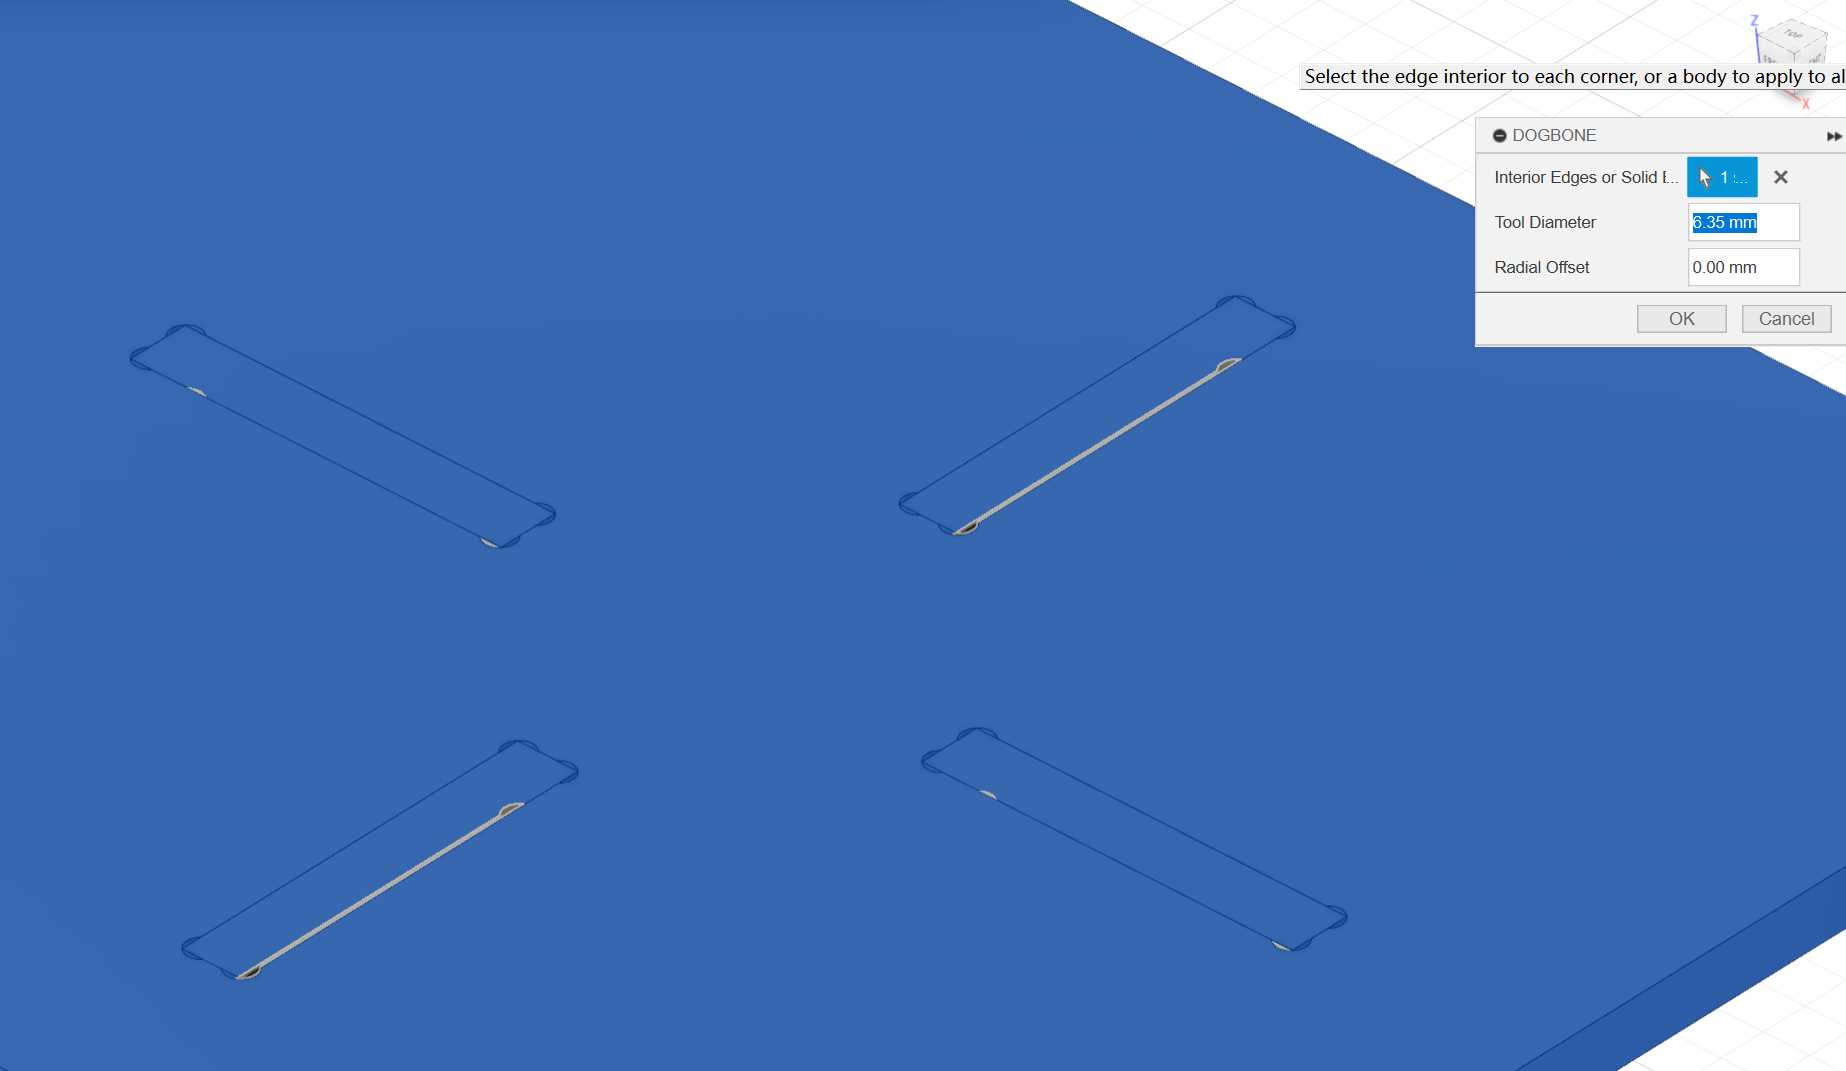
I set a 6.35mm dog bone.(Before learning, I thought I just needed to draw the outline. Looking back now, it seems a bit silly.)
Export the DXF file.and import it into VCarve.


Adjust the cutting depth: Start Depth: 0.0 mm; Cut Depth: 12.07 mm.
Edit the tool: adjust the diameter to 6 mm. Since the board is relatively thick, if the depth of cut is 12 mm at once, the tool may break. Set the spindle speed to 18,000 RPM and the feed rate to 4.
I added the tap and then proceeded with the cutting.
Waiting………
I’m removing the mounting screws from the CNC.
Then I noticed that some areas were not completely cut through, which was due to the warping of the material itself. This issue might only be resolved with a CNC that has vacuum suction.
After exporting and cutting, I did some sanding.
A bit of bad news: because of its size, it didn’t fit well in my girlfriend’s place, so I brought it back home and put it in my room—now it’s piled high with my wrinkled clothes, haha!
sorce file


