week01-principles and practices
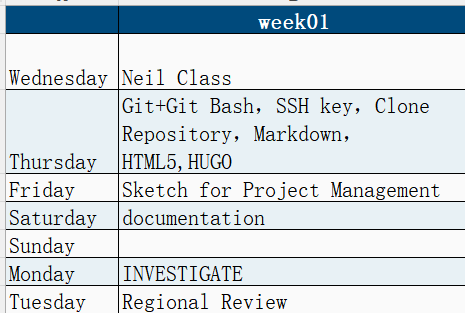
As I work , I need to organize my time for which I have created a table
This week’s Fab Academy assignment is divided into two parts.
- Principles and Practices
- Project Management
1. Principles and Practices
Mini Weather Station
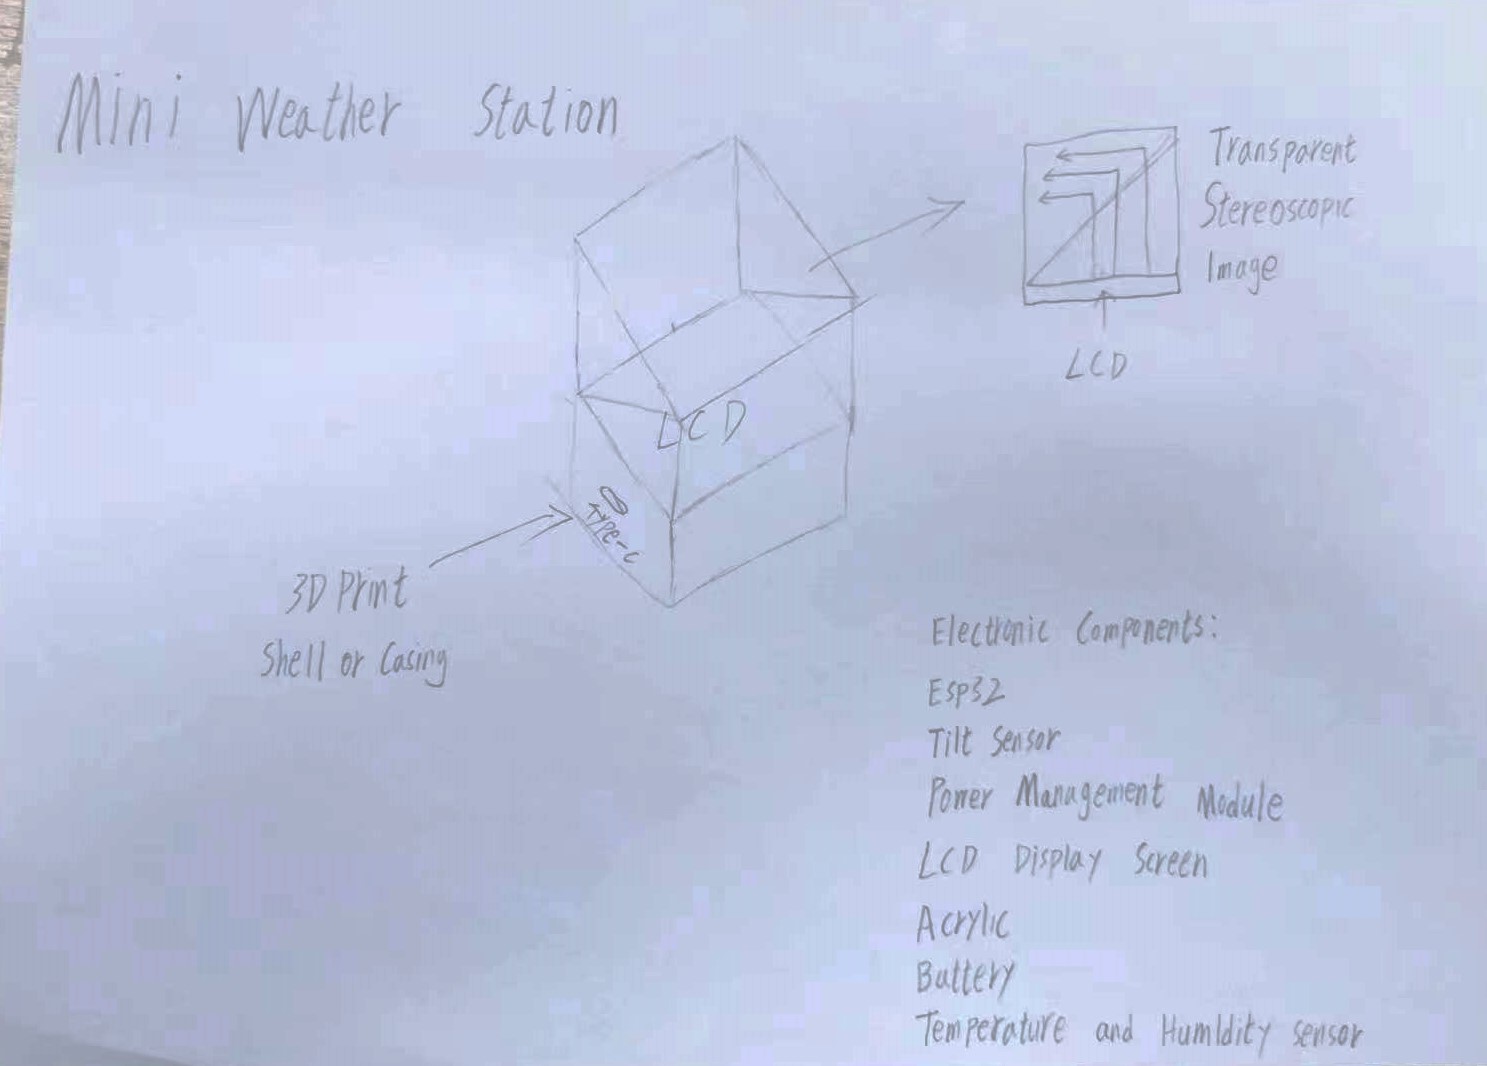 This is a mini weather station that can display data on temperature, humidity, air pressure, and weather conditions. The most interesting part is the use of two transparent triangular prisms to reflect the content displayed on the bottom LCD screen into the air, creating a three-dimensional image. By tilting the device left and right, the tilt sensor controls the switching of the content on the LCD screen.
2. Project Management
2.1 Download Git and SSH-KEY
The software required for this section:
The reference tutorial for this section:
Before we formally begin, we need to know what Git is?
- Git is a distributed version control system used to track changes in files and directories and facilitate collaborative project development. Initially created by Linus Torvalds in 2005, it was designed to manage the development of the Linux kernel. The design goals of Git include speed, data integrity, and support for non-linear development.
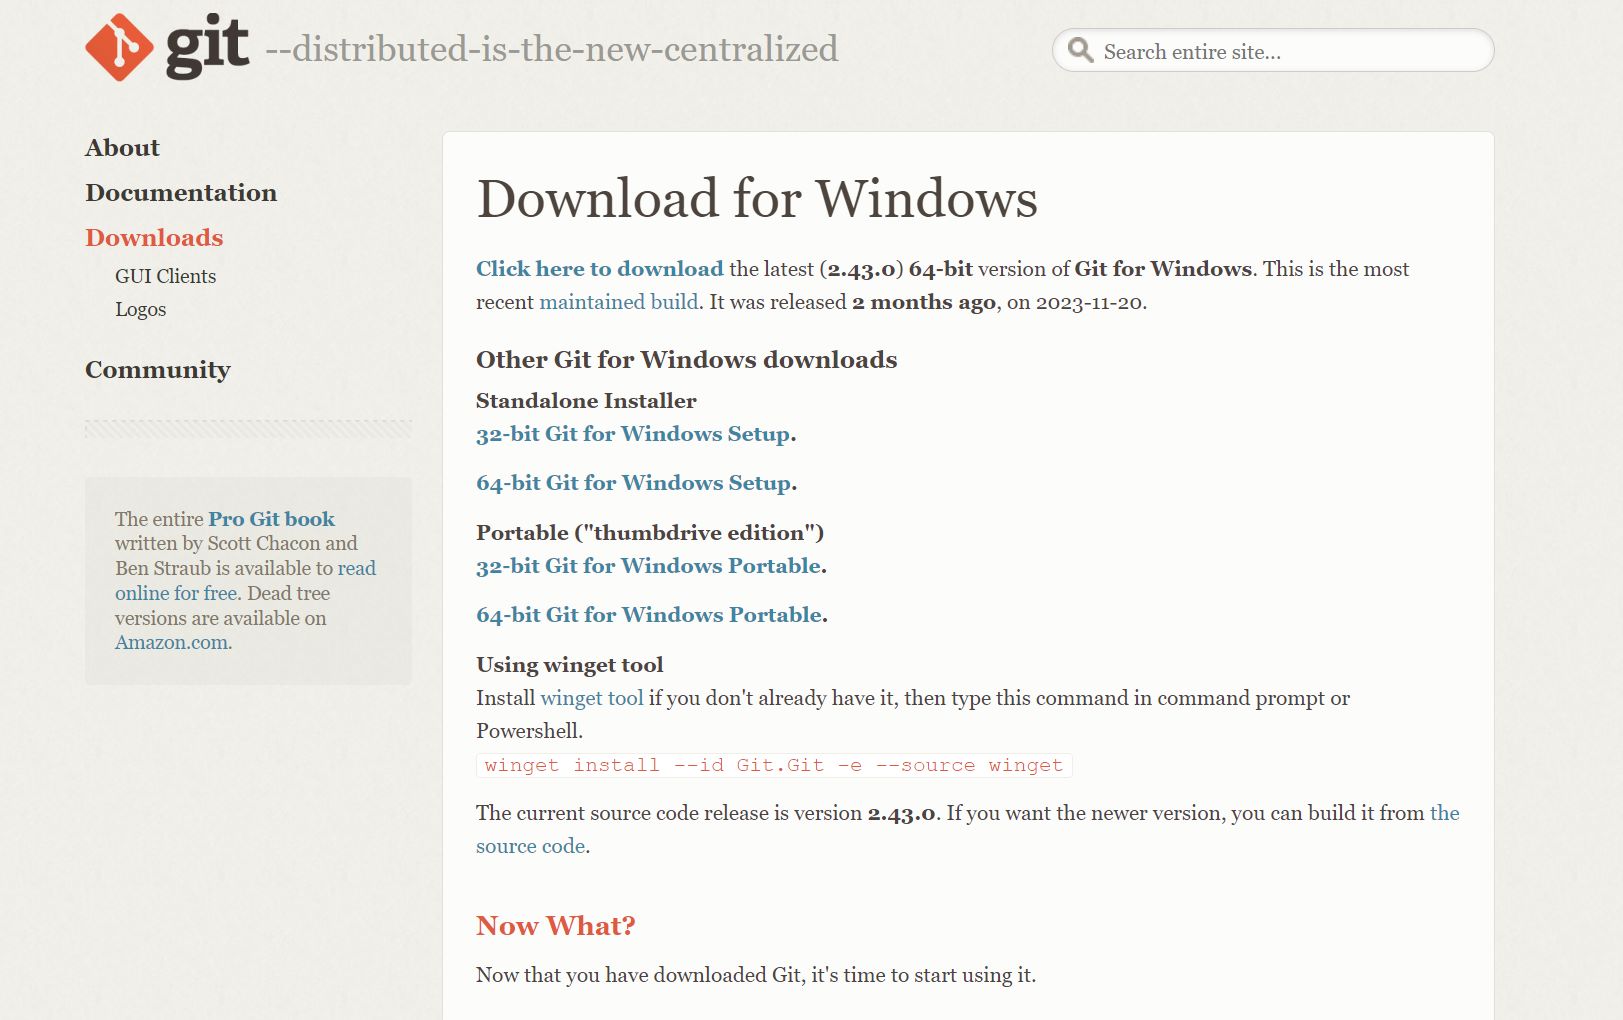
let’s first download Git and install it.😊
-
Choose the corresponding software based on your personal situation. I am using the Windows system, so I selected the 64-bit Git for Windows Setup.
-
After downloading, proceed to install it.
Second, let’s create our own SSH key for secure access to our repository.
- Open Git Bash.
- Type git config –-global user.name “your_username” and press enter and then type git config -–global user.email “your_email” and press enter
- Type ssh-keygen -t rsa -C “your_email” Here we press enter until you see your “key’s randomart image”.
like this img👇
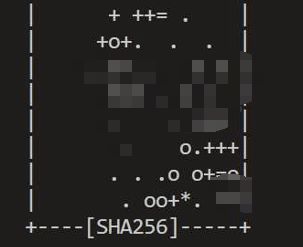
- If you see a similar graphic, congratulations, you have successfully generated a key.🎉🎉🎉
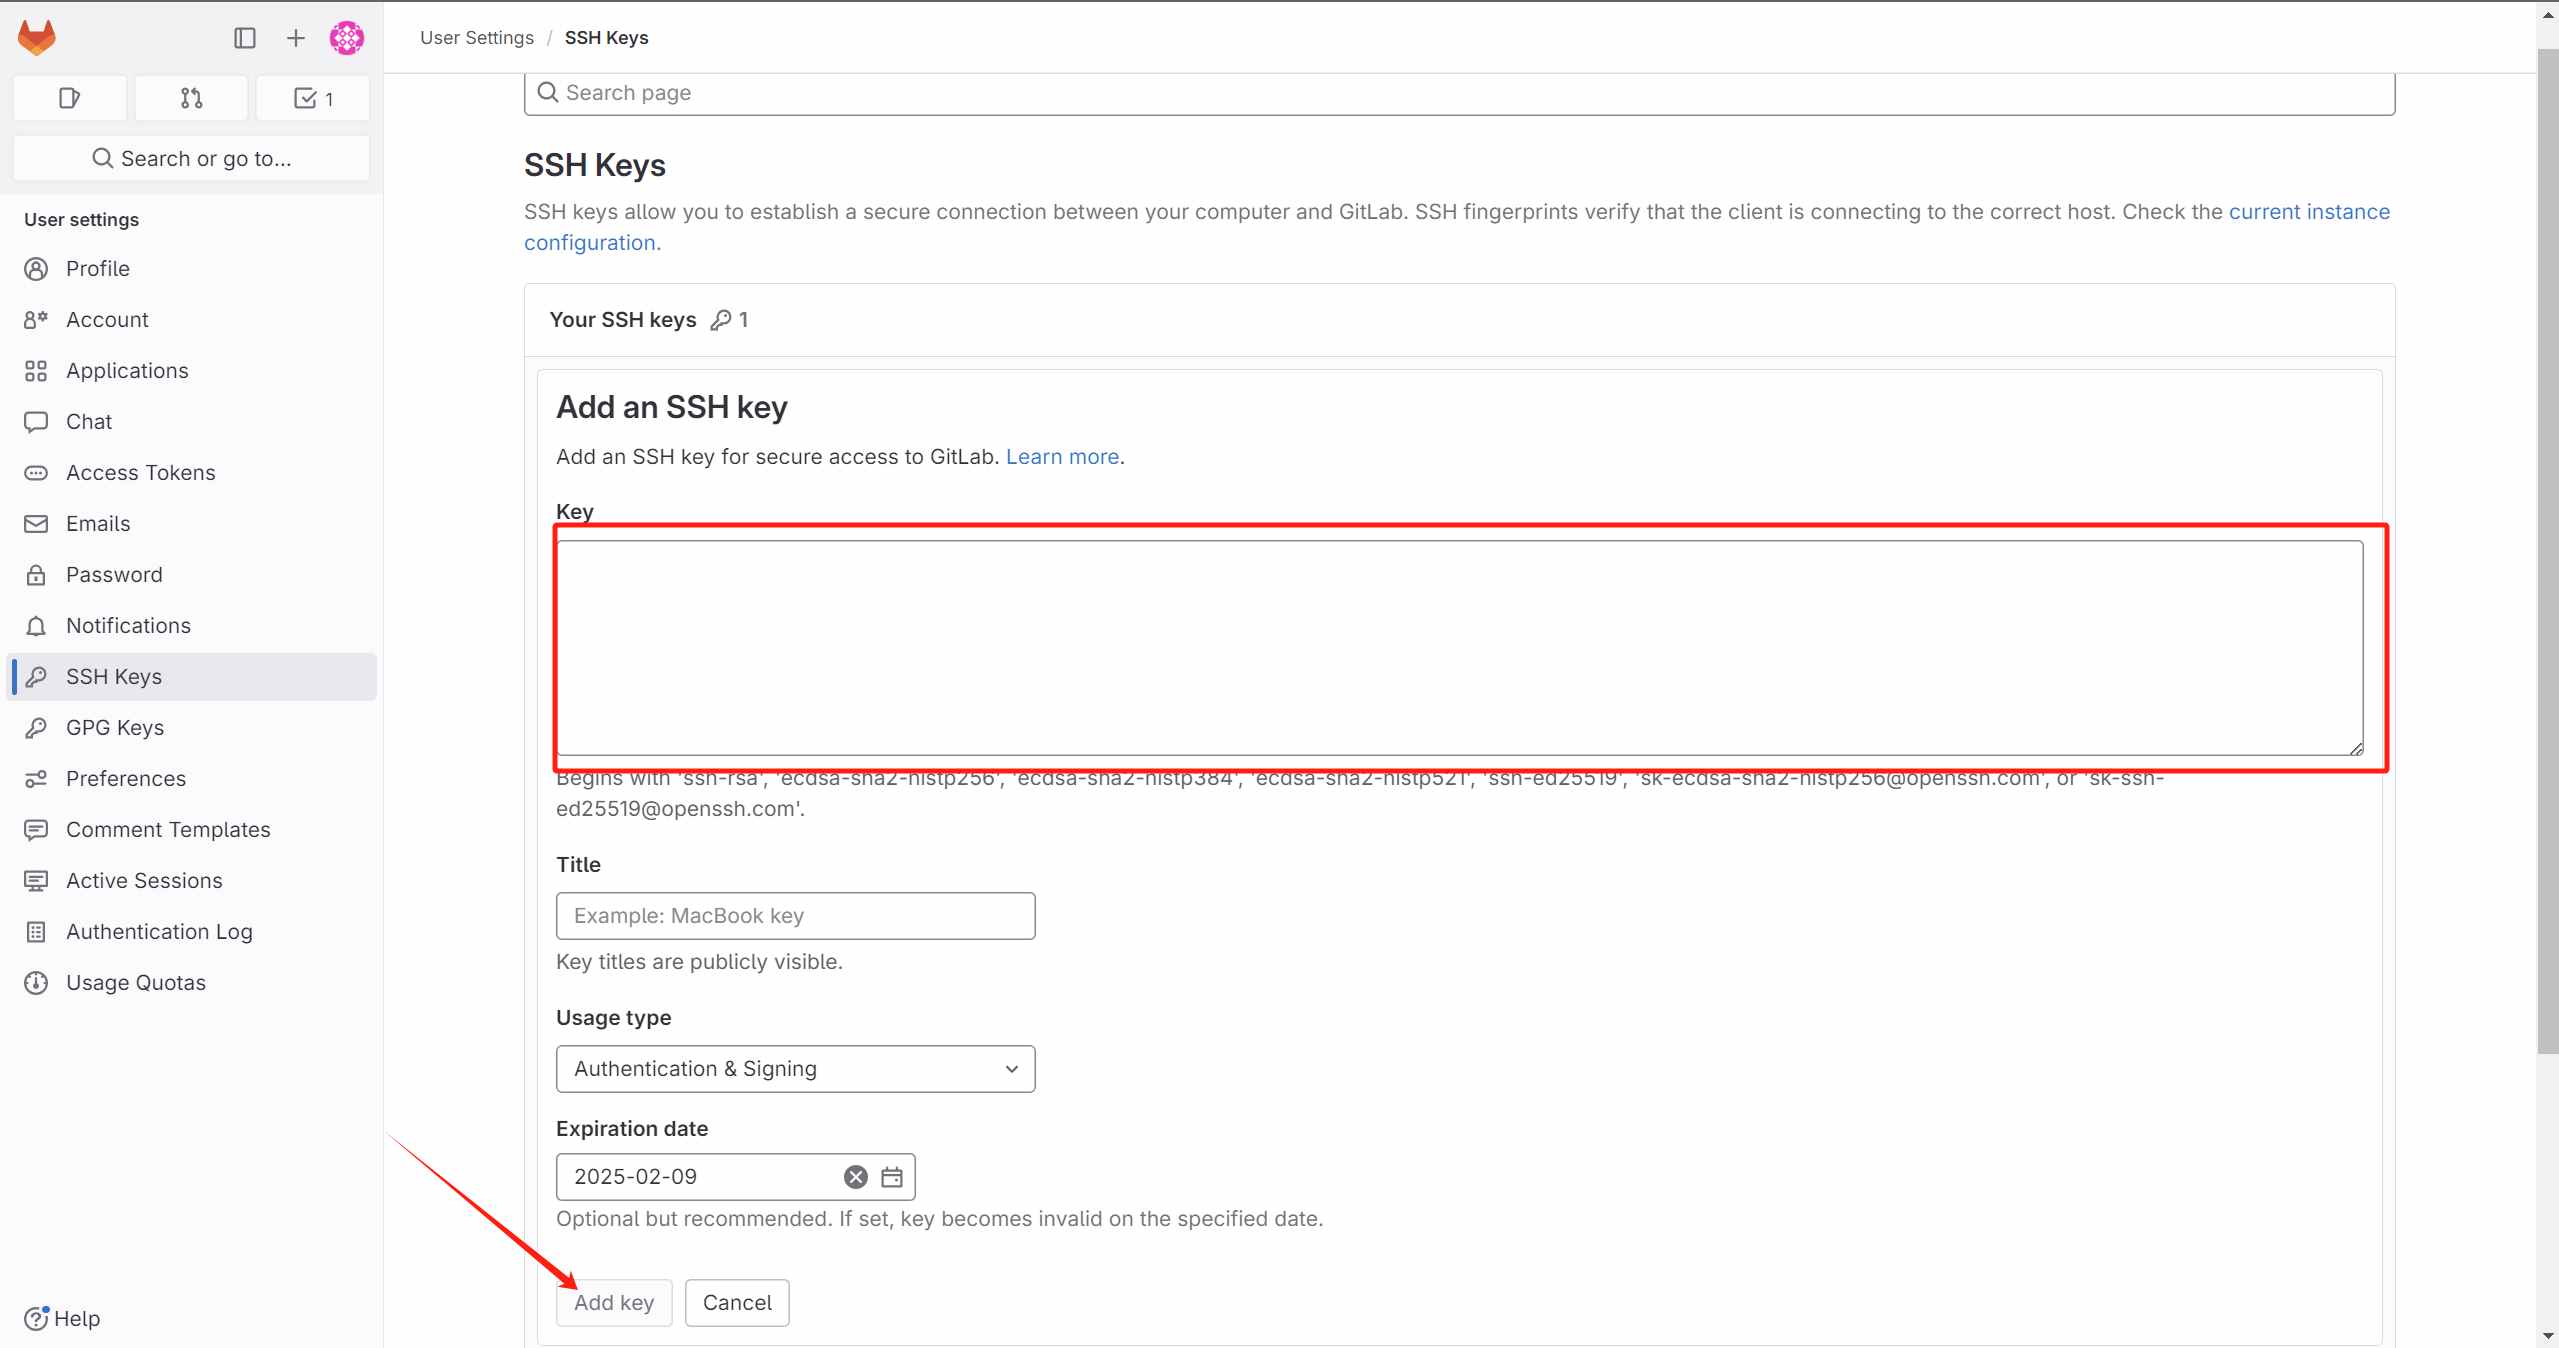
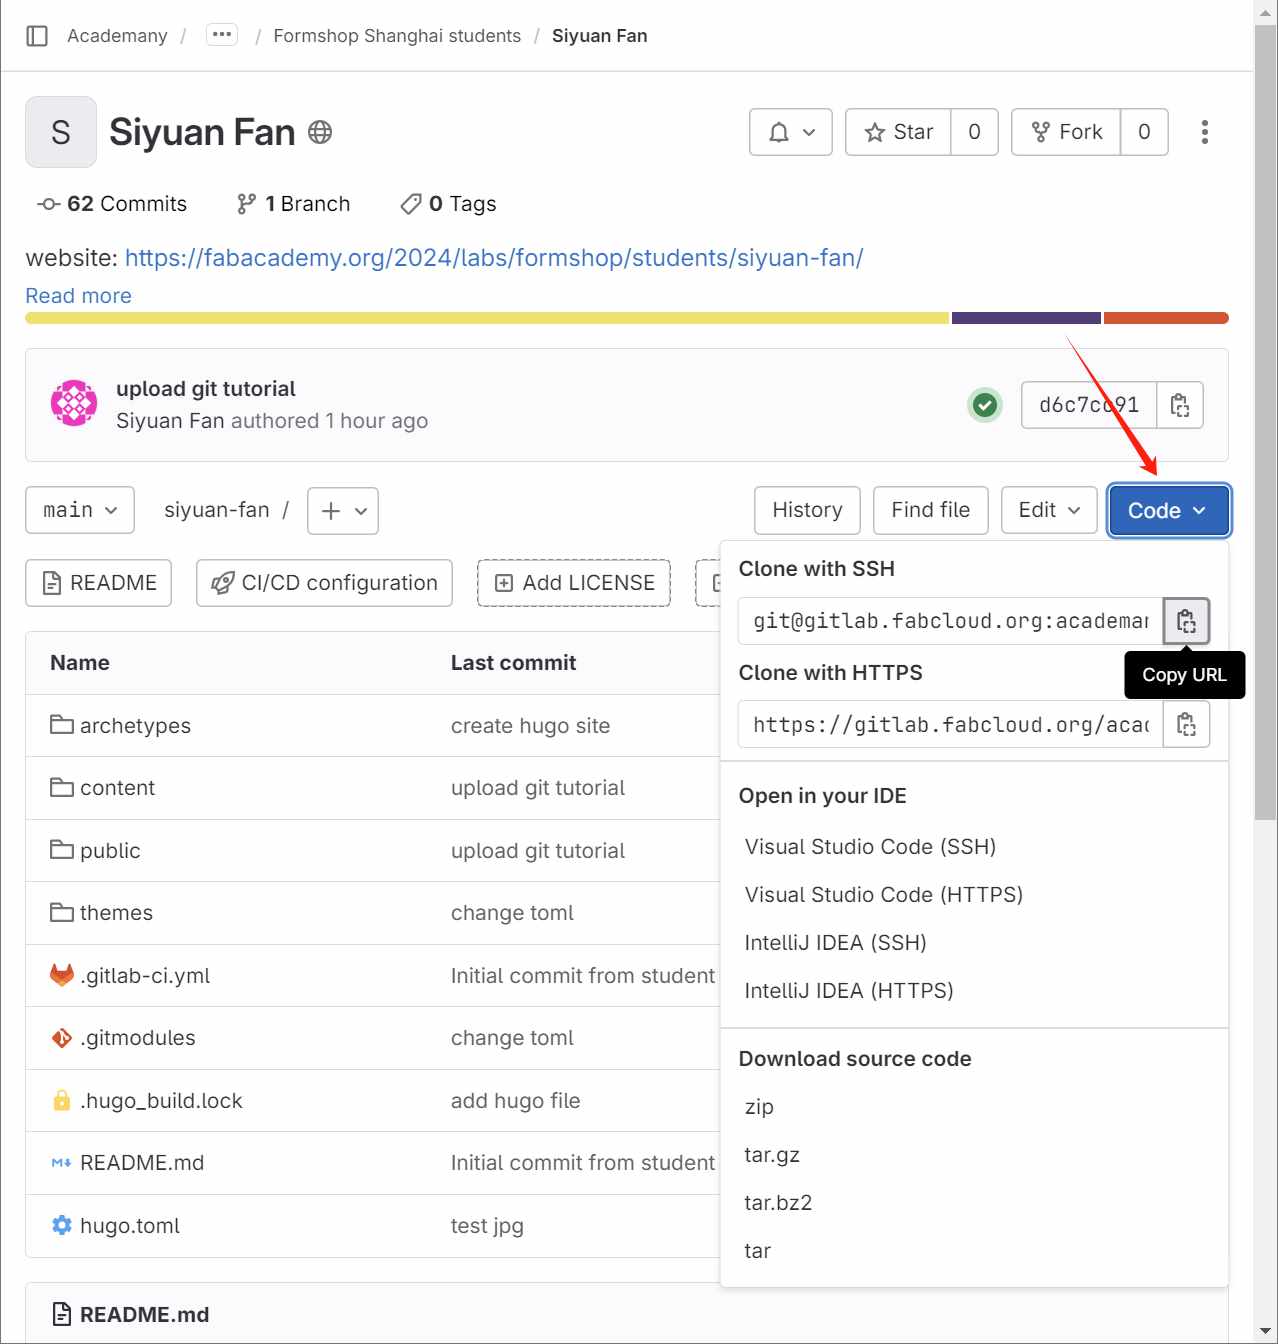
Third, add the SSH key in Fabcloud.
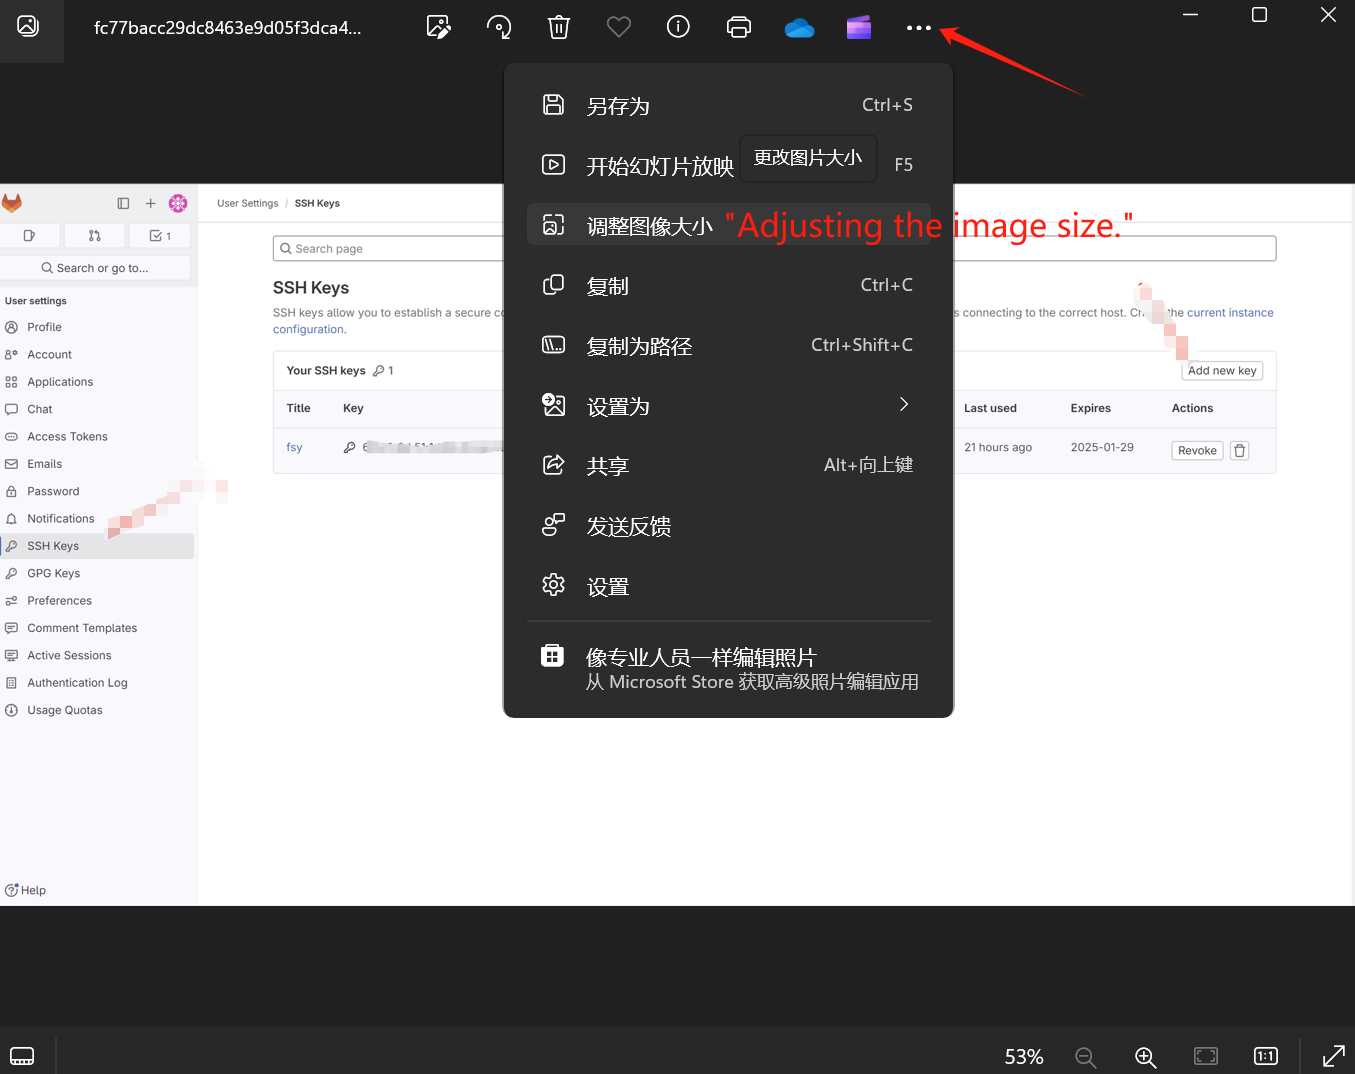
- Open your personal Fabcloud, and follow the instructions in the image below to click.
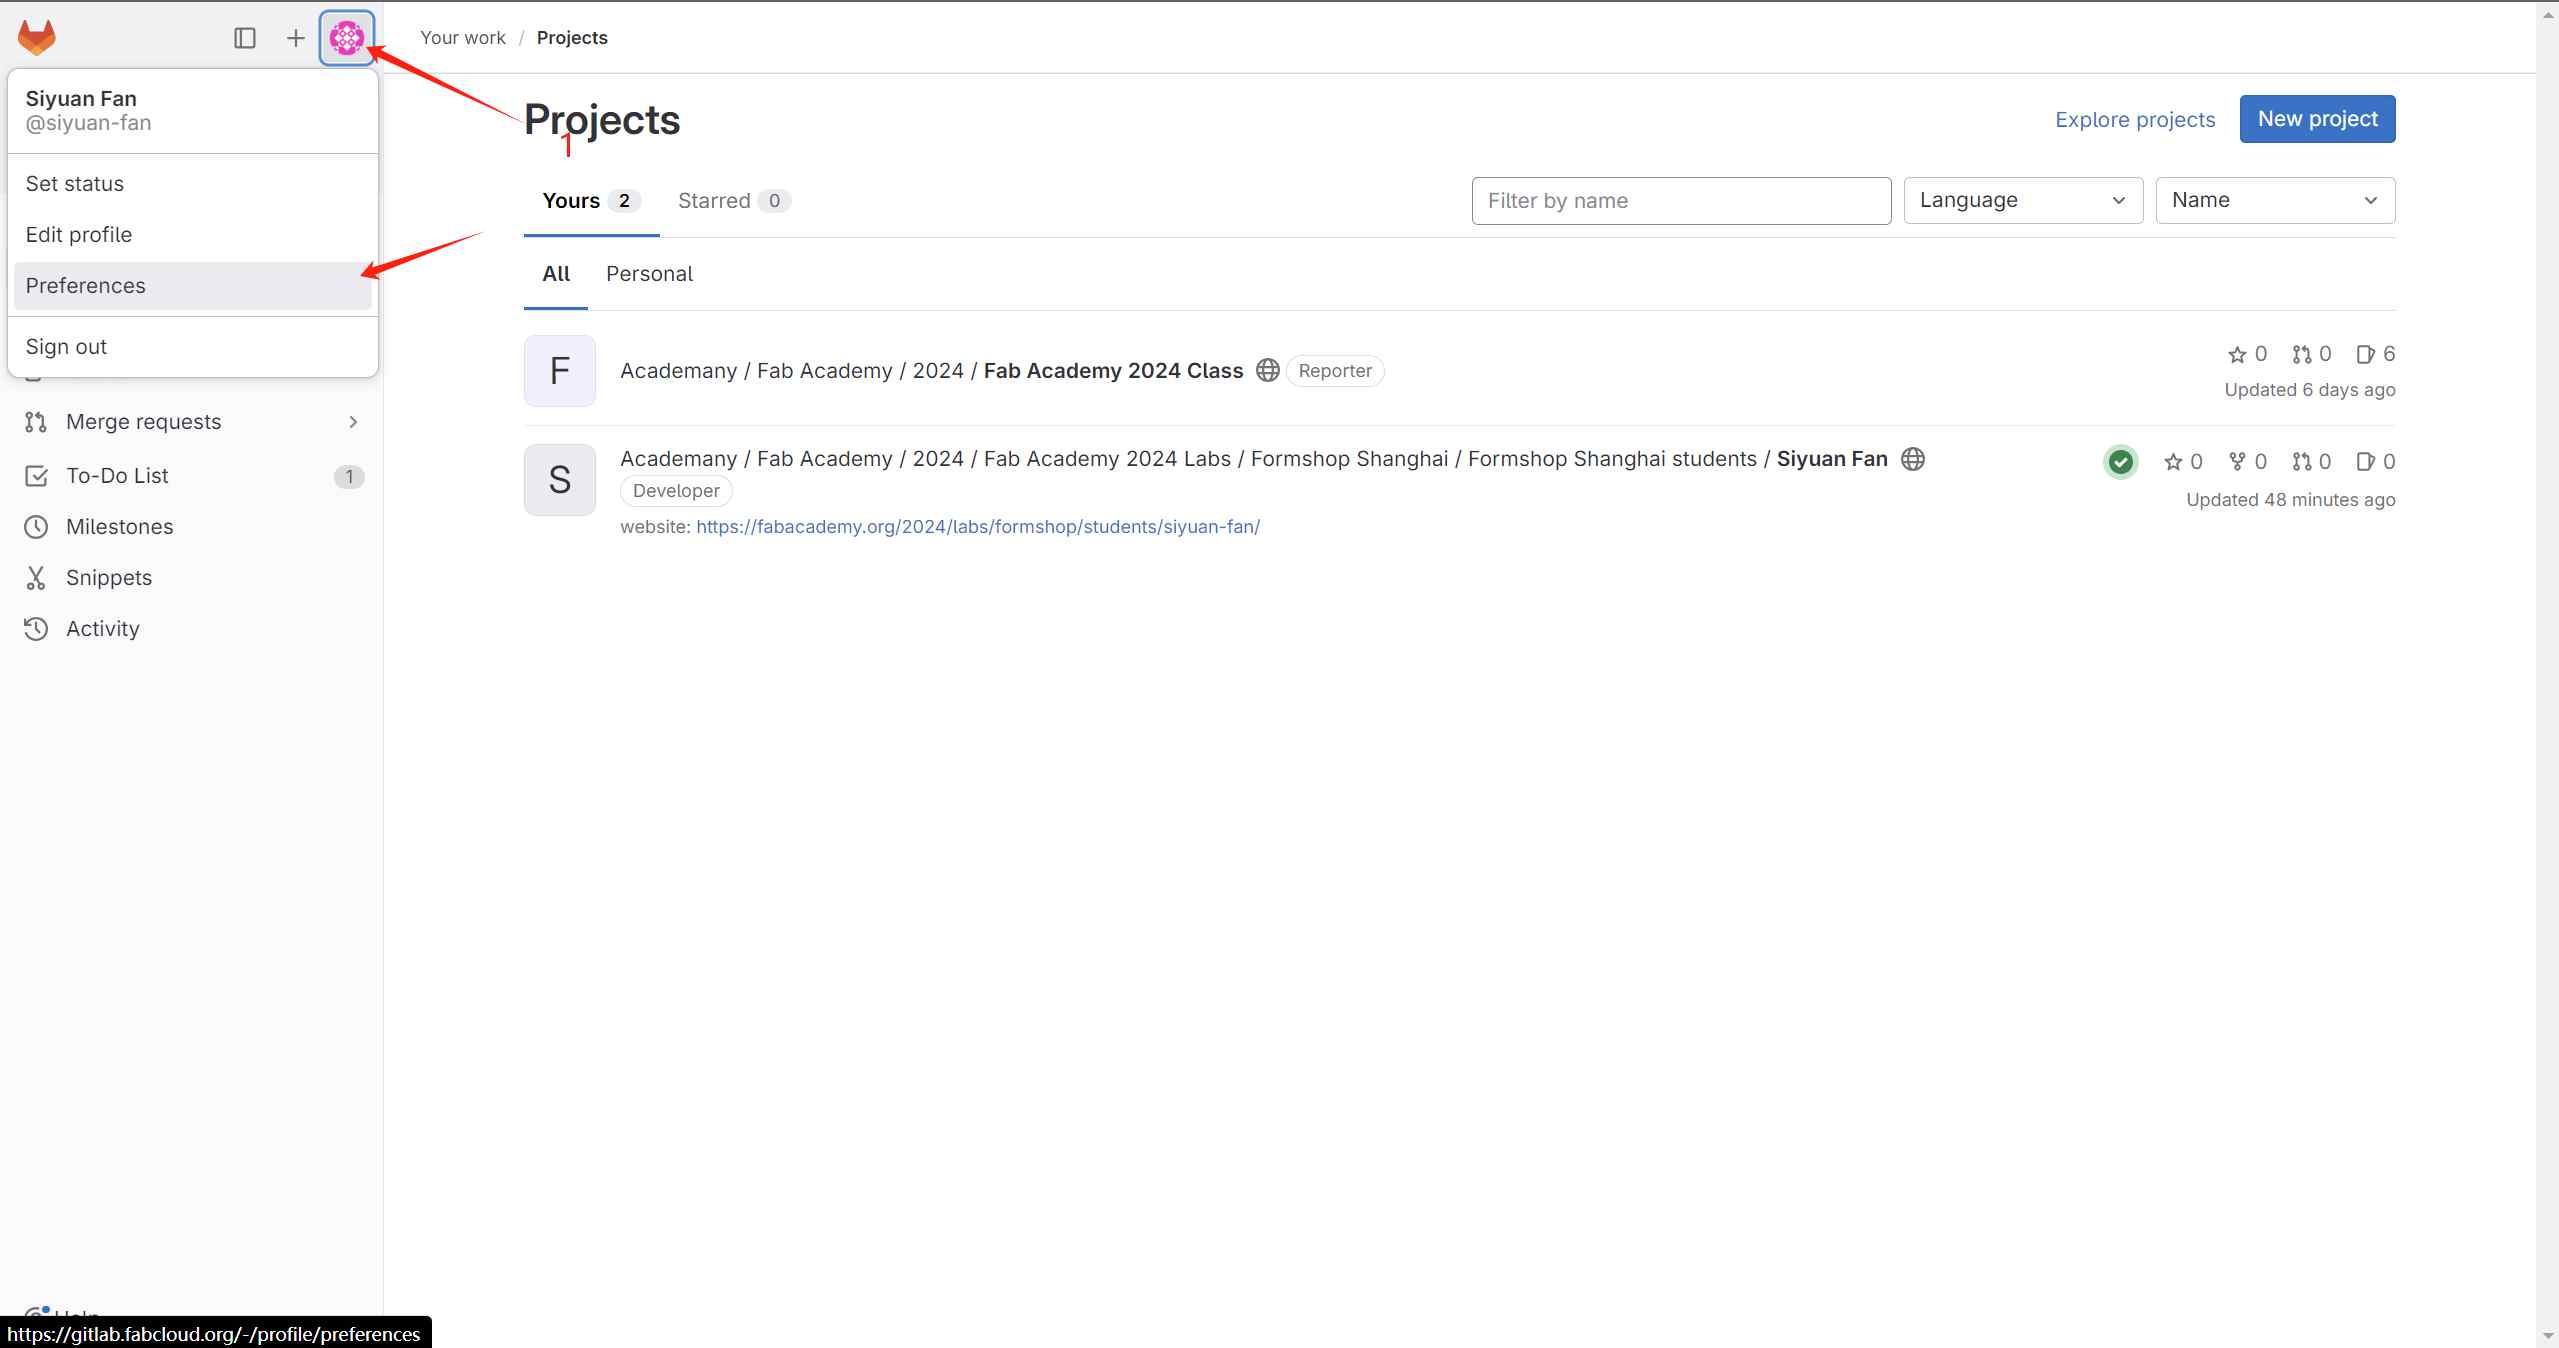
- choose SSH KEYS > add new key
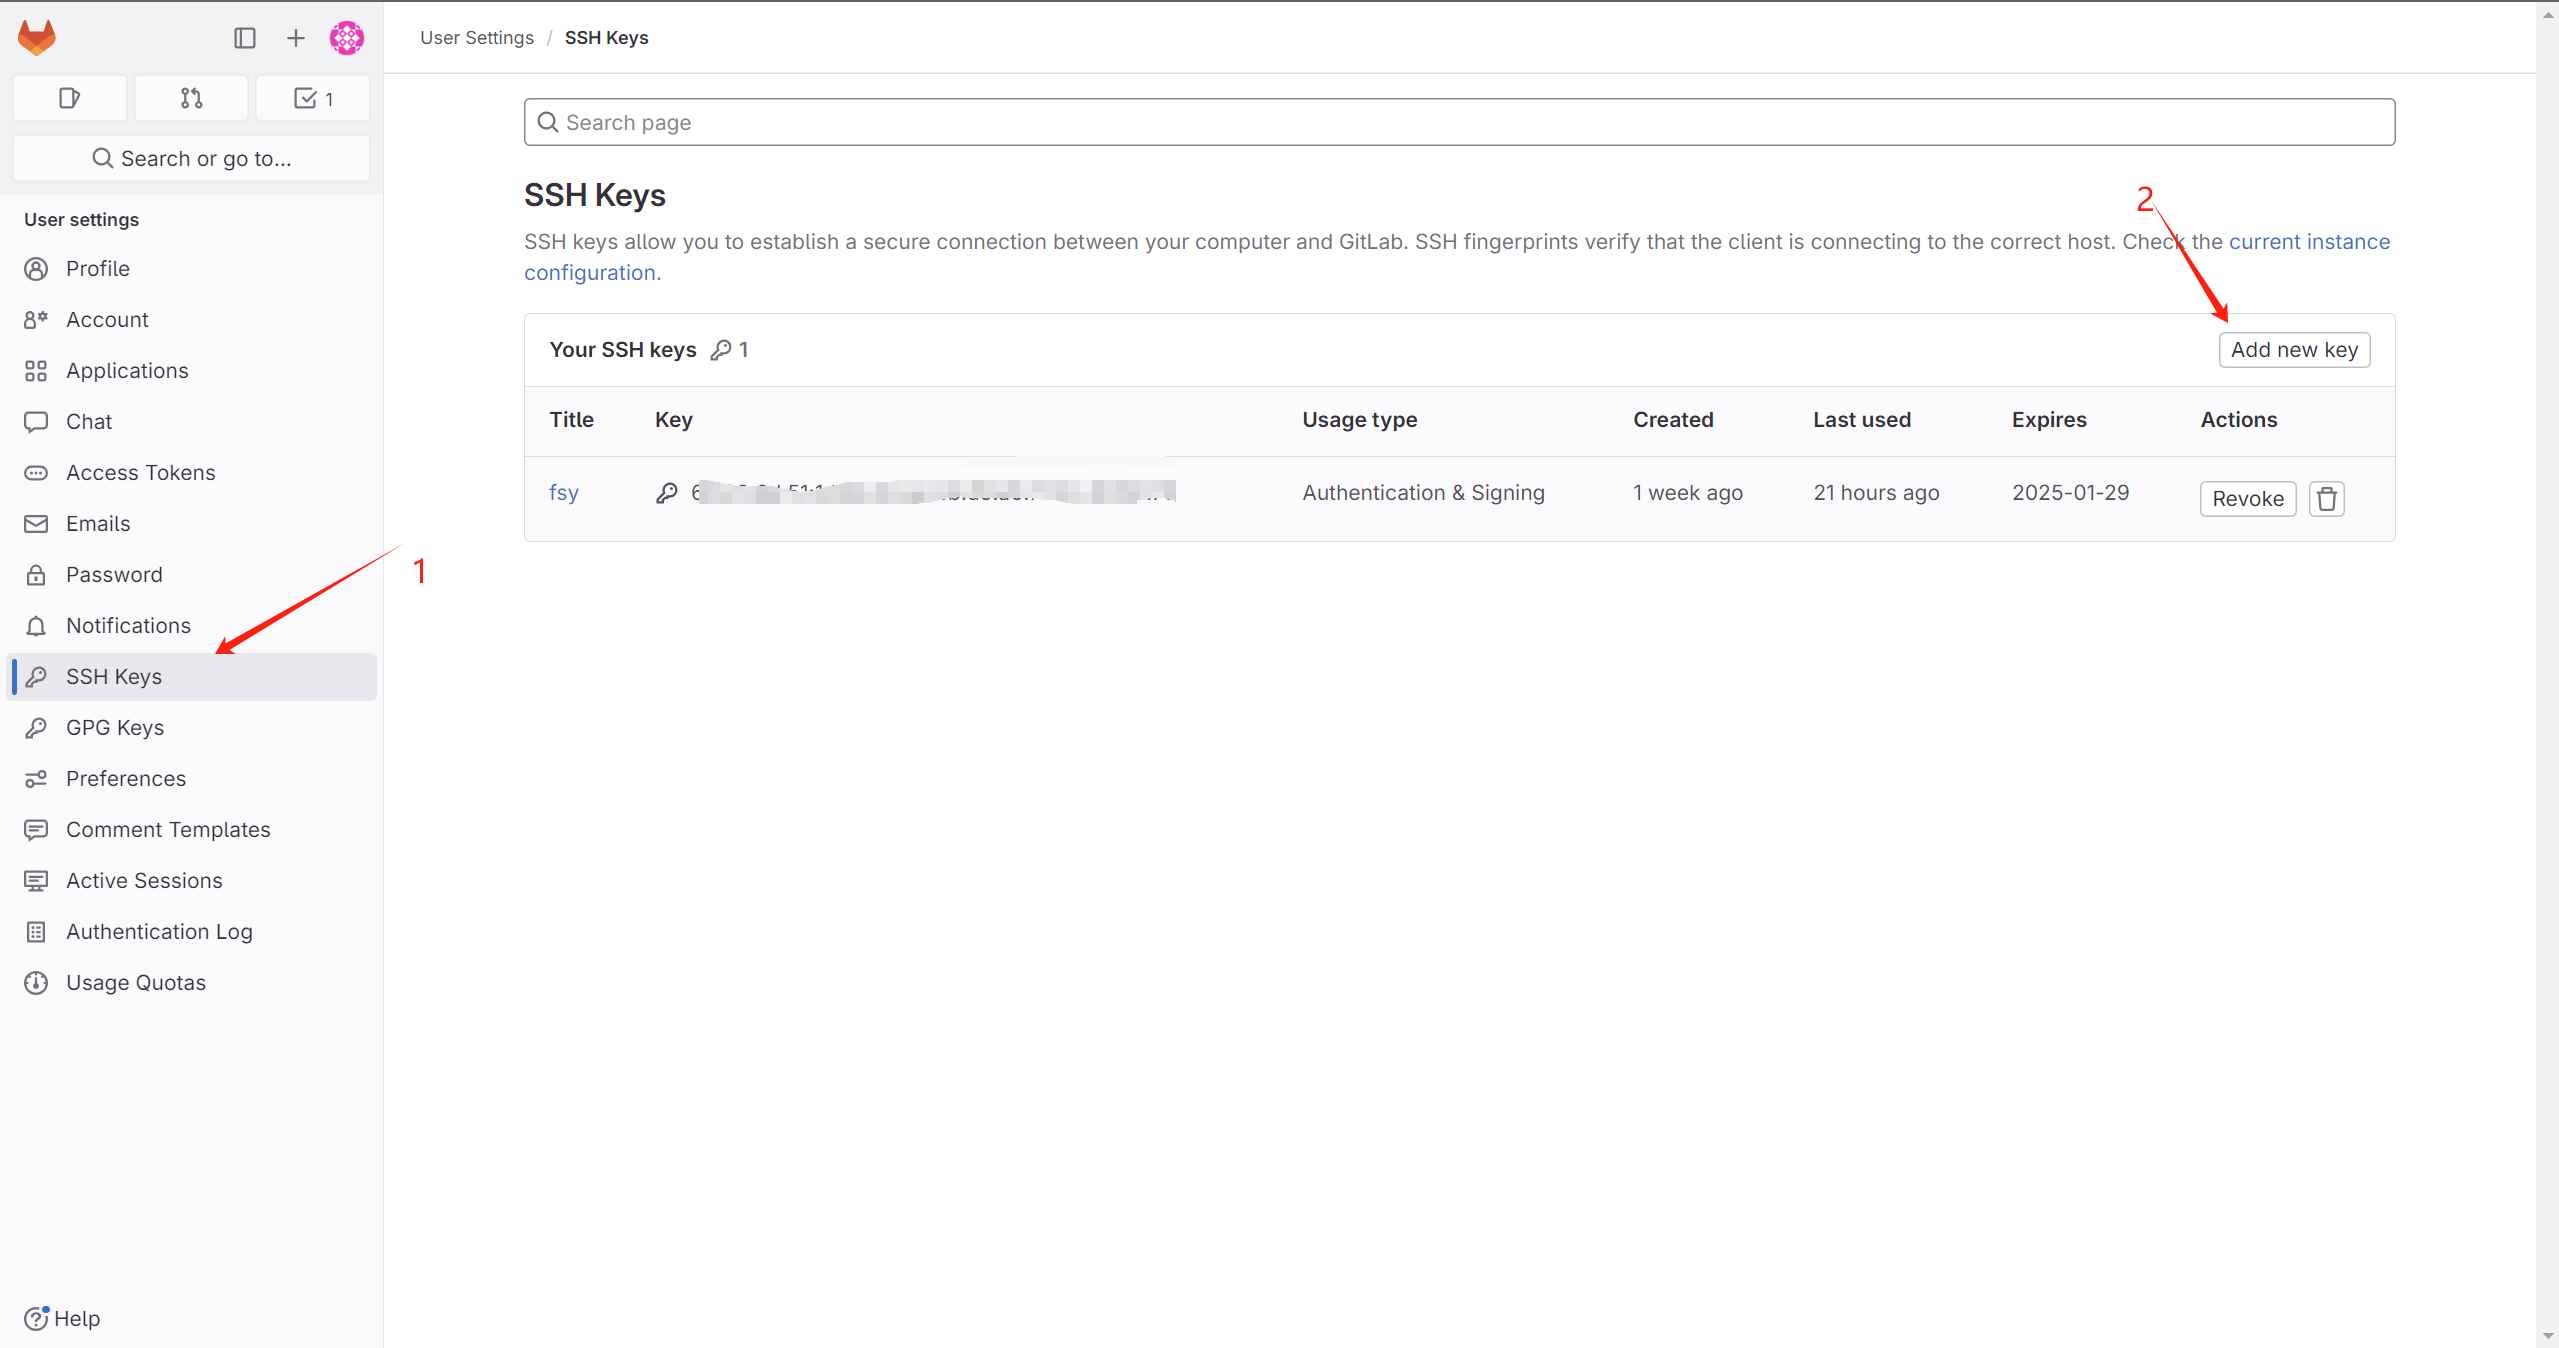
- Copy and paste the key you generated earlier, fill in the Title, Usage Type, and Expiration date. Click “Add Key” to complete the process!
Troubleshooting
- Error:During the process of downloading from GitLab to my local machine, I initially set up the SSH key. However, since my computer’s username is in Chinese, the generated key contained garbled text.😭
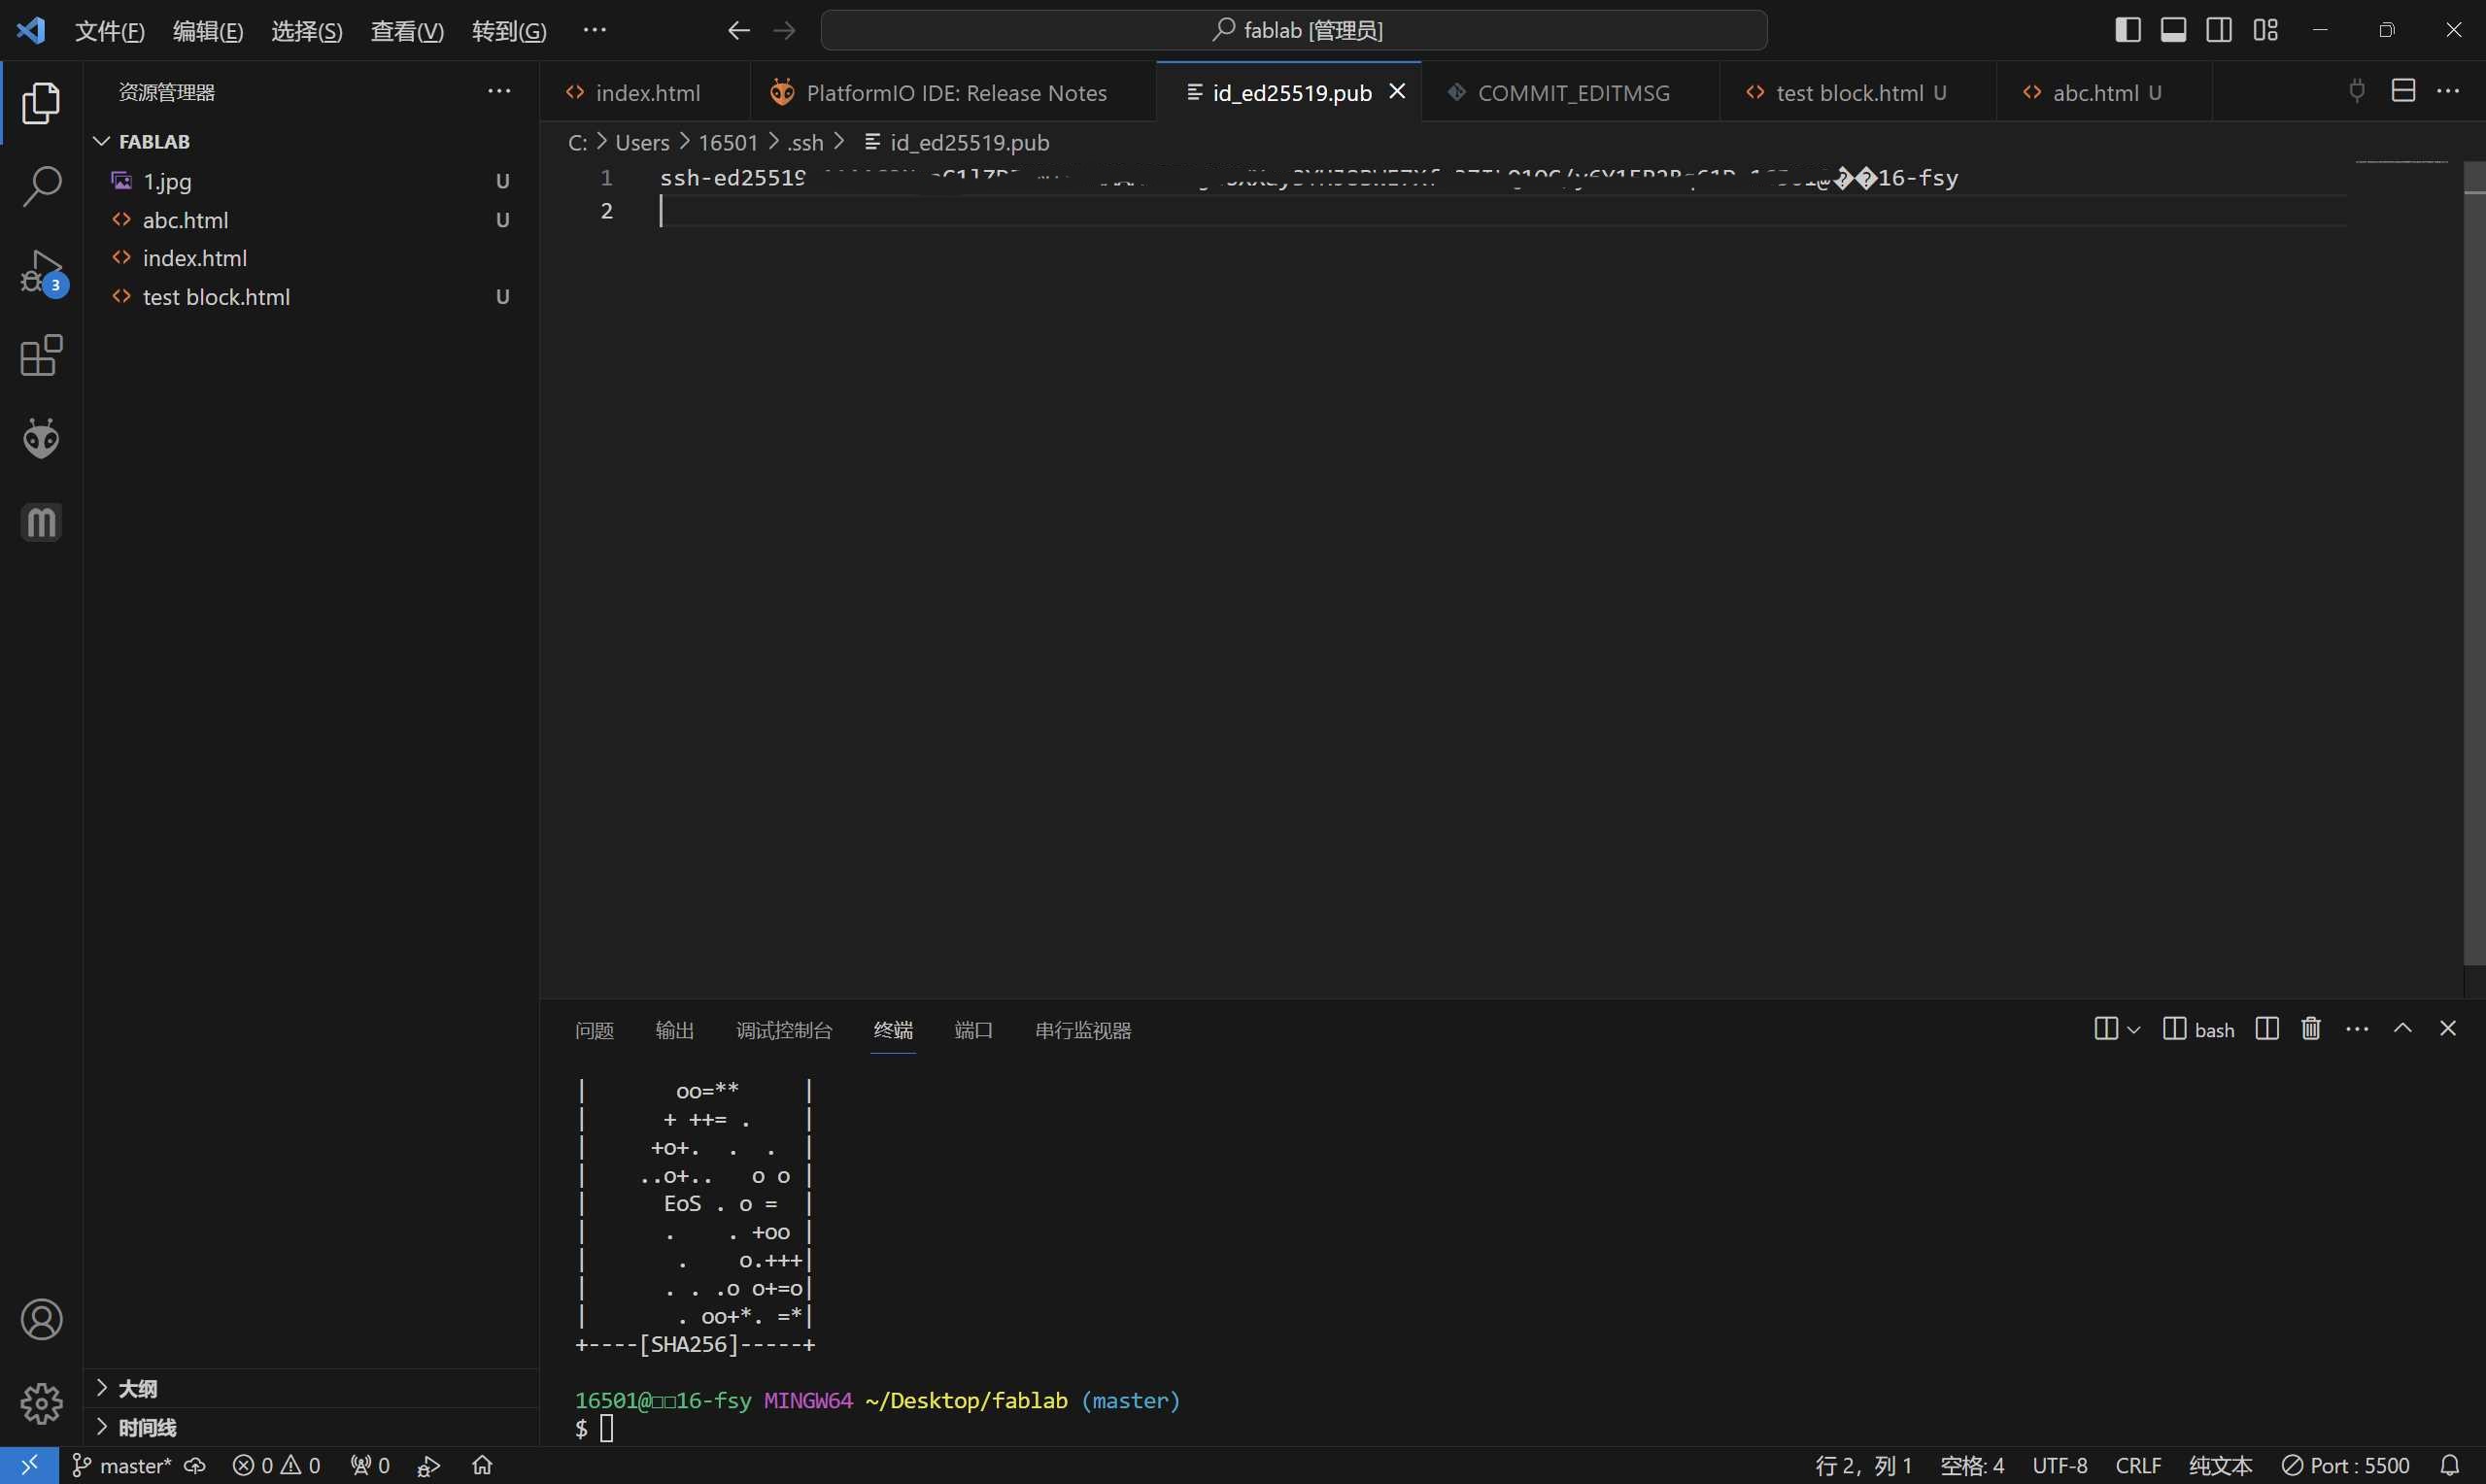
- Correction:
I changed the command from
ssh-keygen -t ed25519tossh-keygen -t ed25519 -C "fsy".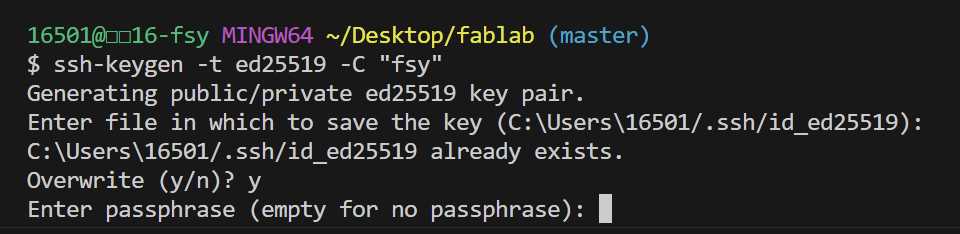
Fourth, clone the remote repository to your local machine.
- Open Git Bash.
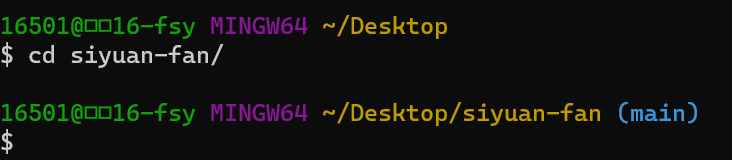
- Use the cd command to navigate to the folder where you want to store the files.like this img👇
- clone.git clone git@gitlab.fabcloud.org:academany/fabacademyxxx.git“XXX replace with your own path.“like this img👇
 - enter
- Congratulations, when you see the message “100% done” you have successfully completed it.🎉
2.2 HUGO、VSC and Markdown
HUGO
I use Hugo and Markdown to write my webpage because I want them to look good and enable fast content creation. Compared to directly writing HTML, Markdown is undoubtedly very quick.
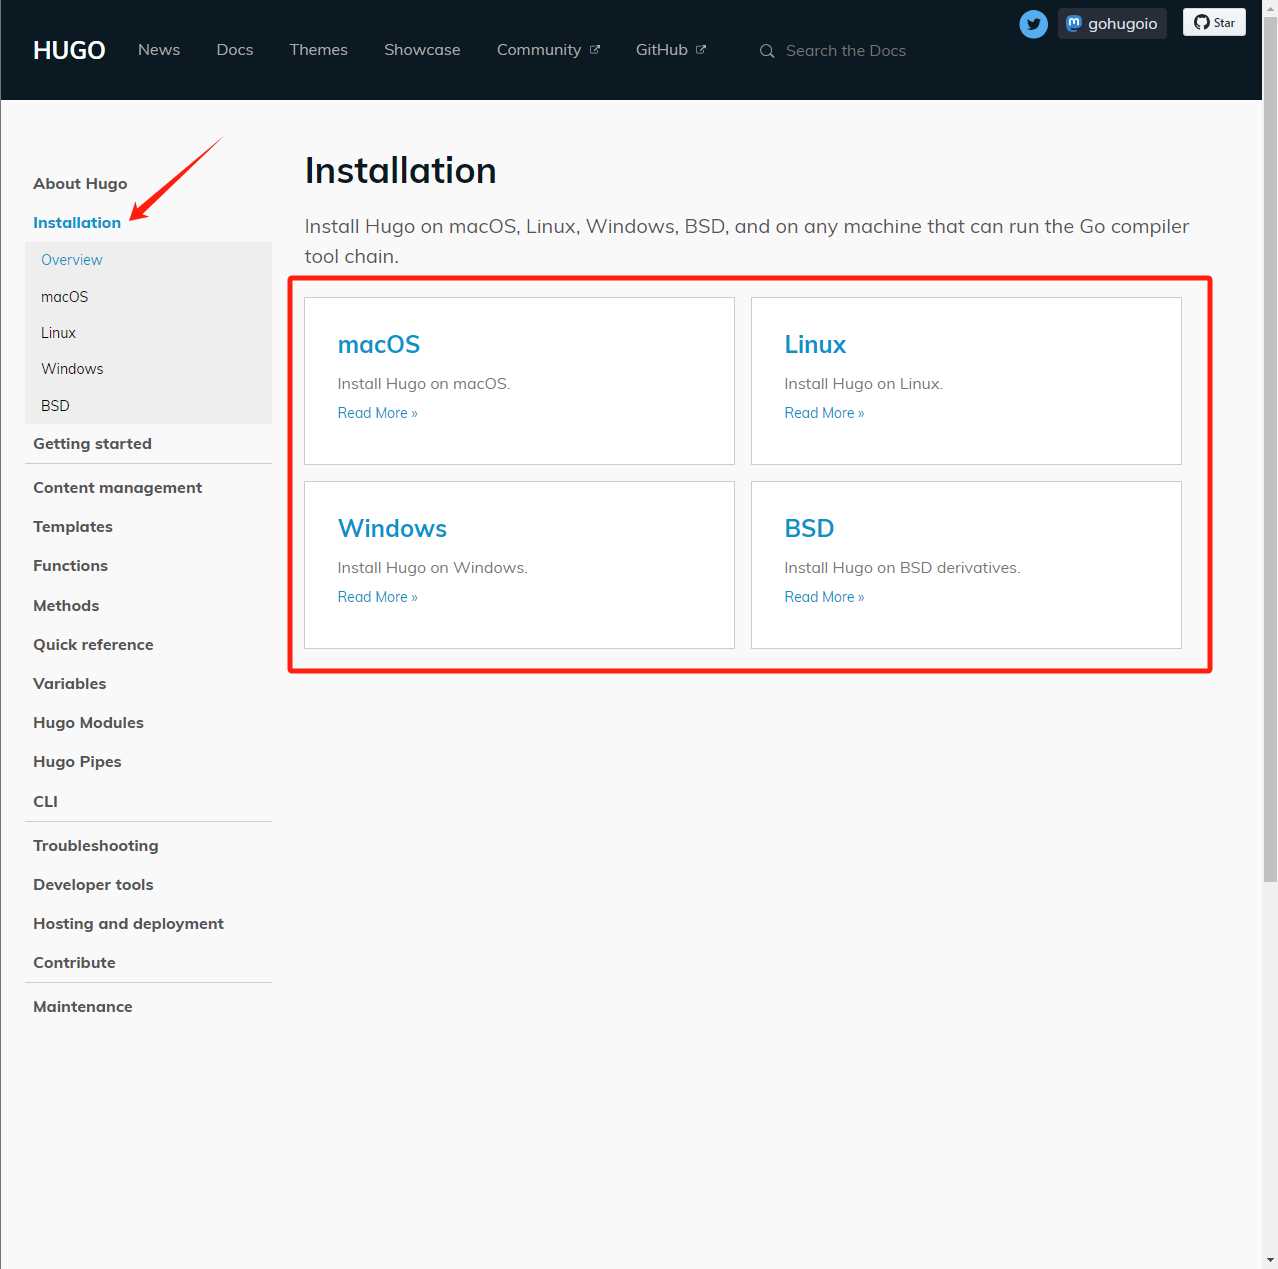
- The first step, I installed HUGO according to the documentation.like this img👇
- Second step: After the installation is complete, you can deploy Hugo according to the content in this link.
Visual Studio Code
Visual Studio Code (VS Code) is a free, open-source code editor developed by Microsoft. It supports Windows, Linux, and macOS operating systems. VS Code offers a wide range of features, including but not limited to syntax highlighting, intelligent code completion (via IntelliSense), code snippets, code refactoring, and integrated Git control. VS Code supports various programming languages such as JavaScript, TypeScript, Python, PHP, C++, C#, and others, and can support many more languages and tools through the installation of extensions.
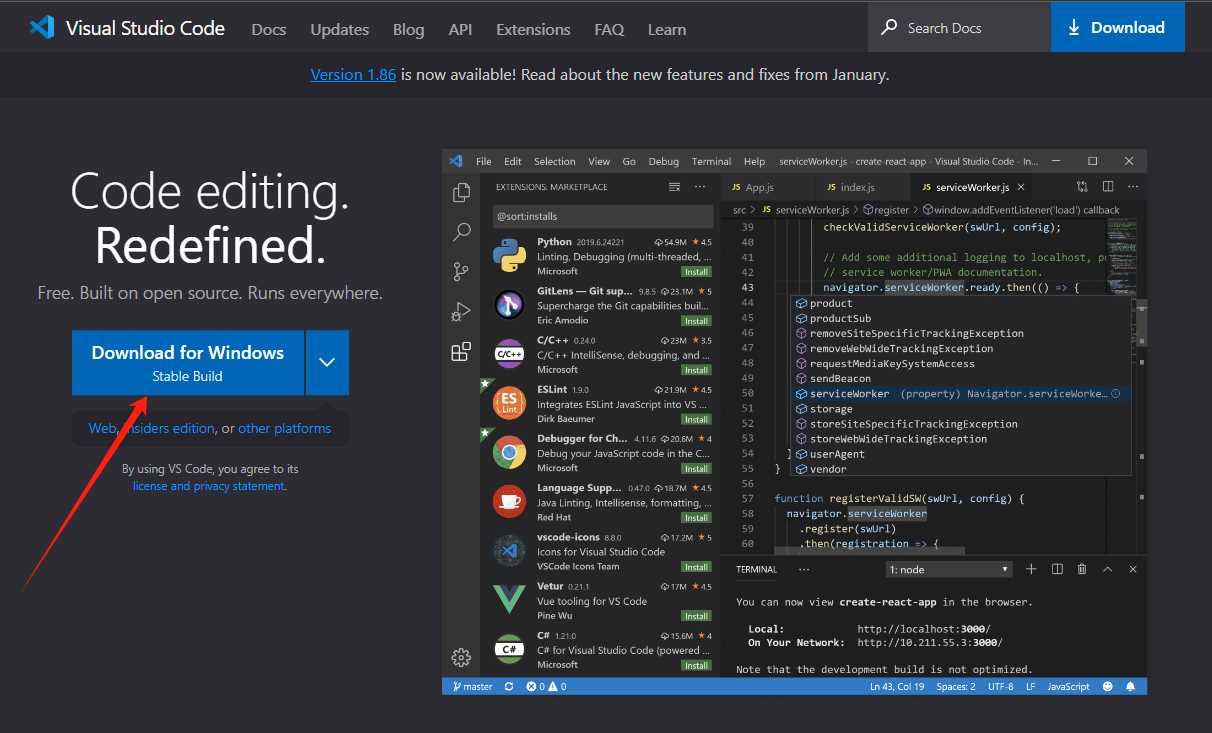
- The first step, as usual, is to install the software.like this img👇
- After the installation is complete, open your folder. Now, you can create your own website!
Markdown
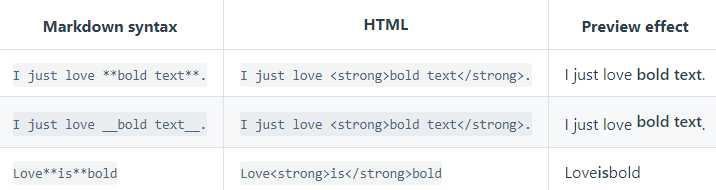
Because I’m using HUGO, I must use Markdown. When I followed the tutorial and tried it out, I found that compared to HTML, Markdown is much faster to write and has a simpler syntax. It’s a great language, especially for beginners.like this img👇
2.3 My first webpage
Here, because I’m using Hugo, the process is a bit different from the normal flow.
- The first step, I can’t directly create a new folder in VSC; instead, I need to create it using a command. Open the terminal and enter
hugo new content weekly-assignments/week01.md. like this img👇  - This will generate an MD file with the fields shown in the image below.

- At this point, this is a draft file. If you want Hugo to help you create HTML, remove the line
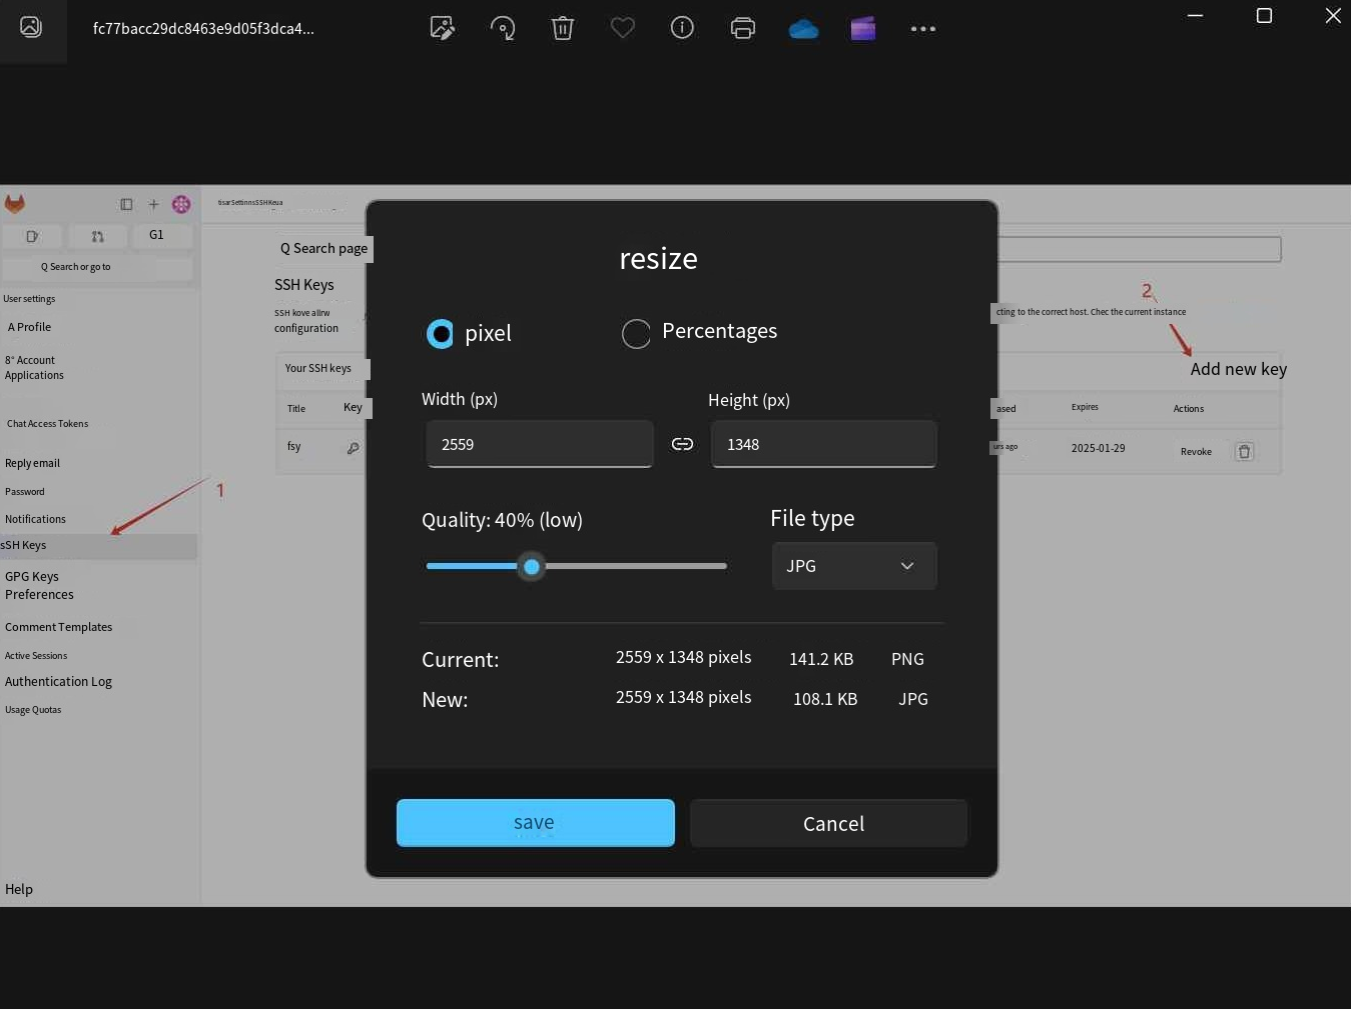
draft = true. - When I finish writing the text, I need to insert images. However, I can’t insert the image directly because it’s too large. Here, I use the built-in tool in Windows for compression, which I find quite convenient.like this img👇
- Choose JPG and reduce the image quality size.like this img👇
- Congratulations on successfully creating your own webpage! Now, let me help you push it to the cloud.
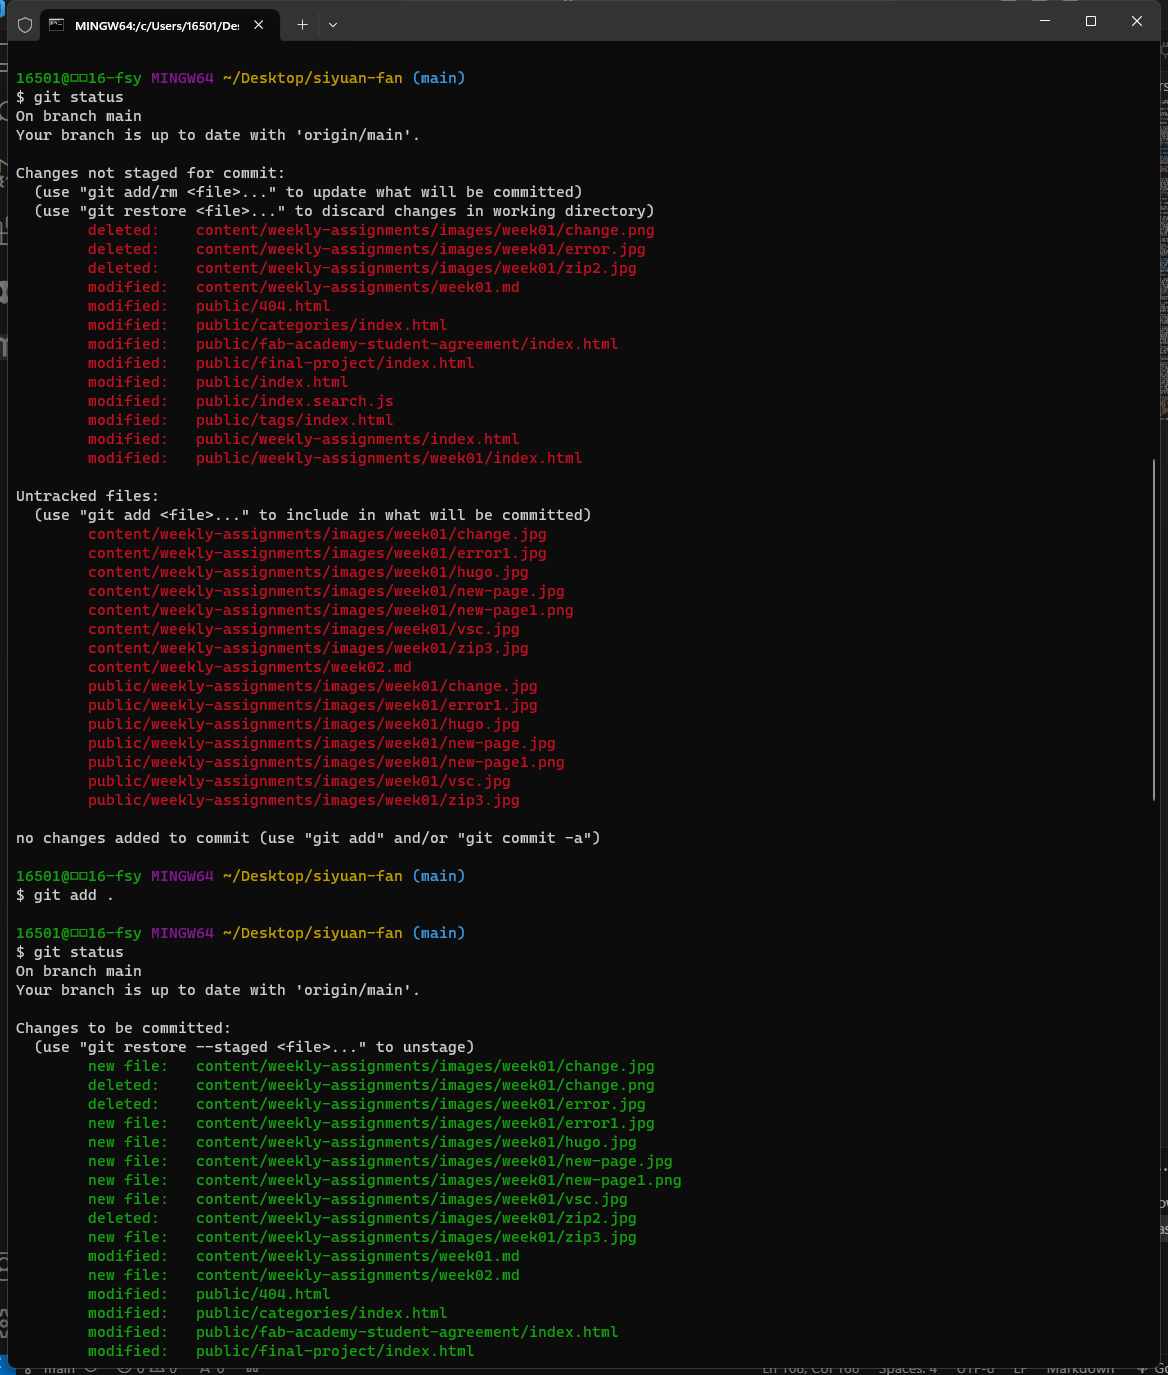
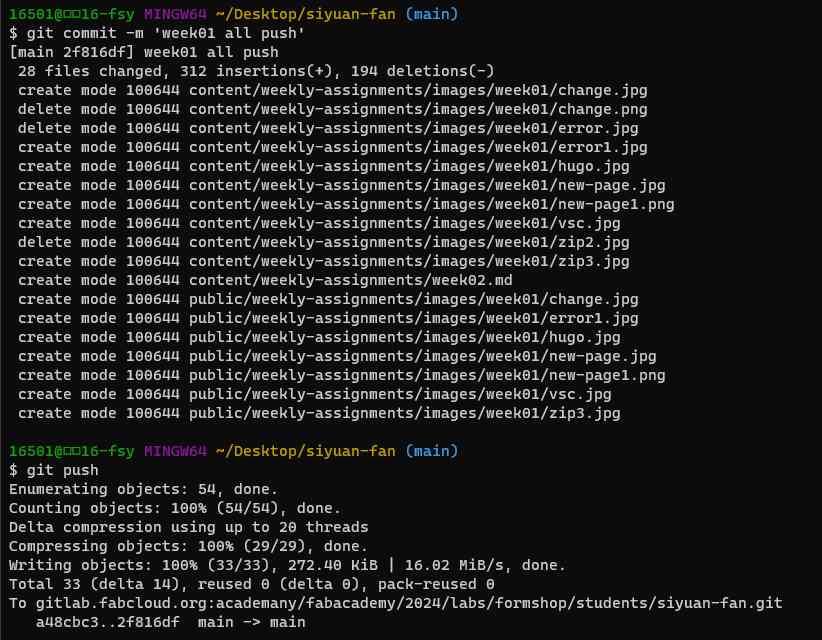
Pushing process:
git status(to see what has changed)git pull(to download the local repository to the last version of the online repository. This is very useful if several people are working on the same repository).git add .(to add the changes)git status(to check that the changes were added)git commit –m‘descriptionofthechange’ (to confirm the changes)git push(to make the changes effective and finally update the repository online)
like this img👇