Molding and casting
This week, I learned how to make molds and created some fun earrings.
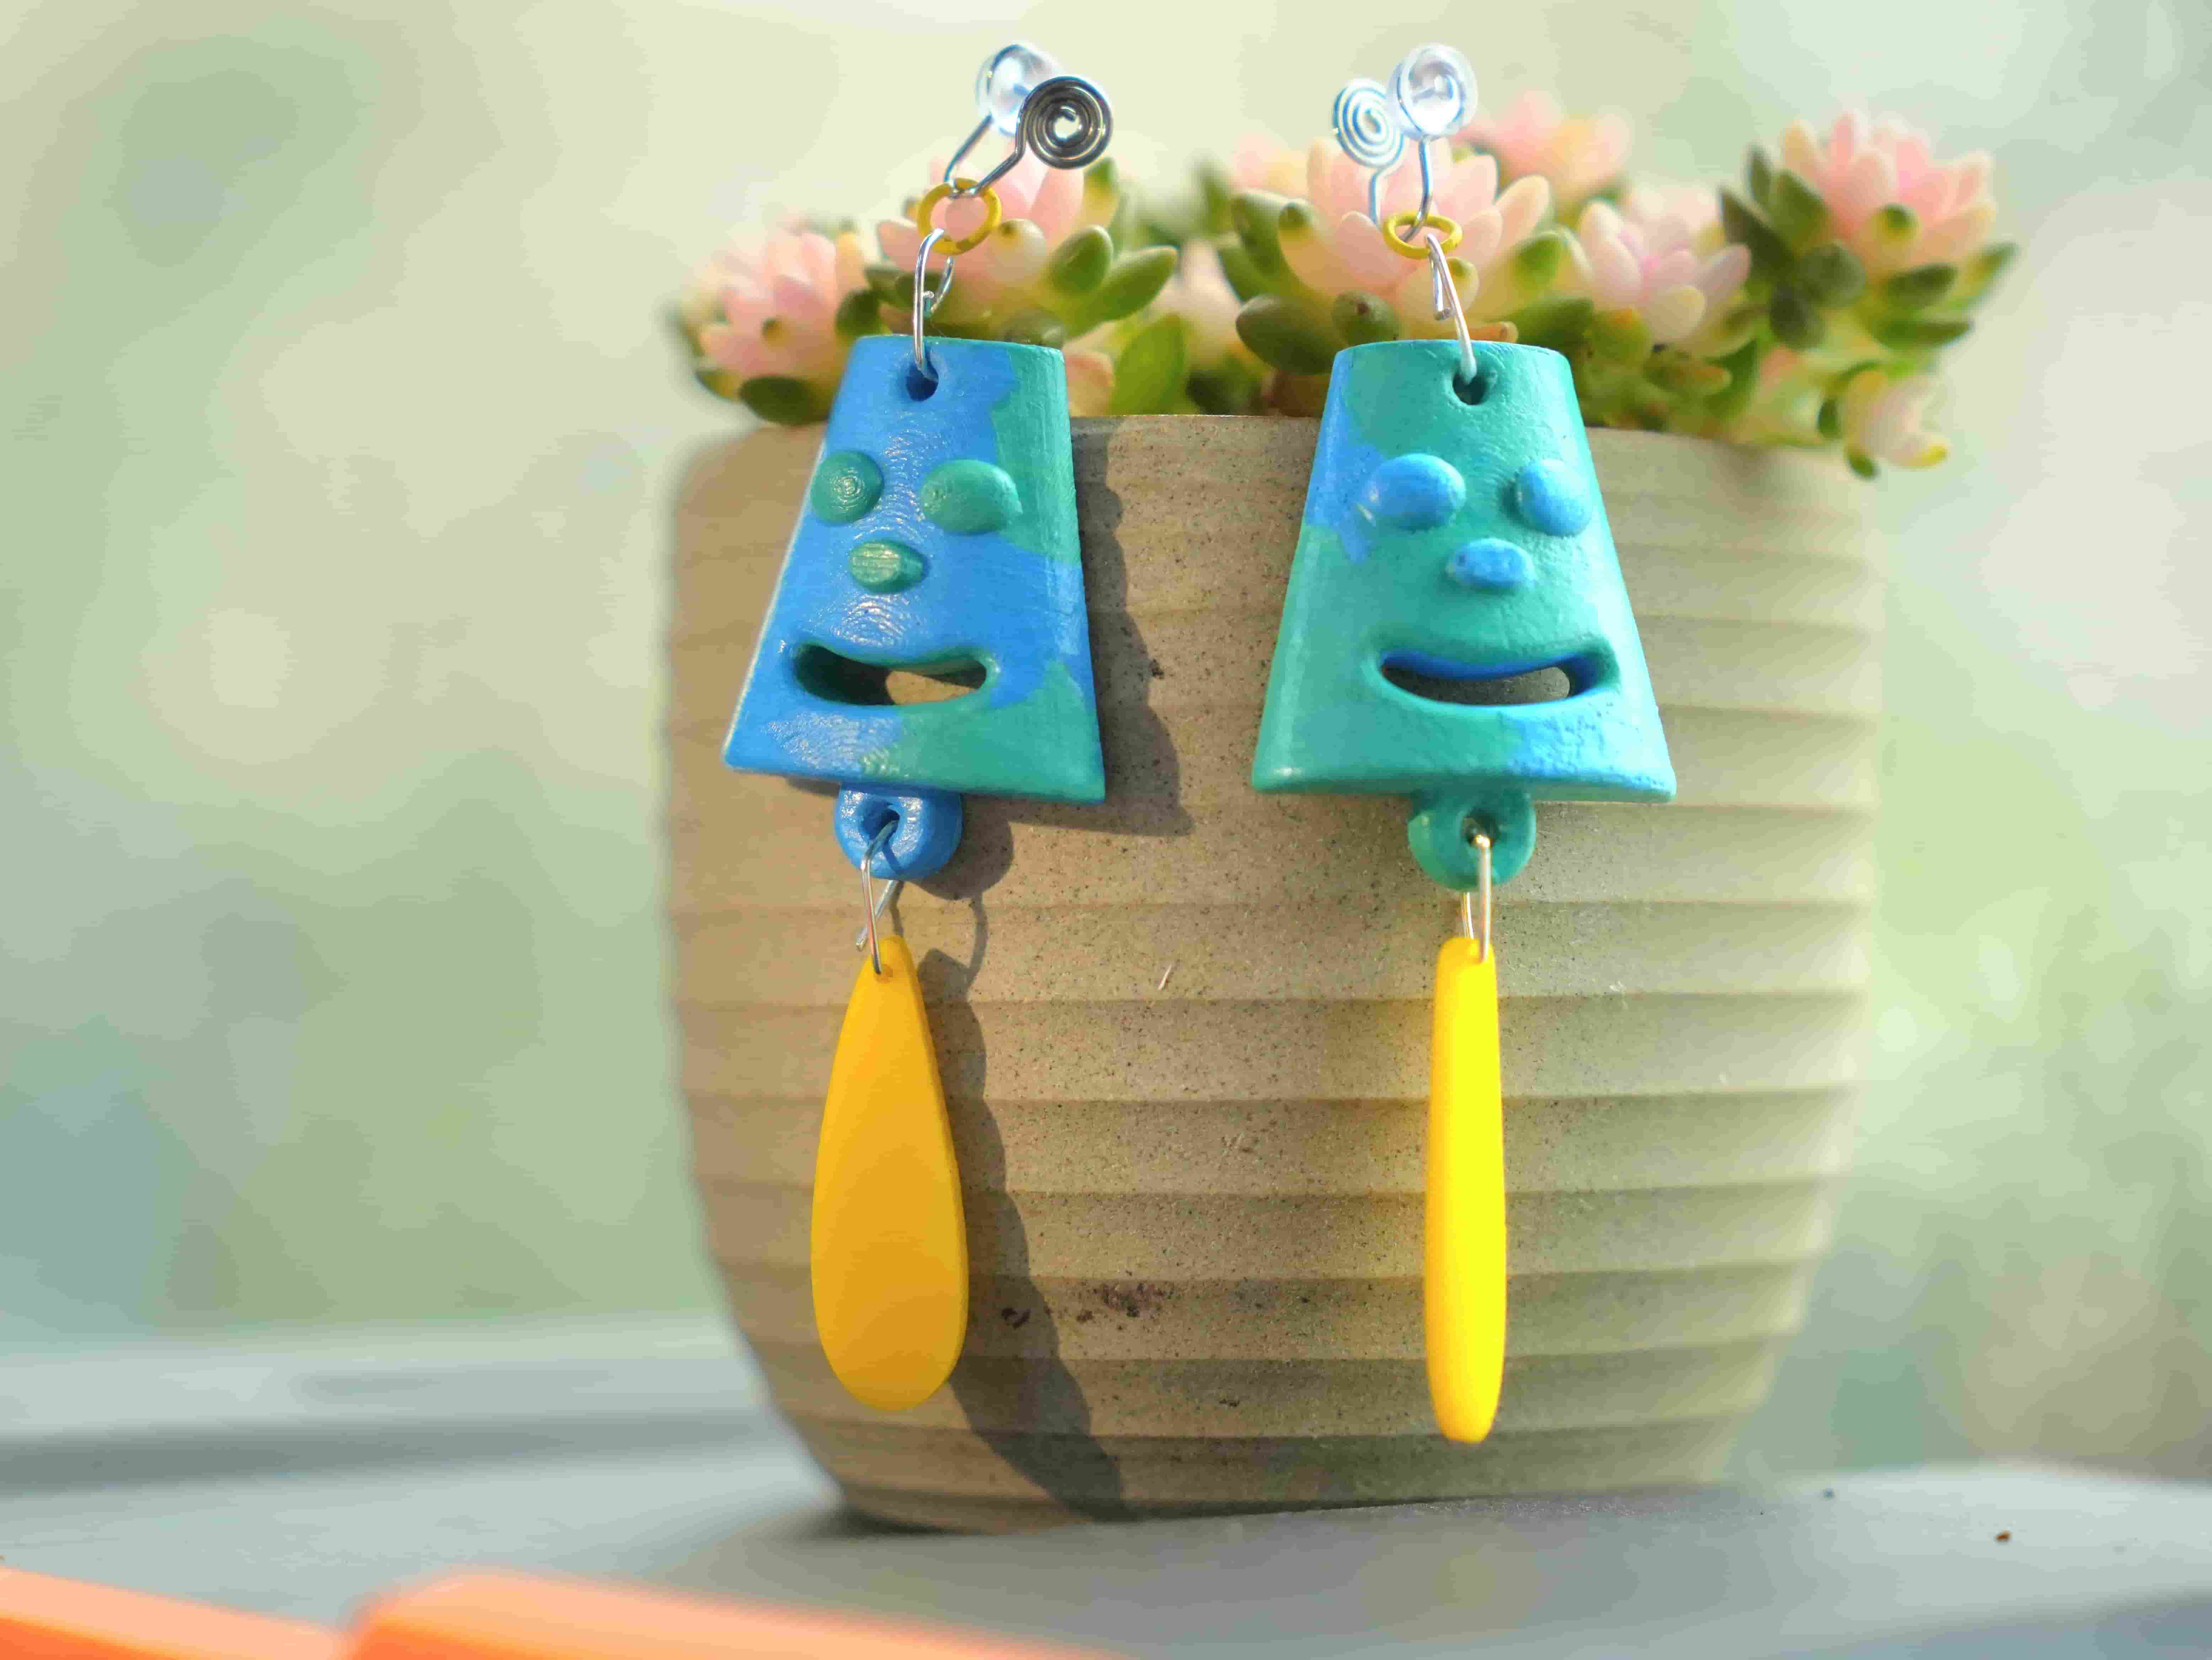
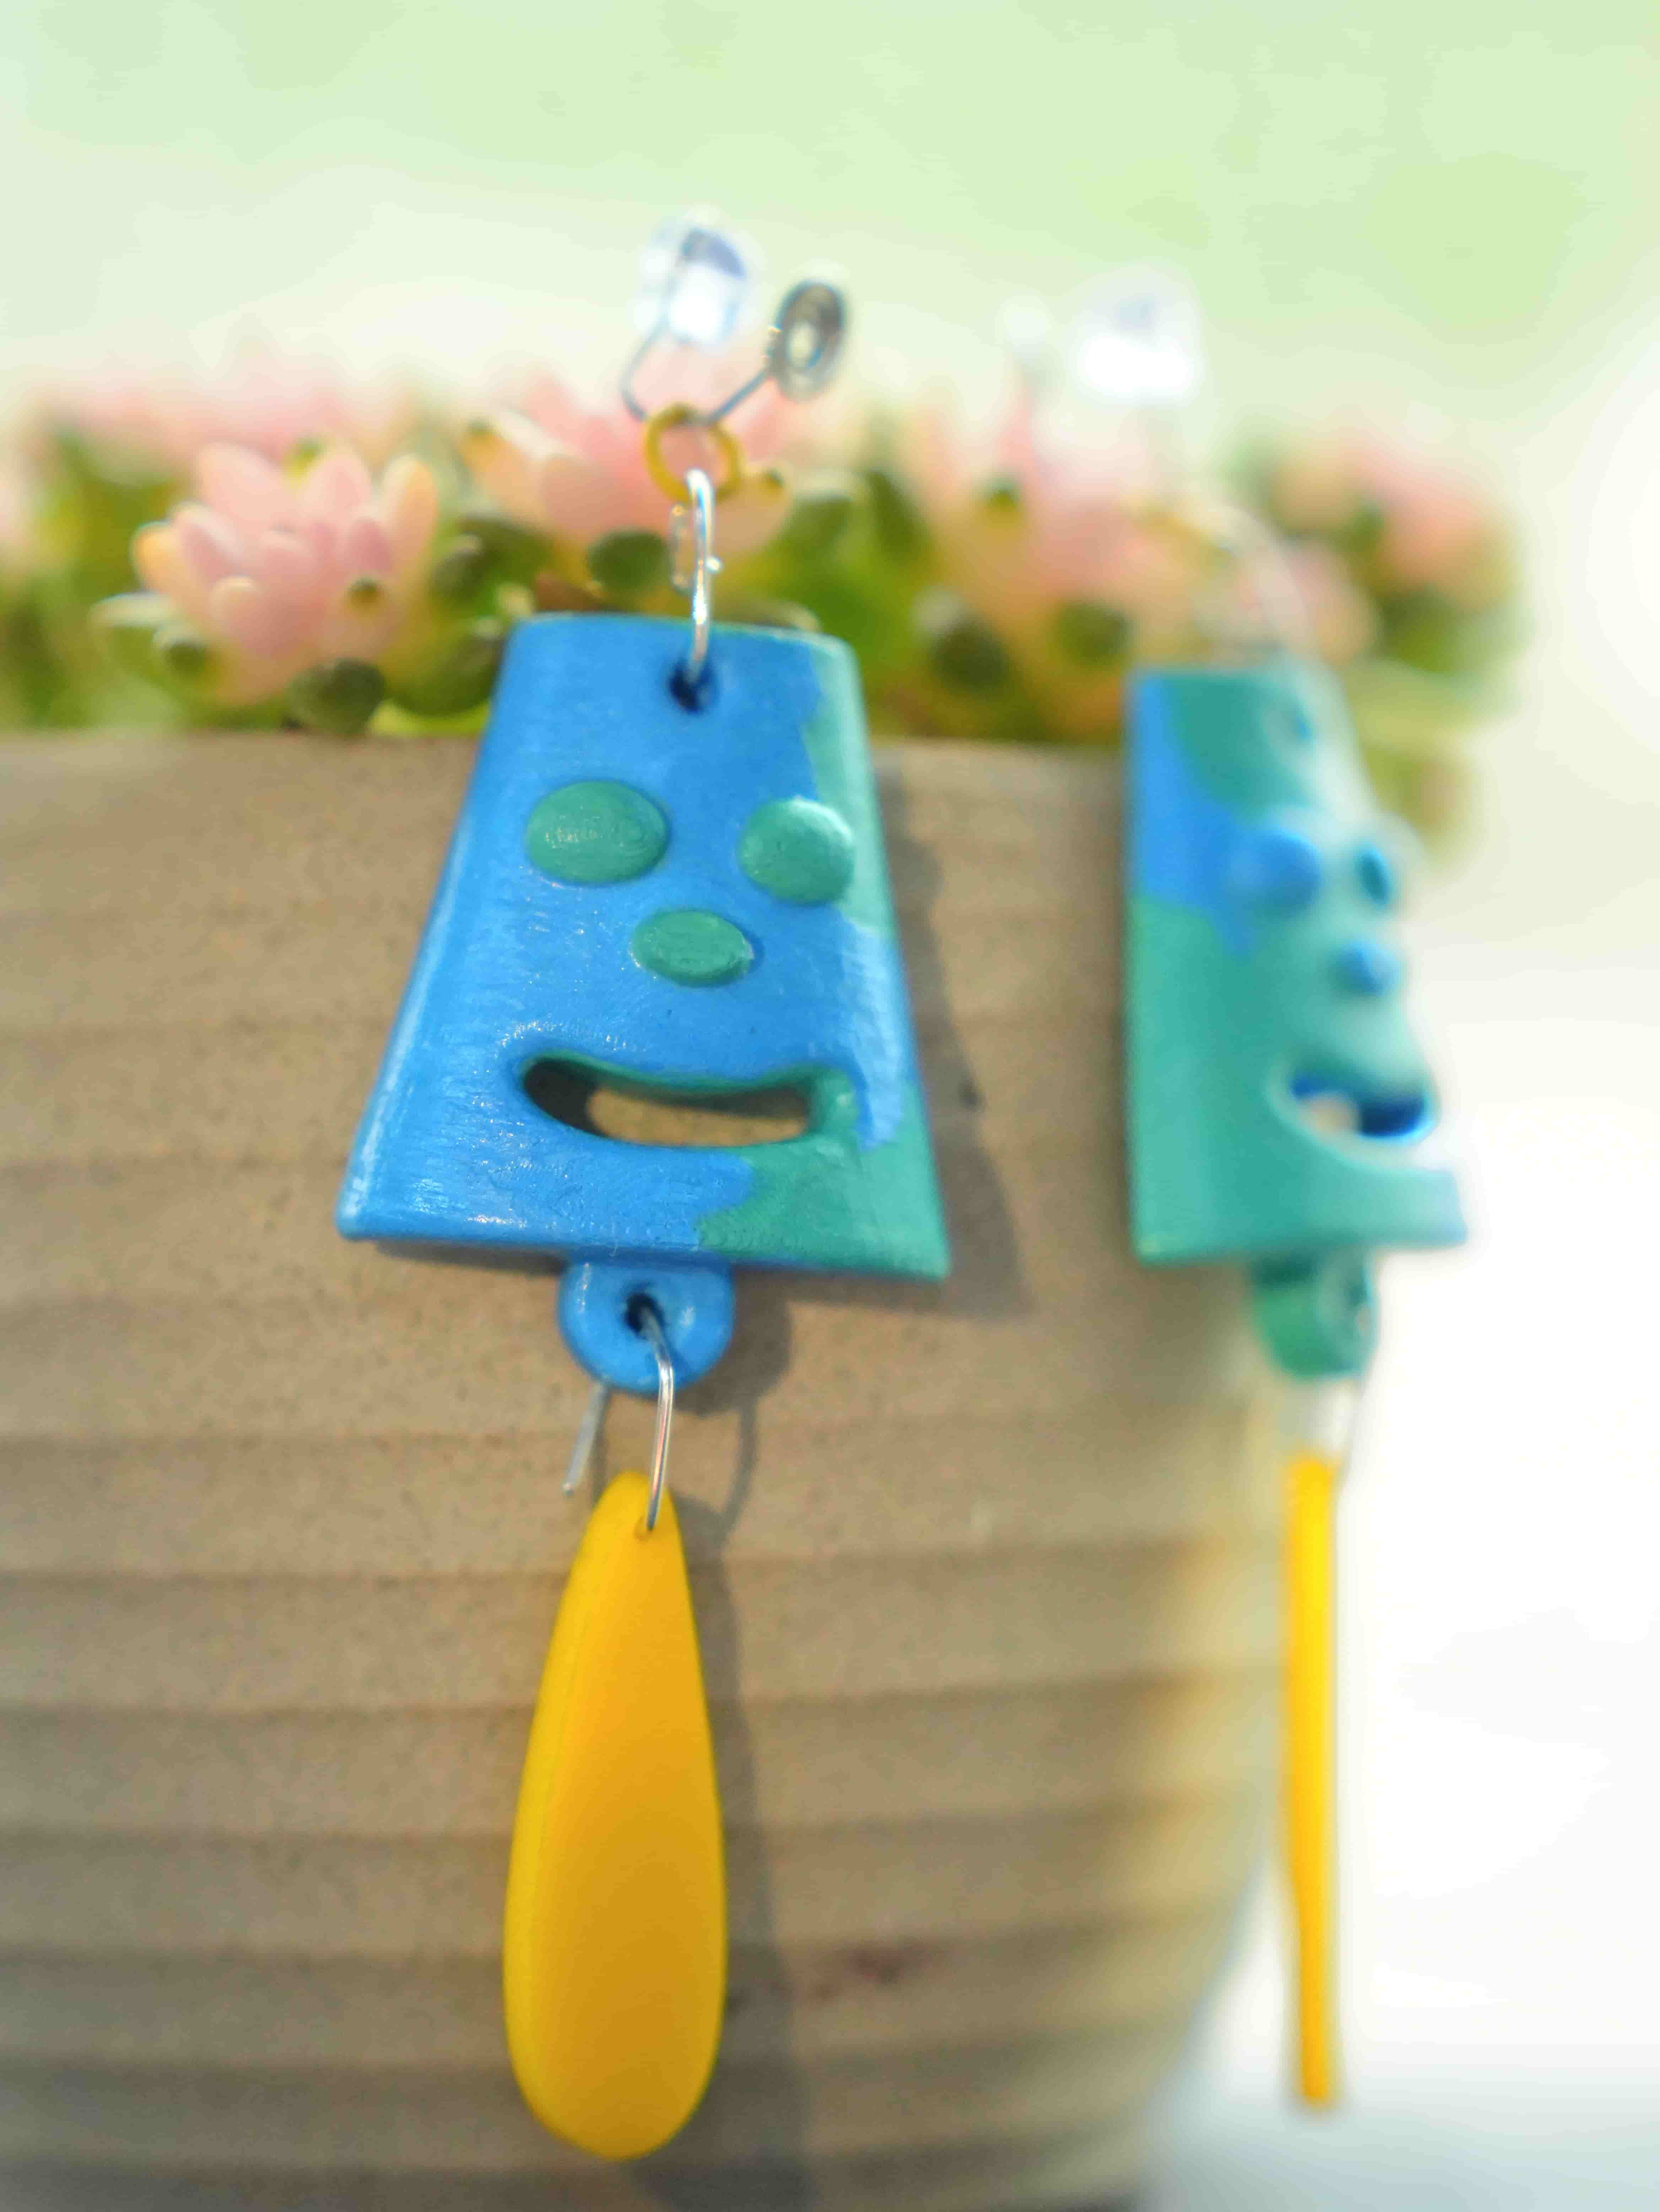
[Hero Shot]

1.1 Assignments of the Week
- Group assignment:
1.Review the safety data sheets for each of your molding and casting materials
2.Make and compare test casts with each of them
3.Compare printing vs milling molds
- Individual assignment:
1.Design a mold around the process you'll be using, produce it with a smooth surface finish, and use it to cast parts
1.2 Group Work
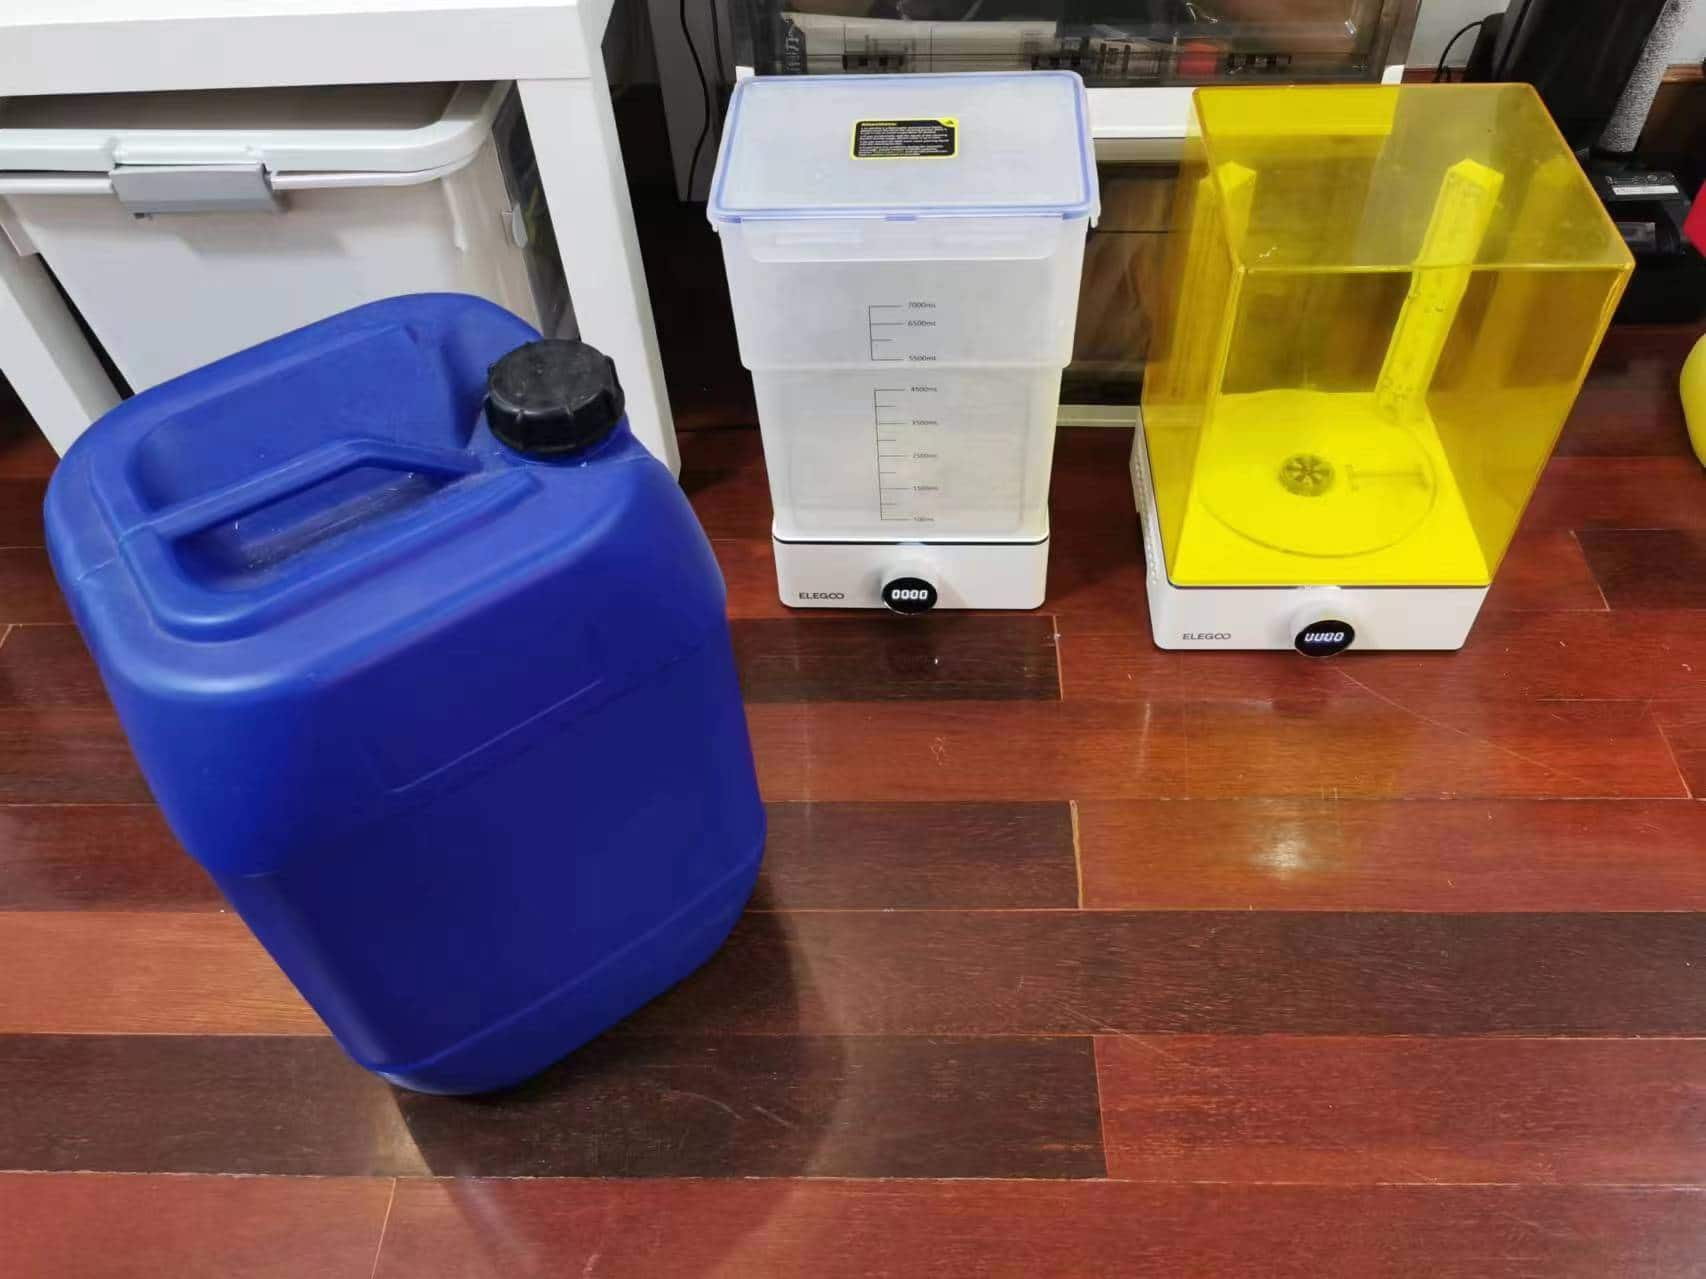
We studied three materials: food-grade silicone, epoxy resin, and plaster. We are very grateful to our colleagues in the studio for providing us with the datasheets for these three materials.
Material 1: Food-grade Silicone
DatasheetsToxicity: Low toxicity
Color: Translucent
Curing time: About 8 hours
Weight mixing ratio: 1:1
Reaction status: No significant heat generation
Advantages: Safe, non-toxic, suitable for food-contact molds, good elasticity
Disadvantages: Long curing time, surface details may not be very clear
Safety precautions: Wear gloves, avoid contact with eyes and skin
Usage process: Stirring may produce bubbles, defoaming process is slow
Bubble level: Medium bubbles
Defoaming level: Defoaming is slow
Material 2: Epoxy Resin
DatasheetsToxicity: Moderate, may release volatile organic compounds
Color: Transparent, can add colorants
Curing time: About 24 hours
Weight mixing ratio: 3:1
Reaction status: Slight heat generation
Advantages: High transparency, suitable for making detailed molds or accessories
Disadvantages: Strong odor, long curing time, high hardness
Safety precautions: Operate in a well-ventilated environment, wear gloves and a mask
Usage process: Few bubbles during stirring, uniform stirring has a significant impact on curing results
Bubble level: Low bubbles
Defoaming level: Good defoaming
Material 3: Plaster
DatasheetsToxicity: Low
Color: White
Curing time: About 1 hour
Weight mixing ratio: 10:3 (mix with water until no granules)
Reaction status: Slight heat generation
Advantages: Quick curing, low cost, suitable for rapid forming
Disadvantages: Brittle, not suitable for detailed mold making
Safety precautions: Wear a dust mask, avoid inhaling dust
Usage process: Stirring tends to produce bubbles, rapid curing affects defoaming
Bubble level: Medium-high bubbles
Defoaming level: Poor defoaming
Comparison Ranking
1.3 Individual Work
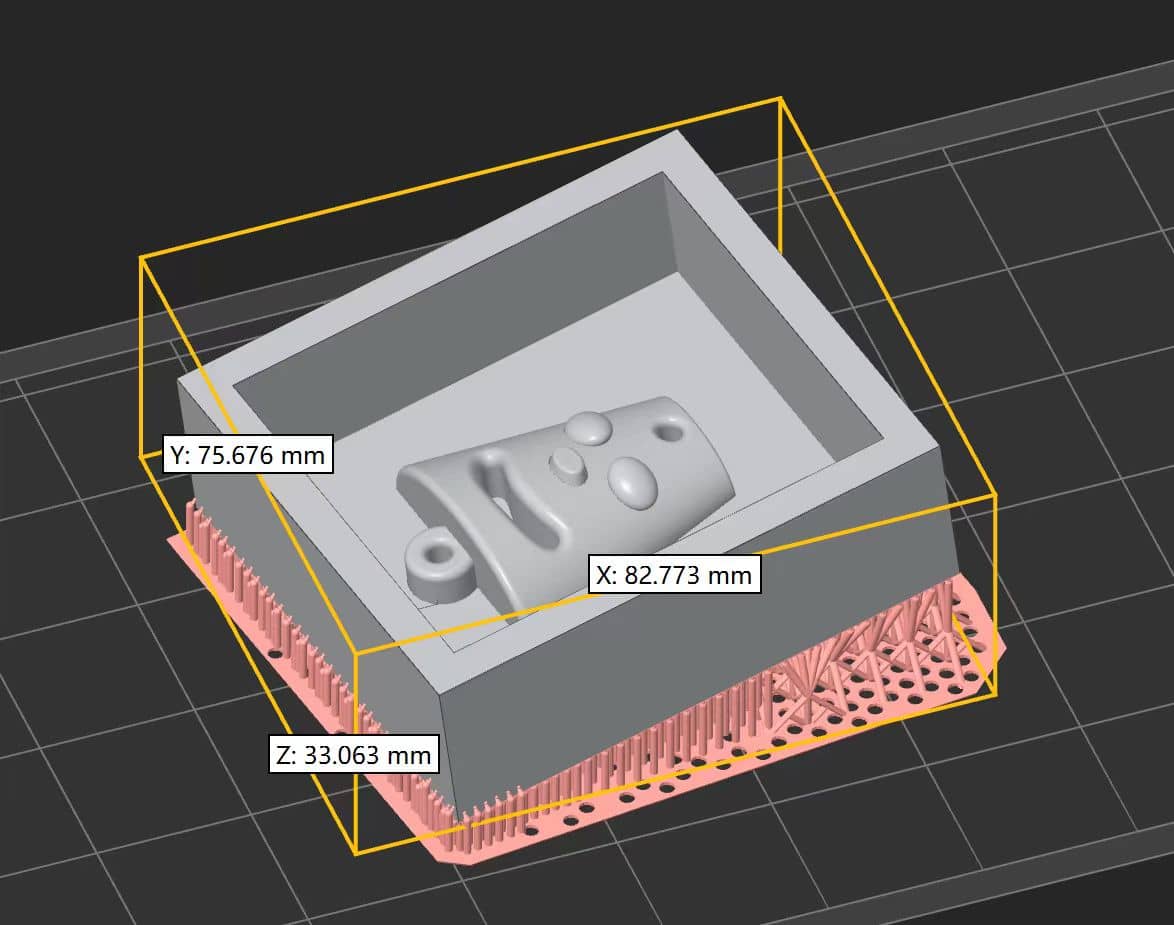
- Select branch, configure printing settings, total time required is 5h18min35s.
- "Start curing! Use ultraviolet laser or UV LED light source to irradiate liquid photosensitive resin, curing layer by layer to create the object."
- After printing is complete, tilt and drain the resin for half an hour.
- Add industrial ethanol (above 98 degrees) and place it in an ultrasonic cleaner for 5 minutes.
- Air dry in a ventilated area.
- Remove supports and polish the surface.
- Place in a secondary curing machine for 35 seconds.
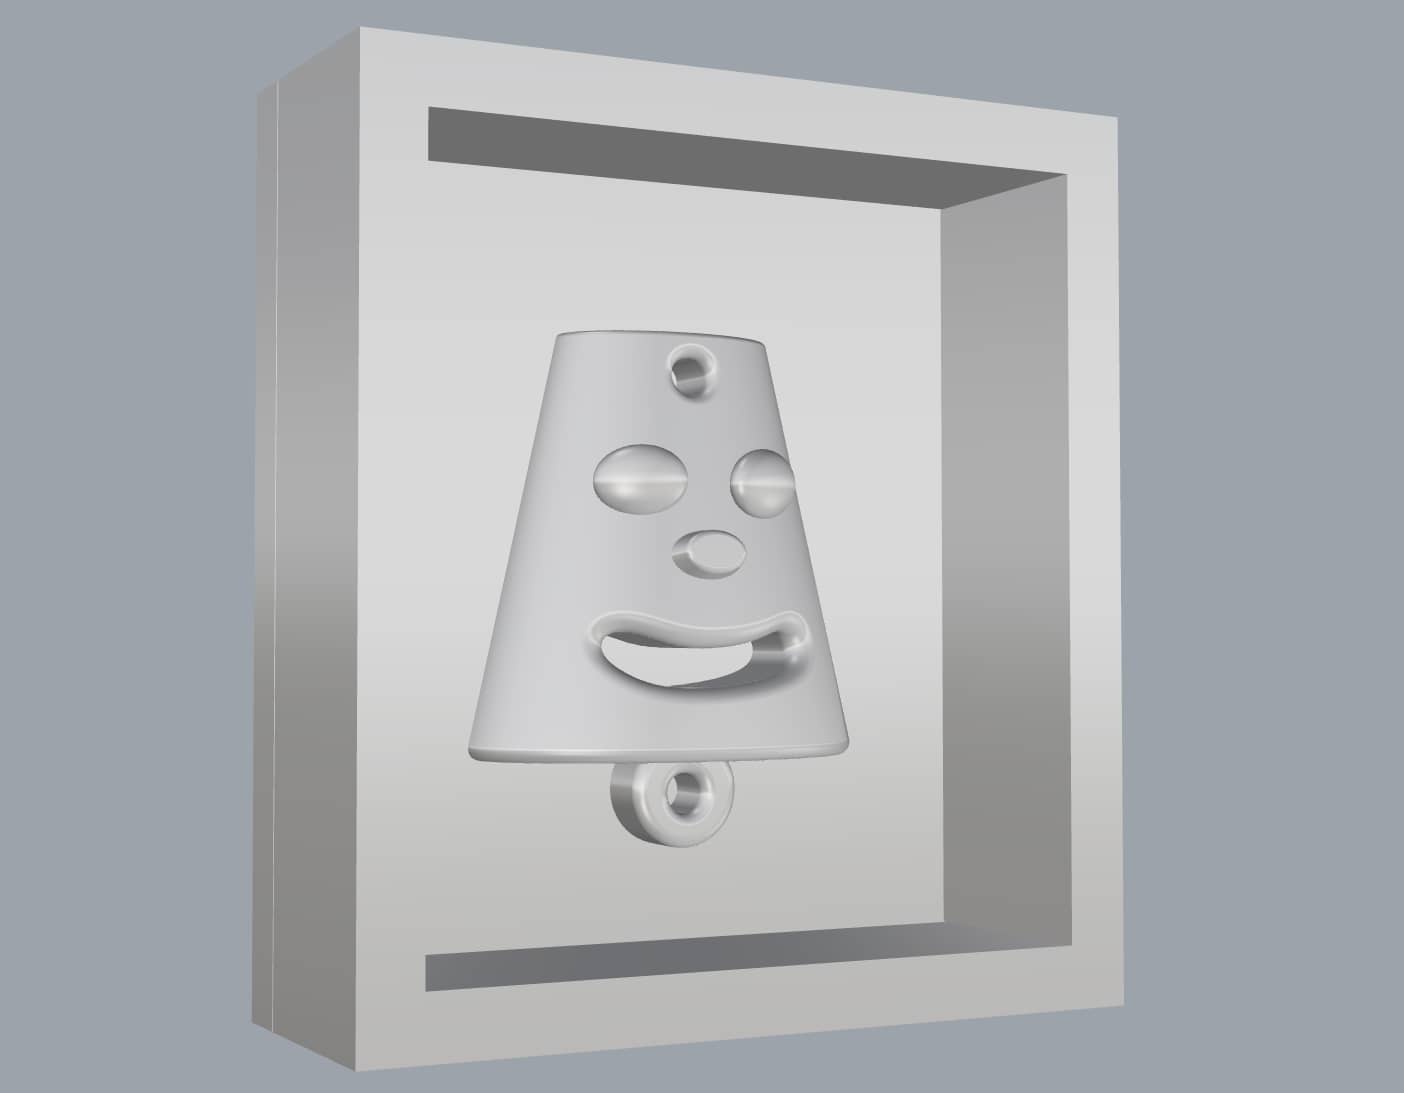
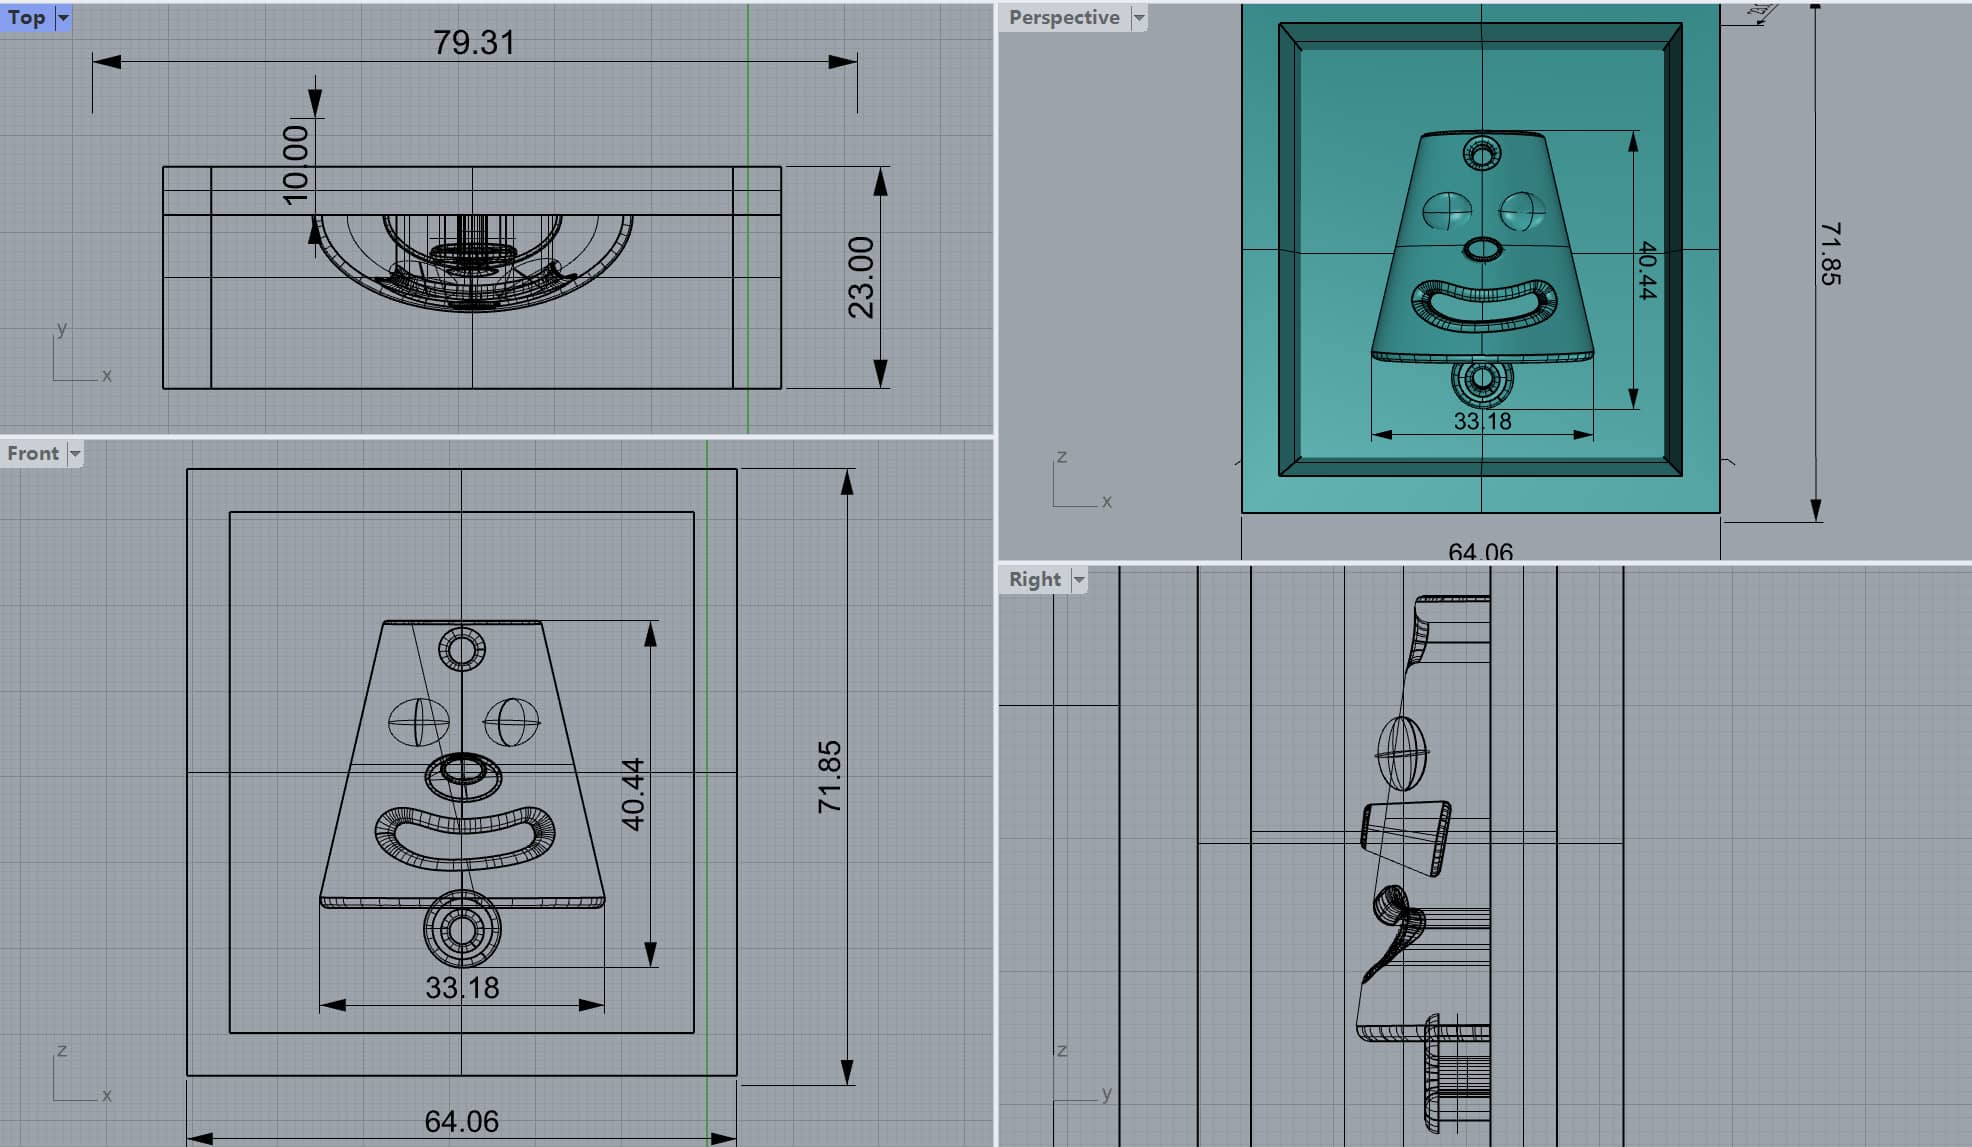
1.3.1 Design
This is the final model.
1.3.2 printing
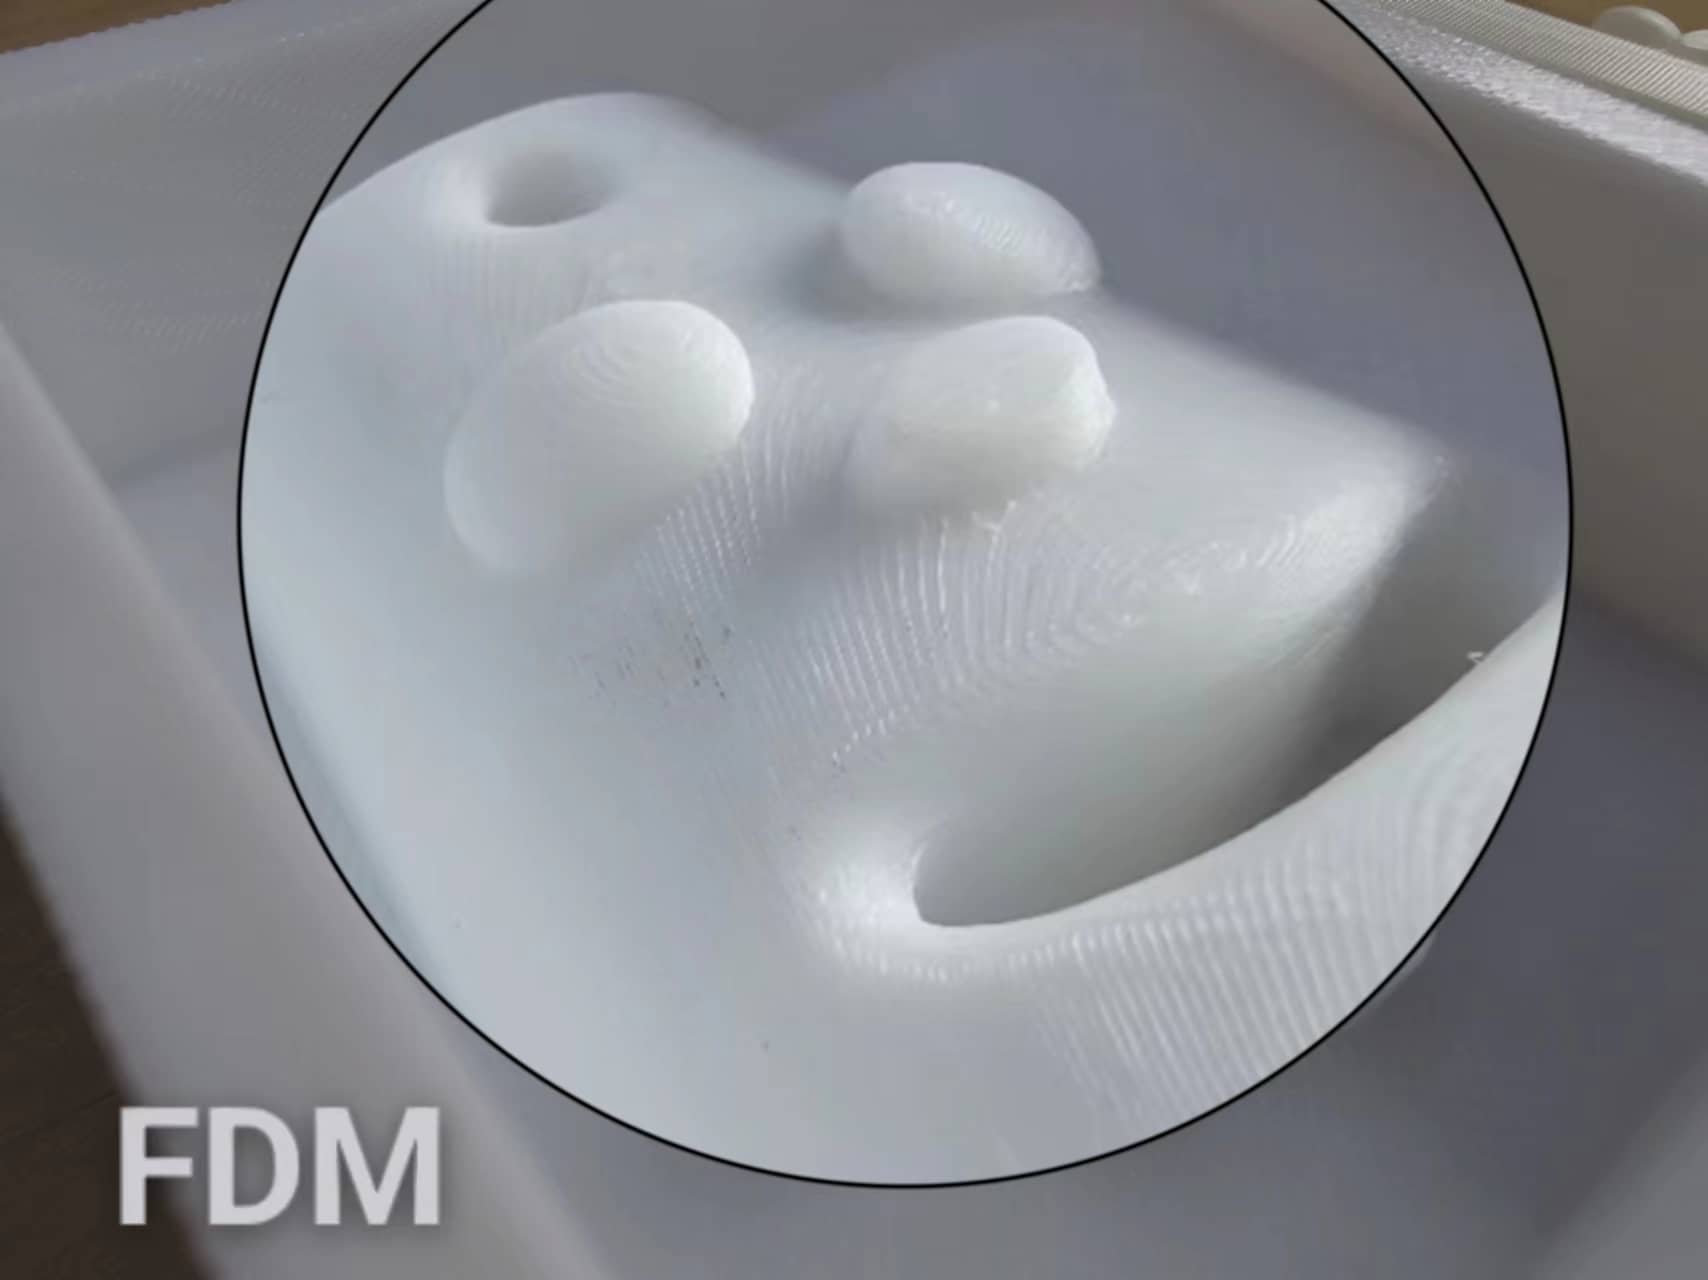
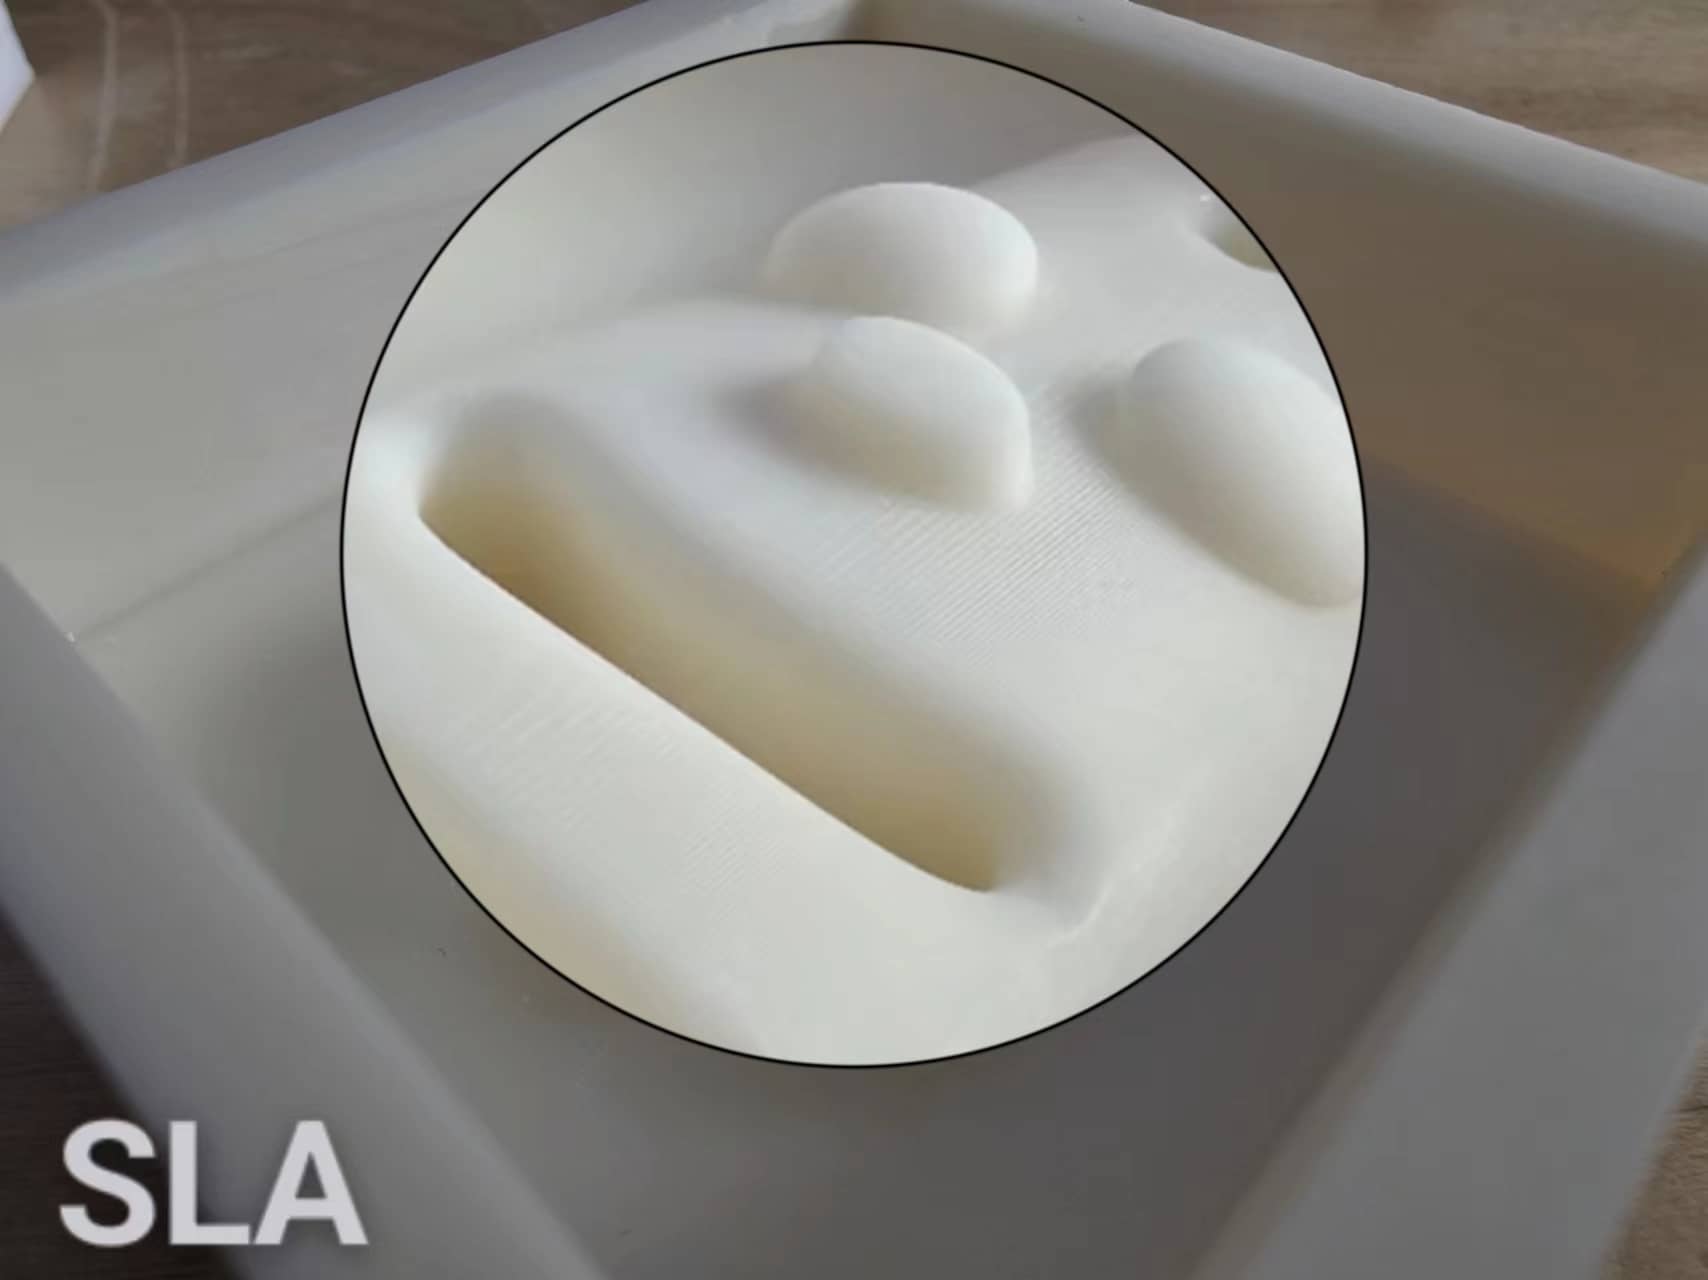
In Week 05, I learned and used an FDM printer and noticed that the printed objects, while sturdy, had noticeable layer lines and the quality wasn't as good. So I chose to use LCD for manufacturing. Here is a comparison of the printing results between FDM and LCD.
The process of LCD involves the following steps:


1.3.3 Molding and Casting
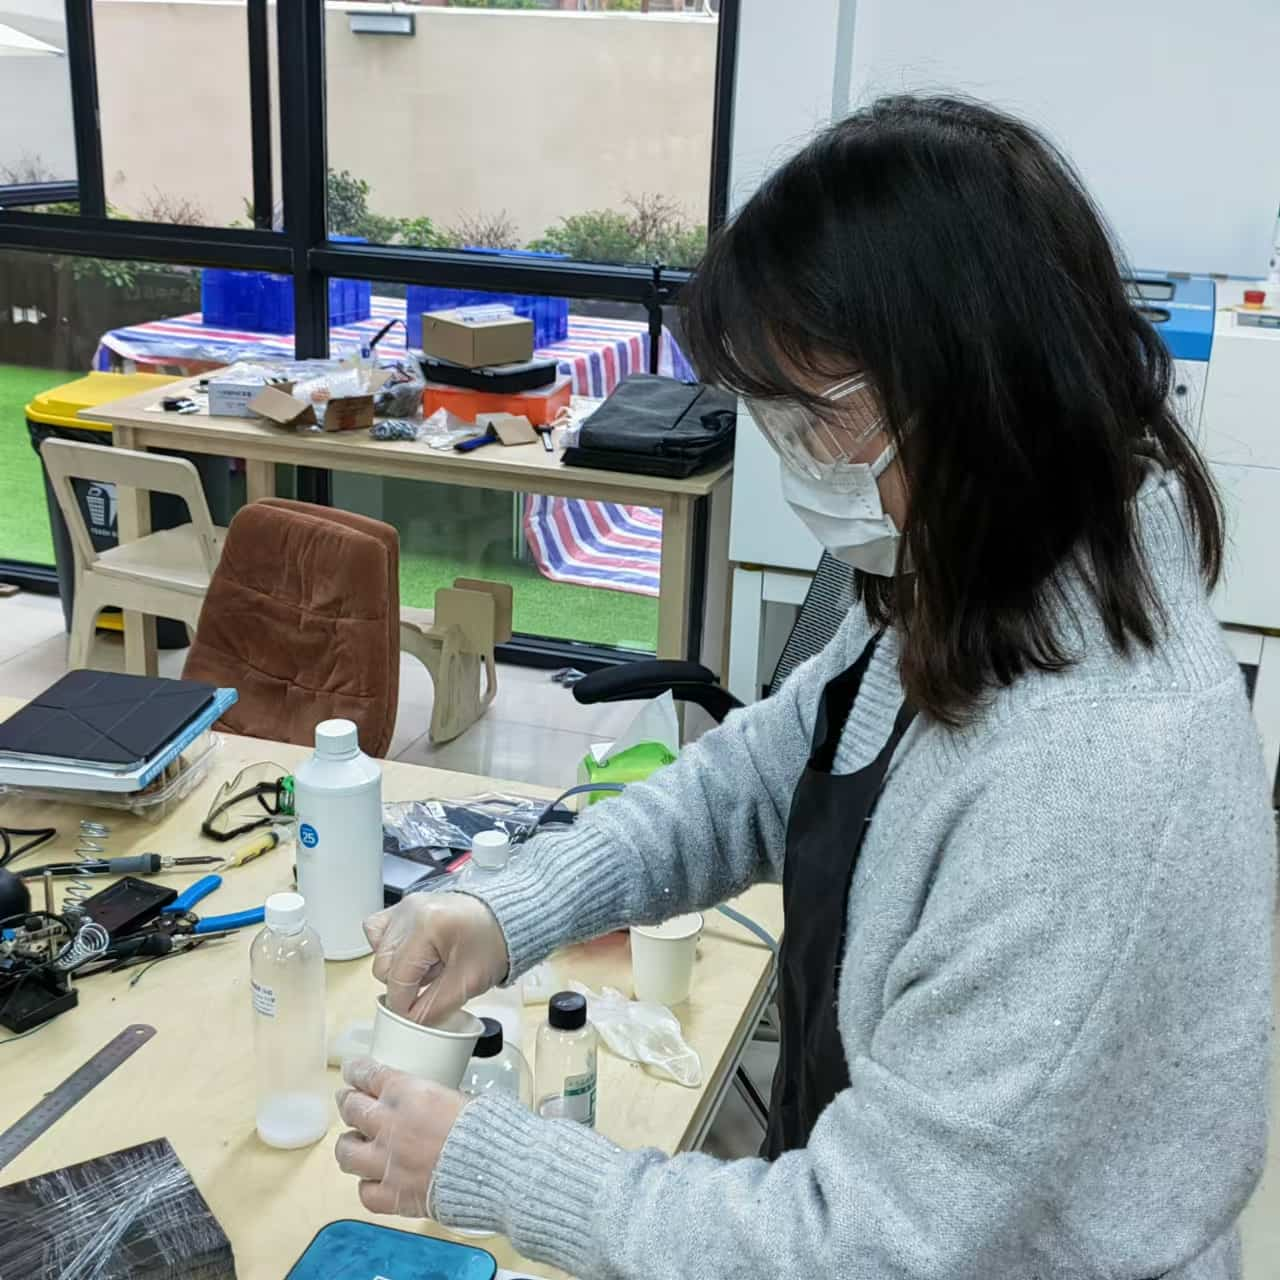
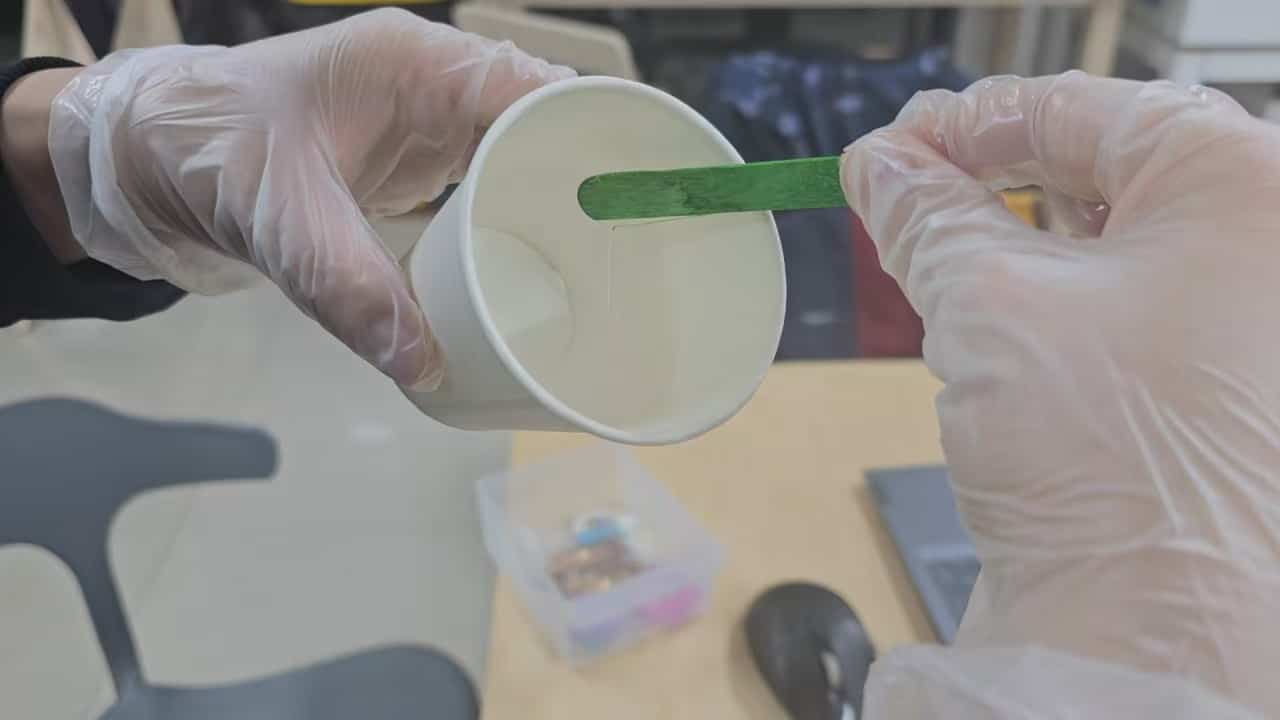
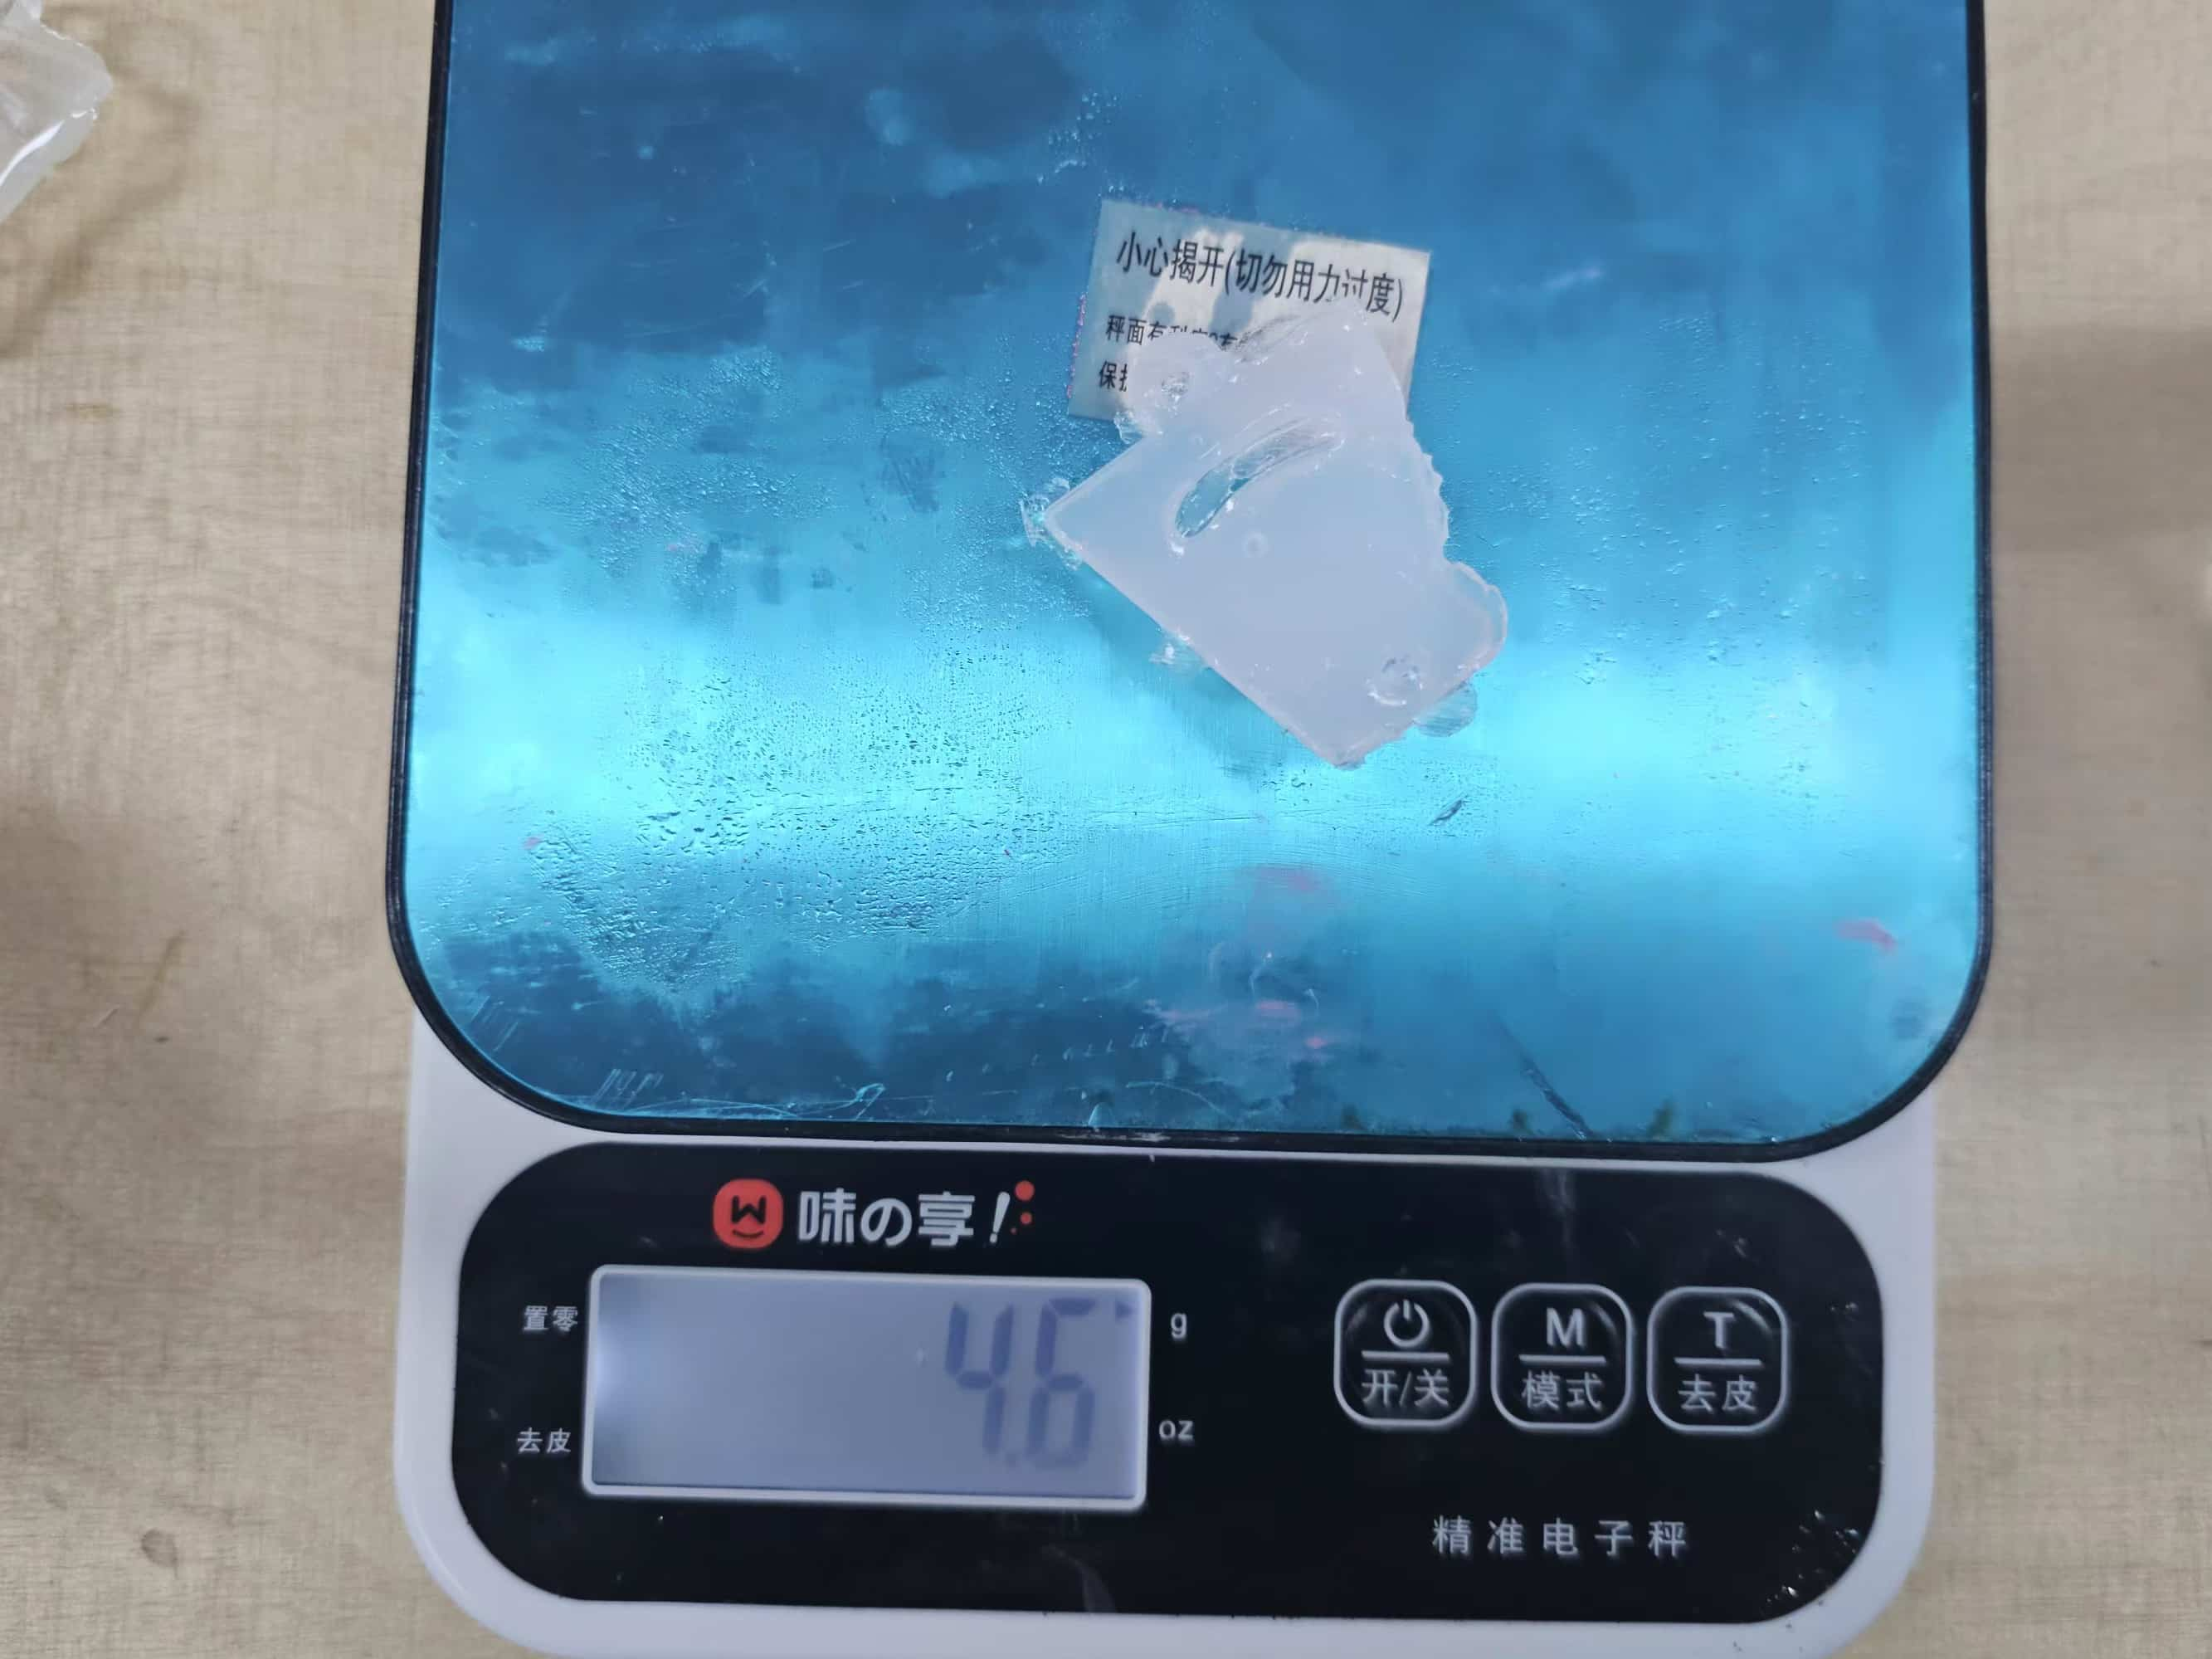
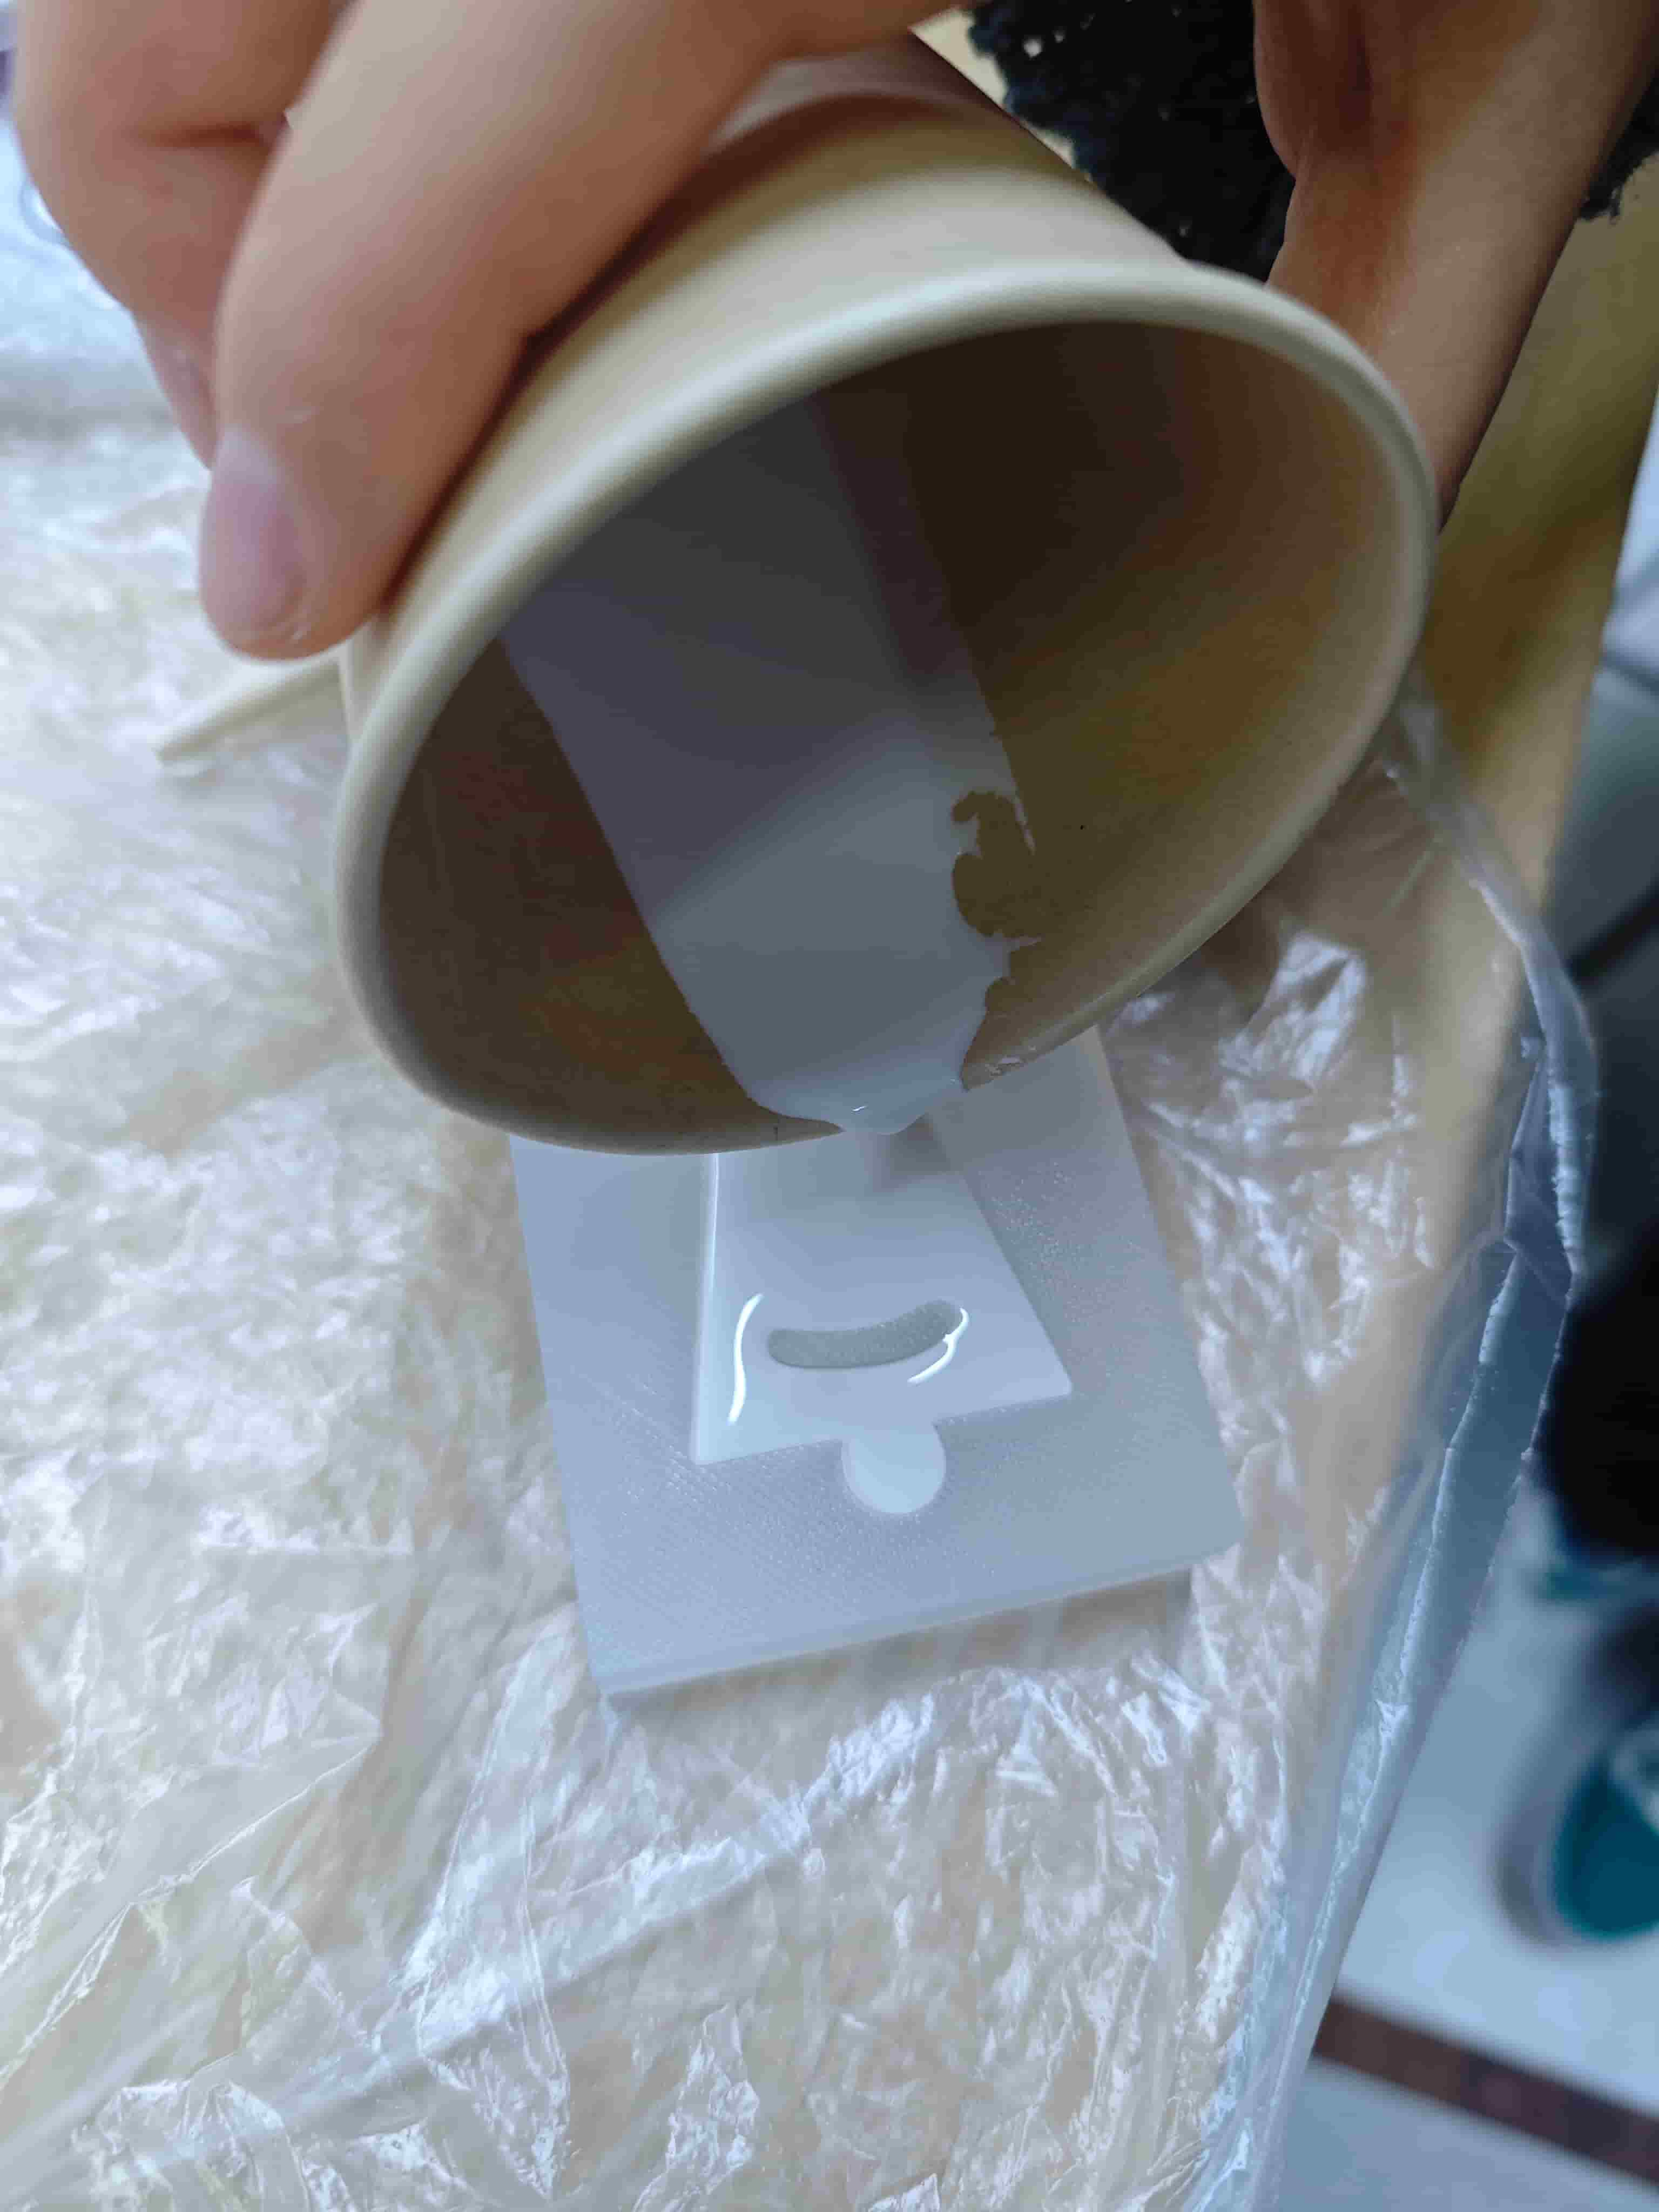
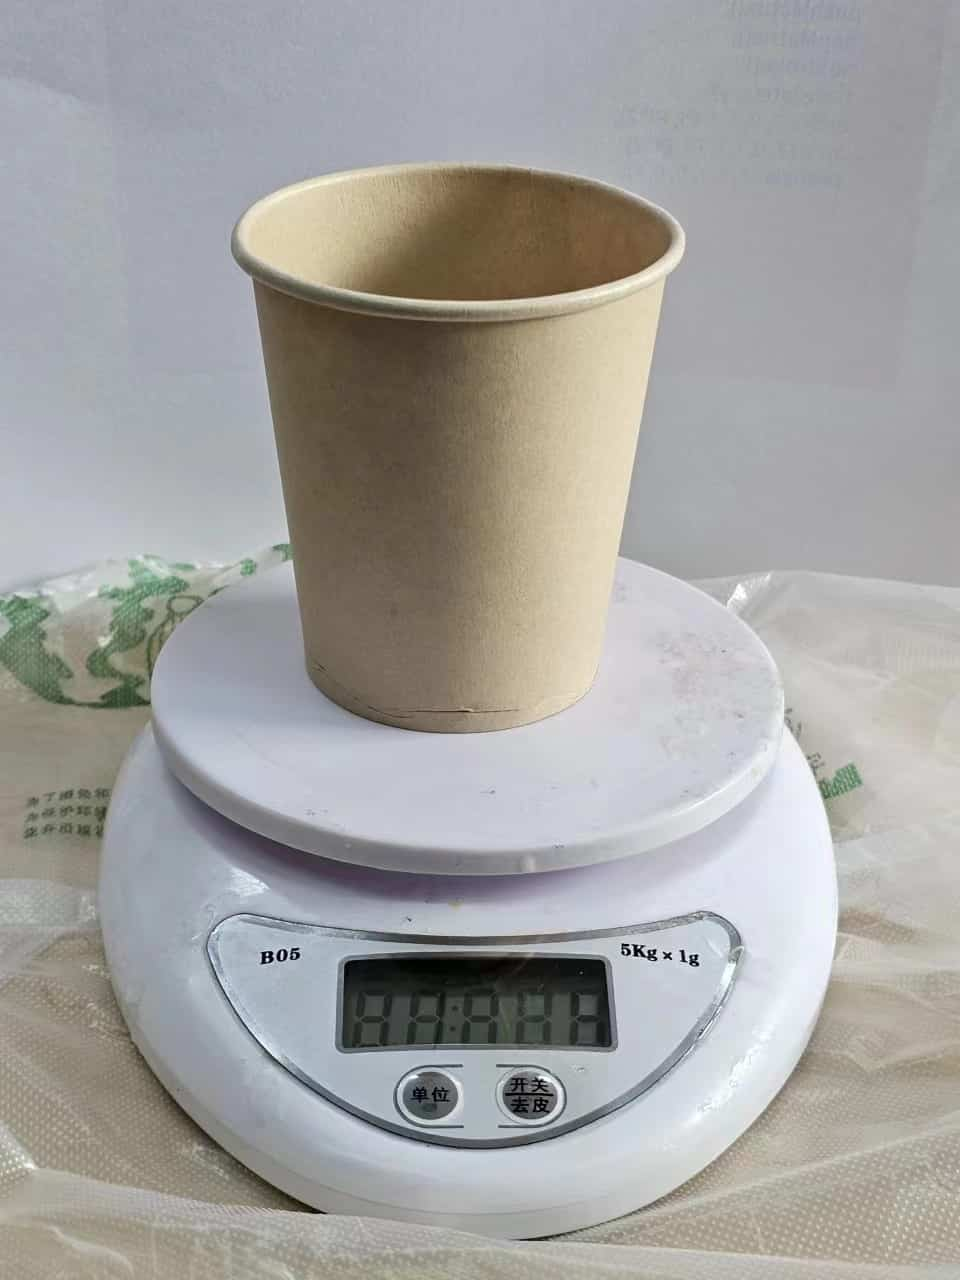
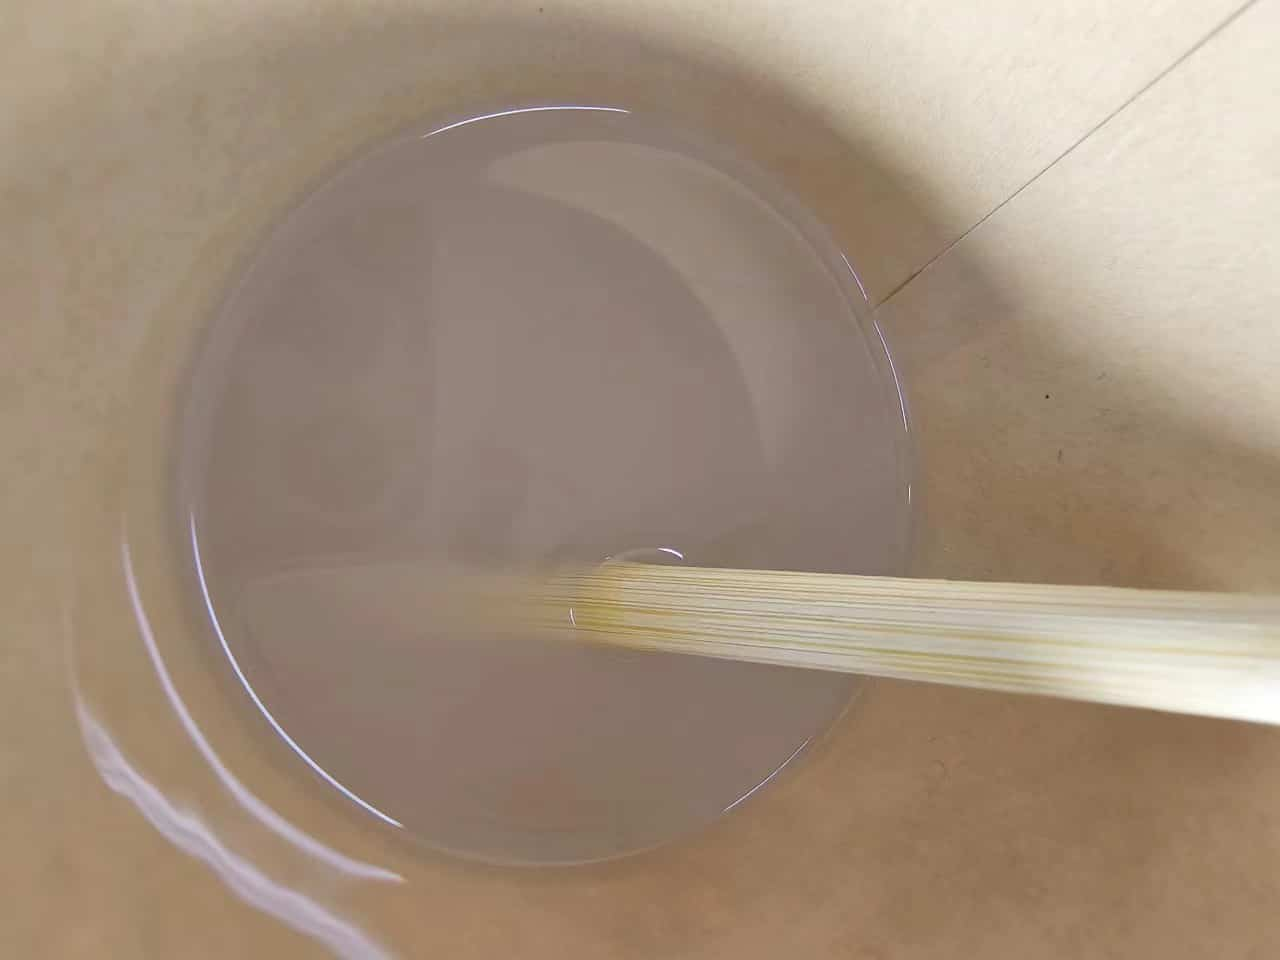
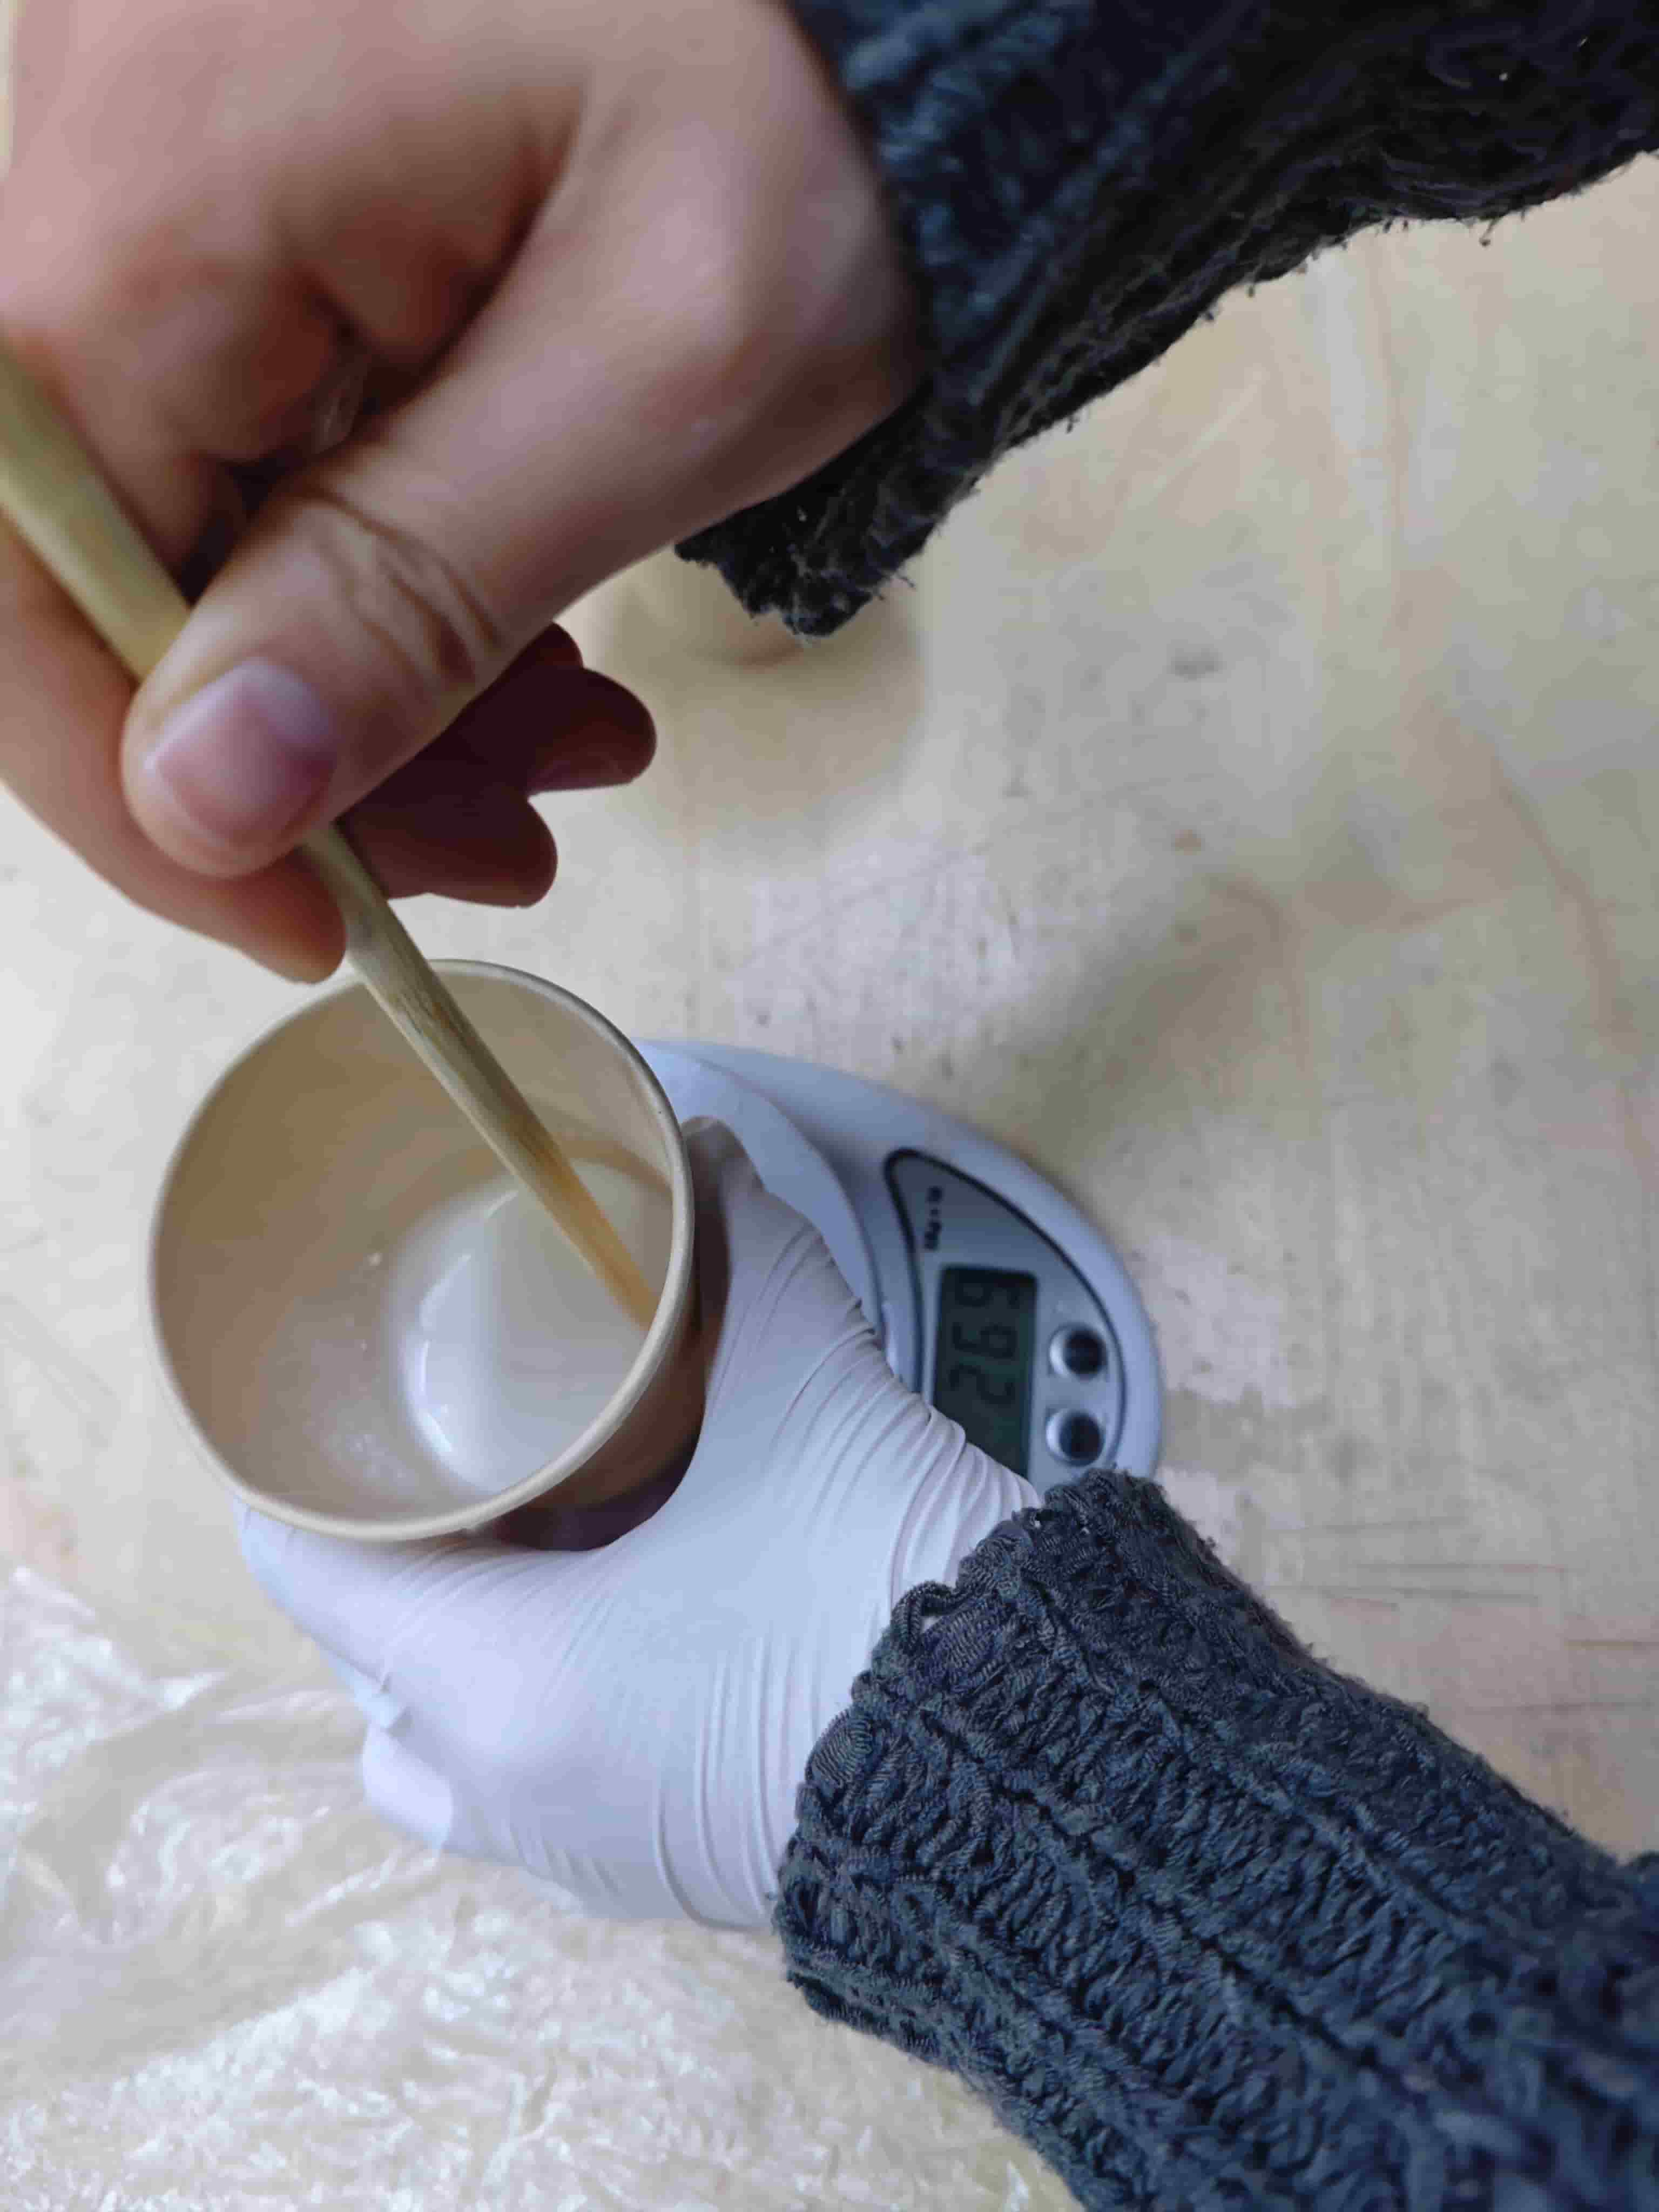
- I mixed components A and B of the silicone in a 1:1 ratio, removing 3g of the cup's weight, resulting in a total weight of 66g for the combined AB mixture. Then, I stirred slowly to prevent bubbles from forming.
- Allow to stand for 8 hours , wait...
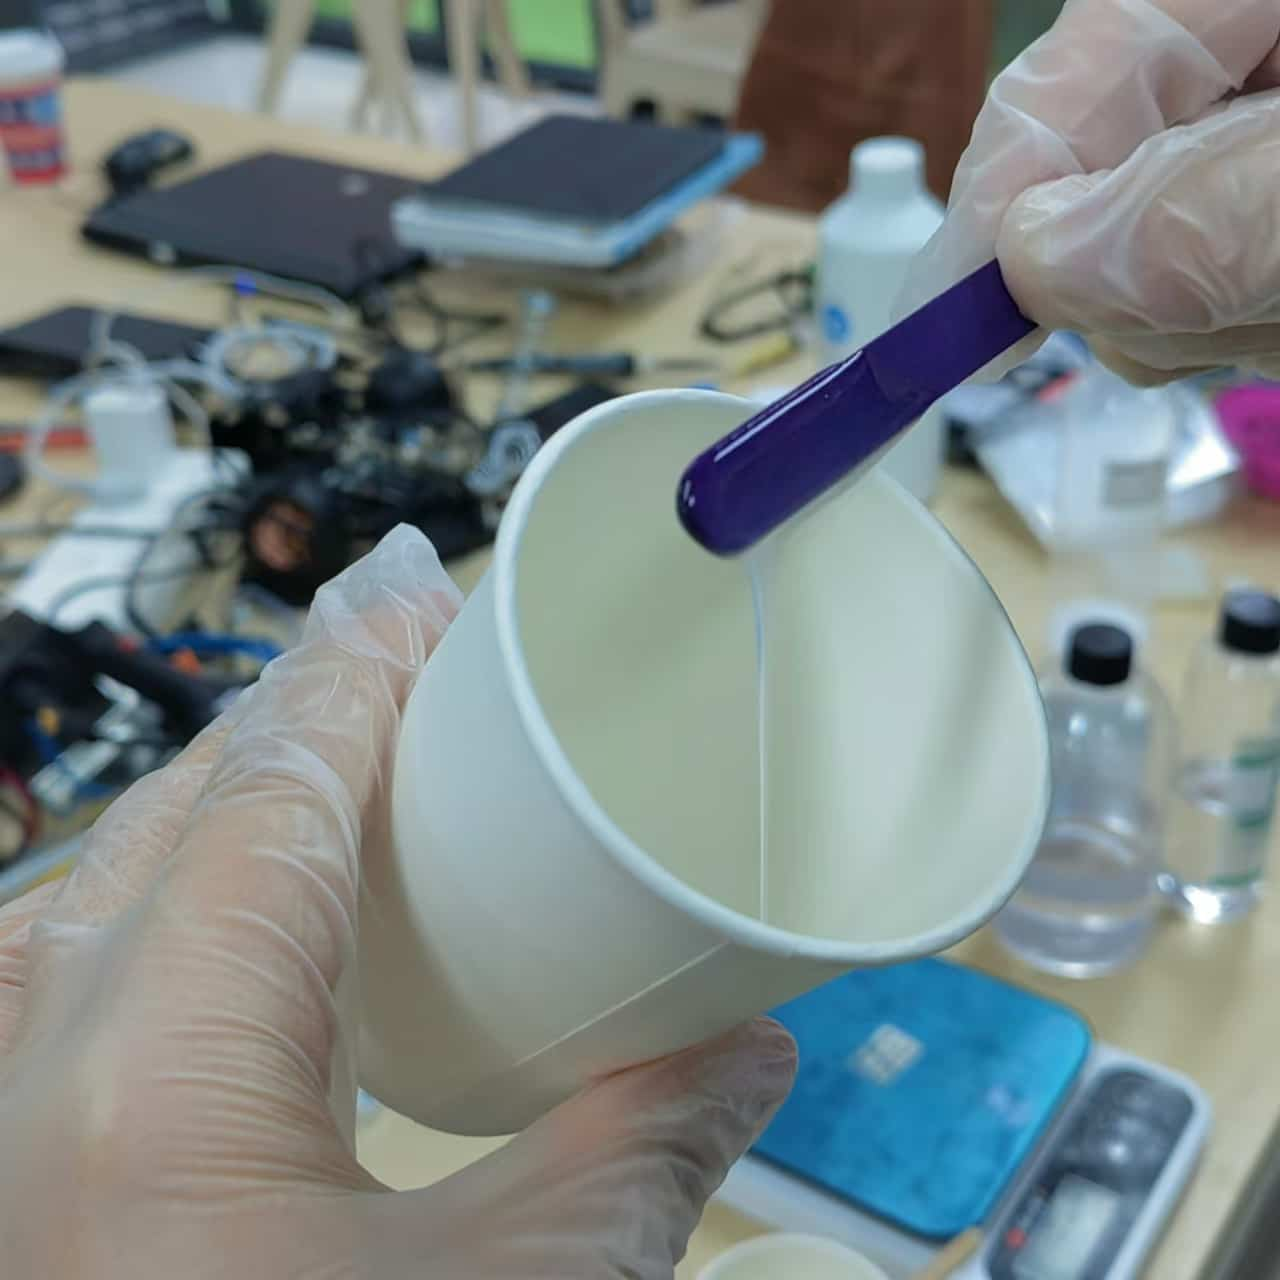
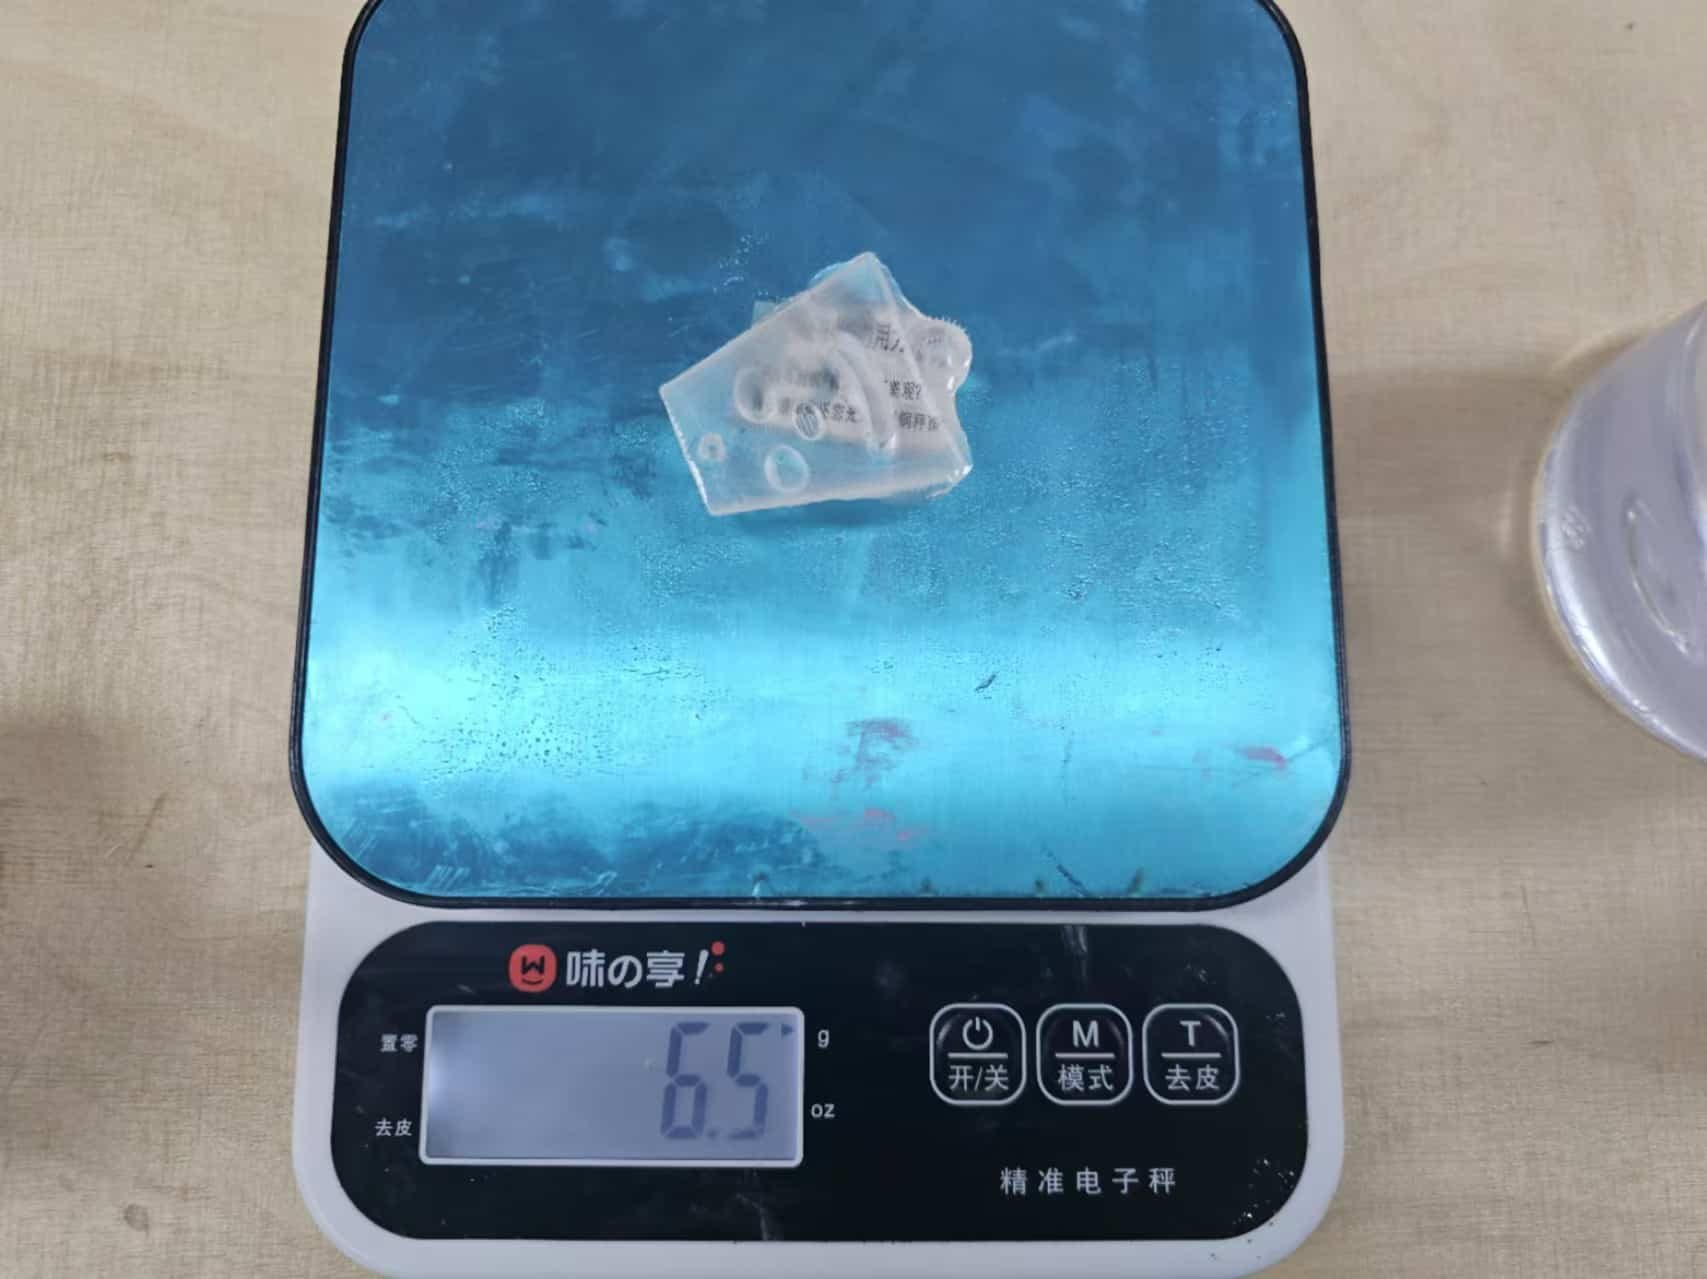
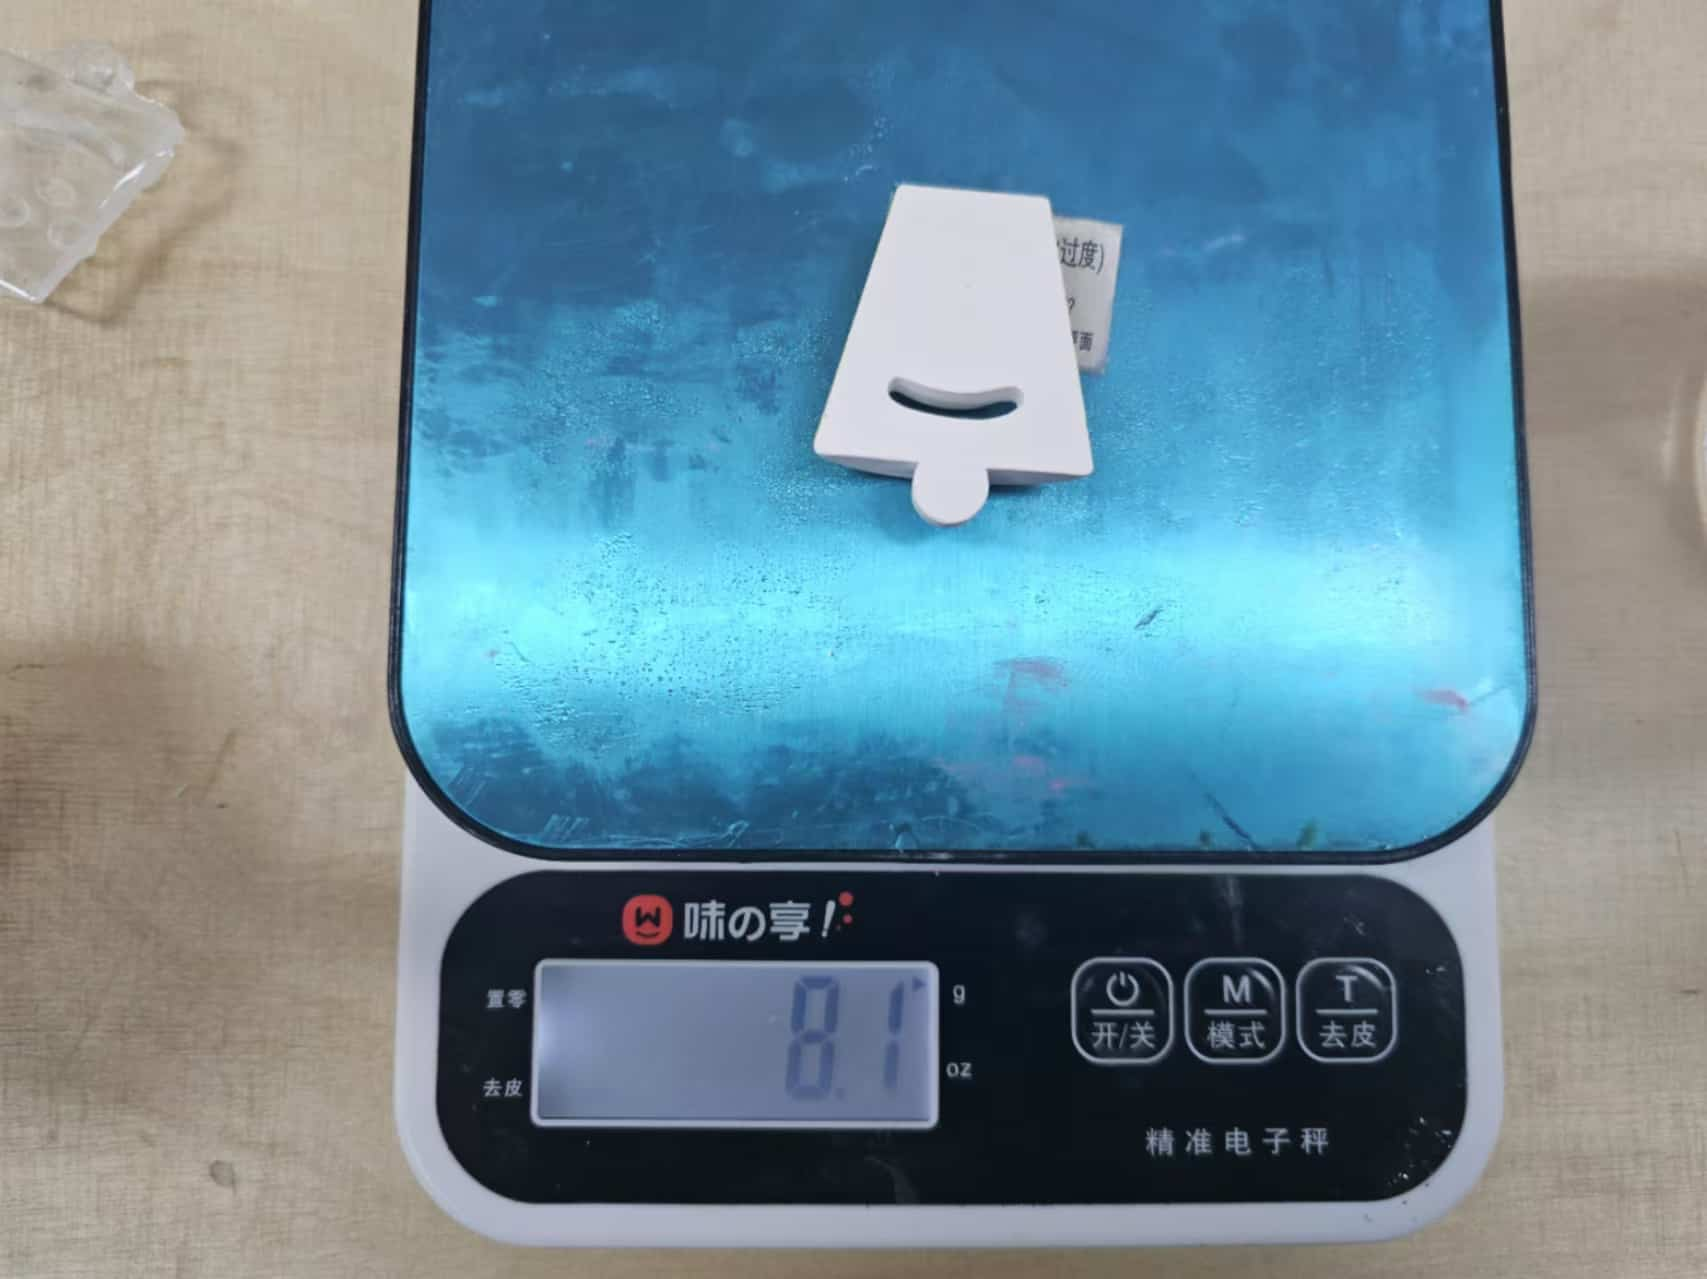
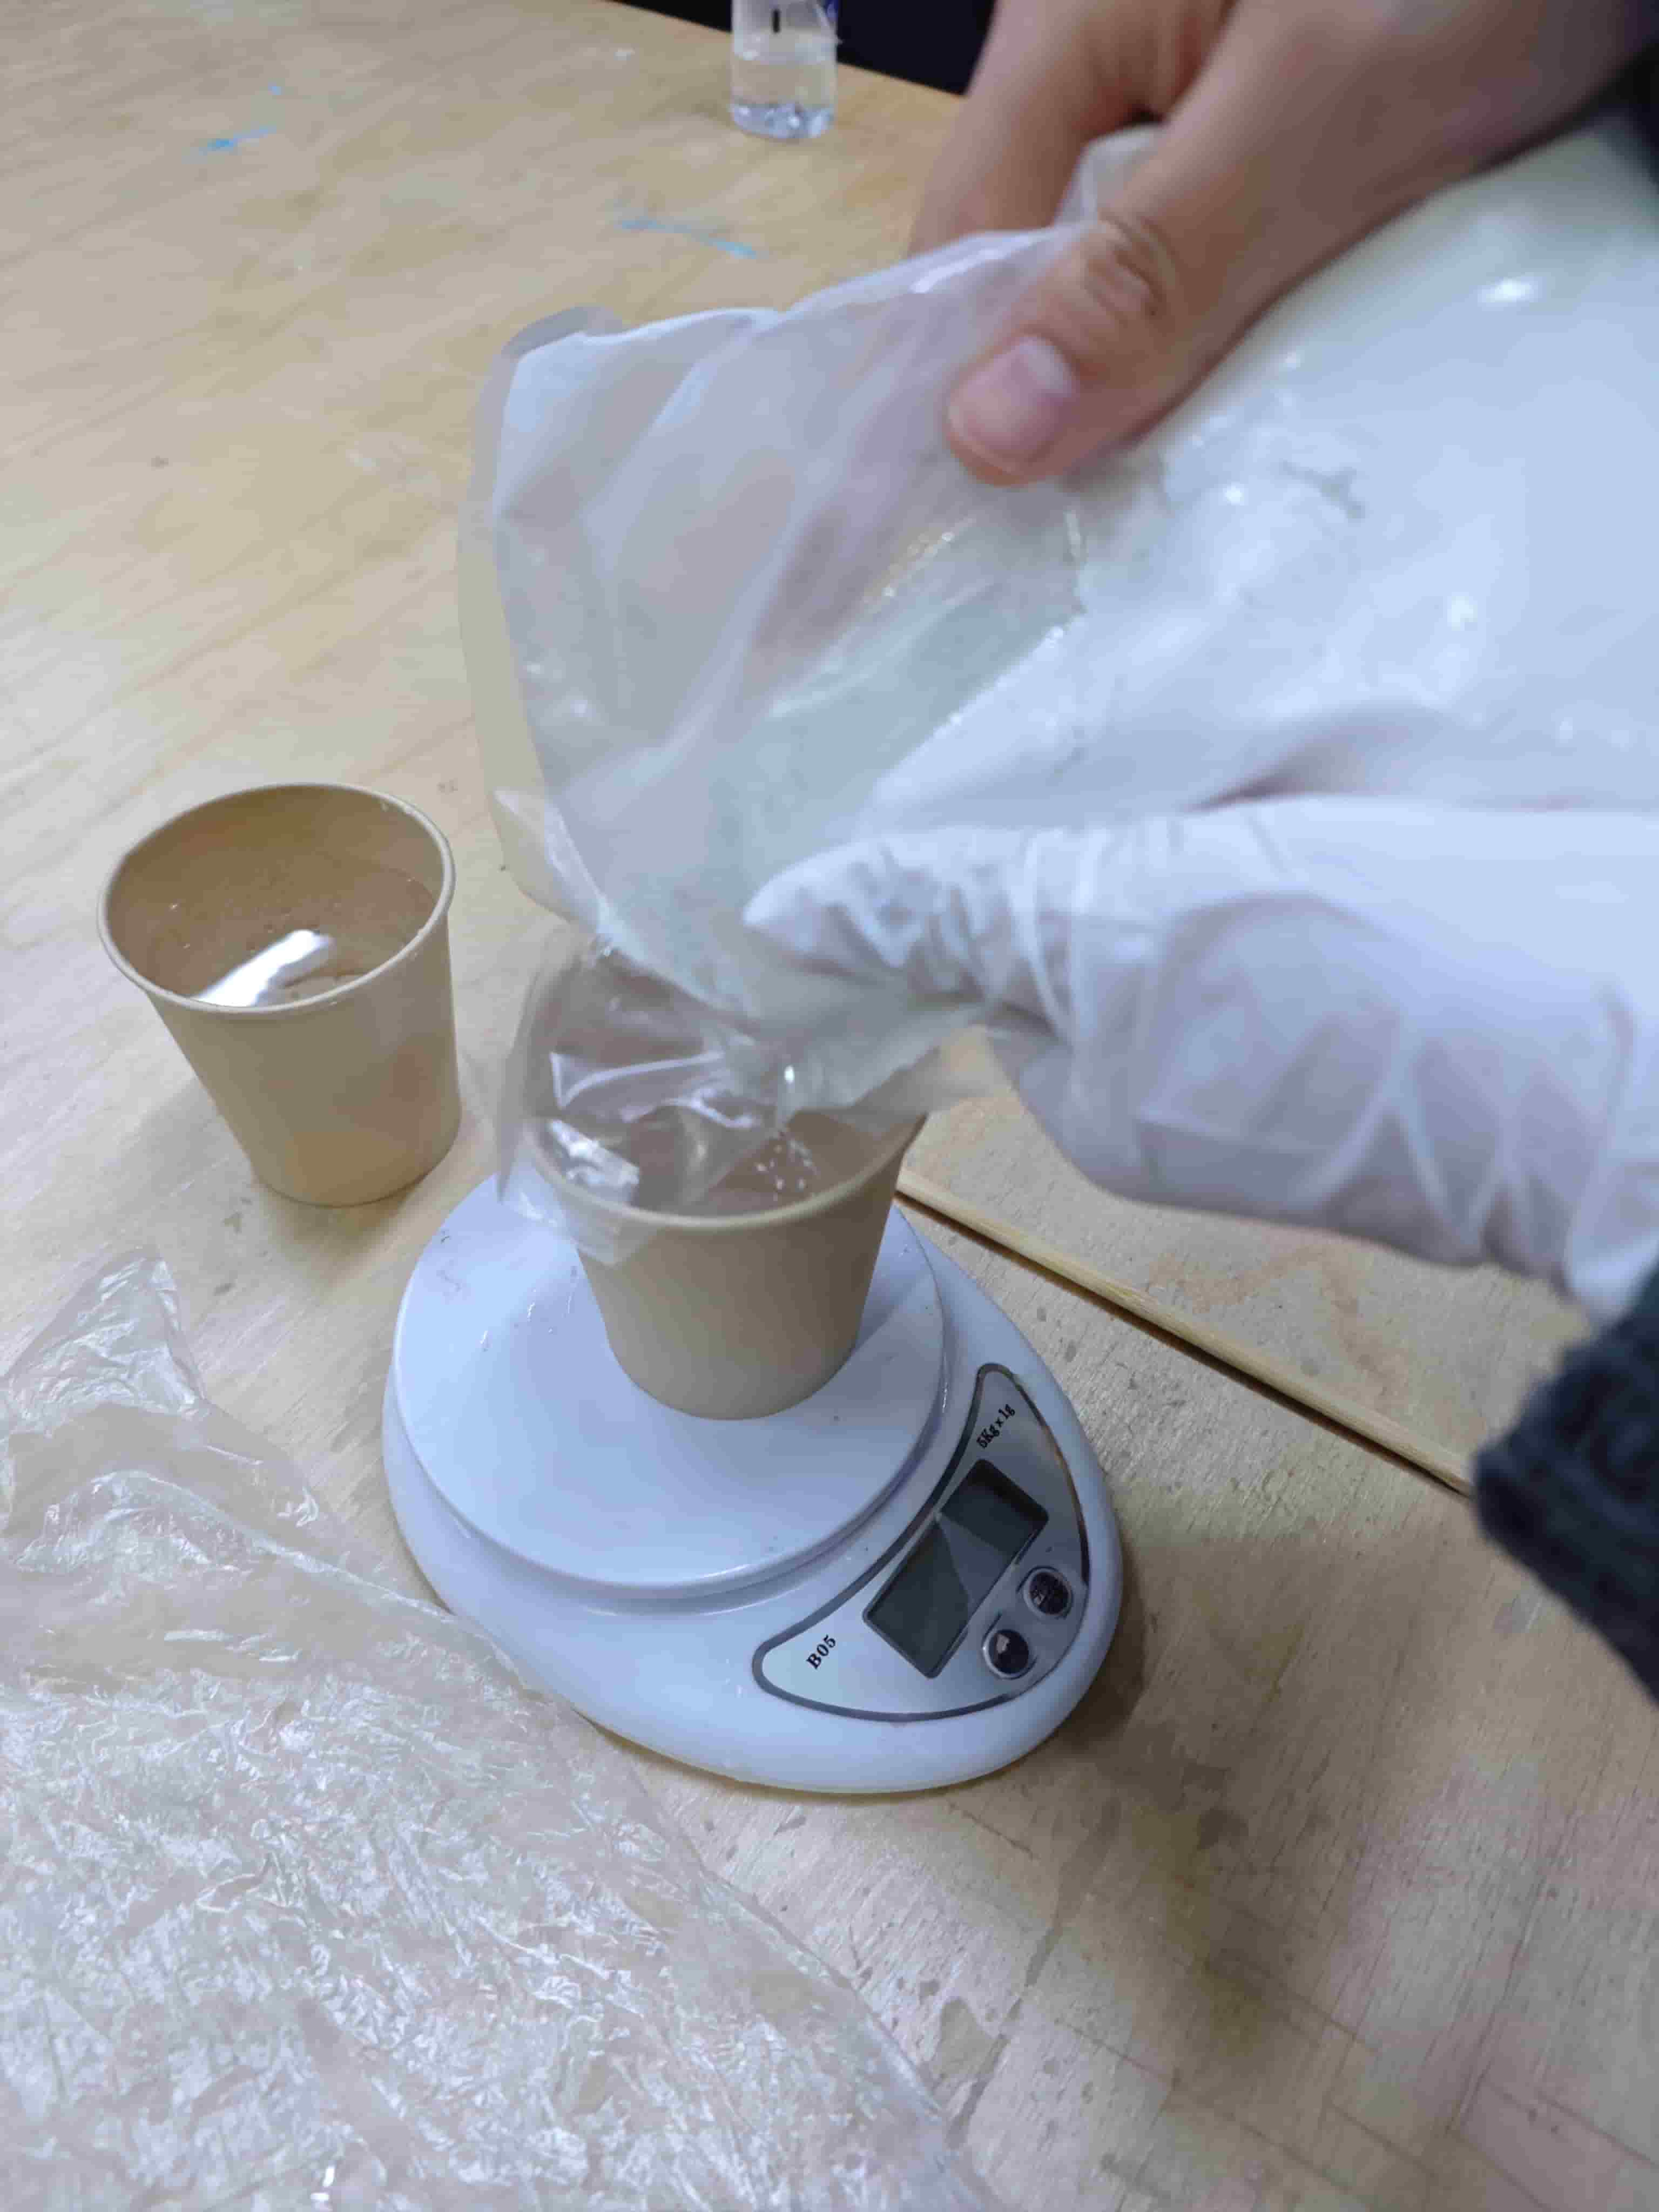
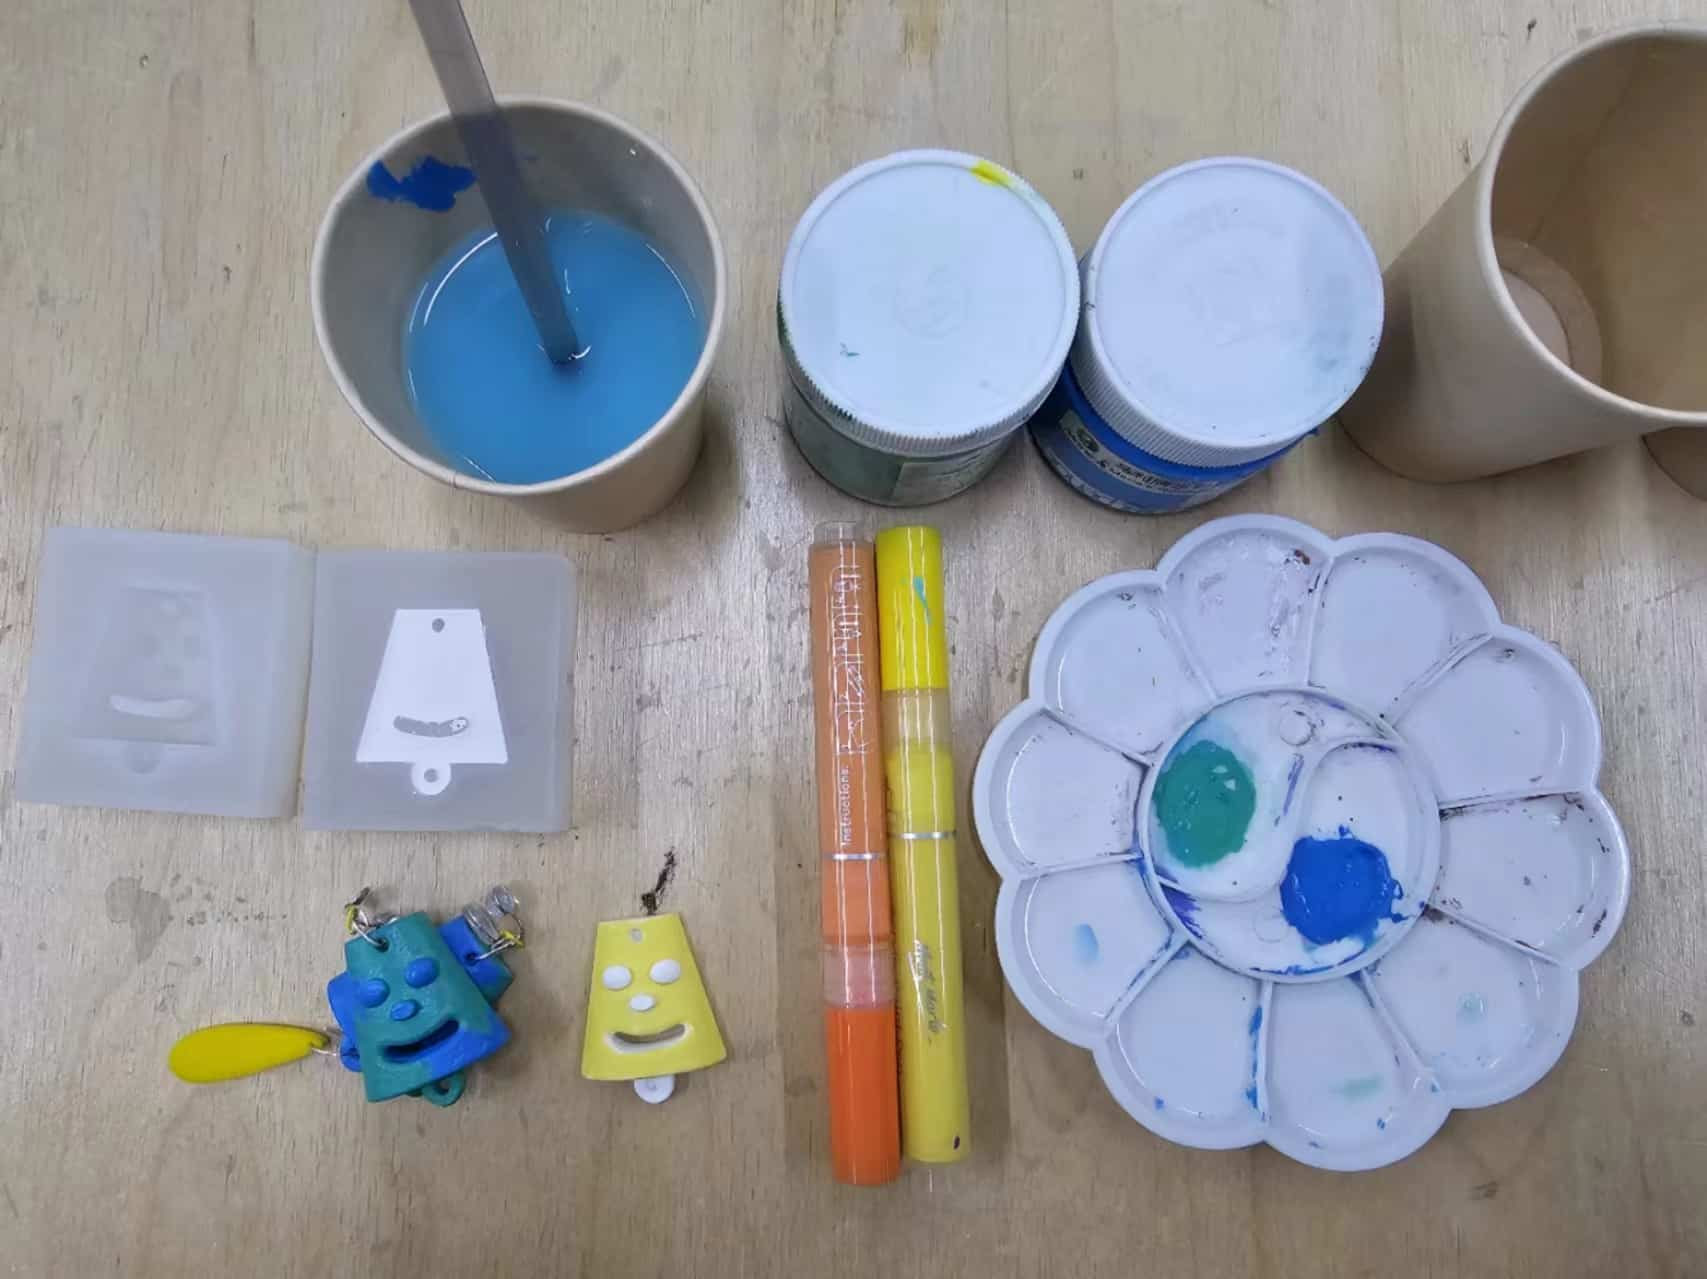
- After pouring the silicone mold, I'm use plaster powder to make the earrings. Here are the materials I'm getting ready:
- The ratio of plaster powder to water is 10:3. I slowly mix the appropriate amount of material and then pour it into the silicone mold.
- Let it stand for one hour.
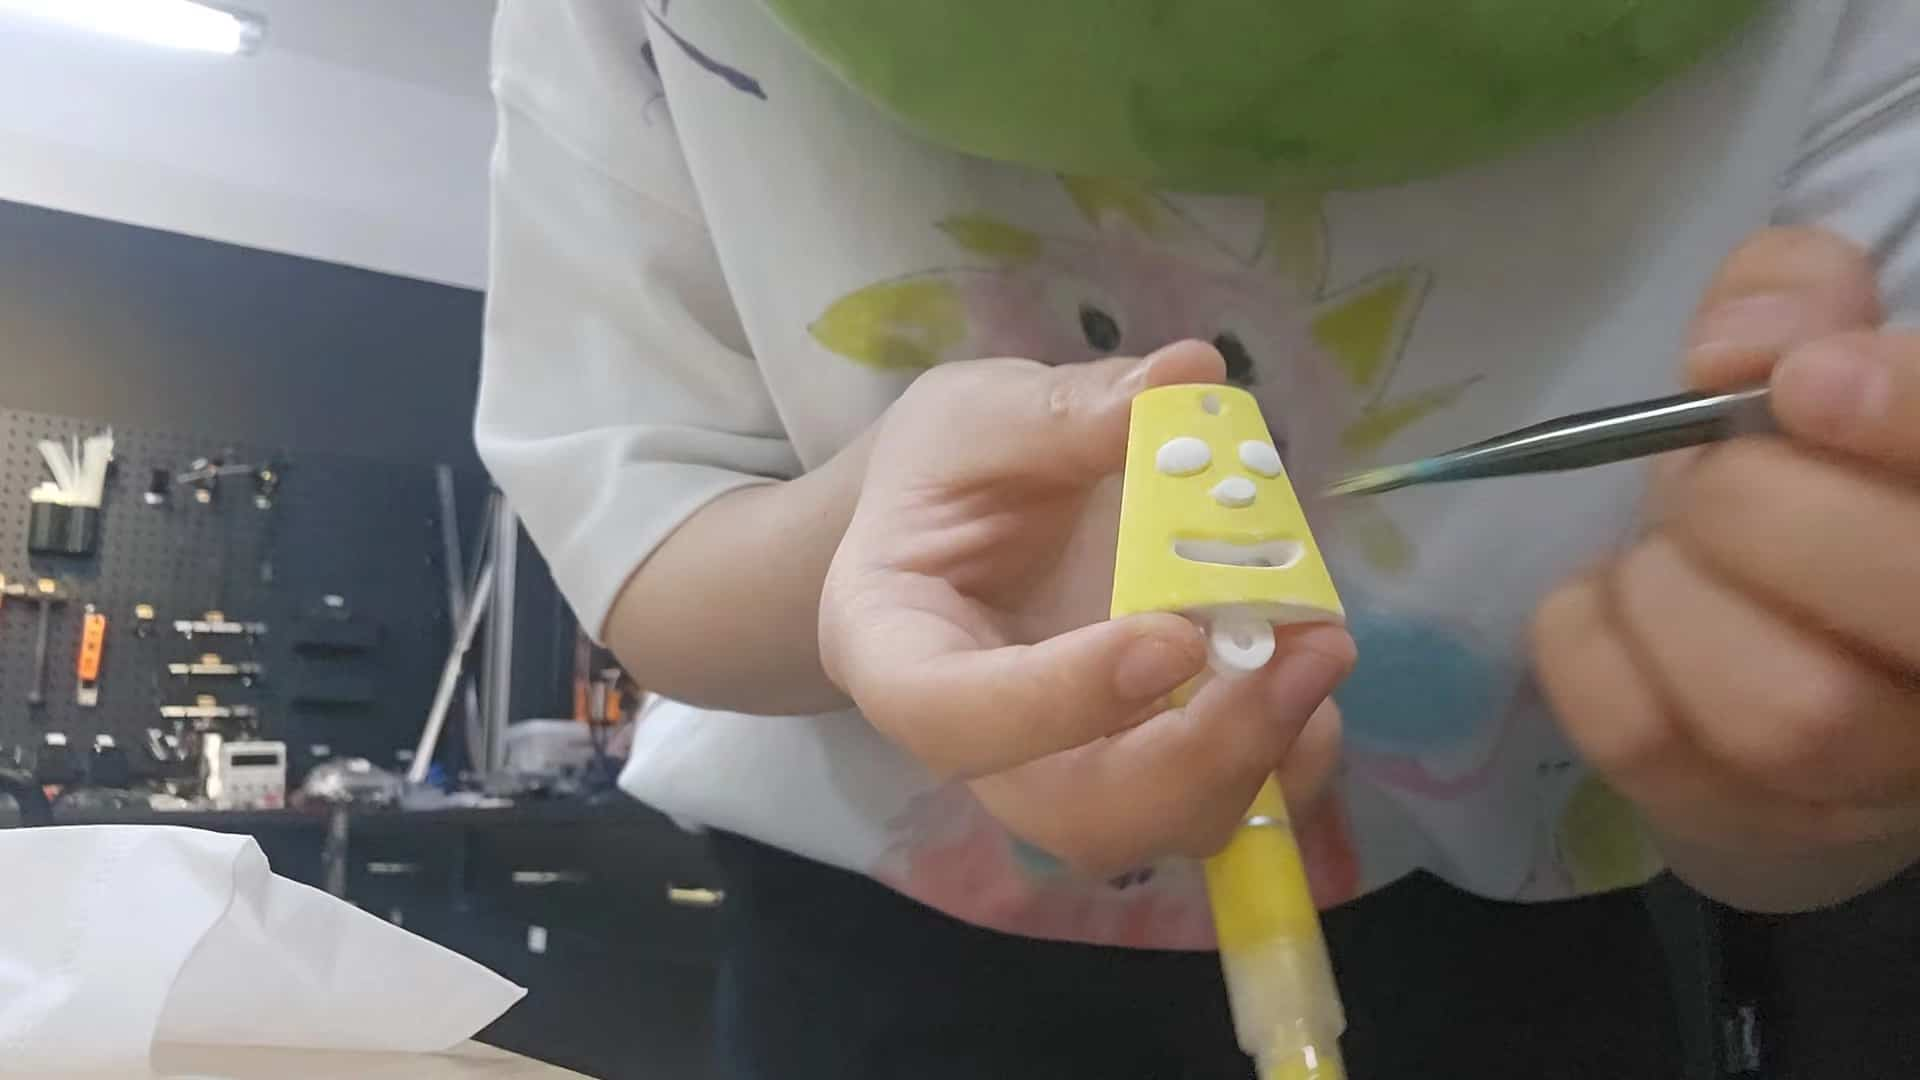
- To color it.
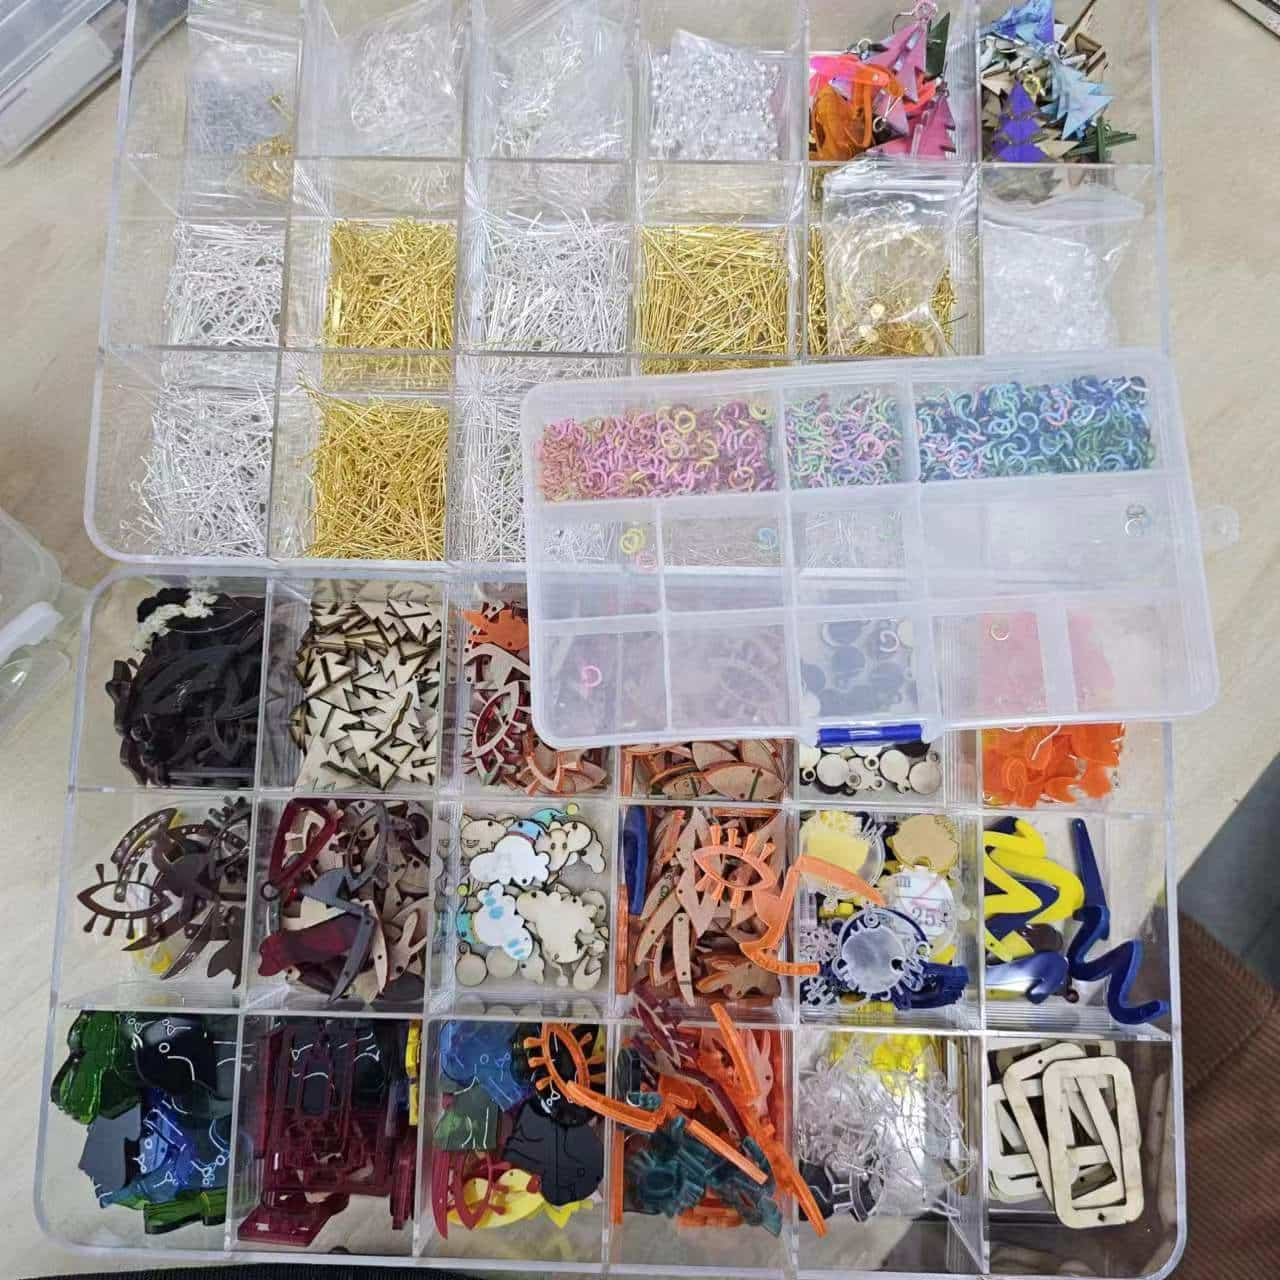
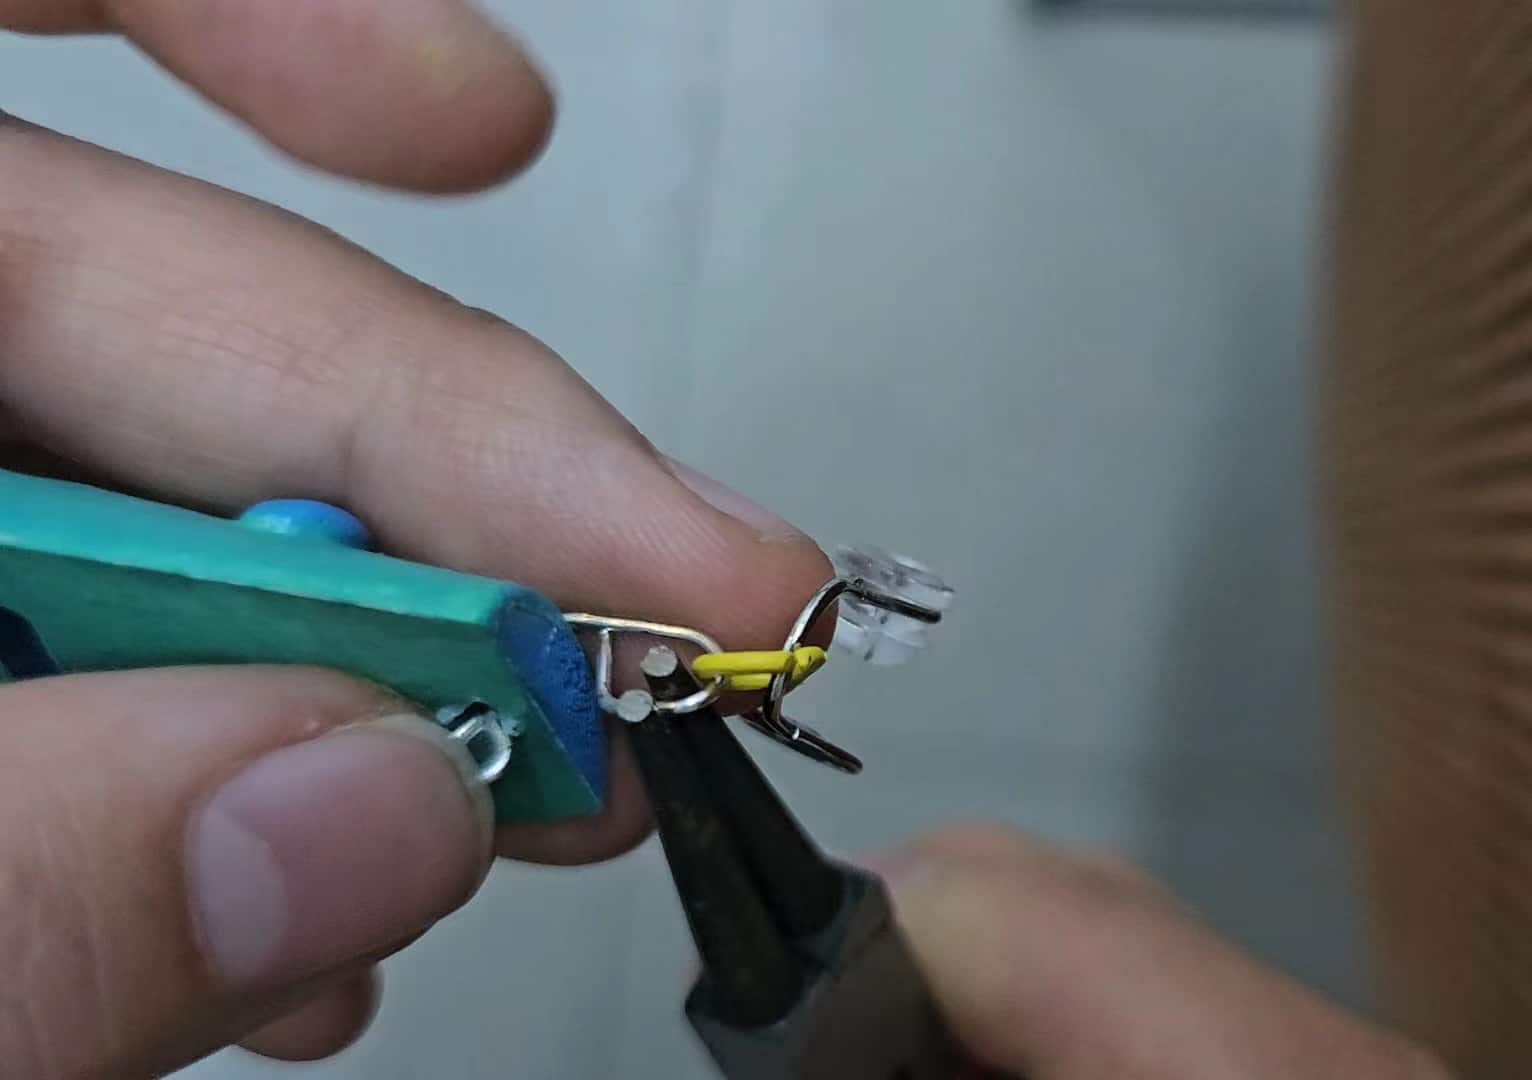
- Attaching earring components, including clips (for friends without pierced ears), connectors, etc. I previously designed some earrings using acrylic cut with a laser cutter in the lab, and they include a pair of yellow accessories that work well.


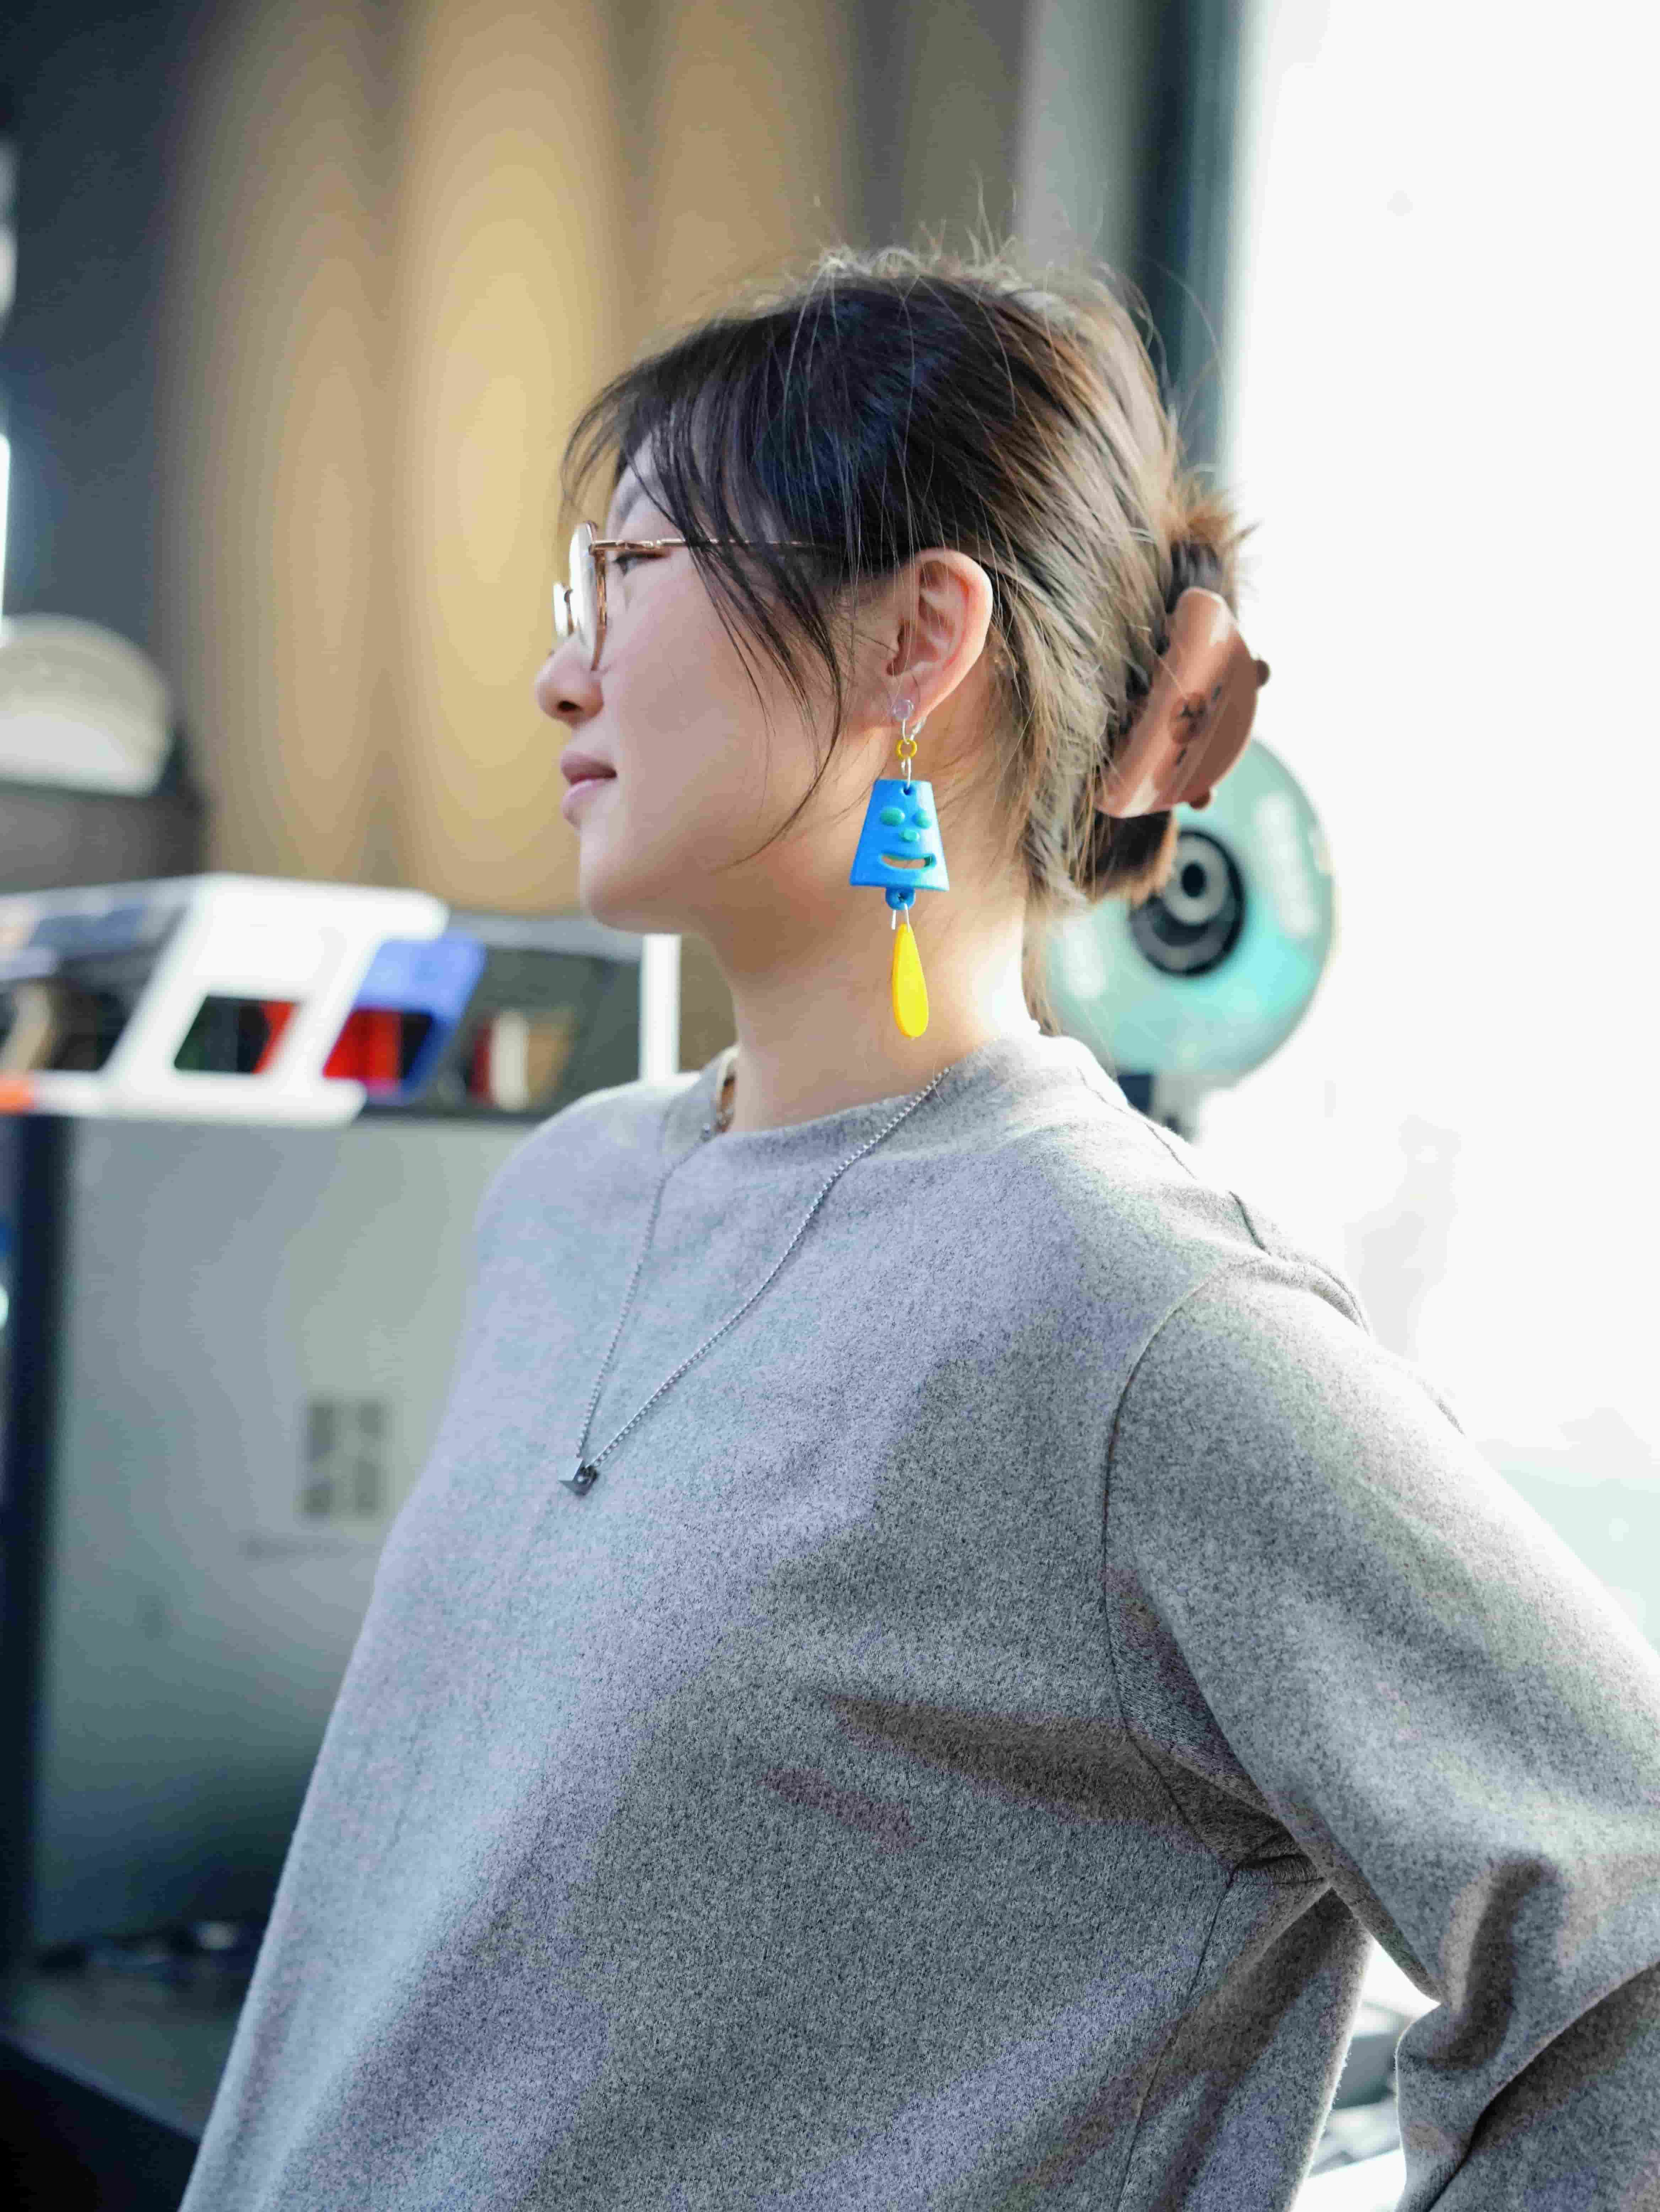
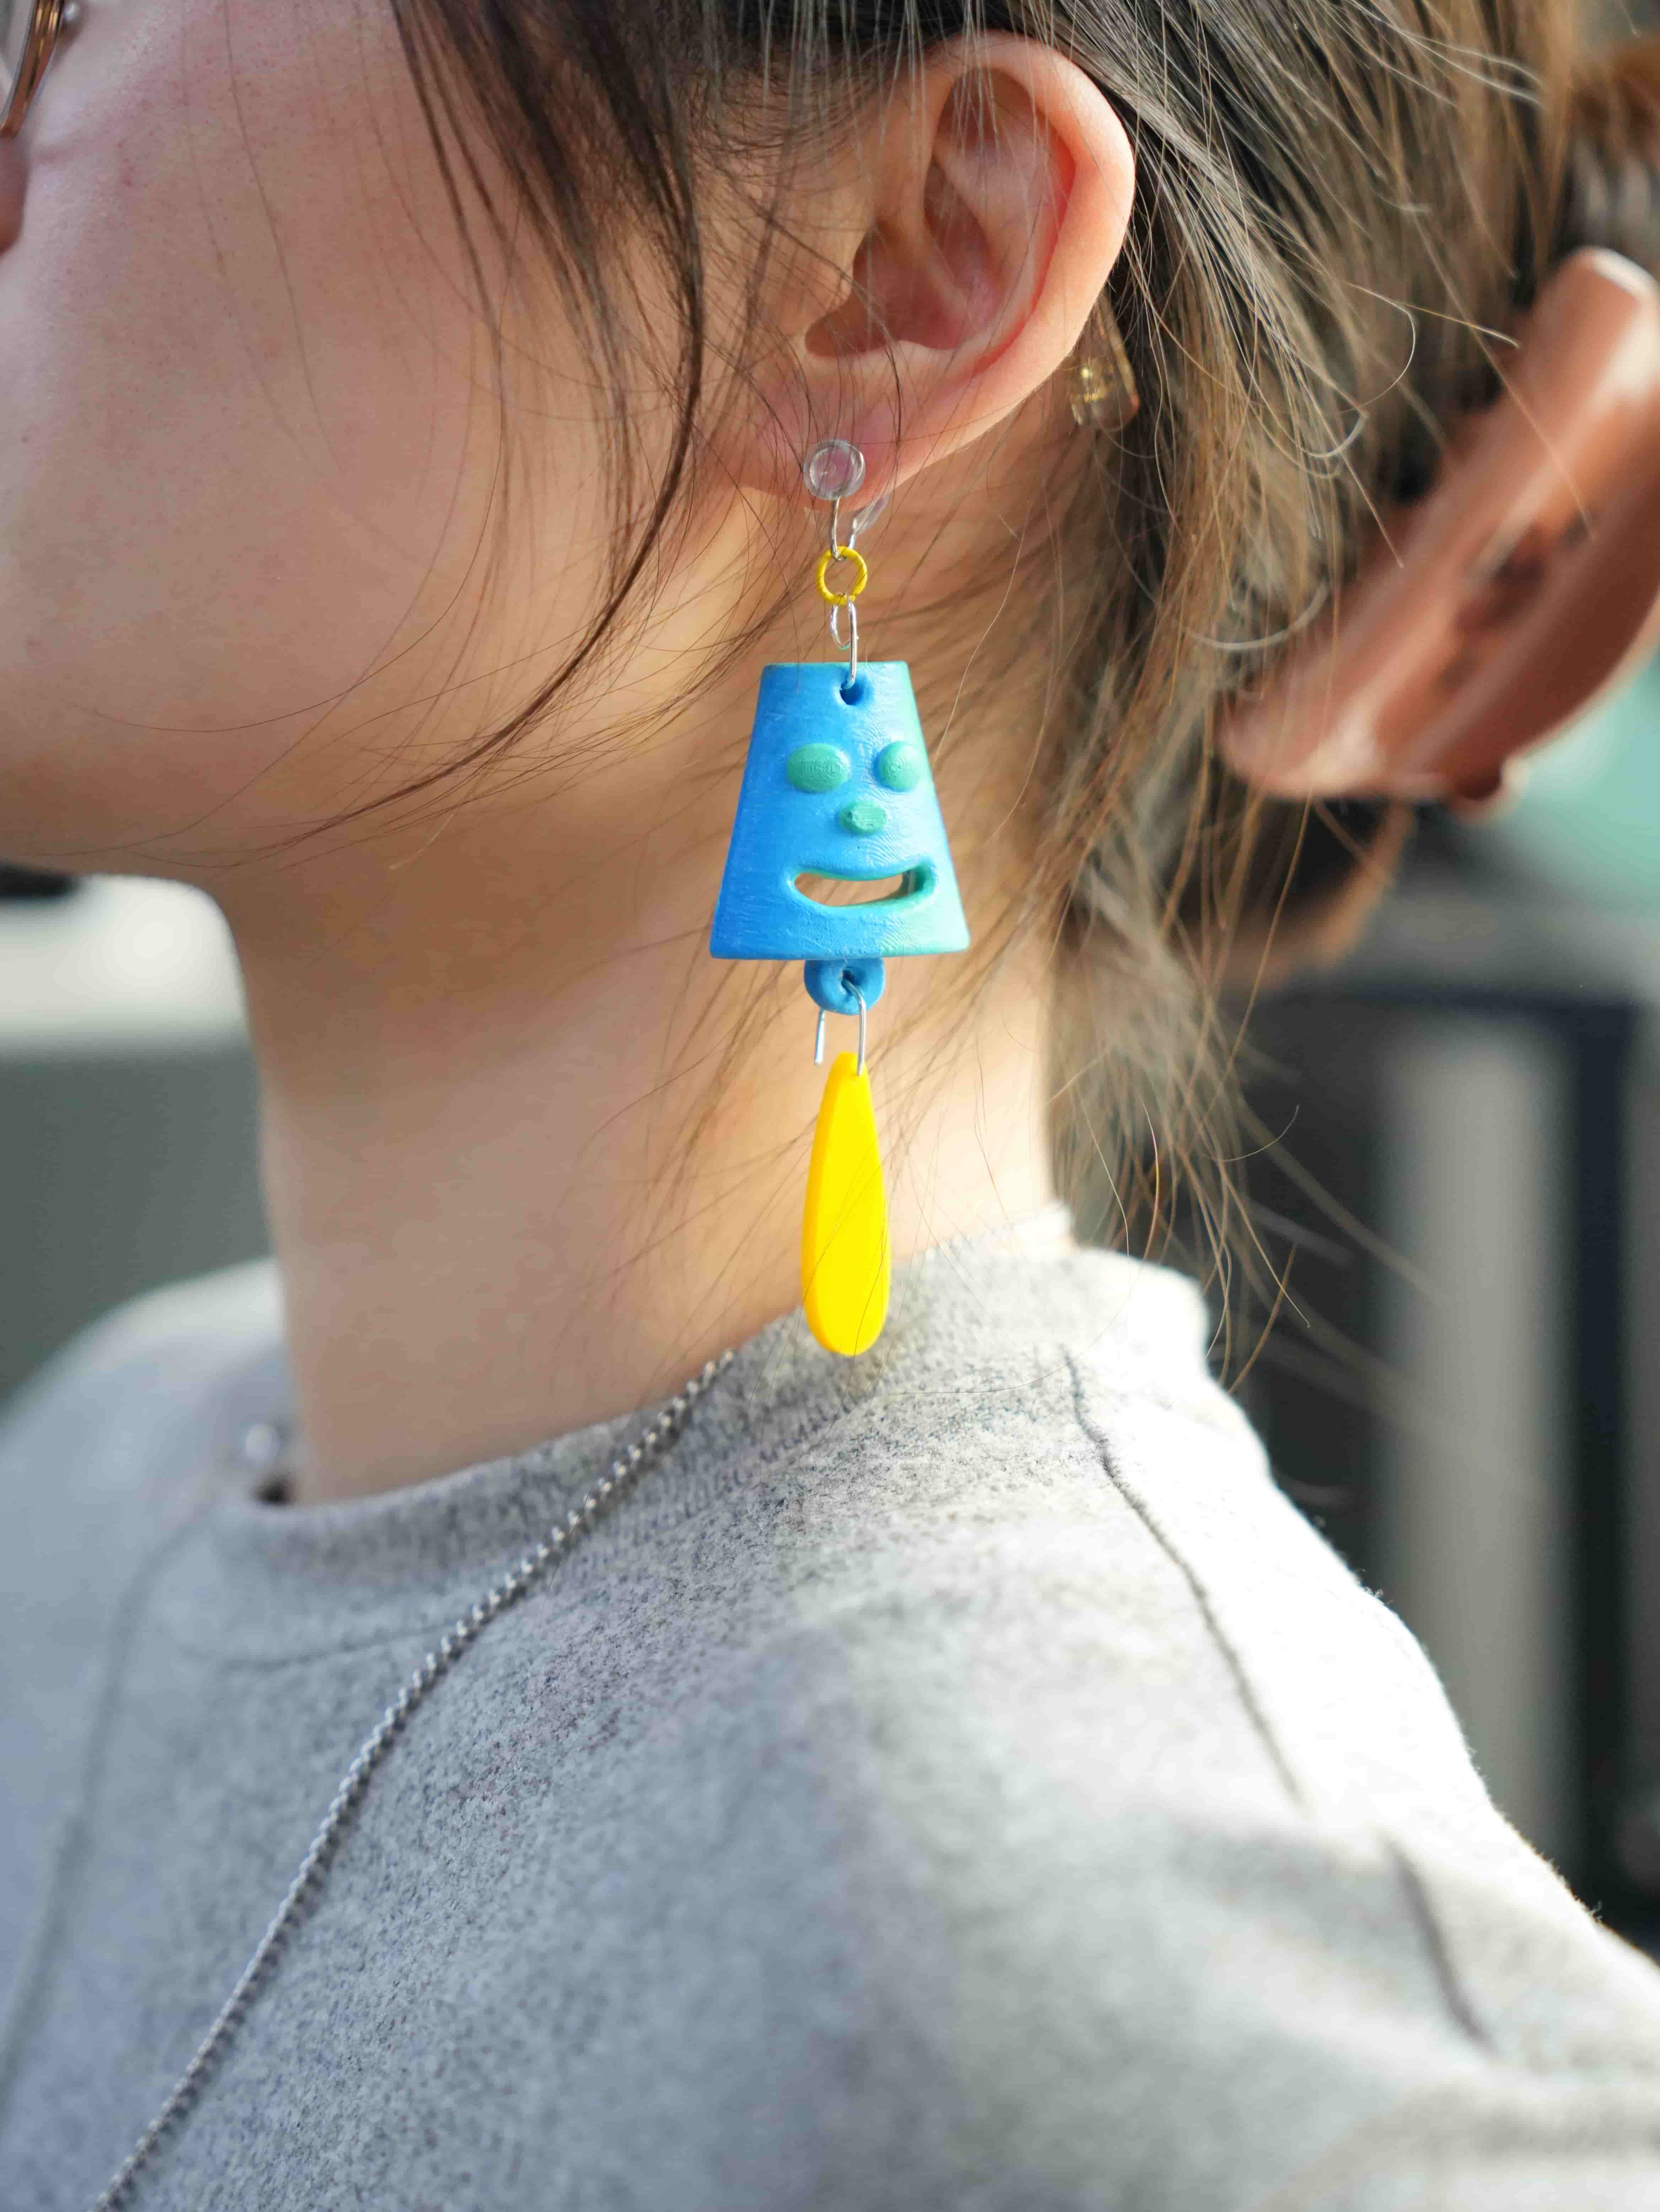
So pretty! They sway beautifully in the wind! Thanks to my model.