15. Wildcard
Hero shot
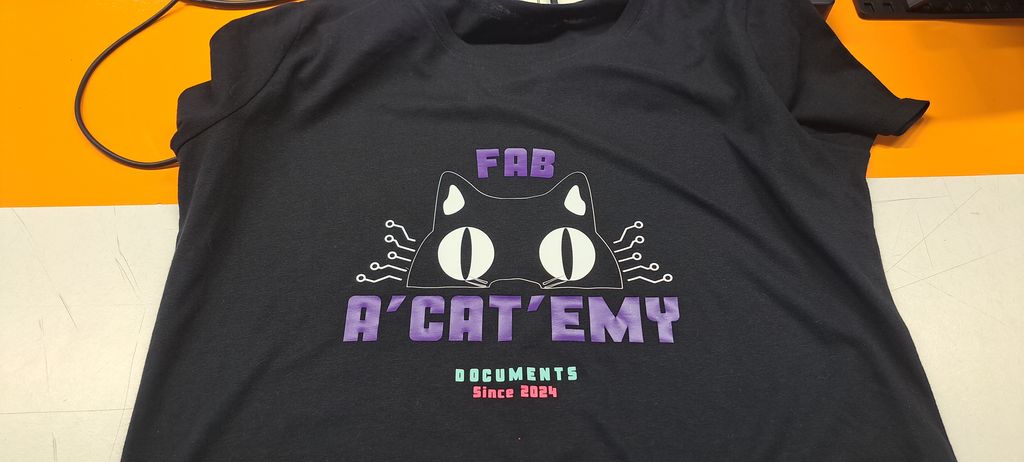
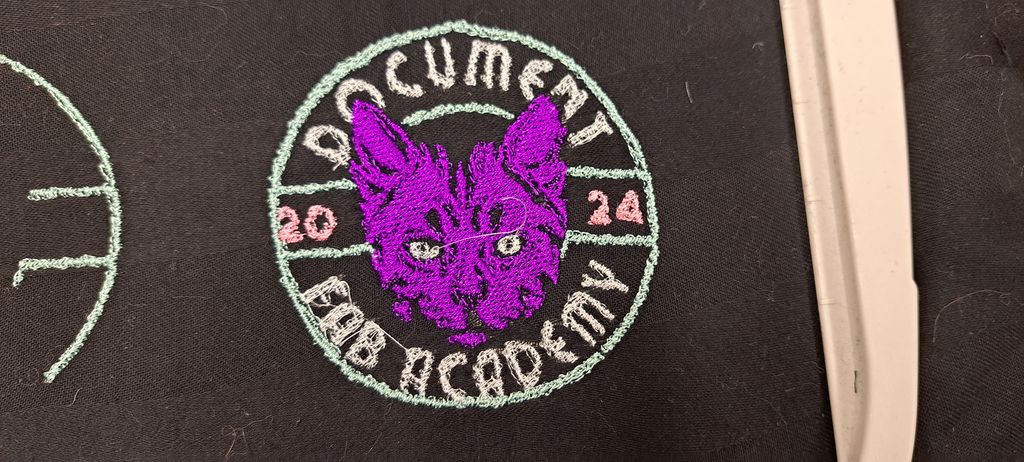
Materials used during the assignment
- Purple heat transfer flex vinyl from Amazon.de
- White heat transfer flex vinyl from the FabLab
- Pink heat transfer flex vinyl from a french fabric webshop
- Turquoise heat transfer flex vinyl from a french fabric webshop
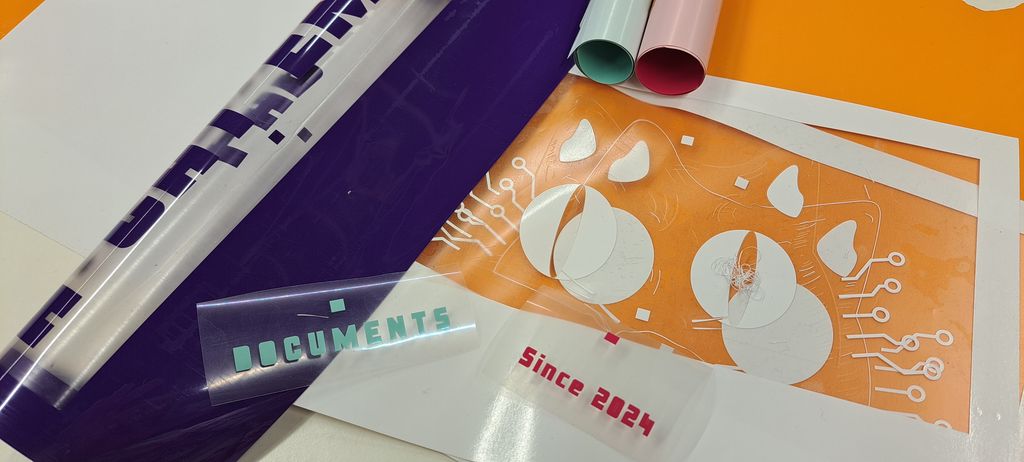
Heat transfer vinyl on t-shirt
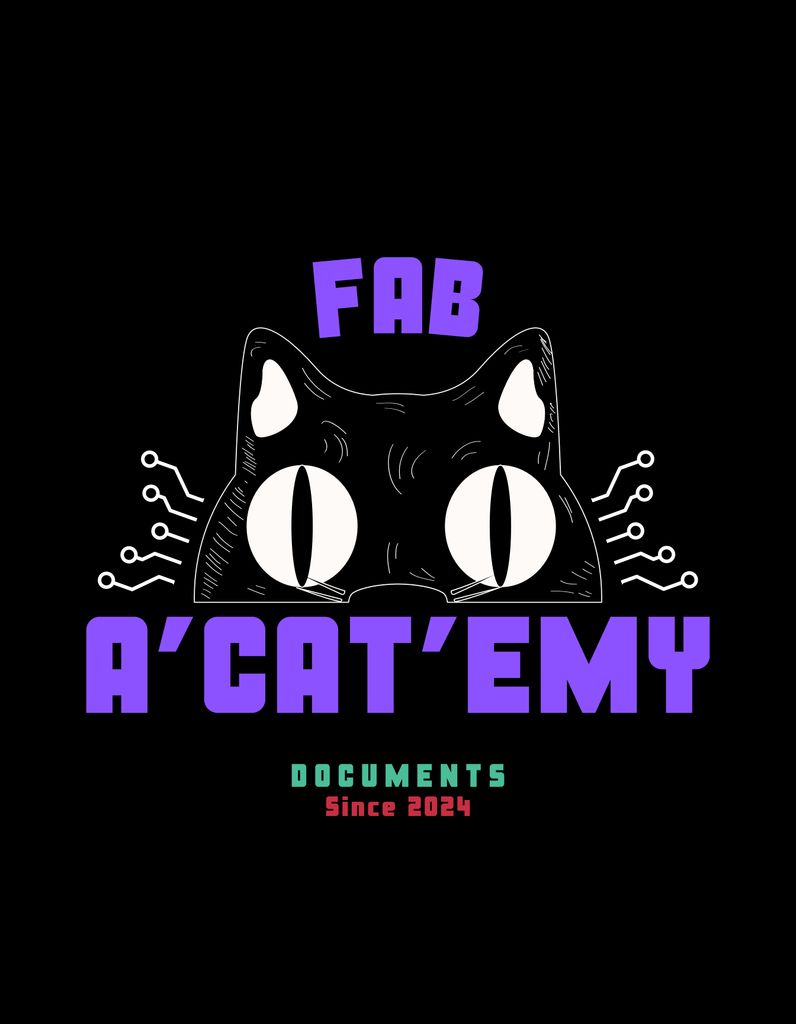
I've used the plotter before with regular self-adhesive vinyl but never the flex kind and wanted to try it out by creating a unique "Fab A'Cat'emy" t-shirt !
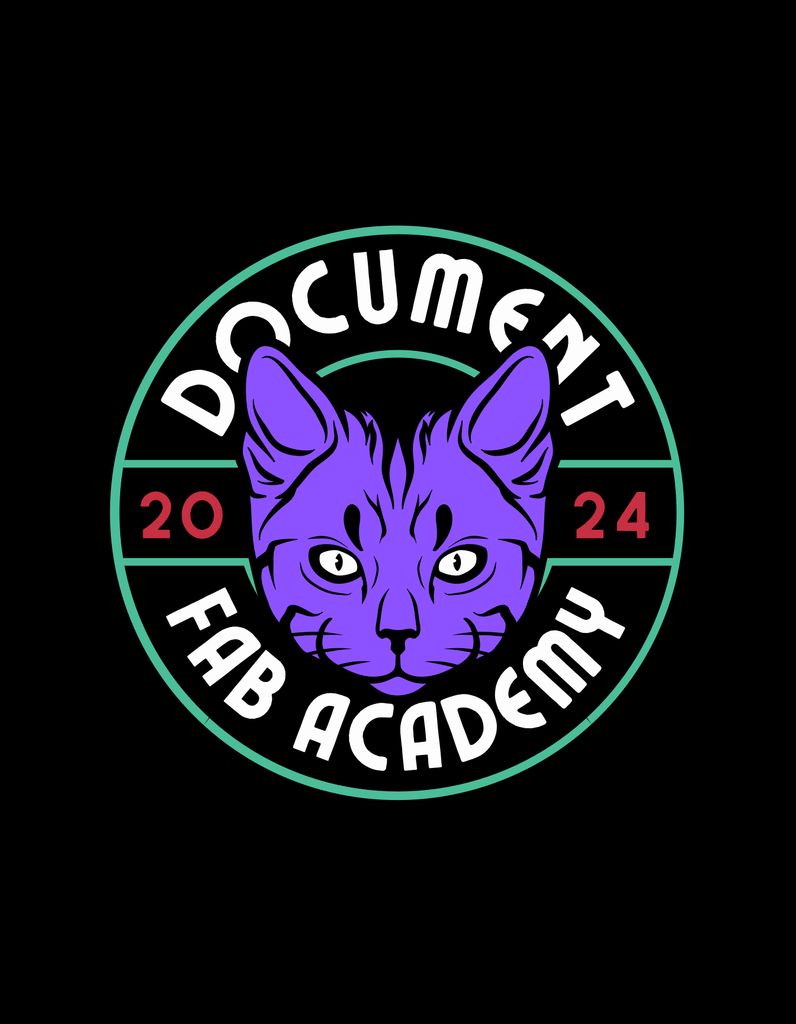
For the design, I've used some Canva models (I have a premium account) that I've modified a bit to give a "Fab Academy" style, AND, of course, cats ! ;)
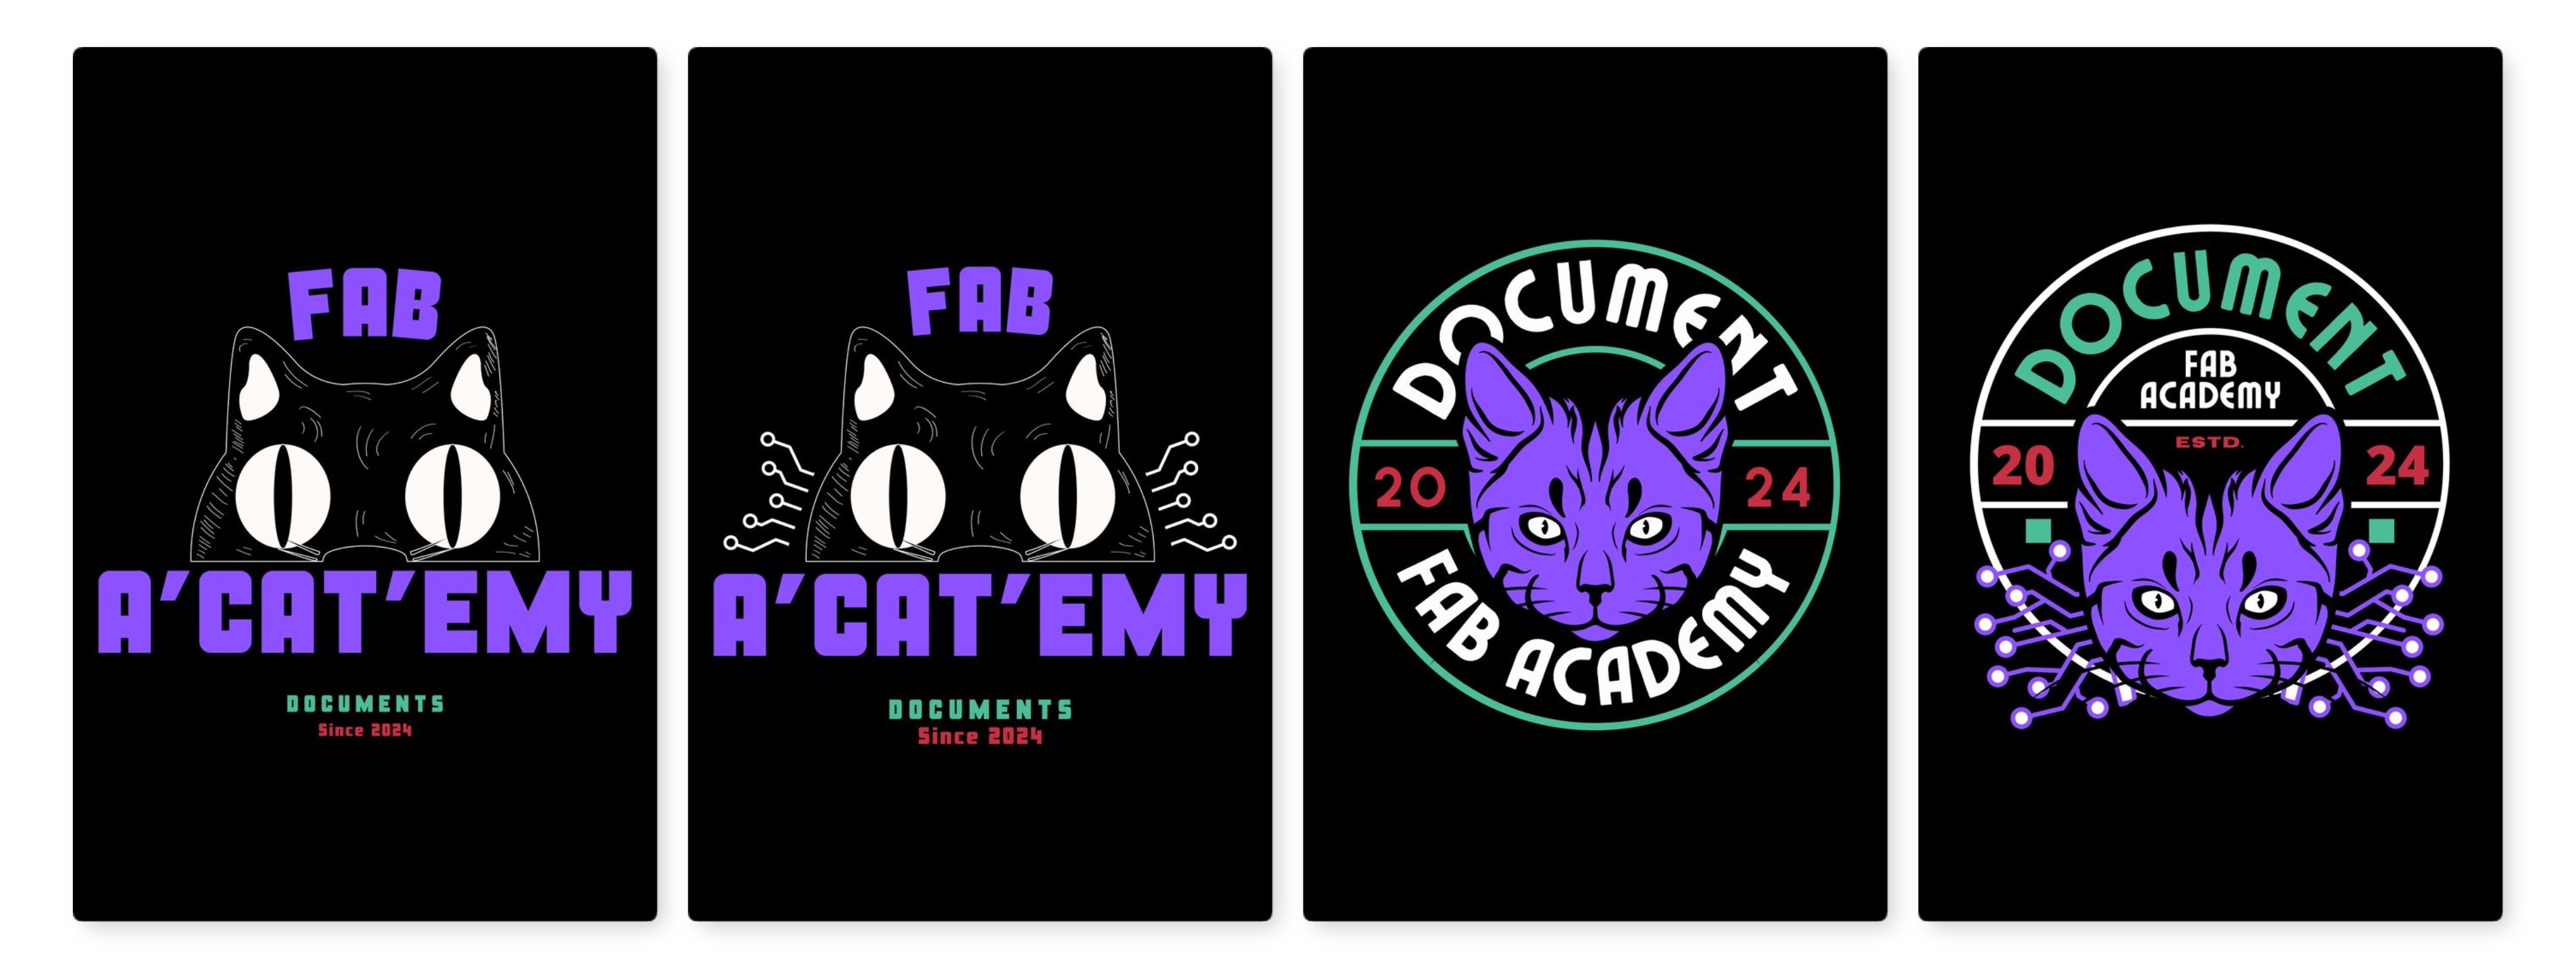
In the several designs I've made I chose this one :
Preparing the files for the plotter
I opened the design in Inkscape to separate the different parts according to the colors.
But first I had to make sure that every part was outlined and that the whole design had the right size to fit on the t-shirt.
Outlines
To outline the parts, you select everything and then click on the options in the right side panel.

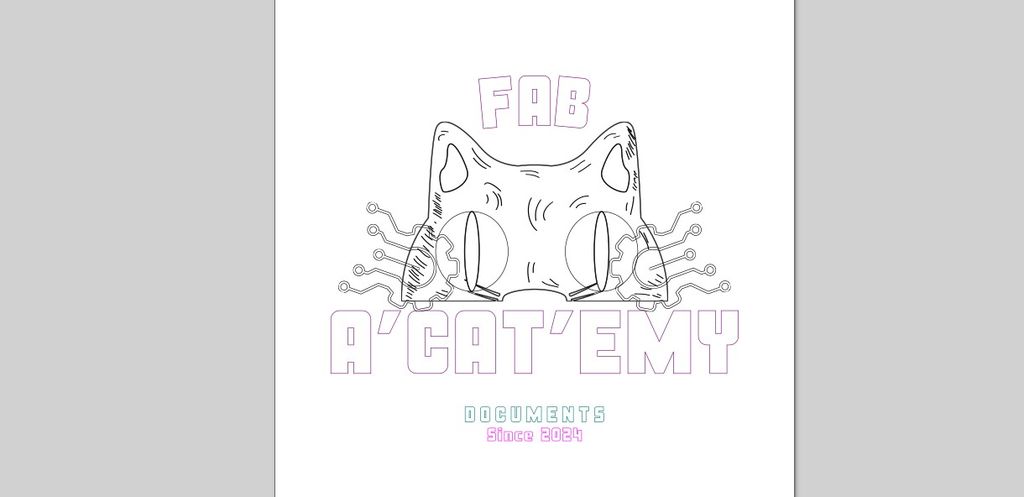
I thought it would be easy and fast working but I was completely wrong !
Even though I'm more used to Inkscape now, I really miss Illustrator because Inkscape is no user friendly !
By oulining everything, I obviously got double-lined parts that I wasn't able to simplify, which resulted of course by a double cut in the film.
For some parts it's totally normal, but for others, it made the cleaning become a nightmare !
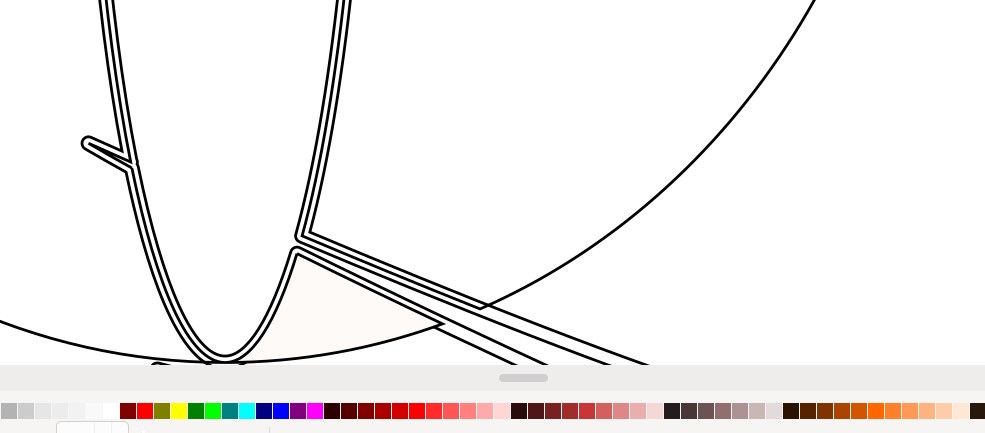
Parts as the whiskers that were already thin became even more thinner and also stuck to other parts so that they came off while cleaning...
Cleaning the file
The illustration from Canva had some bugs that had to be cleaned :
- some parts were cut straight for no reasons. It seemed to come back to normal after ungrouping them untill it wasn't possible anymore and sometimes even that wasn't functioning...
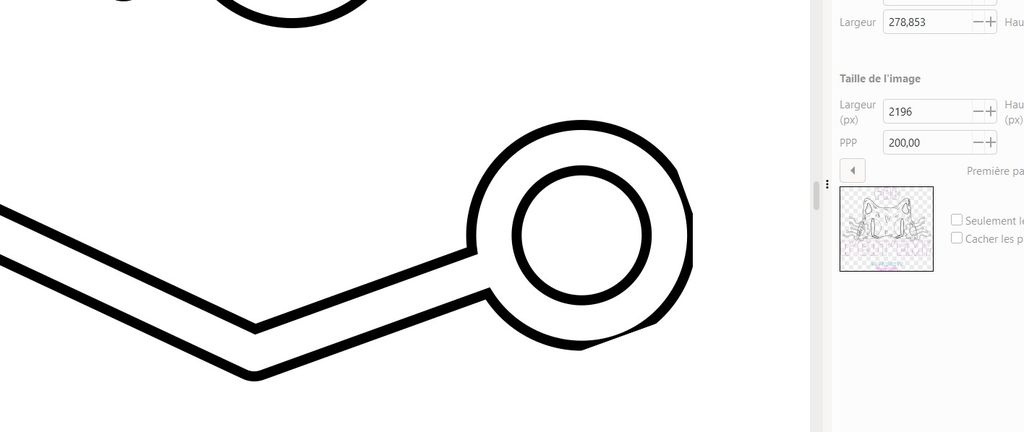
- The "electronics circuits" part that was hidden behind the cat head appeard when I deleted the background color. I had to delete it by cutting the lines and joining them again outside the head.
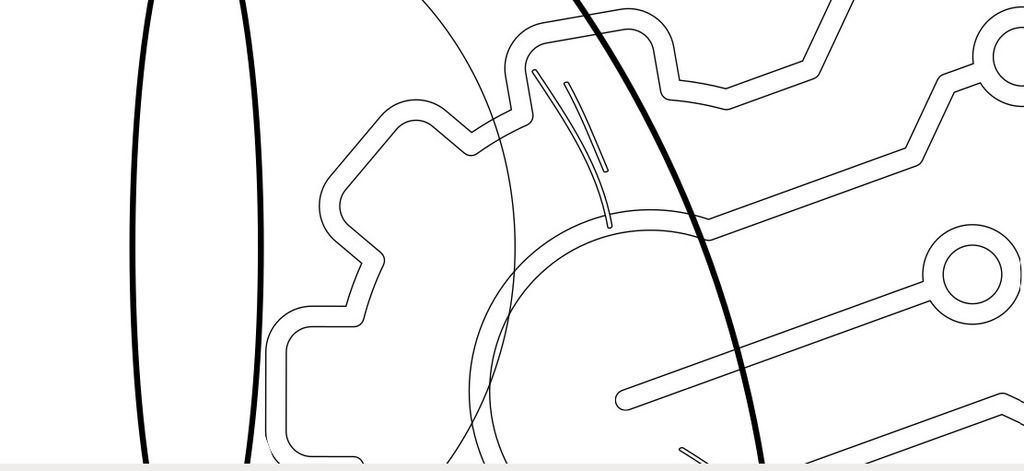
- Some pieces were crossing each others so I had to move them a bit appart.

Separating in different files
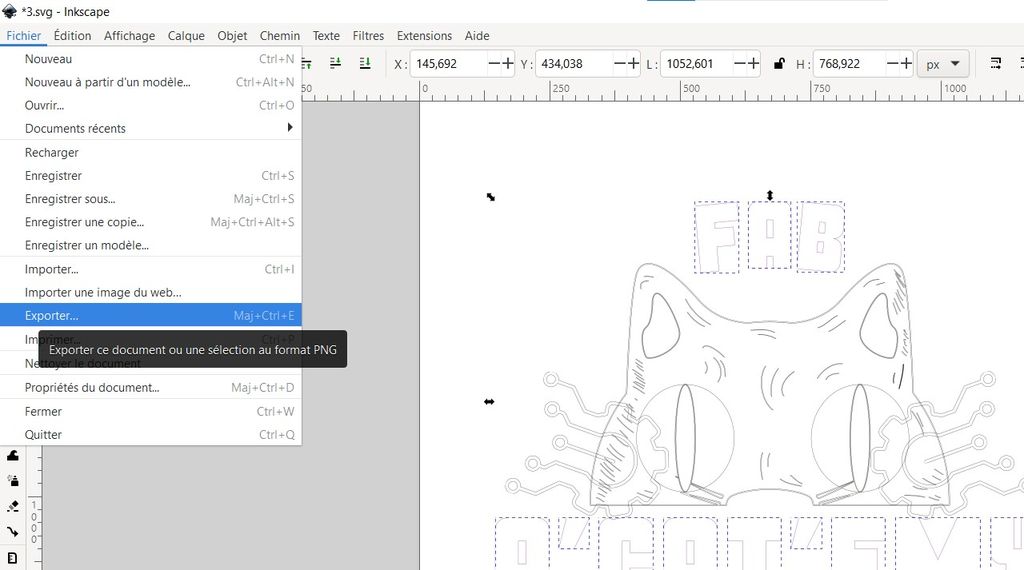
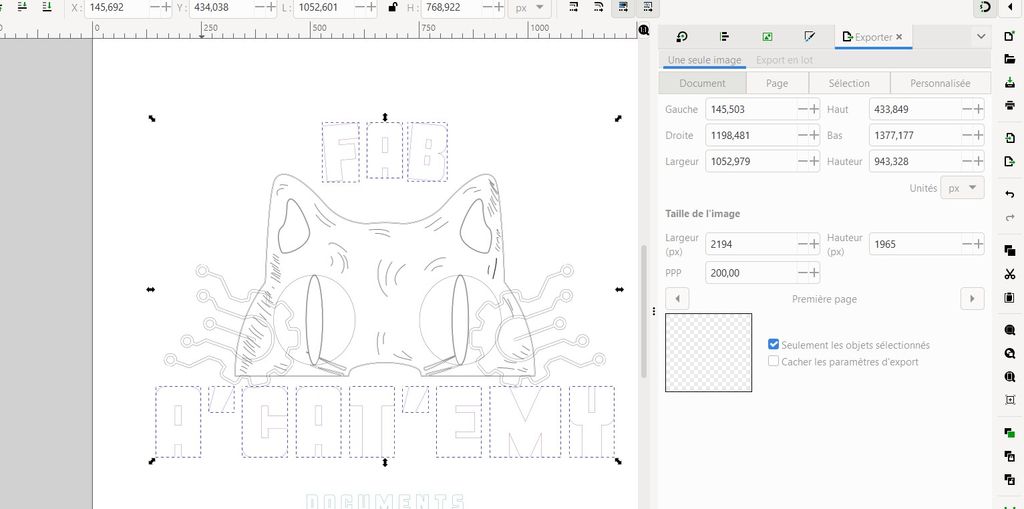
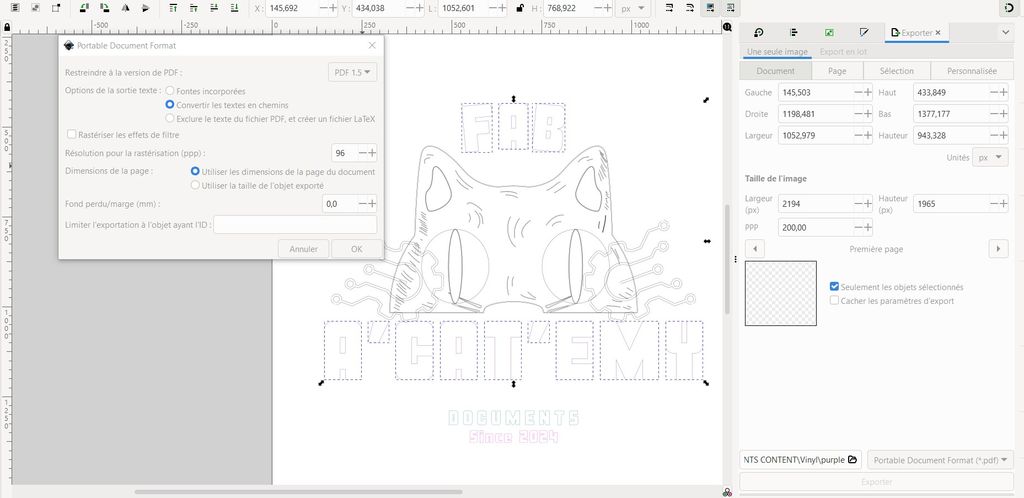
Once the design is (maybe) ready, I had to select the parts that should be cut in the same color and exported them in a PDF extension.
Preparing the plotter
Next step was to put the film roll in the plotter.
After switching on the plotter and pulling down the lever at the back of the machine, I've put the beginning of the film roll in the plotter and moved the wheels on its left and right borders.
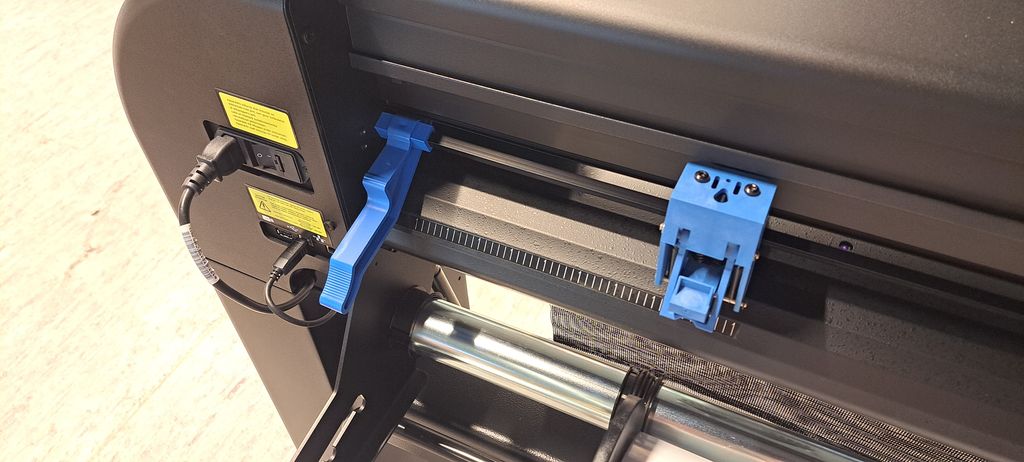
I've put the lever back up and let the machine do its calibration.
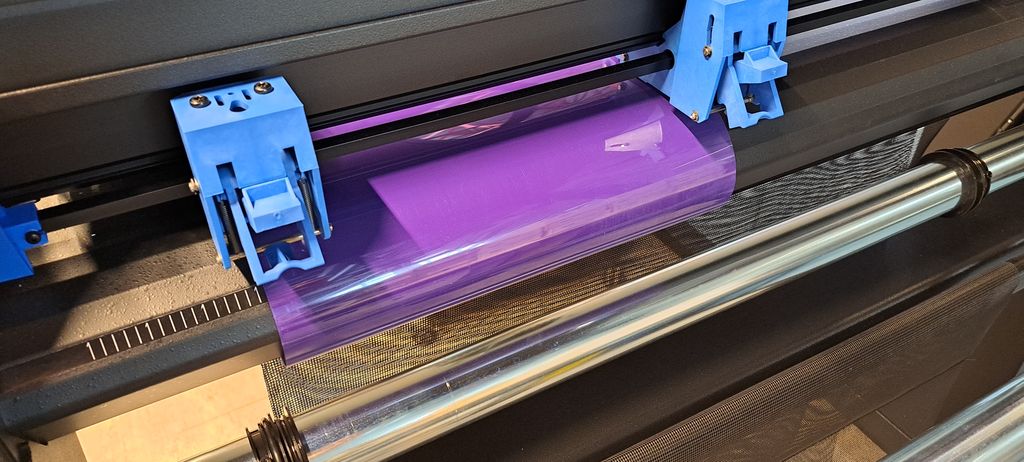
Launching the cutting
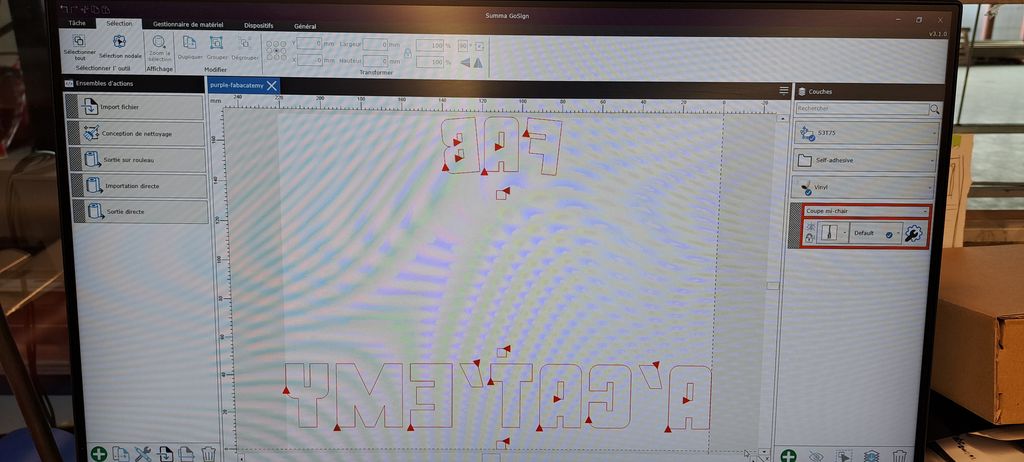
Let's open the plotter's program on the computer, GoSign, import the file and launch the cutting by selecting "cut on roll", then "add weeding box" and "cut paper after finish".
DON'T FORGET : for heat transfer on fabrics, the design has to be reversed !
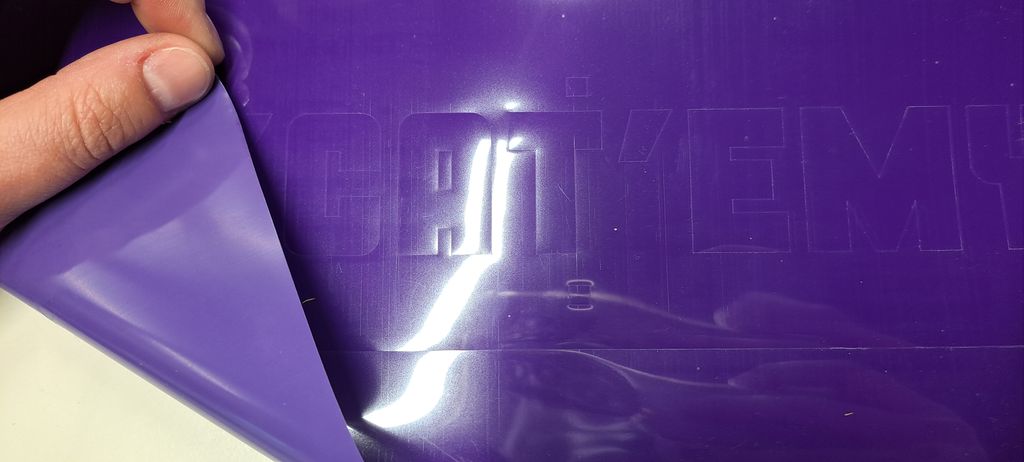
Also, PUT THE RIGHT SIDE OF THE FILM UP !
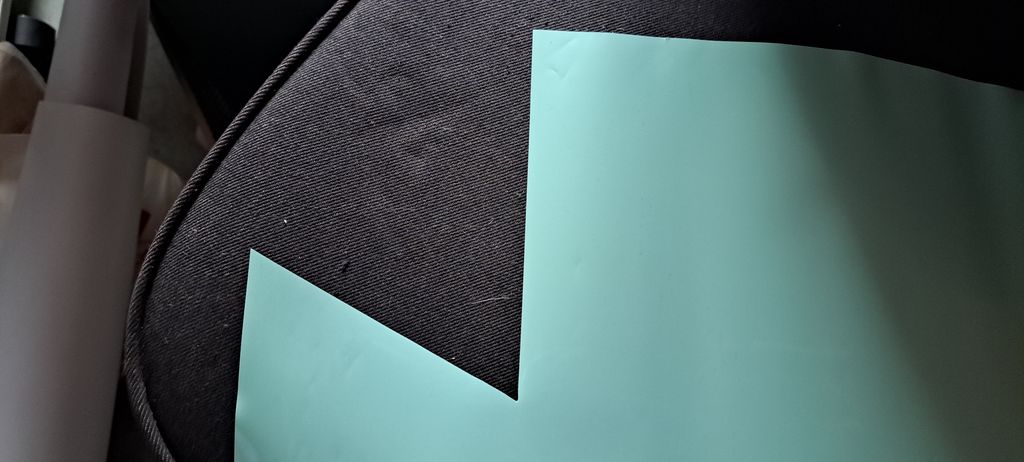
During this exercise, I could try out different brands of heat transfer flex vinyl films.
The big white roll was easy to cut but not the other 3 ones. These ones were rolled in the wrong way for a big plotter so that we had to hold the border while the film was cut.
I didn't hold on time the border of 2 of them so 1 folded back and the blade cut right through everything. The machine got stuck on the other 1 and I had to release the film and start again.
Weeding the design
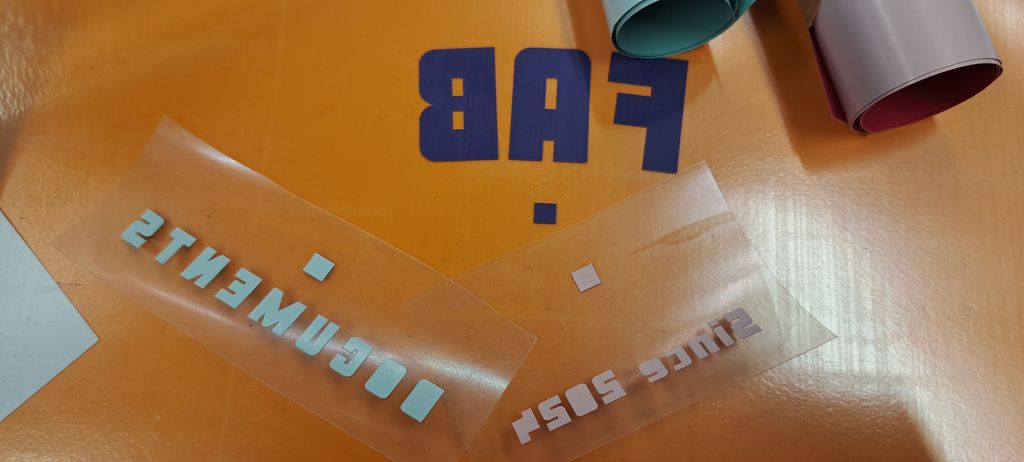
This part is generally my favorite one but in this case the lines of the white parts of the design were to thin and a lot of details came off.
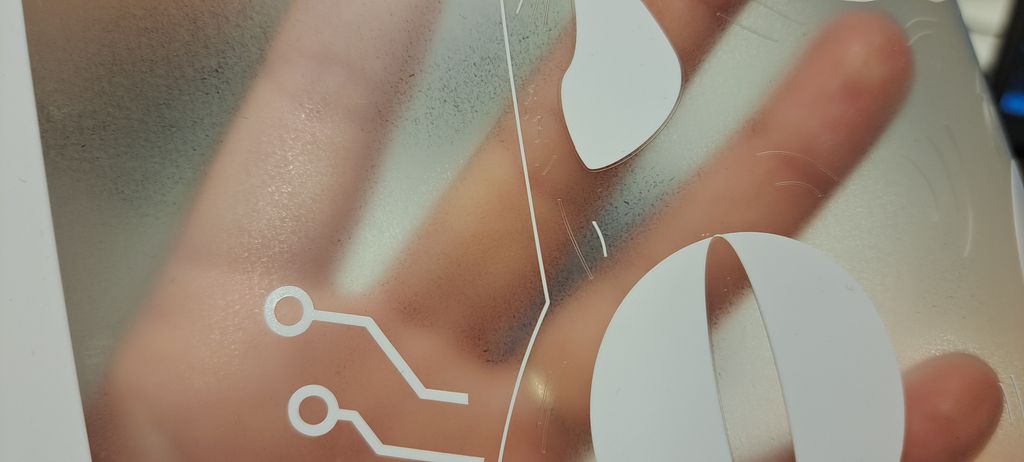
I thought it would be ok with what lasted but unfortunately the film folded together and the head outline came also off...
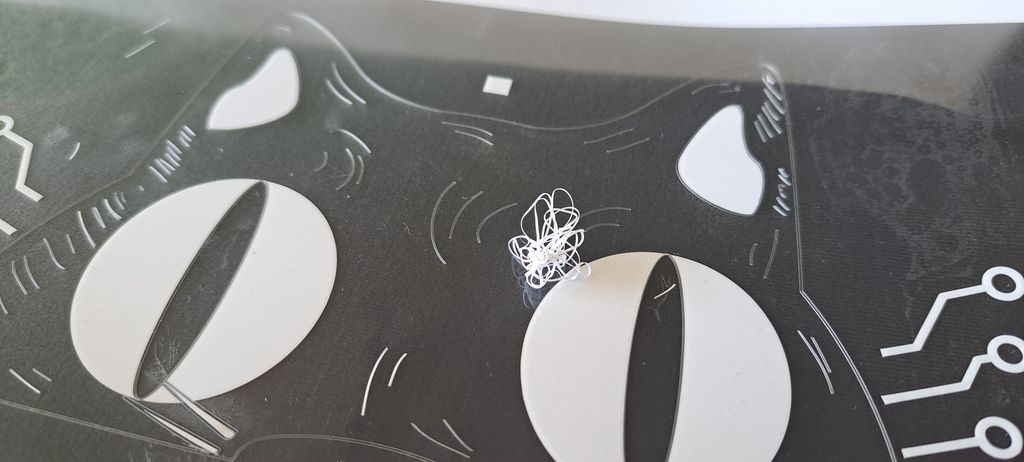
I had to cut this part a second time but, AGAIN, wrong parts came off and I couldn't use the rest.
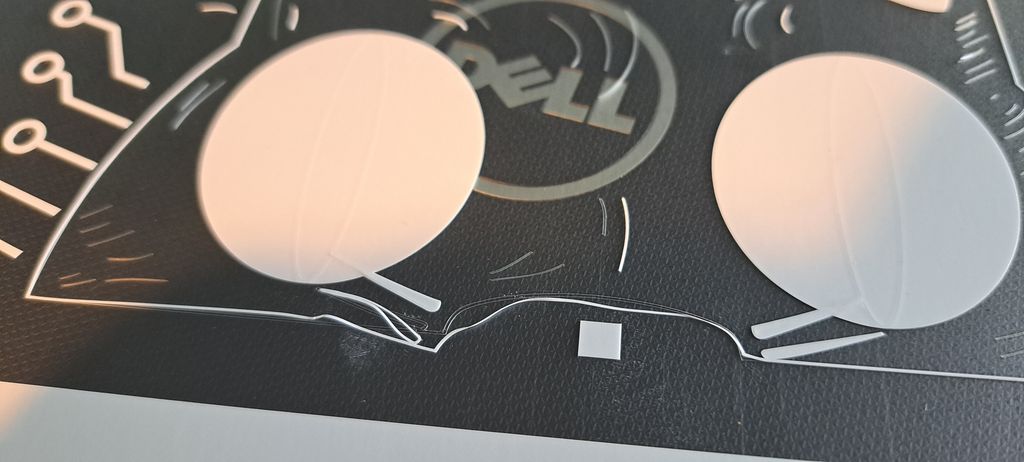
I tried to modify the file in Inkscape to thicken these lines but ... I really don't like this program. I failed trying.
At least, all the other colors came out good and I even thought about including a little square as a mark to make the positioning on the t-shirt easier.
Transfer on t-shirt
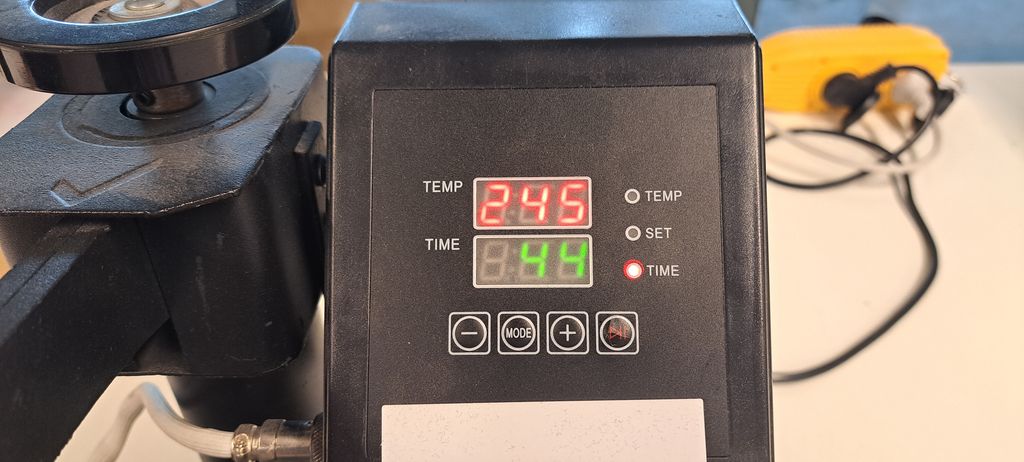
As I didn't know how to press different colors on a shirt, I made some video researches. The different video tutorials taught me to put the first part and press it for 30sec, then press all the other parts one after another but only for 5 sec each and press all together one last time.
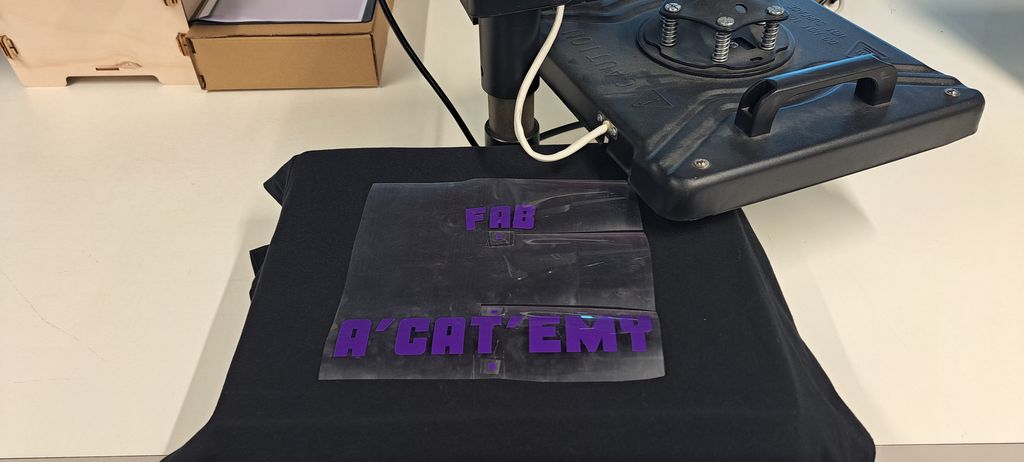
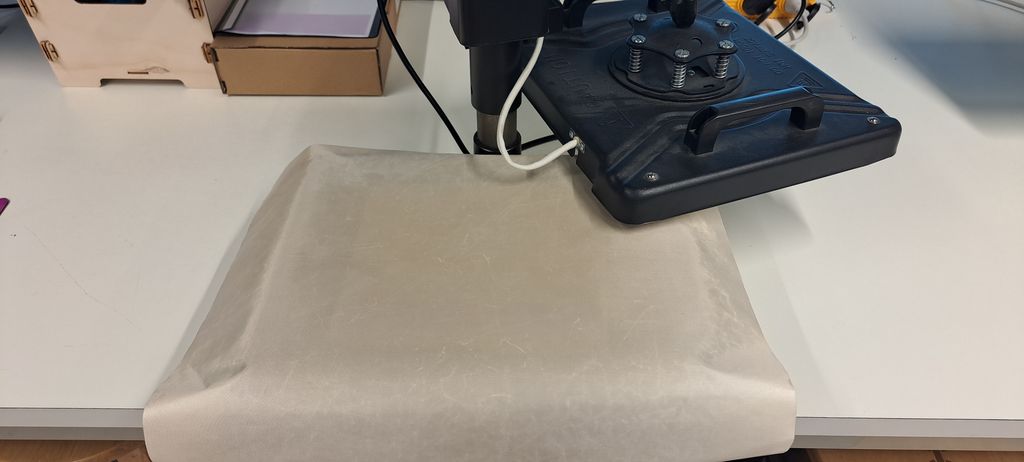
During the pressing process, always put a sheet to protect the raw film from burning. ;)
The square I've put in the design to help me place the different parts was a good idea but not so easy to manipulate. I didn't want it to be transferred on the T-shirt so I had to think twice and as result I placed a piece of the protective sheet underneath and precut around it to be able to keep it while taking off the rest.
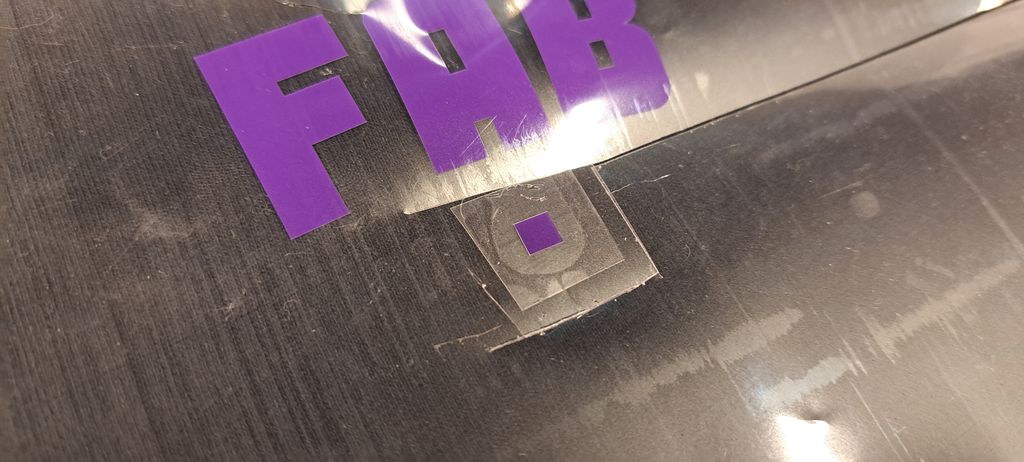
Of course, it was harder than it sounds above and this whole square help was a fail. I'll have to try something else next time.
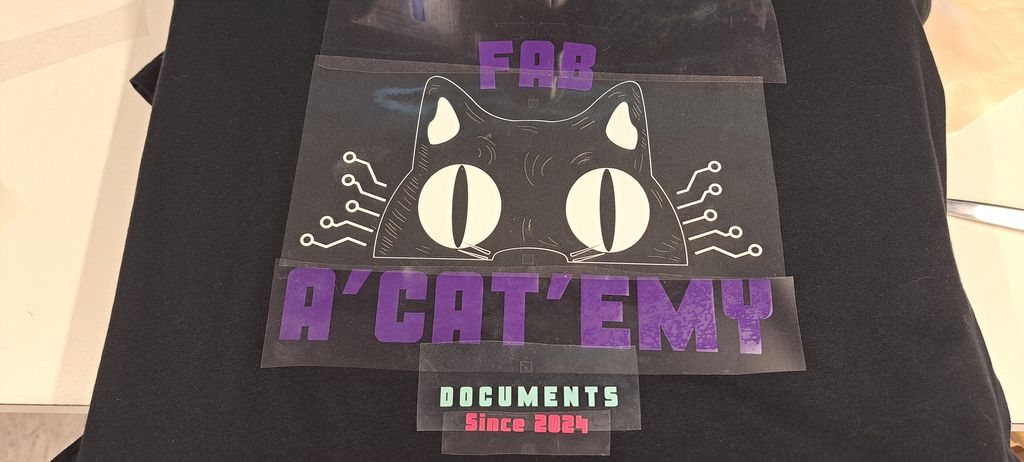
Last but certainly not least, the pink and turquoise films were not so good : they wouldn't stick on the t-shirt !
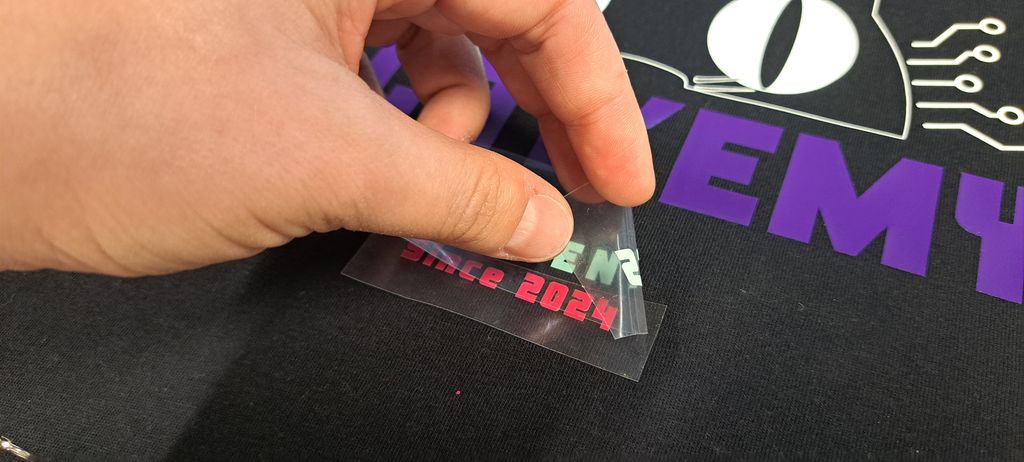
I had to "heat press" 2-3 more times for a longer moment and some letters still didn't stick properly.
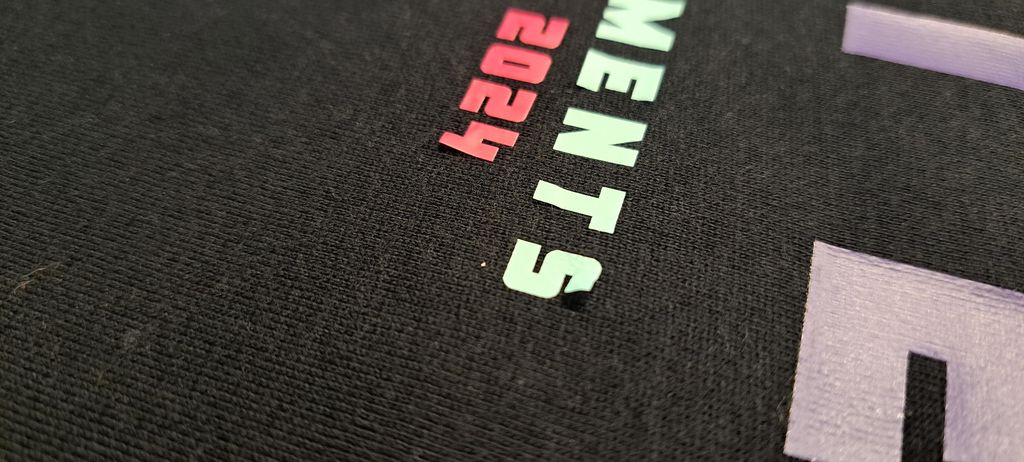
The "O" of "documents" would definitely NOT STICK so I removed it from the protective sheet and placed it by hand on the t-shirt and "heat pressed" ONE LAST TIME without the plastic protective sheets and for a longer time.
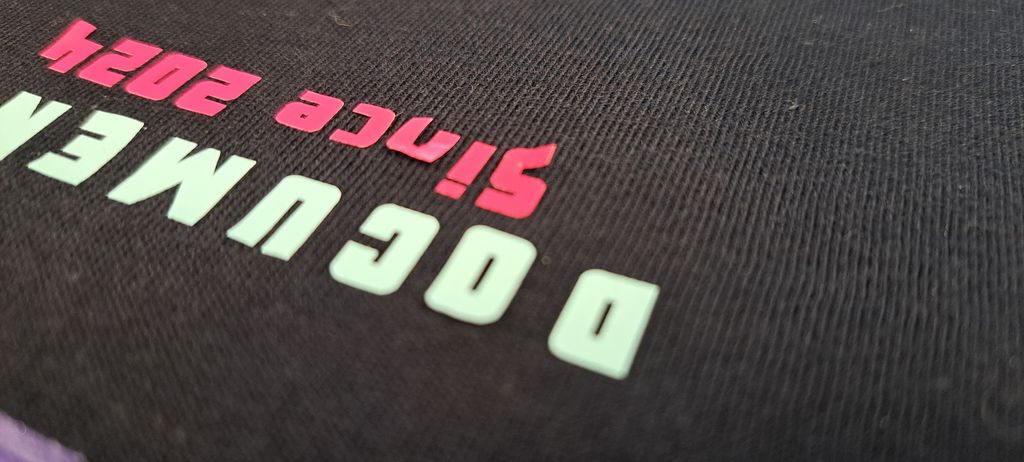
That finally was it ! It was way more complicated than expected but...

HERE WE GO, a great unique Fab A'Cat'emy t-shirt ! :)
Embroidery
Embroidery wasn't easier than heat pressing vinyl on a t-shirt...
At the FabLab we have a Brother Innovis V3LE embroidery machine.
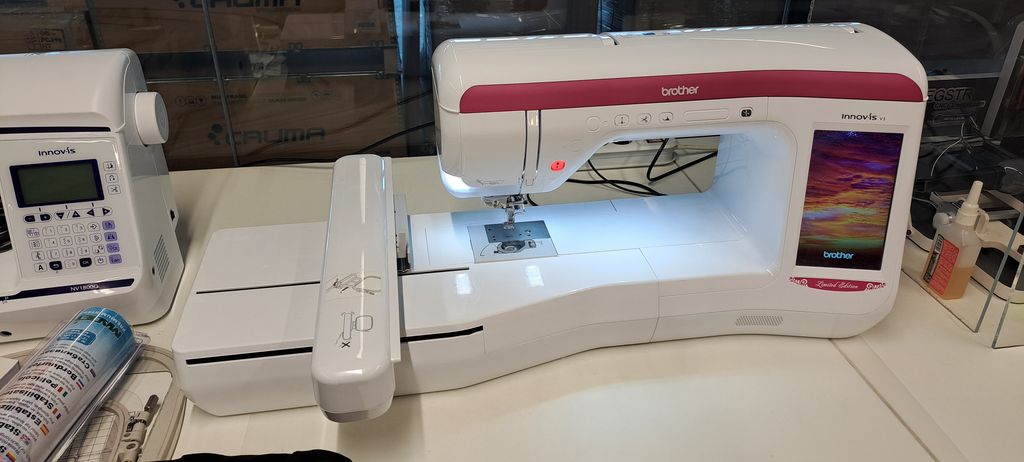
Key features
- Large LCD touch screen – including on-screen editing for embroidery projects
- Large 300 x 200 mm embroidery area – ideal for larger projects
- 224 built-in embroidery designs
- Fast 1050 stitches per minute embroidery speed
- LED pointer for needle drop position
- Automatic thread cutting
- Thread sensors, auto-tension and easy threading for easy use and a professional finish
- Quick-set drop-in bobbin and independent bobbin winding
Preparing the file
The image you'd like to embroider must be saved as ".PES".
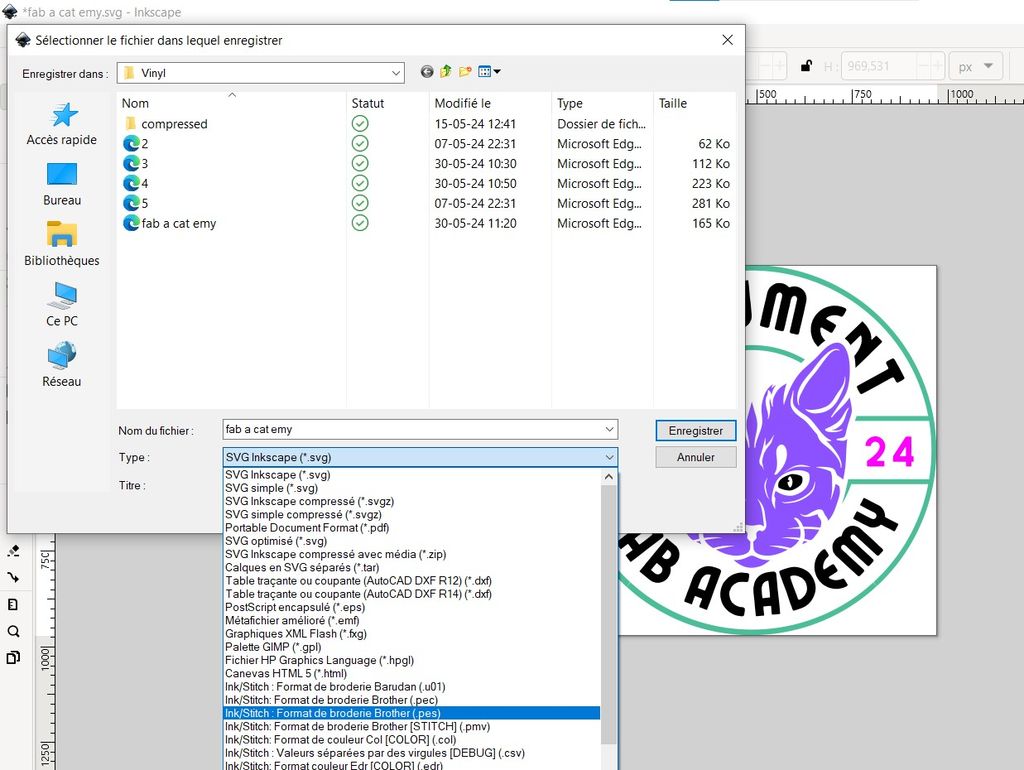
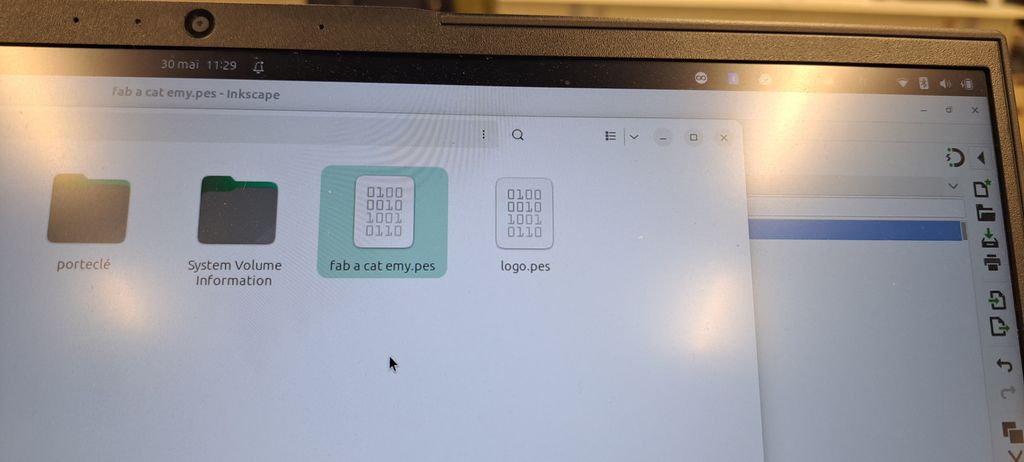
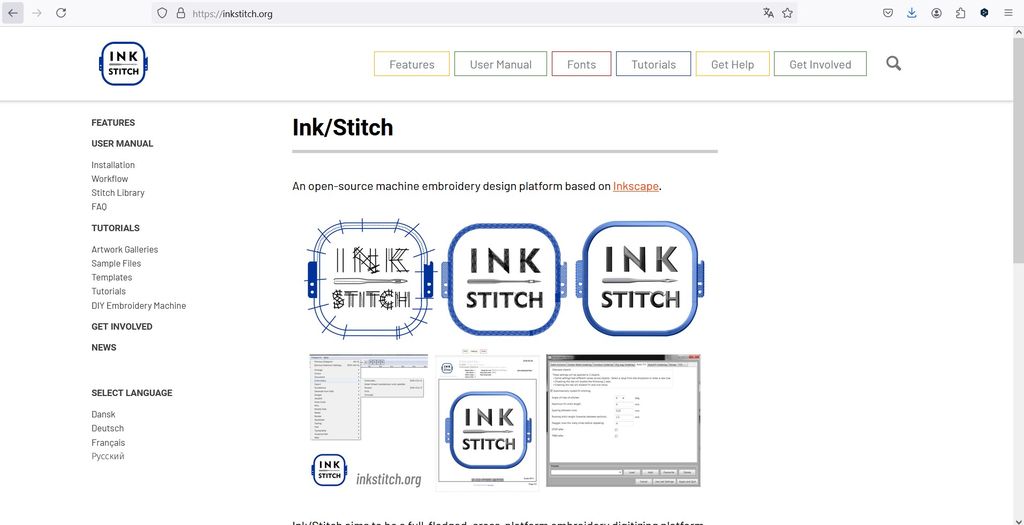
For that, you can use Inkscape and add a free extension called "Ink/Stitch"
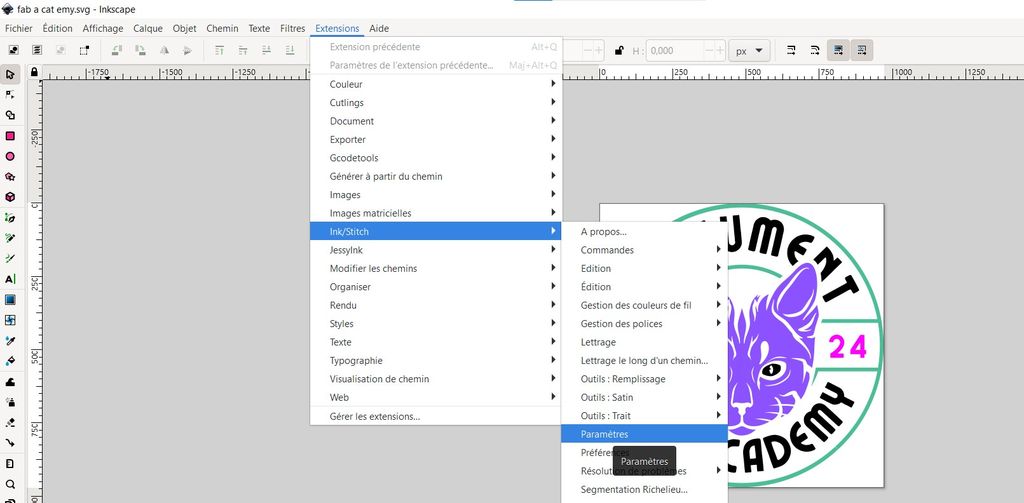
Once your image is ok in Inkscape, go to "extension", then "InkStitch" and then "parameters".
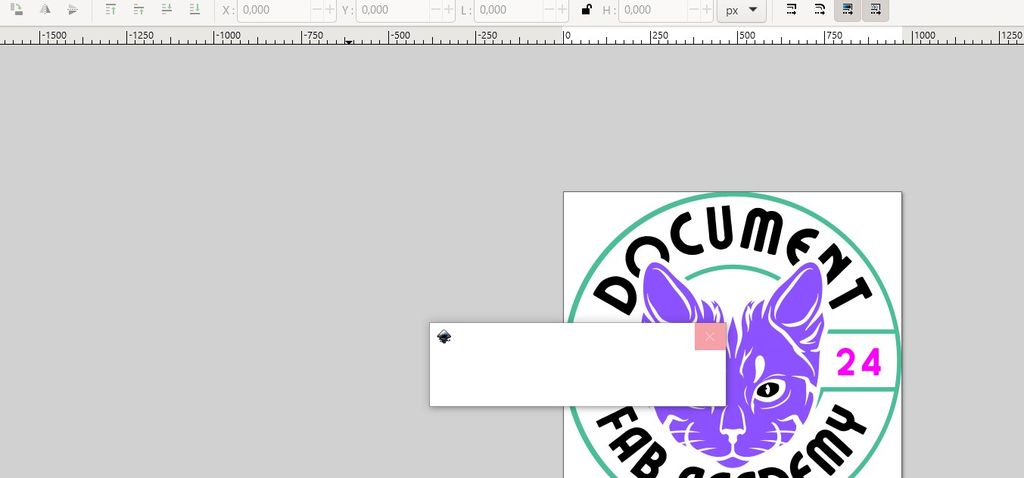
If your image has many details, you'll have to wait until the preview in stitches is loaded. It may take a while... Mine did.
Once the preview of your image is loaded, feel free to change the parameters to get to your desired result.
In my case, I had to try several times and still didn't get what I wanted. I wil try again later and add the complete parameters used on this page.
First we used the original parameters and then, as we were getting a bad result, we changed the angle to 33 degree and deleted the underlayer.
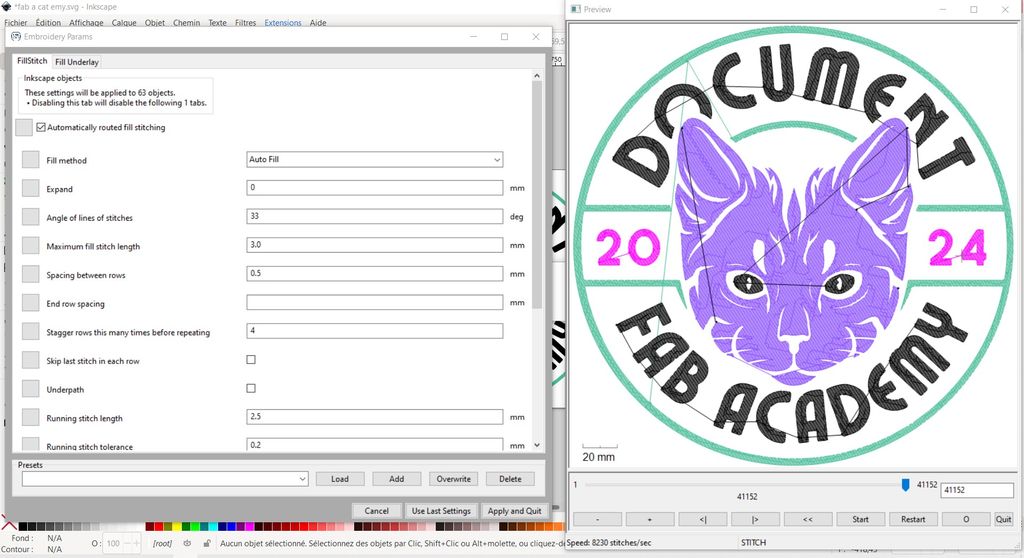
Once you're done with the parameters, save your file and upload it on a USB stick.
Preparing the materials
To embroider you will need a fabric surface, some stabilizer, the right hoop (not too small) and the threads (specially made for embroidery = shinny).
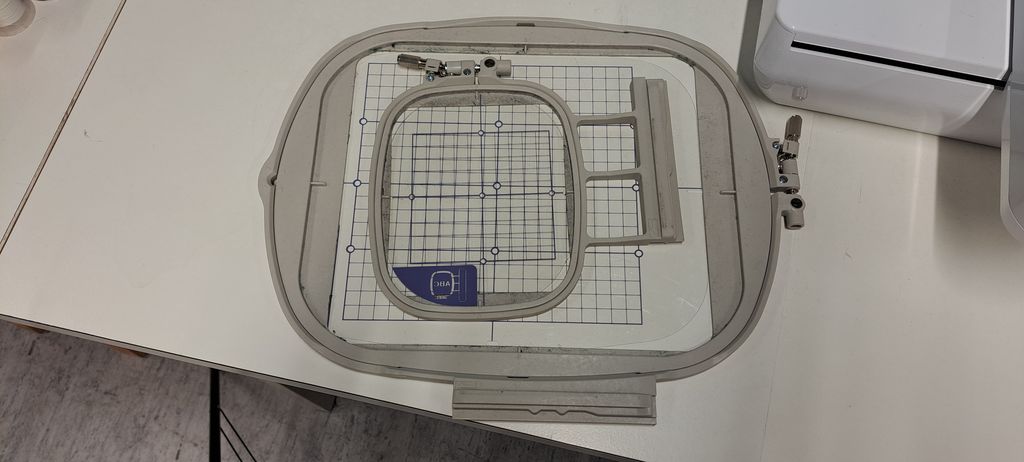
What's great with the machine is that it tells you what hoops you can use for your design (once the file uploaded on it).
Just take the frame, seperate the 2 hoops (inside and outside) and place the fabric on the largest one (the outside one) by making sure that it overhangs on every side.
Regarding the stabilizer you'll use (here it was a water soluble one), place it underneath or above your fabric and make sure it is also overhanging the hoop on every side.
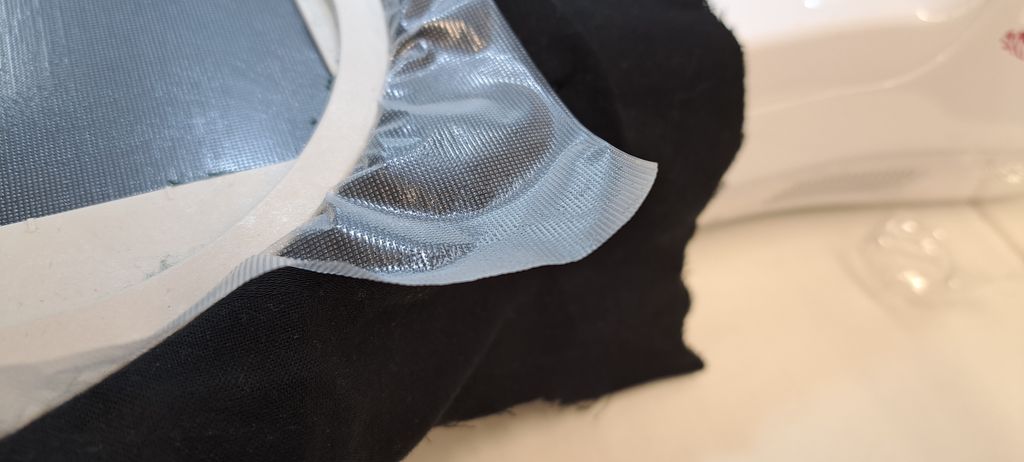
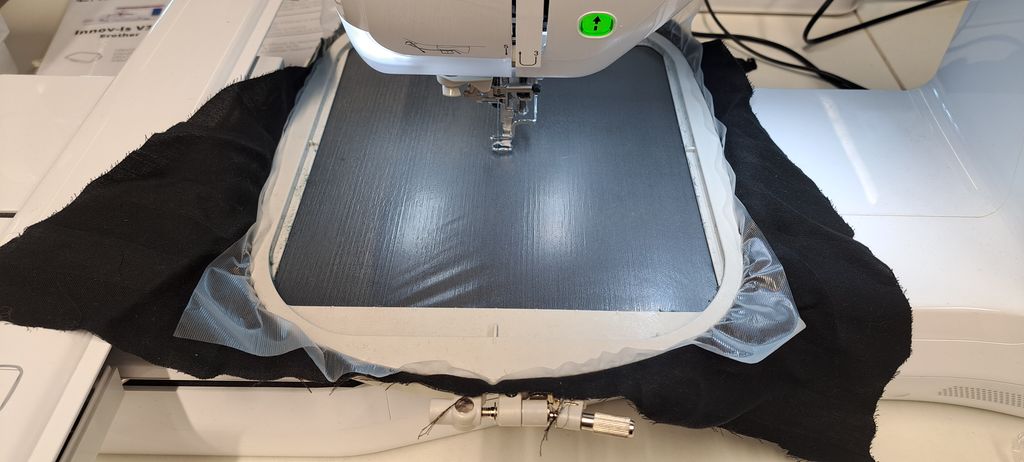
Put back the inside hoop on the fabric and inside the other hoop and tighten them all enough together with the screw so that you can pull on every piece of fabric (+stabilizer) to tense it enough that the needle won't have any trouble working on it. It must be as tense as a drummer.
Once done, place the frame on the machine by inseting it in the mechanism on the left.
Launching the embroidery
Using the Brother Innovis V3LE is really easy !
The touchscreen is really clear and tells you what you'll have to do.
Insert your USB stick on the right of machine and press the "USB Icon". Then select your file and press ...
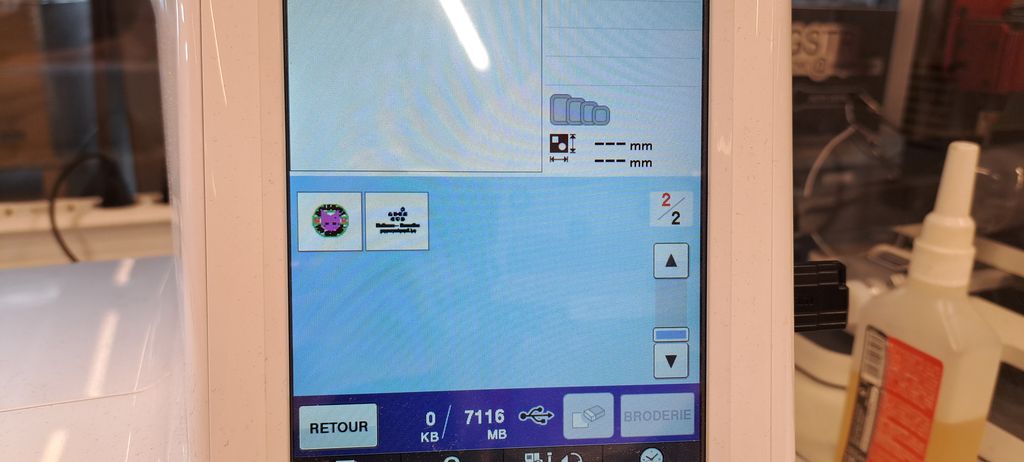
The machine will tell you which frame you can use and also all the colors you'll need and in which order they will be worked on.
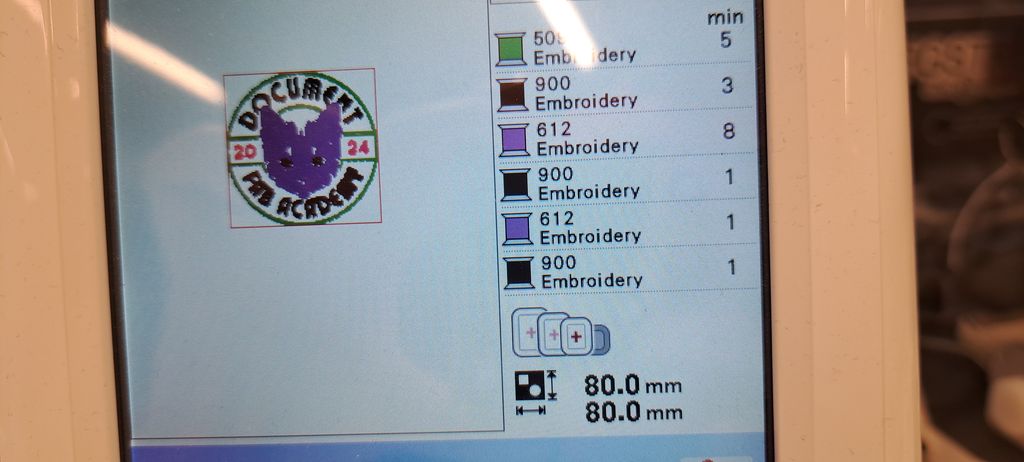
Take the thread bobbin and place it on the upper part of the machine.
To thread the needle, just follow the numbers (with the thread of course) printed on the machine.
Press the "automatic threading" button and let the machine work by otself (yes it does it all by itself!).
Now all you need to do is press the launching button and let it work until it tells you by some beeps that it will work on a another part of your design and that you'll maybe have to change the thread color.
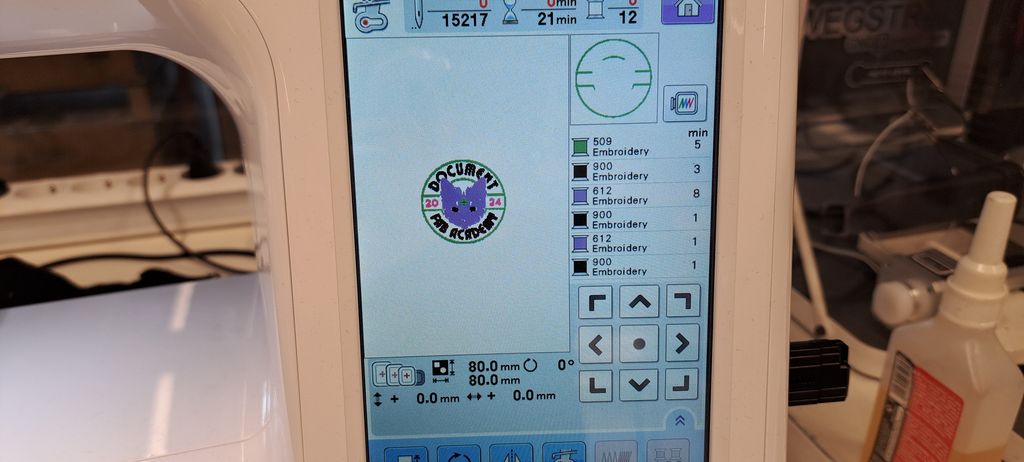
And that's pretty all it. It even cuts the threads when needed.
Unfortunately, in my case it wasn't so easy as I had troubles with the stabilizer and the parameters.
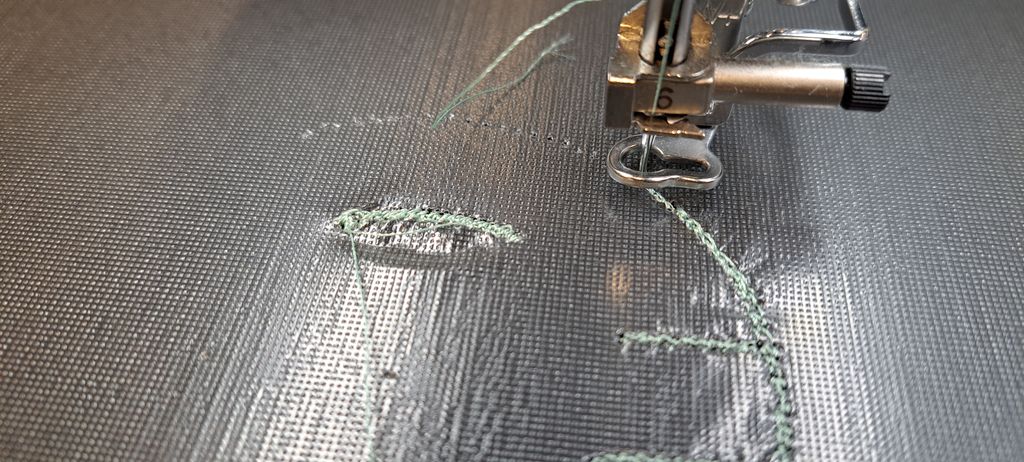
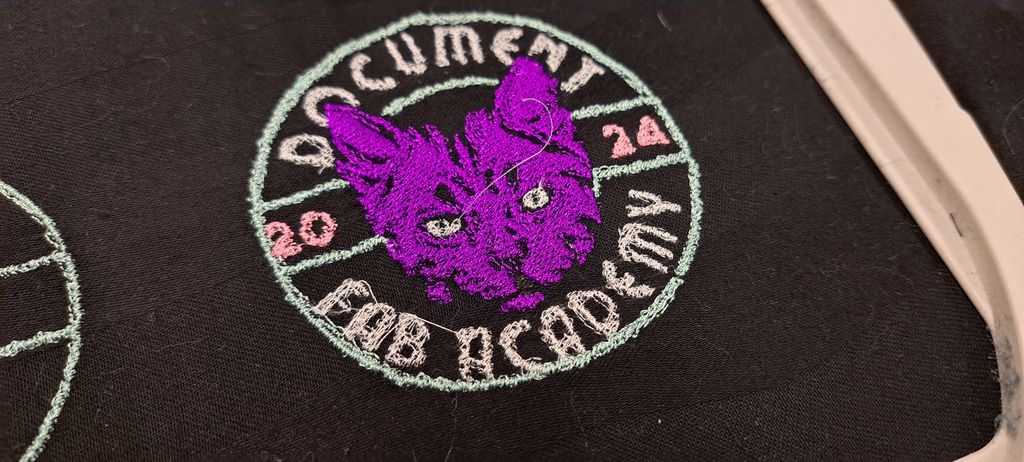
I had to make several attempts, try without stabilizer and stop the machine several time before it was somehow "ok".
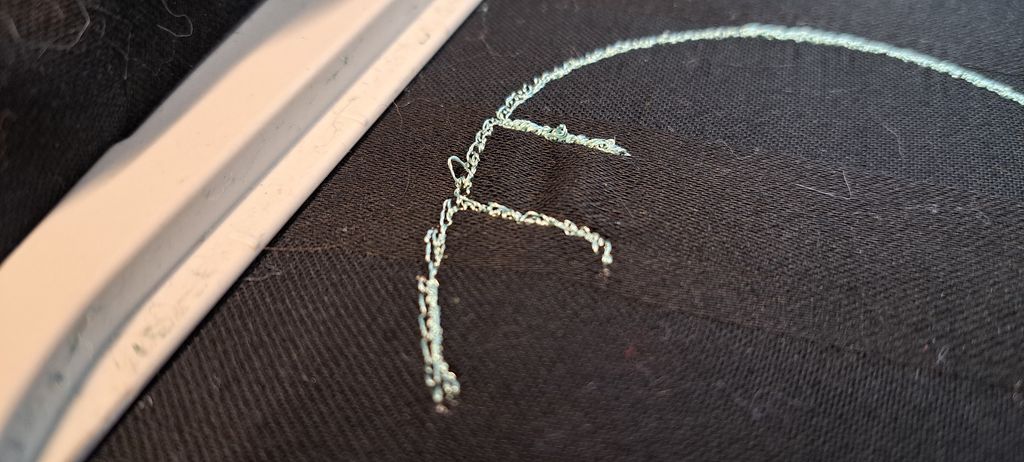
The result is clearly not so good but I will have to restart another day as I'm not having enough time at the moment. But I promise I'll do it again soon ! ;)
Files and resources
Files
Resources