5. 3D Scanning and Printing
It's time to learn how to scan and print in 3D.
Group assignment
We've printed several design rules to test our 3D printers.
Our Fab Lab's 3D printers
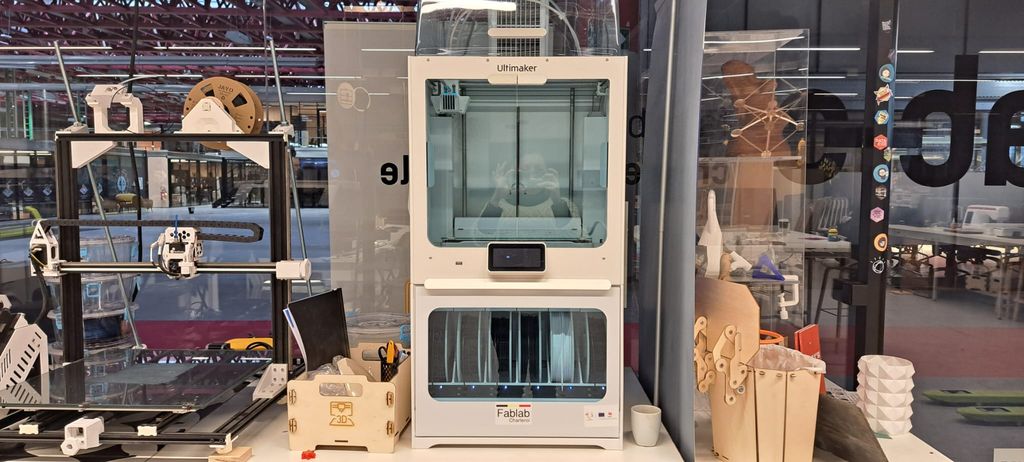
- 330 x 240 x 300 mm build volume
- Composite-ready dual extrusion
- Award-winning touchscreen UI
- Click and print with 280+ materials
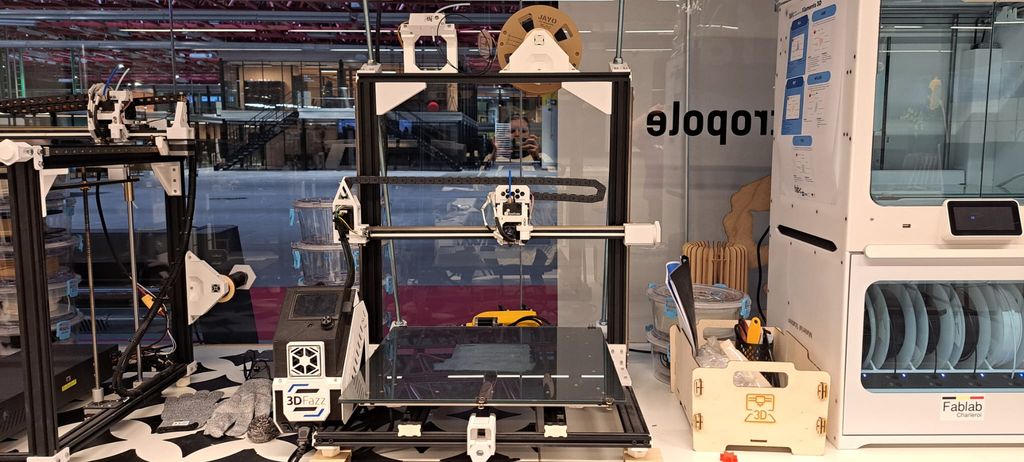
- FDM fused deposition molding
- print volume of 480 x 480 x 490mm
- Maximum hot end temperature less or equal to 260°C
- Heated print platform max temperature less or equal to 60°C
- Bed leveling: CR Touch Leveling
- Filament diameter: 1.75 mm
- Industrial-grade Circuit Board
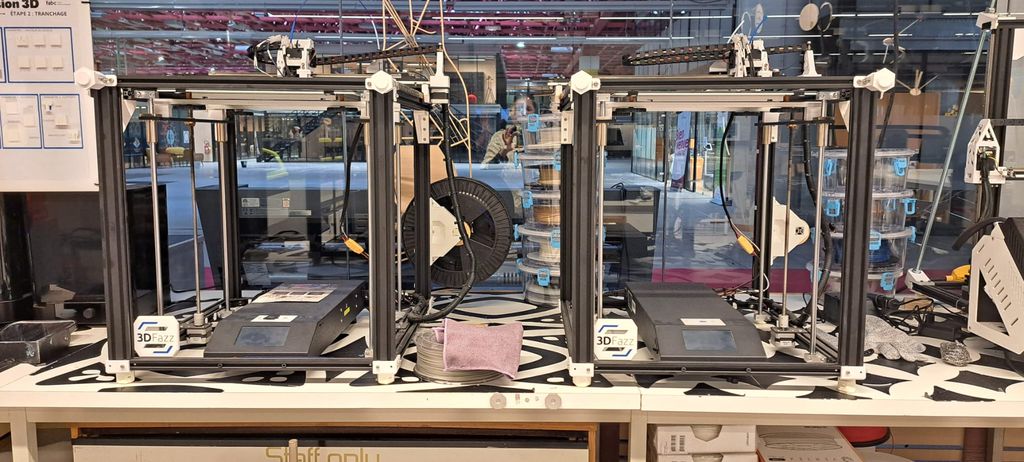
- FDM fused deposition molding
- print volume of 350 x 350 x 400mm
- Maximum hot end temperature less or equal to 260°C
- Print platform max temperature less or equal to 110°C
- Printing material : PLA, ABS, Soft glue, Wooden, Copper containing, Gradient, etc.
- Filament diameter: 1.75 mm
How to prepare the 3D printer
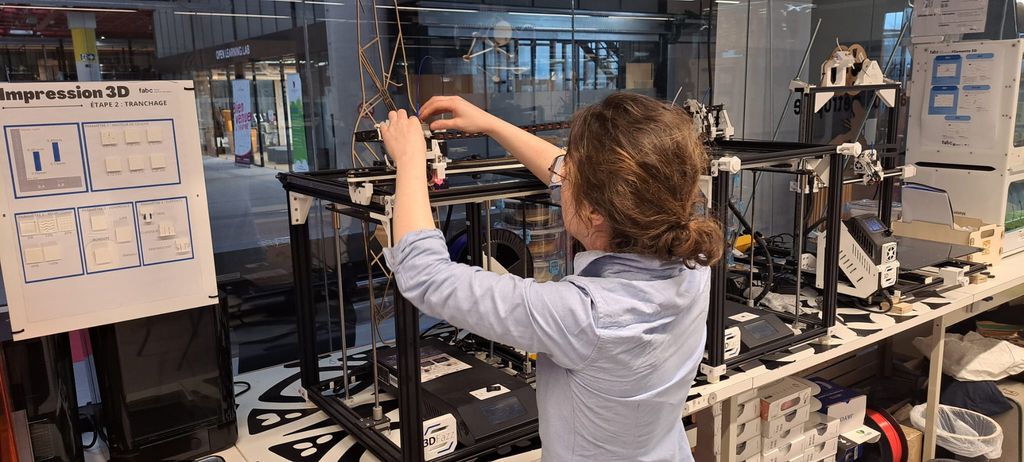
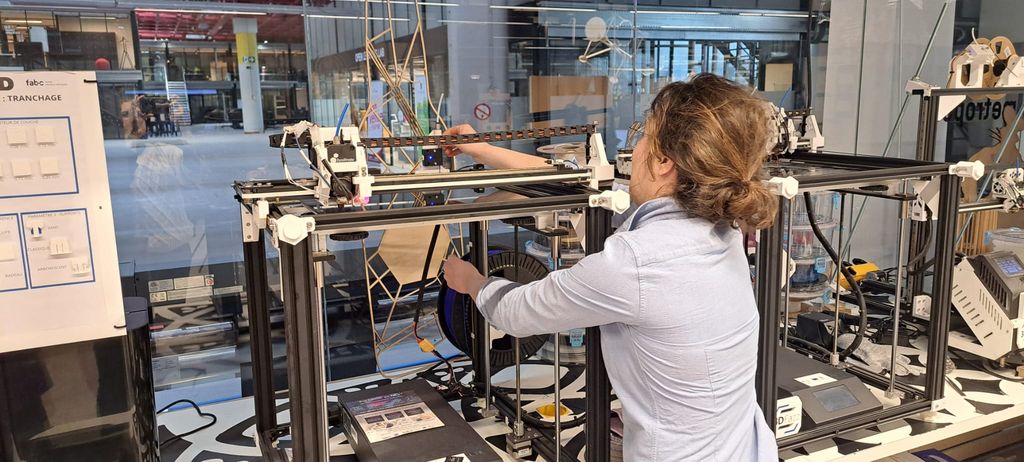
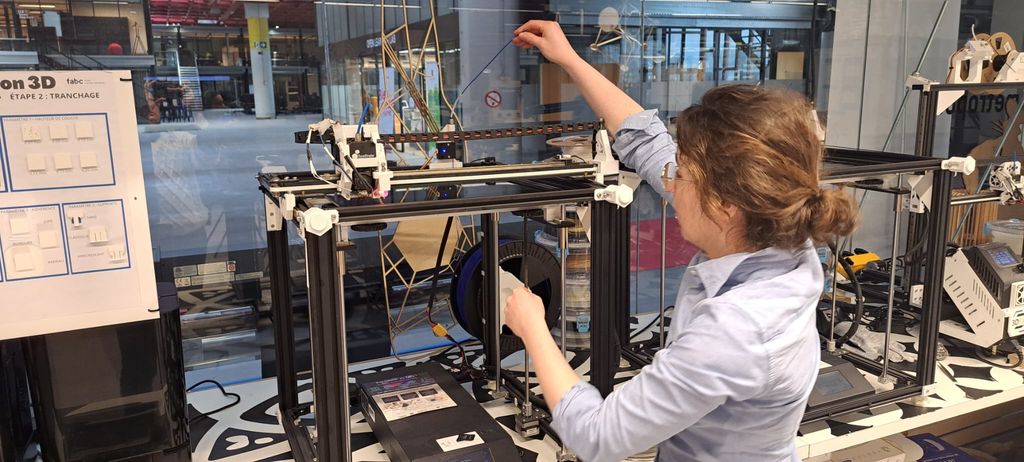
We've learned to turn on the machine, to place the filament and to add the file with SD card (for the Creality printers) or directly with wifi (for the Ultimaker).
Software
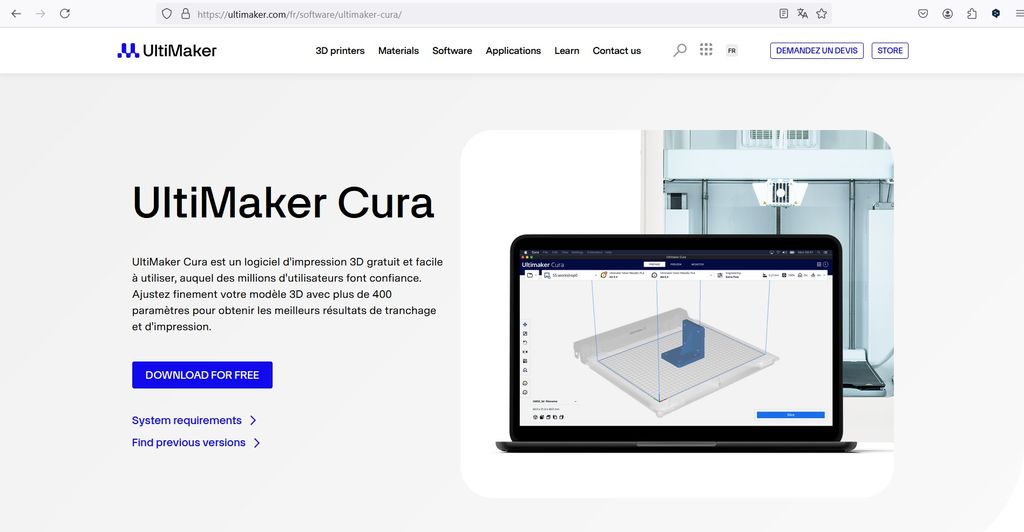
As 3D print software we use Cura.
Clearance test on the Ultimaker S5
The first attempt without supports failed.
- Printing material : PETG
- Nozzle temperature : 205°C
- Plate temperature : 60°C
- Print speed : 80mm/sec
- Infill : 10%
- Layer height : 0.4mm
- Plate adhesion : skirt
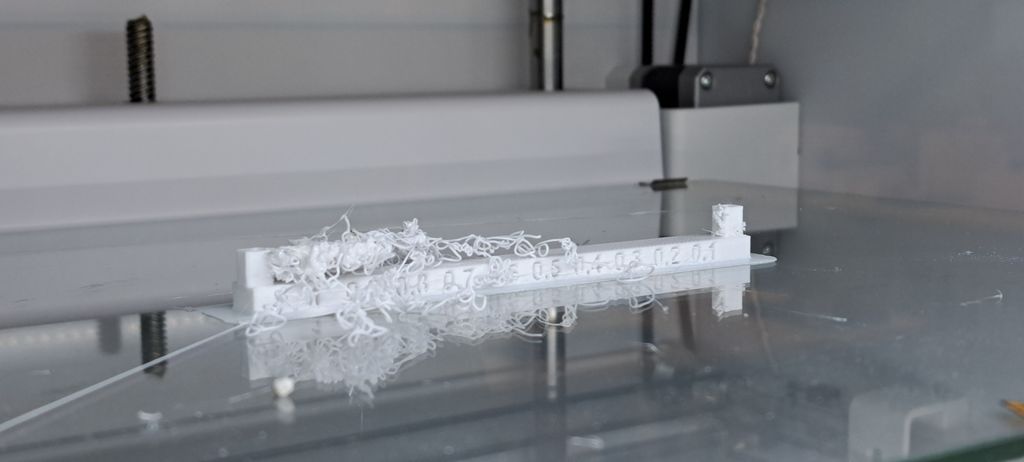
We added the supports.
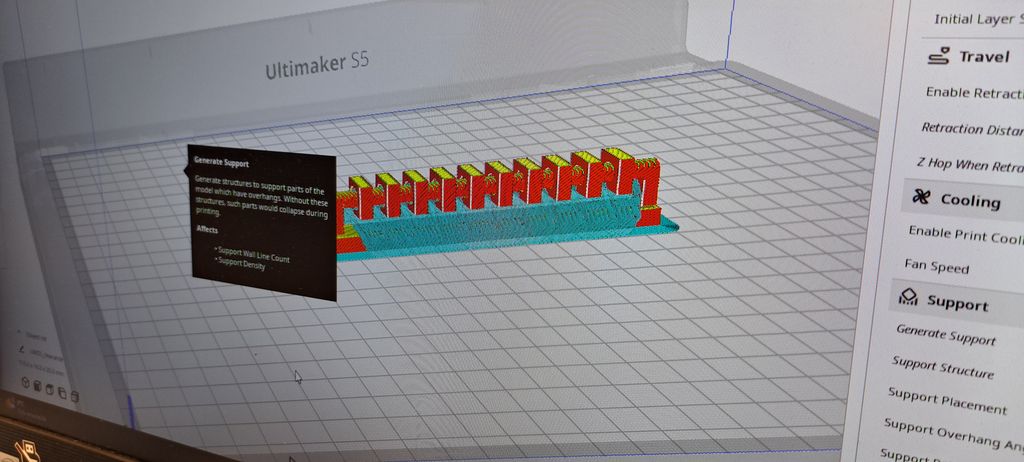
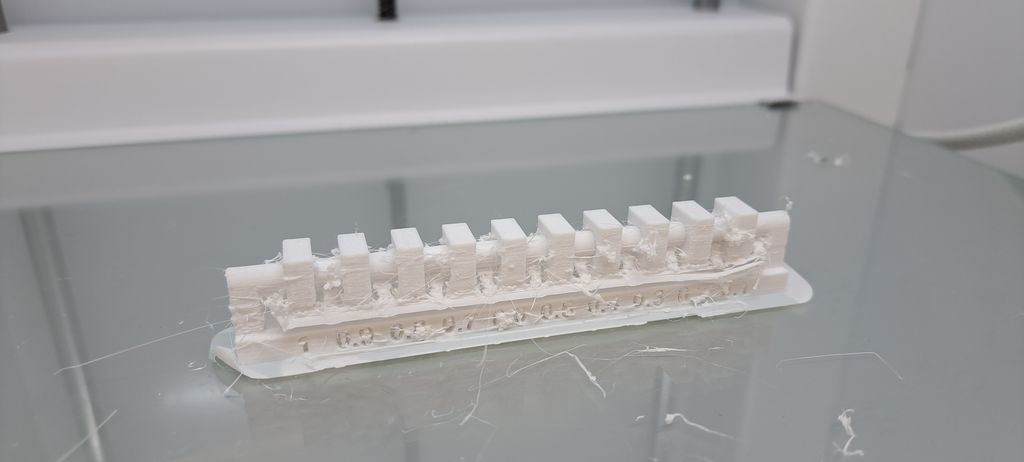
The second attempt was a success but printing in PETG made the cleaning hard and the final result is kind of messy.
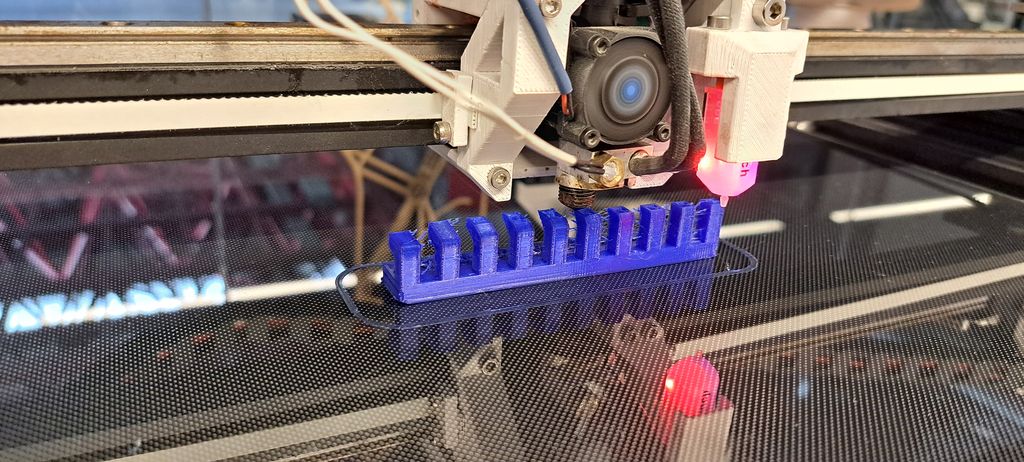
Angle test on Ender-5 Plus
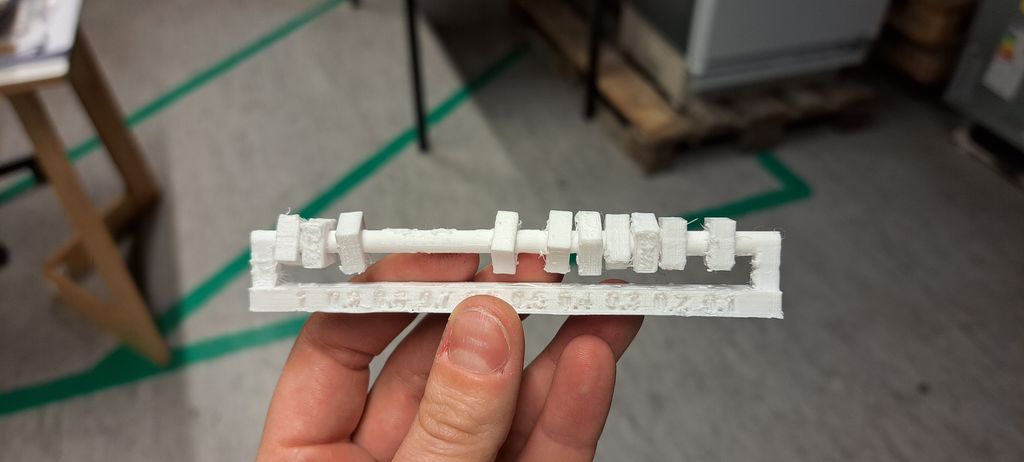
We've pritned the angle test on one of our Ender-5 Plus and everything went well.
- Printing material : PLA
- Nozzle temperature : 205°C
- Plate temperature : 60°C
- Print speed : 80mm/sec
- Infill : 10%
- Layer height : 0.4mm
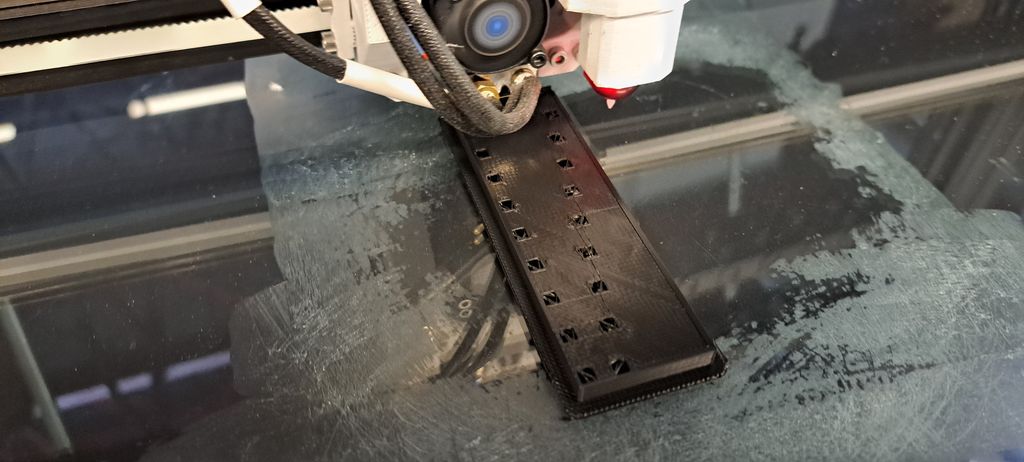
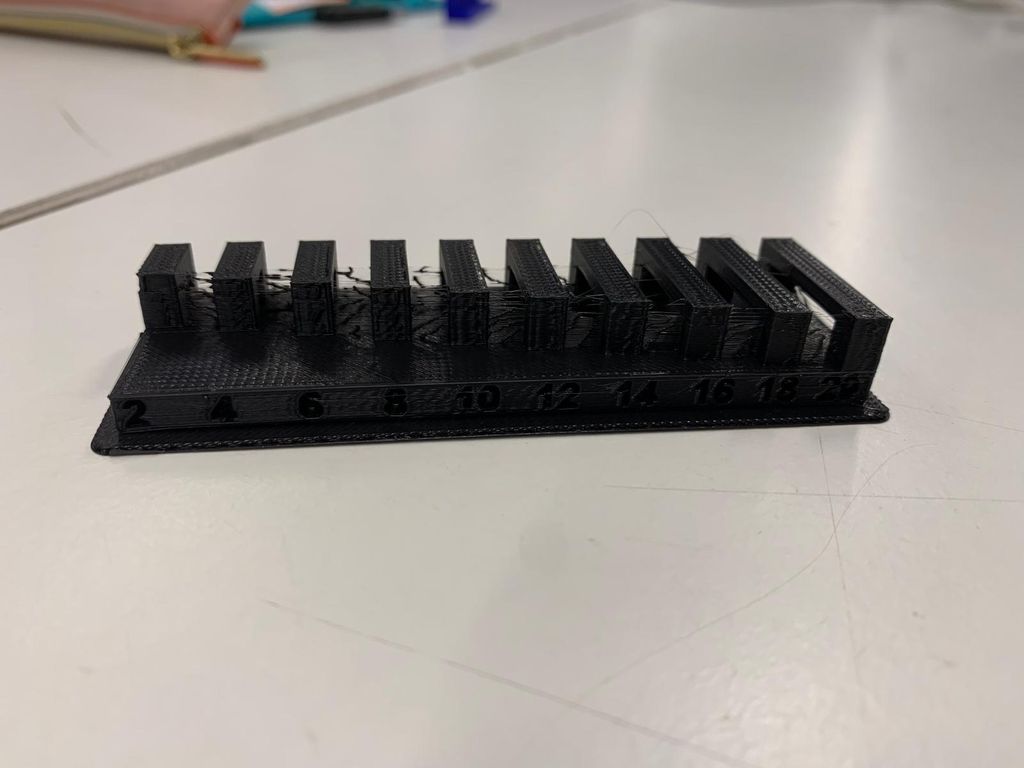
Bridging on Ender-5 Plus
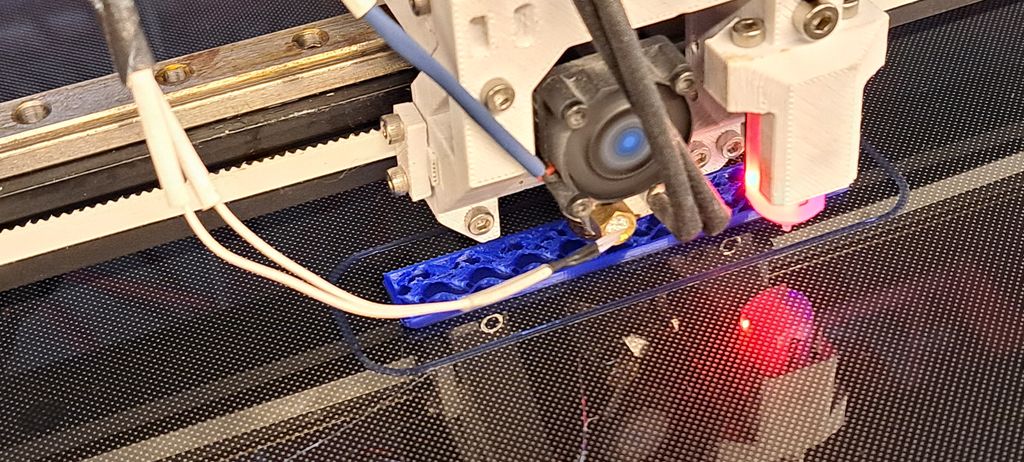
The bridging test printing went also well.
- Printing material : PLA
- Nozzle temperature : 205°C
- Plate temperature : 60°C
- Print speed : 80mm/sec
- Infill : 10%
- Layer height : 0.4mm
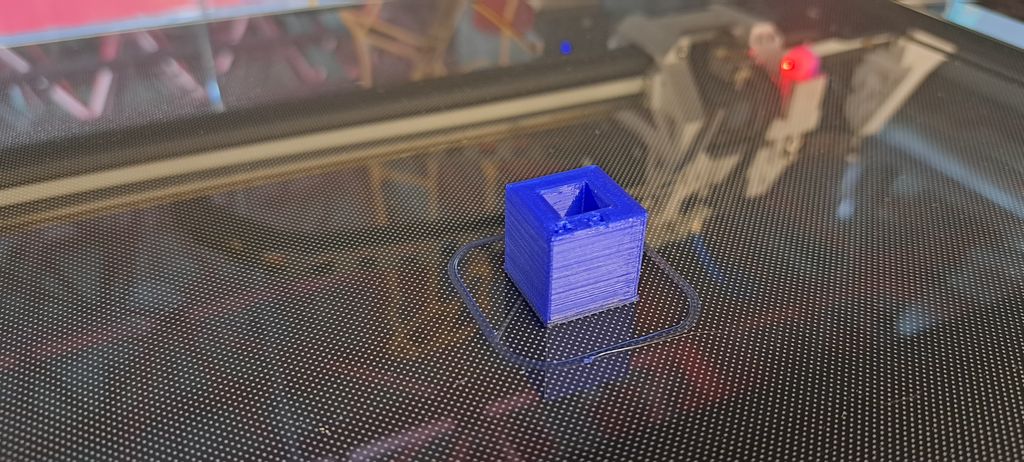
Dimensions on Ender CR-10
The dimensions test went well too.
- Printing material : PLA
- Nozzle temperature : 205°C
- Plate temperature : 60°C
- Print speed : 80mm/sec
- Infill : 10%
- Layer height : 0.4mm
Anisotropy
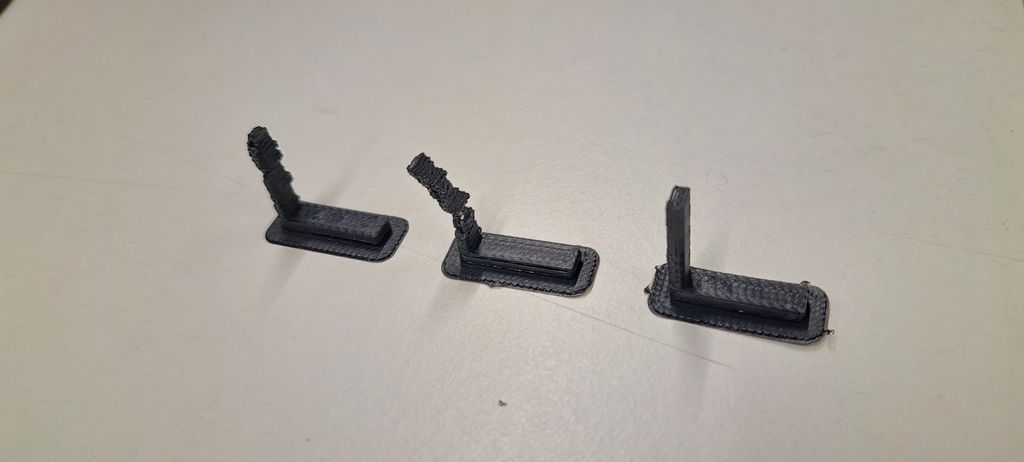
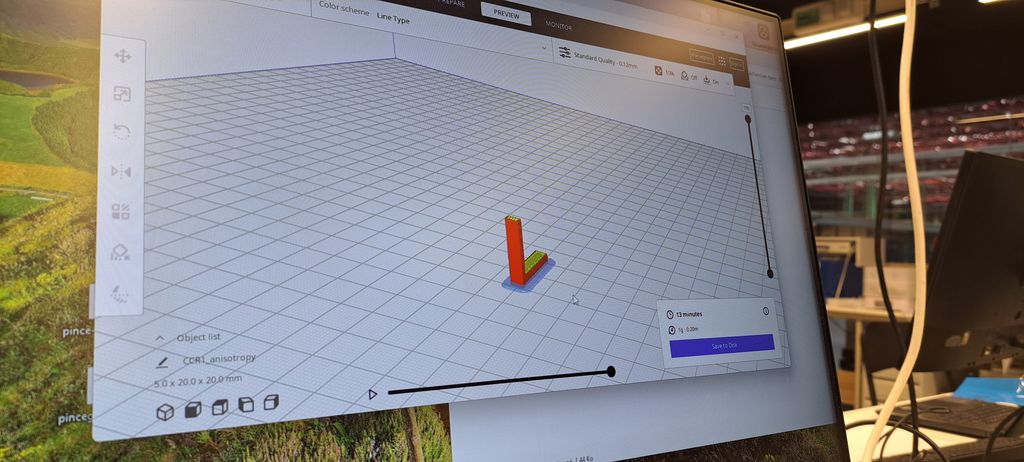
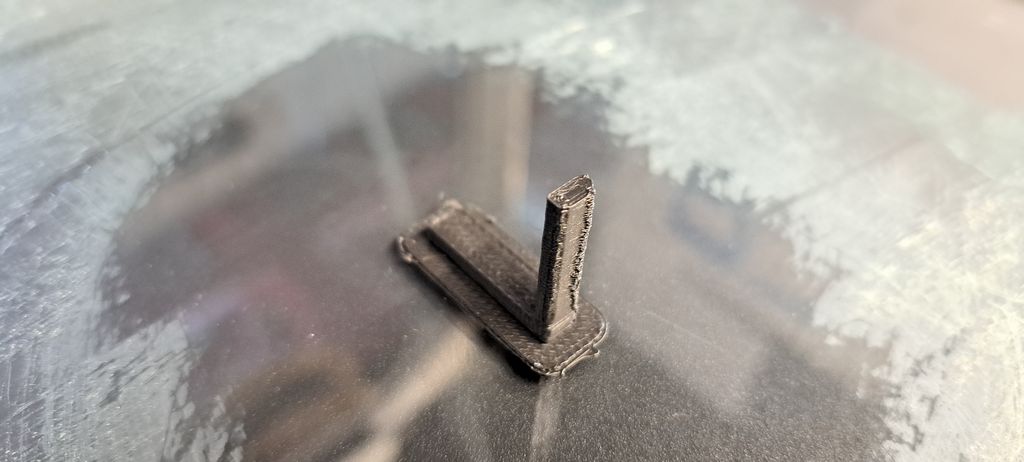
This piece was the smallest but the trickiest...
First, we didn't get the base layer to stick on the heated board with a 50°C plate temperature so we pushed it to 60°C and added a raft.
It sticked to the plate but was horrible...
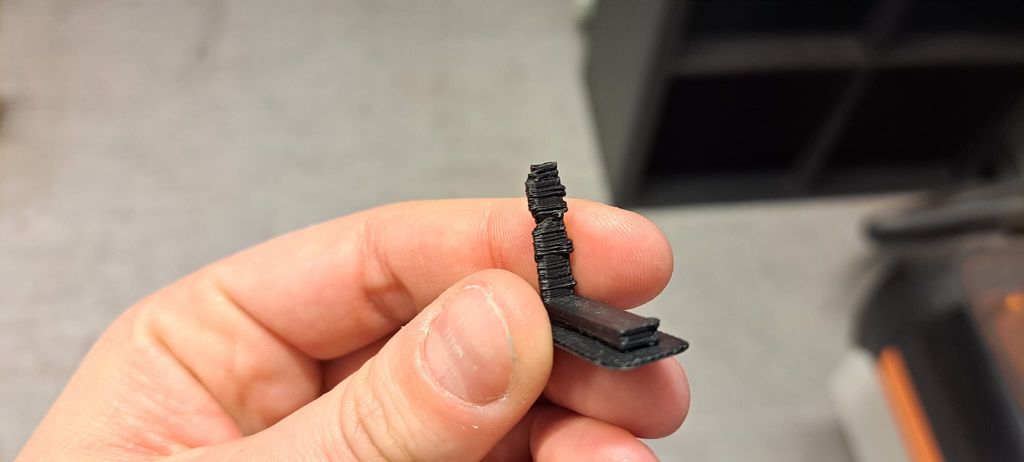
As the print still wasn't right we lowed the speed from 70mm/sec to 50mm/sec.
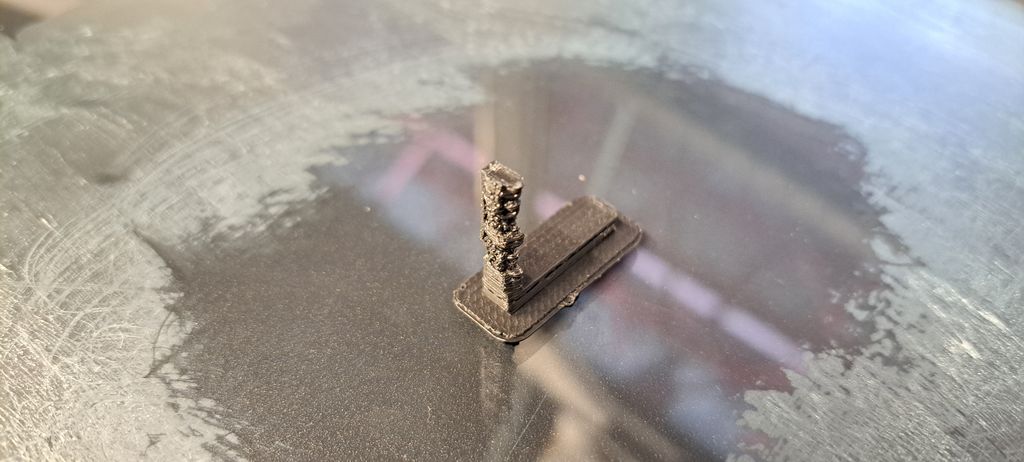
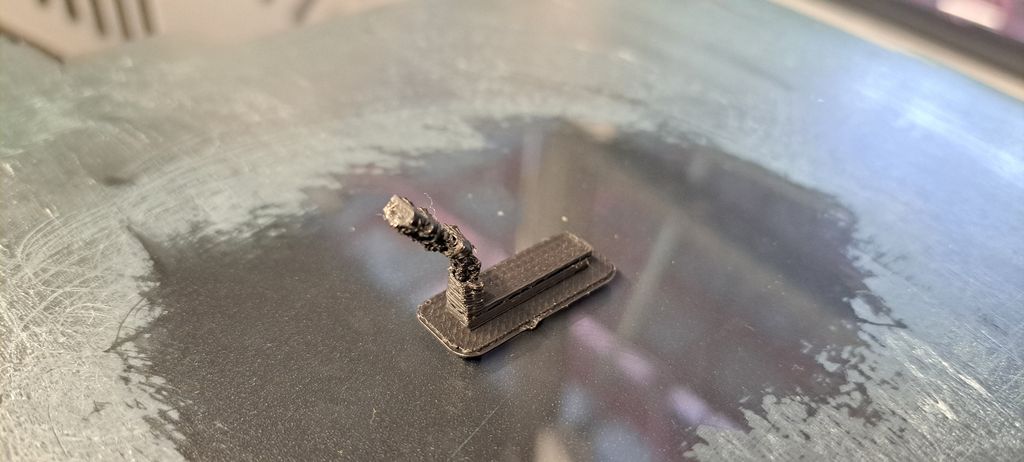
As the print was worse and even broke, we checked again the parameters and discovered that the problem came from the travel as the retraction was on, which shouldn't in this case.
And so we finally got our piece correctly ! Yay !
UPDATE - Advantages and disadvantages of 3D print
Disadvantages
Even though 3D printing is really popular, people don't realize how complex it is (thanks to all these fast videos on internet where every piece comes out of the machines nice and clean) !
3D printing is a slow process. Even the smallest piece can take nearly an hour to be printed if your parameters ar wrong.
That leads to, indeed, the complexity and work to do first on your file and parameters. Regarding the end use of your piece, its strength, its size, the room where your machine is stored, the time you need it to last, etc.
You'll have to choose the right material, the right temperature, the right angle, right position, etc.
And even if you thought about everything, something can go wrong during the process (just think of a power failure !). And you can start all over again.
So 3D printing is not the first process to think of when you want to prototype. And you have to be patient and make a lot of tests before getting to the best result (or be lucky)!
Advantages
But, 3D printing still has some good sides as you can get incredible aesthetic results, great strength (I met someone who 3D printed a lock for his old box that worked well), the fact that you can reproduce some objects that can't be purchased anymore, the cheap part of 3D printing (well, if you're in a country where electrycity isn't too expensive ! ^^') and even though 3D printing is a slow process, for some objects it still is faster than the original process (I'm, among others, thinking about the houses).
Link to our Group week 5 page
Individual assignment
3D scan
The 3D scan part was a real adventure !
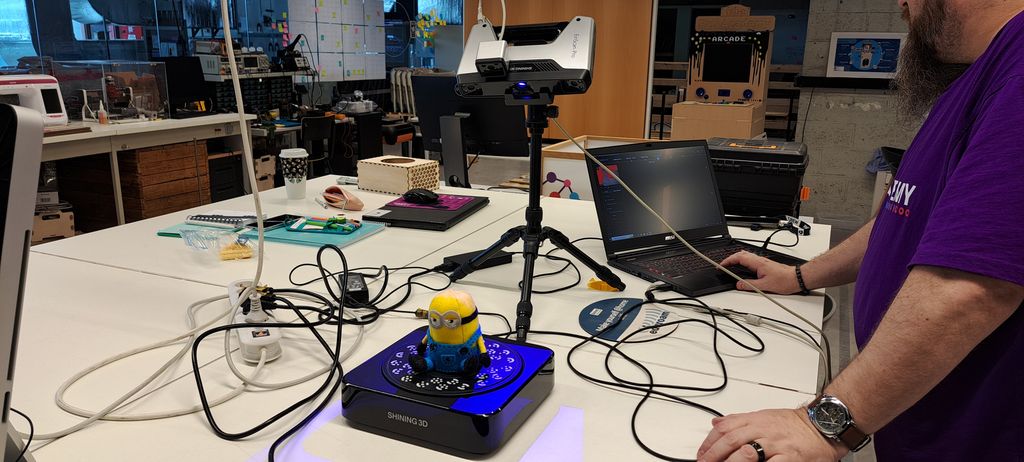
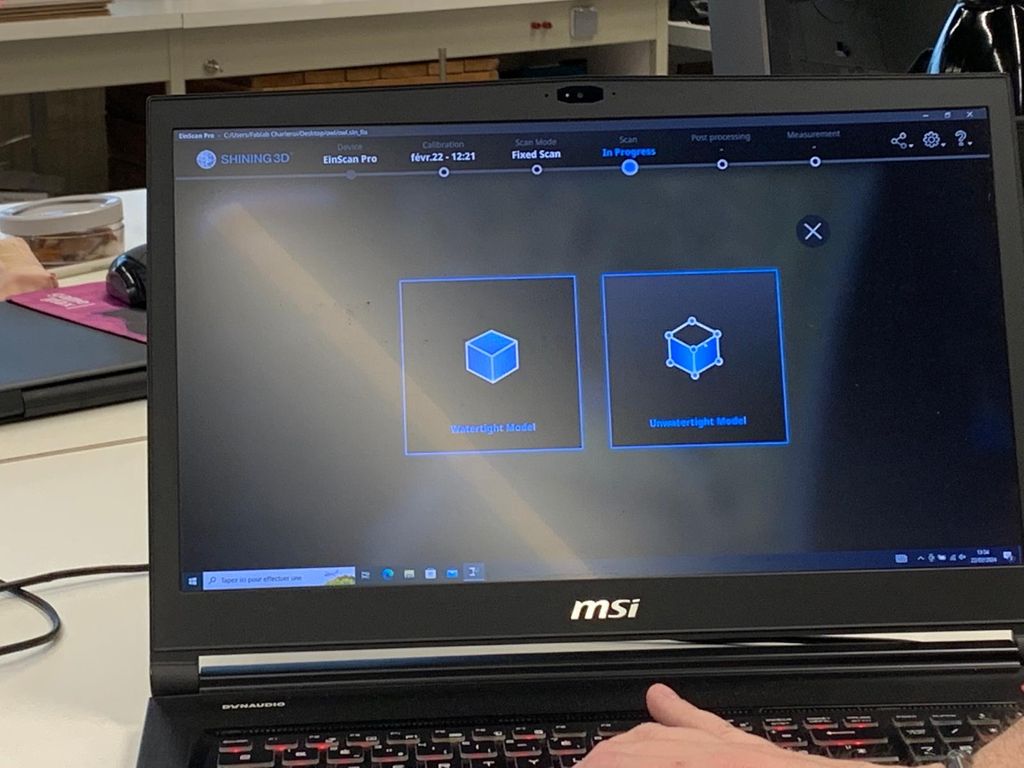
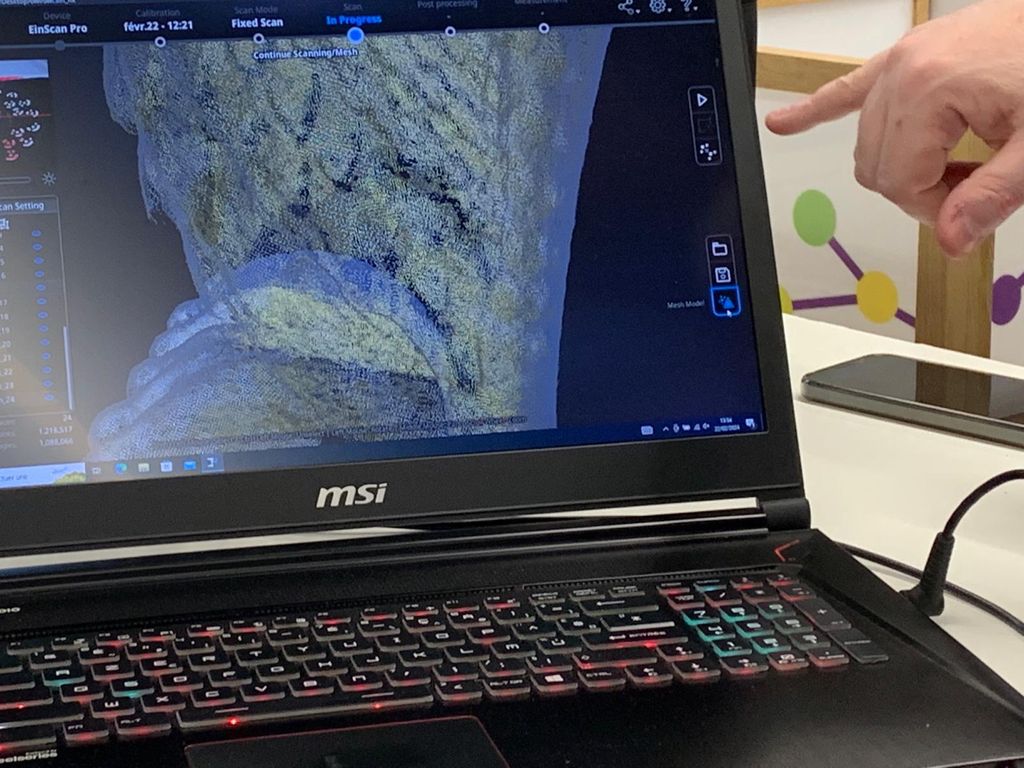
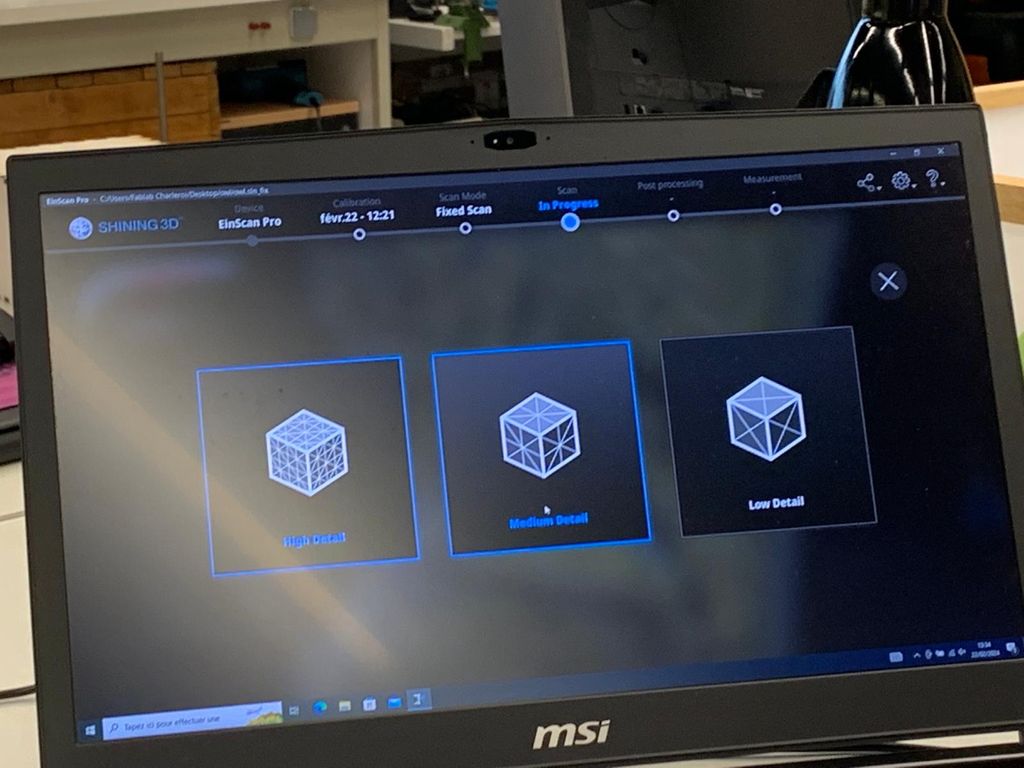
In the Fab Lab we have an Einscan Pro scanner running with the Shining 3D program.
Our computer being under repair, we had to get another one for this week.
The first problem was the software that wouldn't run on it. Solution = download an older version.
Then we tried to calibrate the scanner by following the program's videos.
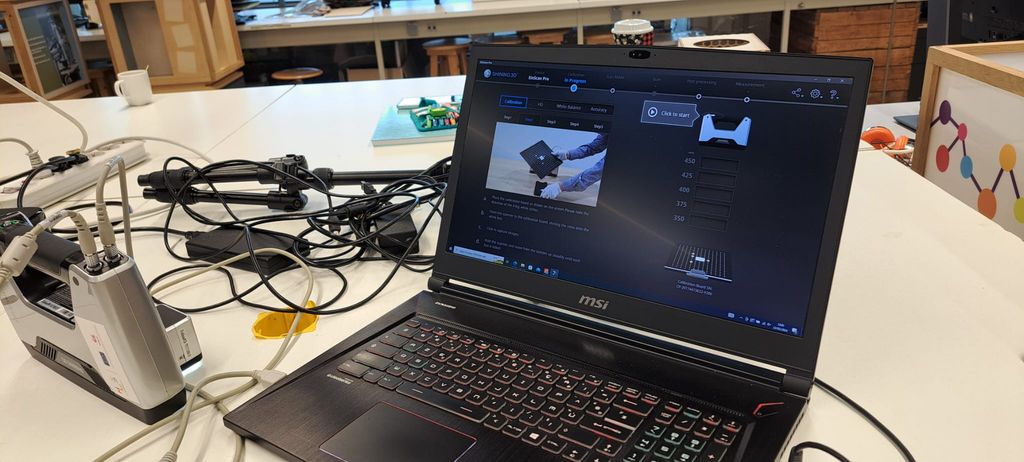
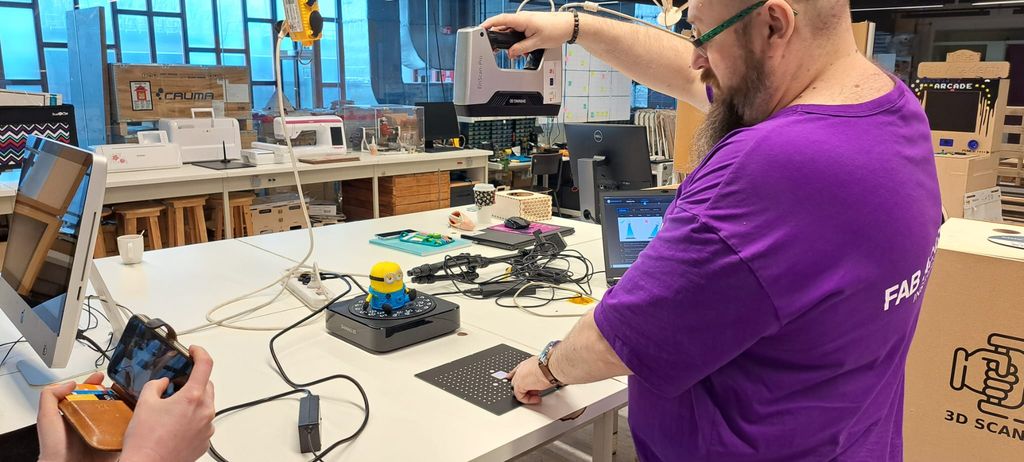
After at least 15 attempts in several places (with and without light in the room) it finally succeeded !
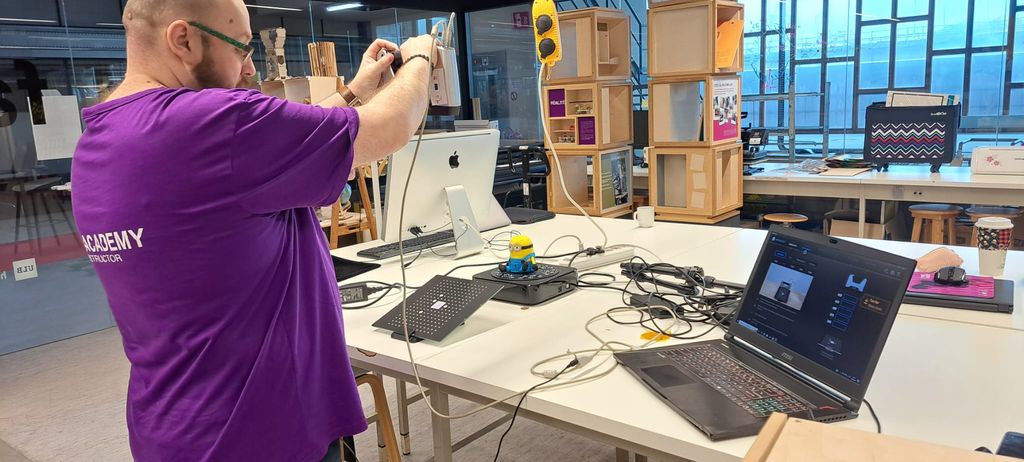
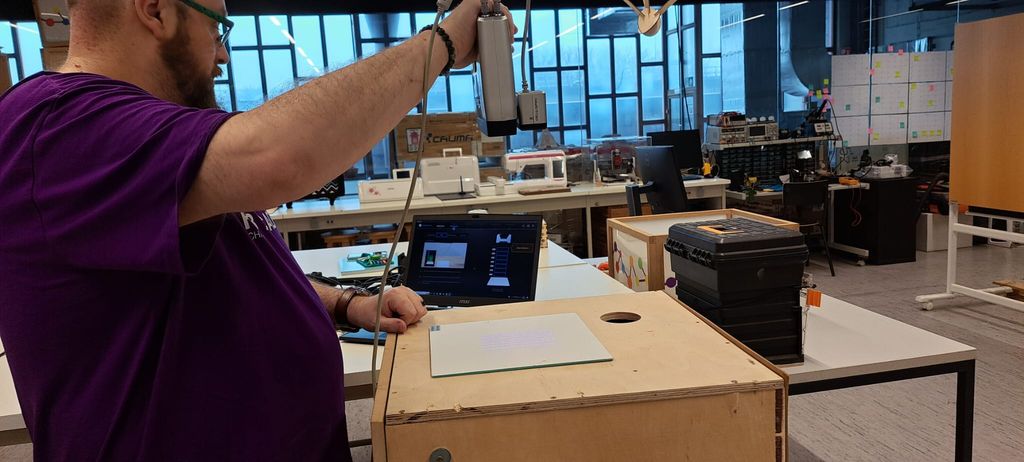
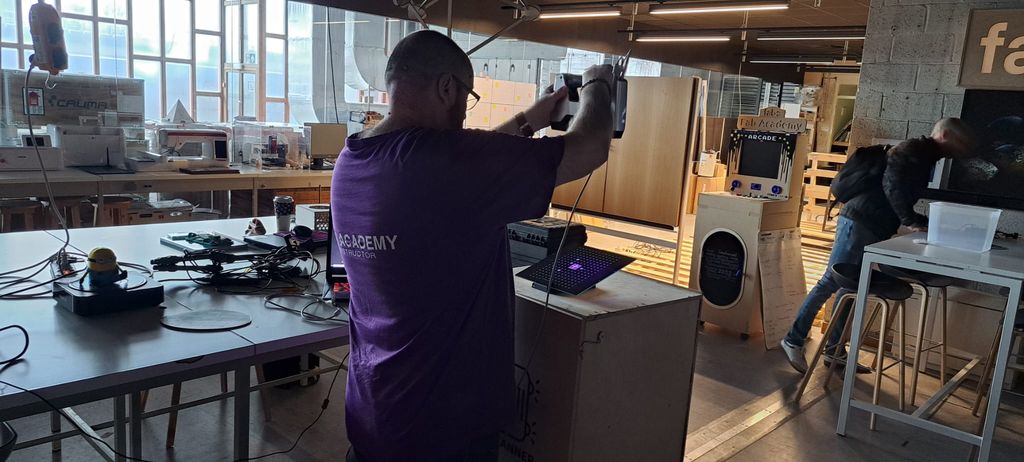
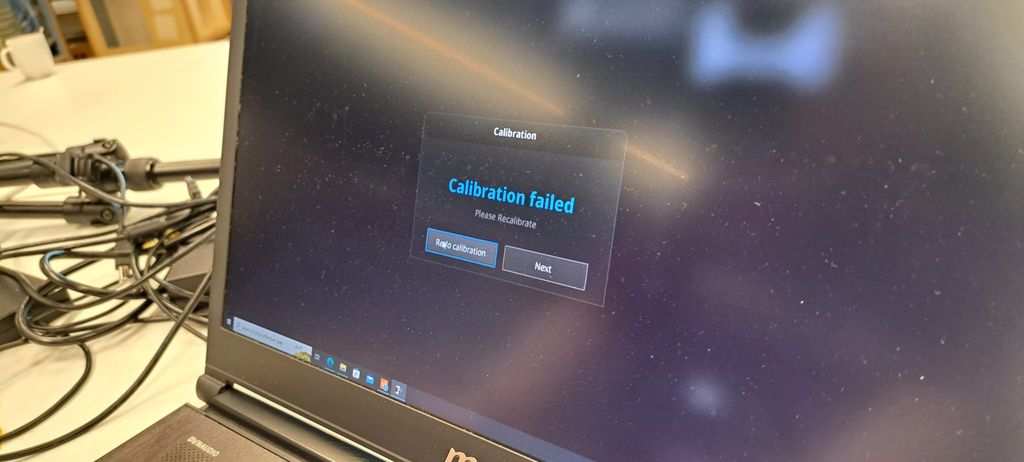
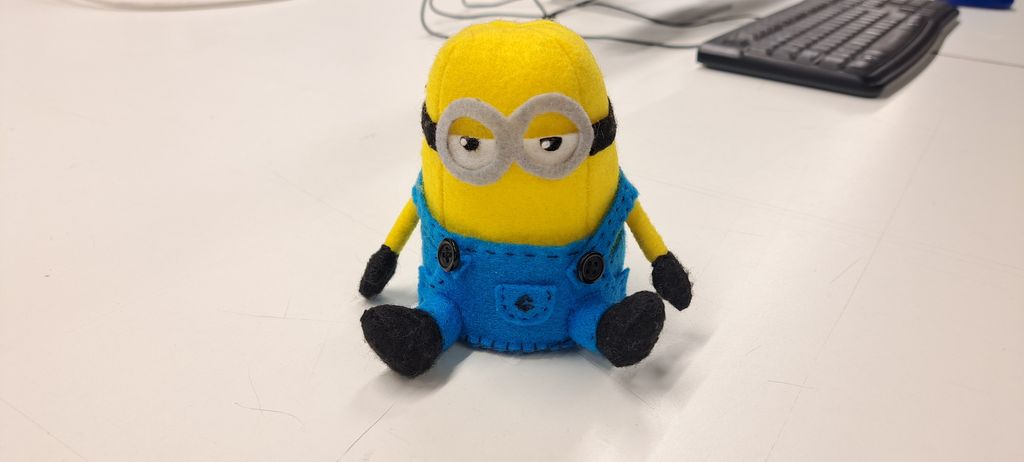
But then, the first piece we tried to scan (this cute DIYed Minion plush) didn't went well because it was too cylindrical and had some black pieces...
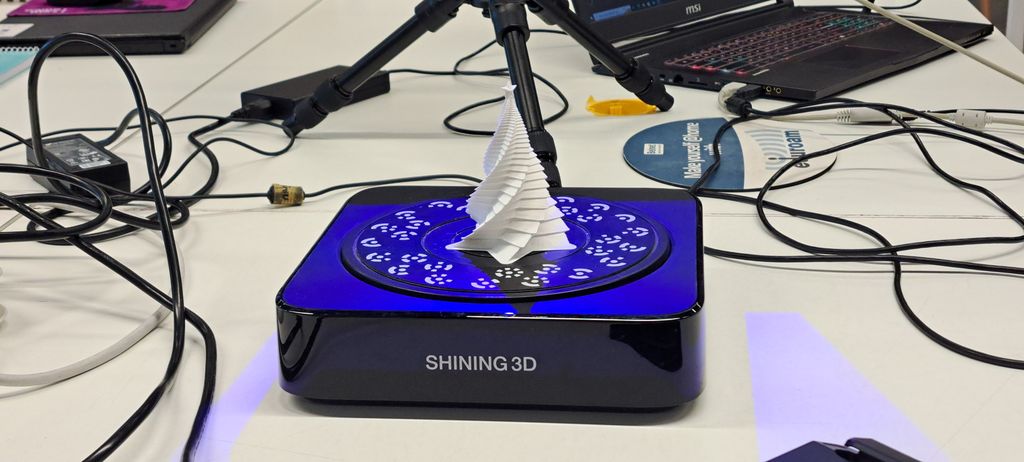
The second piece was too complexe and so closing the object was hard.
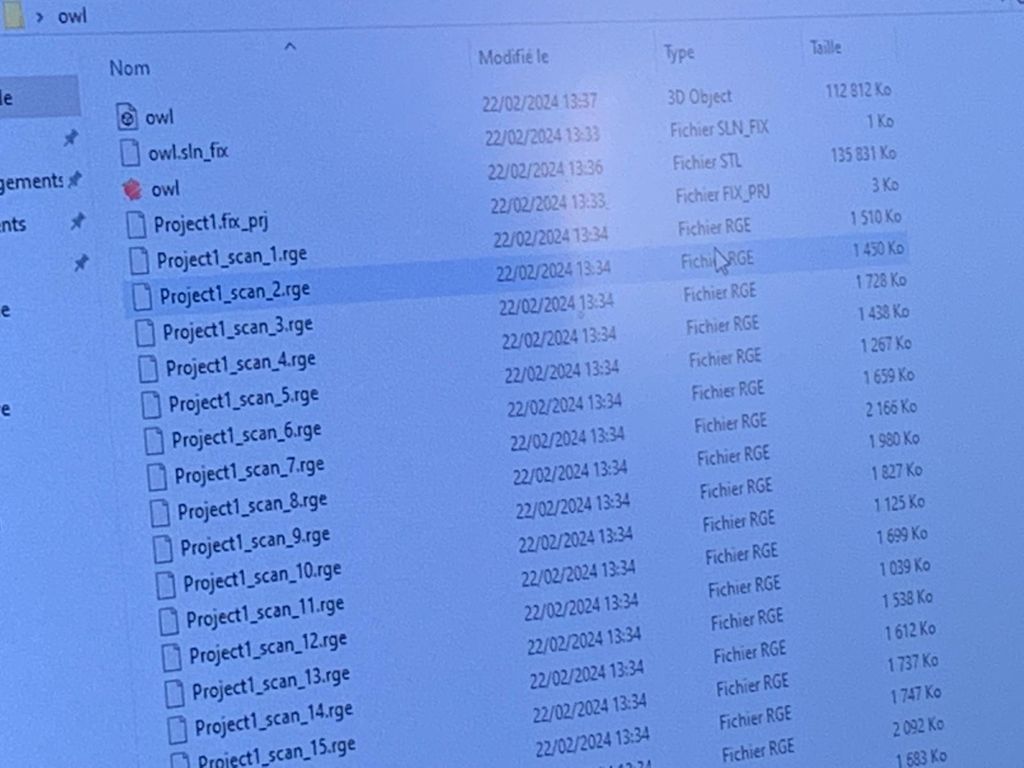
We finally did the scan on a 3D printed owl and it was better.
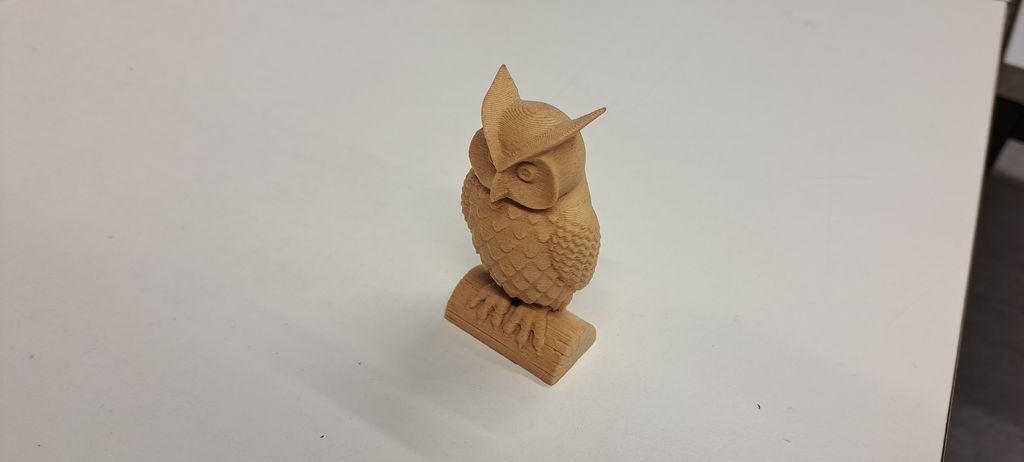
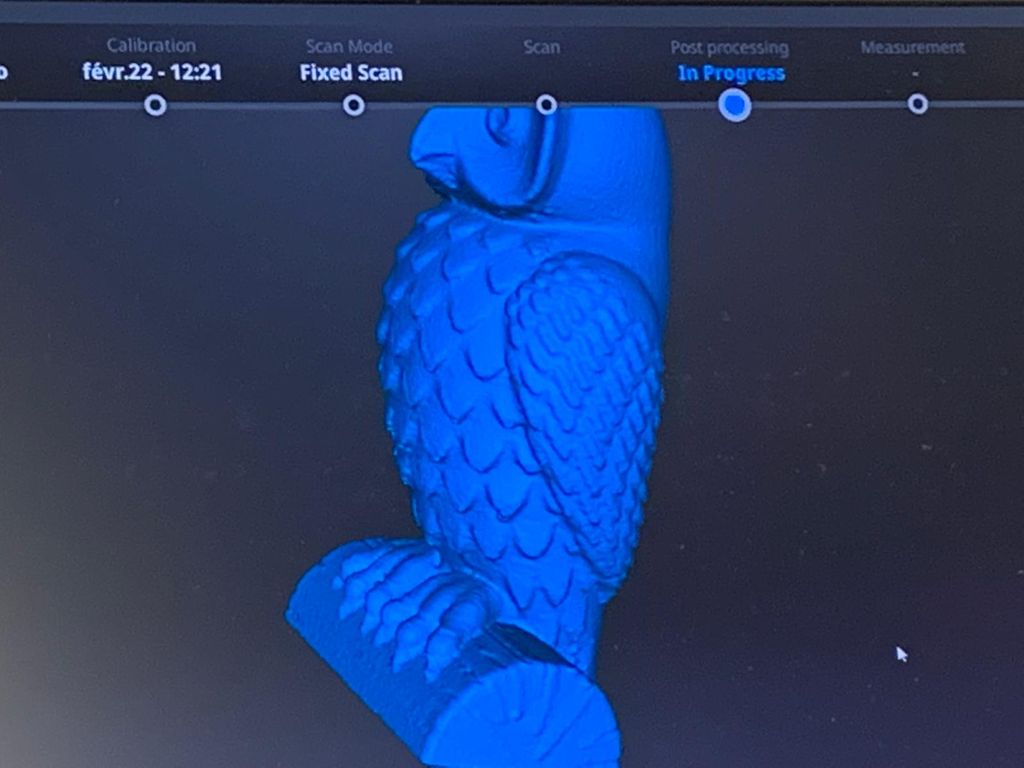
We could work on all the steps to get the piece finished and have the separated files.
Non substractive 3D design and print
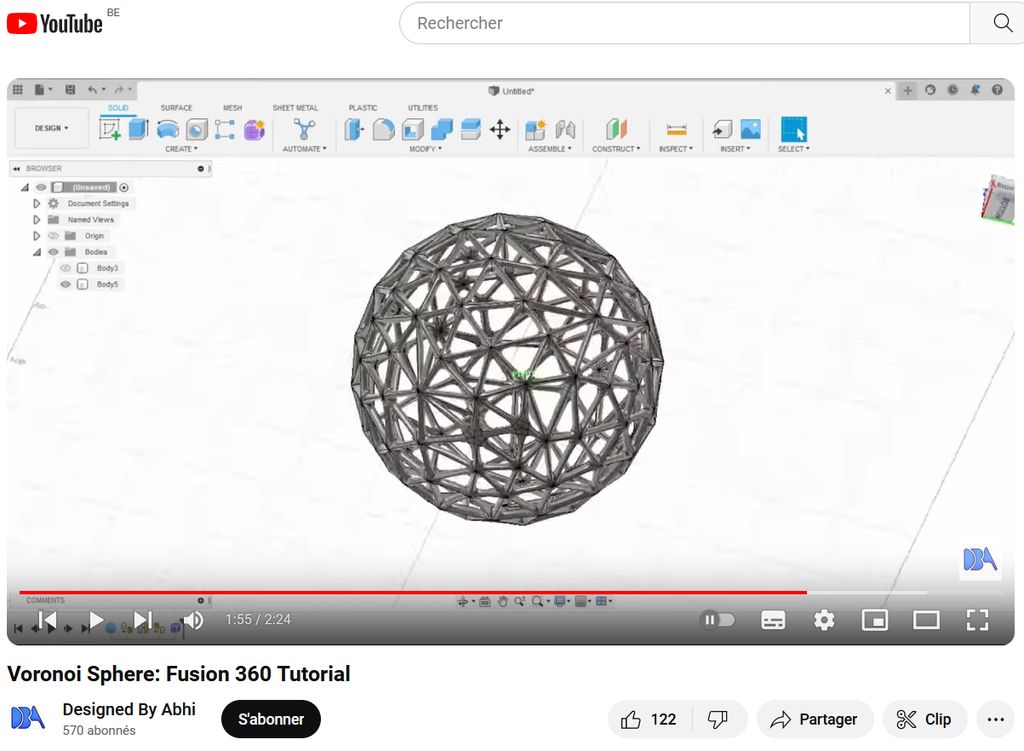
For the non substractive object, I designed a "cat toy" ball : a "voronoid type" sphere with a plain ball inside.
I designed it in Fusion 360 by following this quick tutorial on Youtube
.
I first sketched and extruded 2 spheres : a small one nested in a bigger.
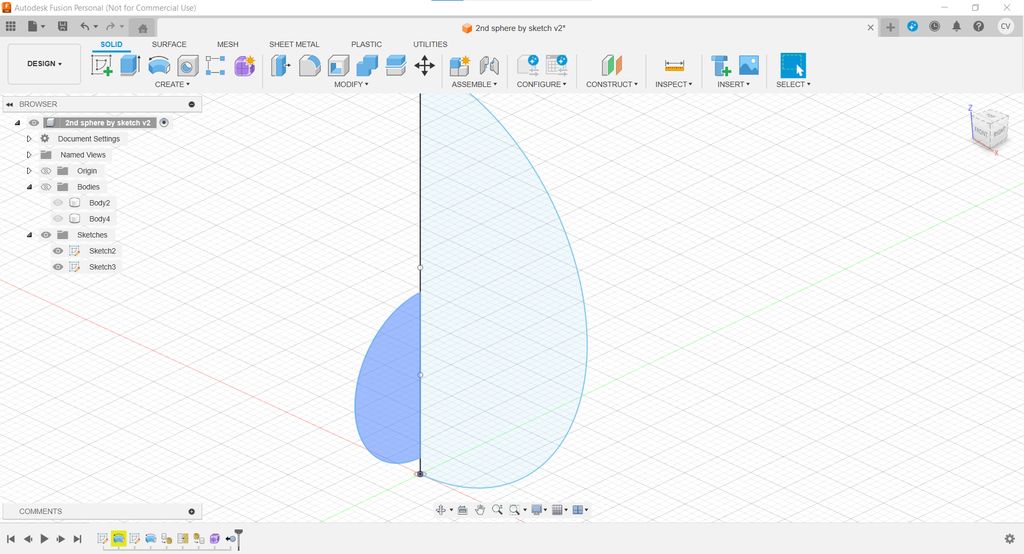
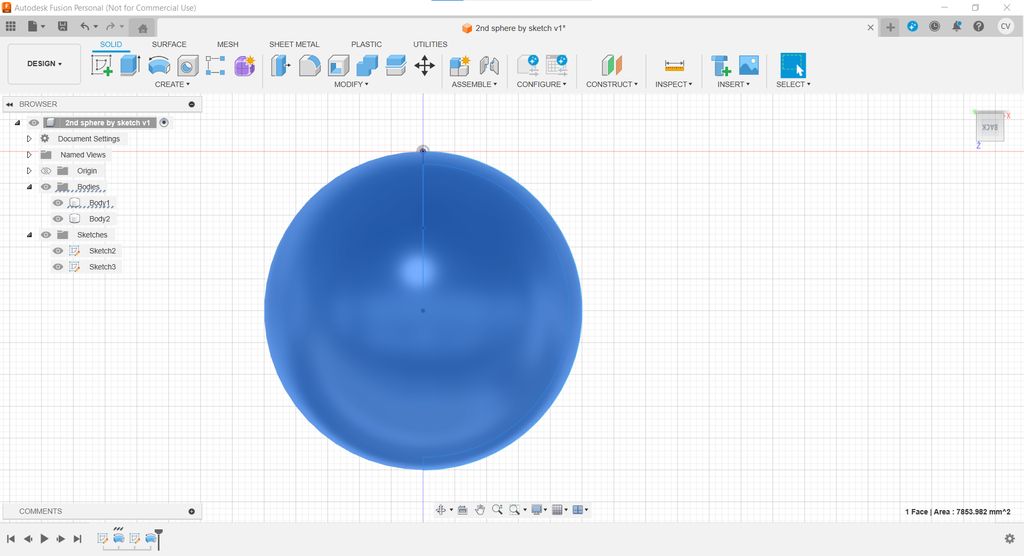
Then I designed the "voronoid" aspect on the biggest one.
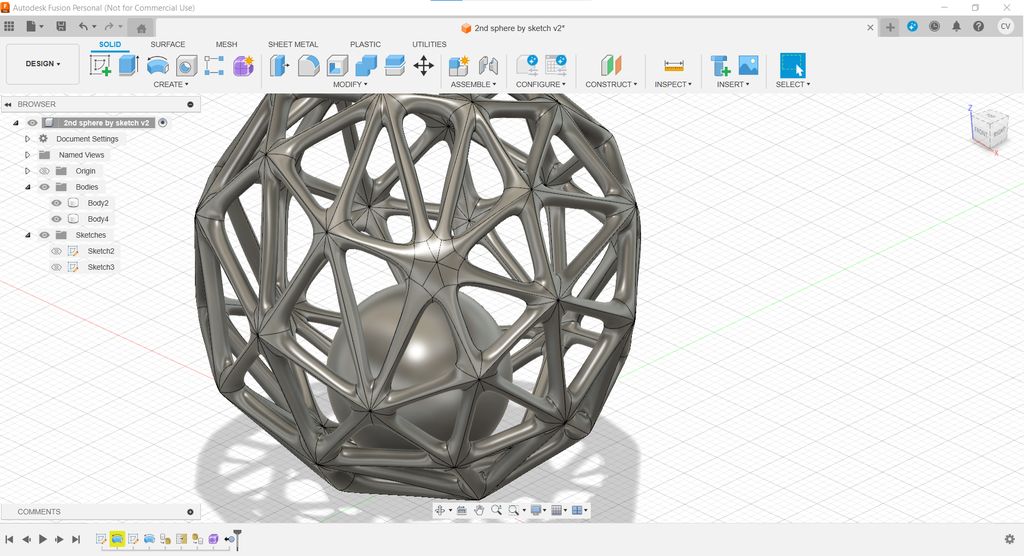
We printed it on the Ender-5 Plus and added a raft and some tree support.
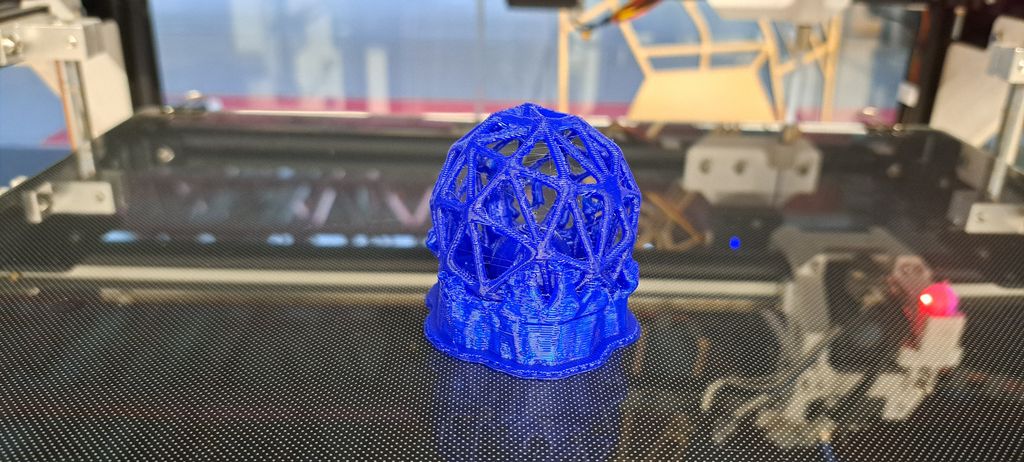
The print is ok but not perfect and it was hard to take away the supports.
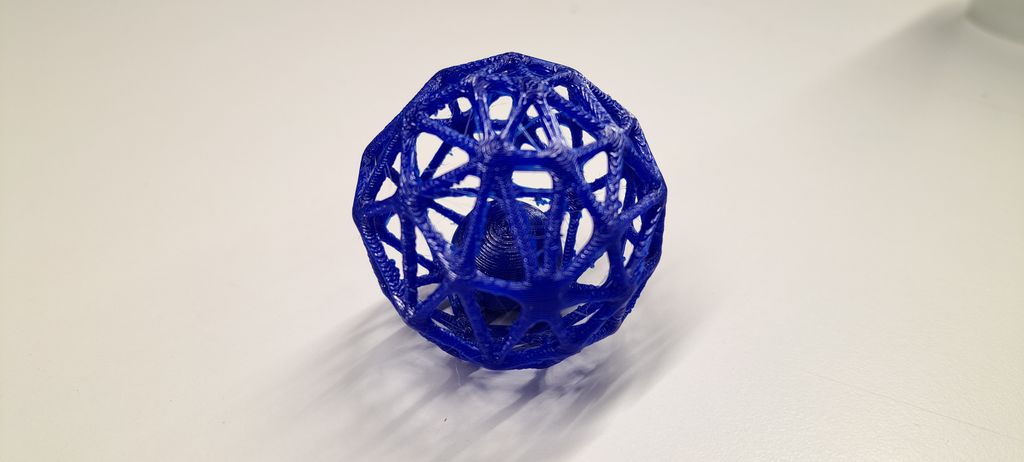
Here are the printing parameters on Cura :
- Printing material : PLA
- Layer height : 0.3mm
- Infill design : grid
- Infill percent : 10%
- Nozzle temperature : 205°C
- Plate temperature : 55°C
- Speed : 70mm/sec
- Travel retraction : on
- Support : tree
- Plate adhesion : raft
UPDATE
I like 3D printing but I will have to work on 3D designing a bit harder. Still, I like the range of possibilities it offers and the help we can get in an everyday range as it can really be a useful alternative to fix things instead of throwing away them and buy new.
I got a small Ender from someone and I am excited to have some free time to try it and test all the parameters so that I can learn more about it by myself ! :D
My journey
This was a harder week for me.
Last week's assignment pointed out a video problem on my website.
After trying A LOT of changes and programs and tips from the Fab Academy family we finally found the problem : MY SMARTPHONE !
Even though it's a Samsung A53, not so old then, the video files had a first wrong compression to be uploaded on some internet browsers (in this case Firefox).
I haven't changed the files yet because I'm not sure I will be able to reuse them. If it's the case, I'll document on it ! ;)
We had trouble with the 3D scanner as told above and it took a lot of time to finally start with it. We quickly went through it so I will try it again later.
For my individual assignment I had several ideas but as 3D design is not part of my skills and I'd like to stay in my "cat theme" for the exercices, I finally decided to make a "cat toy ball" and to try out a "voronoid type" of pattern for the holes.
I understood quickly that my first choice of 3D software, Freecad, wasn't meant for this kind of result. I couldn't even find a video tutorial showing me the steps.
So I tried out Fusion360 for the first time and helped myself by checking for a tutorial on Youtube (my best friend since the beginning of the assignments !).
It went well with the tutorial but I still had some trouble to find out where to click, where to change parameters, etc. And I was really slow at working on such simple bodies. But now I tried this one too and will continue to try some objects on both softwares !
Last issue that made me learn something new is that I pushed my files on the cloud forgetting to delete the "test videos" files from my "video problem resolving" and this push was OF COURSE rejected because of the file sizes.

I thought I would just have to delete them and push the website again but it didn't work !
Even though my big video files weren't in the folder anymore, the pushed size still was big, as if the files were still there...
We checked with my instructor and didn't find a good solution at first, so I simply cloned the website in a new folder and continued with this one.
But on the presentation day, I pushed again a too big file (this time my STL file from my assignment) and the problem started again...
I didn't want to clone my website again so I tried one process that my instructor found the first time but didn't seem to work and by adding a simple step : TADAAAAA IT WORKED !
SO for those having the same problem, here is my solution !
Problem = you push a file too big that results by a rejection and no possibilities to push again any other modification, even if the big file was deleted.
SOLUTION :
- Enter the right folder with CMD (in my case : C:\Users\fab-c\fabacademy\site2ok\charlotte-vandenbulcke\public>)
- Add : git log --oneline --graph

- Check which commit was the last before uploading the big file in the list generated and count the place in this list (in my case it was the 4th commit in the list)

- Add : git reset --soft HEAD~4 (4=the place of the last commit)

- Check with a git log --oneline --graph again if you're in the right place

- IMPORTANT : Make a small change in one of your html file before checking the git status (we didn't the first time we tried and started the pushing steps right away. That's why nothing changed and we thought it wasn't working)
- Start again the pushing steps with "git status", "git add -A", "git commit -m" and "git push"
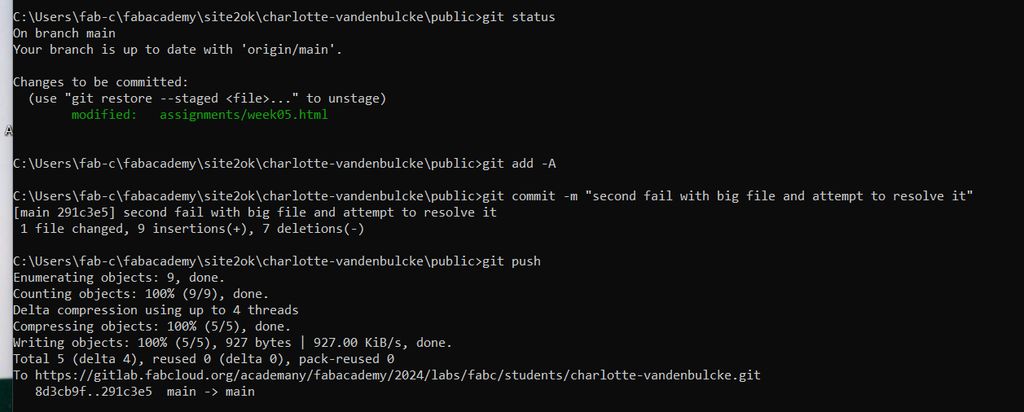
If you follow these steps, it should go back to normal ! ;)
If not, do not hesitate to contact me so we can check together ! :)
Files and resources
My files
Resources