1. Project management
This week I worked on defining my final project idea and started to getting used to the documentation process.
My journey
I'm discovering the Git and GitLab "universes". All this is completely new for me so I had to search for several tutorials explaining it in a "for dummies" way !
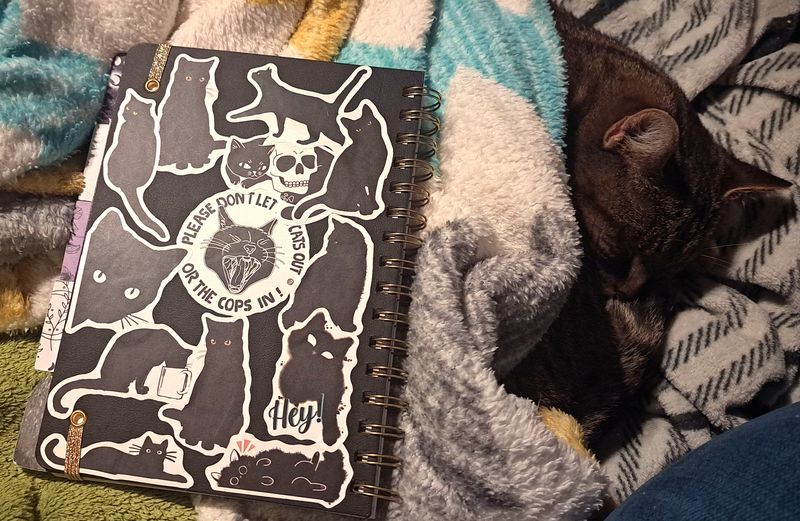
I'm used to document on paper so I prepared a notebook (that I customed with cat stickers and self-cutted separators :) ) in which I added a planner for each week (that I try to follow, but not always succeed to it ! ^^')
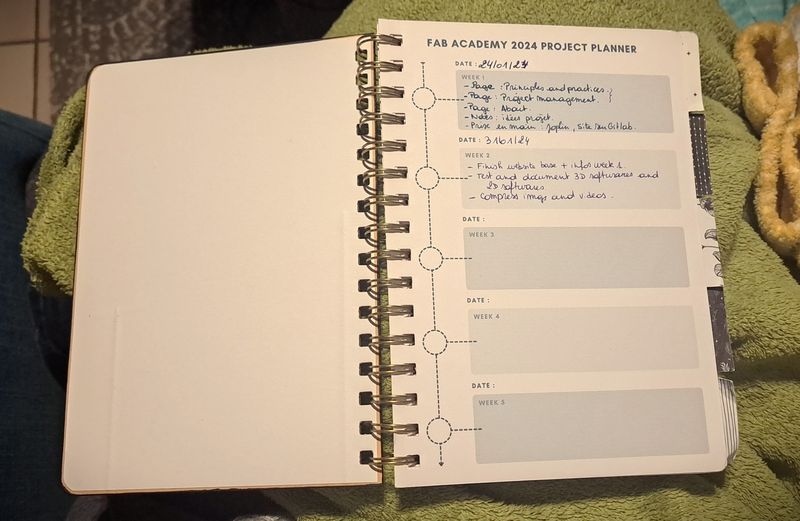
After writing my notes in the notebook (taken about Git, such as the basic commands) I write them down here. Starting with paper and pens helps me to better visualize the informations, especially by adding colors and icons.
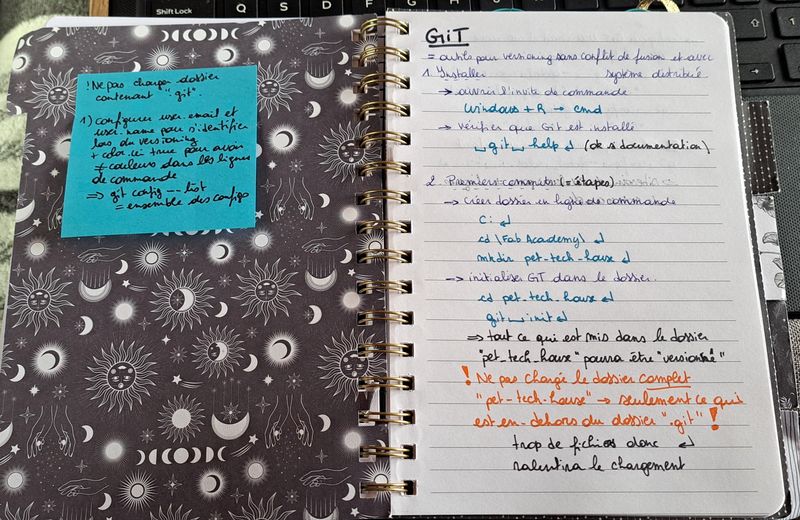
Discovering Git
I found videos in french made by Grafikart that are really well done. I knew them already as they helped me learn more about creating websites by coding several years ago (at least 10).
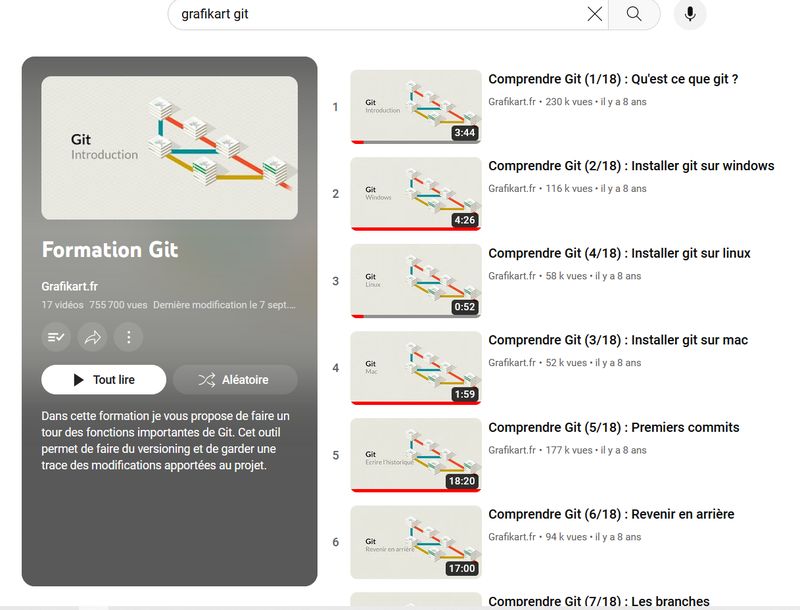
These tutorials can be found on Youtube here.
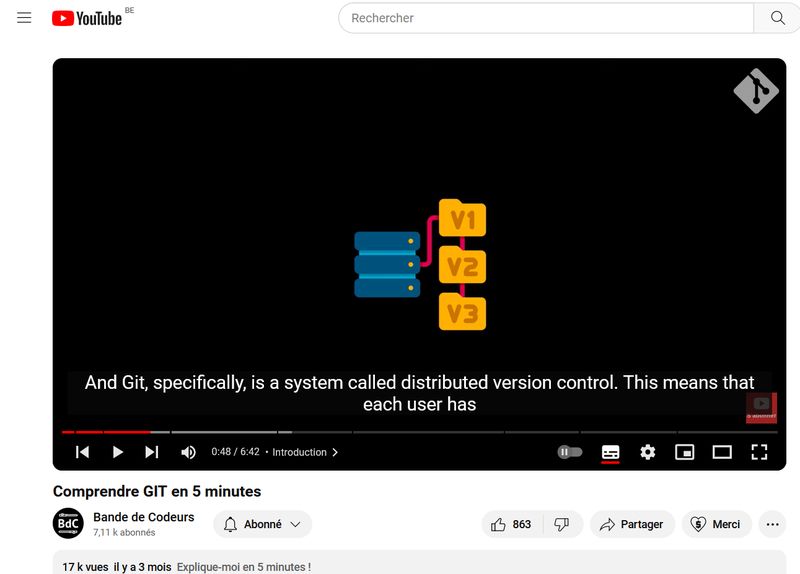
First I watched another short 5min video in french about what it is. It still is a bit unclear for me on why to use Git but I'm sure it will get clearer once I'll use it regularly.
We've already installed Git on my computer with my instructor, Sylvain Denis, and so he teached me :
- to find the right folder with "cd",
cd "file name" - to check that the modified files are taken into account with "git status",
git status - to select only the modified files with "add -A",
git add -A - comment your modifications to remind you later with "git commit -m",
git commit -m "your comment" - to finally load your modified files + comments on Gitlab with "git push"
git push
Note : you don't have to push the whole folder on your online repository as the ".git" folder contains too many files and is not needed.
As I forgot to take notes to remember the steps at that time, I watched and followed (again) the Grafikart video (in french) on how to install it.
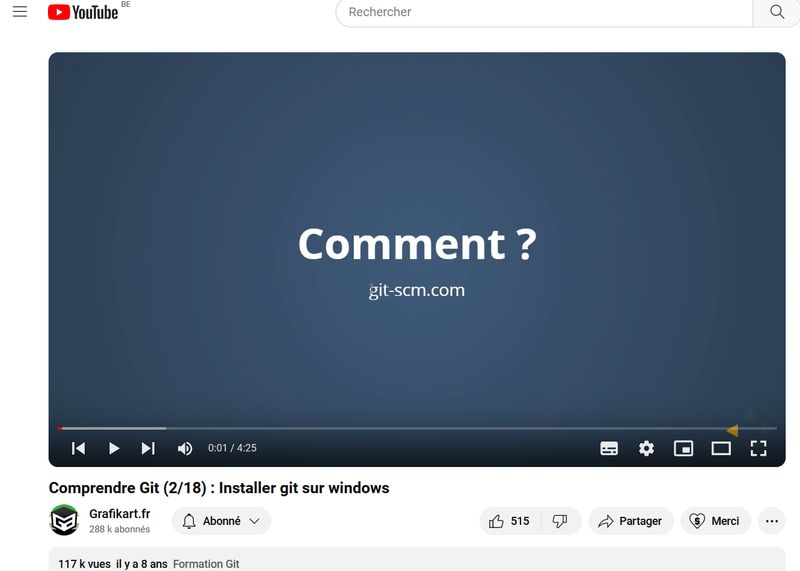
With this video I've also learned how to check that everything is well installed on the computer by using " git help"
git helpAfter that, I learned how to add a folder with "mkdir" and to initialize Git in it.
mkdir file-namegit initNext step was to configure my user name and email by using "git config --global user.name" and "git config --global user.email".
git config --global user.name "your name"git config --global user.email "your email"There's not so much to remember so I'm sure it will become easier after using it repeatedly ! :)
UPDATE
Now that the Fab Academy is finished, I have a better understanding on Git's purpose : having all the versions of this website stored for every change pushed is really valuable when something goes wrong.
It happens to me several times when I pushed more than 10Mo at once. I could restore an old version (the one right before the push) and then push all the parts seperately so that it wouldn't exceed the 10Mo.
And also committing every time let's you remember on what you were working right before, which can help find where an issue occured if there's any problem, and also who made it if you're working with other people on the same project.
UPDATE - My website
As most of our time during the Fab Academy should be spent to work on the assignments and document everything, I've decided to download an HTML5 template so that I won't have to think about the design.
As a graphic and web designer it's really challenging for me because usually design is what matters the most in my work ! ^^'
Thanks to Saskia Katarzyna Helinska who did the same and put a link to html5up.net, I chose in it the "Editorial" design and just changed a few details (like color). I documented more about it on week 02 as I was late this week...
So without having to care more about the design, I would just have to write the documentation in HTML and be careful for the images and videos sizes and formats.
After finishing the Fab Academy I will probably work again on the whole website design and content to make it even better and useful ! ;)
UPDATE - Files management
Images
To convert my images in .jpg format with less than 1Mo size I used XnConvert, a free software that can upload several images at once. I'm talking about it in week 02.
Videos (I'm talking about it in the other weeks)
For the videos it was trickier. I tried differents websites and softwares but they wouldn't work properly and the video had always a bad quality.
Then I found a simple FRENCH website, so easy to use and having a great quality of picture after compression.
It's name is Compresser Video and all you have to do is upload the file, choose the size and chek the box if you don't want the audio. That's it !
My Project
I've already doodled my ideas in a big A4 notebook that I will used to sketch the designs and visual ideas.
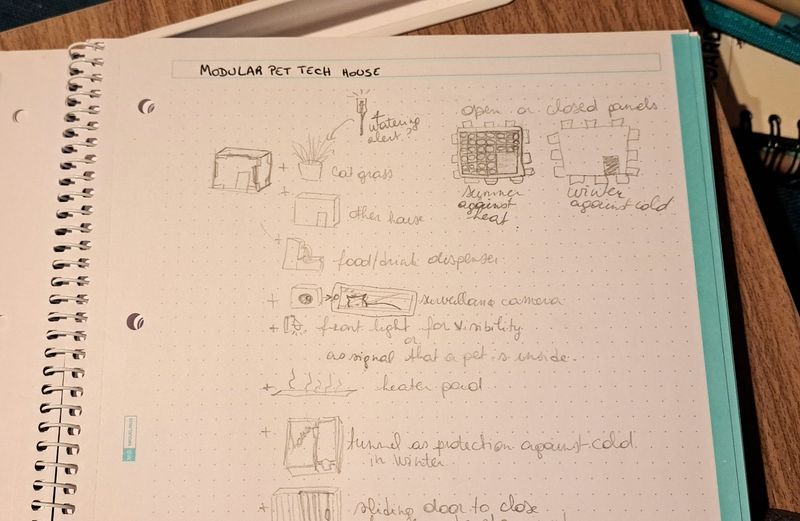
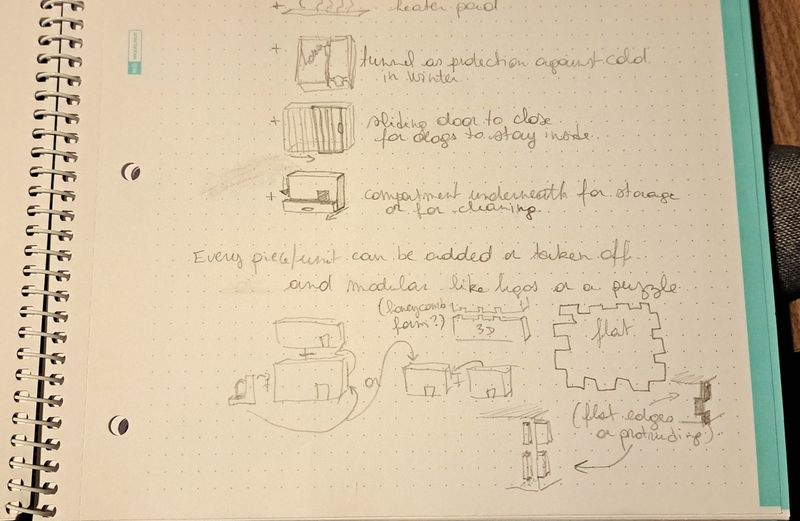
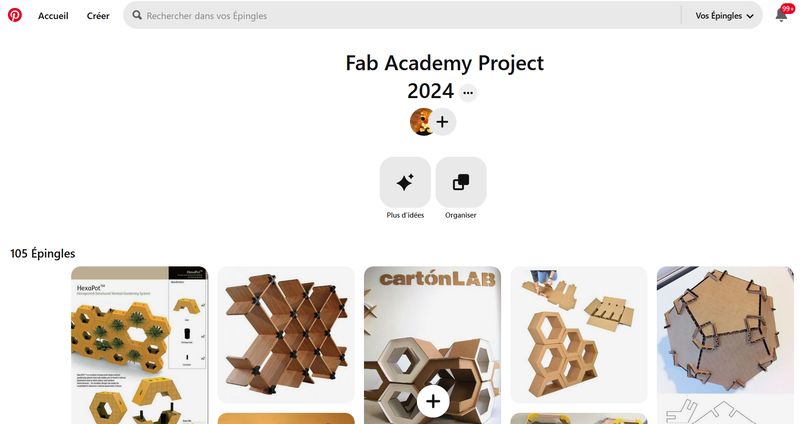
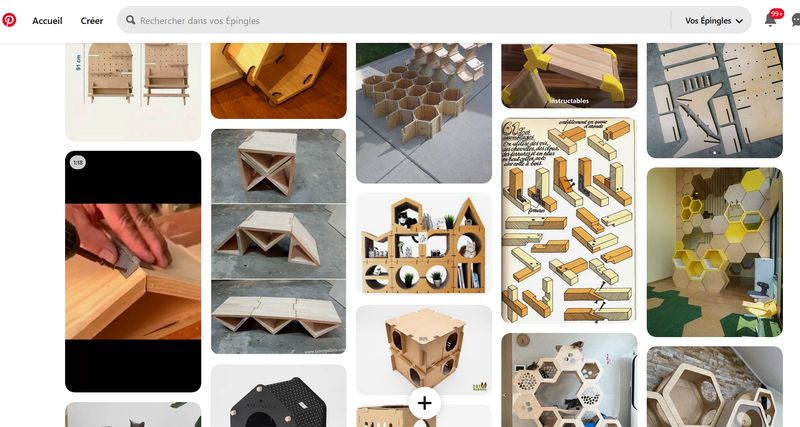
I also searched for images of existing pet items to get inspired and made a Pinterest pinboard with them.
