2. Computer Aided Design
This week I tried several 2D and 3D designing programs to find the ones that suit me best.
My journey
At first I had to catch up on the first week so I worked on the website (design and content). After finishing the biggest part of it I tried Onshape, Freecad and Inkscape programs for 2D and 3D designing (I'm already familiar with Illustrator and Autocad).
Creating my Fab Academy website
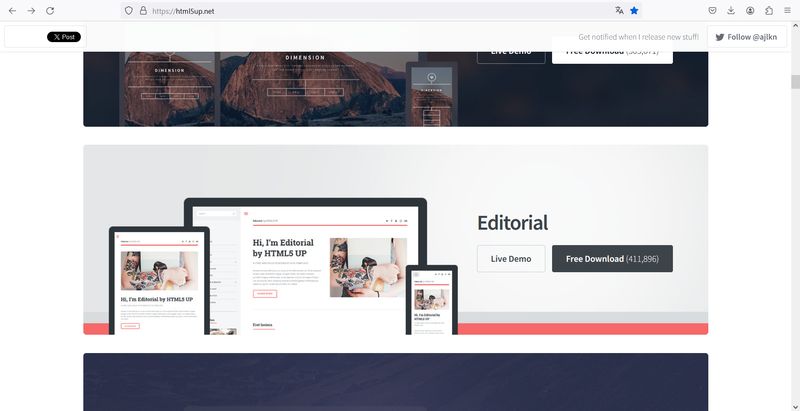
To save myself some time, I chose to download a free template for the design. I chose "Editorial" from html5up.net (thanks to Saskia Katarzyna Helinska for the link in her own website ! ;) )
Working on this website gave me the opportunity to put my hands back into HTML and CSS. I realize now how much I've missed it.
I also took pleasure in choosing all the pictures based on cats ! You're welcome for that ! ;)
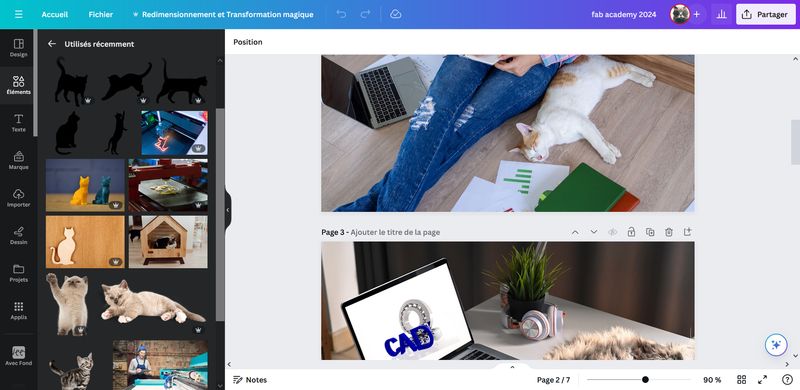
As I have a Canva Premium account, I searched the pictures in it and also tested their AI picture generator. Not as good as the well-known ChatGPT and Dall-E but not too bad (see the pictures of assignments "Computer Controlled Cutting" and "3D Scanning And Printing" on the Assignments page).
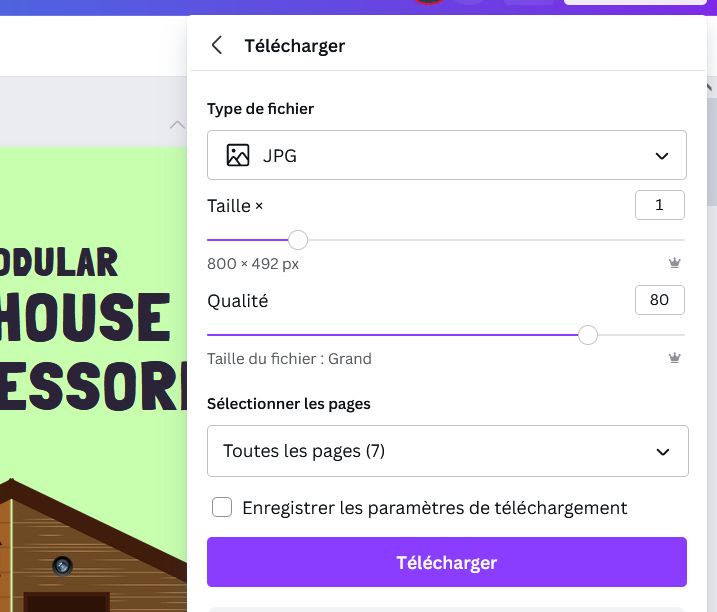
Good to know : Canva's compression algorithms optimize the size of the images without loss in quality ! It also let's you select the quality of the .jpg export before download.
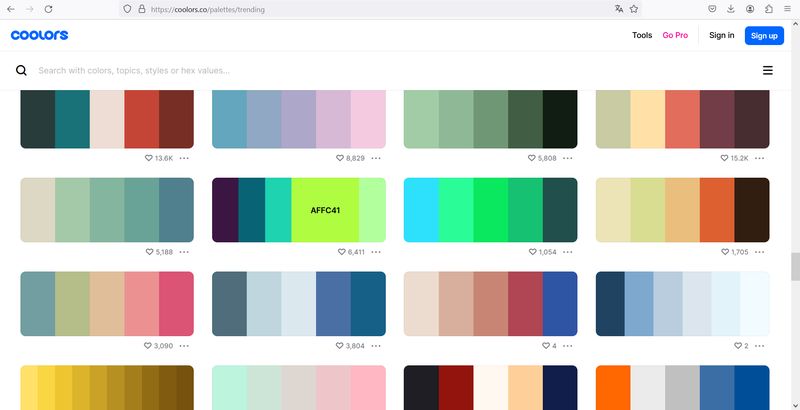
To choose the colors and get the right hex code, I use the Coolorspalette generator. It helps you find inspiration, match the right colors and gives you all the color references (hex, rgb, cymk,...).
I'm having trouble changing the icons on the homepage and align everything correctly.
The template uses "Font awesome" in it's free version but the icons references don't seem to work. I will check on that later and maybe add my own made ones.
Image compression
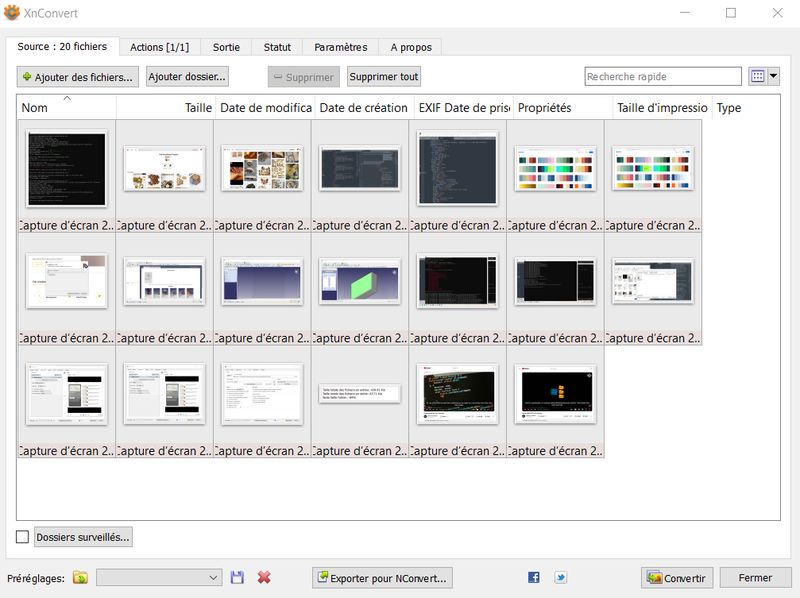
Whenever I'm taking printscreen, I compress the images saved with XnConvert, which it's a free software that helps you convert and compress your images files in whatever size or format you need without quality loss.
The other interesting thing is that it can convert several images at once (big time saving!).
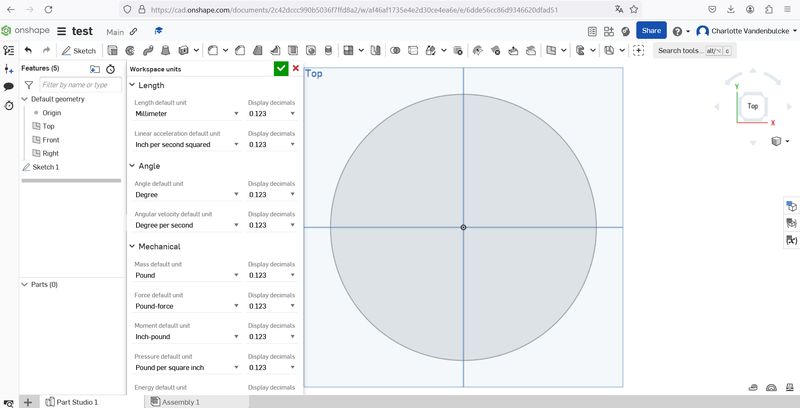
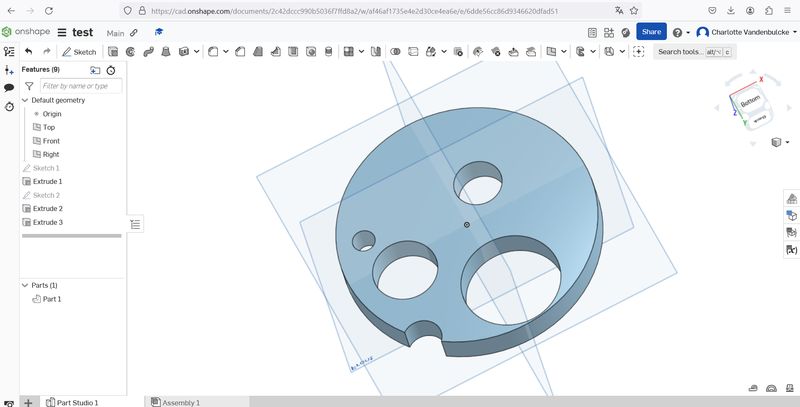
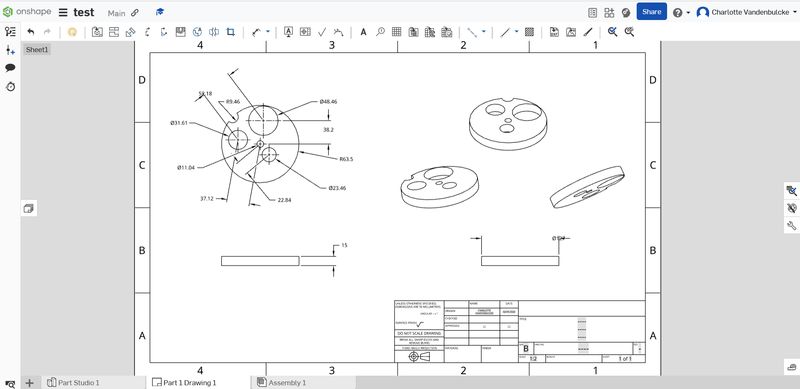
Discovering Onshape
I already did a training course on Autocad several years ago so I tried other softwares, starting with "Onshape".
I first tried to understand it by myself but I quickly found out that it isn't the good way.
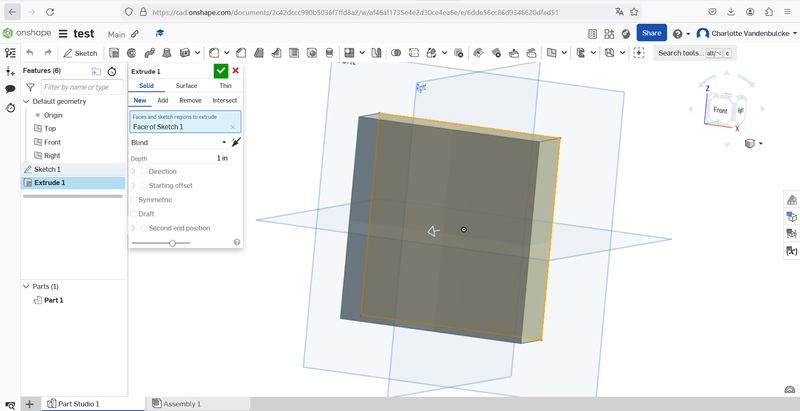
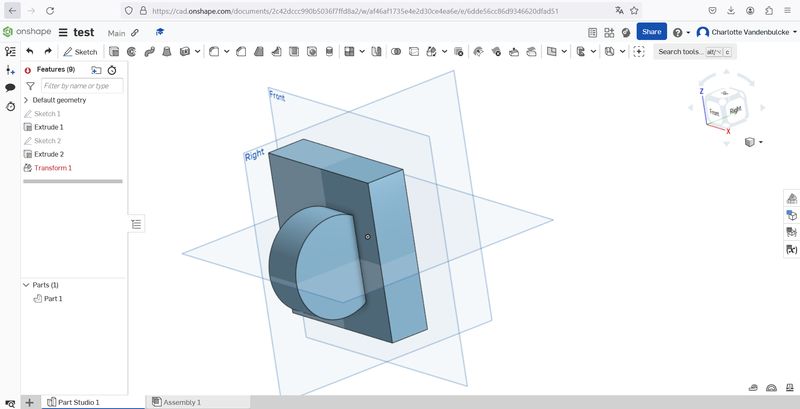
So back again with my best friend for tutorials, Youtube.
As it is also easier for me to learn fast in my own language, I obviously searched for videos in french and found these made by PolyFab Normand Brais Formations.
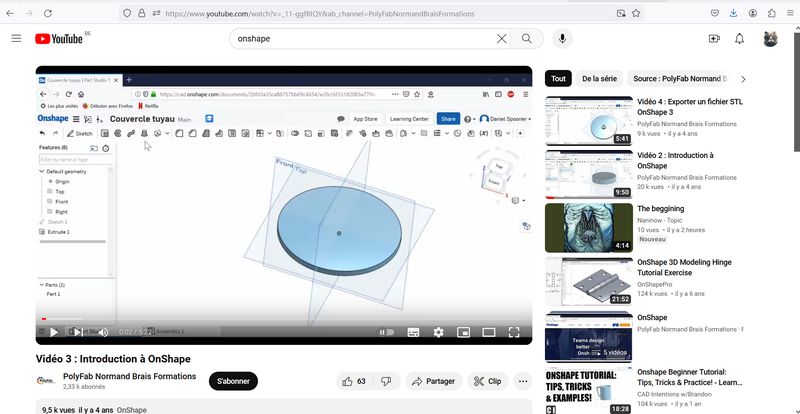
I followed their simple exercice of making a pipe cover and learned :
- How to use the planes and create sketches
- Extrude my cercle, create holes in it and move them in another place
- Export the file and create the drawing sheet of the object with the size informations
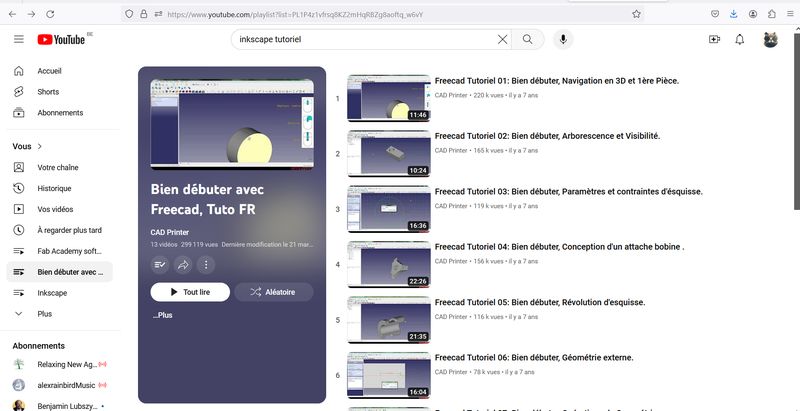
Discovering Freecad
After working on Onshape, I tried another 3D design program : Freecad.
I found tutorials (in french again) made by CAD Printer to understand the interface and the tools.
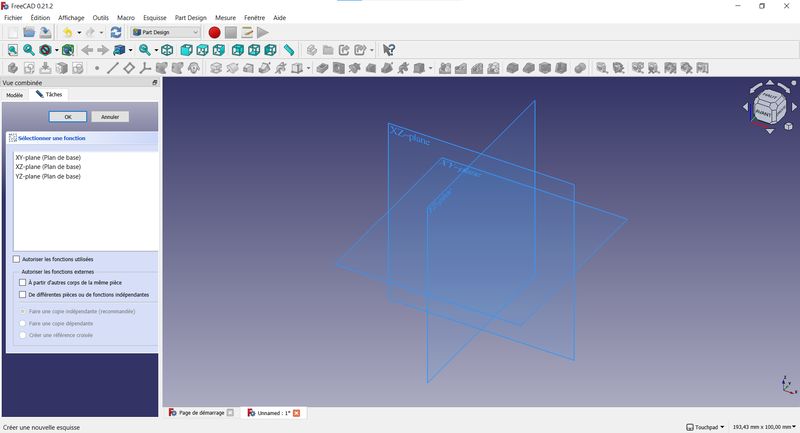
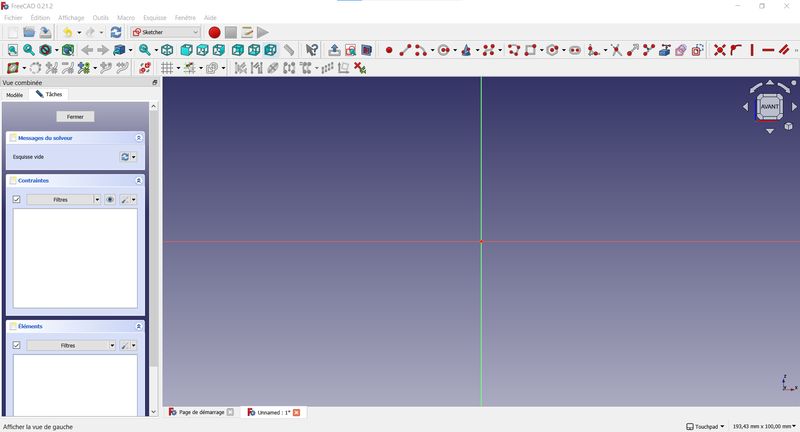
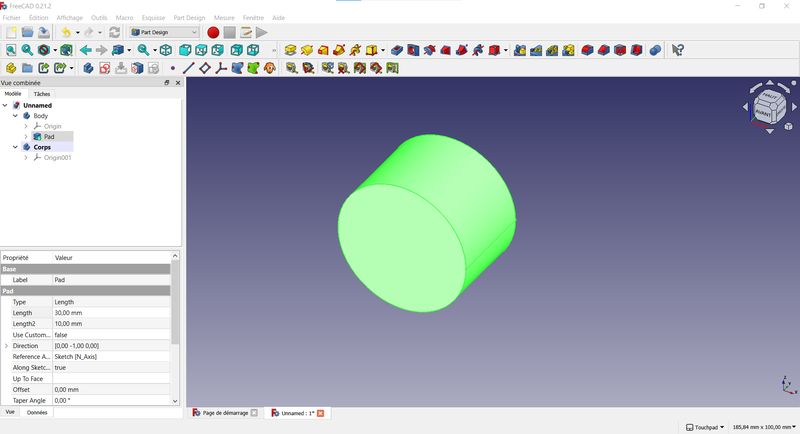
I started by opening a new document and I chose the workshop that will show the tools to create a new sketch.

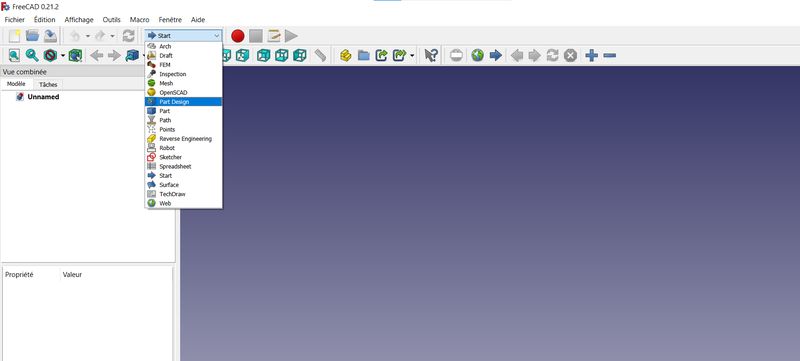
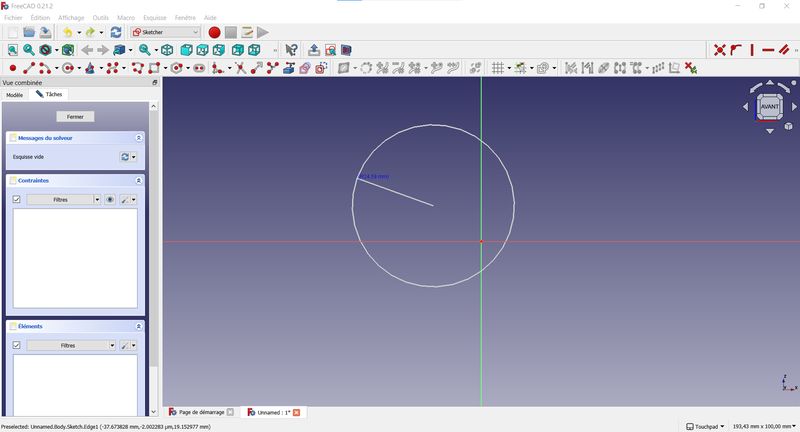
After selecting the plane to work on, I chose the form I want to work as base. In this exercice I took the circle.

To draw the circle, you click once to place the center and by moving your mouse, you determine the diameter, that will be save by clicking another time.
When I was finished, I clicked on "close" and chose the "extrude" tool.
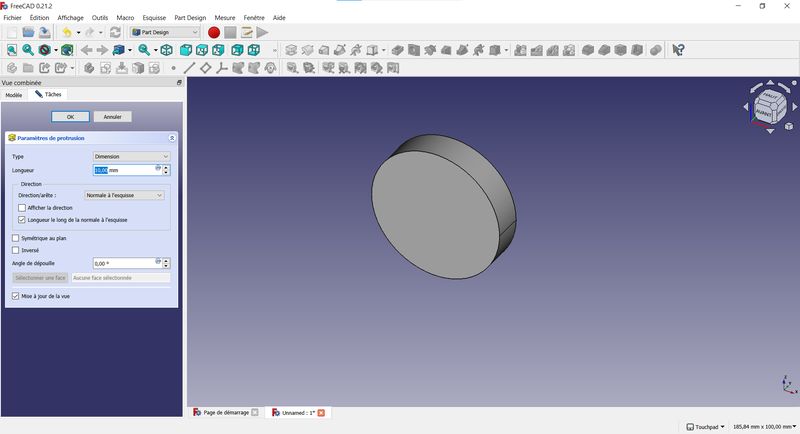
I changed the length and saved the form by clicking on "ok".
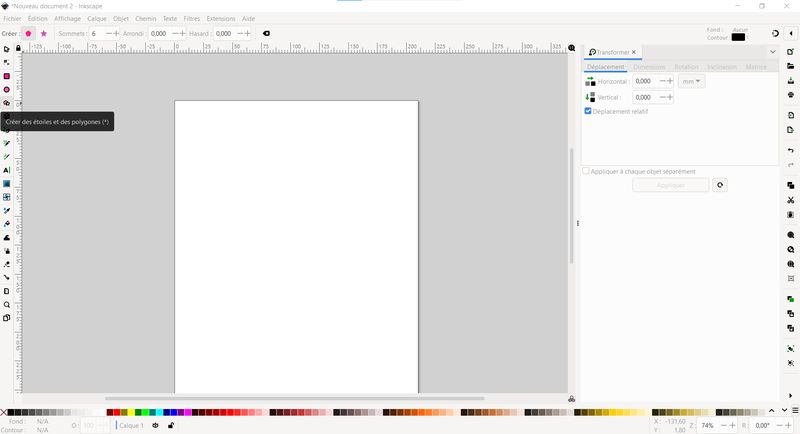
Discovering Inkscape
I regularly use Adobe Illustrator. To try another program, I thought about Inkscape because I will have to use it with my own embroidery and sewing machine.
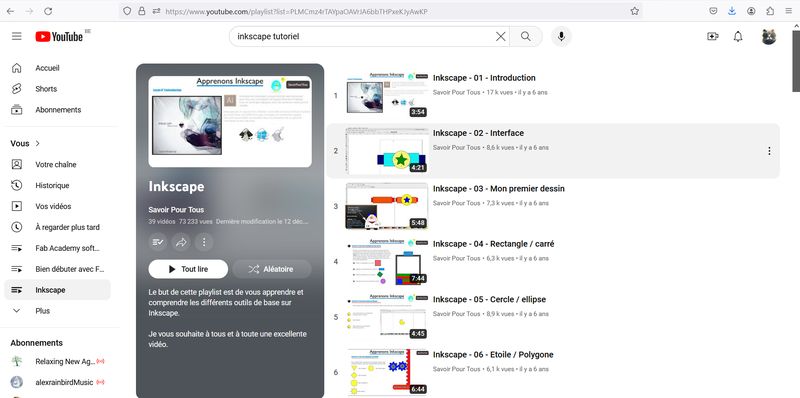
I've already tried 1 or 2 times to use it but hated it as it isn't as user-friendly as Illustrator. But the Fab Academy is a good excuse to give it another try so, thanks to Youtube (forever and ever), I've saved a tutorials playlist, still in french, made by "Savoir pour tous" to learn it step-by-step.
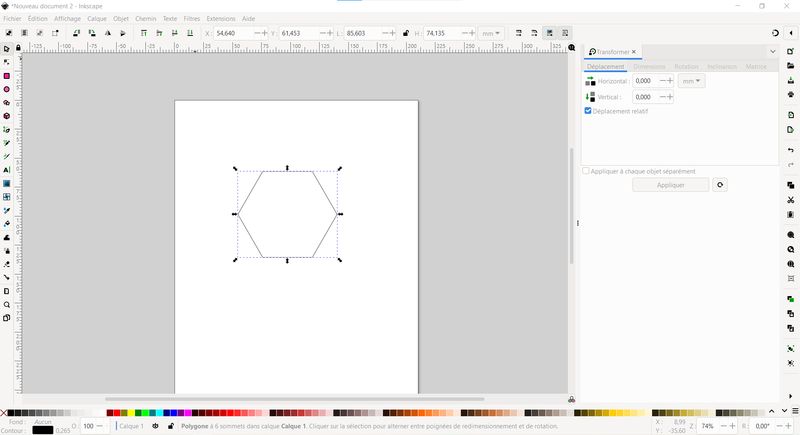
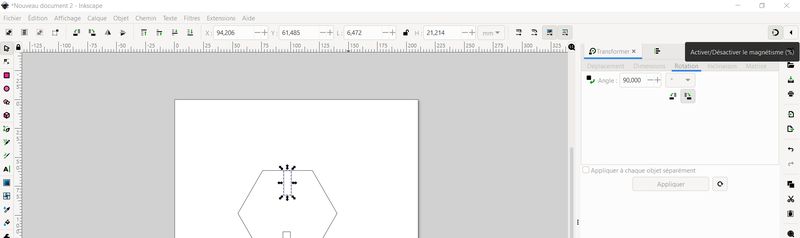
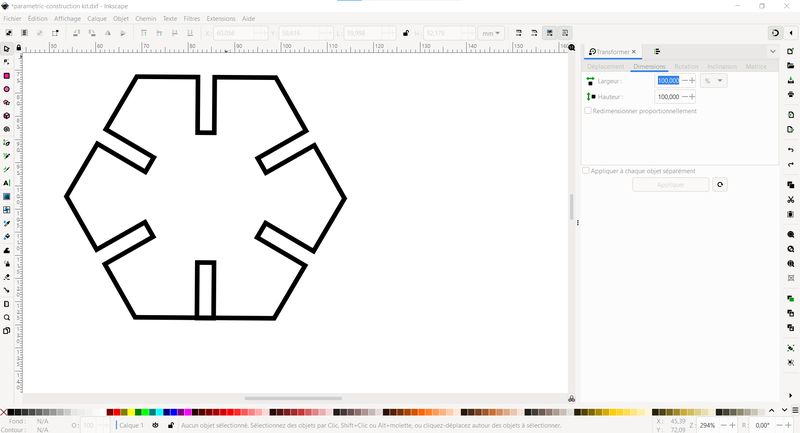
I've opened a new document and drew an hexagone with the tool in the left sidebar. You can determine the number of sides you want in your object in the top bar (after selecting the polygon tool).
After quickly drawing the object, I clicked on the selection tool and entered the correct size in the top bar.
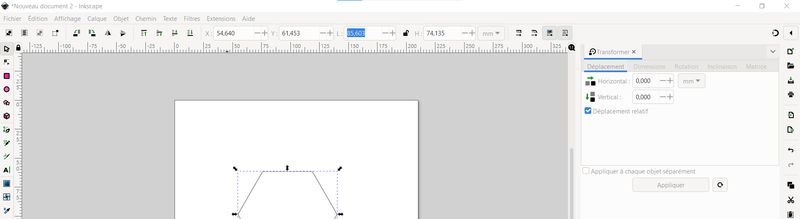
I then drew a first rectangle that I aligned with the bottom side of my polygon. To align the drawings, I had to go in the top menu bar, click on "object" and then select "align and distribute". The "align and distribute" tools appeared on the right.


Another way to align the objects (but less easy) is to use the magnetism tool. You just have to enable it in the top right of the screen and then move your pieces until they "stick" together magnetically ("X" signs will appear at each magnetic point of the objects once you get close to them).
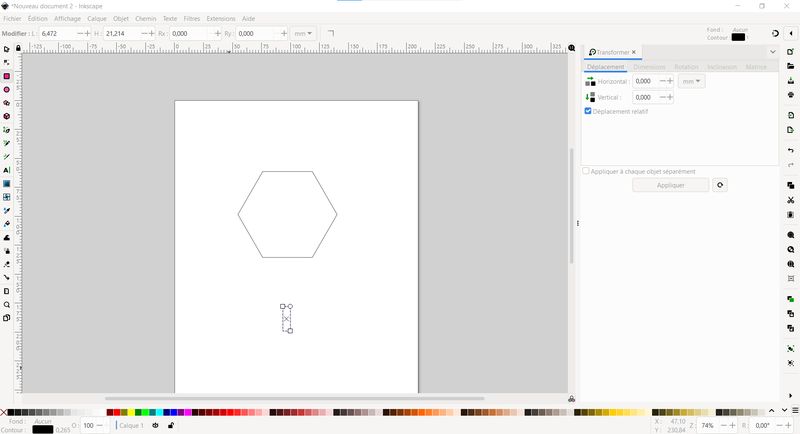
After aligning the 2 objects, I duplicated the rectangle by a simple "Ctrl+C/Ctrl+V" and aligned the new rectangle with the opposite side of the polygon.
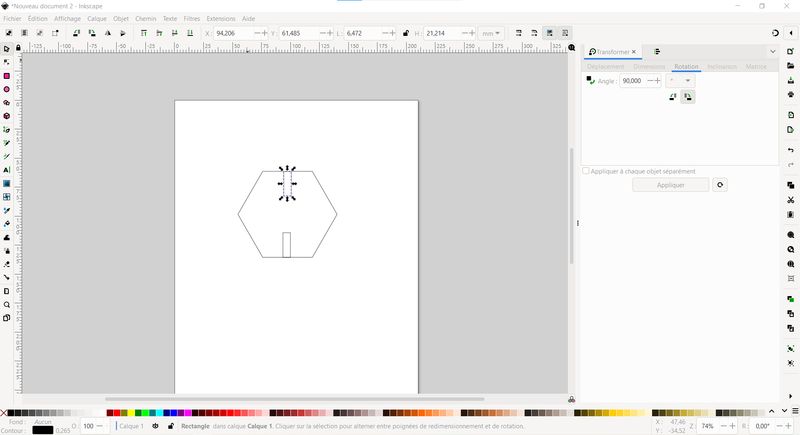
Duplicating again the rectangle, this time I had to rotate the pieces at the same angles as the other sides of the polygon.
For that, back again in the top menu, a click on "Object" and a click on "transform". Tools appear again on the right side of the screen where .
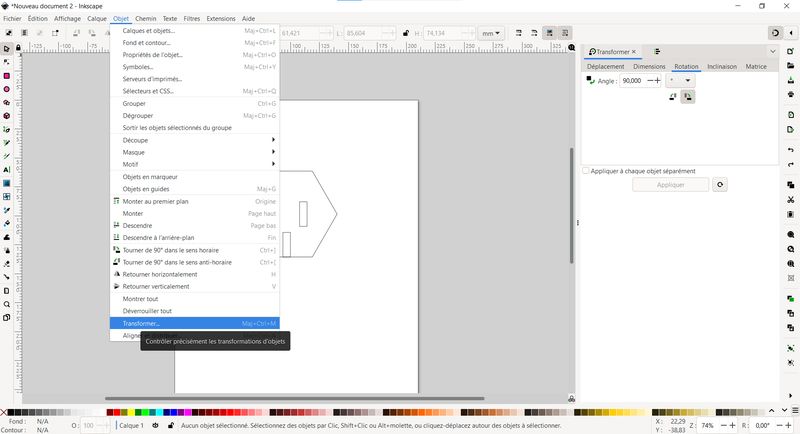
I just had to select the "rotation" option and type the right angle information.
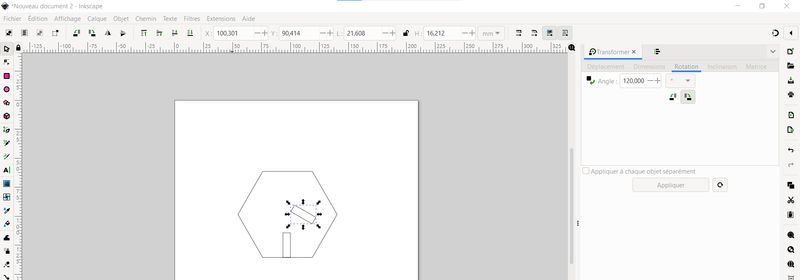
All the pieces in place, I selected all of them (polygon included), clicked on "path" in the top menu and selected "exclusion".
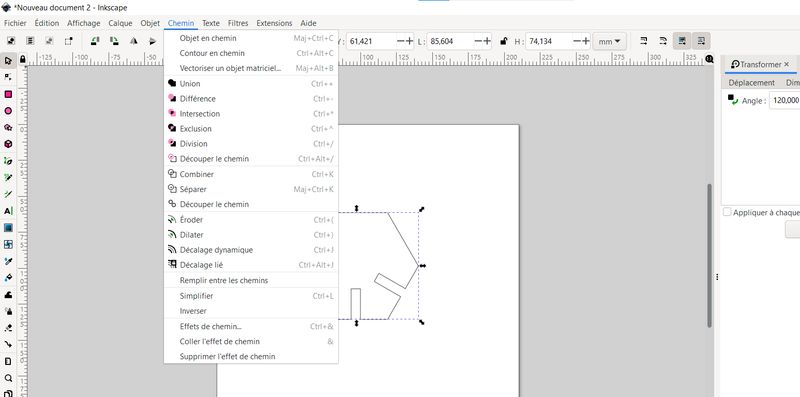
My first drawing is done. I just have to save it as .pdf and open it in the laser cutting machine program.
UPDATE - My feeling about the softwares
To work on 3D files now I mostly use Freecad. Simply because I forgot about Onshape right after trying it out ^^' !
I still have a lot to learn to use it correctly but I'm getting to it.
But designing in 3D still is hard for me, even if these programs are easy to use, as I'm easily lost in the 3-dimensions spaces !
For my final project's 3D parts I used Thinkercad which is really a fun and easy way to learn designing in 3D and I think about using it again to learn the baby-steps of 3D design.
For Inkscape, I'm used to Illustrator so it's really hard for me to like this program but I'm getting used to it and some functions, like vectorize a bitmap image or preparing an embroidery file, are well done. But my heart is still balancing on Illustrator's side !
One last thing that I want to say/question : WHY CAN'T ALL THE PROGRAM HAVE THE SAME SHORTCUTS FOR MOVING OBJECTS AND PAGES !? (right-mouse-click, left-mouse-click, center-mous-click, space bar, ctrl button, and more !)
I'm going crazy about it ! XD
My Project
I've decided how I wanted my pet house/box to be built and assembled.
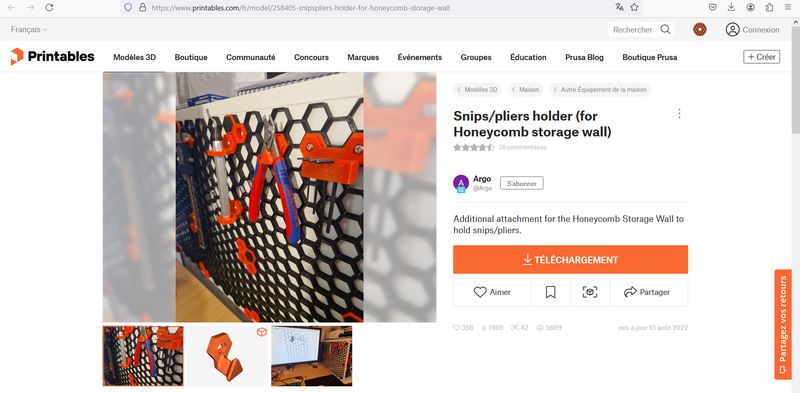
Panels will be square and the holes to attach the accessories hexagonal to look like a honeycomb on some sides, like this 3D printed tools storage panel idea you can find on printables.
Files and resources
My files