12. Molding and Casting
Our best hero shot FAIL
Materials used during the assignment
- Epoxy resin bought on Amazon
- Crystal clear epoxy resin (2 years old)
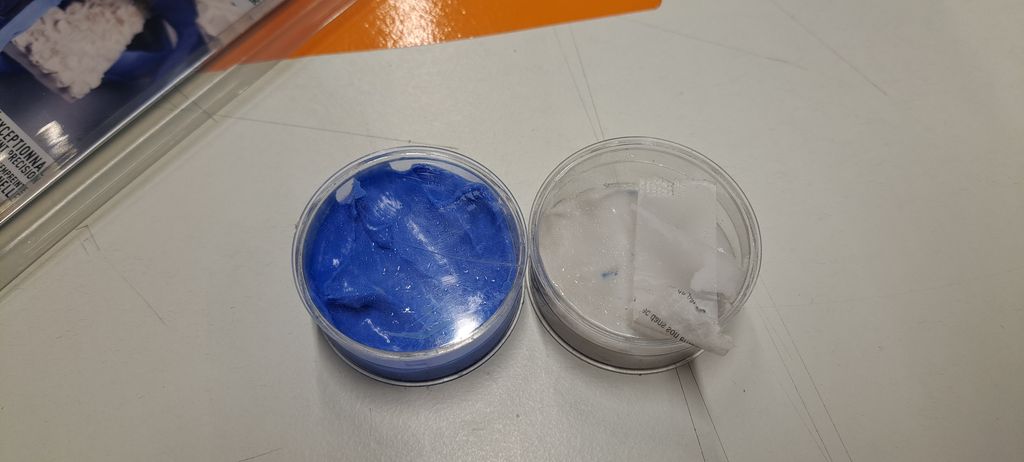
- Silicone moulding paste (an 2-year old left over and a new full box)
- PLA printed cat mold
- Silicone mold
- Thermoformed plastic mold
- PLA printed cat piece to mold
- Spray-on release agent
- Duck tape (and regular tape)
- Clamps
Mold materials
3D print
We 3D printed a 2-pieces cat mold with PLA and also a second cat that will be used to create a mold in another material. We downloaded both cats files on Thingiverse to save us some time and focus on the mold and cast processes.
The 2-piece mold was printed with 10% filling and 0.1mm for the layer. It took 17 hours.
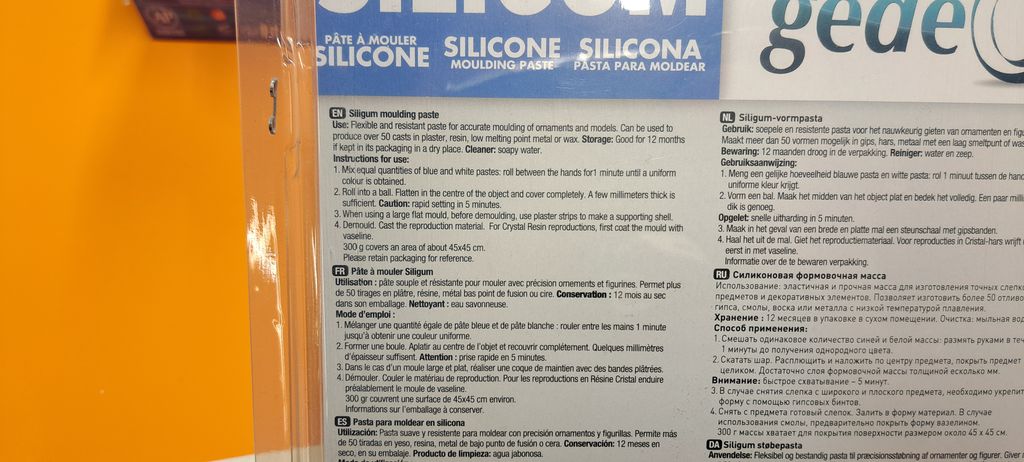
Pébéo Siligum Silicone moulding paste
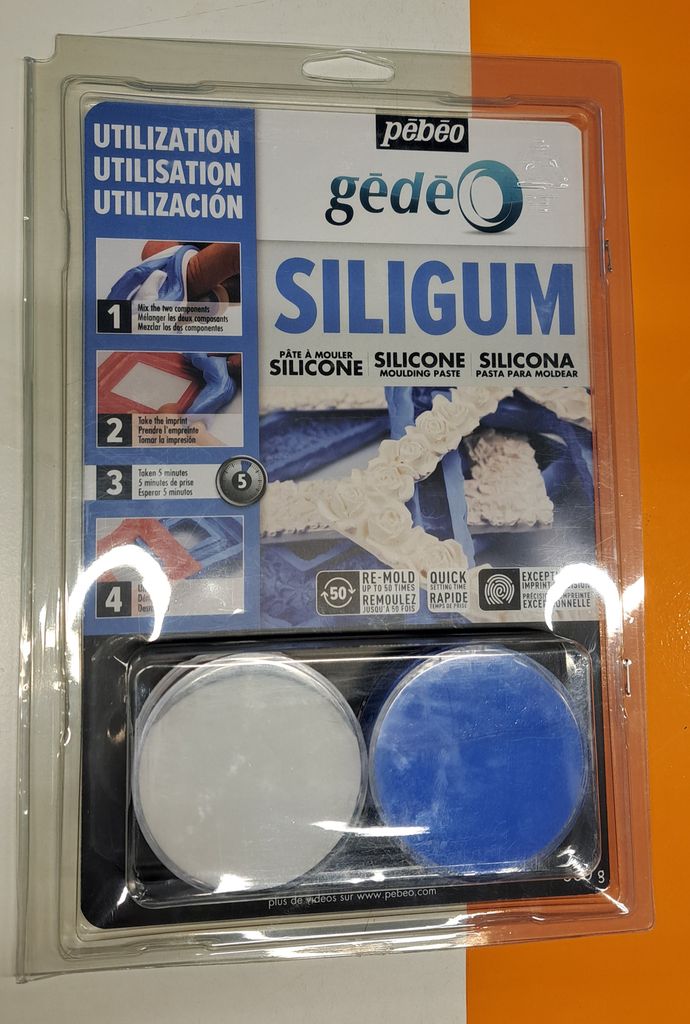
Description : Very fast setting, two-component silicone moulding paste. To mould small objects and flat decorations 110 g is sufficient to create up to 3 moulds of 4 cm in diameter. For amateur and professional adults.
PRECAUTIONS :
- Do not place Gedeo molding decorations near a flame.
- Do not place on a hot plate.
- Using a knife will damage the material.
Working time : 2 to 3 min
Demolding time :about 5 min, at a temperature of about 23°C from the time the impression was taken. For a longer application time, place the pastes in the refrigerator for 1 hour before mixing. Pour the reproduction material: plaster, crystal resin, reconstituted stone; remove from the mold after drying.
Silicone mold plate bought on Aroma-Zone and thermoformed plastic mold
As mold we also used an object found in the fablab that we thermoformed and a simple silicone mold (that I had at home to cast soap).
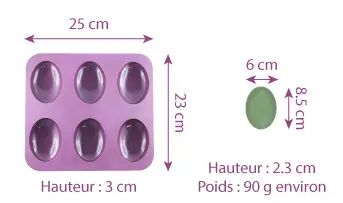
Silicone mold dimensions
- Mold: Length: 25 cm x Width: 23 cm x Height: 3 cm
- Soap: Length: 8.5 cm x Width: 6 cm x Height: 2.3 cm
- Soap weight: 90 g approx.
Cast material
Crystal clear resin (at least 2 years old) bought atPolychimie
Crystal Clear is a transparent casting resin for making inclusions, river tables, jewelry, crafts, hobbies and fantasy objects...
The Crystal Clear resin series has been specially designed for applications requiring absolute clarity.
Colorless, transparent, two-component epoxy system composed of unfilled, high-flowing resin for mixing with amine-based hardener.
Long pot life.
Low exotherm.
Recommended for casting up to 3-5 cm thick coverings for furnishings or casting up to 10 cm mass in 1 liter.
With this resin :
- No yellowing (UV-resistant)
- Cast up to 10cm thick
- Does not heat up
- Bubble-free
- Shines without sanding or polishing
Warning on Crystal clear bottle
Warning on Crystal clear hardener bottle
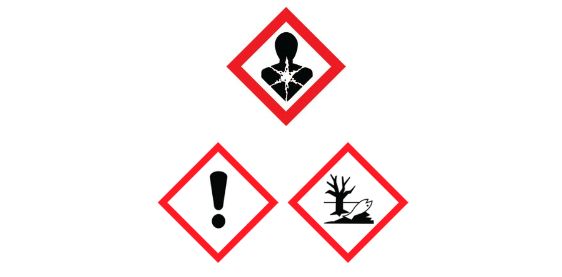
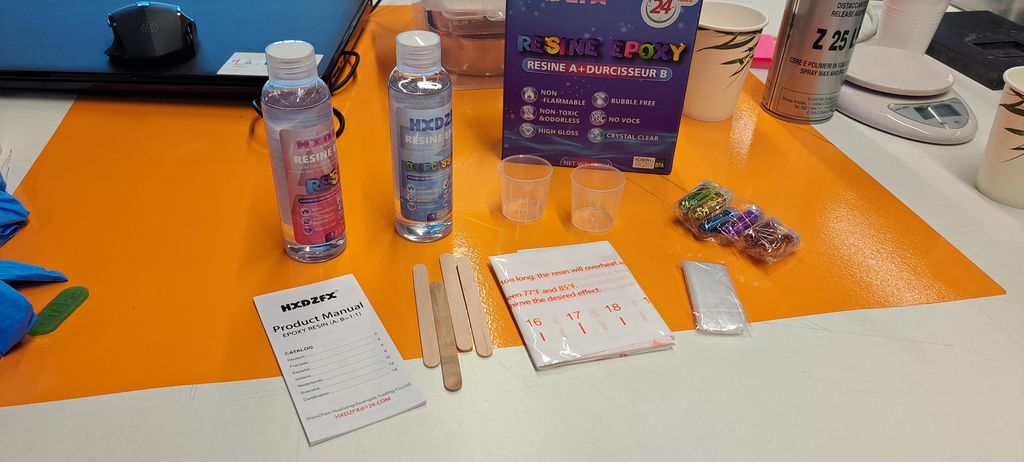
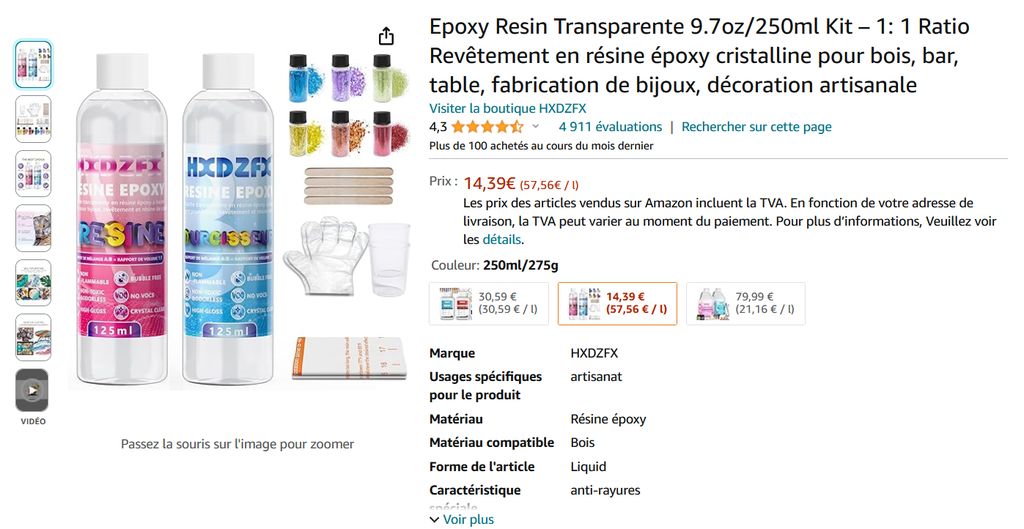
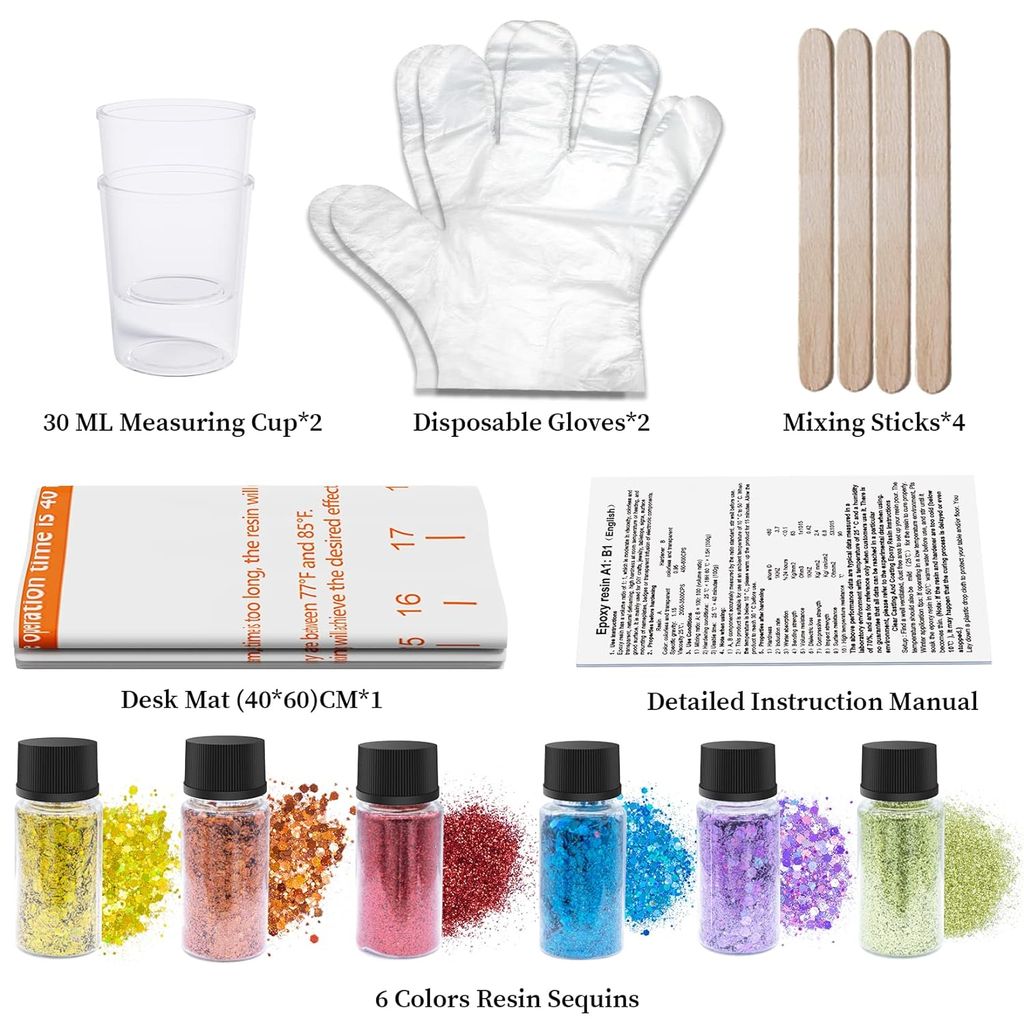
HXDZFX epoxy resin bought on Amazon
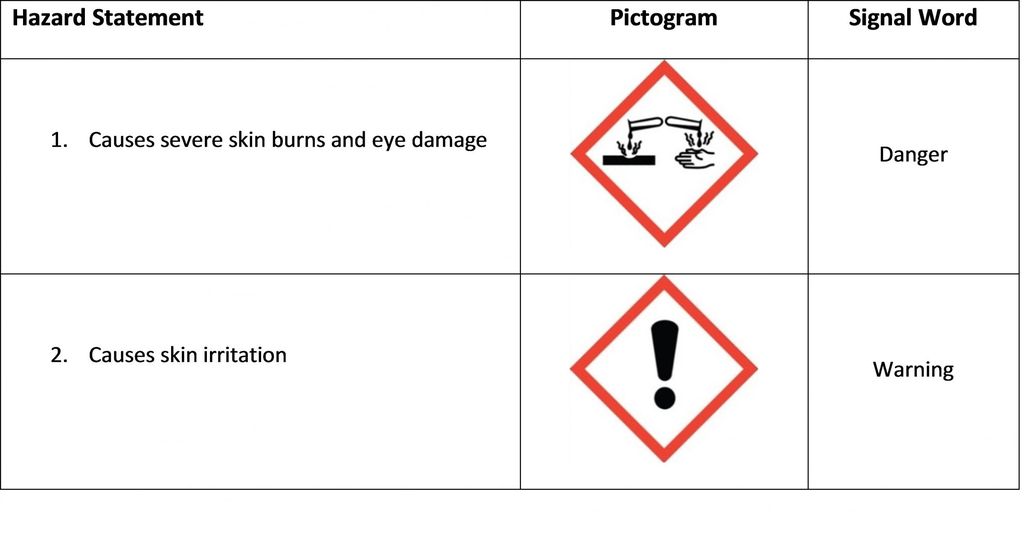
Product safety
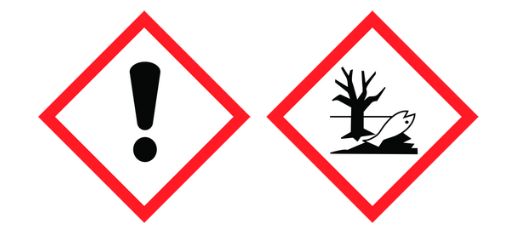
Warning
- May cause skin allergy.
- Causes skin irritation.
- Causes severe eye irritation.
- Toxic to aquatic organisms, causes long-term adverse effects.
Additional materials (more for fun or for help)
Phosphorescent powder pigments (green)
Phosphorescent pigments can be added to epoxy resin during casting or embedding. Phosphorescent pigments absorb light, only to reject it in the dark.
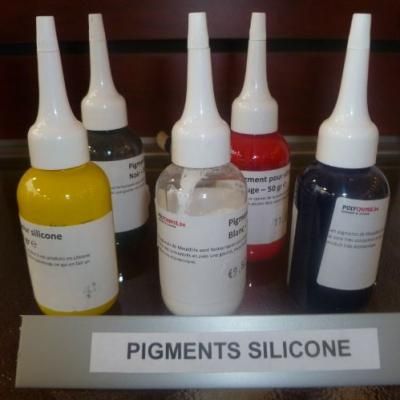
Silicone pigments (black and white)
Silicone pigments for pigmenting and painting all silicone surfaces - both polycondensation and polyaddition. Bright, silicone-safe pigments.
No sulfur, no cadmium. Any shade of color can be made with these pigments.
Glitter
Provided with the HXDZFX Epoxy resin.
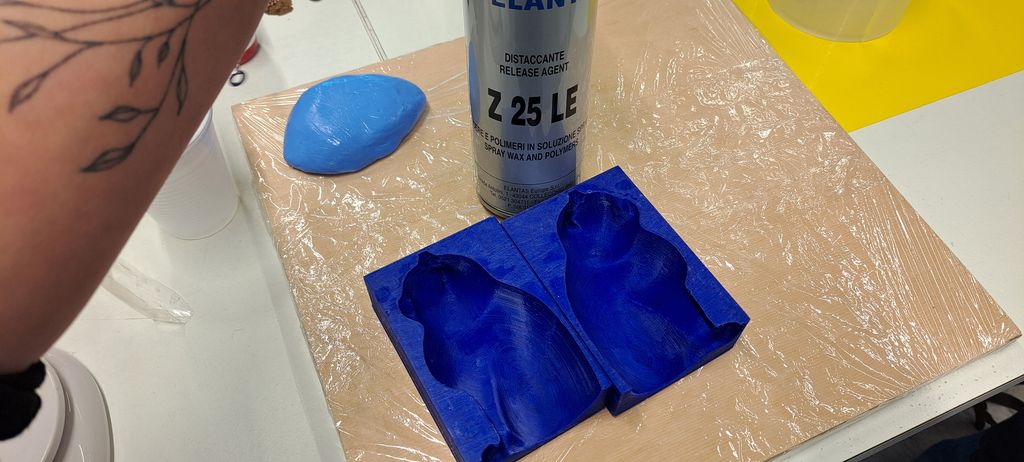
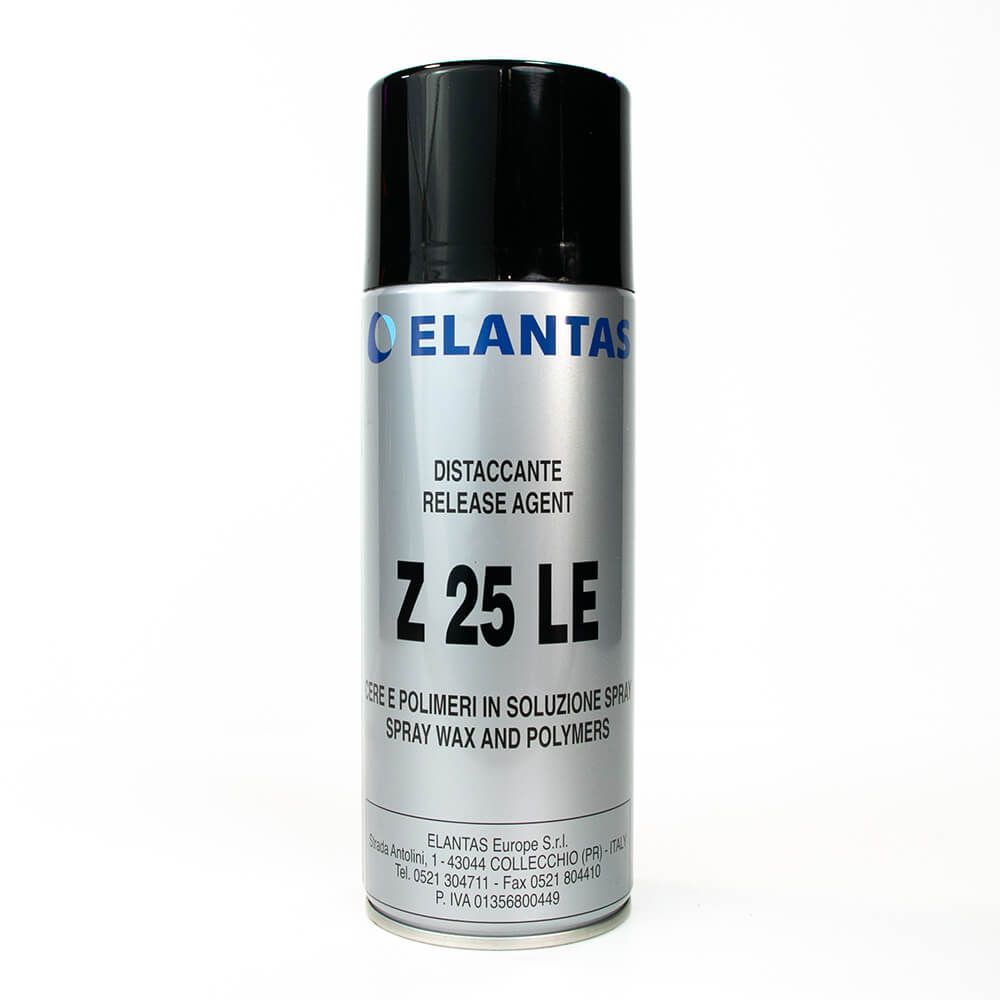
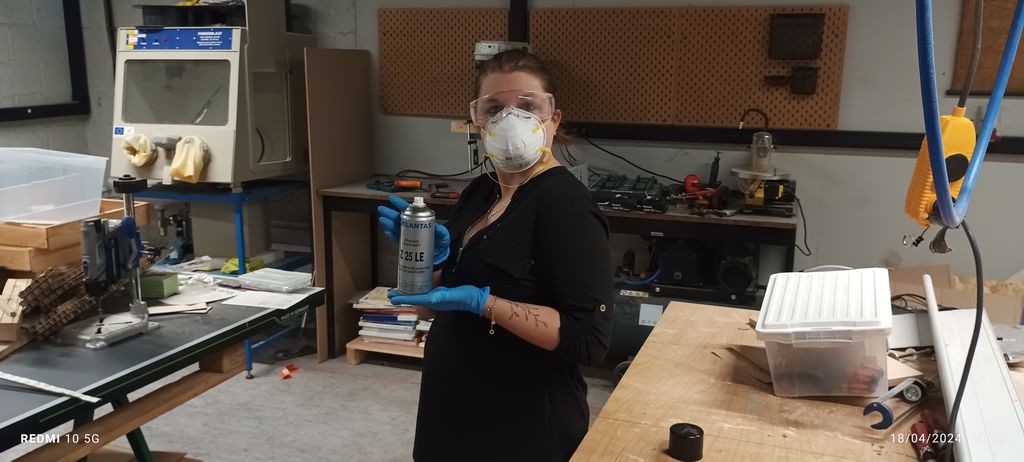
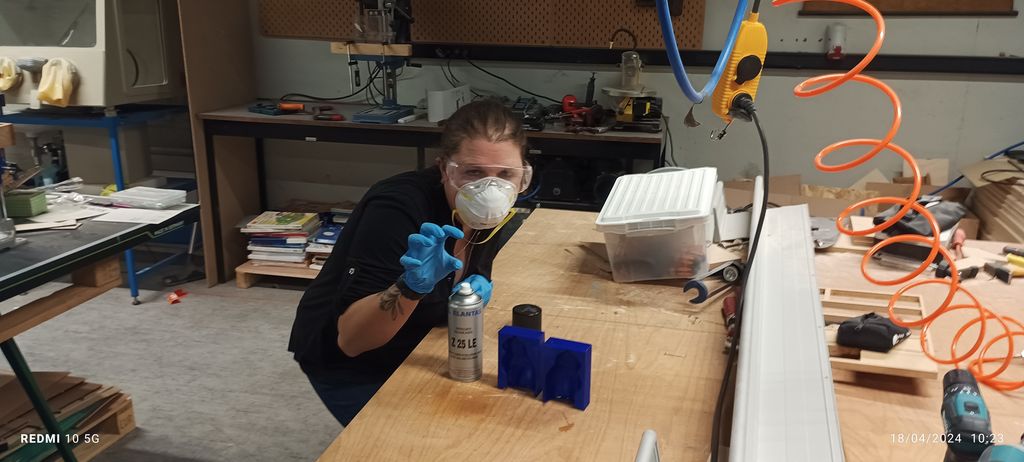
Spray-on release agent
Z 25 LE is suitable for small models in order to get a faster processing. Apply a thin layer. The greasy surface does not allow the gelcoat holding in vertical position. Z 25 LE is particularly suitable for demoulding of polyurethane fast cast and flexible resins. It can also be used to treat precision sheet wax.
The product is not suitable in contact with polyurethane foams because it causes thecolapse of the foam on thesurface. The product is flammable. Color: colorless Touch: 3-4 minutes Surface: greasy, non-polishing
Molding processes
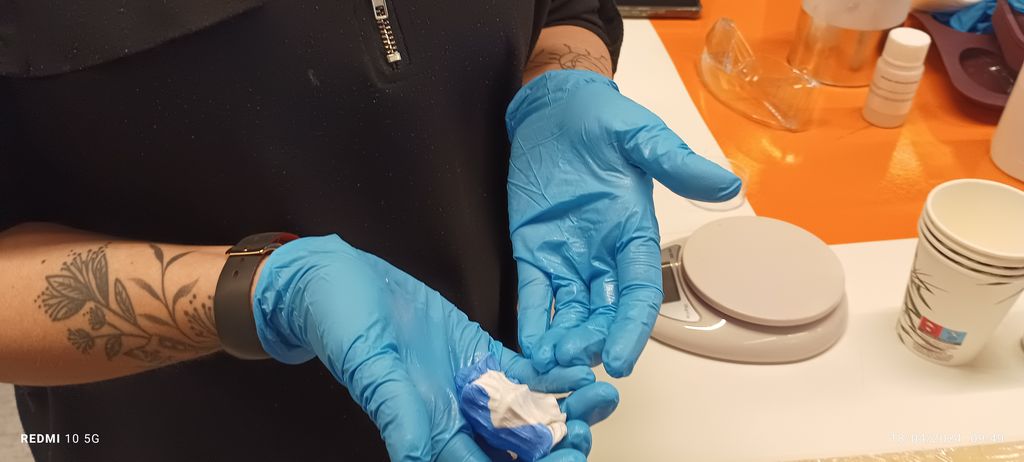
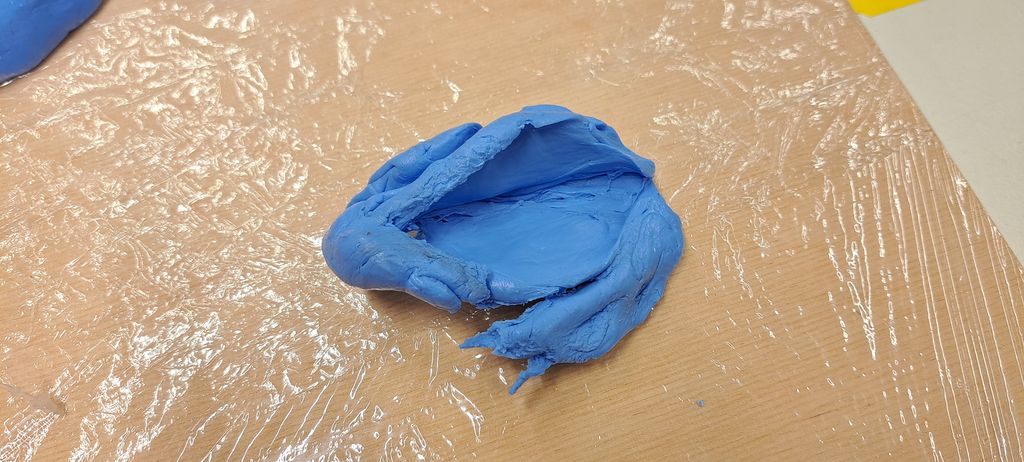
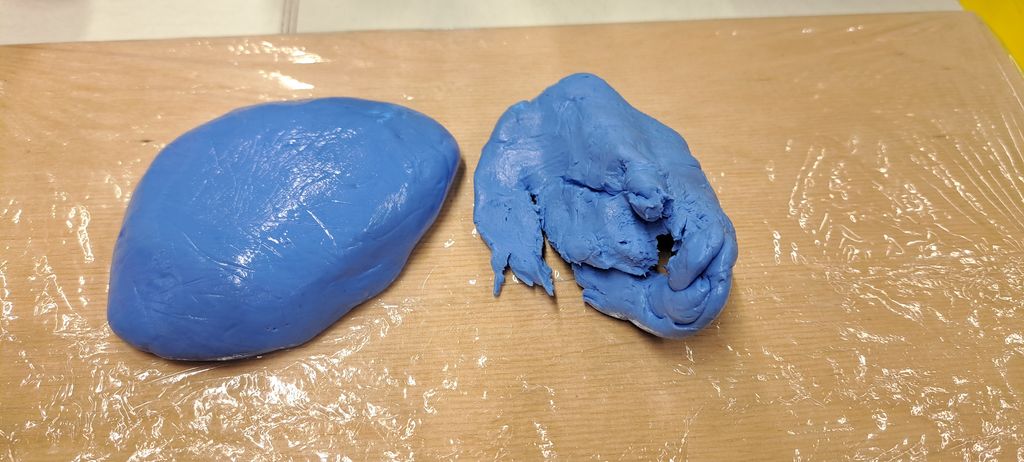
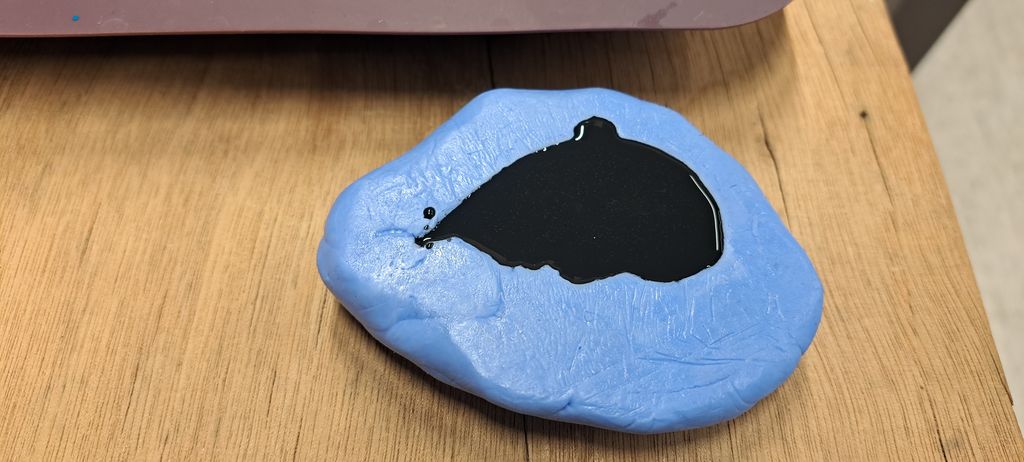
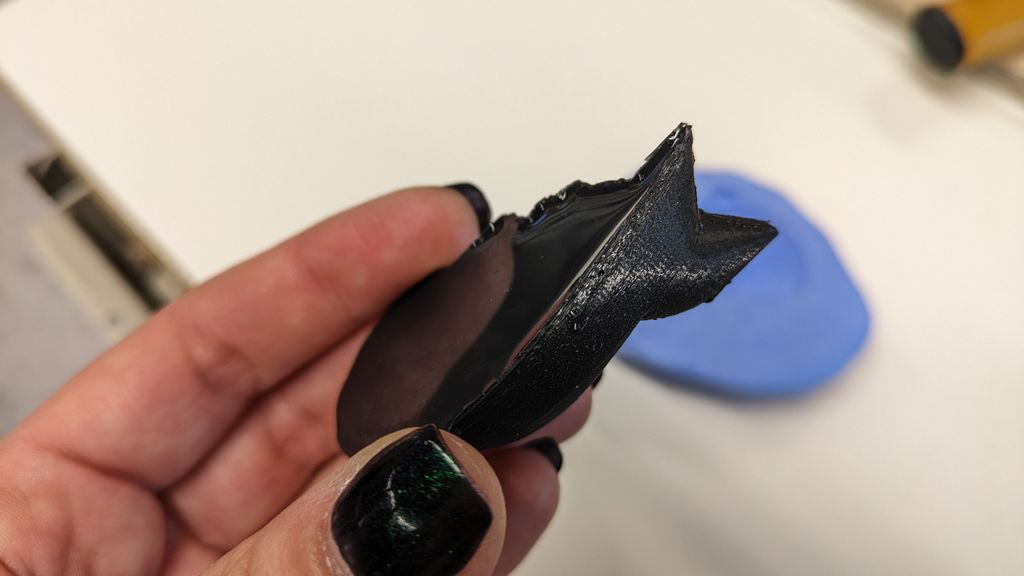
Silicone paste on PLA cast
We started with the silicone paste. We had still some left from Sylvain Denis own Fab Academy assignment but after mixing the 2 paste it already dried out and was already too hard to mold our 3D printed sleepy cat. It even torn ! FAIL !
Lesson to learn : silicone paste doesn’t last 2 years ! ;)
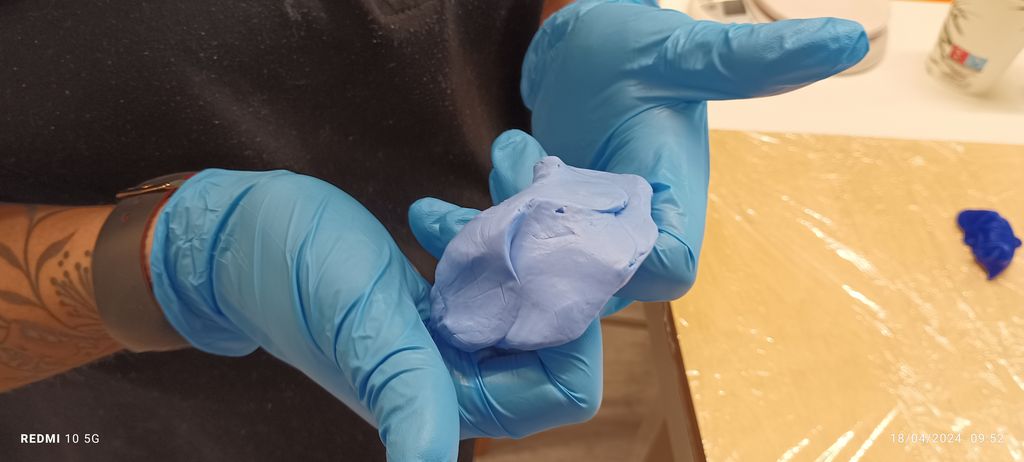
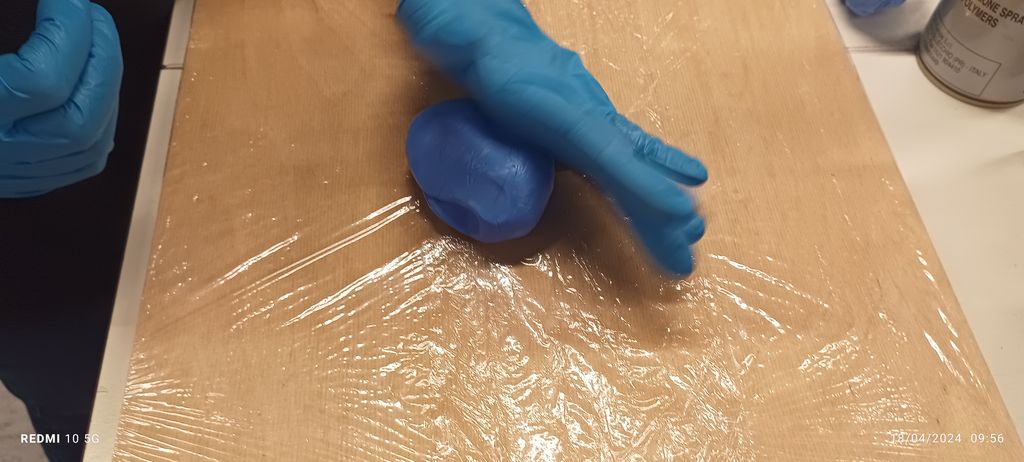
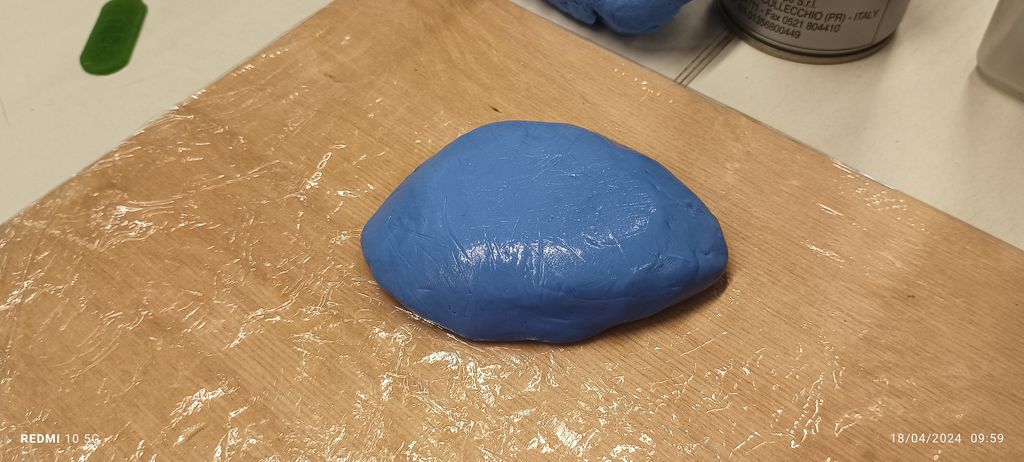
We started over with the new silicone paste and it went pretty well. I surely used too much material but the result is great and it is a good quality product to use.
Casting processes
Crystal Clear Epoxy resin (from Polychimie) in PLA mold
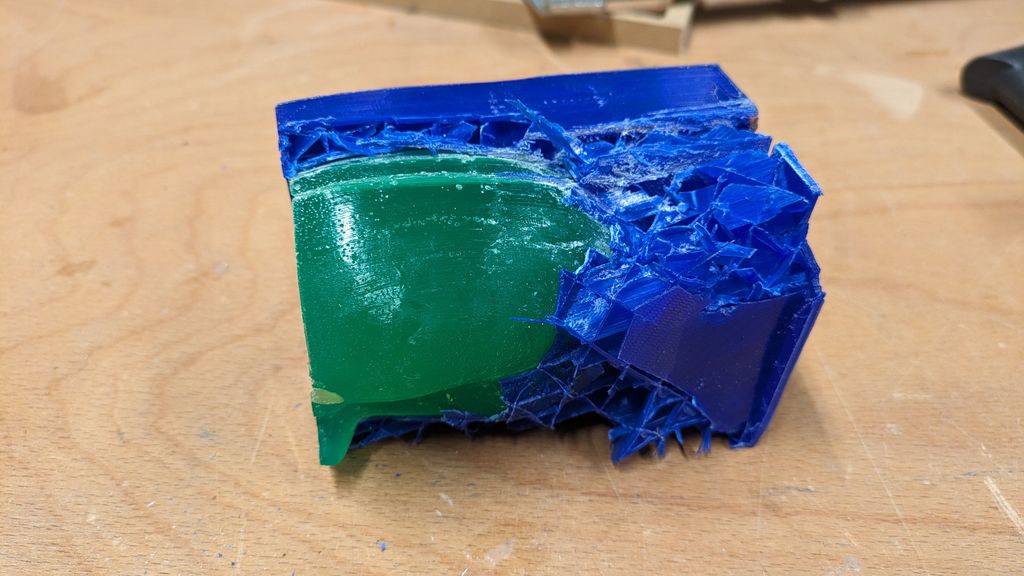
So far, this is our BIGGEST FAIL and most frustrated test ! XD
Everything went well at the beginning.
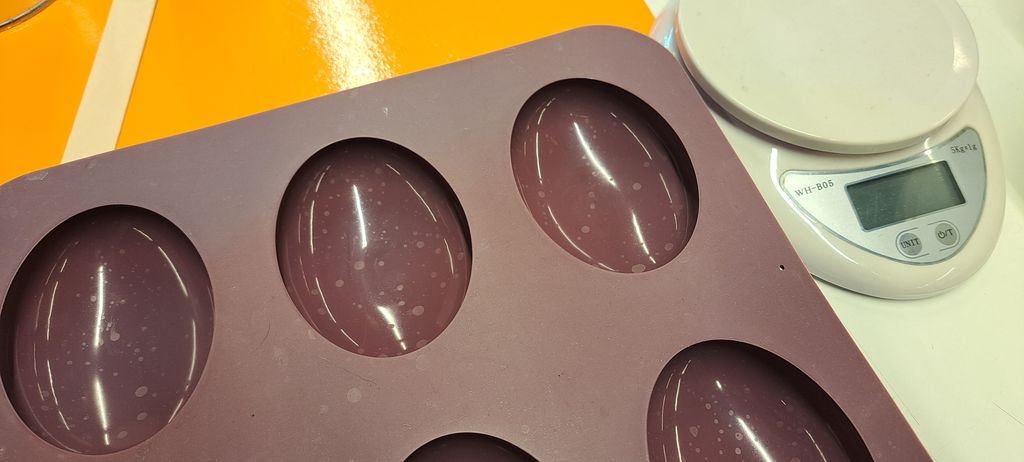
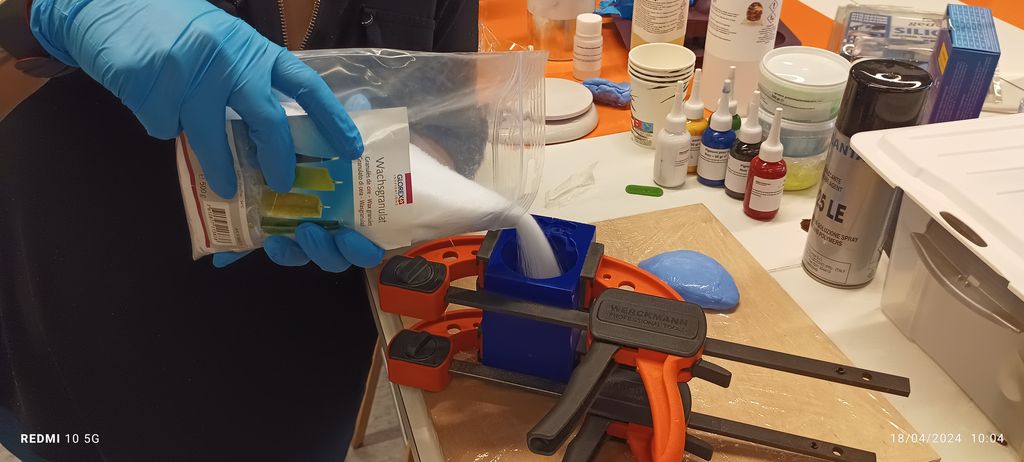
We started by testing the mold and it’s capacity by pouring dry wax in it and measure the weight with a scale, so that we can figure out how much epoxy resin we would need.
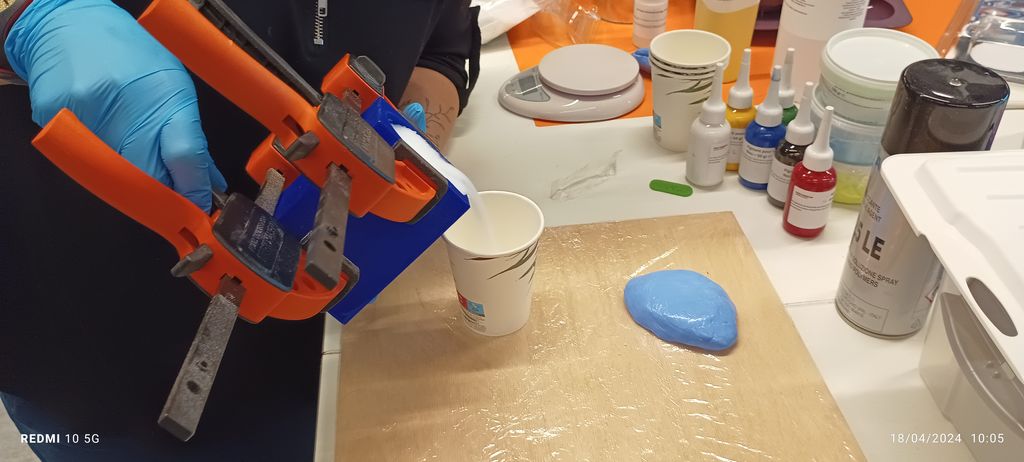
We measured 252g - 7g for the cup = 145g.
Coincidence ?! The ratio for this epoxy resin is 1:45
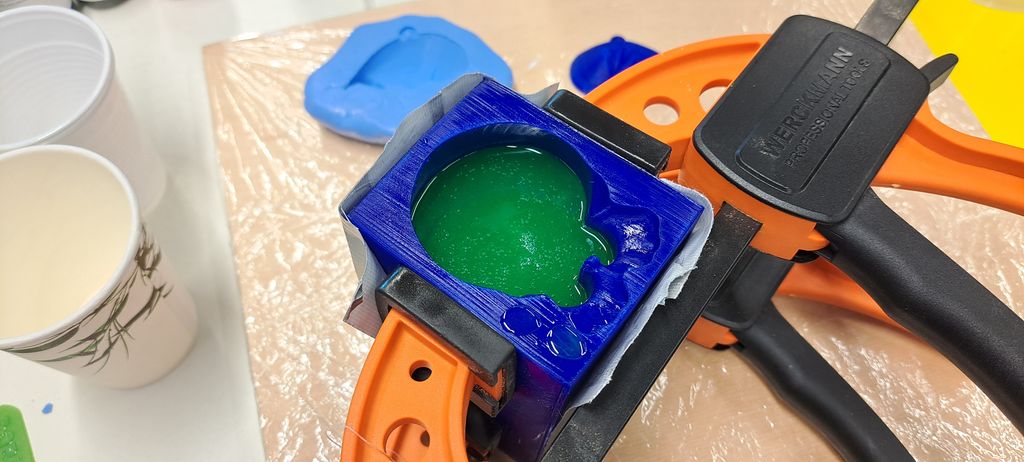
After adding some spray-on release agent (twice : Sylvain did it again after I did)…
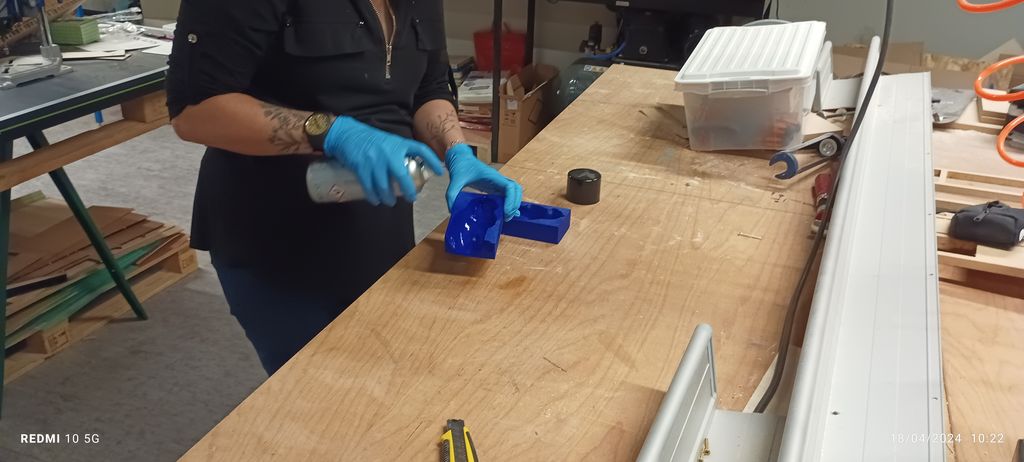
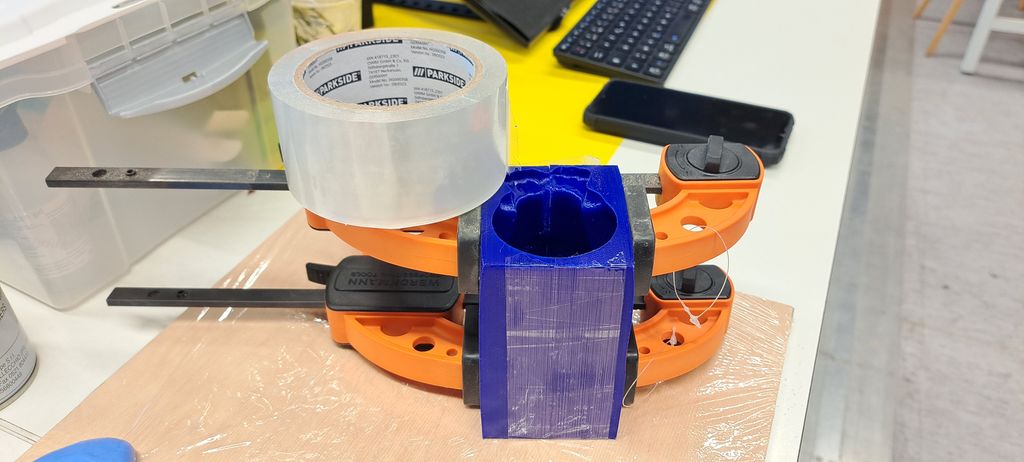
…we put the 2 mold pieces together with clamps and secured the “groove” (?) with regular tape and duck tape.
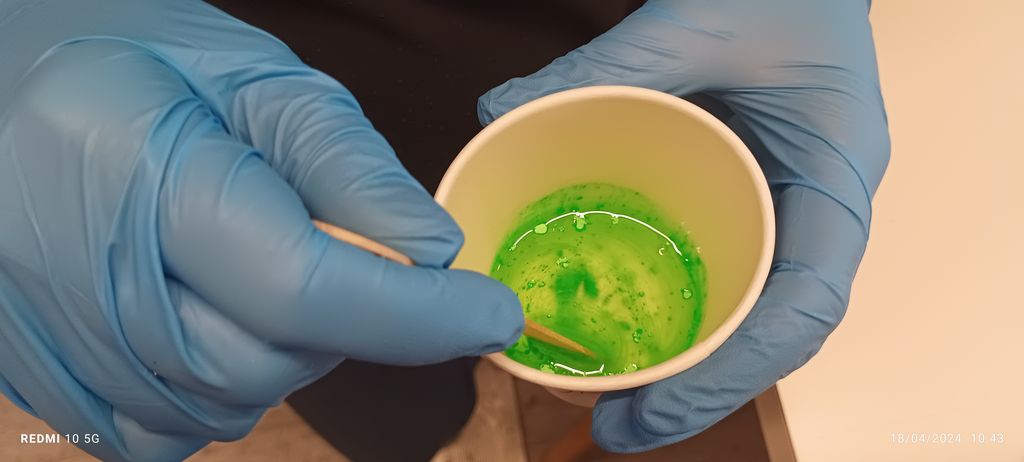
I made the first mix of 50ml Epoxy + 22.5ml hardener (+ green phosphorescent pigment)
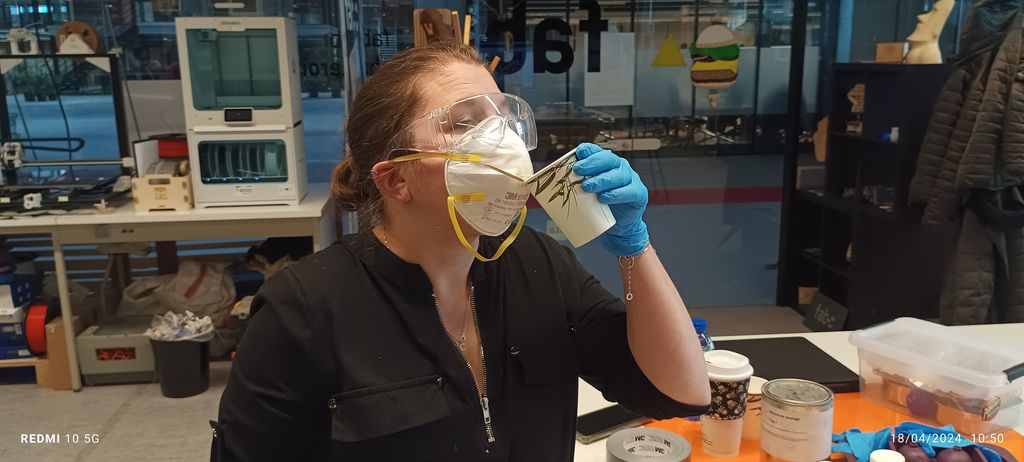
Tasty… Oops ! XD
After pouring it in the mold and understood pretty quickly that it wouldn’t be enough !
I made a second mix.
And a third one. (that’s really a big fat cat!)
And a last 4th one !
Yes, we had to mix twice the capacity we’ve measured at the beginning…
Why ? → We didn’t think about the air between the small dry wax pieces.
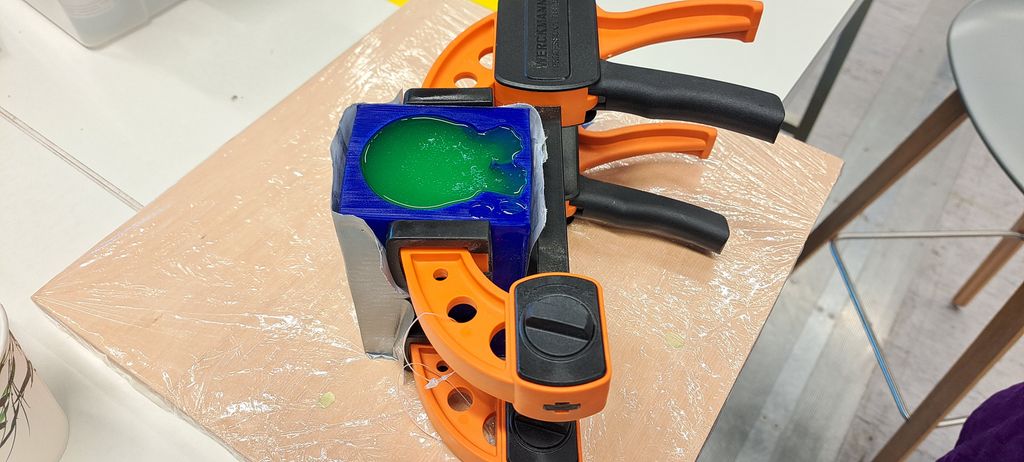
Well, we did it and let it dry for 3 days.
……………………
Maybe that was our mistake ? Letting it dry for too long ?
The fact is, Monday morning, as we wanted to unmold our big green phosphorescent cat, IT WAS IMPOSSIBLE !

The PLA seems to have reacted to the epoxy because its shape changed and everything was stuck !
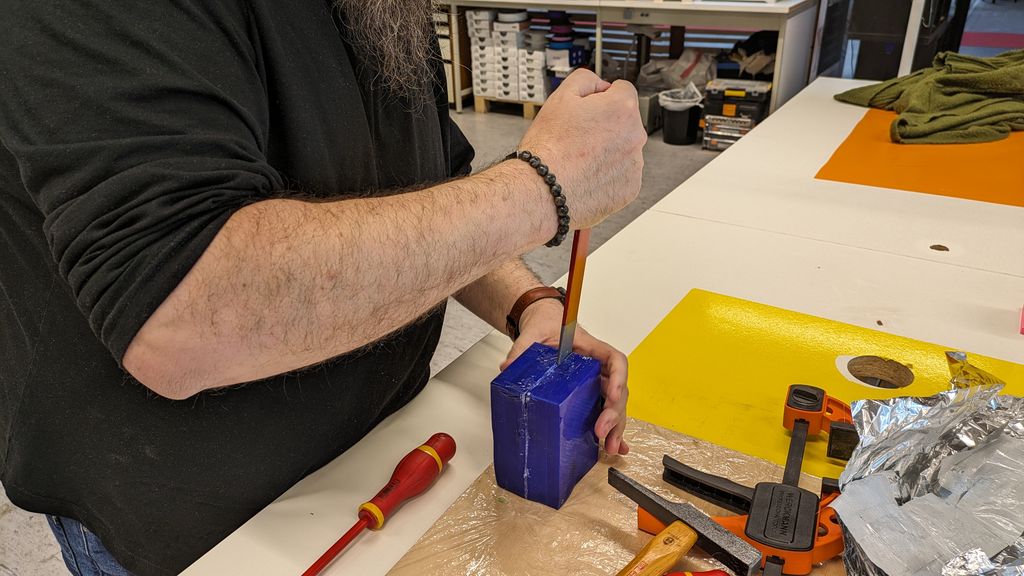
We tried with screwdrivers…
...A saw...
...A hammer...
...And lost hope and patience !!! XD
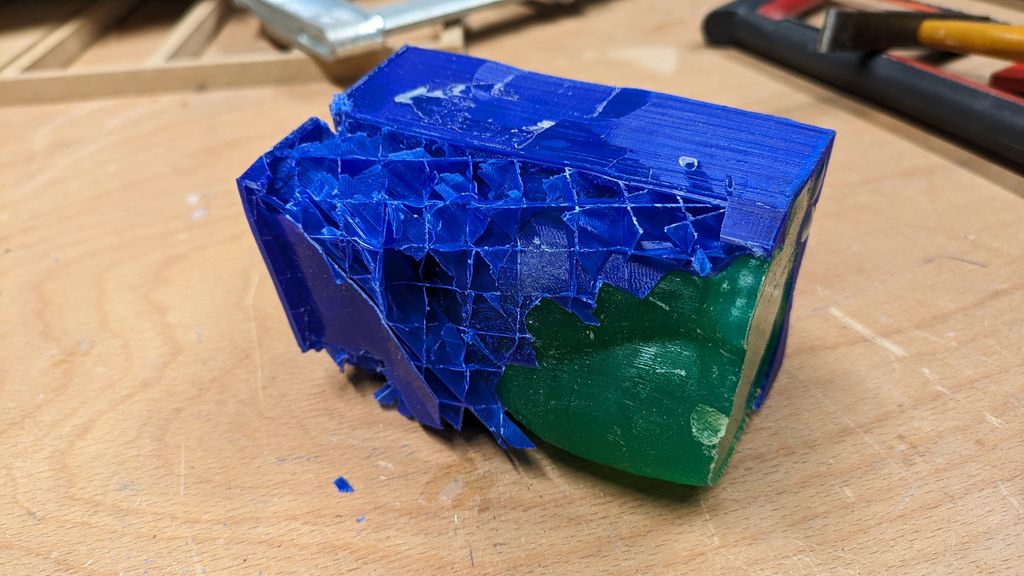
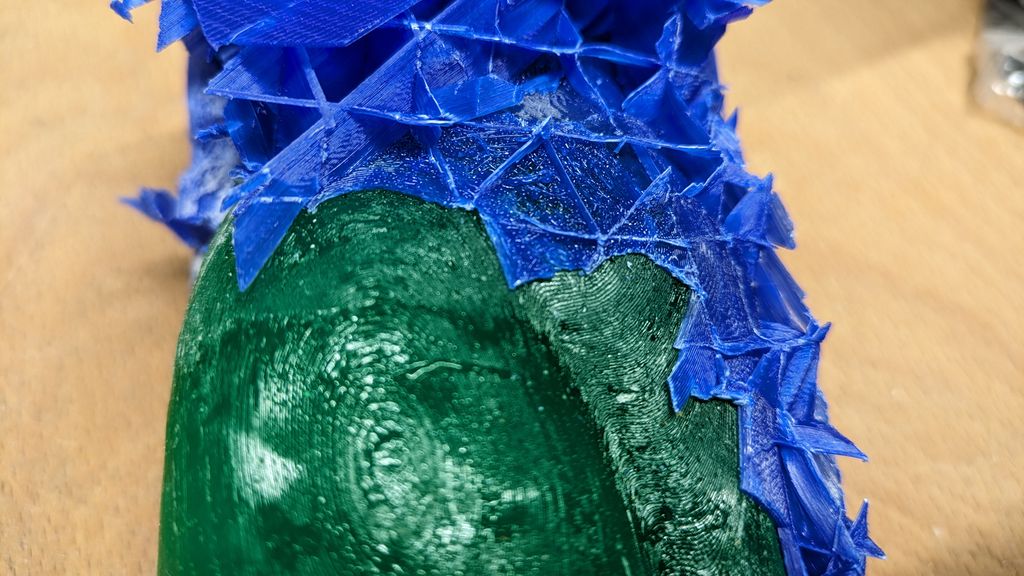
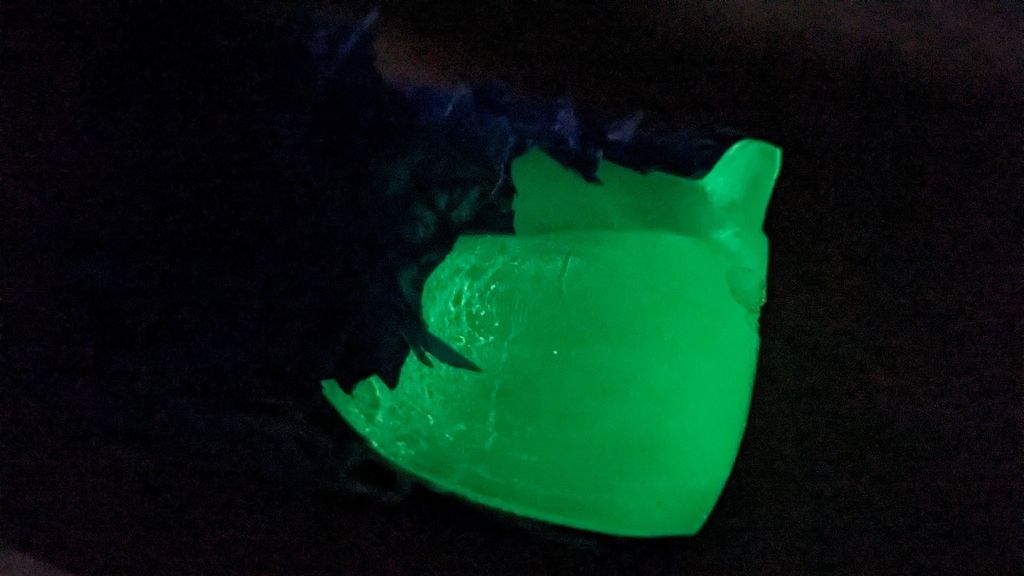
At least the phosphorescent pigment works ! ;)
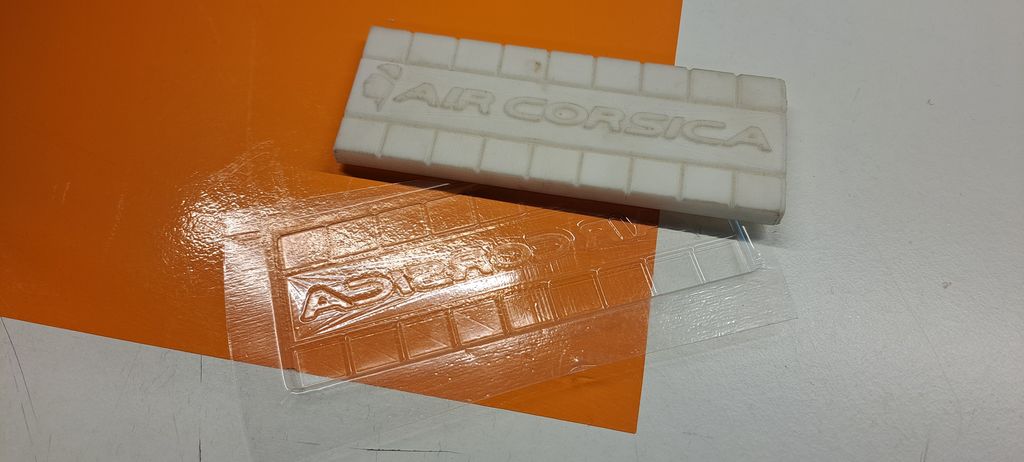
Crystal Clear Epoxy in thermoformed plastic
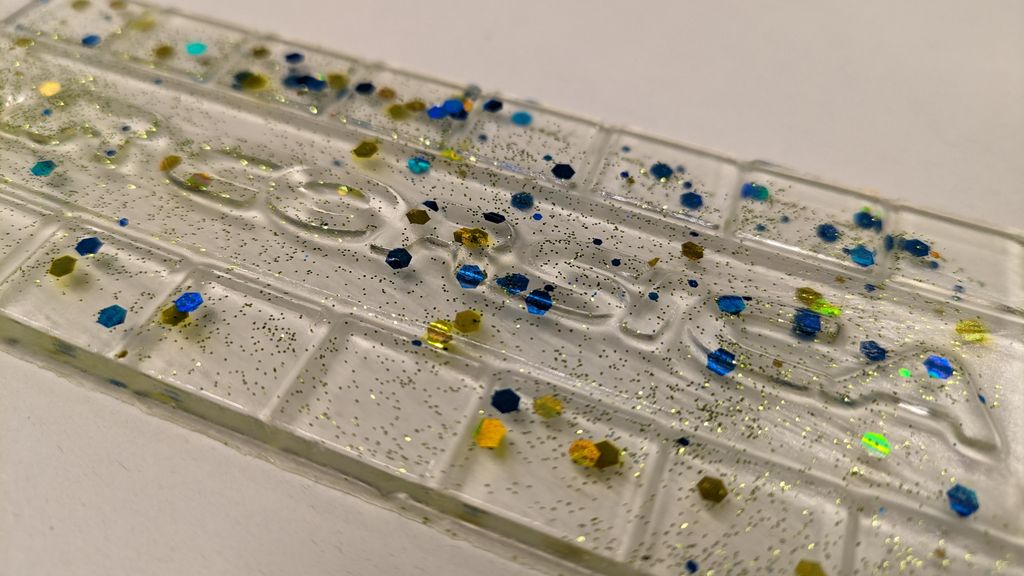
Making a new crystal clear epoxy mix, I poured it in a thermoformed plastic piece and added some glitter (we always need some in our lives ! ;) ).

It went well, much better than in PLA !
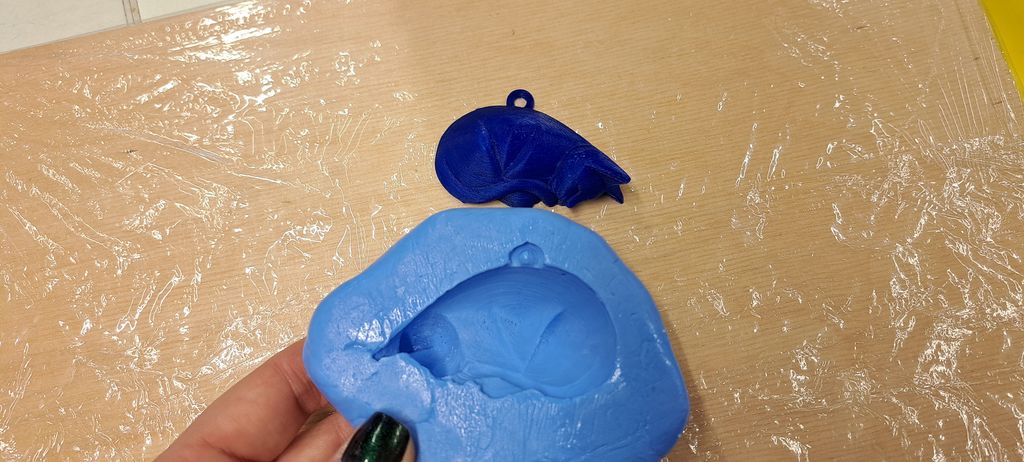
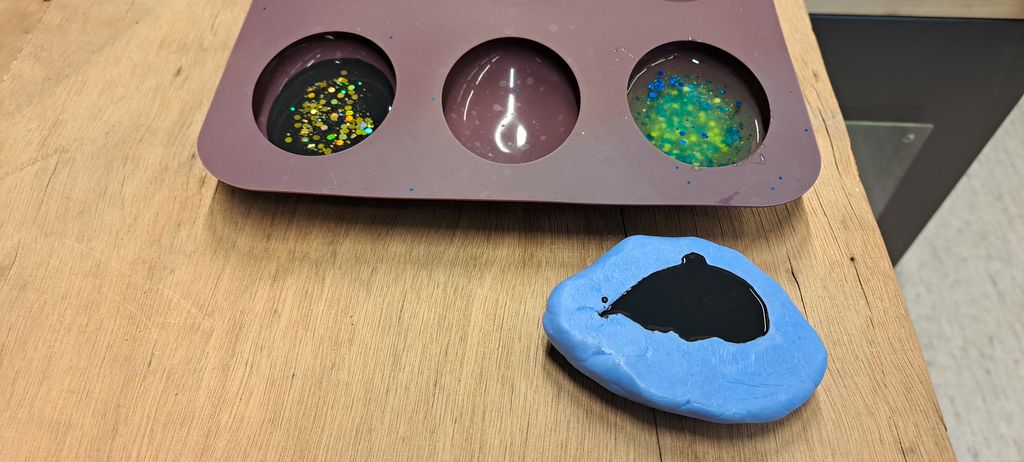
Epoxy resin bought on Amazon in silicone paste mold
Then I tried out the Amazon epoxy resin.
This time, the ratio was 1:1. Easier to measure. And I chose to add some liquid pigment color.
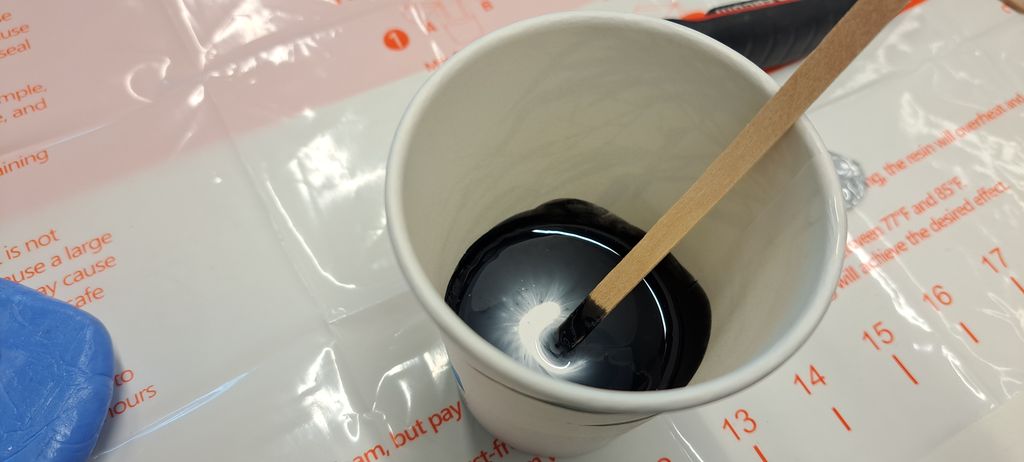
I poured it in our silicone paste mold made in the beginning.
We also let it dry during the 3 days and this one unmolded really easily.
And I must say, the silicone paste really is a good product because it even caught the 3D print texture ! If you don’t turn the cast to see the smooth shiny back, you could think this one was also printed in a 3D printer.


Crystal Clear and Amazon epoxy in silicone mold (made for soaps)
As I had leftovers from both epoxy tries, I poured them in my “soap” silicon mold and added again some glitter to shine up the day ! (Weather is horrible in Belgium this year…)
Nothing extraordinary, the unmold was quick and easy !
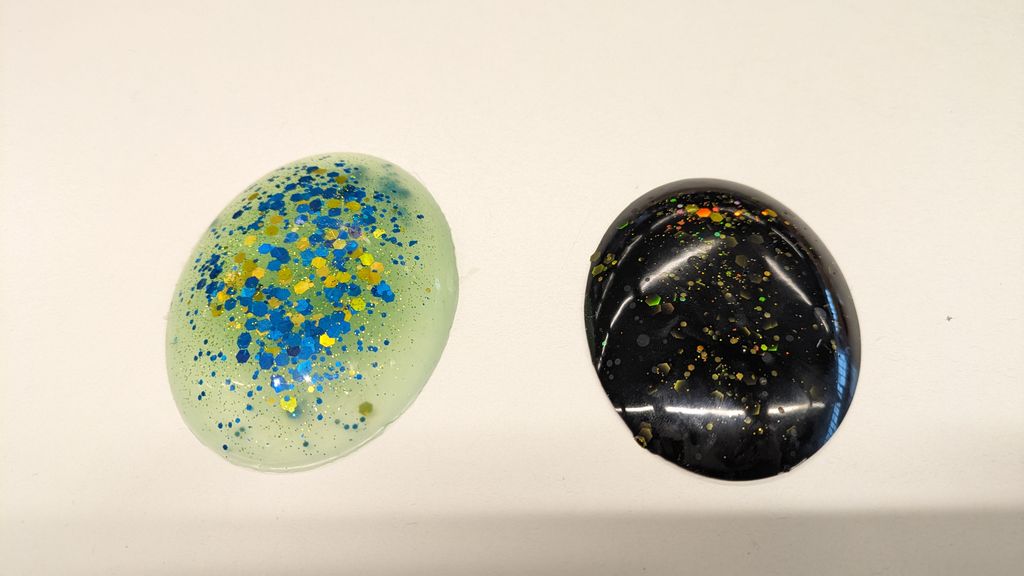
But if I had to chose between both products, I would take the Amazon one ! Maybe it’s because the other one is 2-years old, but I found the HXDZFX Epoxy resin has a better texture, is shinier, smoother edges and seems to keep the most details from the mold (you can see the dried water drop from the silicone mold).
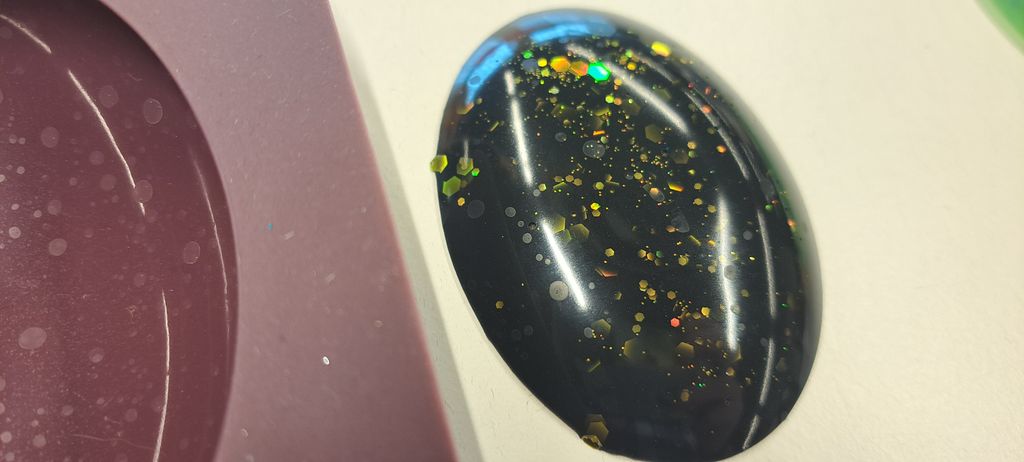
I should make a new test by using the same colors to see if the other epoxy resin also gets the details.
Link to our Group week 12 page
UPDATE - Designing a mold
For this assignment I wanted a cat and as I'm absolutely not capable of designing one in 3D I took the easy way by downloading files already done.
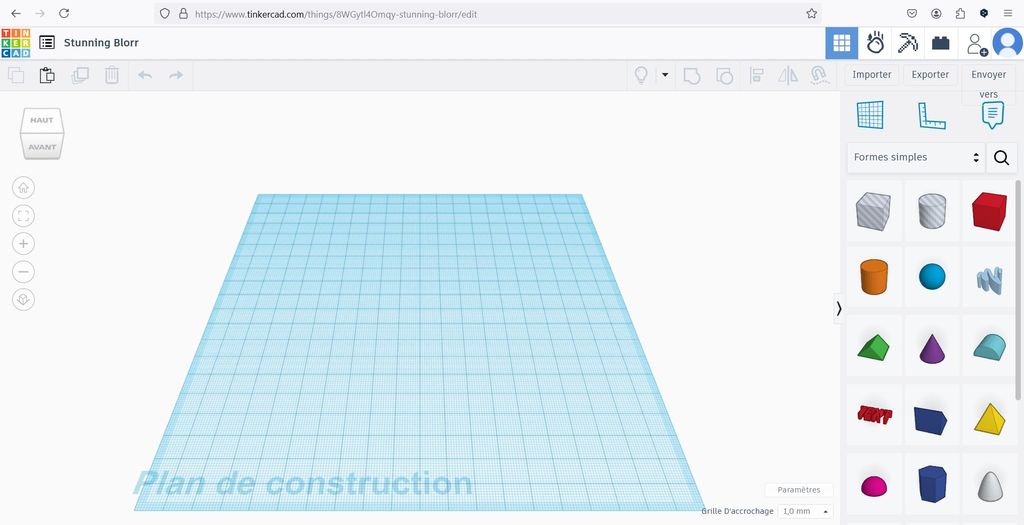
But, as we have to design a mold, I did the exercice (tried to in fact) and used Thinkercad because it's easier for me as they have a nice simple interface and object/forms already done to work with.
So, first step is of course opening Thinkercad.
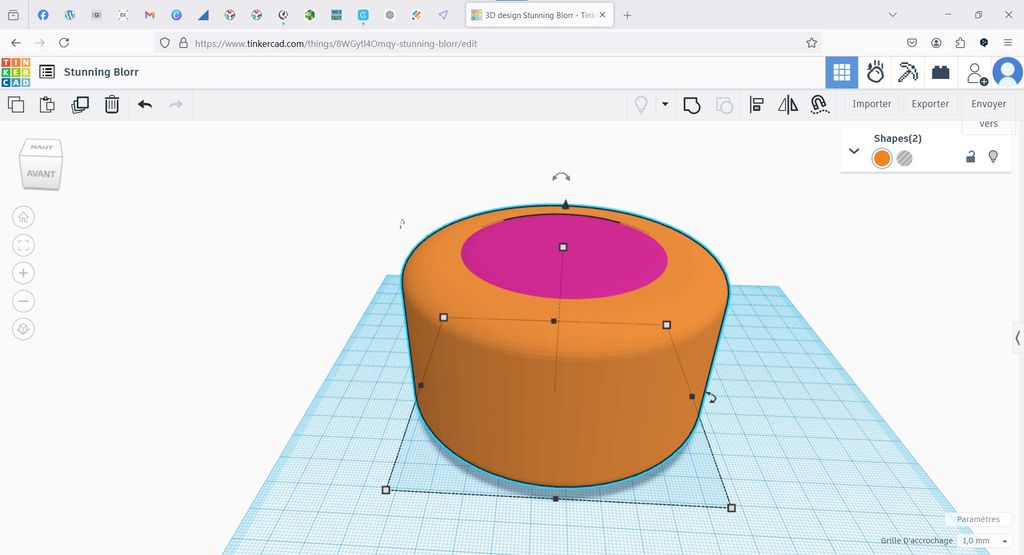
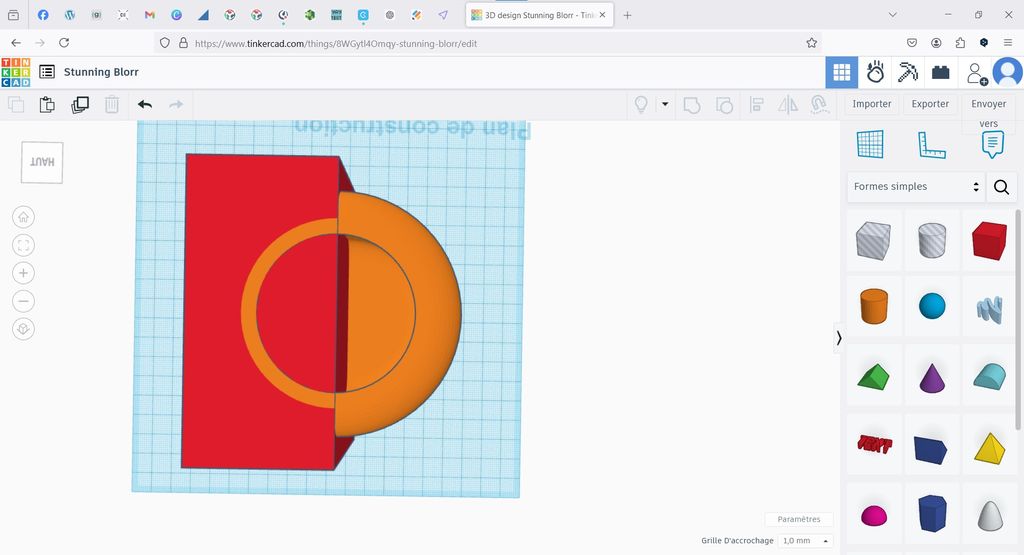
Then I chose a form (here a cylinder) and changed its size and a bit the shape.
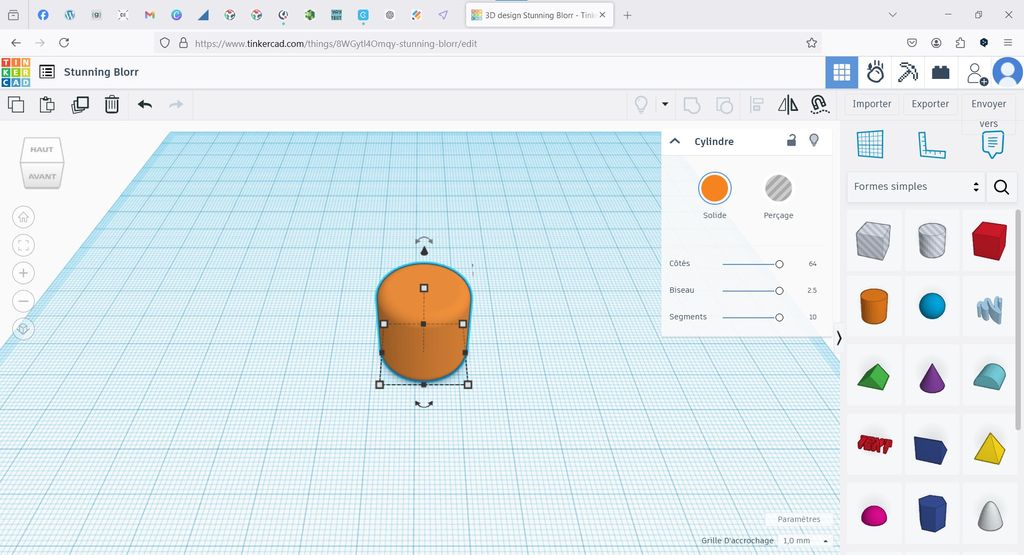
My idea was to try to make a candlelight holder.
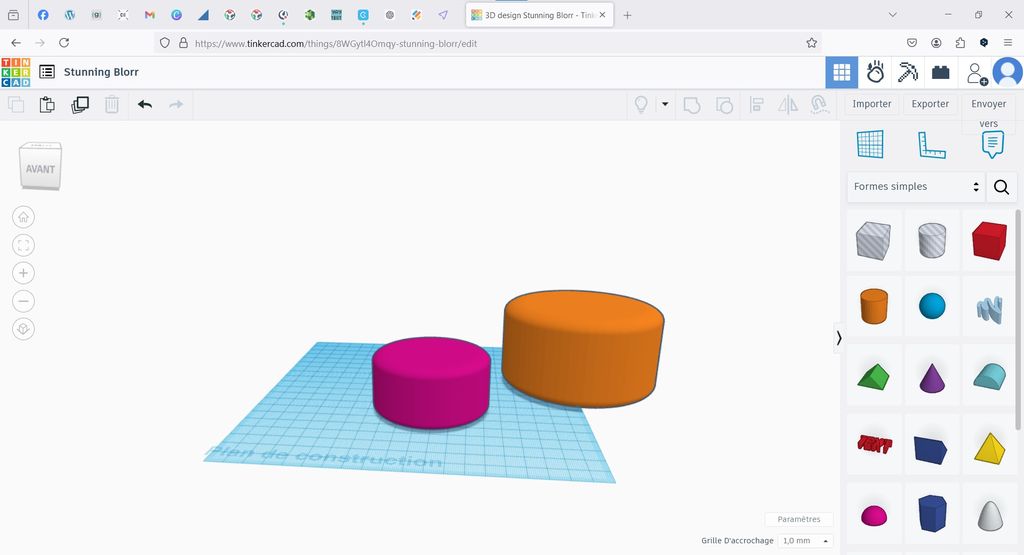
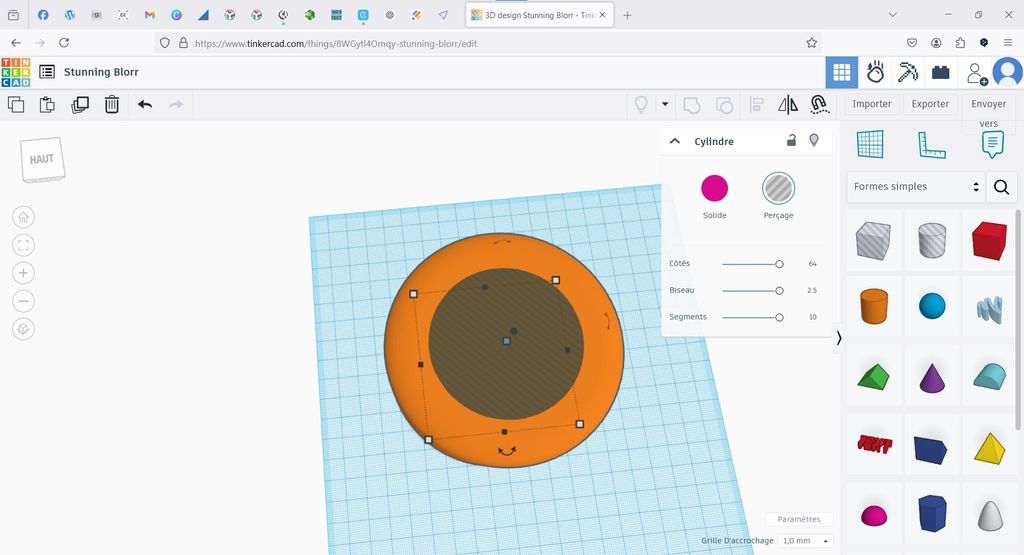
After designing the outer shape I duplicated the form and resized it for the inner shape (where you can put the candlelight).
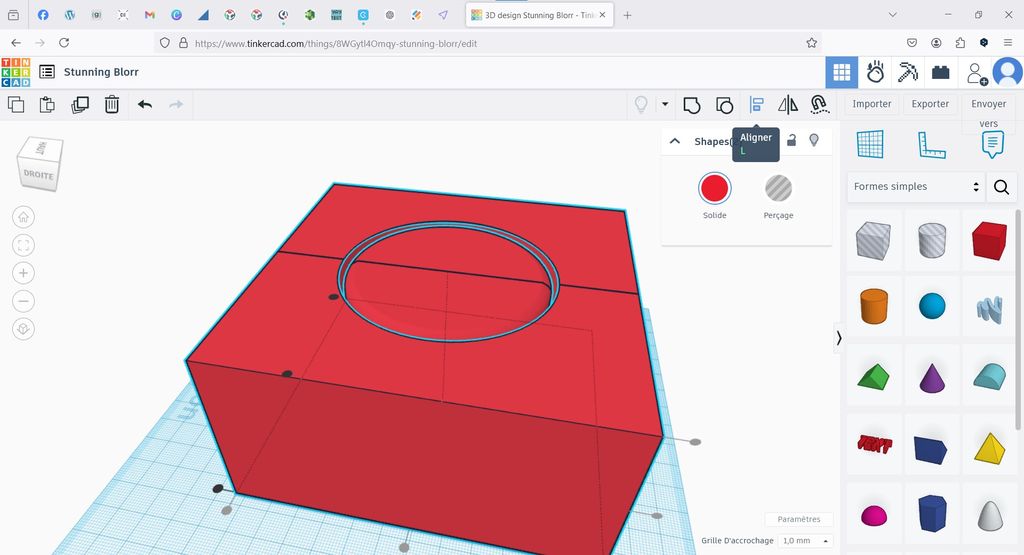
Once both forms done, I had to align them (center) and move the inside shape up to be able to create the upper hole.
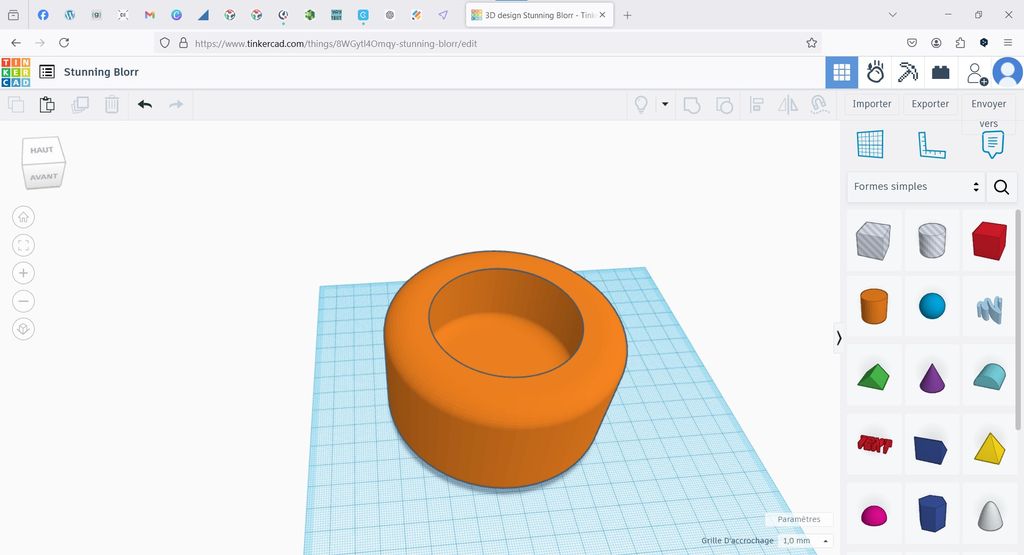
Once done, I changed the inner form in a "cut" form (my Thinkercad is in frenc, so I don't know the right term in english) and then group both form together to create the inner hole.
Everything worked fine (happy me, I found all by myself again how this works) so the next step now is to create the mold that will help cast this object afterwards.
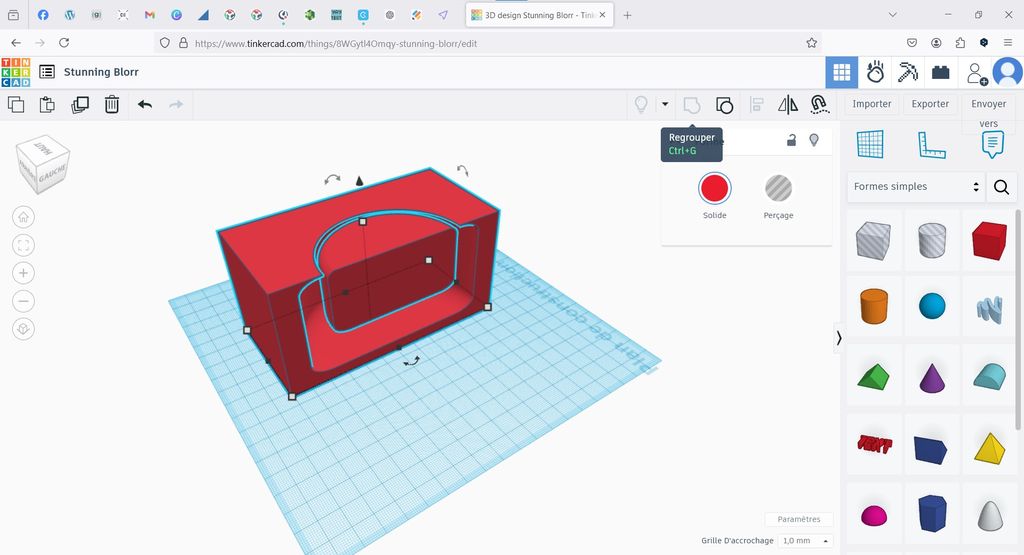
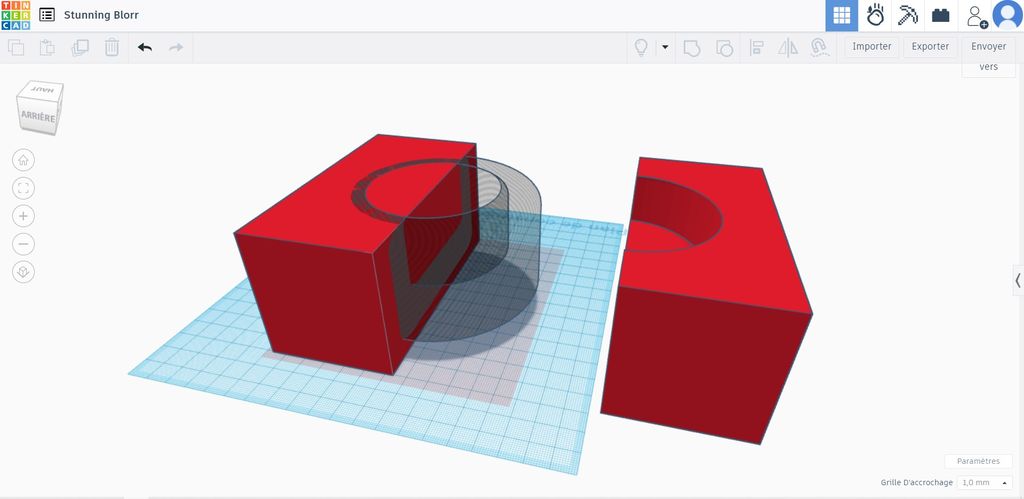
I added a simple rectangular box and made sure it was big enough on each side to prevent the candlelight holder to be too close to the edges and that the upper edge would be able to have the right opening for pouring the silicone without messing with the upper shape of the object to cast.
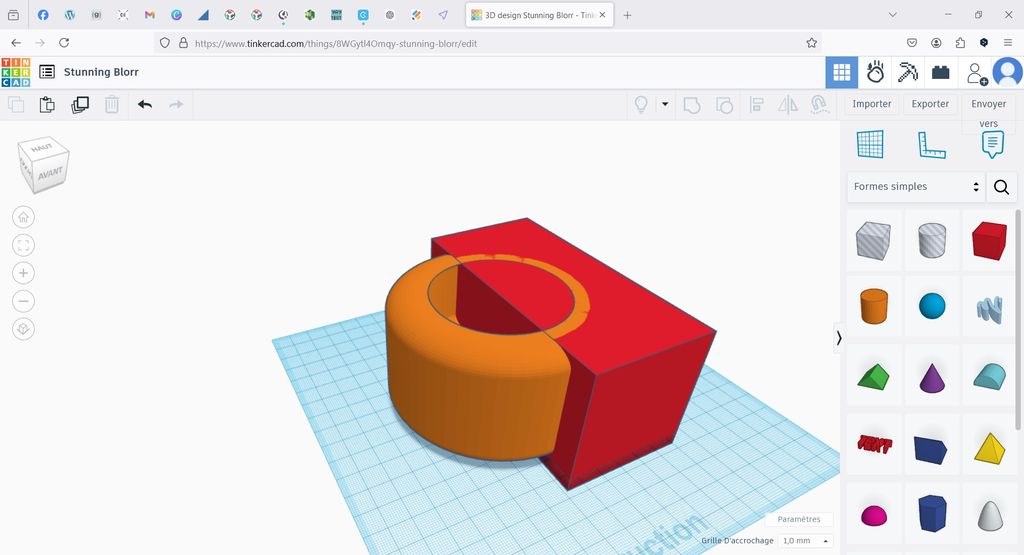
As the mold will have to be taken away of the silicone in a not too complicated way, I just designed half the box and aligned it with the middle of the object.
Again, I changed the inner piece (here the whole candlelight holder) into a "cut" form and by grouping both inner and rectangular box it gave the right half cutted form of the final mold.
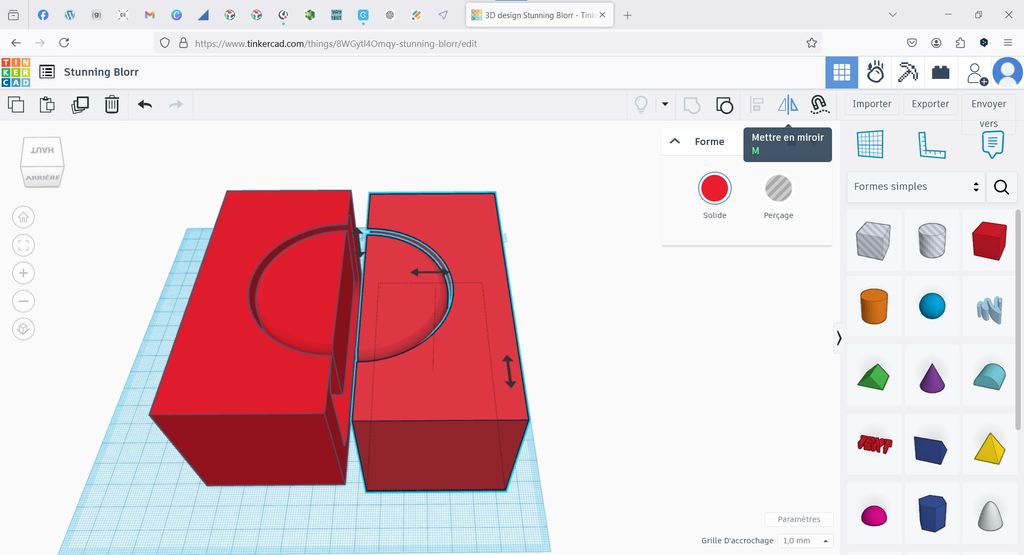
Once done, I duplicated it and made a vertical mirror of the second one so that I get 2 pieces that will be easily removed once the casting is dry.
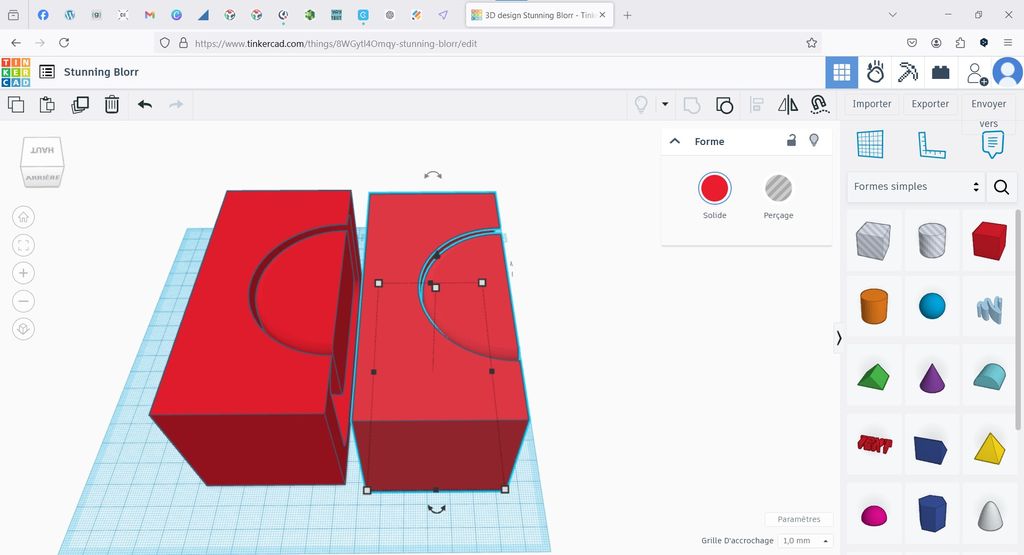
Last part, but certainly not least, the inner hole of the candlelight holder will be formed by another solid piece.
So as I'm no good in 3D programs, I will first just print the parts out like this and glue together the inner 2 half-parts.
Later I'm willing to really learn to use the 3D modelling programs and I'm sure I will find an easier way to do all of this ! But it's hard for me to find the time right now... :(
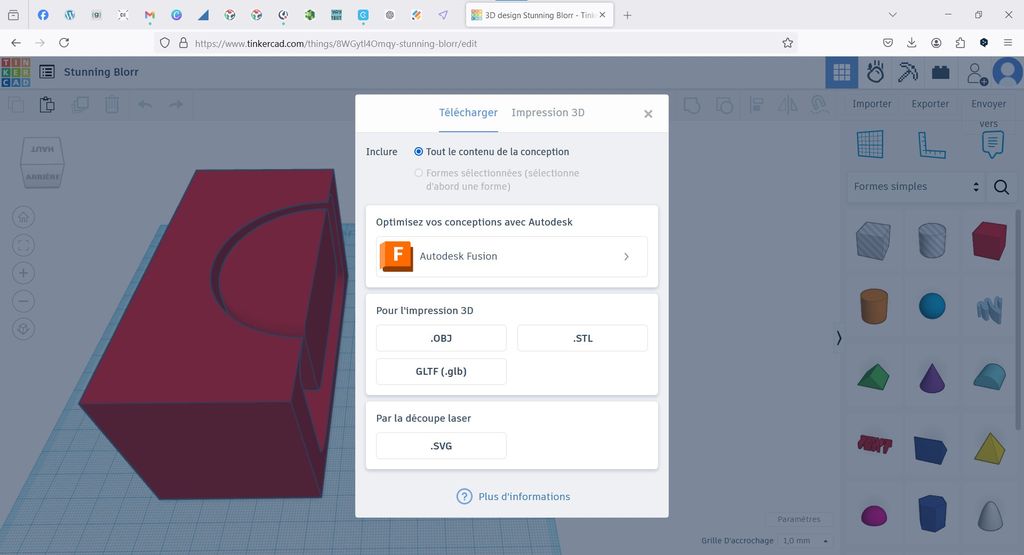
But for now, all that needs to be done is to export the file in .stl and launch the printing !
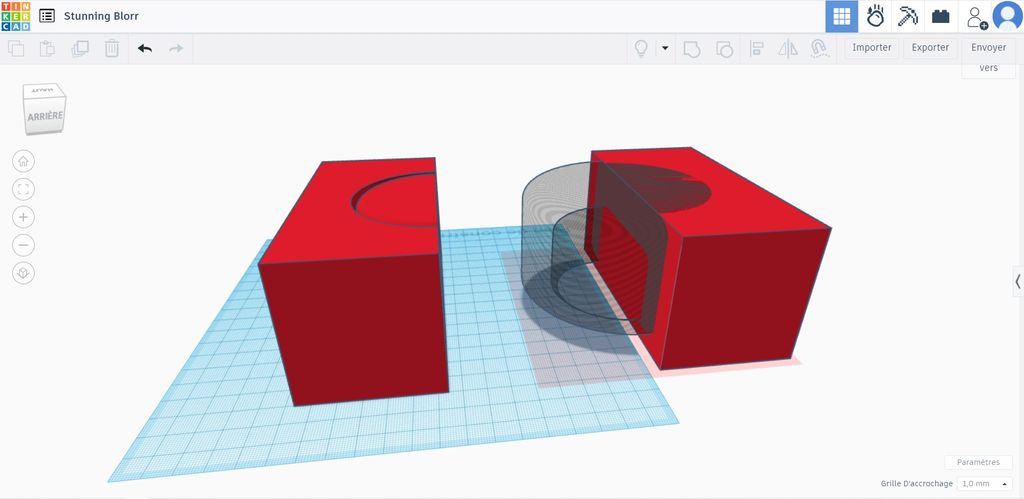
NEW UPDATE
My second instructor, Santifu, pointed out that my file wasn't right : it is in fact upside-down ! ^^'
So back to Tinkercad to move the center piece down...
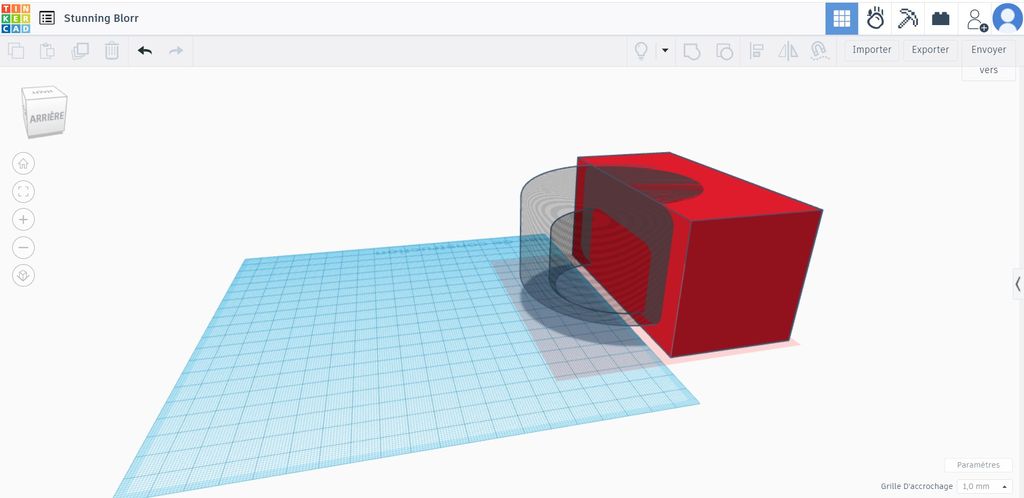
and duplicate everything to get the whole candle light mold.
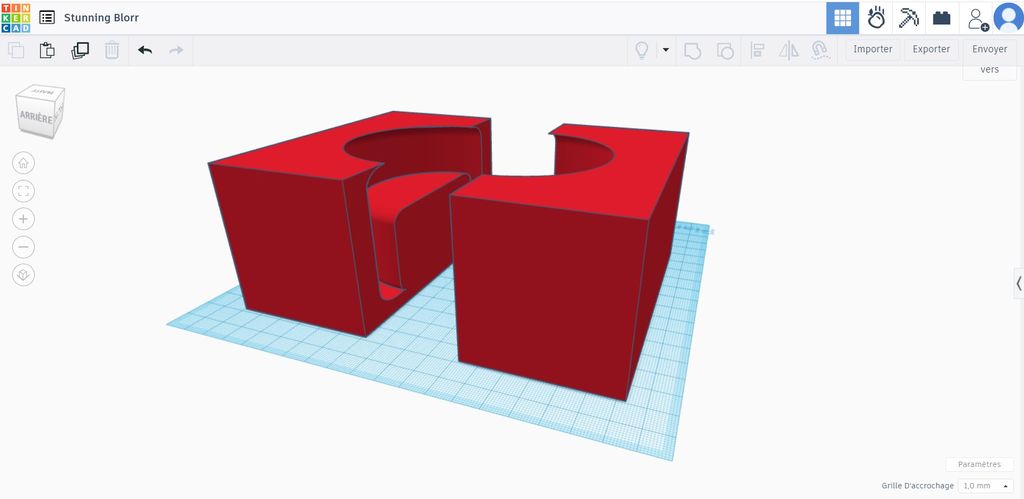
Here are both designs so that you can understand the difference ! ;)
Files and resources
Files
- My Thinkercad Candlelight holder STL file after correction
- My Thinkercad Candlelight holder STL file
- My Thinkercad Candlelight holder OBJ file
- Crystal CLear Epoxy - technical datasheet
- Spray-On Release Agent - safety datasheet
- Spray-On Release Agent - technical datasheet
Resources