7. Computer-Controlled Machining
Hero shot
Group assignment
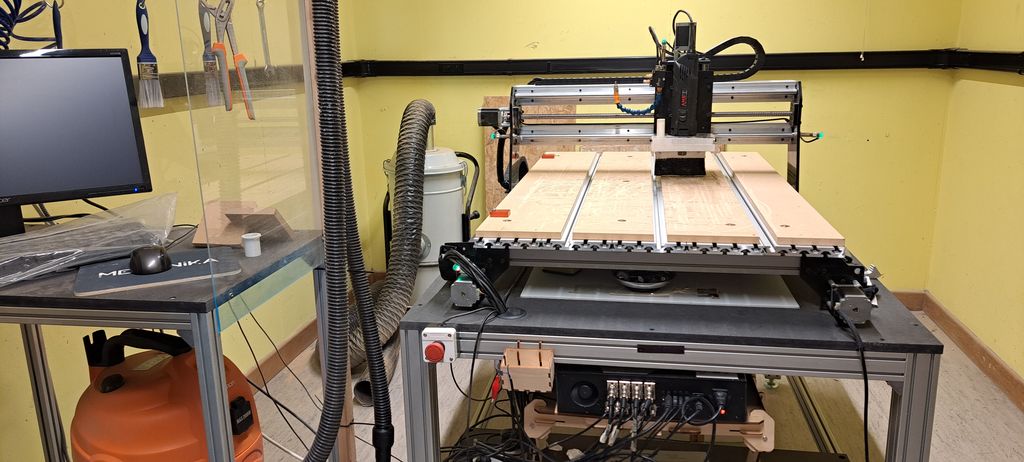
It's time to get to know the CNC. We have a Mekanika model.
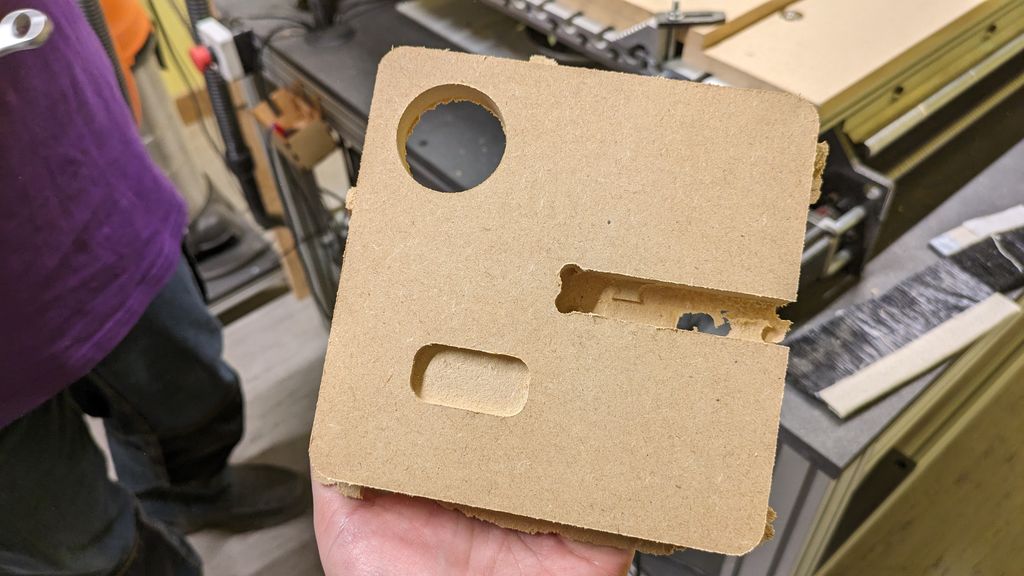
In order to do that, we've created a simple square part using the machine's various cutting and engraving options:
- a round hole
- a rectangular pocket
- a notch with dogbones for nesting
- bridges to prevent the part from jumping off the table
Part design
We used Freecad to create a parametric square part using spreadsheets.
The parameterized parts are :
- the side of the square
- the part thickness
- the radius of the fillets
- the round hole diameter
- the X position of the round hole
- the Y position of the round hole
- the kerf
- the notch length
- the notch width
- the rectangular pocket length
- the rectangular pocket width
- the rectangular pocket thickness
- the X position of the rectangular pocket
- the Y position of the rectangular pocket
Easy part construction
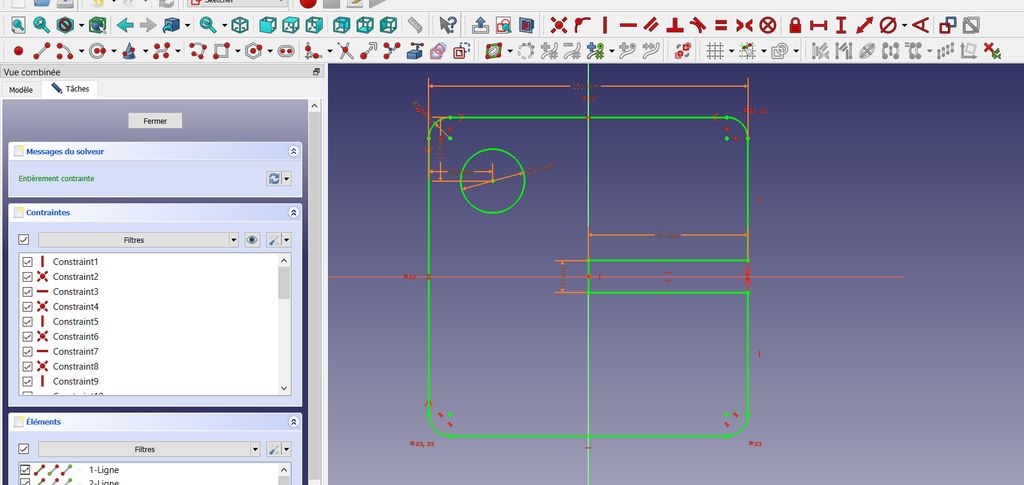
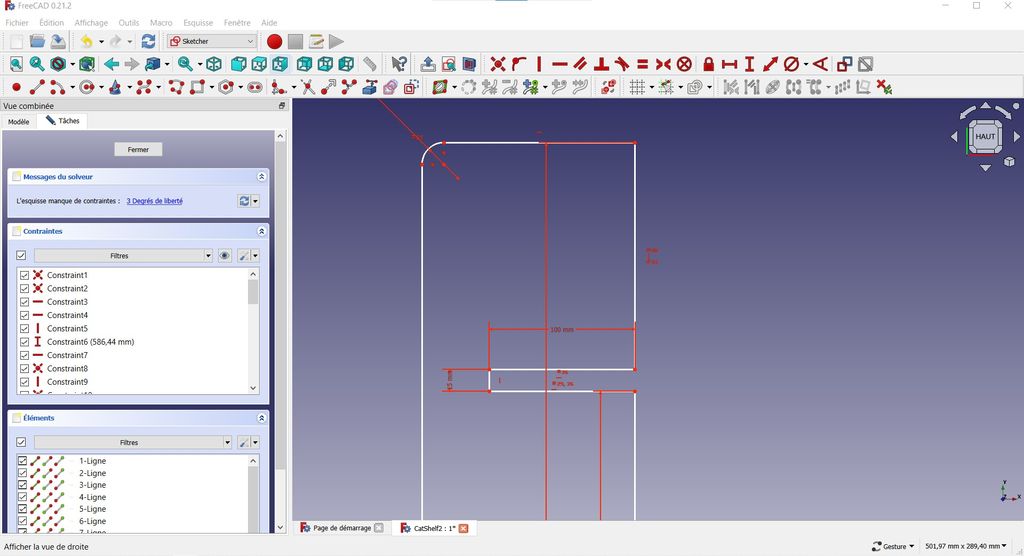
To avoid drawing the different parts by manually entering each measurement, we've used the symmetry (horizontal, vertical) and constraint (horizontal, vertical, radius, diameter) options.
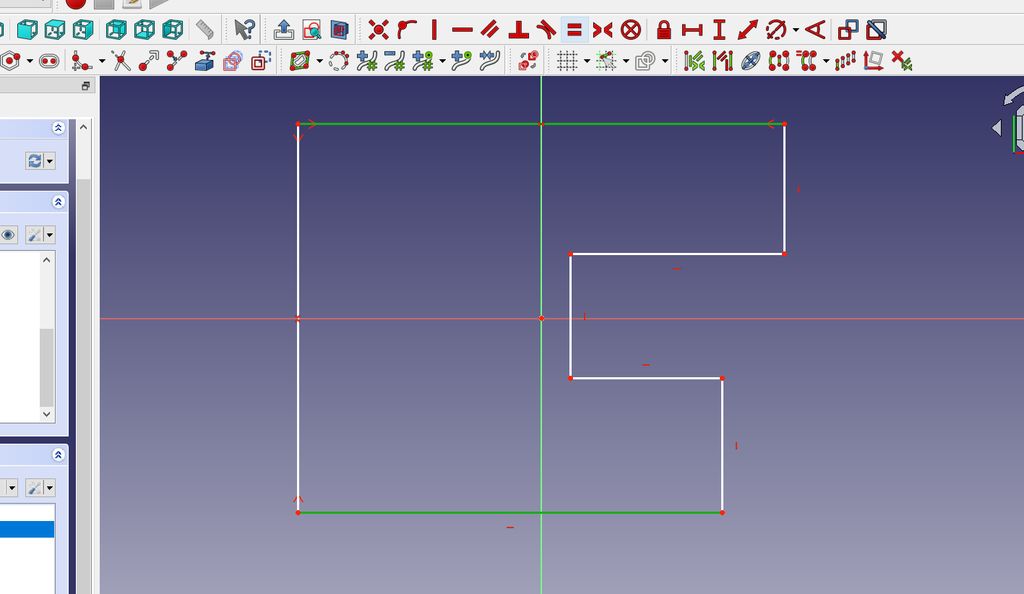
The symmetry and constraint steps must be performed one by one to avoid errors.
Once all the parts have been constrained, they are linked to the parametric table.
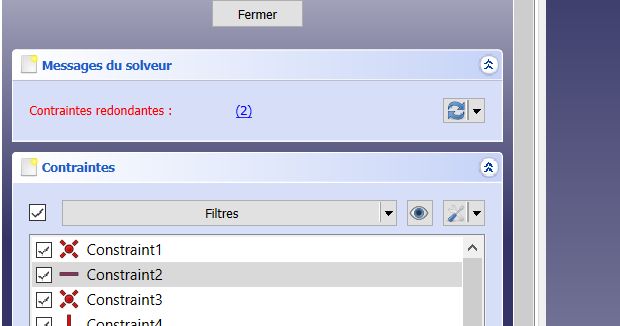
An error may occur from time to time. The solution is to remove redundant constraints displayed in the sidebar.
When the part design is ready, all lines and points are green and the message "fully constrained" appears in the sidebar.
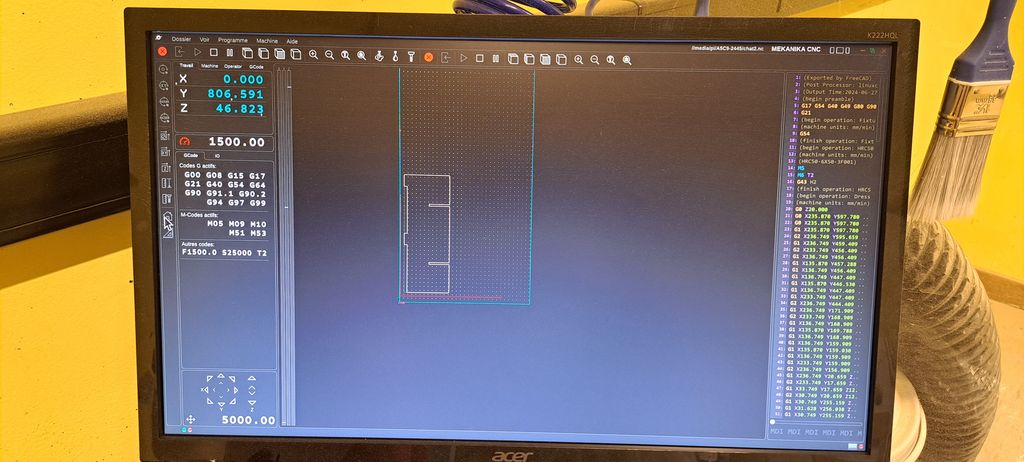
Preparing the file
Once the object has been created, we need to prepare the file so that we can start working on the CNC.
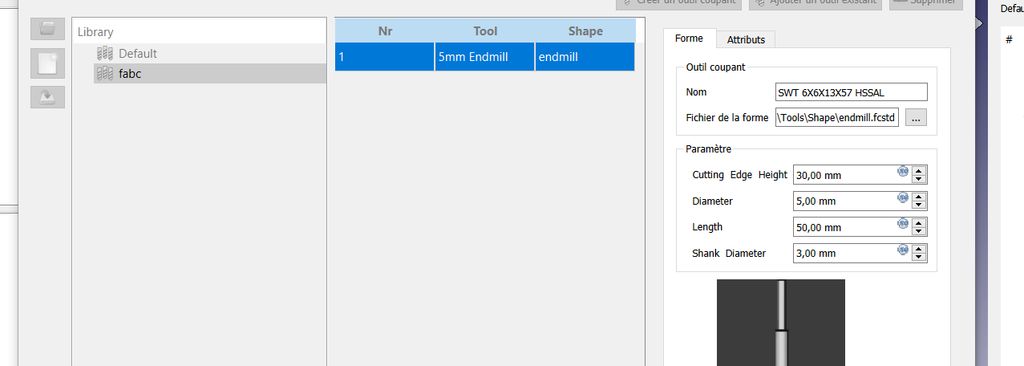
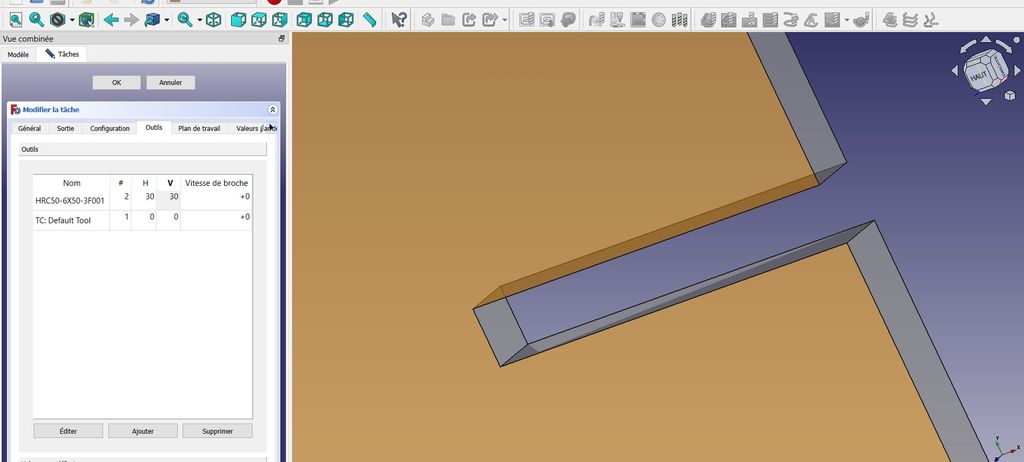
To do this, we must first register the various mills and their parameters in Freecad.
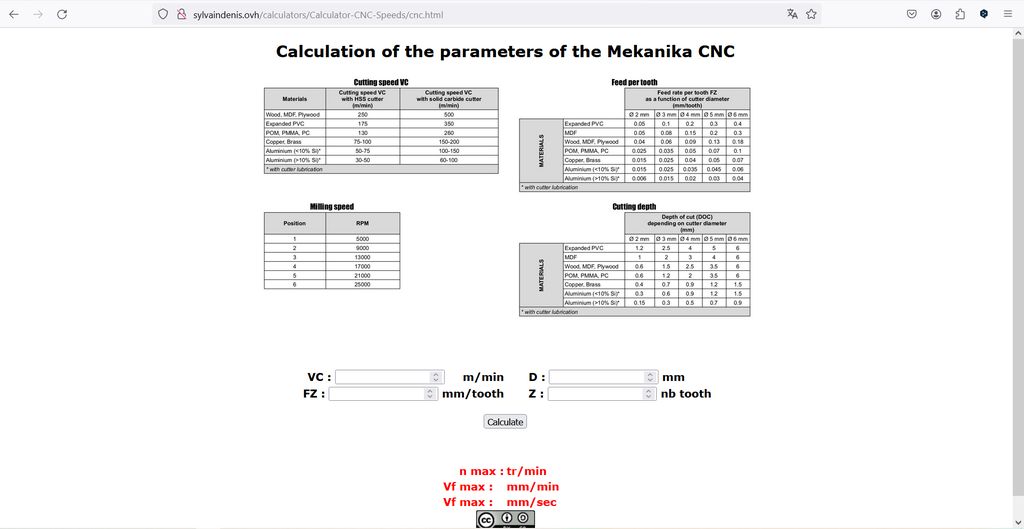
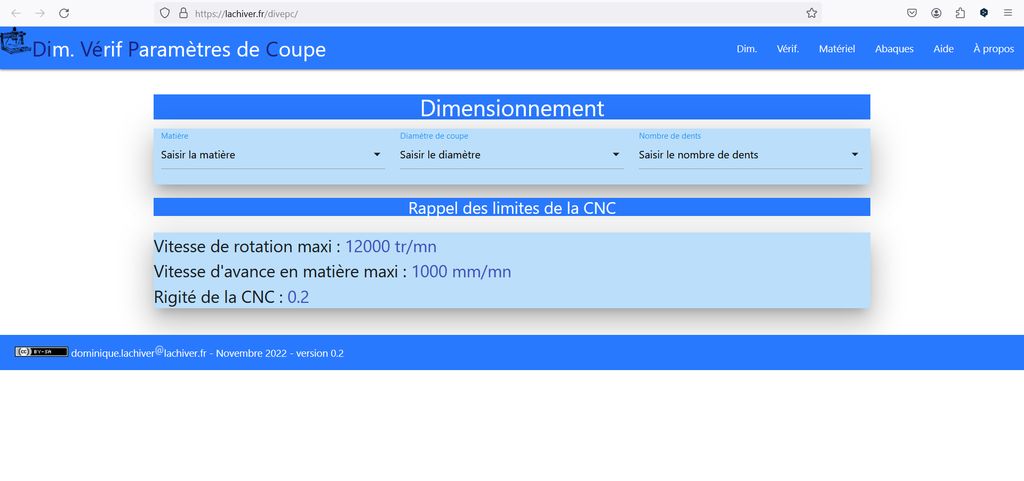
To get the right cutting parameters and avoid complicated calculation, we had 2 options :
- Sylvain Denis' online calculator (great job, thanks ! :D ) already adapted for the Mekanika
- Dominique Lachiver's online calculator
Using the CNC
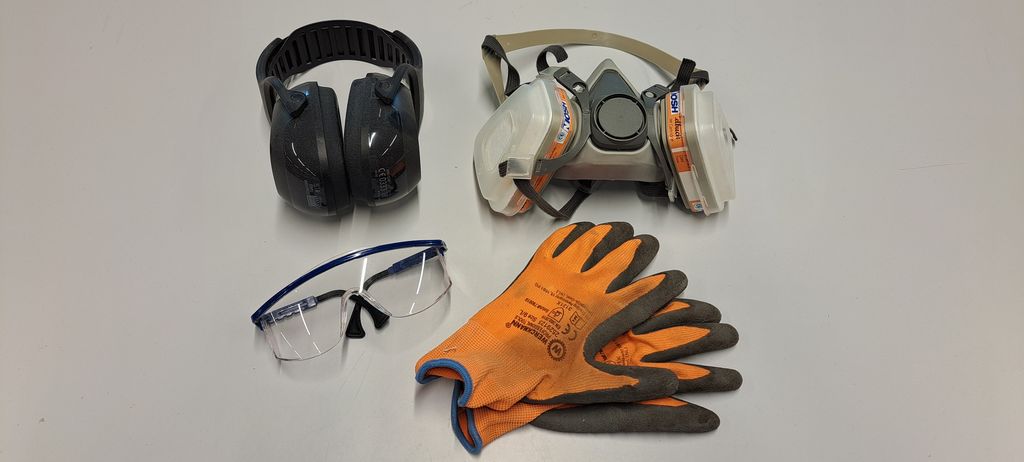
Safety
Safety is essential in the Fab Lab (even more with this kind of machine). The first step is to have and use personal protective equipment (e.g. ear muffs, goggles, dust mask, and gloves especially for moving the boards).
It is also important to unplug the spindle before changing the tool on the machine !
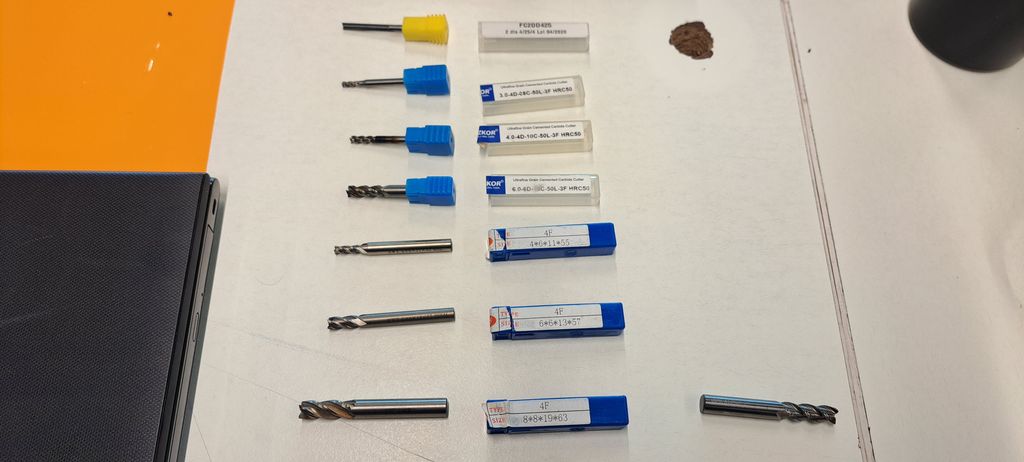
Changing the tool
First step is to change the tool and make sure that it is correctly fixed.
Think about preparing the right pieces (in our case, the mill was to big) !
Placing the board
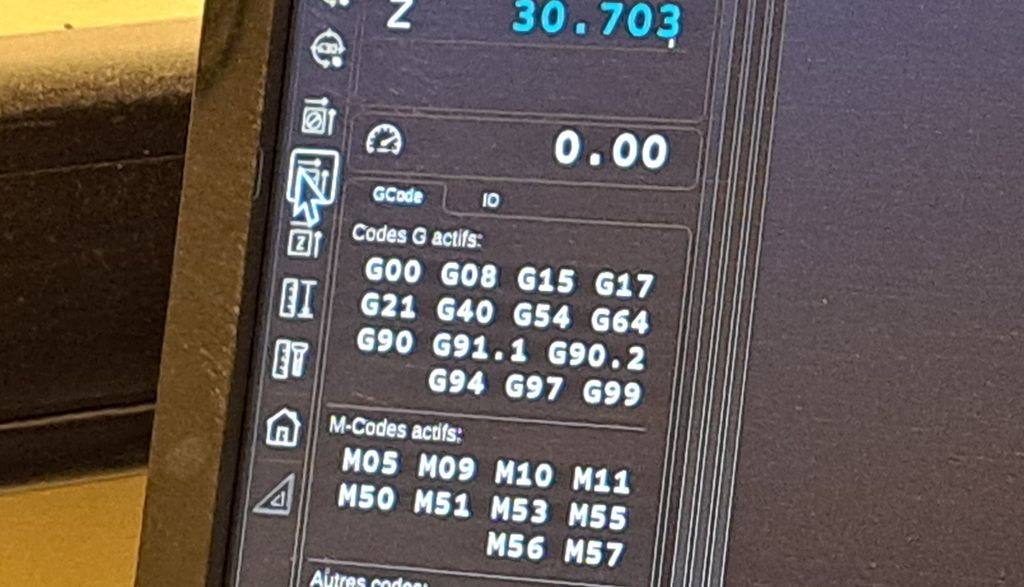
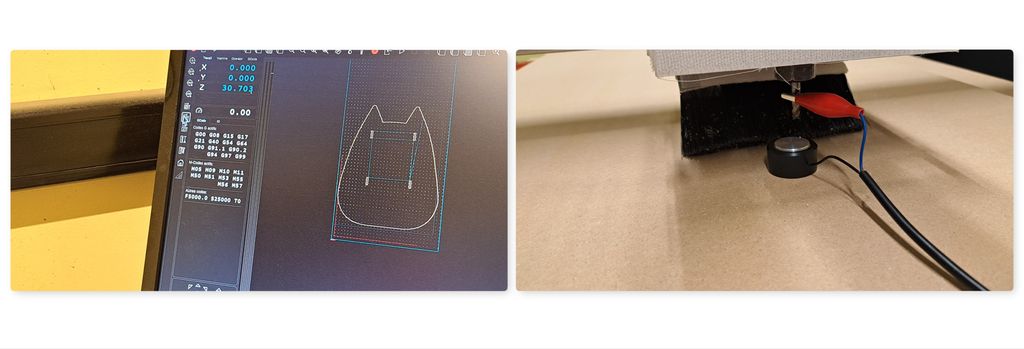
First you have to measure the Z-zero of the machine.
You place a piece on the table and attach the cable on the mill.
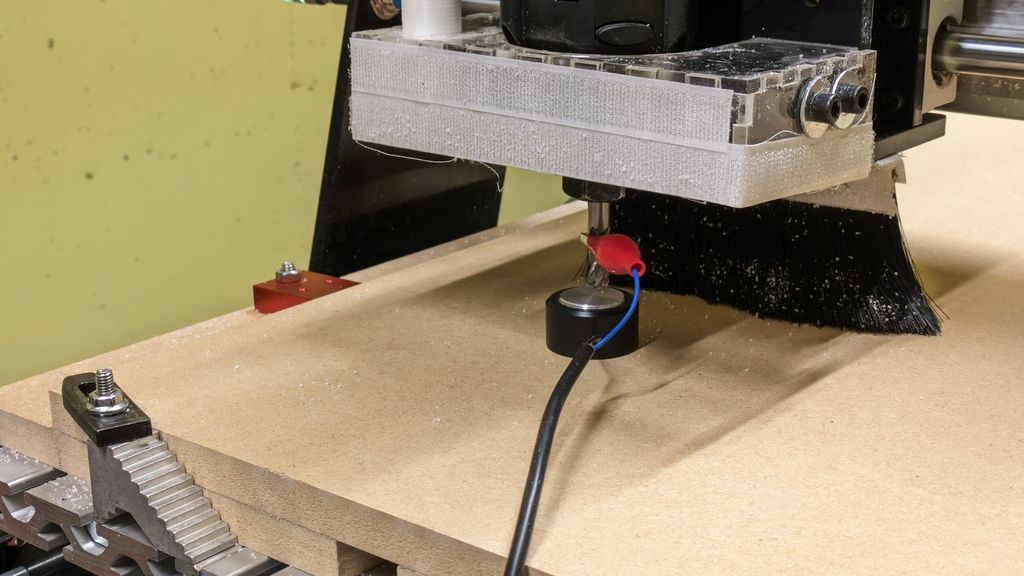
Then with the arrows on the screen, you move down the mill untill it touches the piece.
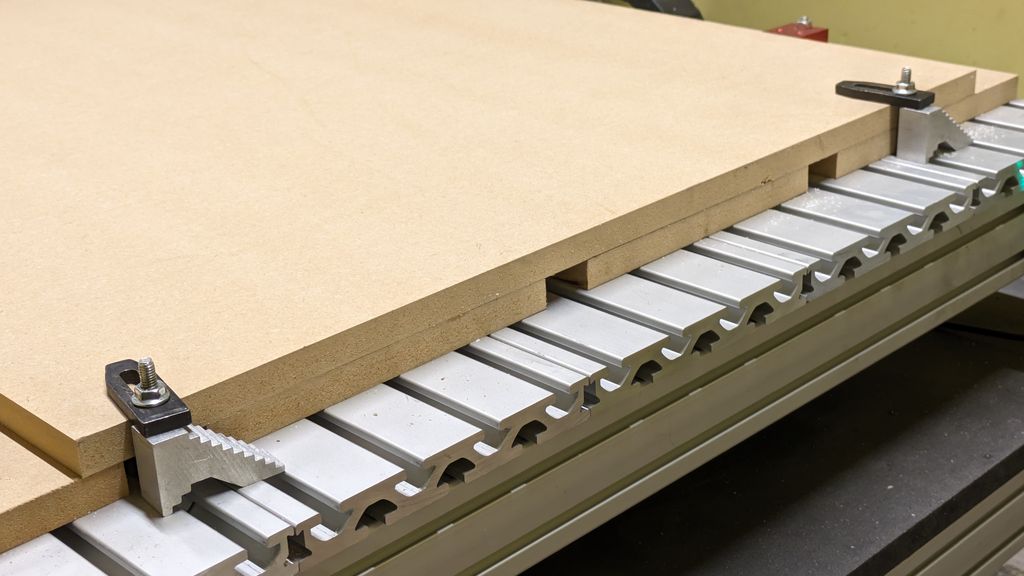
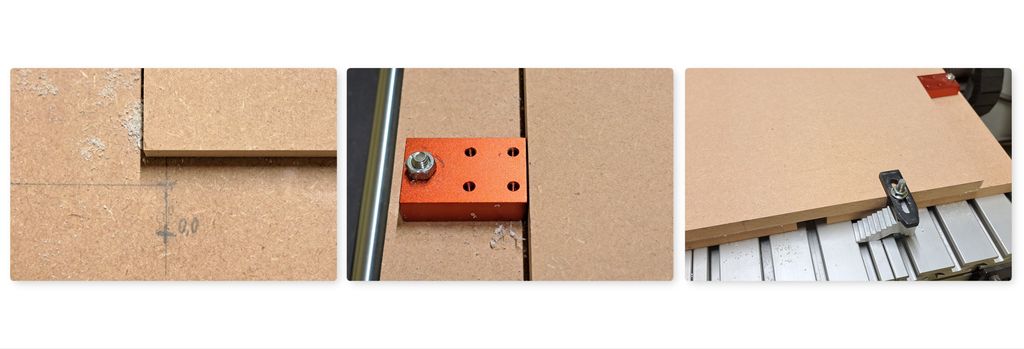
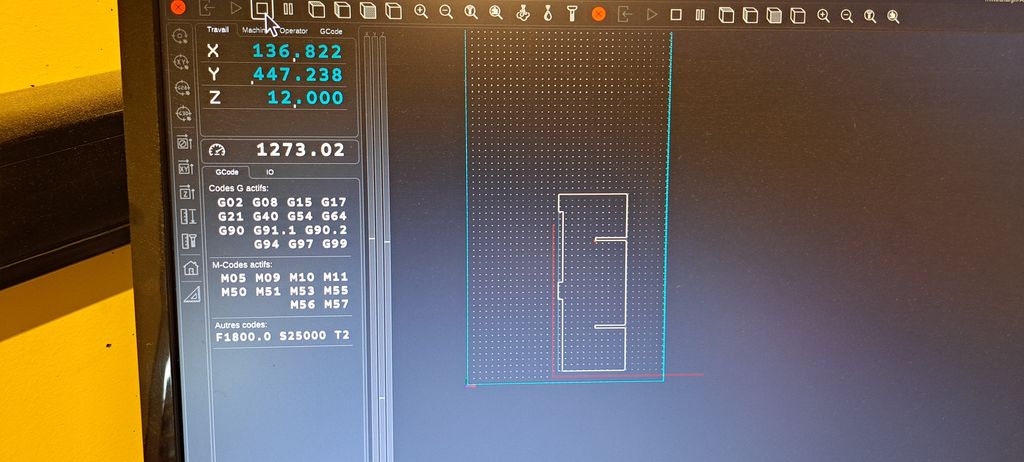
To cut a piece with the CNC, you have to make sure that the plate is well placed and attached.
Then you have to place the design zero-zero and make sure the mill won't touch a fixation or else. For that, move the head of the CNC at it's machine zero-zero then move it a bit further away from the edges (with the arrows on the screen) and click on the "XY" button of the program (on the left) to save this place as the new machine zero-zero (there are too many "zeros" with this machine ! XD).
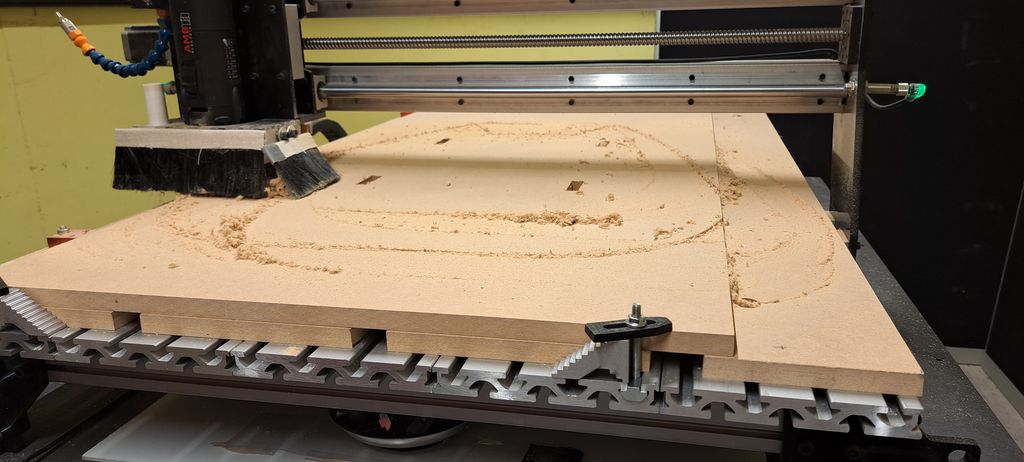
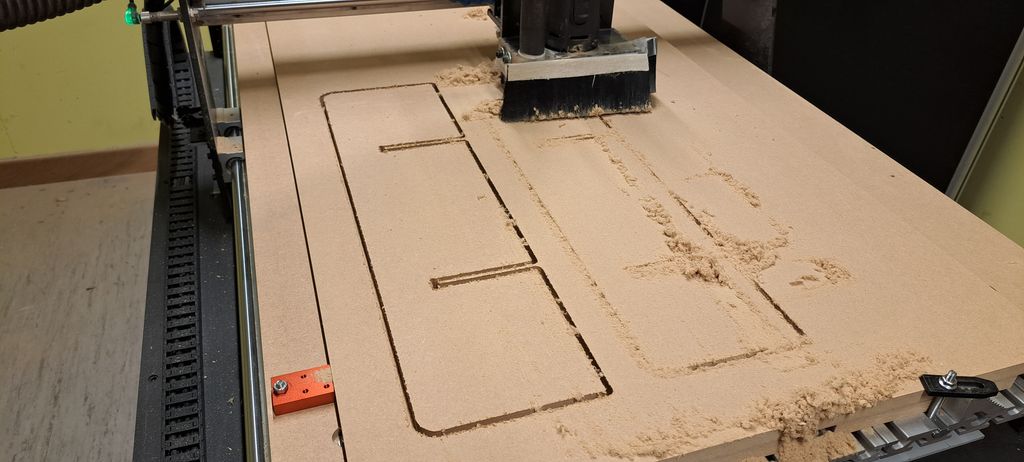
Object cut with the CNC
After pressing the "play" button, the machine starts to cut the piece.
At the end we got a nice clean cut piece.
Link to our Group week 7 page
Individual assignment
CNC Project
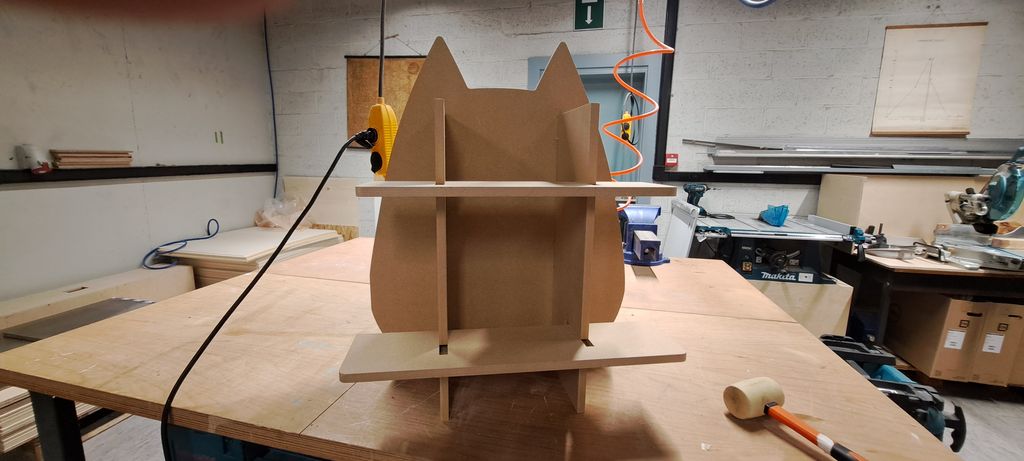
For my CNC assignment I decided to make a cat shelf.
Design
For the design, I took a cat silhouette on Canva and imported the image in Freecad to prepare the different pieces.
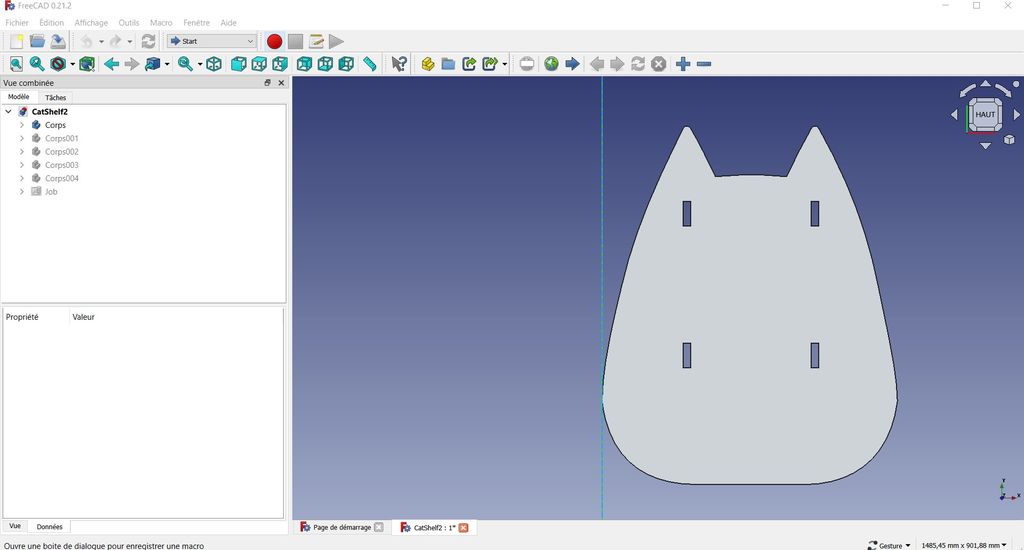
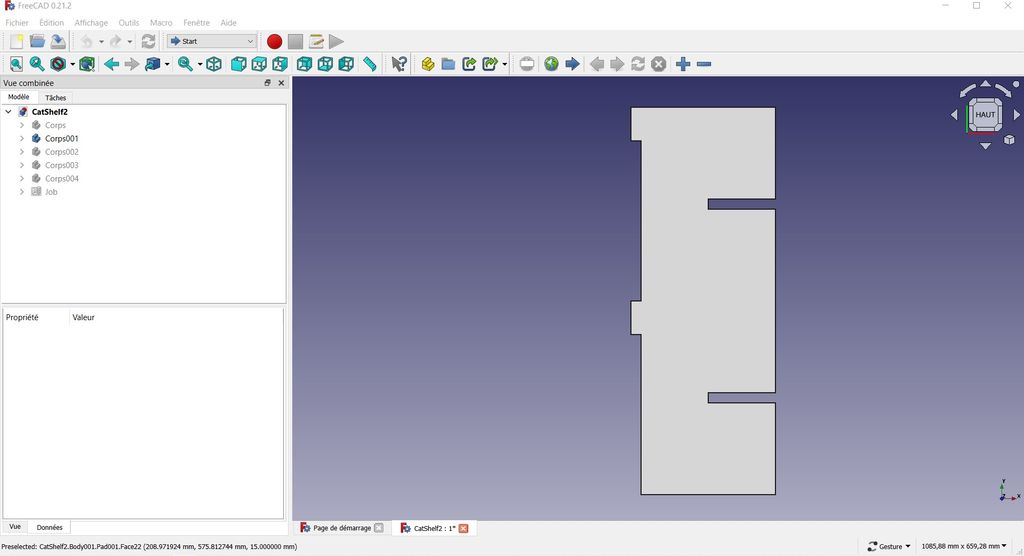
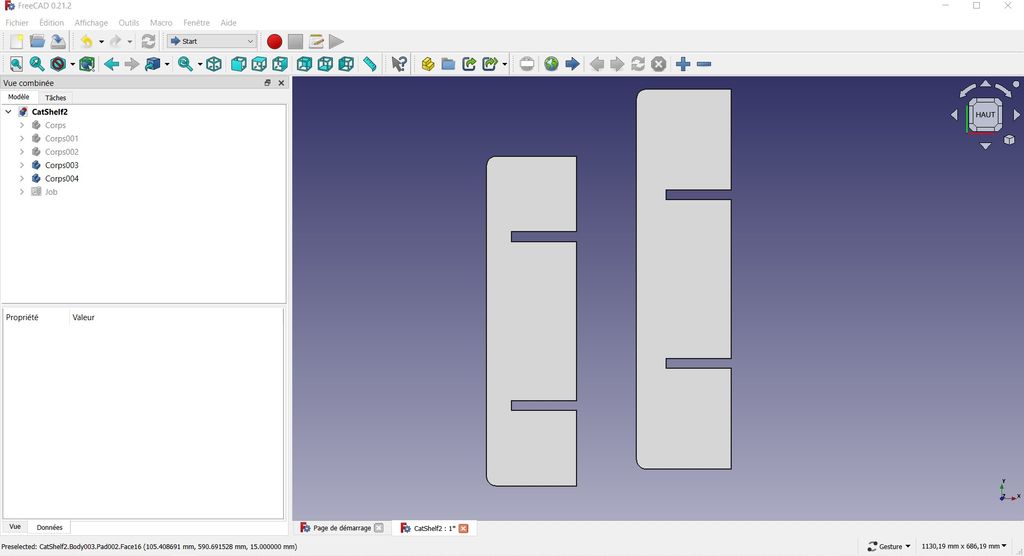
Drawing the pieces on Freecad isn't too hard (normally but it took me some time as I'm not used to the program) as you can constrain the lines vertically, horizontally, etc. with the program's options.
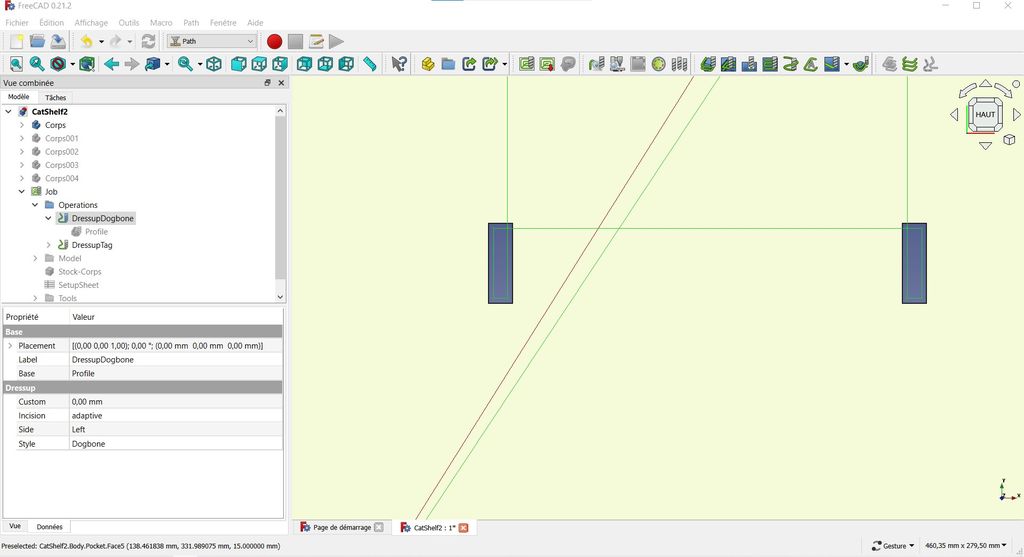
Once the design was ok, I had to add the dogbones and generate the Gcodes and export the files in a .nc format.
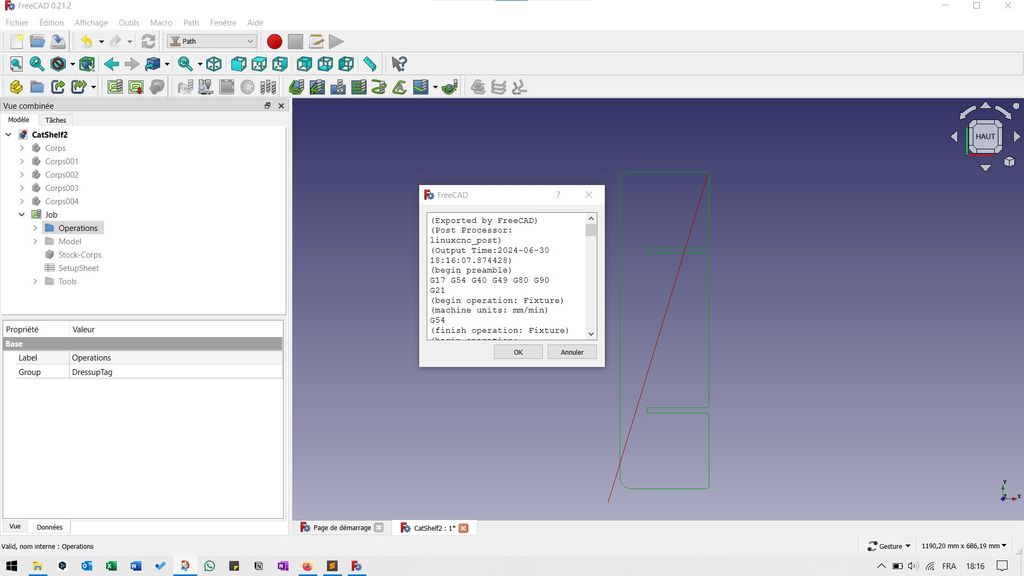
Mill
Milling was easy.
After opening the G-code file on the computer, I just had to set the zero of the machine and be sure that the wood plate was well fixed.
Then just press the "play" button (and always wait at the beginning with a hand near the stop button, in case of...) and do it again with each piece (in total).
The vertical pieces were the same so, once I had cut the first, I just had to move the head of the machine, with the help of the arrows on the screen, further on the right and set the zero as being there to start cutting the second vertical piece on the same wood plate.
I did the same with the horizontal plates but I had 2 files as their sizes were different.
Assemble
A little help with a soft hammer and everything goes fine together !
I didn't push the plates completely through because I'd like to paint it before use, but enough to see that every pieces fit together.
Files and resources
My files
Resources
- Dominique Lachiver website : interesting website IN FRENCH (created by a retired teacher) to learn digital manufacturing
- Our group page