9. Output Devices
Hero shot
Assignment
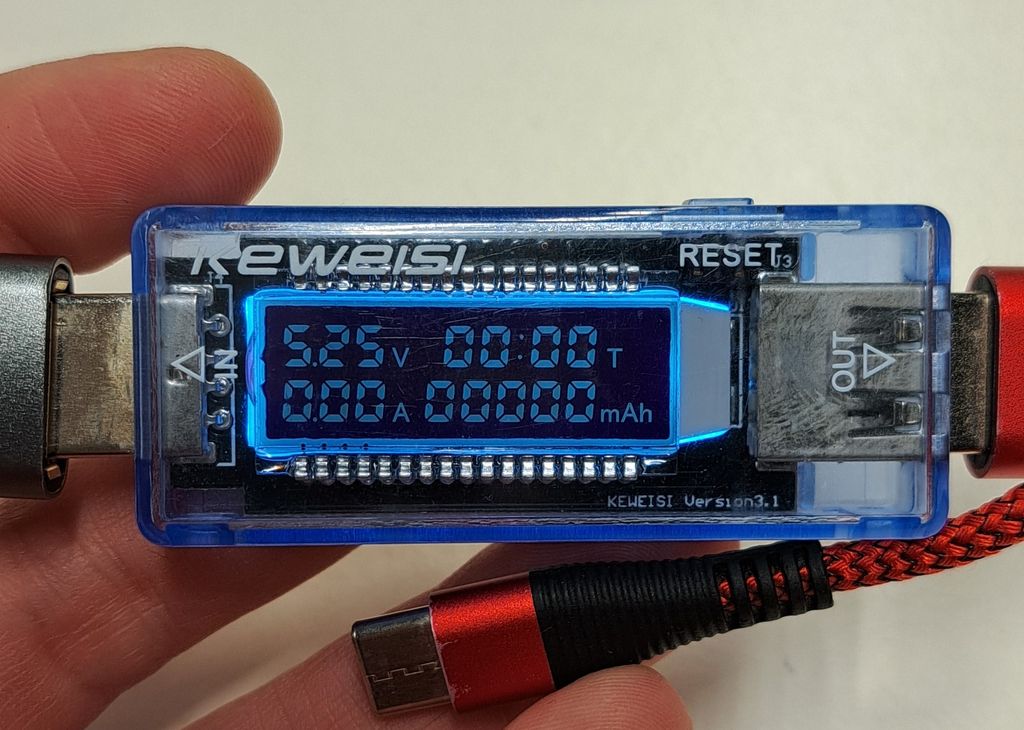
To measure output devices, as asked this week, we used a USB power meter (this one is from Keweisi).
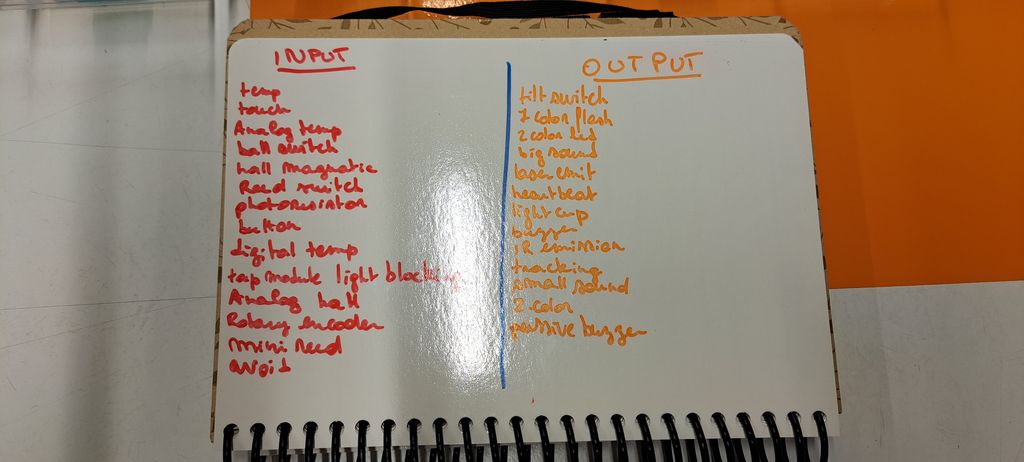
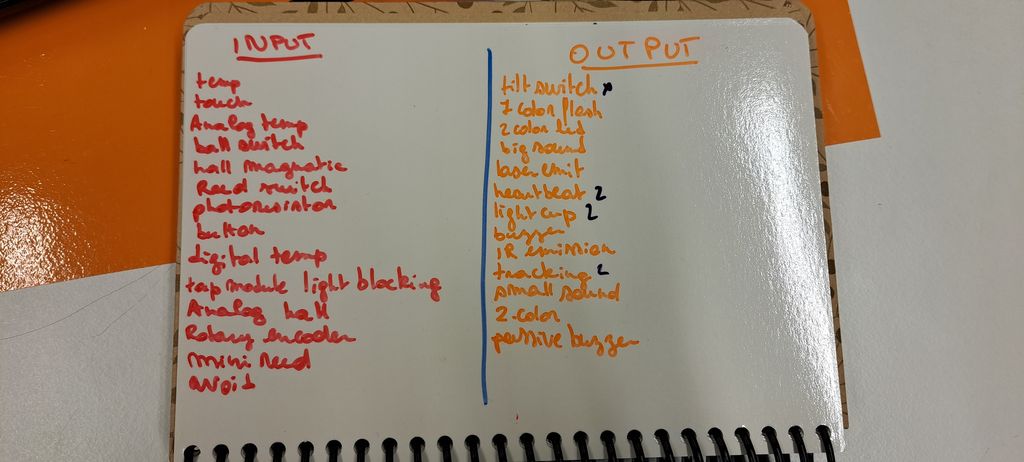
But before measuring the power of the output devices, we made a little test/game : separate the output devices from the input devices.
I did pretty well : one mistake + some could've been in both categories.
Input vs Output devices

| Input | Output |
|---|---|
| Temp | 7 color flash |
| Tilt switch | 2 color LED |
| Touch | Big sound |
| Analog temp | Laser emit |
| Heartbeat | Heartbeat |
| Light cup | Light cup |
| Ball switch | Buzzer |
| Hall magnatic | IR emission |
| Reed switch | Small sound |
| Tracking | Tracking |
| Photoresistor | 2 color |
| Button | Passive buzzer |
| Digital temp | |
| Tap module light blocking | |
| Analog hall | |
| Rotary encoder | |
| Mini reed | |
| Avoid |
Output tests
To test the different output devices, we used codes that already exist on internet or in Arduino.
LED Ring
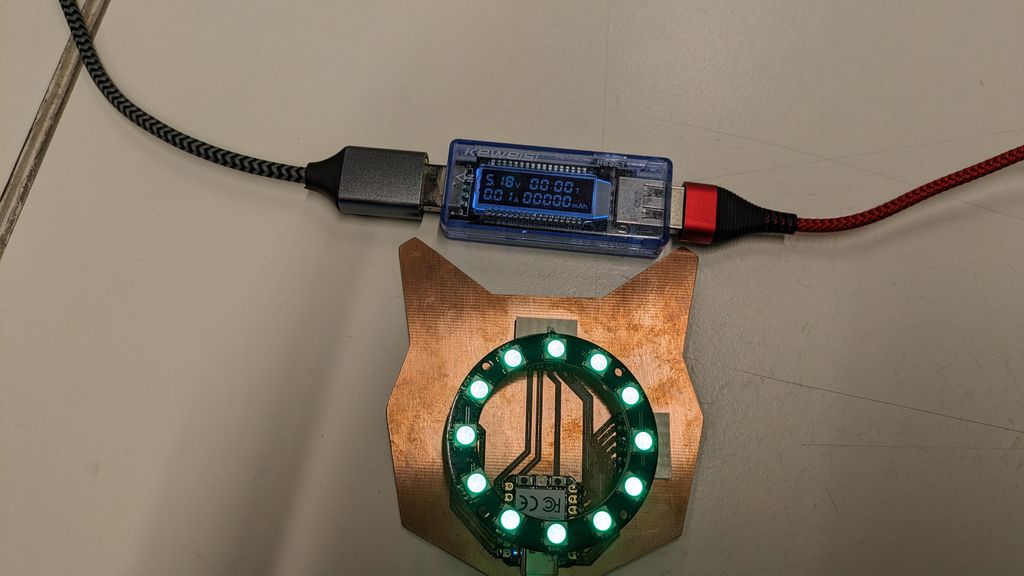
For the LED ring, we used a simple code that can be found directly in Arduino.
First, we had to add the LED ring's "Adafruit NeoPixel" library.
After opening Arduino, you have to click on the library menu on the left sidebar, then search after "Adafruit NeoPixel".
Once installed, open the "File" menu, go to "Examples", scroll until you see "Adafruit NeoPixel" and choose "simple".
The Arduino NeoPixel simple code
                            // NeoPixel Ring simple sketch (c) 2013 Shae Erisson
                            // Released under the GPLv3 license to match the rest of the
                            // Adafruit NeoPixel library

                            #include < Adafruit_NeoPixel.h >
                            #ifdef __AVR__
                             #include < avr/power.h > // Required for 16 MHz Adafruit Trinket
                            #endif

                            // Which pin on the Arduino is connected to the NeoPixels?
                            #define PIN        7 // On Trinket or Gemma, suggest changing this to 1

                            // How many NeoPixels are attached to the Arduino?
                            #define NUMPIXELS 16 // Popular NeoPixel ring size

                            // When setting up the NeoPixel library, we tell it how many pixels,
                            // and which pin to use to send signals. Note that for older NeoPixel
                            // strips you might need to change the third parameter -- see the
                            // strandtest example for more information on possible values.
                            Adafruit_NeoPixel pixels(NUMPIXELS, PIN, NEO_GRB + NEO_KHZ800);

                            #define DELAYVAL 1500 // Time (in milliseconds) to pause between pixels

                            void setup() {
                              // These lines are specifically to support the Adafruit Trinket 5V 16 MHz.
                              // Any other board, you can remove this part (but no harm leaving it):
                            #if defined(__AVR_ATtiny85__) && (F_CPU == 16000000)
                              clock_prescale_set(clock_div_1);
                            #endif
                              // END of Trinket-specific code.

                              pixels.begin(); // INITIALIZE NeoPixel strip object (REQUIRED)
                            }

                            void loop() {
                              pixels.clear(); // Set all pixel colors to 'off'

                              // The first NeoPixel in a strand is #0, second is 1, all the way up
                              // to the count of pixels minus one.
                              for(int i=0; i < NUMPIXELS; i++) { // For each pixel...

                                // pixels.Color() takes RGB values, from 0,0,0 up to 255,255,255
                                // Here we're using a moderately bright green color:
                                pixels.setPixelColor(i, pixels.Color(0, 150, 0));

                                pixels.show();   // Send the updated pixel colors to the hardware.

                                delay(DELAYVAL); // Pause before next pass through loop
                              }
                            }
Think about changing the number of the pin that is linked to the ring.
The result is the LED ring getting each LED to turn on one after another until the last one. Then it starts again from the beginning.
Servo motor
Second test, moving a servo motor.
For this we tried out the "sweep" example from Arduino (File>Examples>Servo>Sweep).
                          /* Sweep
                         by BARRAGAN < http://barraganstudio.com >
                         This example code is in the public domain.

                         modified 8 Nov 2013
                         by Scott Fitzgerald
                         https://www.arduino.cc/en/Tutorial/LibraryExamples/Sweep
                        */

                        #include < Servo.h >

                        Servo myservo;  // create servo object to control a servo
                        // twelve servo objects can be created on most boards

                        int pos = 0;    // variable to store the servo position

                        void setup() {
                          myservo.attach(4);  // attaches the servo on pin ... to the servo object
                        }

                        void loop() {
                          for (pos = 0; pos <= 180; pos += 1) { // goes from 0 degrees to 180 degrees
                            // in steps of 1 degree
                            myservo.write(pos);              // tell servo to go to position in variable 'pos'
                            delay(15);                       // waits 15 ms for the servo to reach the position
                          }
                          for (pos = 180; pos >= 0; pos -= 1) { // goes from 180 degrees to 0 degrees
                            myservo.write(pos);              // tell servo to go to position in variable 'pos'
                            delay(15);                       // waits 15 ms for the servo to reach the position
                          }
                        }
OLED Display
As third test, we used an I2C OLED Display.
To be more precise, we used the SSD1306 model: a monocolor, 0.96-inch display with 128×64 pixels.
To be able to use it with Arduino, we had to install 2 libraries :
- Adafruit SSD1306
- Adafruit GFX Library
Once both libraries are installed, we copy/paste the Makerguides I2C OLED Display Code for Arduino found on internet.
I wanted to paste the code used on the OLED display here but it is interfering with the website.
So the code file can be downloaded here
This code shows different texts and images on the display, so that we can see what can be done with this display.
Think about changing the number of the pin that is linked to the display.
Buzzer
Last, but not least, I tried out a buzzer and several musics found on robsoncouto github page.
I just displayed 2 of them on this page and you should easily recognize them ! ;)
Link to our Group week 9 page
Files and resources
My files
- LED Ring simple code
- Servo Motor Sweep code
- Makerguides' Screen display code
- Game Of Thrones song code
- Super Mario Bros song code
Resources