Weekly assignments
- week 1. Project Management
- week 2. Computer Aided Design
- week 3. Computer Controlled Cutting
- week 4. Electronics Production
- week 5. 3D Scanning and Printing
- week 6. Embeded Programming
- week 7. Computer Controlled Machining
- week 8. Electronics Design
- week 9. Output Devices
- week 10. Mechanical design & Machine Design
- week 11. Break & Midterm Review
- week 12. Input devices
- week 13. Moulding and Casting
- week 14. Networking and communications
- week 15. Interface and application programming
- week 16. Wildcard week
- week 17. Applications And implications
- week 18. Project Development
- week 19. Invention, Intellectual Property and Income
Week13. Moulding and Casting
Group assignment:
Individual assignment:
Design a mold around the process you’ll be using, produce it with a smooth surface finish, and use it to cast parts.Group Assigment My Part
Part1. Safety DataSheet Review
Our assignment this time is mainly to use silicone to make molds and then use AB glue for molding to produce the final product.
The first important thing is to review the safety data sheet as follows:
Safety Precautions Summary:
When handling silicone molds and AB glue, the following safety precautions should be kept in mind:
1. Work in a well-ventilated area to avoid inhaling harmful vapors.
2. Wear appropriate protective equipment such as gloves and safety goggles to prevent skin contact and eye irritation.
3. Do not mix or use the products beyond their recommended usage and expiry dates.
4. Keep the products away from heat sources and open flames as they may be flammable.
5. In case of skin contact, wash the affected area immediately with plenty of water and seek medical advice if irritation persists.
6. If ingested accidentally, seek medical attention immediately and show the Safety Data Sheet to the medical personnel.
Part2. Making and comparing test casts with silicon and AB glue:
Part3. Comparing printing vs milling molds for silicon and AB glue:
Individual Assigment
Step1. Design the moulding module
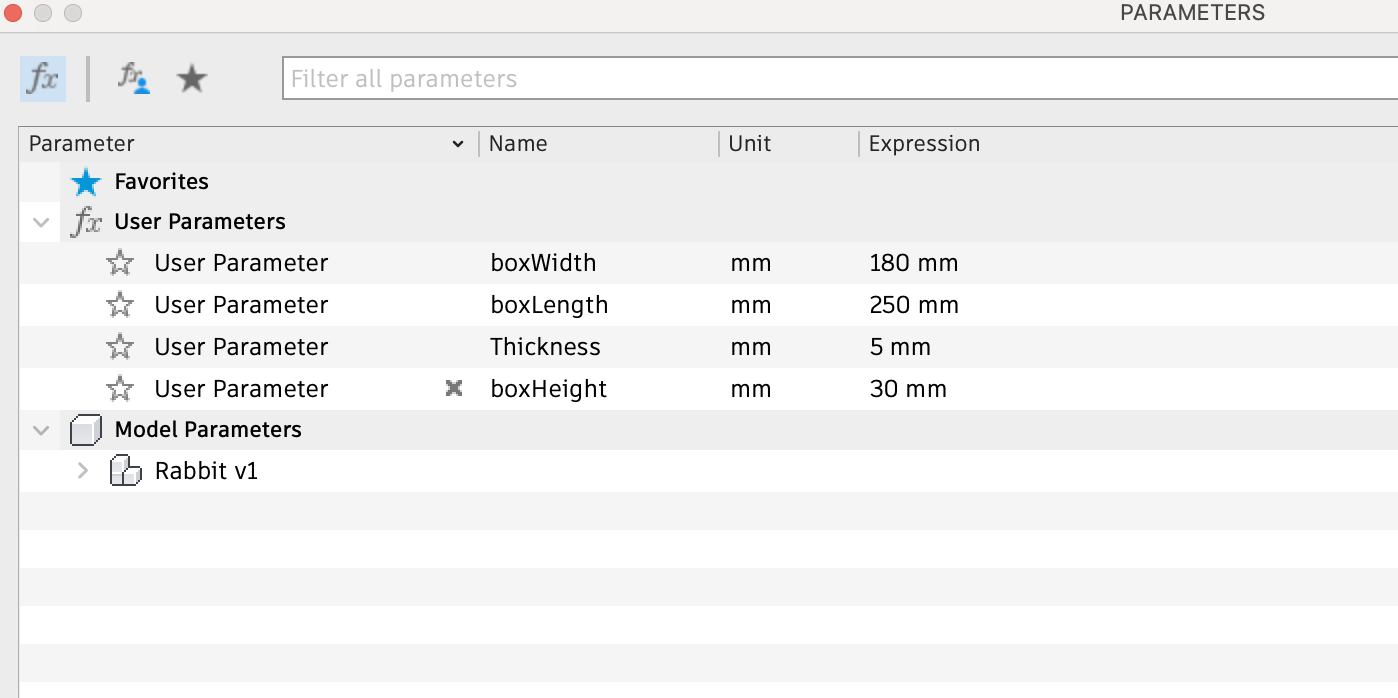
1. Set up parameters
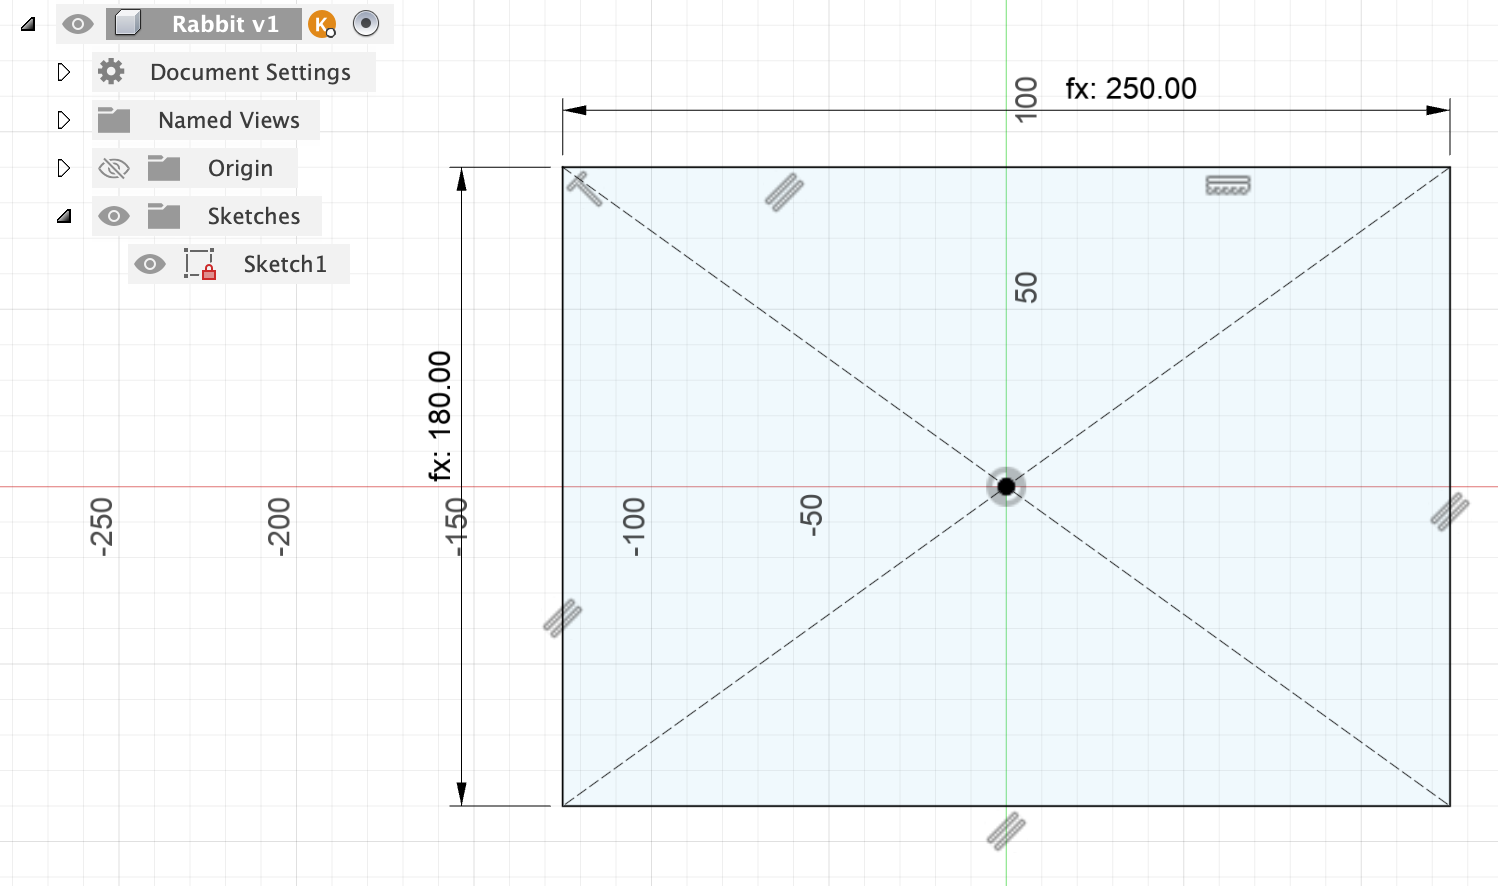
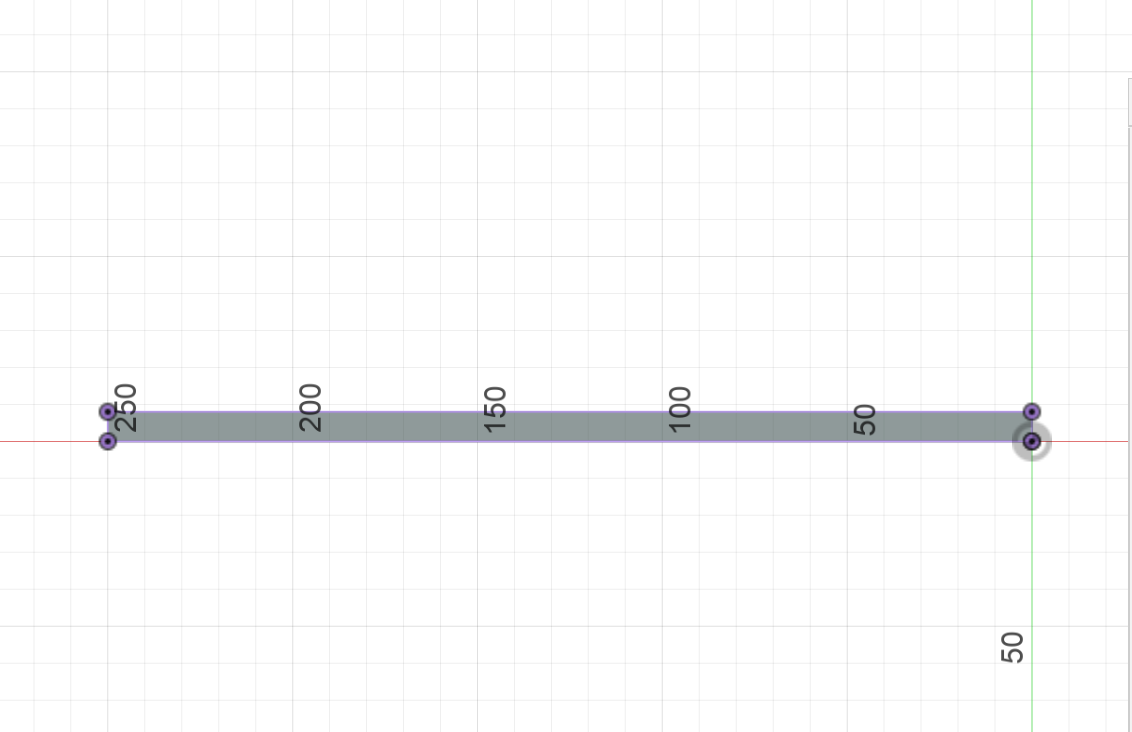
2. Create the sketch for box bottom
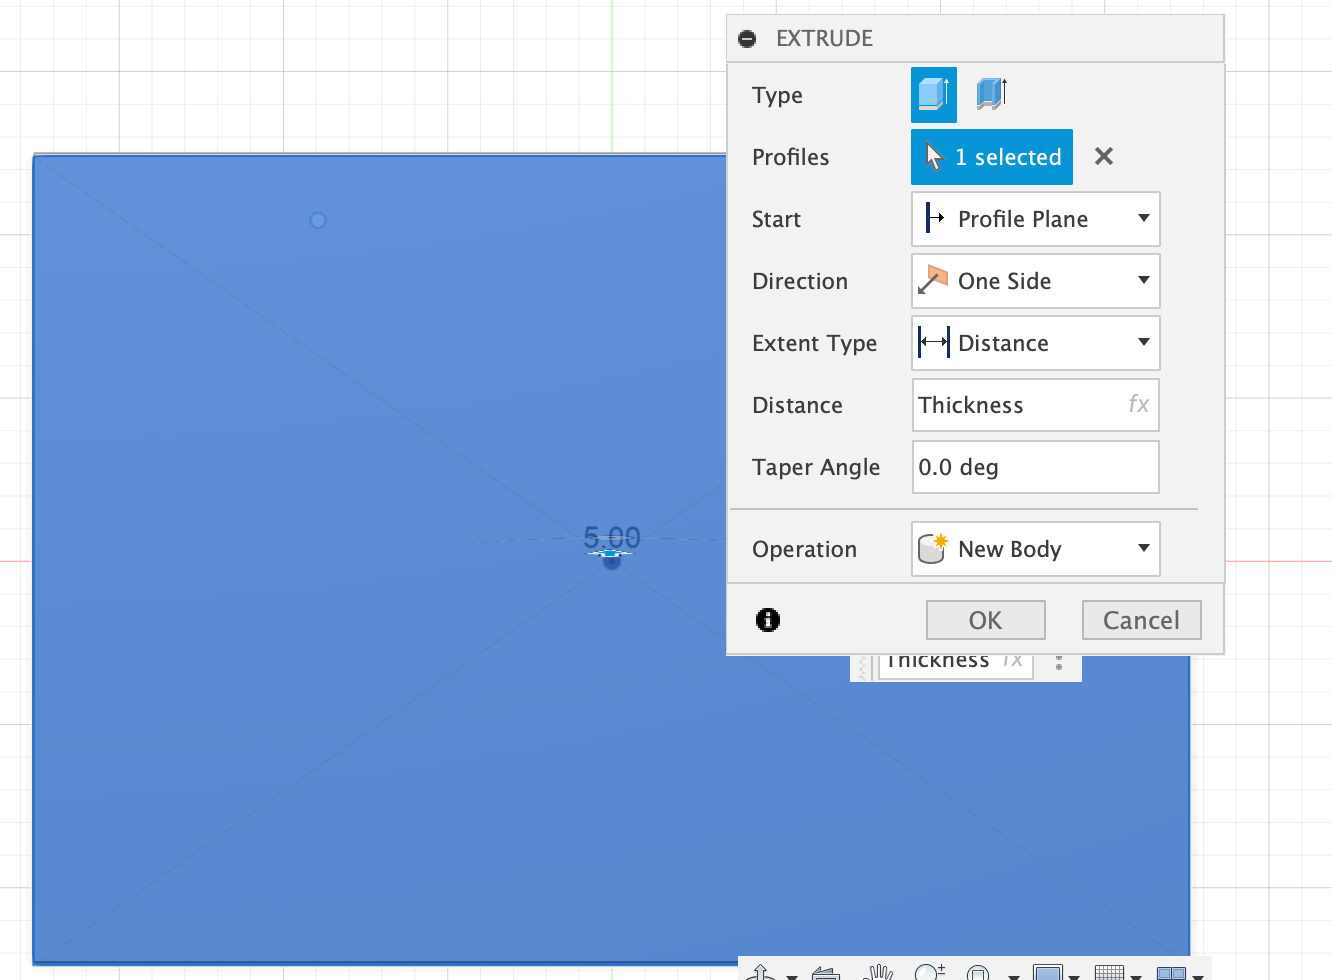
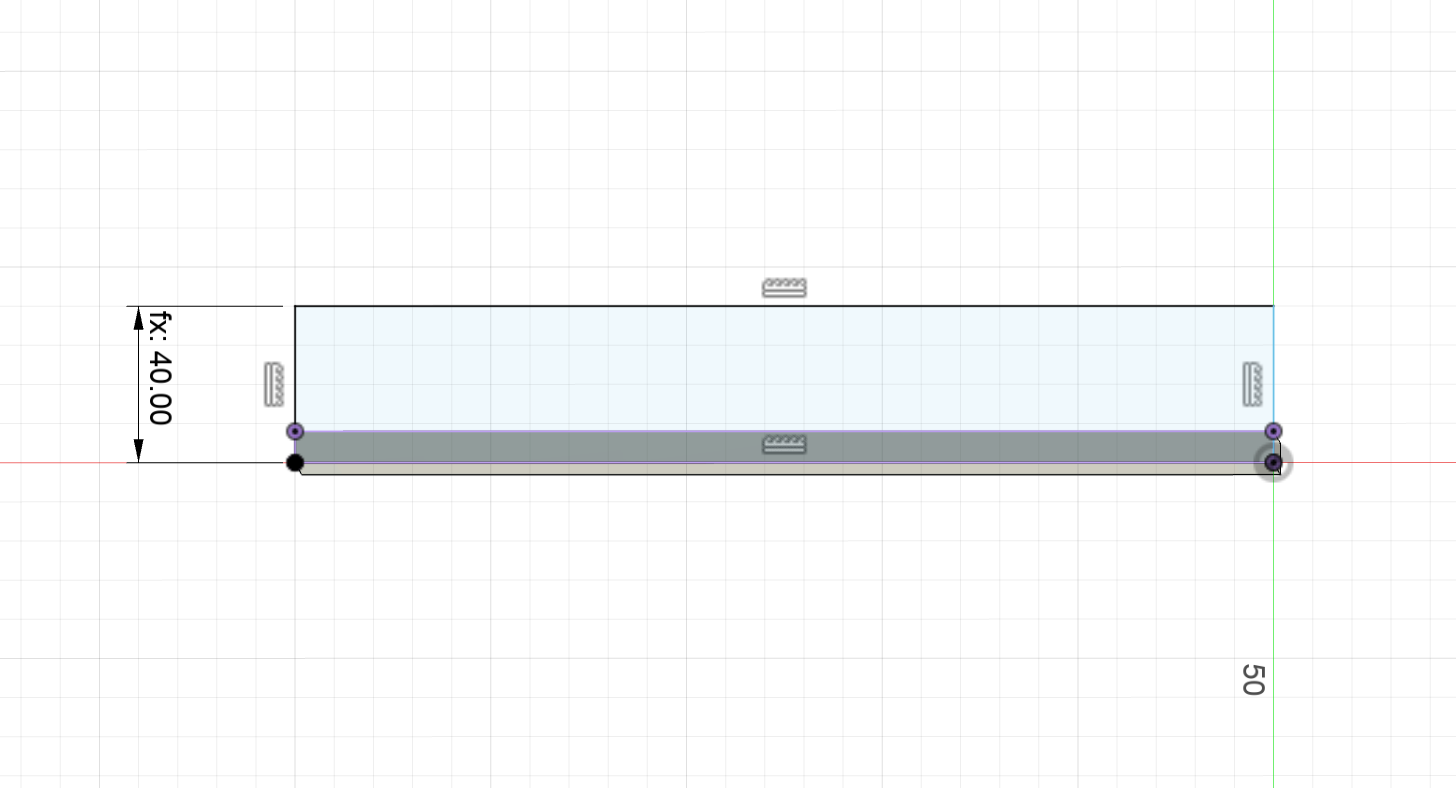
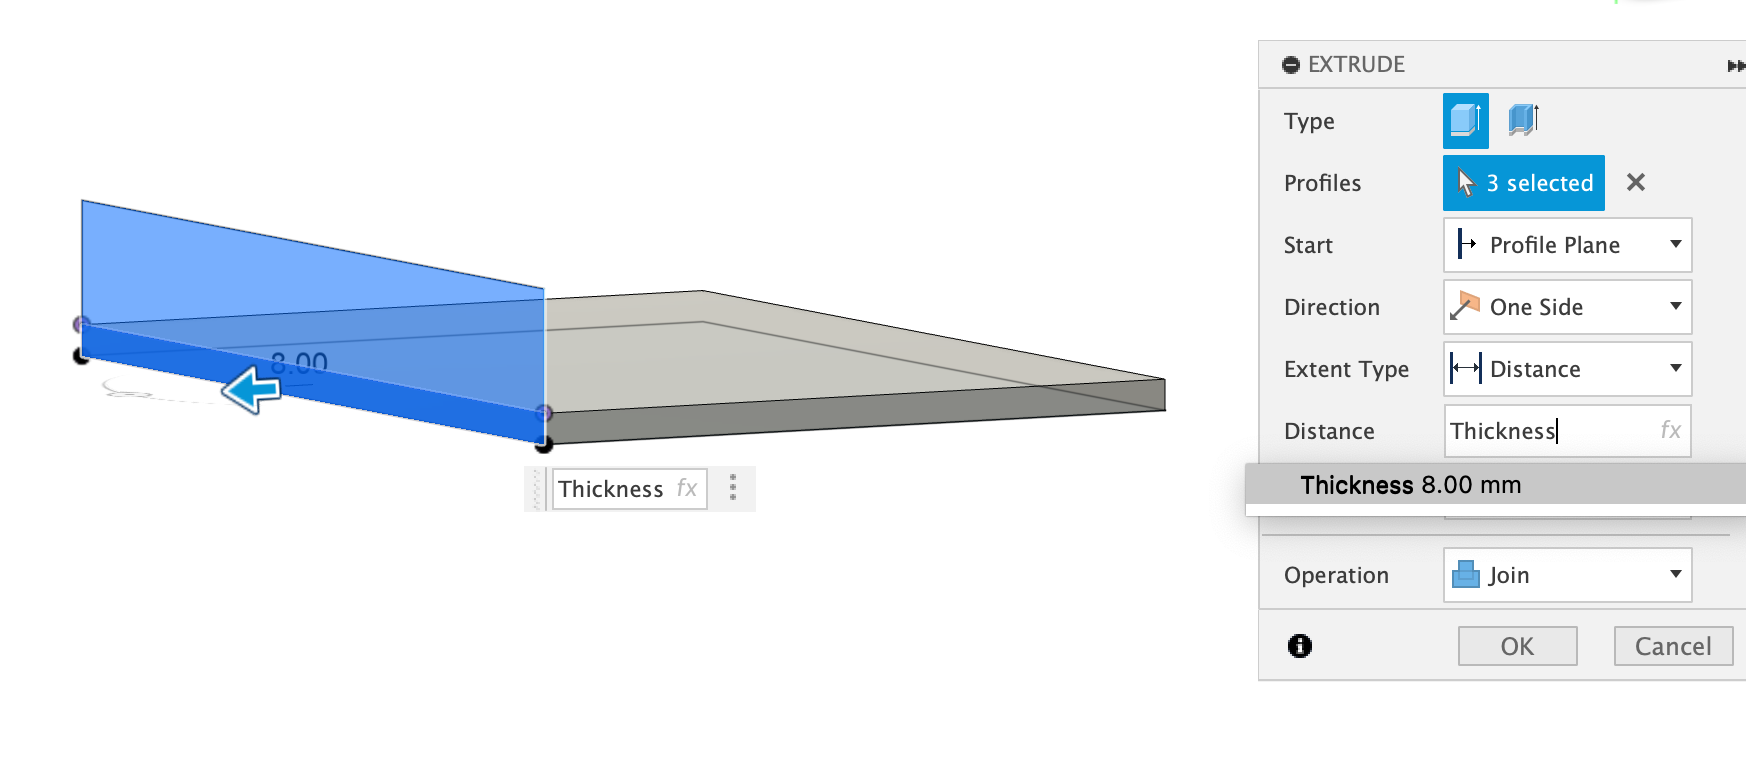
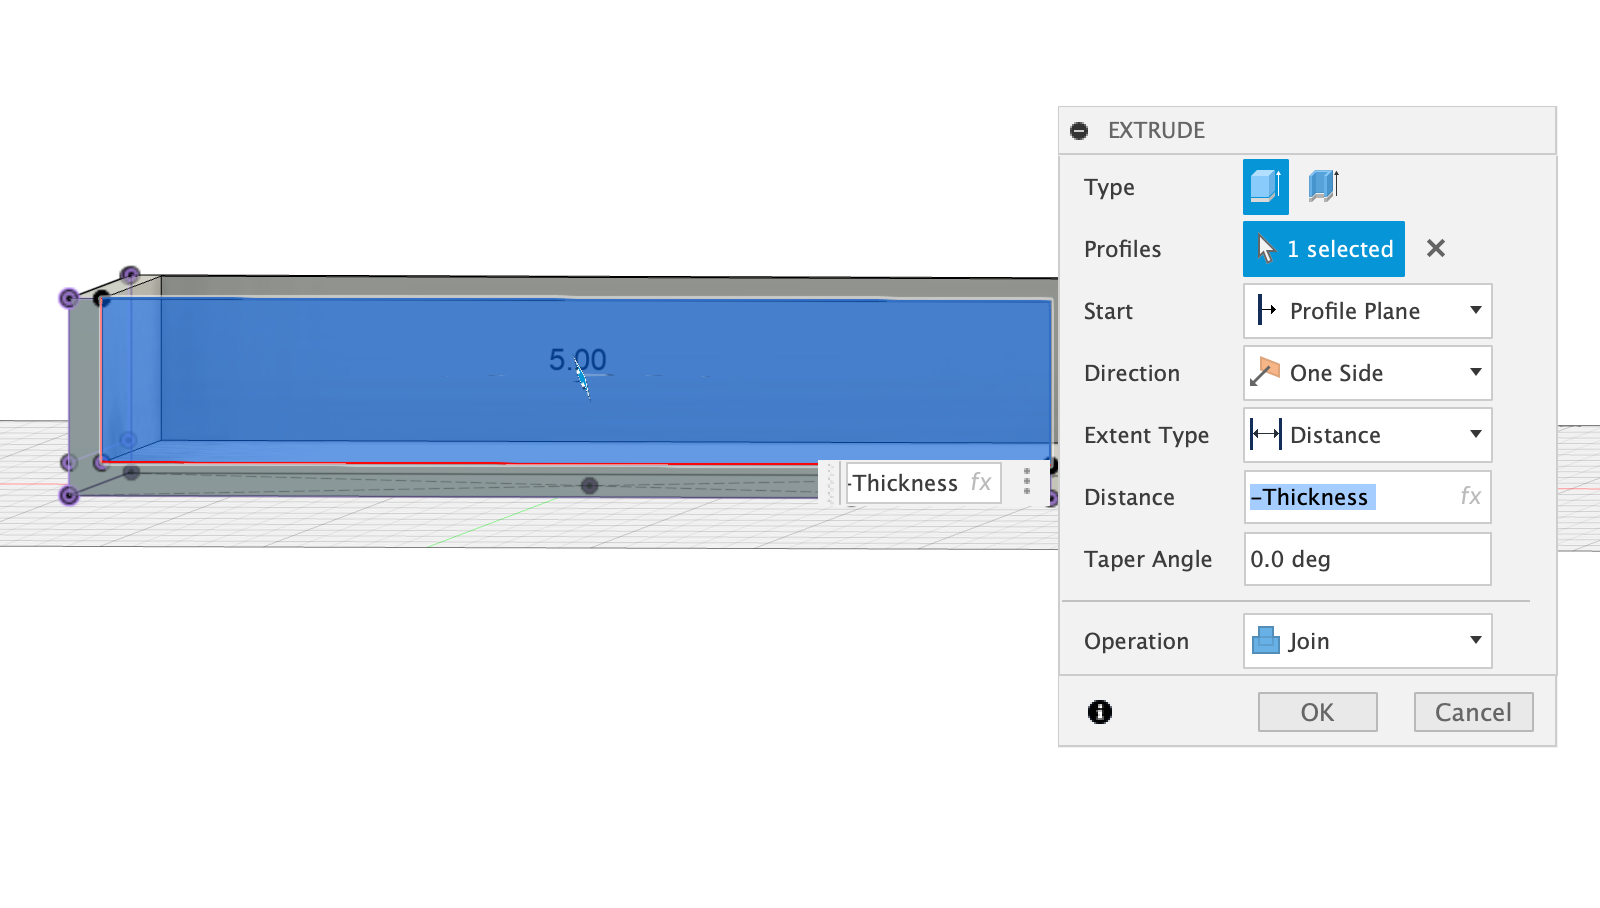
3. Extrude the box bottom
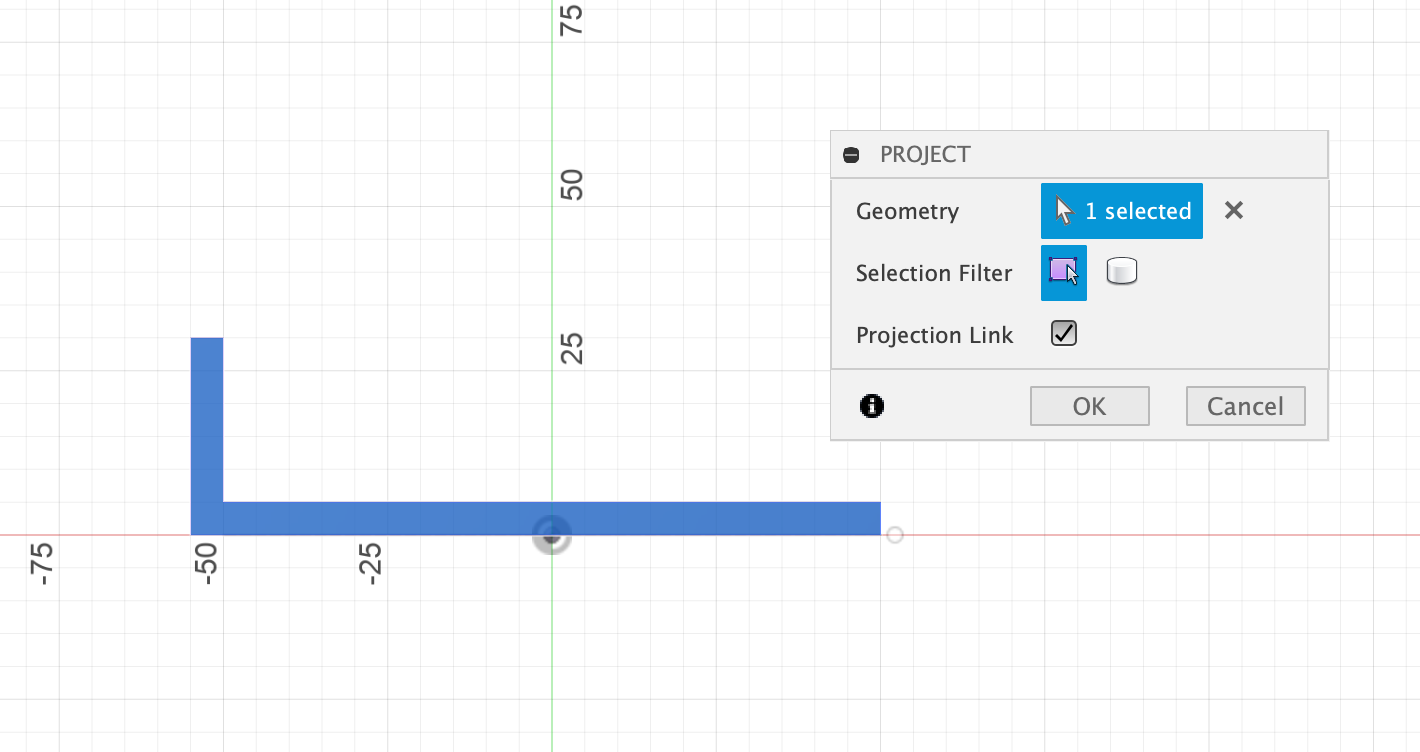
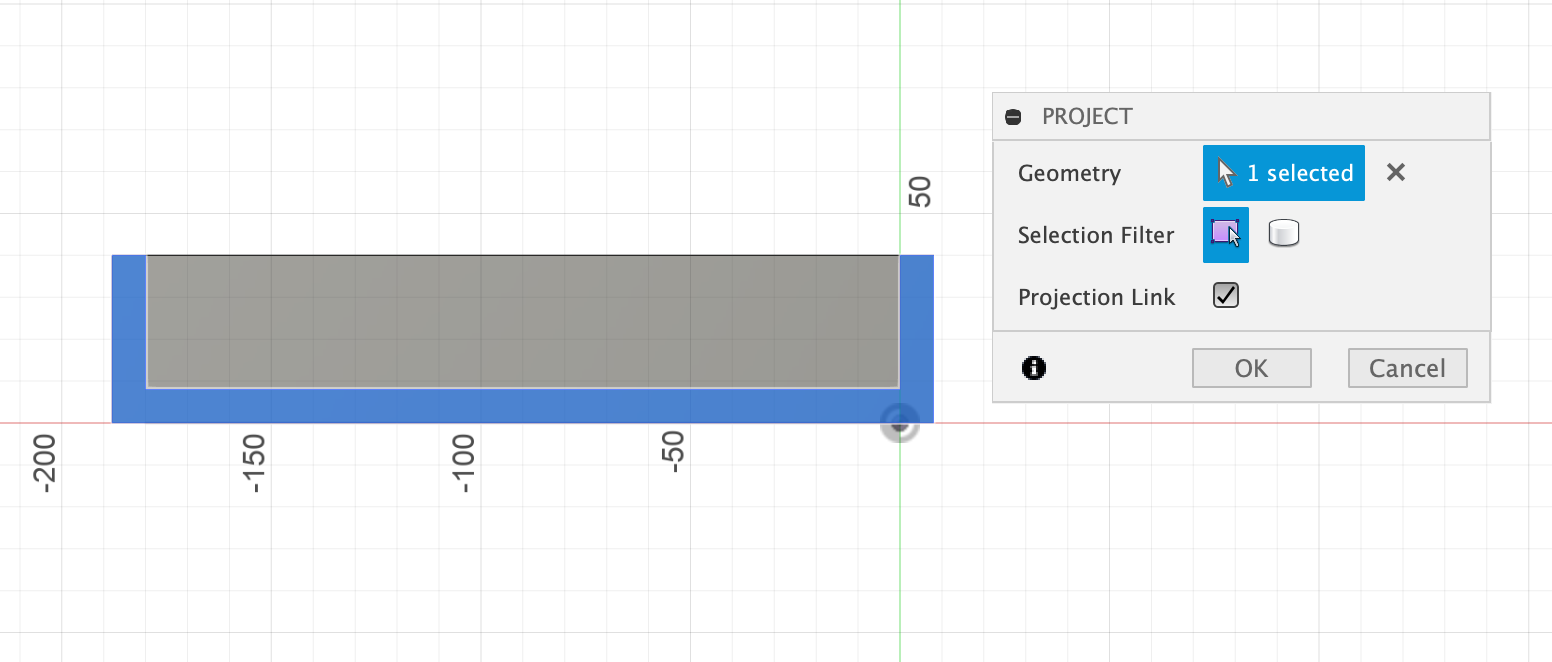
4. Rotate the origin to the back and project the new side of the box
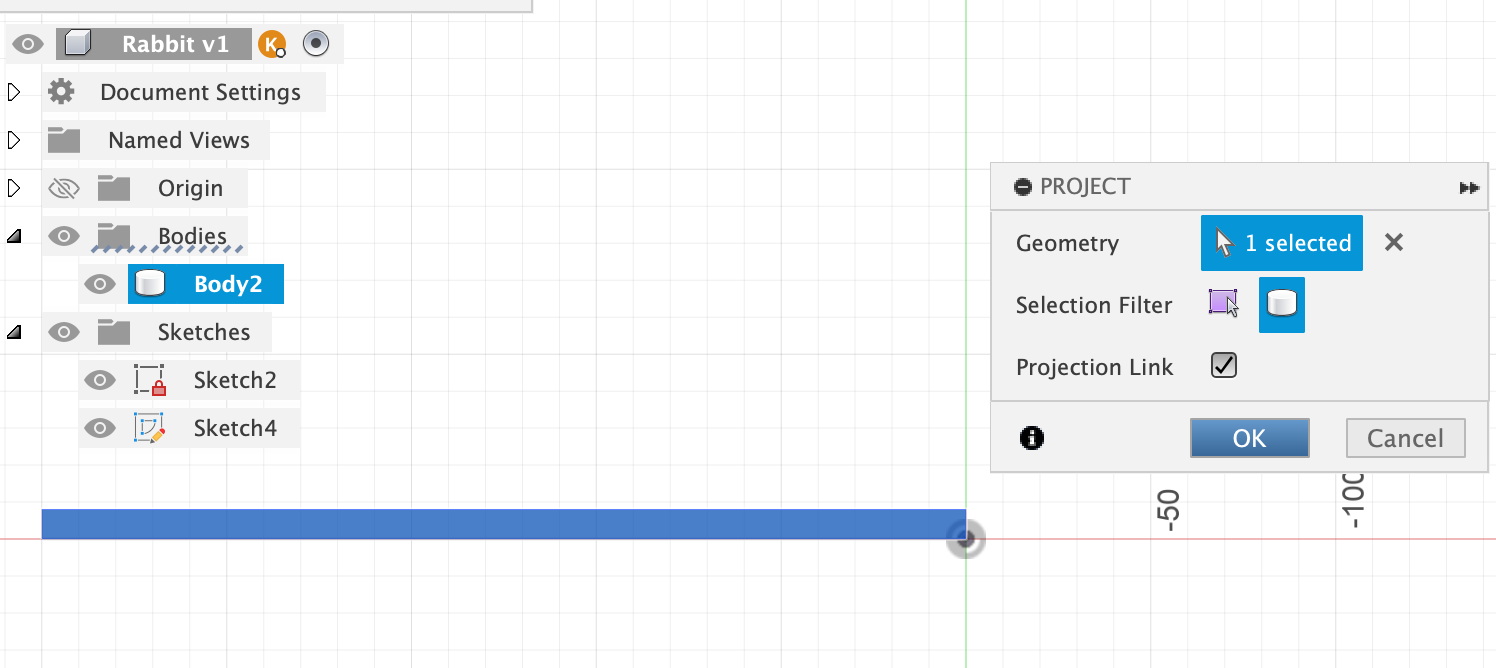
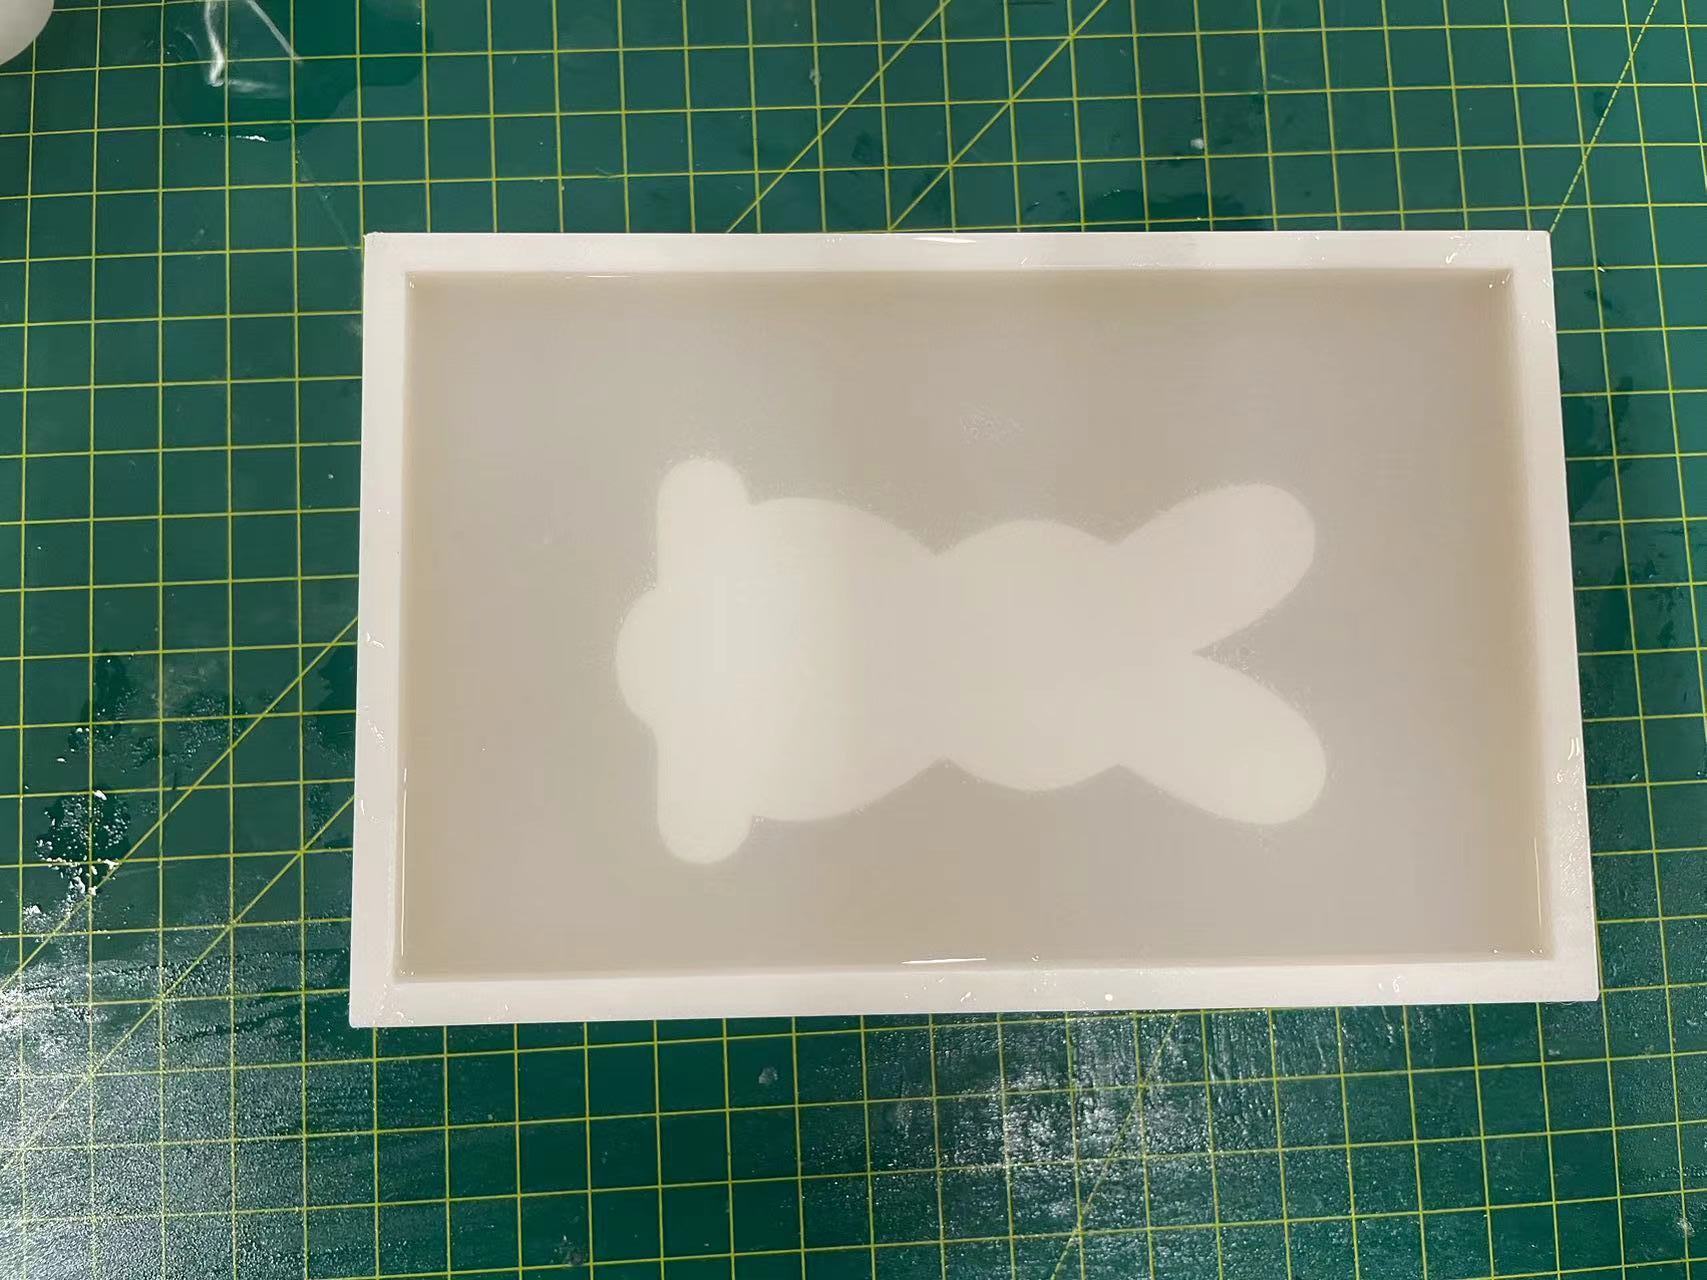
5. Create sketch on the projected face
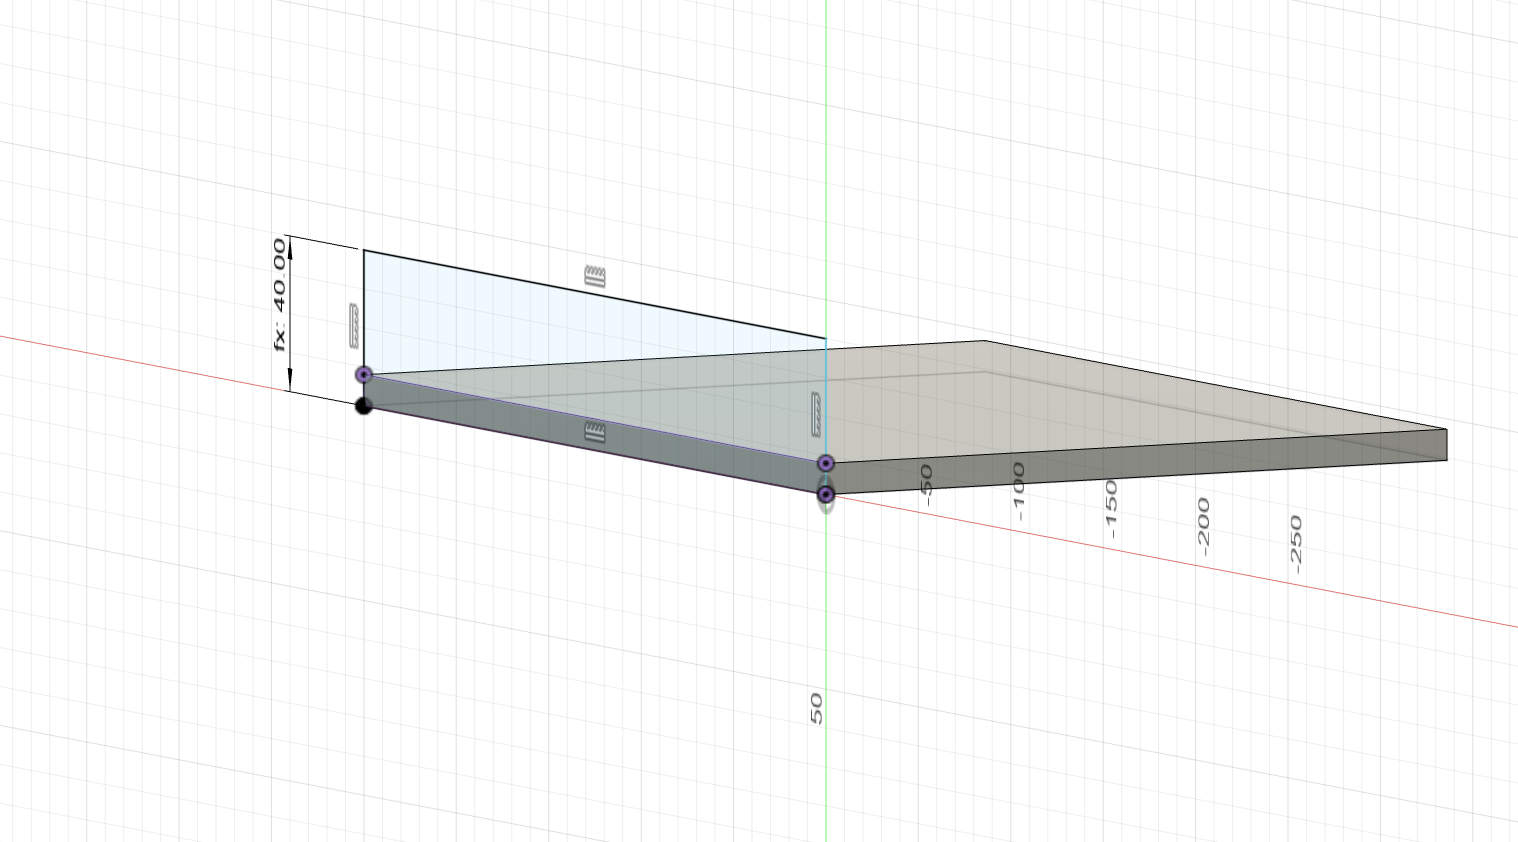
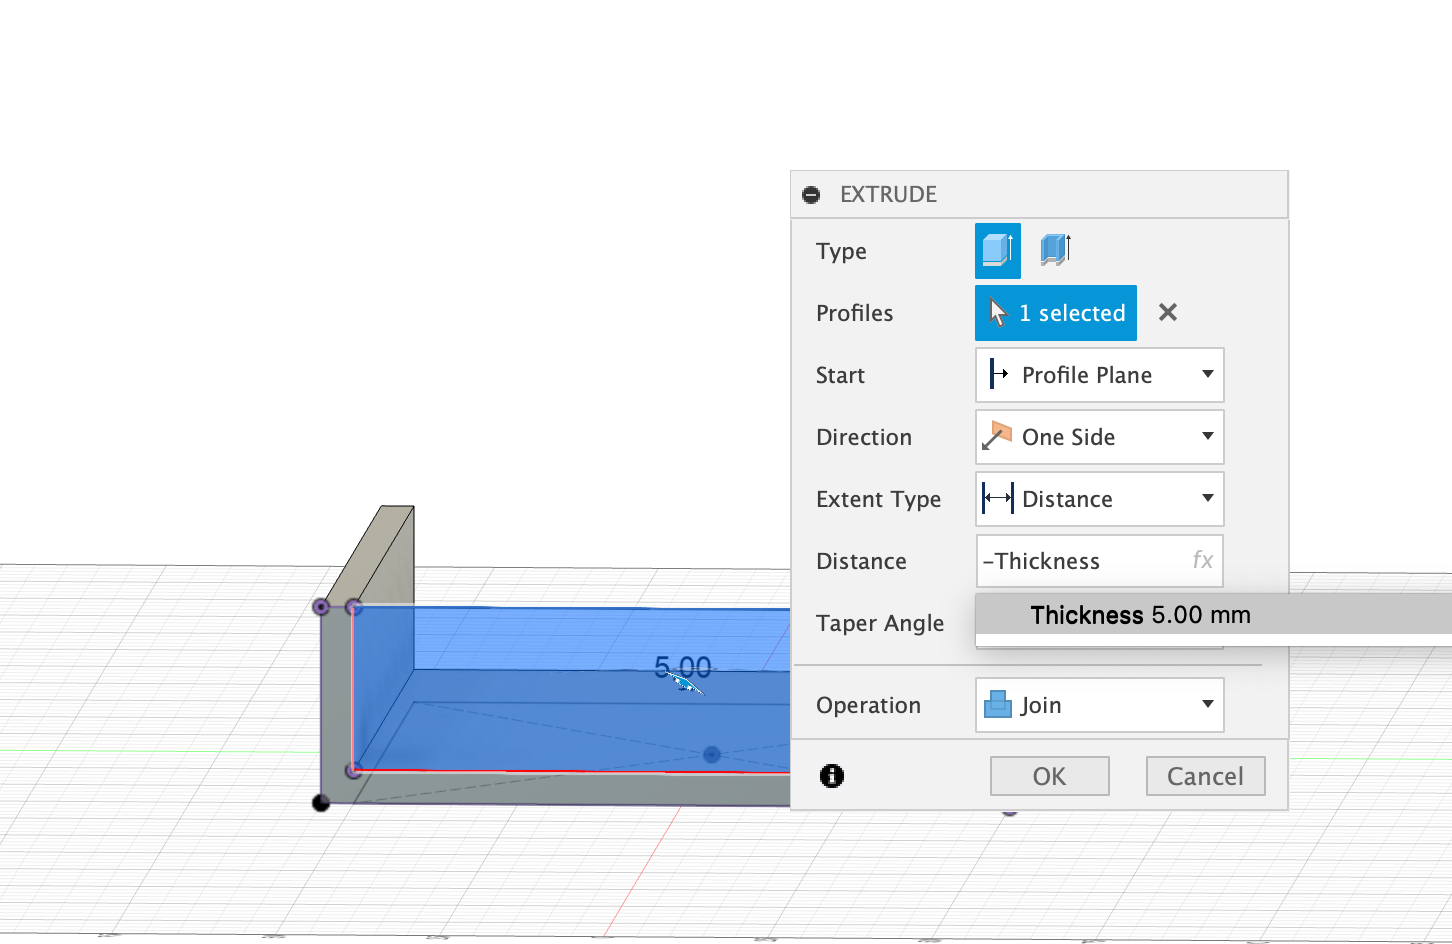
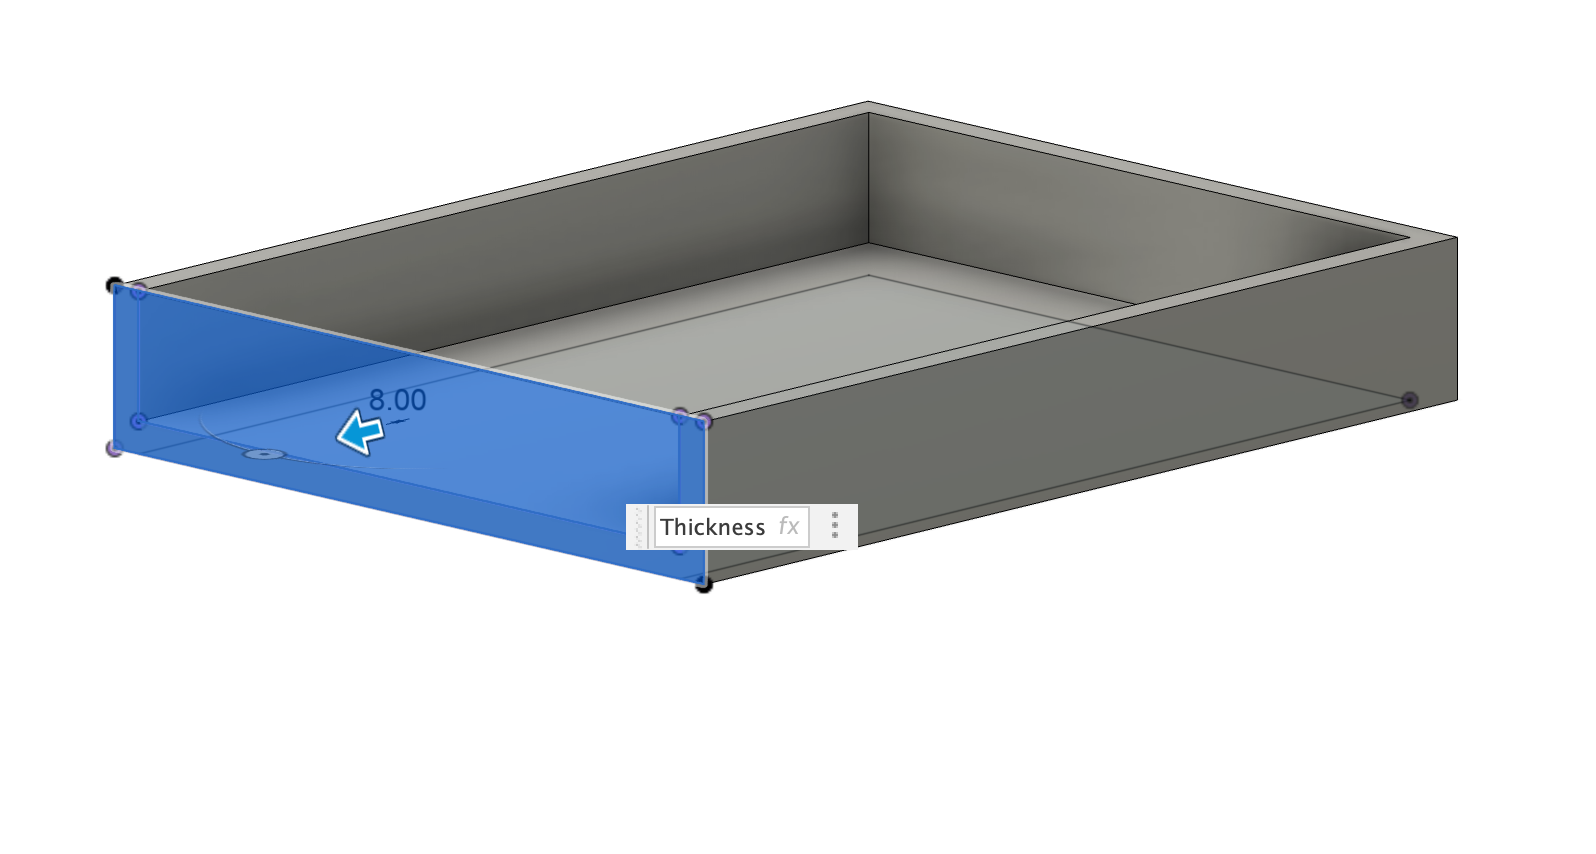
6. Extrude the back side
7. Repeat step4- 6, project all the other side of the box and create sketch and exturde.
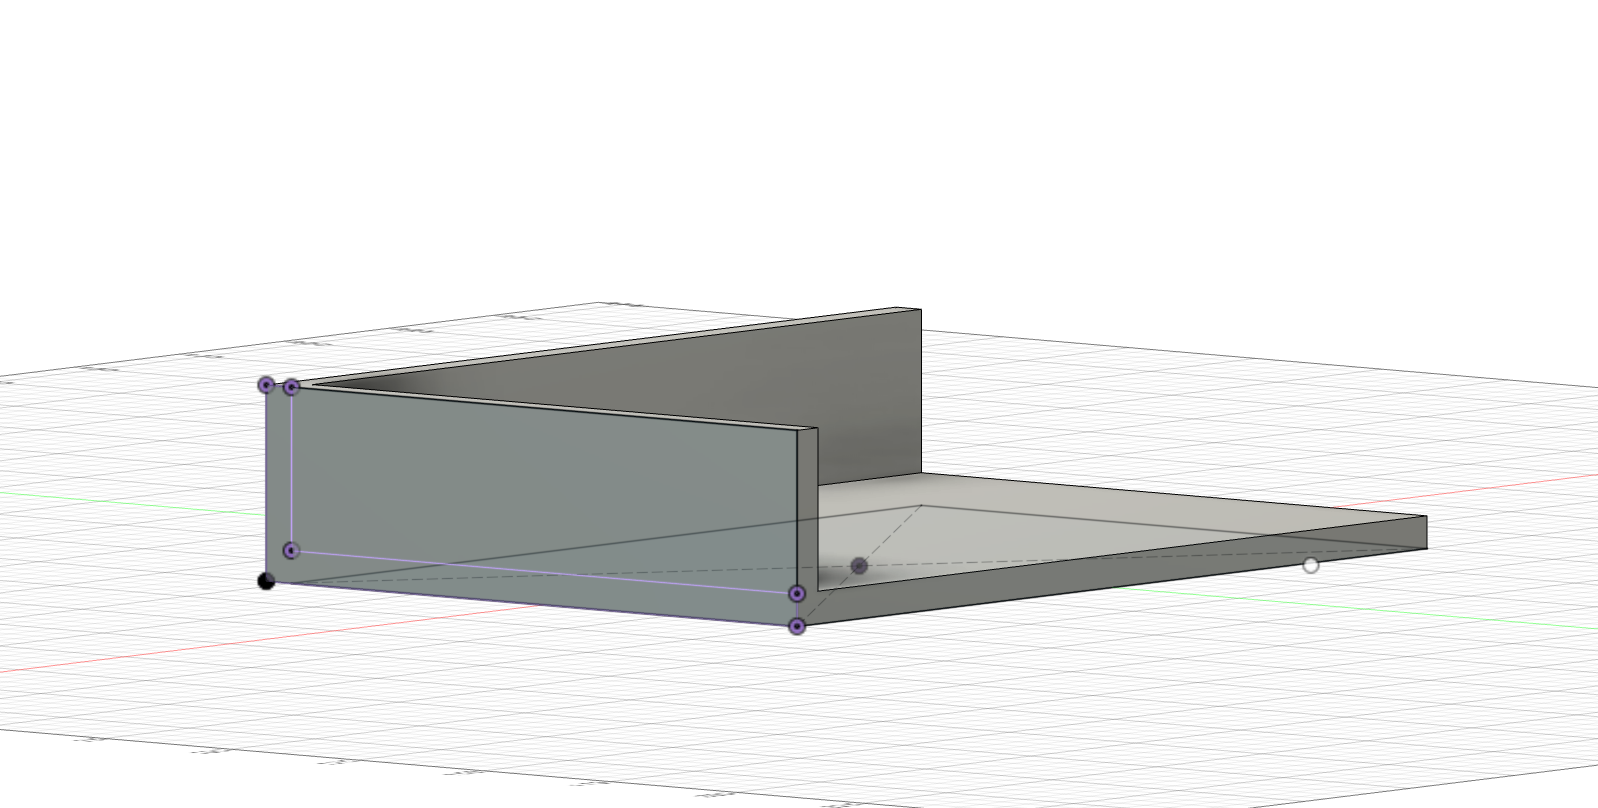
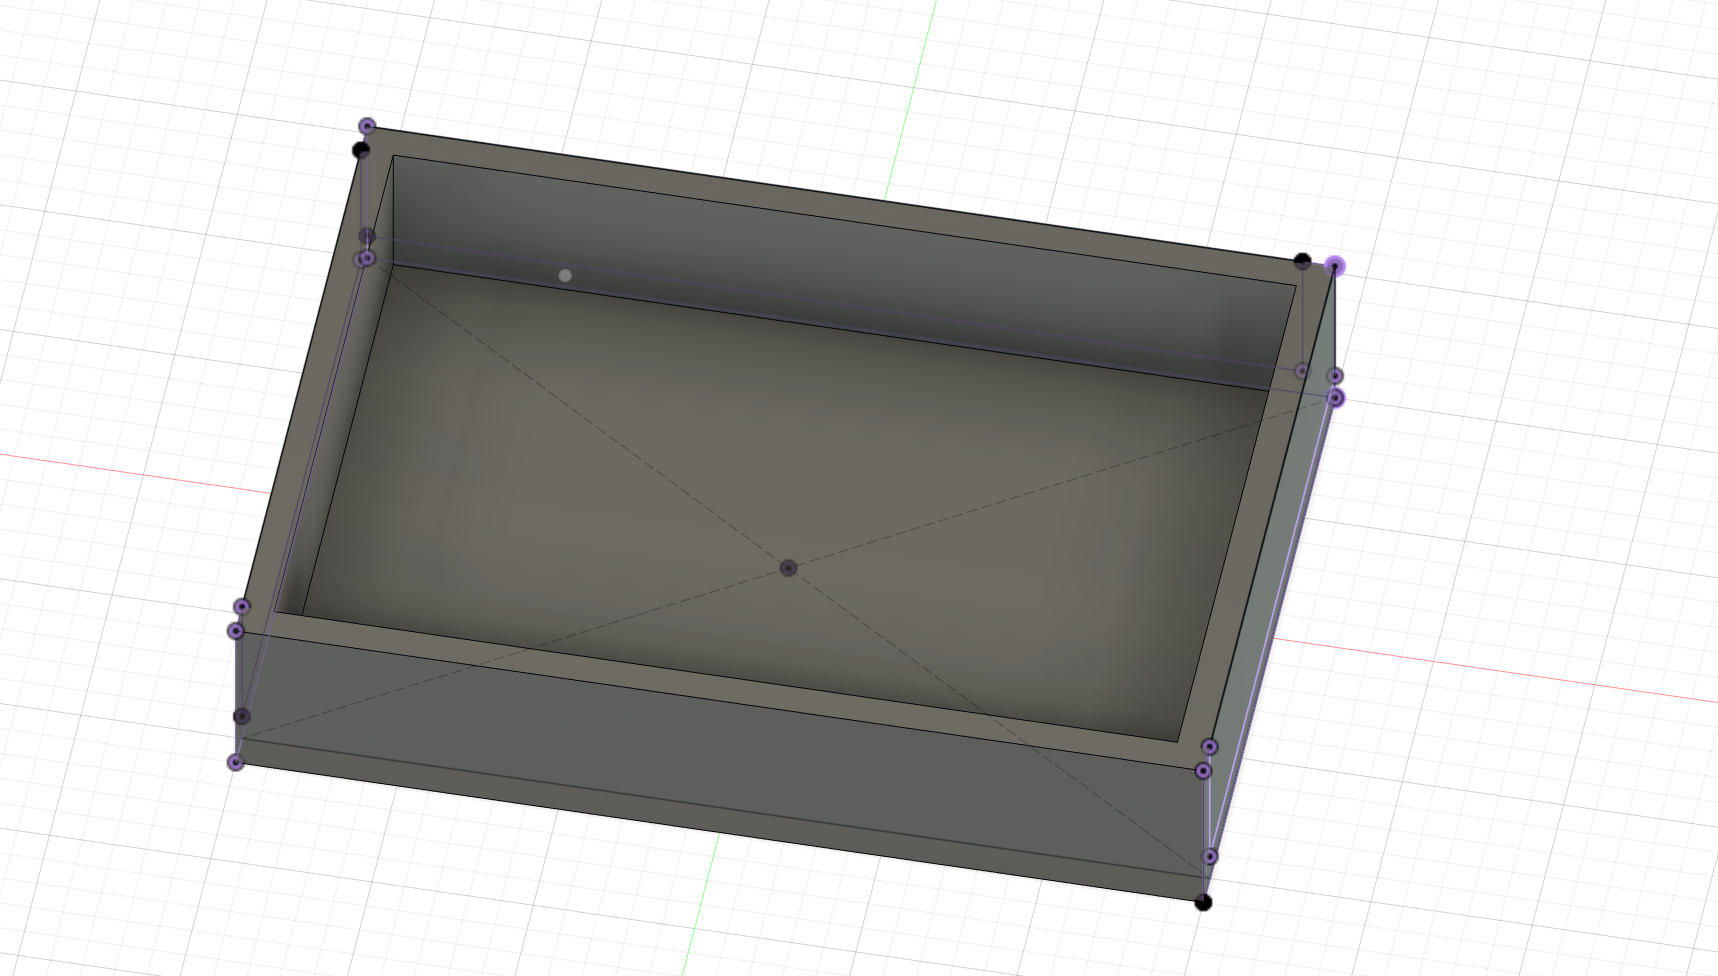
8. Finally, the box is ready!
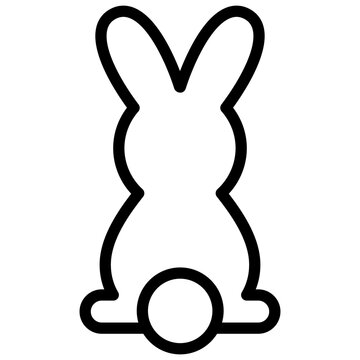
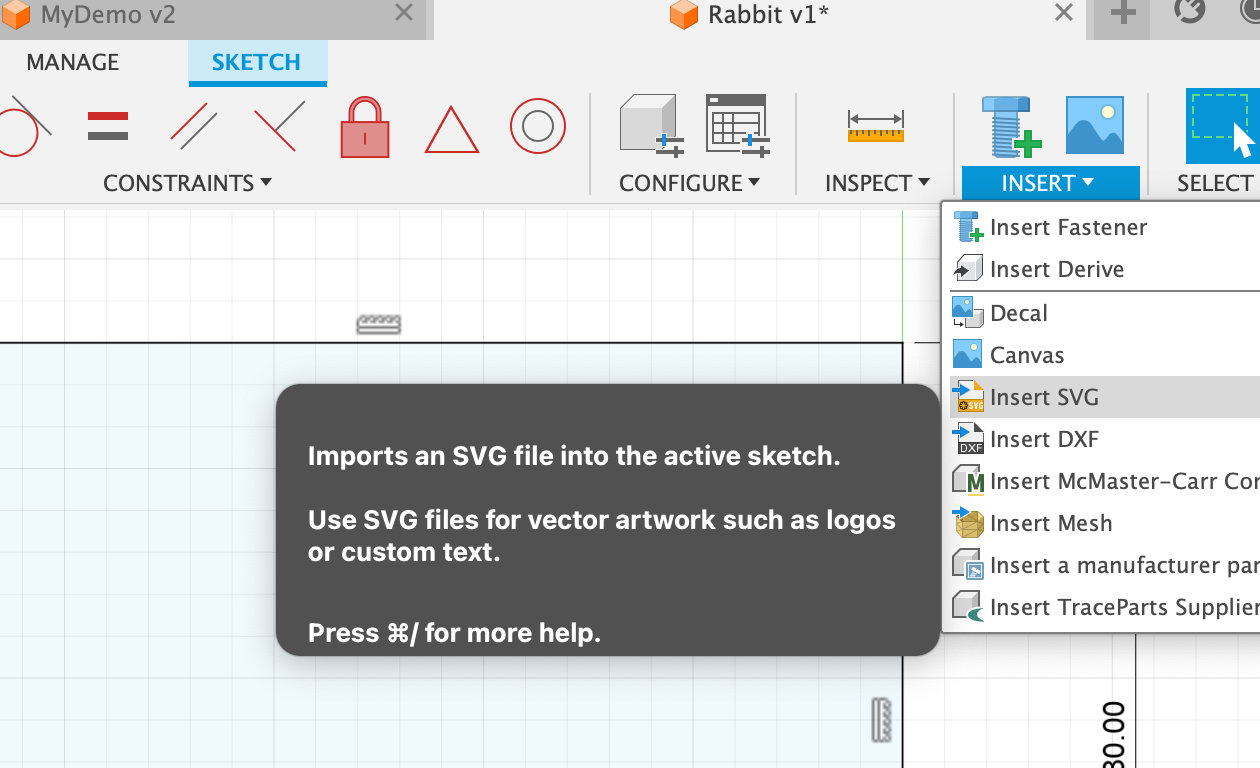
9. For the bunny, I used a svg image of a bunny and converted to sketch

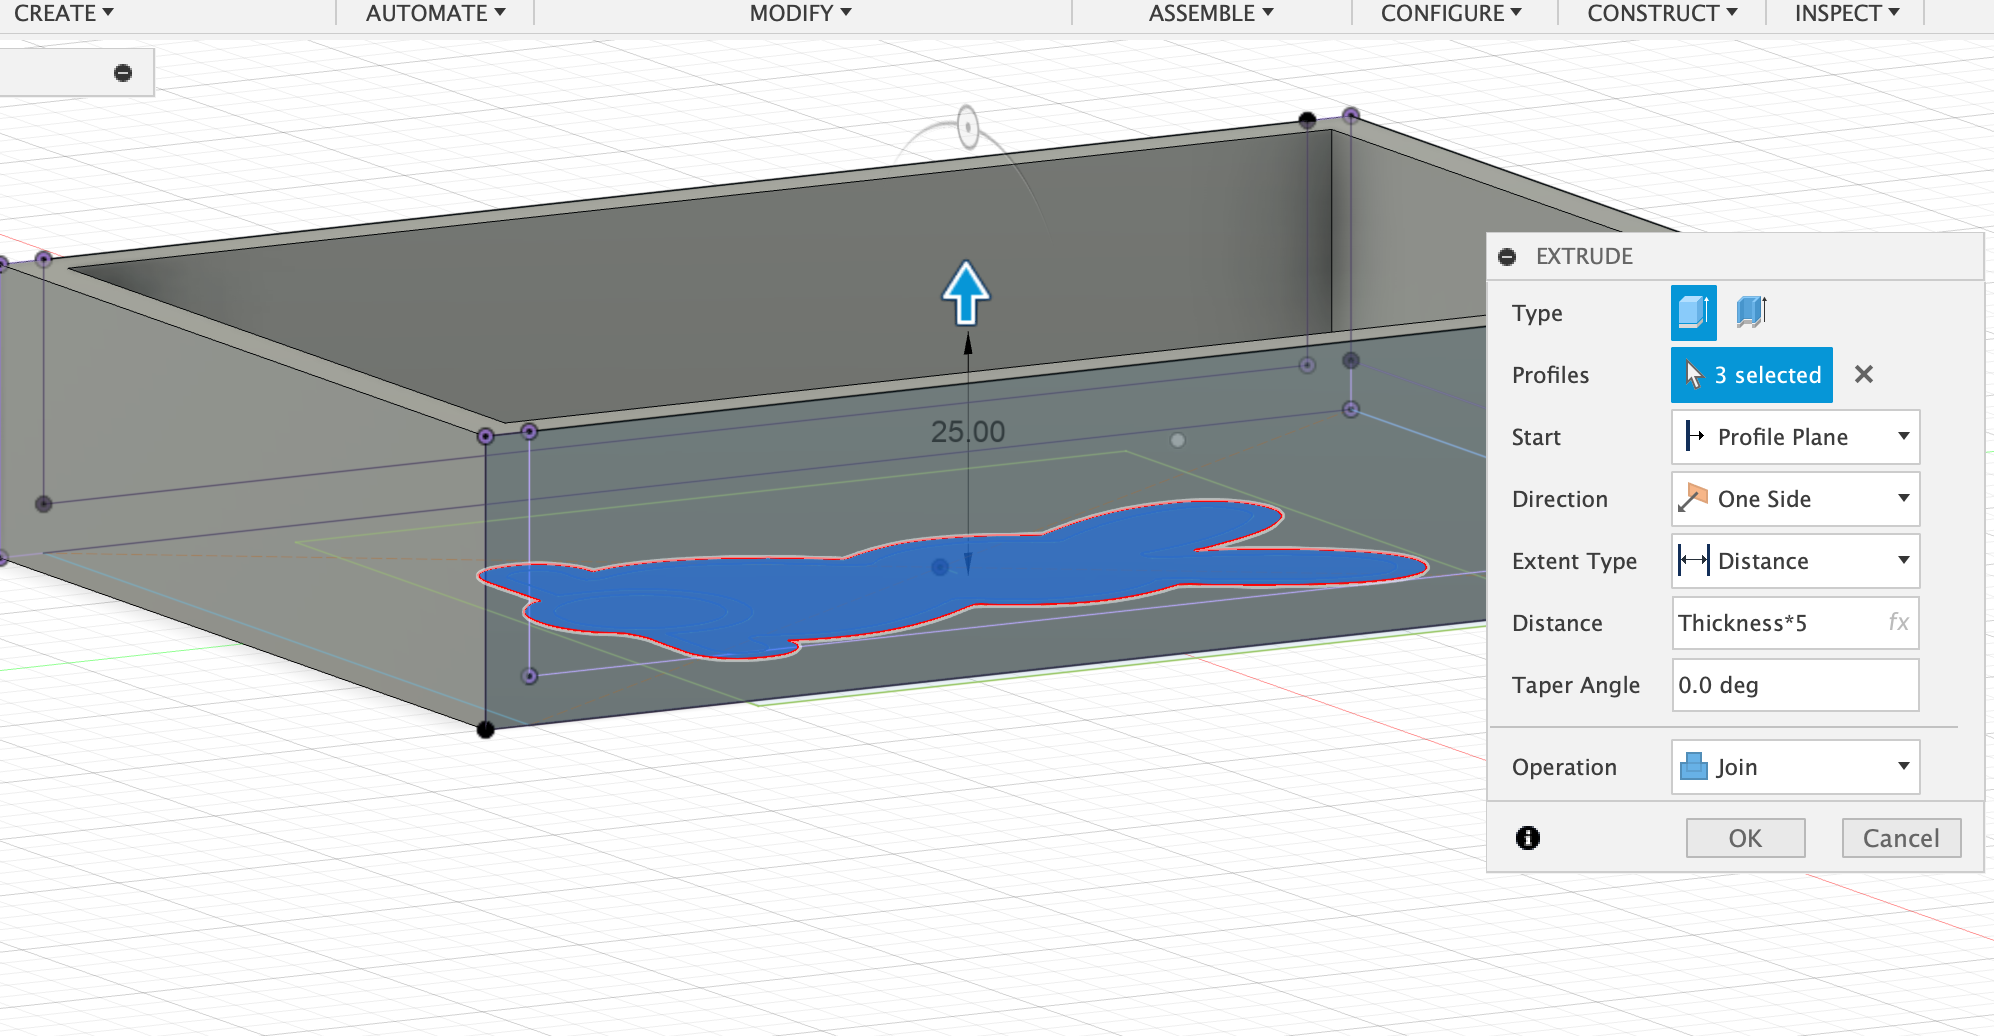
10. Extrude the Bunny
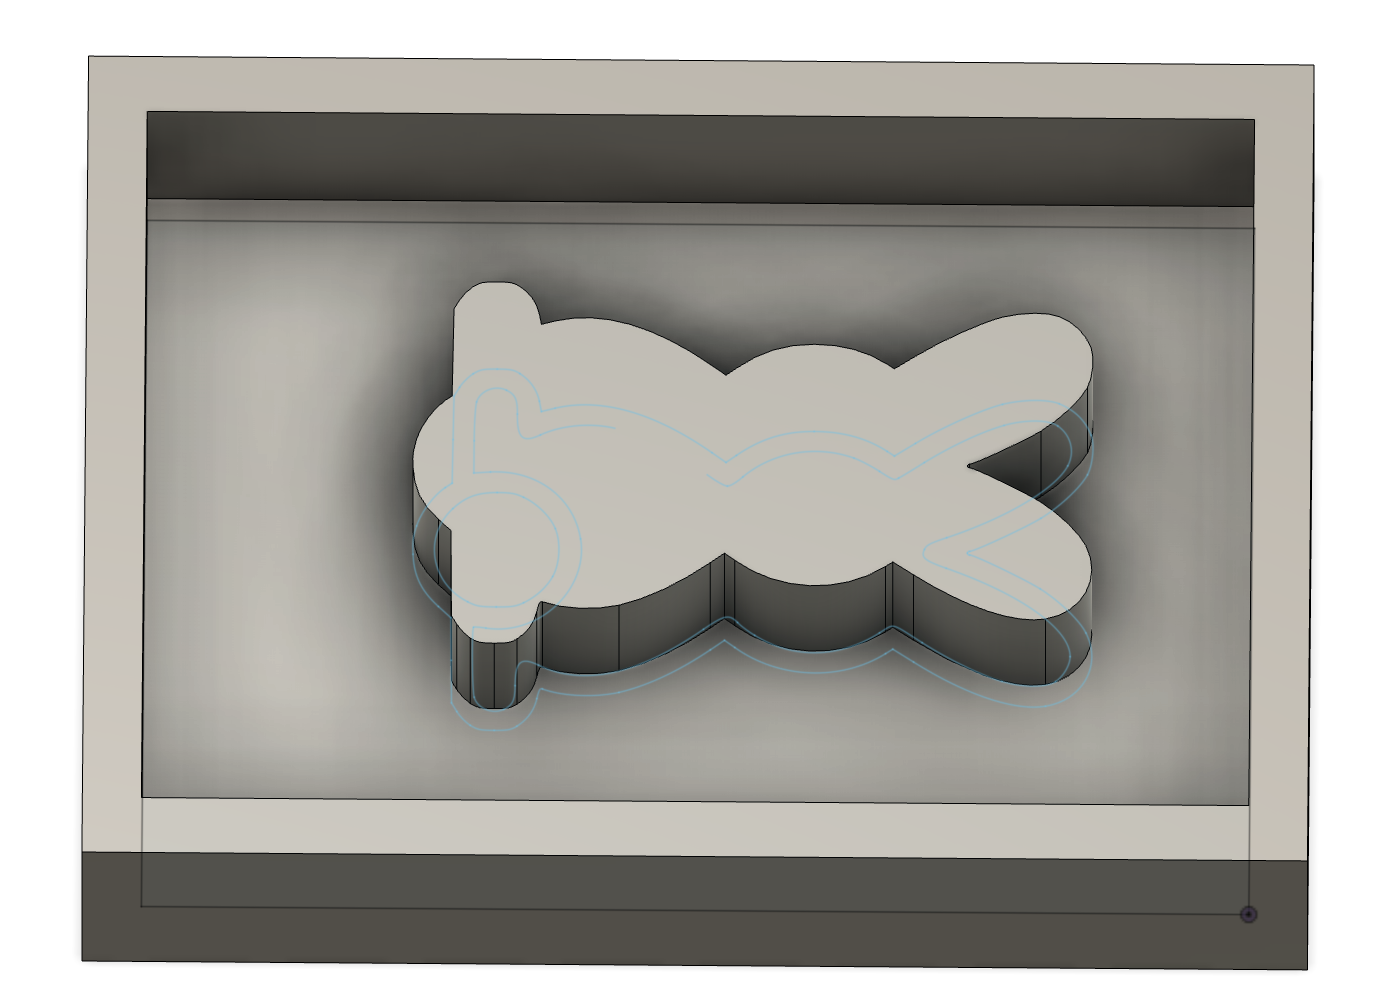
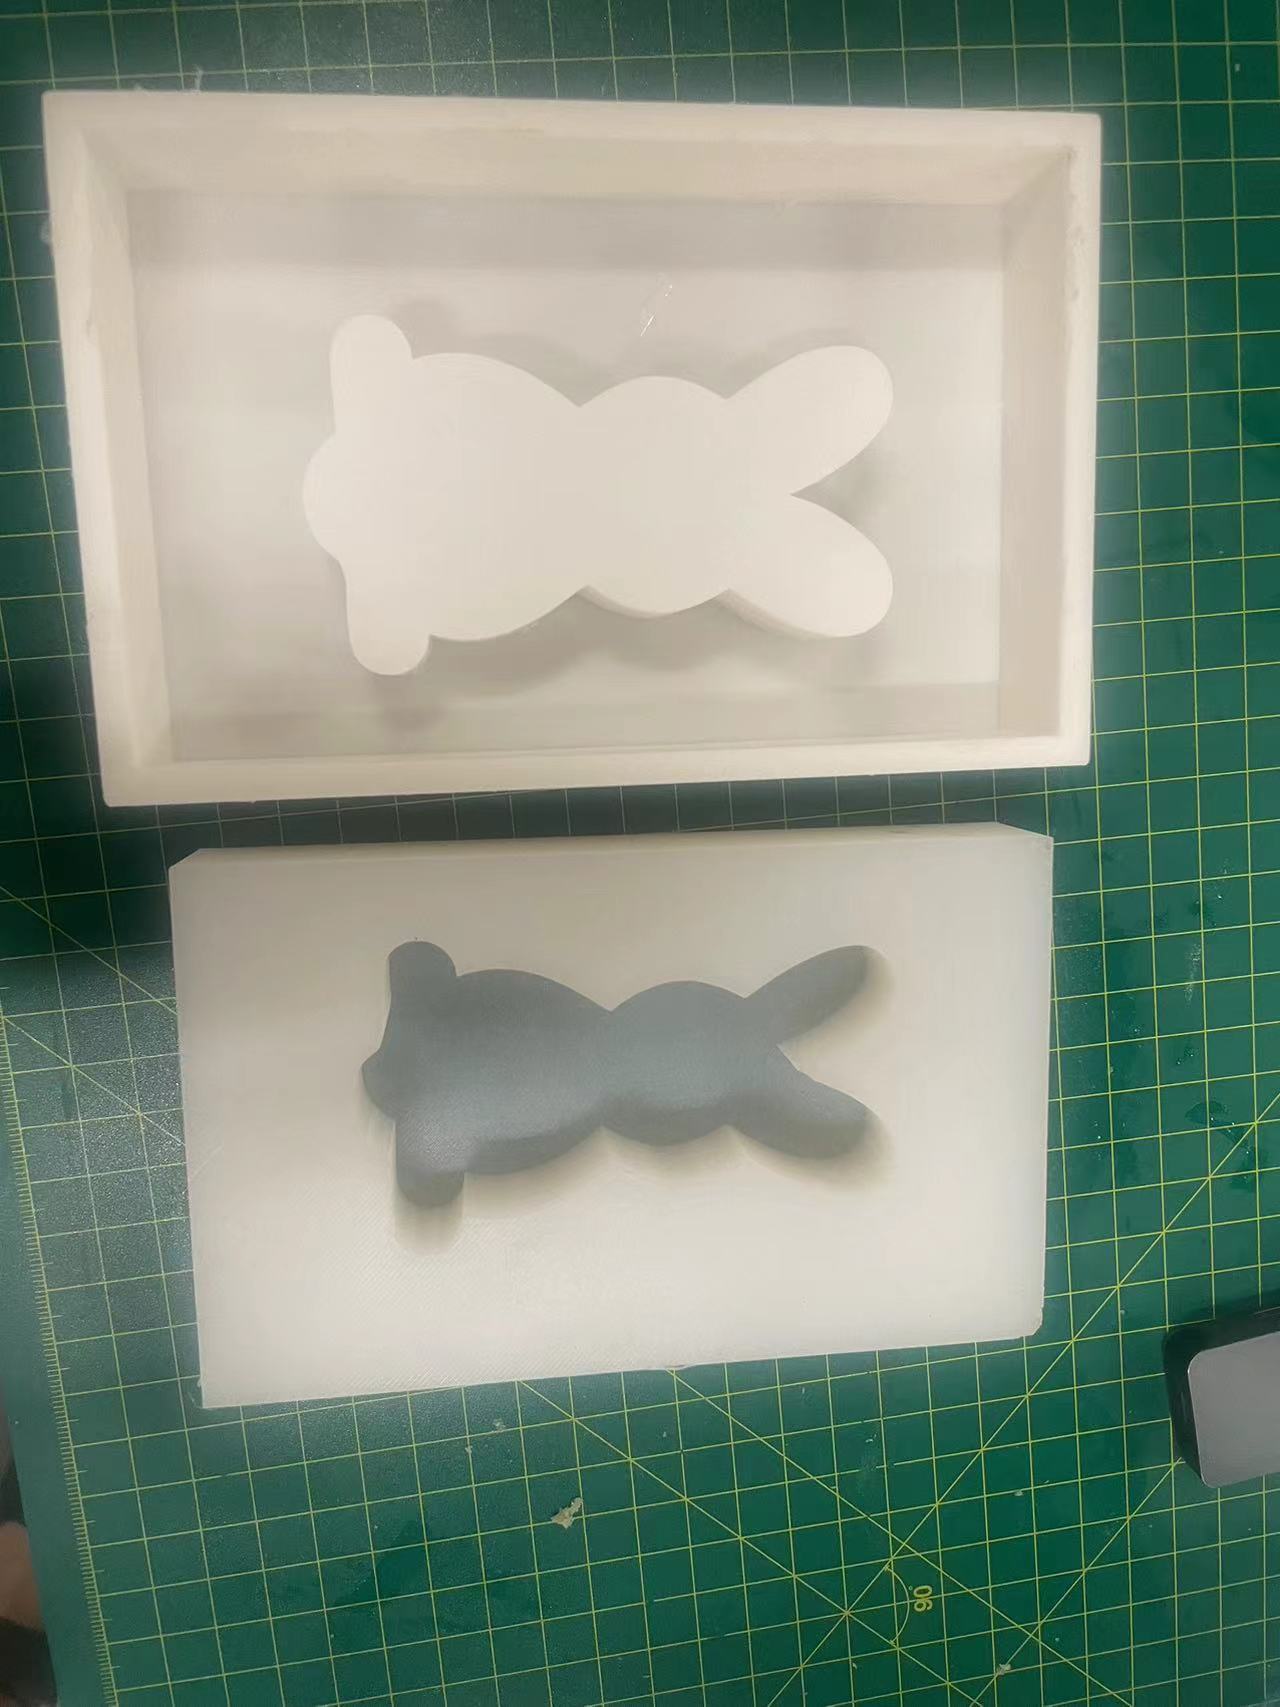
11. Final view of the mould box
12. 3D print it
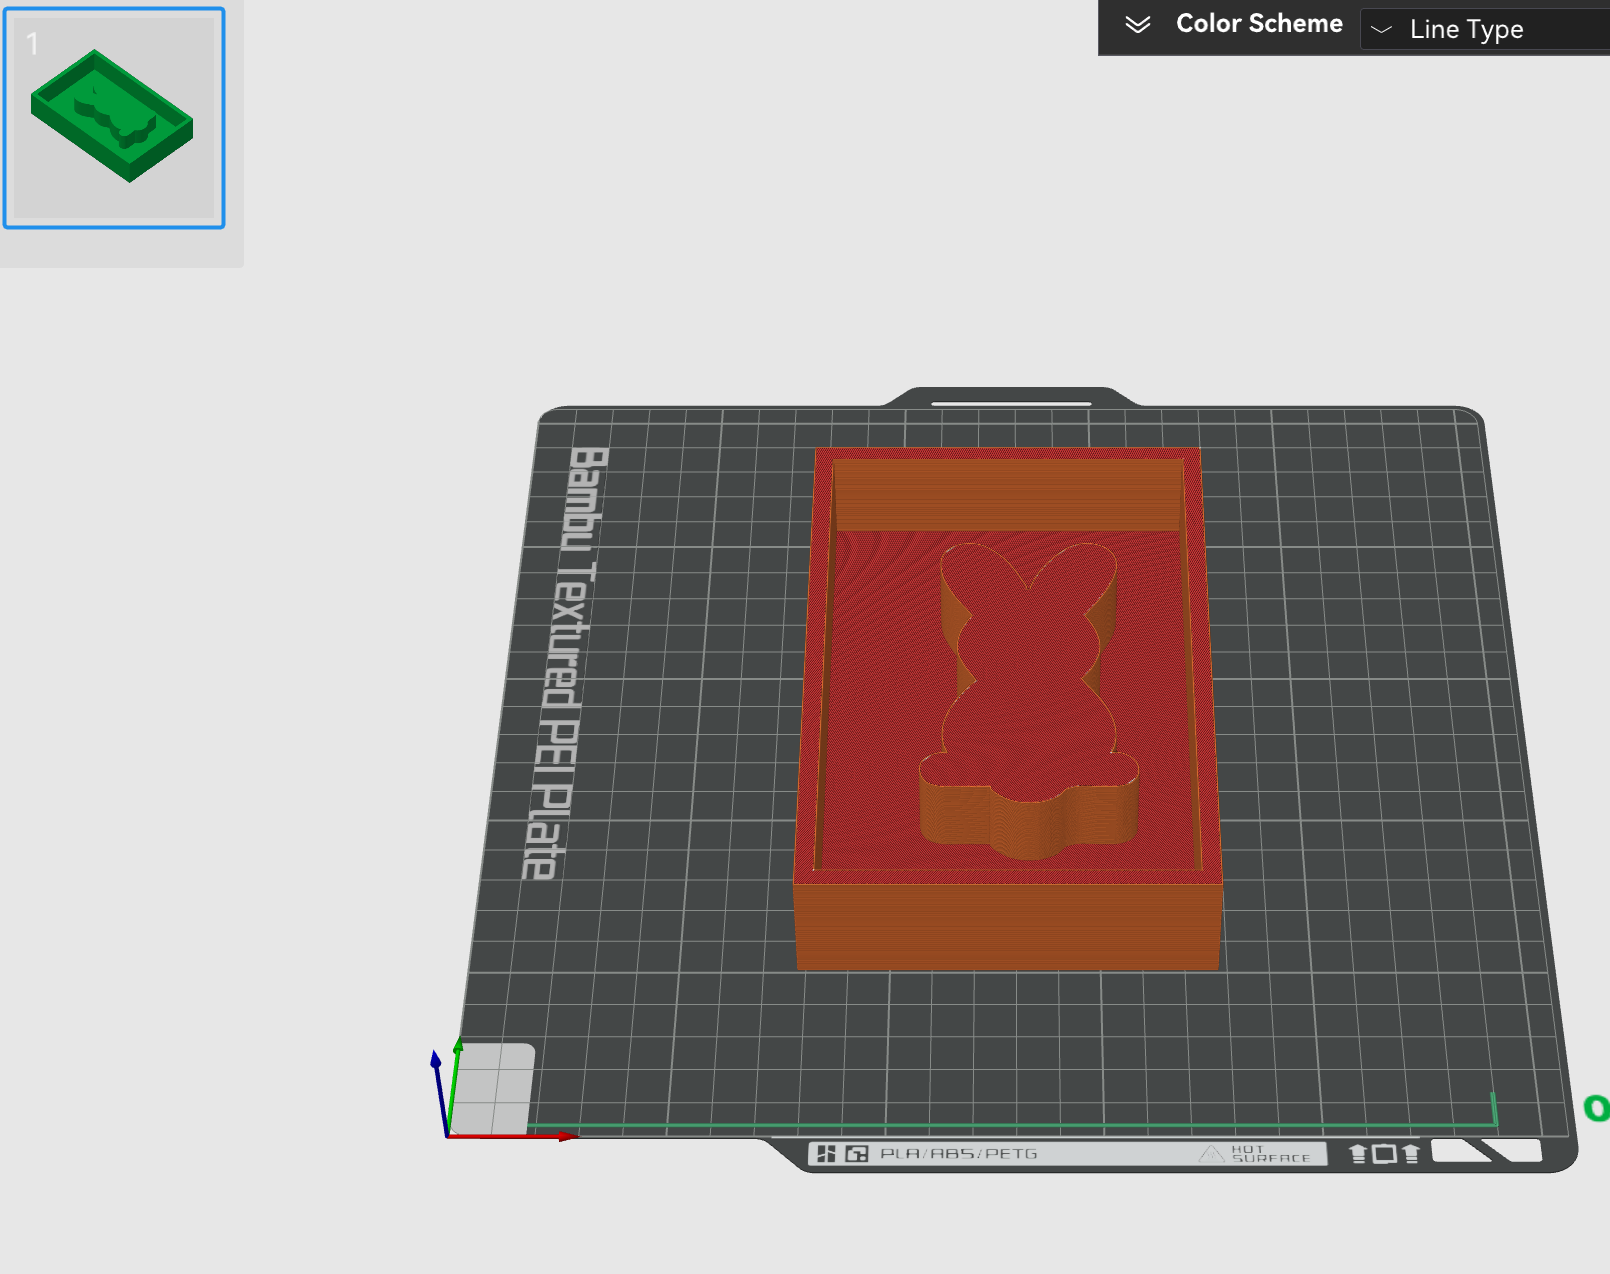
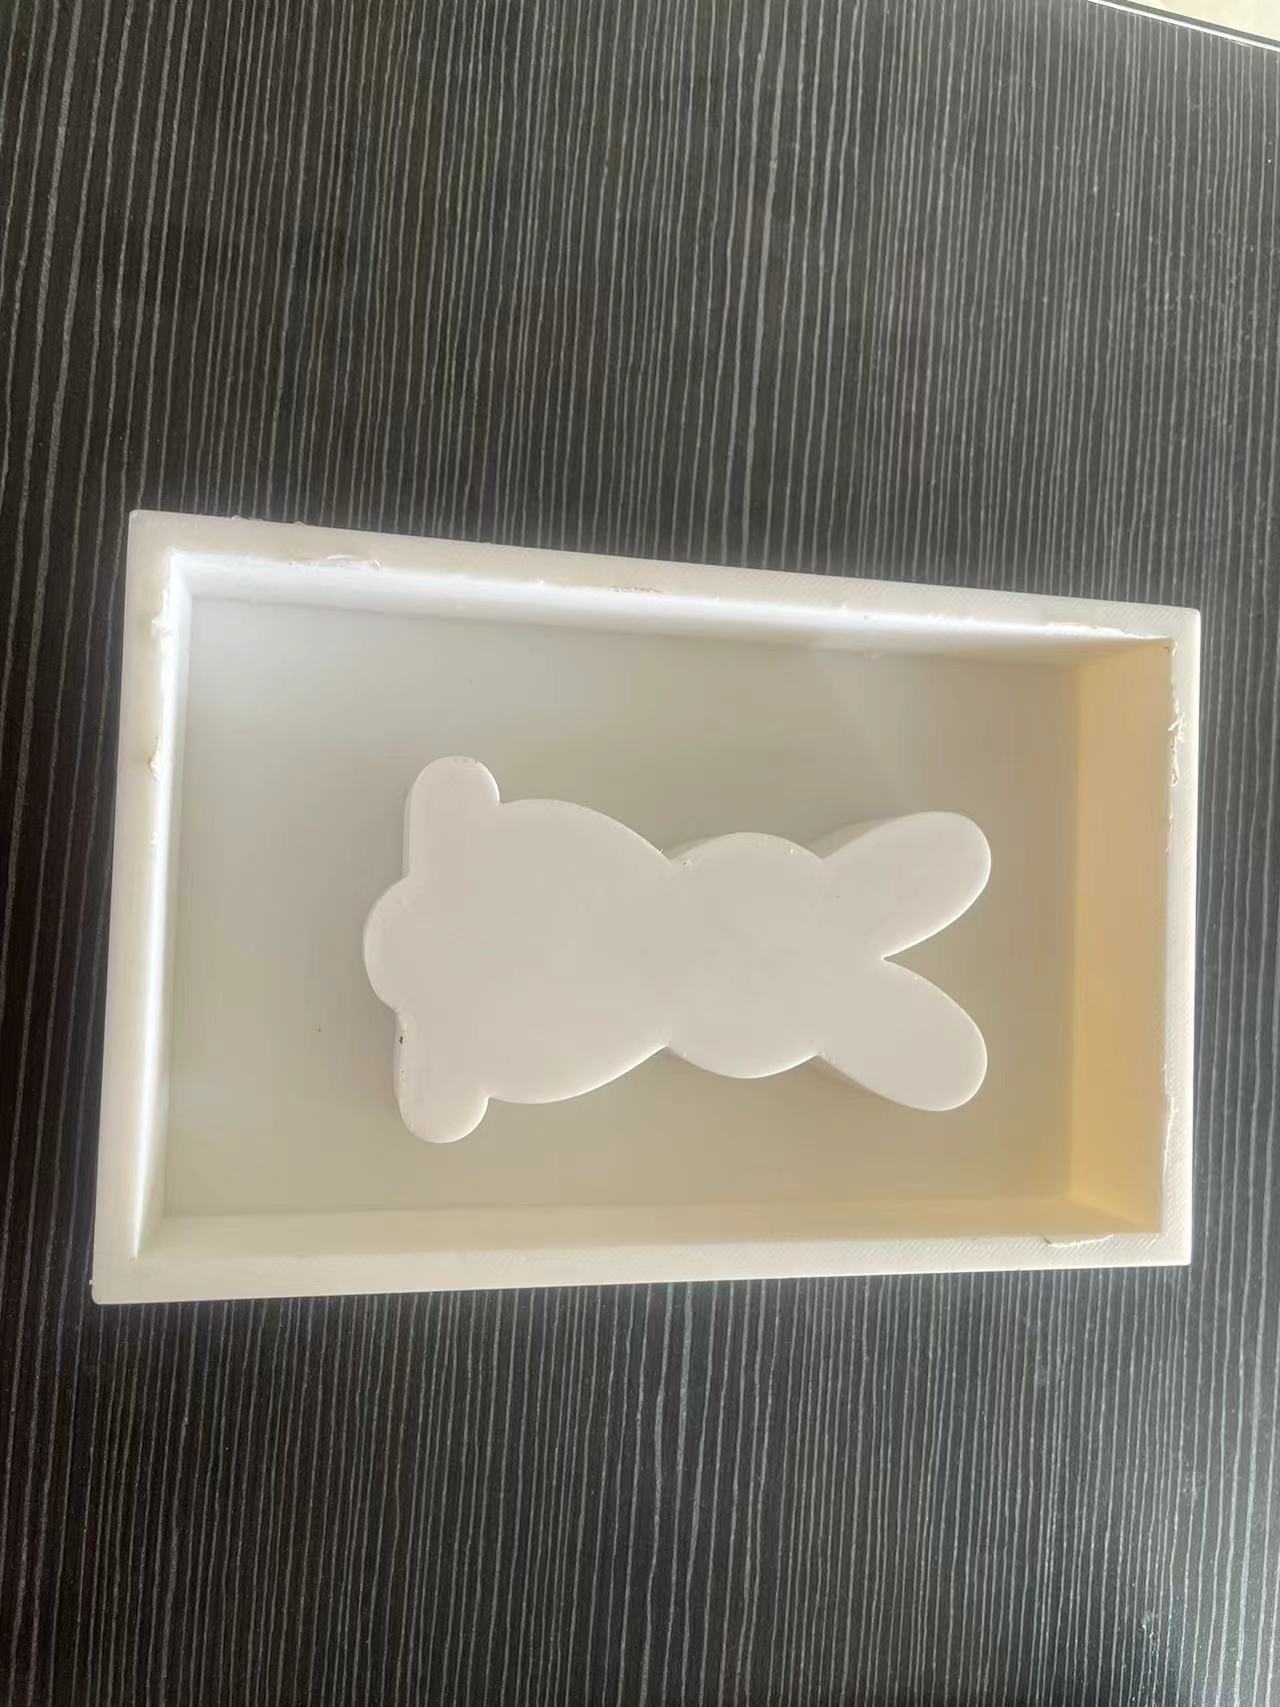
13. The mould box!
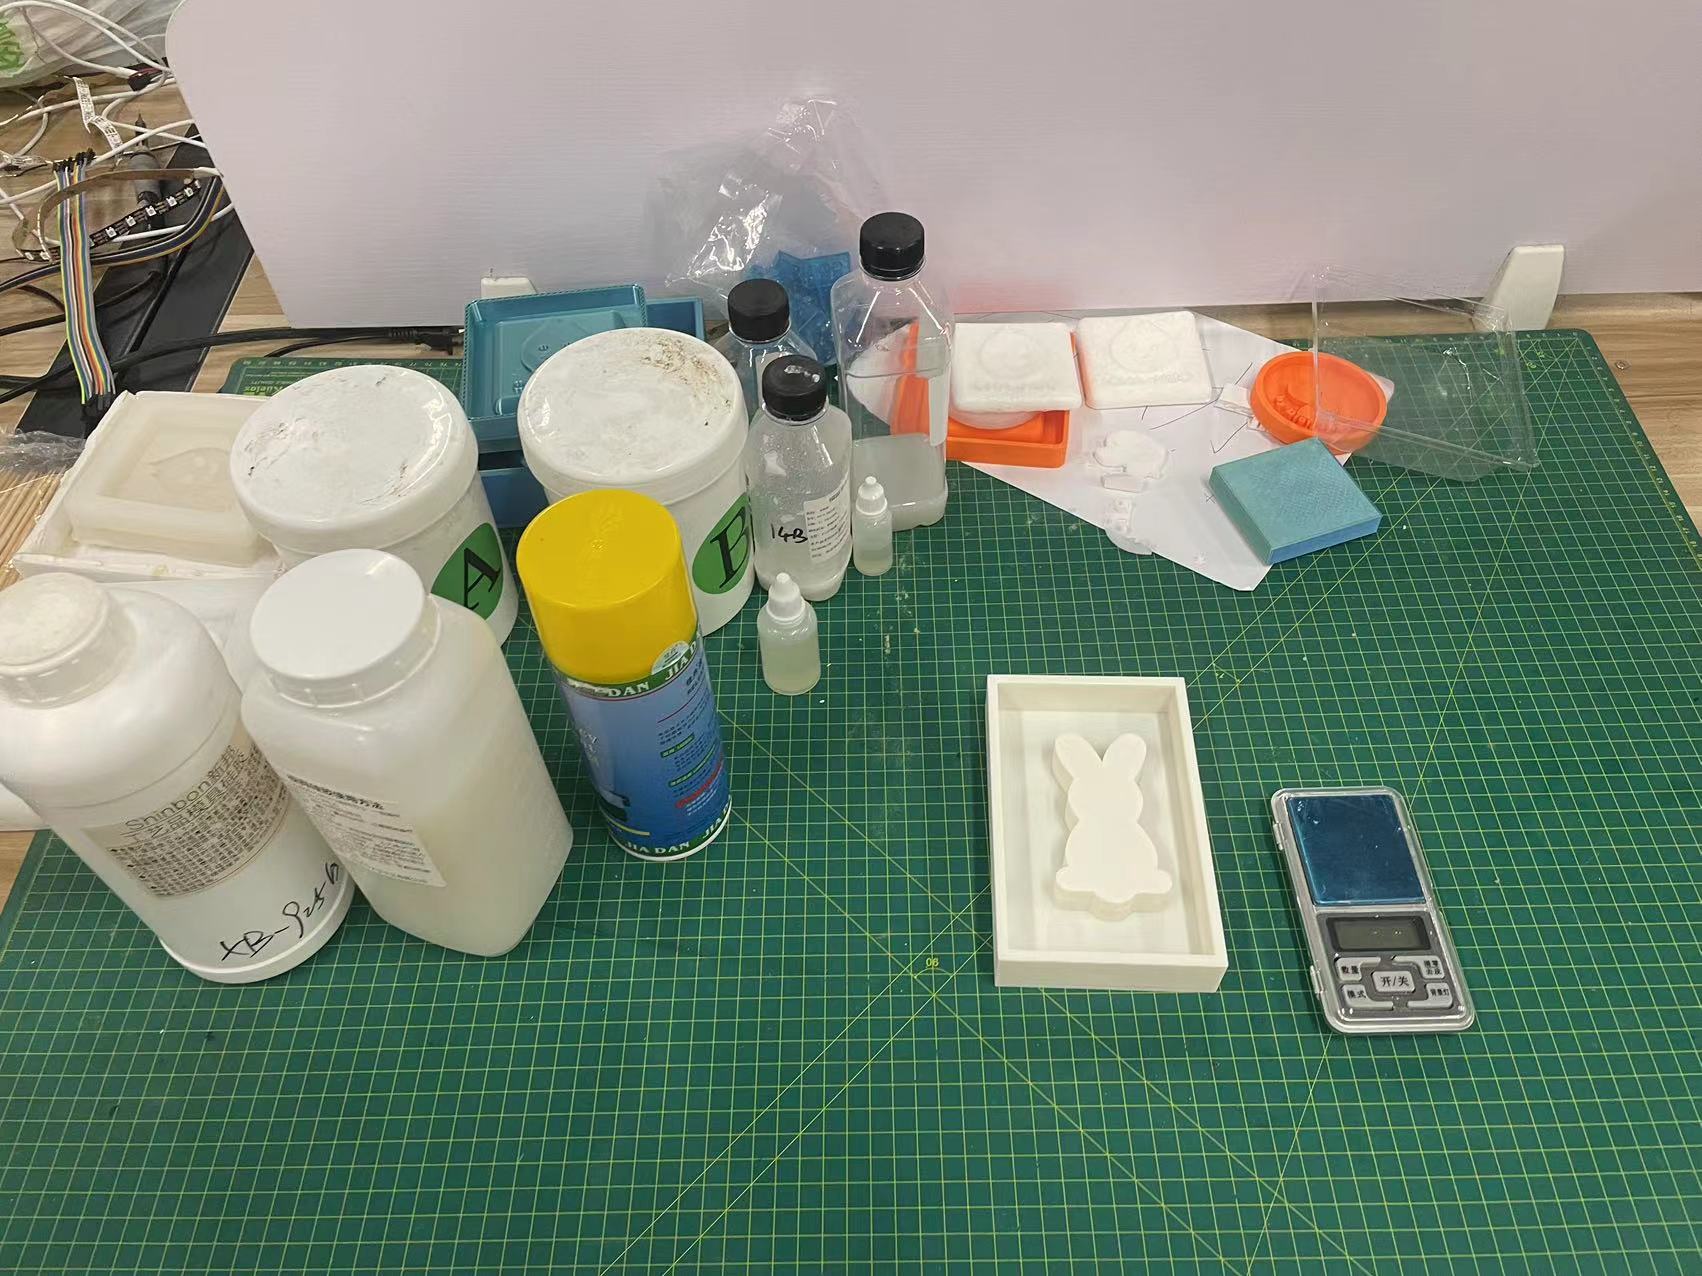
Step2. Make the silicone mould
1. Prepare to make the mould
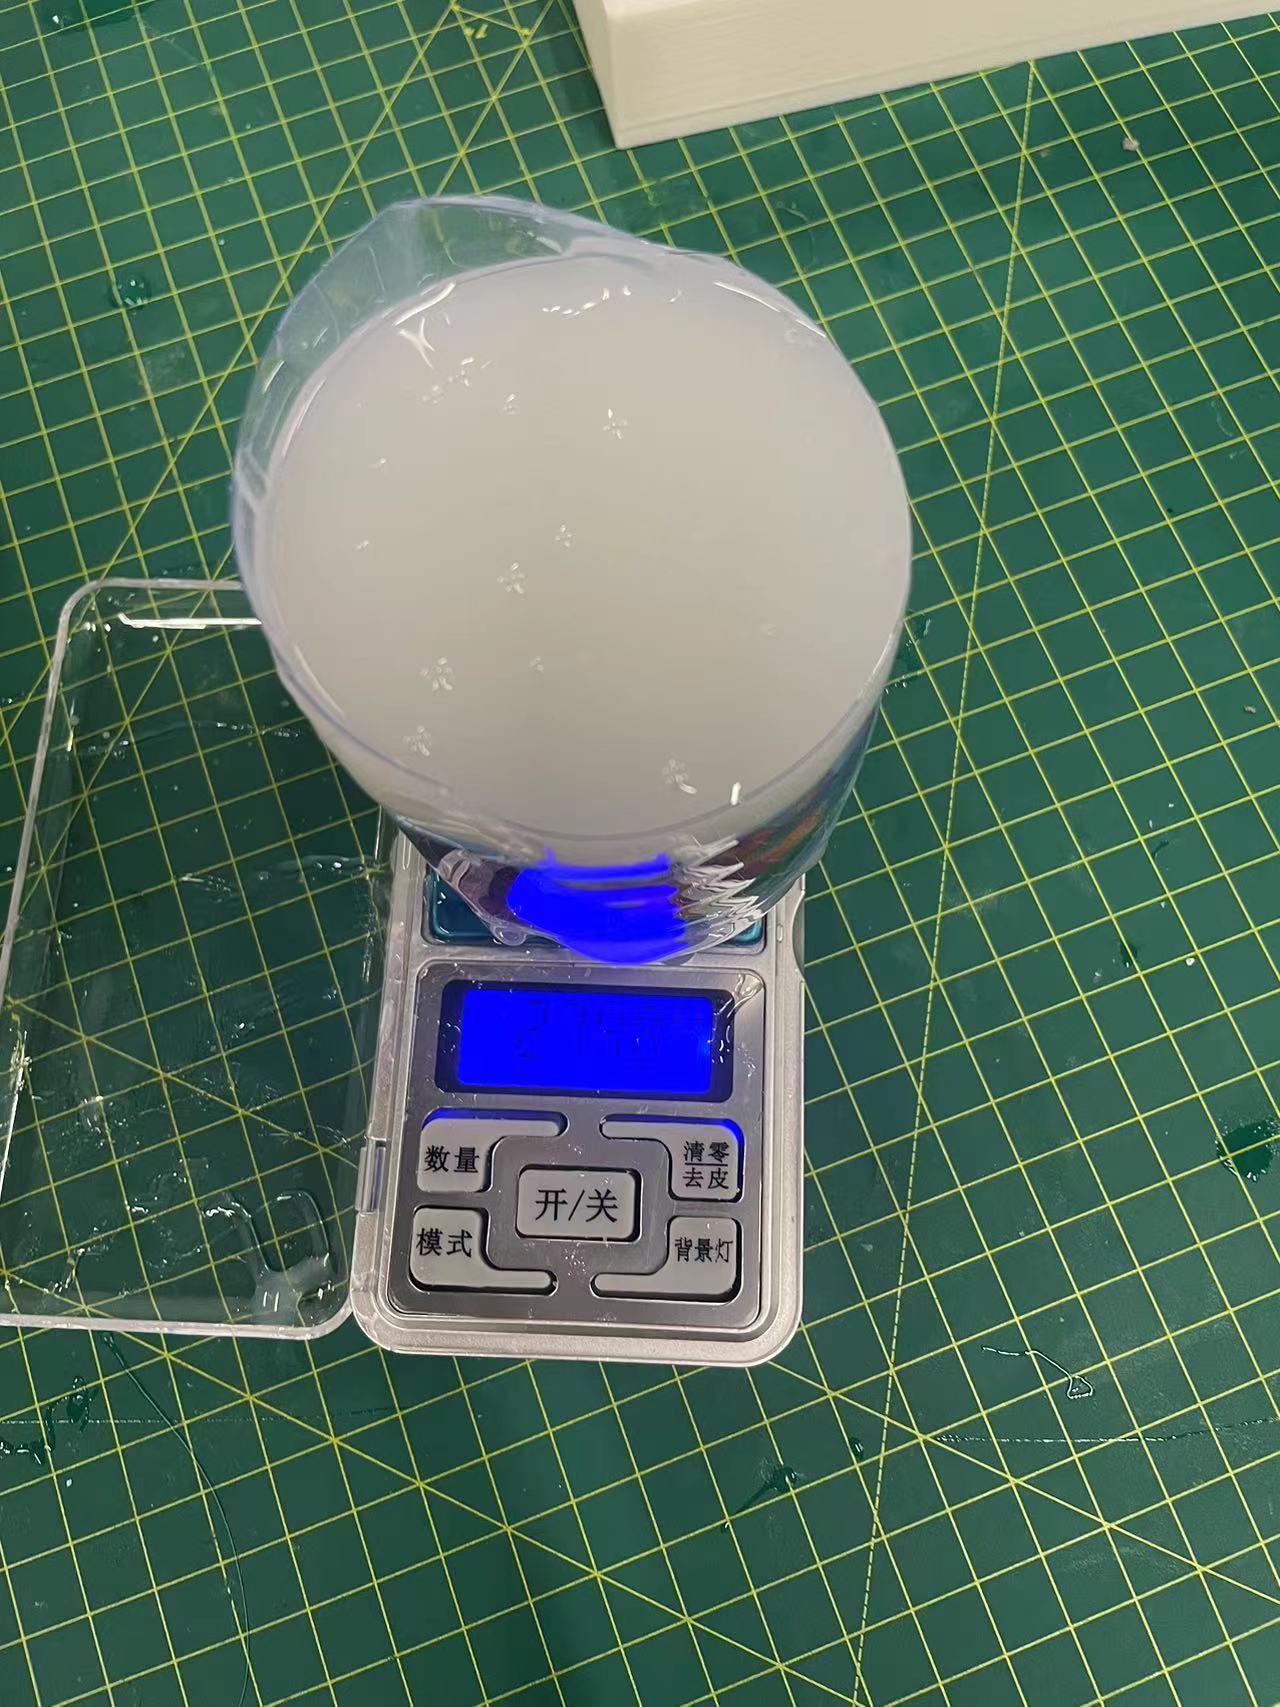
2. Weight the mould box

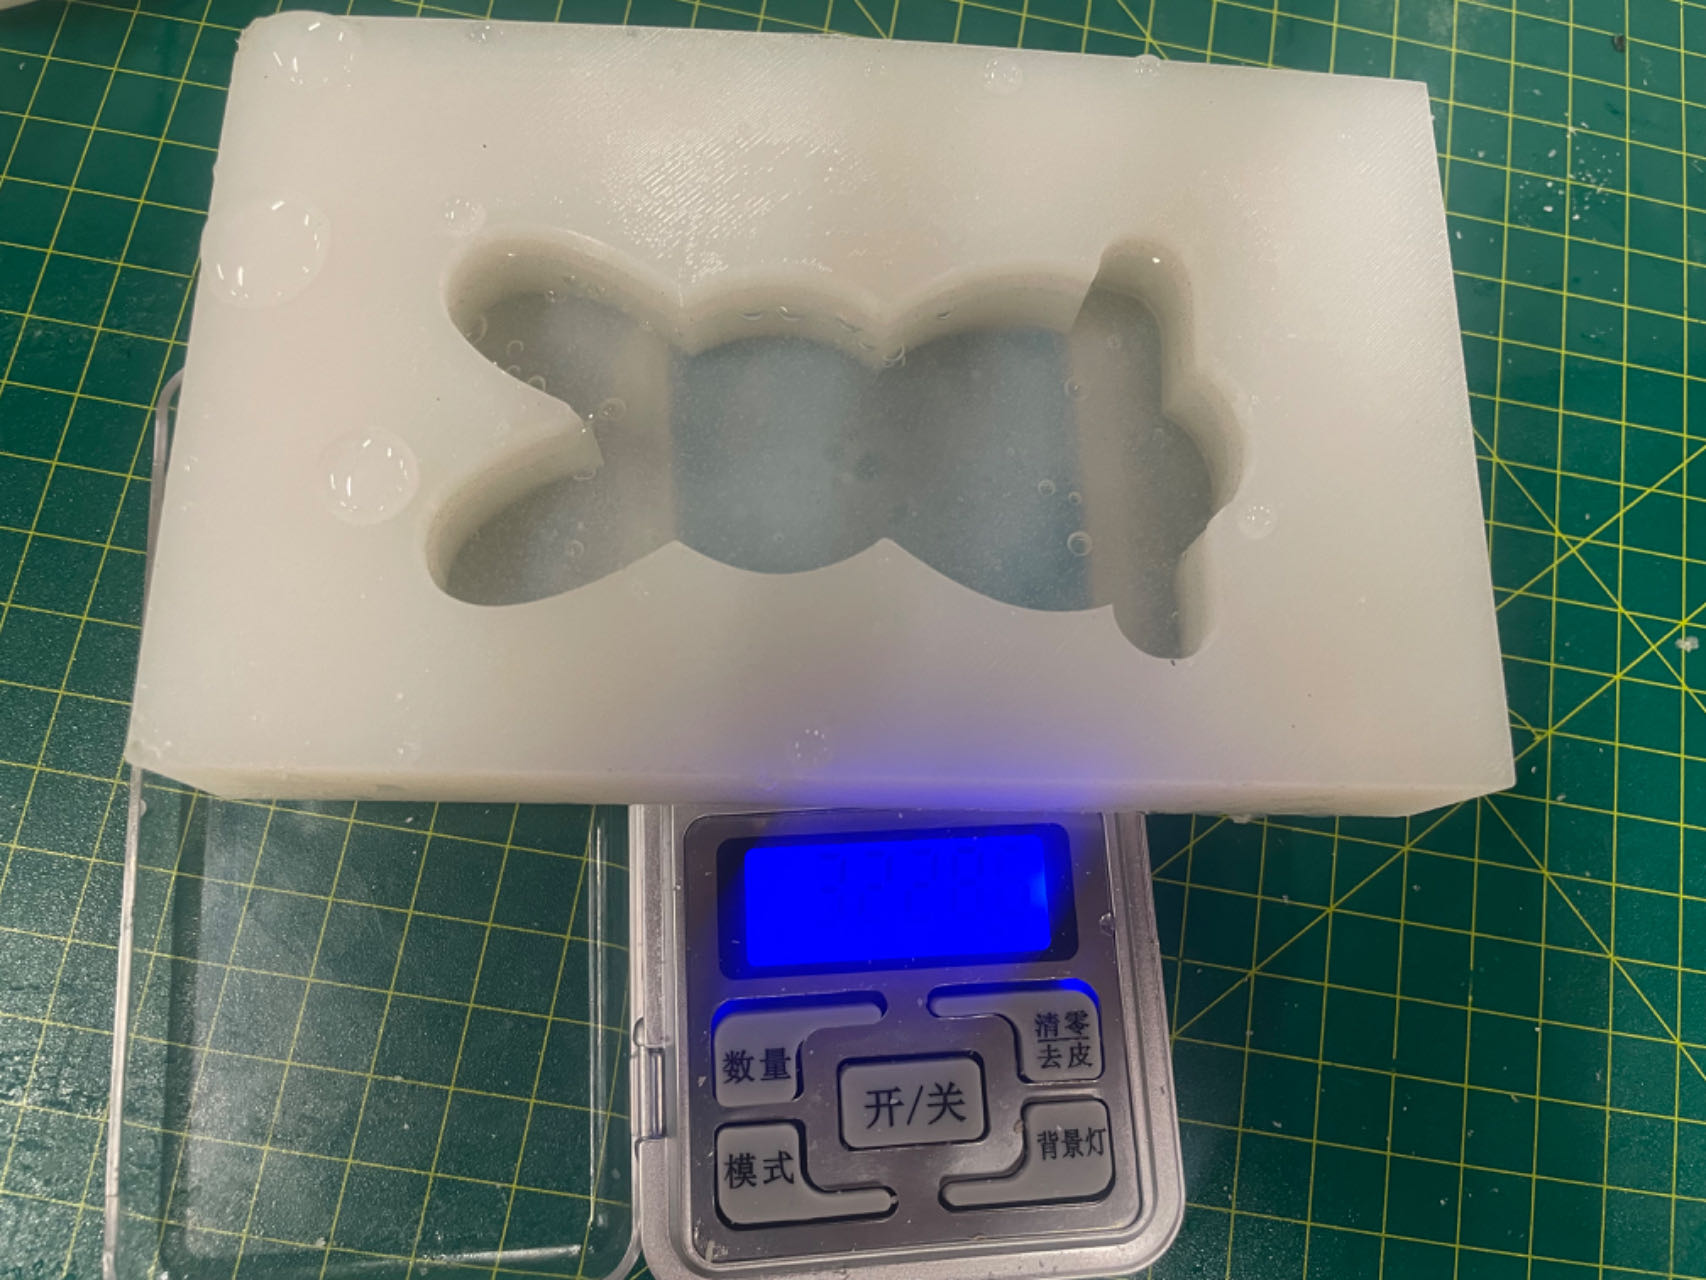
3. Weight the mould box with water
4. Calculate the weight of water and convert to the weight of silicone needed
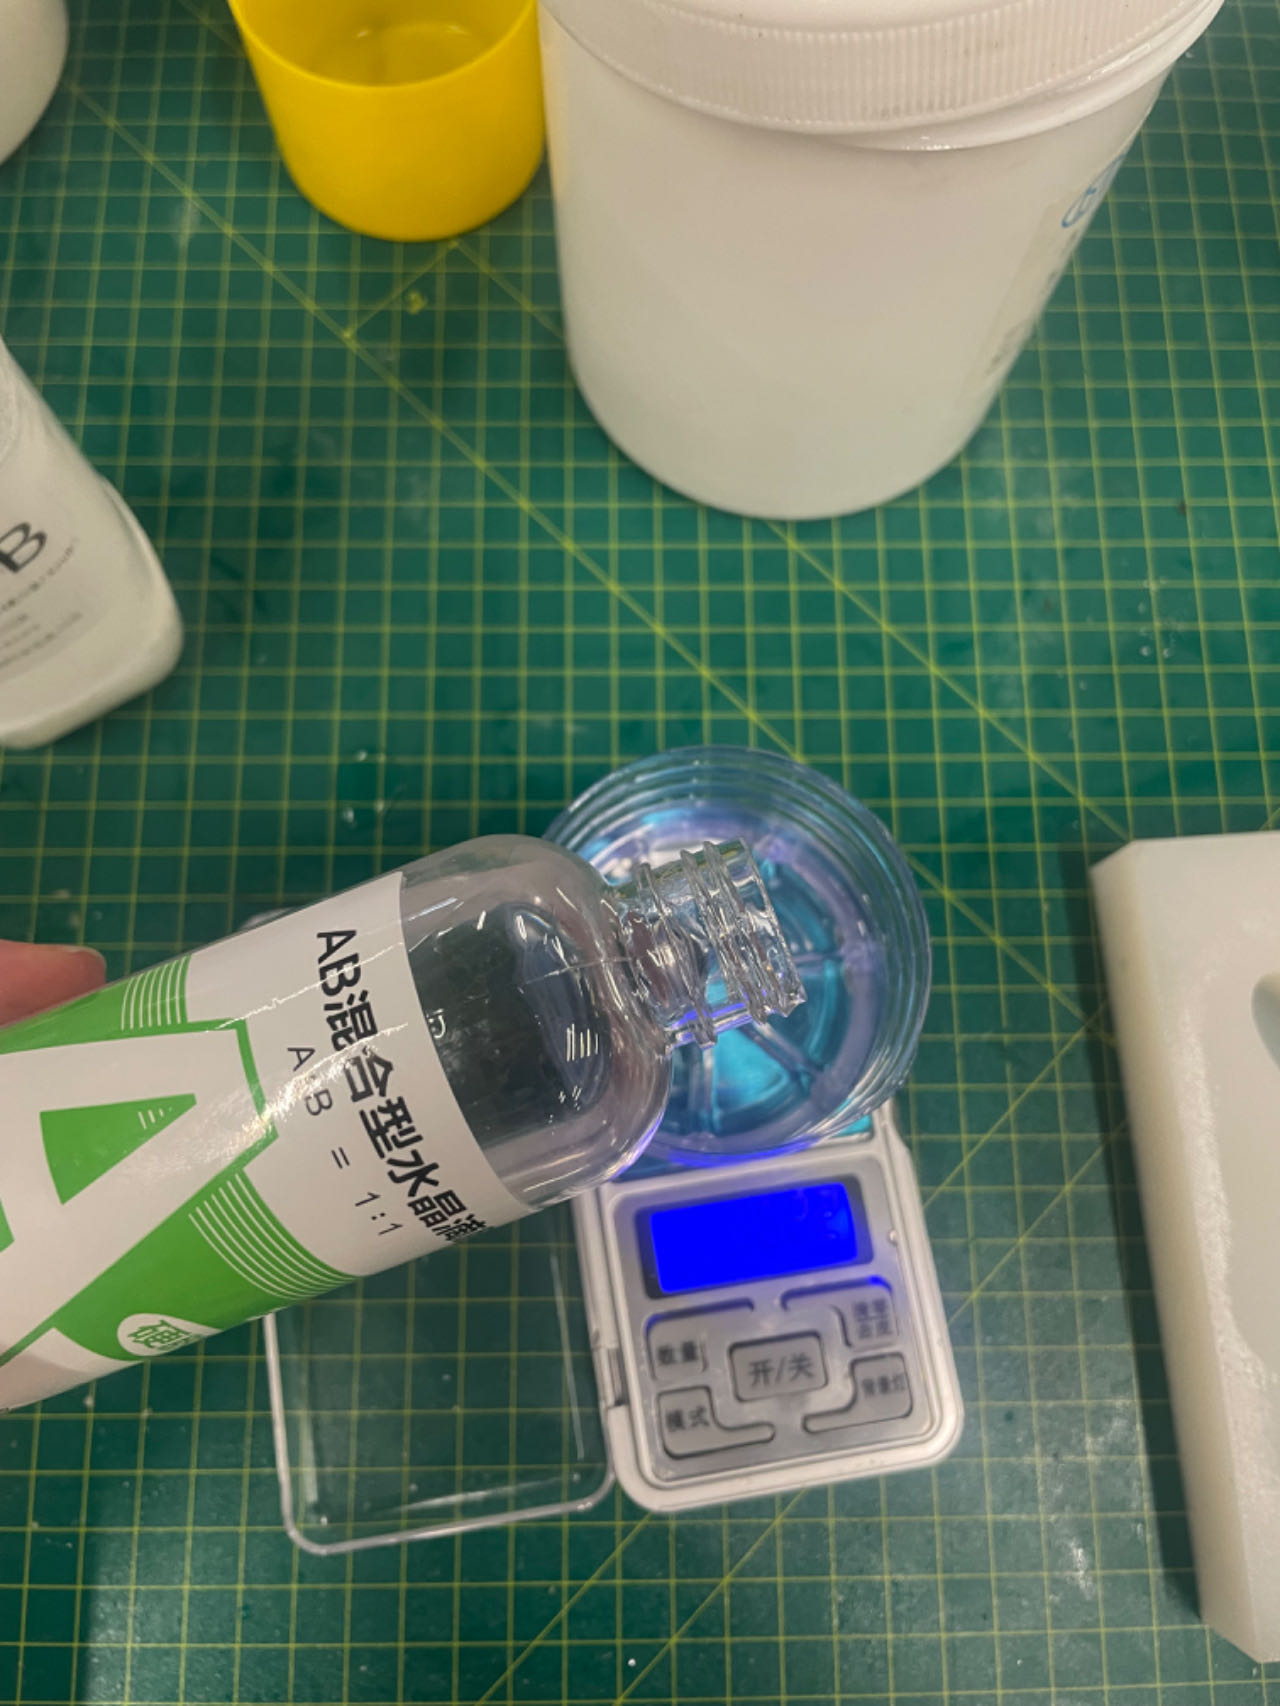
5. Weight the silicon and curing agent

6. Mix and stur them for 5 minuts, then pour the silicon into the box
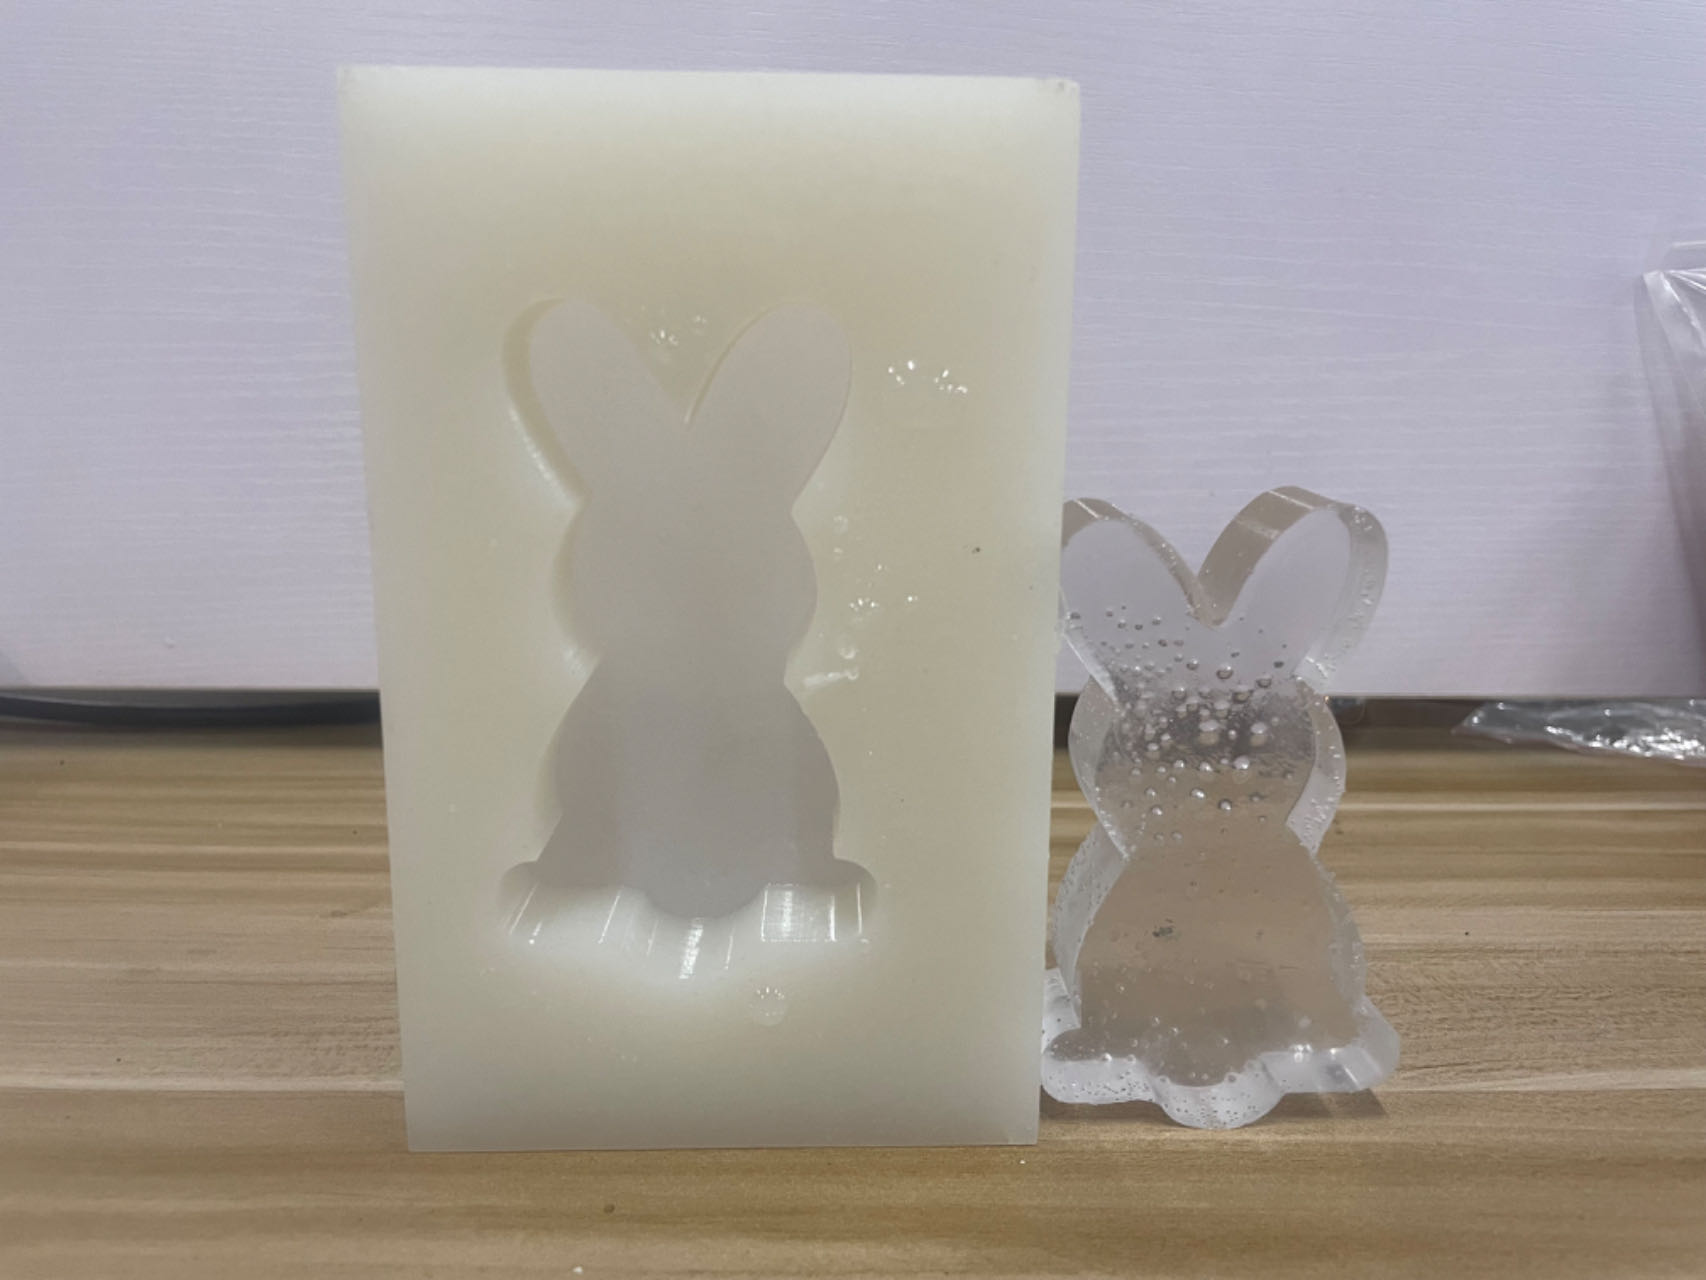
7. Waited 8 hours and get the mould out, it is perfect!
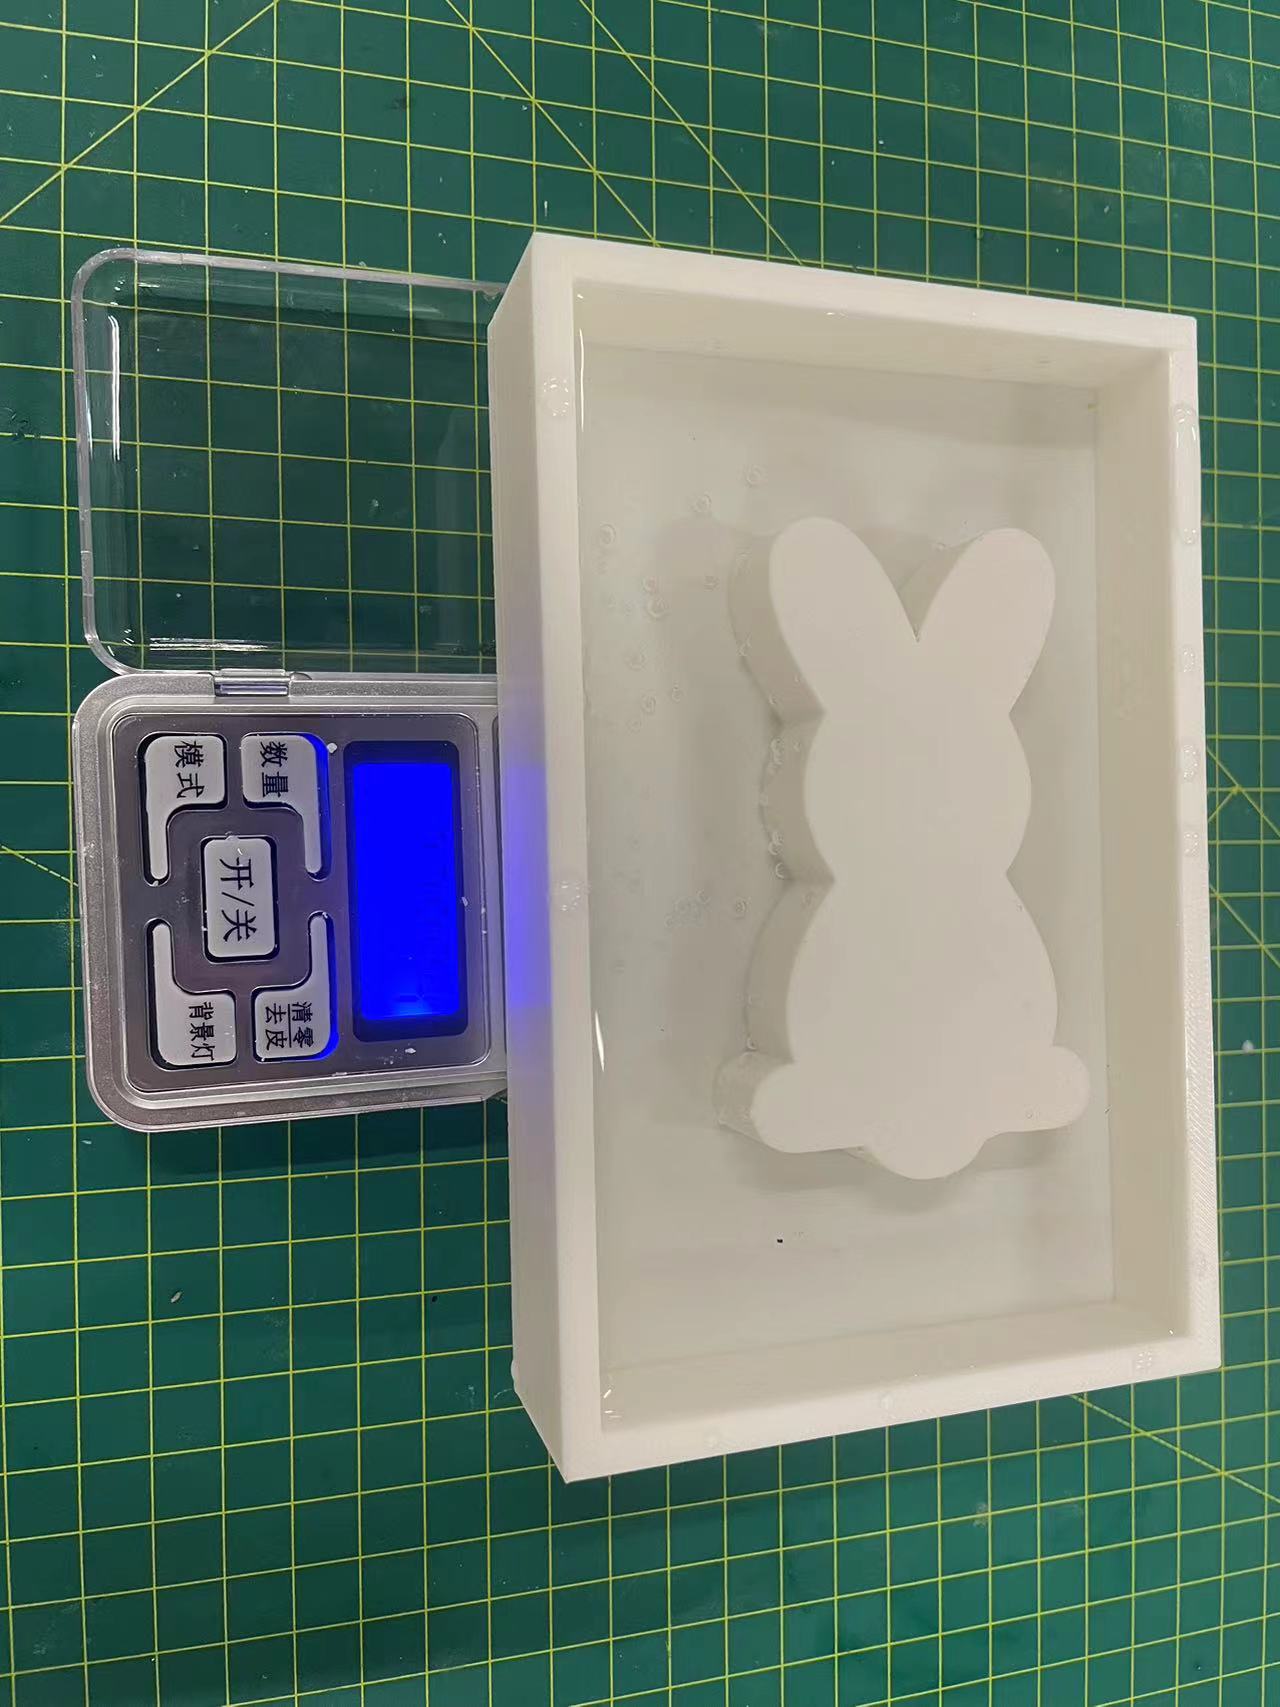
Step3. Use the mould to cast
1. Weight the mould
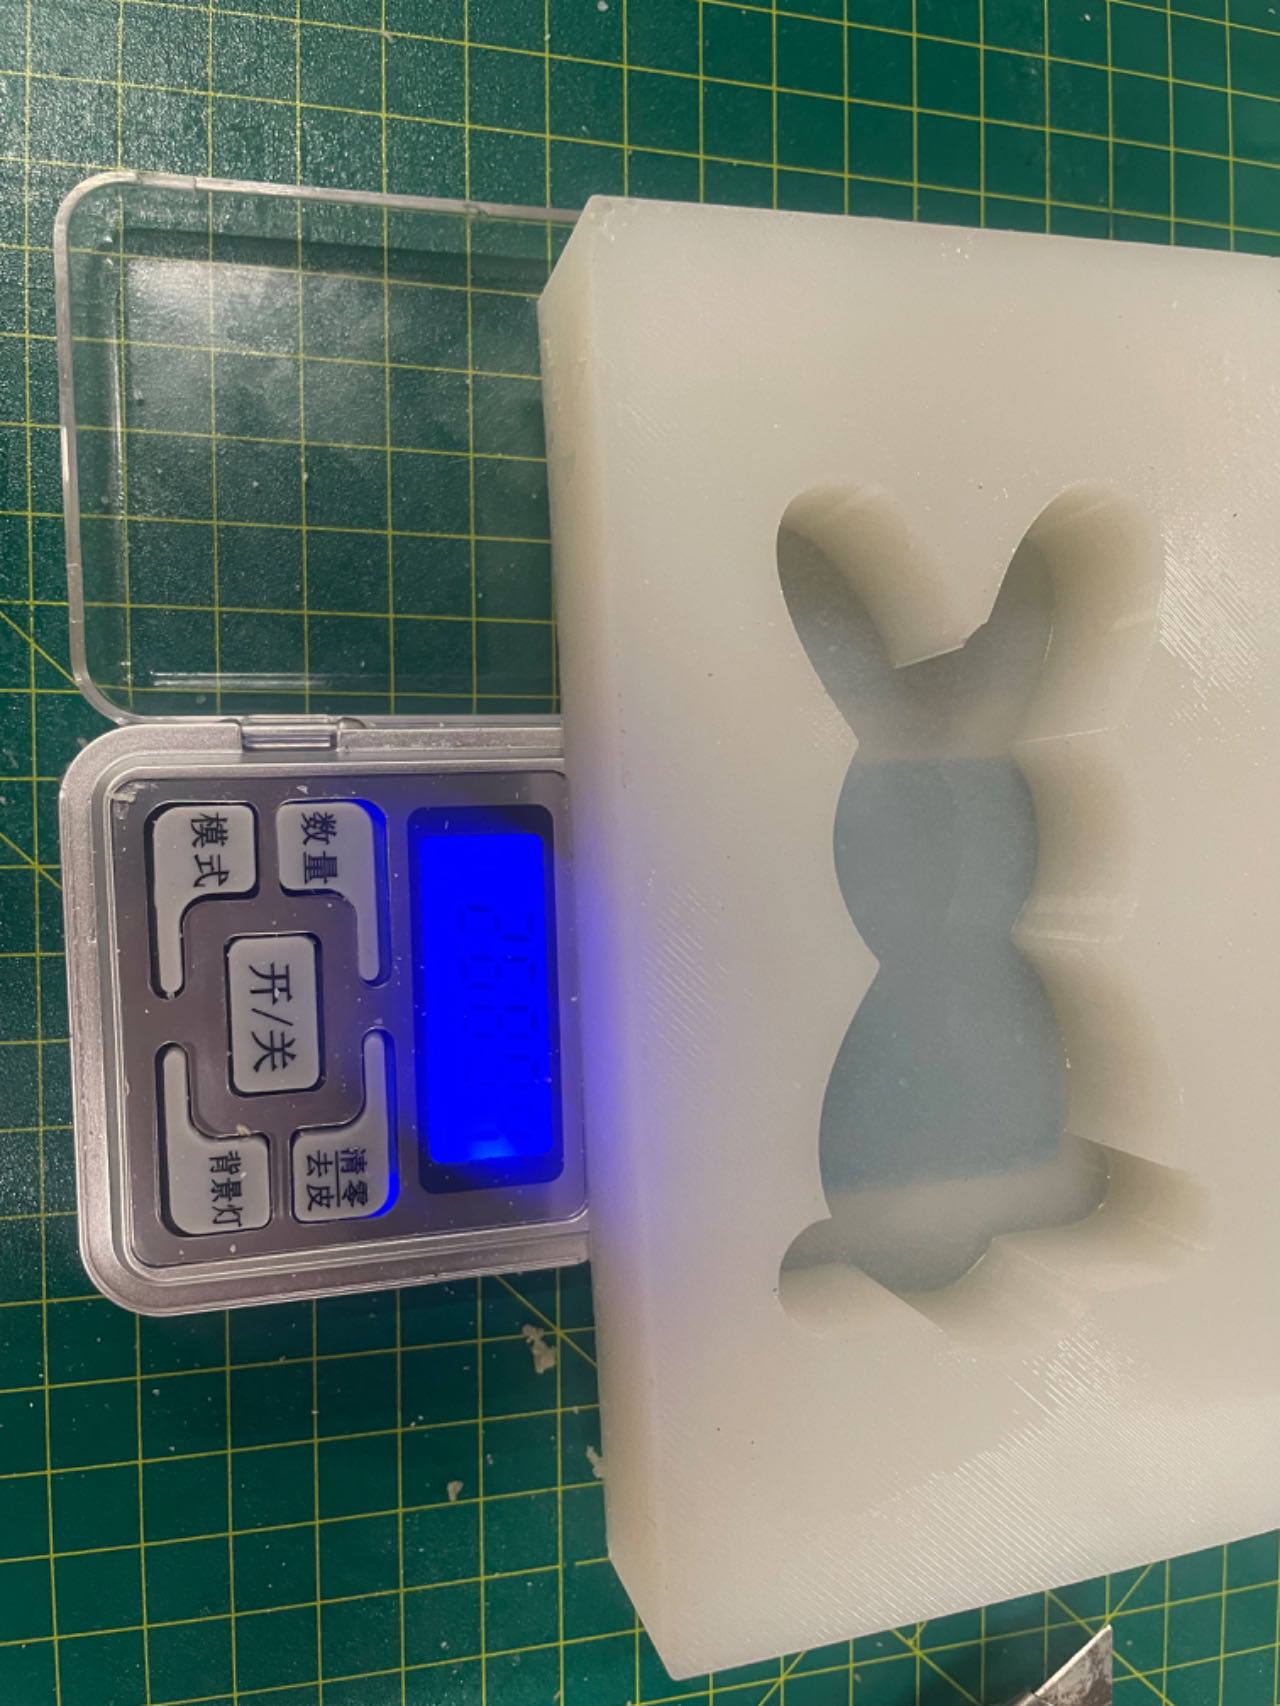
2. Weight the mould with water
3. Calculate the weight of water and convert to the weight of AB glue needed
3. Pour in the A glue and B glue and mix them for 1 minuts.
4. Pour mix of AB glue into the mould.
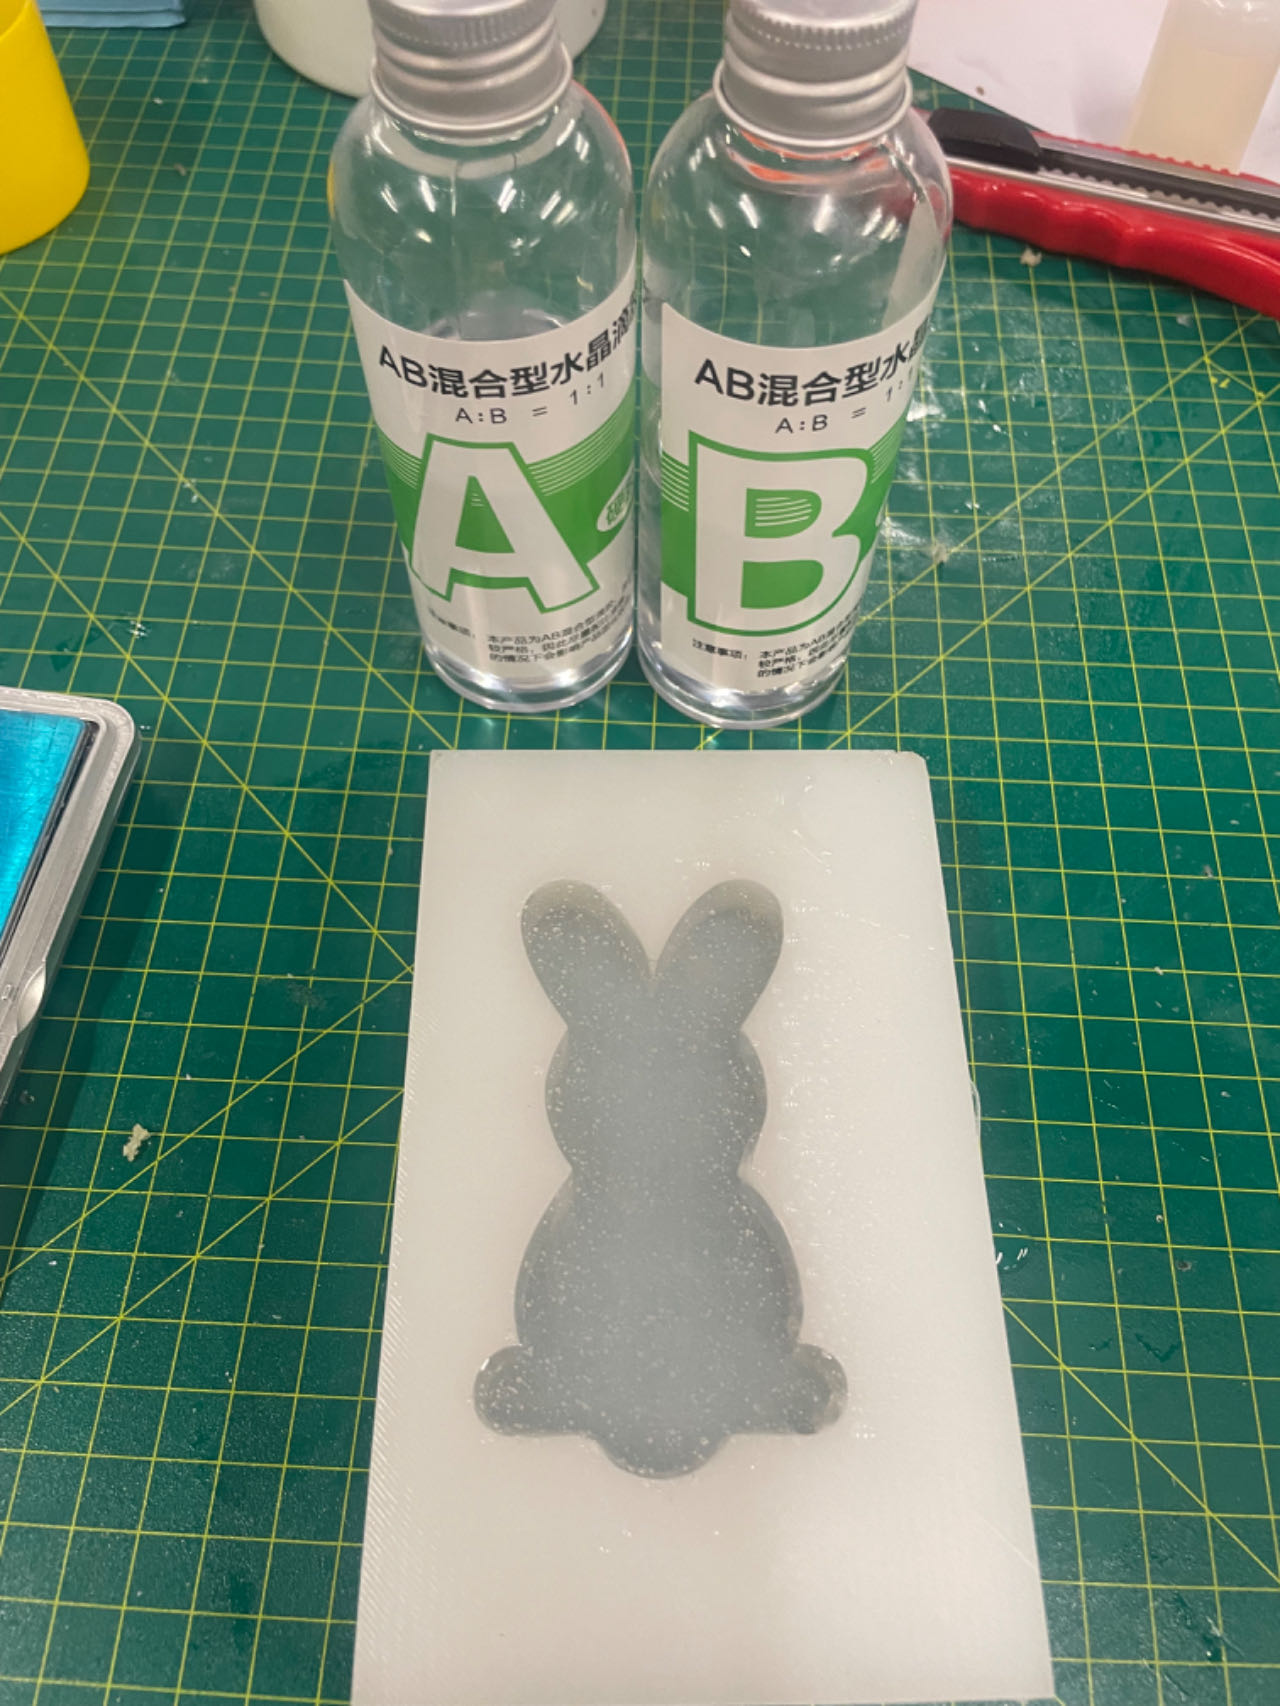
5. The AB glue I used needs to wait for 12 hours, so I put it outside for casting.
6. Finally, I got my cute Rabbit!