For the safety training, we were briefed by the instructors on the safety instructions when using the large format CNC. Special emphasis were placed on the rule that PPE (i.e. ear protection and goggles must be put on when the we are running the CNC machine. We were also told about the emergency stop switches of the machine, and to use it when something goes wrong.
As for the charterisation of the machine, we tested the different settings of the machine.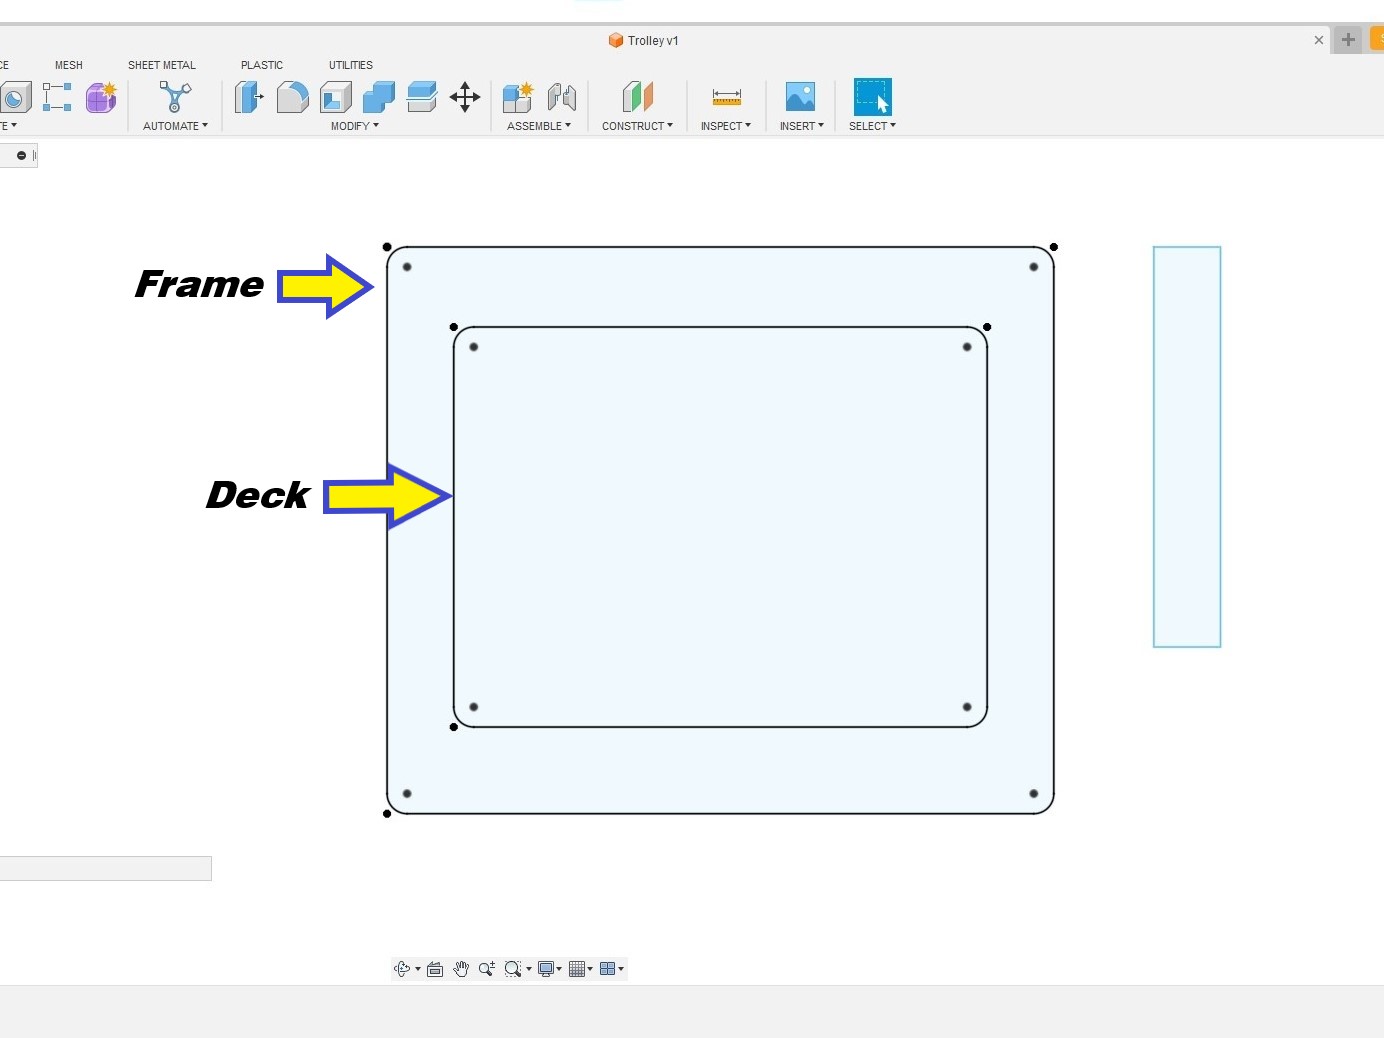 The third rectangle by the side is for the handle of the trolley.
Then, the joints are added to the rectangles. The small rectangle on the side had also been modified to the shape of the handle.
The third rectangle by the side is for the handle of the trolley.
Then, the joints are added to the rectangles. The small rectangle on the side had also been modified to the shape of the handle.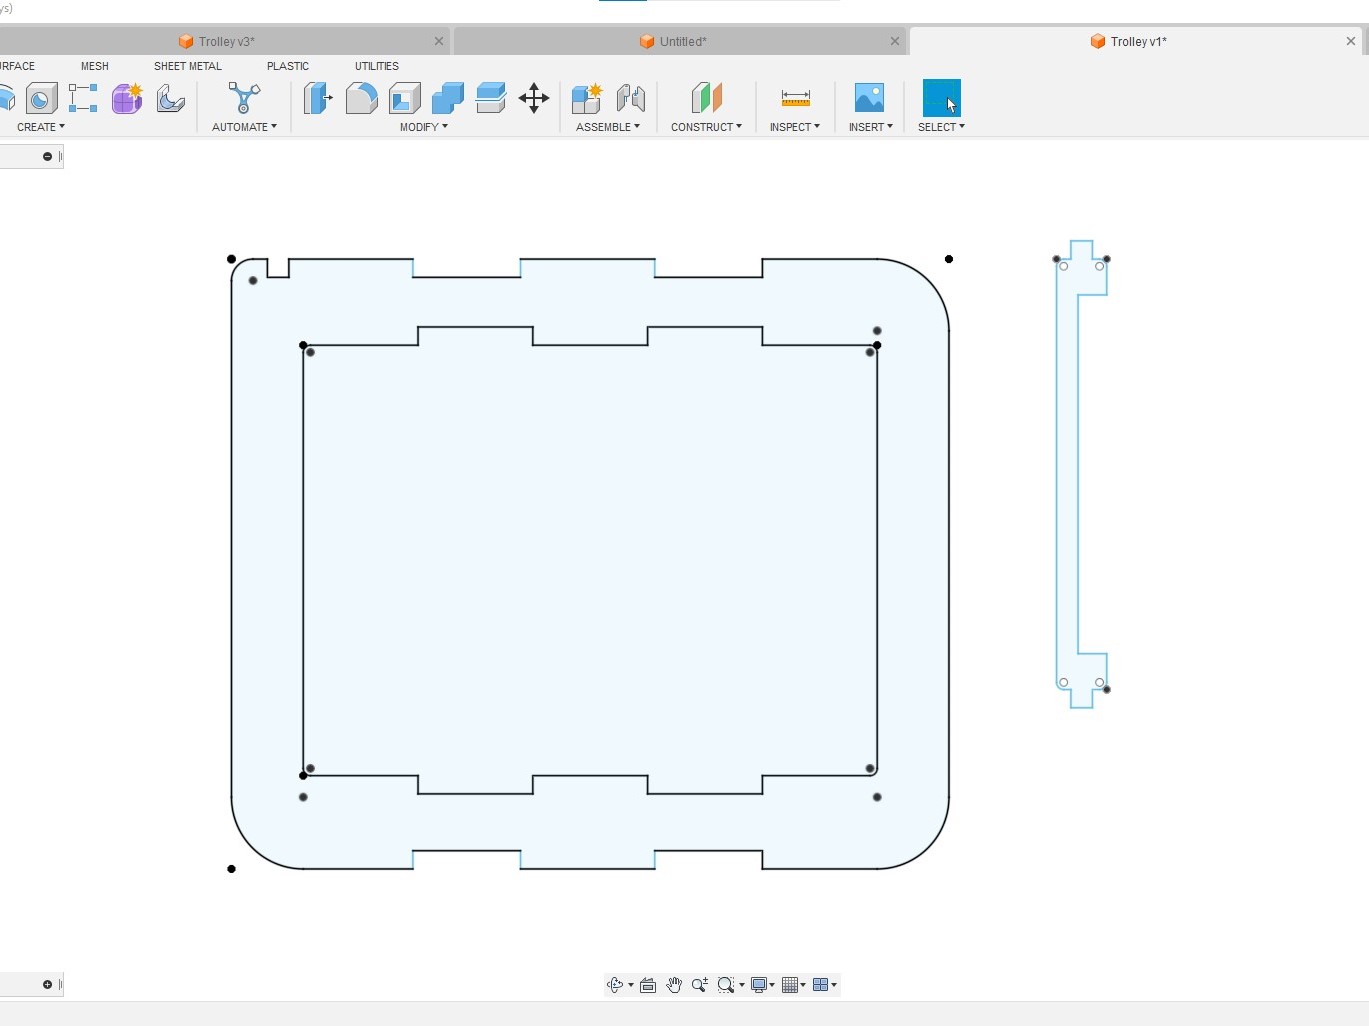 At this point, the design can be export as DXF files for machining. However, I decided to extrude the parts and do an assembly virtually in Fusion 360 to check the design .
 Except for the handle, I needed two copies of each parts. Therefore, for the virtual assembly, I made an additional copy for the deck and the frame. This is the benefit of having a symmetrical design. Instead of designing each part,
I only need design one set of the parts and duplicate, thus making it convenient and time saving.
Except for the handle, I needed two copies of each parts. Therefore, for the virtual assembly, I made an additional copy for the deck and the frame. This is the benefit of having a symmetrical design. Instead of designing each part,
I only need design one set of the parts and duplicate, thus making it convenient and time saving.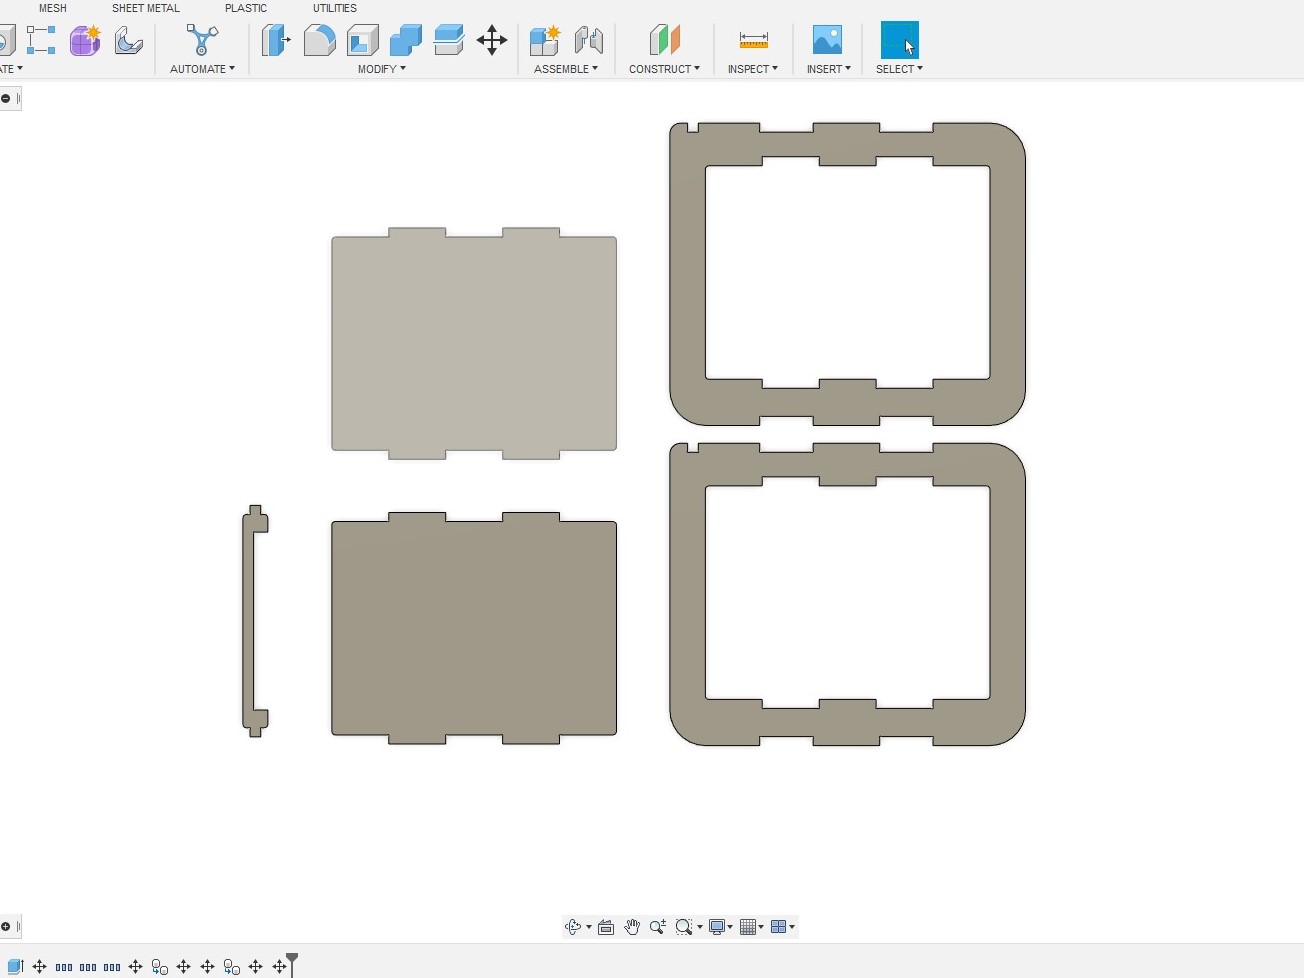 After that, I put all the parts together and found them to fit well.
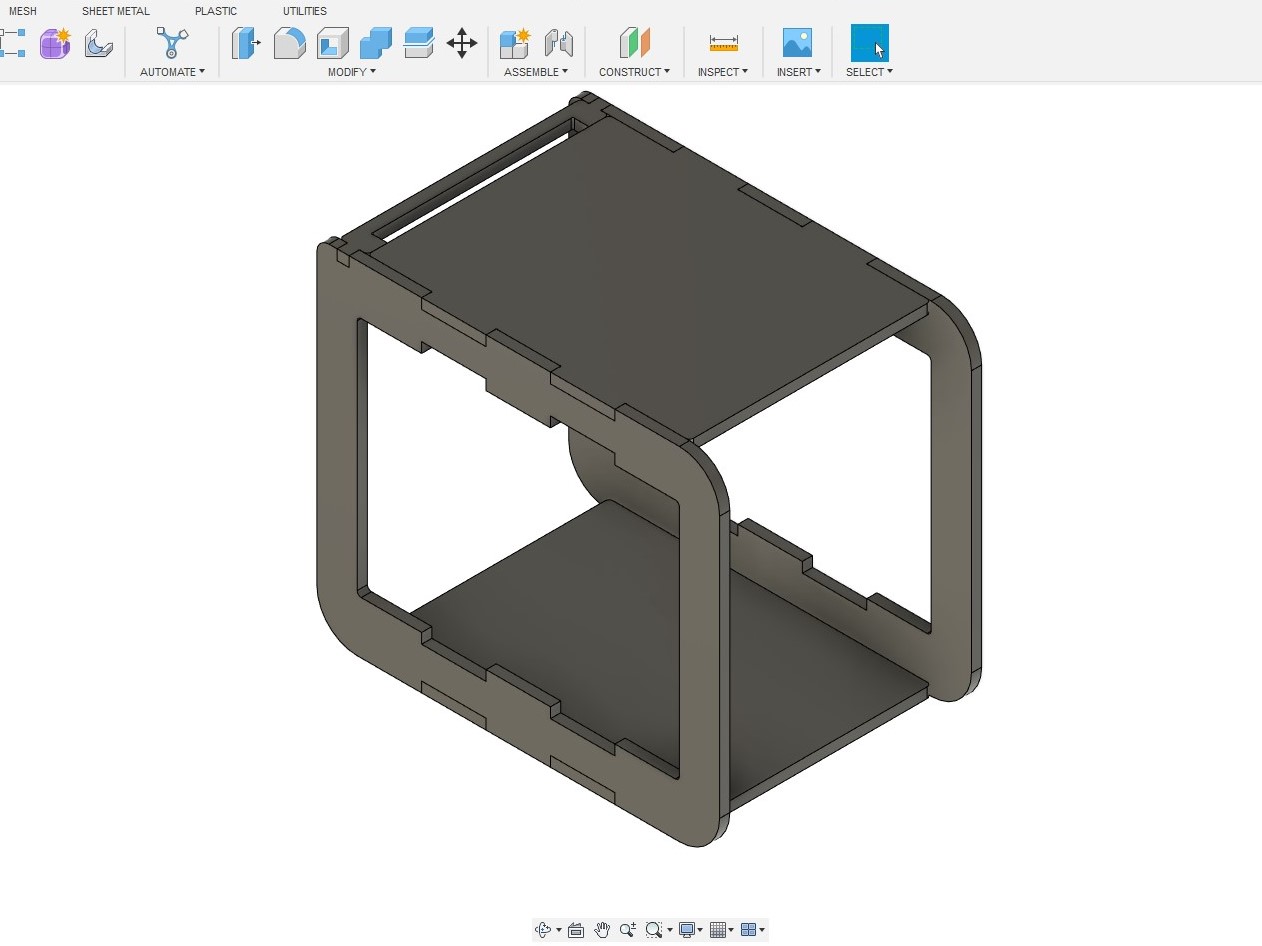 An additional point is that during the designing of the trolley, I install a dogbone add-in for Fusion 360. This add-in allows dogbone to be added by selecting the desired surface.
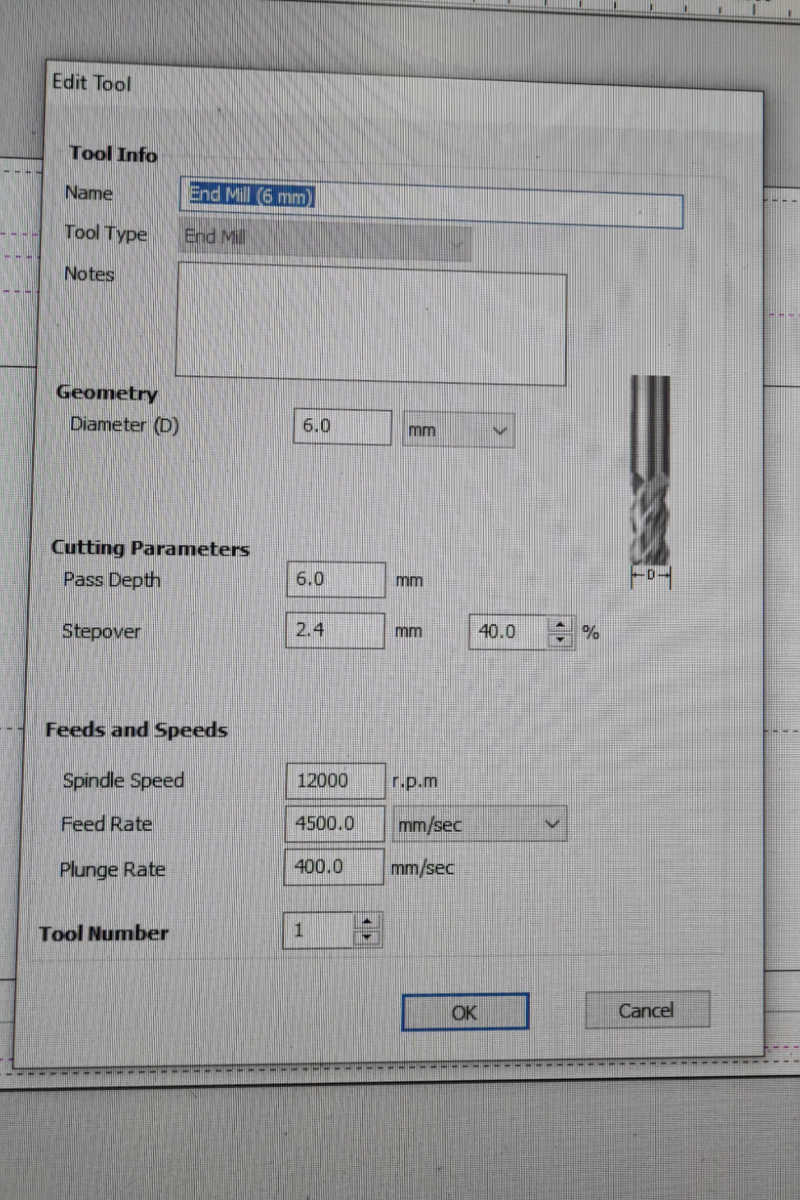 The GCode file that was generated was then submitted to the CNC milling machine via the machine's software, the NC-EAS(Y) Pro. The milling then began.
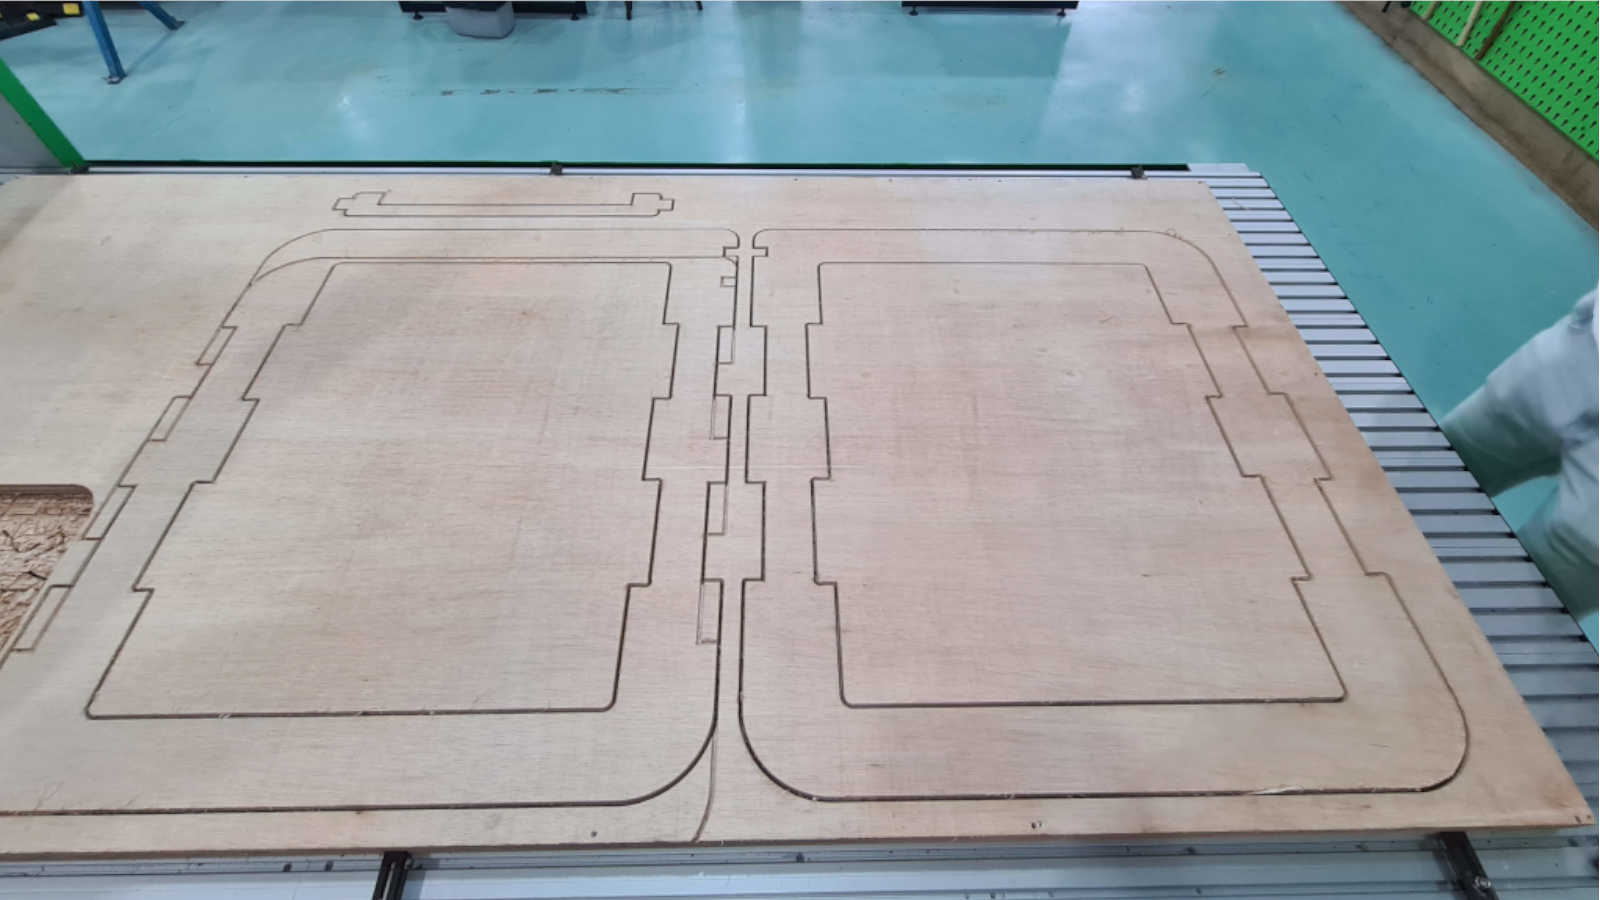 I decided to use a plank that was previously used to reduced wastage. I initially positioned the design wrongly on the software, making it too low. That is why there are overlapping lines on the workpiece on the right. Fortunately, it was discovered during the first pass,
so it did not effect the workpiece much.
The workpieces were then taken out from the plank. The workpieces had 3mm tabs added around them to keep them attached to the plank during the milling, but most of the tabs broke off easily when the material were being removed
from the milling machine.
I decided to use a plank that was previously used to reduced wastage. I initially positioned the design wrongly on the software, making it too low. That is why there are overlapping lines on the workpiece on the right. Fortunately, it was discovered during the first pass,
so it did not effect the workpiece much.
The workpieces were then taken out from the plank. The workpieces had 3mm tabs added around them to keep them attached to the plank during the milling, but most of the tabs broke off easily when the material were being removed
from the milling machine.
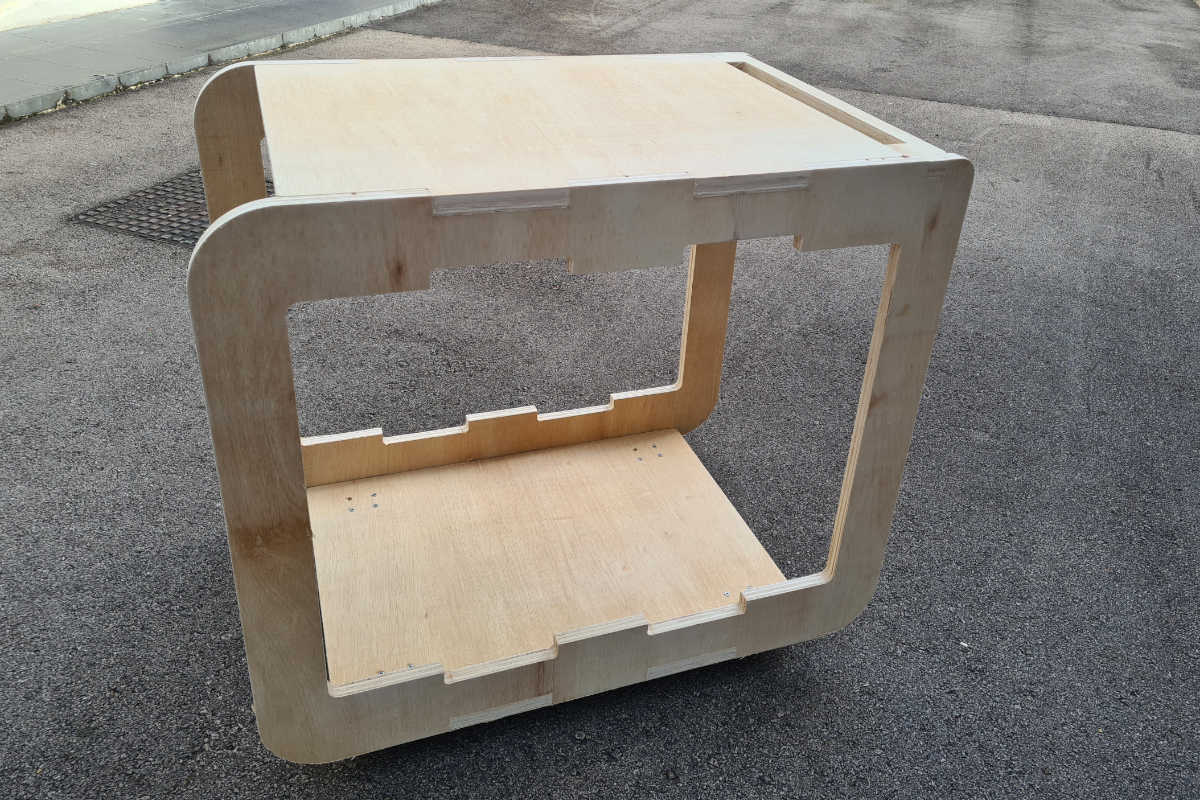
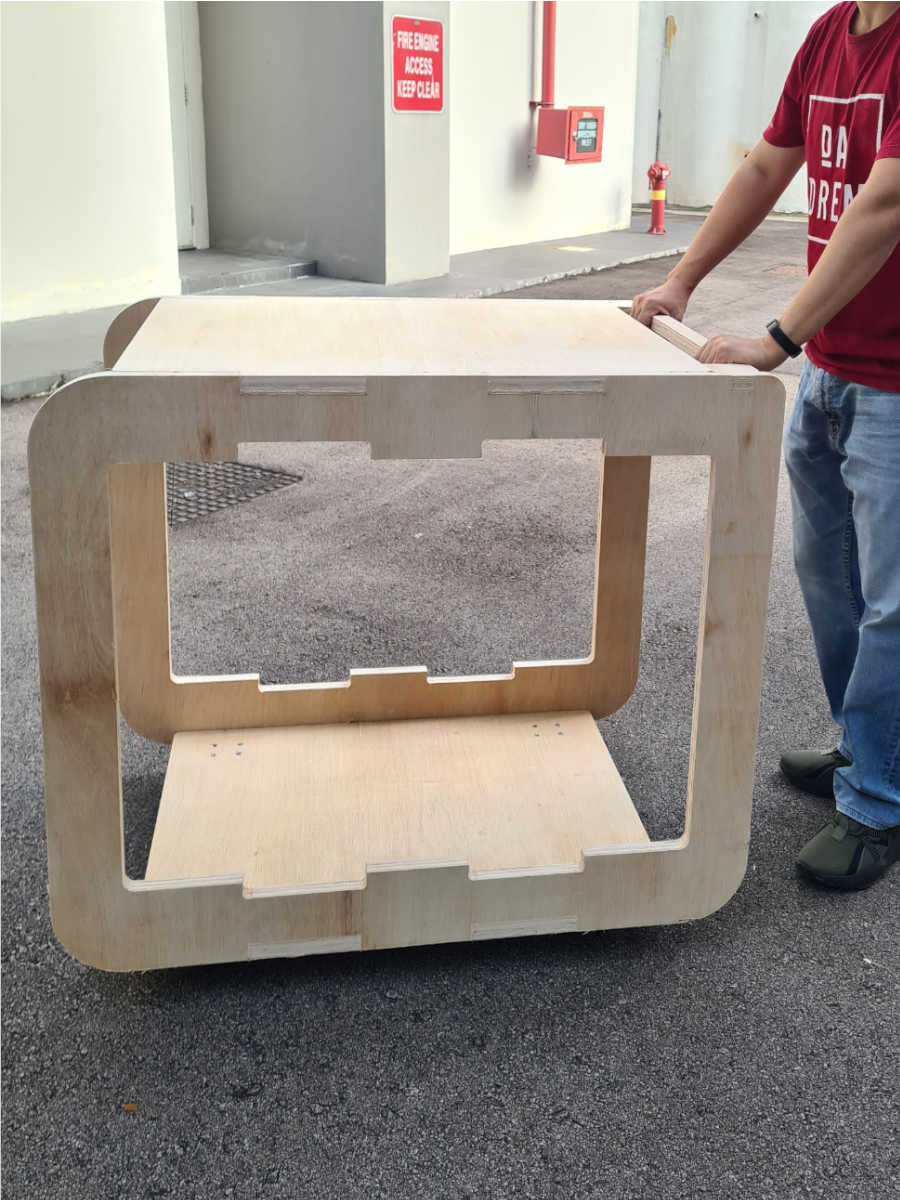
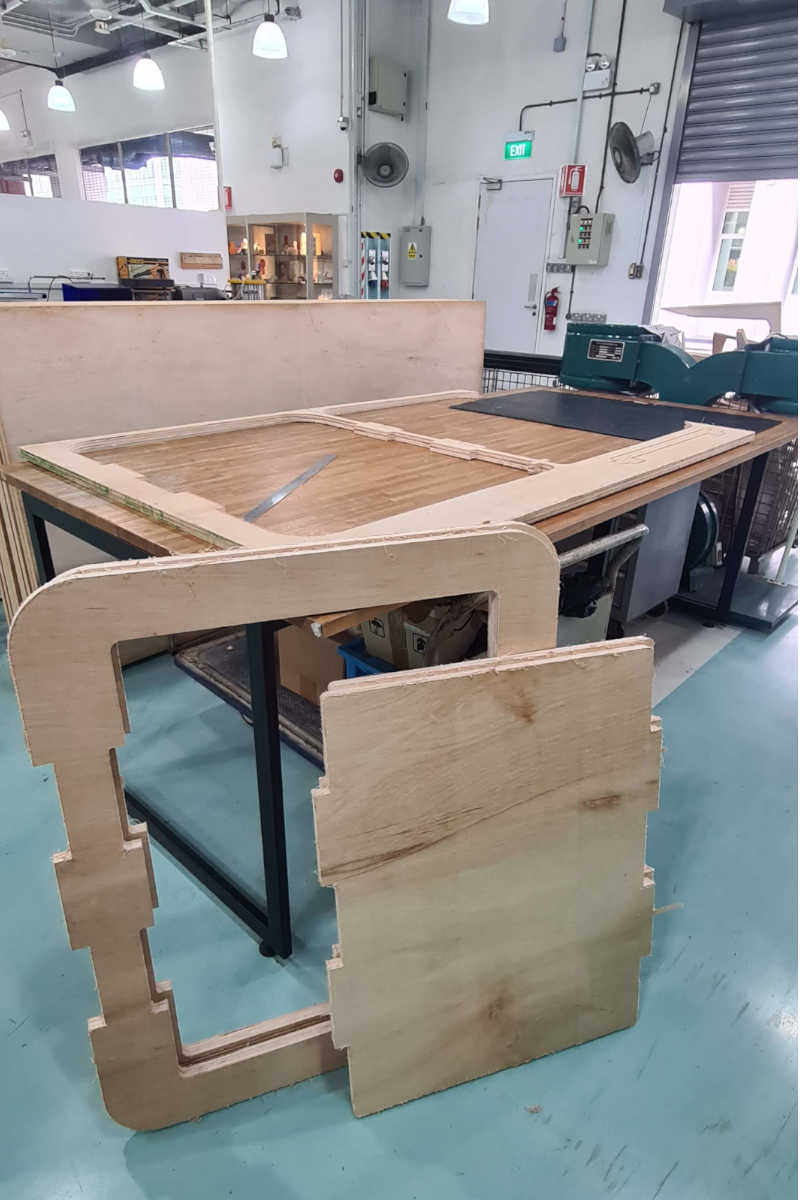 One thing I should had done is to mill the holes for inserting the wheels. I didn't do that and ended up having to do the extra step of drilling in the holes using hand drill.
Finally, after putting the wheels at the base, the workpieces are pressed fit together and sanded down to give the trolley.
One thing I should had done is to mill the holes for inserting the wheels. I didn't do that and ended up having to do the extra step of drilling in the holes using hand drill.
Finally, after putting the wheels at the base, the workpieces are pressed fit together and sanded down to give the trolley.