Week 2: Computer Aided Design
Updates
[28/04/2023]- Added section Modeling with Gimp.
- Added section Evaluating 3D and 2D Software [08/03/2023]
- Model a Possible Final Project: content added.
- Design files: link fixed.
Assignments
The assigments for this week is:Model (raster, vector, 2D, 3D, render, animate, simulate, ...) a possible final project, compress the images and videos, and post a description with the design files on the class page.
Model a Possible Final Project
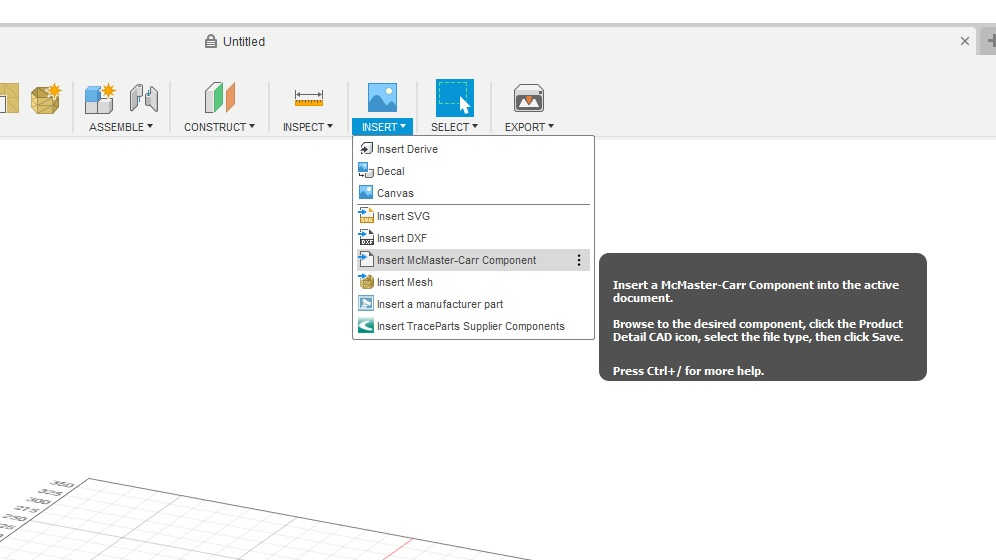
In week 1, I had proposed fabricating a personal mobility stool as a possible final project.Therefore for this week's assignment, I decided to model this project using Fusion 360. To begin, I first launched Fusion 360. Then, using the insert function, I imported the model file of the wheels from McMaster-Carr:
 After a quick search on the McMaster-Carr pop-up windows, I found the wheels I wanted and proceed to download the CAD file, which has to be in STEP format:
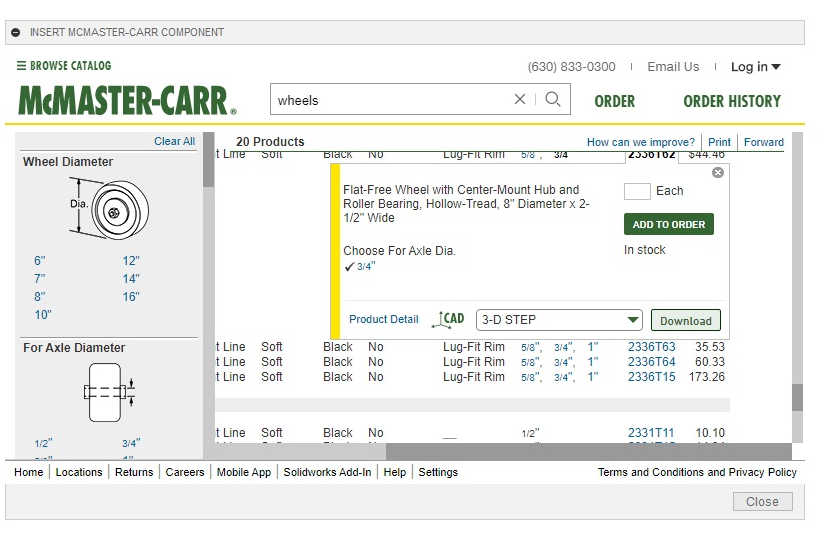 When the downloading was completed, the wheel model automatically showed up on the workspace. I procceeded to duplicated the models to give 4 sets of the wheels.:
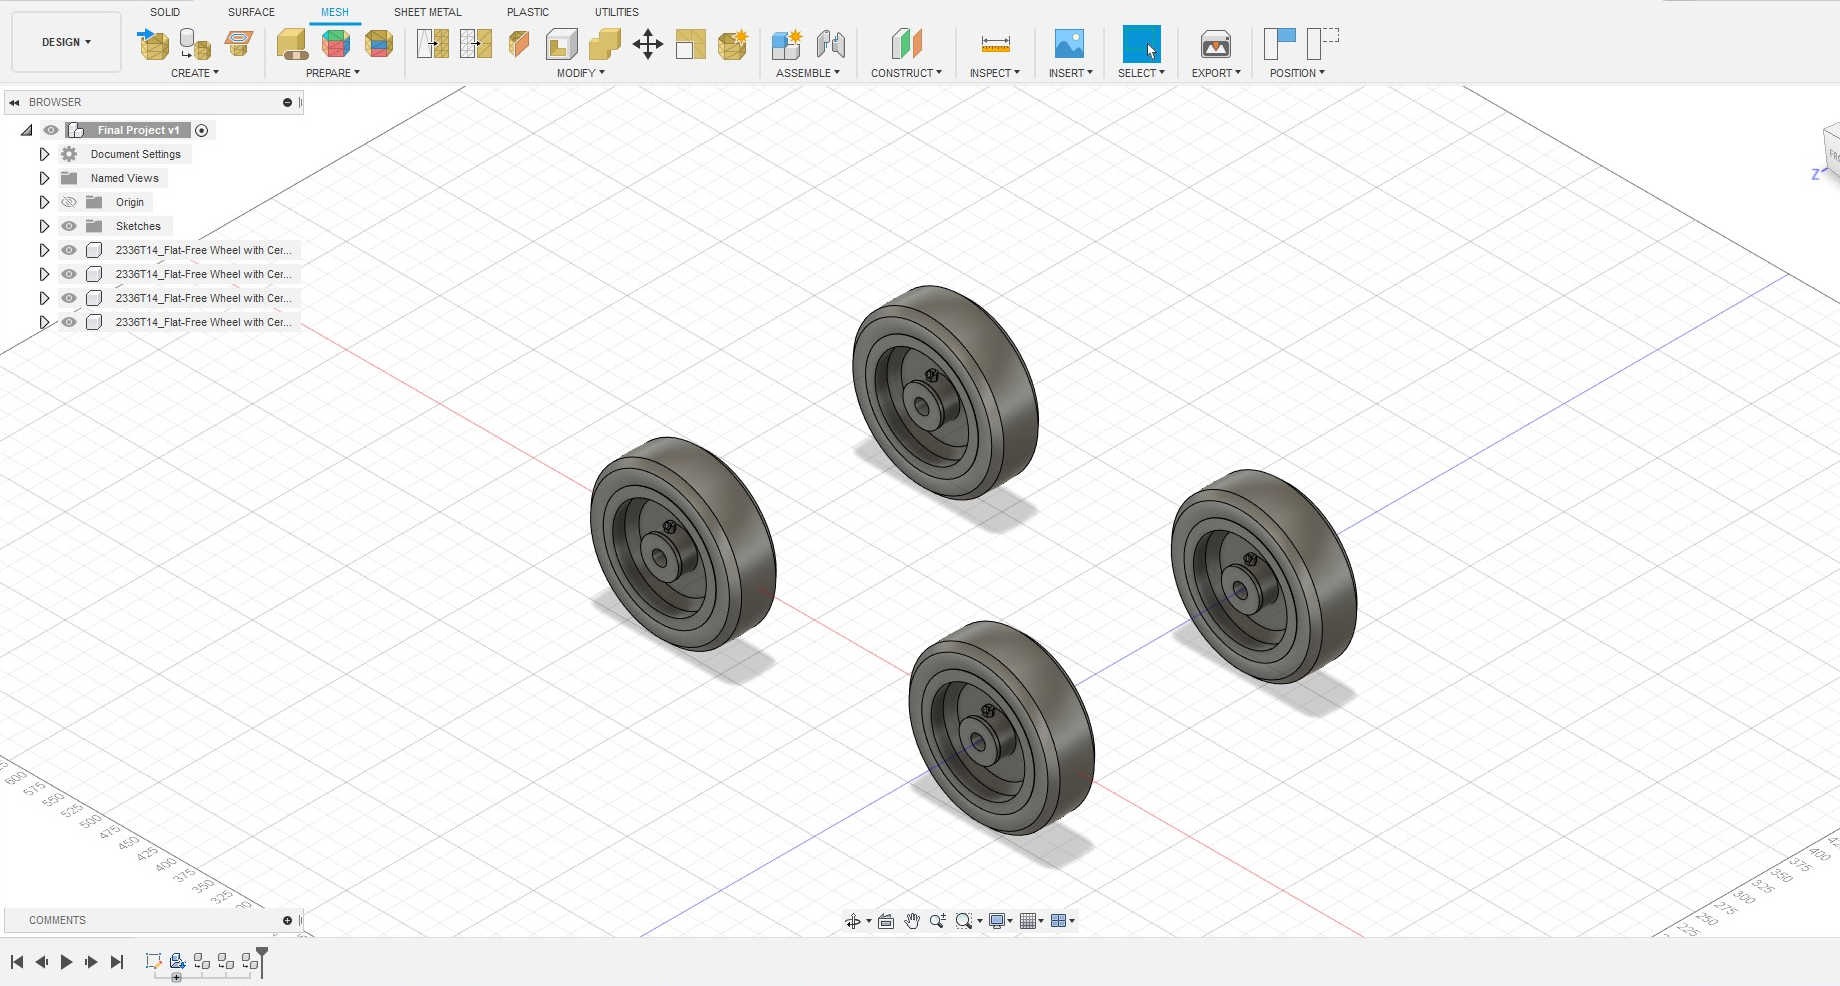 To model the main body, I first created a cube. At this stage, I had yet to decide on the dimensions. Therefore, I size of the cube was what I felt is reasonable.
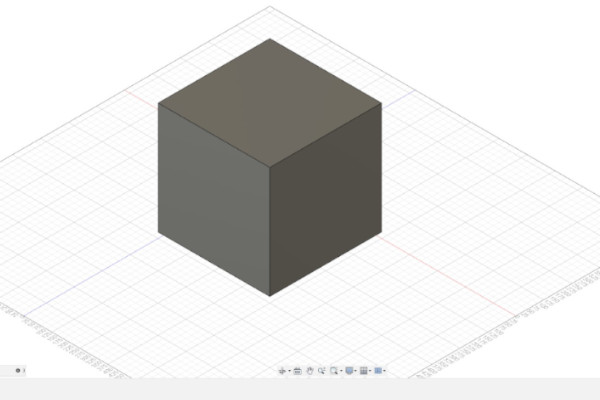 To the cube, I modified the cube using the fillet and shell functions.
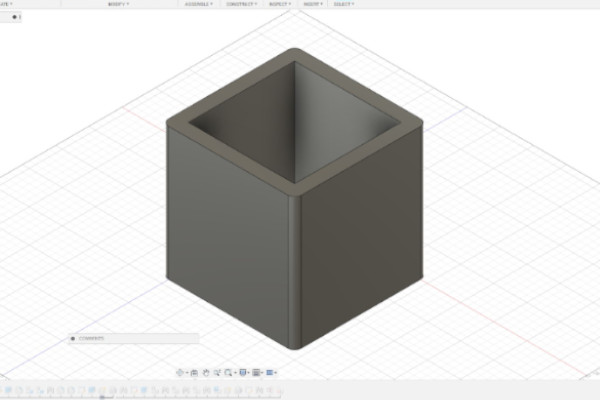 In the same manner, I created the cover of the stool. I only applied fillet to the cover. Then, I change to the Render interface to change the skin of the model.
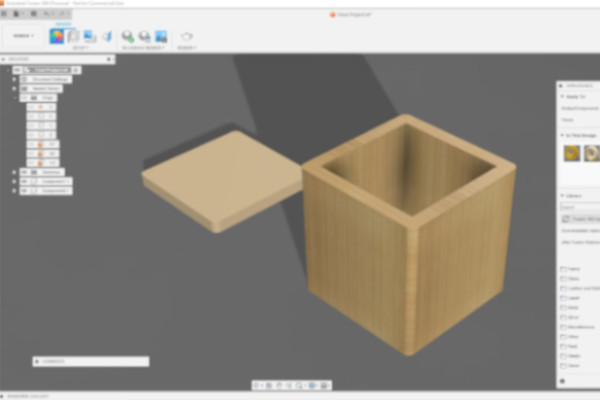 Using the Joint function under the Assemble tab, I joined the cover and the box together to create the stool model.
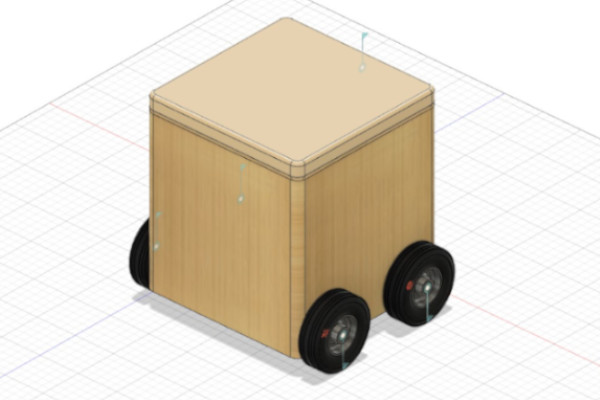
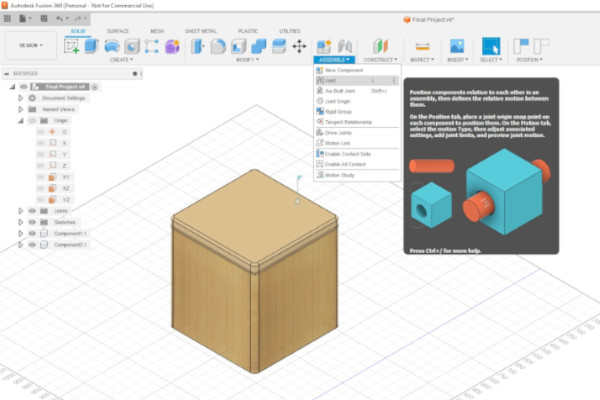 The next step was to join the wheels to the stool. To ensure the wheels were joined at the correct position, I added and aligned two small cylinders to the stool models to act as guides for the wheels.
The wheels were join to each end of the stool model.
The next step was to join the wheels to the stool. To ensure the wheels were joined at the correct position, I added and aligned two small cylinders to the stool models to act as guides for the wheels.
The wheels were join to each end of the stool model.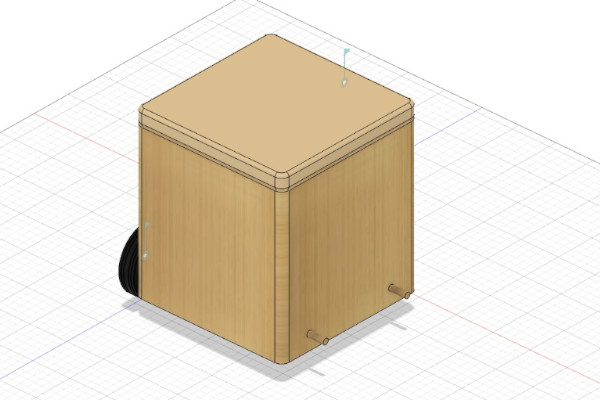 After the wheels are joined to the stool, the main body was created. I added decal to the wheels so as to make the turning of the wheels more obvious during the animation. The completed model was ready for rendering.
Rendering the Final Project Model
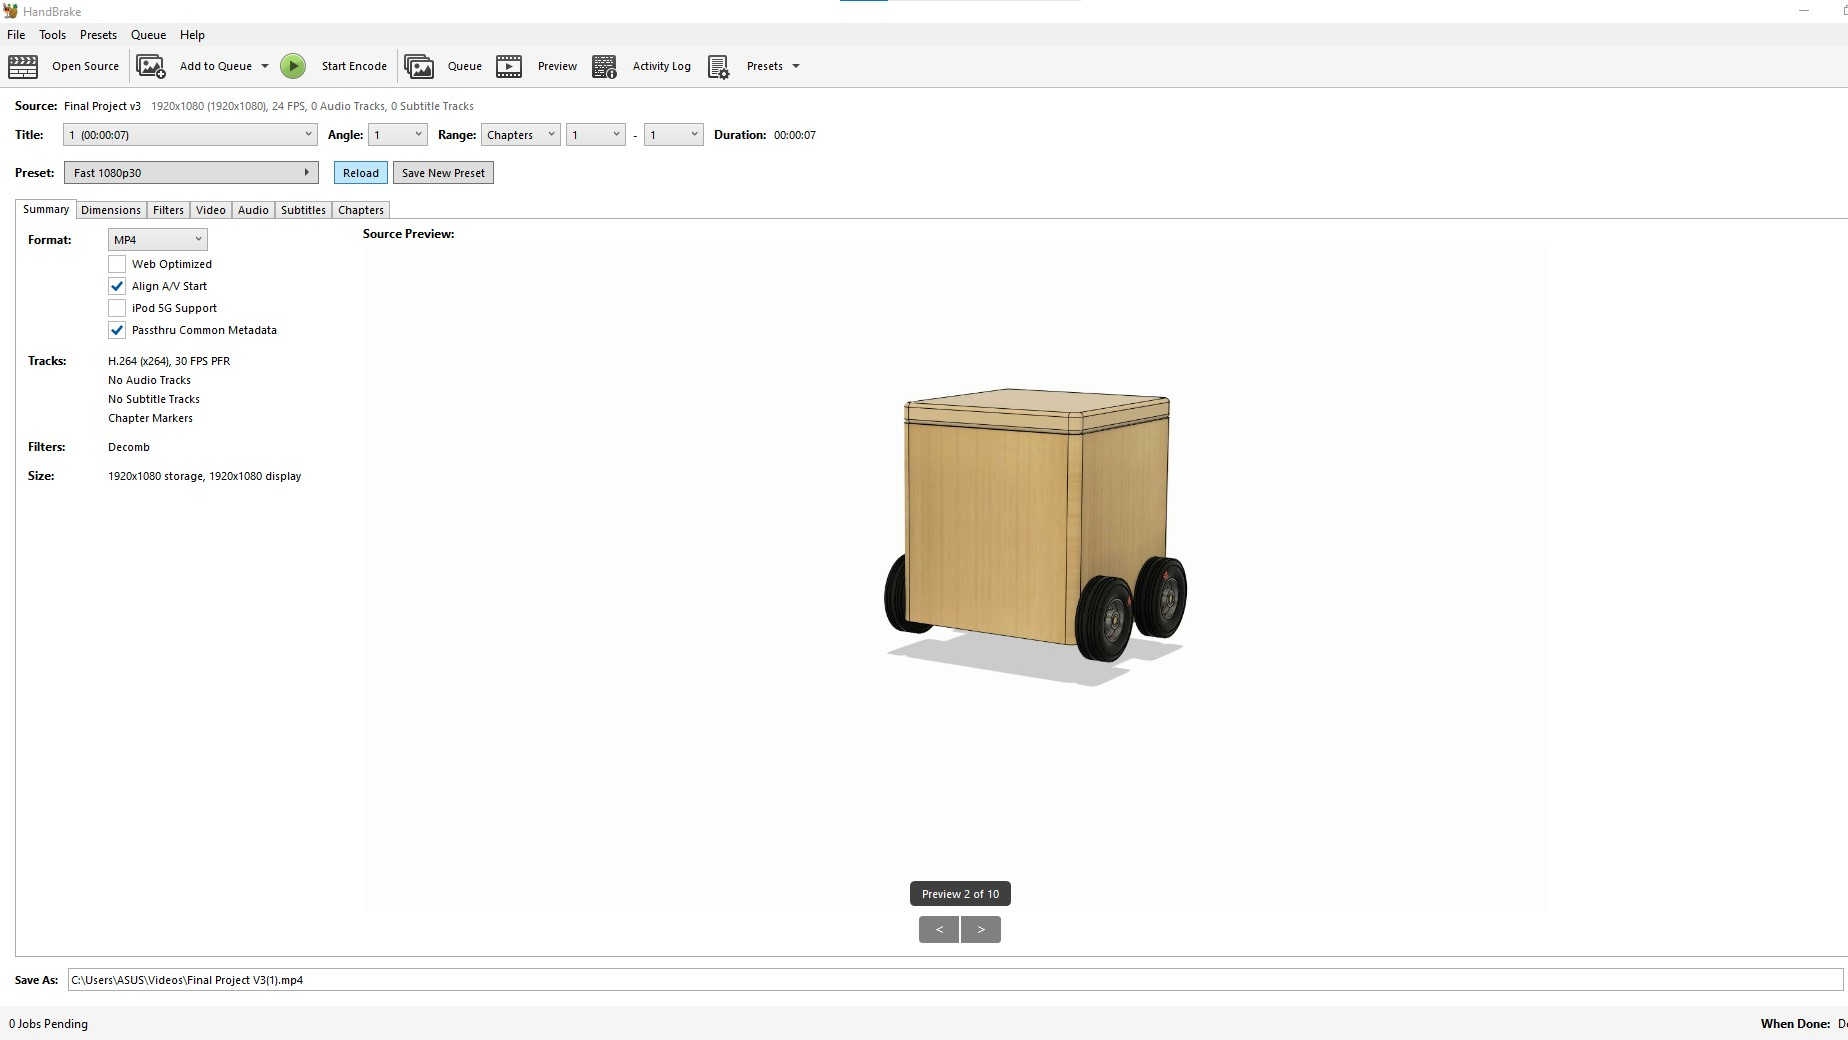
Follwing the instructions given for Fusion 360 render in the tutorial page, I was able to render the final project model as below: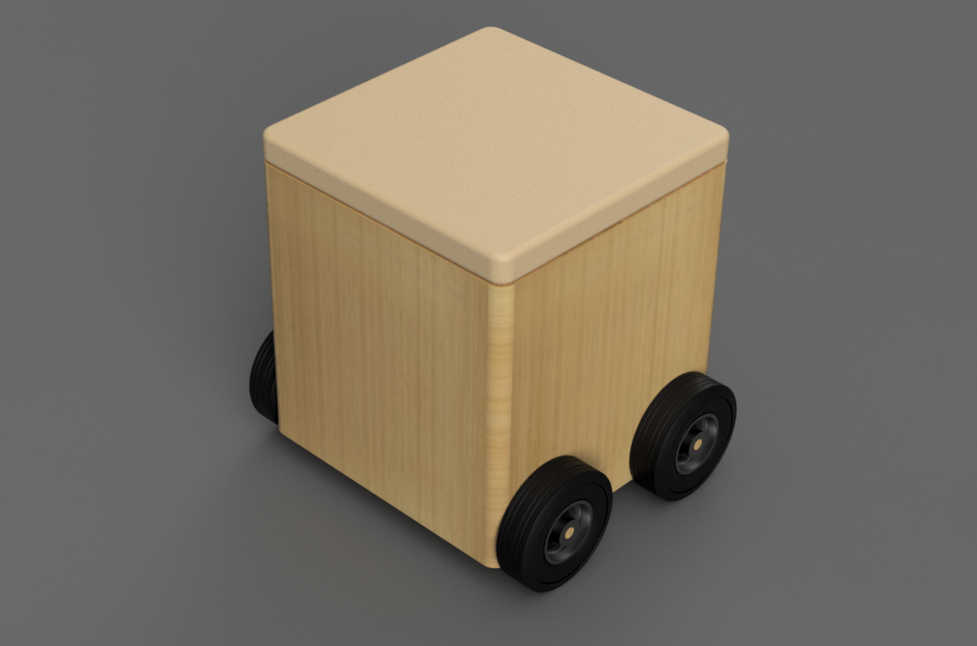 The initial idea of the final project is that it is made of wood/bamboo and have a light-colored leather seat cover, but these might change as the project develops.
Animating the Final Project
To animate the project model, I took reference from Product Design Online's Youtube video on how to use Fusion 360 animation workspace and also did a bit of my own exploring.I was able to create a short animation as below:
I realised that if I change the pivot point of a component, I will not be able to animate the movement of that component. Therefore, I was unable to animate the opening and closing of the seat cover using the animation workspace in Fusion 360. I still wanted to animate the movement of the seat cover. Therefore, I animated the seat cover joint using the animate joint function in the model workspace and recorded the screen by pressing Windows logo key + Alt + R: There are still a few features that are missing from the model, such as the foot pedal for navigation. However, as a way to communicate the main idea of the project, the rendering and animation of this simple model is enough for now.
Compressing the Images and Videos
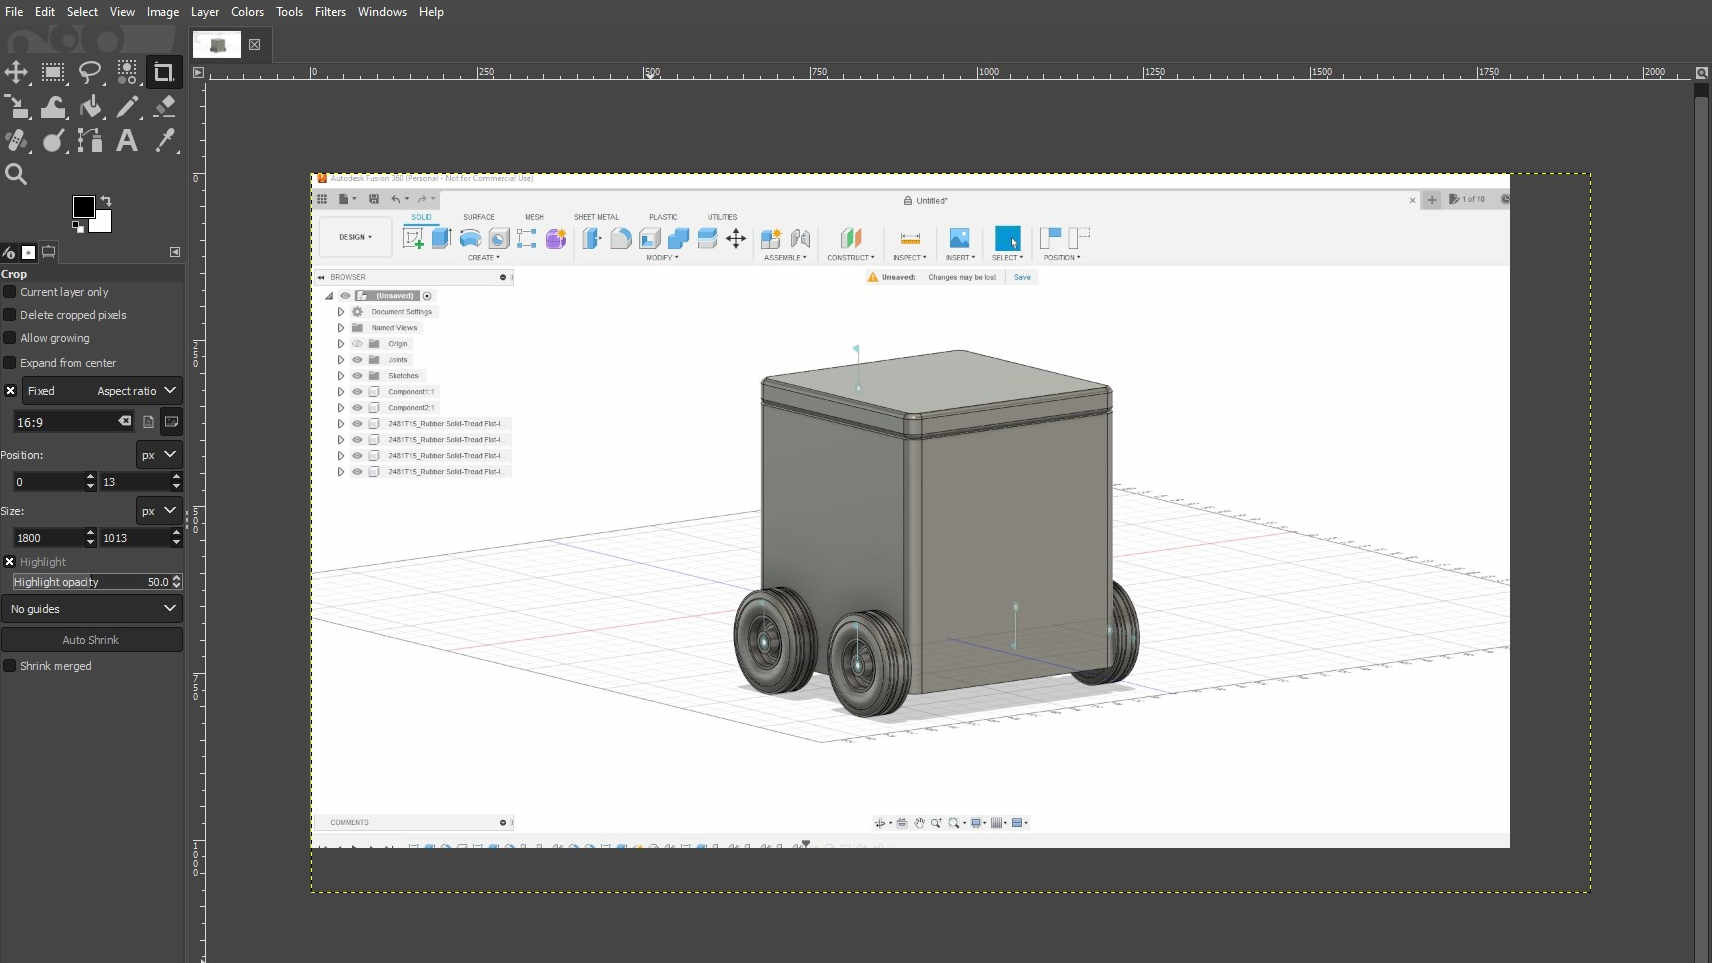
Gimp was used to compress the images with the following steps.First, the image was opened in Gimp and cropped:
 Next, the image was exported, with the quality of the image set to the lower end (i.e., 40 or lower):
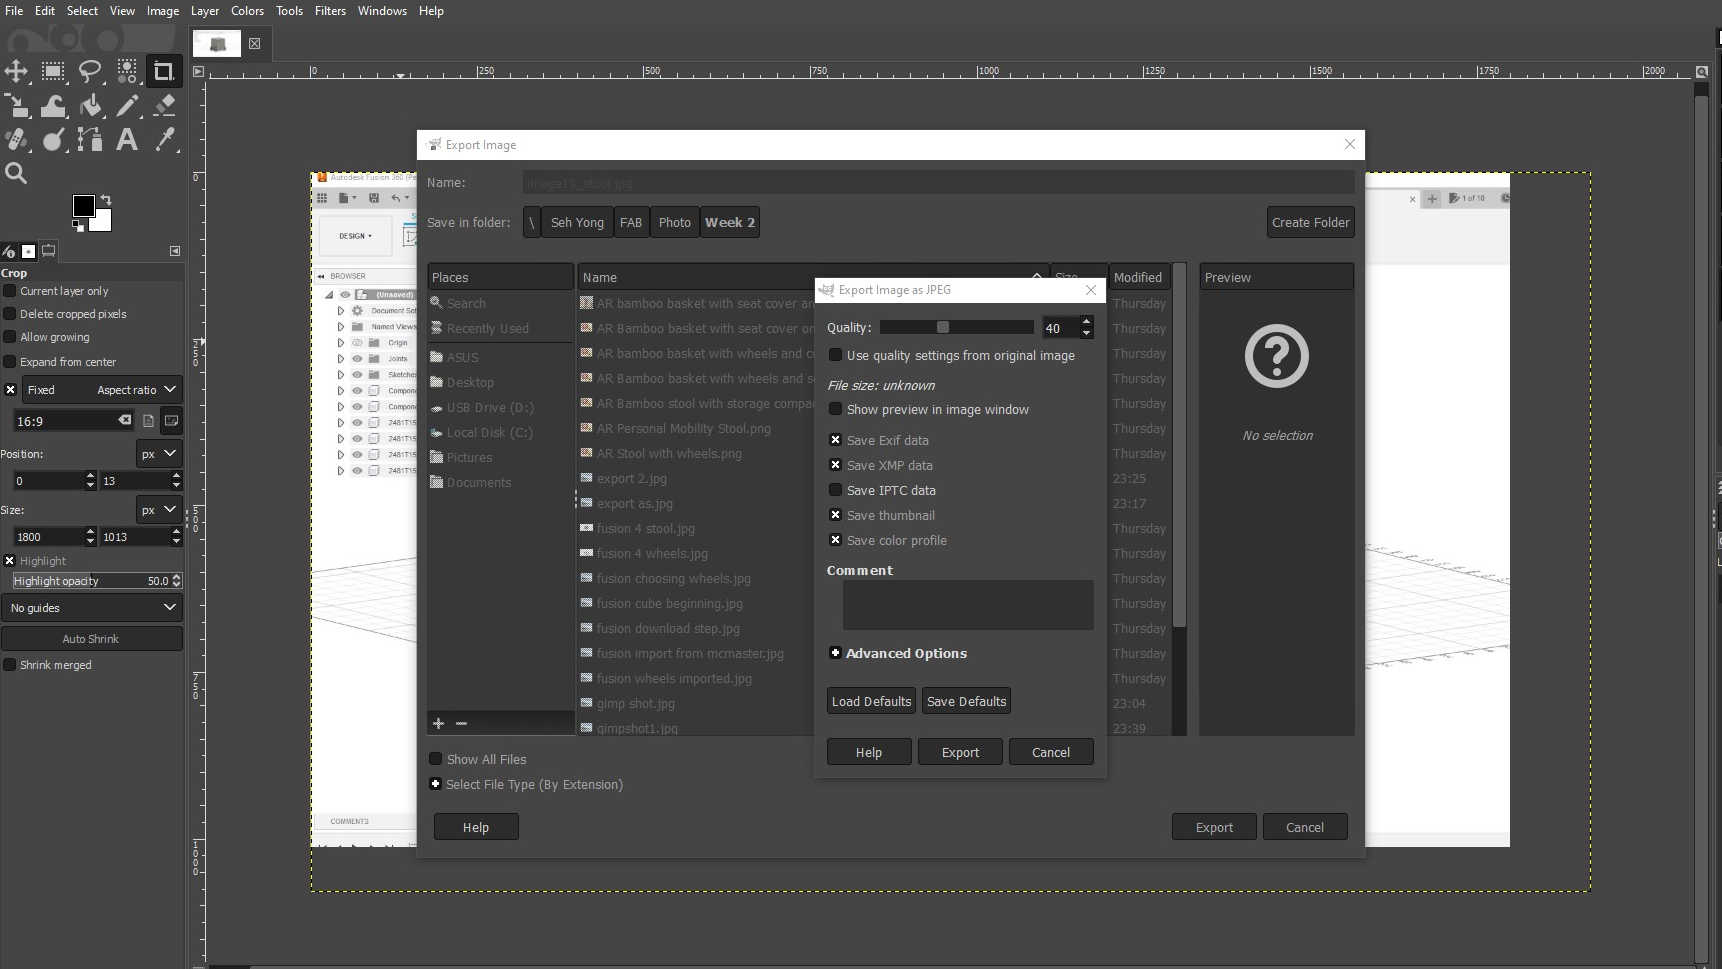 After the image was exported, the size was checked. In this case, the size of the compressed image is 100kb.
As for the videos, Handbrake video converter was used for the compressing.
To compress the video, Handbrake was first started and the Open Source option at the top was chosen.
After the image was exported, the size was checked. In this case, the size of the compressed image is 100kb.
As for the videos, Handbrake video converter was used for the compressing.
To compress the video, Handbrake was first started and the Open Source option at the top was chosen.Then, the uncompressed video was dragged into the Handbrake window from the folder that it was stored:
 For the settings, Very Fast 720p30 was selected as the preset.
The Start Encode function was then pressed to encode the video:
For the settings, Very Fast 720p30 was selected as the preset.
The Start Encode function was then pressed to encode the video: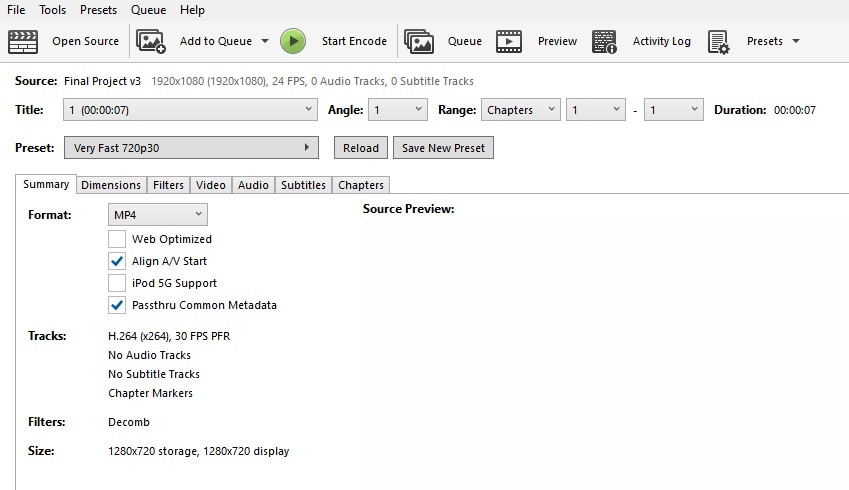 After the encoding was down, the video size was checked. In this case, the new video size is 409kb, while the size of the original video is 9.97Mb
Modeling with Gimp
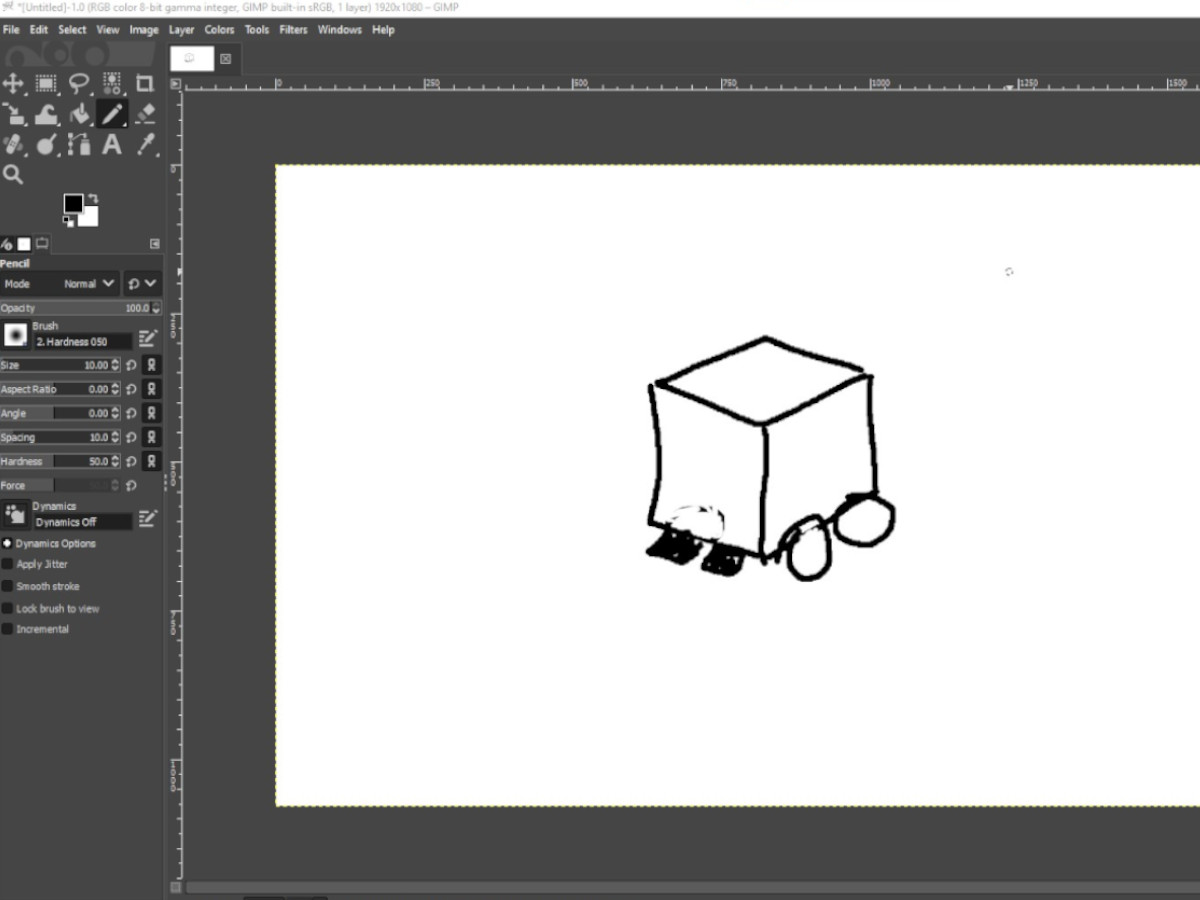
Beside using gimp to compress the images, I also used it to model my final project.
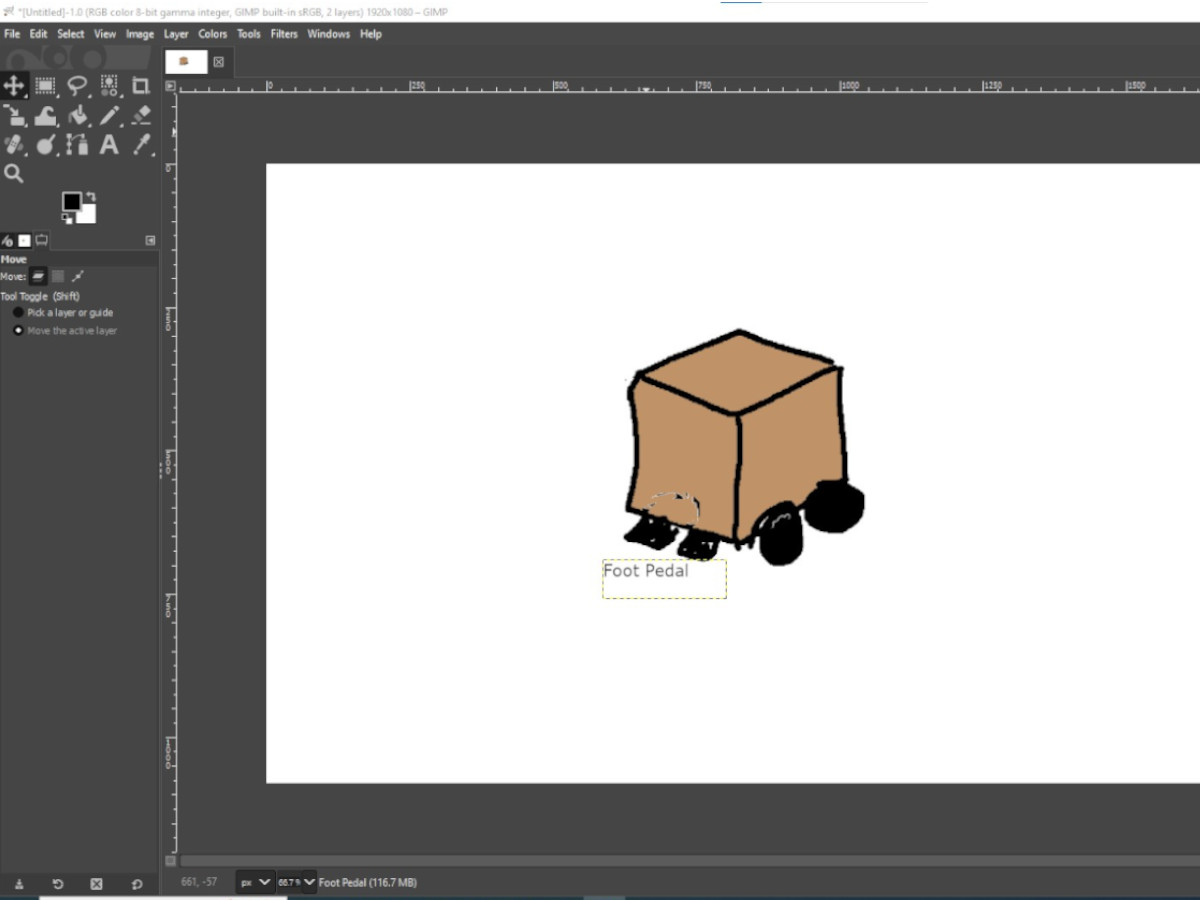
 Then using the (color tool), I'm able to color the project.
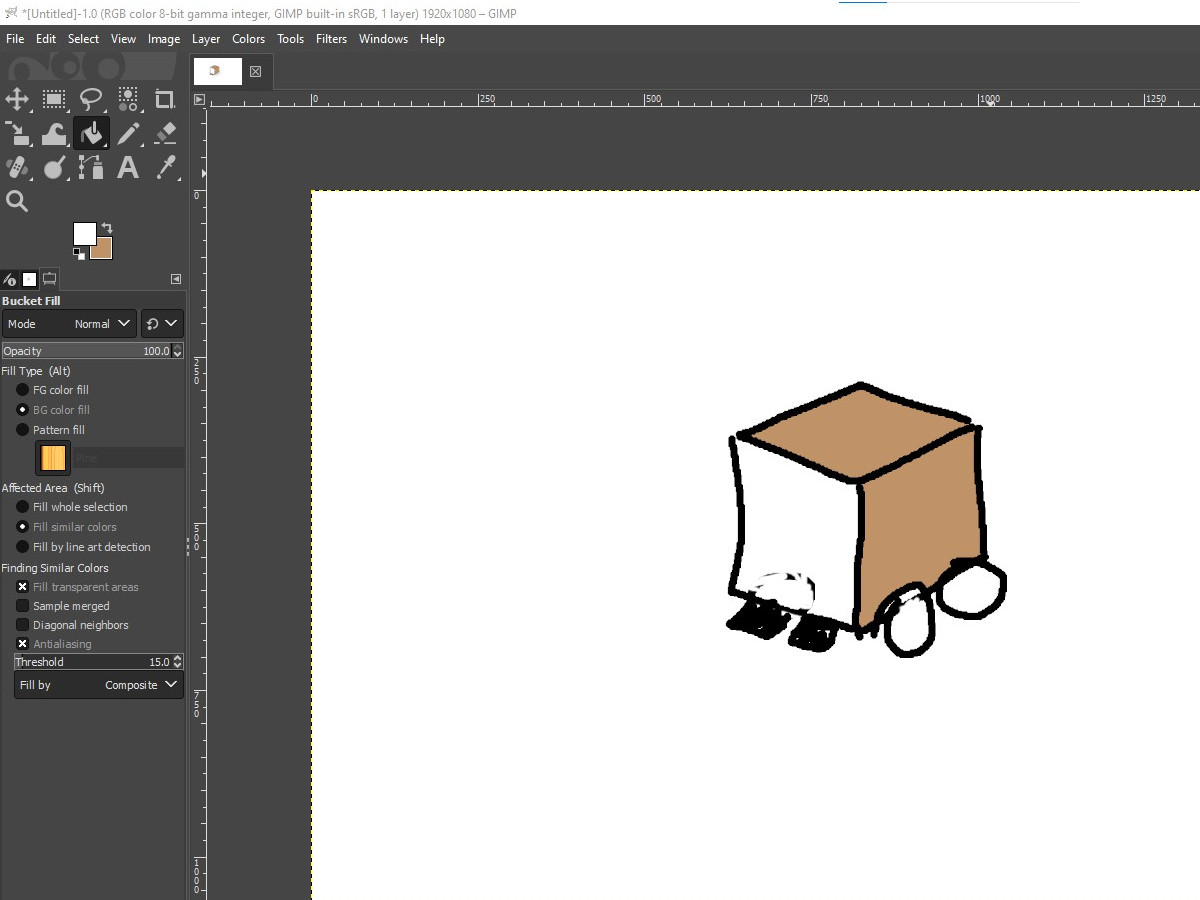 Finally, I labeled the parts with text tool for better explanation.
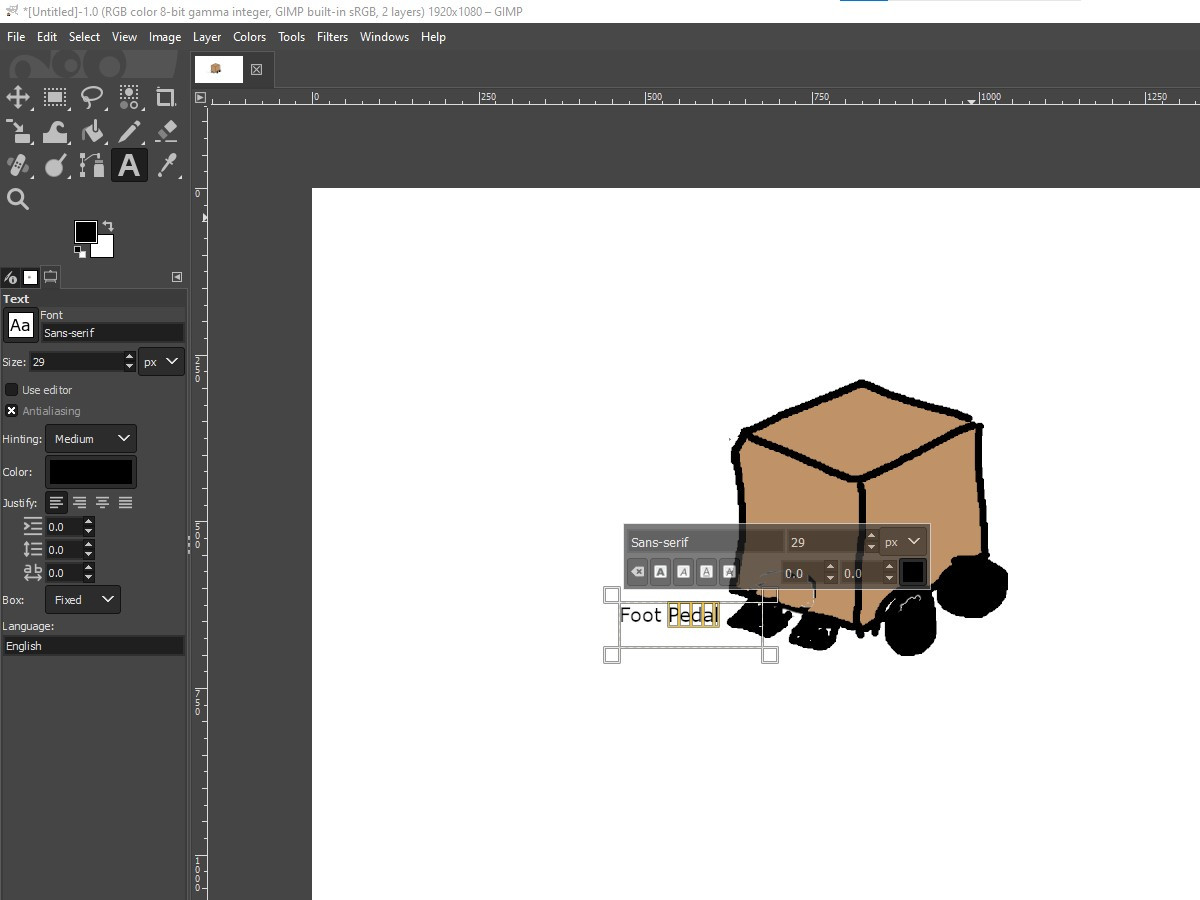
Evaluating 3D and 2D Software
I find Fusion 360 a useful software for my need. I am able to do all my modeling with the software (e.g., simulation, rendering, etc.) and there are some advanced feature, like generative design, that might be useful as I progress along with the project.
For gimp, though it doesn't detailed technical drawing like Fusion 360, it is very useful in image editing and also provide a quick way to communicate ideas where detailed drawings are not required.