Week 1: Principles and Practices | Project Management
Assignments
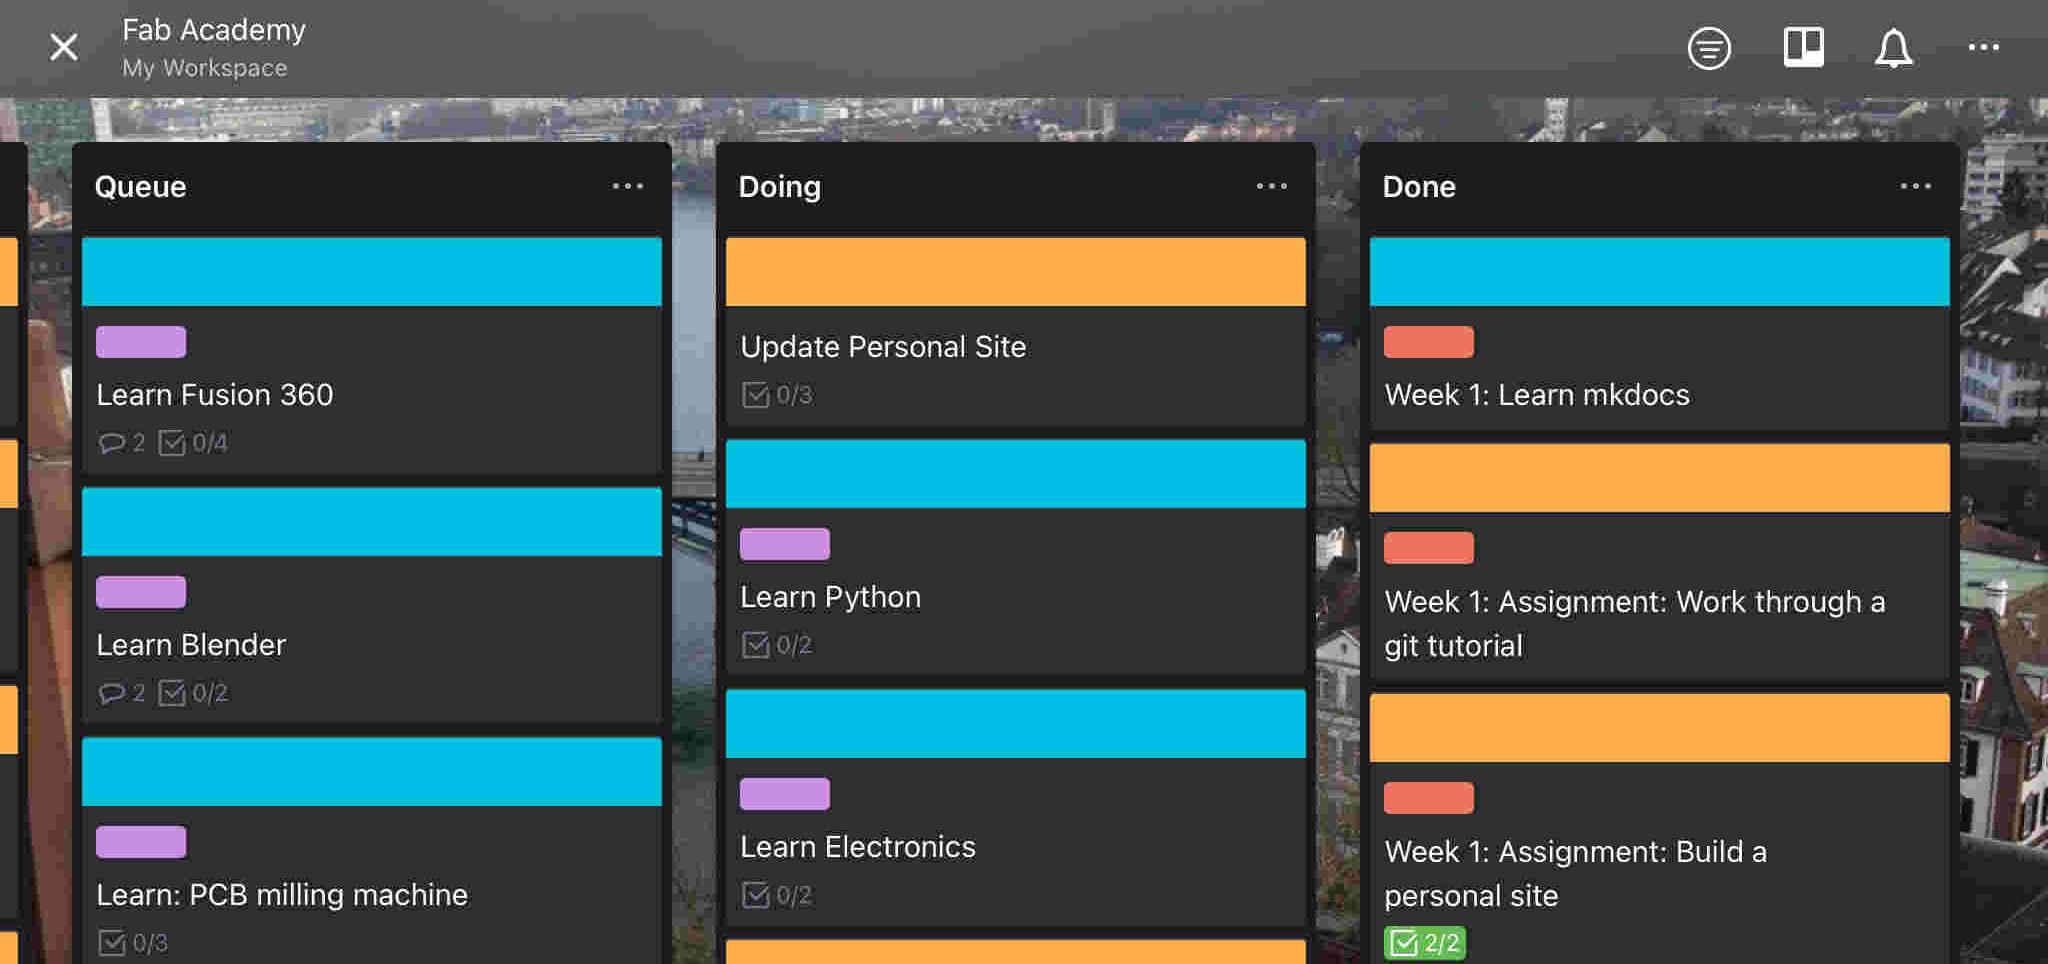
The assigments for this week are:I. Plan and sketch a potential final project.
II. Work through a git tutorial.
III. Build a personal site.
I. Plan and Sketch a Potential Final Project
For the potential final project, I am considering to fabricate a personal mobility stool, with a storage compartment: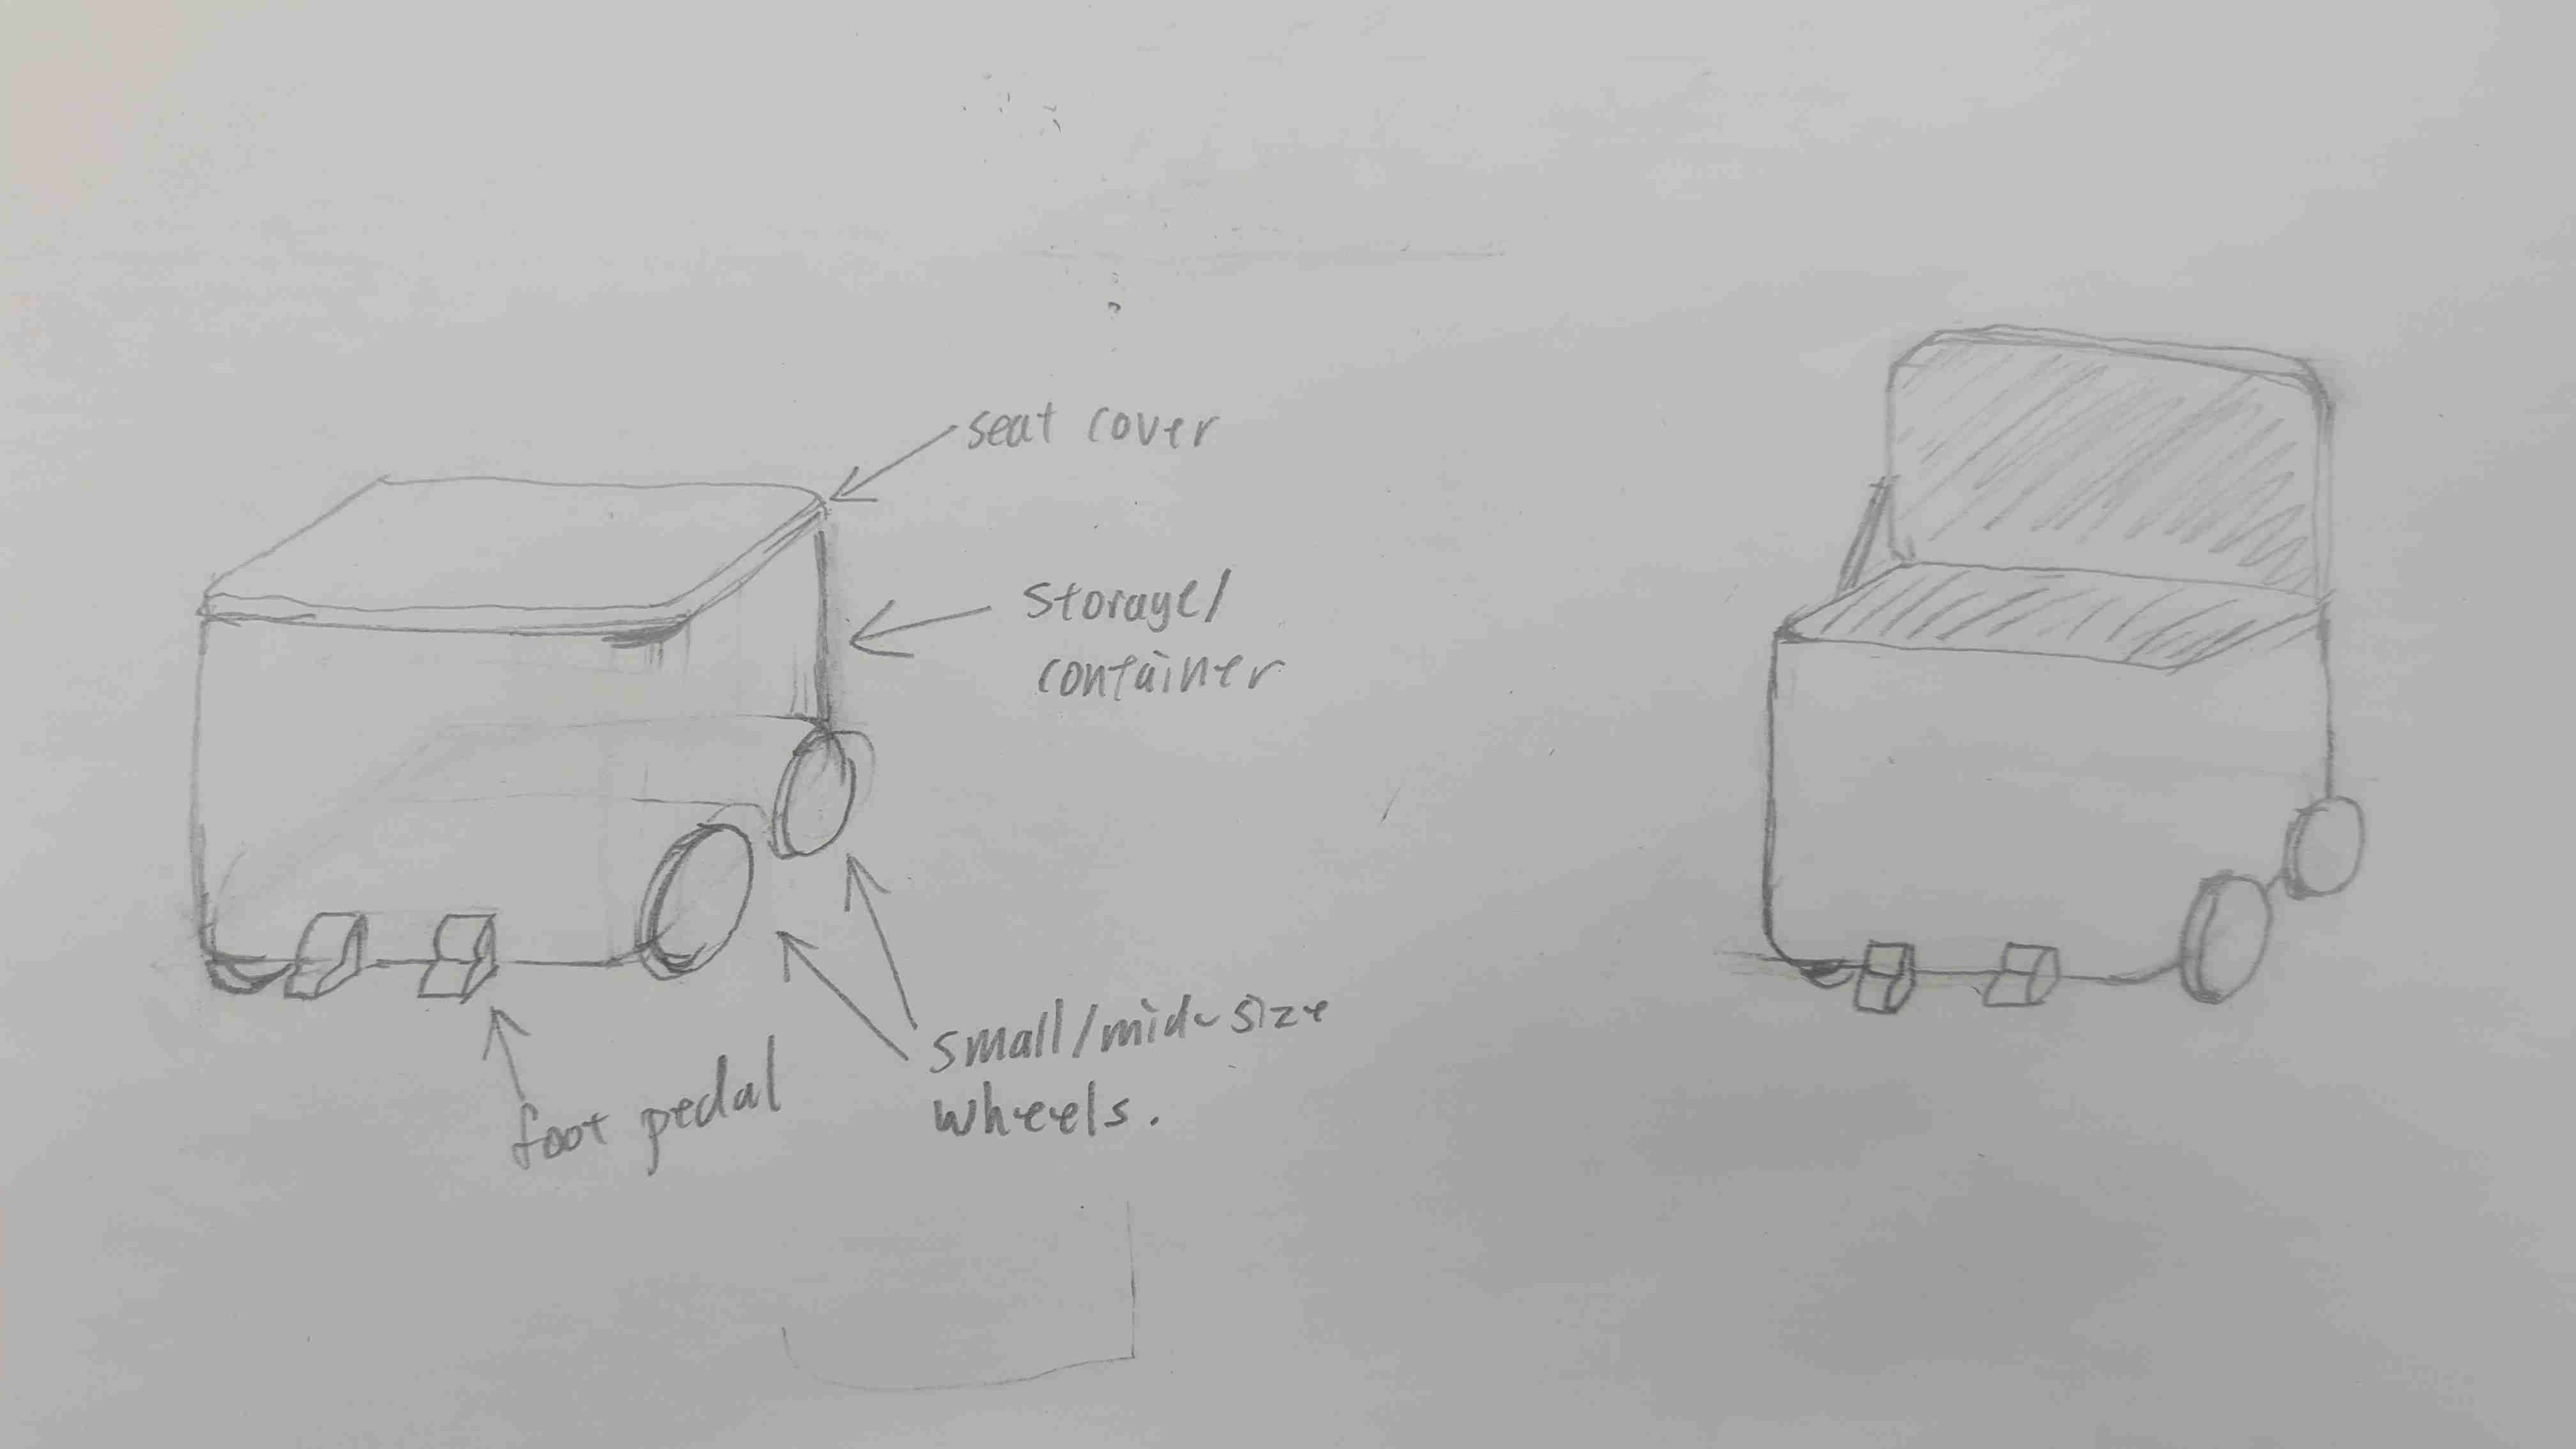 As illustrated above, the mobility stool will have a enclosed storage compartment underneath the seat cover.
The stool will be controlled by foot pedals and the wheels will be small to medium-sized to give the stool better maneuverability.
This project is attempting to address the first mile/last mile issue in commuting.
General Approach
To complete this project on time, I will adopt a few of the Sanzhai rules, as described by Lyn Jeffery, Director, Technology Horizon Program, Institute for the Future: 1) Design nothing from scratch, rather build on the best of what others have already done.2) Innovate the production process for speed and small scale cost savings.
3) Share as much information as you can to make it easy for others to add value to your process.
Spiral development will be used to develop the project, roughtly according to the following spirals:
Spiral 1: fabricate the stool
Spiral 2: install the wheels to the stool
Spiral 3: atttach the control mechanism (i.e., foot pedals) to the wheels
Spiral 4: motorised the whole vehicle
Spiral 5: introduced electronics to the vehicle
Schedule
To ensure the project and assignments can be completed on time, I devised the following weekly schedule:| Monday | Tuesday | Wednesday | Thursday | Friday | Saturday | Sunday |
|---|---|---|---|---|---|---|
| Assignment Work | Project Work | Update Website (git push) |
Local Review | Assignment Work | Research | Rest Day |
| Project Work | Lecture | Assignment Planning |
Fabrication Plan
The fabrication of the final project will group into 3 components: the mechanical component, the electronics (and electrical) component and the programming component. The mechanical component corresponds to Spiral 1 and 2 mentioned above. In this component, the stool will be designed and simulated using 3D CAD software like Fusion 360 and fabricated using large-format CNC machining. The electronics component corresponds to Spiral 3, 4 and 5 mentioned above. Here, the main objective is to connect all the electronics components (e.g. motor, PCB, sensors, battery, etc.) correctly so that all the component are suitably powered and the stool is motorised. The programming component also corresponds to Spiral 5 mentioned in the earlier section. For this component, the plan is to design a PCB to regulate the speed of the motorised stool. The PCB will receive signals from a acceleromotor input devices at the foot pedals to determine the speed. Possible input devices at the foot pedals include flex sensor, varying resistors and potentiometer.II. Work Through a Git Tutorial
To work through the Git Tutorial, I first read through chapter 1 to 3 of the Pro Git Book at the Git website.Setting Up Git
Afterward, I followed step-by-step the git tutorial on Fabcloud, starting with installing GitBash for PC that I am using. Then, I added my username and configure my email address: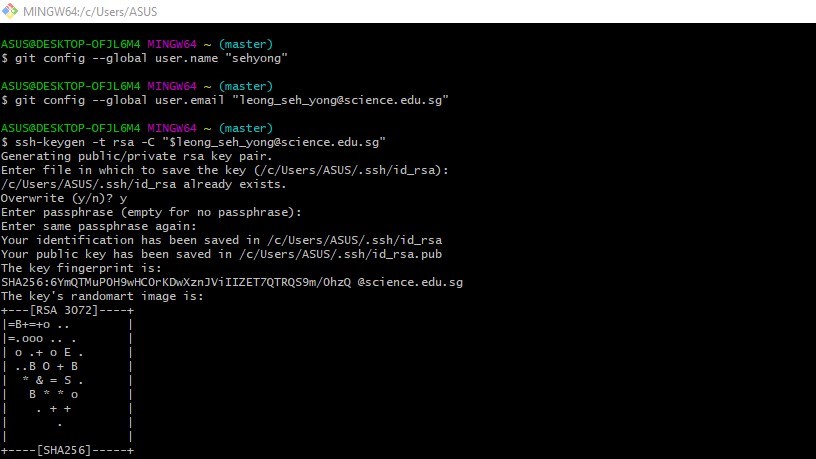
Generating SSH key
The SSH key is needed to transfer files between the PC and the repo. To generate the SSH key, I continued following the git tutorial: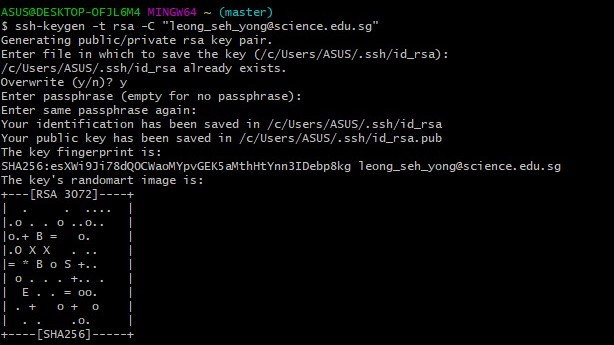 It turned out I had generated a SSH key previously. However this SSH key did not seem to work.
Therefore, I generated a new SSH key. Finally, I copied my SSH key and added it to the Git repo.
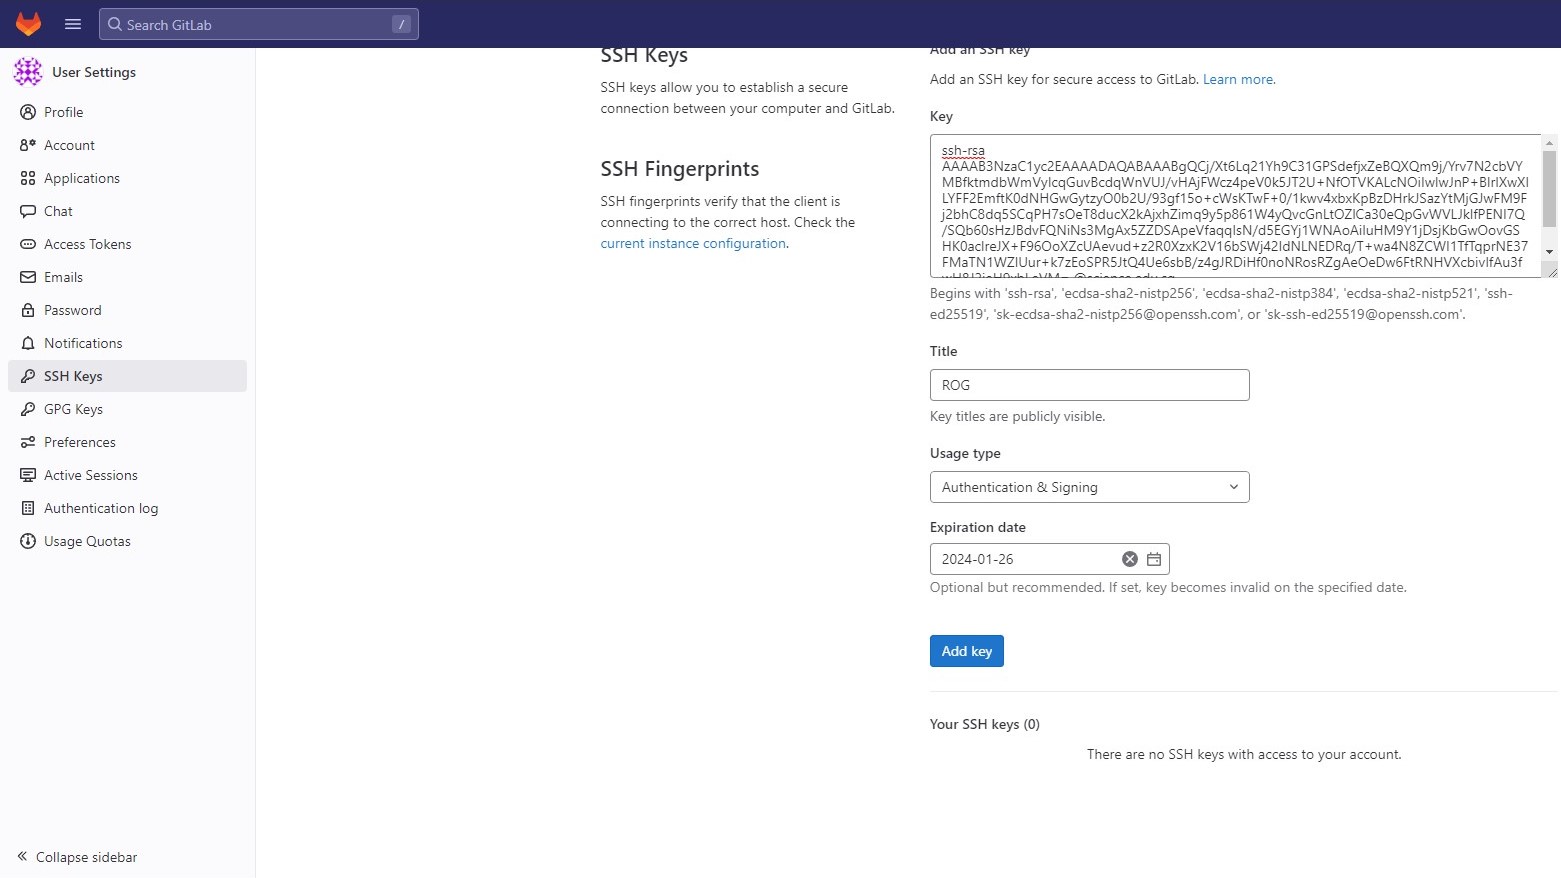 To add the SSH key, I clicked on my profile on the top right, select Edit Profile
From the left panel that showed up, I select SSH Keys and paste the copied key to the necssary section before clicking on Add Key.
Cloning Repo to PC
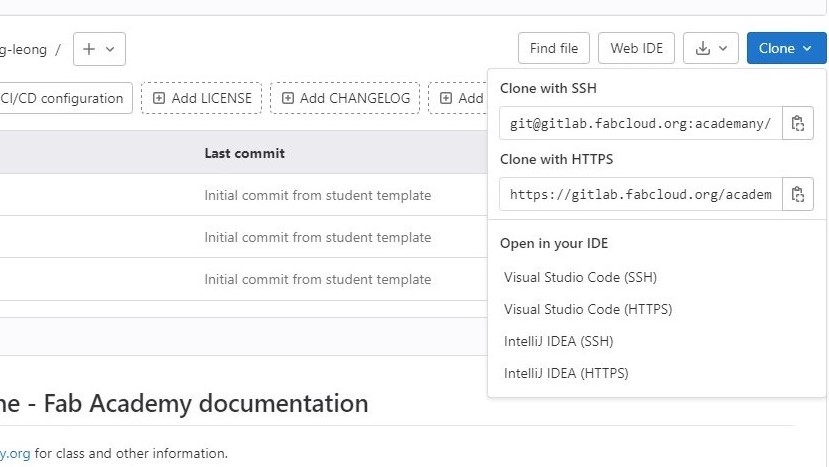
The last step before transfering files was to clone the Git repo to my PC.To do this, I clicked on the Clone button on my project page on gitcloud, and copied the command under Clone with SSH:
 Then, in the command prompt, I navigated to the folder where I want the cloned repo to be.
 After that, I pasted the copied command onto the command prompt and hit enter. The repo was cloned.
Uploading File to Repo
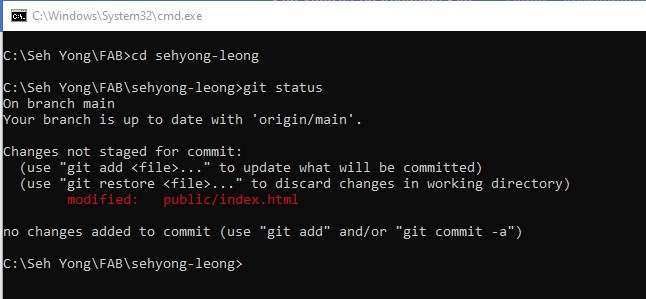
To check the git was setup properly and working, I replaced the index.html in the cloned folder with the one that I created.Then, I performed a git status check:
 Next, I git add the file and ran the status check again:
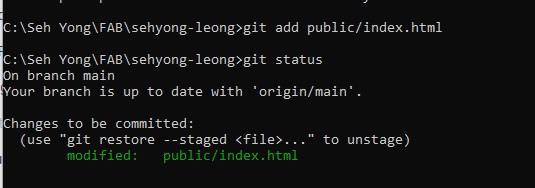 After that, I commited the file and pushed it to the online repo:
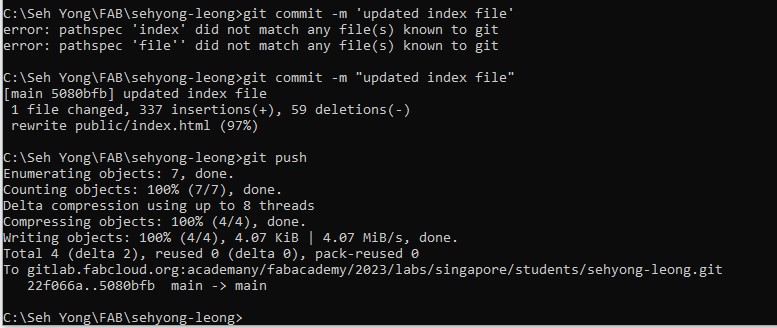 The git commit command did not work with the single quotes; only after I changed to double quotes was I able to commit the file.
After the git push, the online repo was updated:
The git commit command did not work with the single quotes; only after I changed to double quotes was I able to commit the file.
After the git push, the online repo was updated: This showed that the git was set up properly and working.
III. Build a Personal Site
To build the personal site, I decided to write the site in markdown and use MkDocs as the site generator.This is because markdown is easy to write and for MkDocs it allows HTML tags in the markdown-formatted text.
Since I have some basic understanding HTML, I can set up and update the site fairly easily using MkDocs and markdown.
Setting Up MkDocs
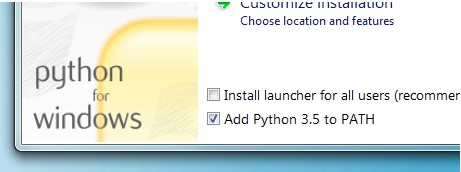
First, I installed Python into my PC by downloading the latest version from Python.orgFollowing the installation instruction on the MkDocs website, I checked the box to have Python added to my PATH:
 After installation, I checked by typing the following command line:
python --versionIn response, the system stated the version of the python in the PC, which in my case is 3.11.1. Next, I installed MkDocs using the following command line:
pip install mkdocsThis is followed by a series of command. After that, I checked the version of mkdocs installed:
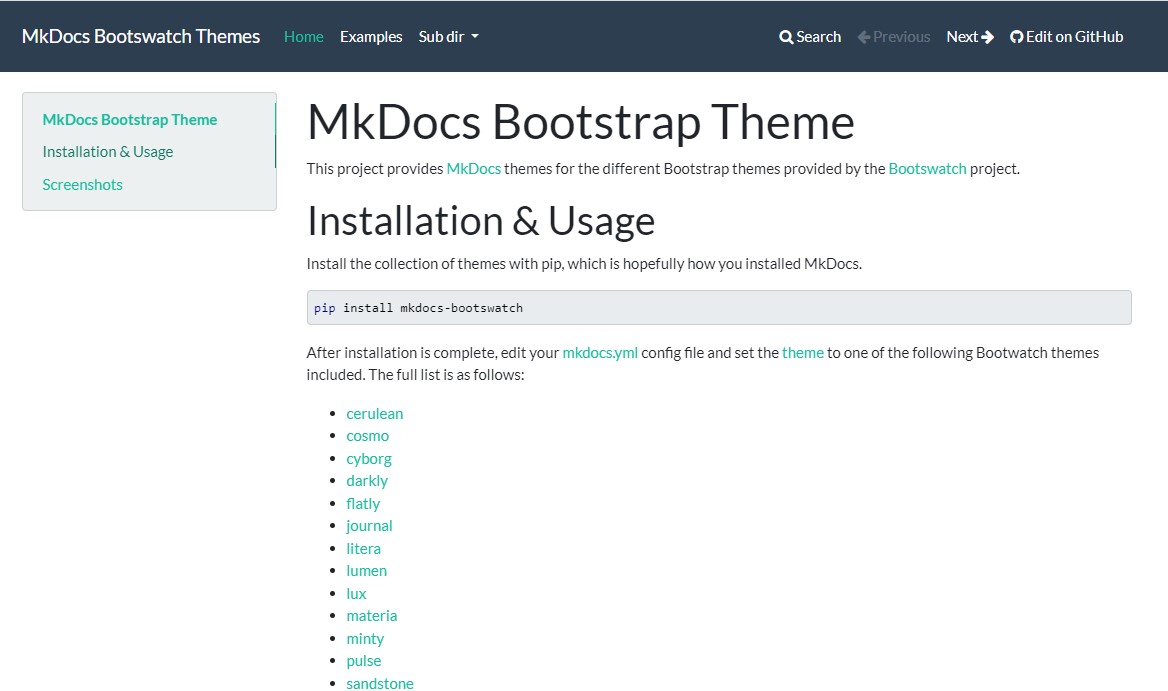
mkdocs --versionIn this case, MkDocs version 1.4.2 was installed in my PC. Finally, I installed the MkDocs themes from the Bootswatch project:
 Similarly to installing MkDocs, the themes was installed using pip:
pip install mkdocs-bootswatch
Building Webpages
A new project was created by using the following command:mkdocs new websiteA folder name website was created, with a docs folder in it:
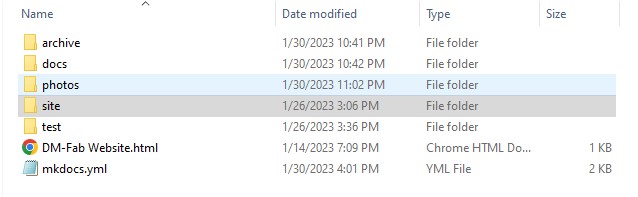 I had also created a few other sub-folders:
archive - for files that I do not currently need.
photos - for unedited photos and videos meant for the site.
test - for testing the html files before they are added to the repo The site file is generated by MkDocs after the website is build. Next, I edited the .yml file to give the required format:
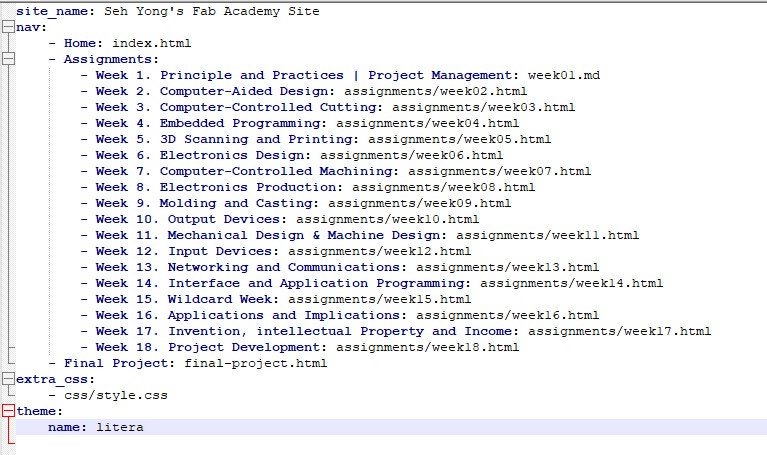 Finally, I created the .md (markdown files) for the index.html, each week of assignment and the final project.
I edited the .md files using Notepad++. The mkdocs files and CSS file are also edited using Notepad++
To see the webpage developed in real-time as I type in the .md file, I used the following command line:
mkdocs serveThen I open up a broswer (i.e., Chrome) and point it to http://127.0.0.1:8000/
This allows me to see the webpage as I was building it. When the webpage is done, it was then generated with the build command:
mkdocs buildAs mentioned, after the build command, the site folder will be generated with the html files inside, together with other necessary files:
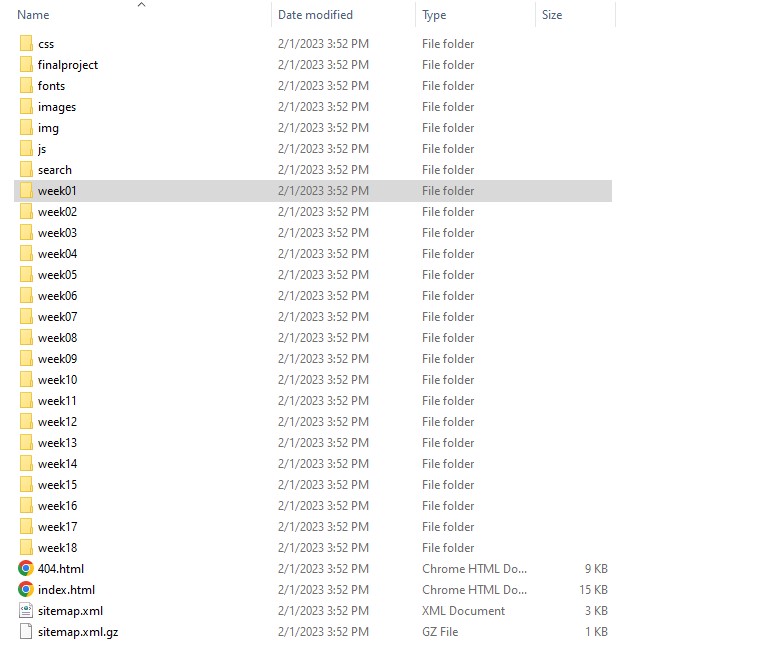 The index.md was generated as index.html and resides in the site folder.
However, other .md files (e.g., week01.md) was generated with a sub-folder named after it, with the actual html file (generated as index.html) inside the sub-folder.
Therefore, to complete the building of the webpage, these html files inside the sub-folders are renamed accordingly and moved to the test folder for checking
After the checking was done, the webpages are ready to be uploaded to the repo.