Week 14: Interface and Application Programming
Assignments
The assigments for this week are:Group Assignment
Compare as many tool options as possible
Individual Assignment
Write an application that interfaces a user with an input &/or output device that I made
Group Assignment
For this week's assignment, we experimented with some web-based applications. For my part, I experimented with the MIT App Inventor. This was my first time trying out the App Inventor and I find it easy to use. The block coding environment was also familiar to me as I had experience using block coing before. Full documentation can be found on the group assignment page.Individual Assignment
I decided to create an interface that allows me to control the LED on one of my boards.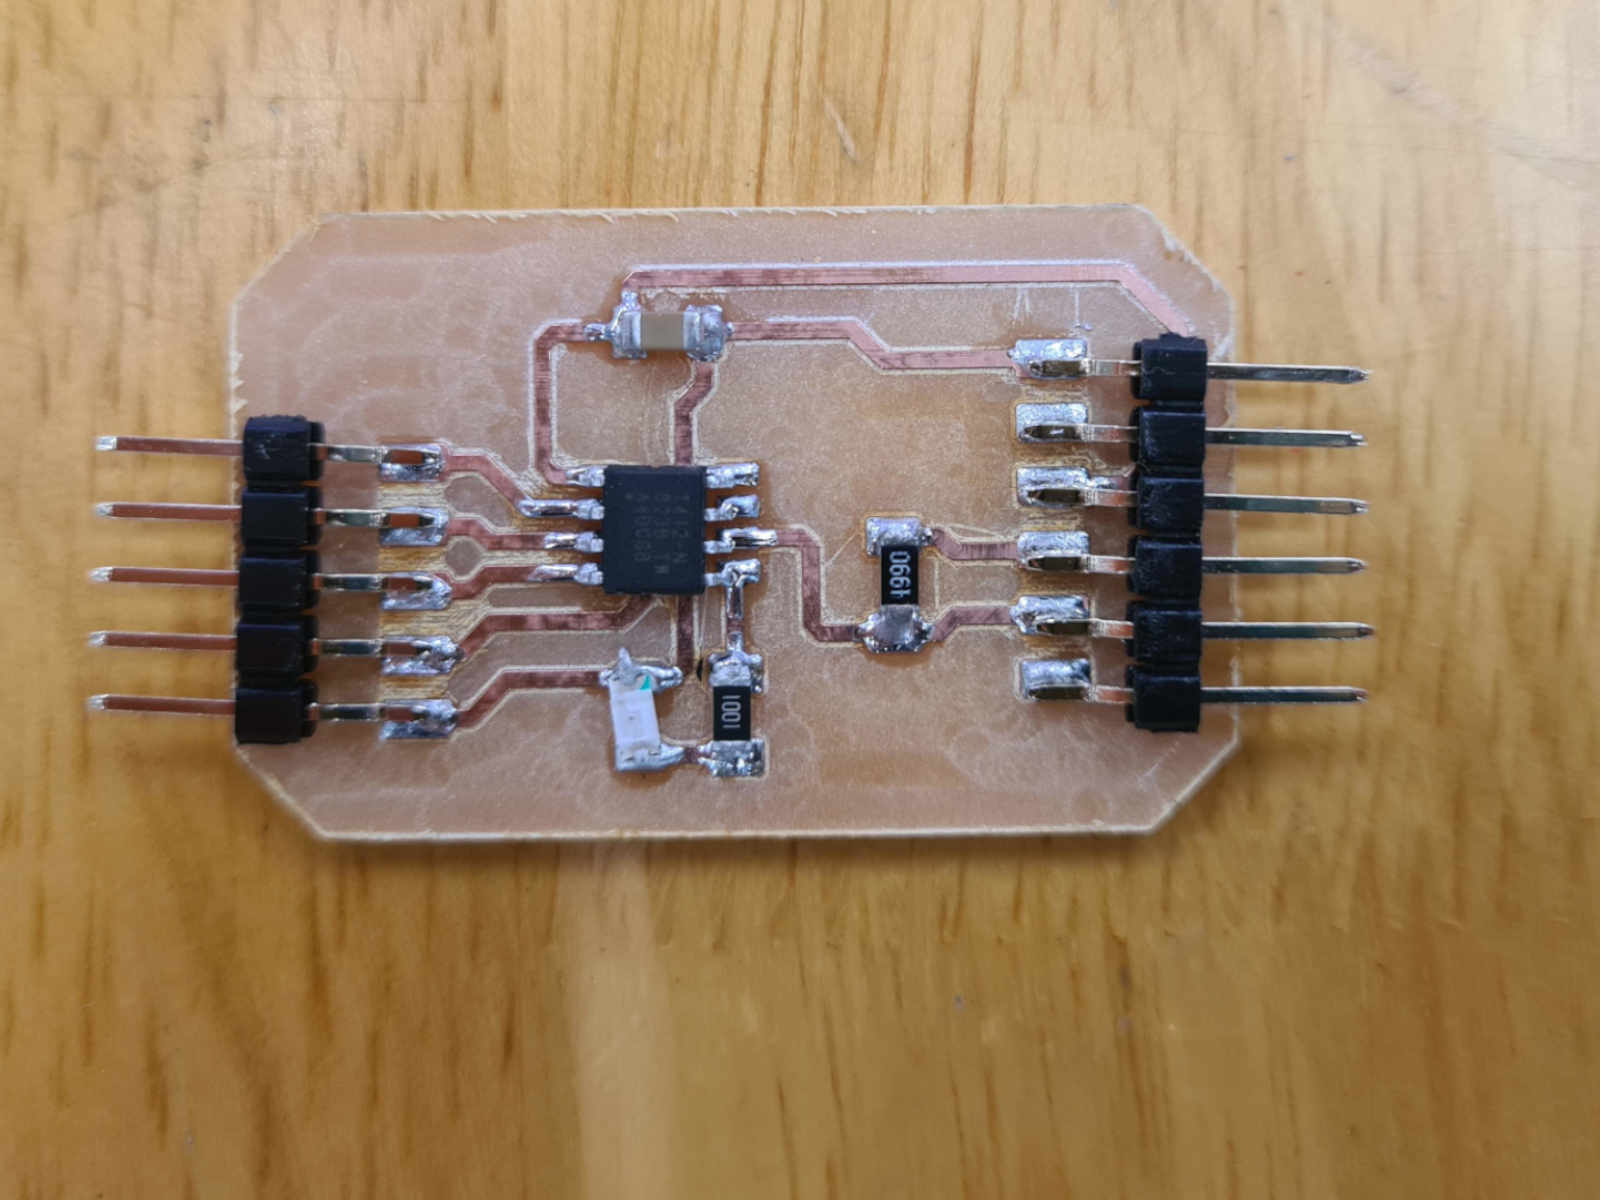 Having already tried MIT App inventor in the group assignment, I wanted to explore using other platform to create the interface. I eventually decided on Tkinter.
Details
I started on familiarising with Tkinter by going through some basic tutorials on the Tkinter page of the Python Tutorial website. Next, I found an article that gave a simple explanation on creating GUI using Tkinter and Arduino. It also provided an example code. From the article, one of the things that was finally clear to me was that the GUI created by Tkinter and the Arfuino IDE are connected via the serial port. I then deciede to take the Tkinter code from the article and made some modification to create the GUI I wanted. The modifications I made includes:<- Deleted the quite button
- Changed the titles of the window
- Changed the window size to a larger one
- Added background color to the OFF button when pressed.
- Changed the backgrpund color from green to yellow.
The Tkinter code I ended up using is as below:
import serial
import time
import tkinter


def set_button1_state():
        global b
        b += 1
        varLabel.set("ON")
        ser.write(bytes('H', 'UTF-8'))
        varLabel2.set(b)
        print(b)

def set_button2_state():
        global b
        b += 1
        varLabel.set("OFF")
        ser.write(bytes('L', 'UTF-8'))
        varLabel2.set(b)
        print(b)


ser = serial.Serial('com6', 9600)
print("Reset Arduino")
time.sleep(3)
ser.write(bytes('H', 'UTF-8'))

tkTop = tkinter.Tk()
tkTop.geometry('600x400')
tkTop.title("Assignment")
label3 = tkinter.Label(text = 'Fab Academy 2023,'
                      '\n Interface and Application Programming',font=("Courier", 12,'bold')).pack()
tkTop.counter = 0
b = tkTop.counter

varLabel = tkinter.IntVar()
tkLabel = tkinter.Label(textvariable=varLabel, )
tkLabel.pack()

varLabel2 = tkinter.IntVar()
tkLabel2 = tkinter.Label(textvariable=varLabel2, )
tkLabel2.pack()

button1 = tkinter.IntVar()
button1state = tkinter.Button(tkTop,
    text="ON",
    command=set_button1_state,
    height = 4,
    fg = "black",
    width = 8,
    bd = 5,
    activebackground='yellow'
)
button1state.pack(side='top', ipadx=10, padx=10, pady=15)

button2 = tkinter.IntVar()
button2state = tkinter.Button(tkTop,
    text="OFF",
    command=set_button2_state,
    height = 4,
    fg = "black",
    width = 8,
    bd = 5,
    activebackground='yellow'
)
button2state.pack(side='top', ipadx=10, padx=10, pady=15)


tkinter.mainloop()
The arduino code used was from the article. The slight change is to change the LED pin from pin 13 to pin 3.:
const int ledPin = 3; // pin the LED is attached to
int incomingByte;      // variable stores  serial data

void setup() {
  // initialize serial communication:
  Serial.begin(9600);
  // initialize the LED pin as an output:
  pinMode(ledPin, OUTPUT);
}

void loop() {
  // see if there's incoming serial data:
  if (Serial.available() > 0) {
    // read the oldest byte in the serial buffer:
    incomingByte = Serial.read();
    // if it's a capital H (ASCII 72), turn on the LED:
    if (incomingByte == 'H') {
      digitalWrite(ledPin, HIGH);
      Serial.println("Getting H"); //print out to serial monitor to check state
    }
    // if it's an L (ASCII 76) turn off the LED:
    if (incomingByte == 'L') {
      digitalWrite(ledPin, LOW);
      Serial.println("Getting L"); //print out to serial monitor to check state
    }
  }
}