Molding and casting. Group 1.
Group members
Week 13 group assignment Molding and casting
Weeks assignments
This week assignment was to review the safety data sheets for each of molding and casting materials and then make and compare test casts with each of them.
Safety data sheets
We glanced over the safety datasheets for the materials we were using.
Oomoo 25 datasheet.
Smooth-Sil 940 datasheet.
Smooth-Cast 305datasheet.
Plaster datasheet.
It is important to read each product's own safety datasheet before using the product. Below we have collected the general safety instructions as well as small notes about each product.
- Use a properly ventilated area (room-size ventilation)
- You should always wear vinyl gloves with these materials (latex will inhibit the cure)
- Wear safety glasses
- Wear long sleeves
- Wash hands after casting
- Do not eat or drink in casting areas
Smooth-Sil and Oomoo 25 are marked as "Not a hazardous substance or mixture according to United States Occupational Safety and Health Administration (OSHA) Hazard Communication Standard (29 CFR 1910.1200), the Canadian Workplace Hazardous Materials Information System (WHMIS) and Regulation (EC) No 1272/2008 and subsequent amendments."
Smooth-Cast is classified with many health hazards. Danger statements include for example: "Causes skin irritation, May cause an allergic skin reaction, Causes eye irritation, Harmful if inhaled, May cause allergy or asthma symptoms or breathing difficulties if inhaled, May cause respiratory irritation, Suspected of causing cancer."
With Plaster be careful with the dust and necessary wear respiration mask.
Casting workflow
When starting the casting, first thing to do is to check that ventilation is on. Then equipment yourself with lab coat, safety glass and vinyl gloves.
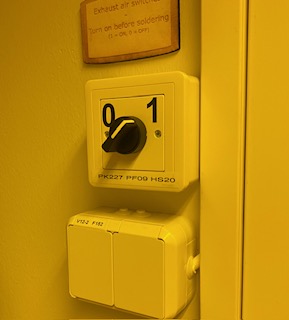
Picture1: Exhaust air switch
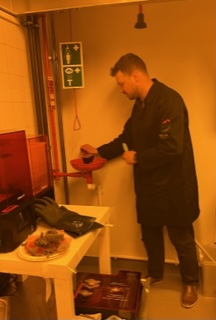
Picture2: Emergency shower
Smooth Sil 940
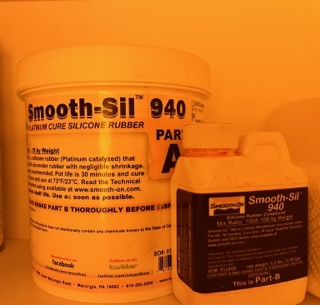
Picture3: Smooth-Sil 940
Mix ratio by weight 10A:1B.
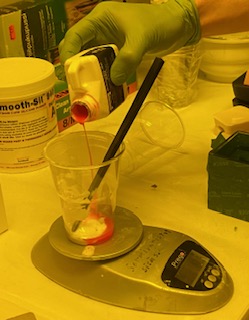
Picture4: Adding solution B
Pot life 30 min. Means that when you start to combine solutions together, you have 30 minutes before hardening process kicks in.
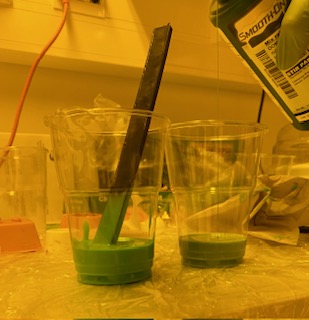
Mix in horizontal direction to avoid excess air in the mixture.
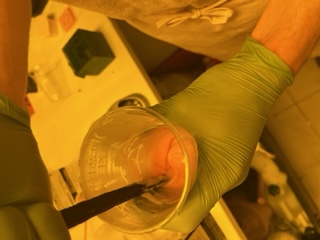
Picture4_2: Mixing solutions together
Vacuum chamber is used to remove air bubbles from the mixed solution.
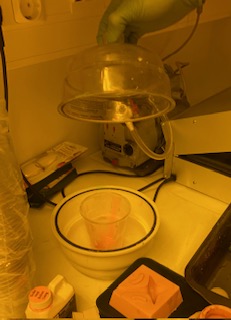
Picture5: Putting mixture to vacuum chamber
Pour mixture with thin run from the peak of the cup and don't move pouring point around the mold.
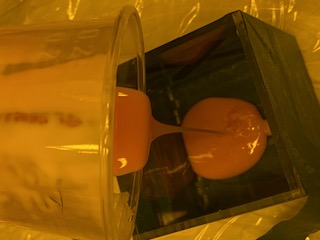
Picture6: Pouring mixture to the mold
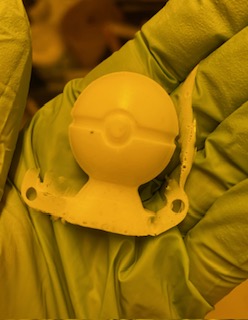
Picture7: Finished cast
After the cast is finished, cure time for the piece is 24 h.
Smooth-Cast 305
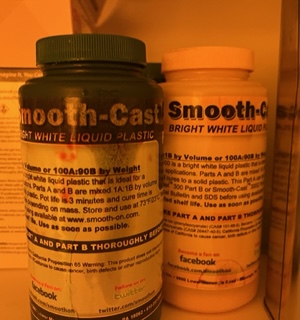
Picture8: Smooth-Cast 305
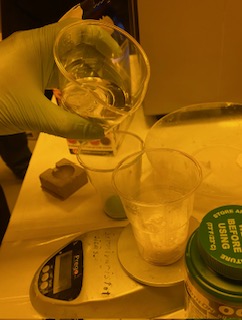
Mix ratio by volume 1:1.
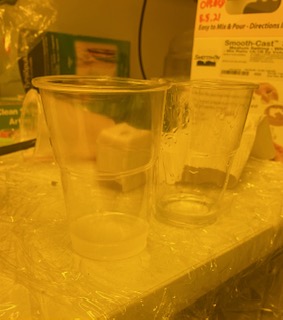
Picture9: Measured solutions A and B
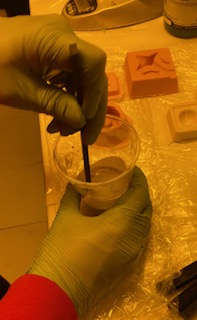
Pot life 7 min.

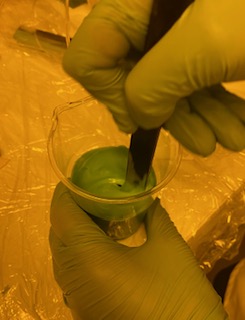
Picture10: Mixing solutions together
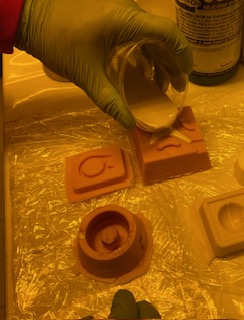
This material doesn't need vacuuming to remove air bubbles.
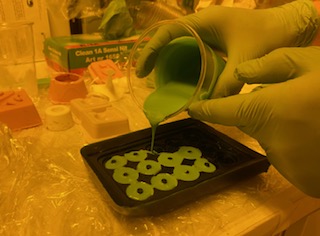
Picture11: Pouring mixture to the mold
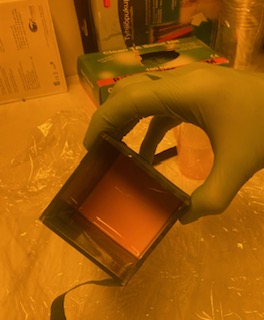
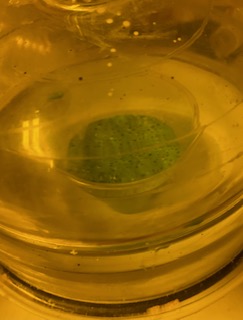
We also used two-sided mold. We placed it to cup to avoid dripping.
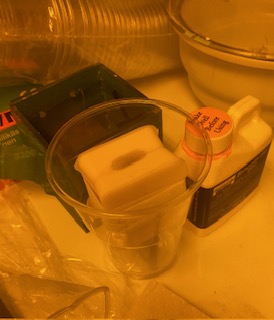
Picture12: Mold in cup
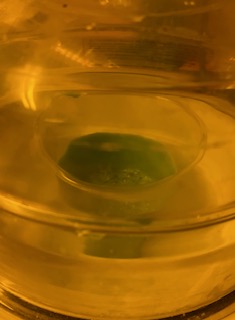
Hardening processs started fast and you could see the process by eye.
Picture13: Partially cured casts
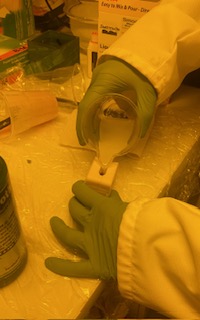
After the cast is finished, cure time for the piece is 30 min.
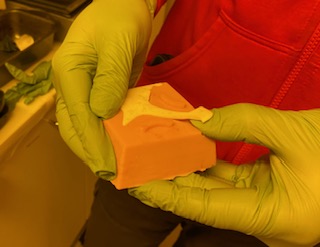
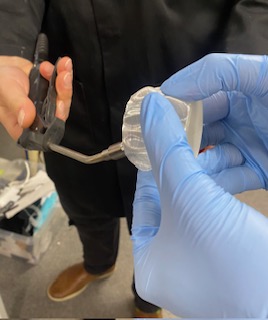
Picture14: Removing the piece from mold
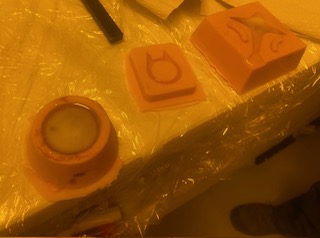
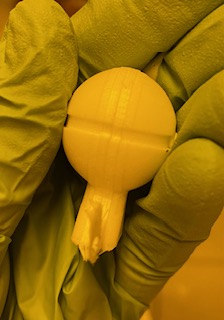
Picture15: Finished pieces from one-sided molds
Picture16: Finished piece from two-sided mold
Picture17: Seam from two-sided mold
Oomoo 25
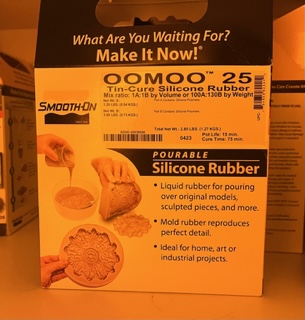
Picture18_2: Oomoo 25
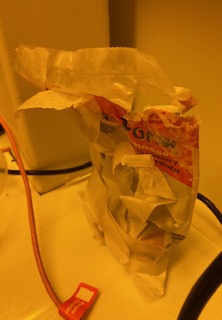
We measured volume of the mold with water and dried the mold with air.
Picture18: Drying the mold
Mix ratio volume 1:1.
Picture19: Measuring solution B
Pot life 15 min.
Picture20: Mixing solutions together
Picture21: Foaming under the vacuum
Picture22: Foaming subsided
With this material we had two molds at hand for testing.
Picture23: Pouring mixture to the mold
After the cast is finished, cure time for the piece is 75 min.
Casting Plaster
Picture24: Casting plaster
Mix ratio by weight 5:3 (powder:water).
Picture25: Pouring water to the powder
Pot life 10 min.
Picture26: Mixing solutions together
This material doesn't need vacuuming to remove air bubbles.
Picture27: Pouring mixture to the mold
We left plaster piece to cure over night.
Cast comparison
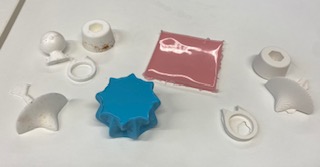
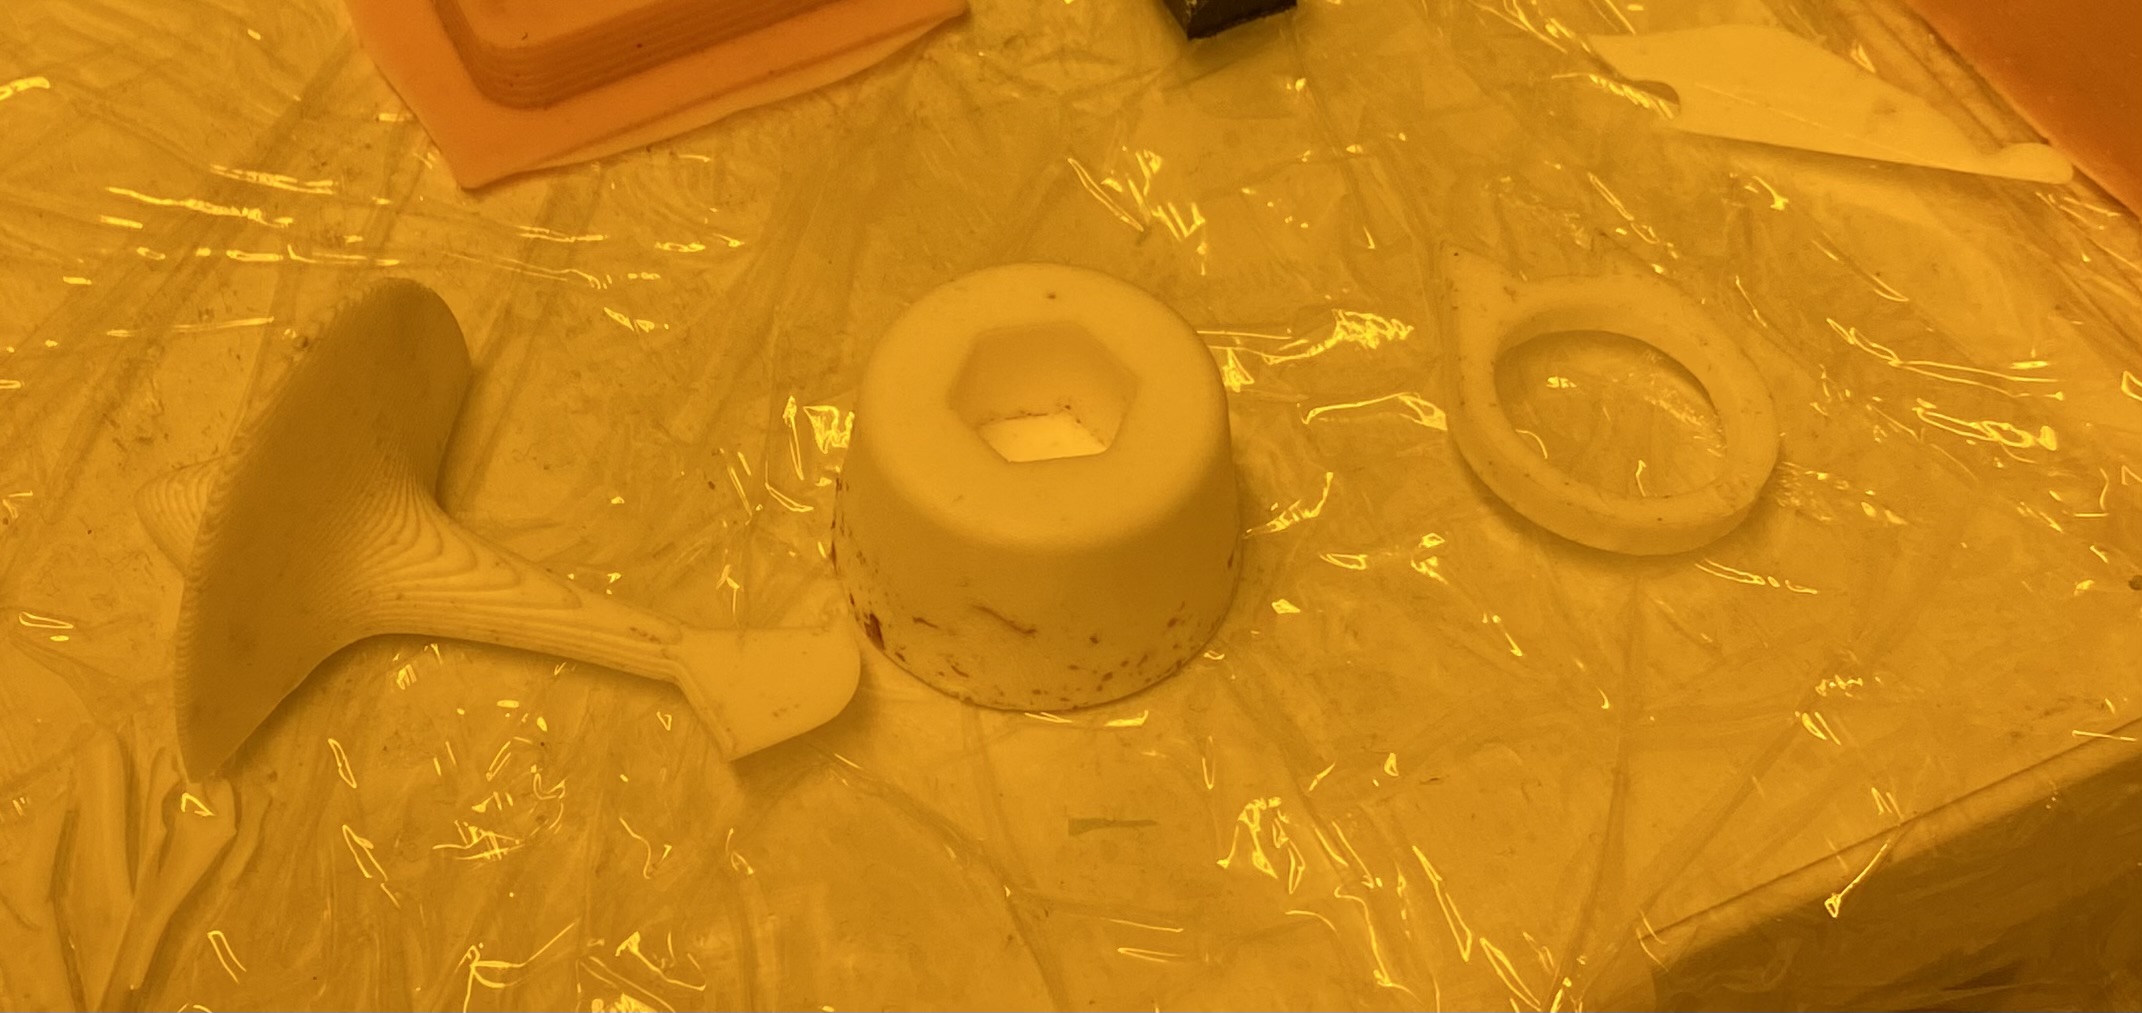
Picture28: Assembly of finished pieces
Quality of assorted test pieces was mainly good. There was some residue left from the previous casts in the molds, that effects to the color of some pieces. No bubbles.
Result of the test cast with Smooth Sil 940 was very different than other cast made with the same material. This one was sticky and very soft. We discussed with our instructor and this might be caused by contamination to some left over residual in the mold. In some point that mold has been used with Oomoo 25. In the data sheet this effect is described as cure inhibition.
With plaster all the features are more pronounced compared to the Smooth-Cast 305. Downside with the plaster is that it is more fraggle.
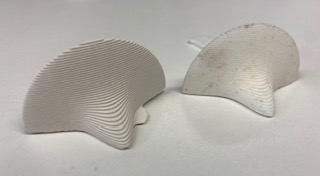
Picture29: Plaster versus Smooth-Cast 305 test 1

Picture30: Plaster versus Smooth-Cast 305 test 2